Call to Arms 2020, review

So Call to Arms is over for another year and our second BlackPowder competition has been held.

Unfortunately our 8 player competition at the last minute went down to 6 with Goldie forced out with urgent house repairs(water leaking in sons bedroom wall) so I dropped out to make it an even player event.

So we were left with 3 French players and one each of Russian, Prussian and Spanish.

After 4 rounds, 2 on each day and where most games went to or close to the time limit of 3 hours, the podium winners were:

1st Place – Nick with Prussians

2nd Place – Paul W with Russians

3rd Place – Brian with Spanish

Paul W has volunteered to run next years competition.

A selection of photo’s follow.

Day 1 and we are up on the stage again……. battlefields each are 10 x 6 feet.

Some of Brian’s Spanish

Oh dear….a shaken Russian square with Polish Uhlans lead by their general charging in….unpleasant.

Shot down line of French advance


Only other thing of interest over the weekend was the Team Yankee and in particular taken by German force…. tempting.

last round game between John and Paul….. this scrum when out for sometime as more and more units were fed in….the game ended with the French breaking and Paul stealing 2nd place.

And the last round game between top 2 had Brian and his Spanish up against Nick and his Prussians. It was a hard fought game but ended in a draw which gave Nick 1st place and Brian dropped to 3rd place.

This is an example of a French 200 point force.


Battle of Saltanovka, July 23rd 1812

Rather than a 200 point game night I decided to give the Saltanovka scenario from Black Powders ‘A Clash of Eagles’ another go. We last played this when CoE first came out using the troop adjustments in CoE but for this game, used Black Powder 2 rules. I did make change of not allowing ‘Follow Me’ order but giving Davout, Compans, Dessaix and Raevsky special abilities and allowing them to be used normal commanders and not just having a Generals reroll ability. However, everyone forgot this for most of game…..annoying!

The evening was one of a howling southerly storm with gale winds  and driving cold rain but 5 hardy souls still ventured out.

Russ, Goldie and Robert commanded the French while PaulW and Steve the French. As a 3rd Russian player was required for later in game, I took that role.

Scenario is First Russian Army is attempting to cross the Dniepr River at Mogilev , however Davout has arrived there. So Bagration throws troops at him to see how strong position is, if weak, will smash through, if strong, will find another crossing.

The French are over the opposite side of the river, defending 2 villages in Fatova and Saltanovka. The French have 4 brigades, each of 5 bttns and 1 battery. They have 2 of the brigades holding the villages/river line, 1 in reserve to their right rear, the last off table as well as1 Chasseur and 3 Cuirassier regts off table.

The Russians have 2 standard divisions of 4 Jager and 8 Musketeer bttns each plus 2 light and 1 position battery each. The Jager start on table with the musketeer brigades/ artillery advancing on. They also have 2 brigades of 2 Dragoons each to arrive later on.

Russians get first turn. Objective is to take the villages and inflict as much damage on the French as they can, the French have to stop this.

View down table….Russian Jager skirmish line on right , Fatova which is held by Robert , Saltanovka in distance held by Russ and to left Goldie is sending the reserve brigade down to the French far left flank from its reserve position behind Fatova. Steve commands closest Russians while PW has those opposite Russ. I also placed 4 earthworks between the villages for the French.

View of Fatova with Steve’s forces arriving on table.

Reserve French arriving and heading towards Saltanovka.

Far right of Russian position when PW has discovered a ford and is sending his columns over it.

Saltanovka where Goldies brigade has formed a firing line and is advancing on Pauls columns. The villages were supported by some earthworks.

Goldies French after several rounds of combat…PW charged in…French held….then flank attack…Russians pop(where green dice is). Others stay.

Something not in the CoE scenario but one found in another. Russian 2nd Grenadier Division, which is my actual division arrive on a flank march…..as Goldie has sent the reserve brigade to other flank…the French had the Cuirassiers there…..so on a flank with woods and wheat fields…..perfect…for me anyway…..plan was to send briagde into woods…..shoot up cavalry til retired….and set up guns behind columns and retire some columns and shoot the c**p out of the cavalry…..alas ran out of time. Will need refight this on a weekend.

Fatova from Steve’s position……no attacks been made on the village….what has he been doing….he even sent a brigade to help PW…what the….needed take the village…..he is getting a major demotion. Siberia…in winter.

In the centre Russ reserve brigade has moved up and be hard to break through for Steve and Paul.

On far flank its is all rather in the balance. PW is taking it to Goldie….Russ still holds village and PW needs turn the flank. Dragoons in reserve if can get across the ford its fairly open for them. One again Russian columns are hard to take out.

And that was game called….will have to play on a weekend to get to a conclusion. French won this one in a canter, no villages swapped sides. No one used the abilities I gave the commanders…..will take a piece wood to next briefing so the French understand to use their commanders and the Russians understand they are meant to take the villages. Will need change setup as Russians need more depth so their guns do not set up within musket range of villages.

But was an attractive game, next time will have my new Hovels Russian buildings which are on their way from UK. Its a bday prezzie to myself, bunch painted buildings and plan having the woods finished as well.


200 point Napoleonic Game

It’s a holiday here in NZ today, Queens Birthday so Goldie suggested a game.

At Call to Arms Convention in August we are gaming a 200 point Napoleonic Tournament. Last year it was 220 points and 5 rounds, this year we will do 4 rounds over the 2 days and game at 200 points. Due to the Plague the organizers are restricting overall numbers of participants so we are allowed 8 players.

The brains trust(that doesn’t include me!) have made some changes in the points matrix so Goldie and I decided play 200 point game. Goldie to use his Prussians and I would use French. Half way through a rebase/tidy up of my French so had to proxy in some Vistula legion units.

Terry’s Force:

  • 2 brigades infantry each of 5 ligne bttns,1 legere bttn and a battery
  • Brigade 2 Polish Uhlans
  • Brigade 2 Wurttemburg light cavalry
  • The infantry and the Uhlan commanders were Command rating 8 and the Wurtt Cav were a 7. Plan being to assign General to the Wurtts to use his reroll.

Goldies force:

  • Brigade Leib Hussars, 2 Grenadier bttns and a small Freicorp bttn
  • Brigade 6 bttns Landwher plus a battery
  • Brigade 2 musketeers
  • Brigade 2 Dragoons,a landwher cavalry and a horse battery
  • All commanders were 8’s

We decided to play down the battlefield which was 10ft x 6ft. We used Goldies new 1813 building and my new woods(not quite finished but close enough).

Below is my set up….

And below is Goldies set up. Centre of table has stream to pond and village with 2 defensive position. The race is on!

I won first turn. Both infantry brigades made x3 moves down table, Uhlans 1 move down my right flank, on the left the Wurtts stood around.

Prussians advanced except for the landwher on their left.

Next turn I move up to the stream, occupy the 2 defensive zones with my legere bttns and form checkerboard formation from village to edge of woods. Guns fail to deploy on my left. Wurtts still back in corner.

Now on my left flank I had deployed a skirmish cloud out in front of my columns. Goldie charged this with his Leib Hussars…my skirmishers naturally retired on their columns leaving the Leib hussars in the open. So I deployed into line…and gave them a good round of French gunsmoking!

Below is Goldies situation. On his left his 2 skirmishing landwher have advanced to centre of ridge, guns are moving up but 4 bttns still back at start position. In centre his cavalry have moved up and are behind ridge line with musketeers to their left. On his right the Leib Hussars have retired behind the Freivorps with the 2 Grenadier bttns now behind the Leibs and the horse battery to the flank.

In my turn I did a ‘Follow me’ charge with Wurtt cav into the Freicorps. They could not form square as to close to Leibs and so we decided they would evade, now disordered and Goldie rolled for a 1 move retire. This unmasked the shaken leibs who now got hit stationary. I then moved the left side infantry brigade up in support of the cavalry charge. Shooting caused wound and disorder on horse battery.

After the carnage of my cavalry charge, the Leibs had been destroyed, a supporting Grenadier bttn had broken, the horse battery auto popped and I turned to face the flank of the surviving Grenadier bttn. As brigade was now broken they would have retire 12 inches away from me as first move in Goldies turn.

On my right Goldies landwher had now surged forward and I was taking a bit of firepower!

On my left Goldie has used a ‘Follow Me’ to move a Musketeer bttn to put a block on his flank after the Dragoons failed a ‘Follow Me’ attempt against my flank Wurtt cav unit.

Below is final position in game after several frenetic turns! My Wurtt cavalry charged the Musketter bttn by woods. They formed square. We retired as we would, and I threw in a column against the square. Beat it but it stood and formed disordered line. I also moved up a line and skirmishers from other bttns and shot up Dragoons…..1 regt popped and the remaining 2 regts retired. I also moved the 2 leger bttns out of the village and shot up skirmishing landwher on ridge. Goldie had thrown in the other musketeer bttn against the line that shot up his Dragoons…..I won the combat, they stood and I then hit them in flank with a bttn, jammie sods lost but stood…..I had managed to get the other Wurtt cav to move up and also moved a Uhlan regt over to the left flank. On my right flank I swapped damaged bttn for fresh bttn, formed others into line and this added firepower along with artillery disordered and wounded the battery on ridge. Goldie conceded game at this point.


Link

On the 28/29th March 2020 the group is refighting the Battle of Borodino over 2 days. At this stage it looks like 7 or 8 players aside with the game being played at a 50% ratio to actual orbats.

This event will be gamed at the Seatoun RSA/Bowling Club in the suburb of Seatoun in Wellington where we have hired the bar area which is large enough to cater for our 3 x 24 foot tables! It also means we have free access to the bar and there is a cafe and boutique pub next door. A perfect location.

The amazing Paul Weakley has been diligently working away making terrain boards to cover the central table which will be 6 6×4 foot boards. Early pictures of 2 of the boards are below.

This is part of the board around Gorki with its fleches.

And this is an early look at the main Redoubt , wolf pits to the front and one of my 12lb batteries positioned inside it.

We are fortunate that friend Peter of Von Peters Wargaming Madness  https://vonpeterhimself.wordpress.com/ has a selection of Russian Buildings which I have confiscated for the game.

Fo the Bagration Fleches I have souced some resin fieldworks from Paul’s Modelling Workshop. Paul has been wonderful to deal with in helping me sort out which pieces I need. They are winging there way to NZ at moment , but here are some pictures off the website.  http://www.paulsmodellingworkshop.com/


They will come unpainted, you can order them painted but I need to match them to the terrain boards.

Thats all for now, future upadtes as we get closer to the big game.

Terry


Hail Caesar Game: Rome v Carthage/Macedonia

So managed a trial game of Hail Caeser, its been a few years so we took it slow, made incorrect rulings which the post game analysis picked up, but thats the idea of the game!

Here are some pictures.

Pete and I used early Imperial Romans and we played against Craig using scratch force of Macedonians with Galatians and Alan and his Carthaginian force.

My Romans got severly smacked……serious inability to hit or make saving throws. Pete blundered his legionaires off table but returned to do some decent damage on Alan, but my Romans in the end were goneburger.

Lesson learned……warbands have 5+ saves and not 4+!

Lesson learned…..Elephants are unpleasant.


Craigs Macedonian/Galatian’s

Petes Romans

Alans Carthagians

Terrys Romans

Alan advances with Petes troops blundering off table


Craig charges into my Archers…manage dto hold and hit warband in flack with cohort…didn’t go well for the cohort…Warband held…and the follow up unit hit the cohort. Pop!

My cohorts…who did not hang around for long!

There were more pictures but..can’t seem to load them……if succeed will add in.

Will play some more games in October(time for Fiji holiday in the sun!)

Napoleonics: 220 point game

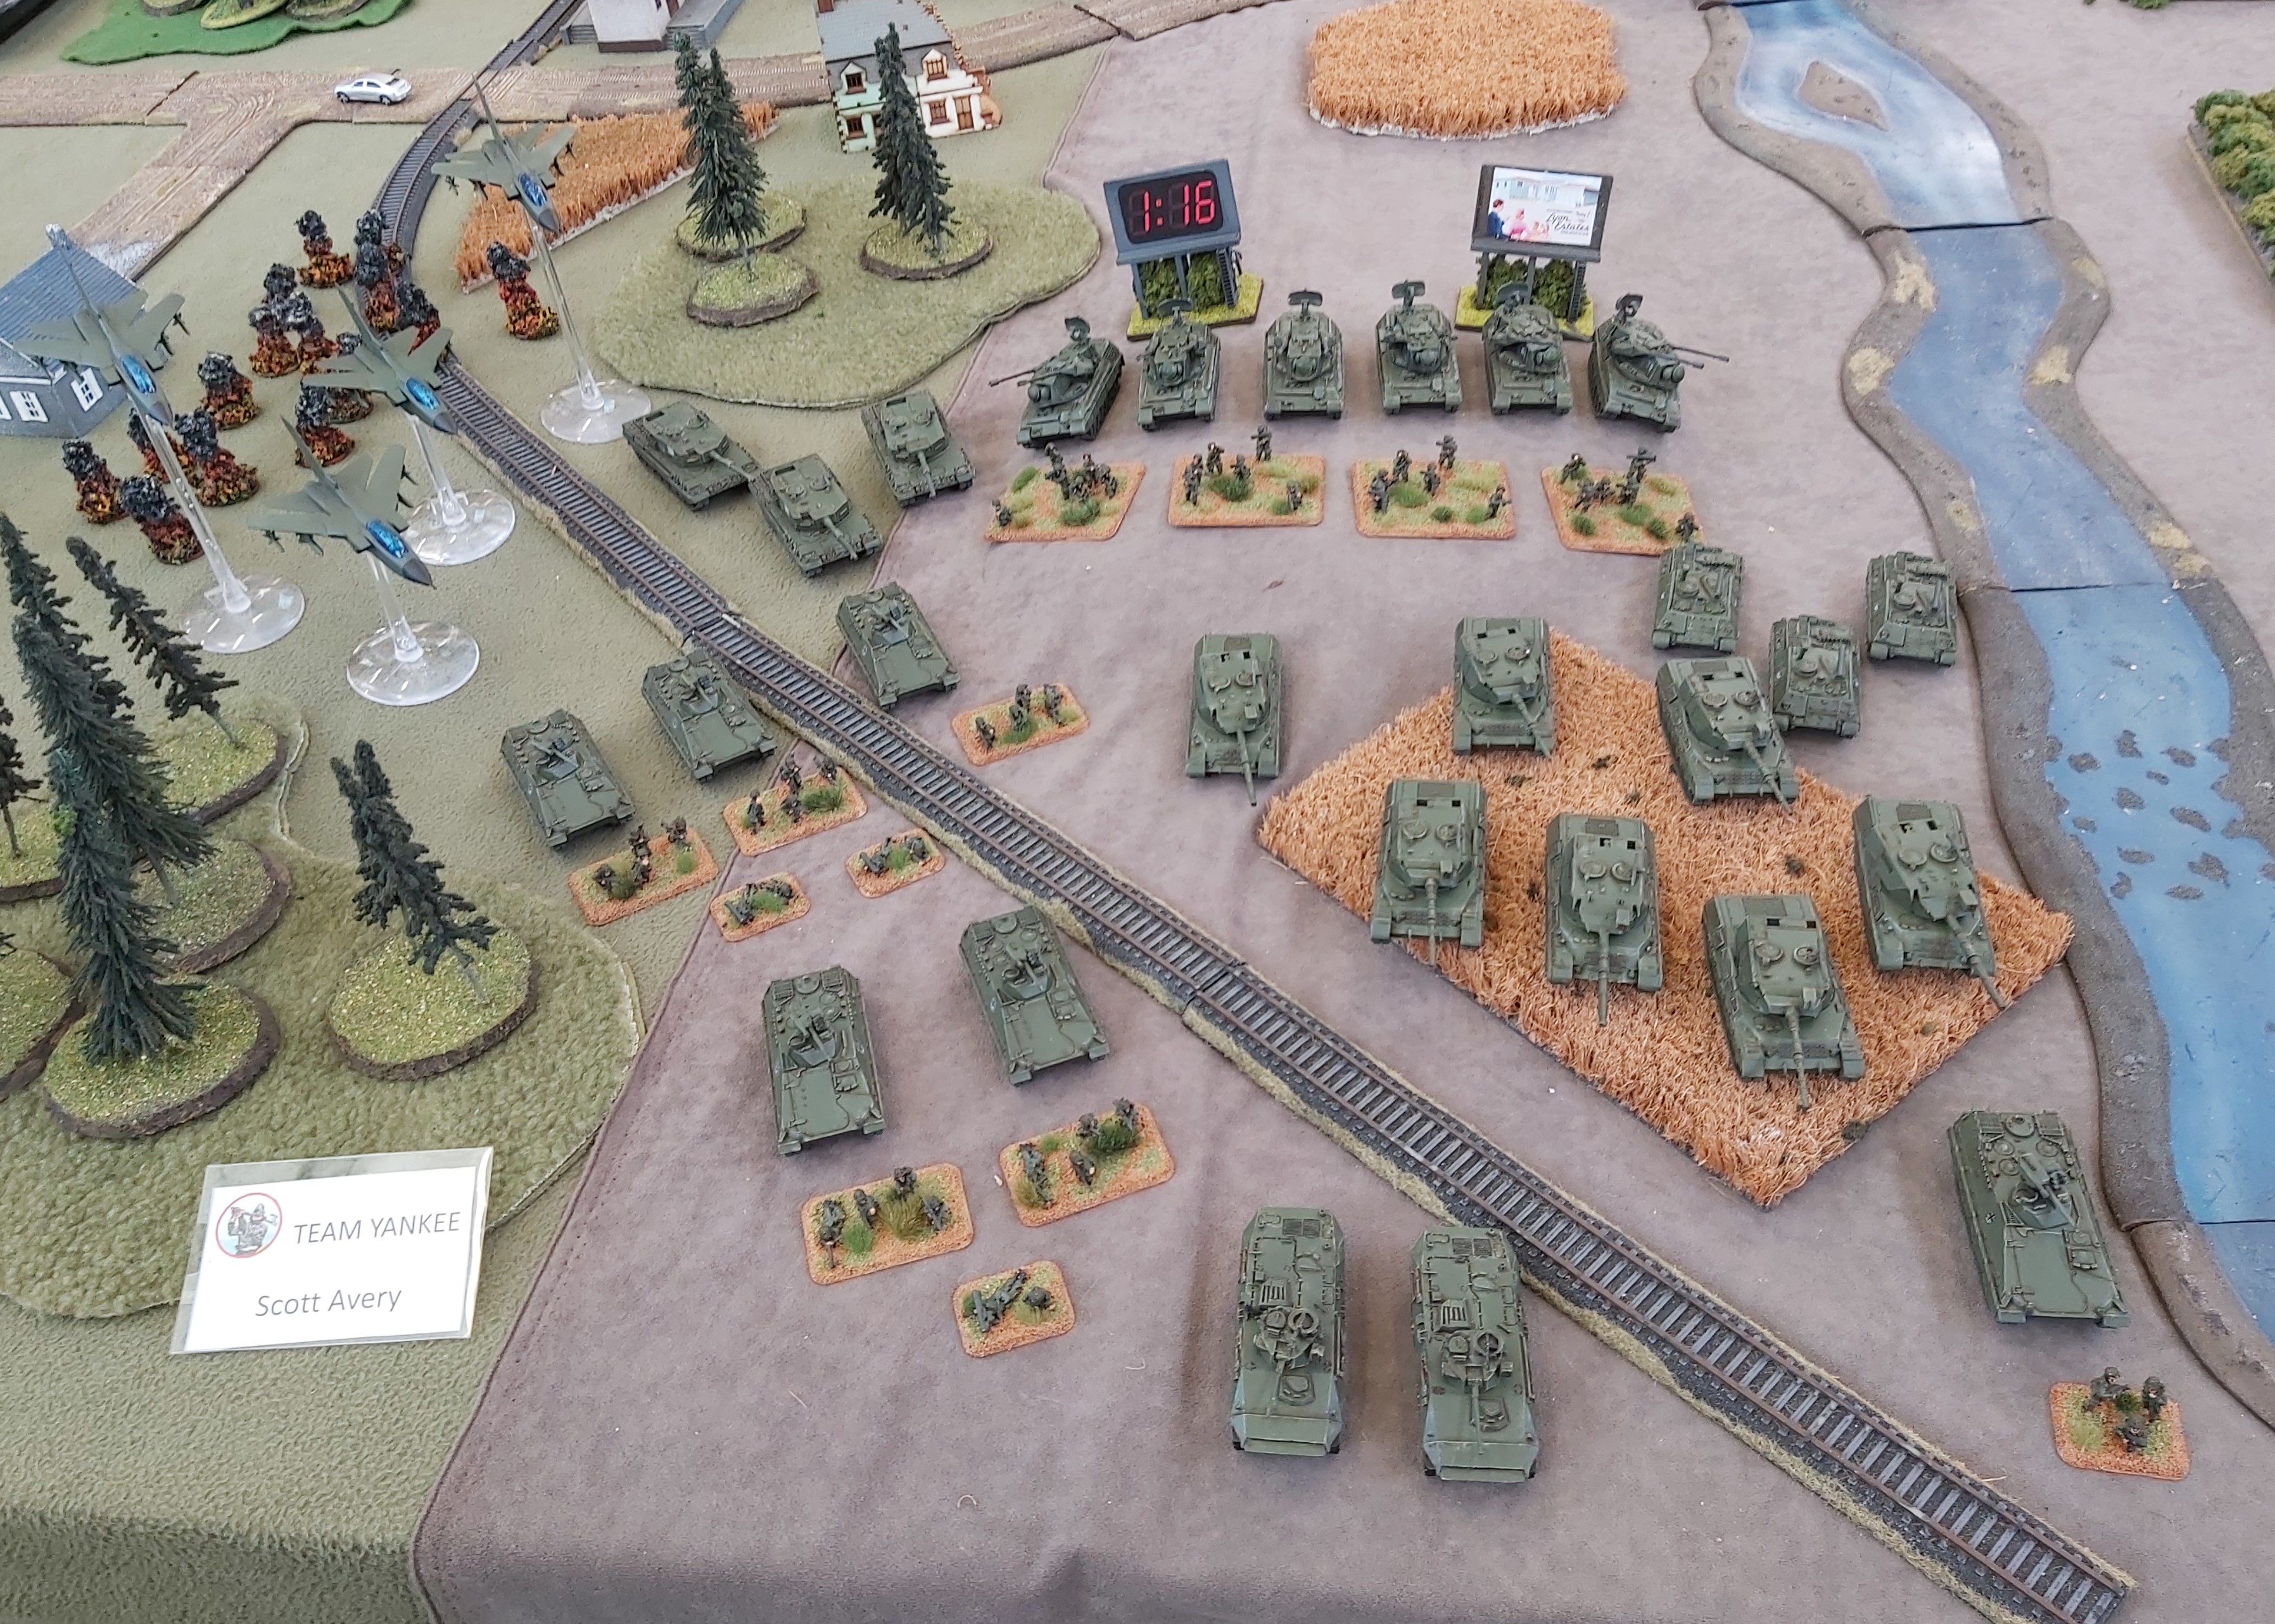
Its been a while since the last post, but MANY battles have been fought!

The army lists have been refined and added to, and we have settled on 220 points as the points value of armies.

The scenarios have now been developed(big thanks to John Hutton and Matt Fulmer) for these as well as the refinements on the army lists.

My latest game was using a Russian army v Keith and his French list. The Scenario being used was ‘Feeding the Grinder’ with set up and scenario rules below.
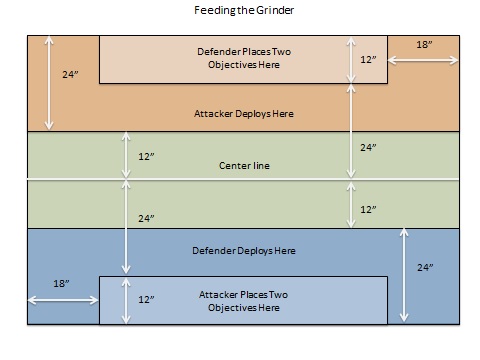
Feeding the Grinder


Description

This is a meeting engagement scenario where both sides have encountered each other and continue to commit more troops as they come available.

Reserves

Starting with the attacker, both players nominate half (rounded up) of their brigades to be placed into reserve. Starting on their 2nd turn, players will bring on one brigade per turn through the assigned area of their table edge. Units arriving from reserve make one normal move, measuring from the edge of the table. Charges, multiple and special moves, are not allowed. Troops arriving from reserve may shoot as normal after making a single standard move. All units must enter the table from a length of table edge equal to the diameter of their commander’s command diameter (i.e., we imagine that they were under command as they march to the table. They may move freely after that point as desired. Units may be in any legal formation with the exception of artillery, which must enter limbered.

Objective placement

The defender chooses a long table edge for their deployment zone. Starting with the attacker, each player places one objective no more than 12” from the rear edge of their opponent’s side of the table. Repeat with a second pair of objectives. A player’s objectives must be within 60” of each other. Objectives may not be placed within 18” of the side edges of the table.

Deployment

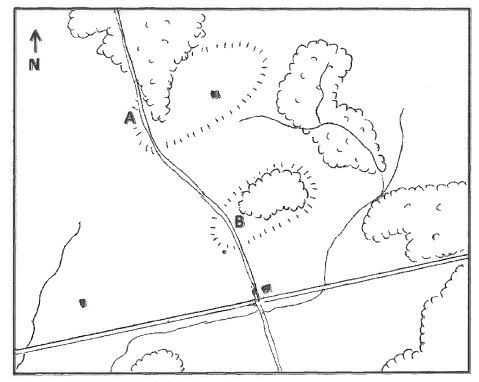
The attacker and defender will both deploy within 24” of their table edge, as shown on the diagram. Starting with the attacker, players will alternate placing down full brigades. All units must be within command range of their brigade commander and may be in any legal formation. After both players have finished placing all brigades, starting with the attacker, both players place their CiC.

First turn

The attacker has the first turn.

Turn limit

There is no turn limit to this scenario.

Victory conditions

Capturing an objective or breaking the opposing army will end the battle. If neither side achieves a victory in the time allocated then the match is a draw. Consult the scoring section to calculate tournament scoring.

I ended up being the attacker and Keith the defender.

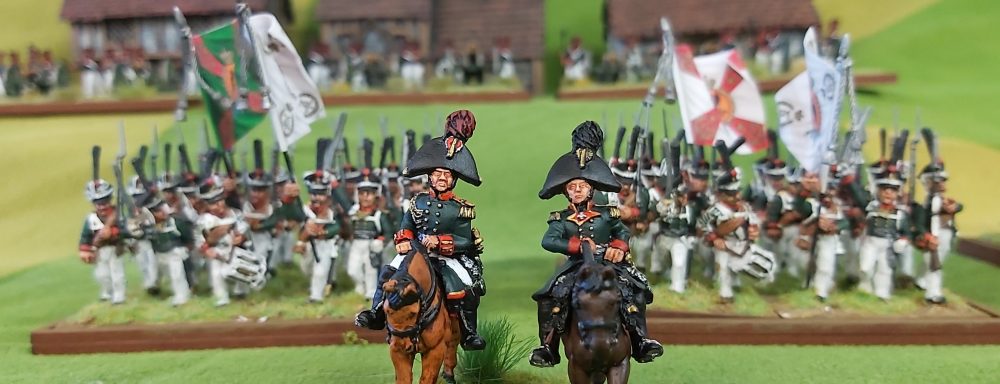
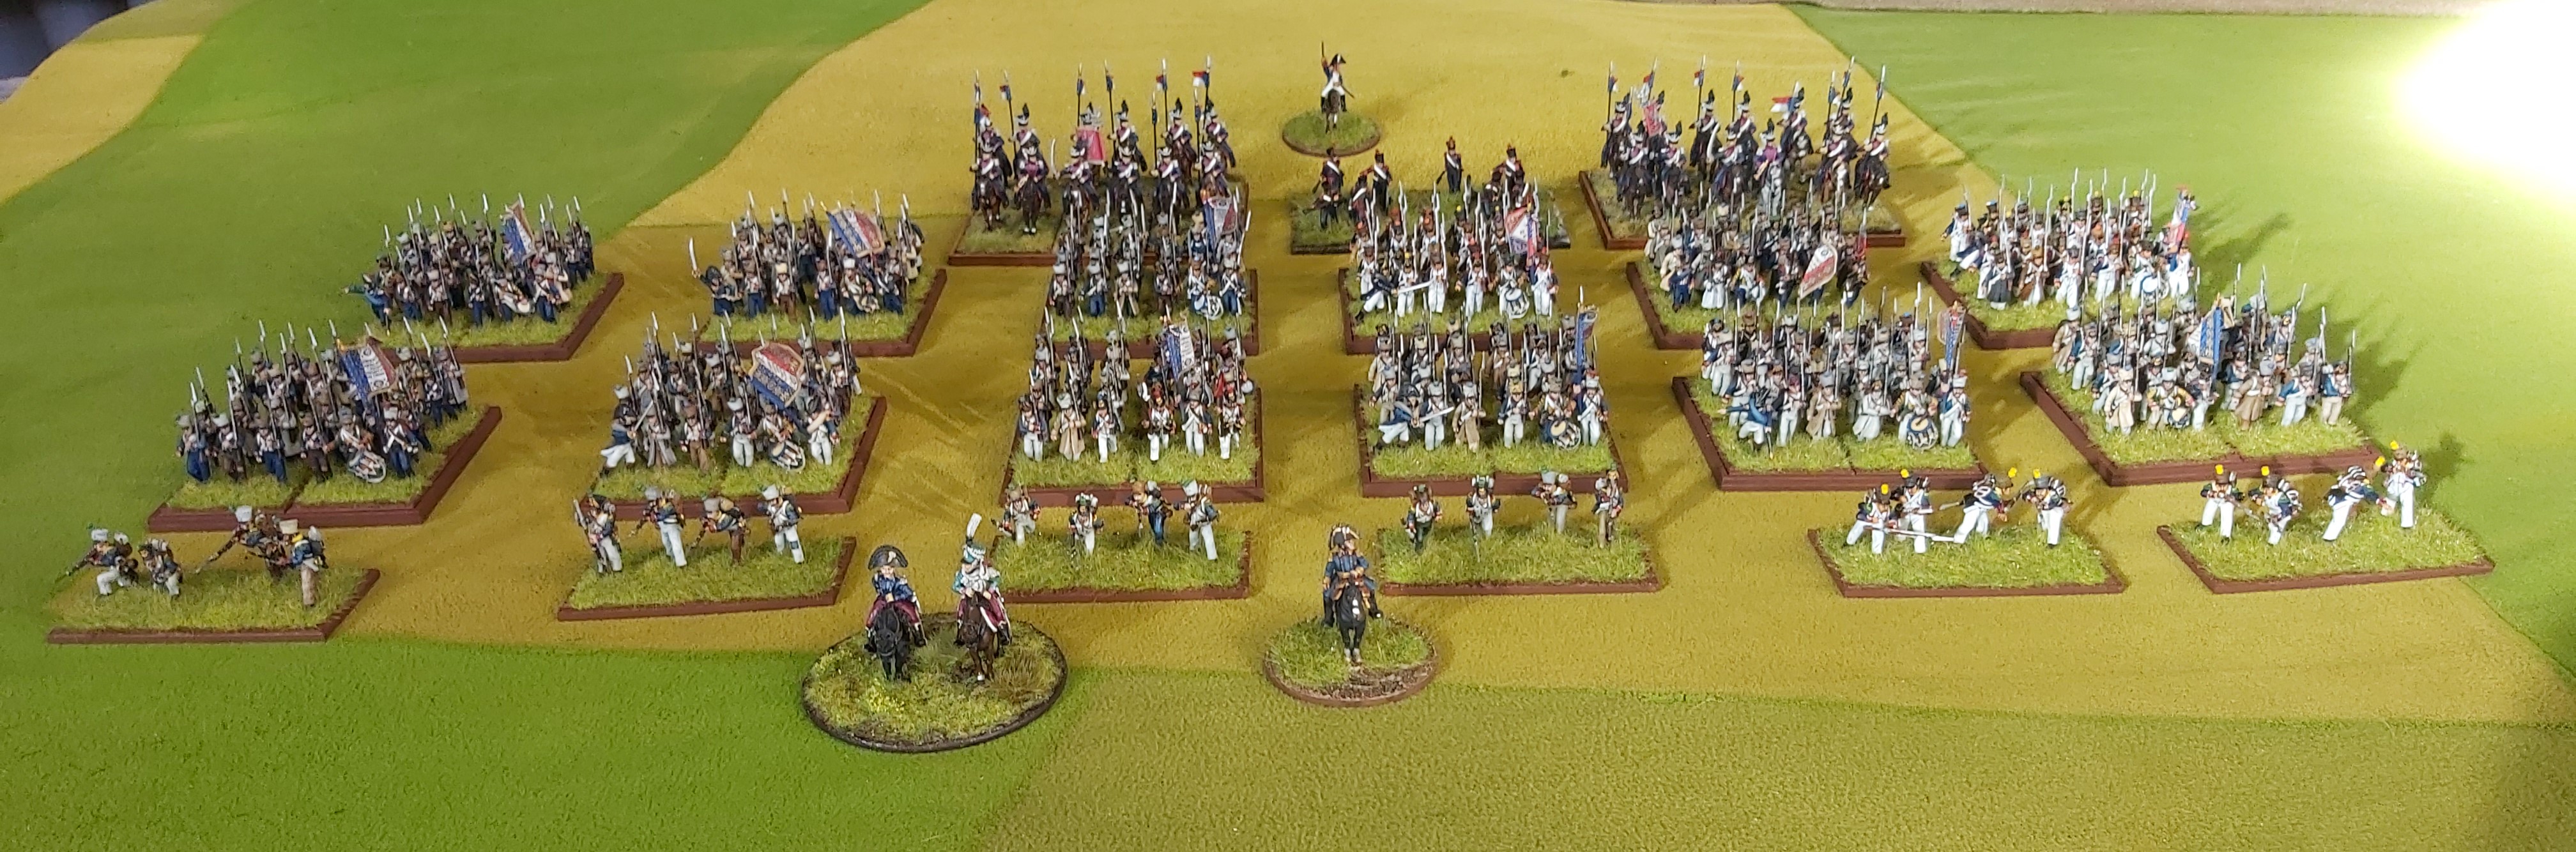
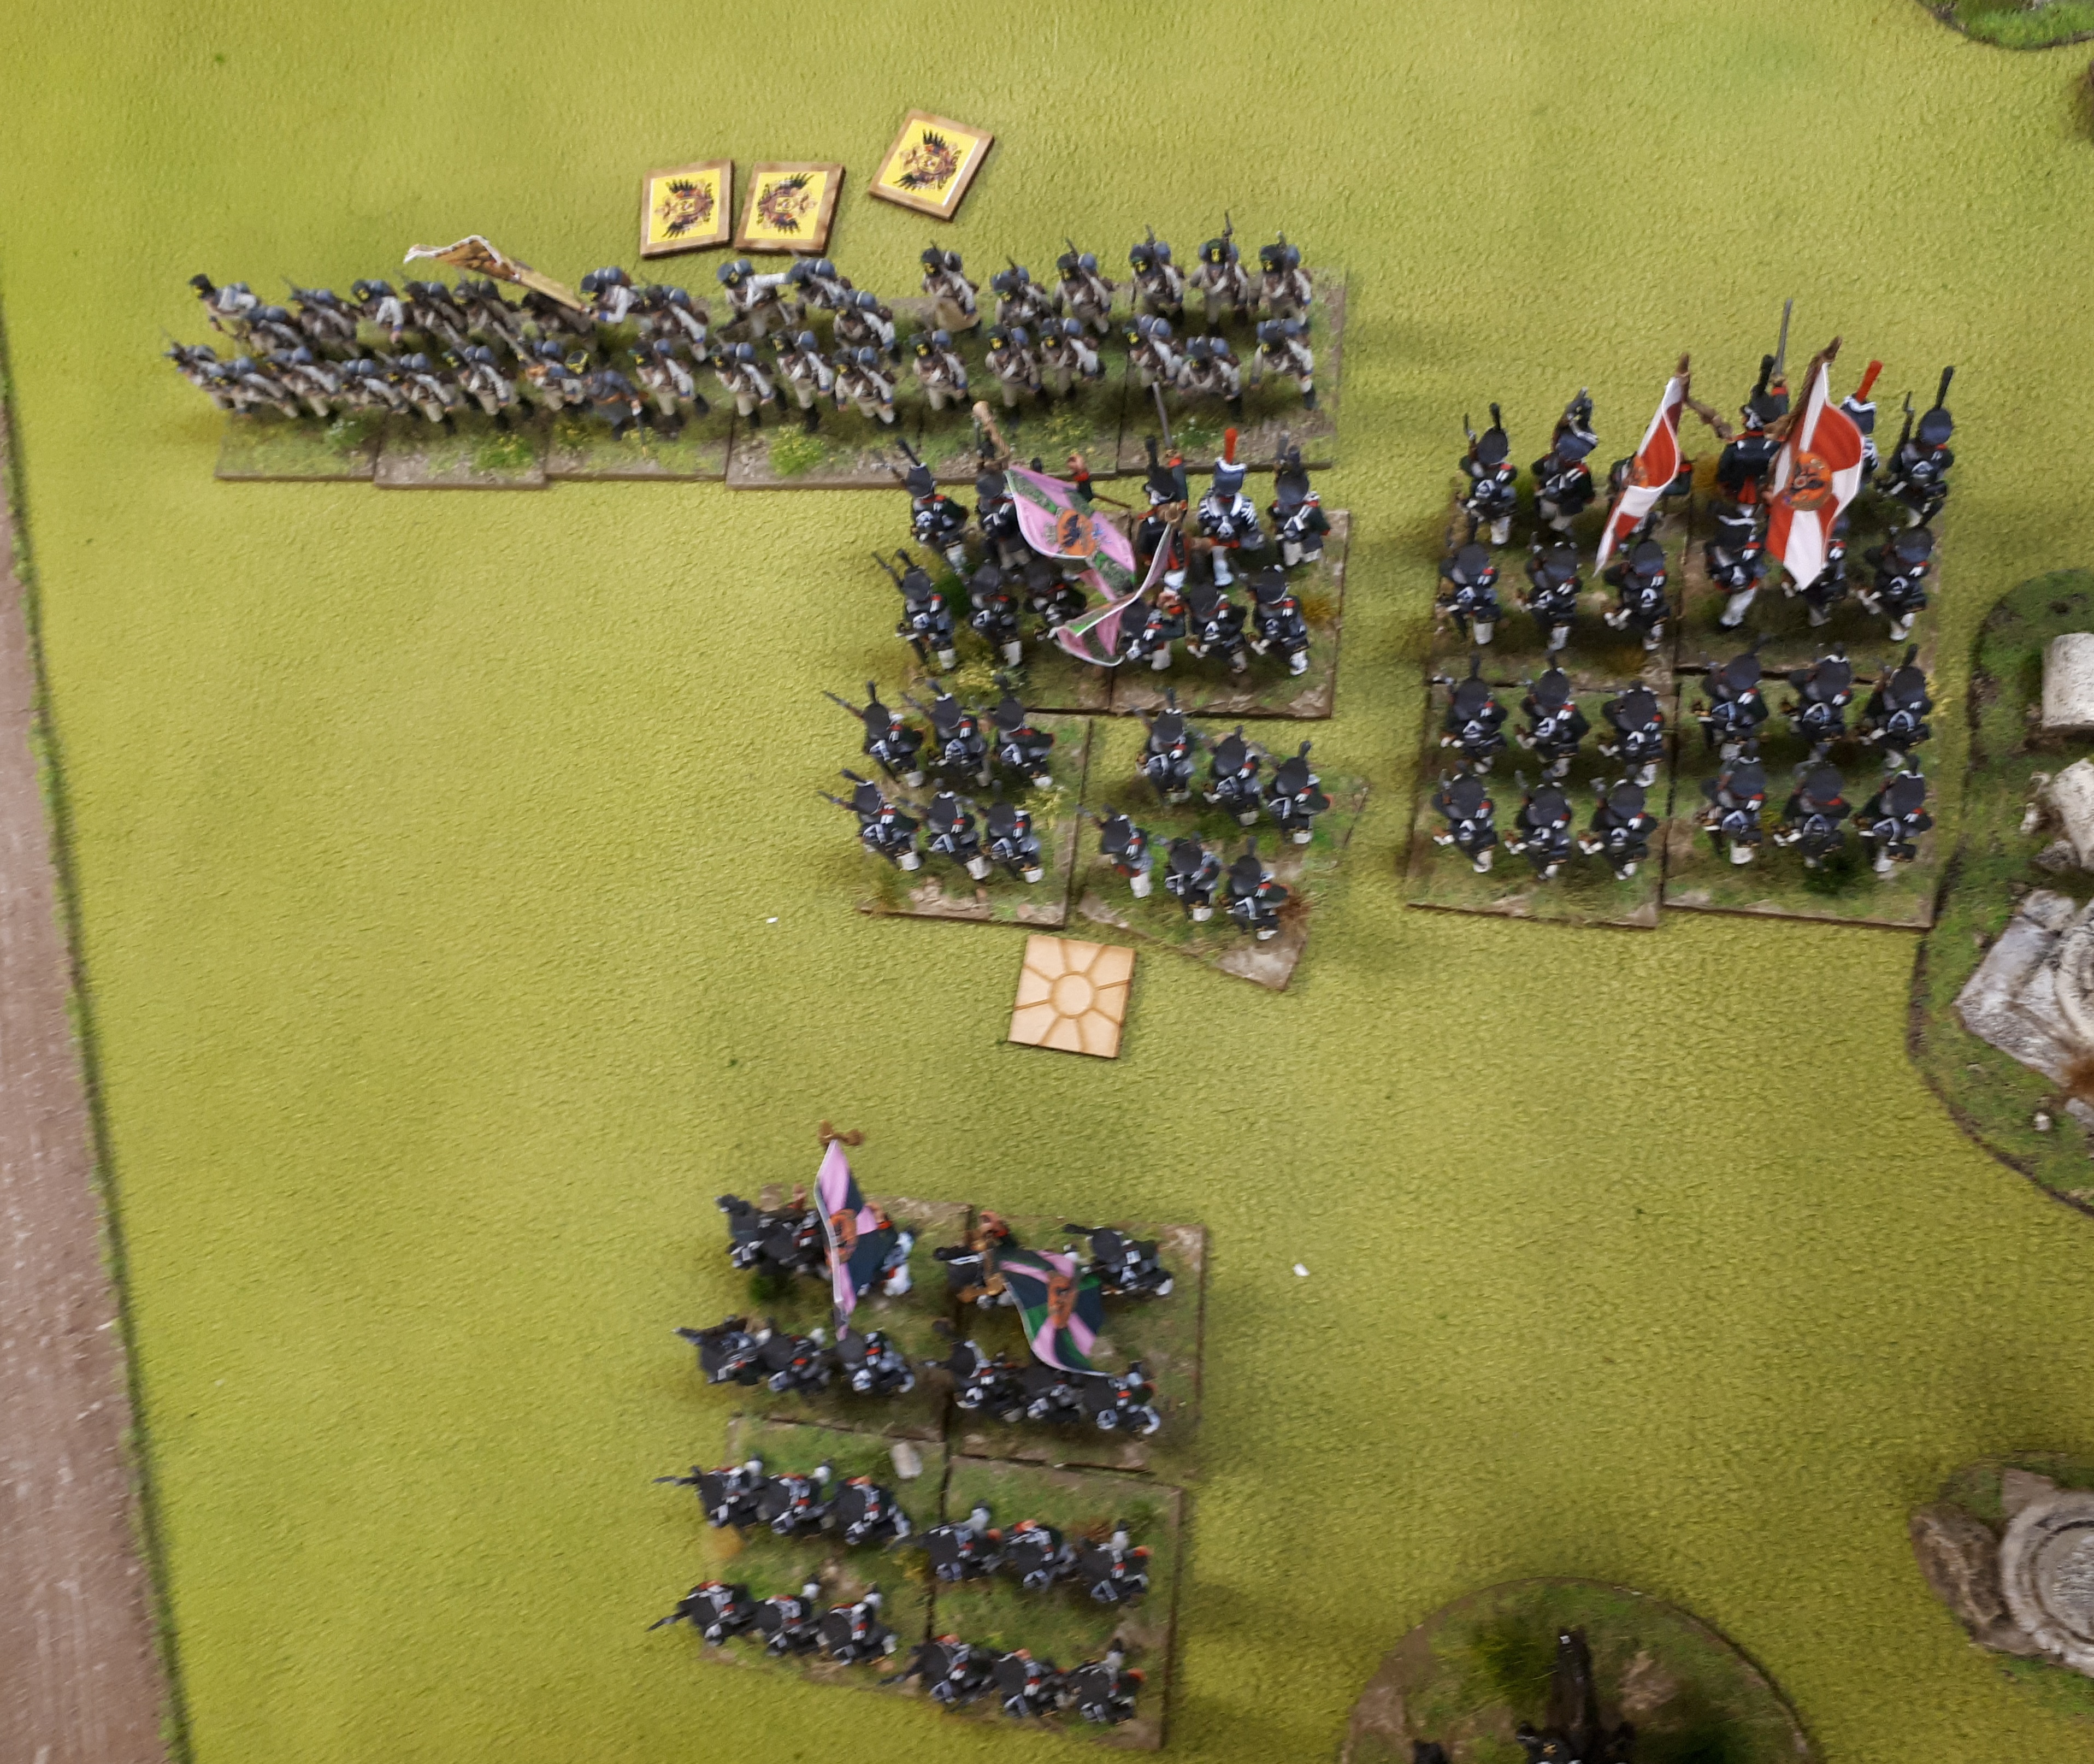
My Russian force was:

Brigade 1 – 4 bttns combined Grenadiers plus battery

Briagde 2 – 4 bttns combined Grenadiers plus battery

Brigade 3 – 4 bttns small Jager

Briagde 4 – 2 regts Hussars plus a Cossack regt(CC8)

Brigade 5 – 2 regts Dragoons(CC8)
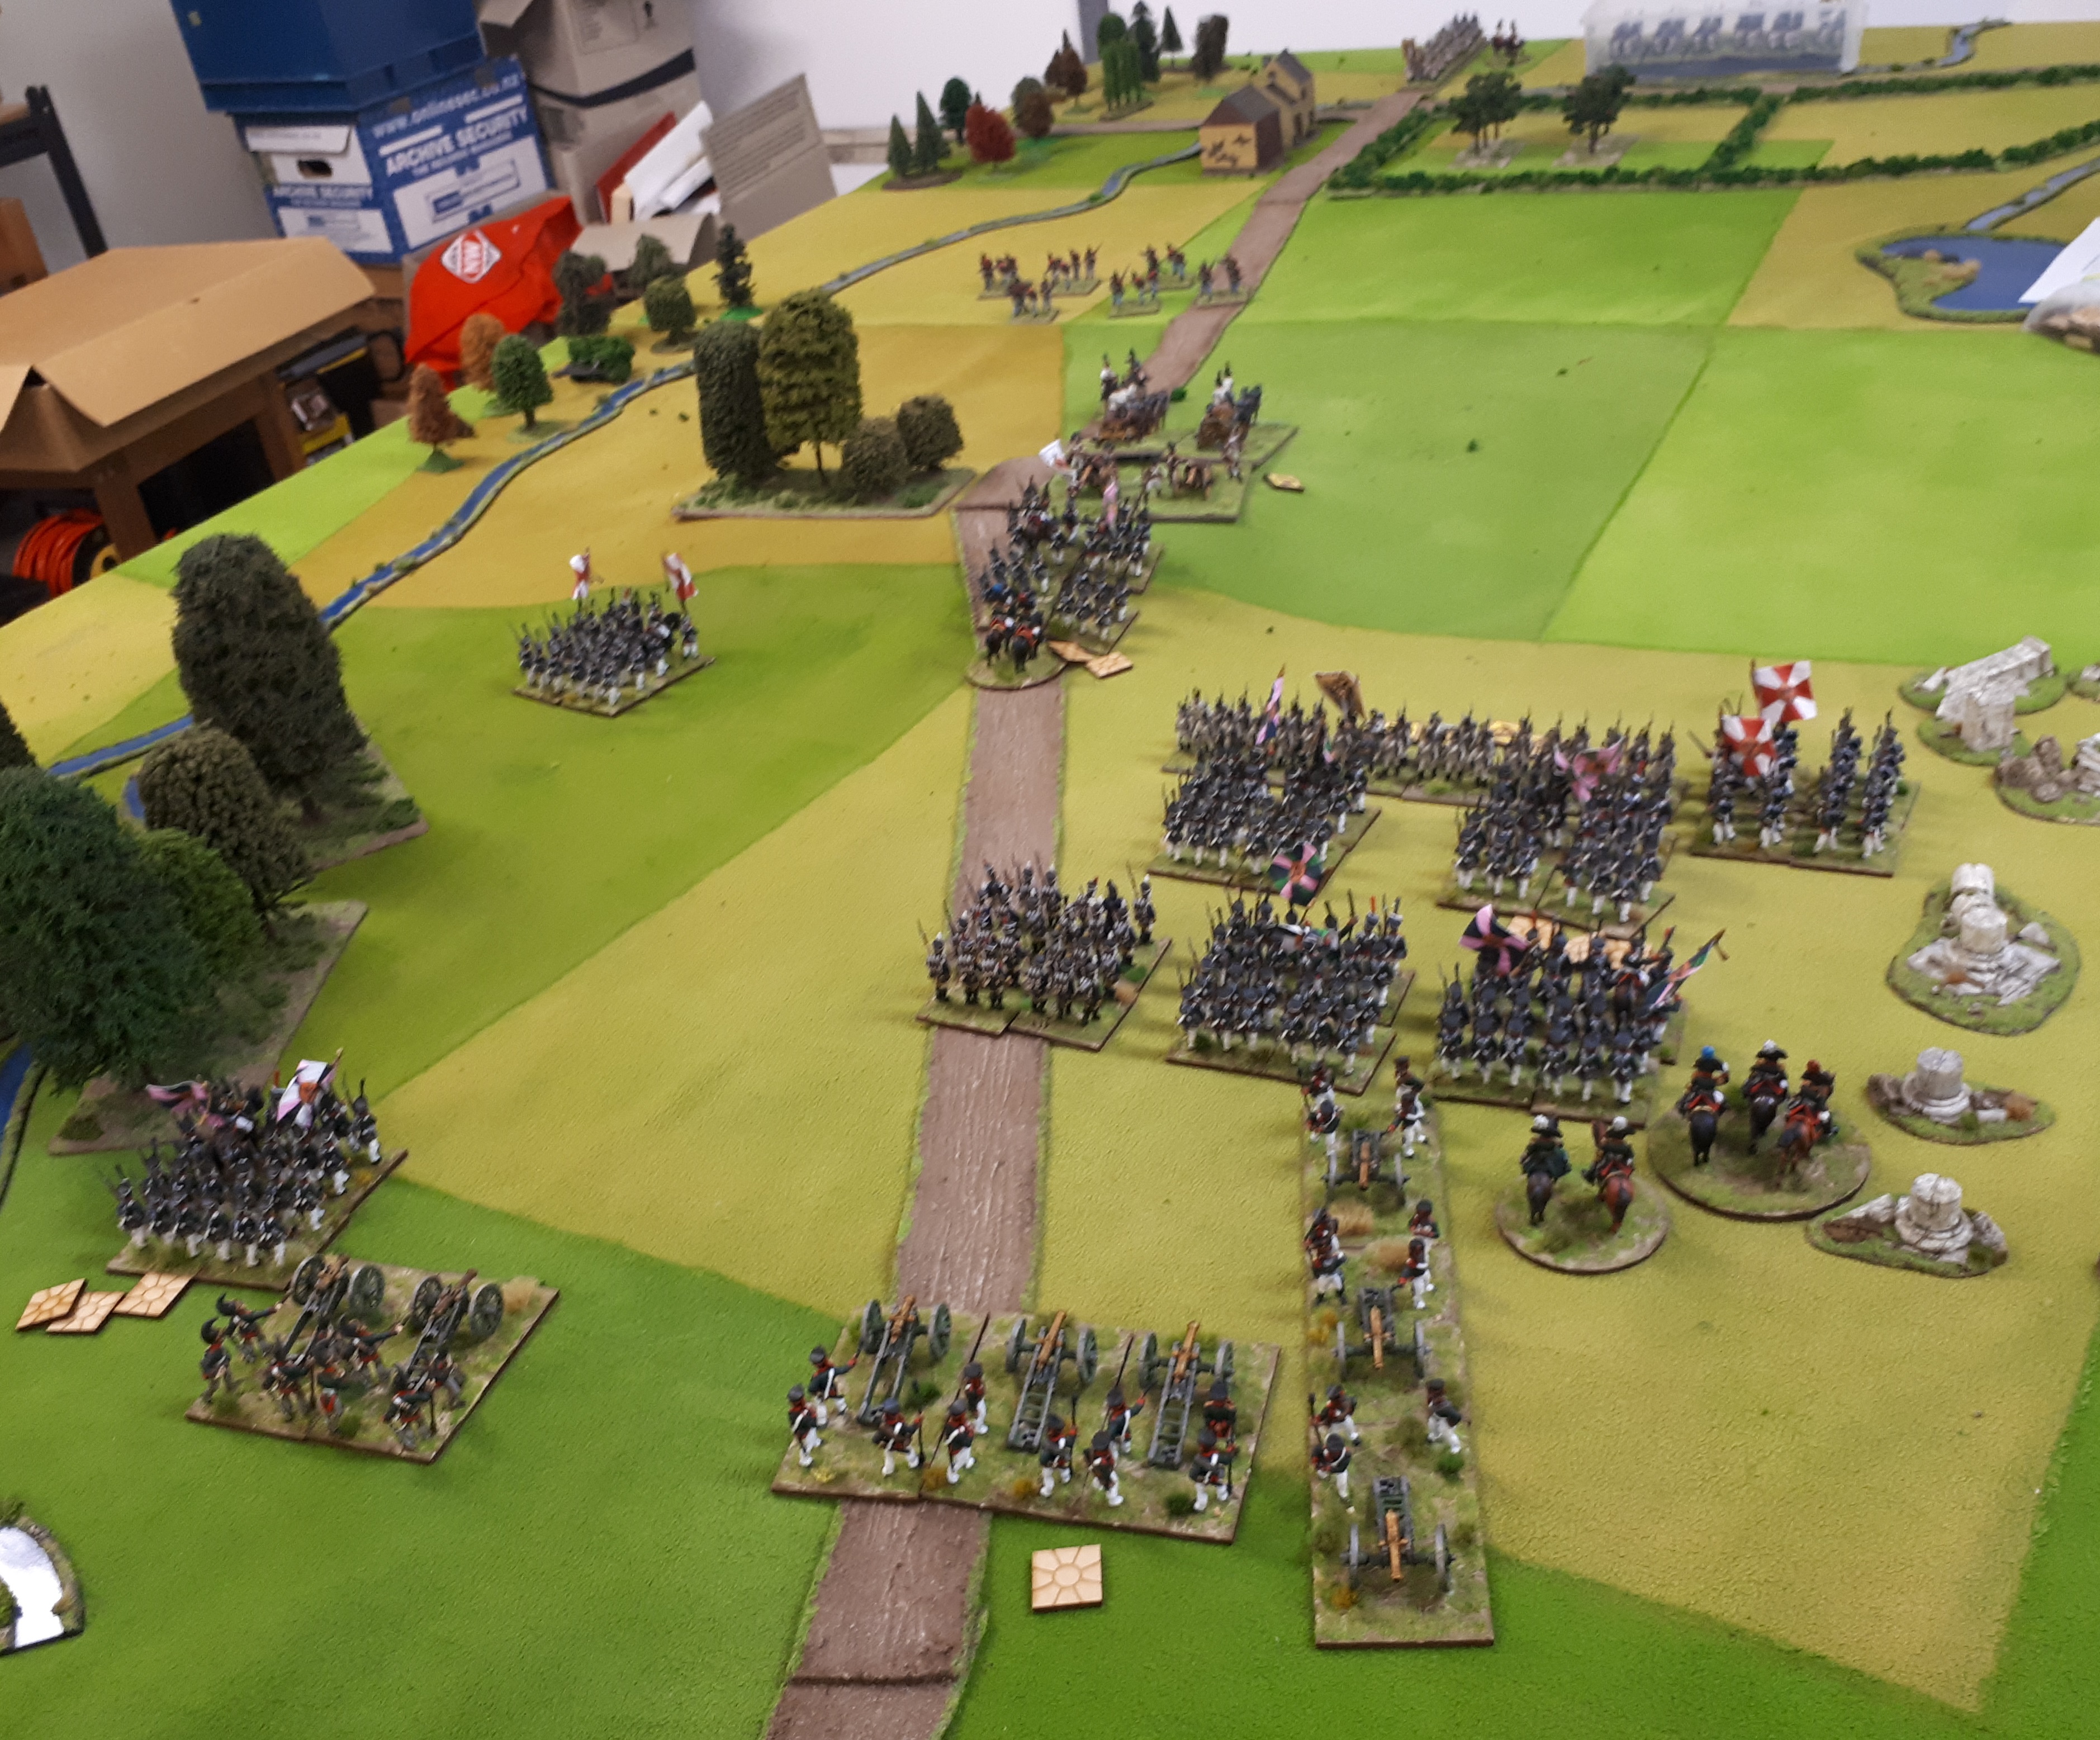
Keiths French were:

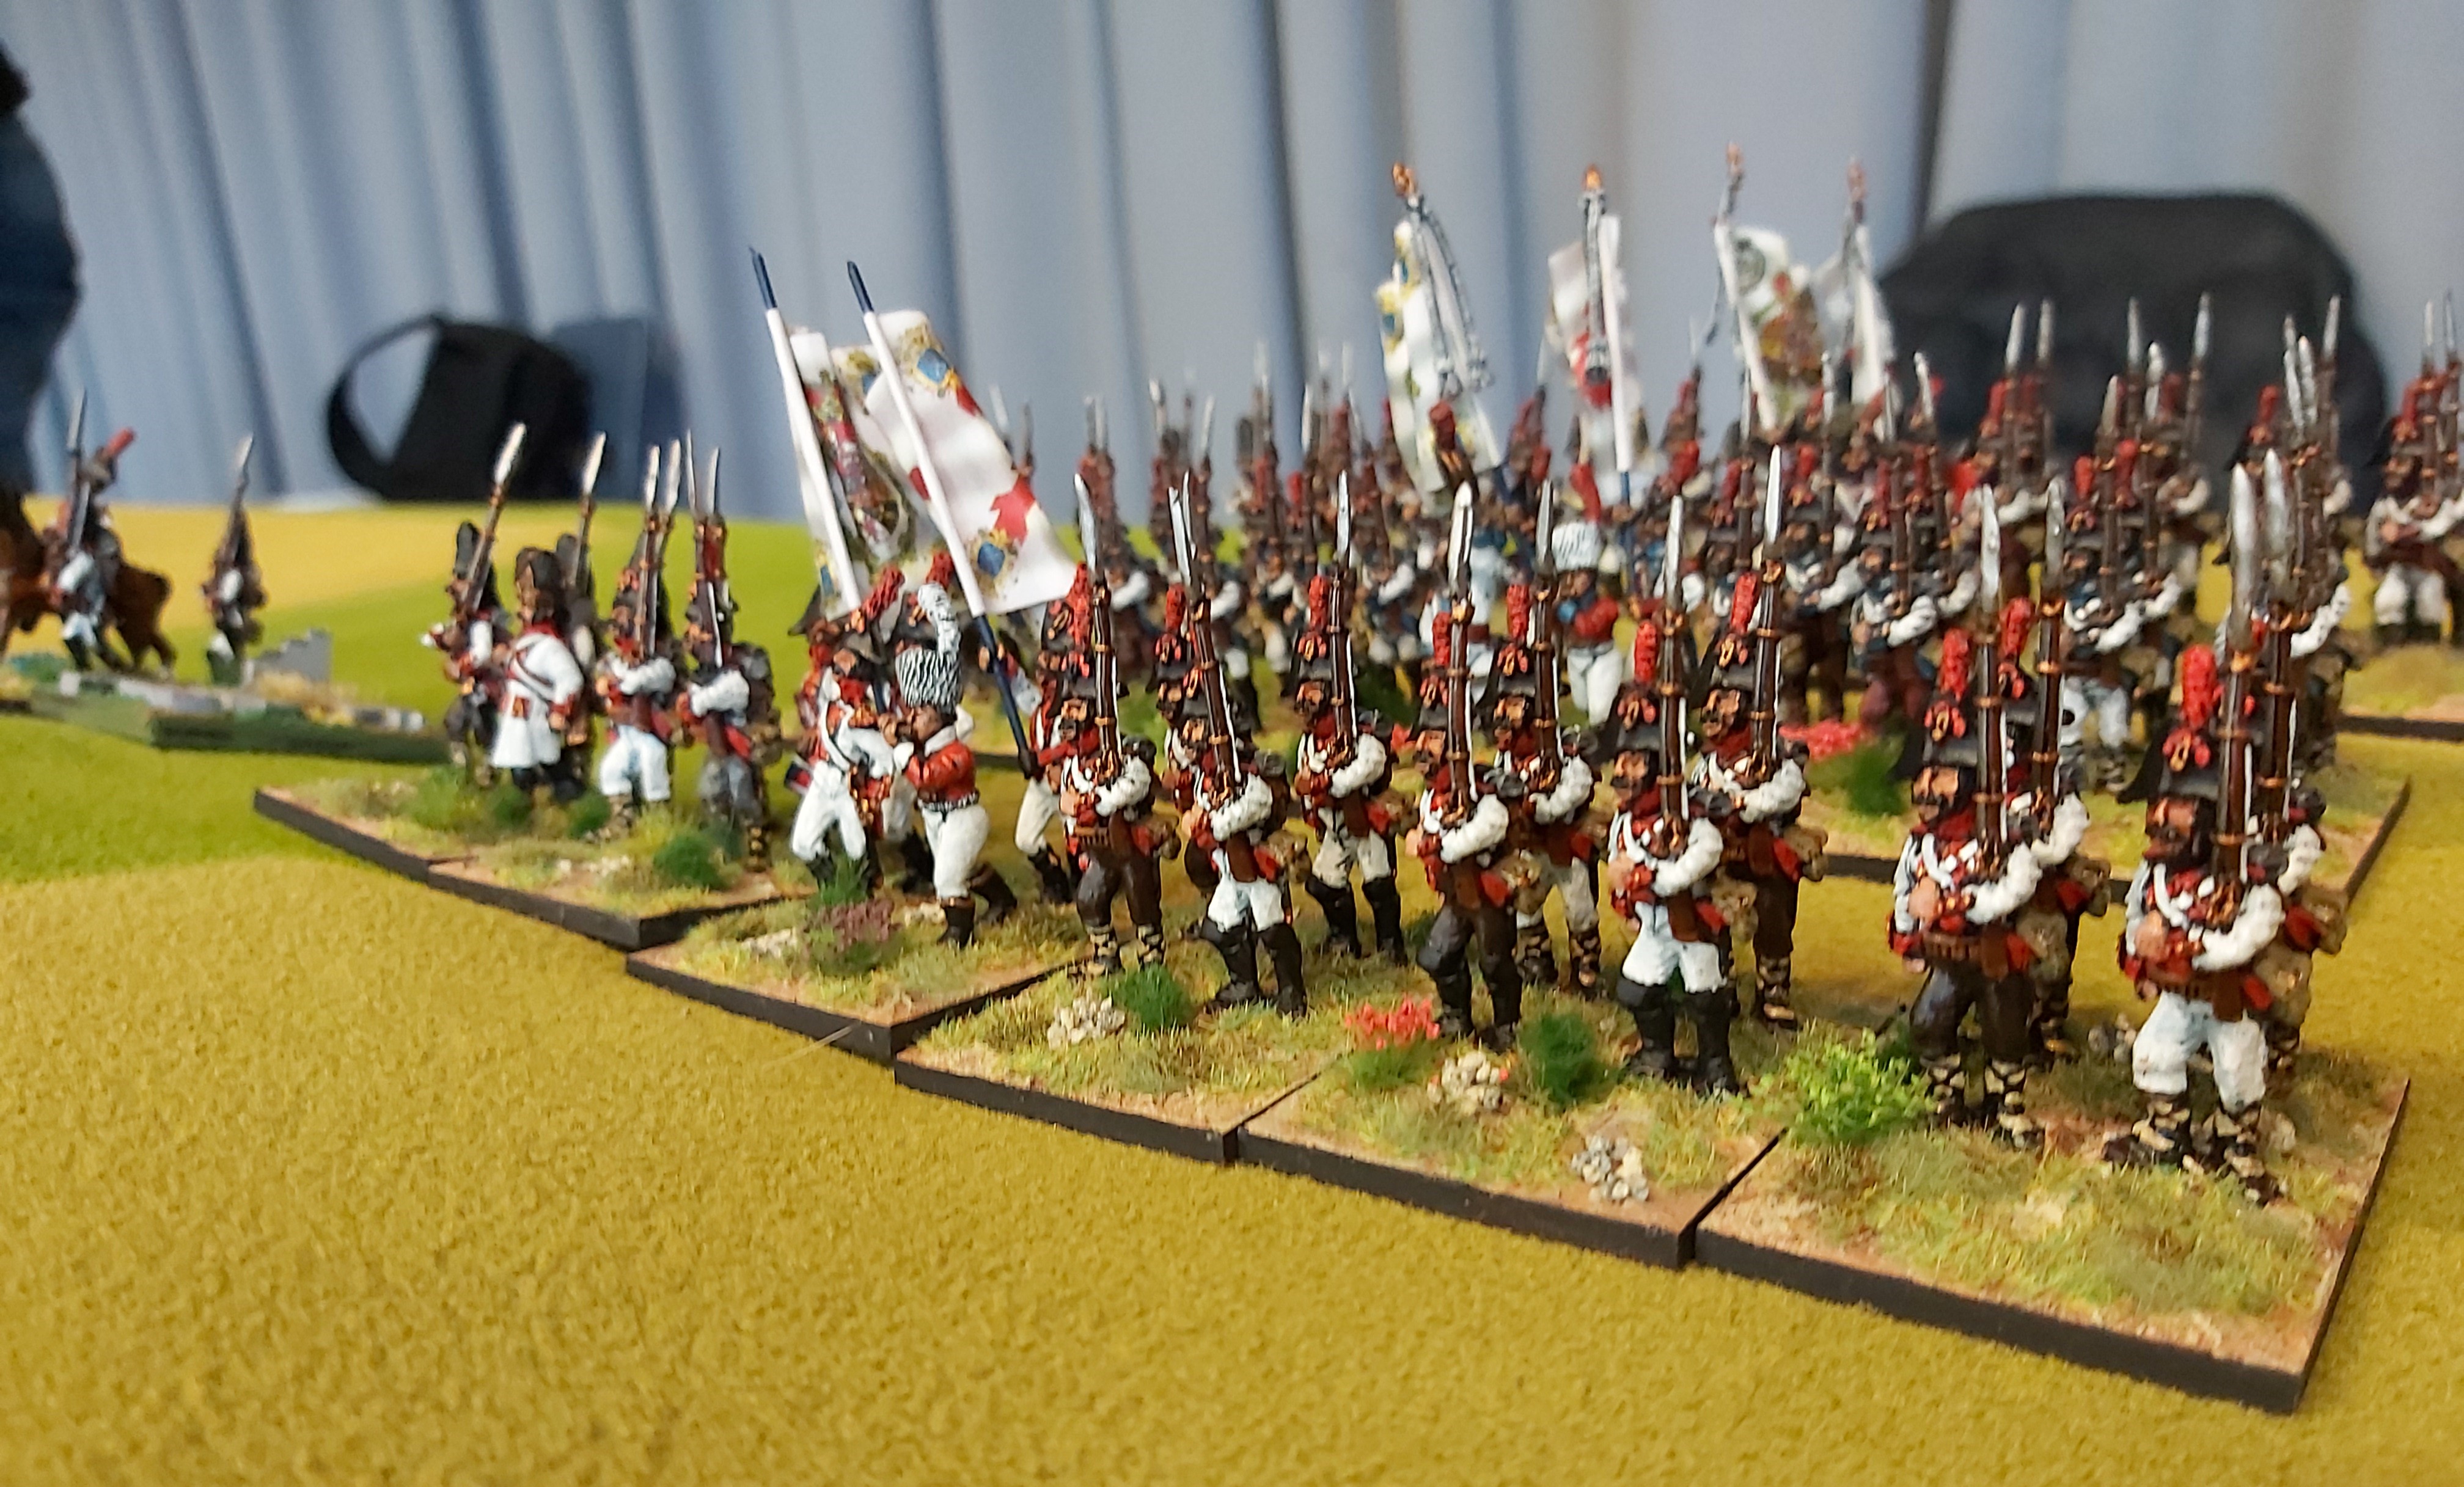
Brigade 1 – 5 bttns French Ligne plus battery

Brigade 2 – 5 bttns Ligne and 1 small Ligne plus battery

Brigade 3 – 2 regts Hussars and regt Lancers(CC8)

Brigade 4 – 3 regts Dragoons(CC8)

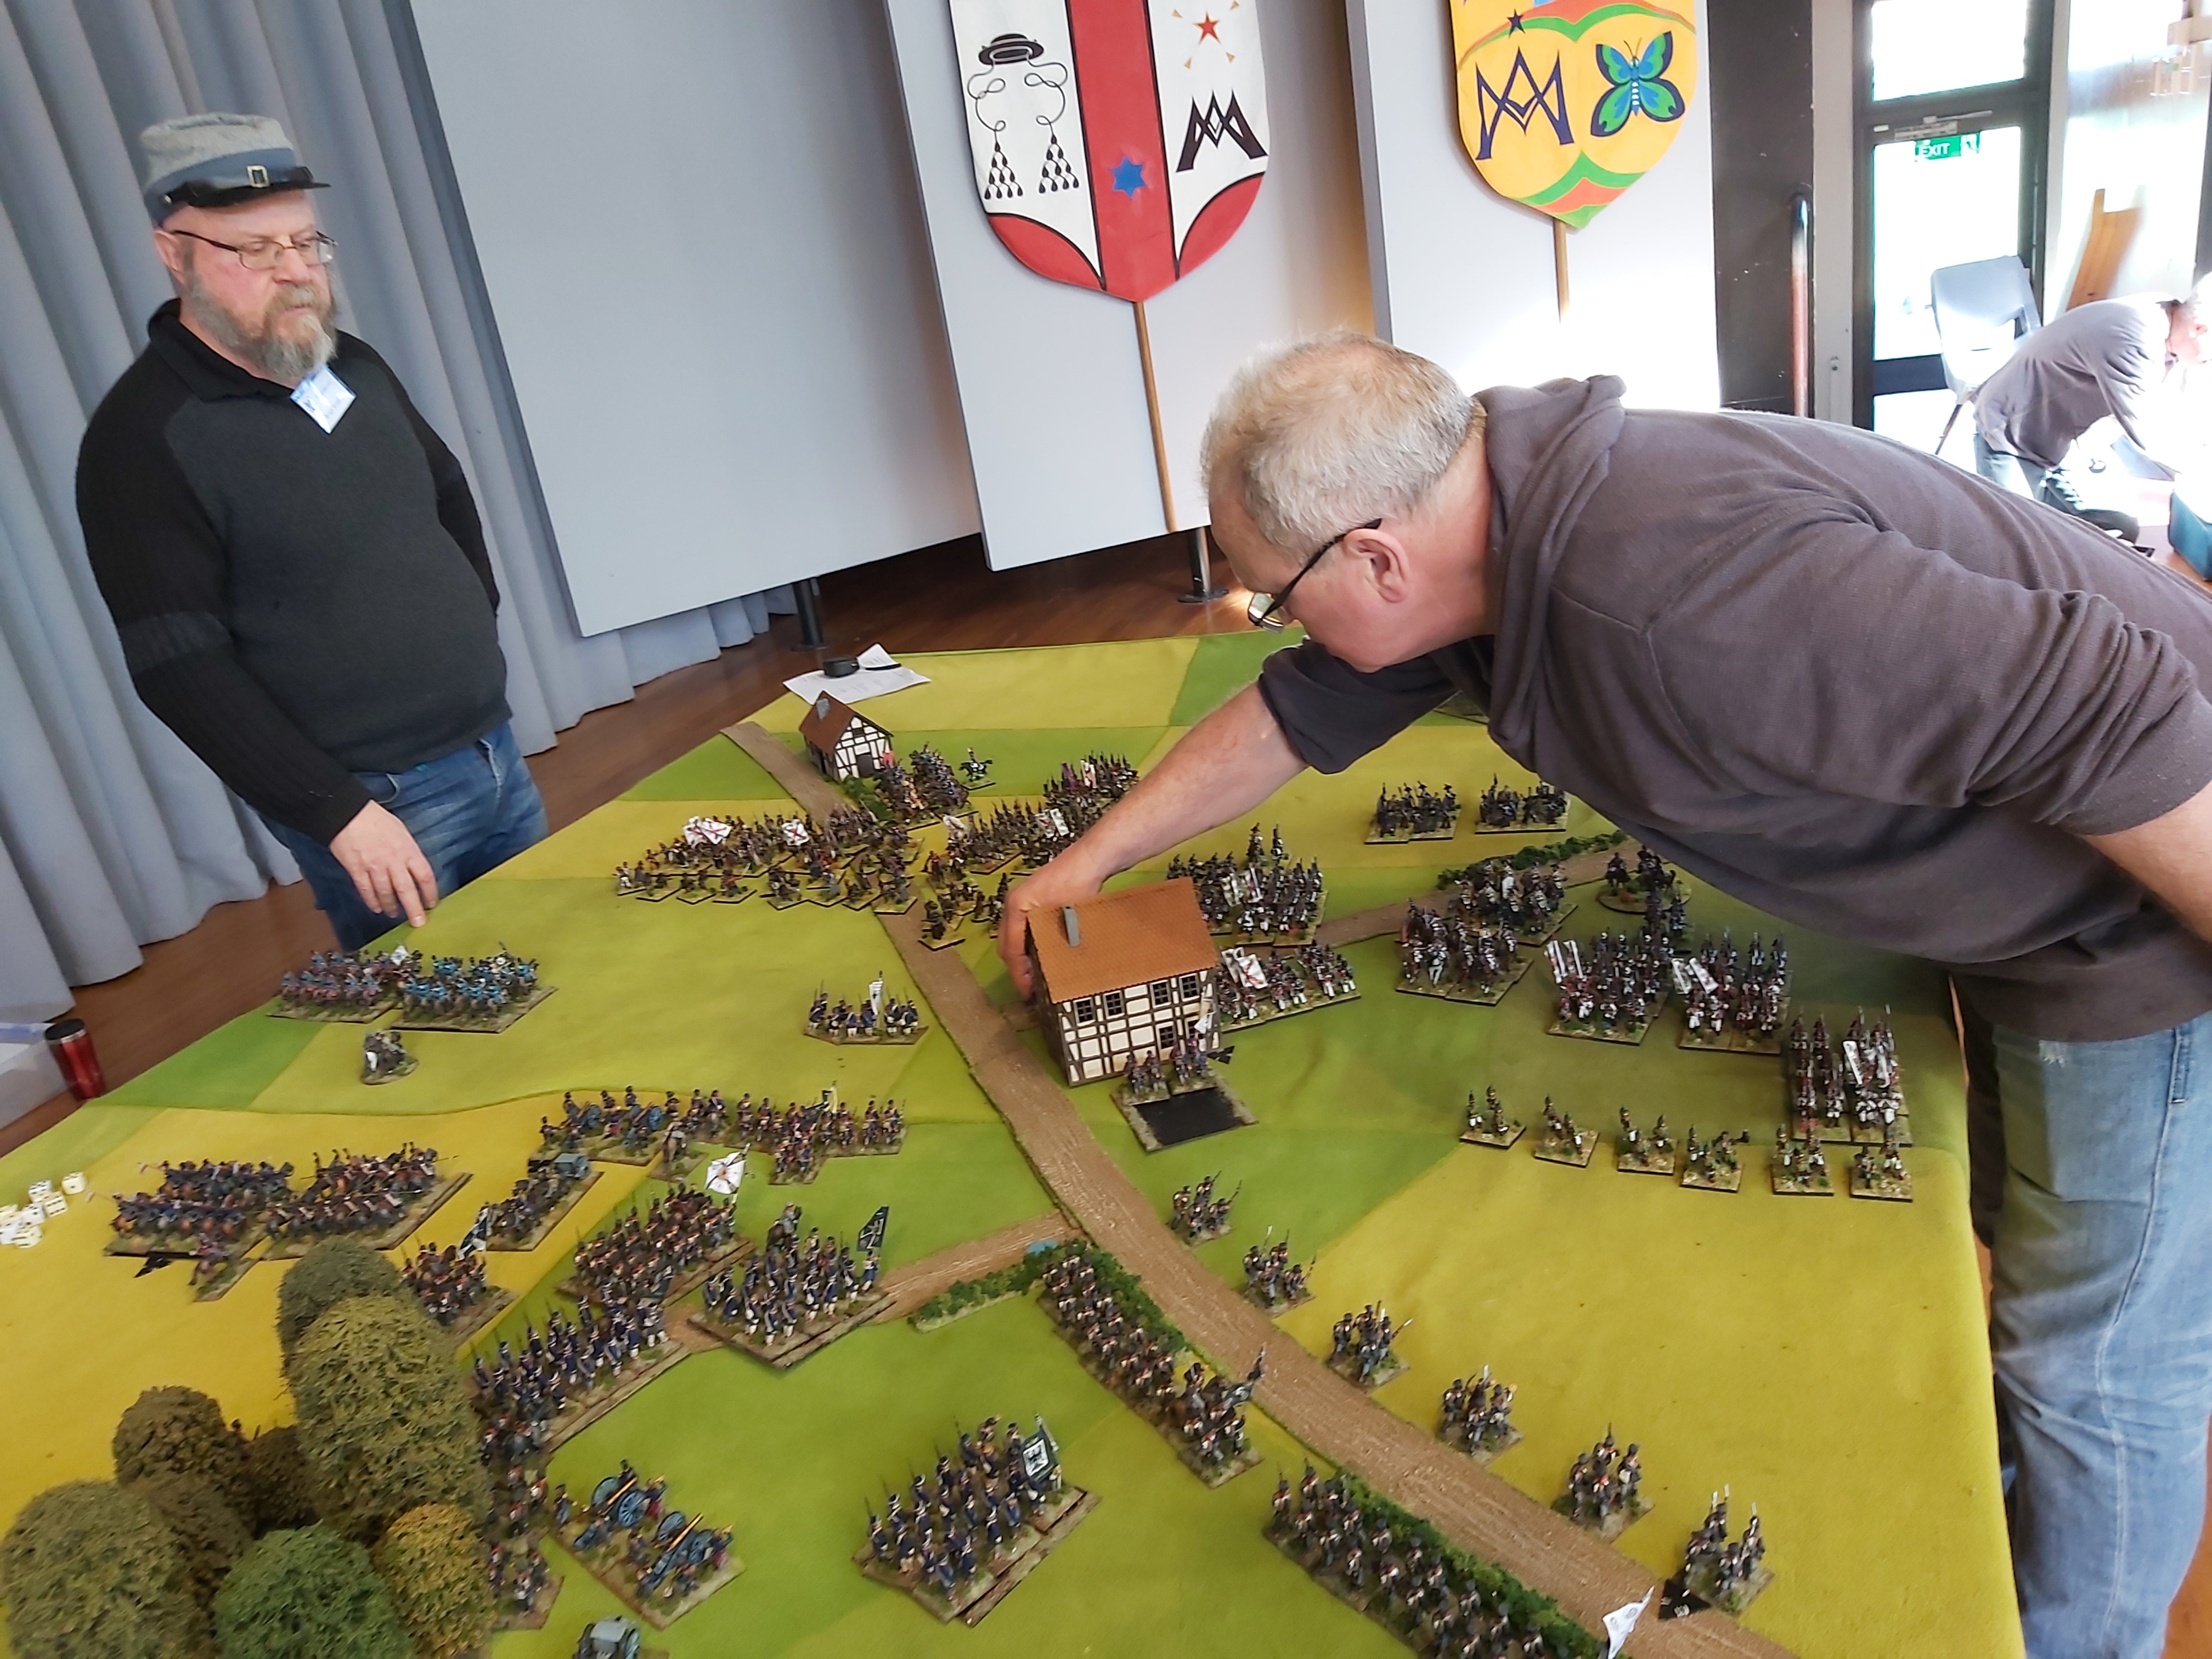
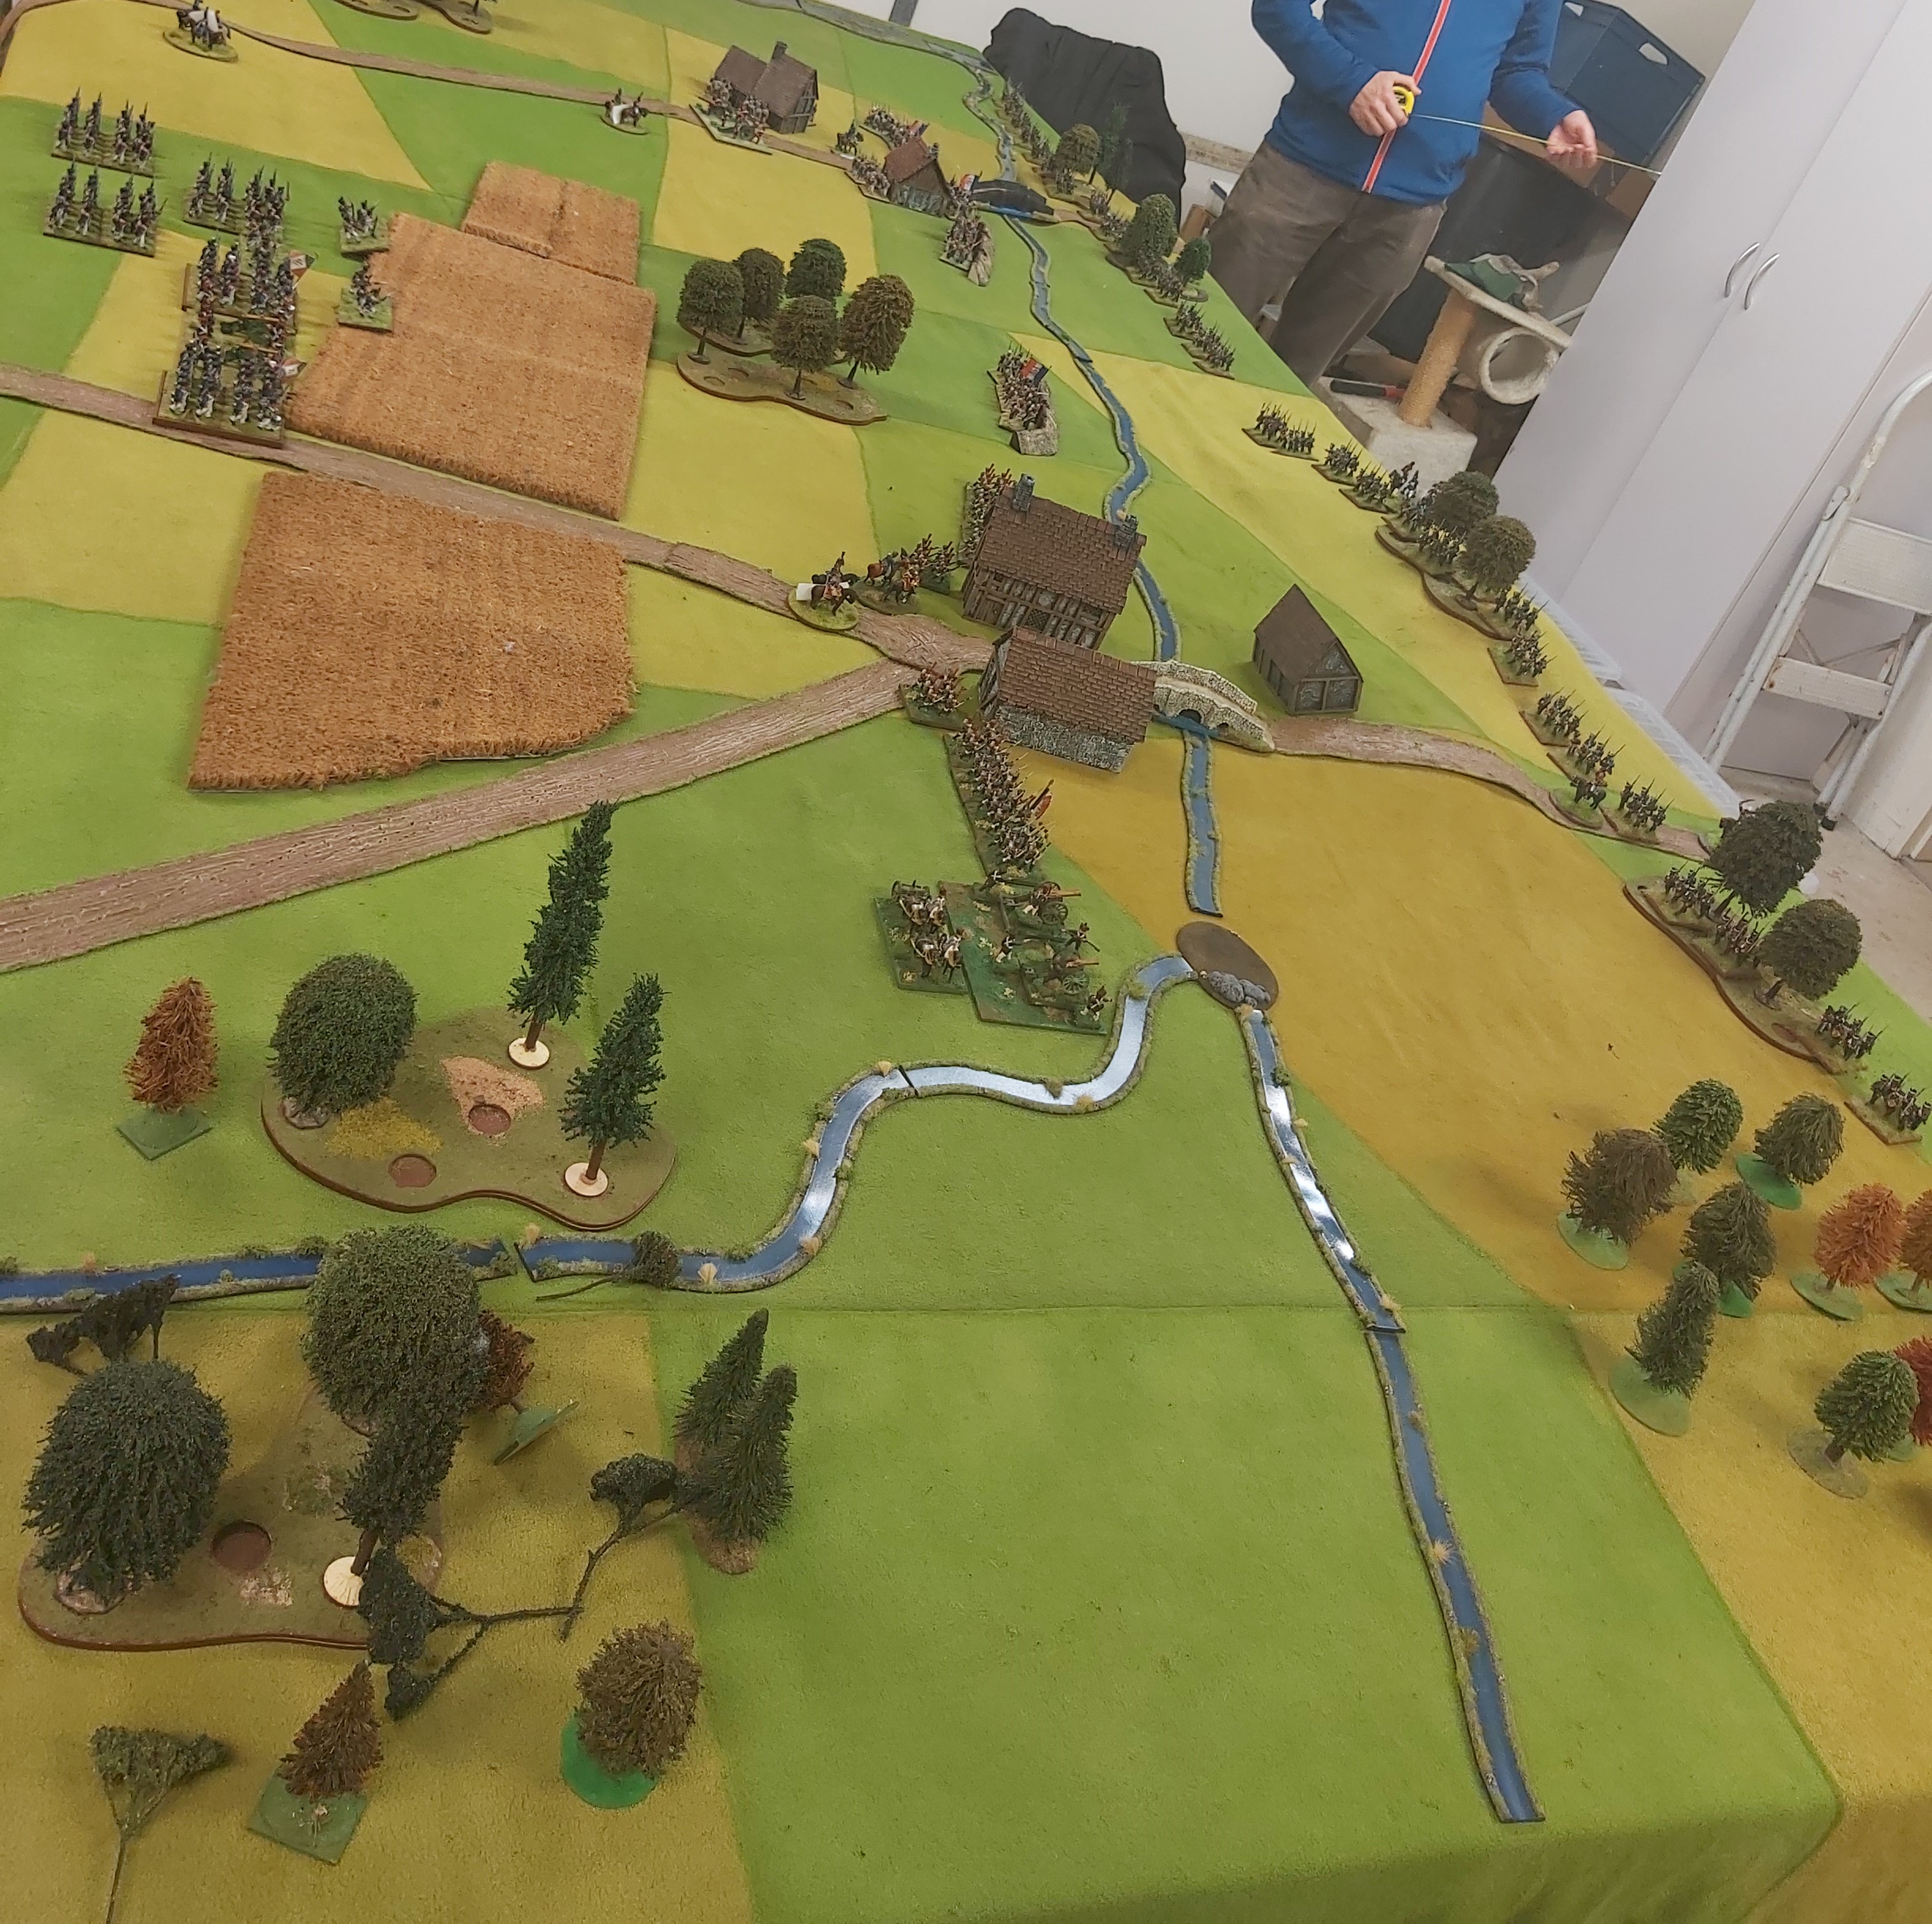
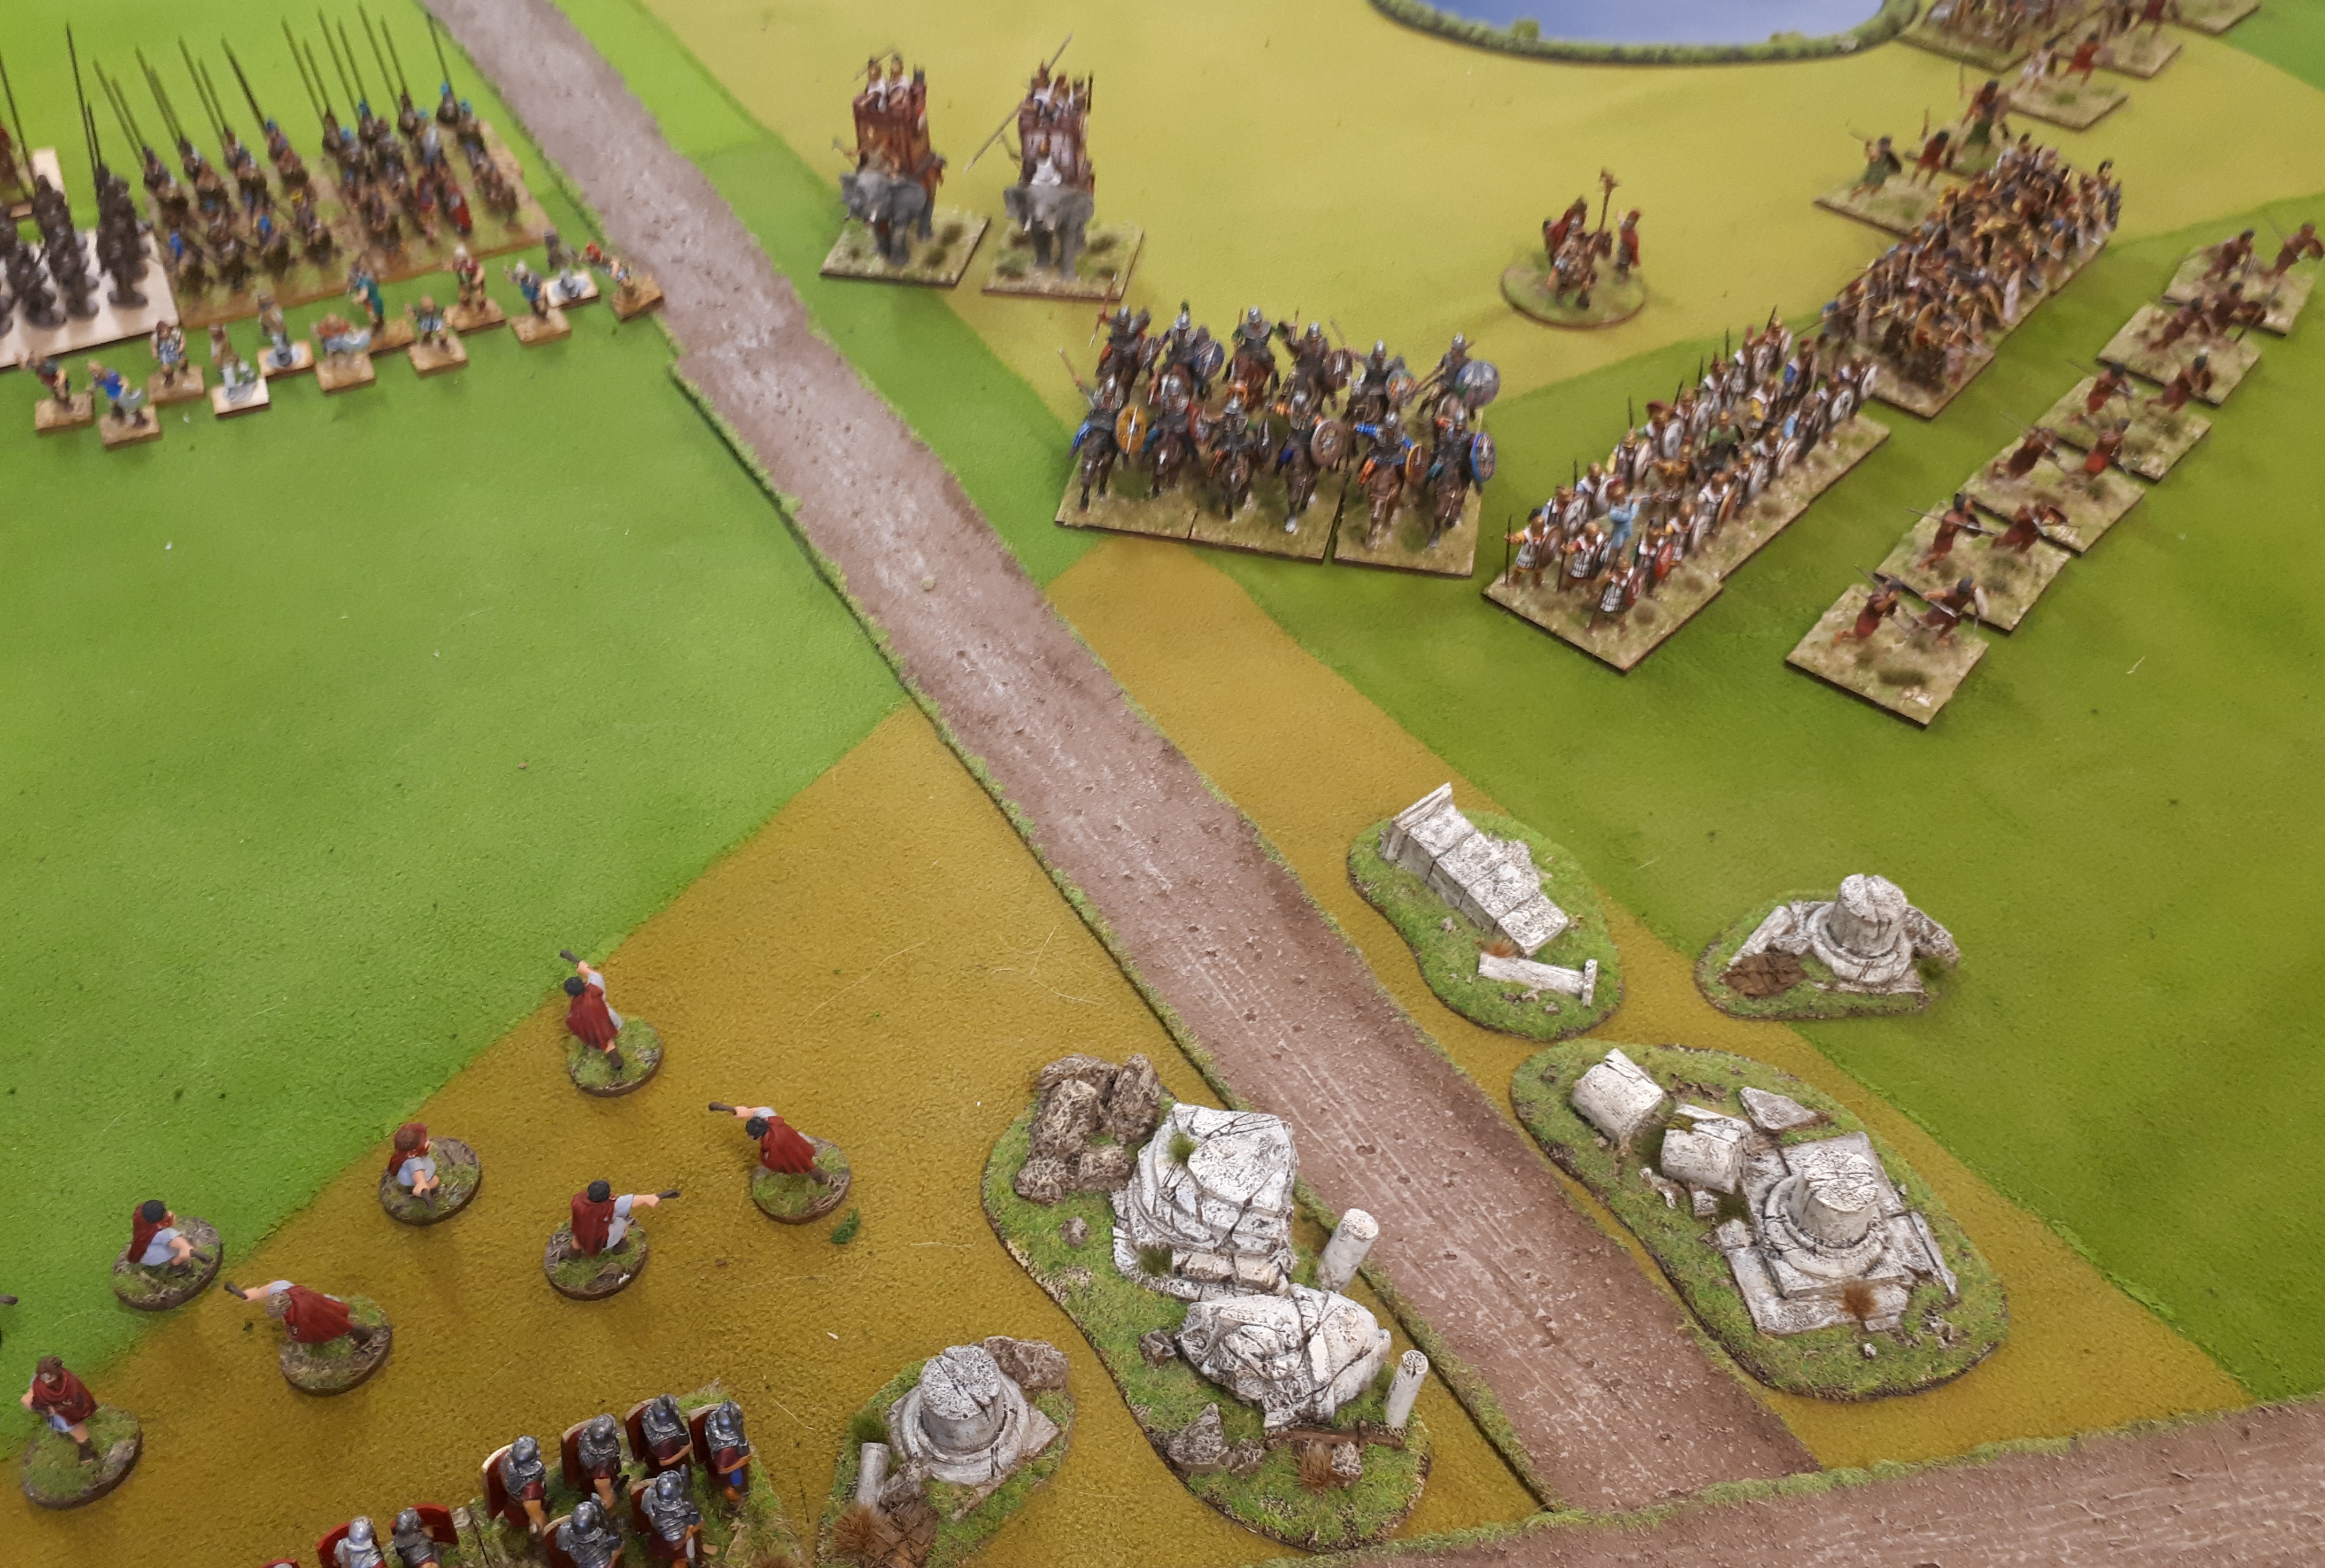
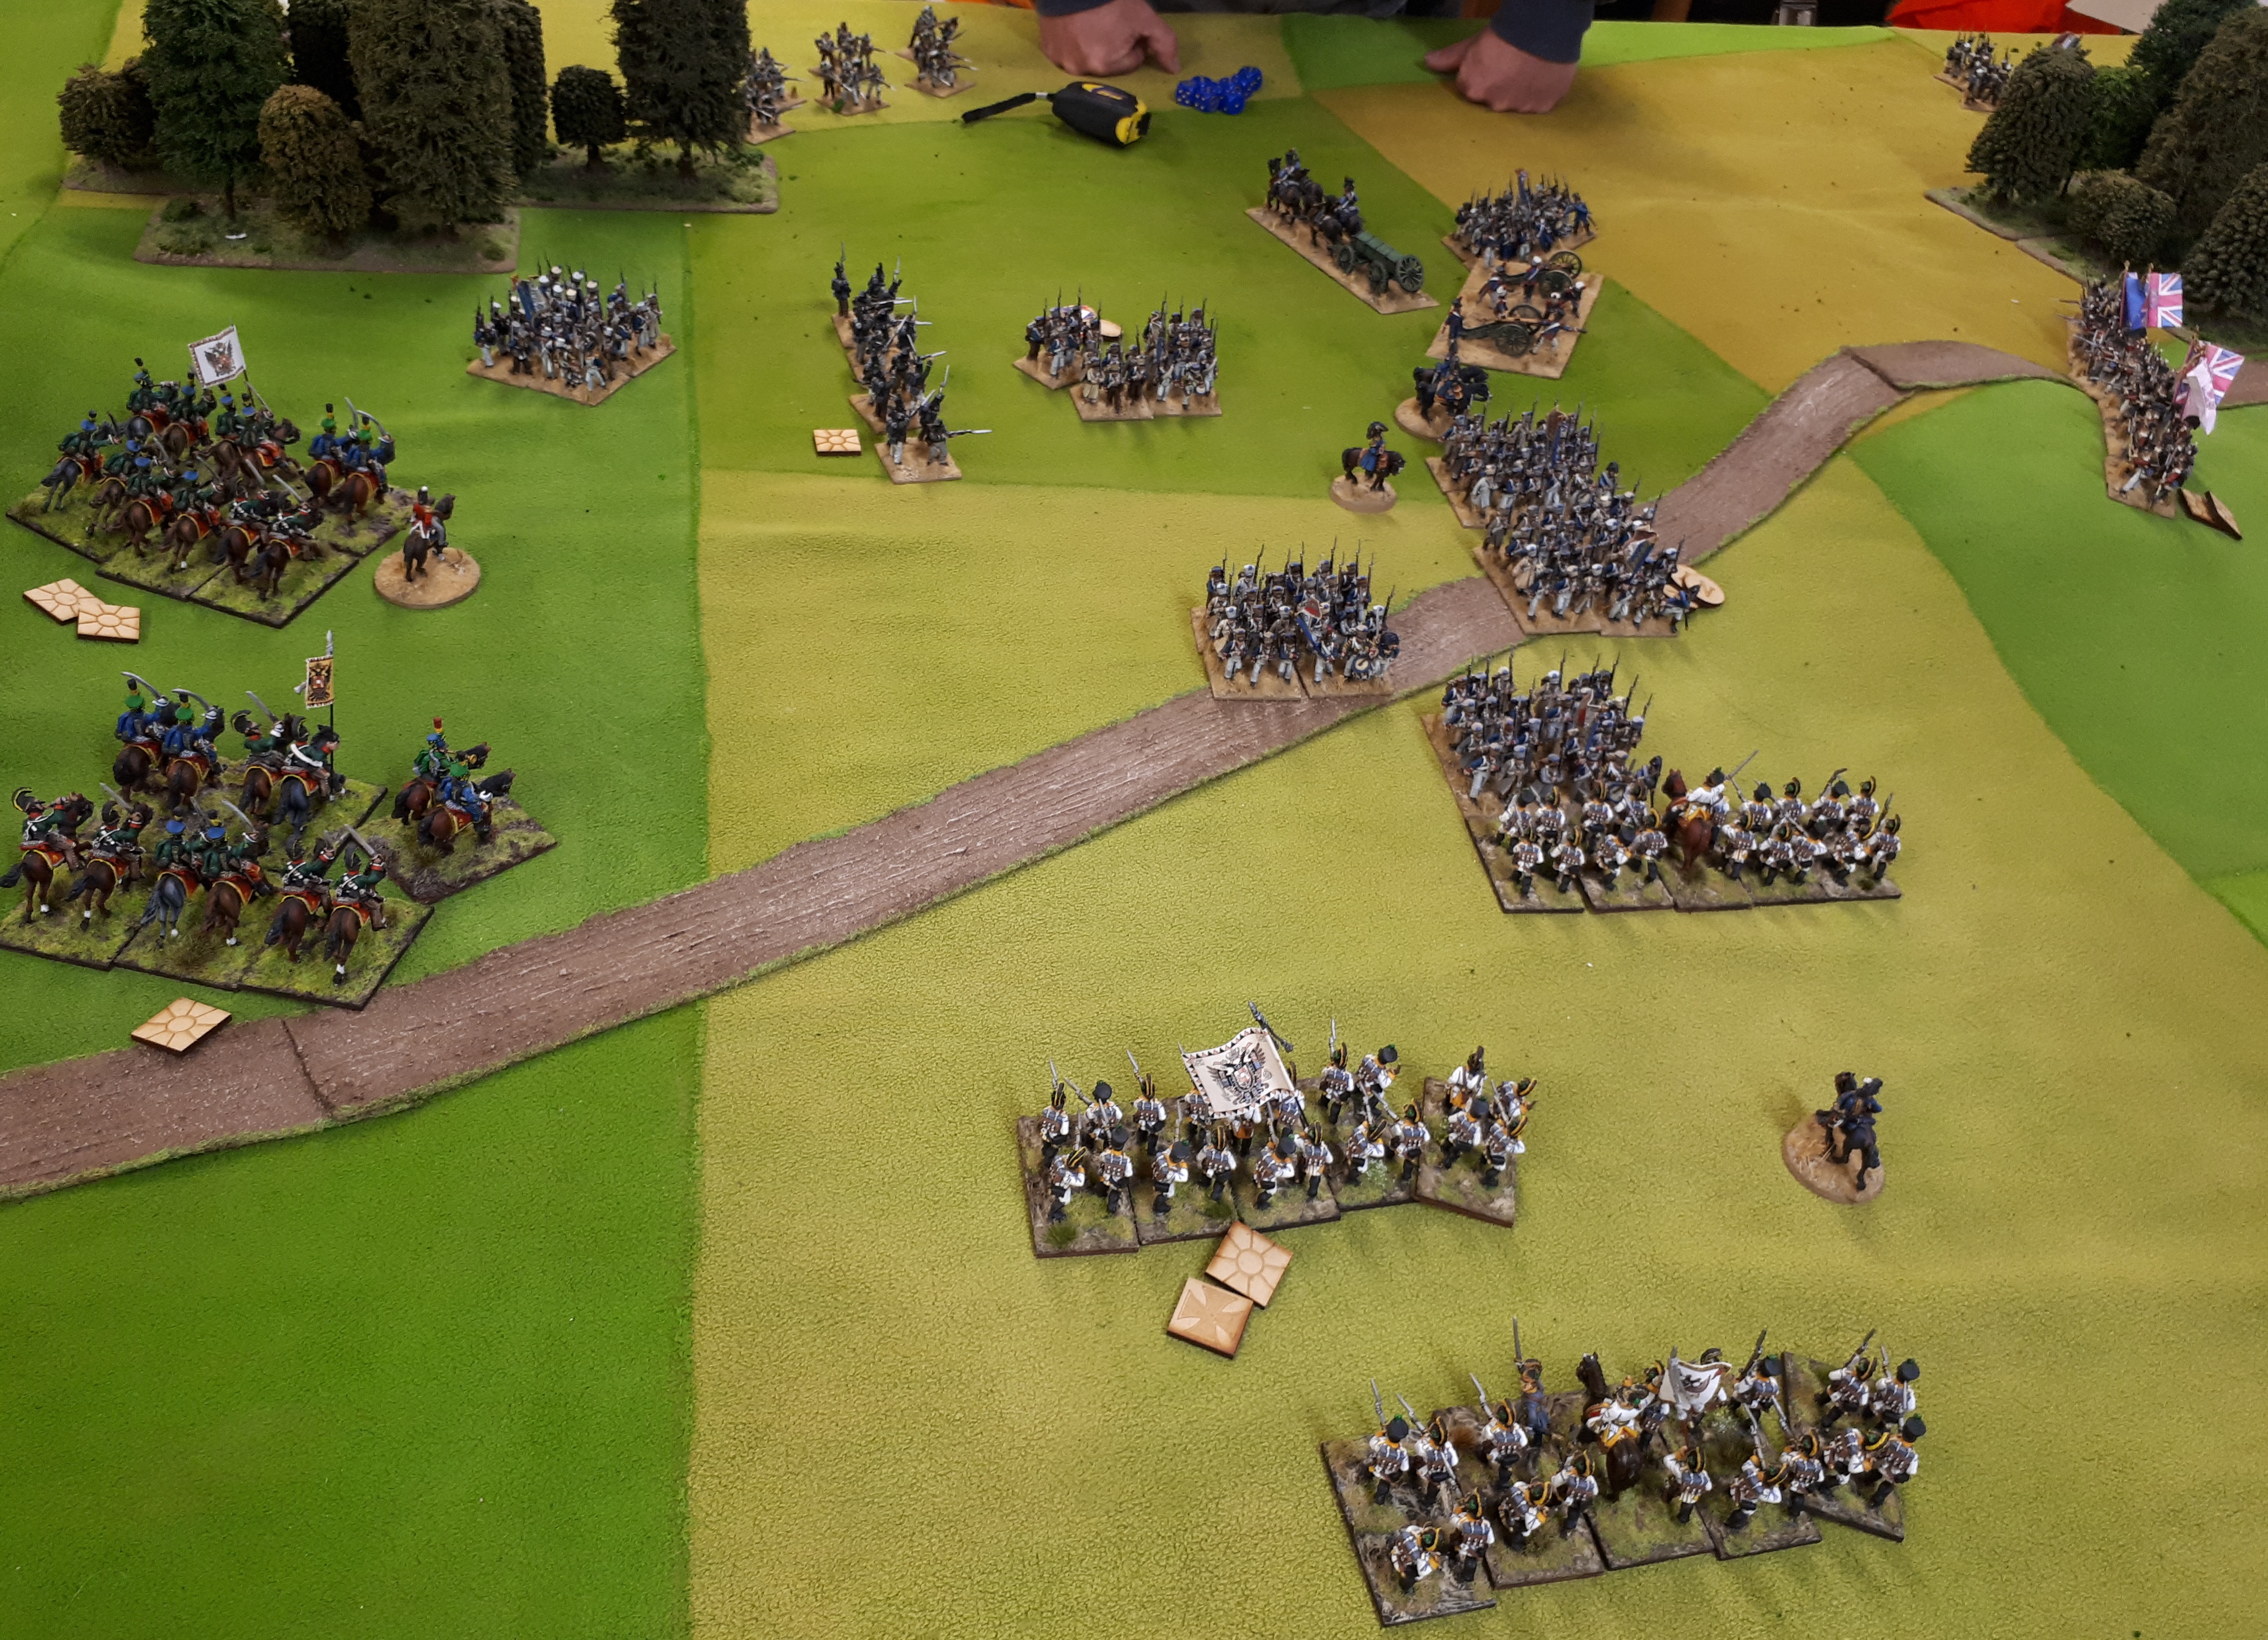
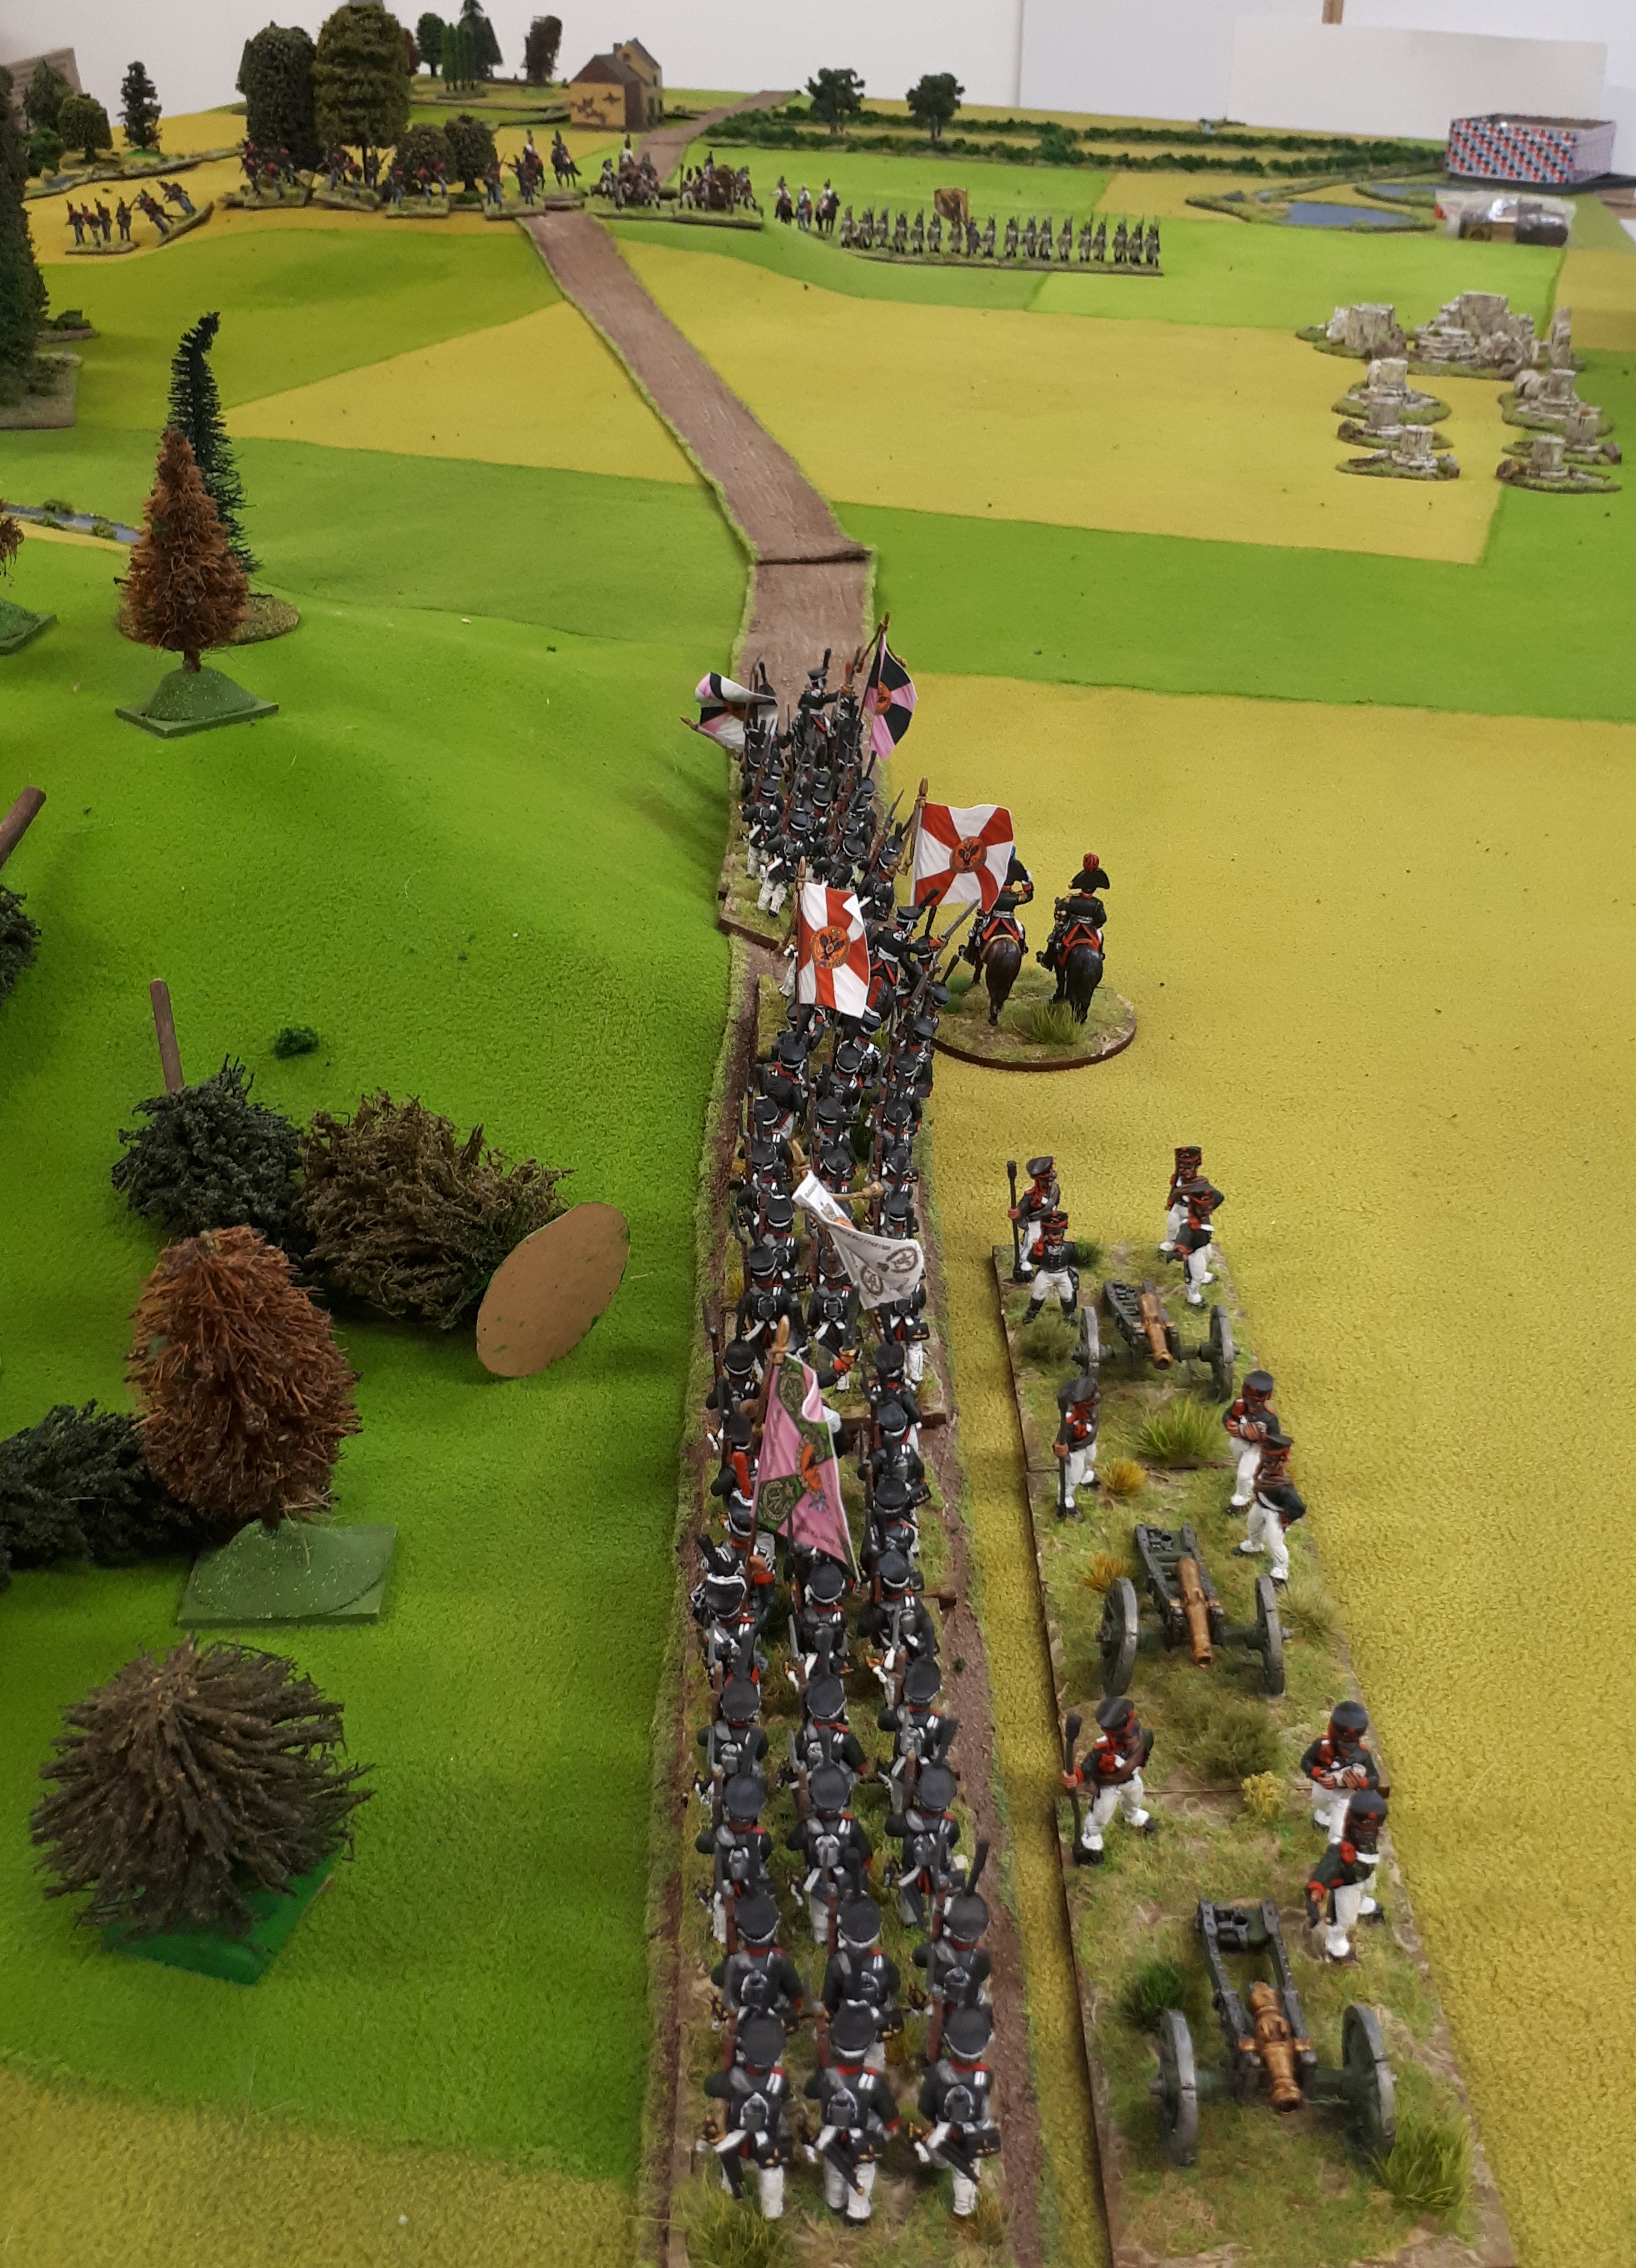
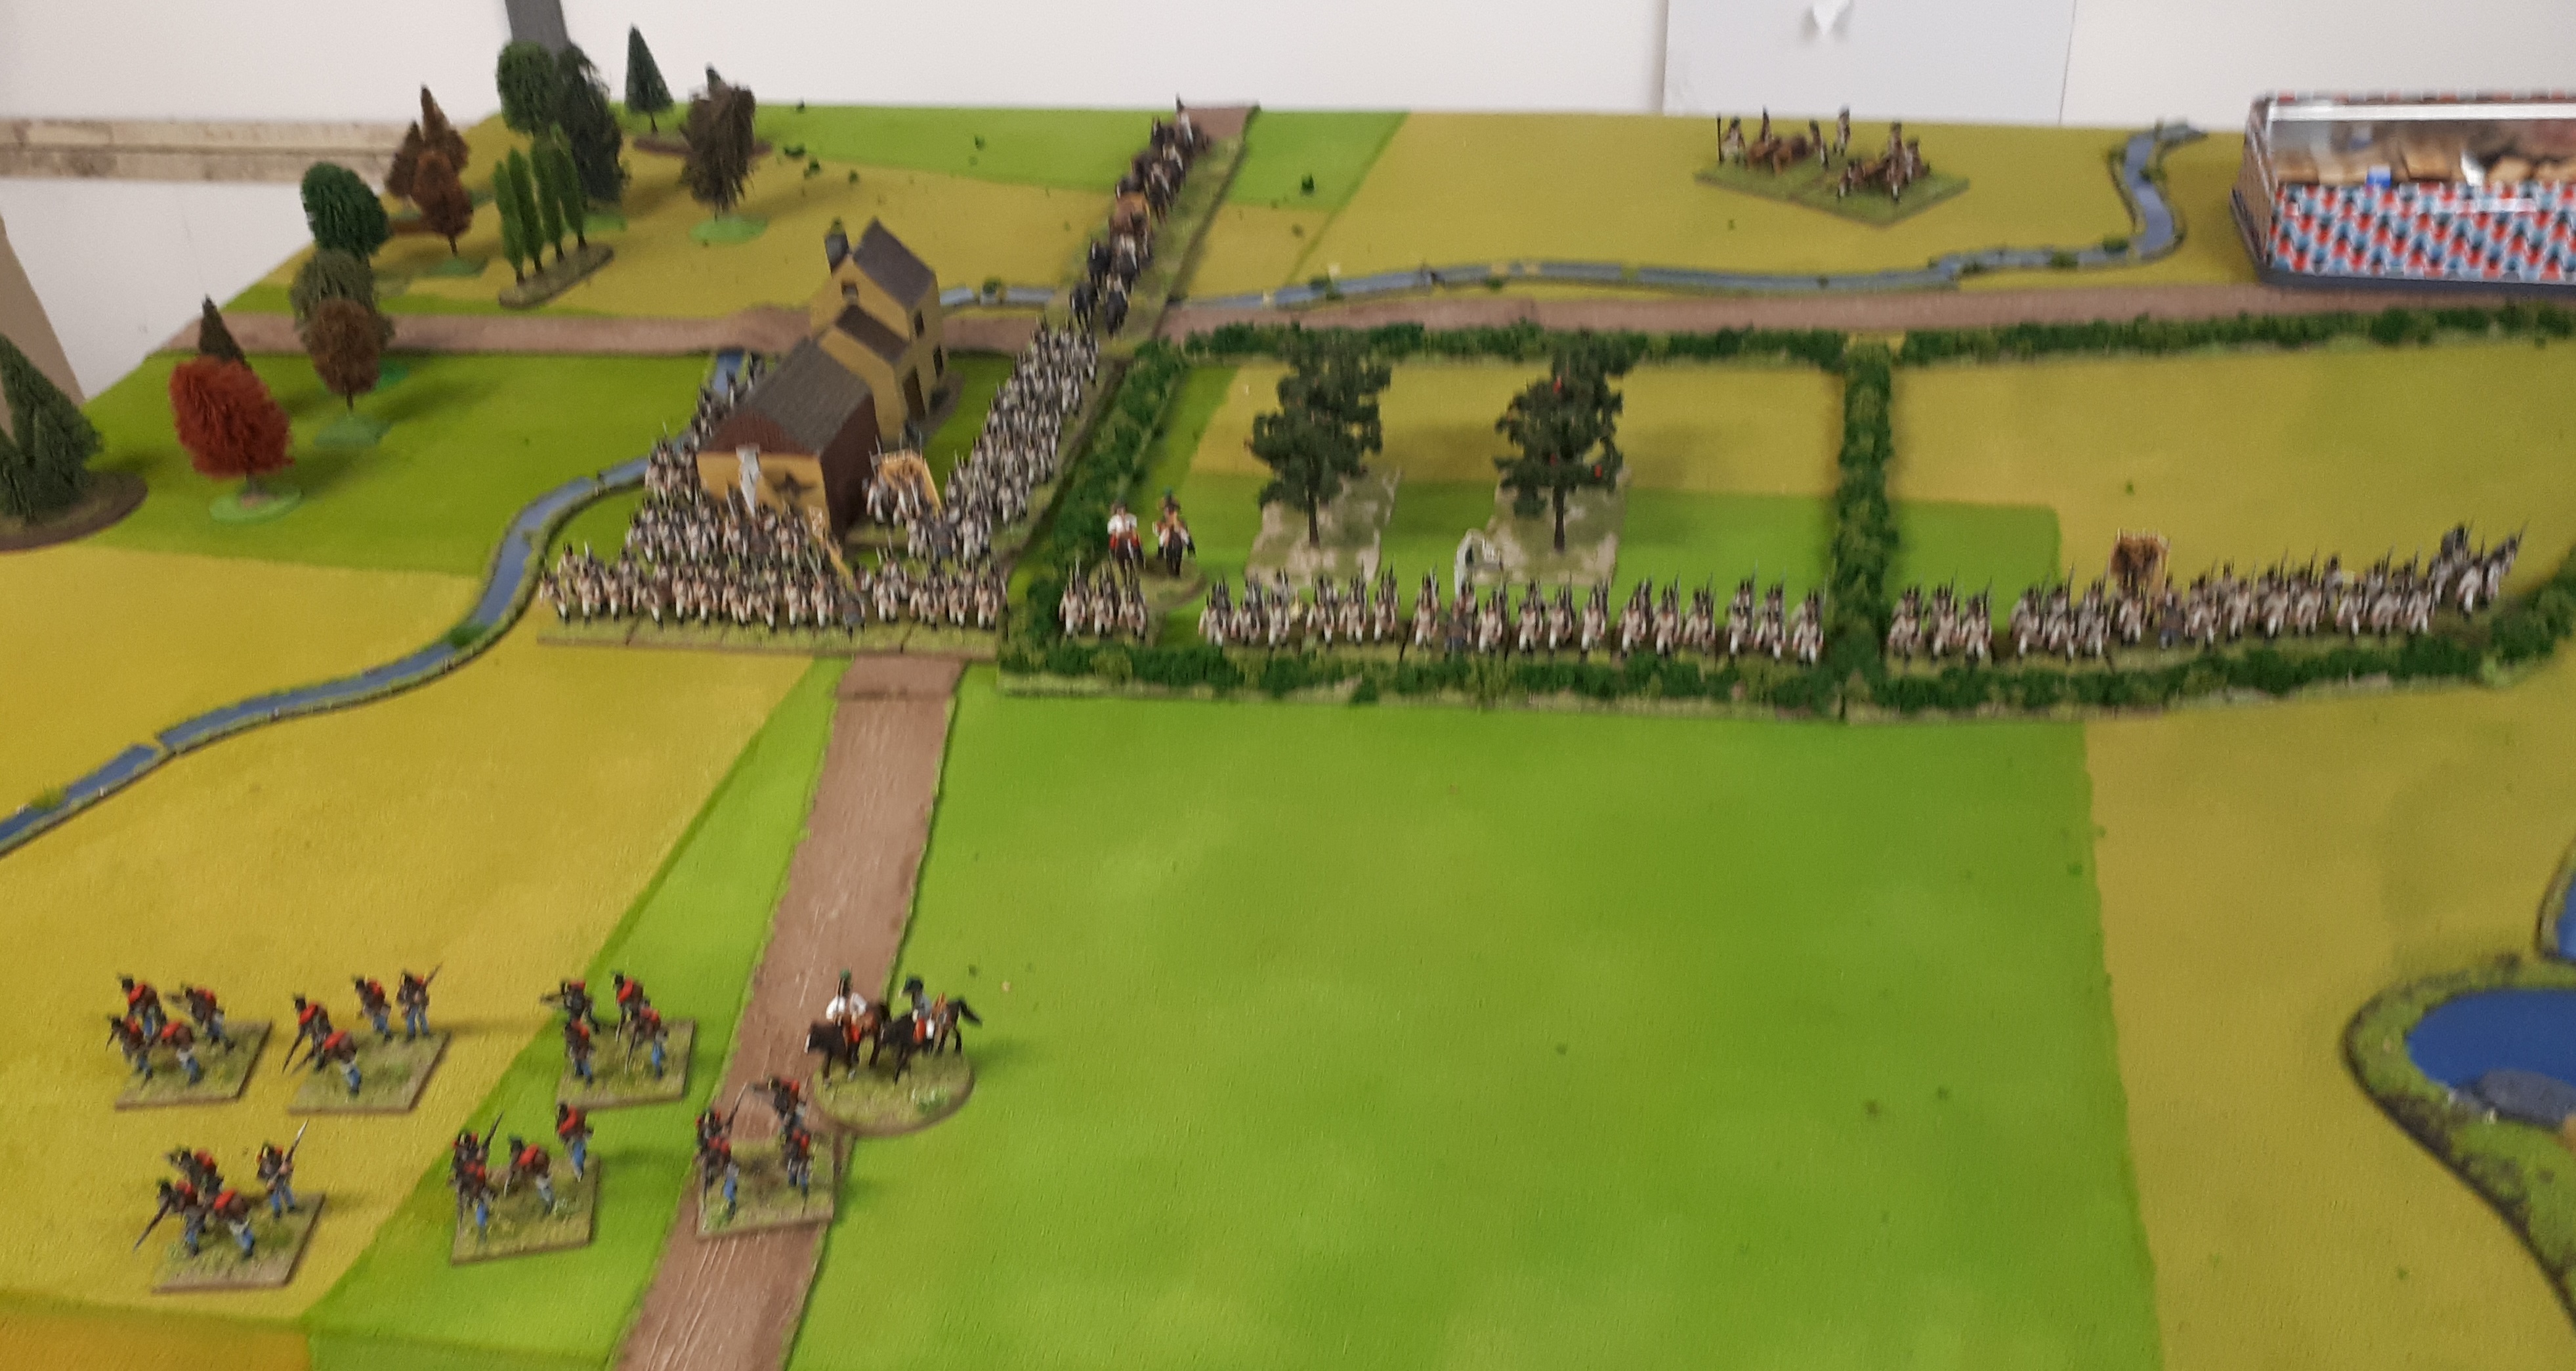
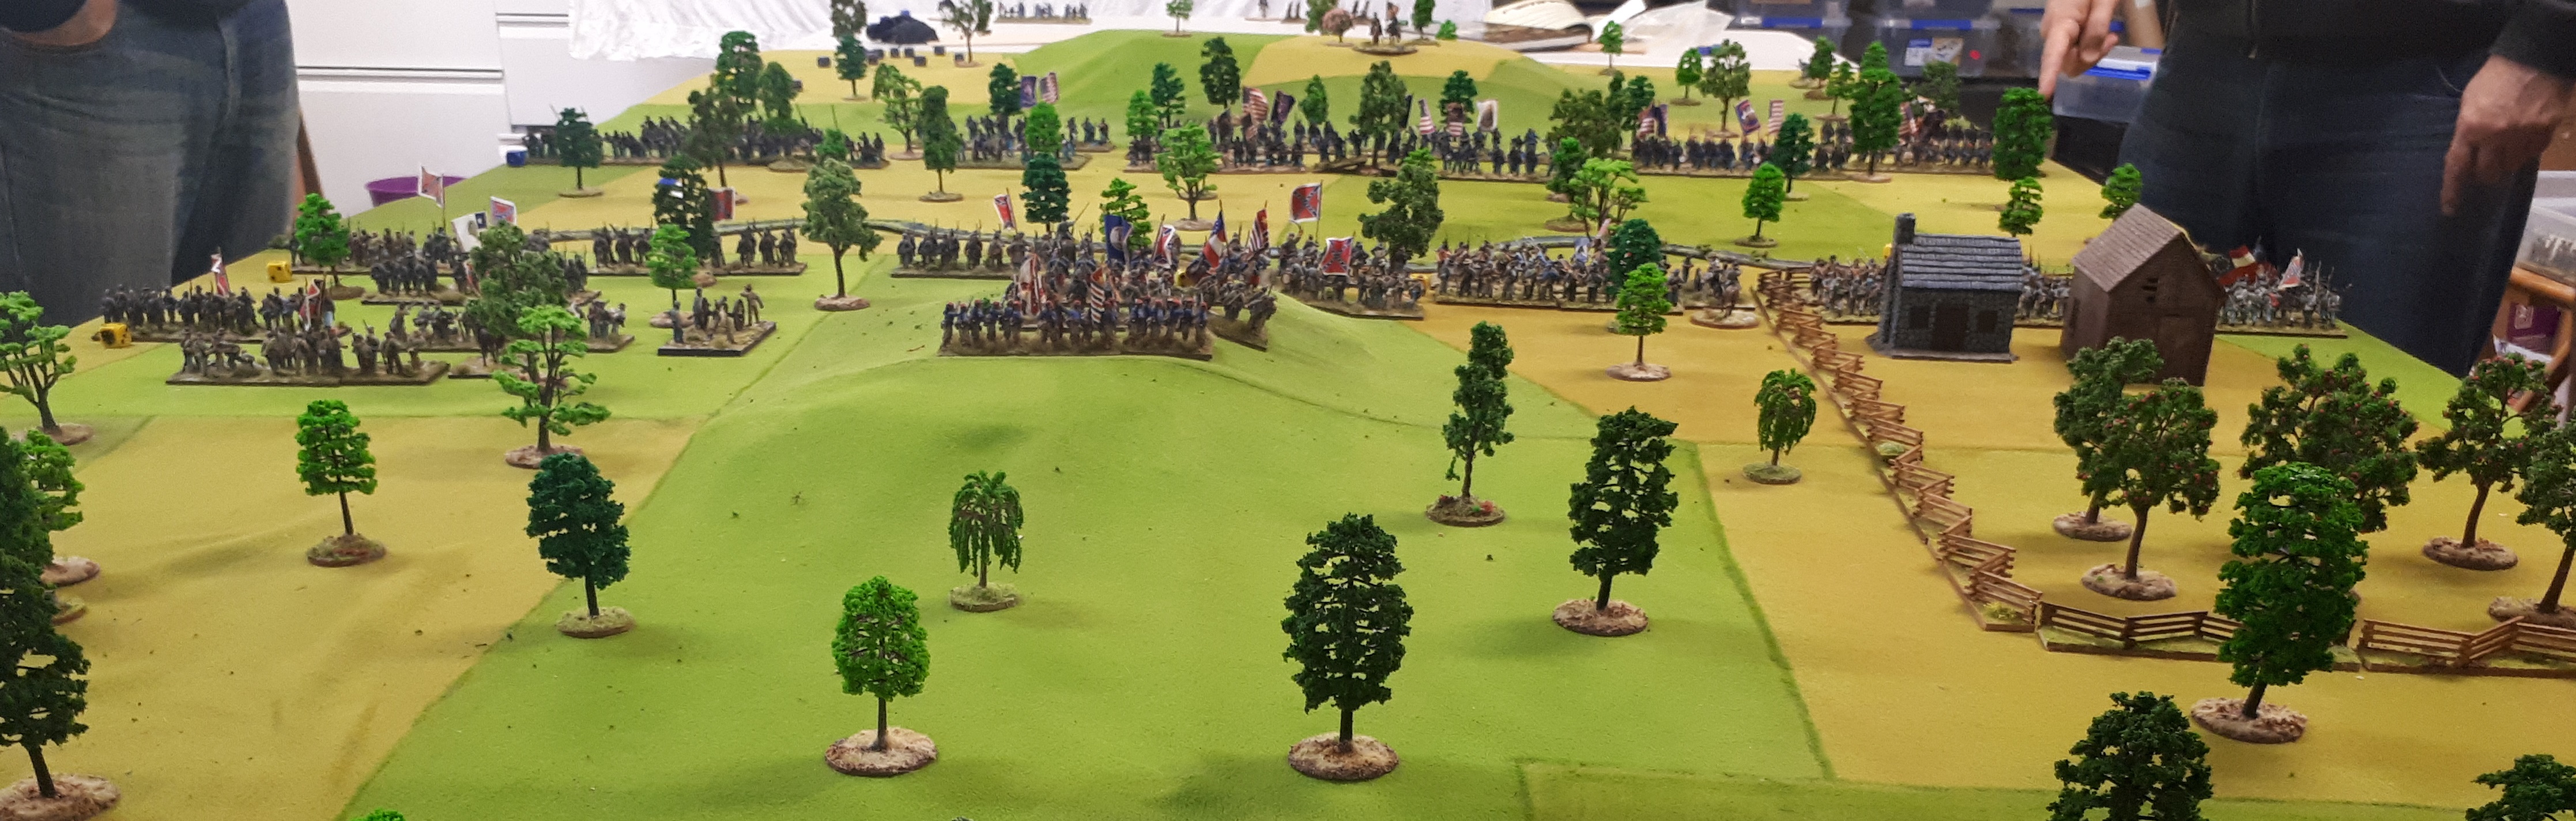
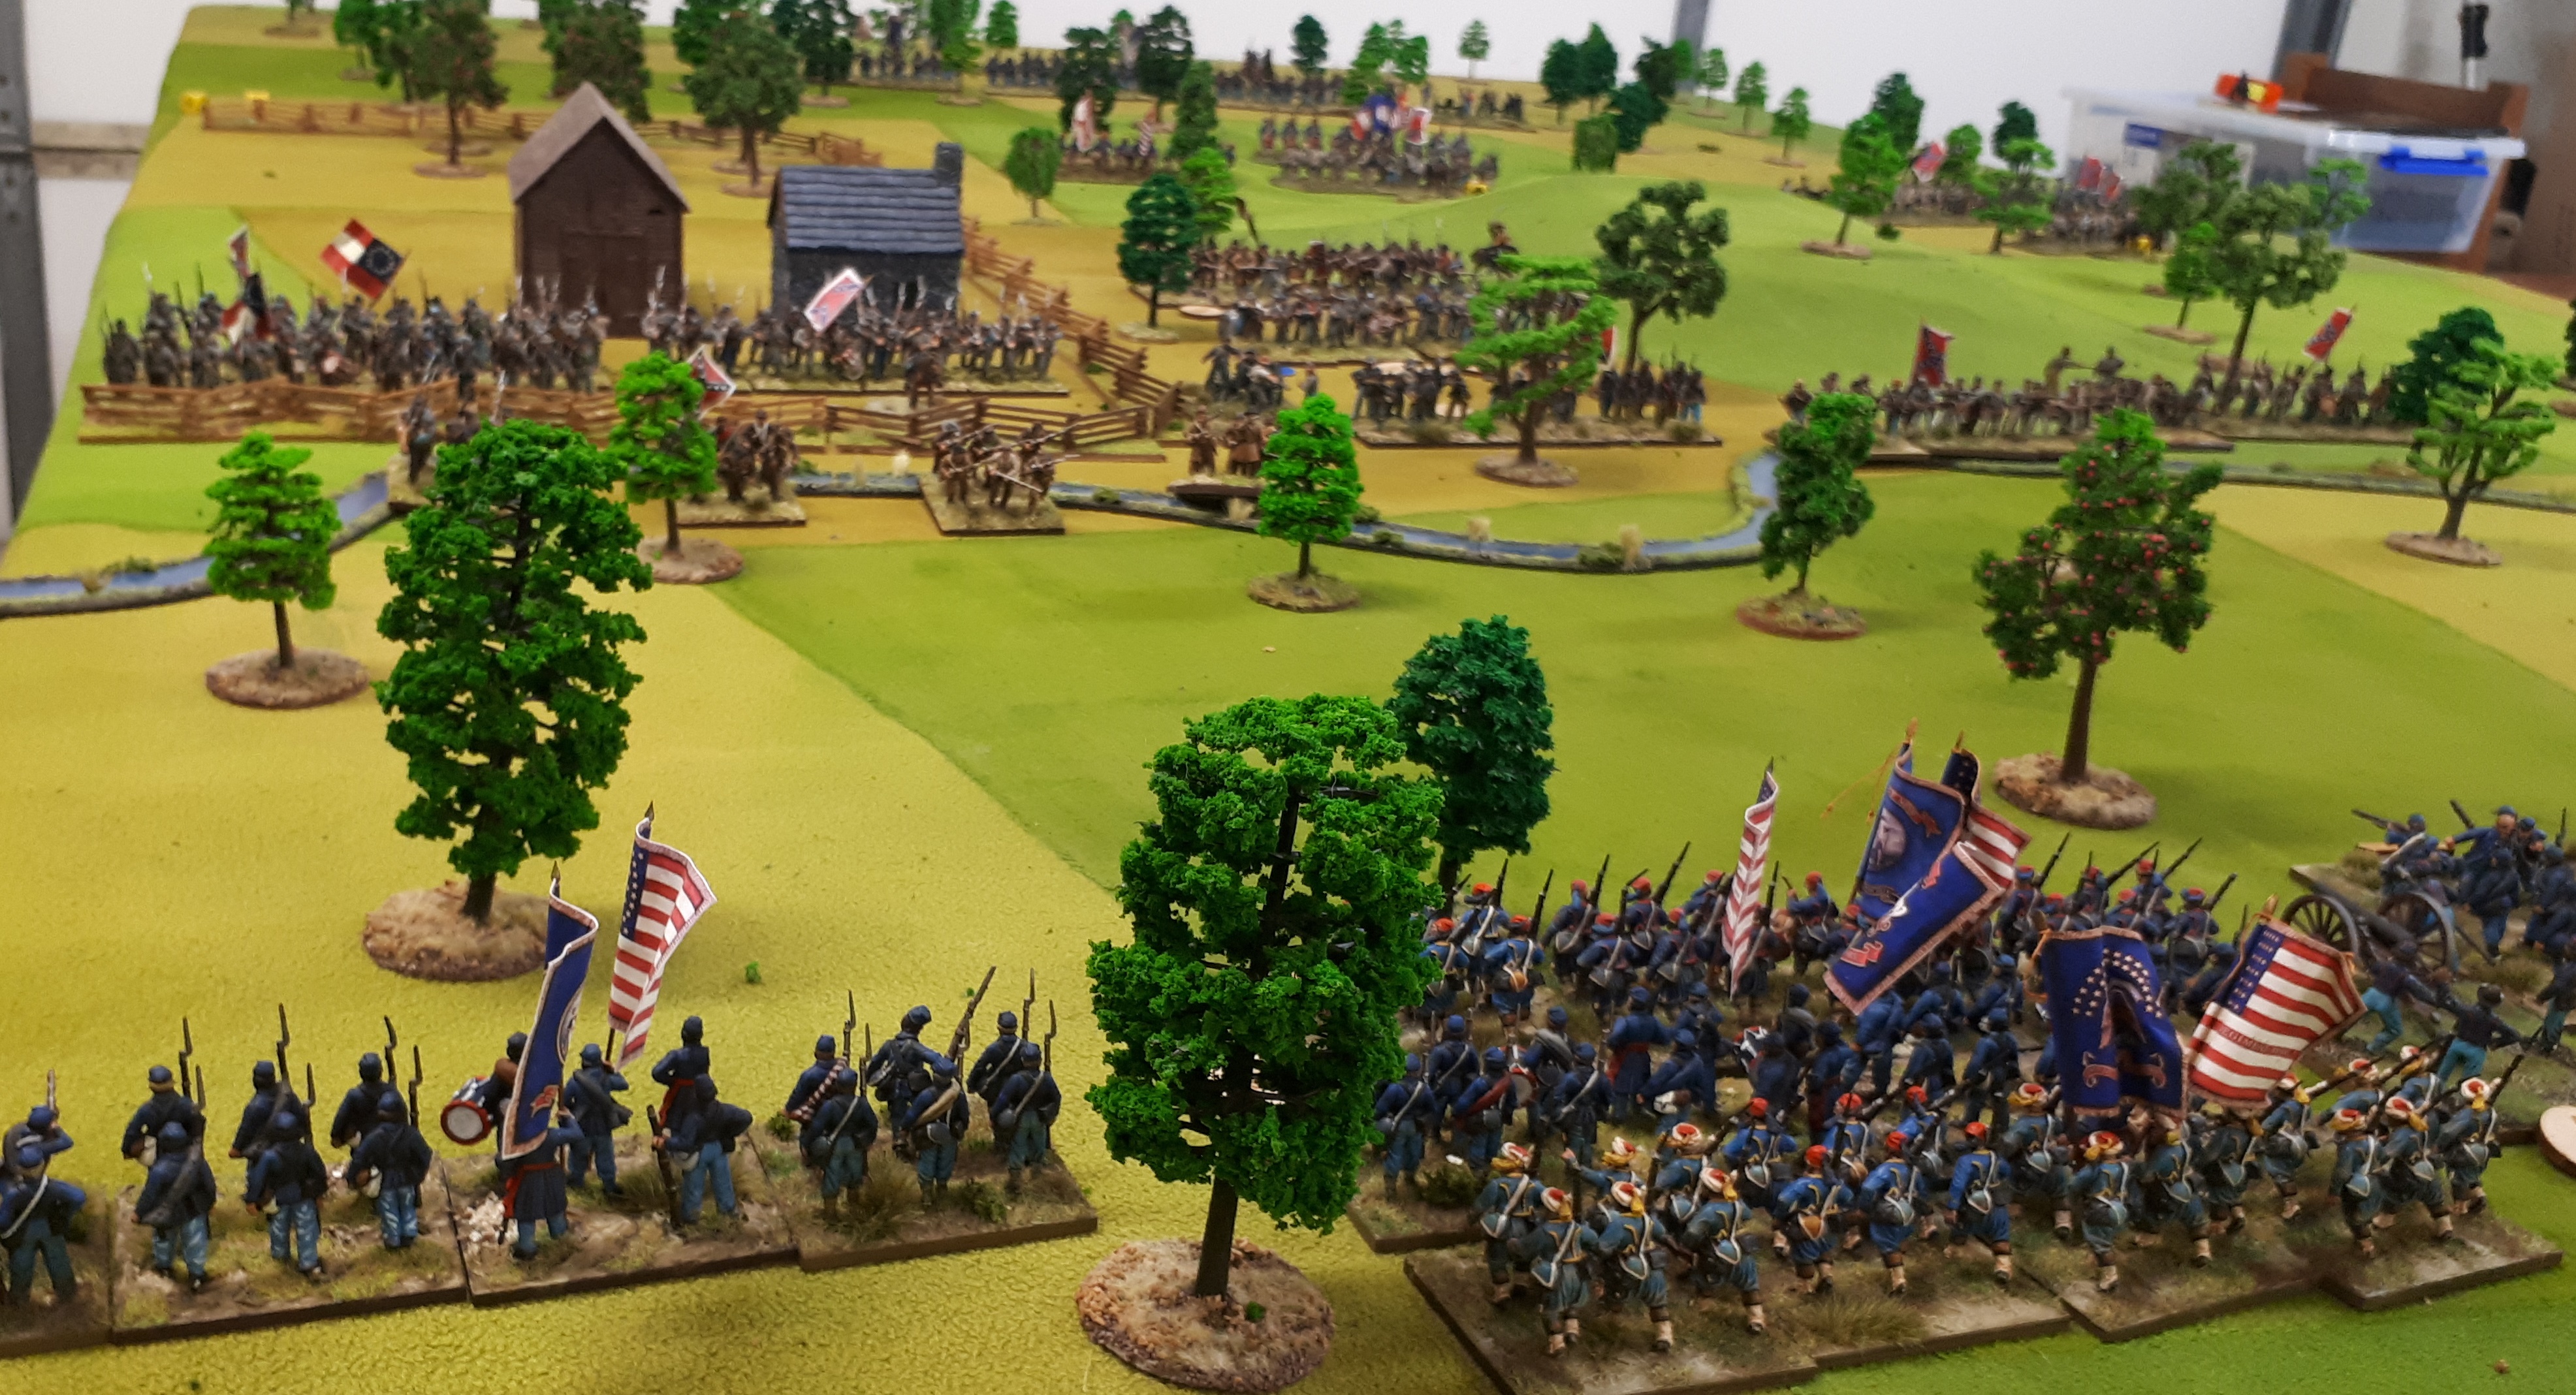
Keith chose to set up on the table side securing flanks on a hedged farm and a wood.

I got the open terrain.


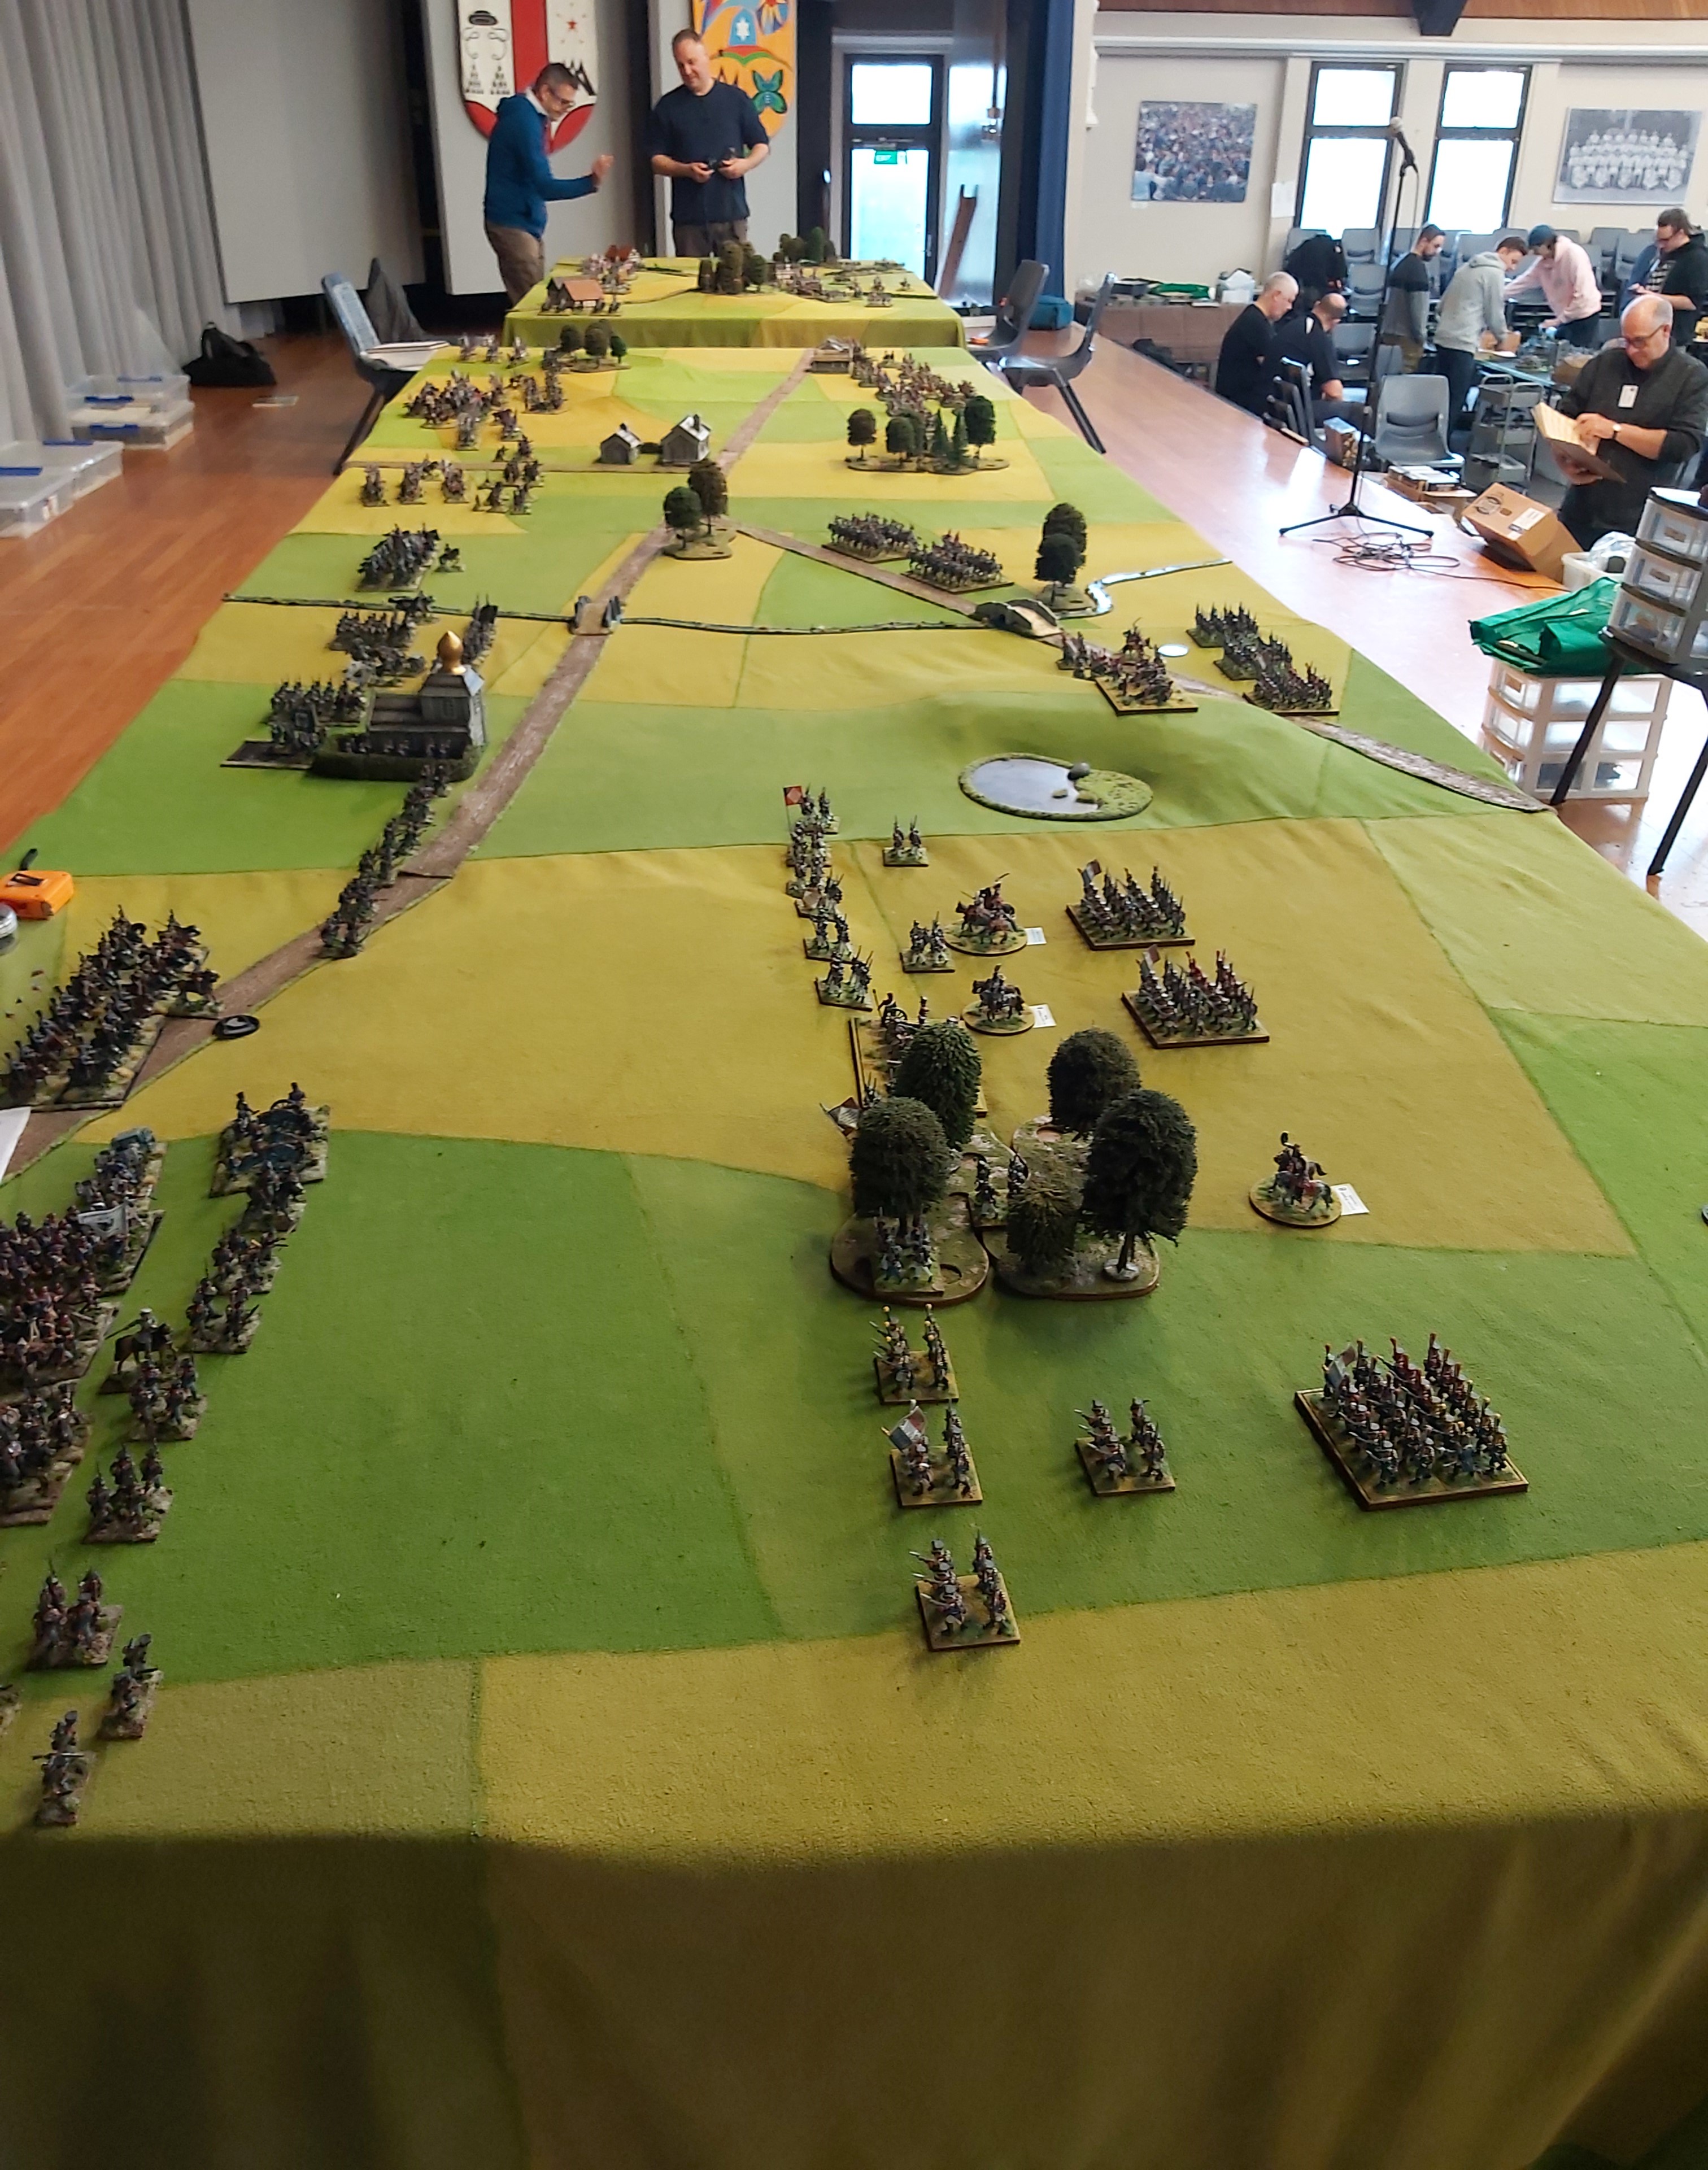
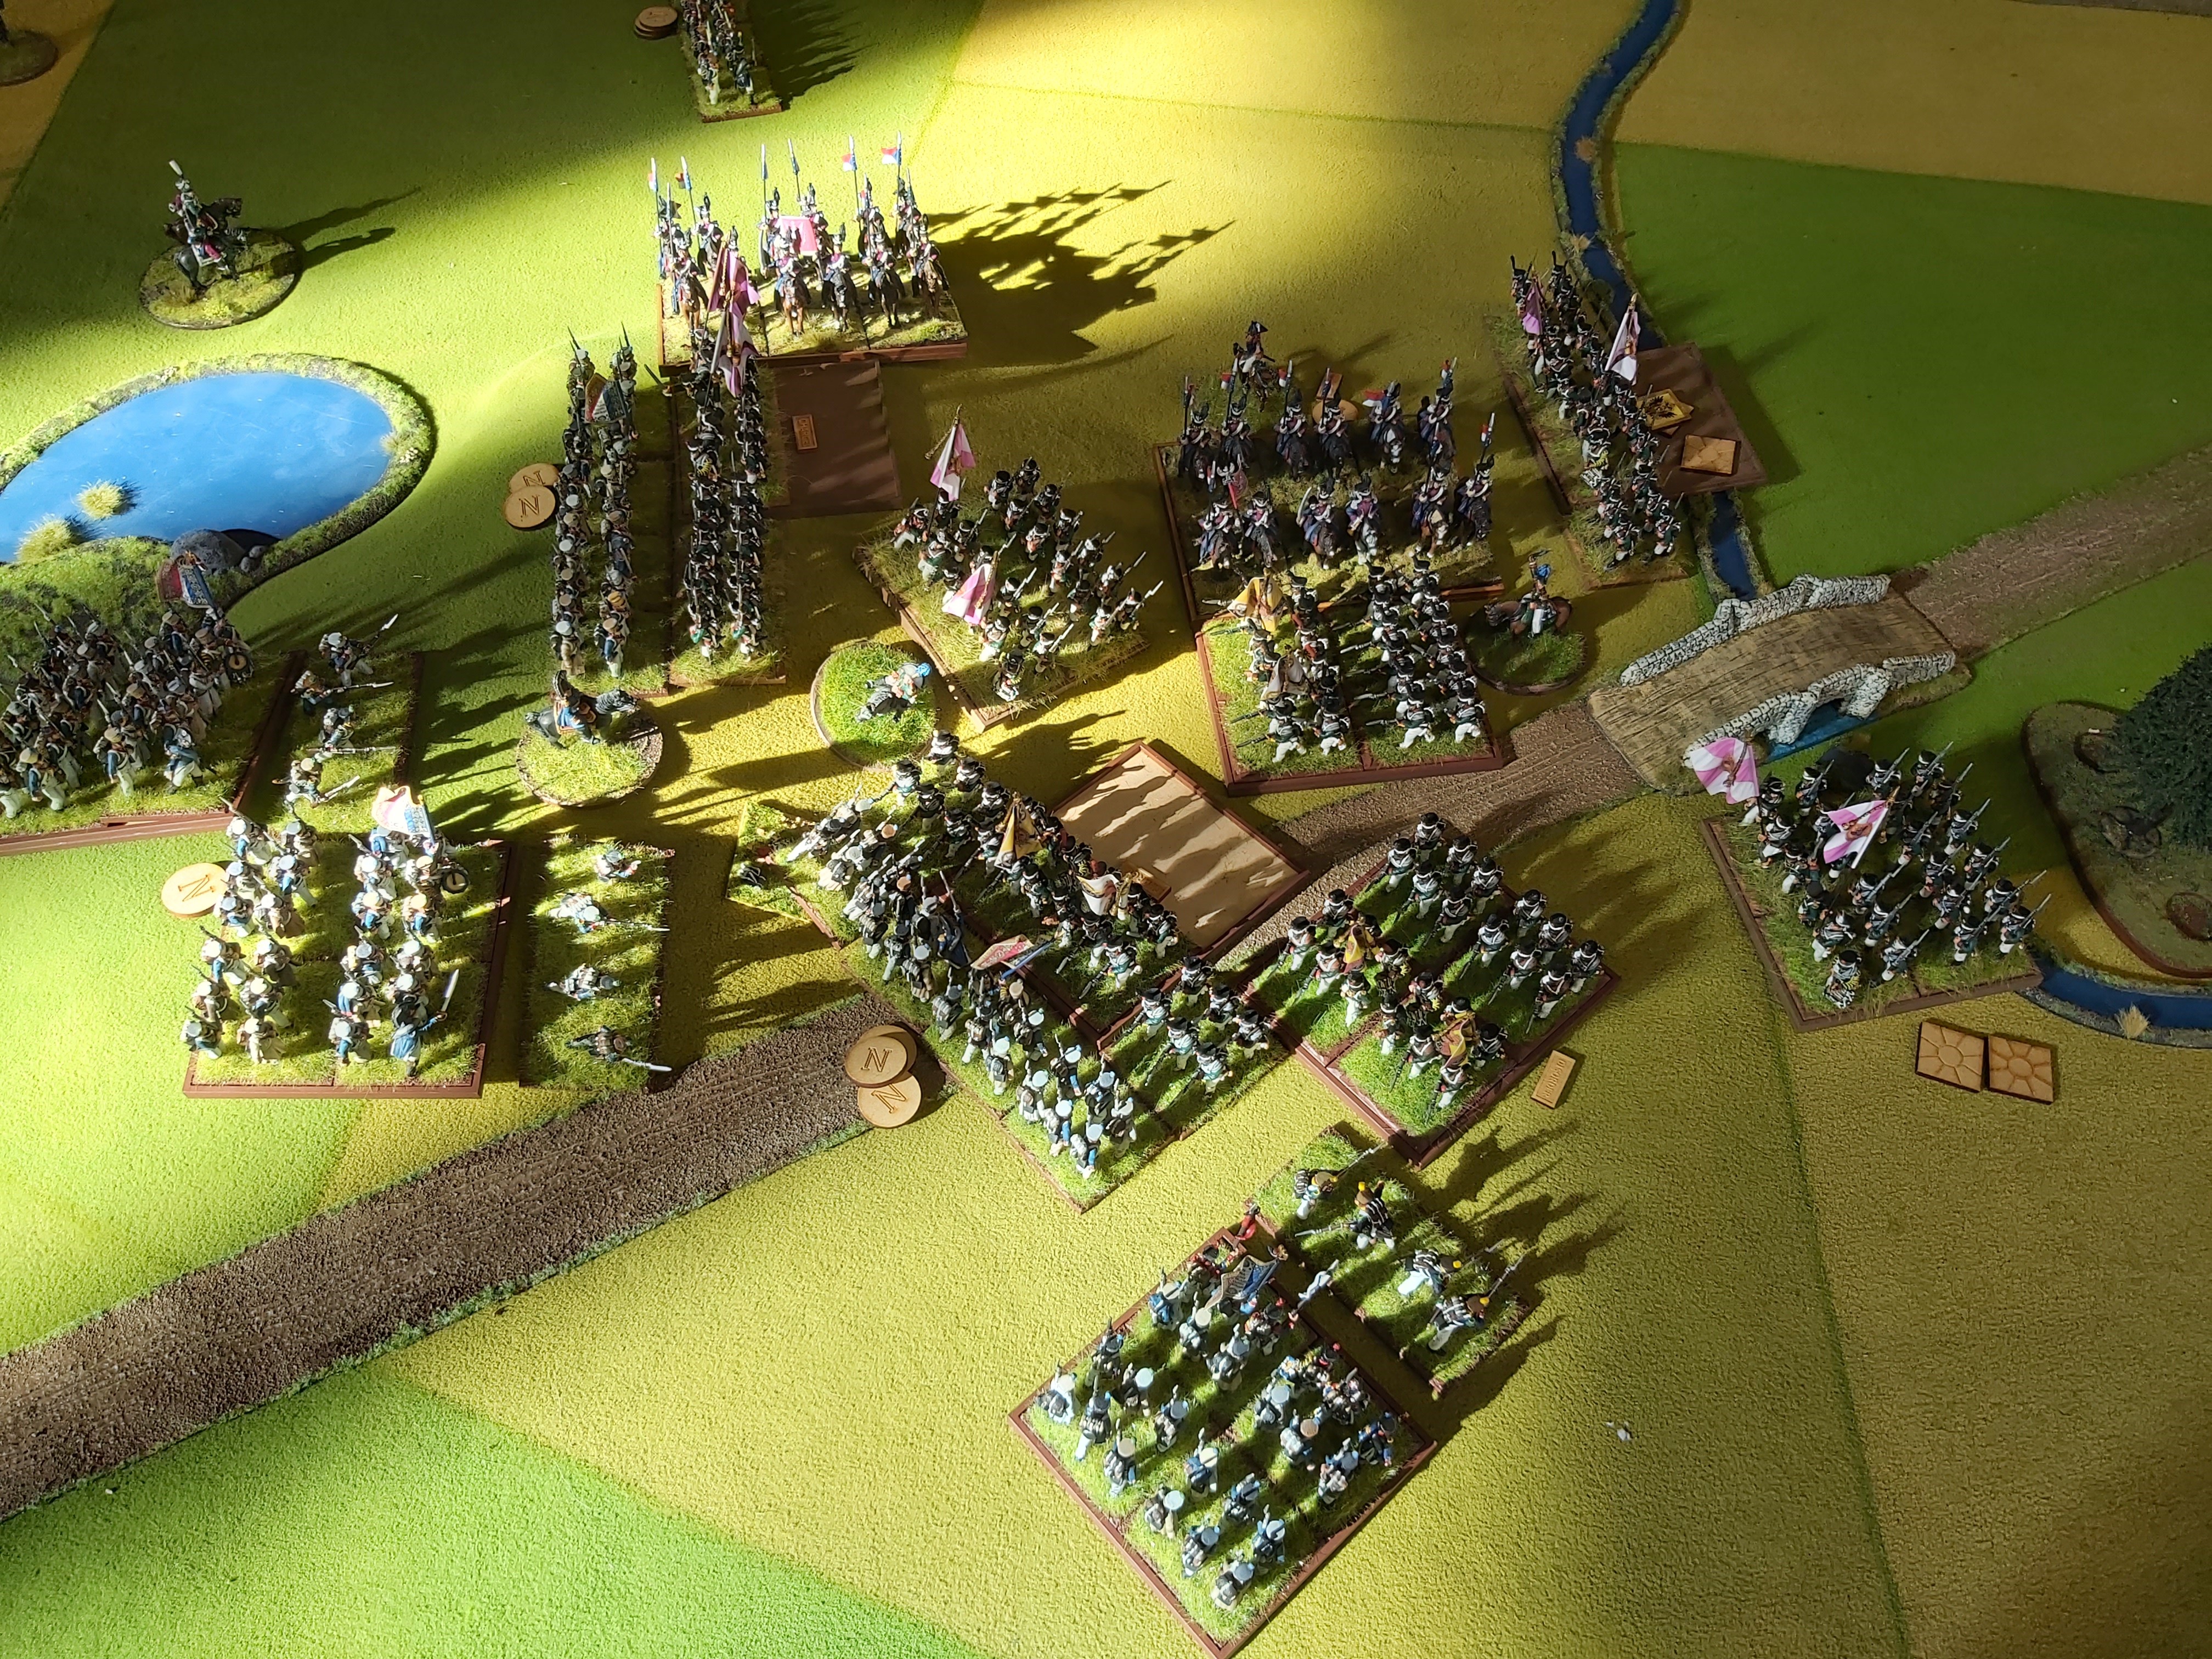
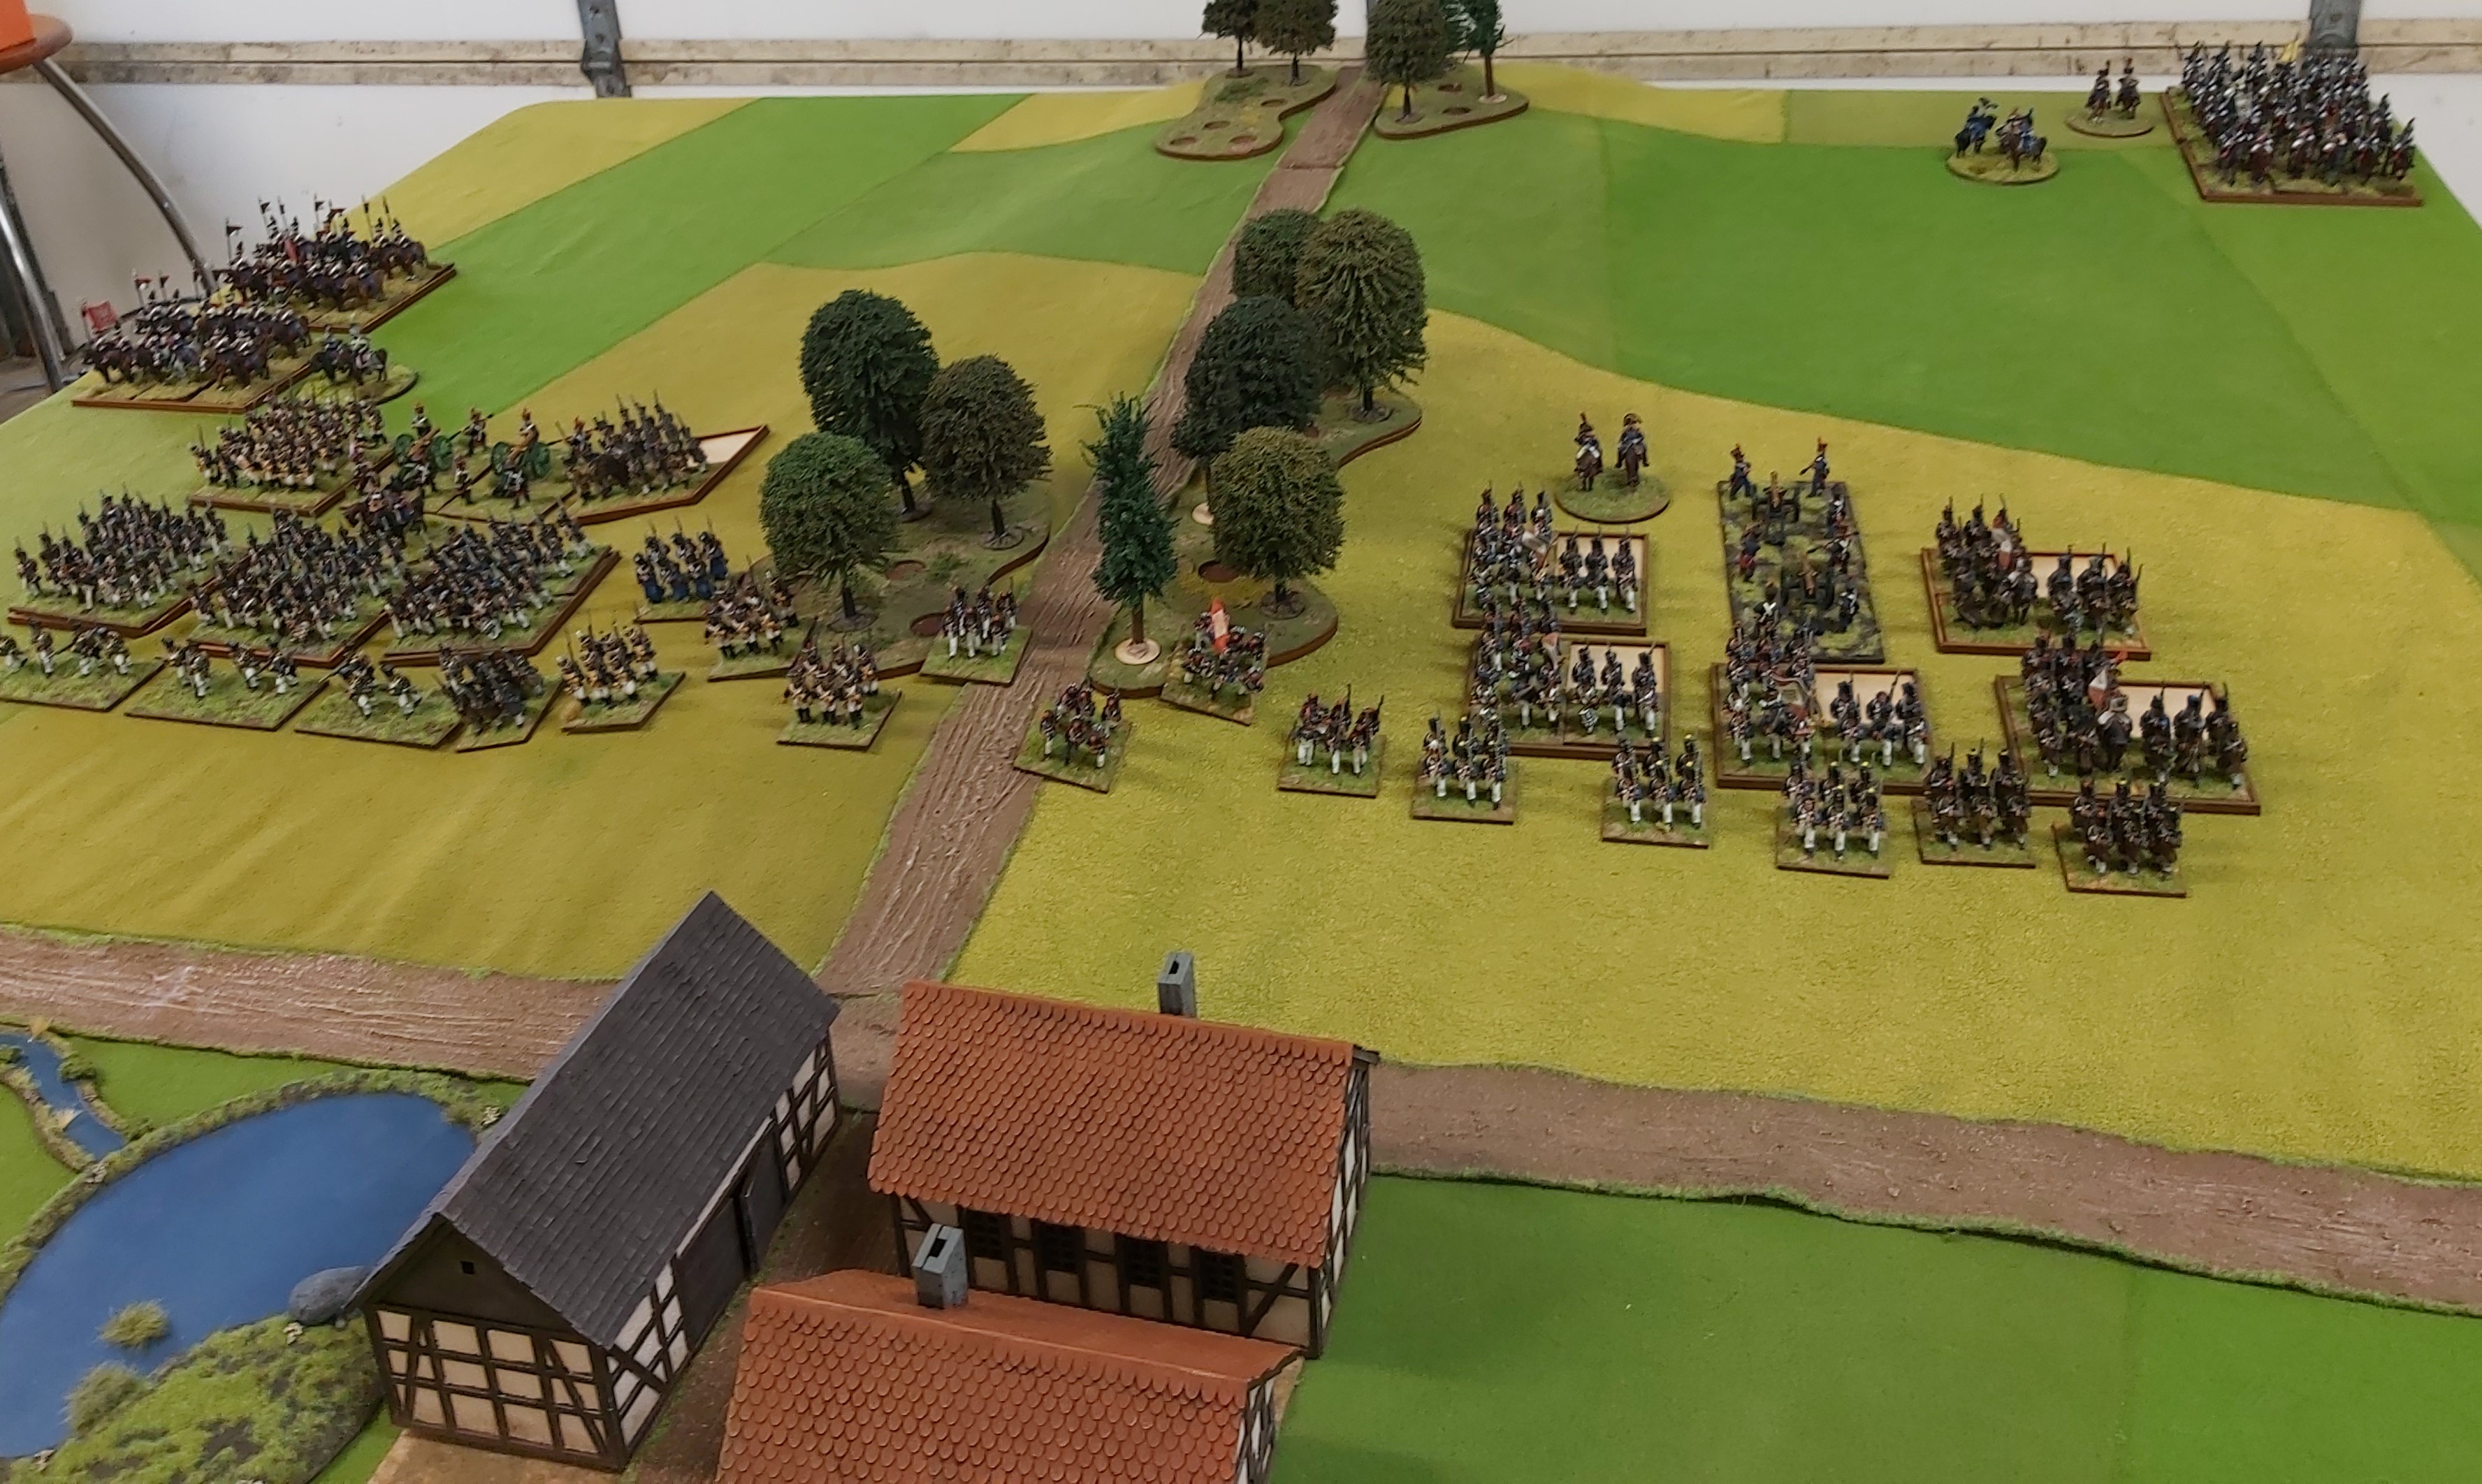
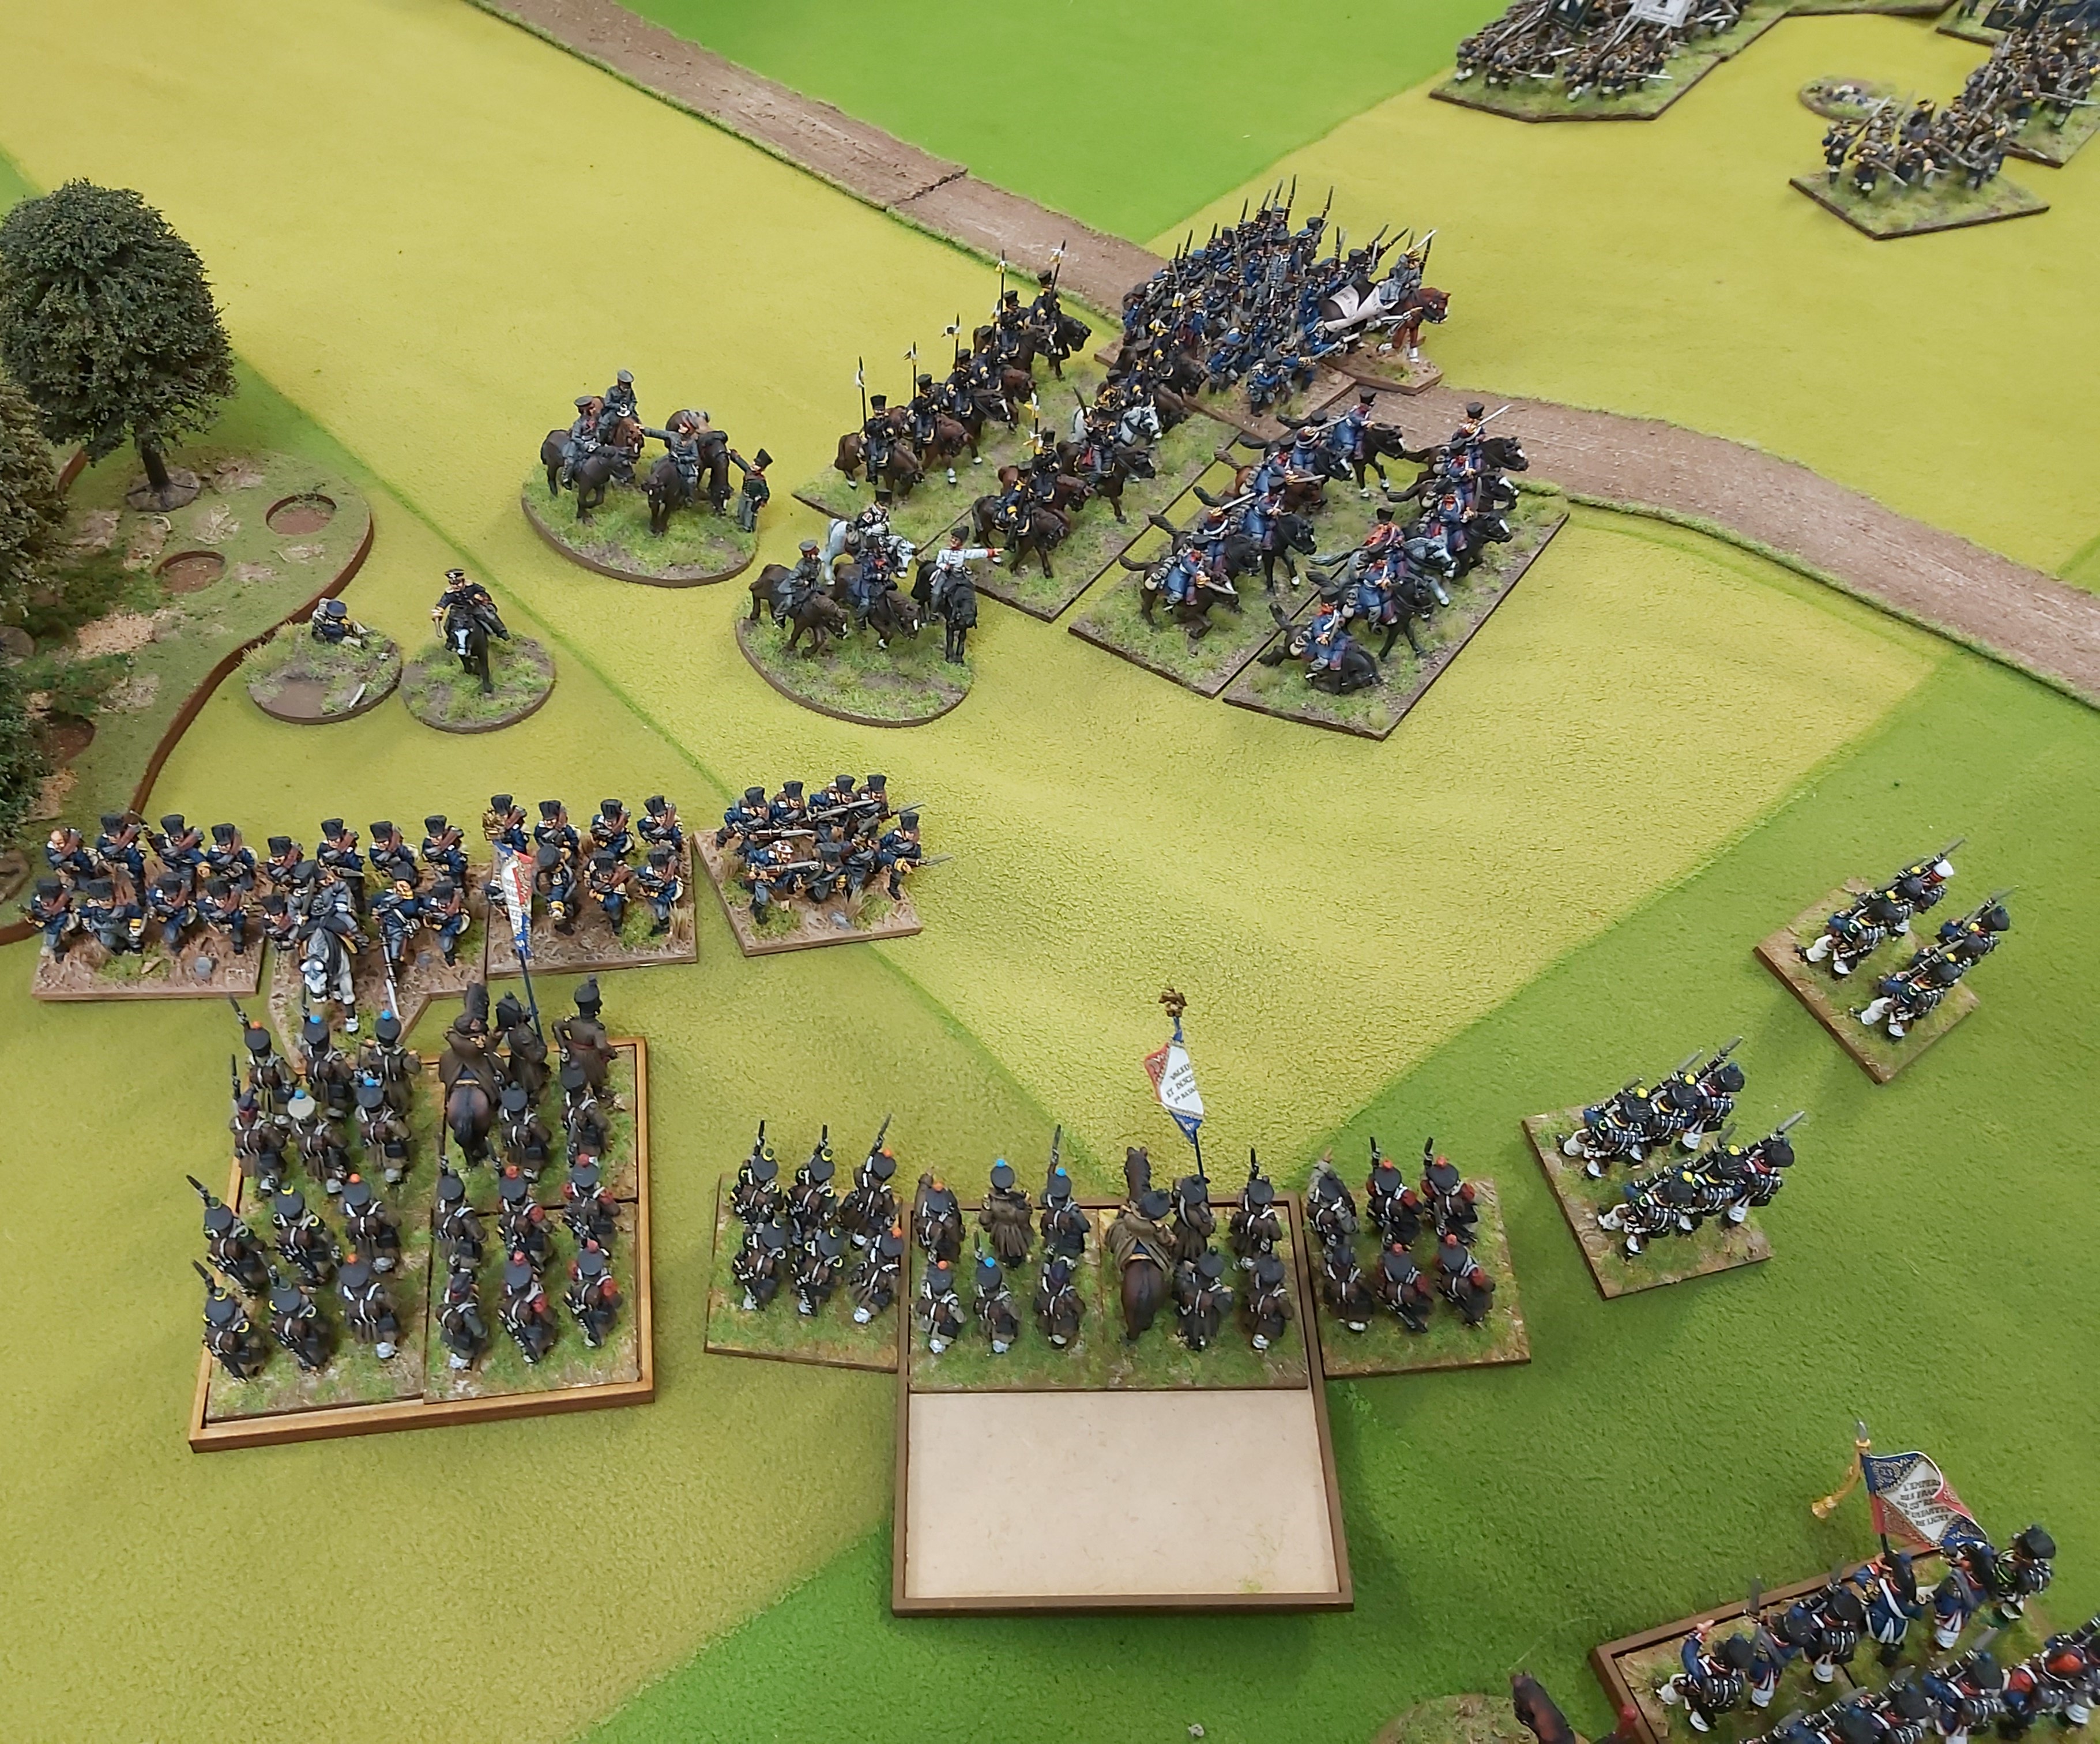
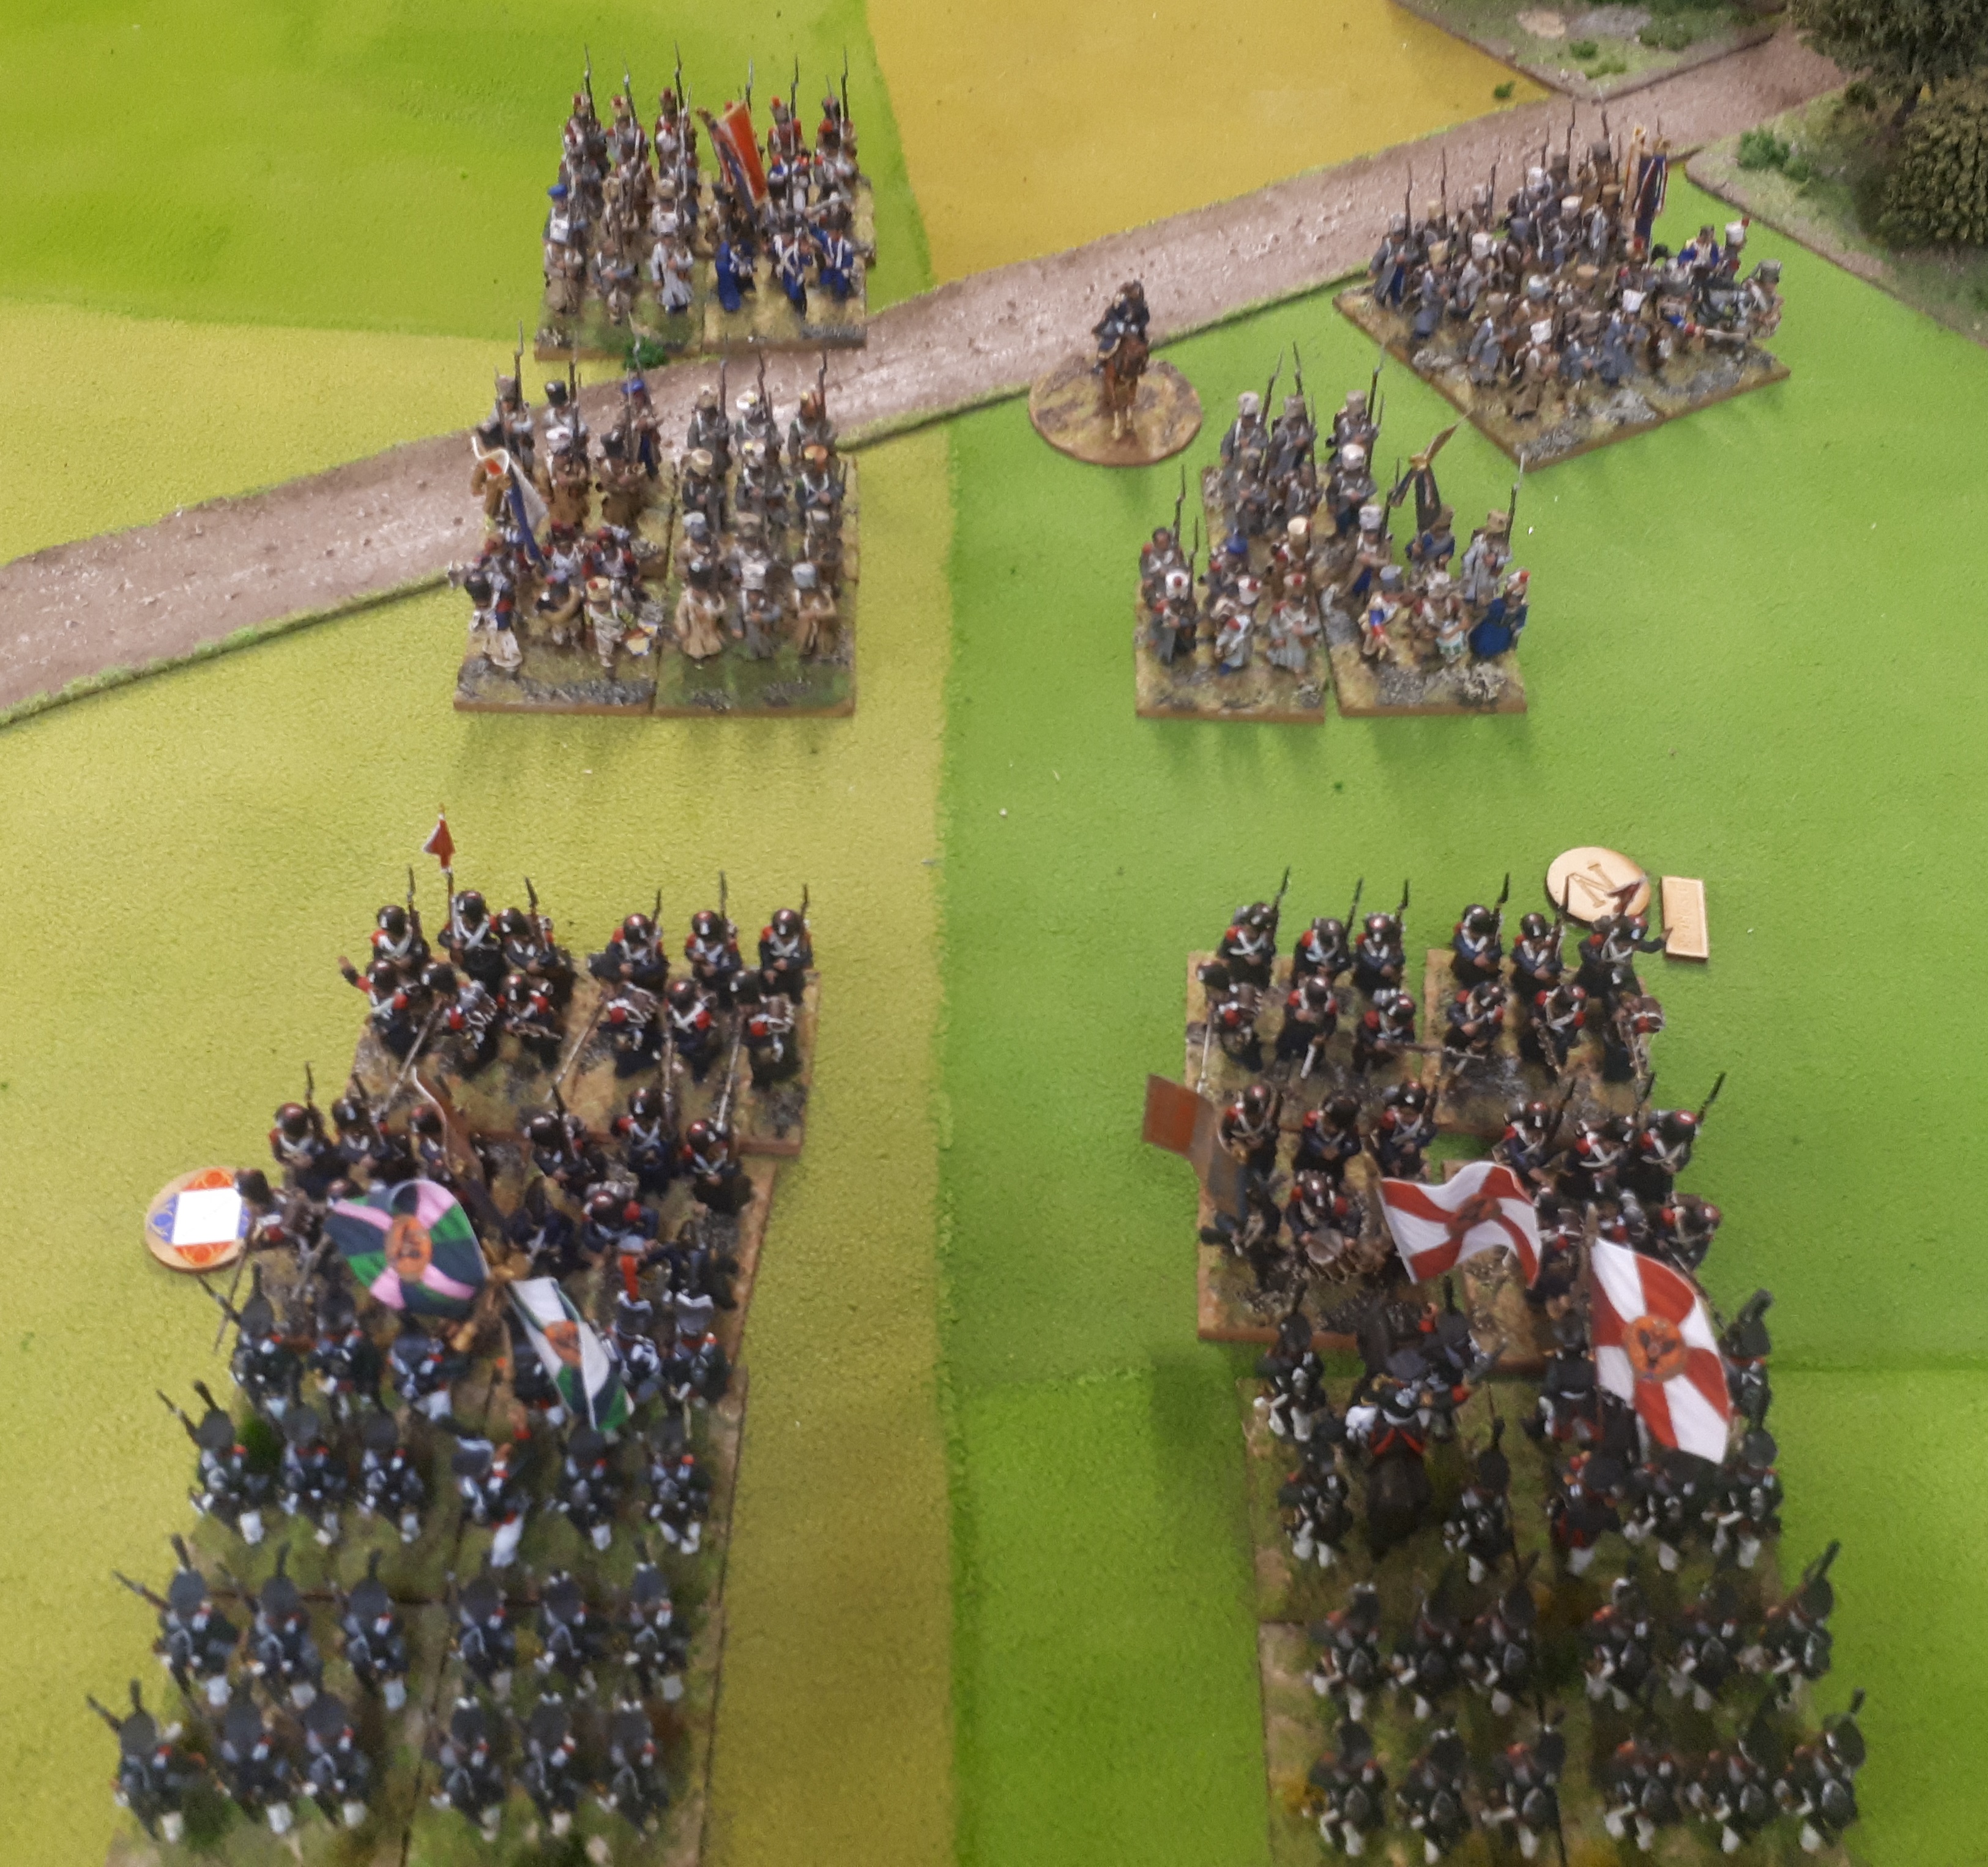
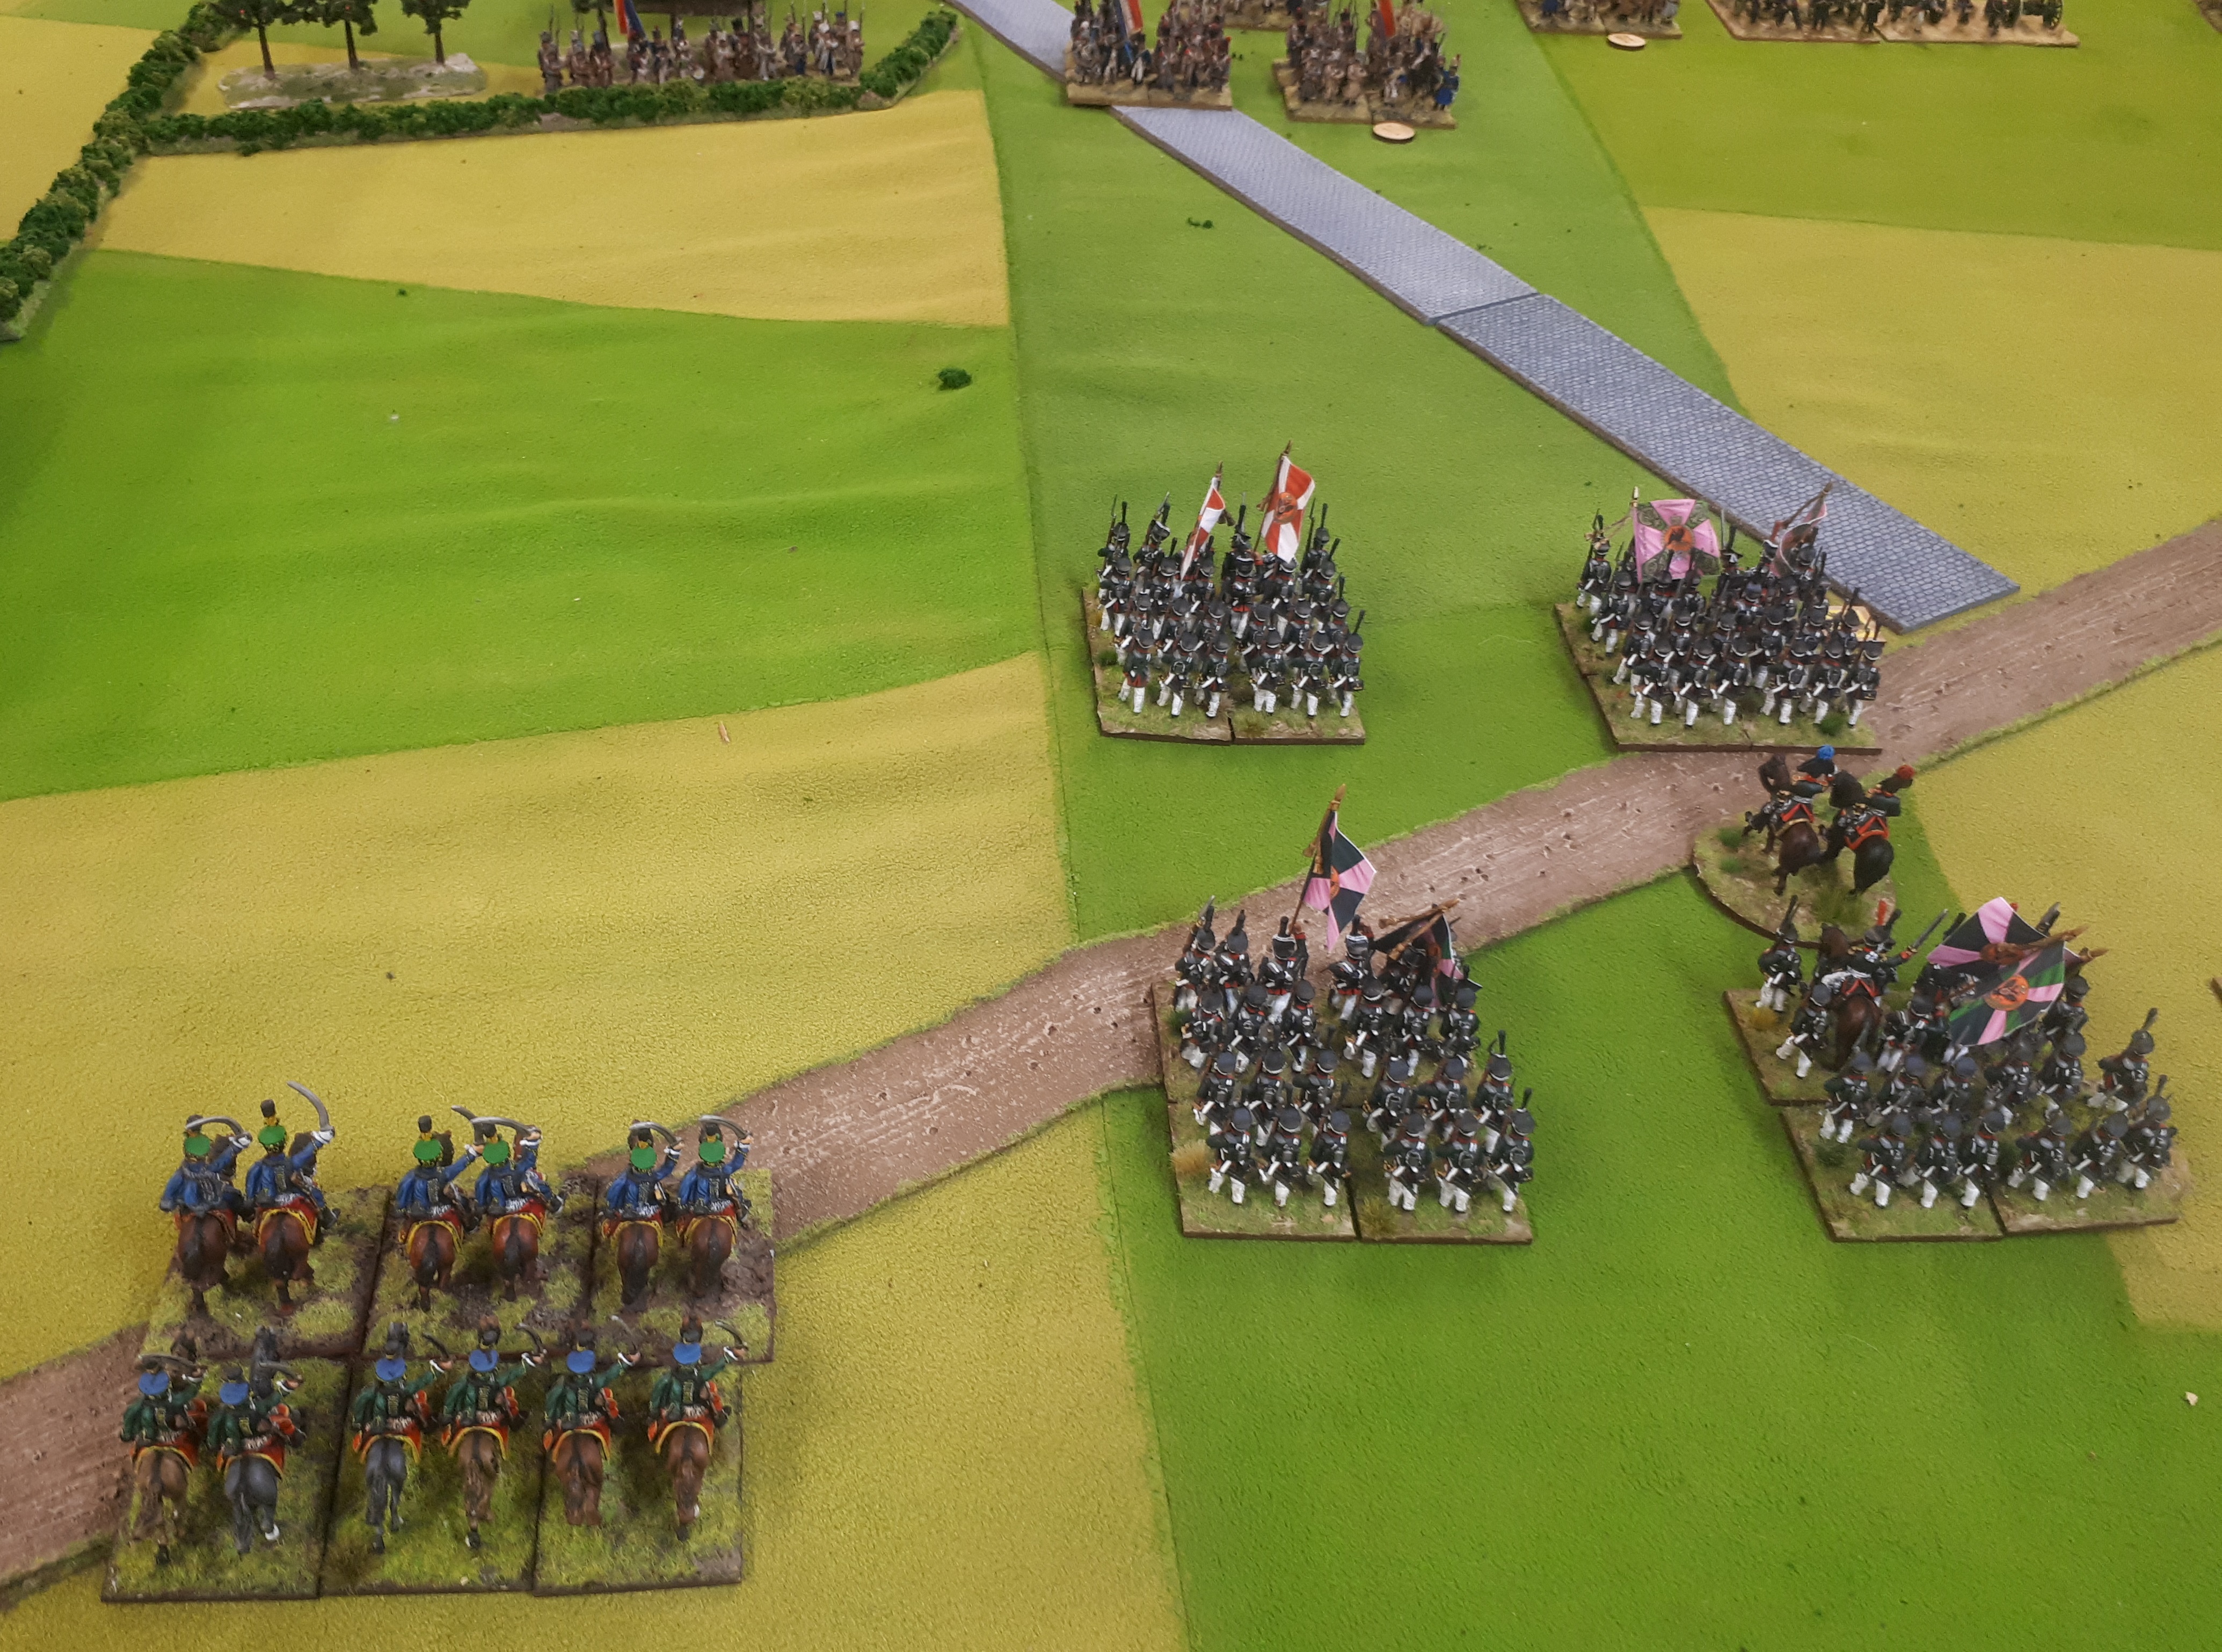
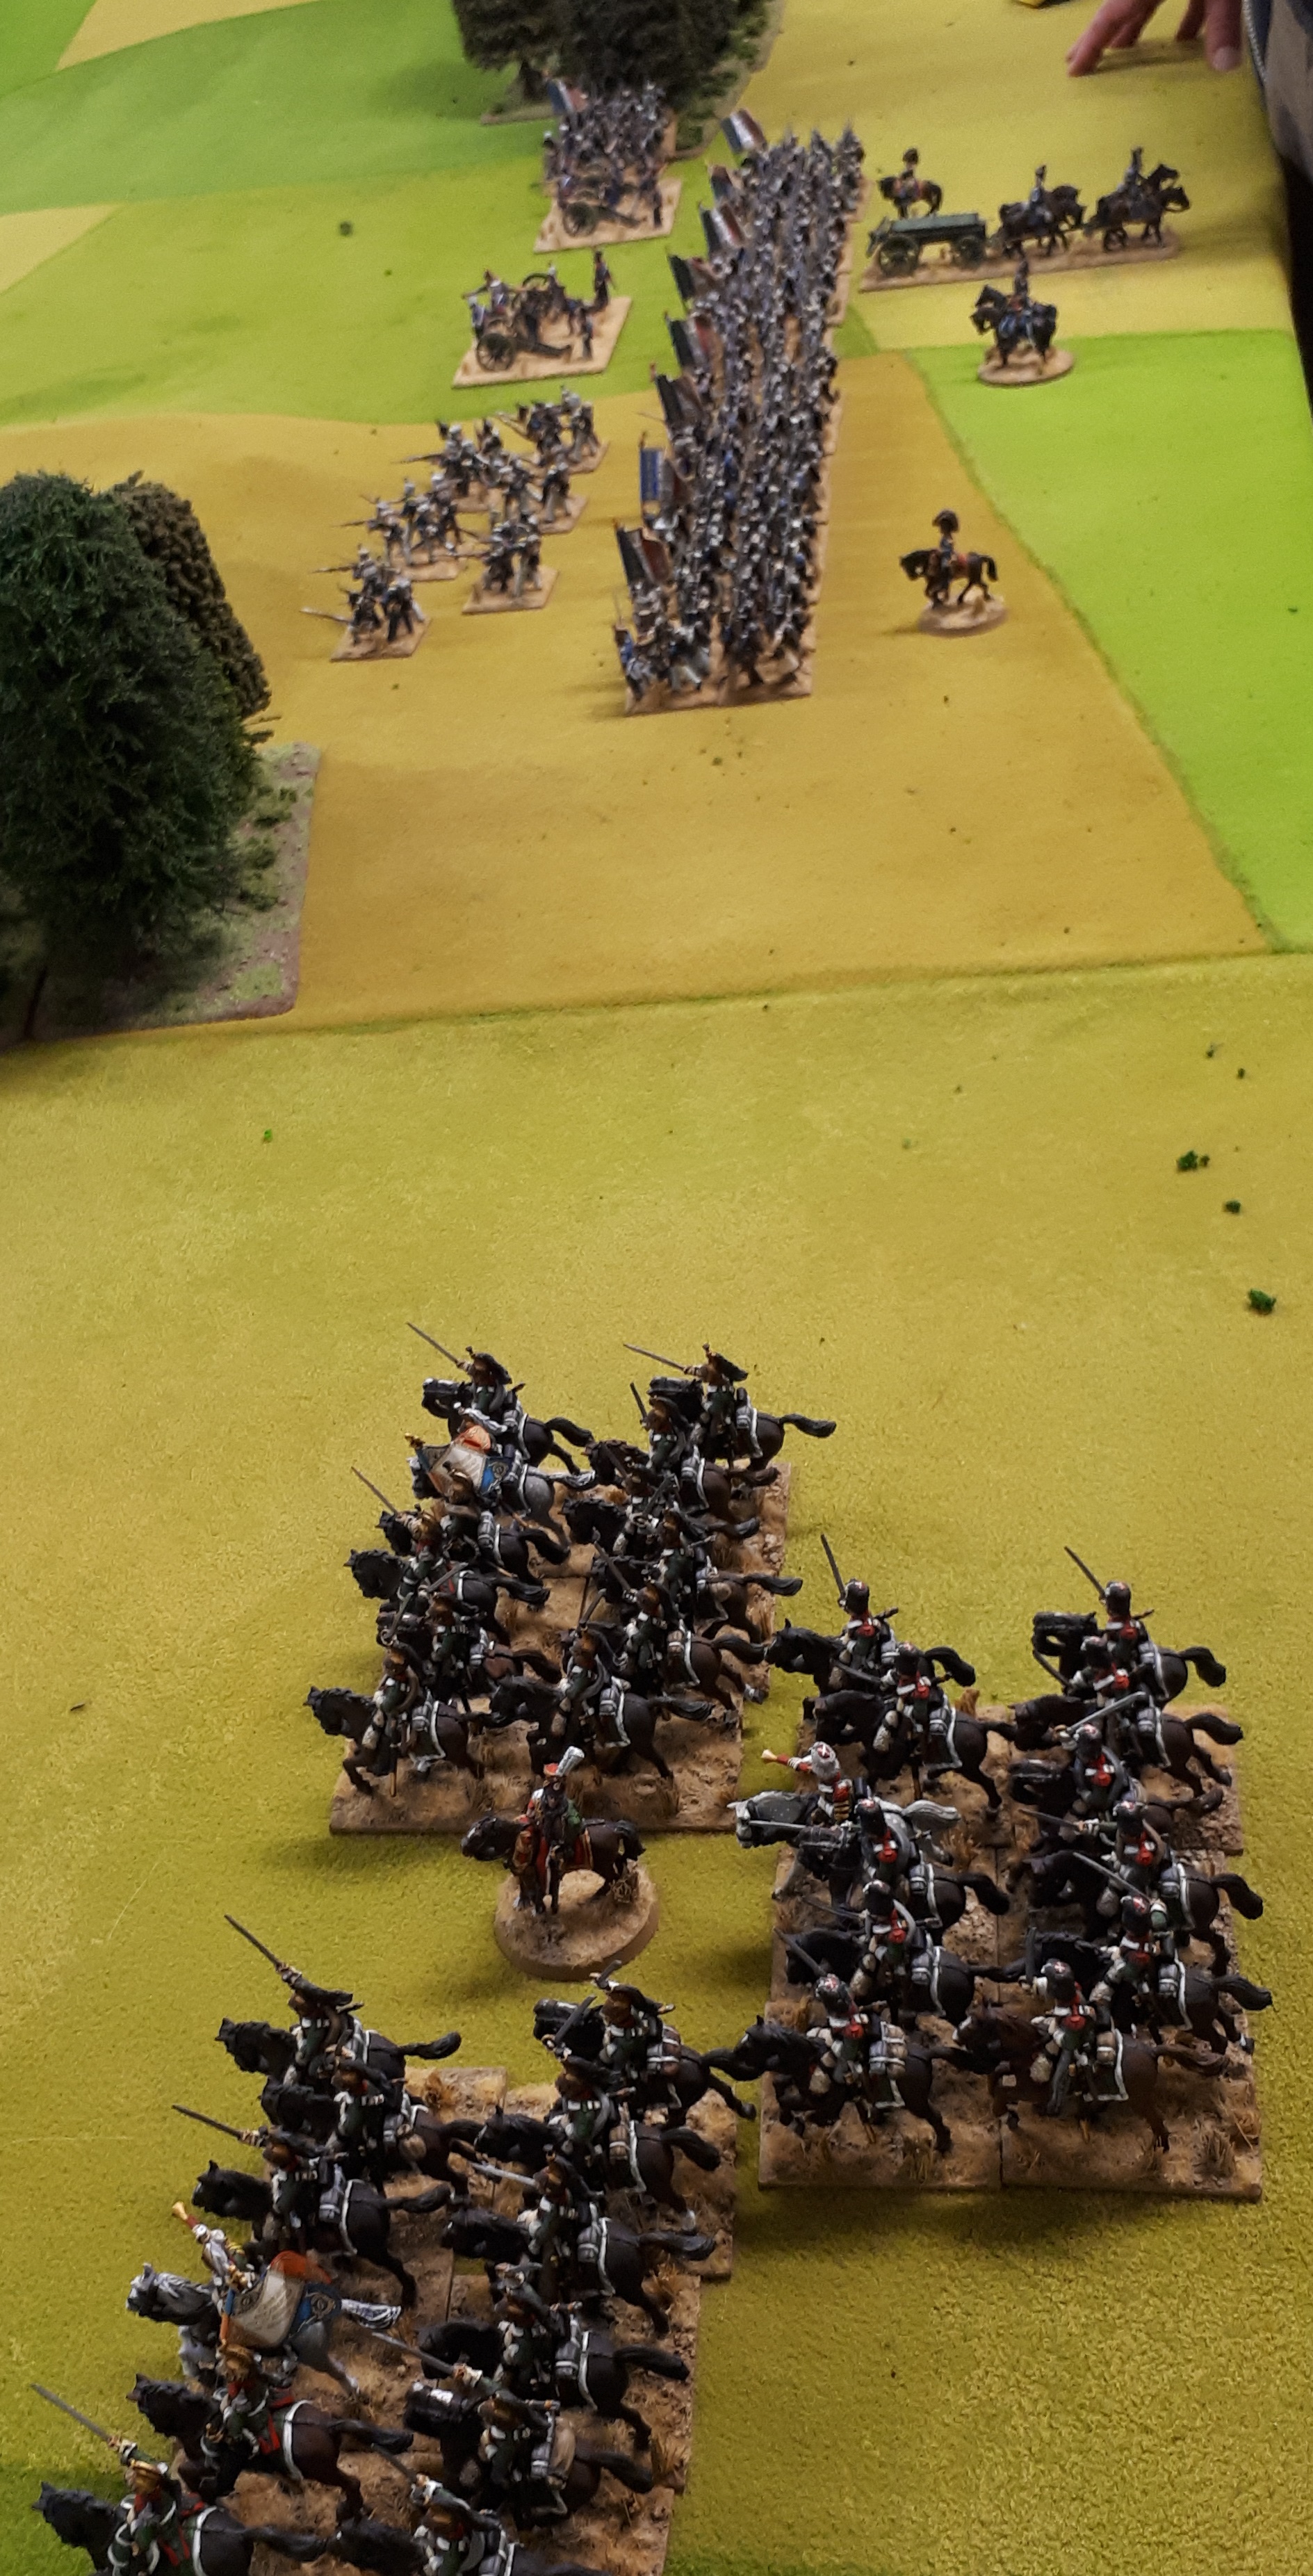
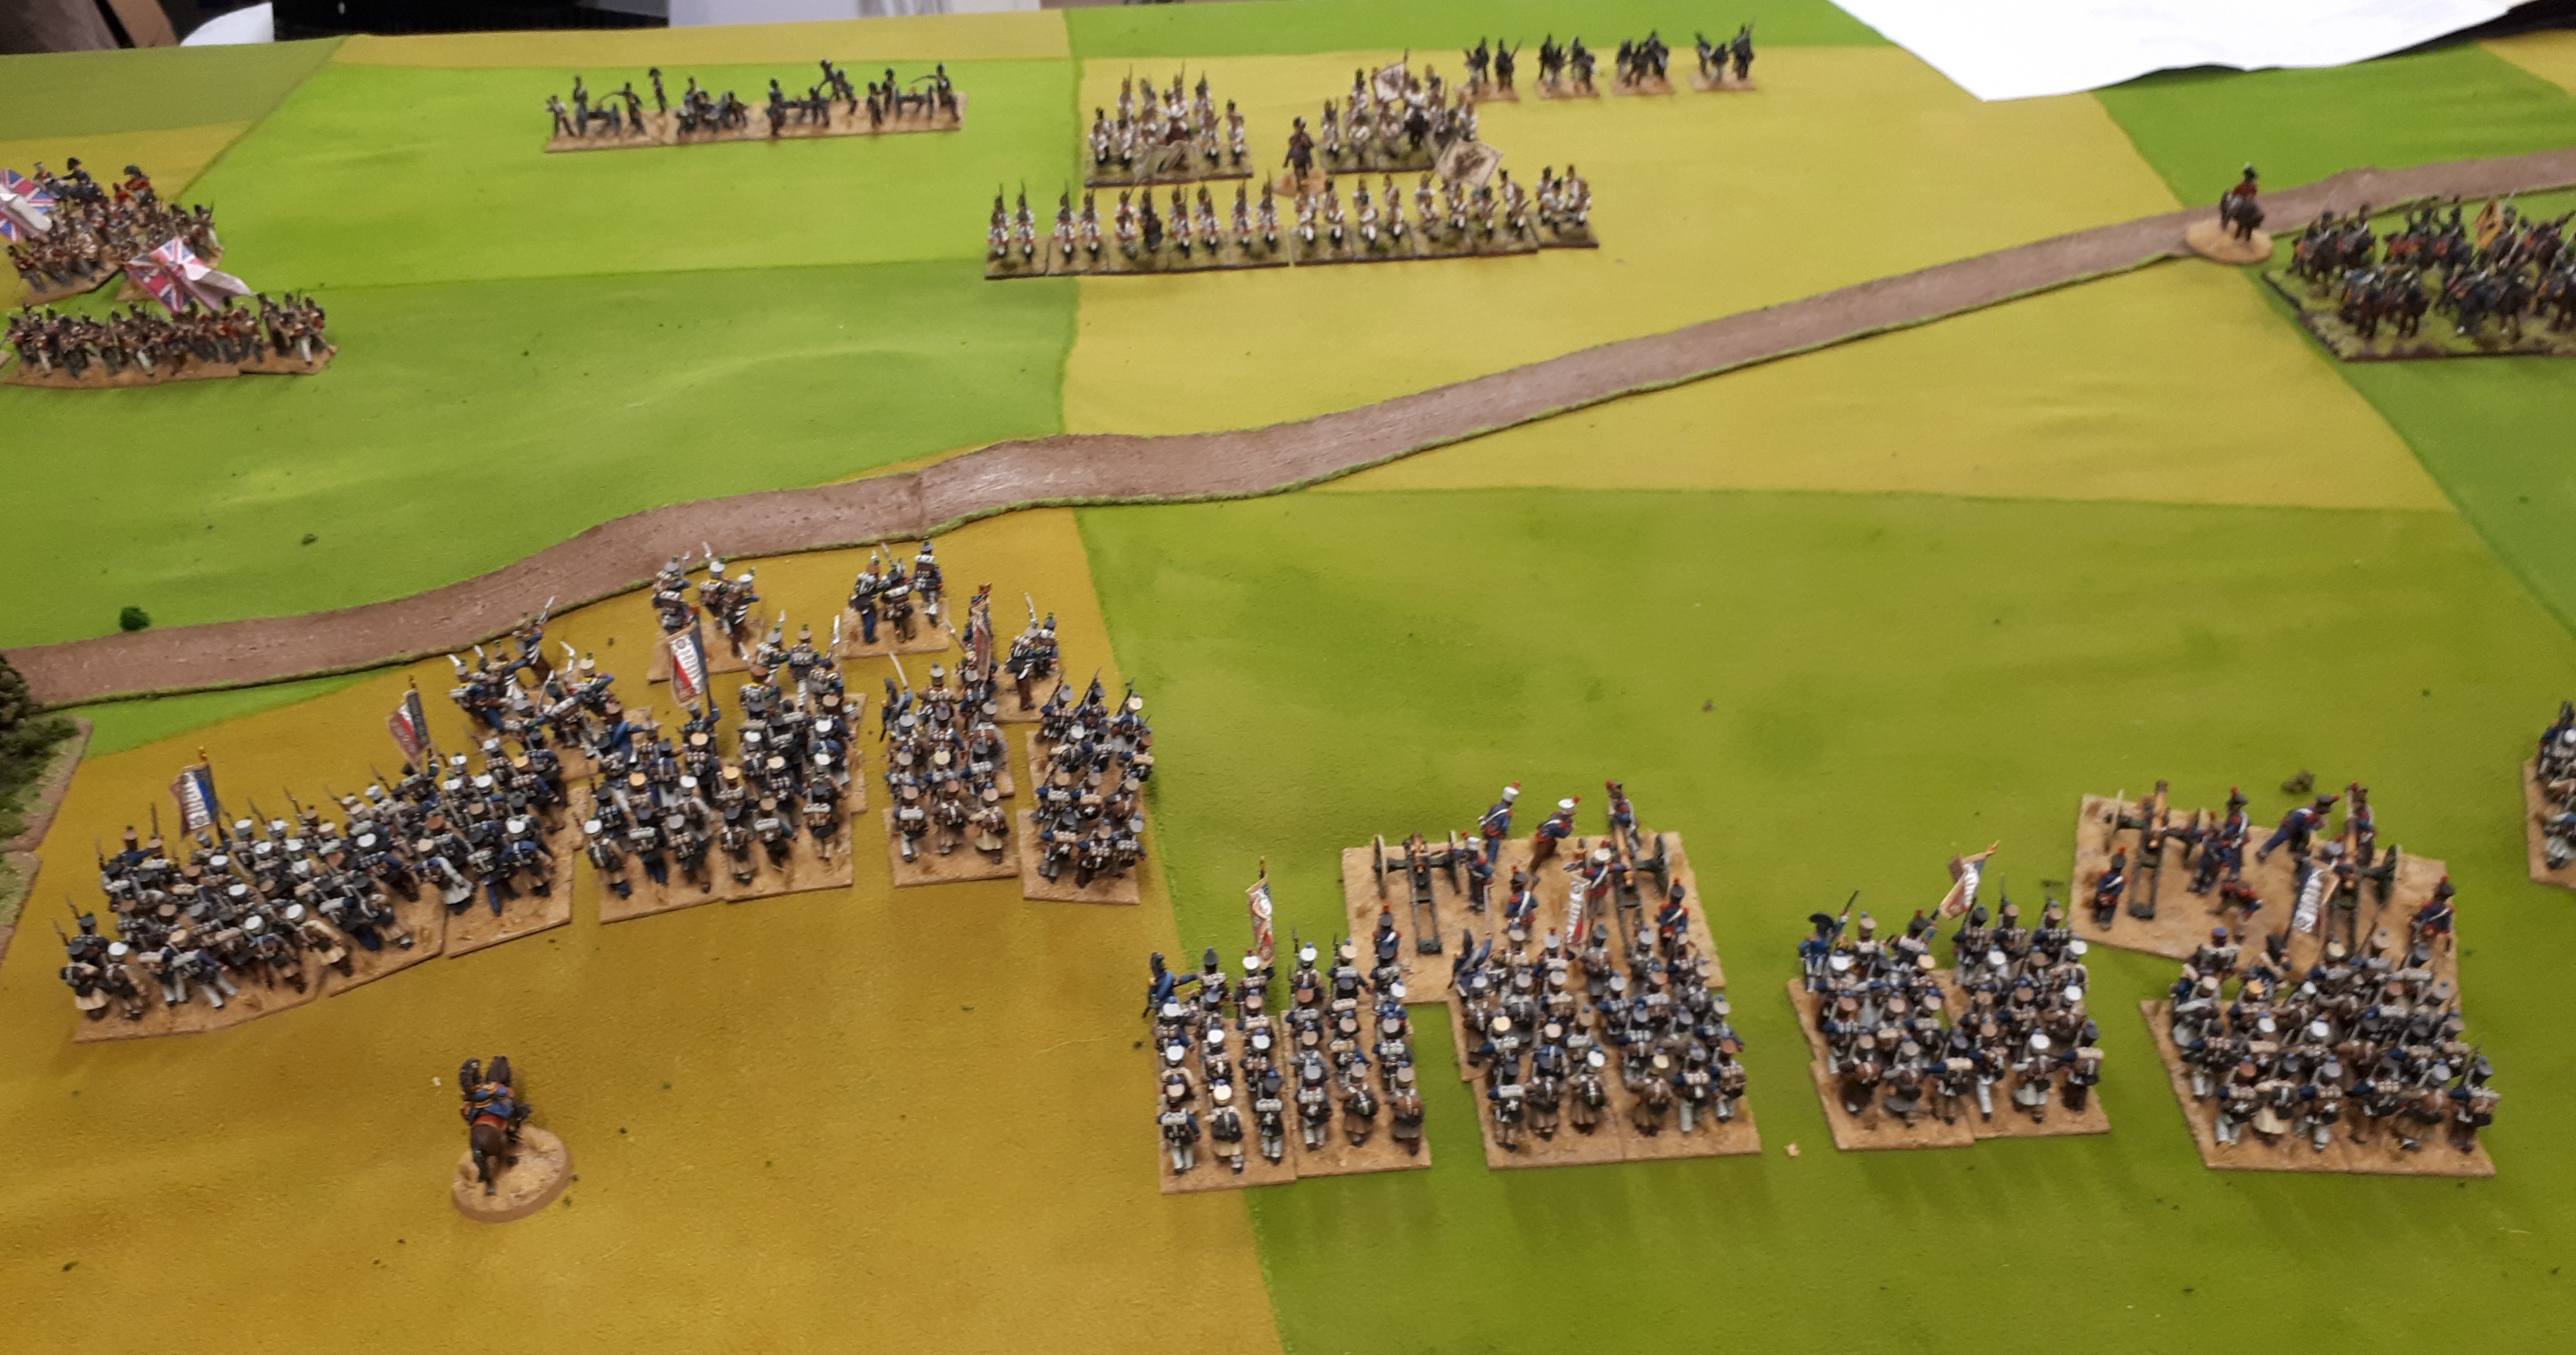
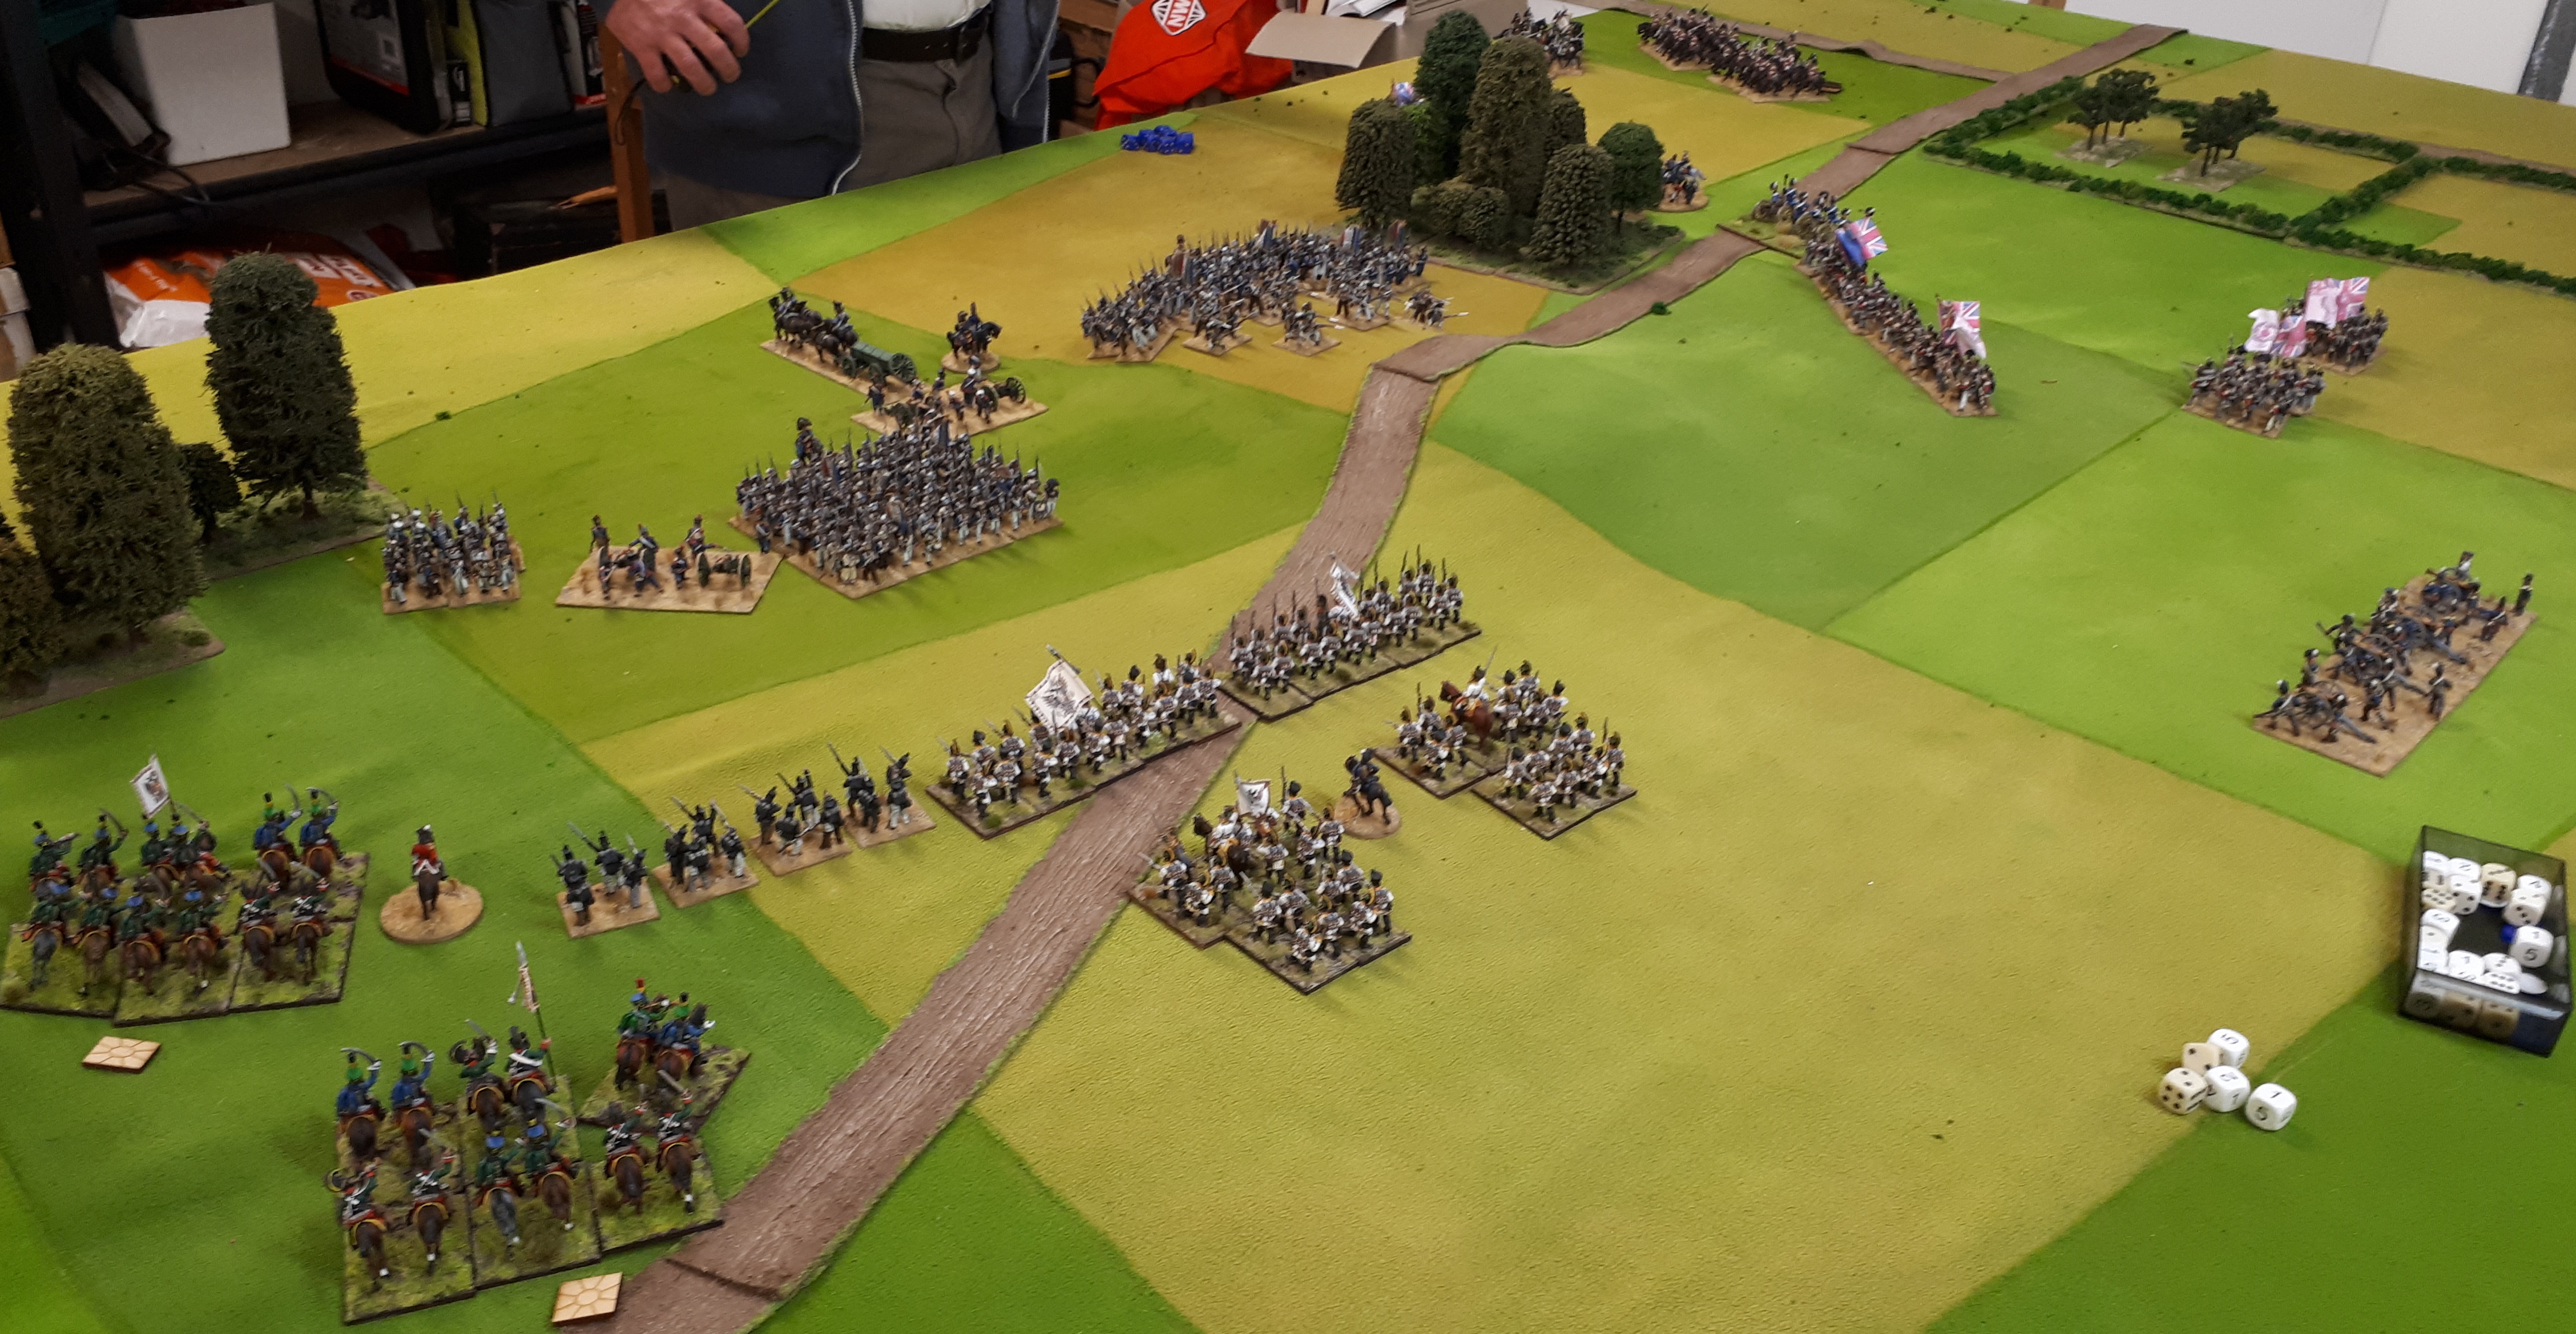
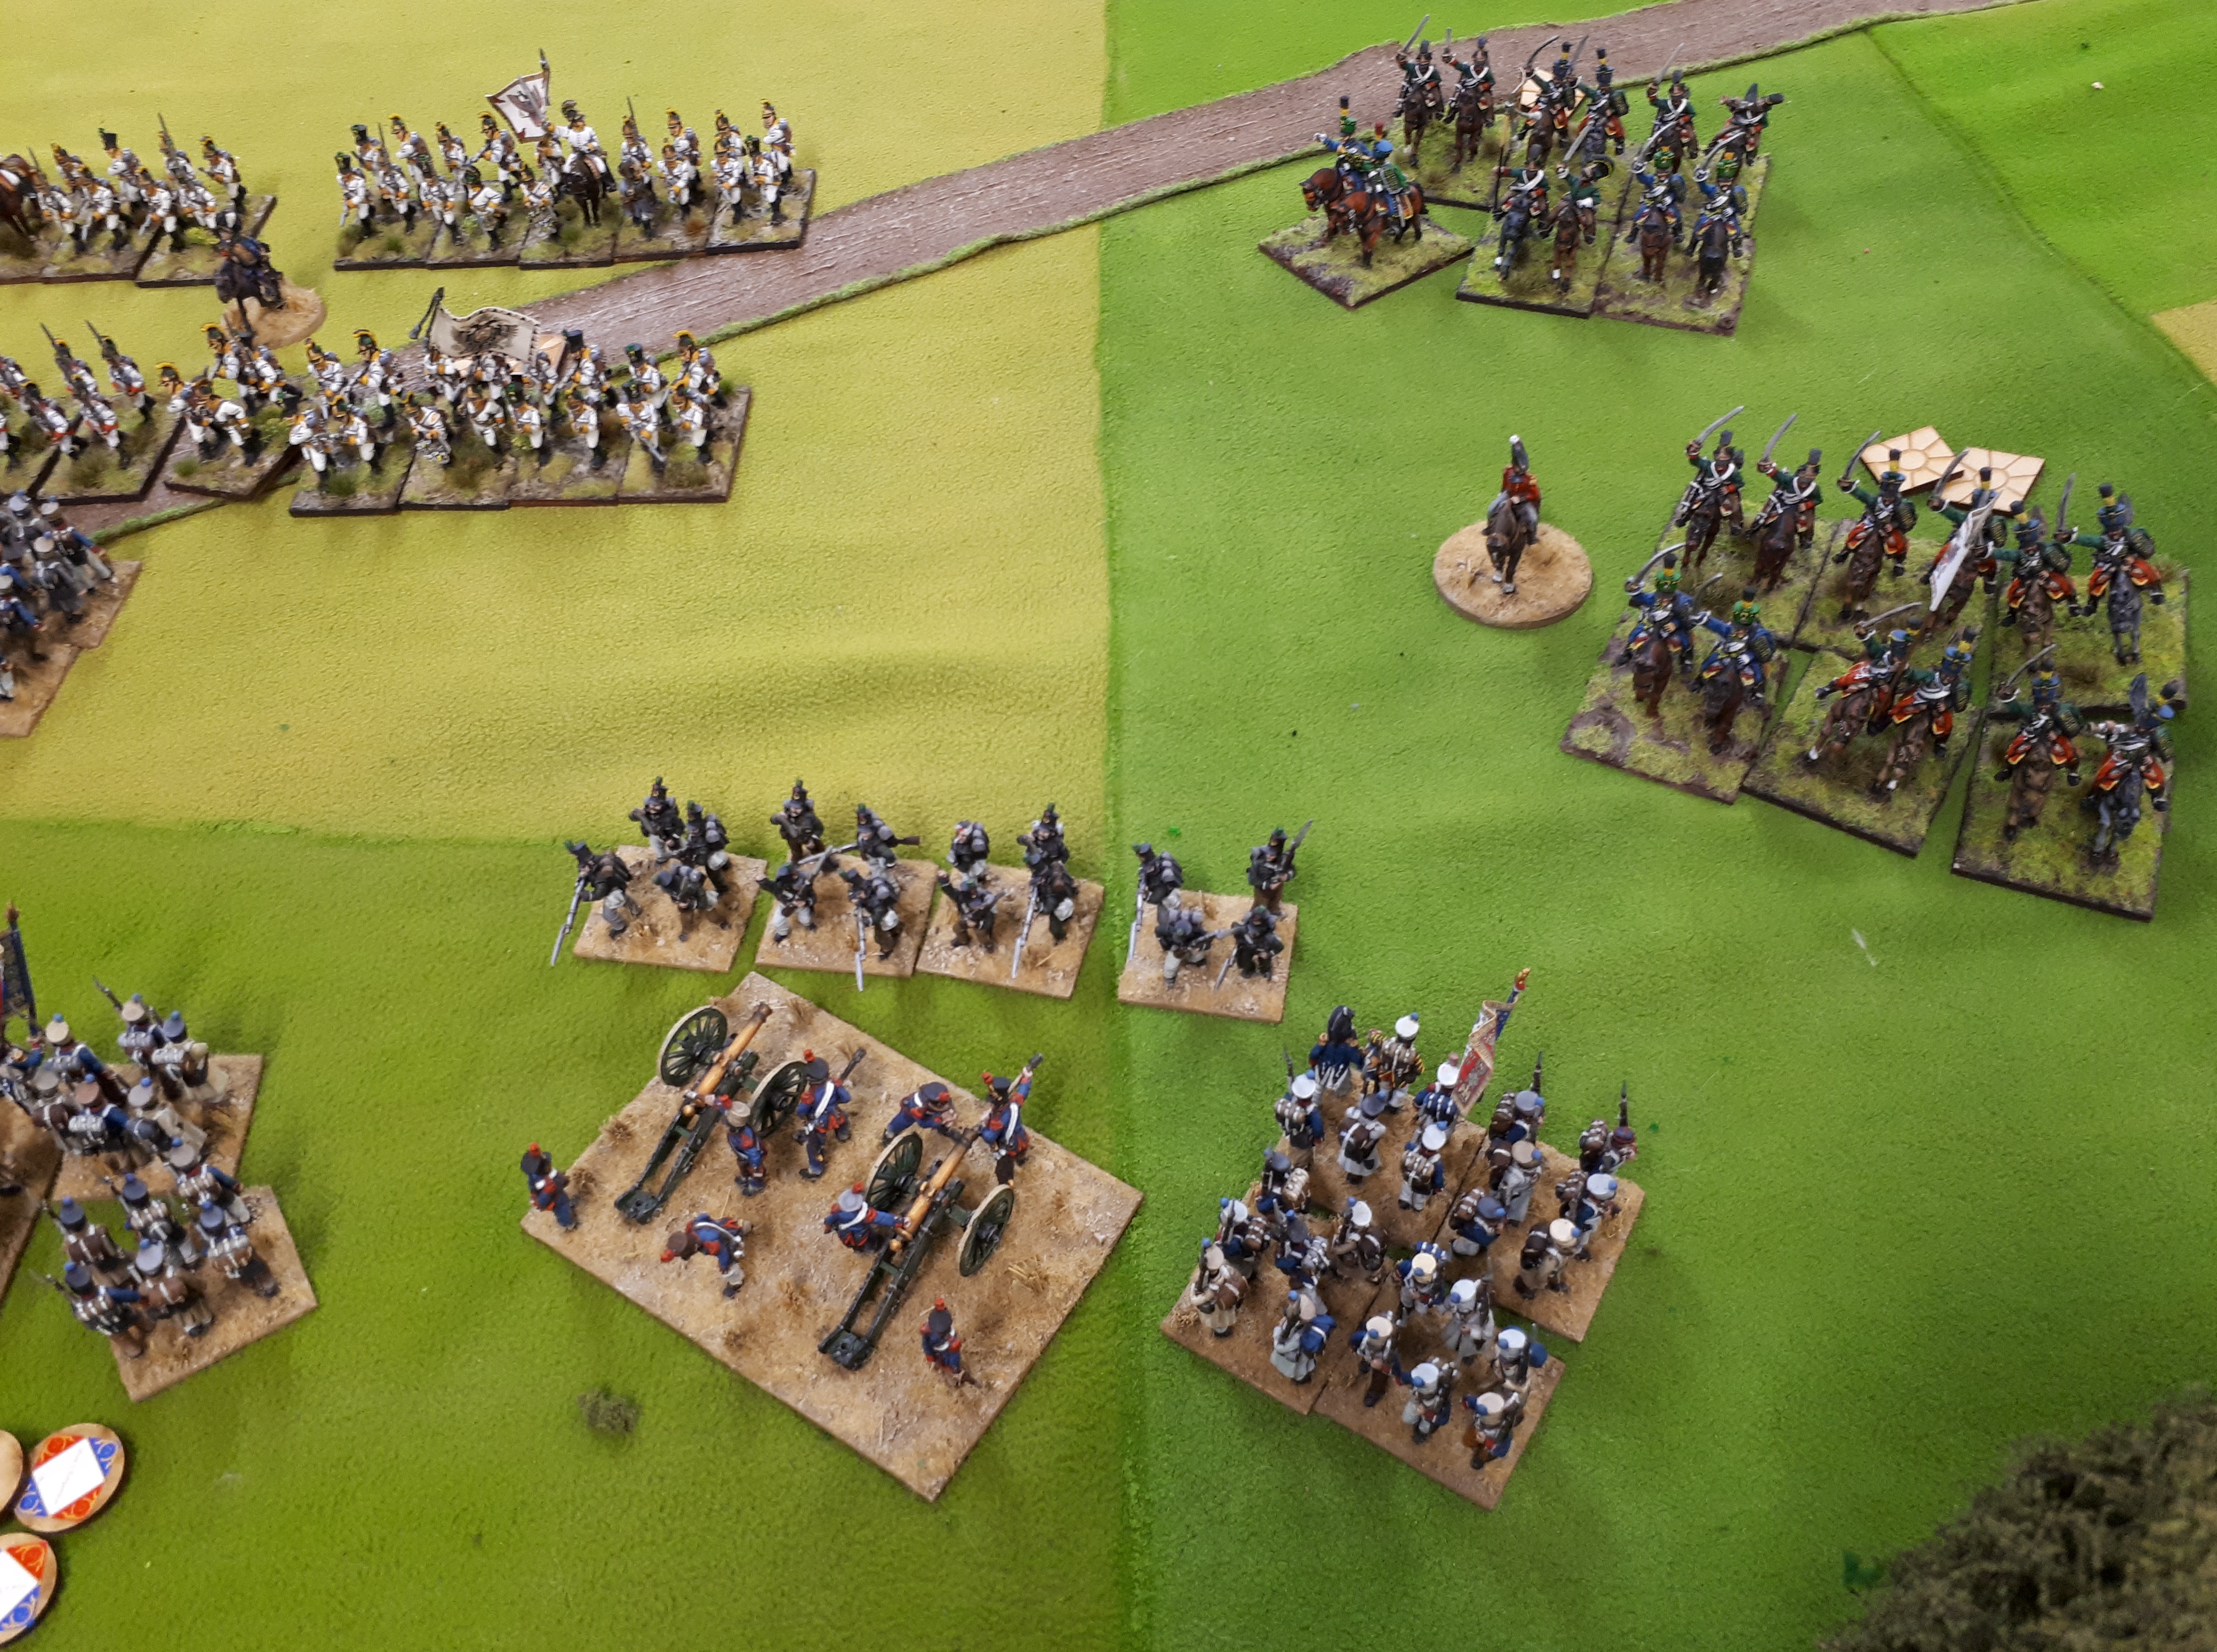
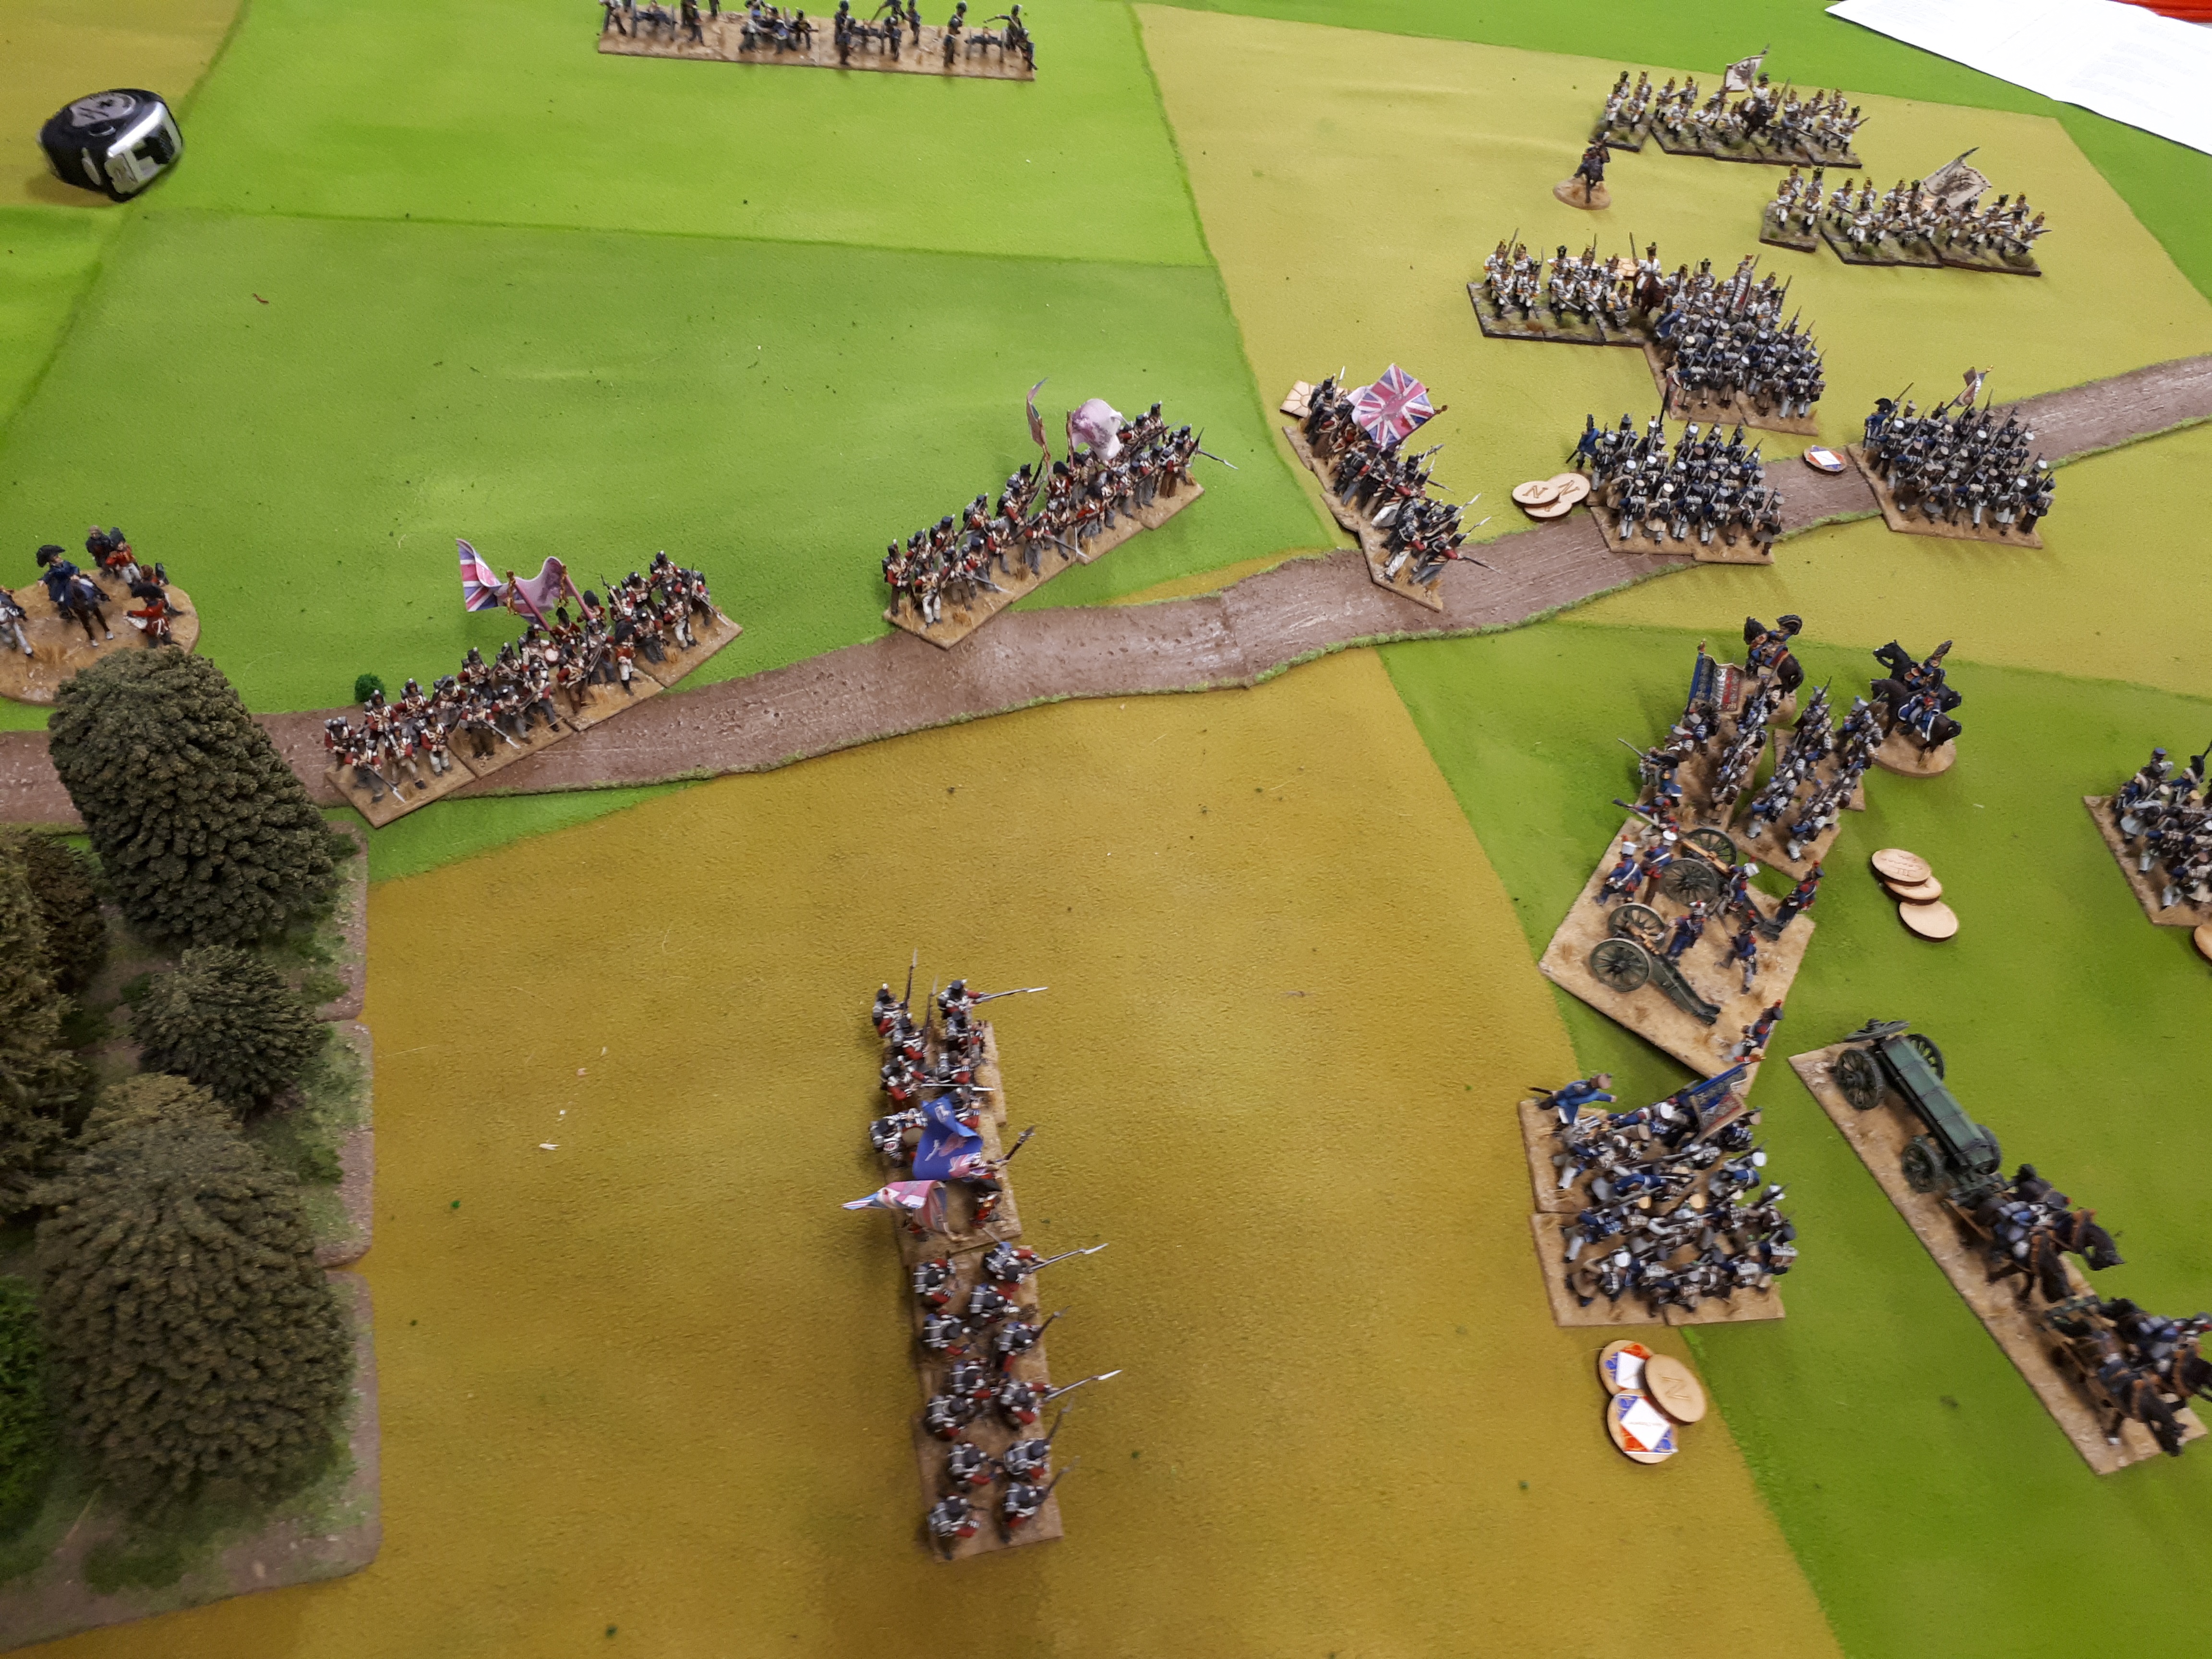
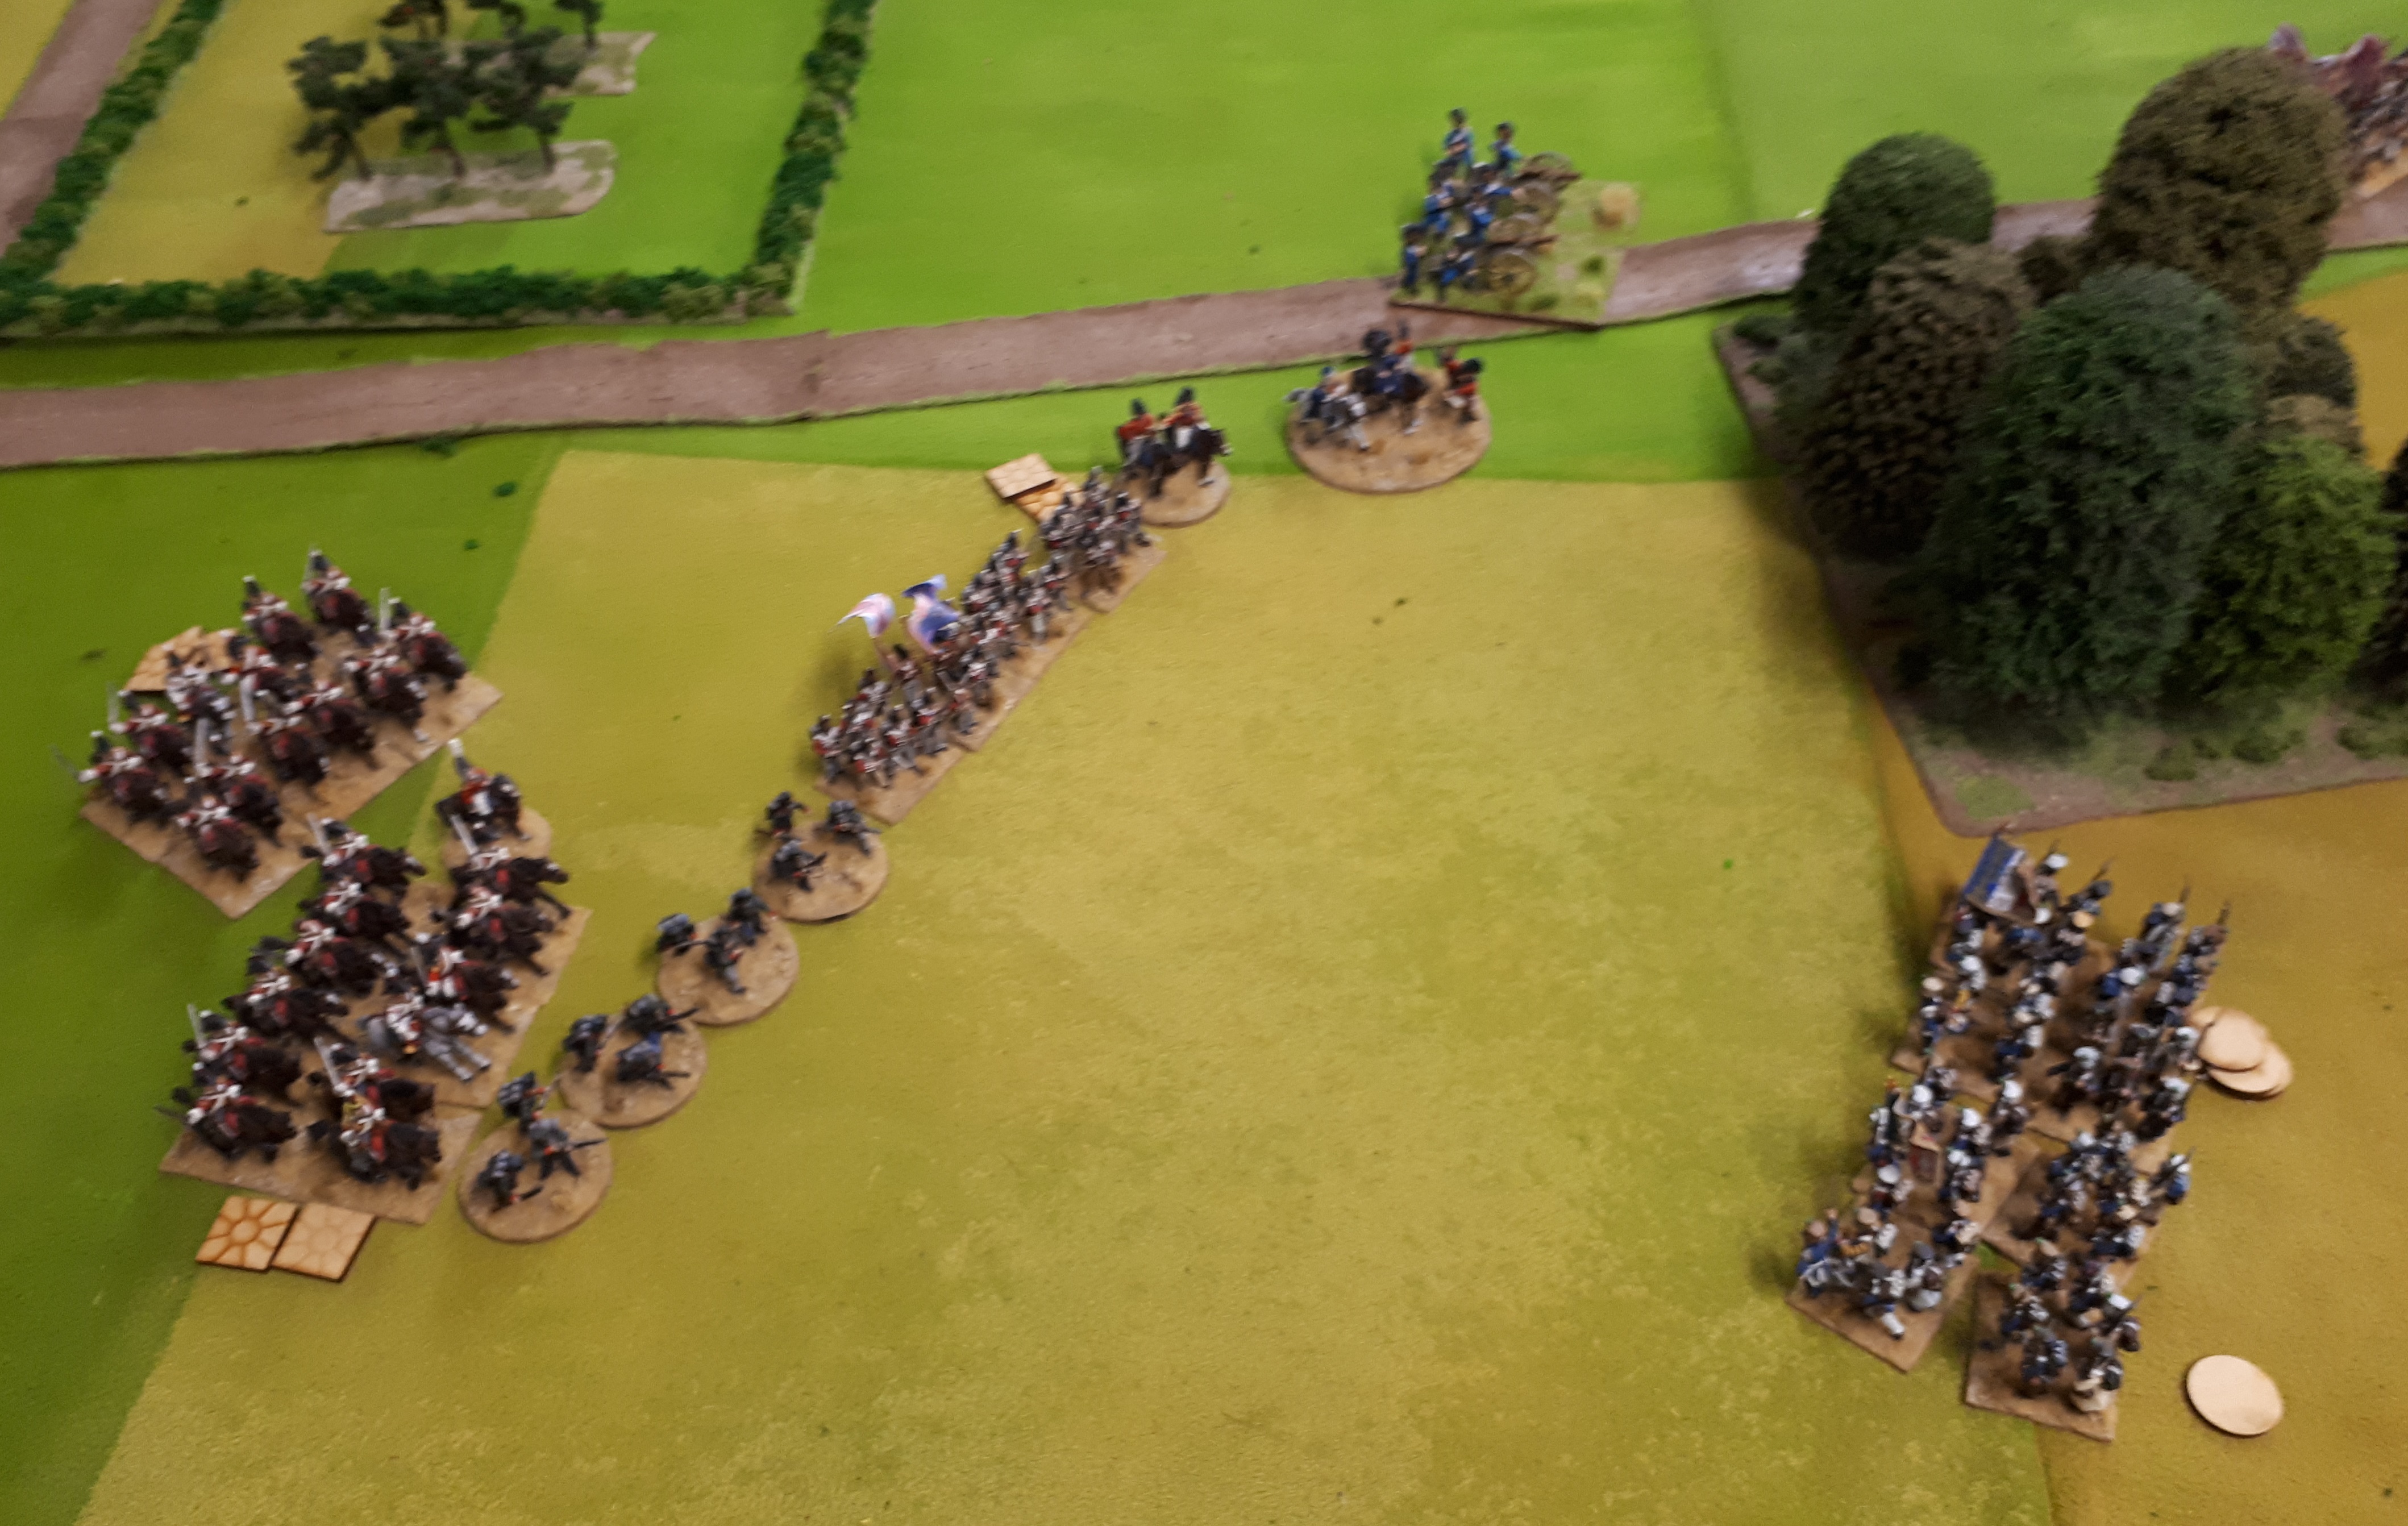
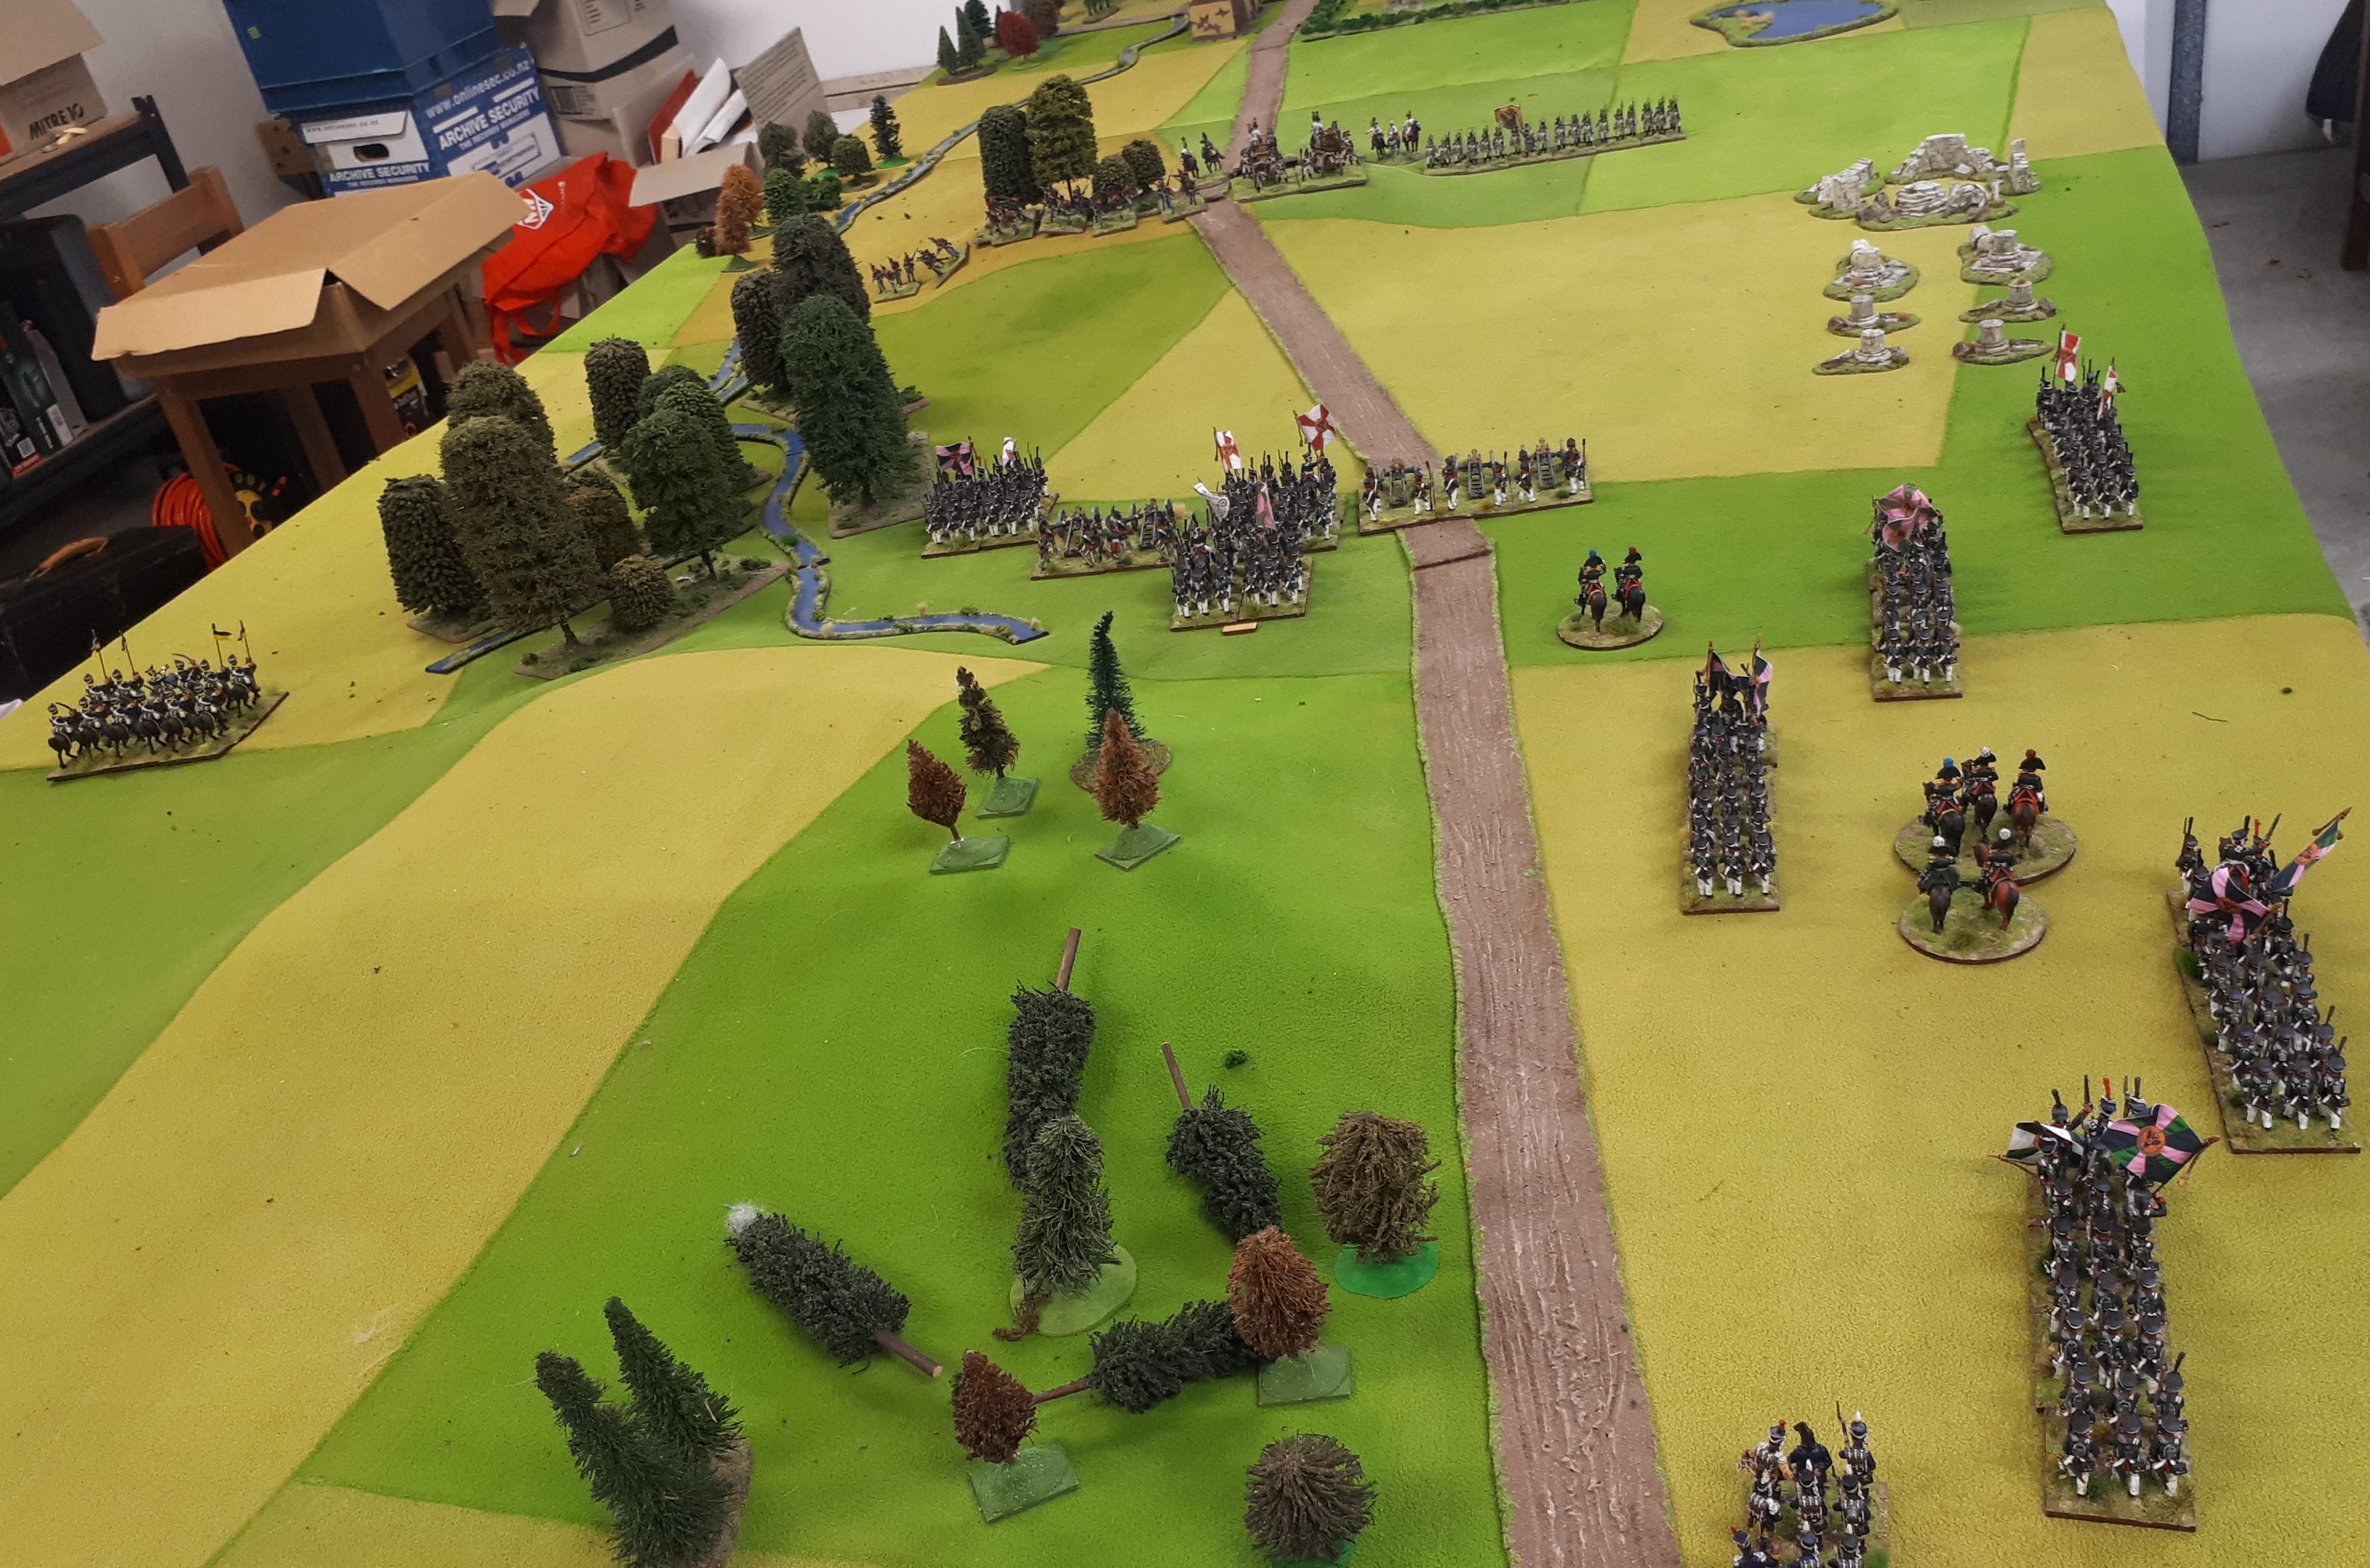
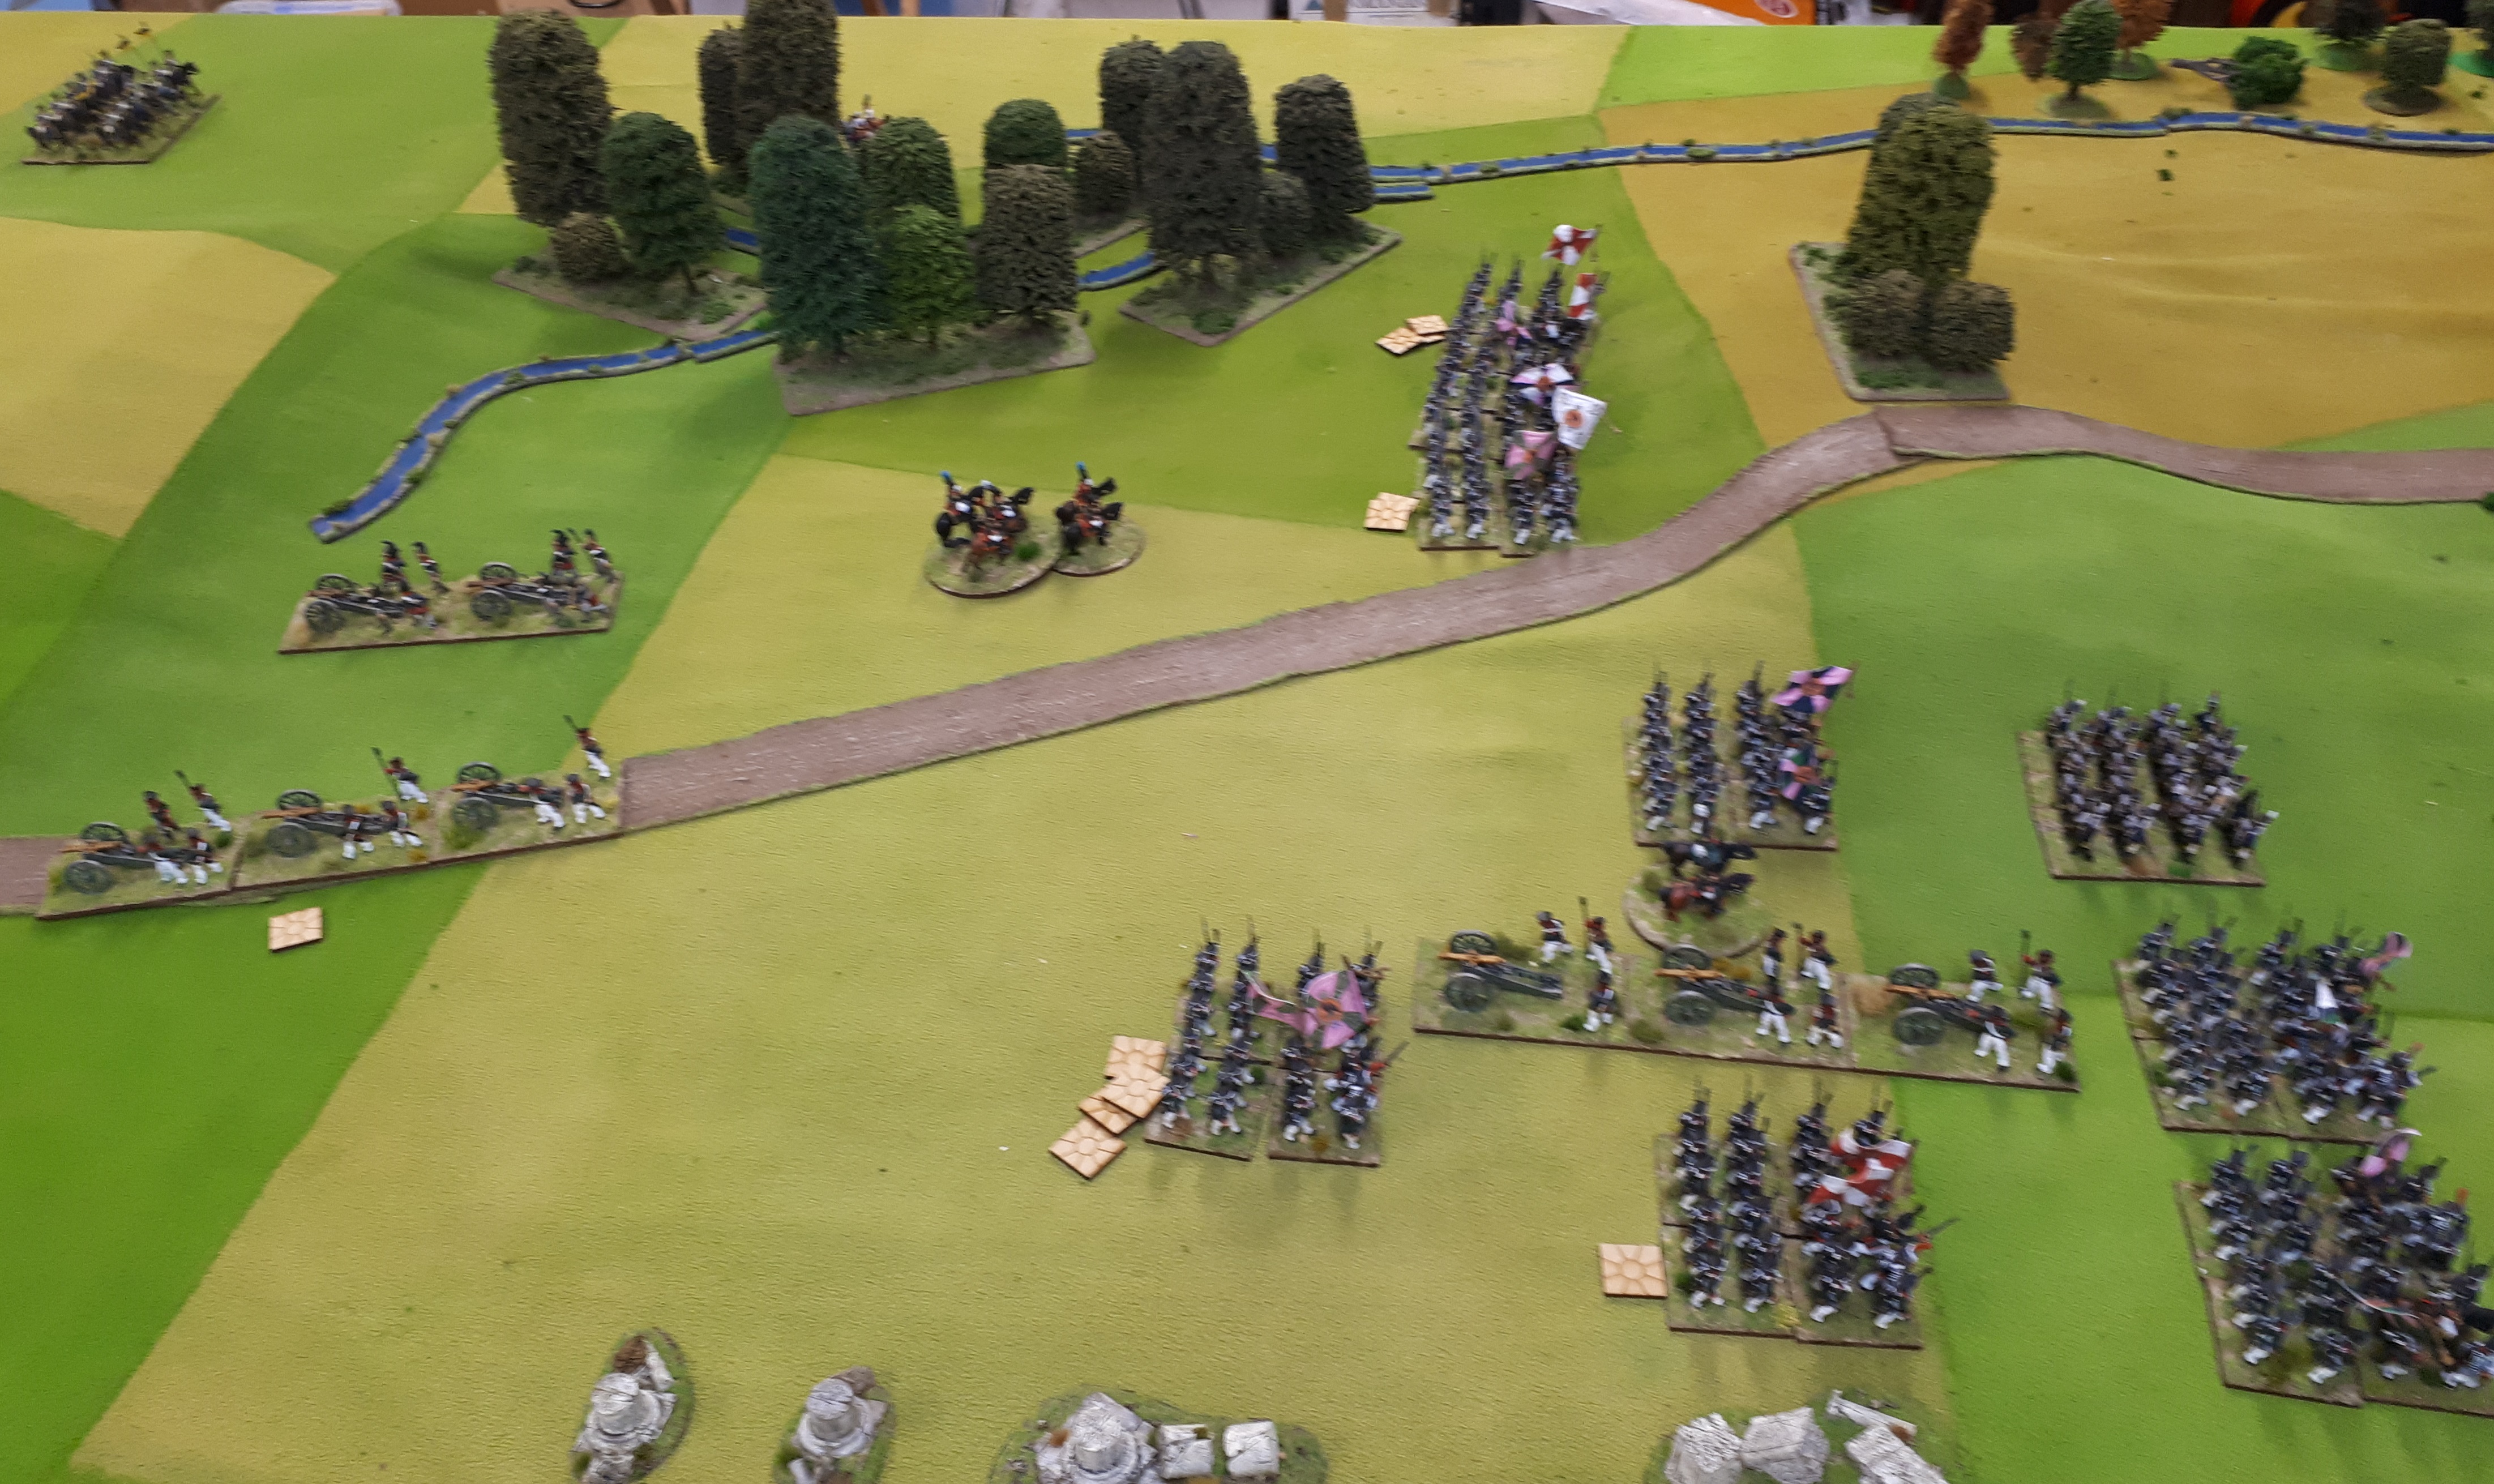
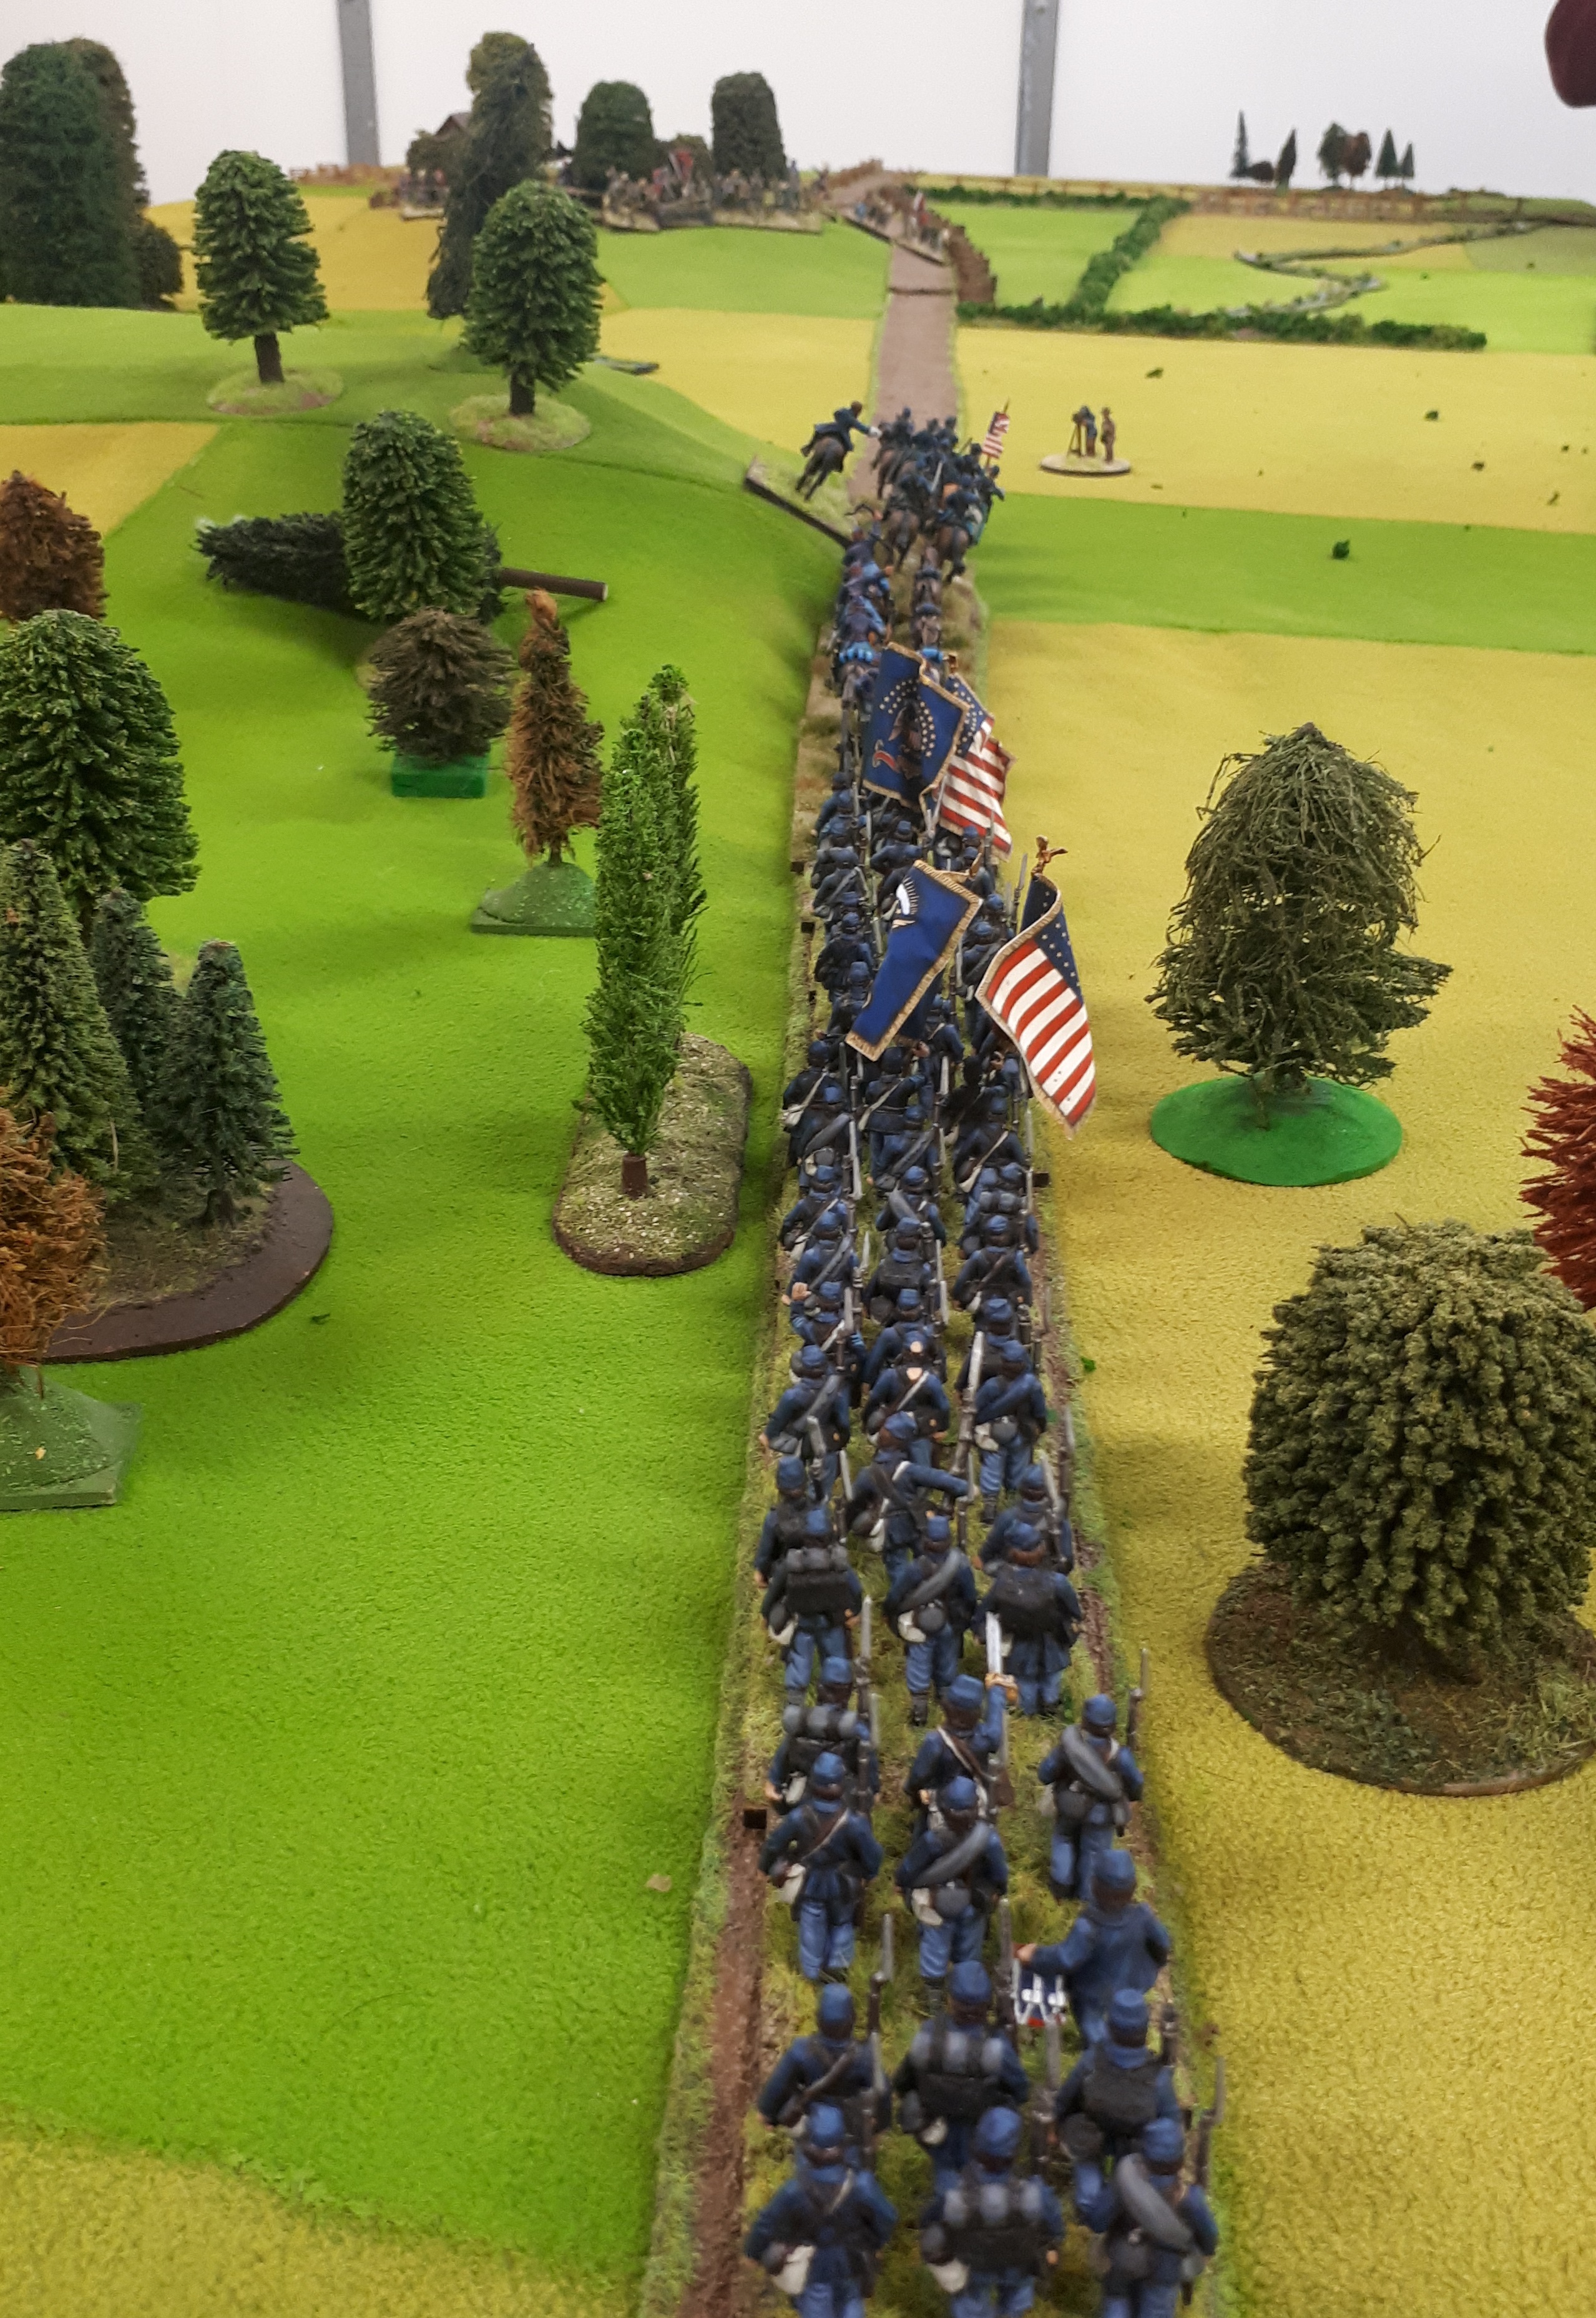
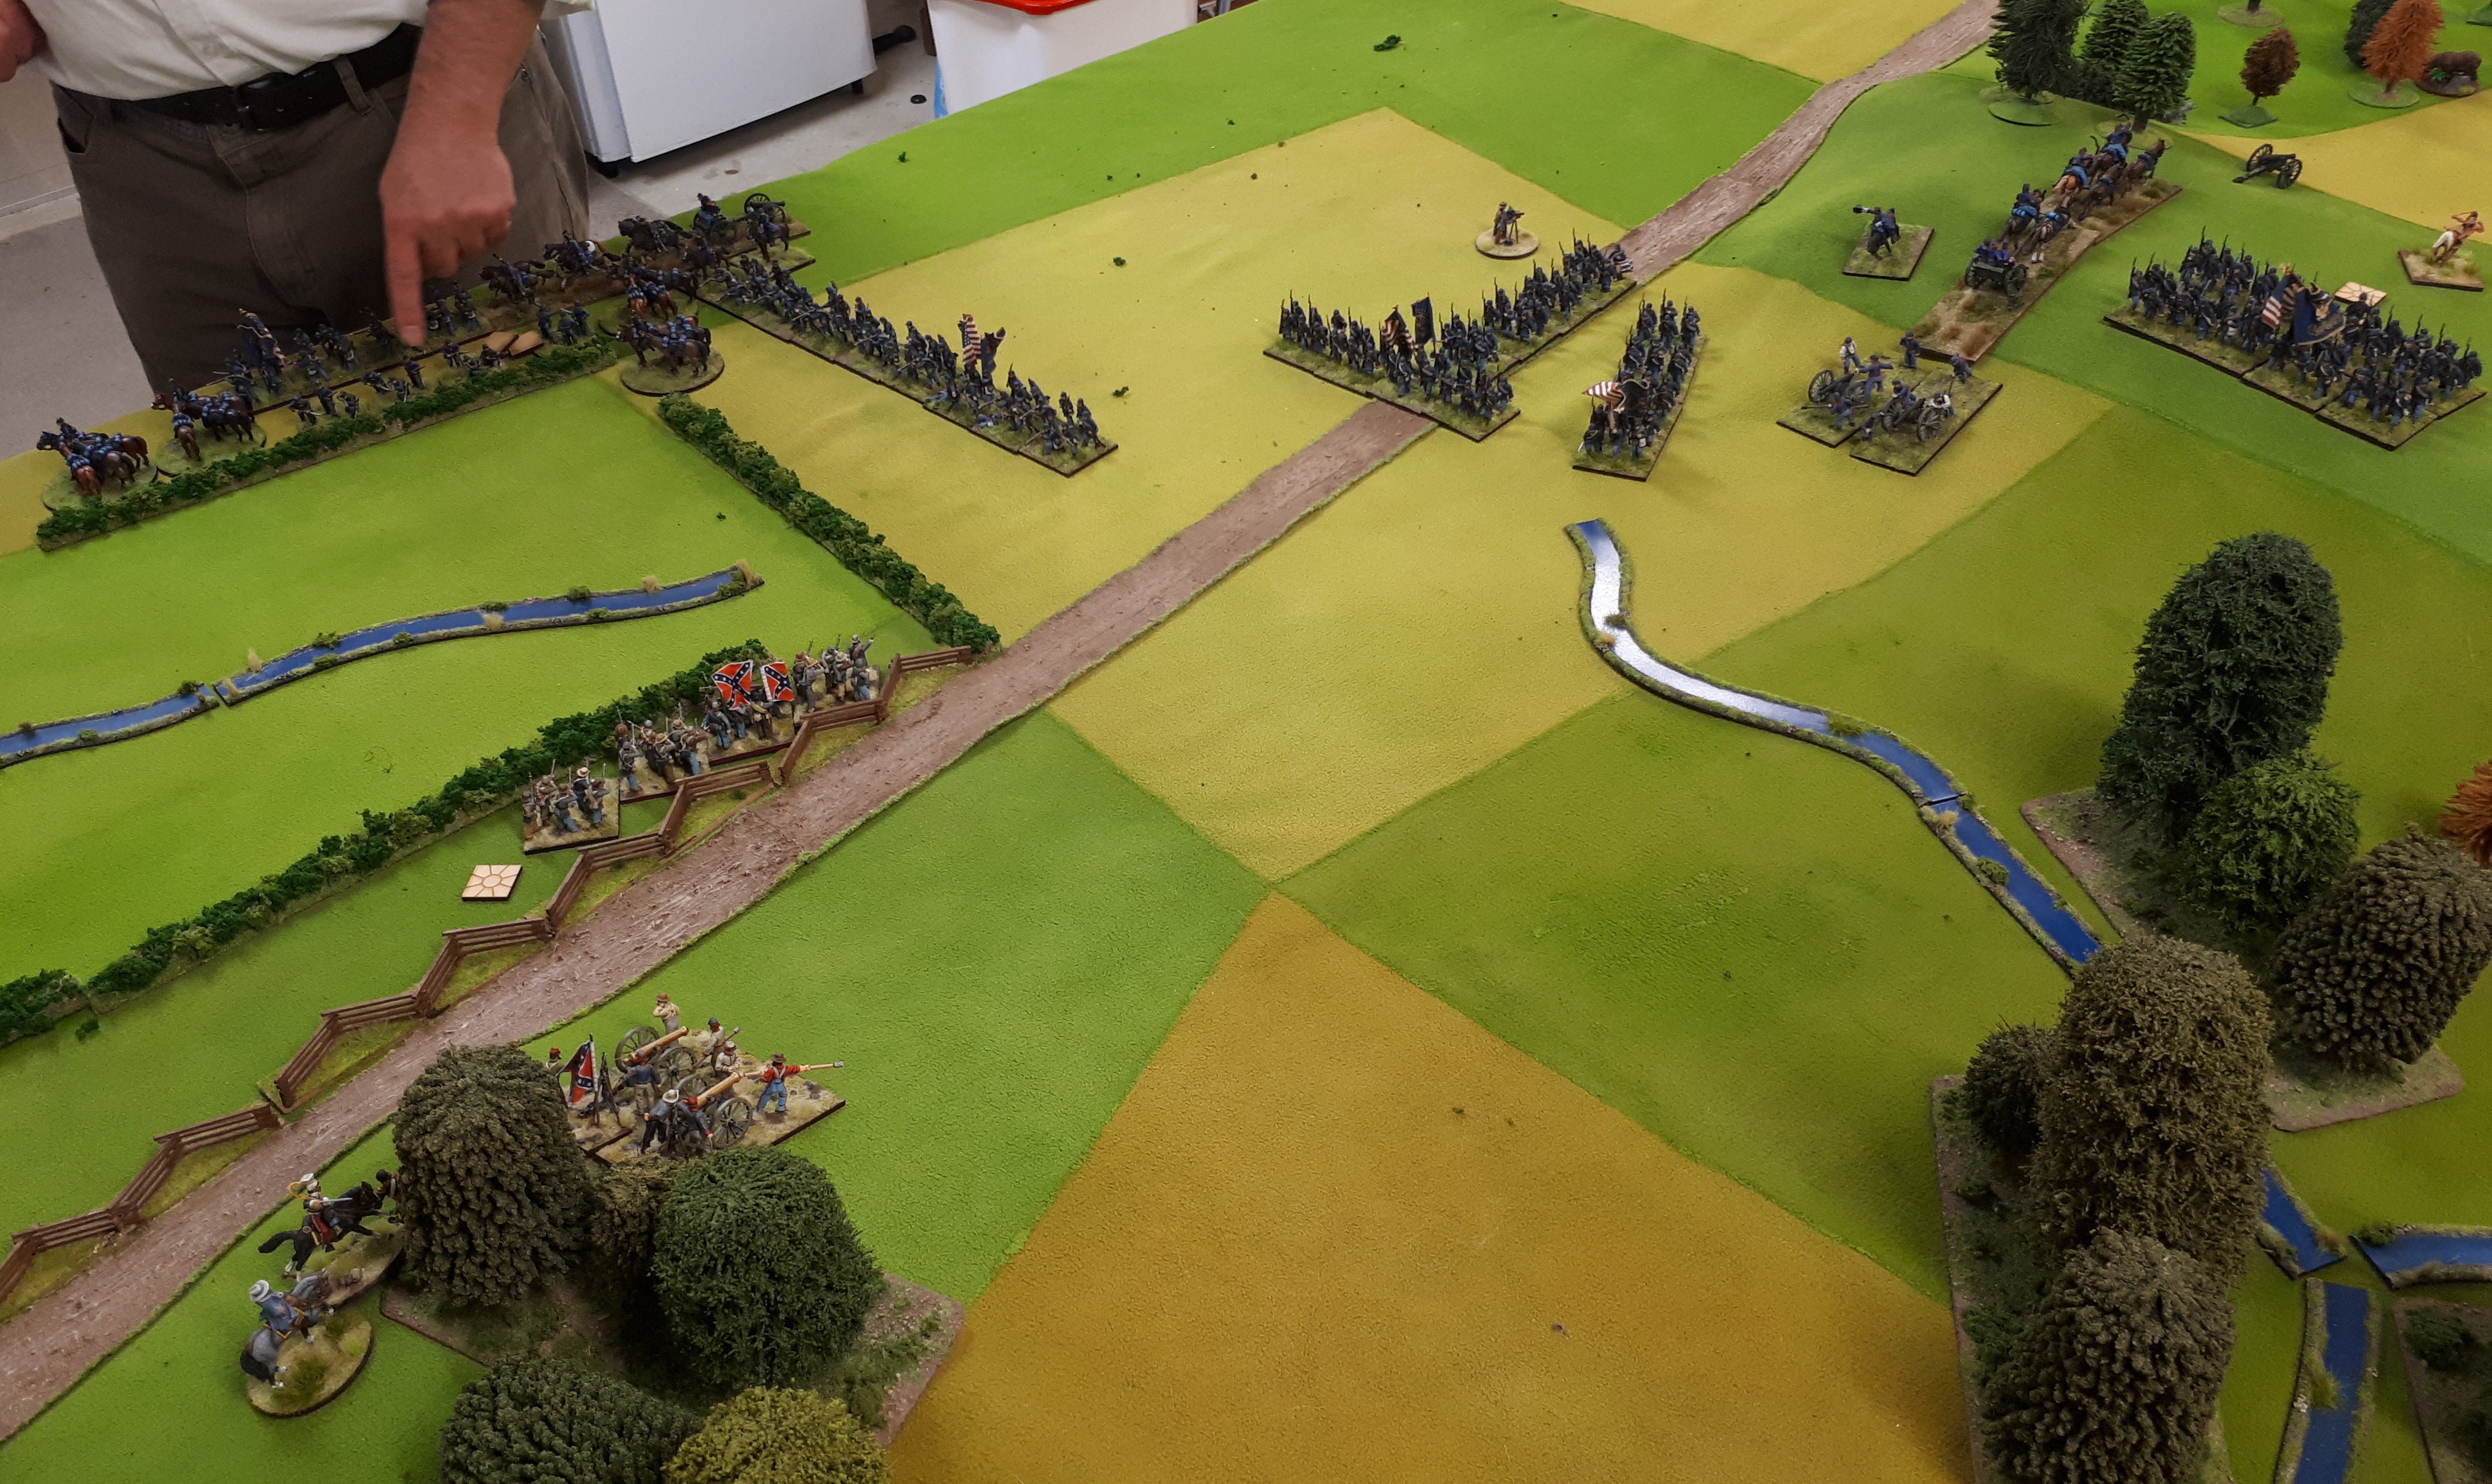
Above is initial Russian deployment. Russian artillery get 2 shots at long range so I set up at long range to get shooting advantage over French.

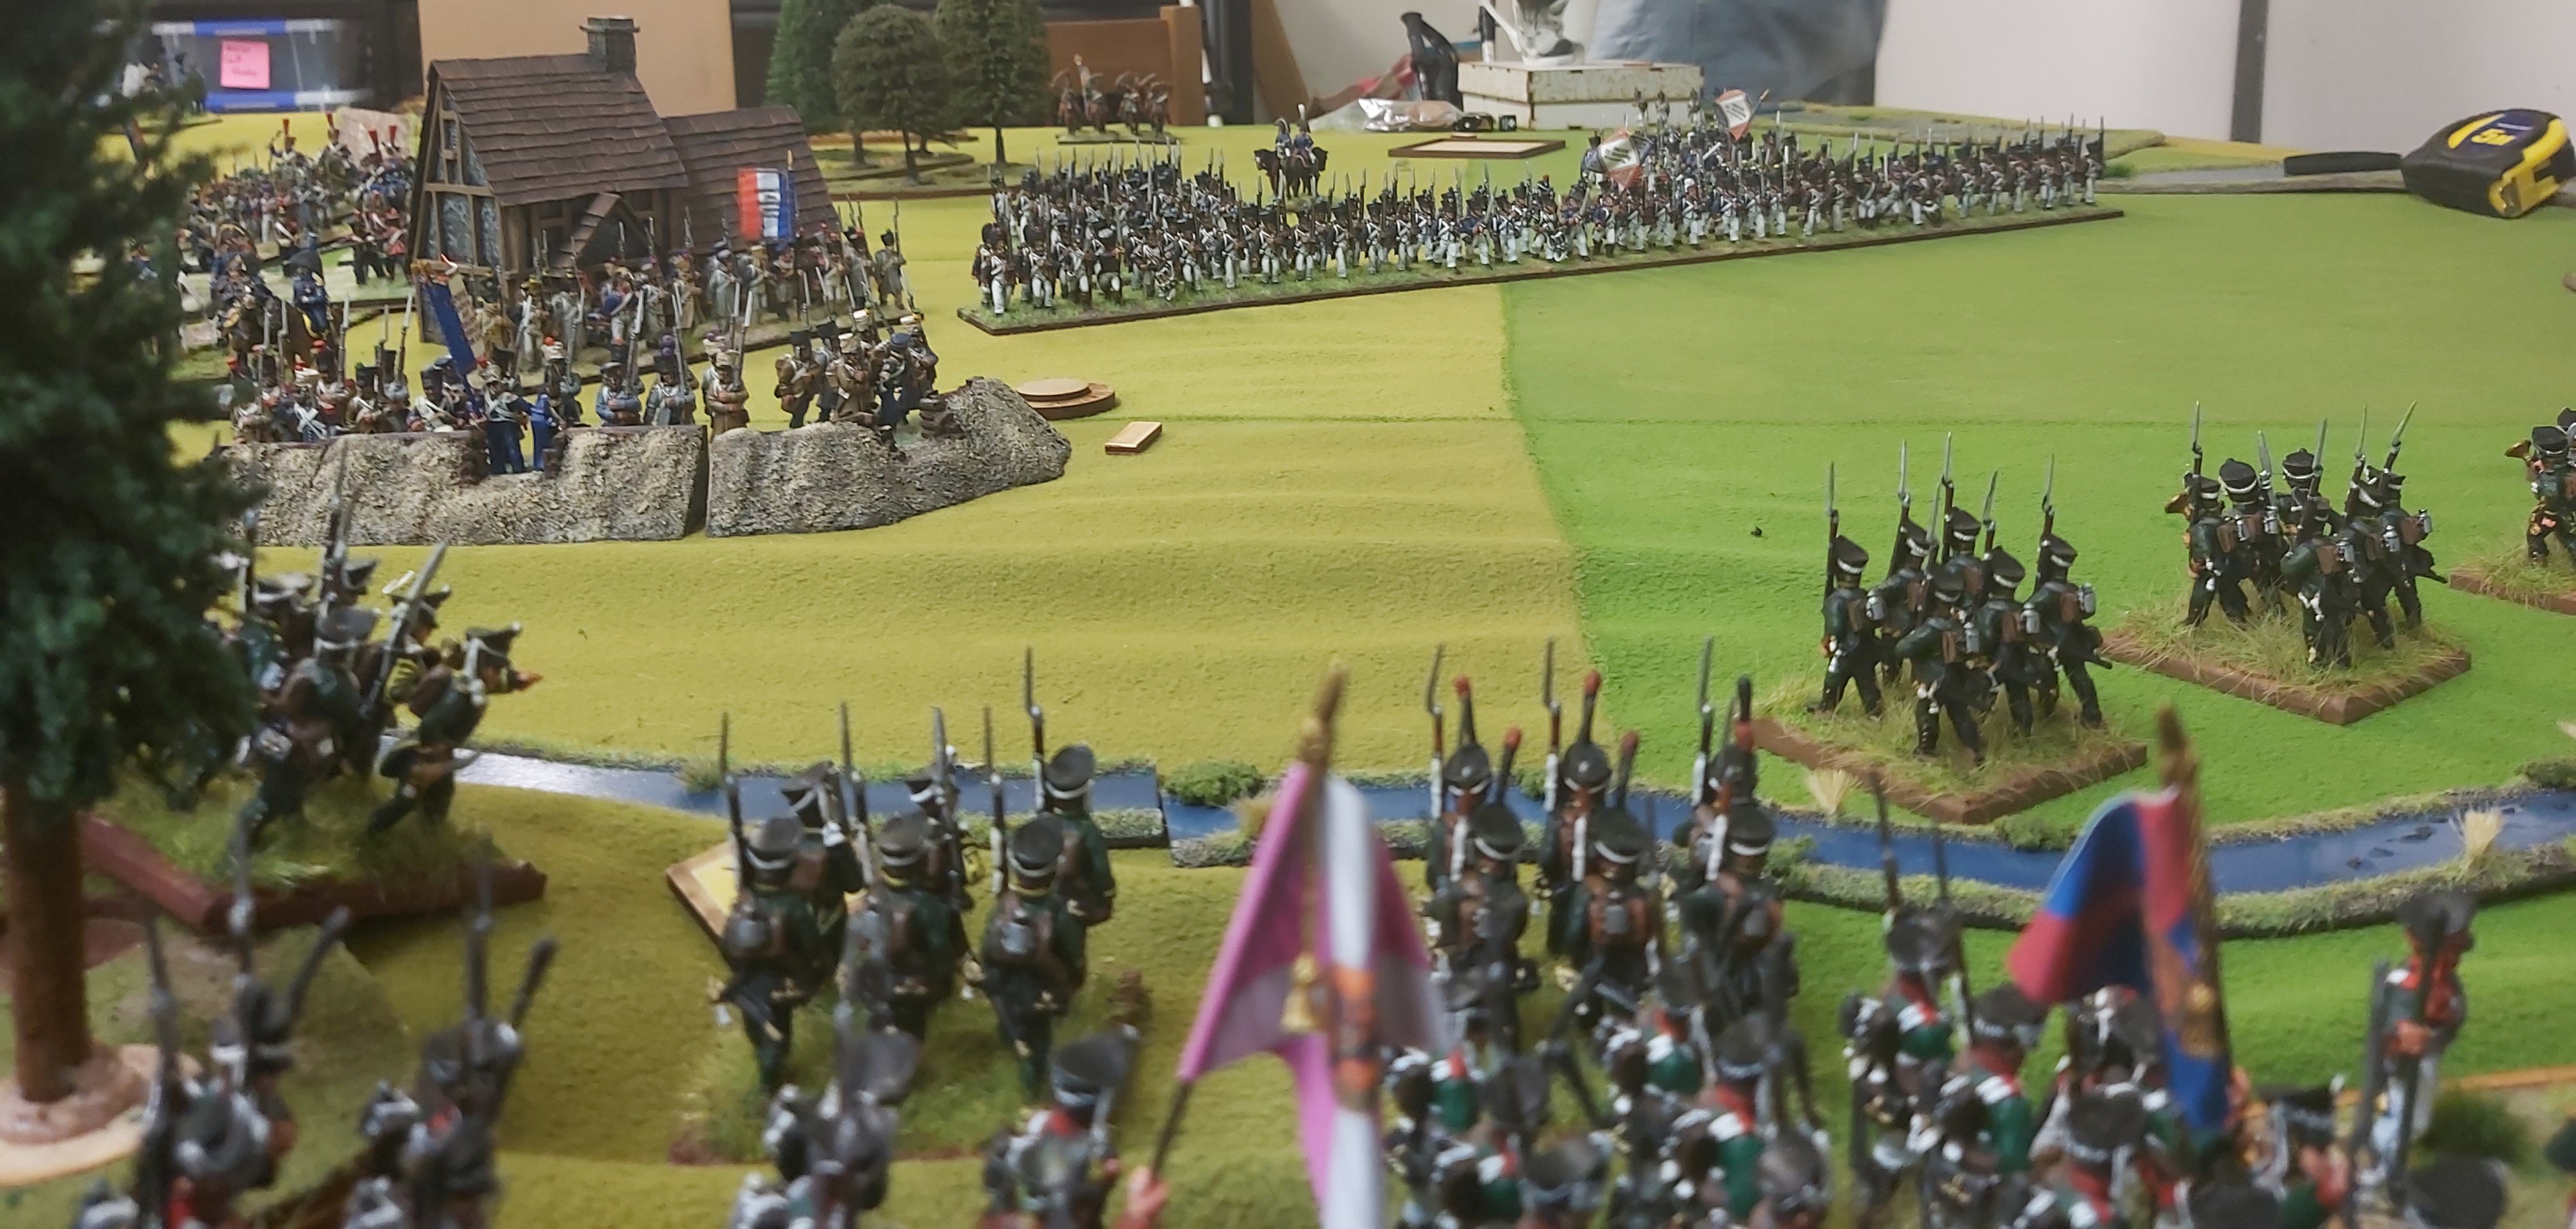
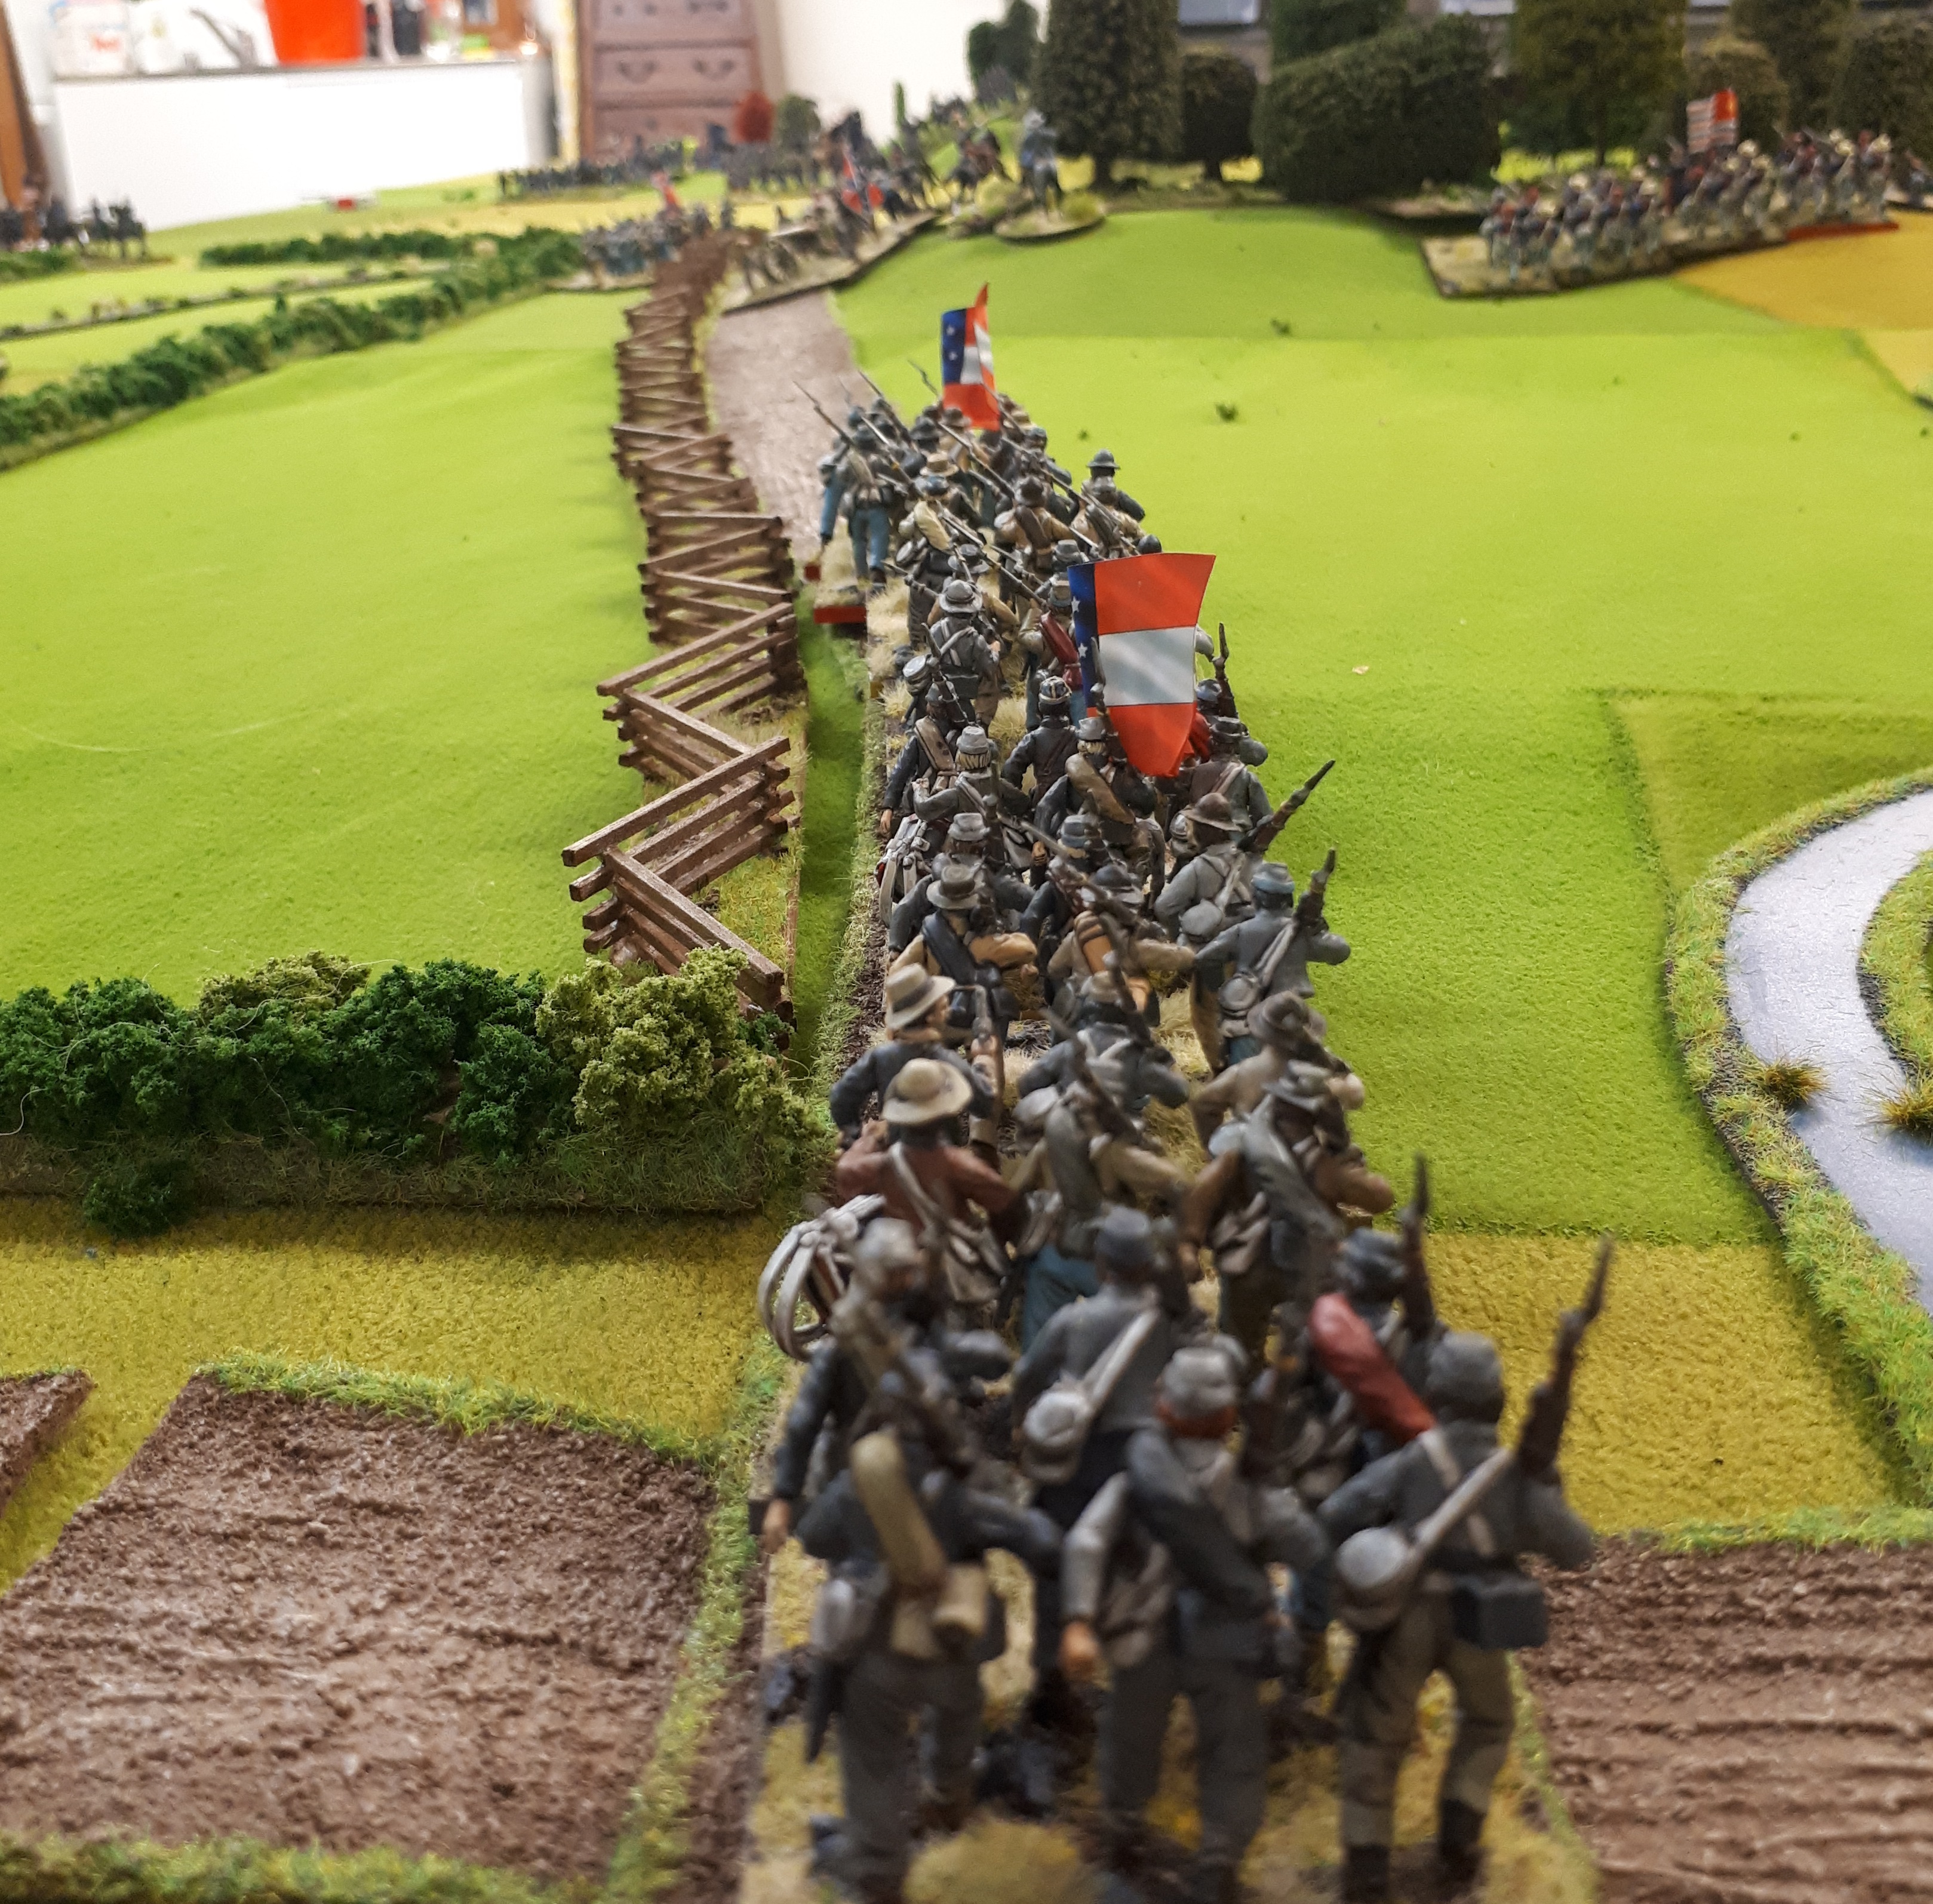
French setup, such a copy cat!

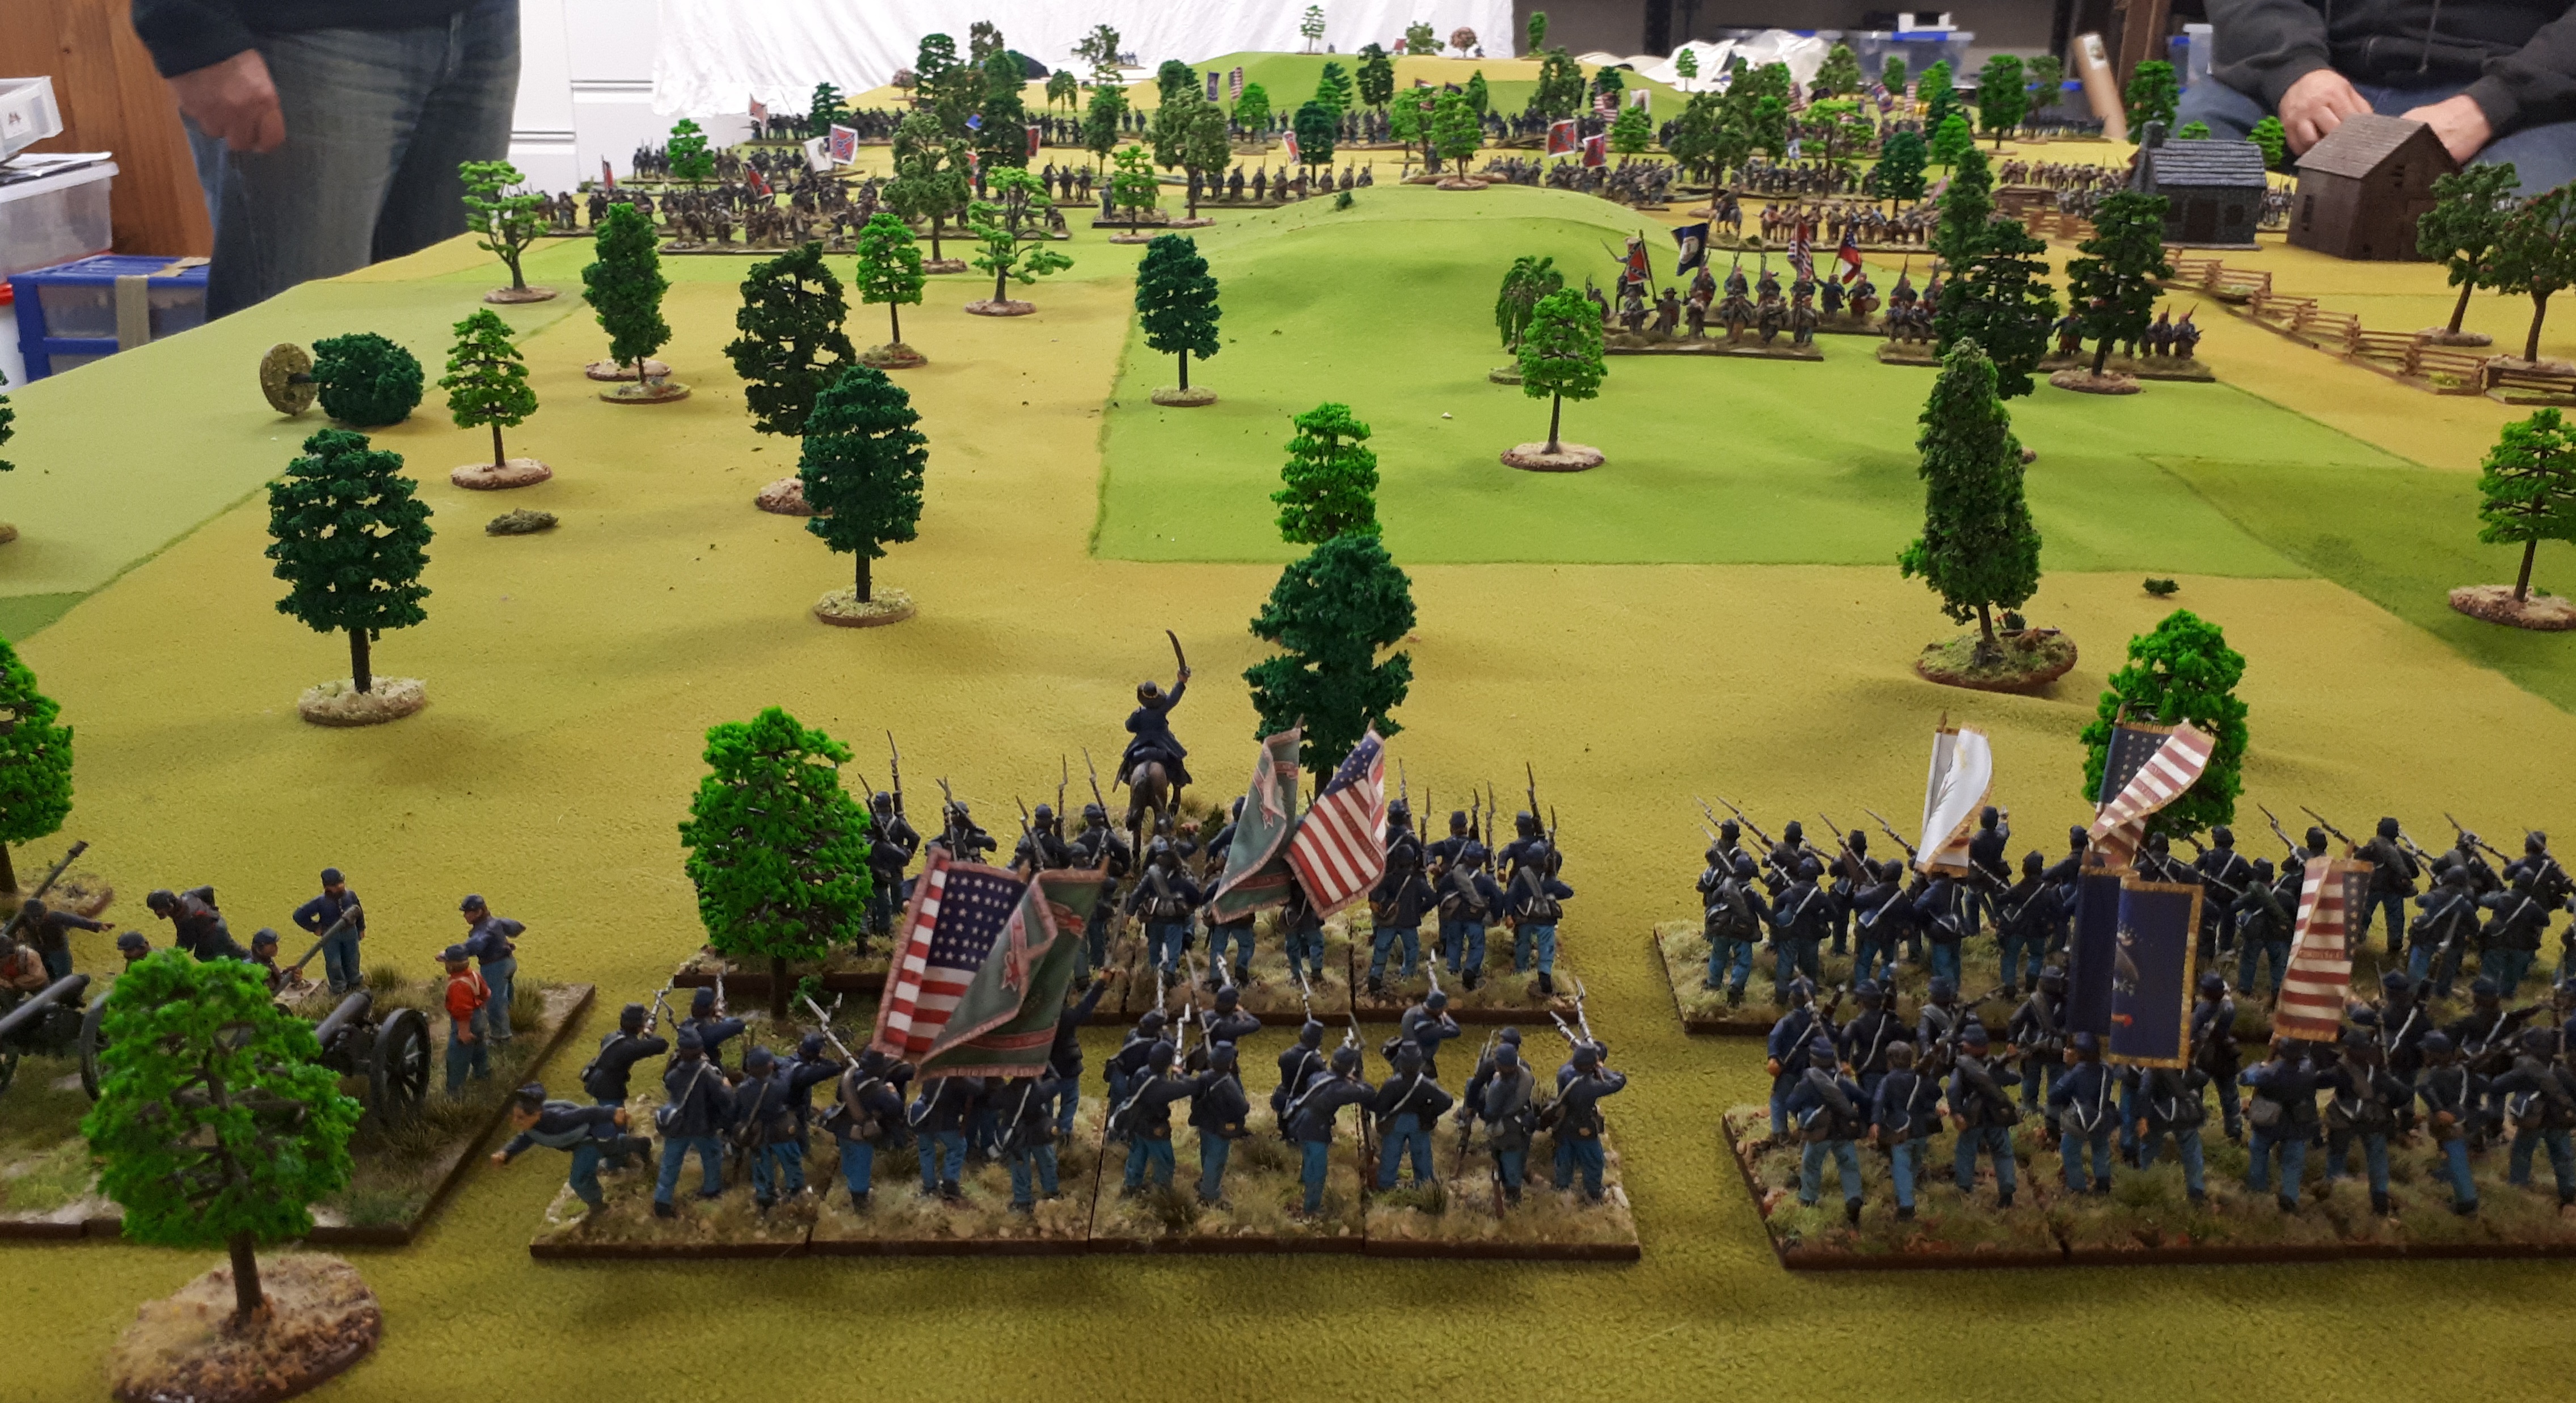
First turn and not surprisingly, I just fired my artillery which did some damage. Keith then advanced his columns and on my right, started moving one into line behind hedges.

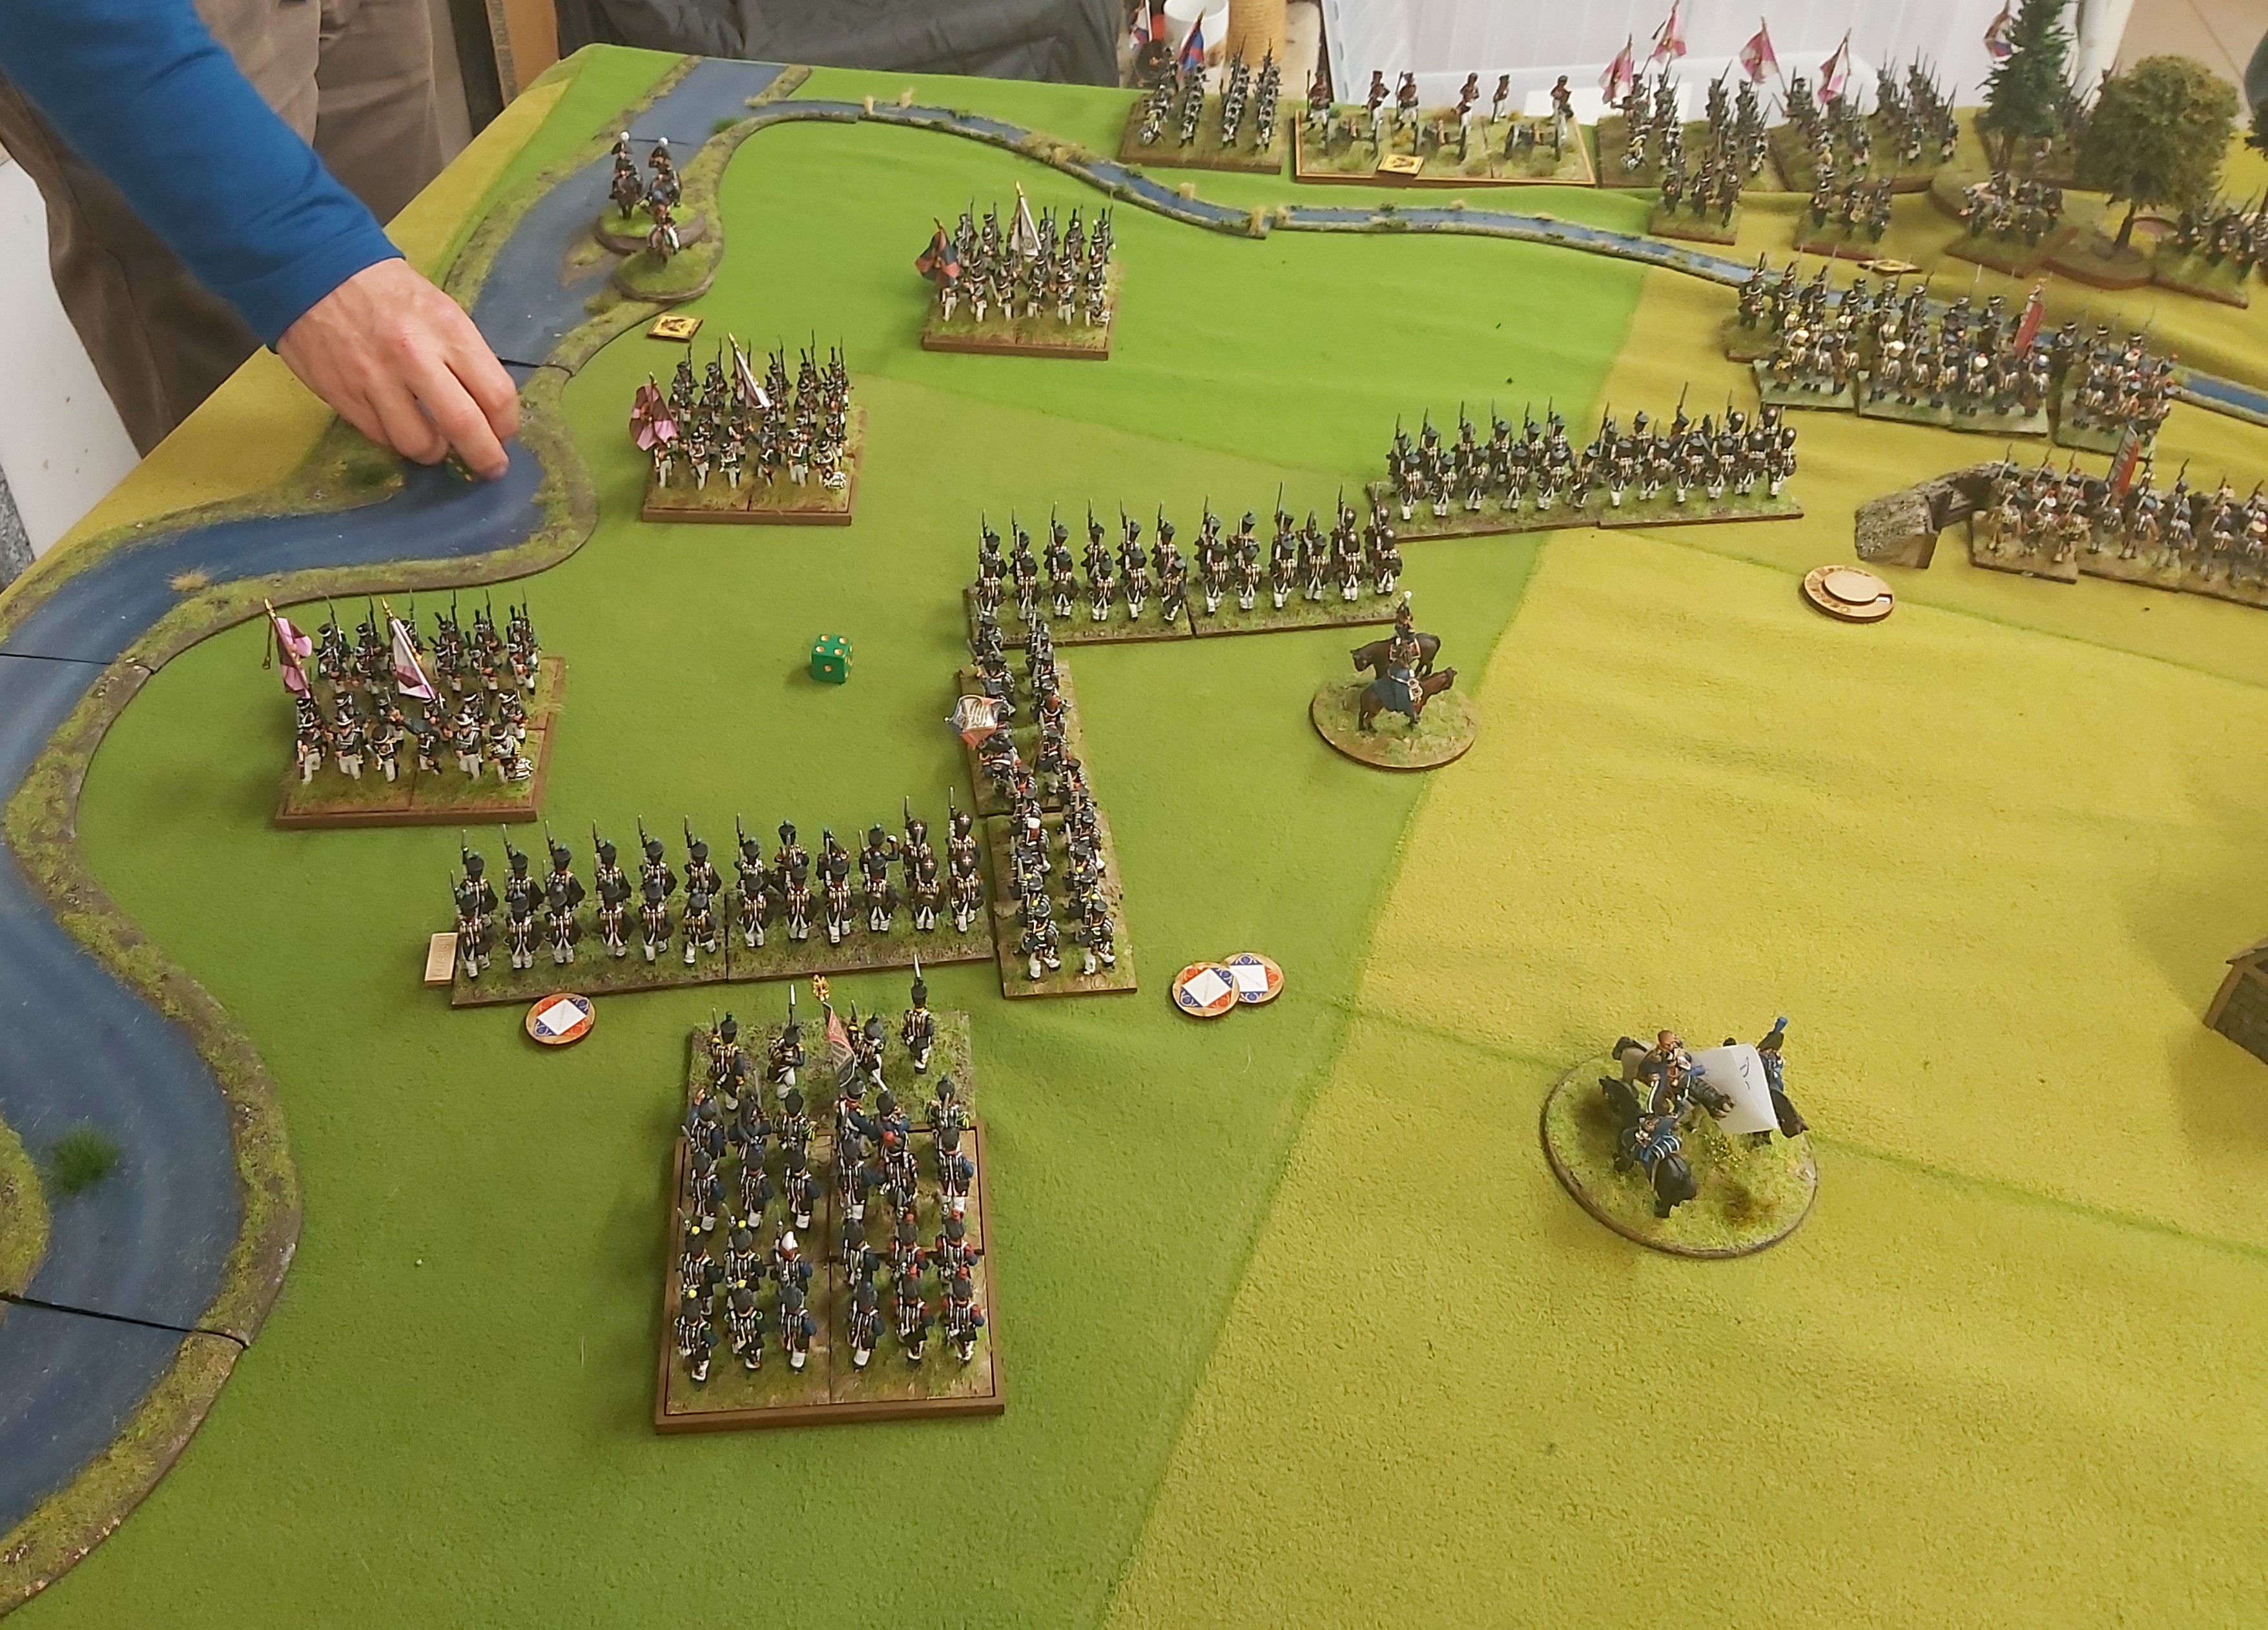
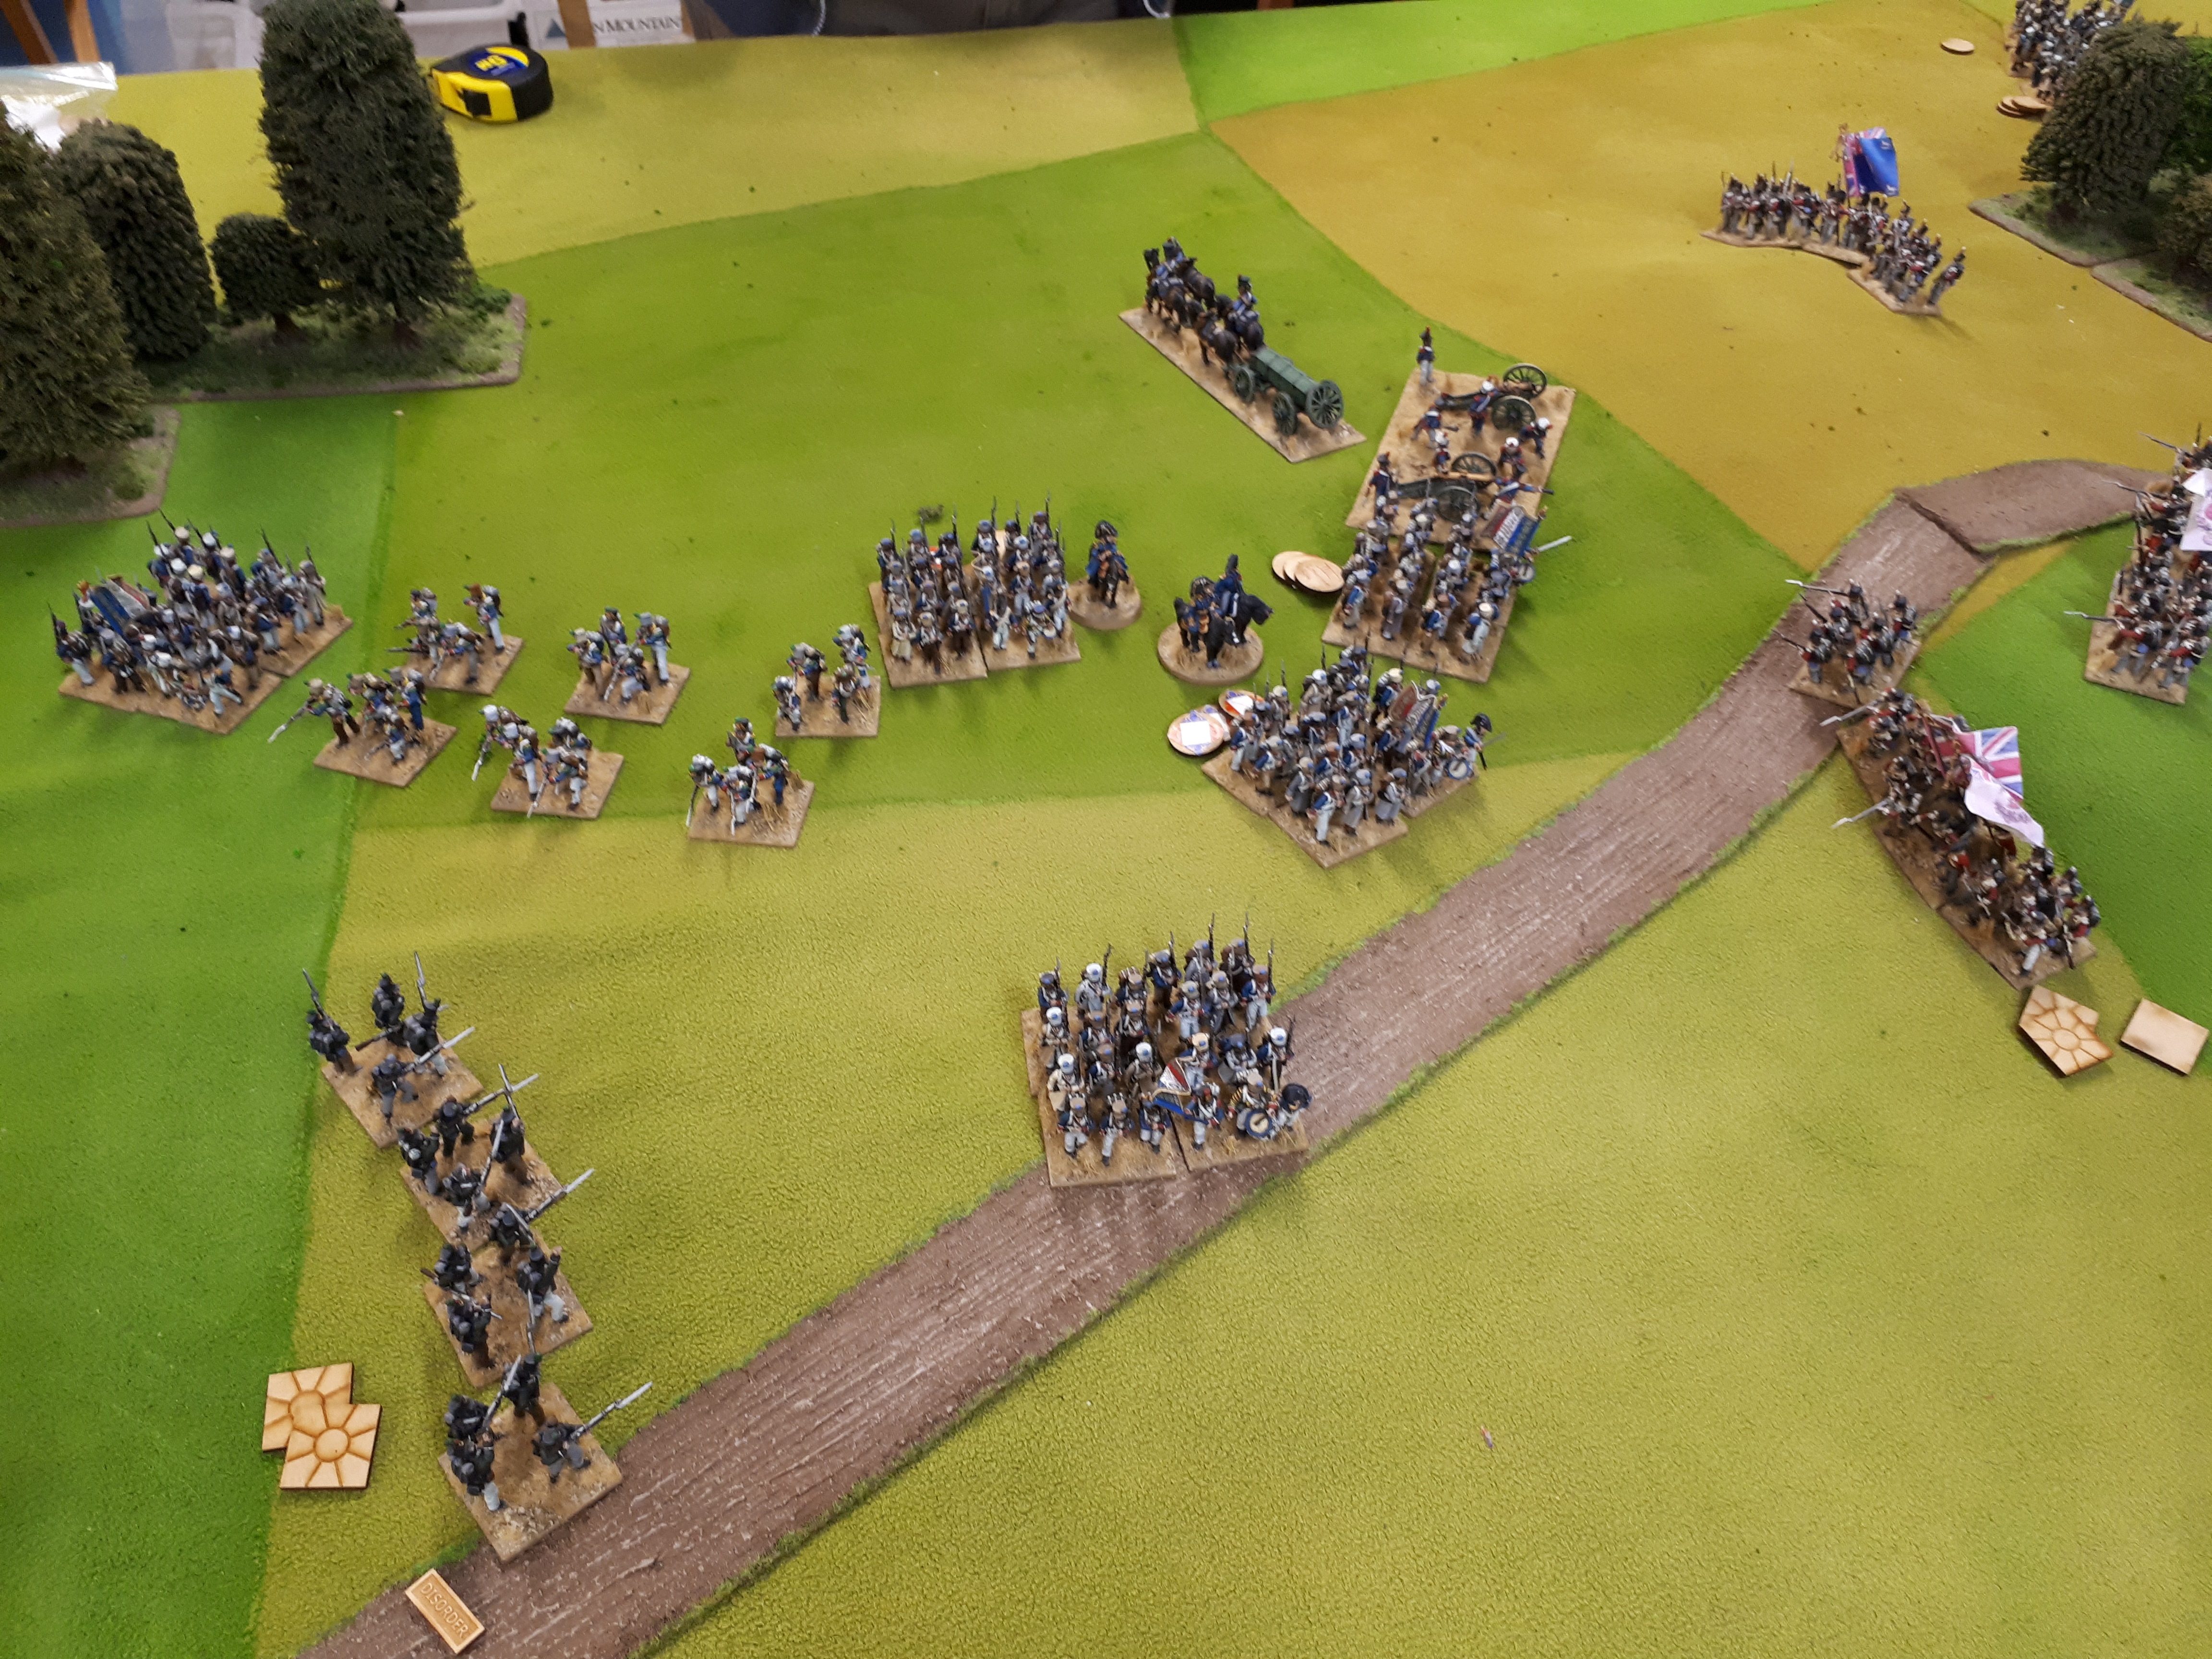
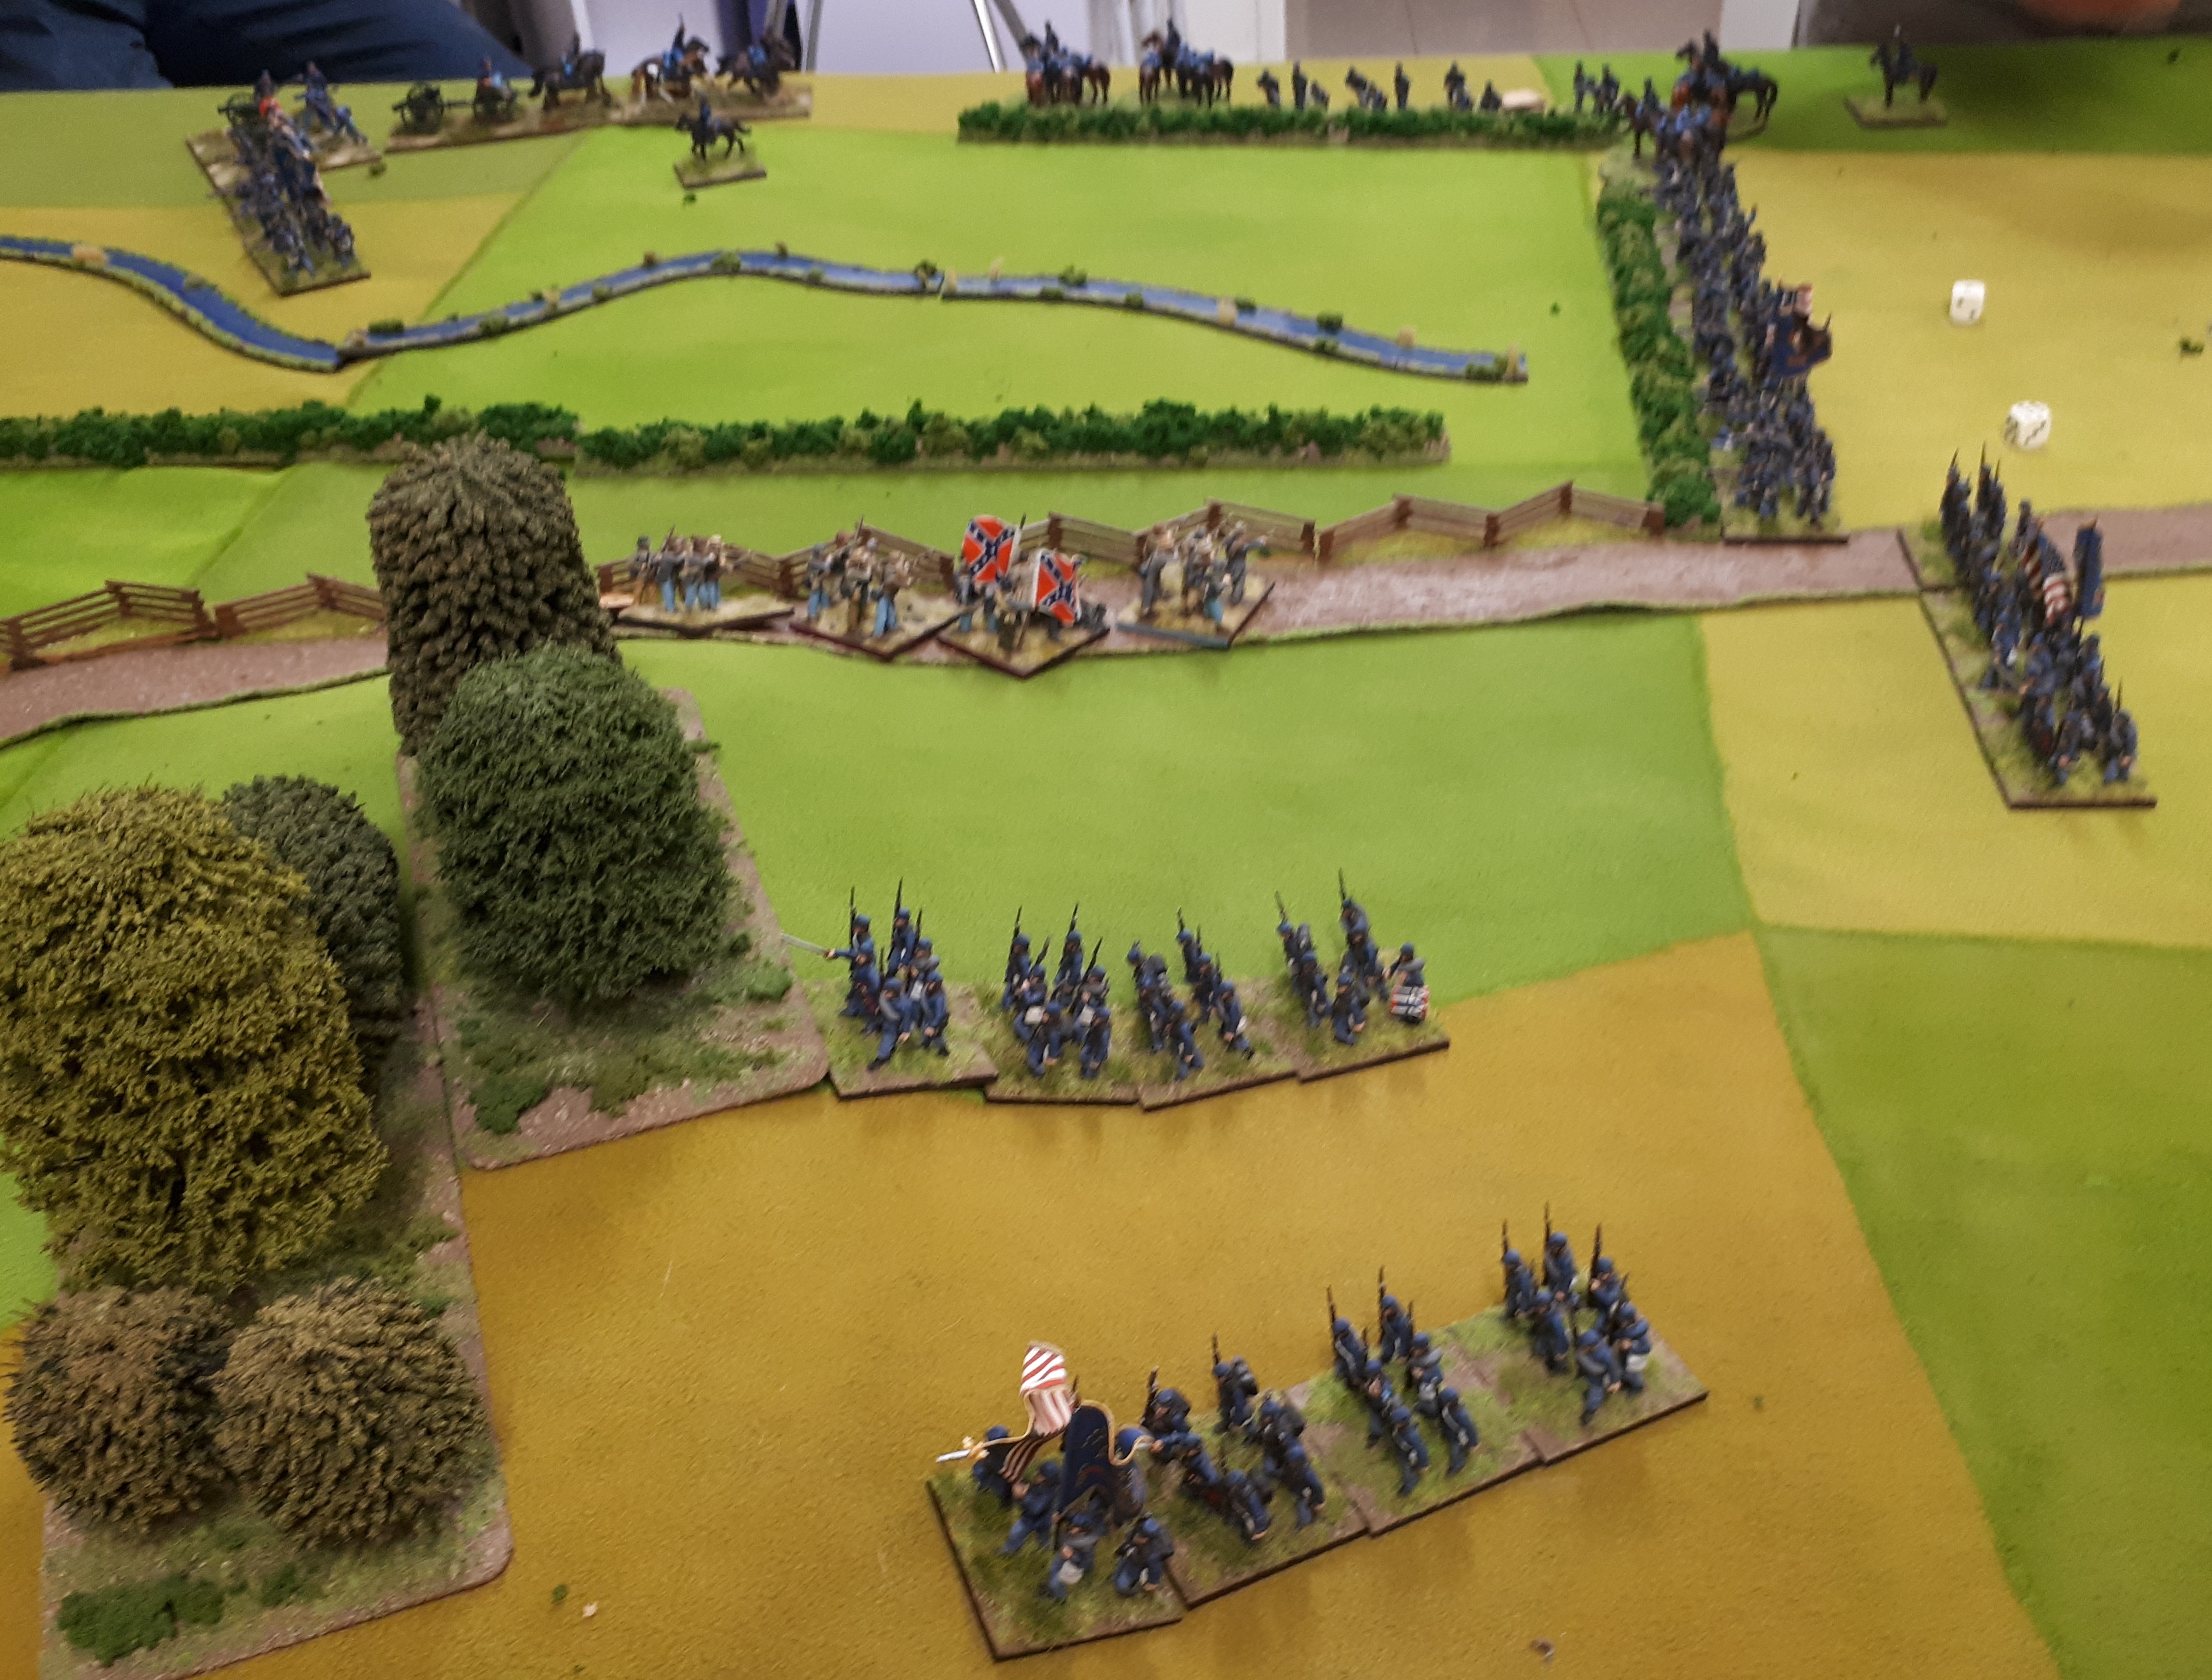
Turn 2 and my Jager move on. I think they were exhausted as didn’t do much else.

I ordered the left hand brigade to charge the French columns….one was disordered and had casualties so good odds beat it. Naturally they didn’t move…the whole game.

More shooting, more wounded and disordered French columns.

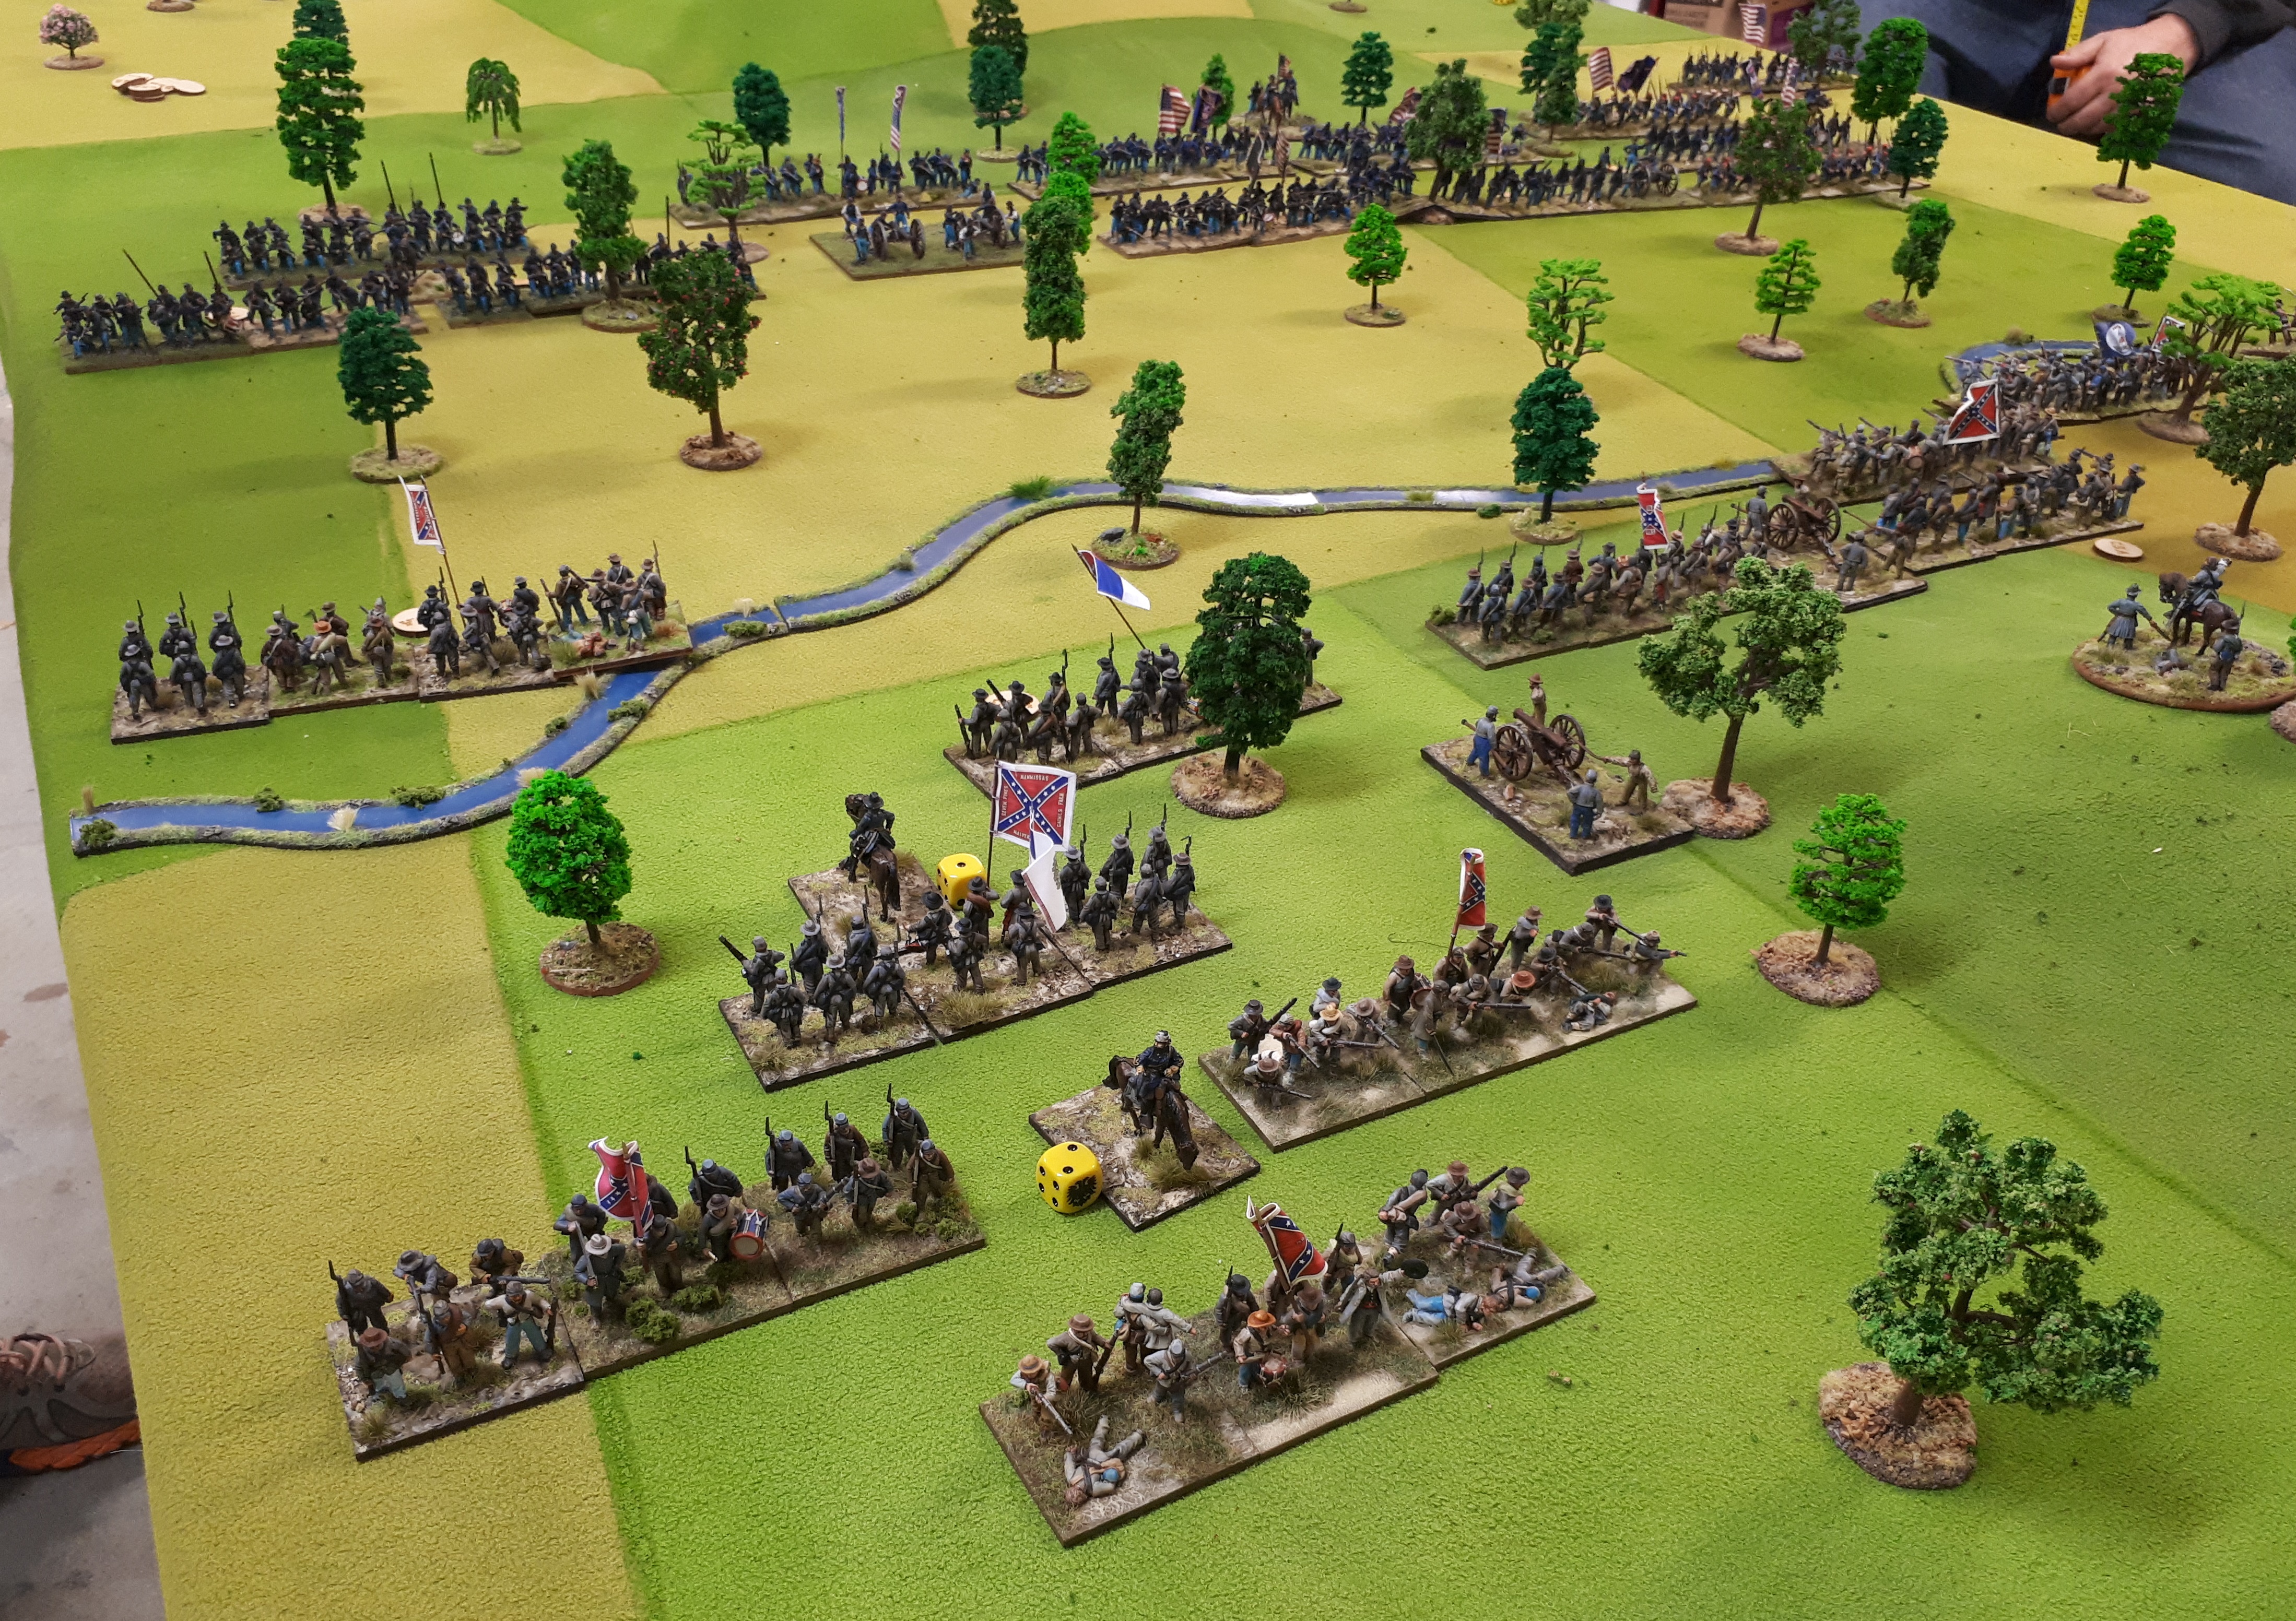
Keith  has gotten very gung ho – he charged my right side brigade! I managed disorder one with closing fire..from RUSSIANS!

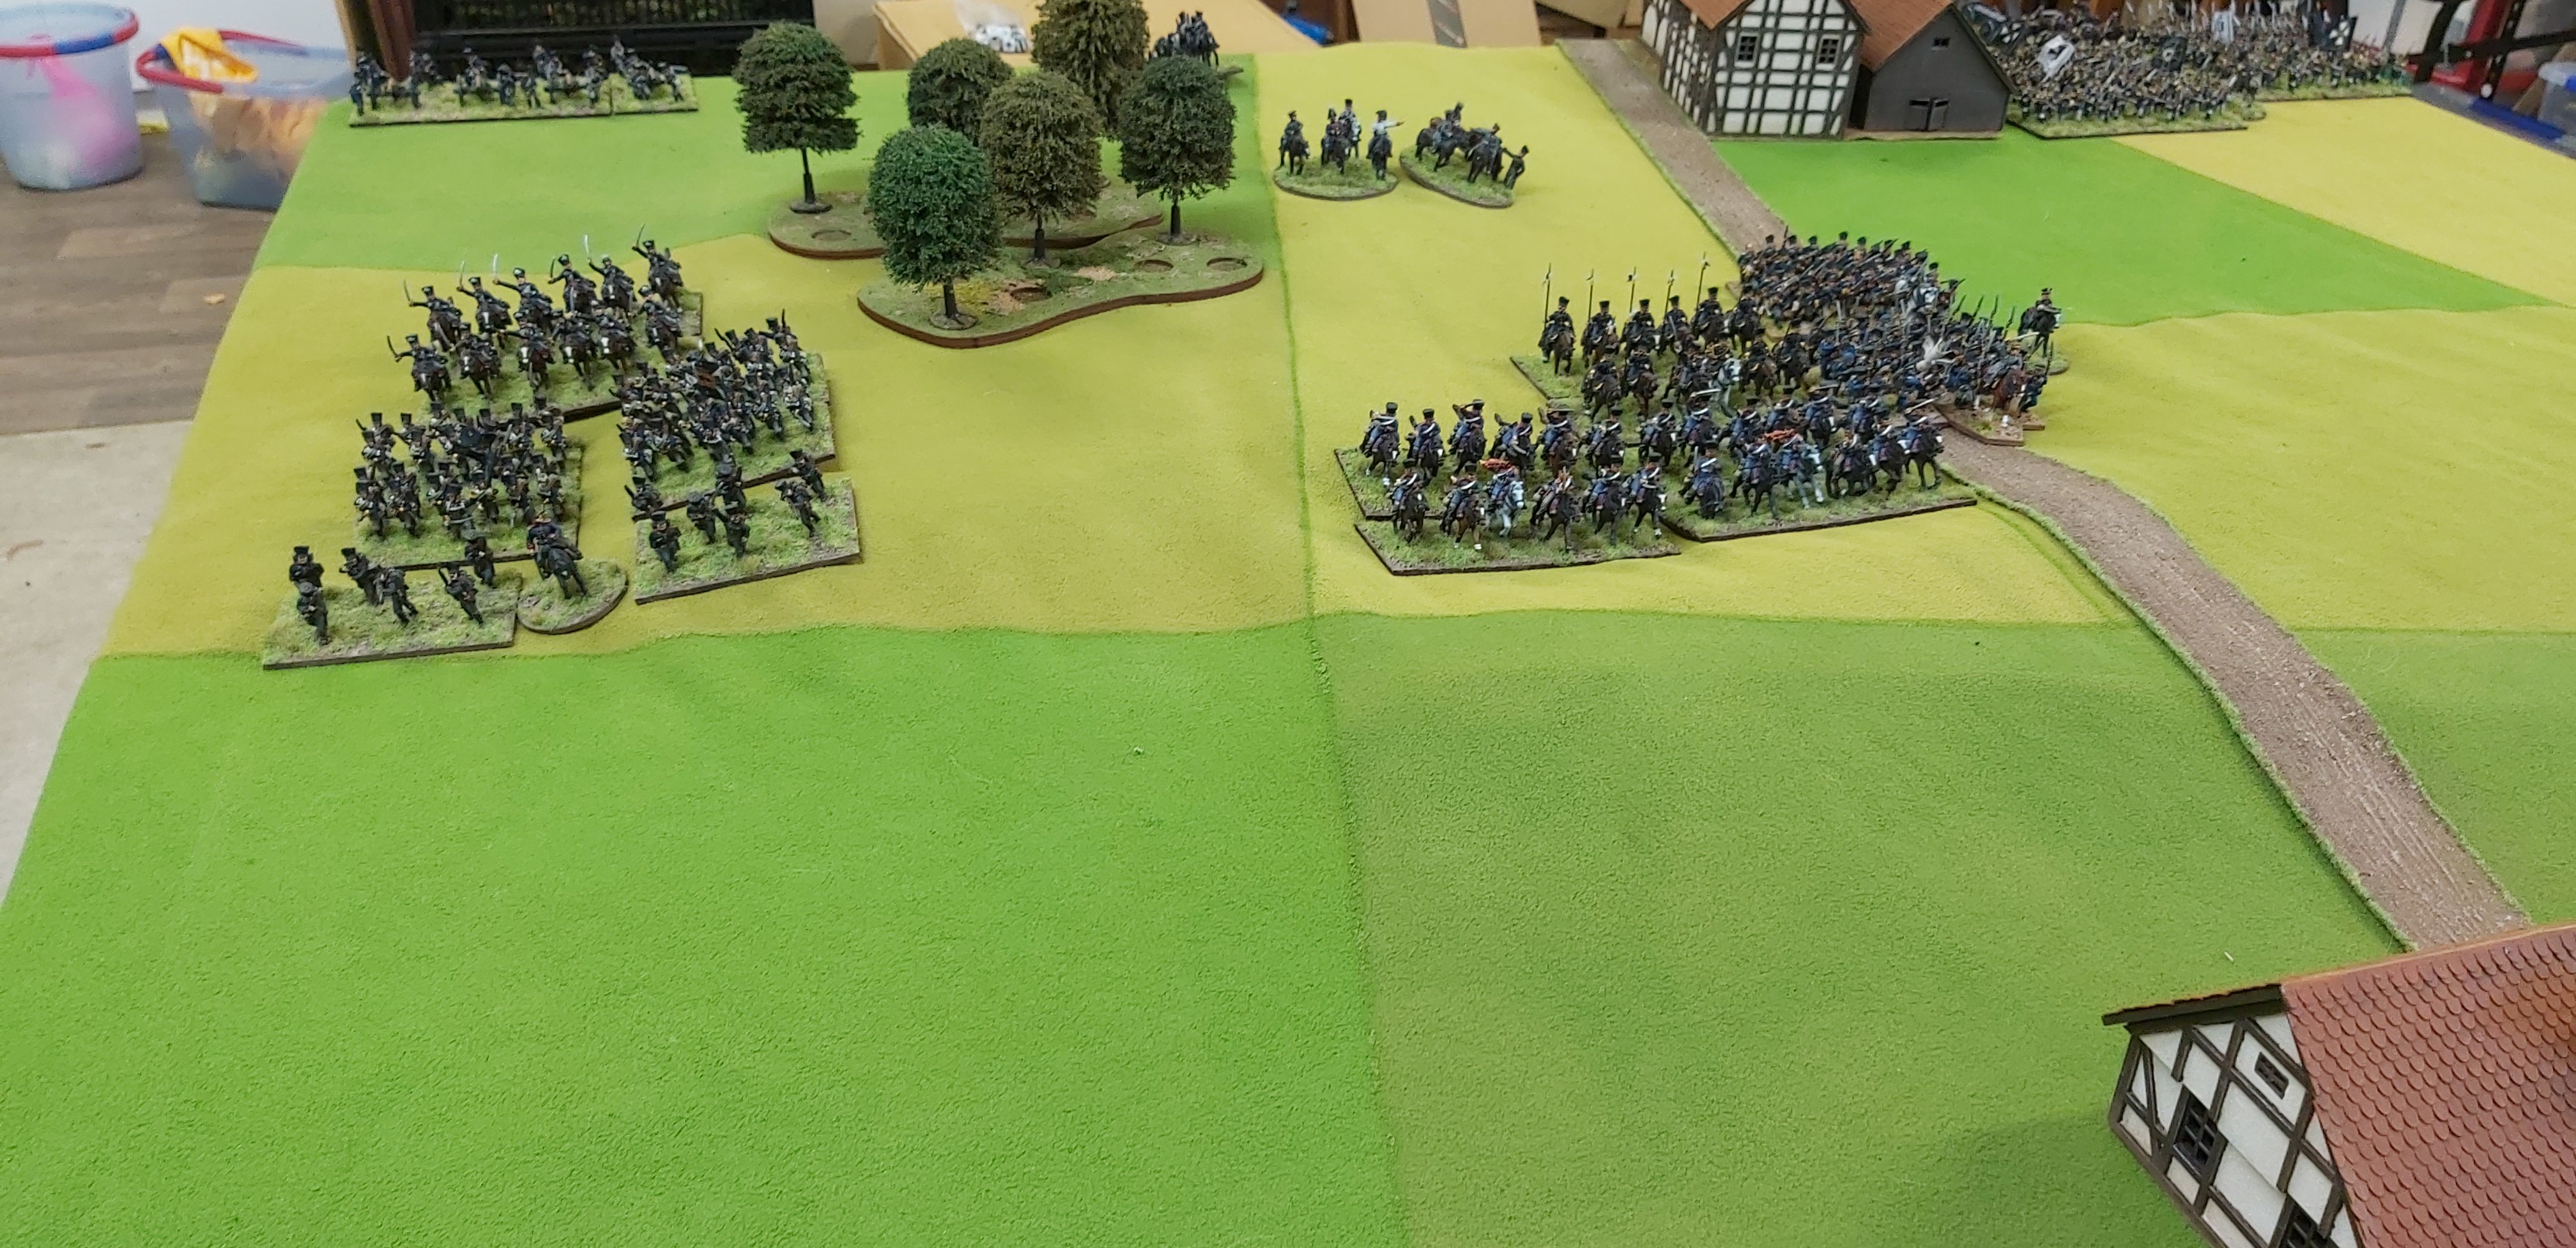
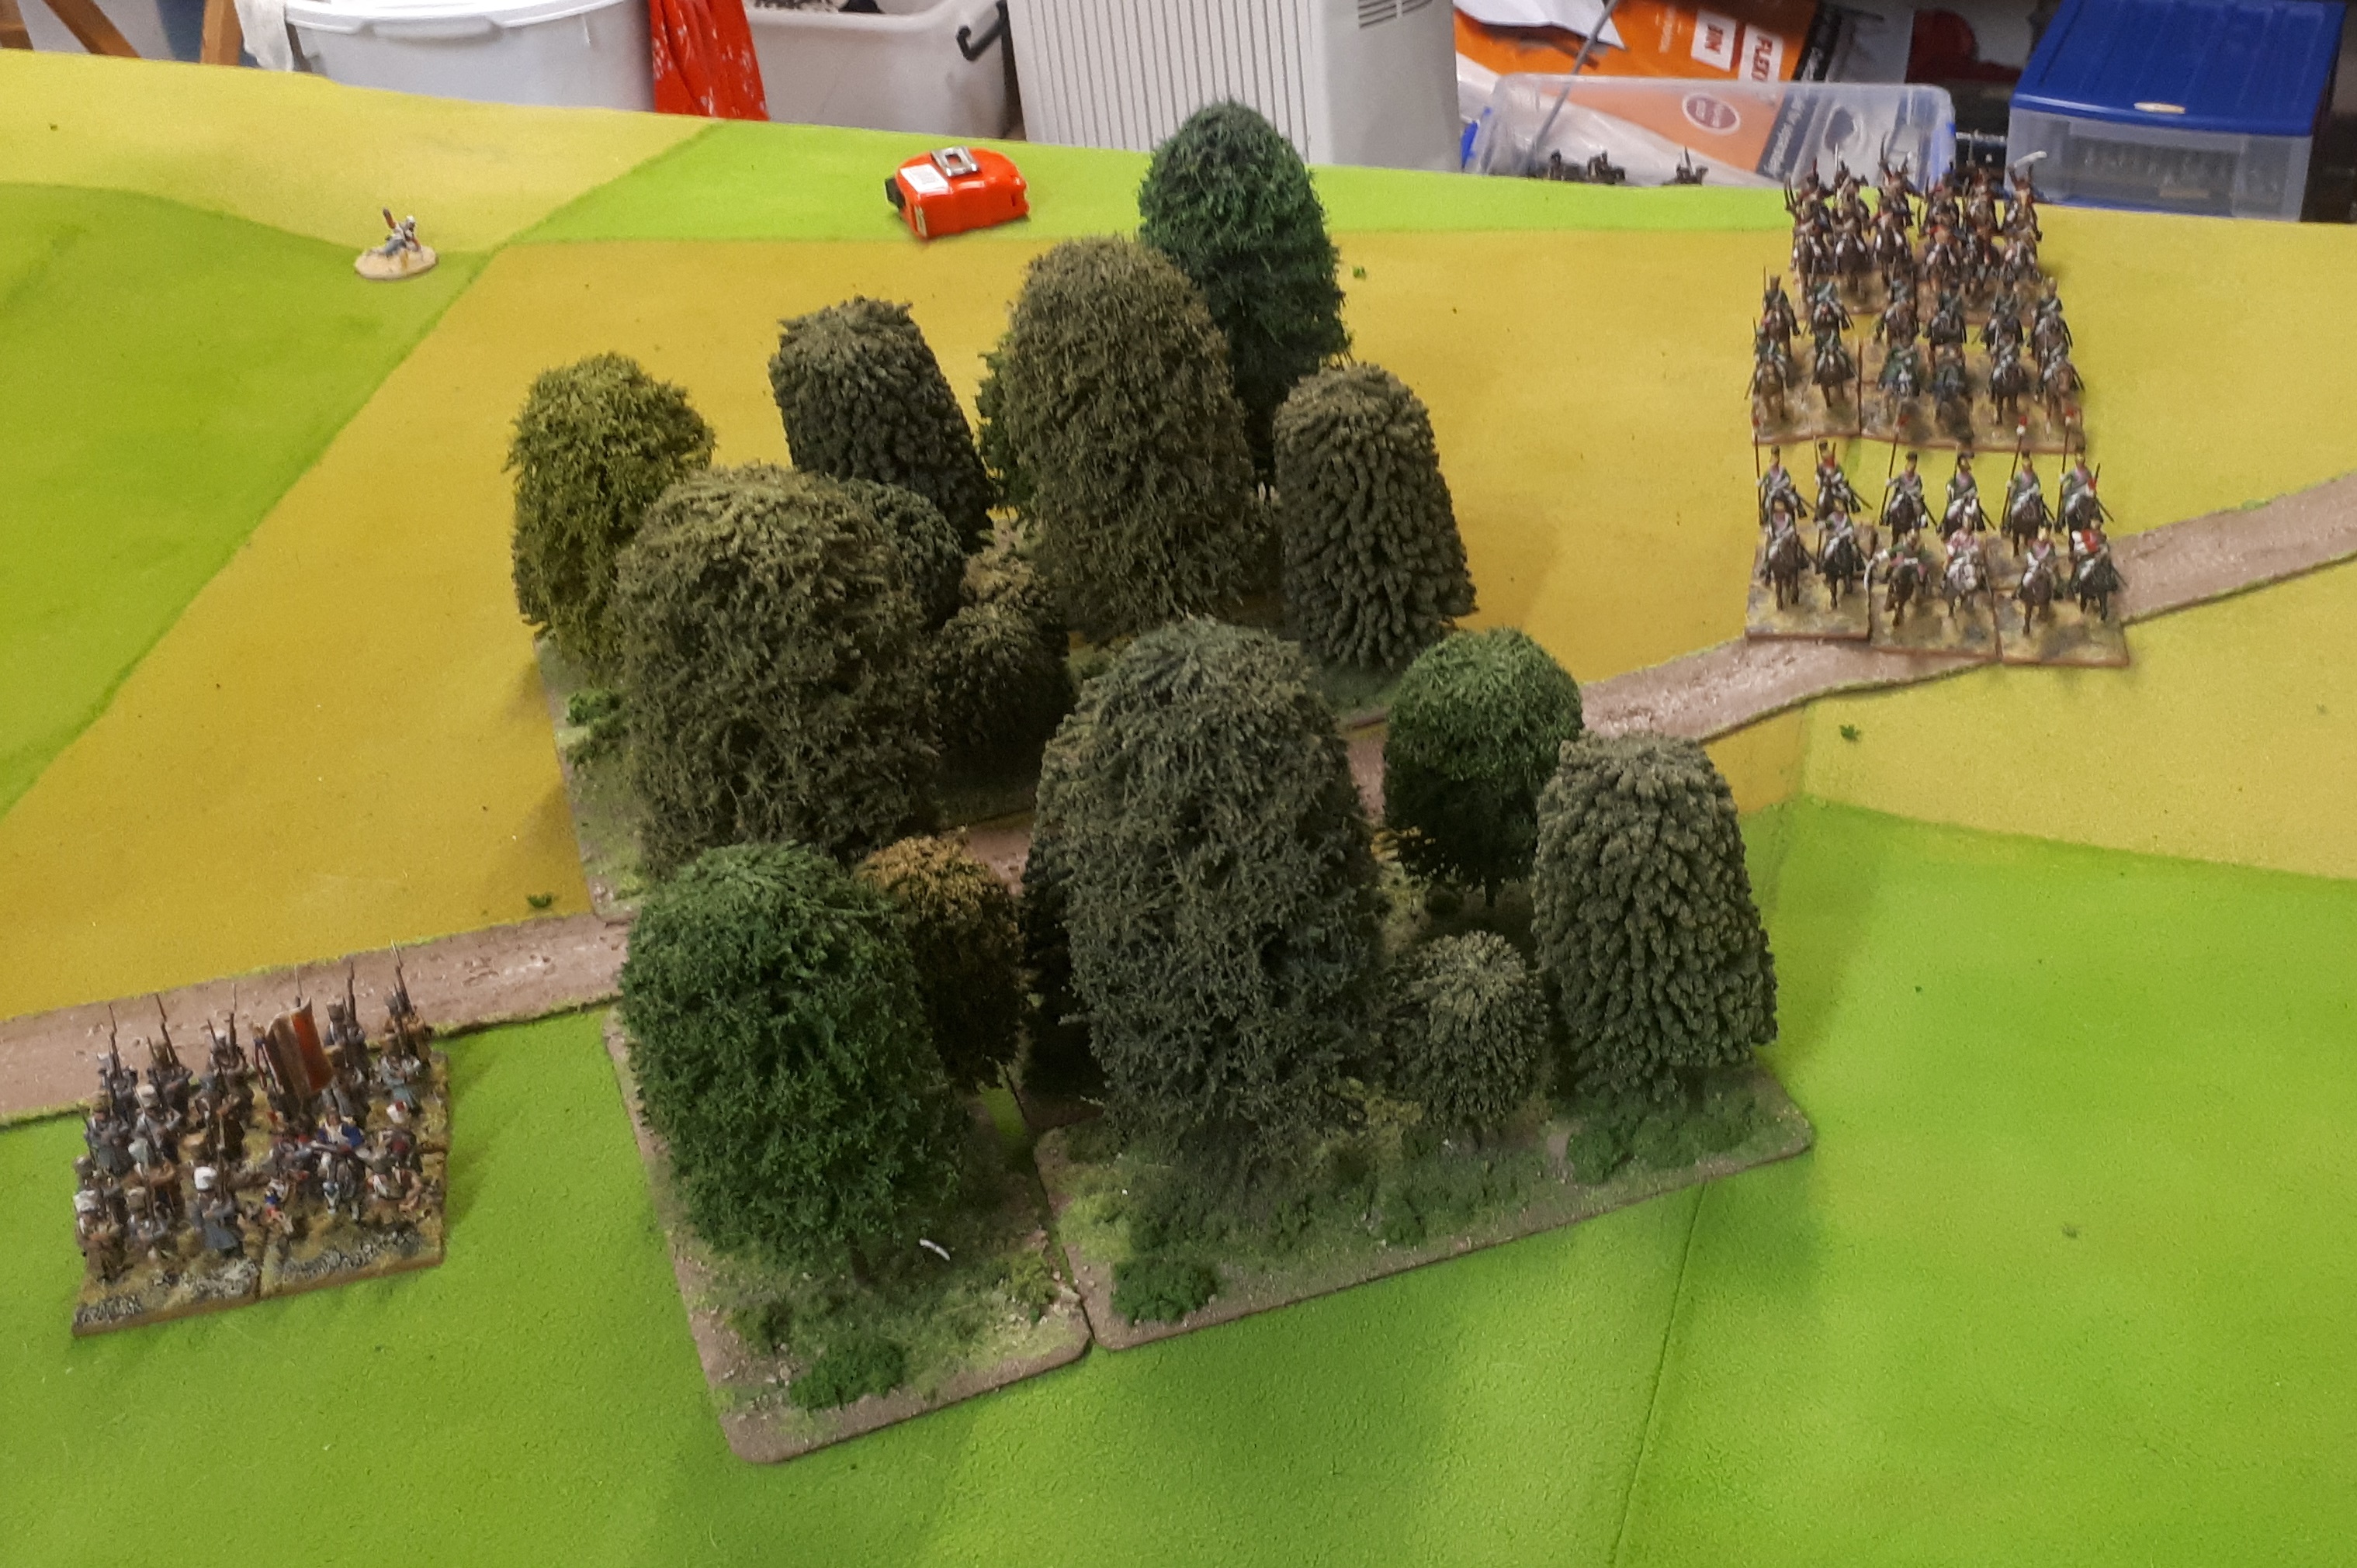
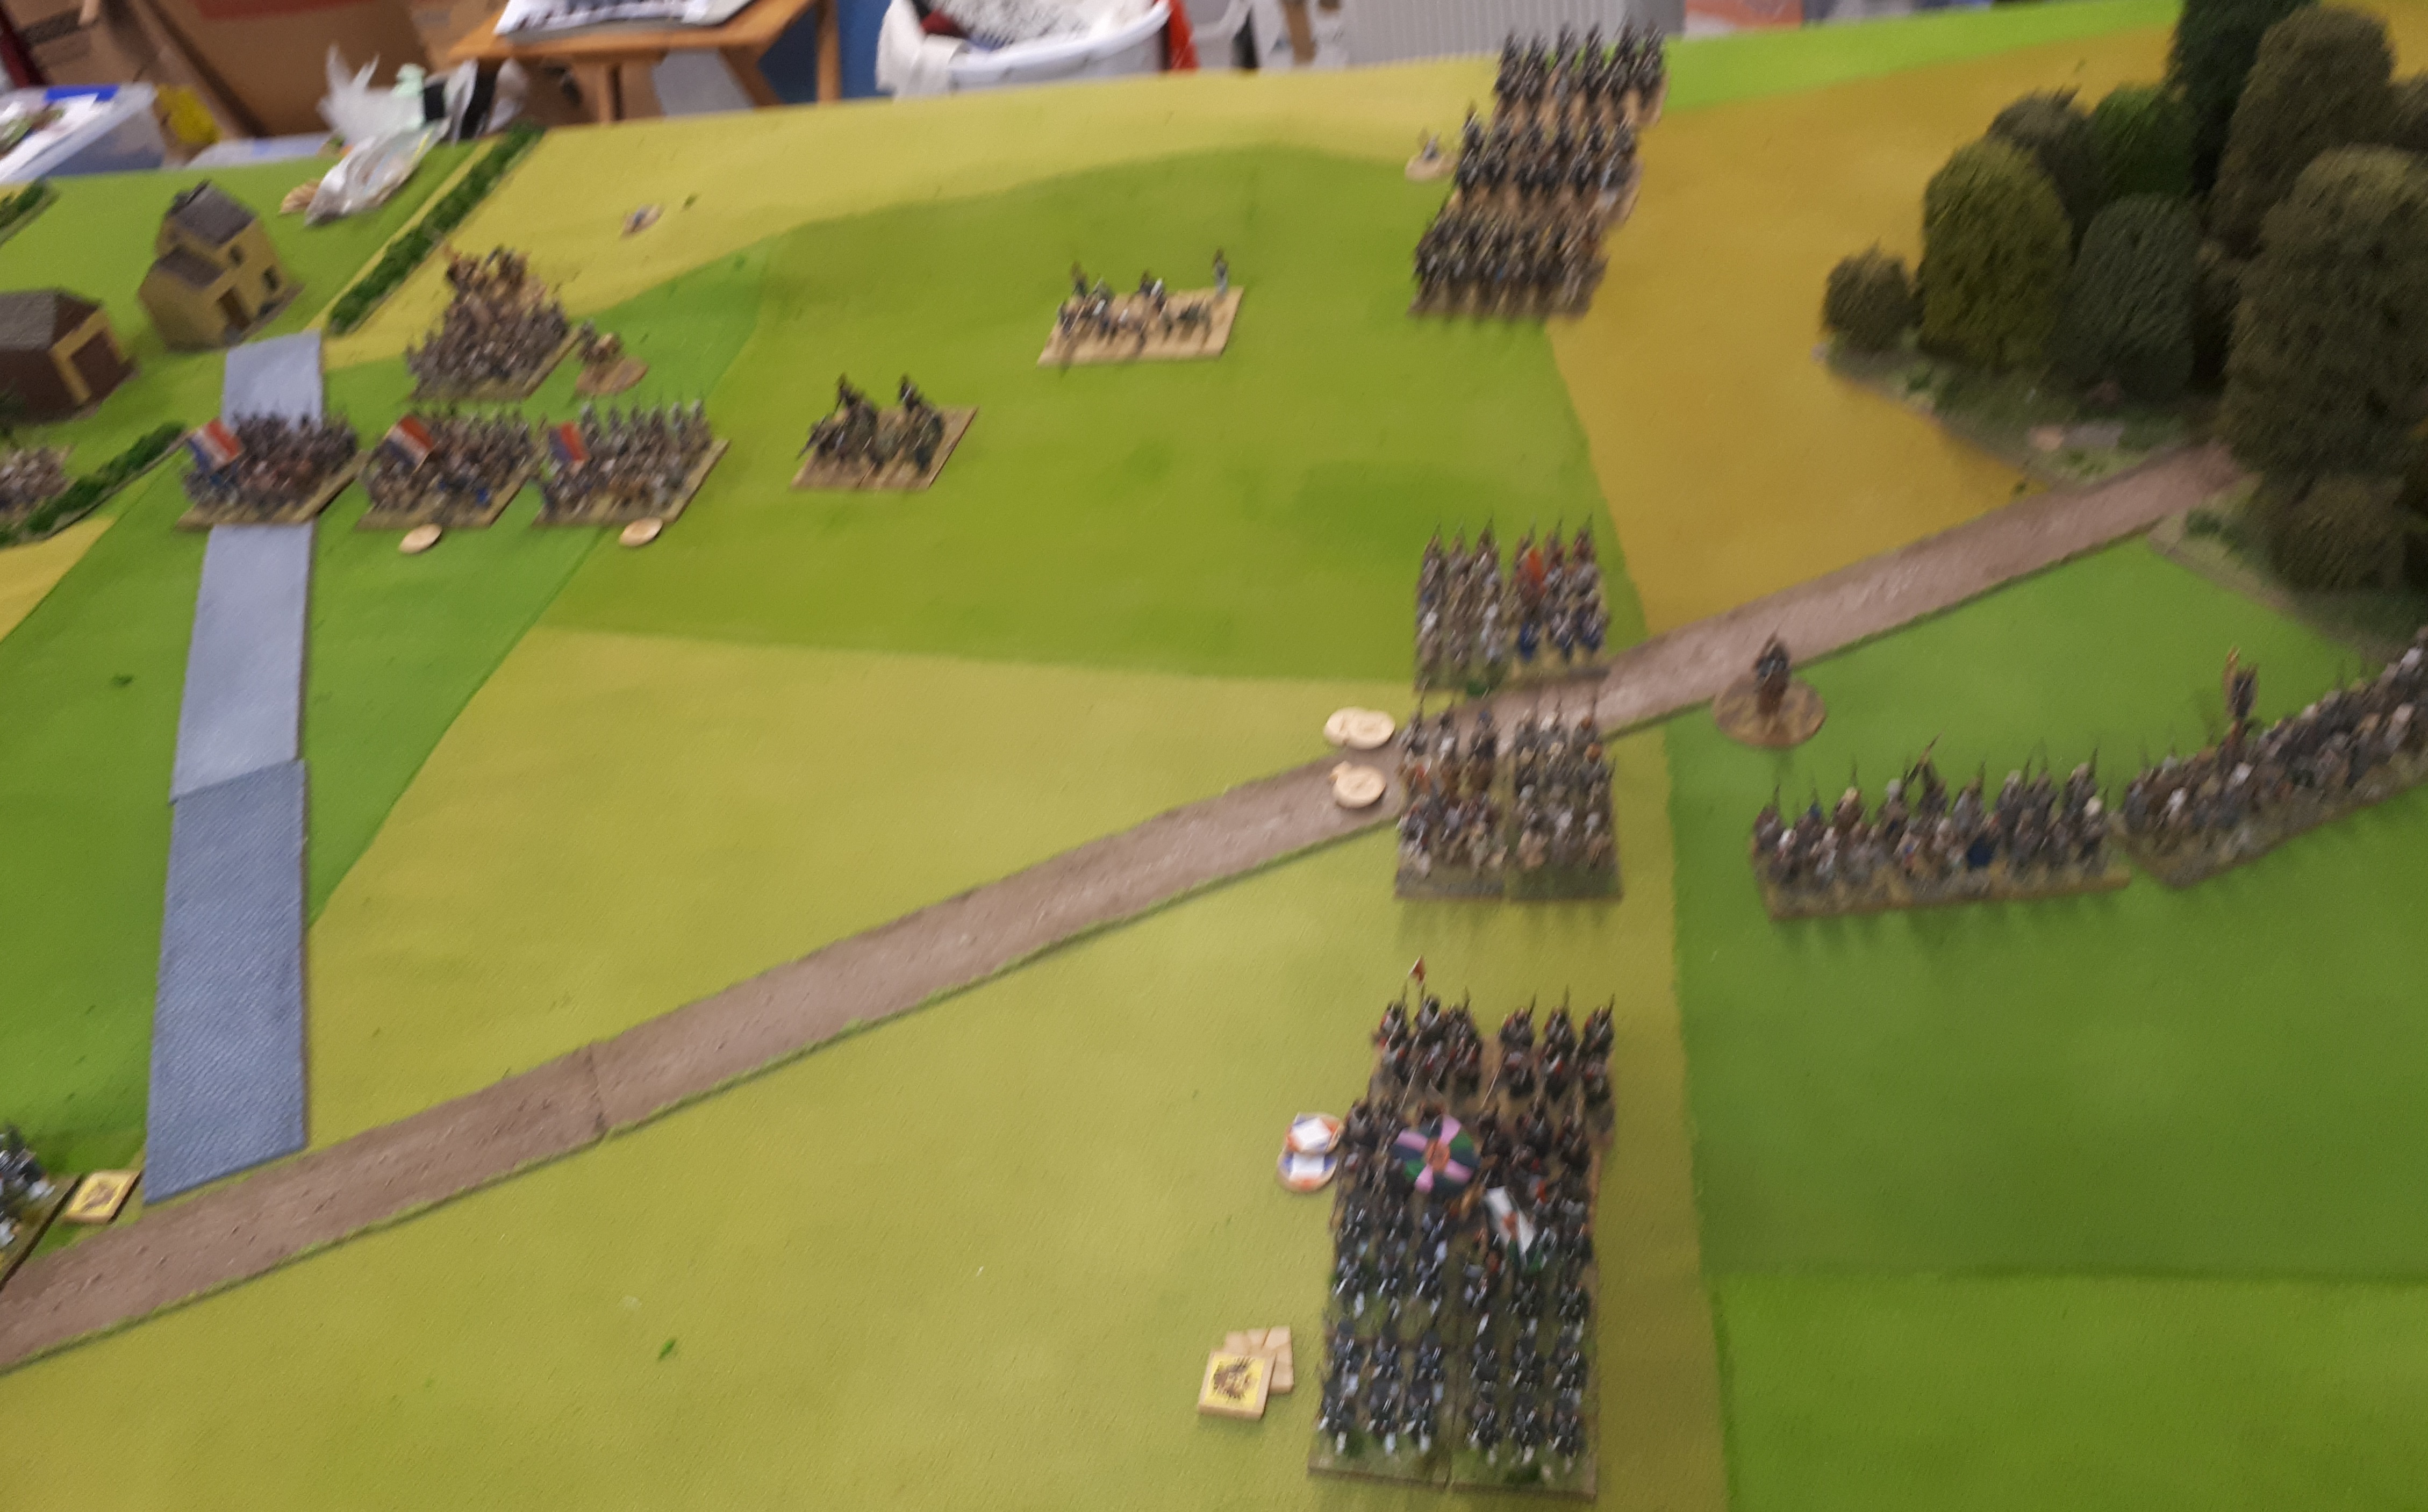
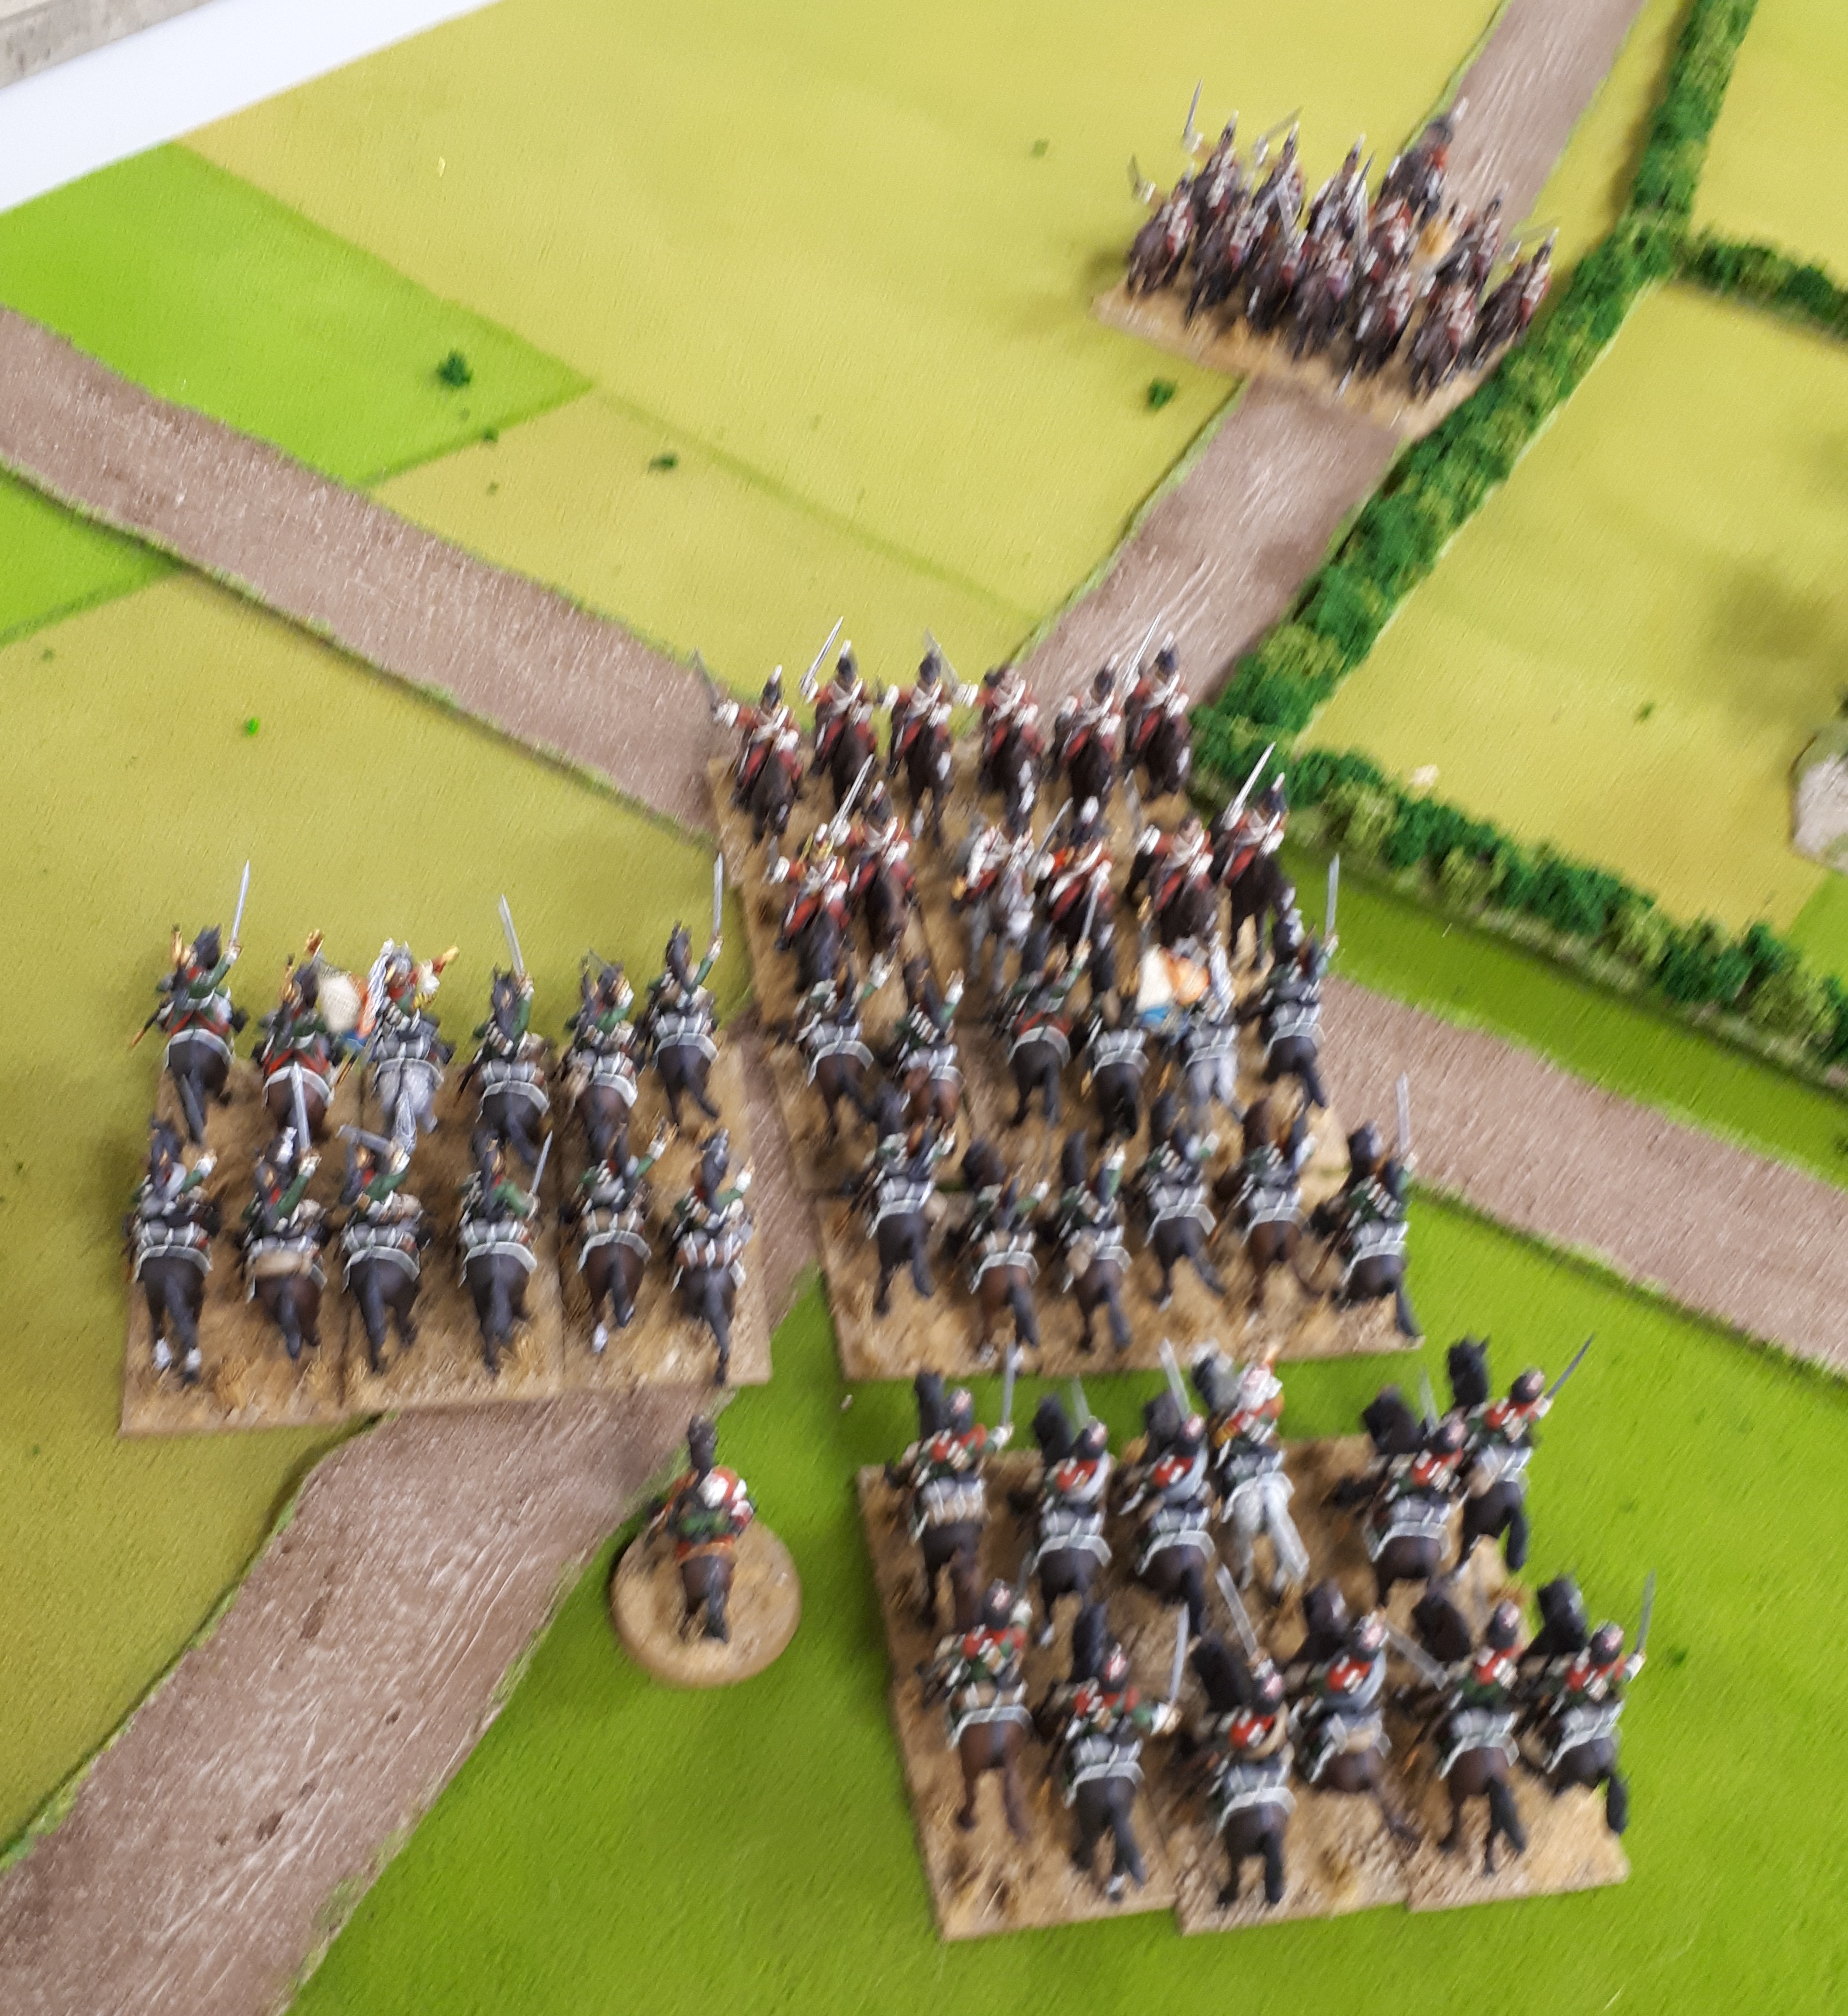
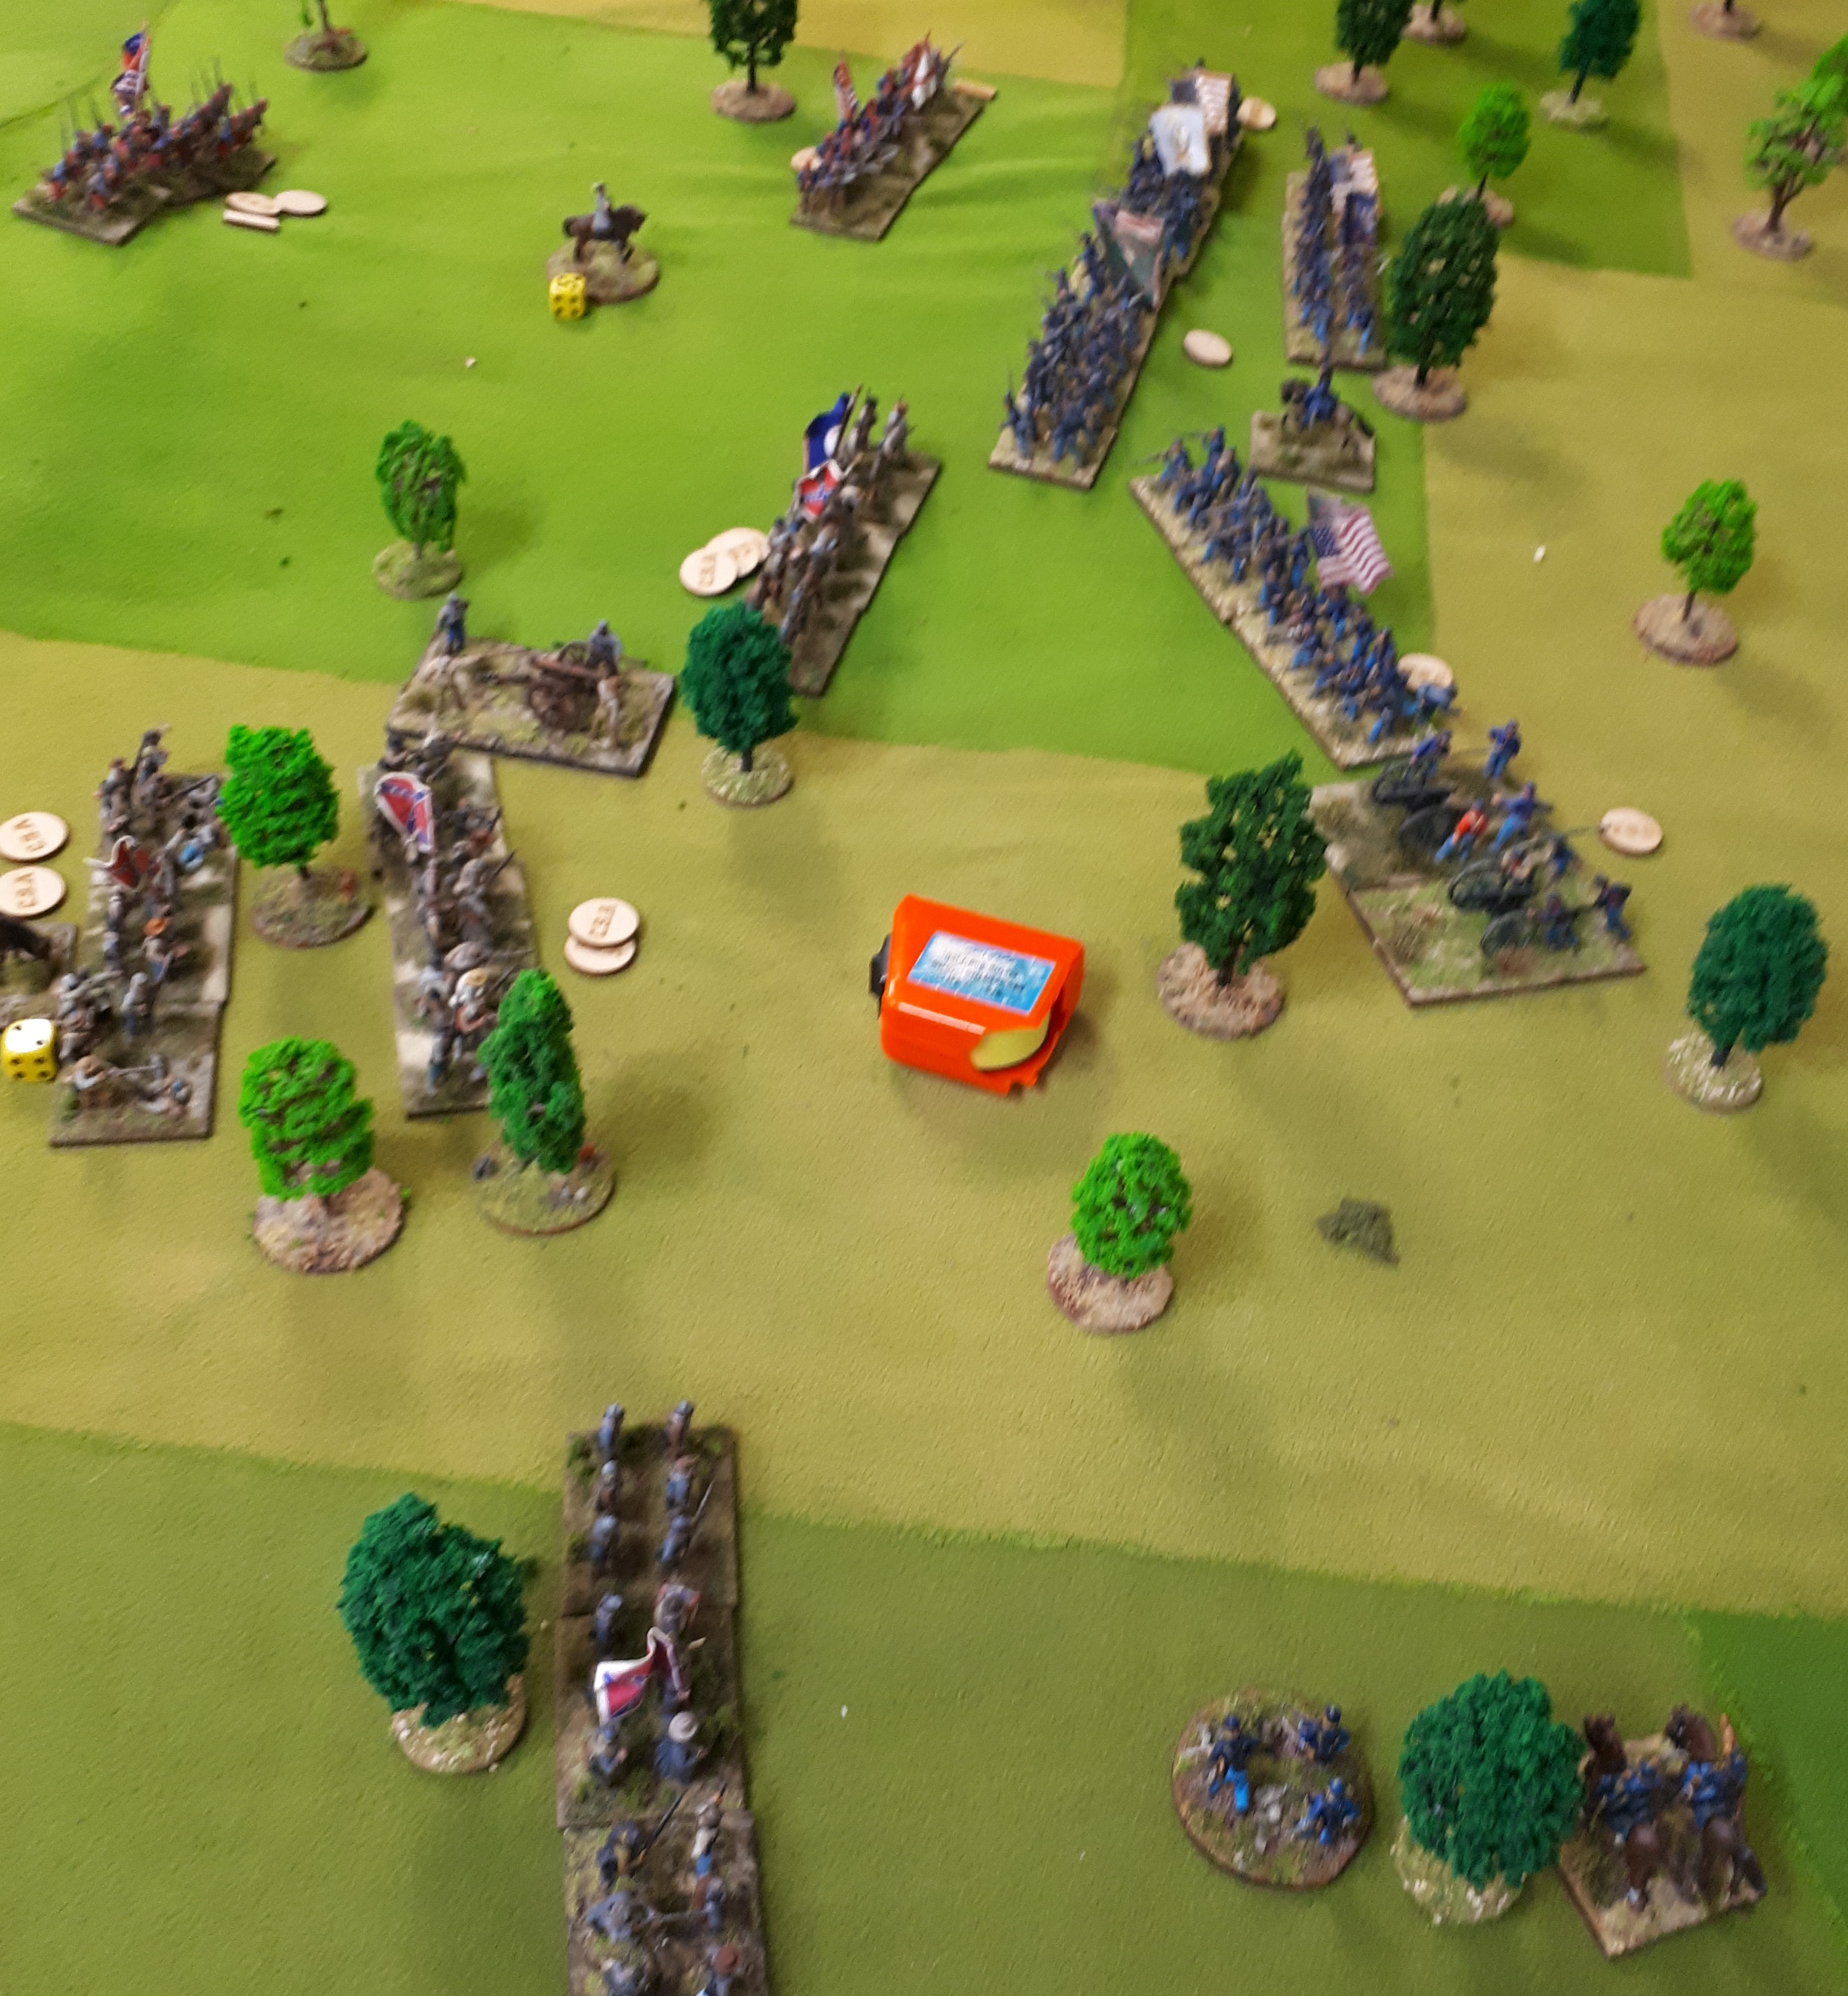
Keiths reserves flow onto table, light cavalry brigade.

Combat and my right hand unit draws while the left loses but stays.

OMG! Half the Jager have moved!

The combat continues. One French bttn has popped and the other lost but stayed. Its supporting unit to its rear has suffered fire from both batteries and is shaken and disordered.


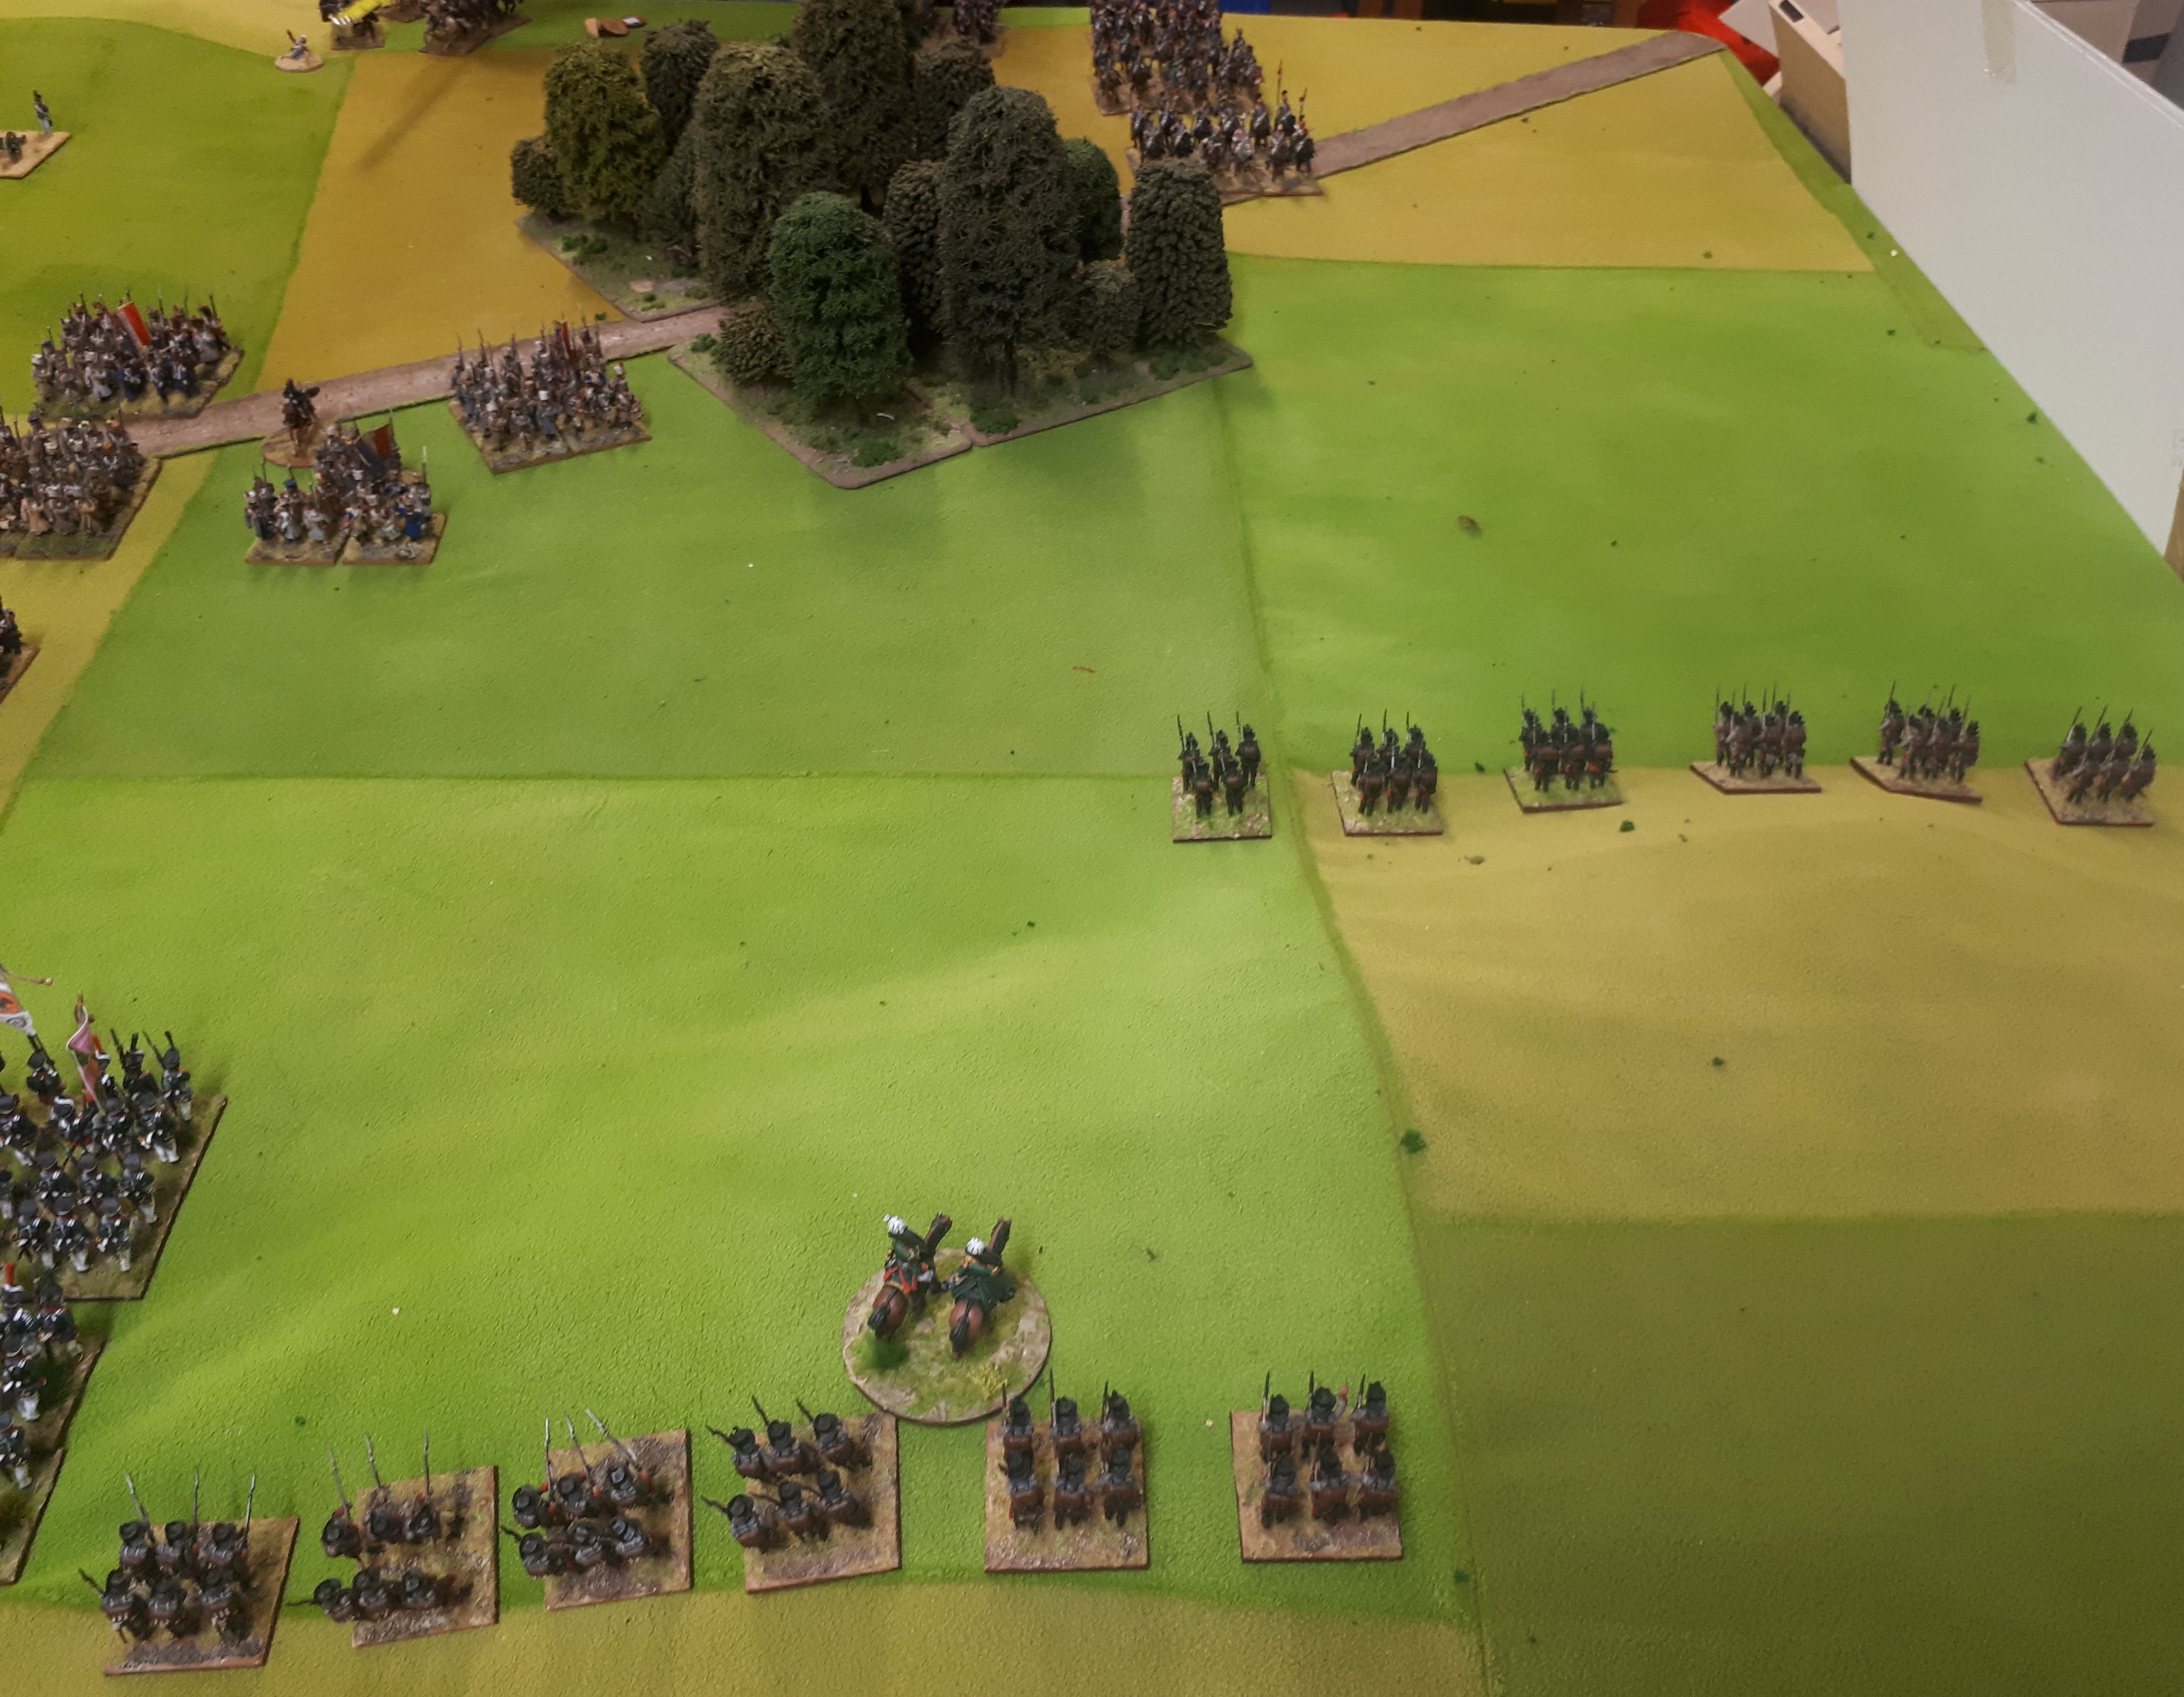
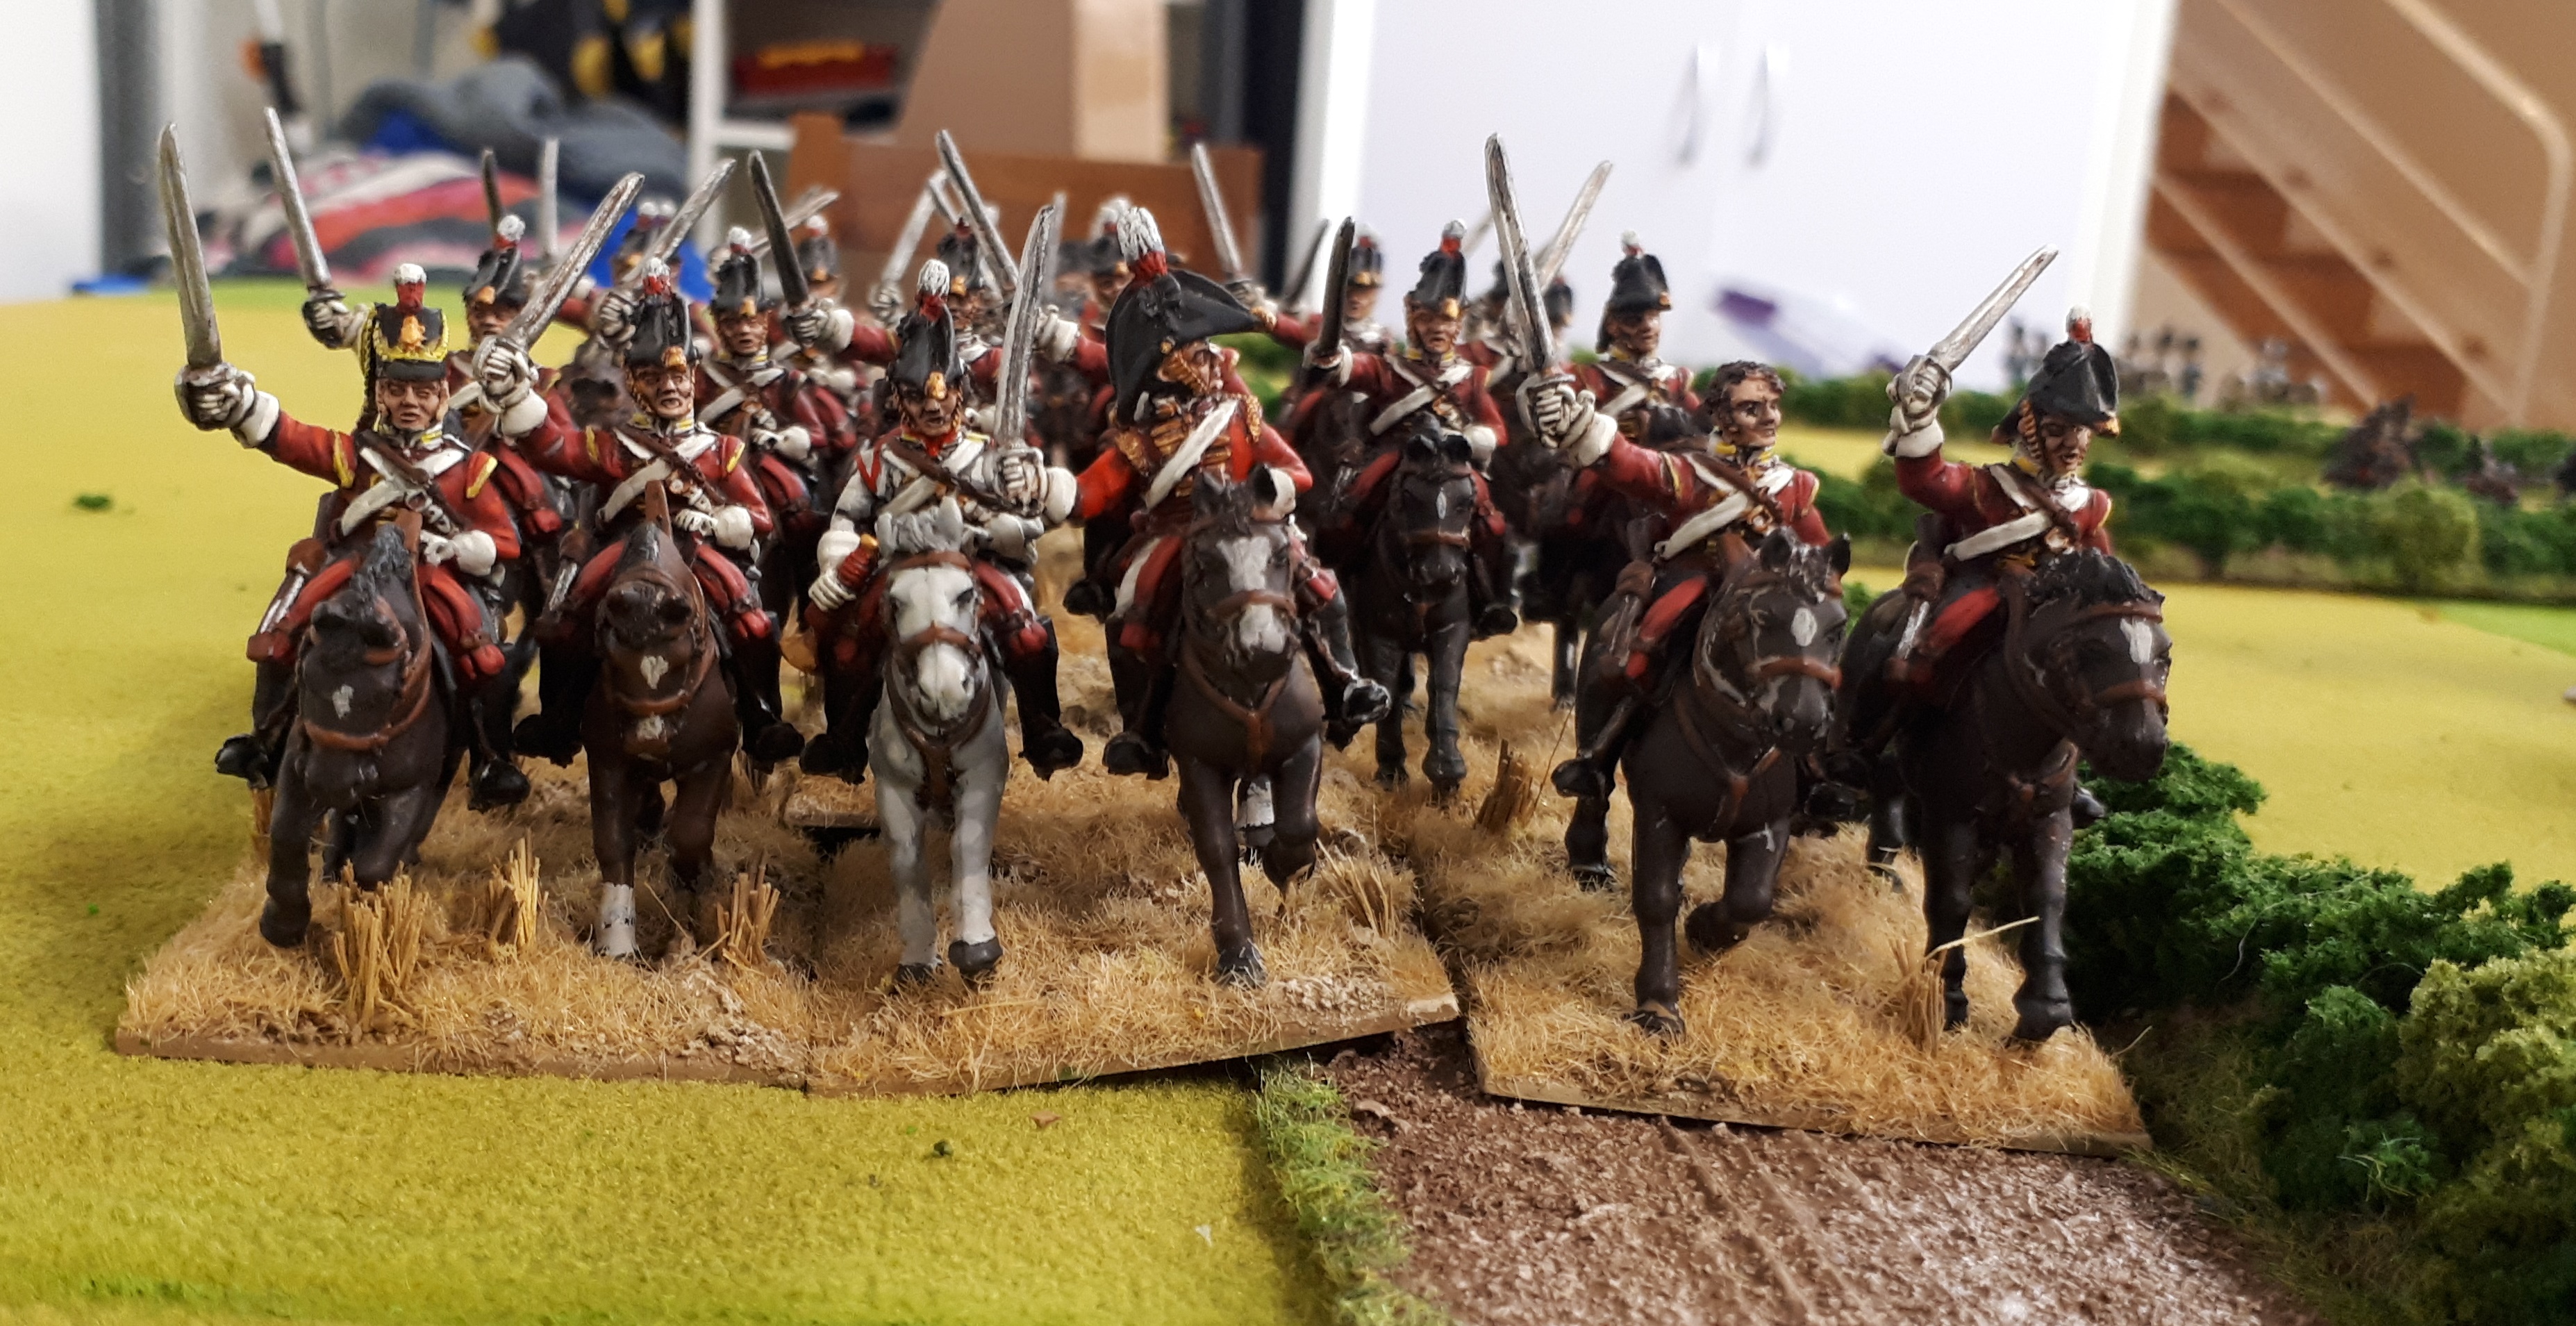
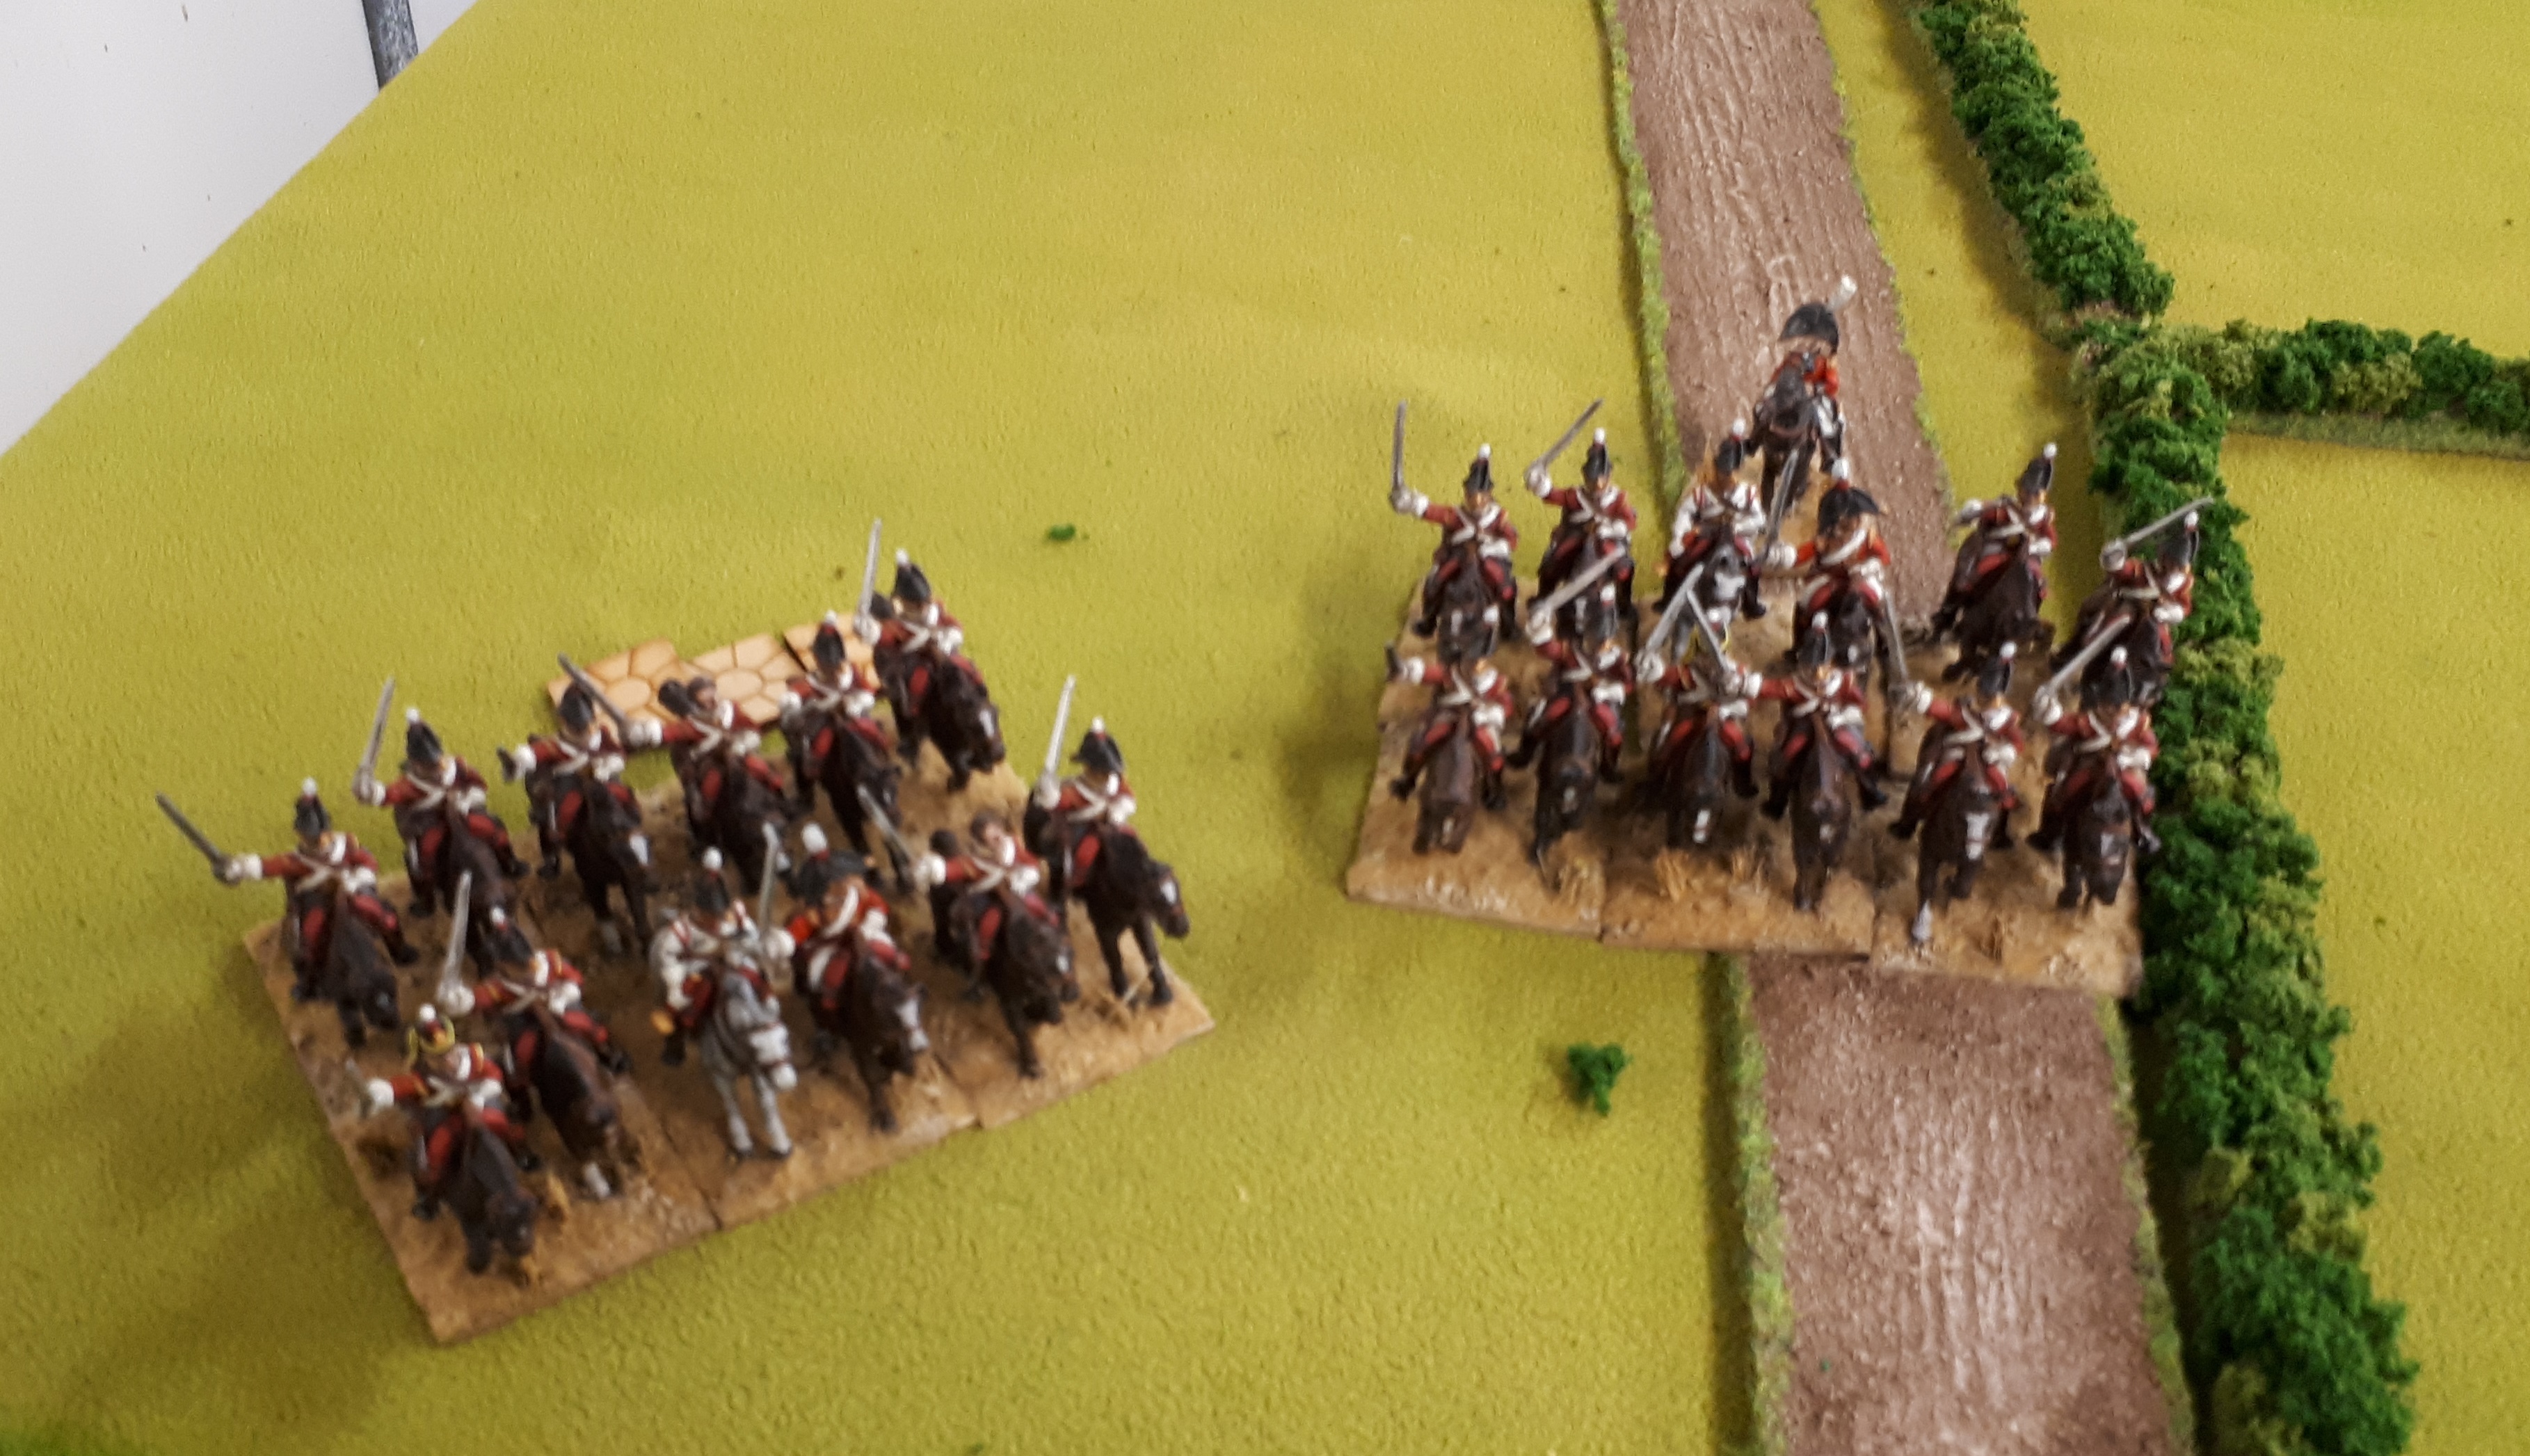
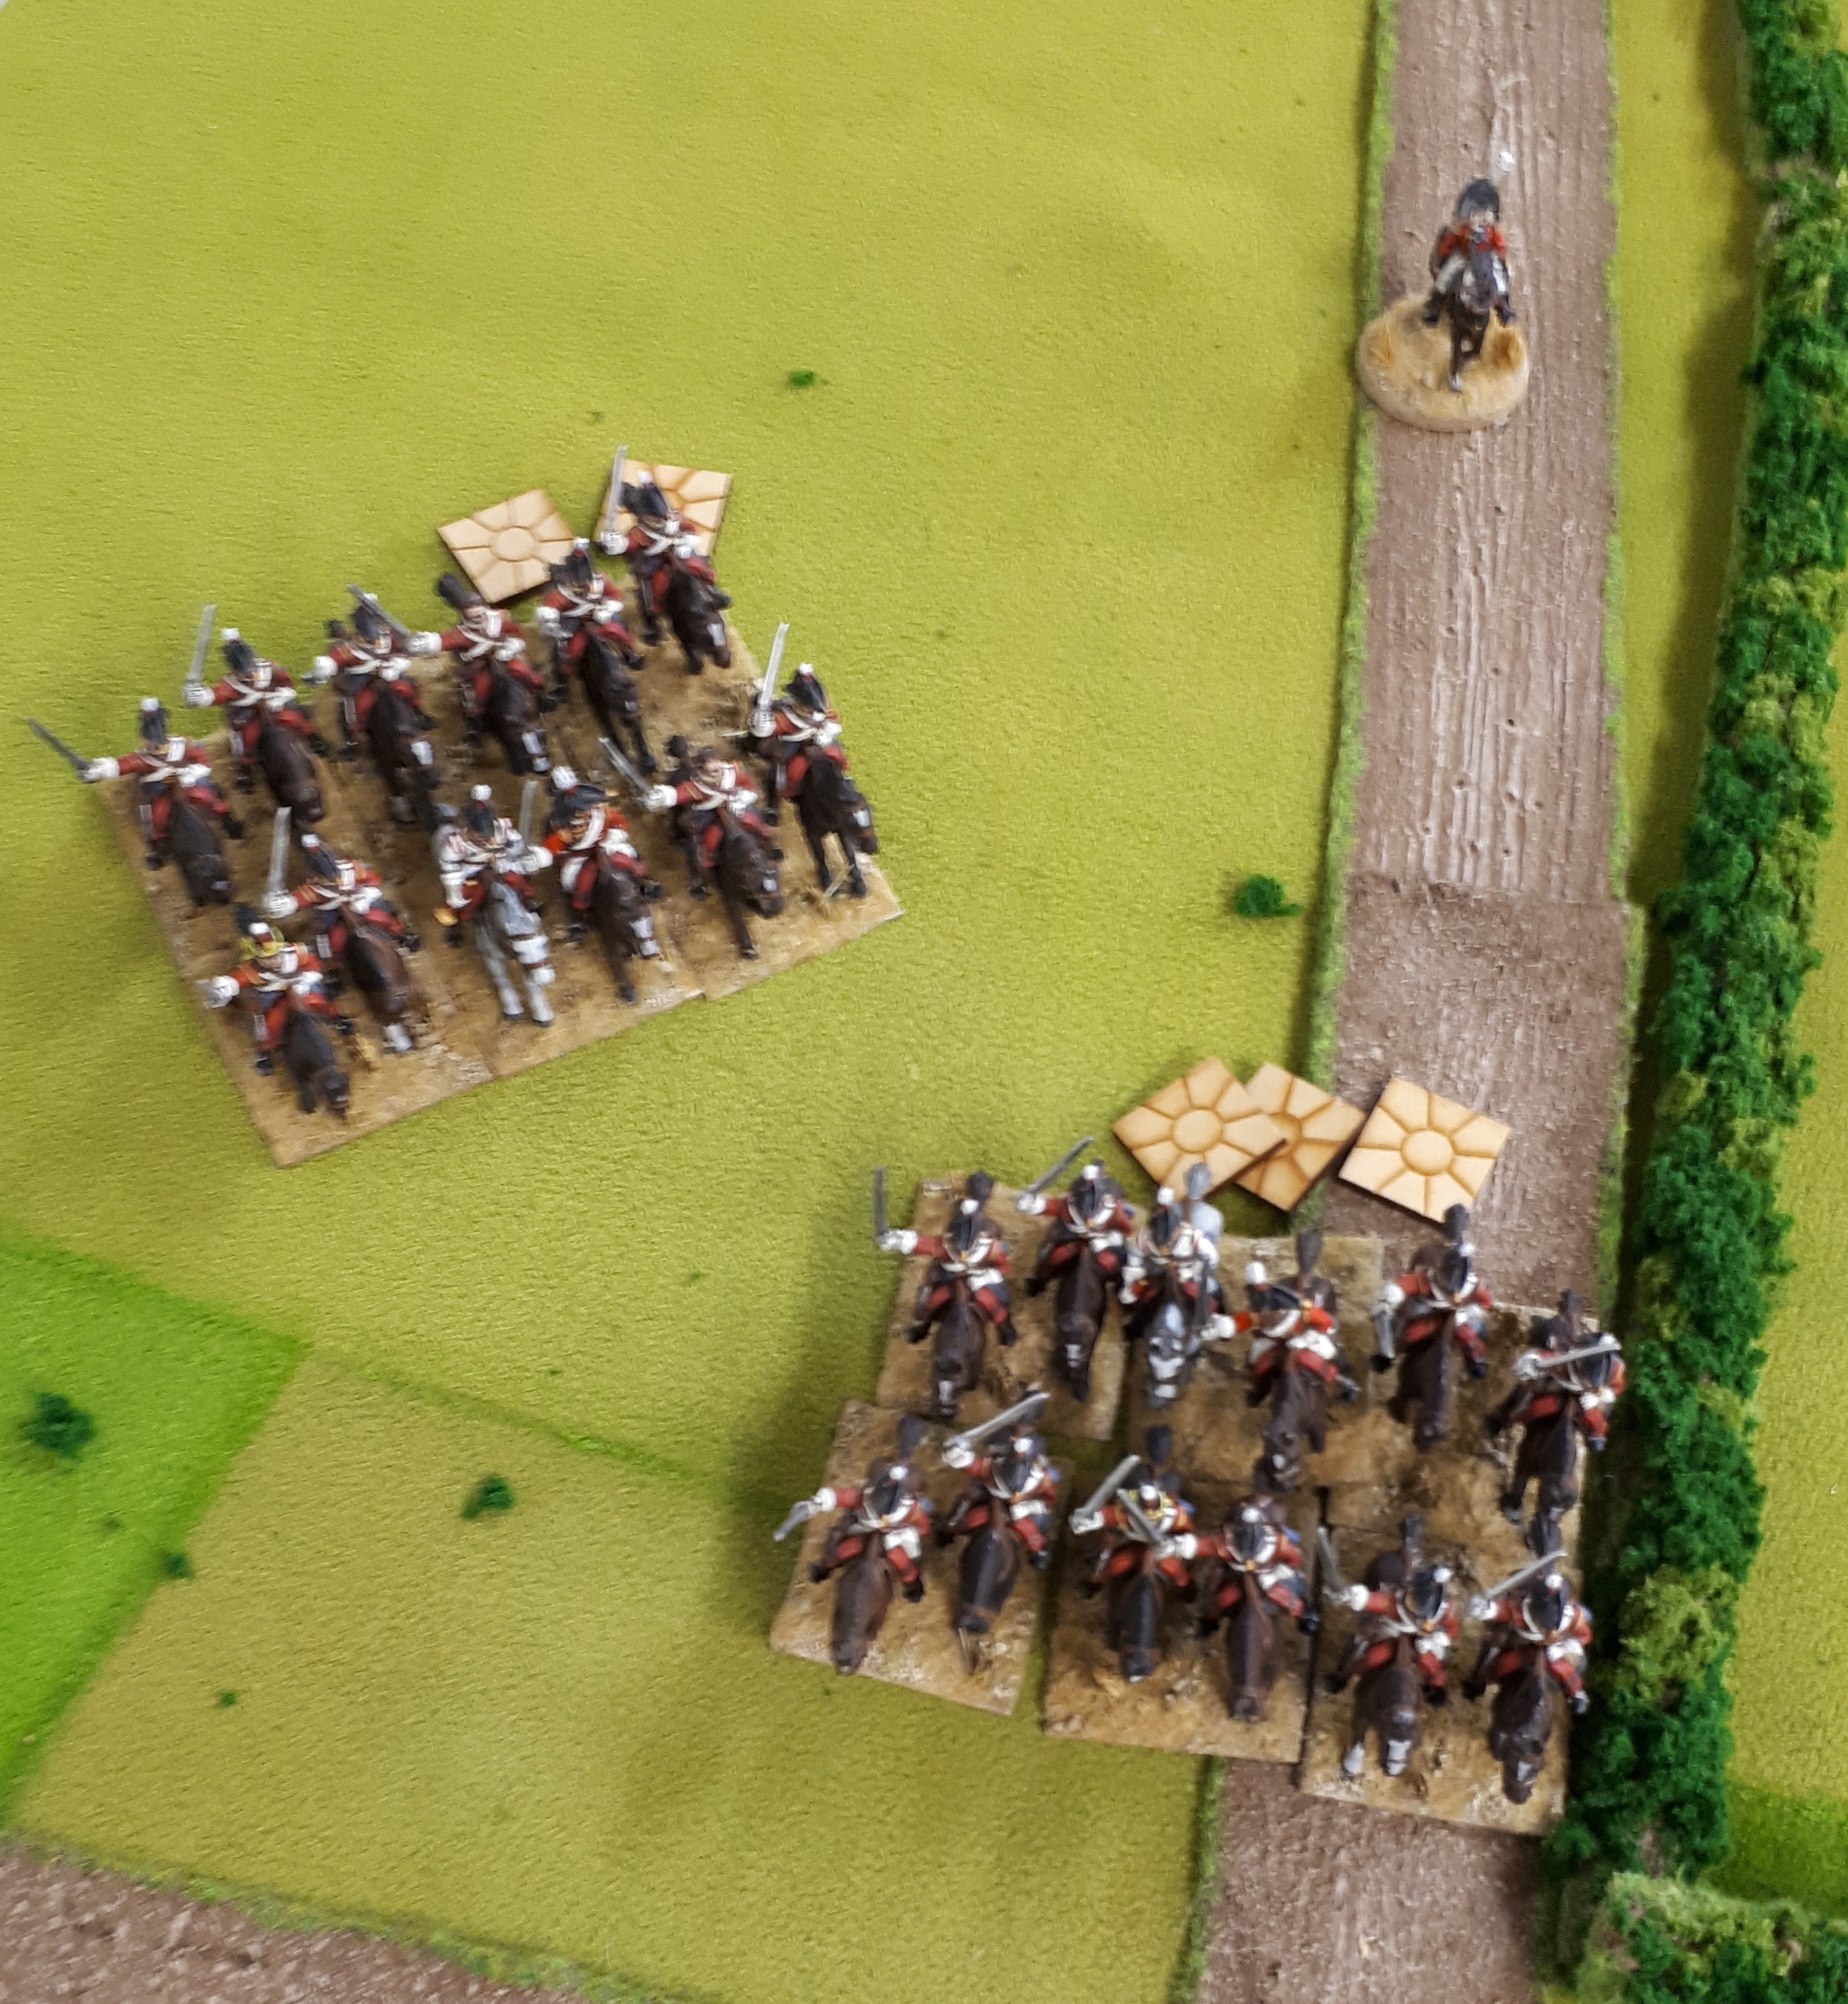
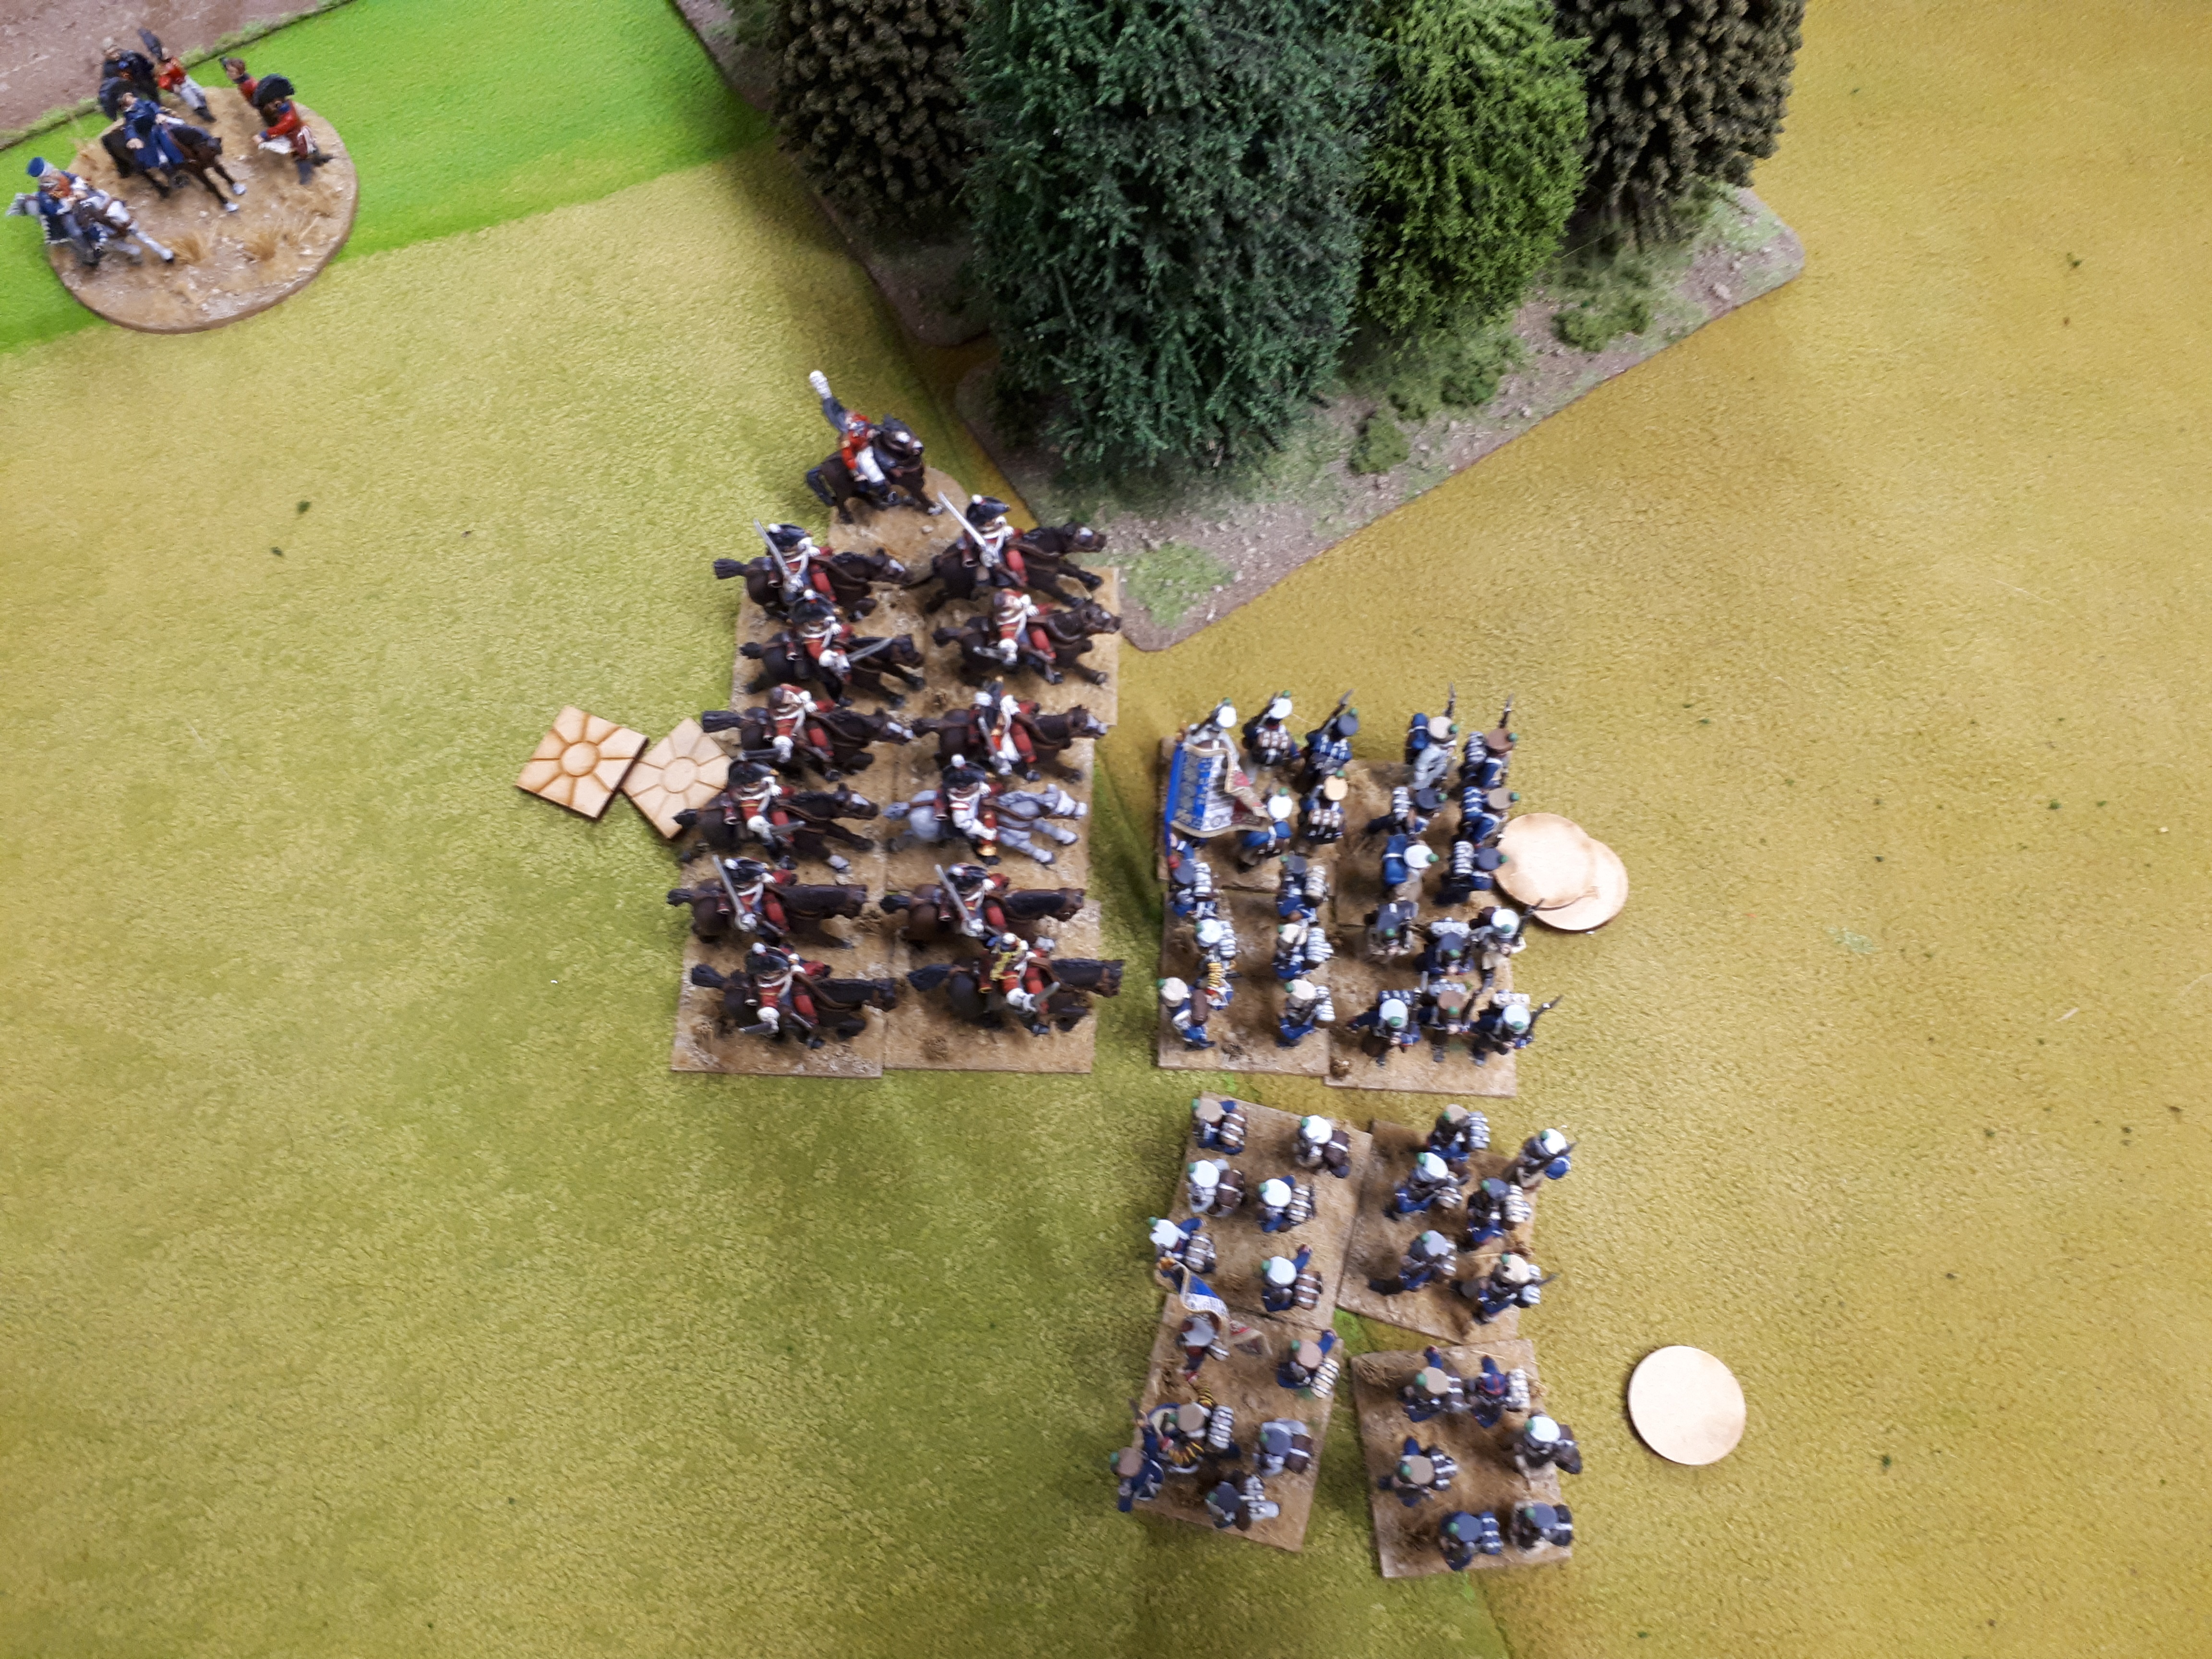
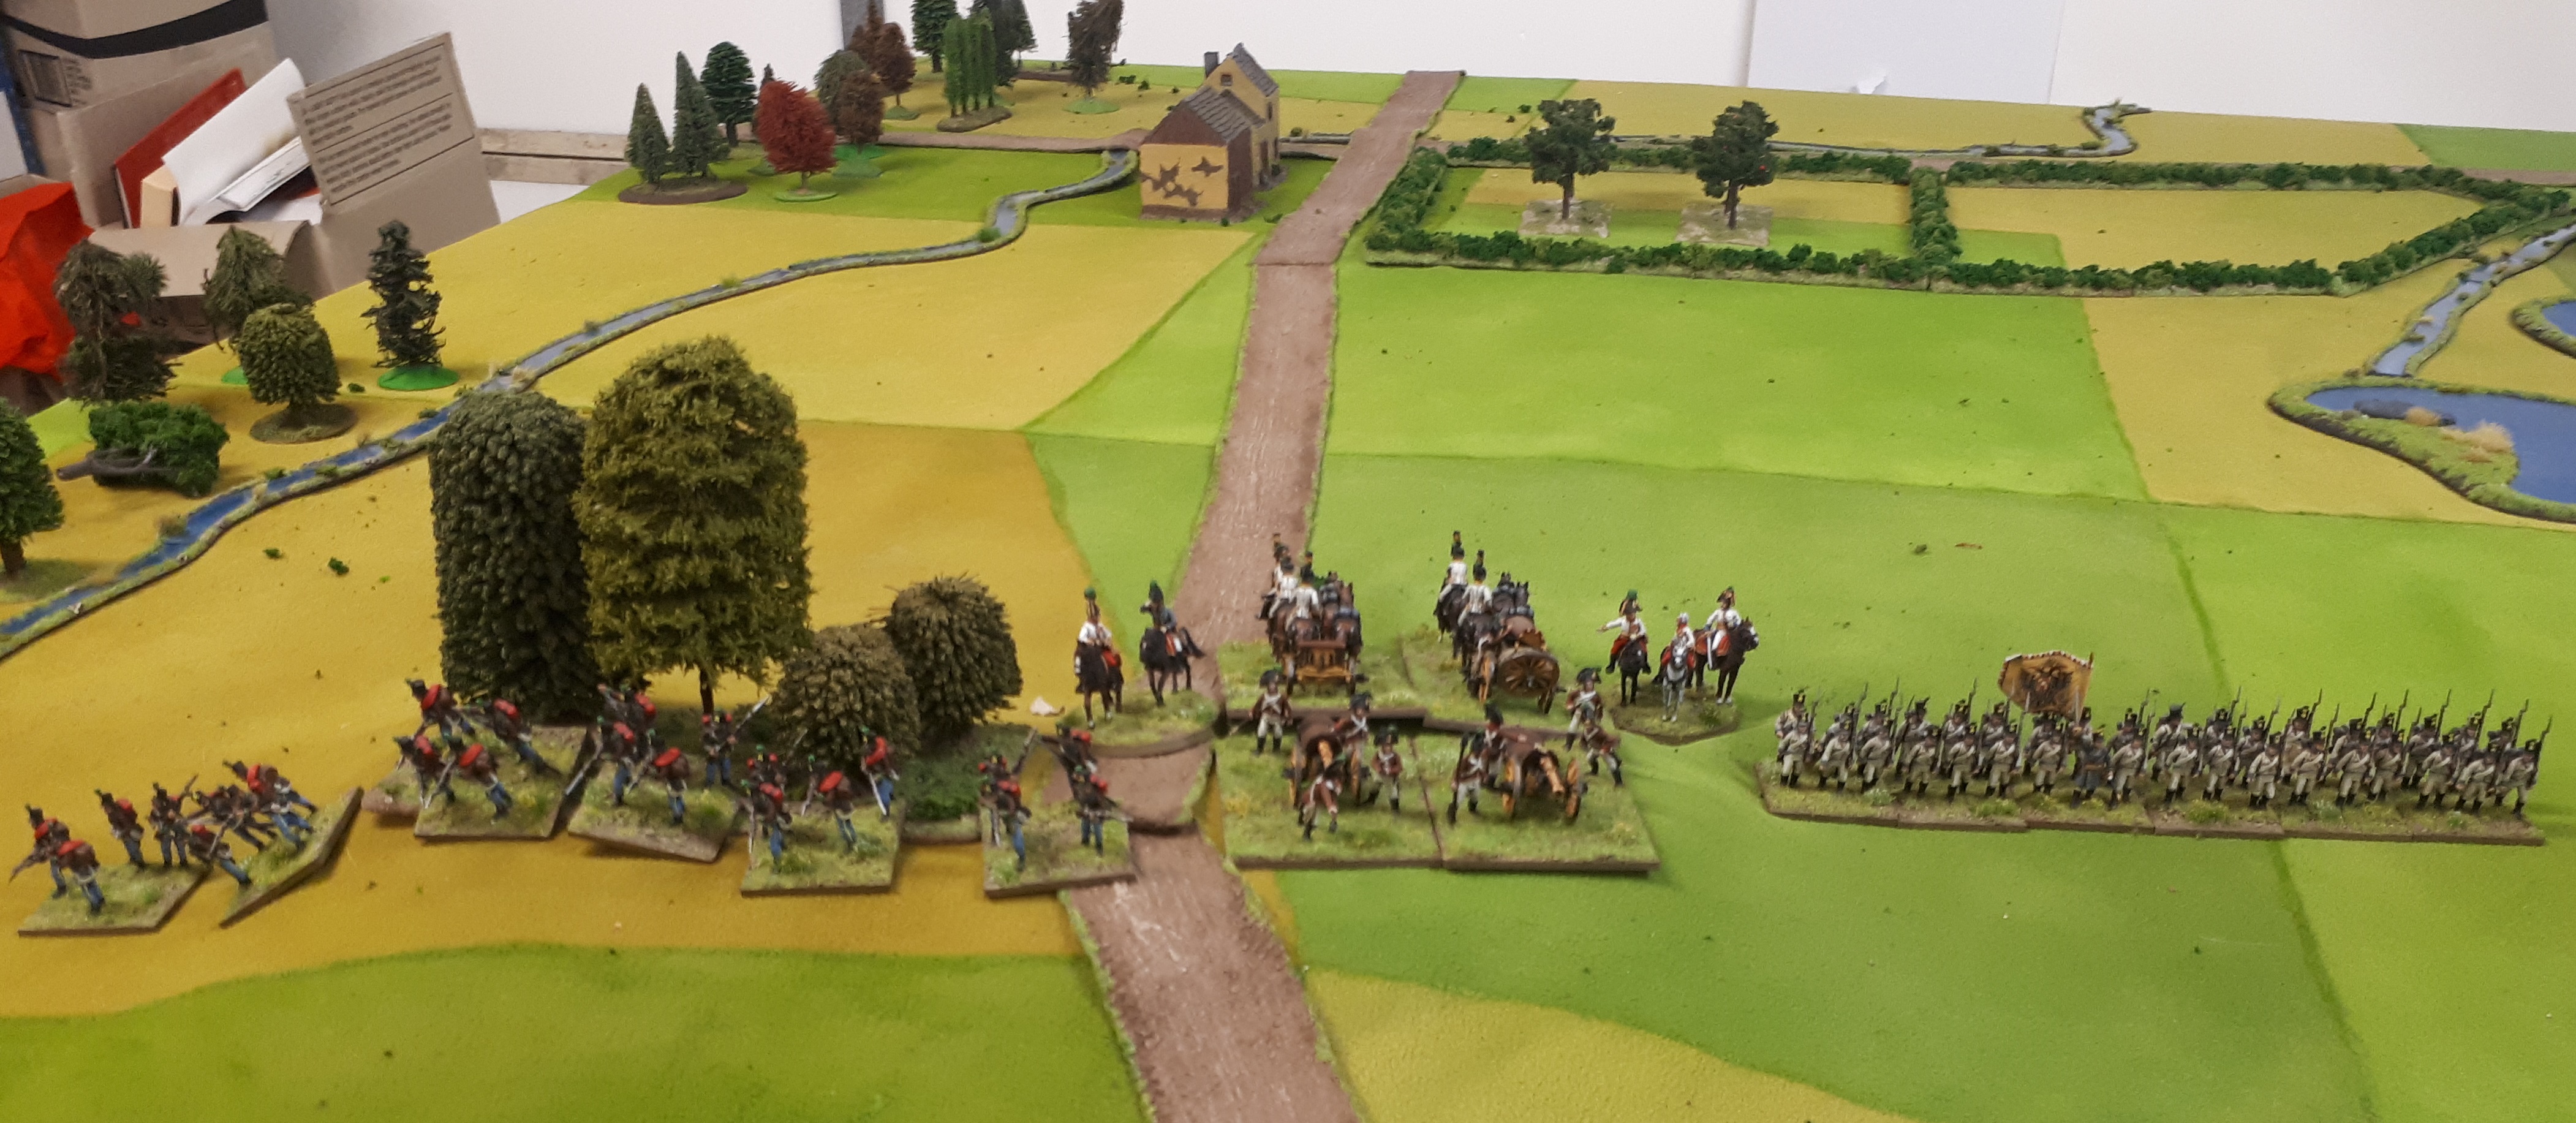
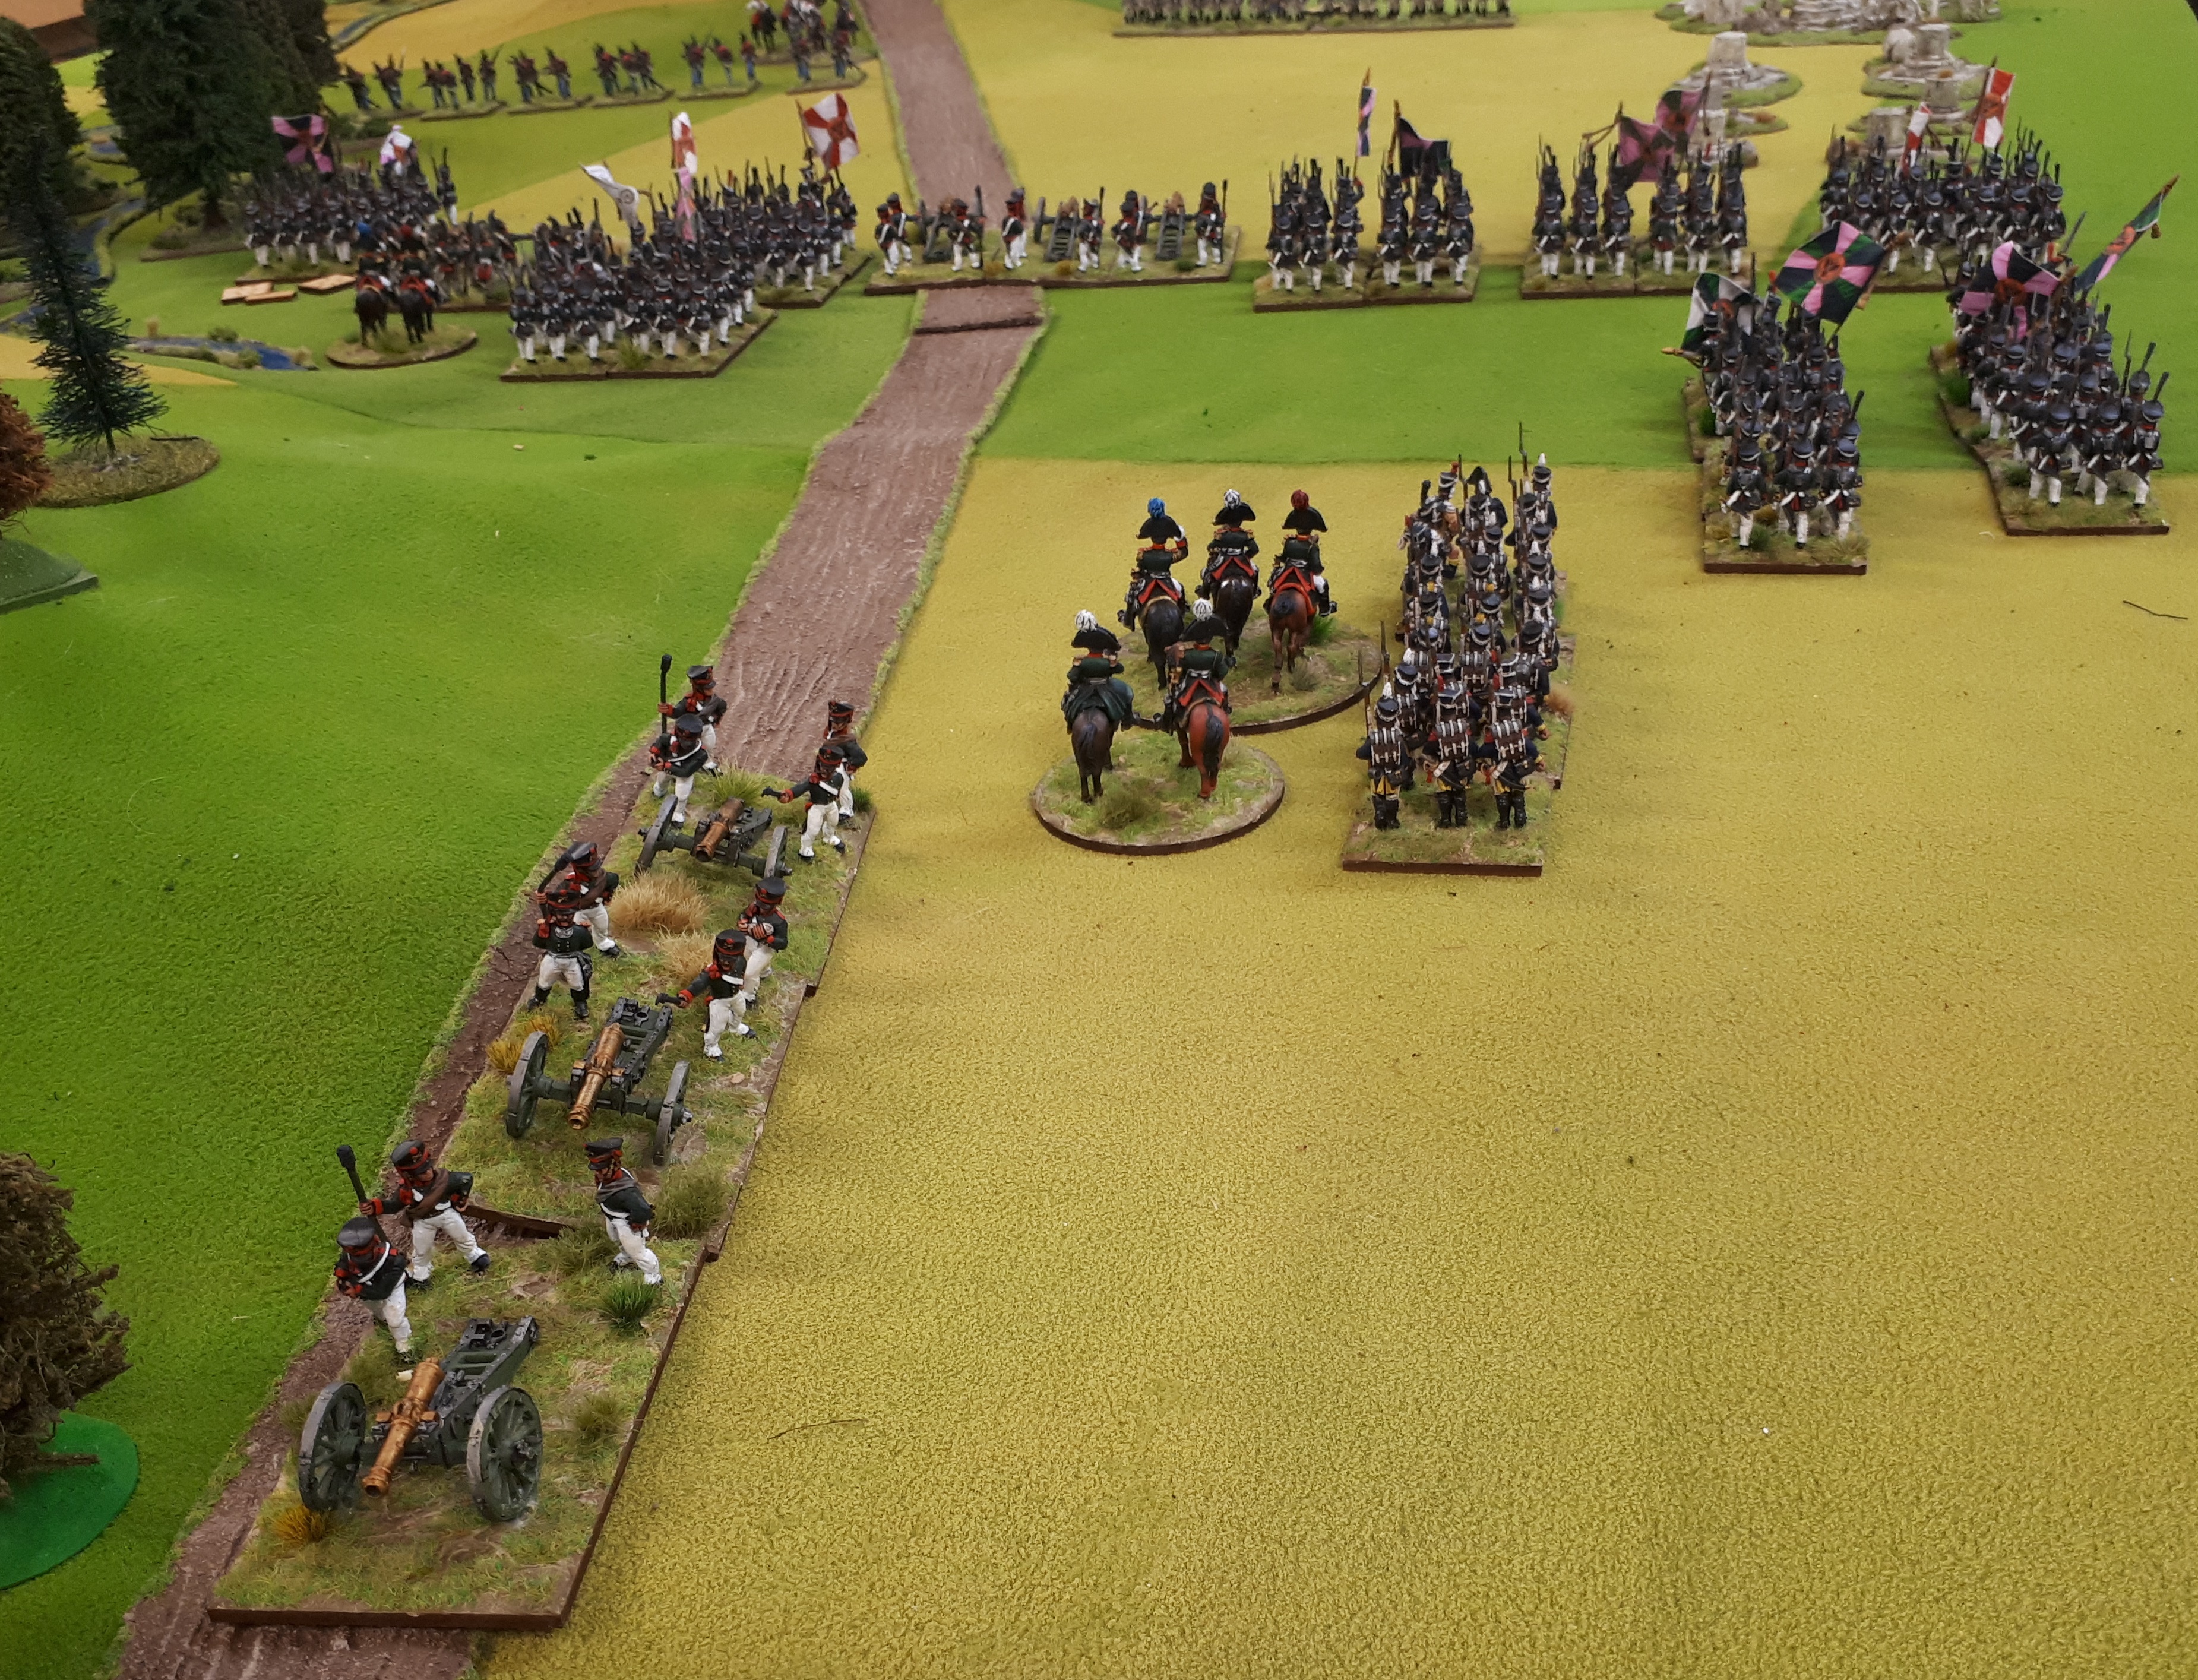
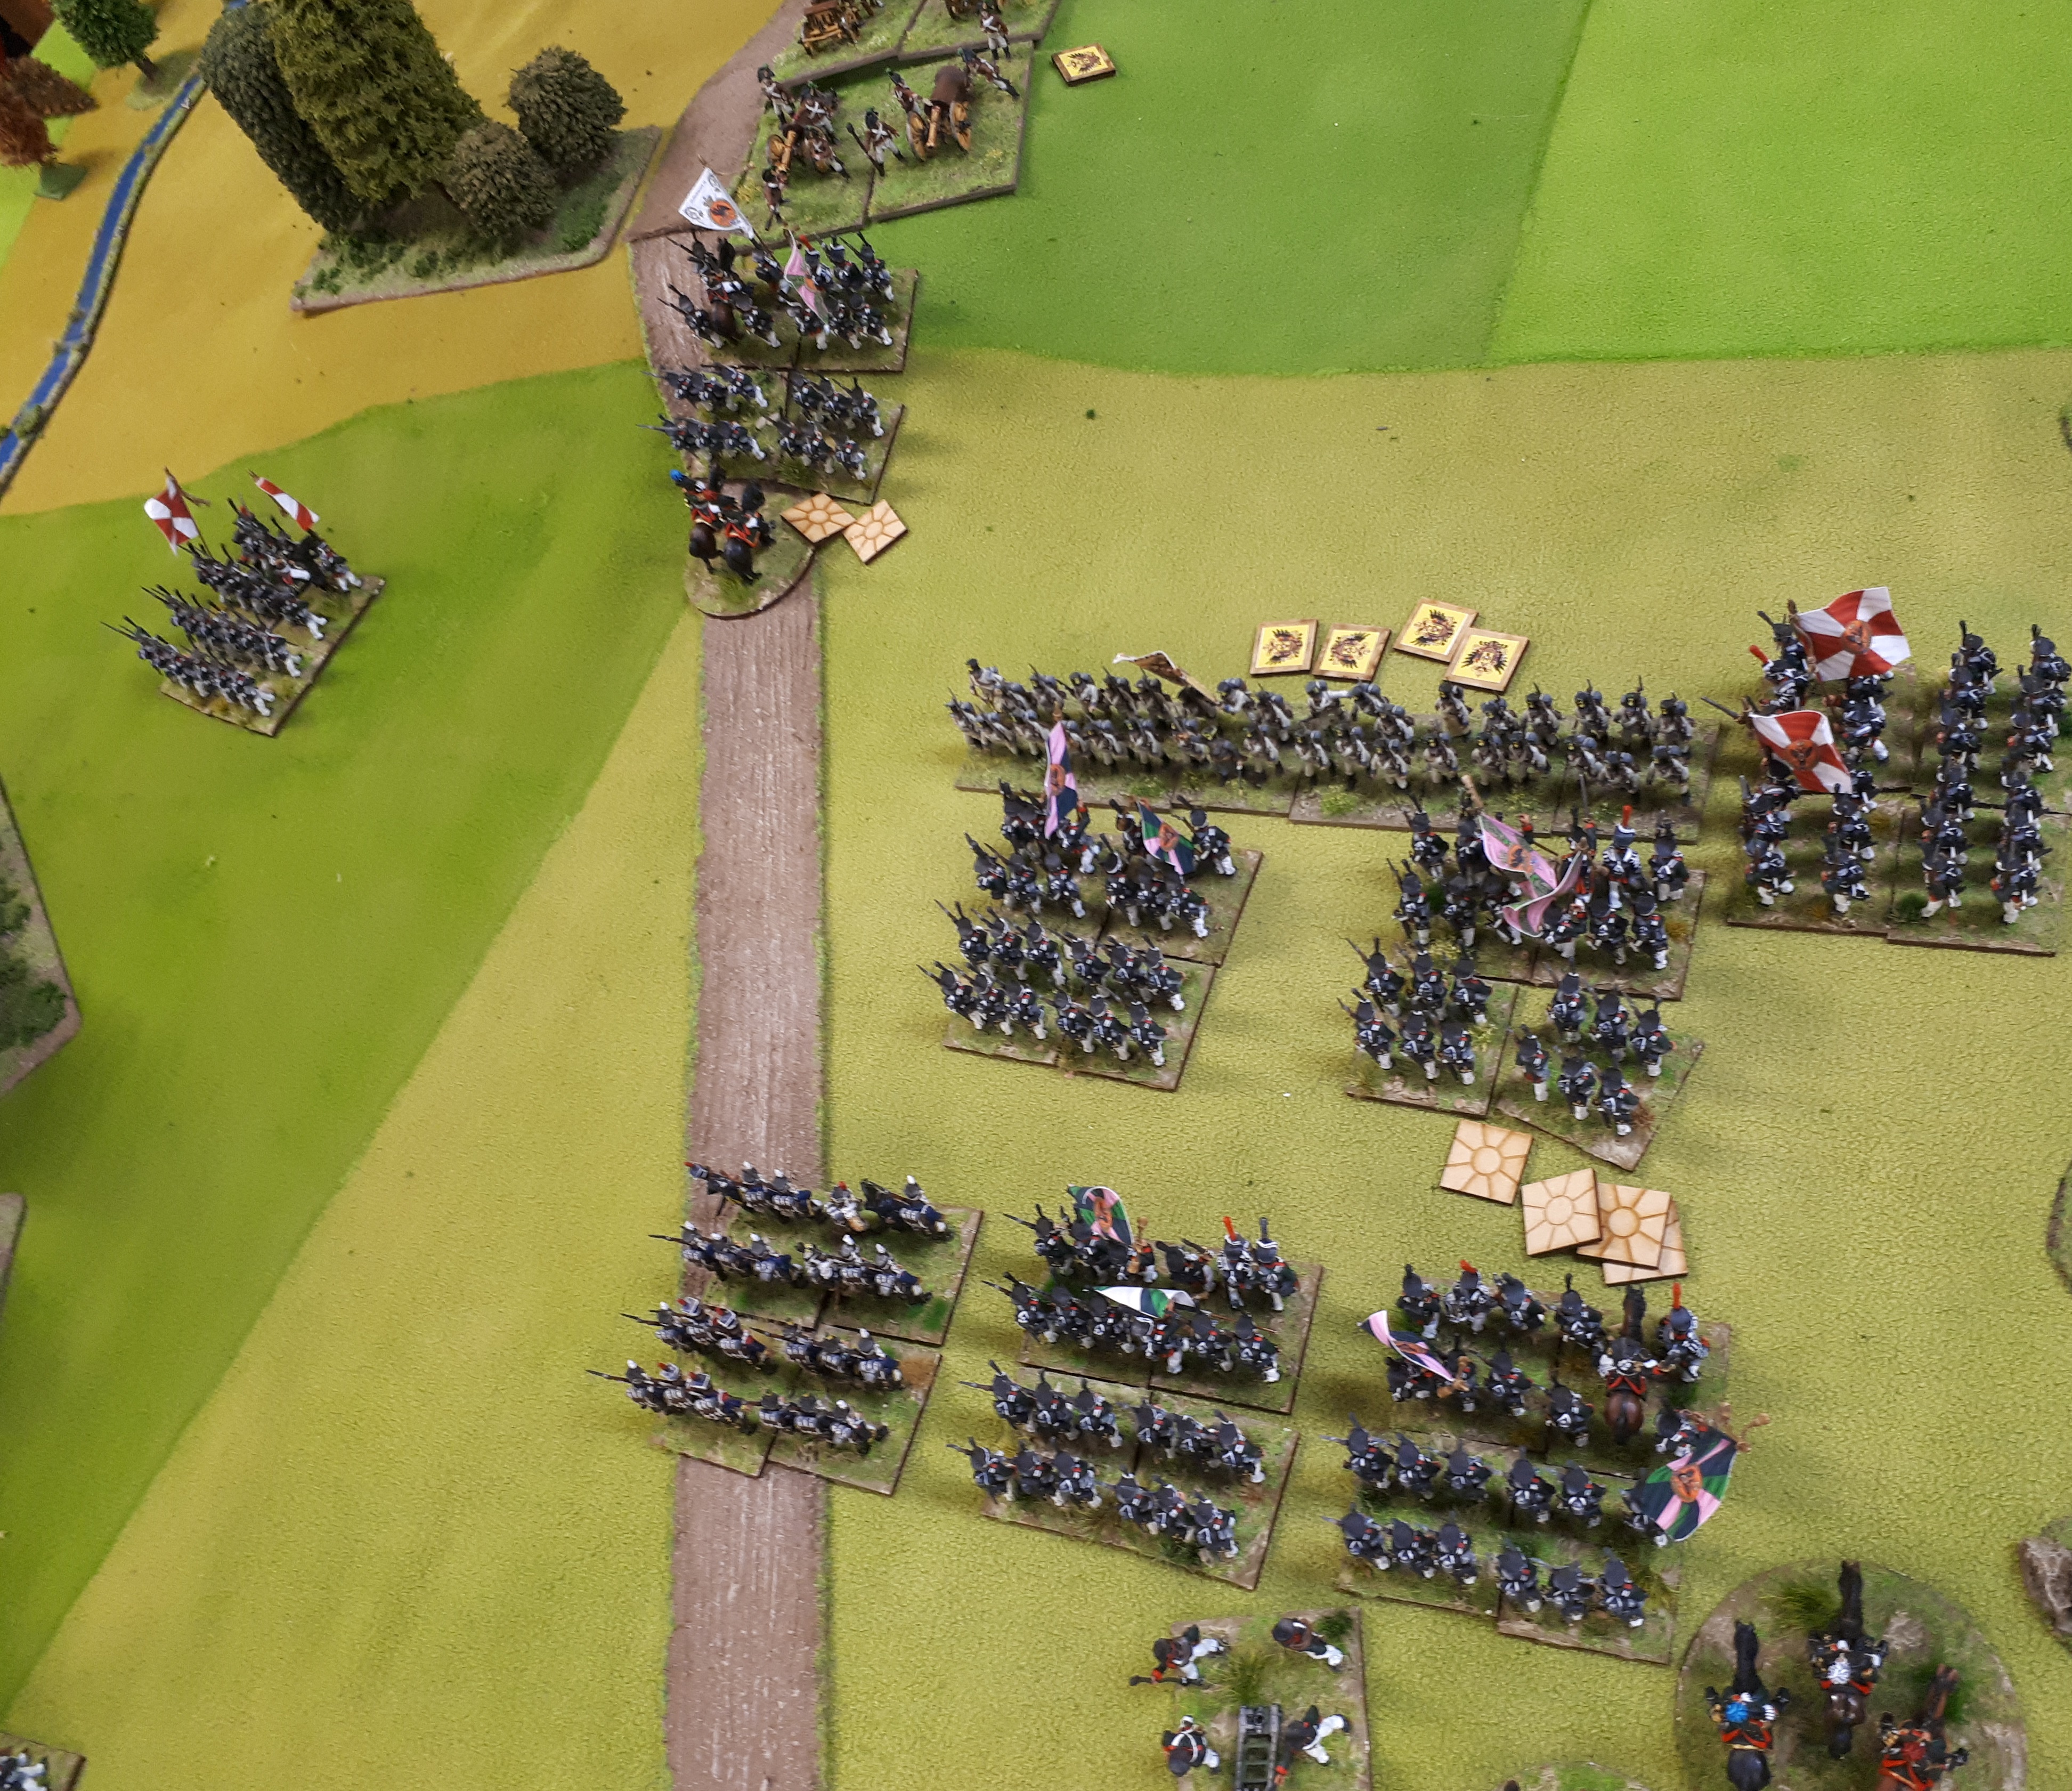
Russian light cavalry arrive, the Hussars behind the guns and

the Cossacks(ok.. Austrian Hussars, my Cossacks still on paint table).

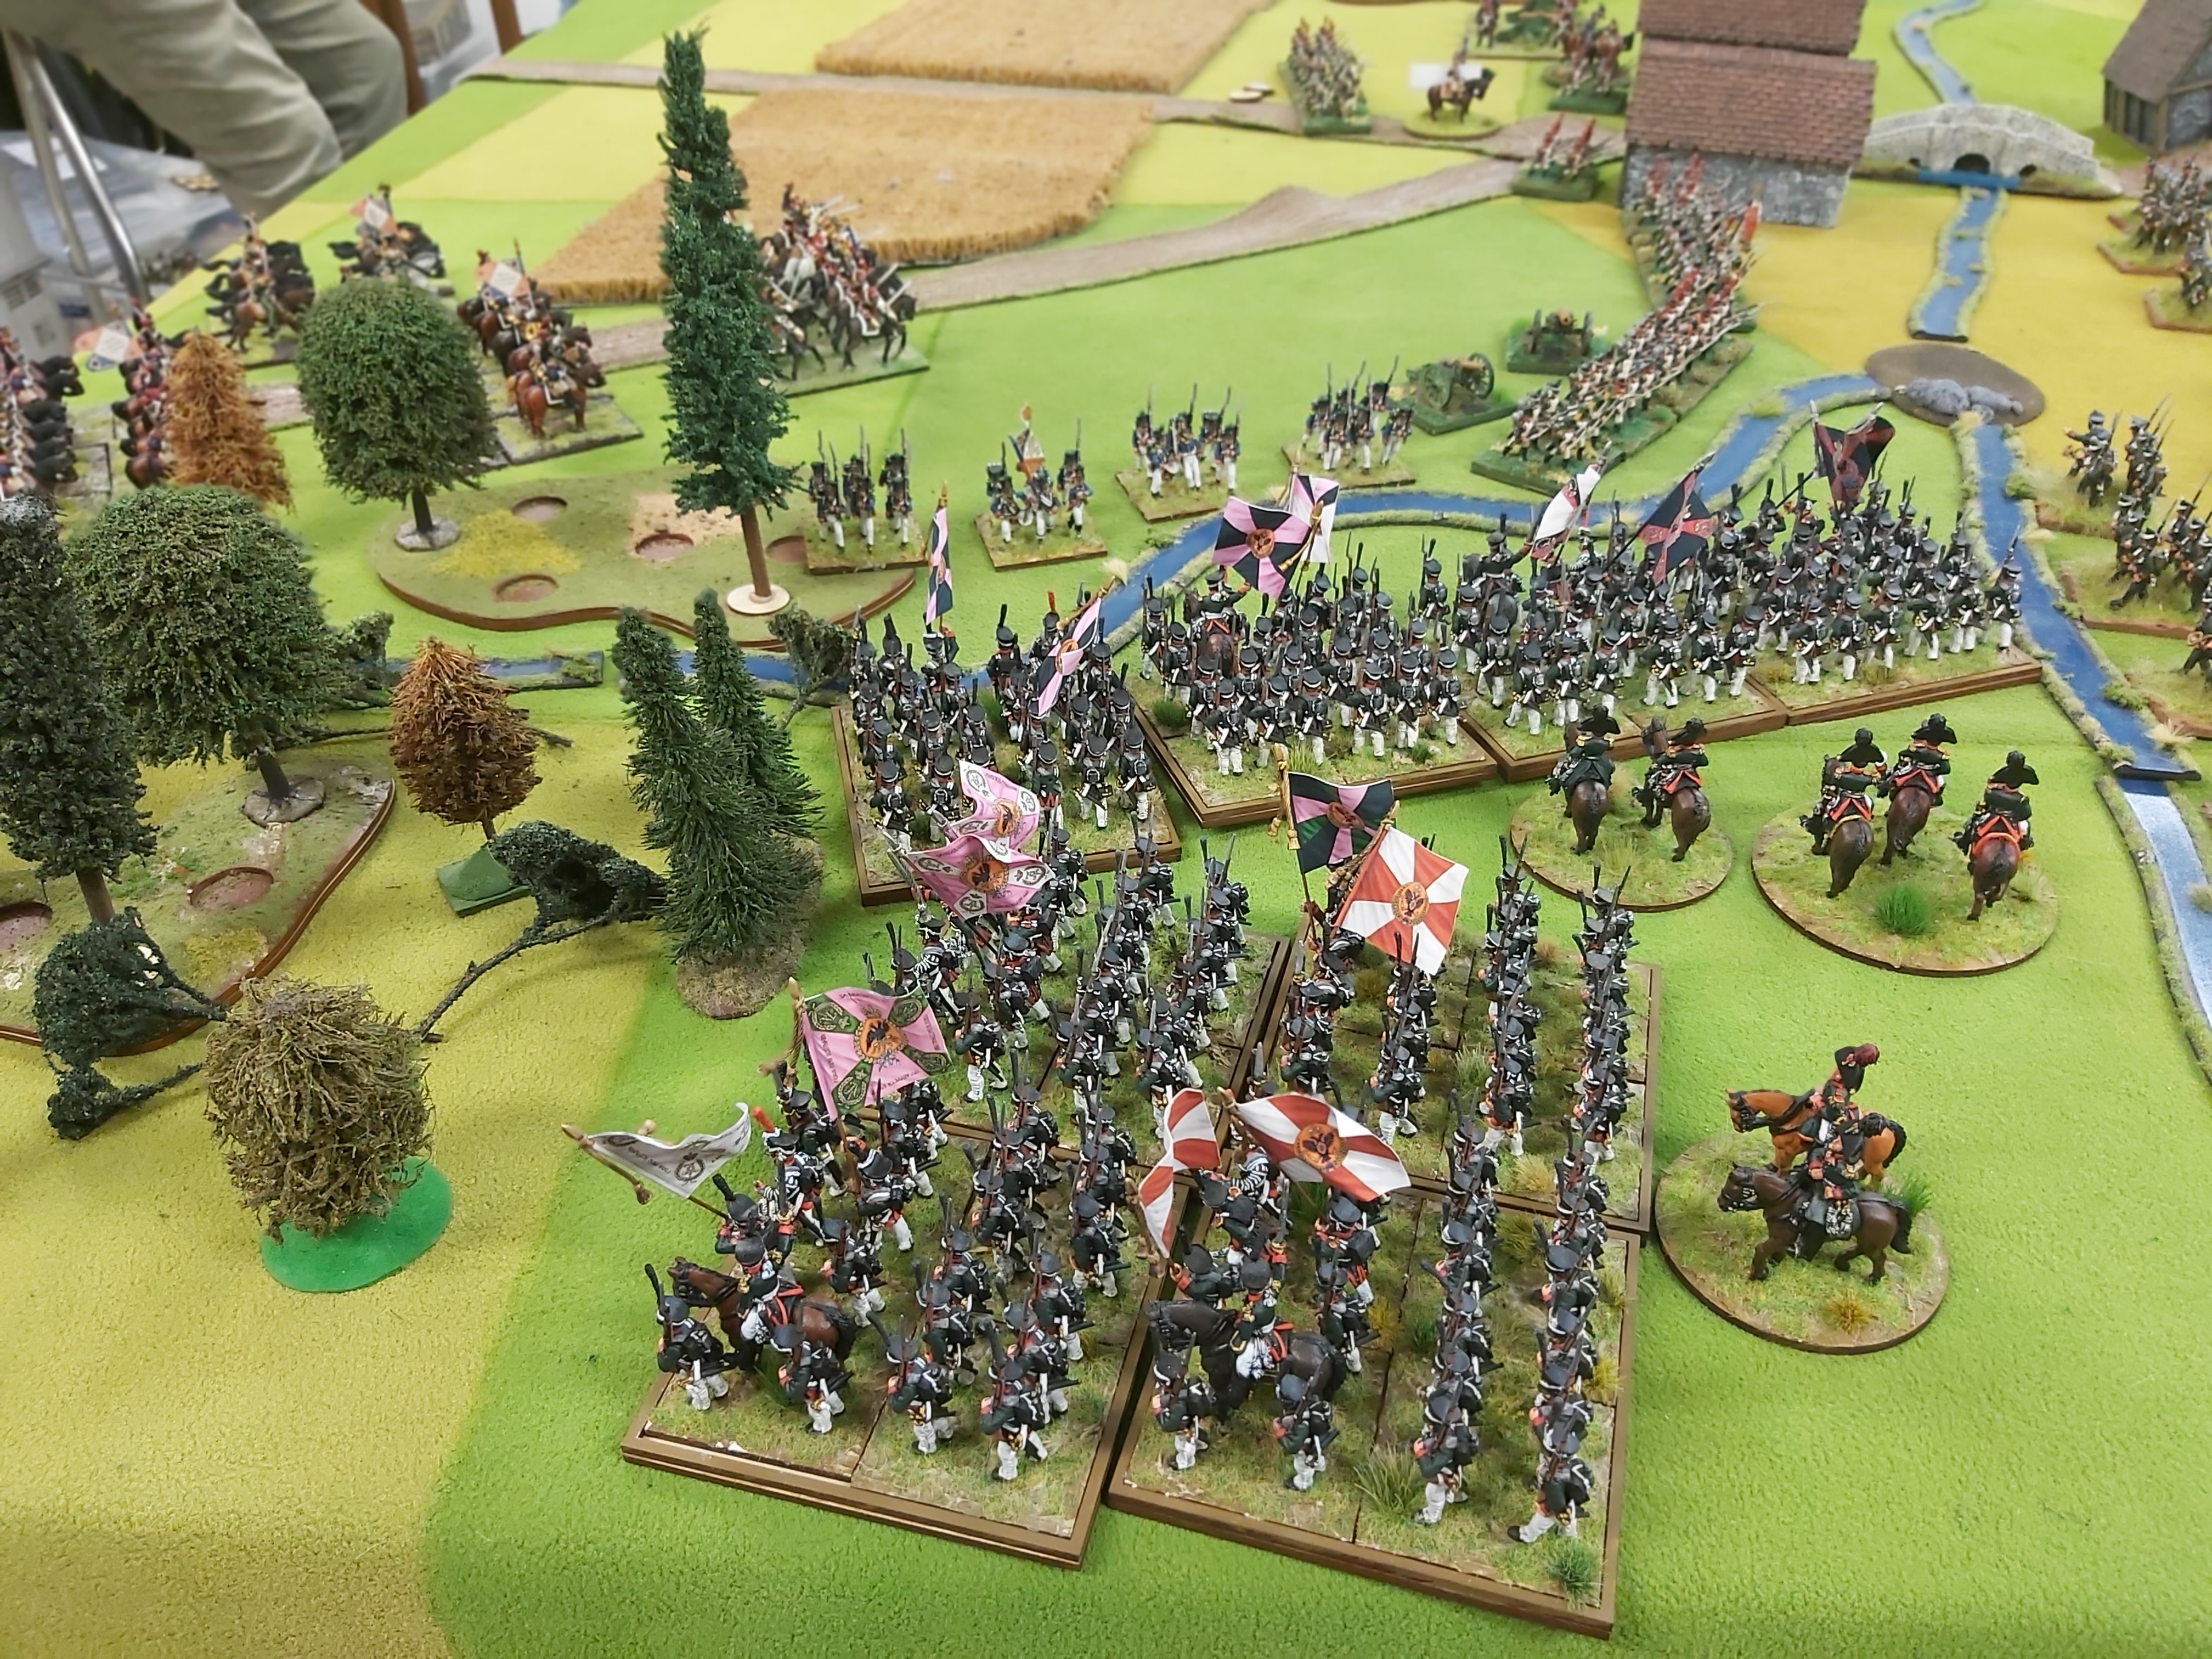
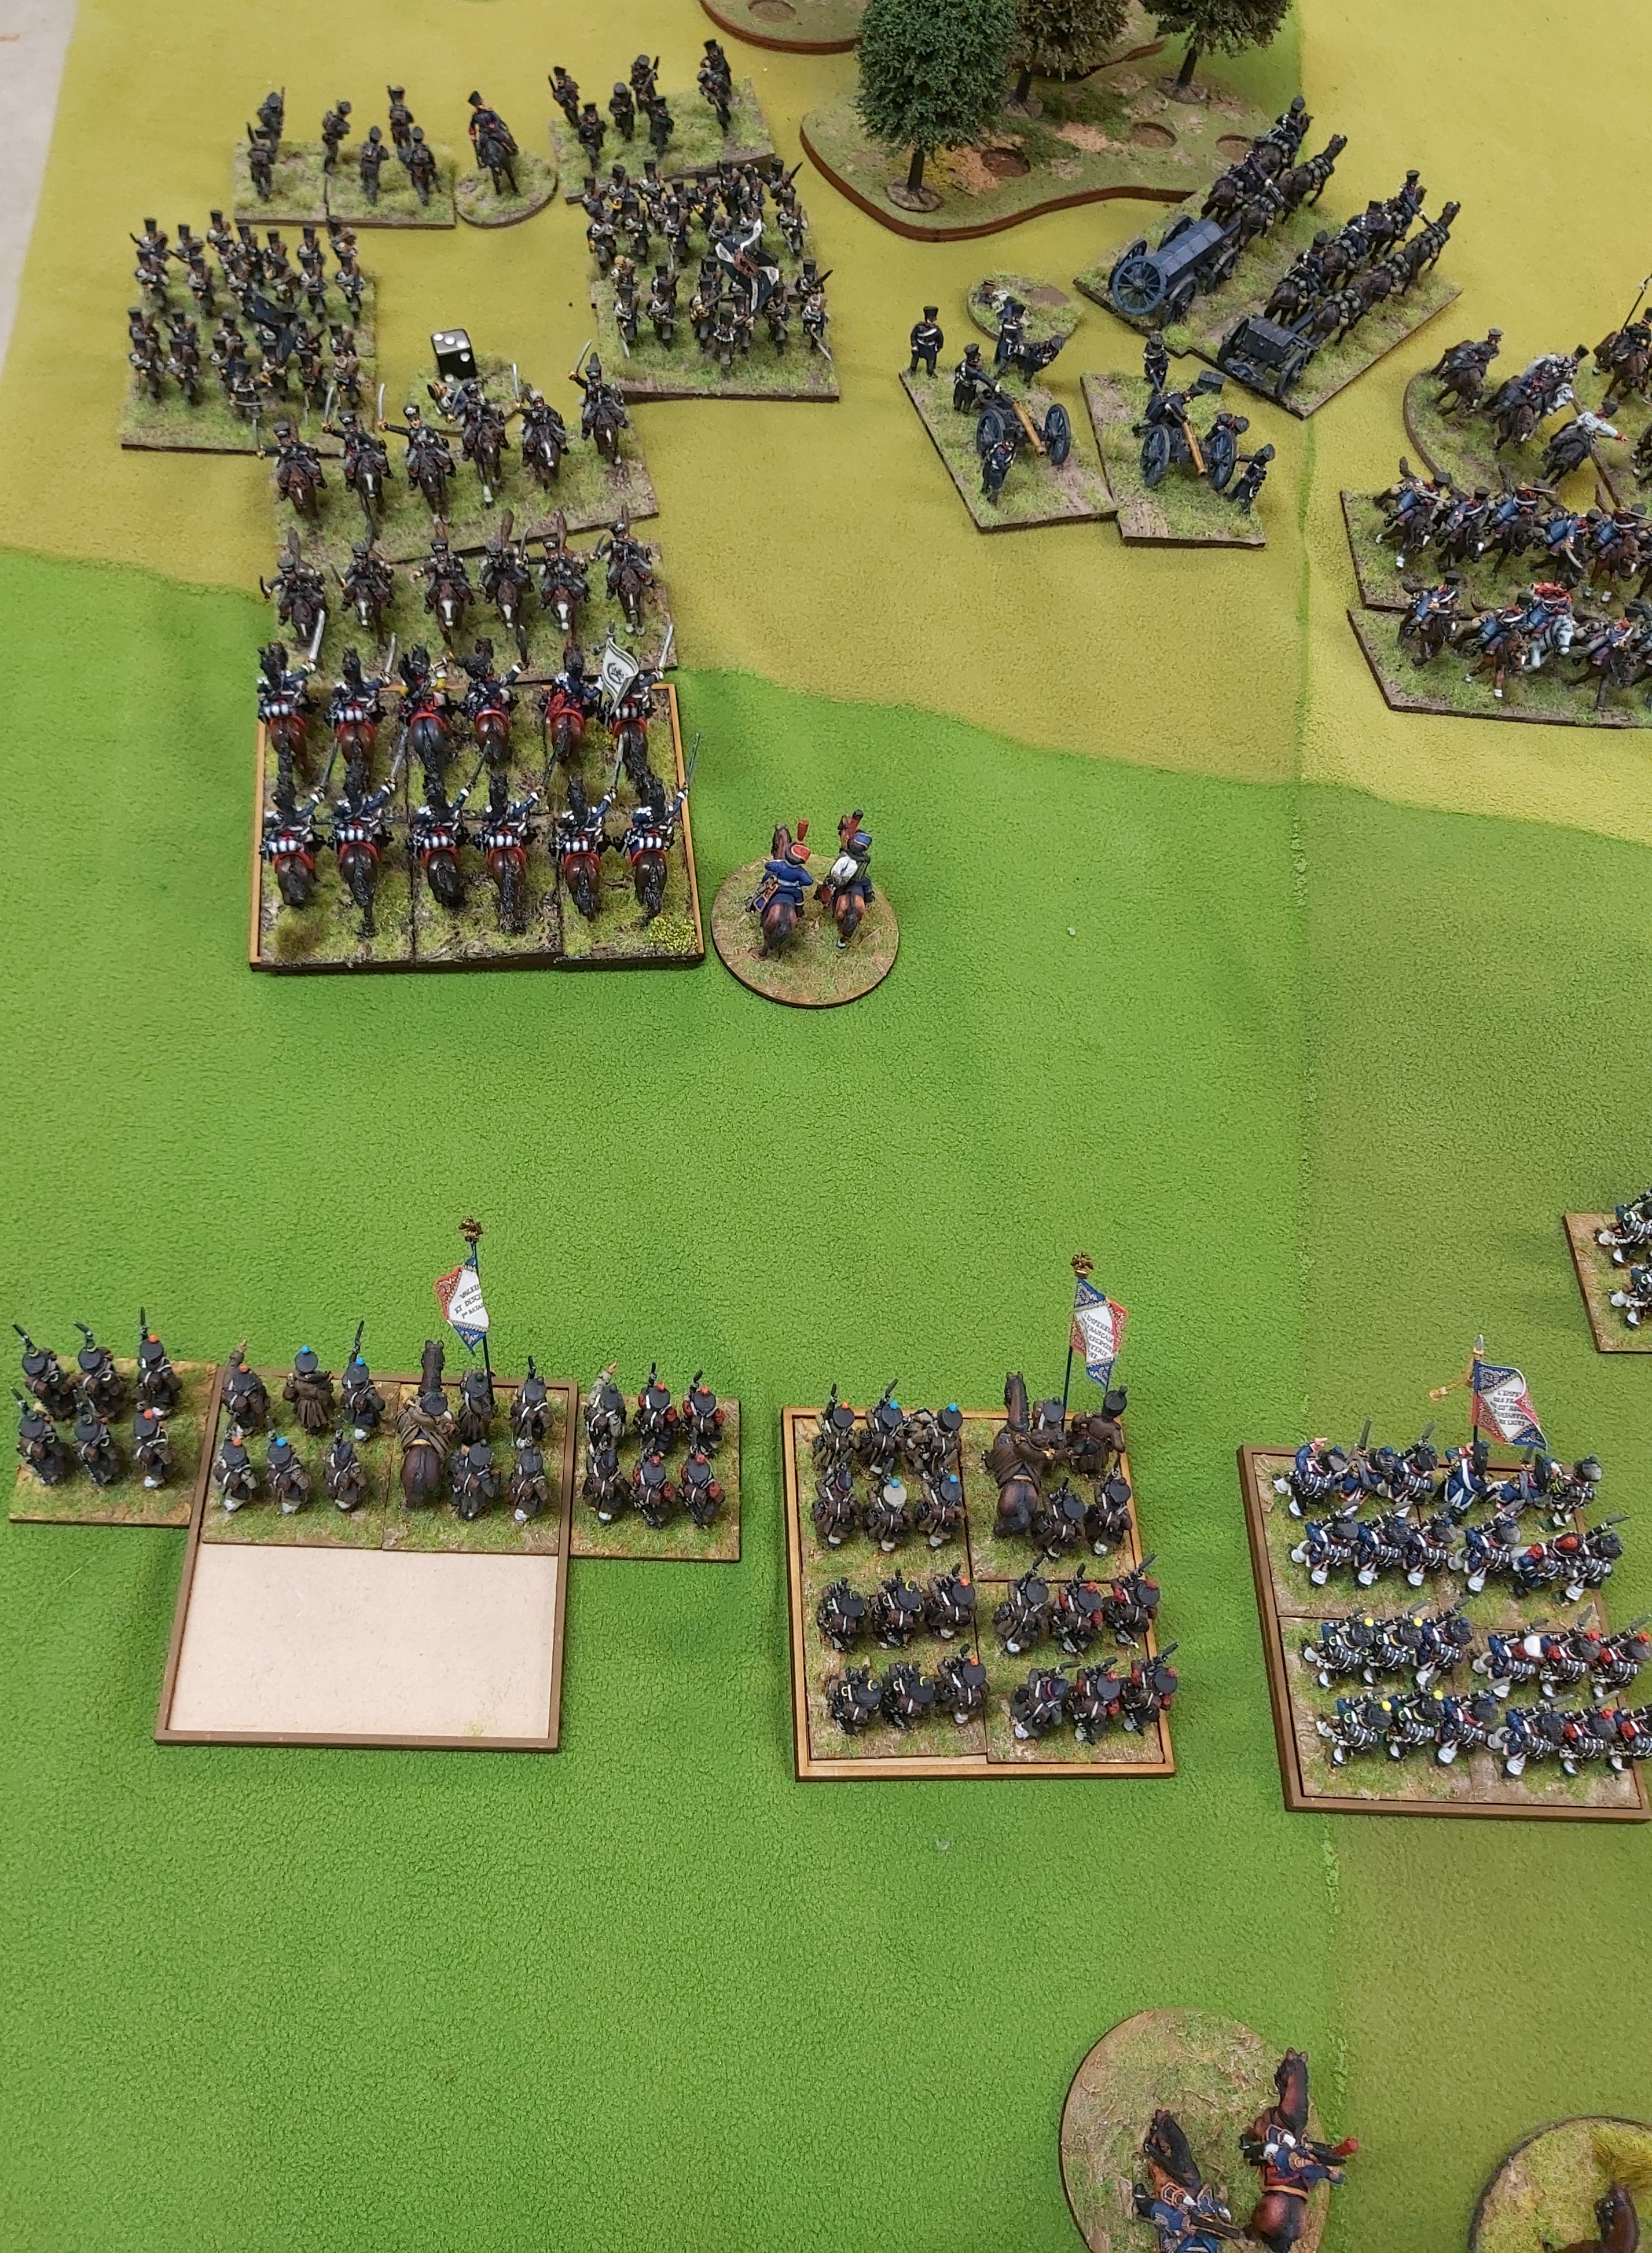
French light cavalry charge Jager forcing  hem into square.

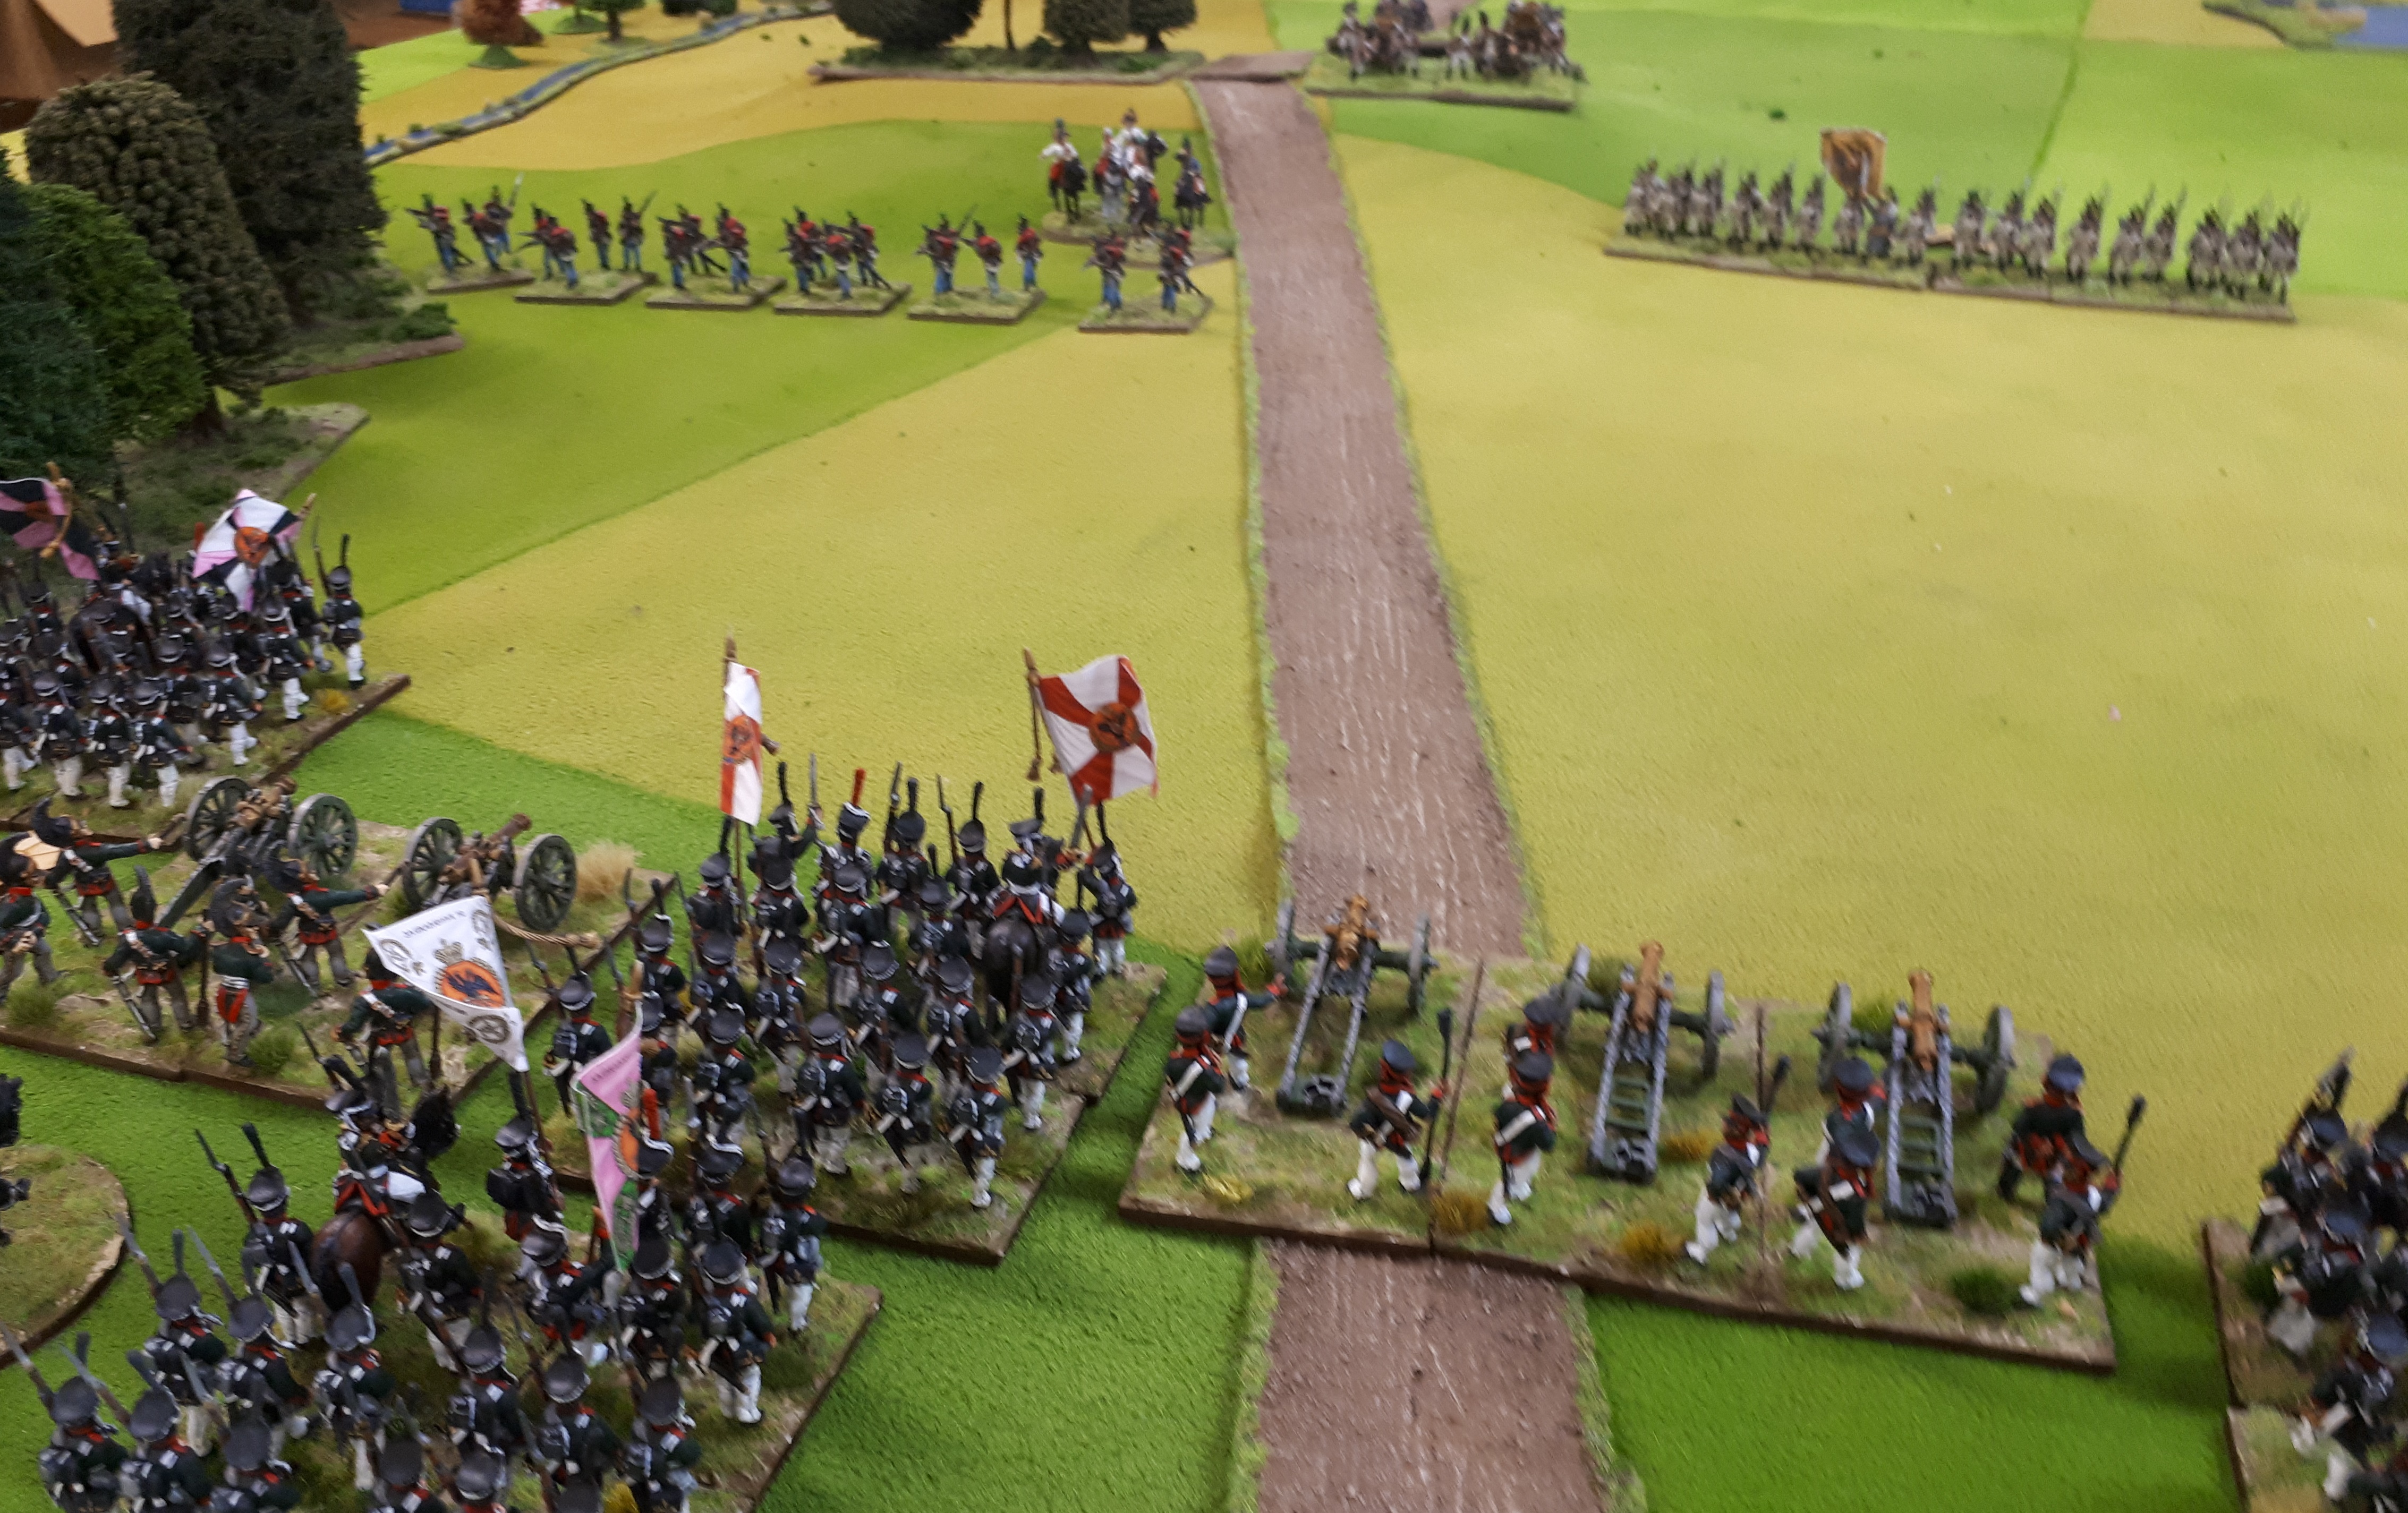
French move 2 units into line.

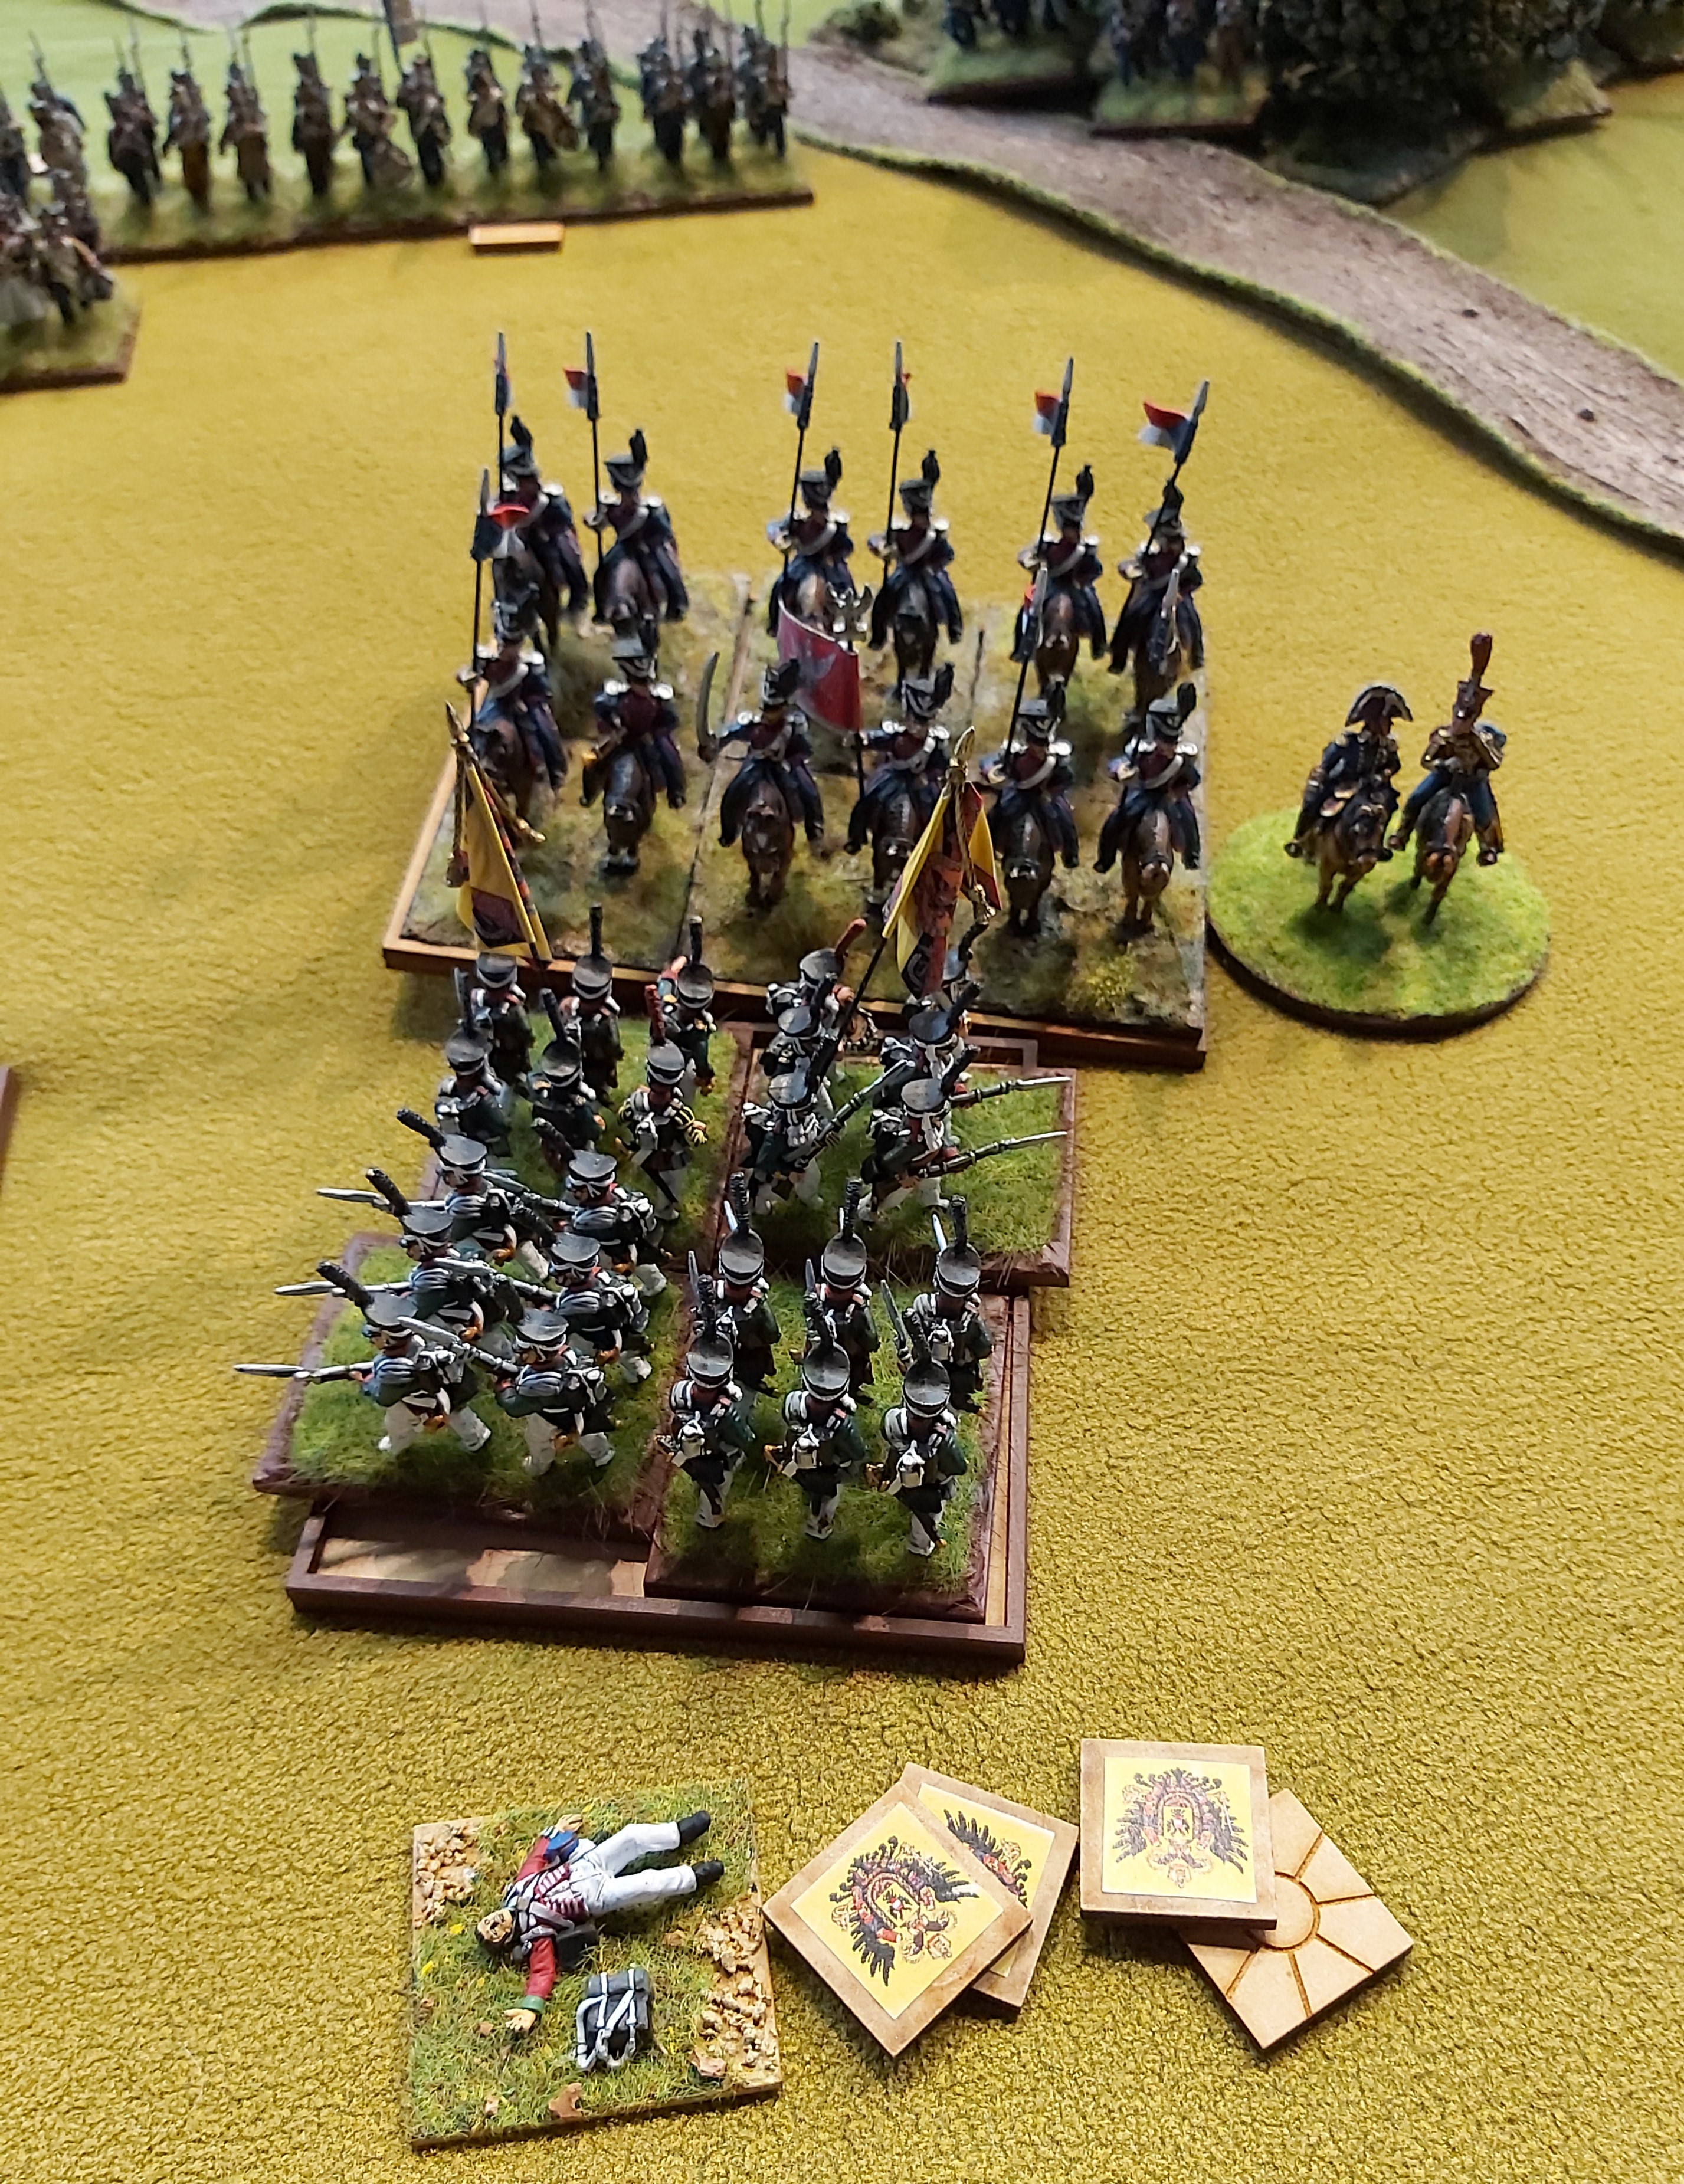
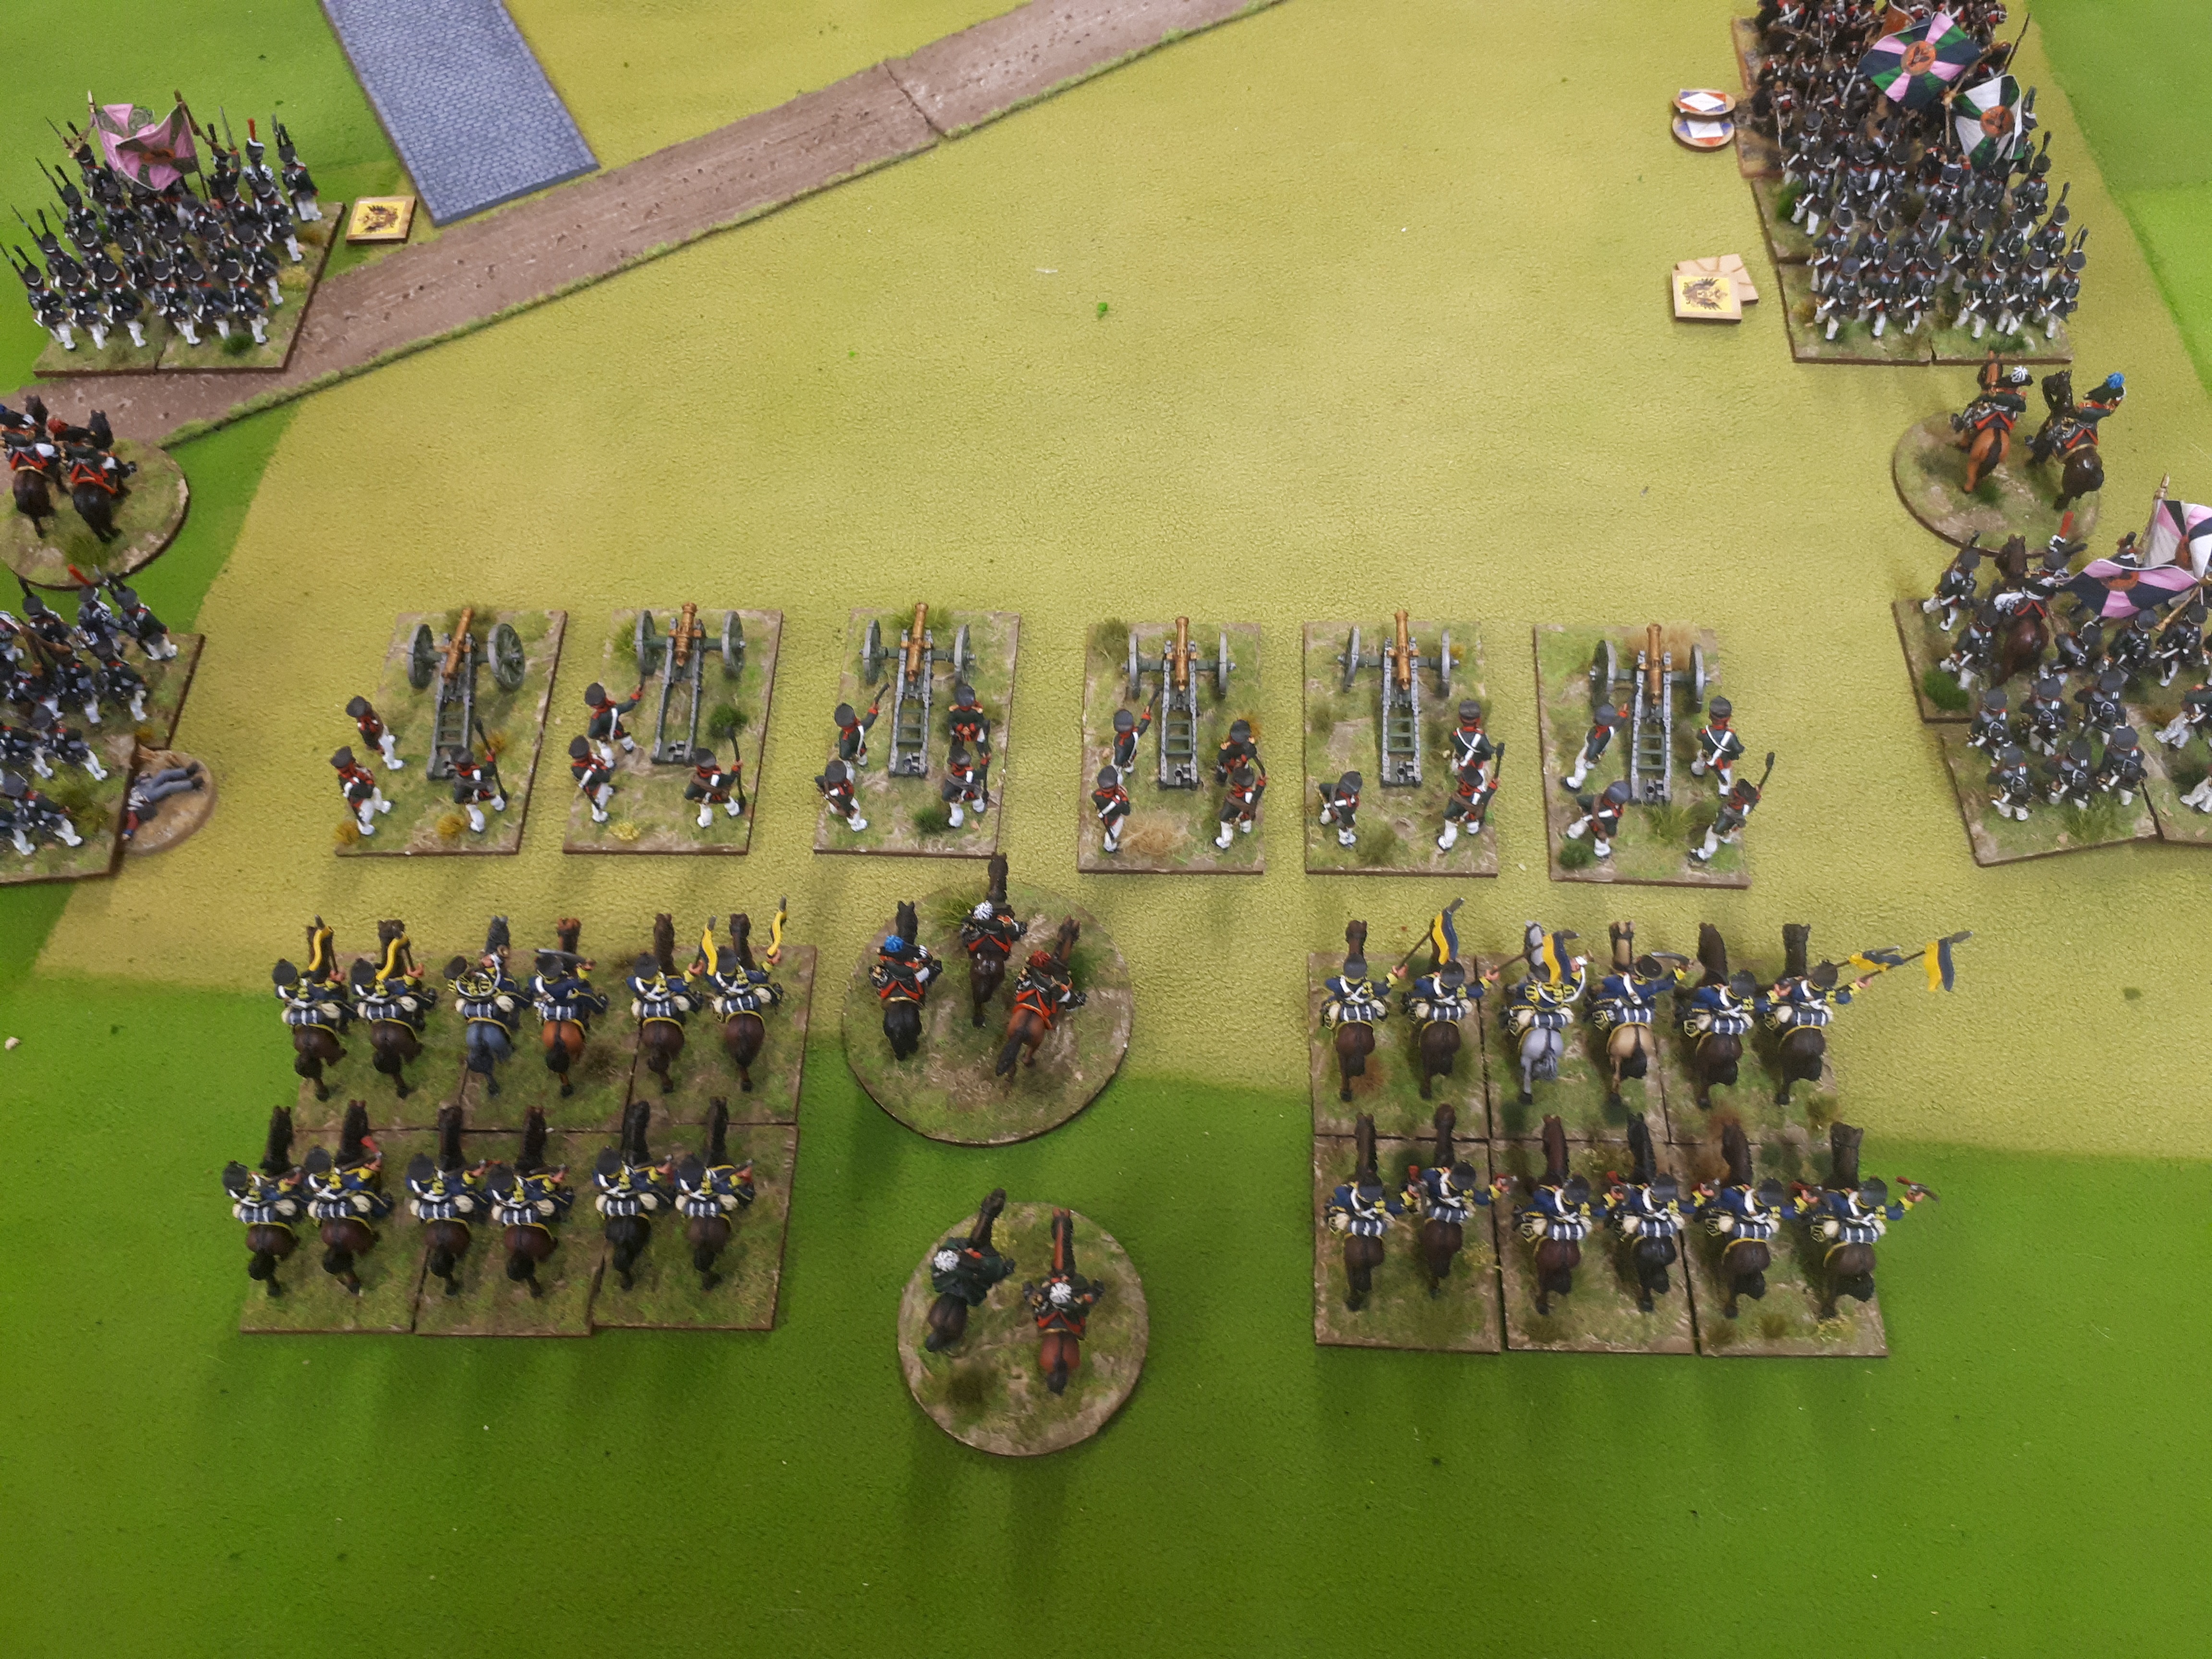
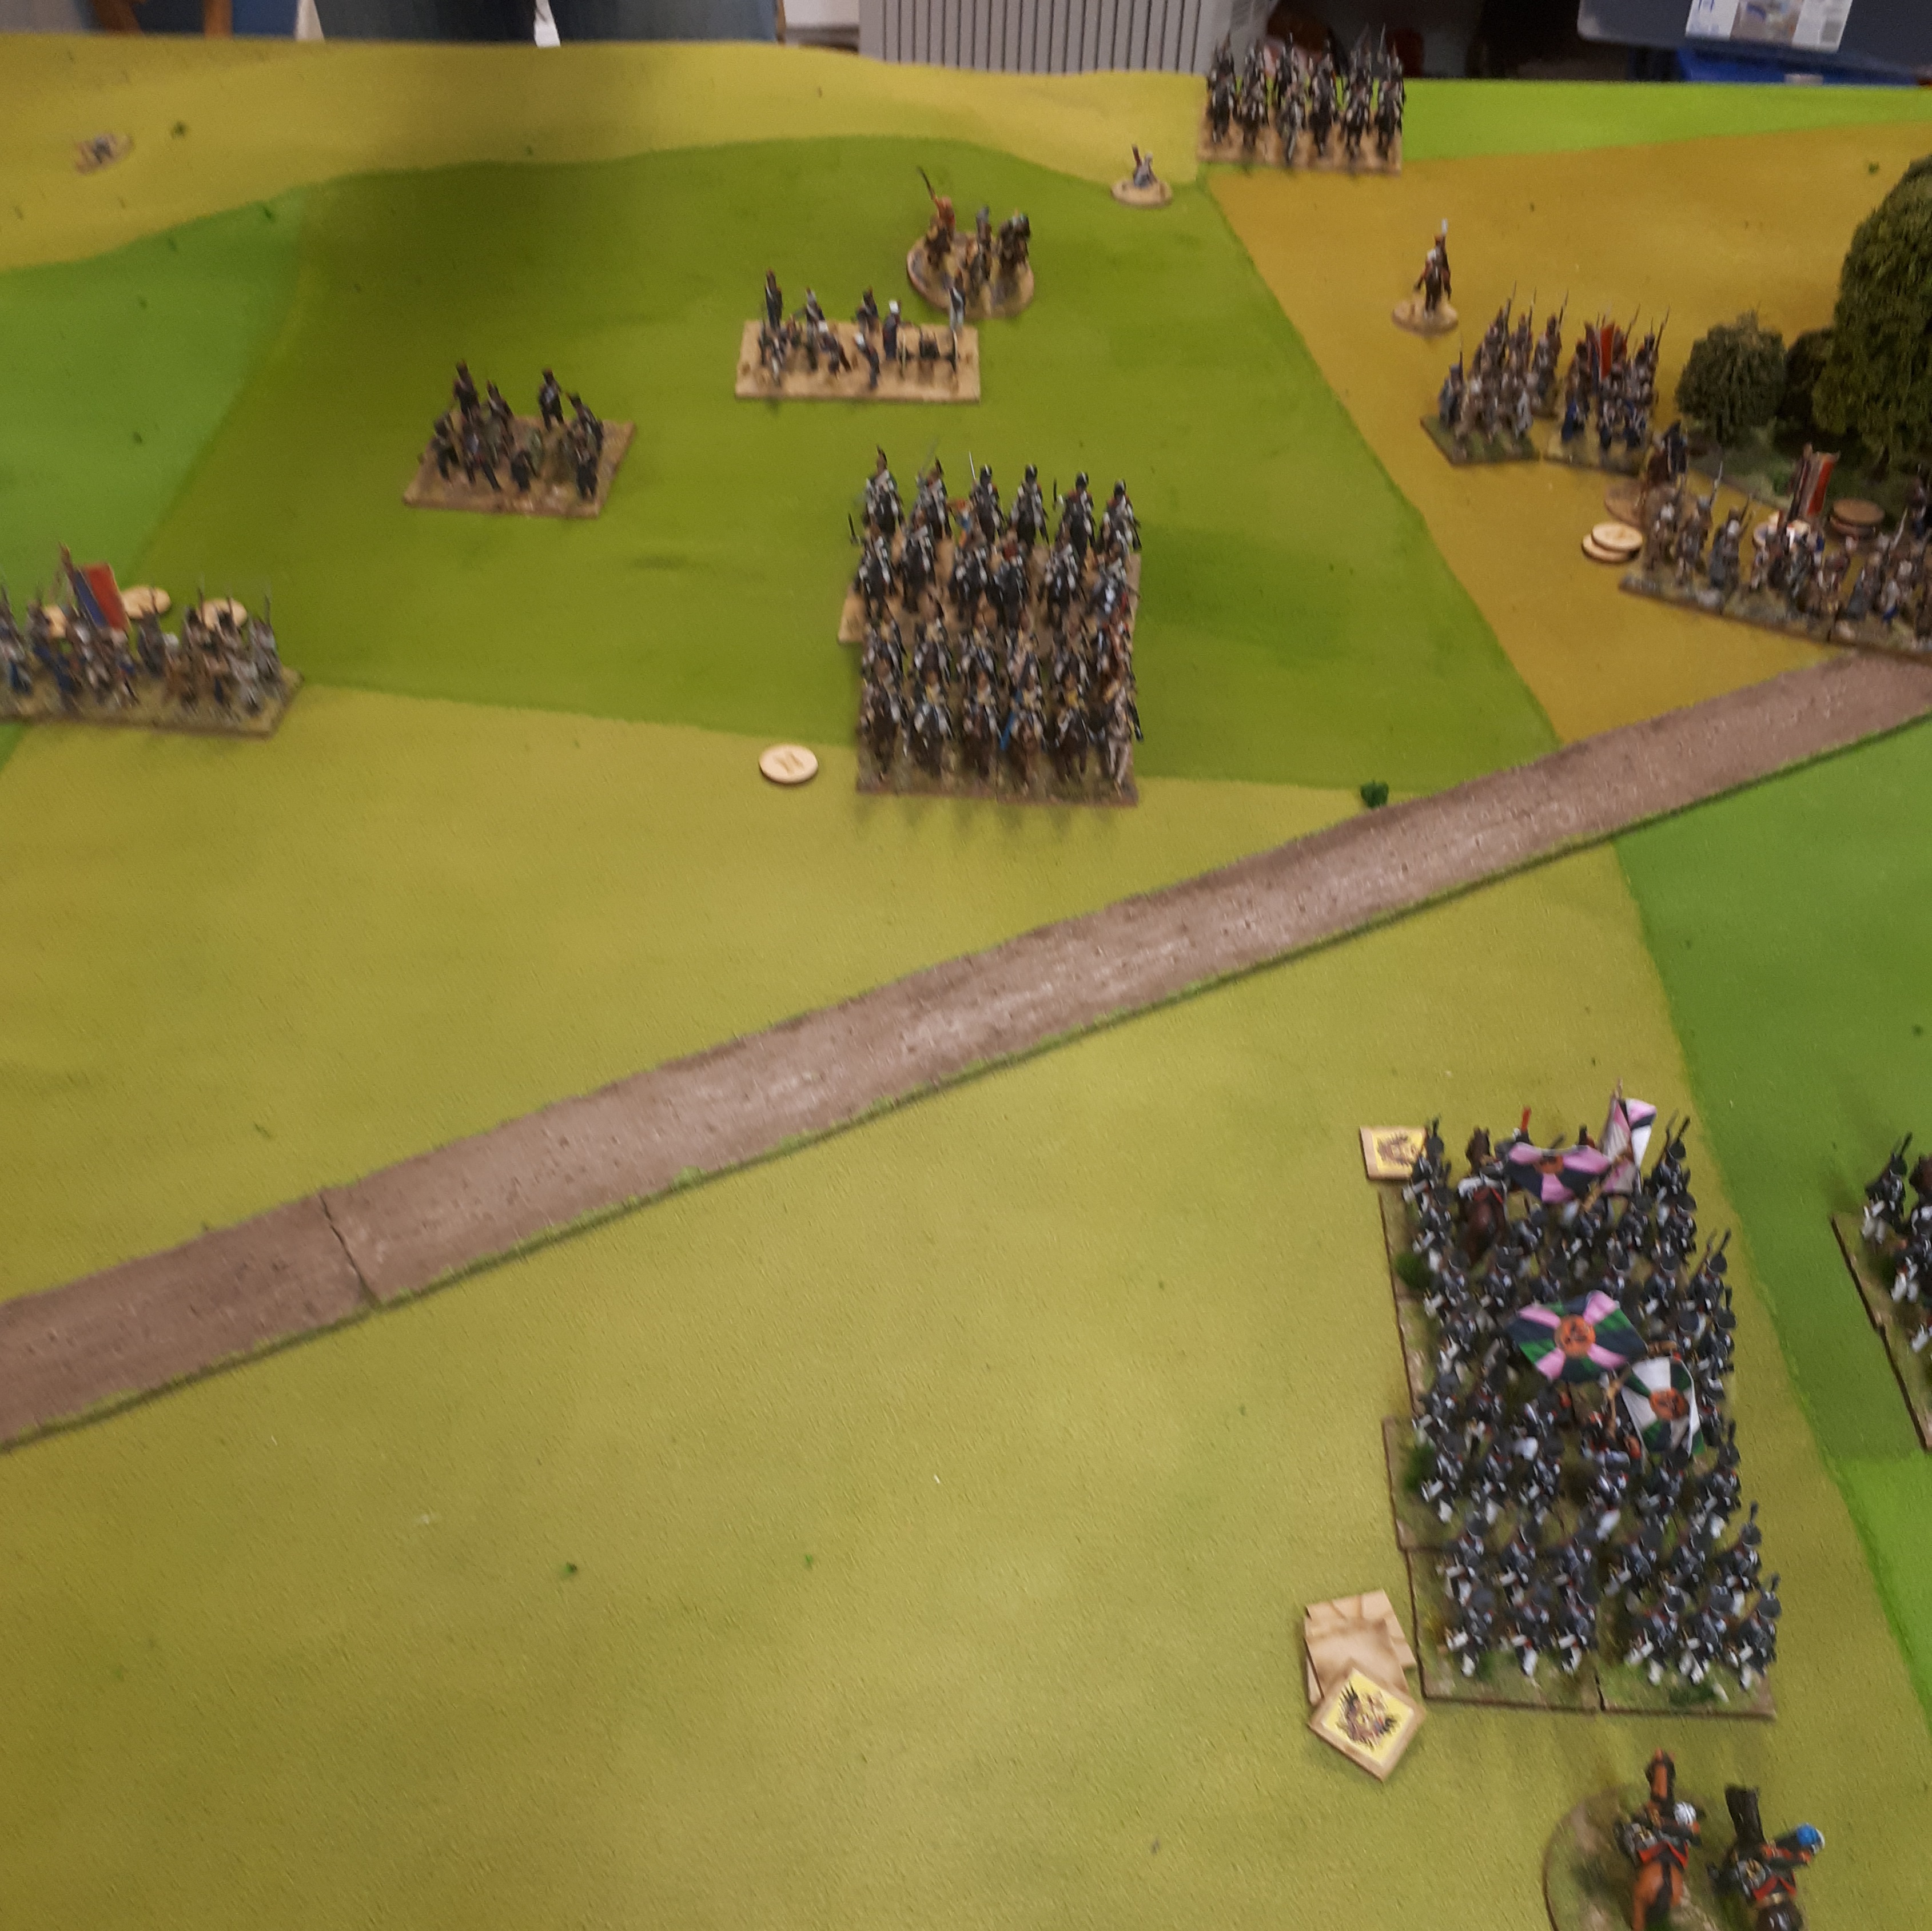
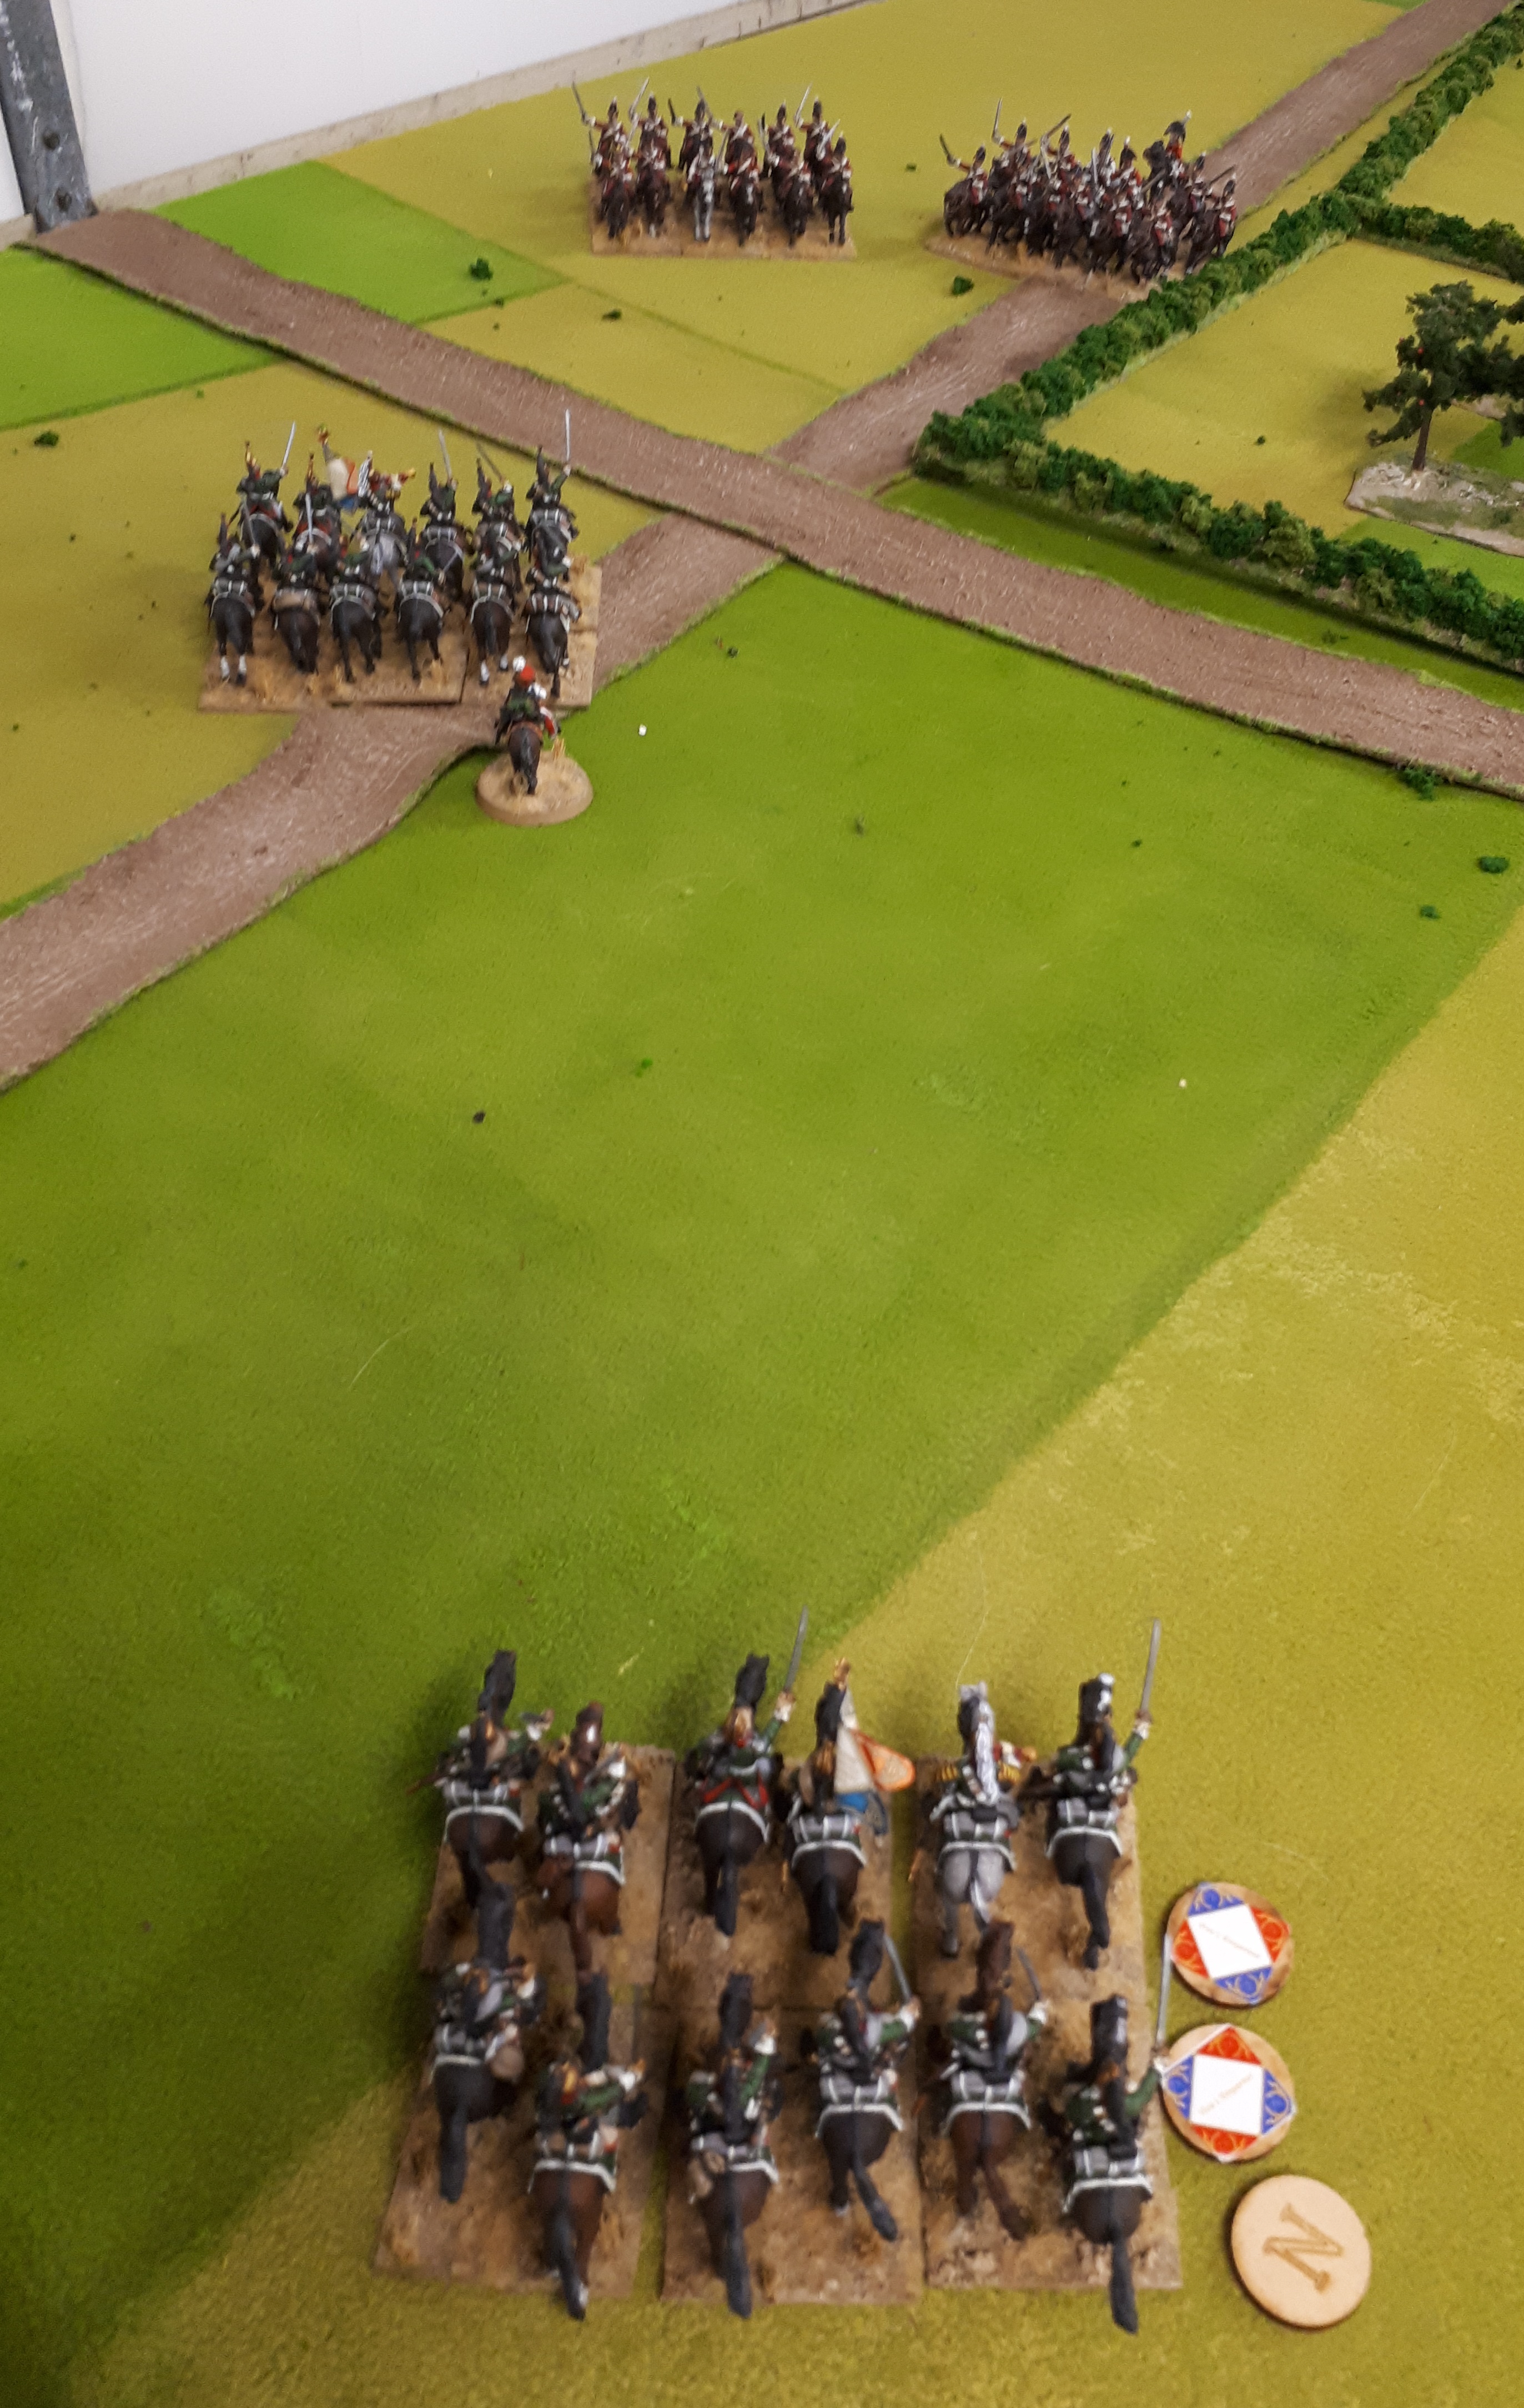
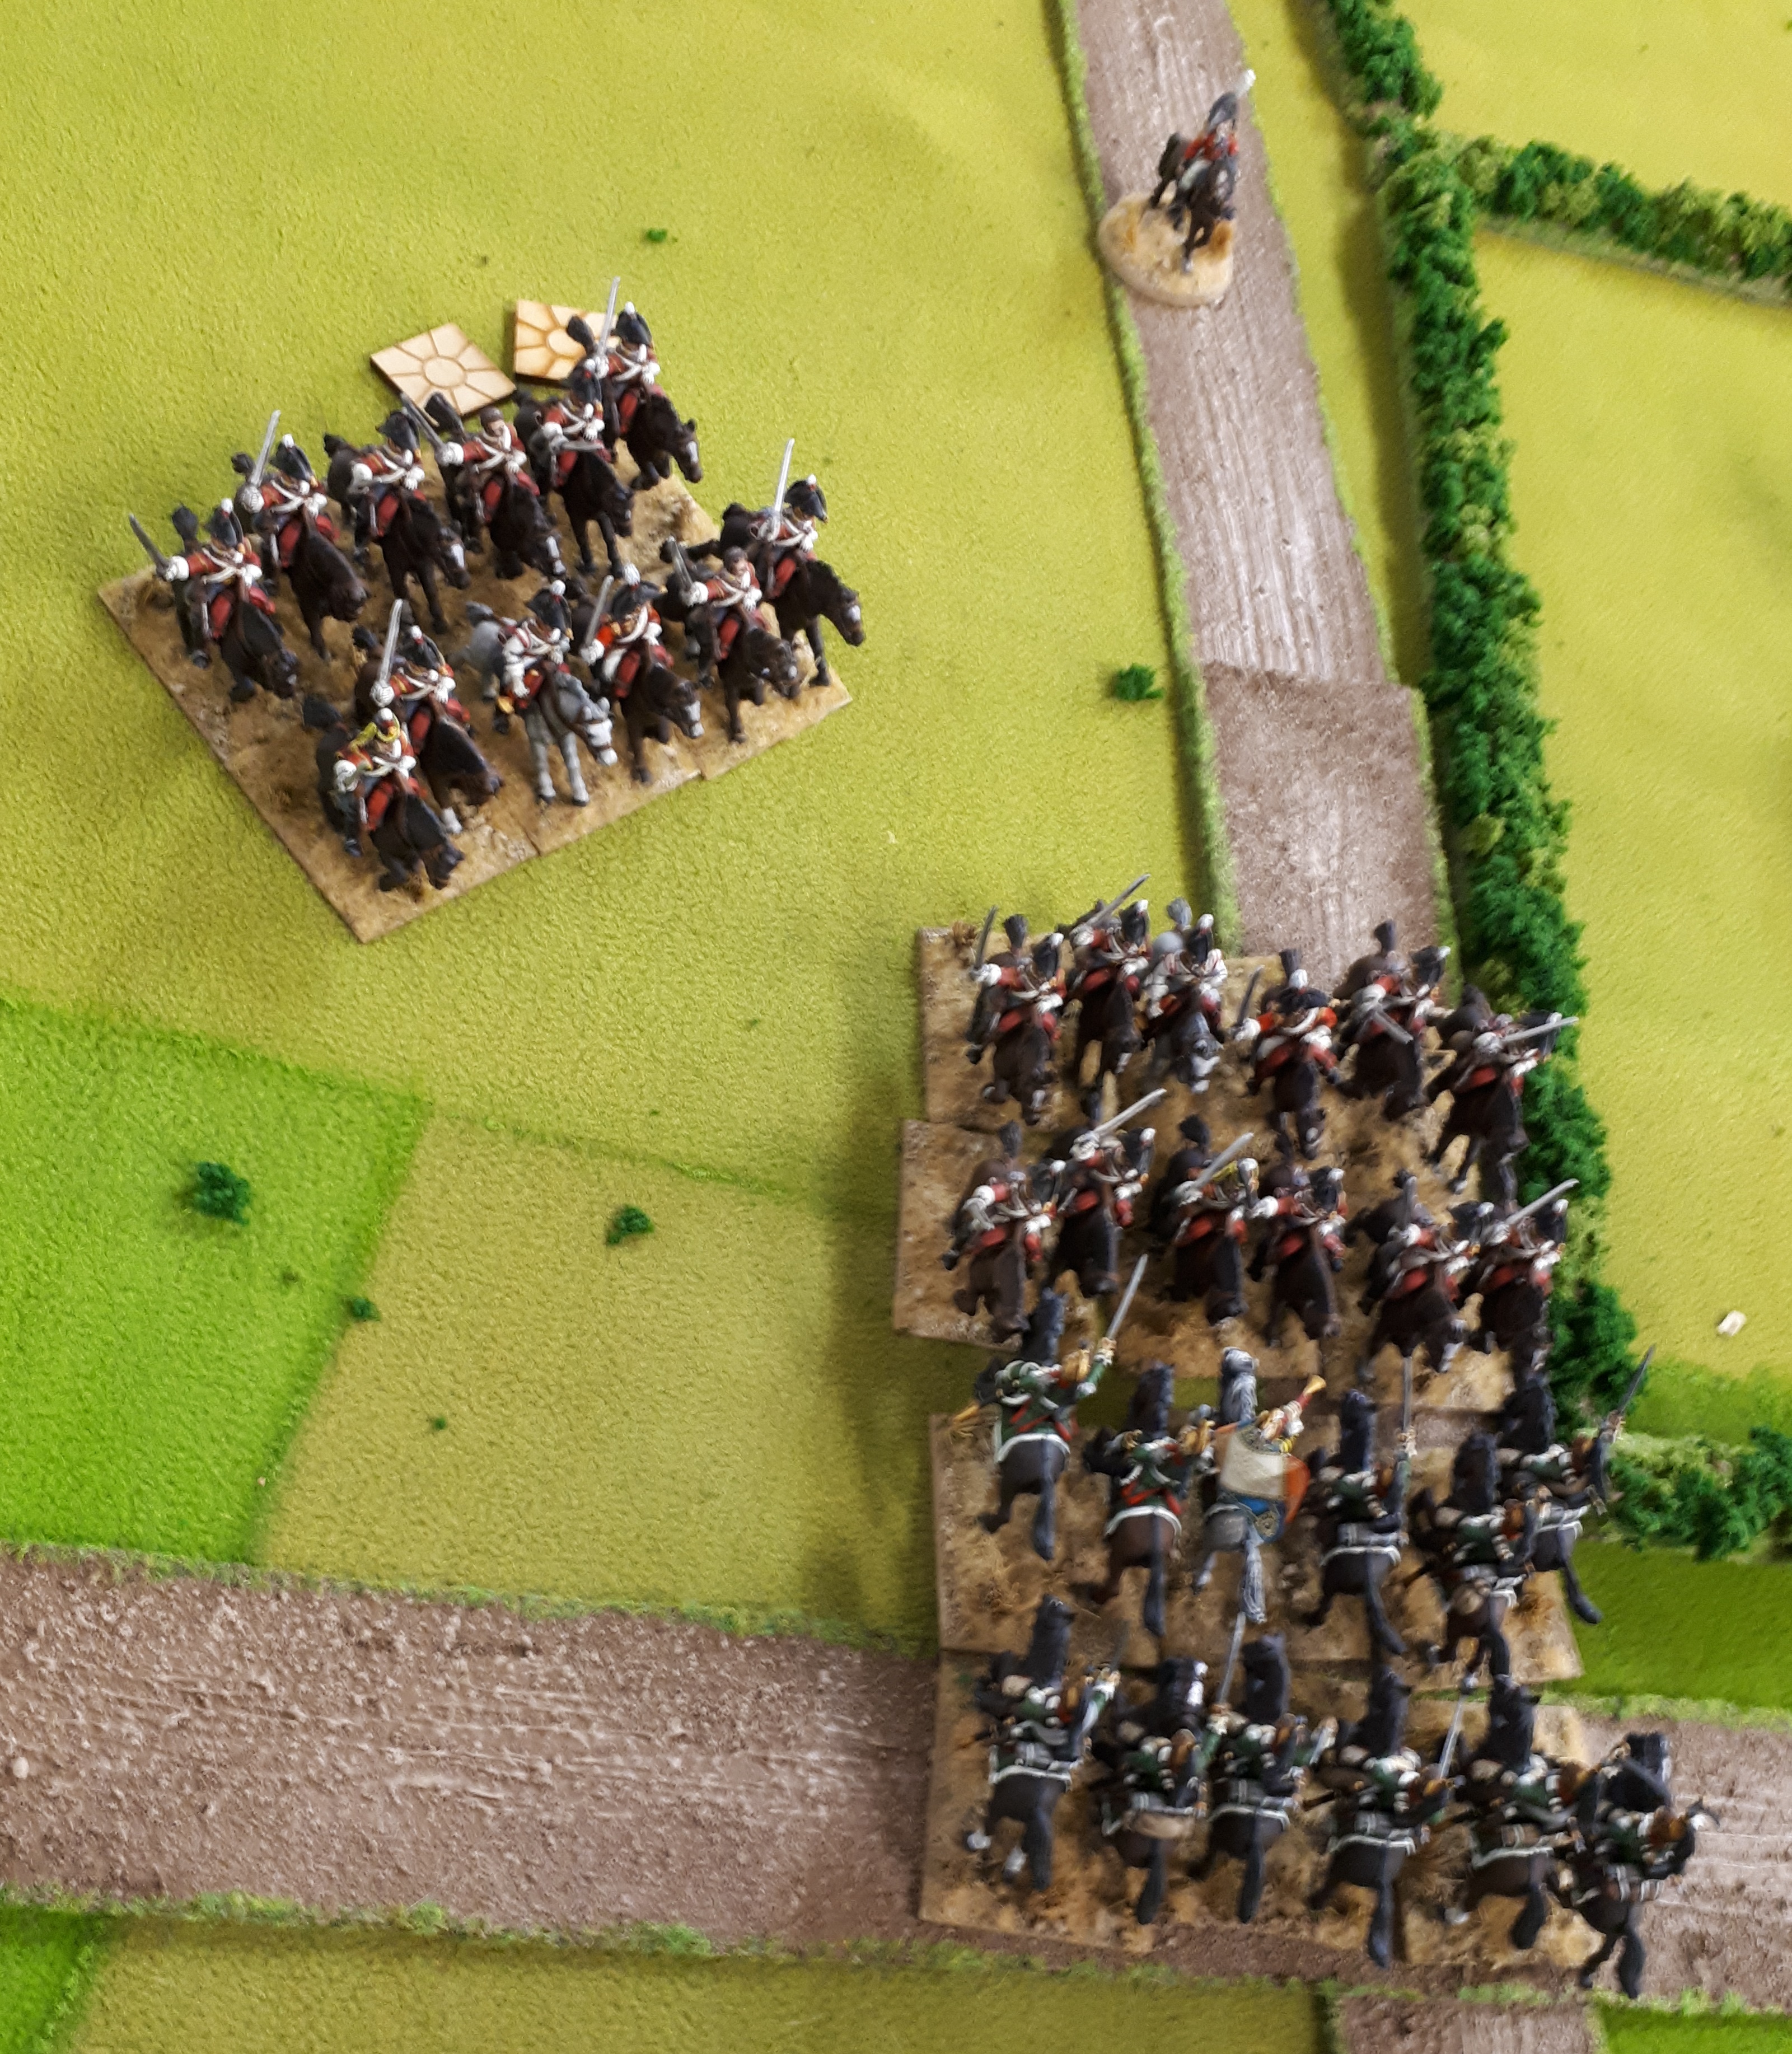
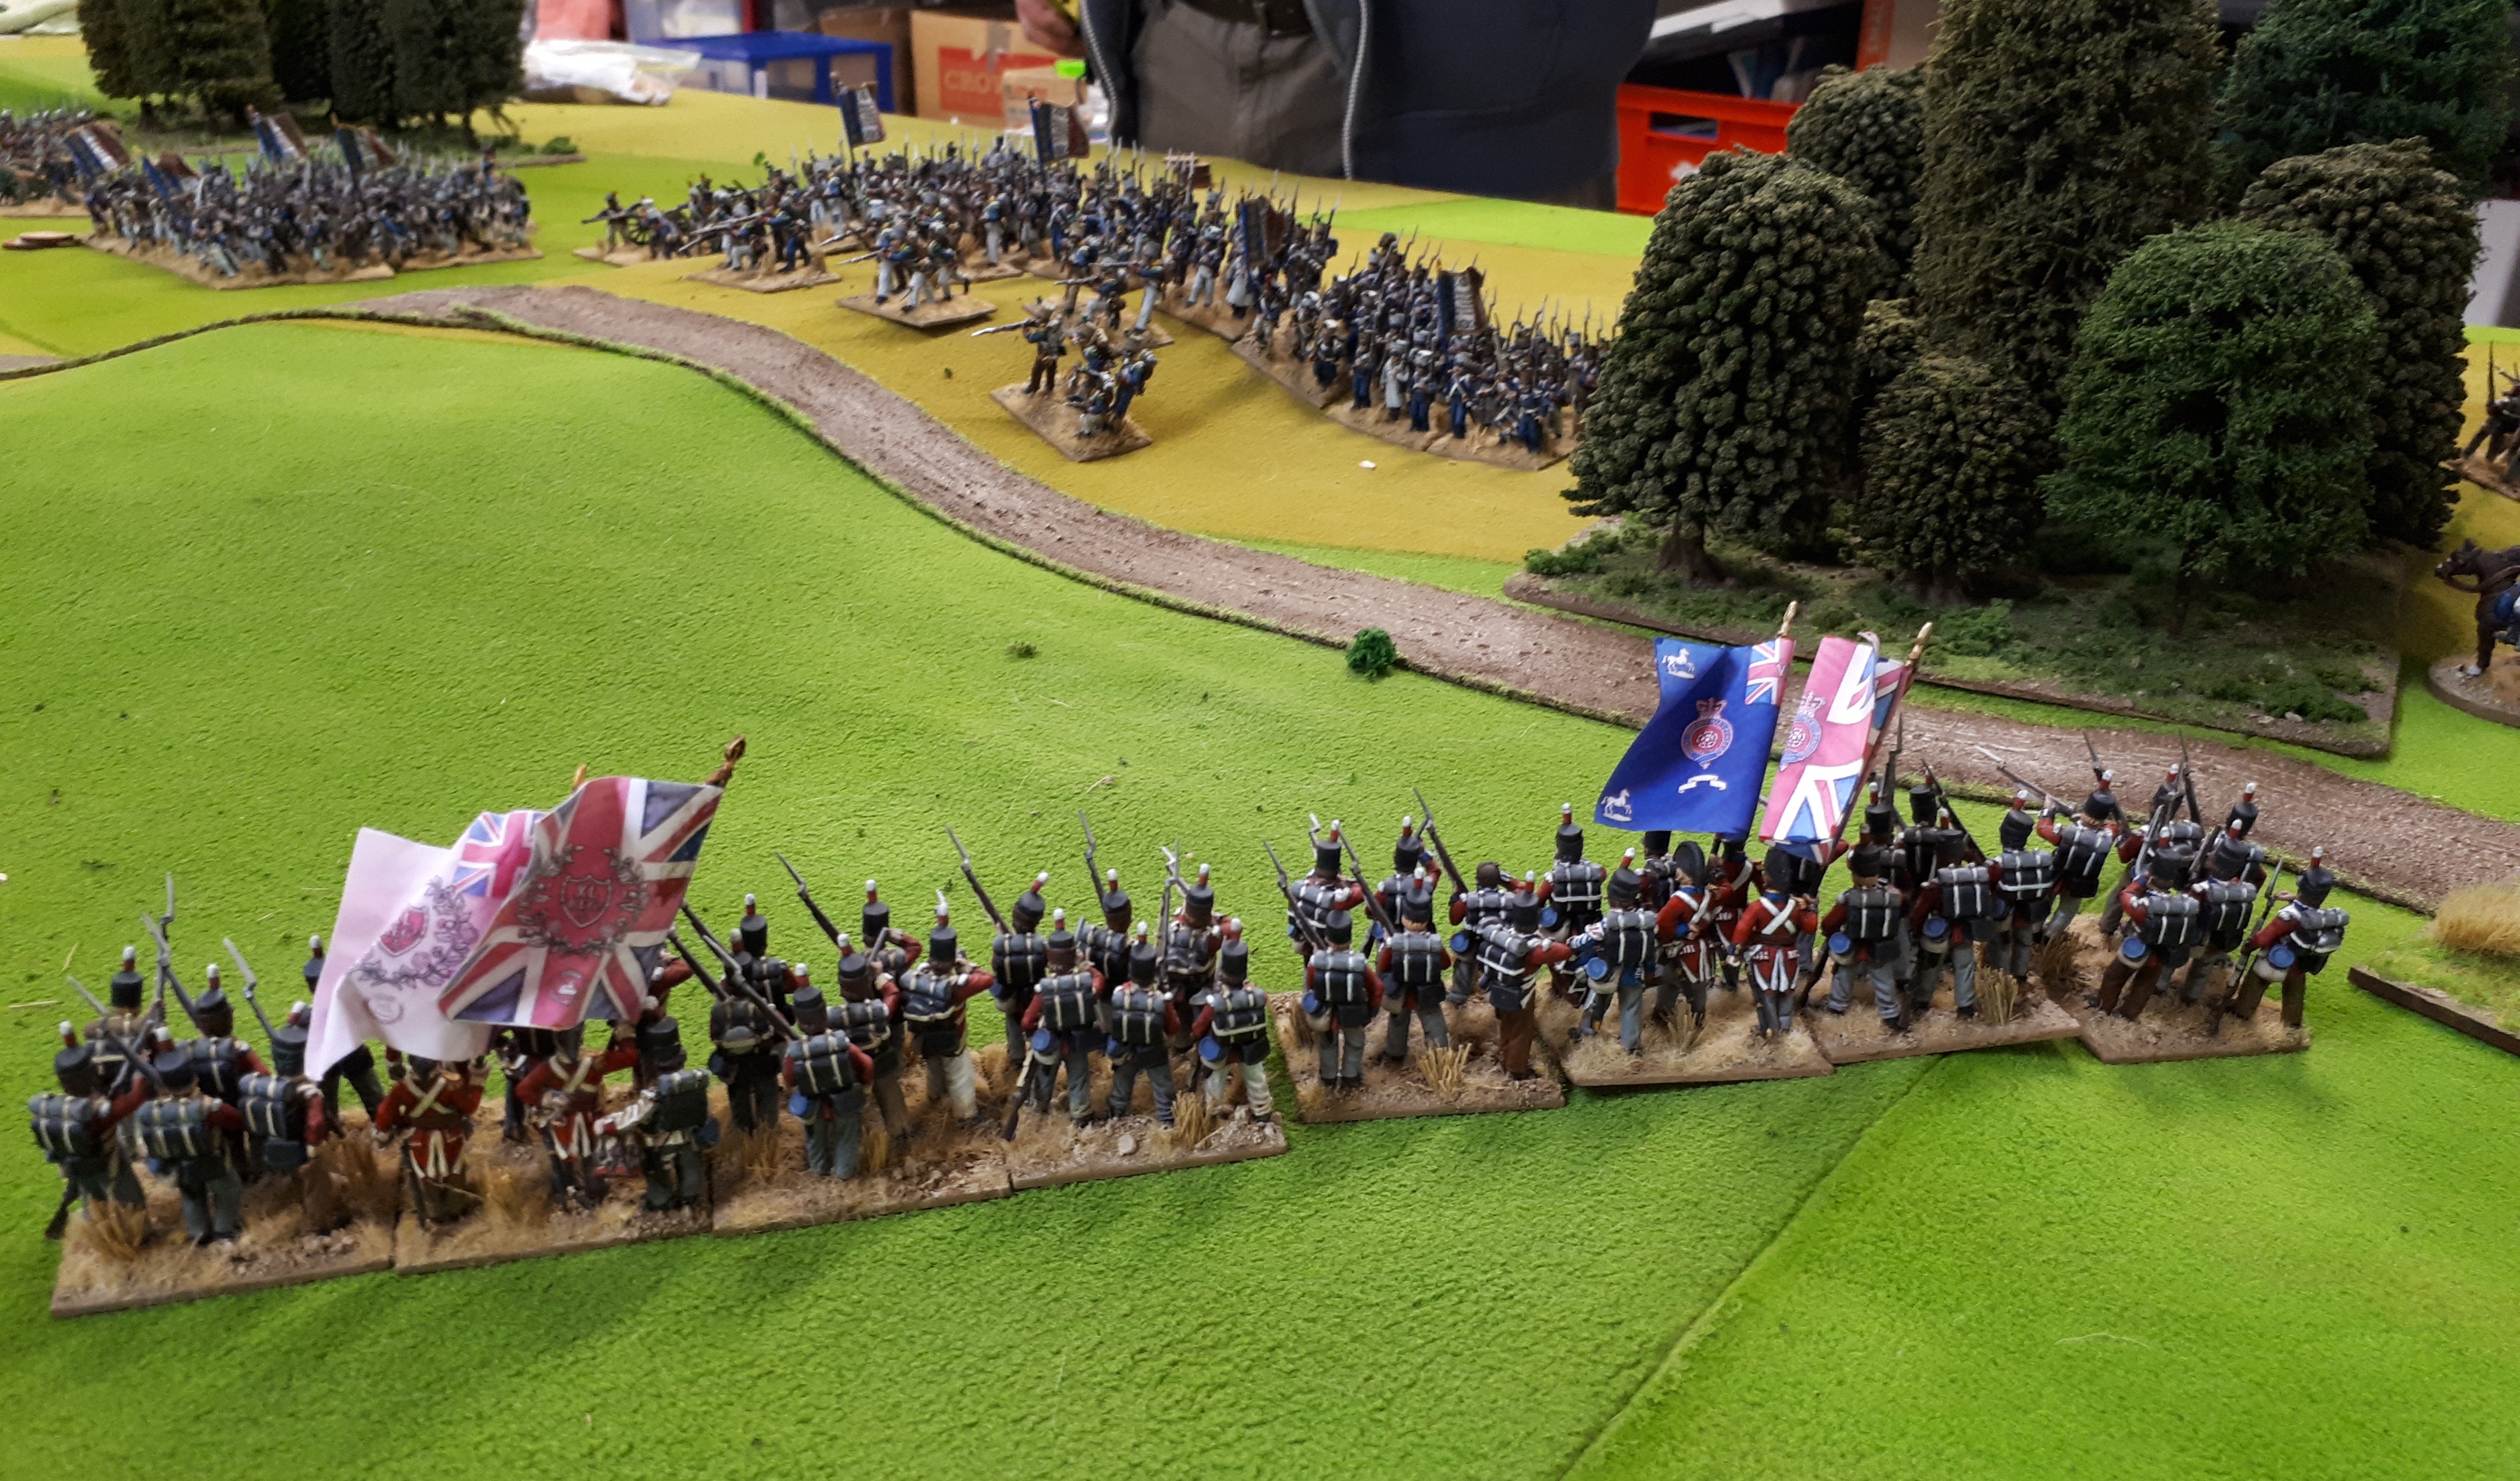
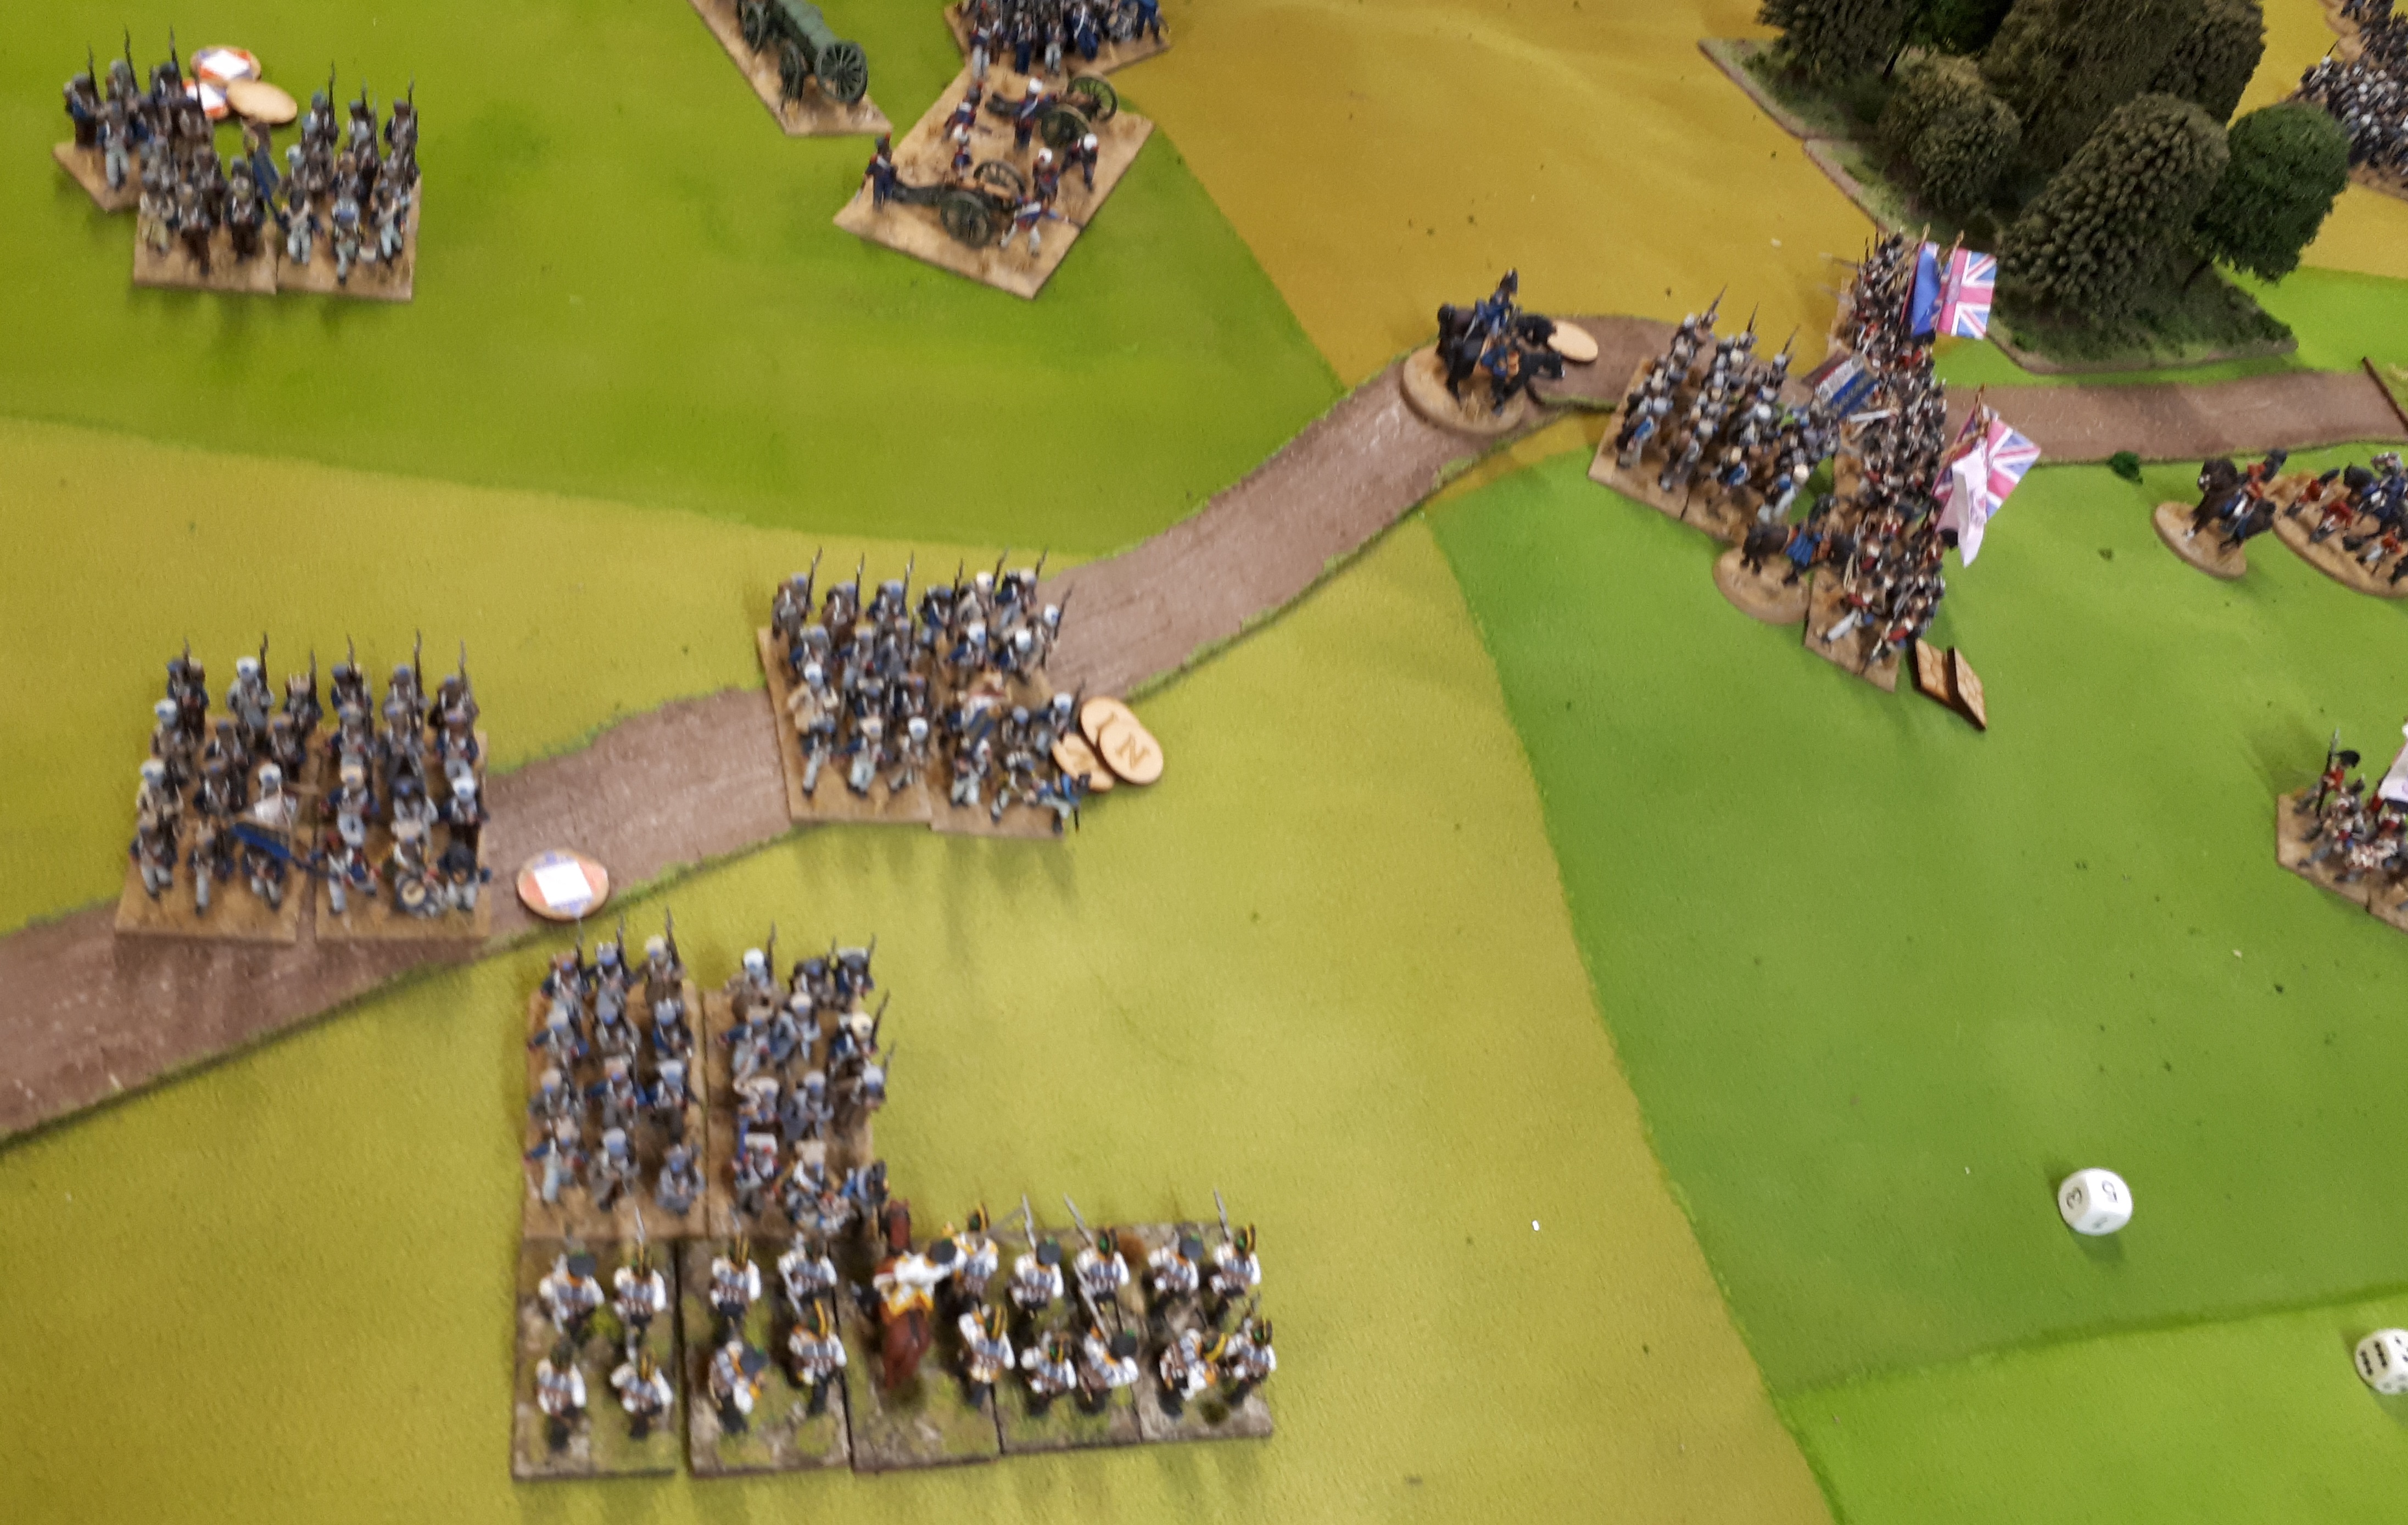
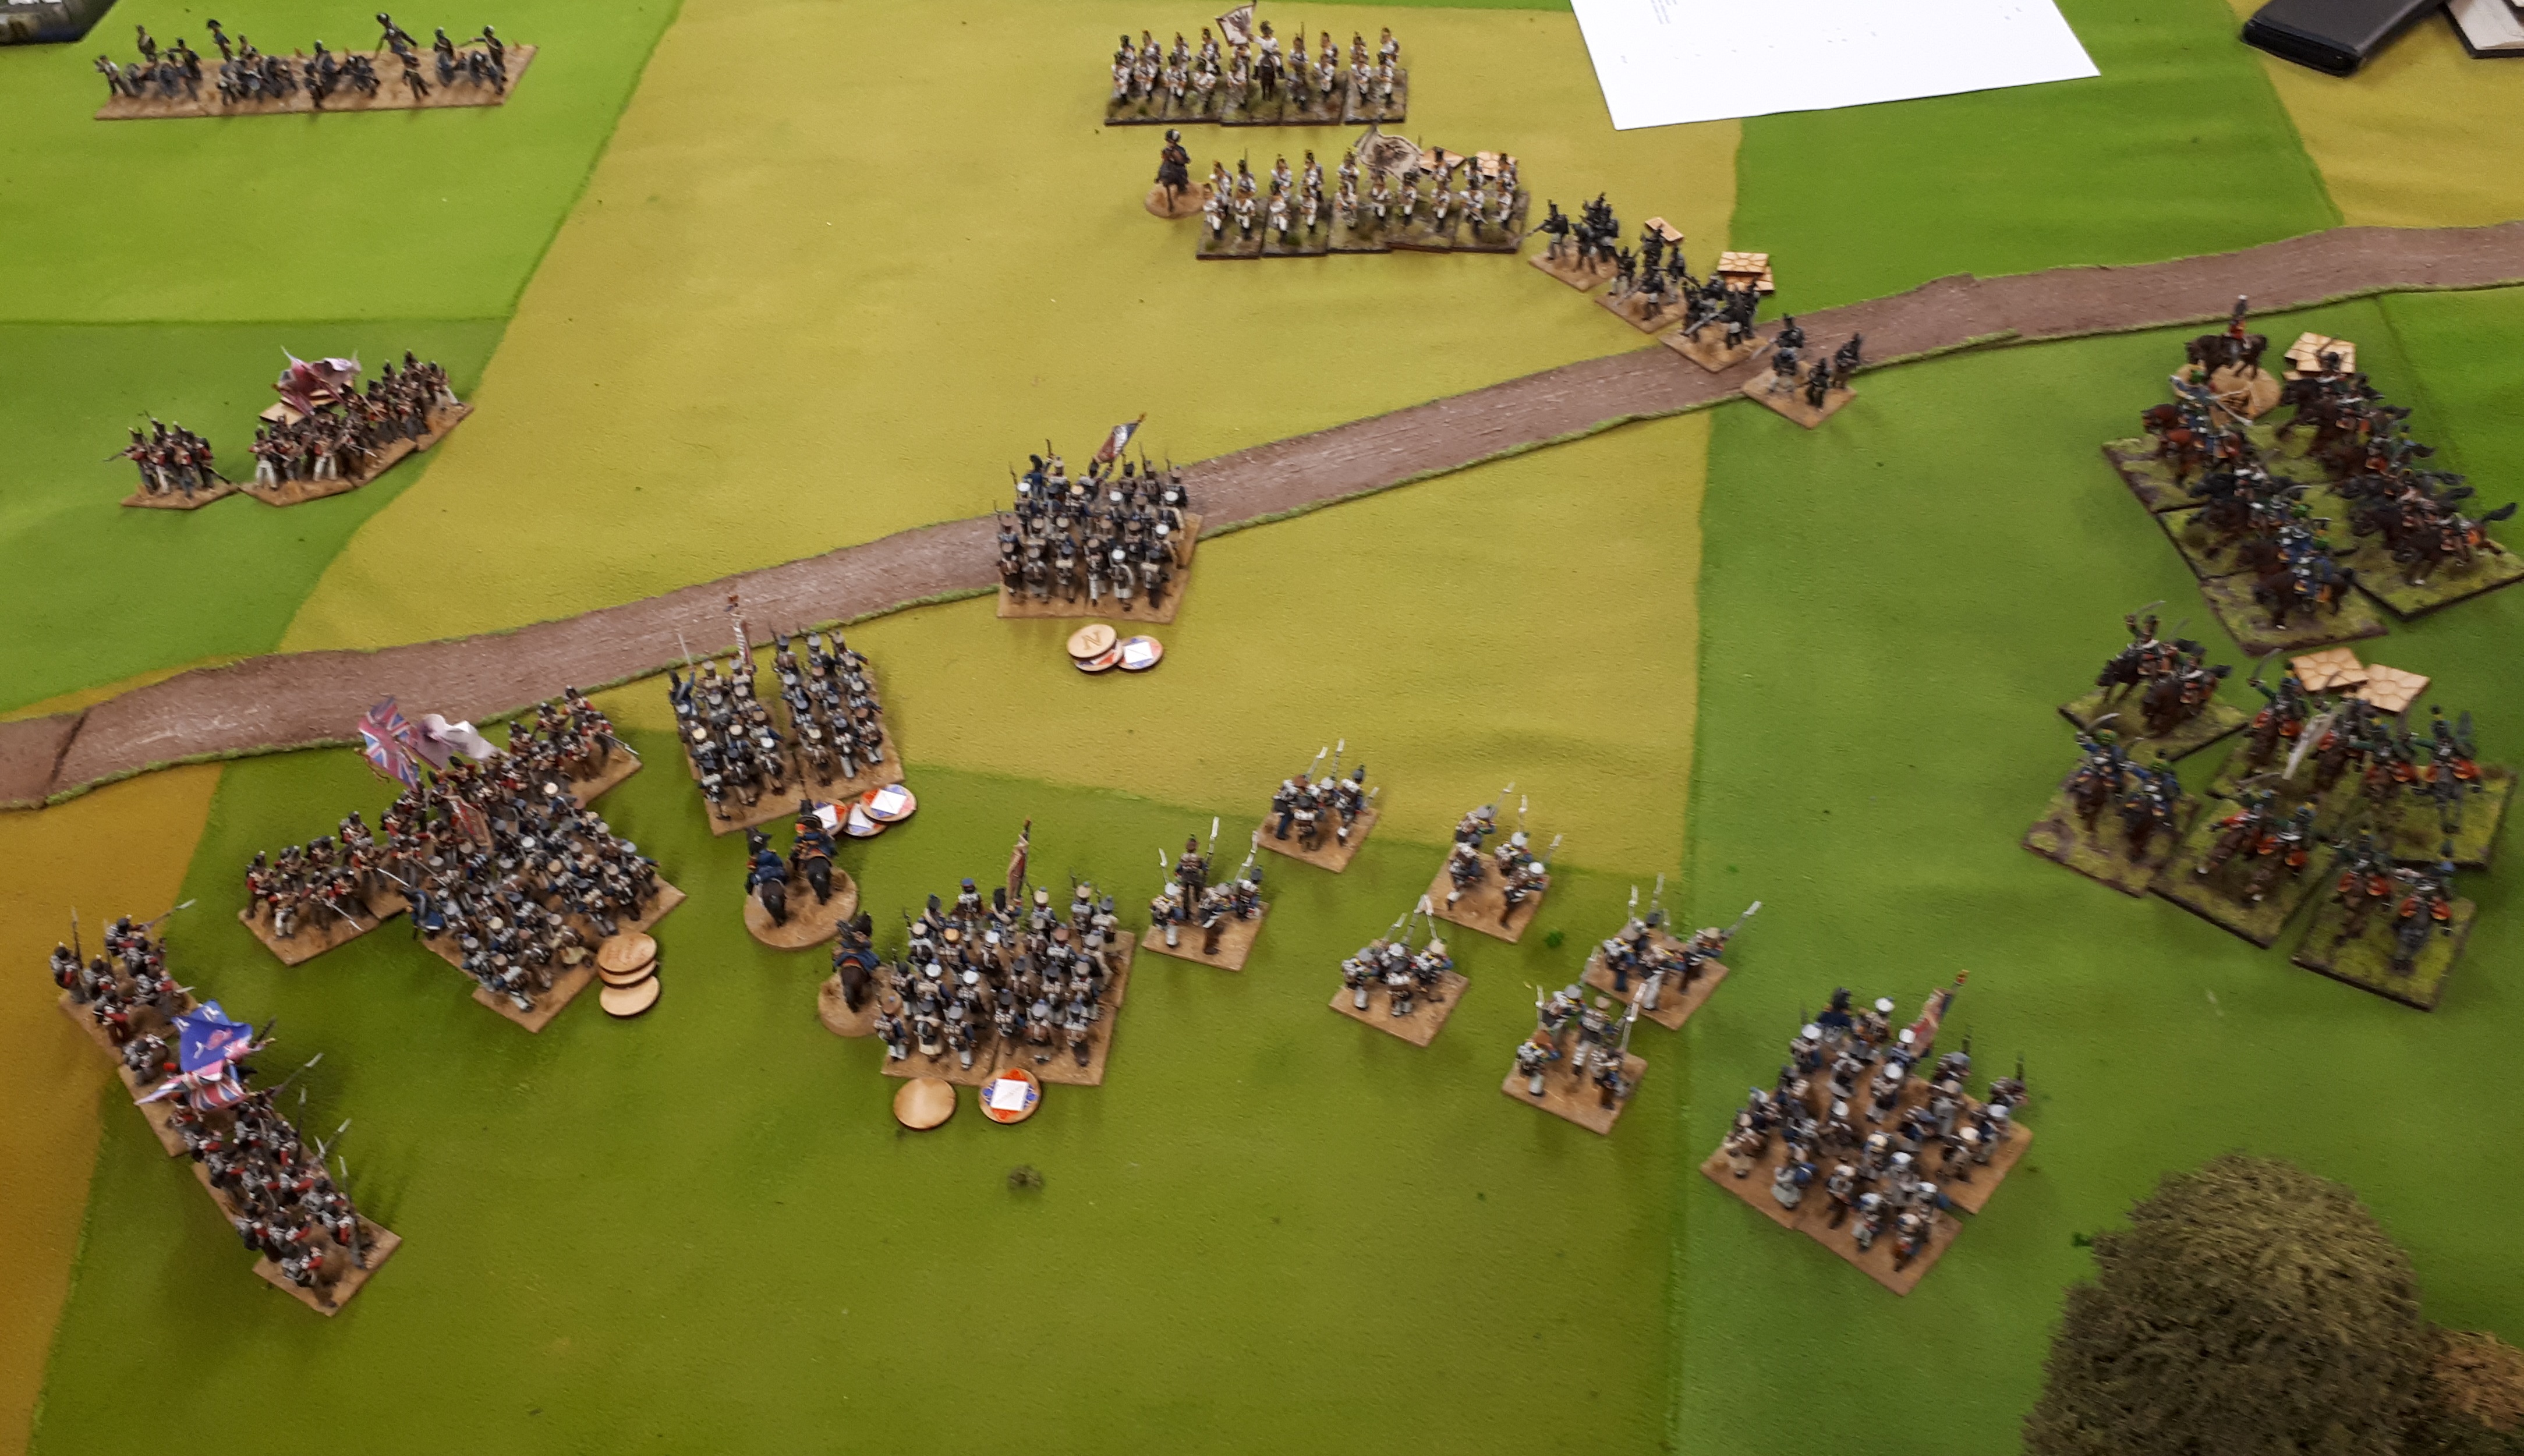
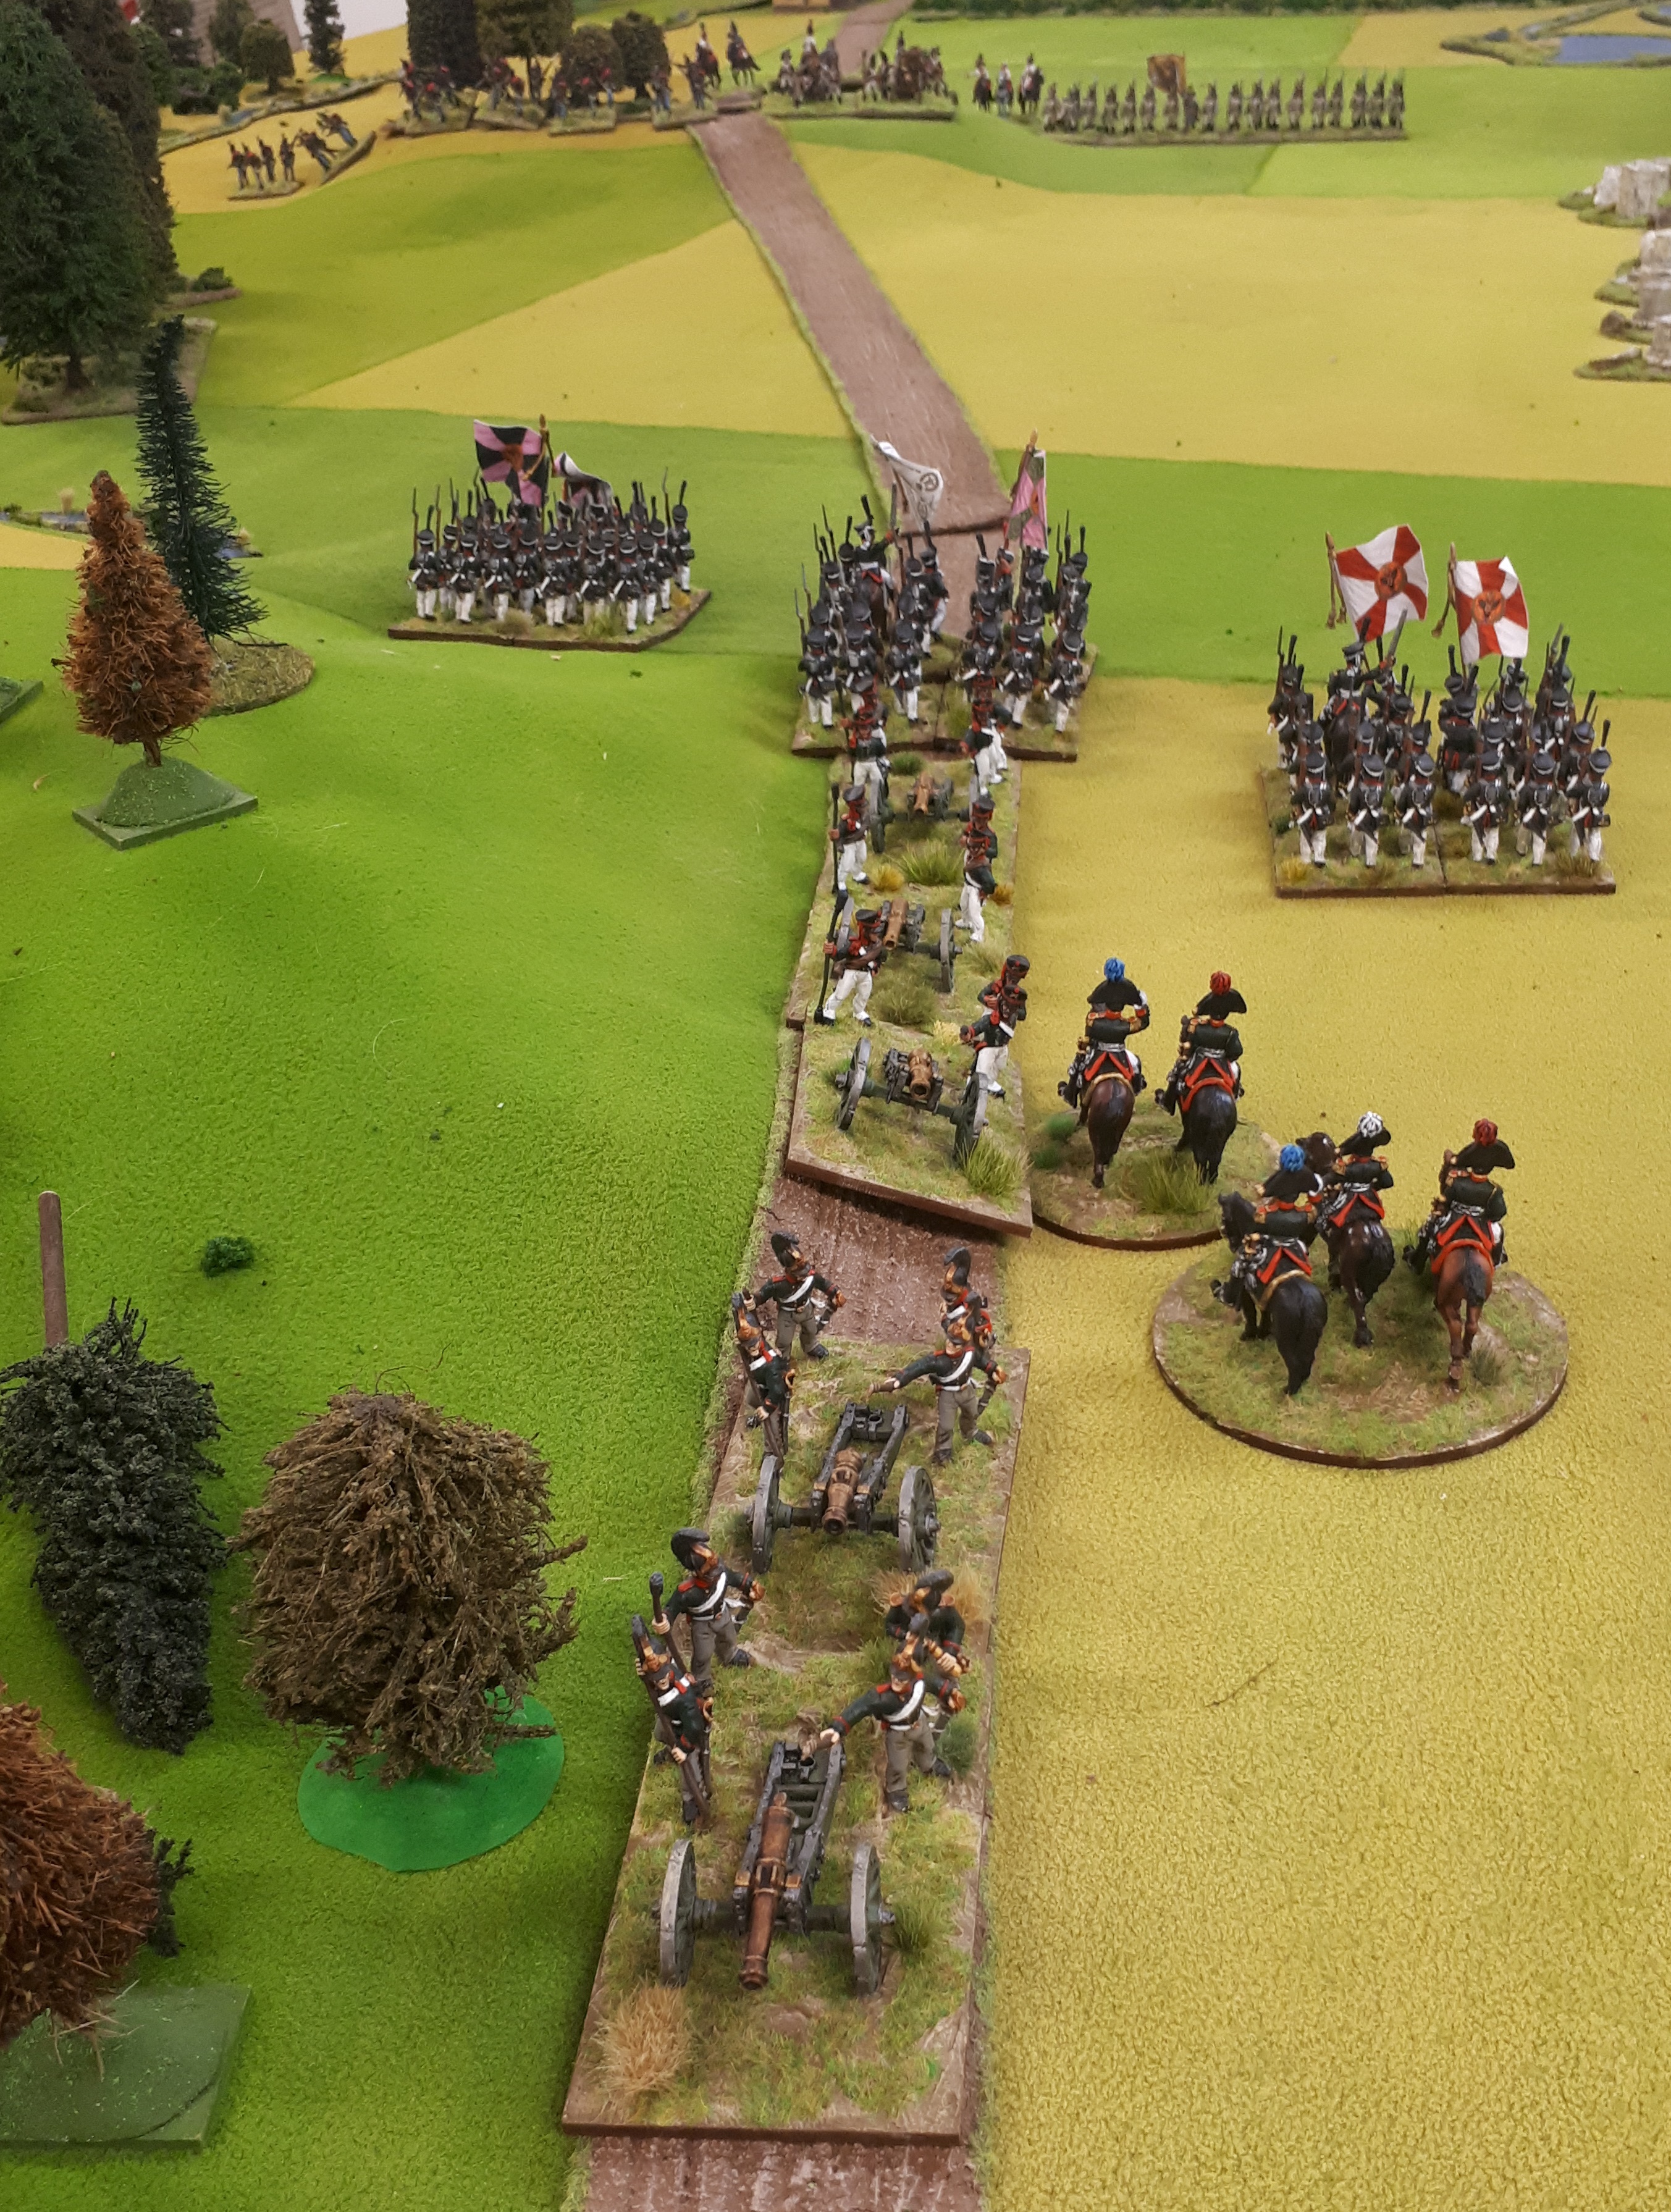
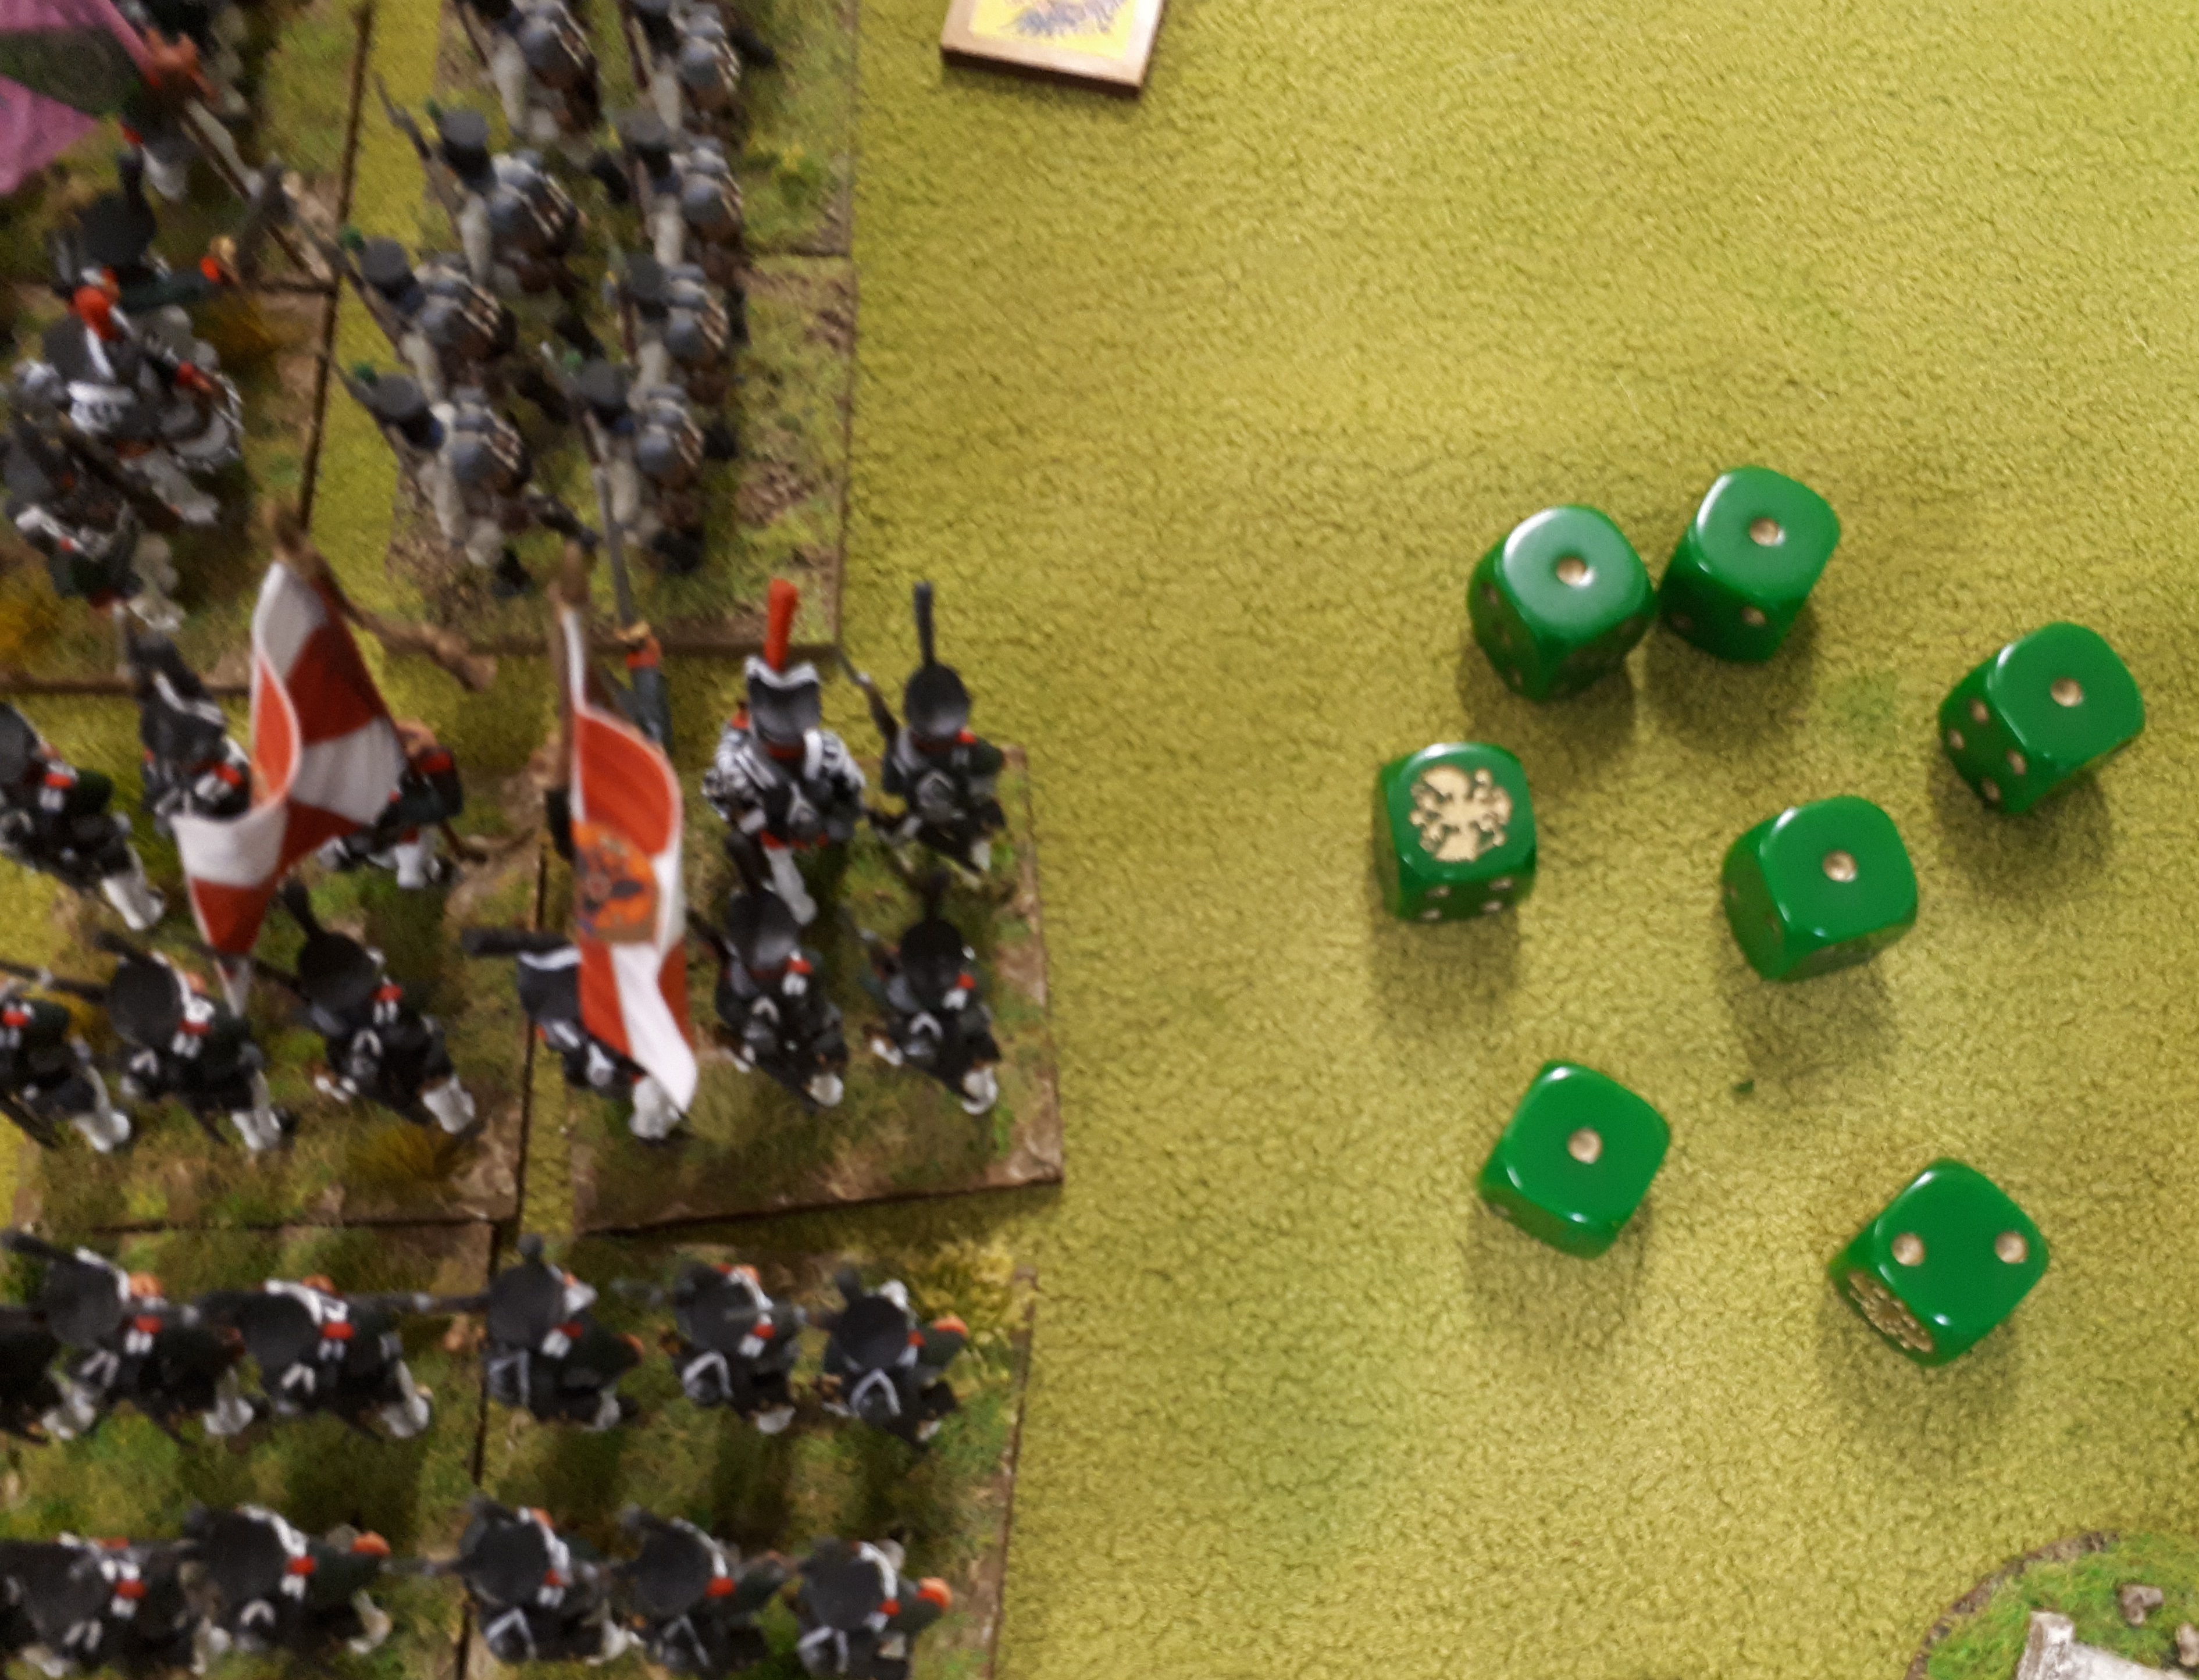
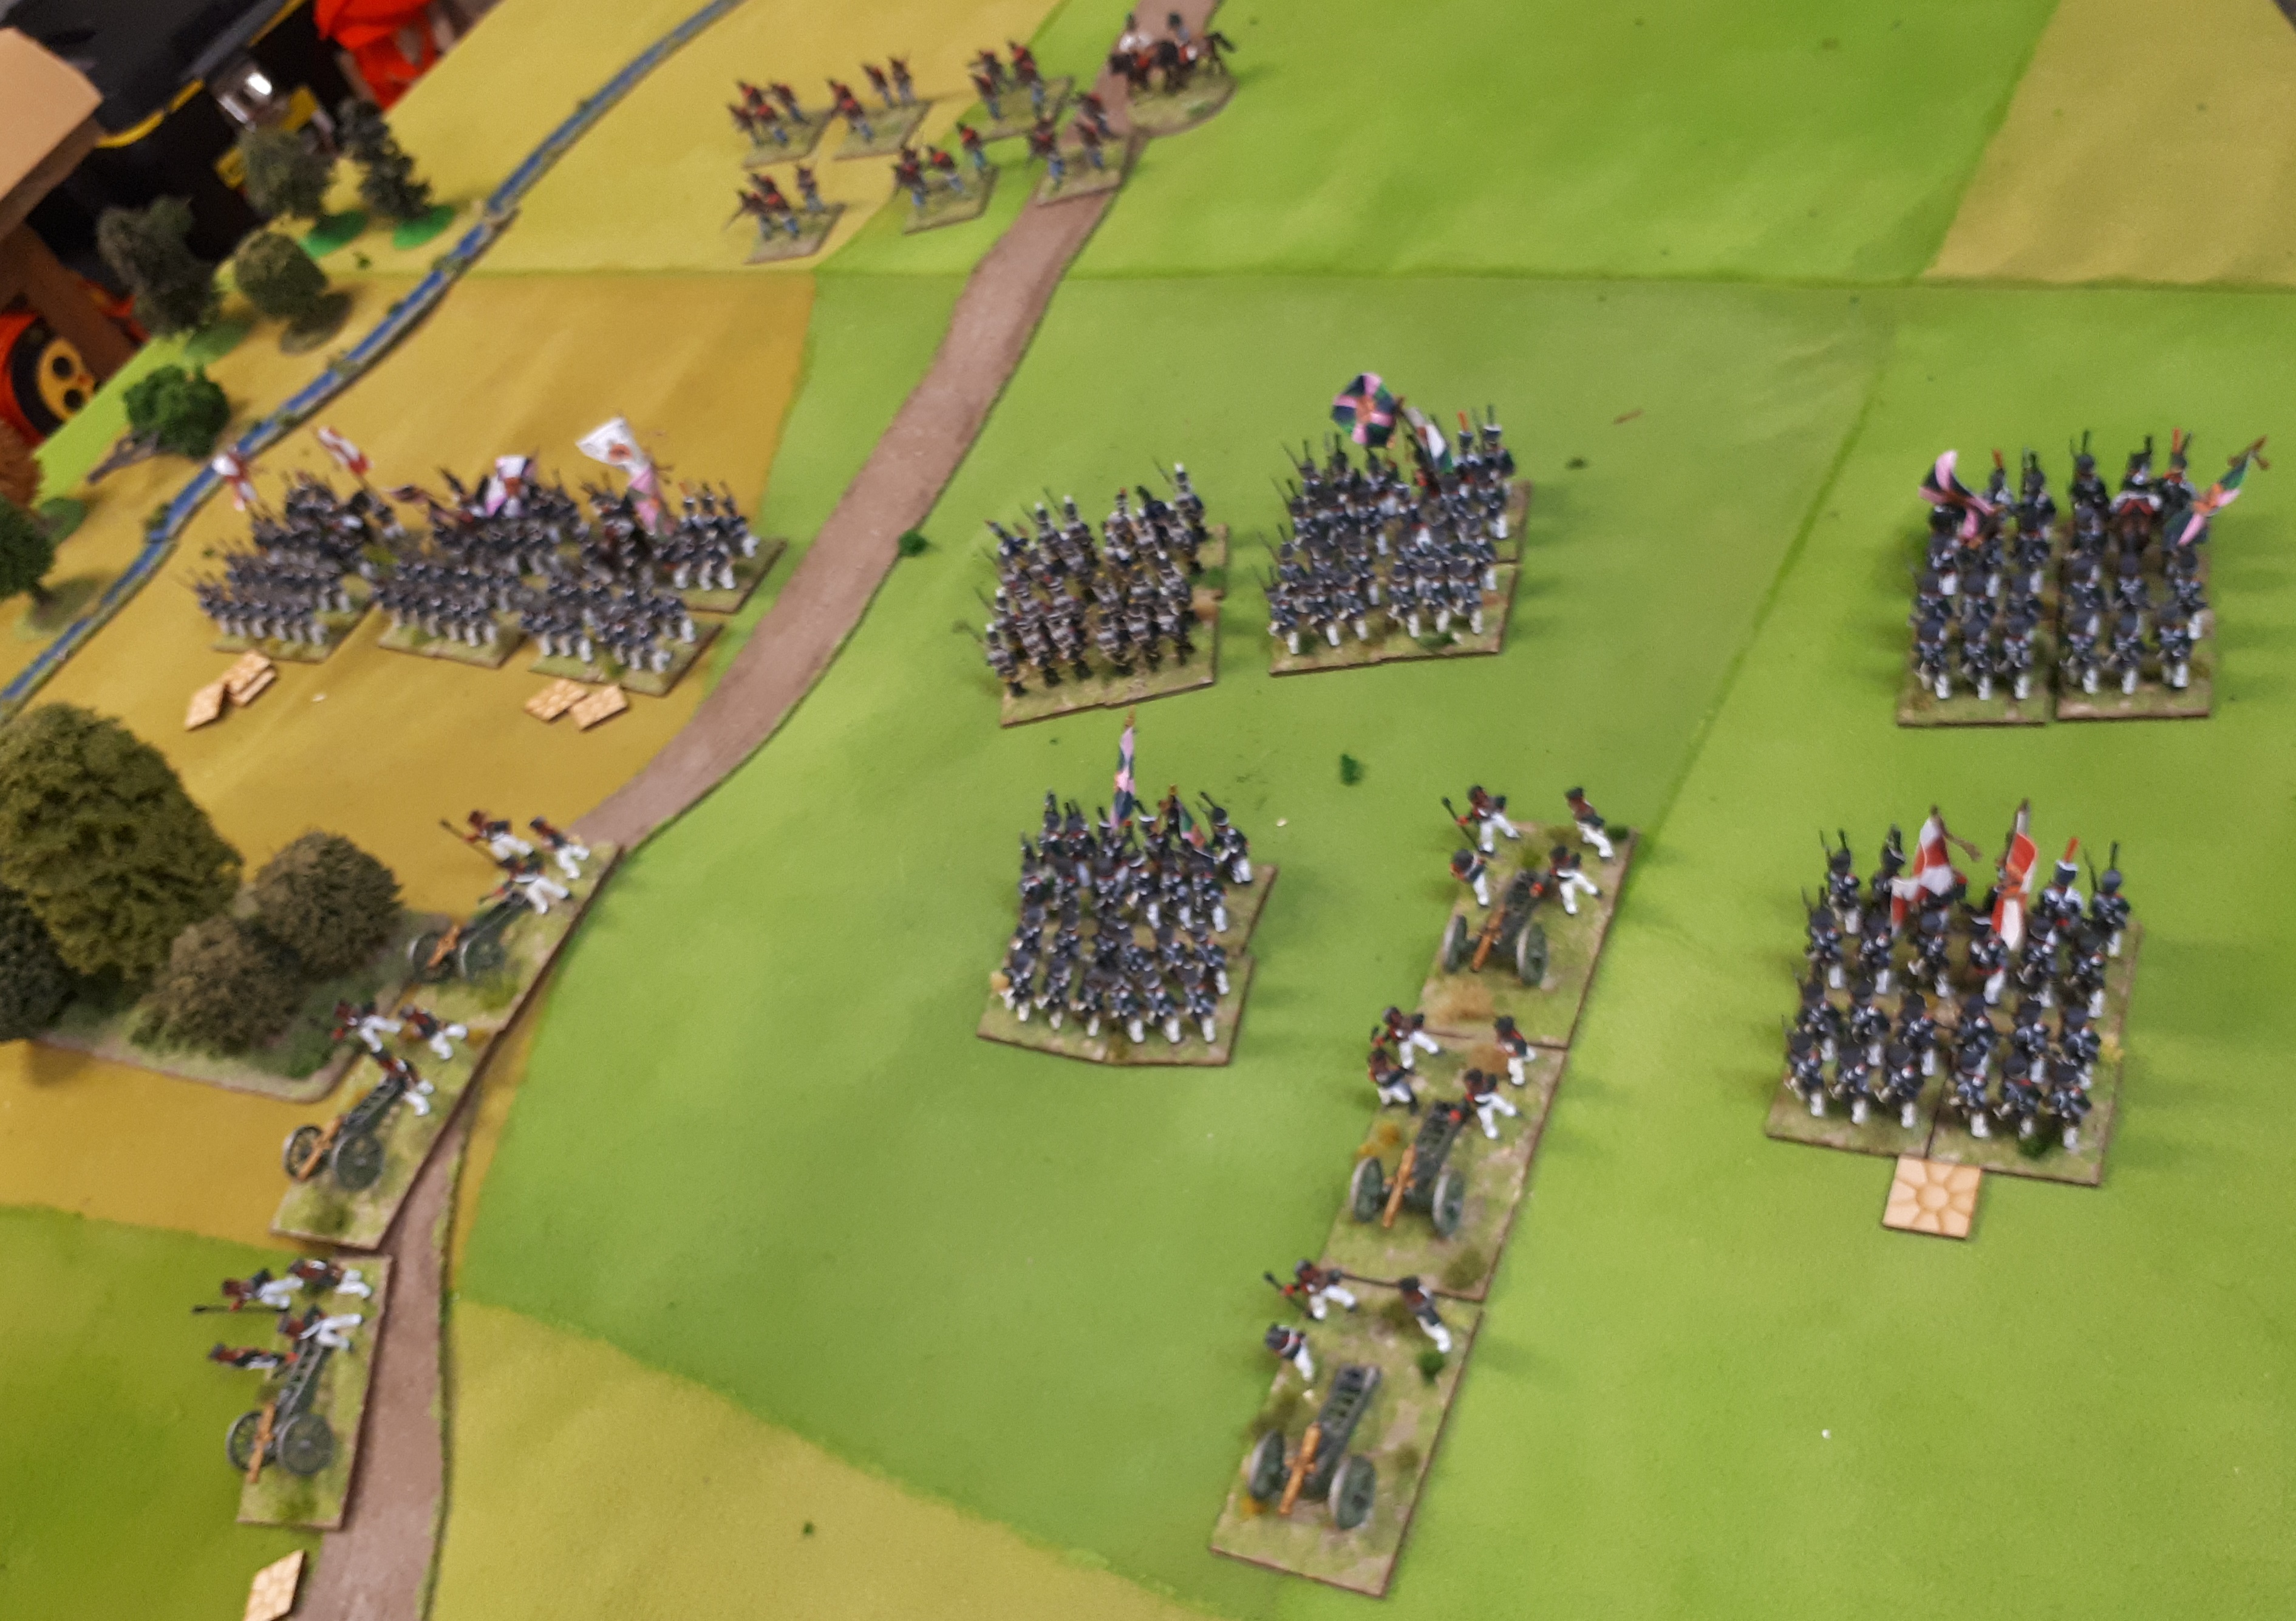
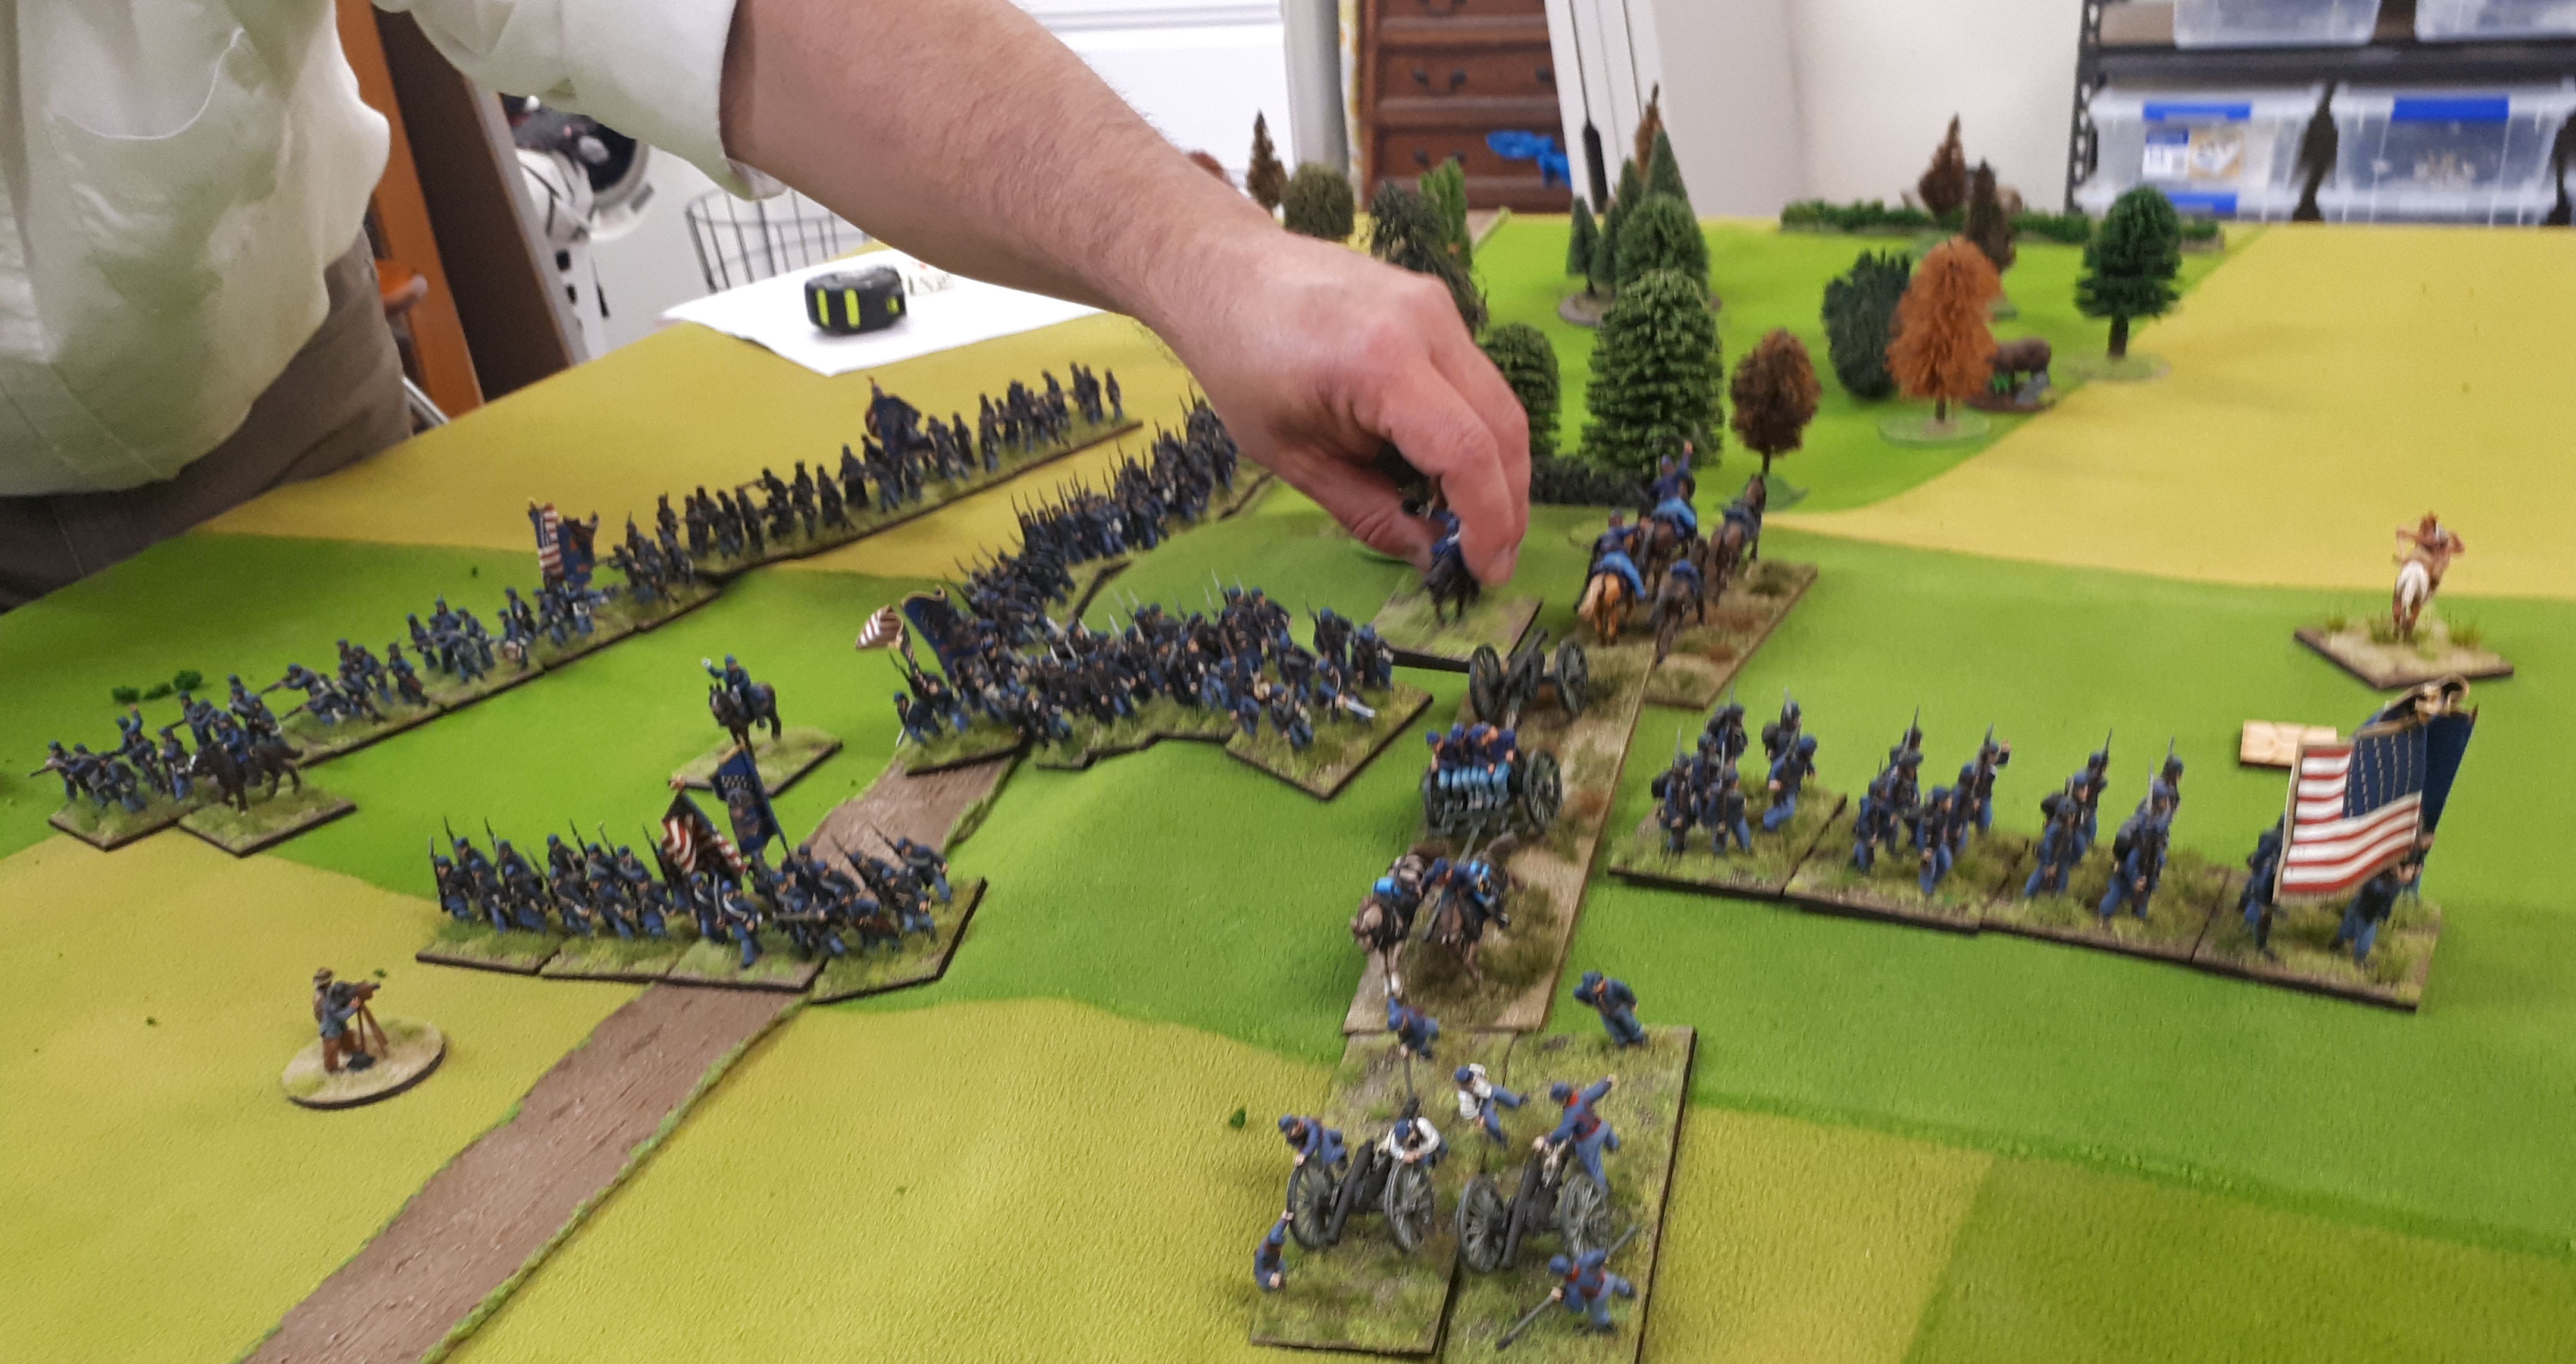
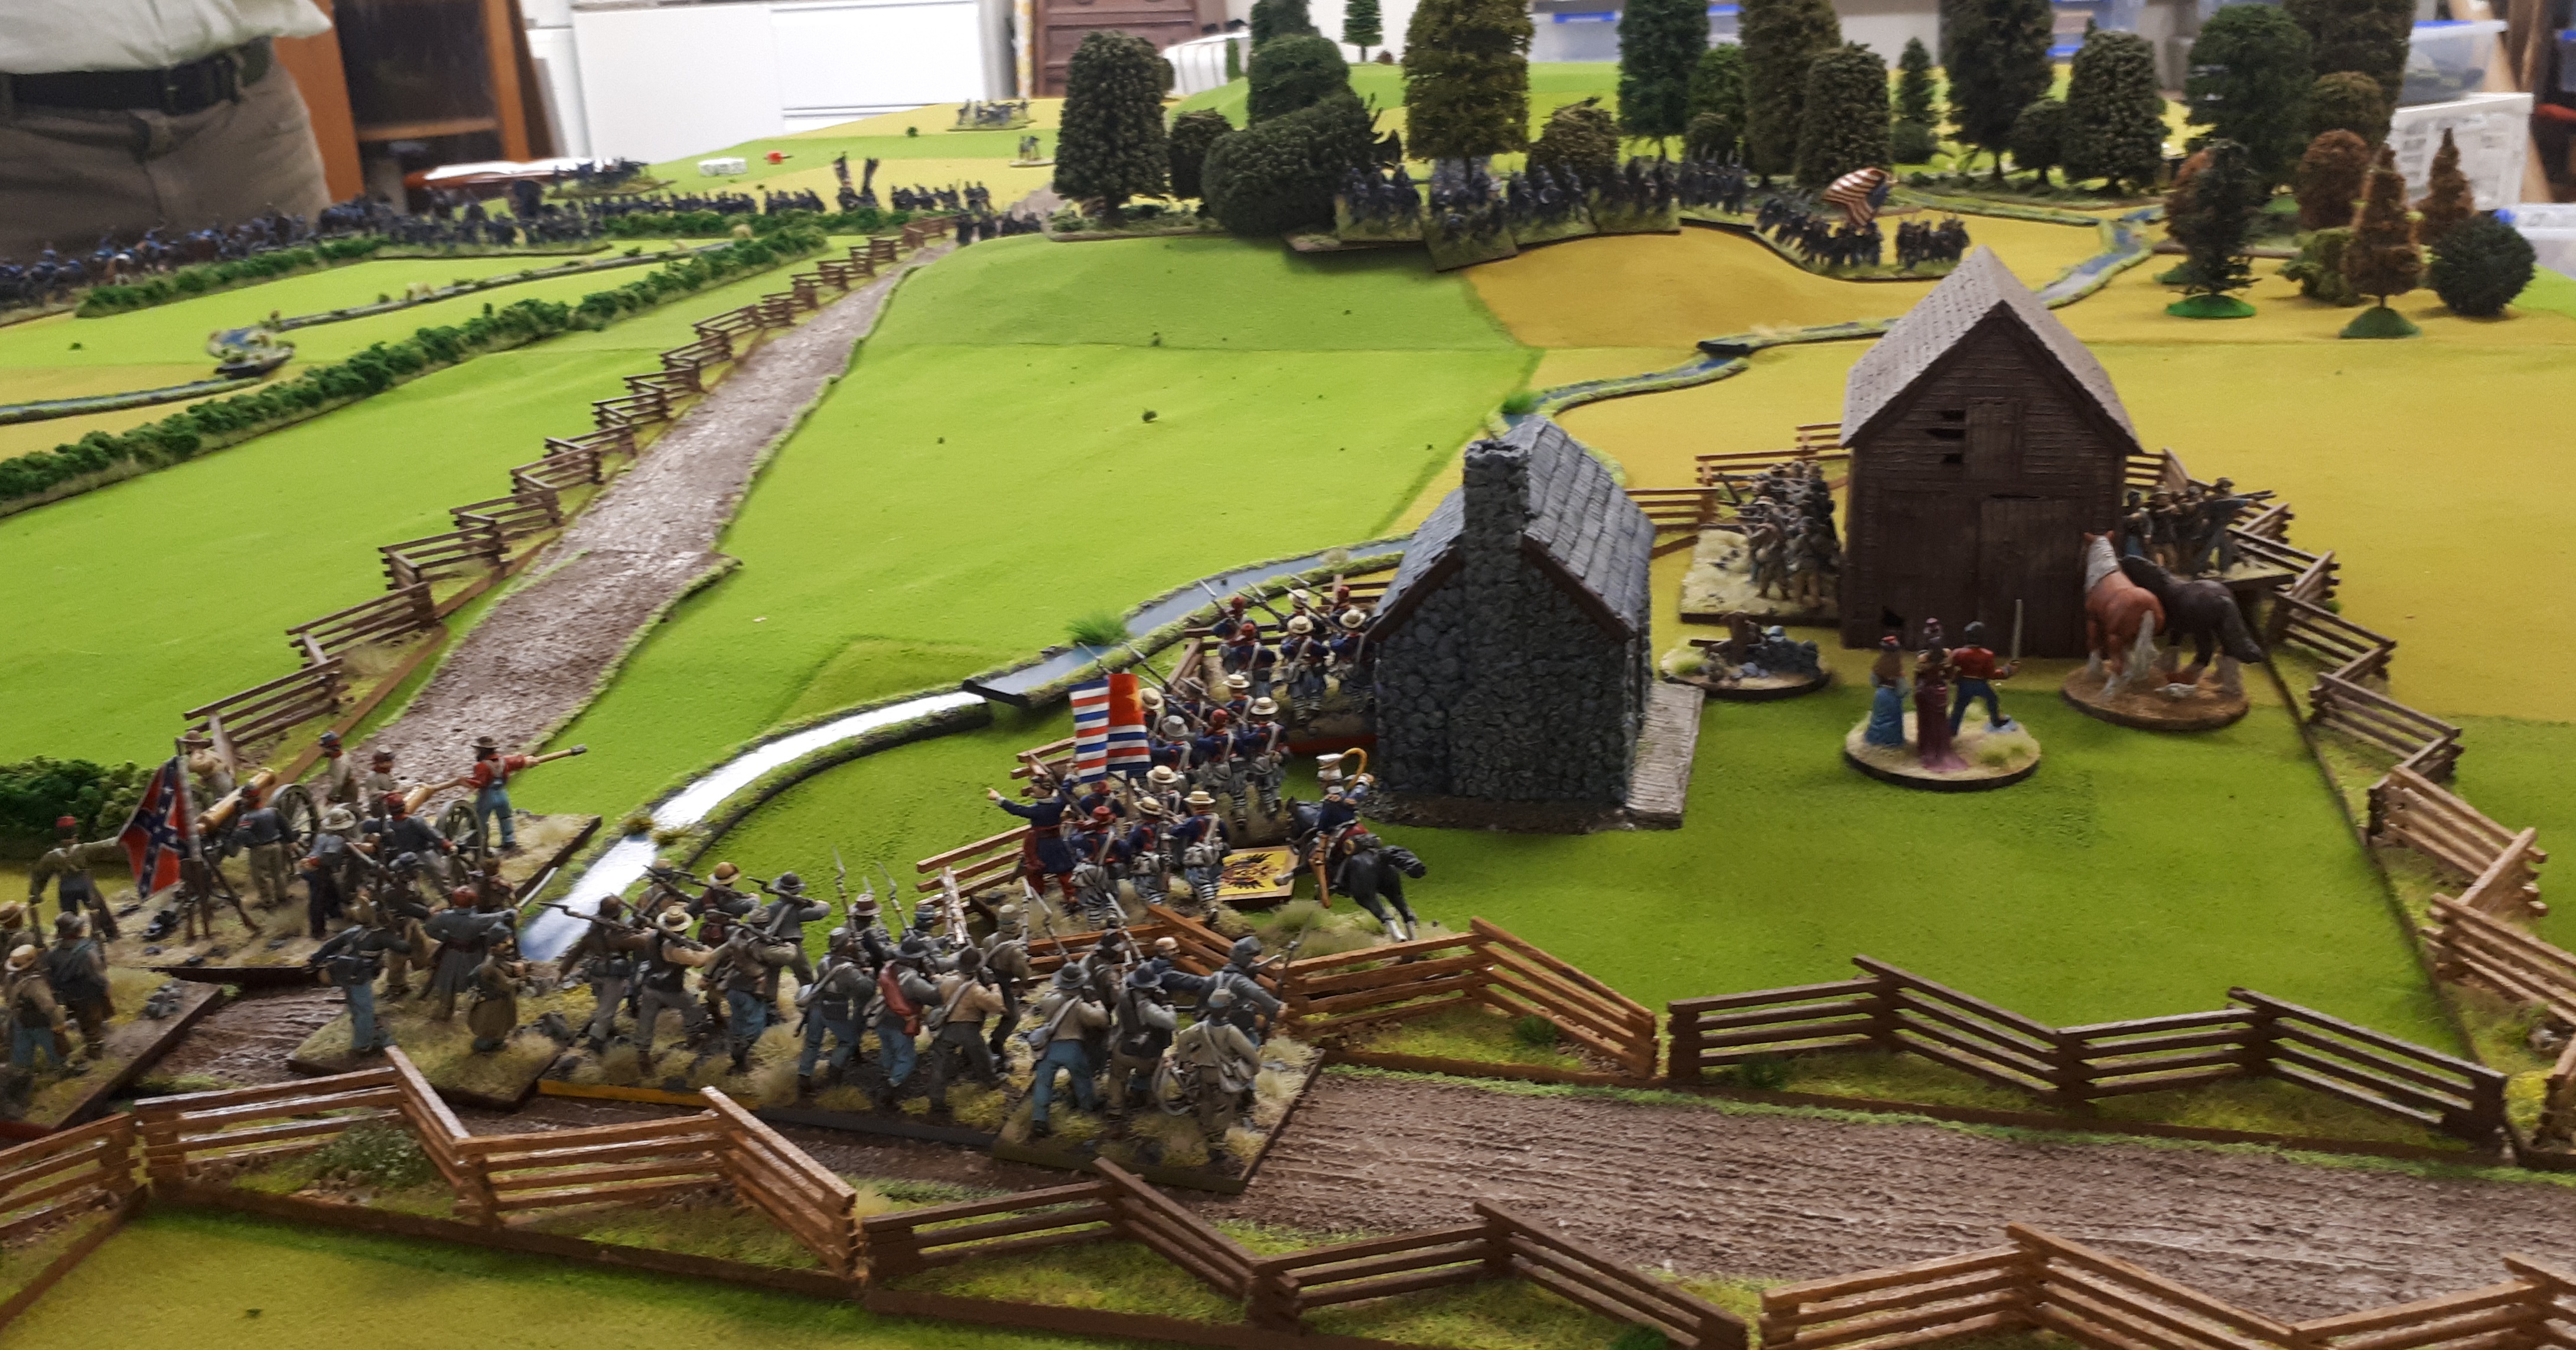
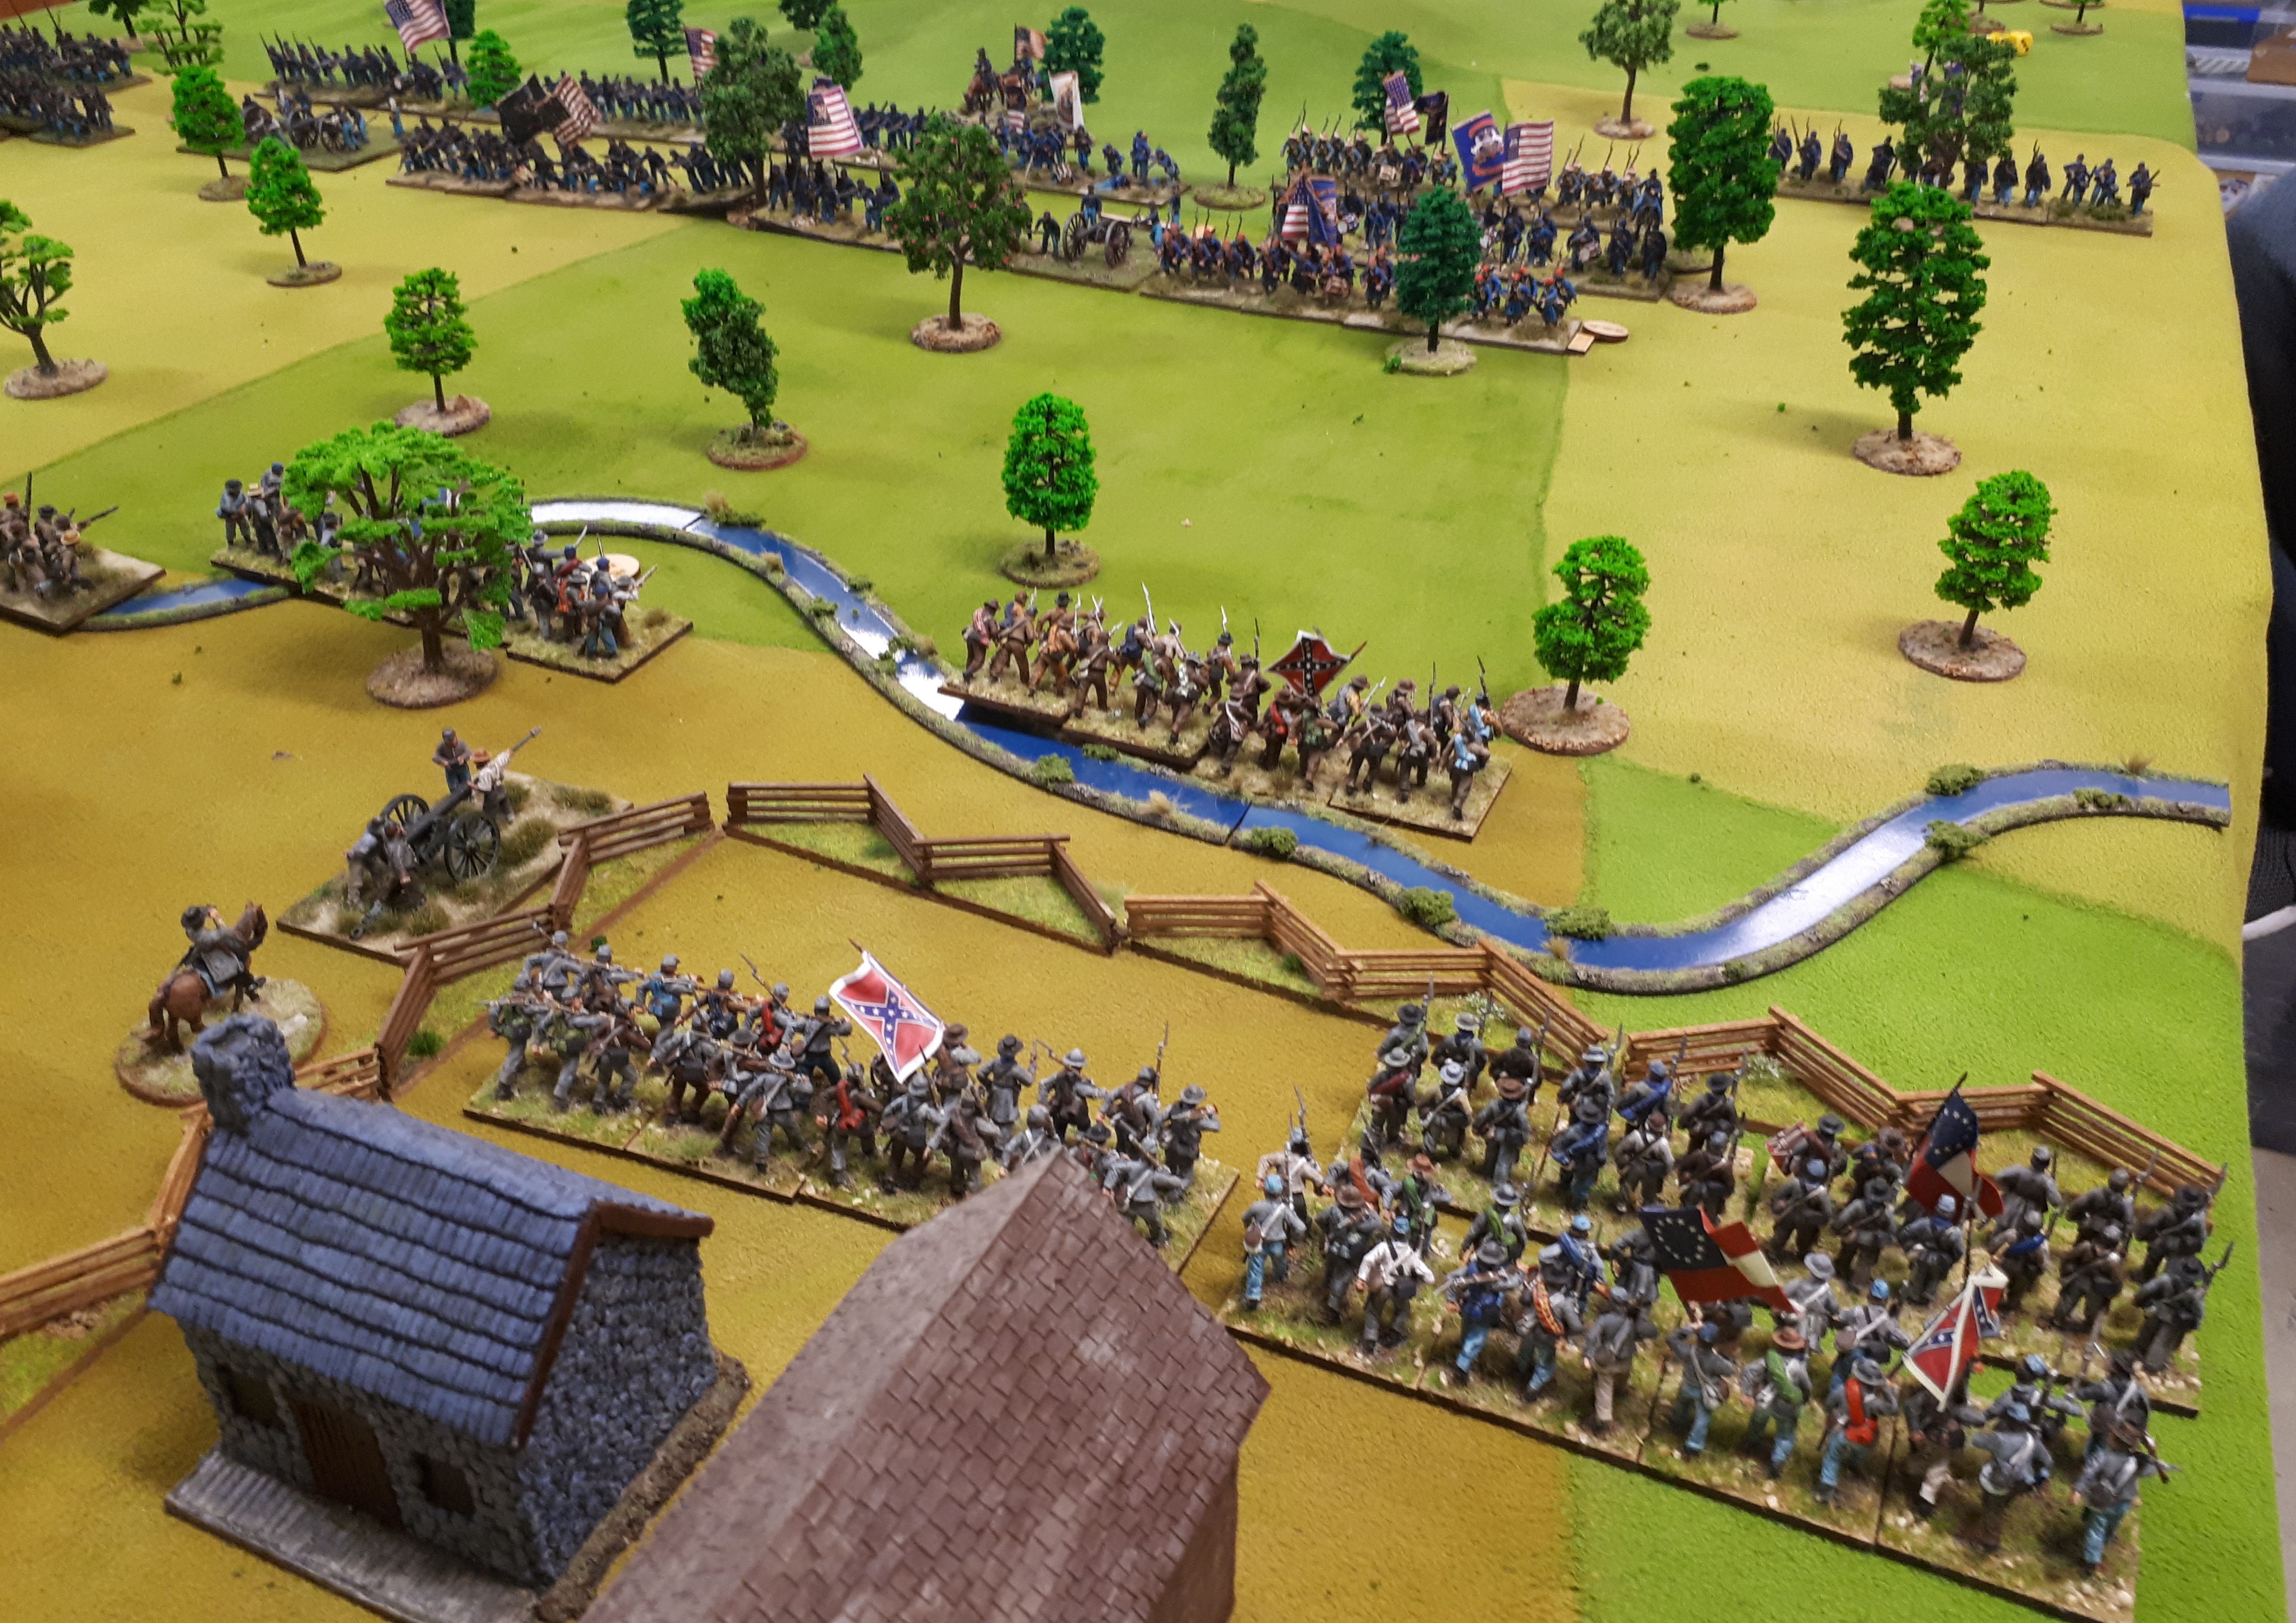
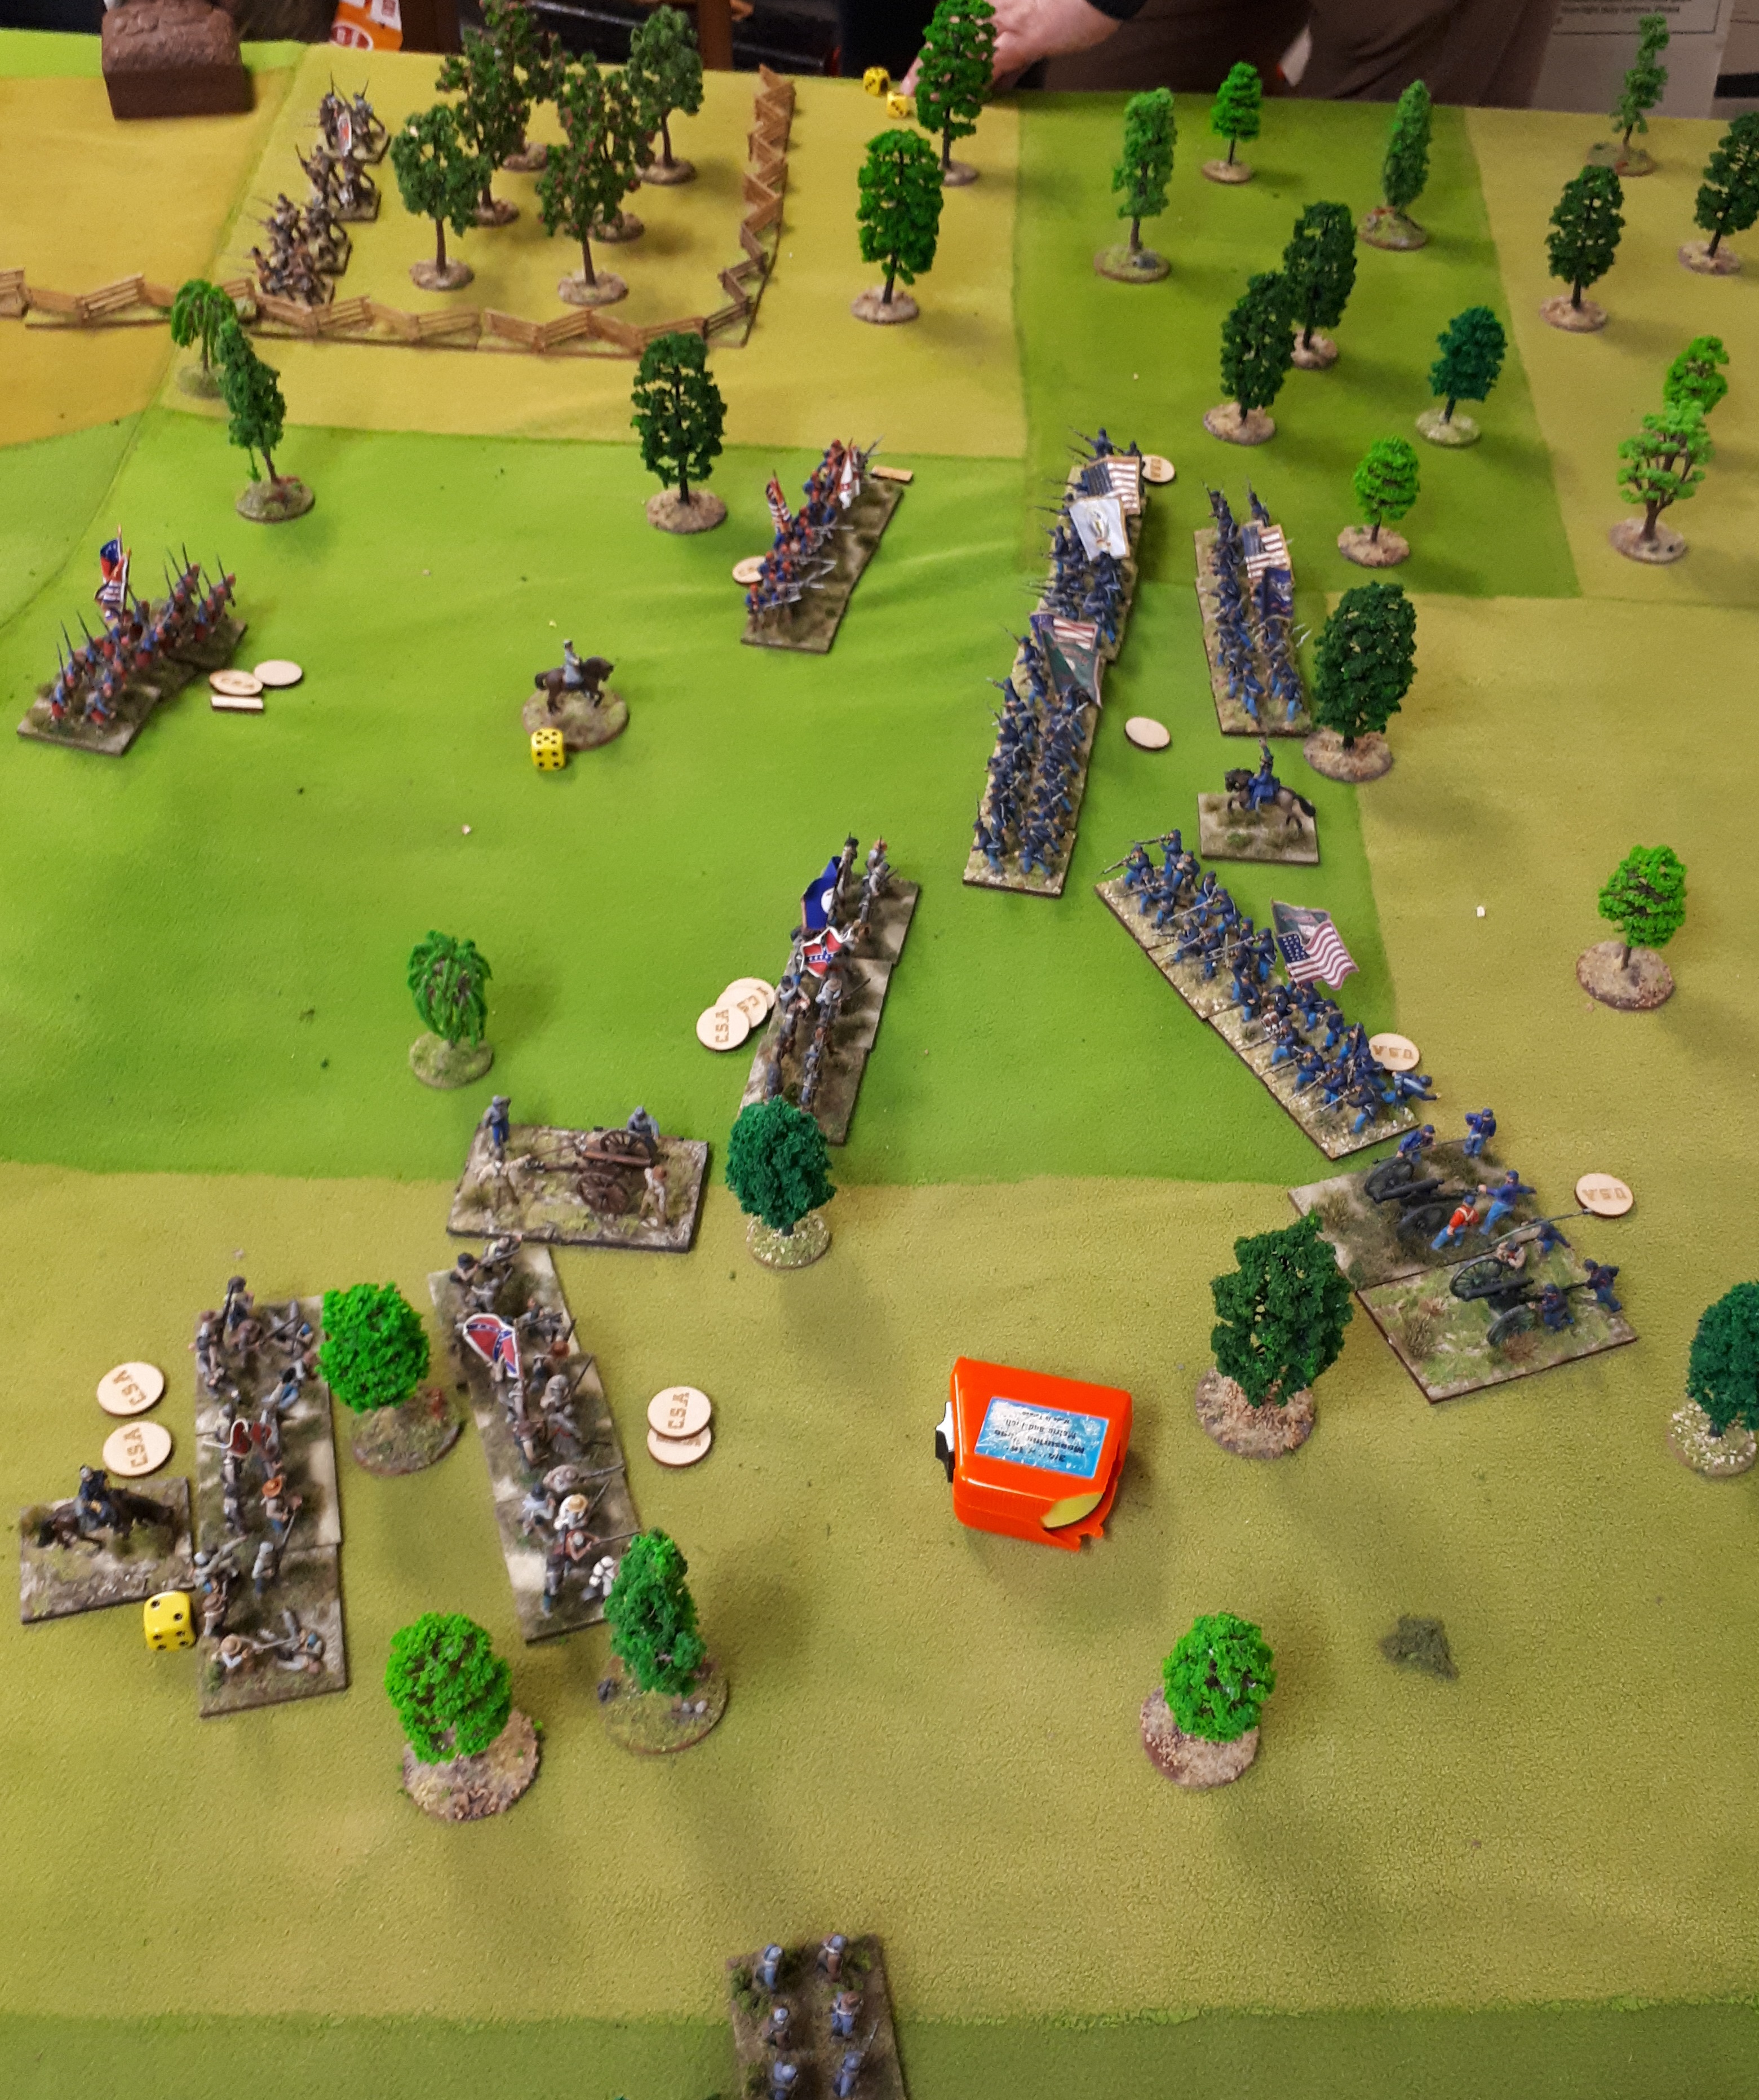
An after battle shot…the battle photo was a failure unfortunately. A unit Russian Hussars charged the column that had been shaken/disordered by gunfire in previous turn. It formed square, the Hussars charged in….inflicted 5 casualties, already being shaken and disordered, it popped. The Hussars then did a sweeping advance into the  small line unit, it popped. Break tested resulted in others popping or running. Brigade was broken!

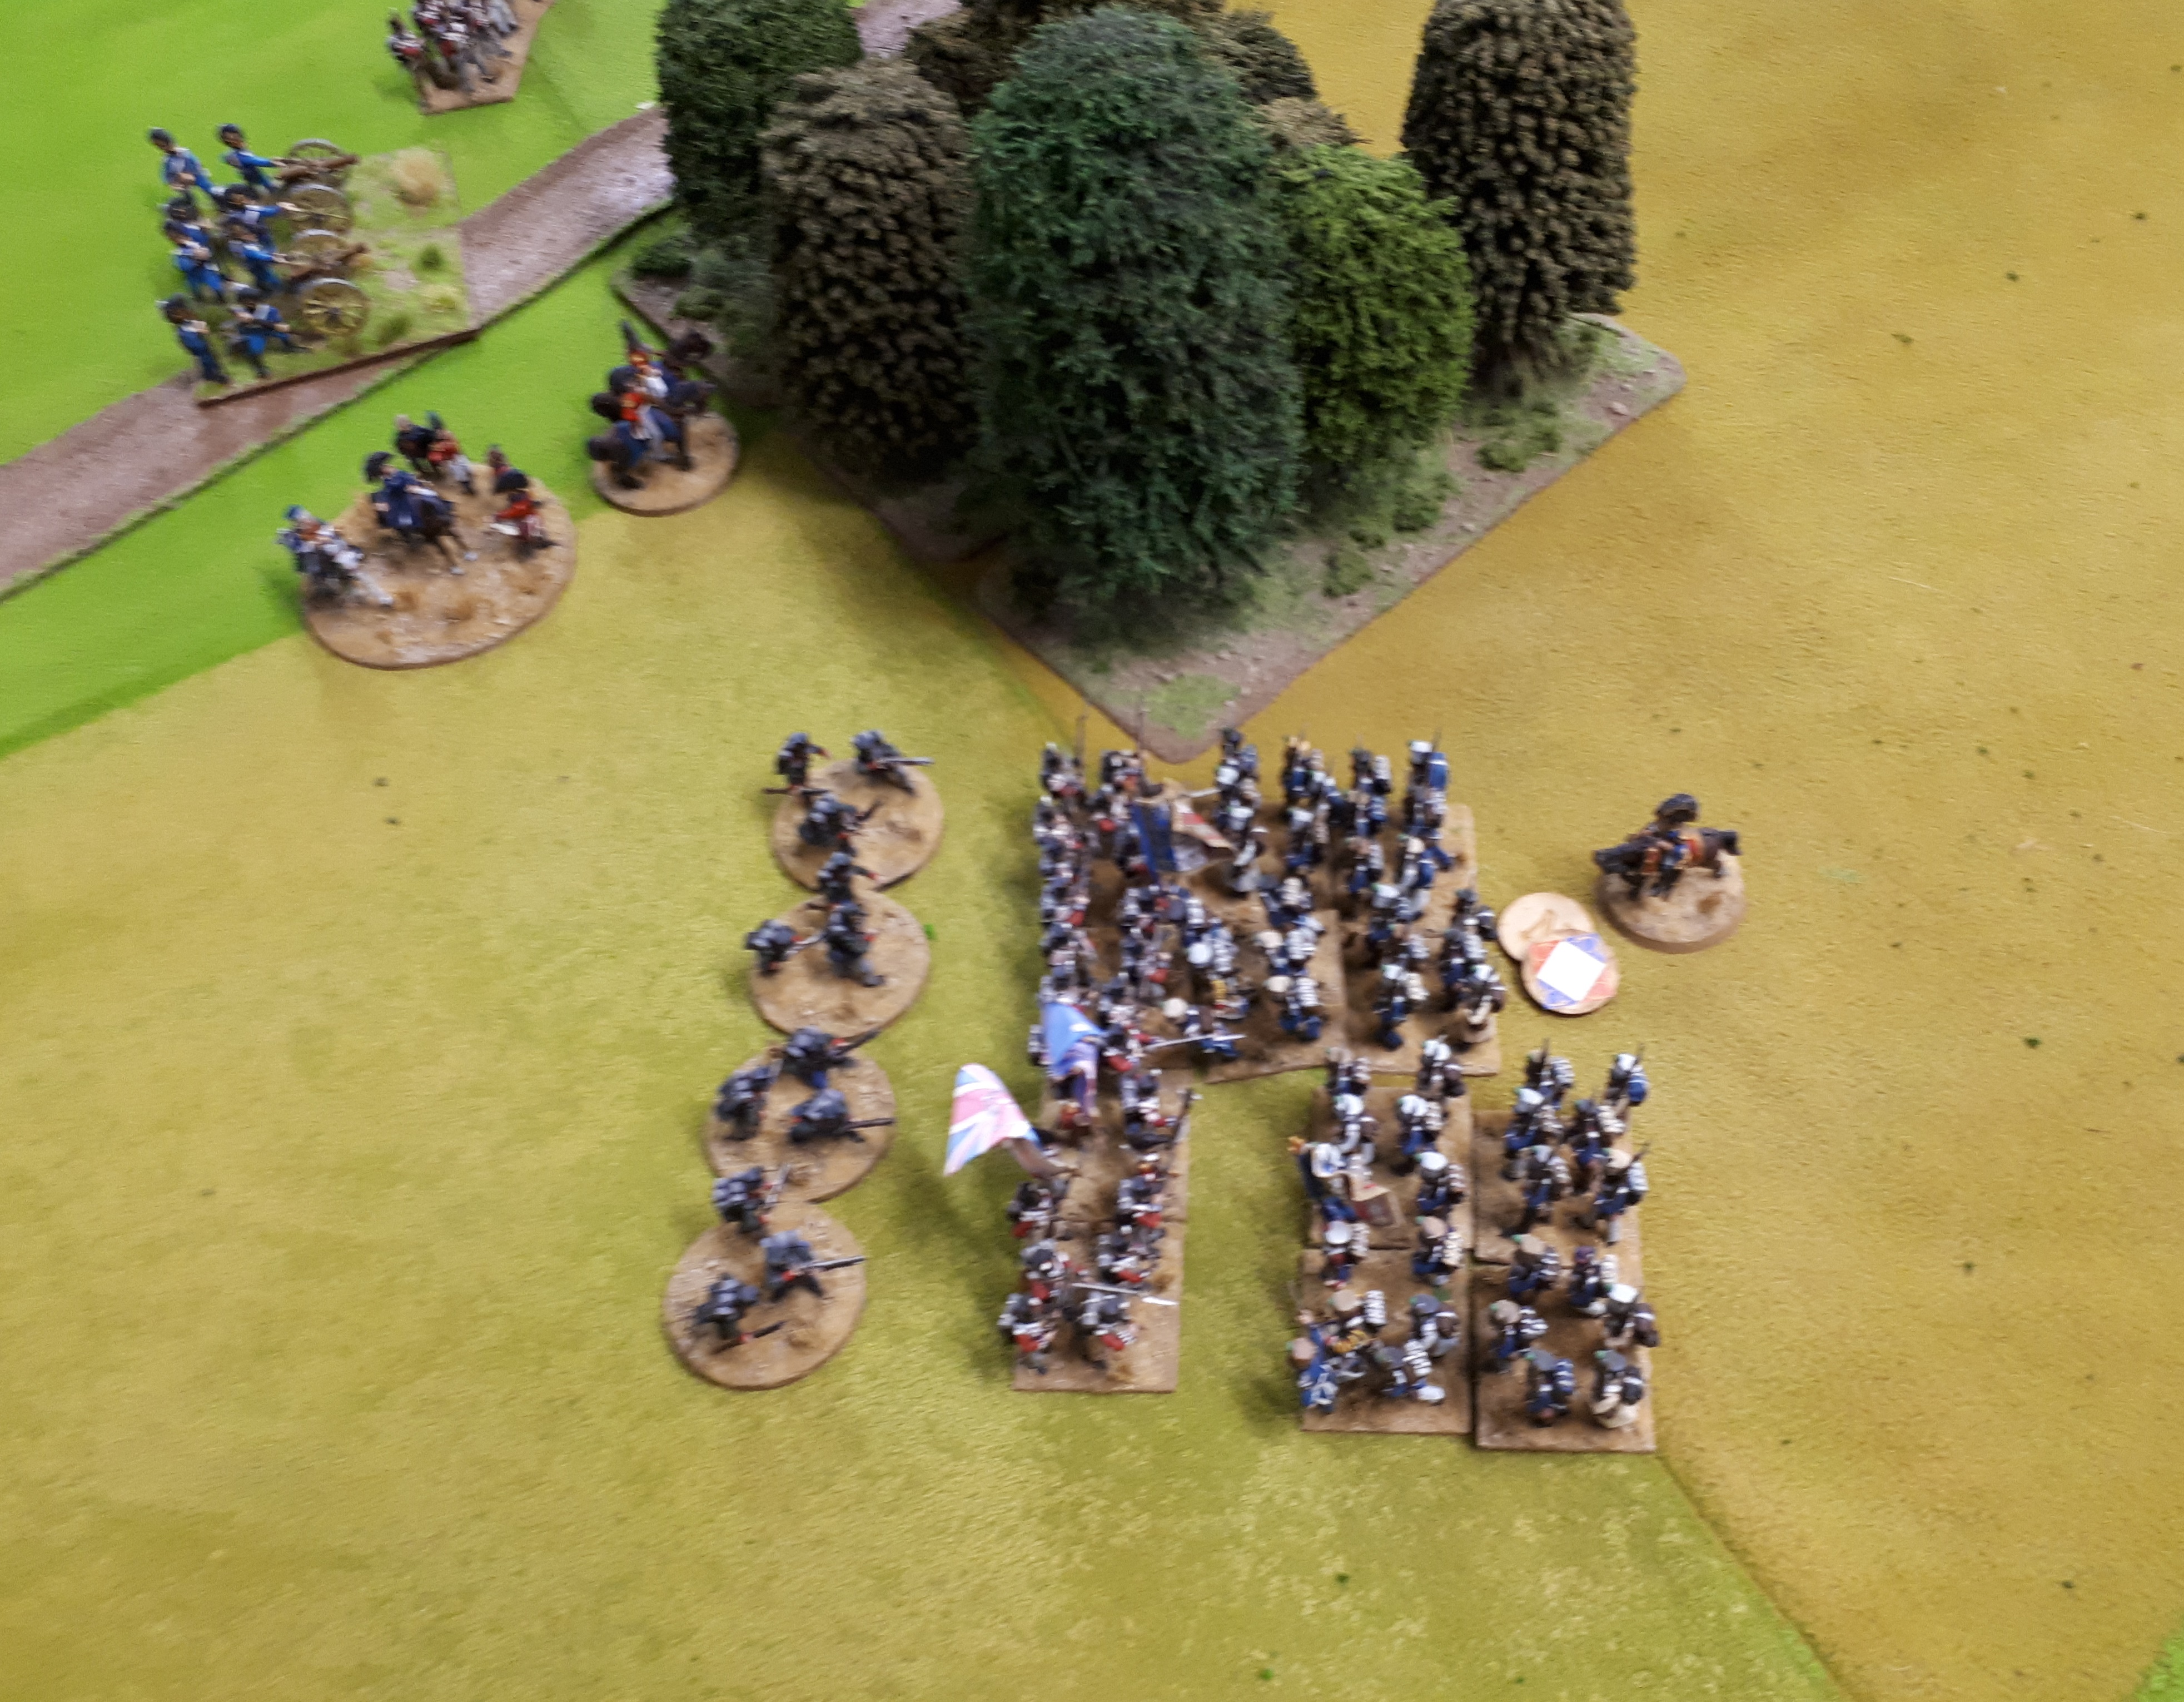
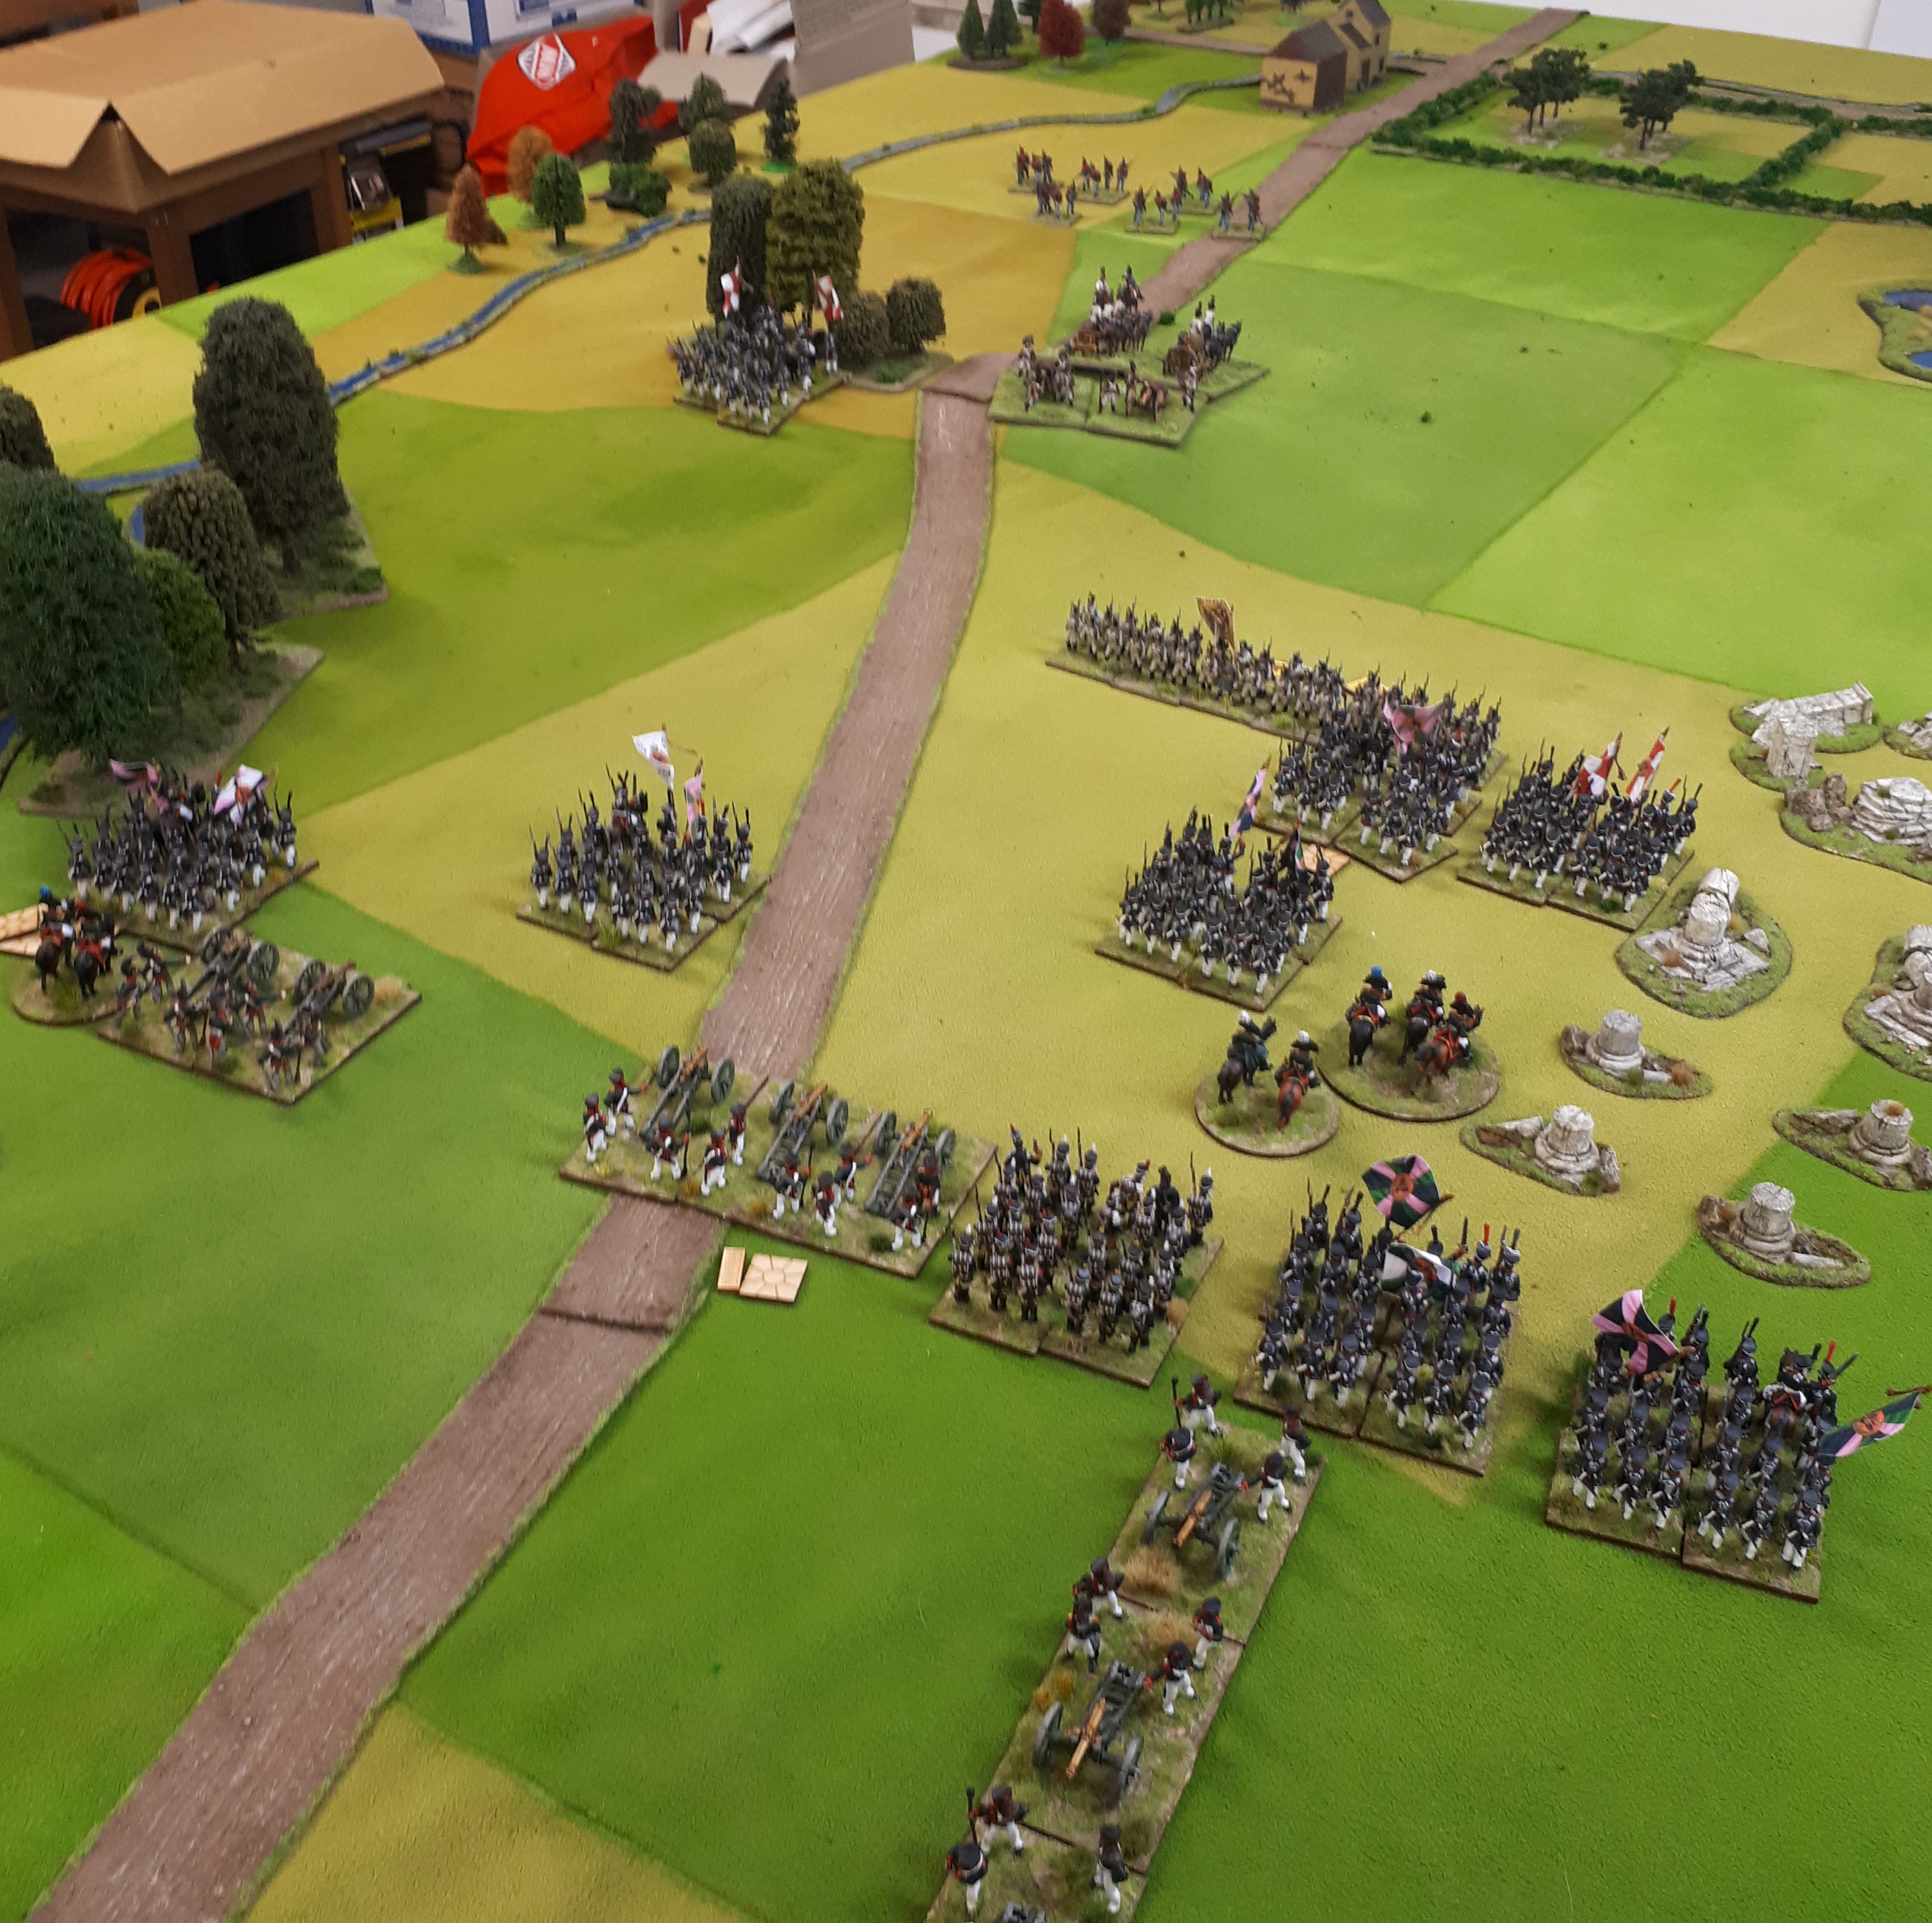
Before breaking however the French lines had shot up the left Jager square…and it had Lancers looking at it…. not good.

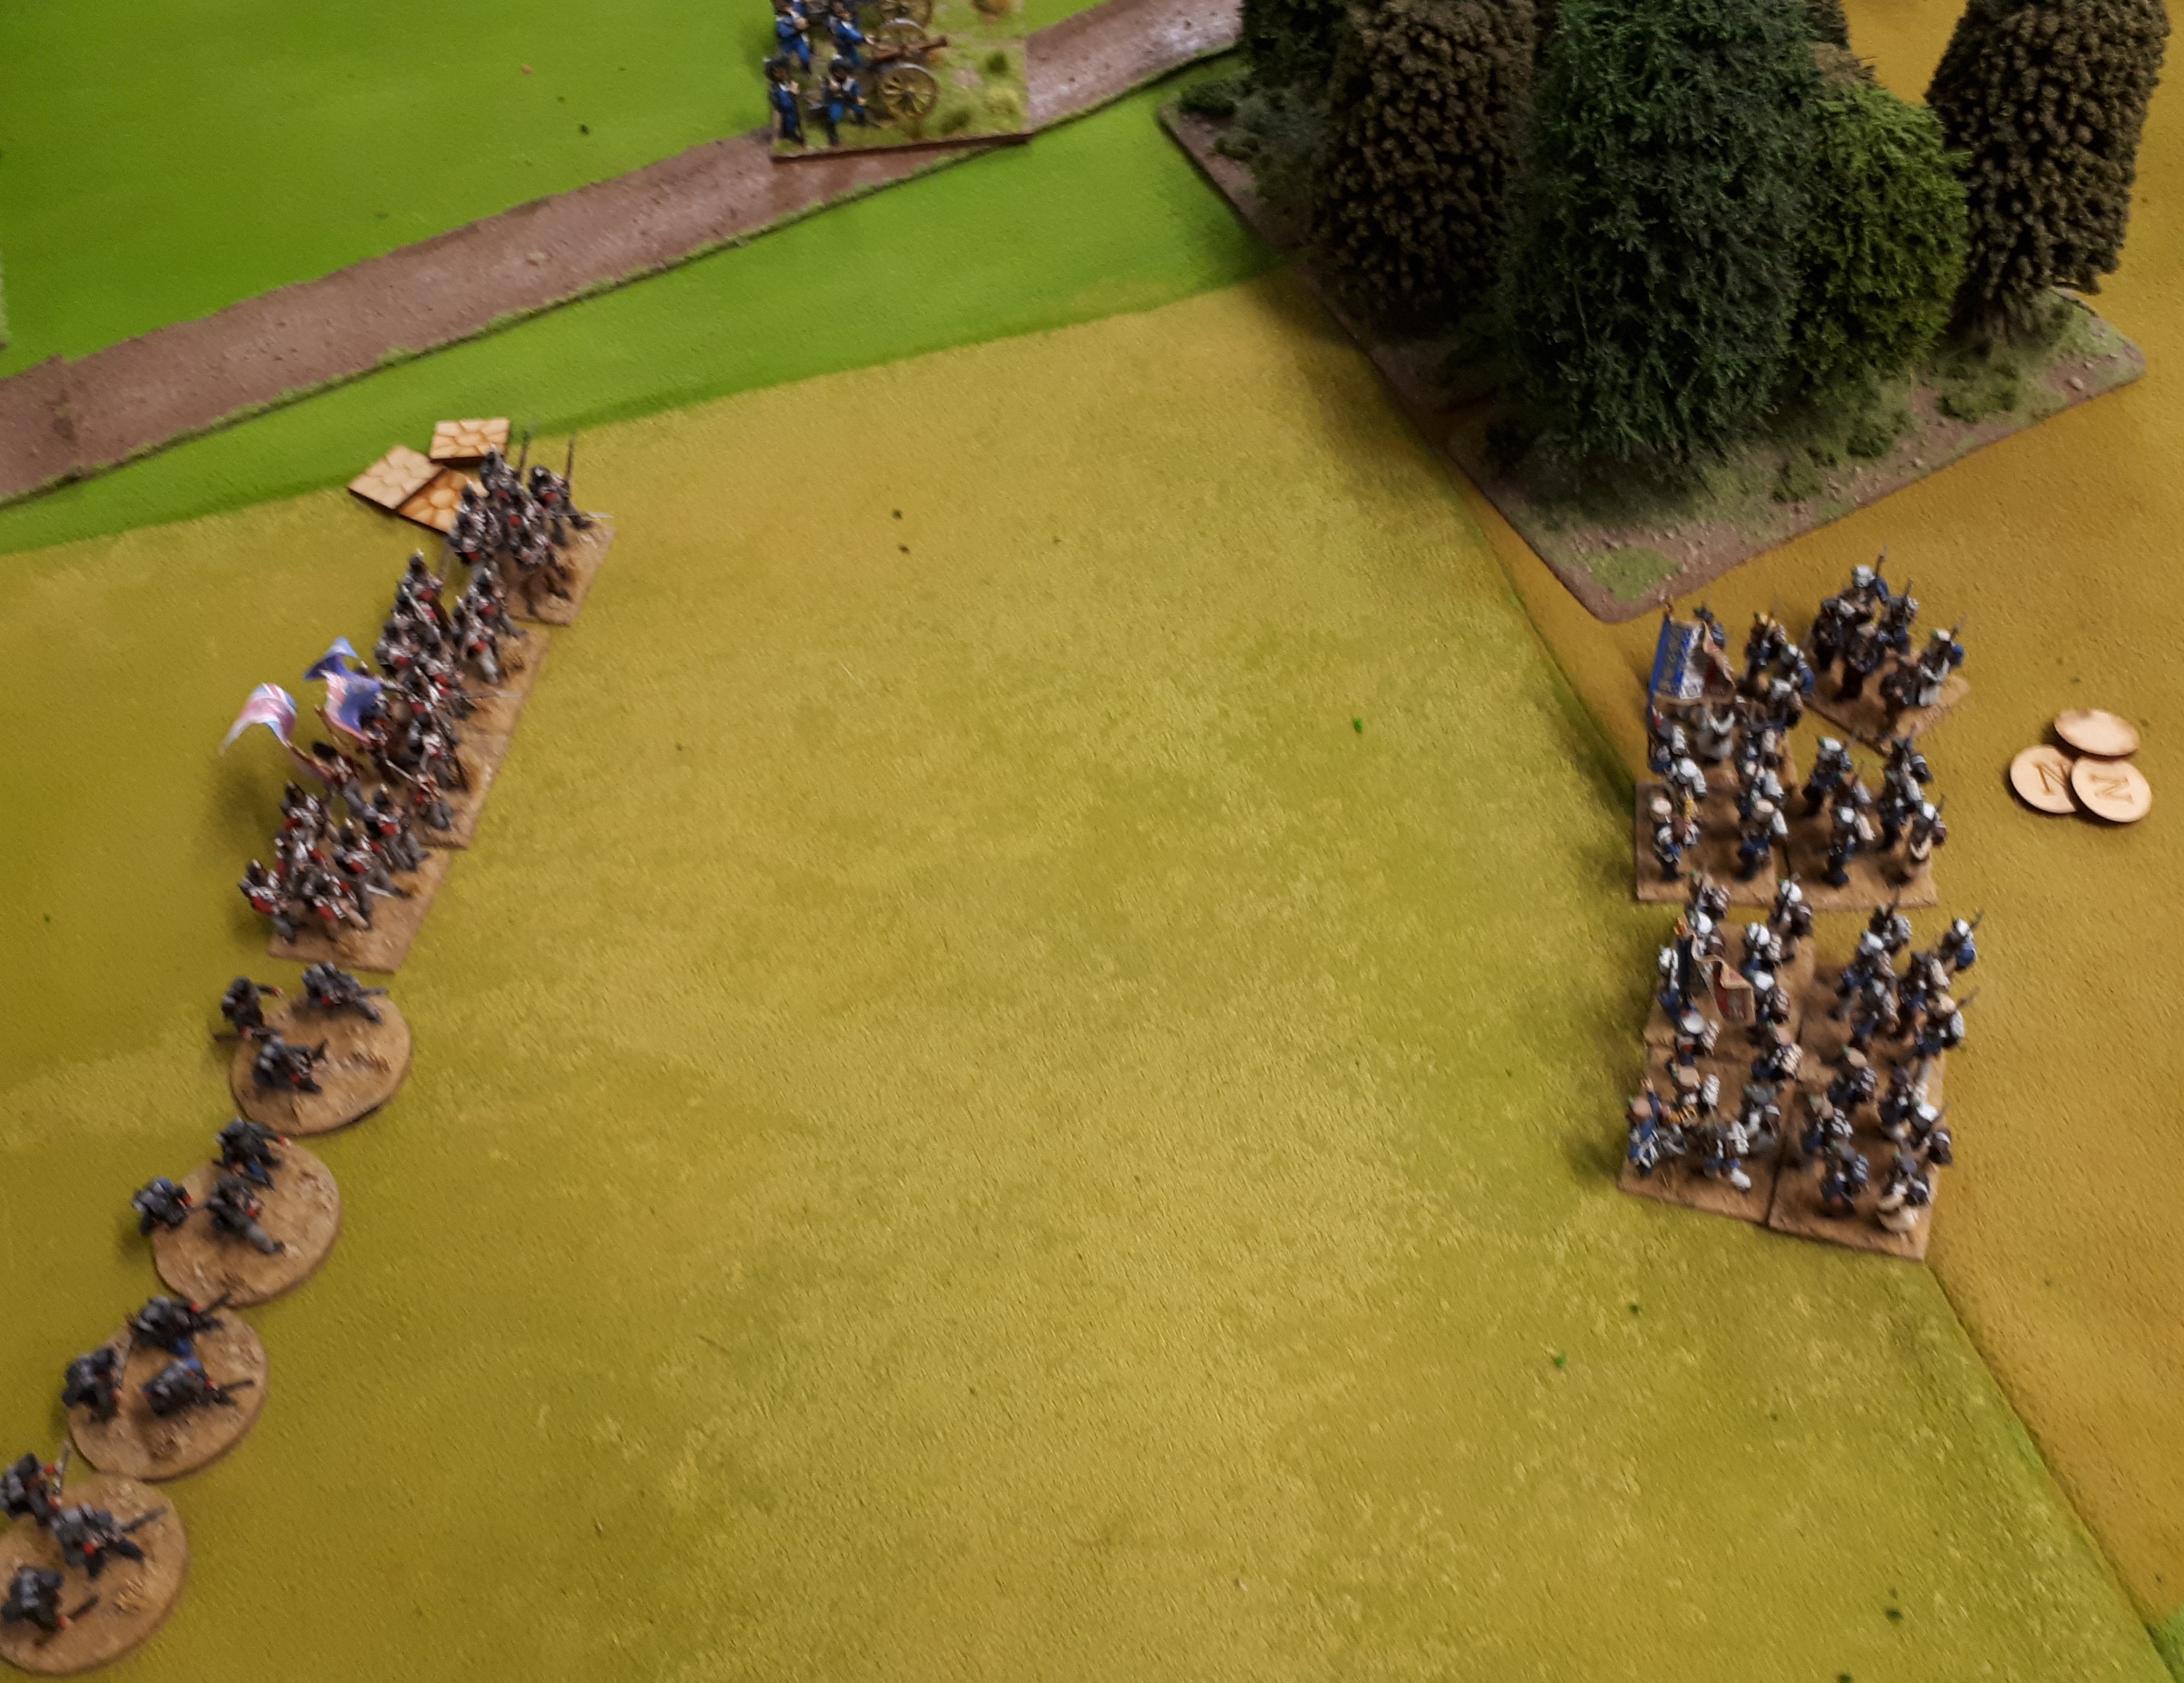
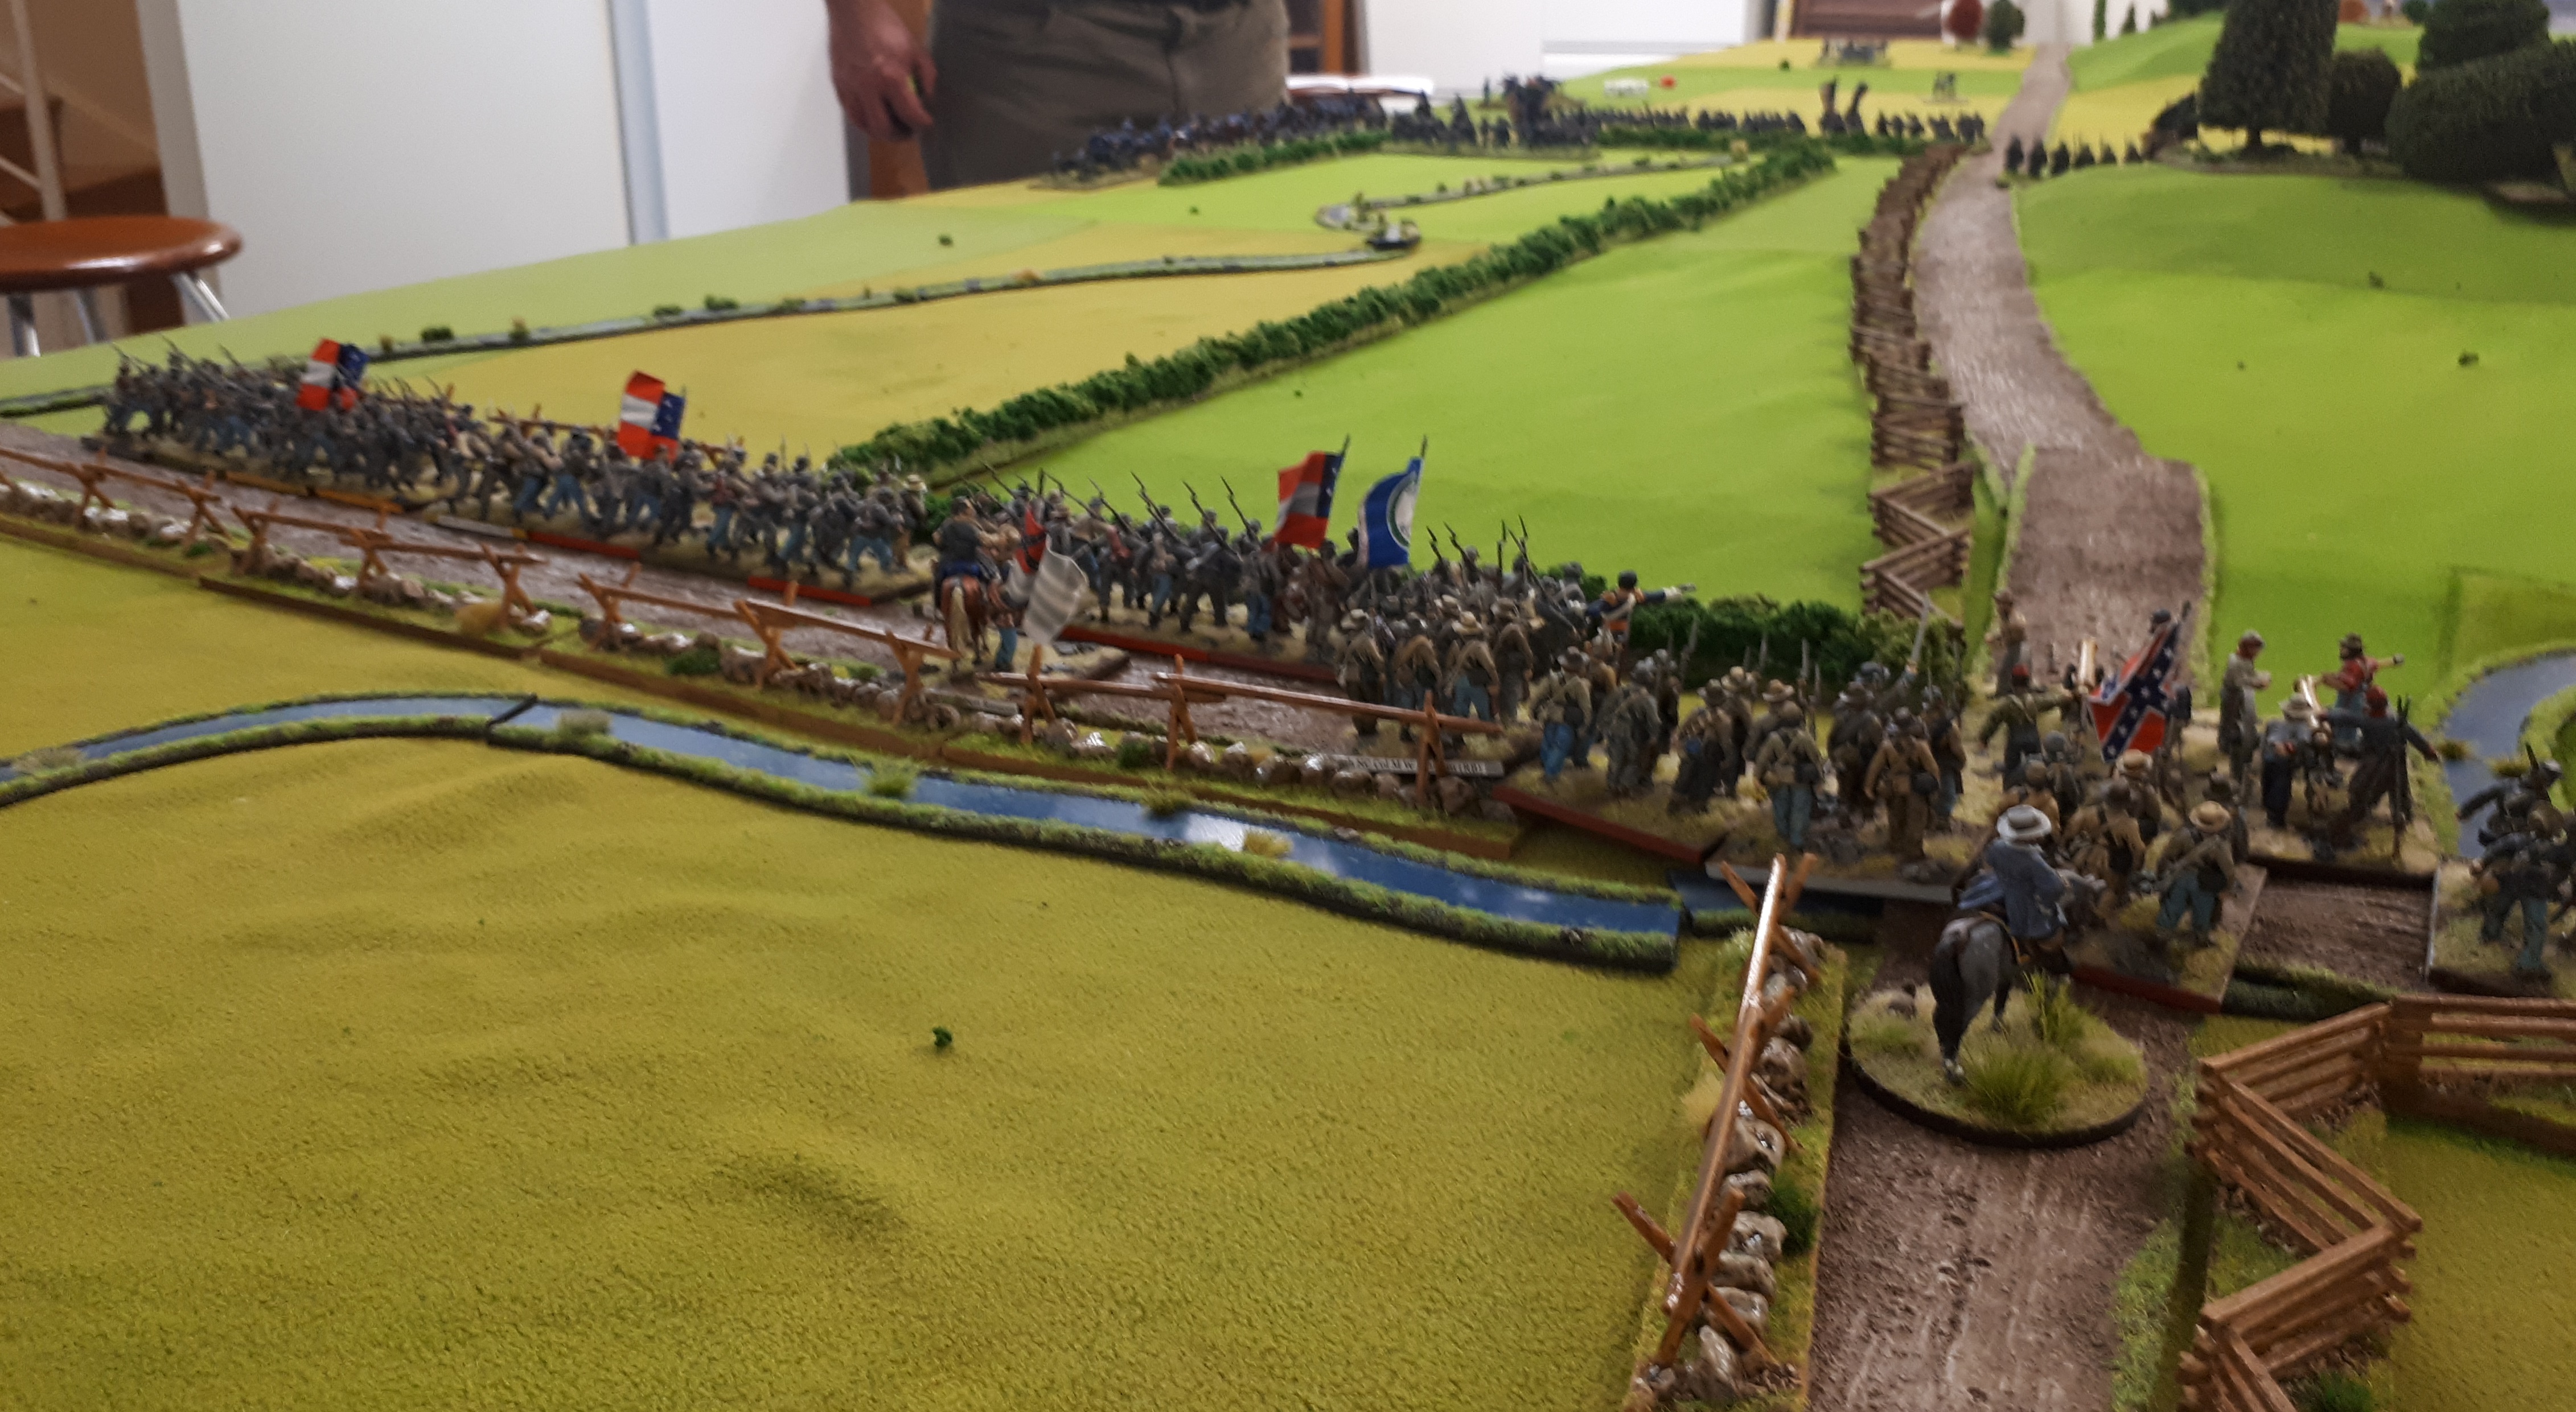
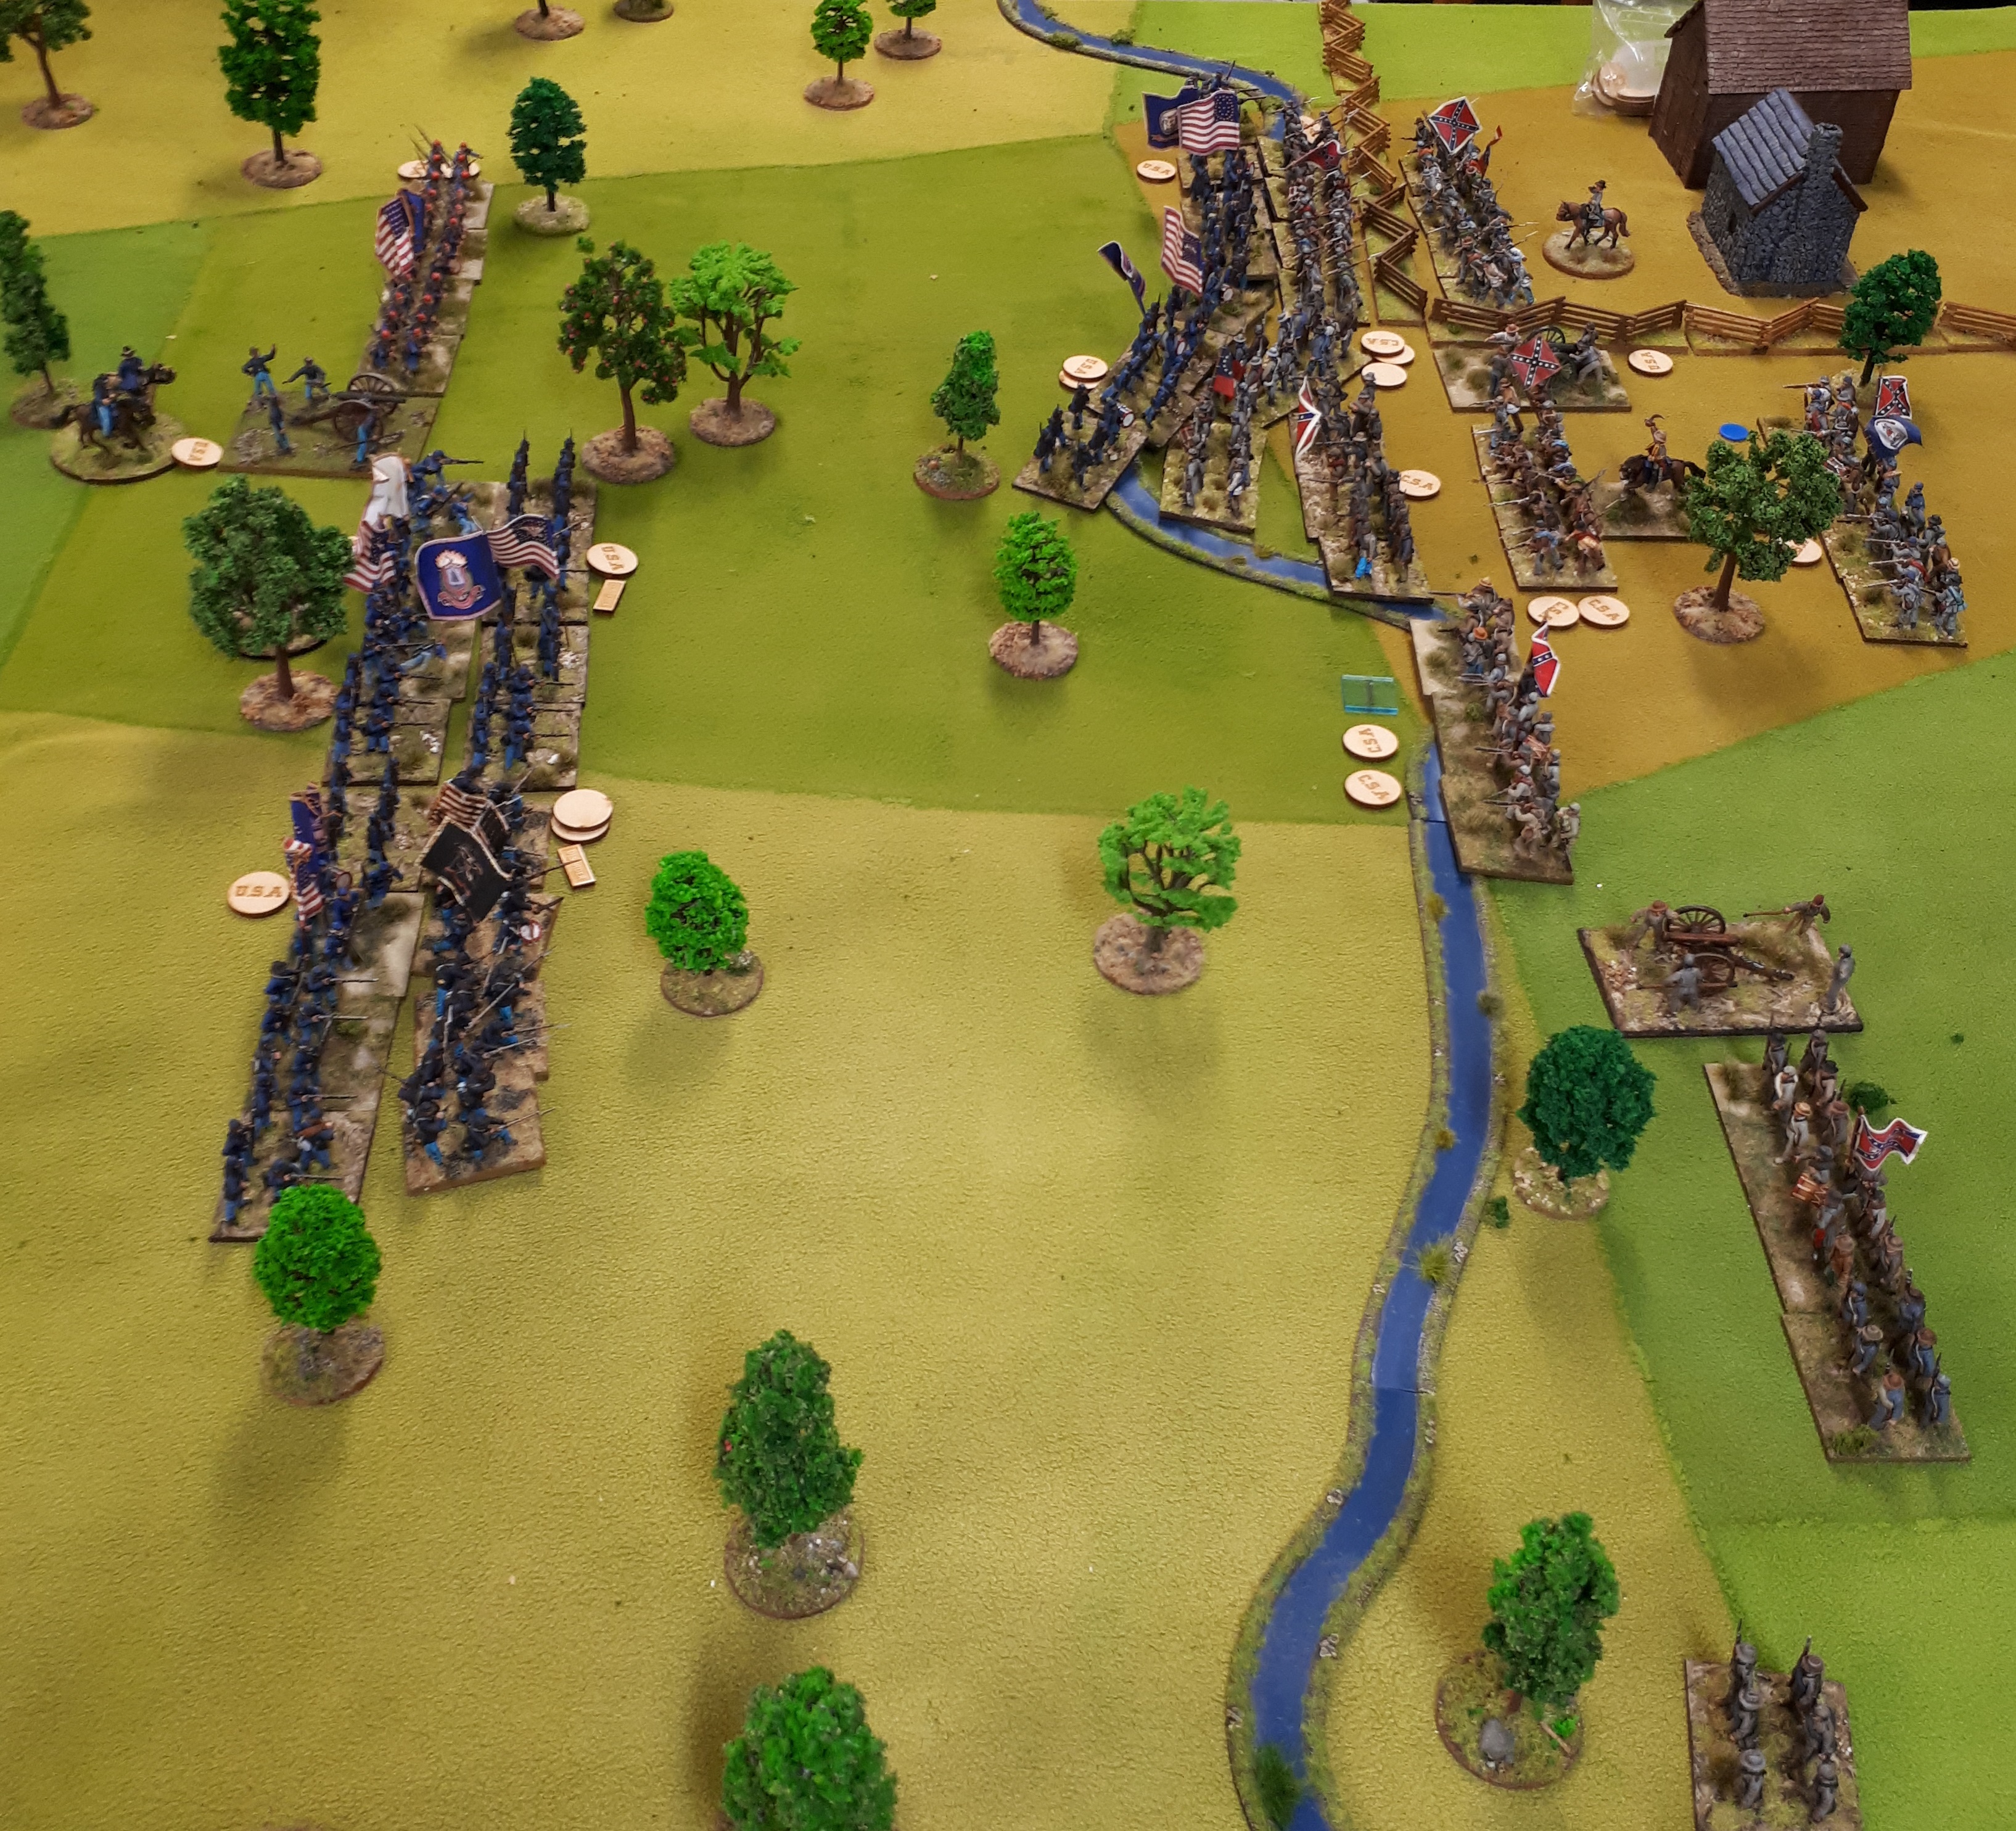
So Keith charged in, did..nothing…and bounced off. There after it all went pear shaped…my Dragoons charged, the right hand Dragoon charged Hussars…beat them..and swept into the Chasseurs. Beat both..who retired…but no one popped and I was shaken. Left hand unit charged Lancers….dear oh dear….did…1 wound..they did..3…..dear oh dear…..we retired but Lancers sweep into disordered square….which popped…but not before shaking lancers. Dragoon brigade now broken.

French Dragoons now had some fun. Charged my Hussars who had beaten up the infantry. We lost and retired, but they were shaken so also retired. Next unit of Dragoons now charged the guns. They got in with 2 casualties, wiped out guns, but suffered a 3rd casualty in the melee. So both batteries popped. But 2 units Dragoons now shaken.


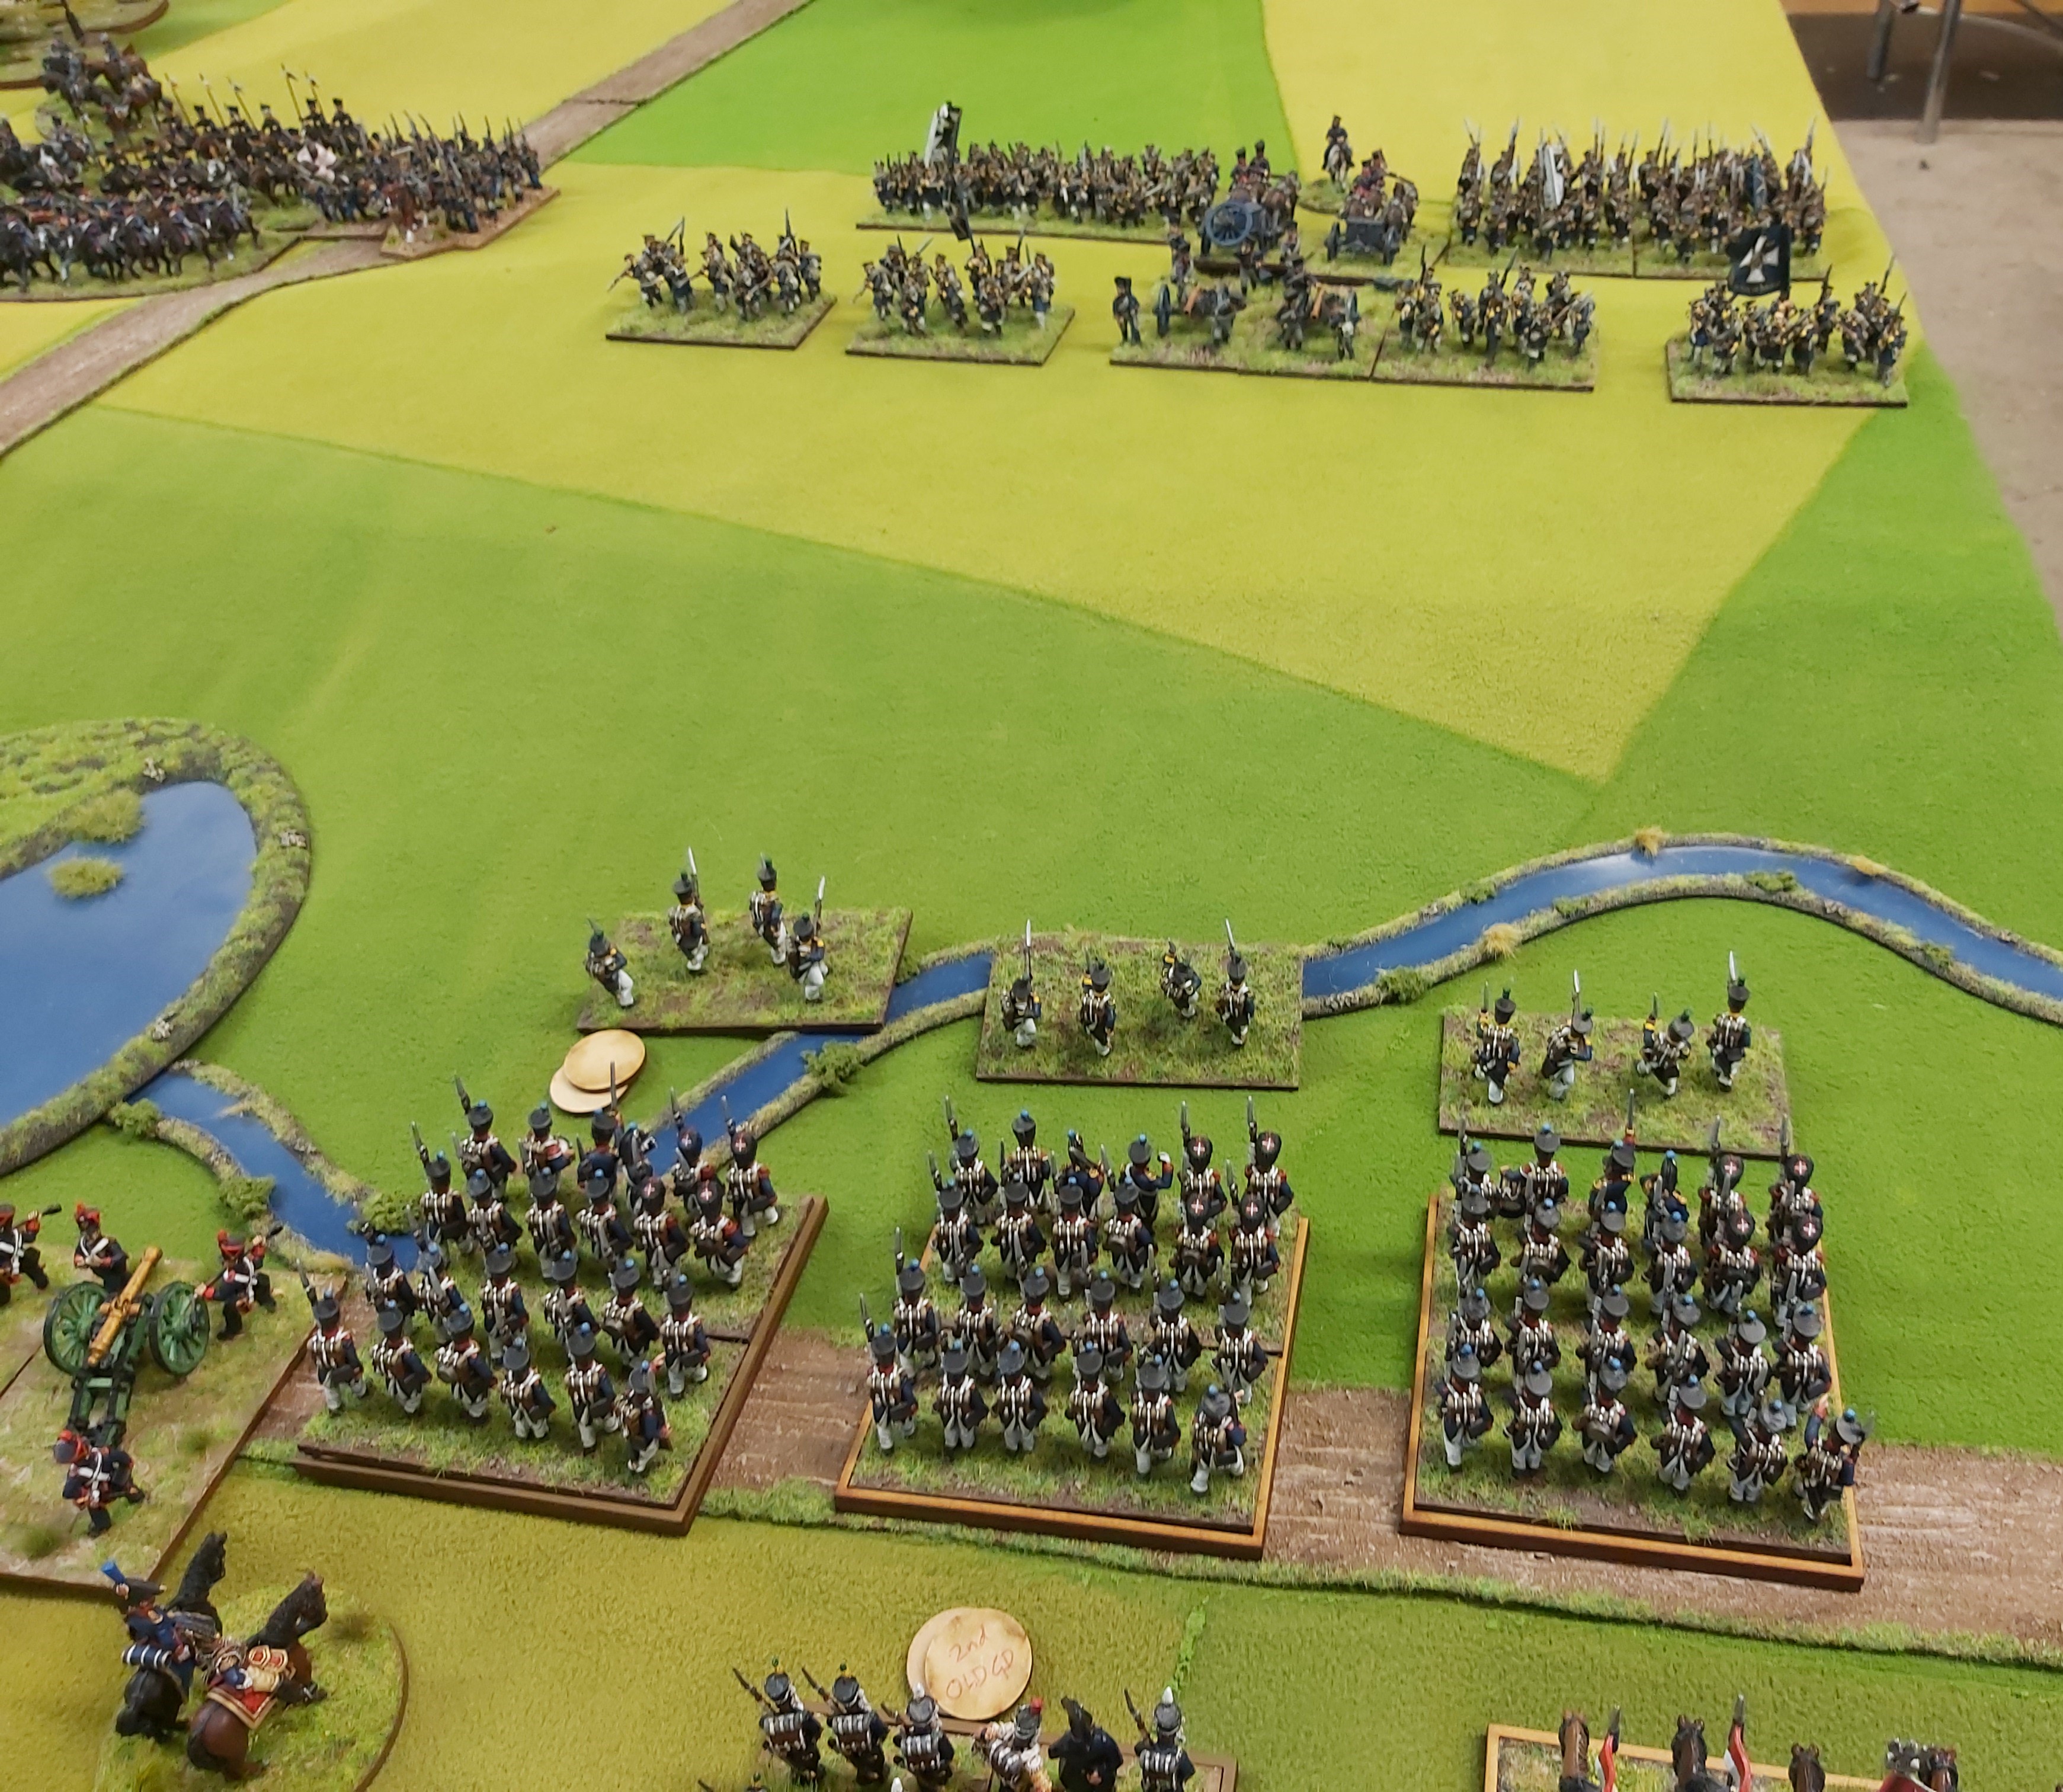
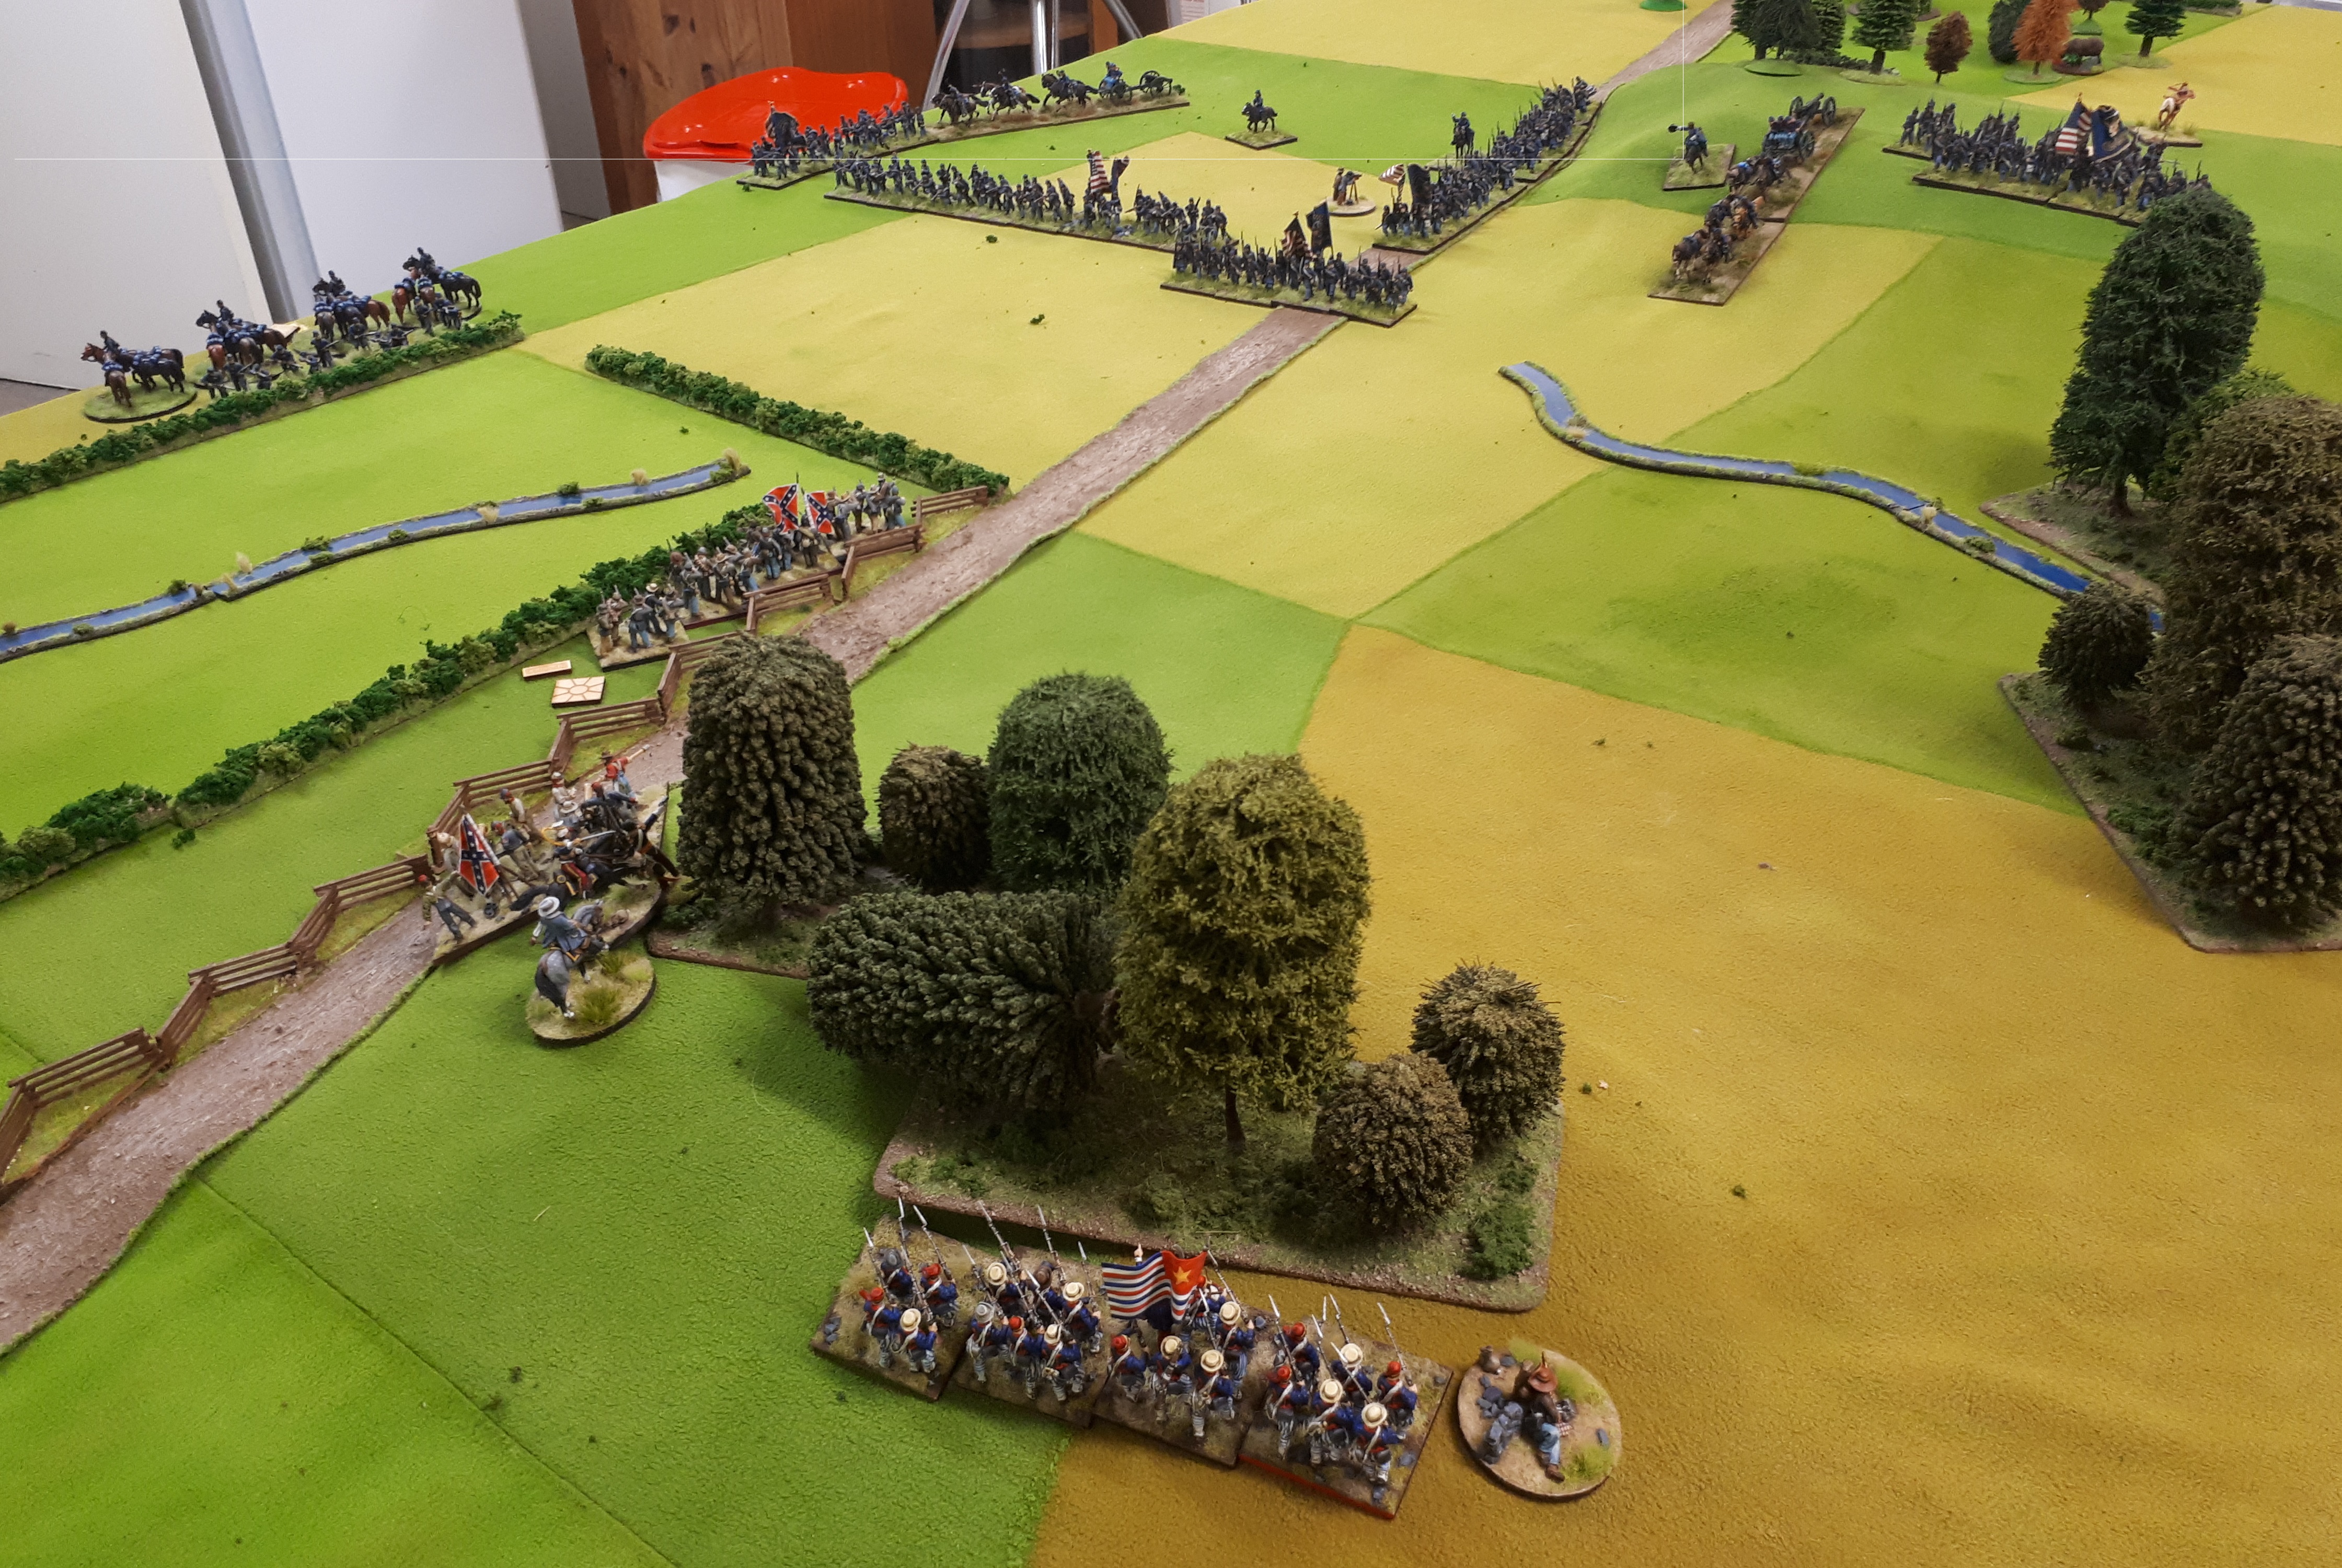
End of game which on scenario rules was a draw with 1 broken brigade each. My left hand brigade had still not moved all day. The right hand brigade was still intact but bit battle weary. The Jagers had suffered 1 lost unit but were free to move up on the light cavalry who couldn’t hurt them as no firepower or infantry.

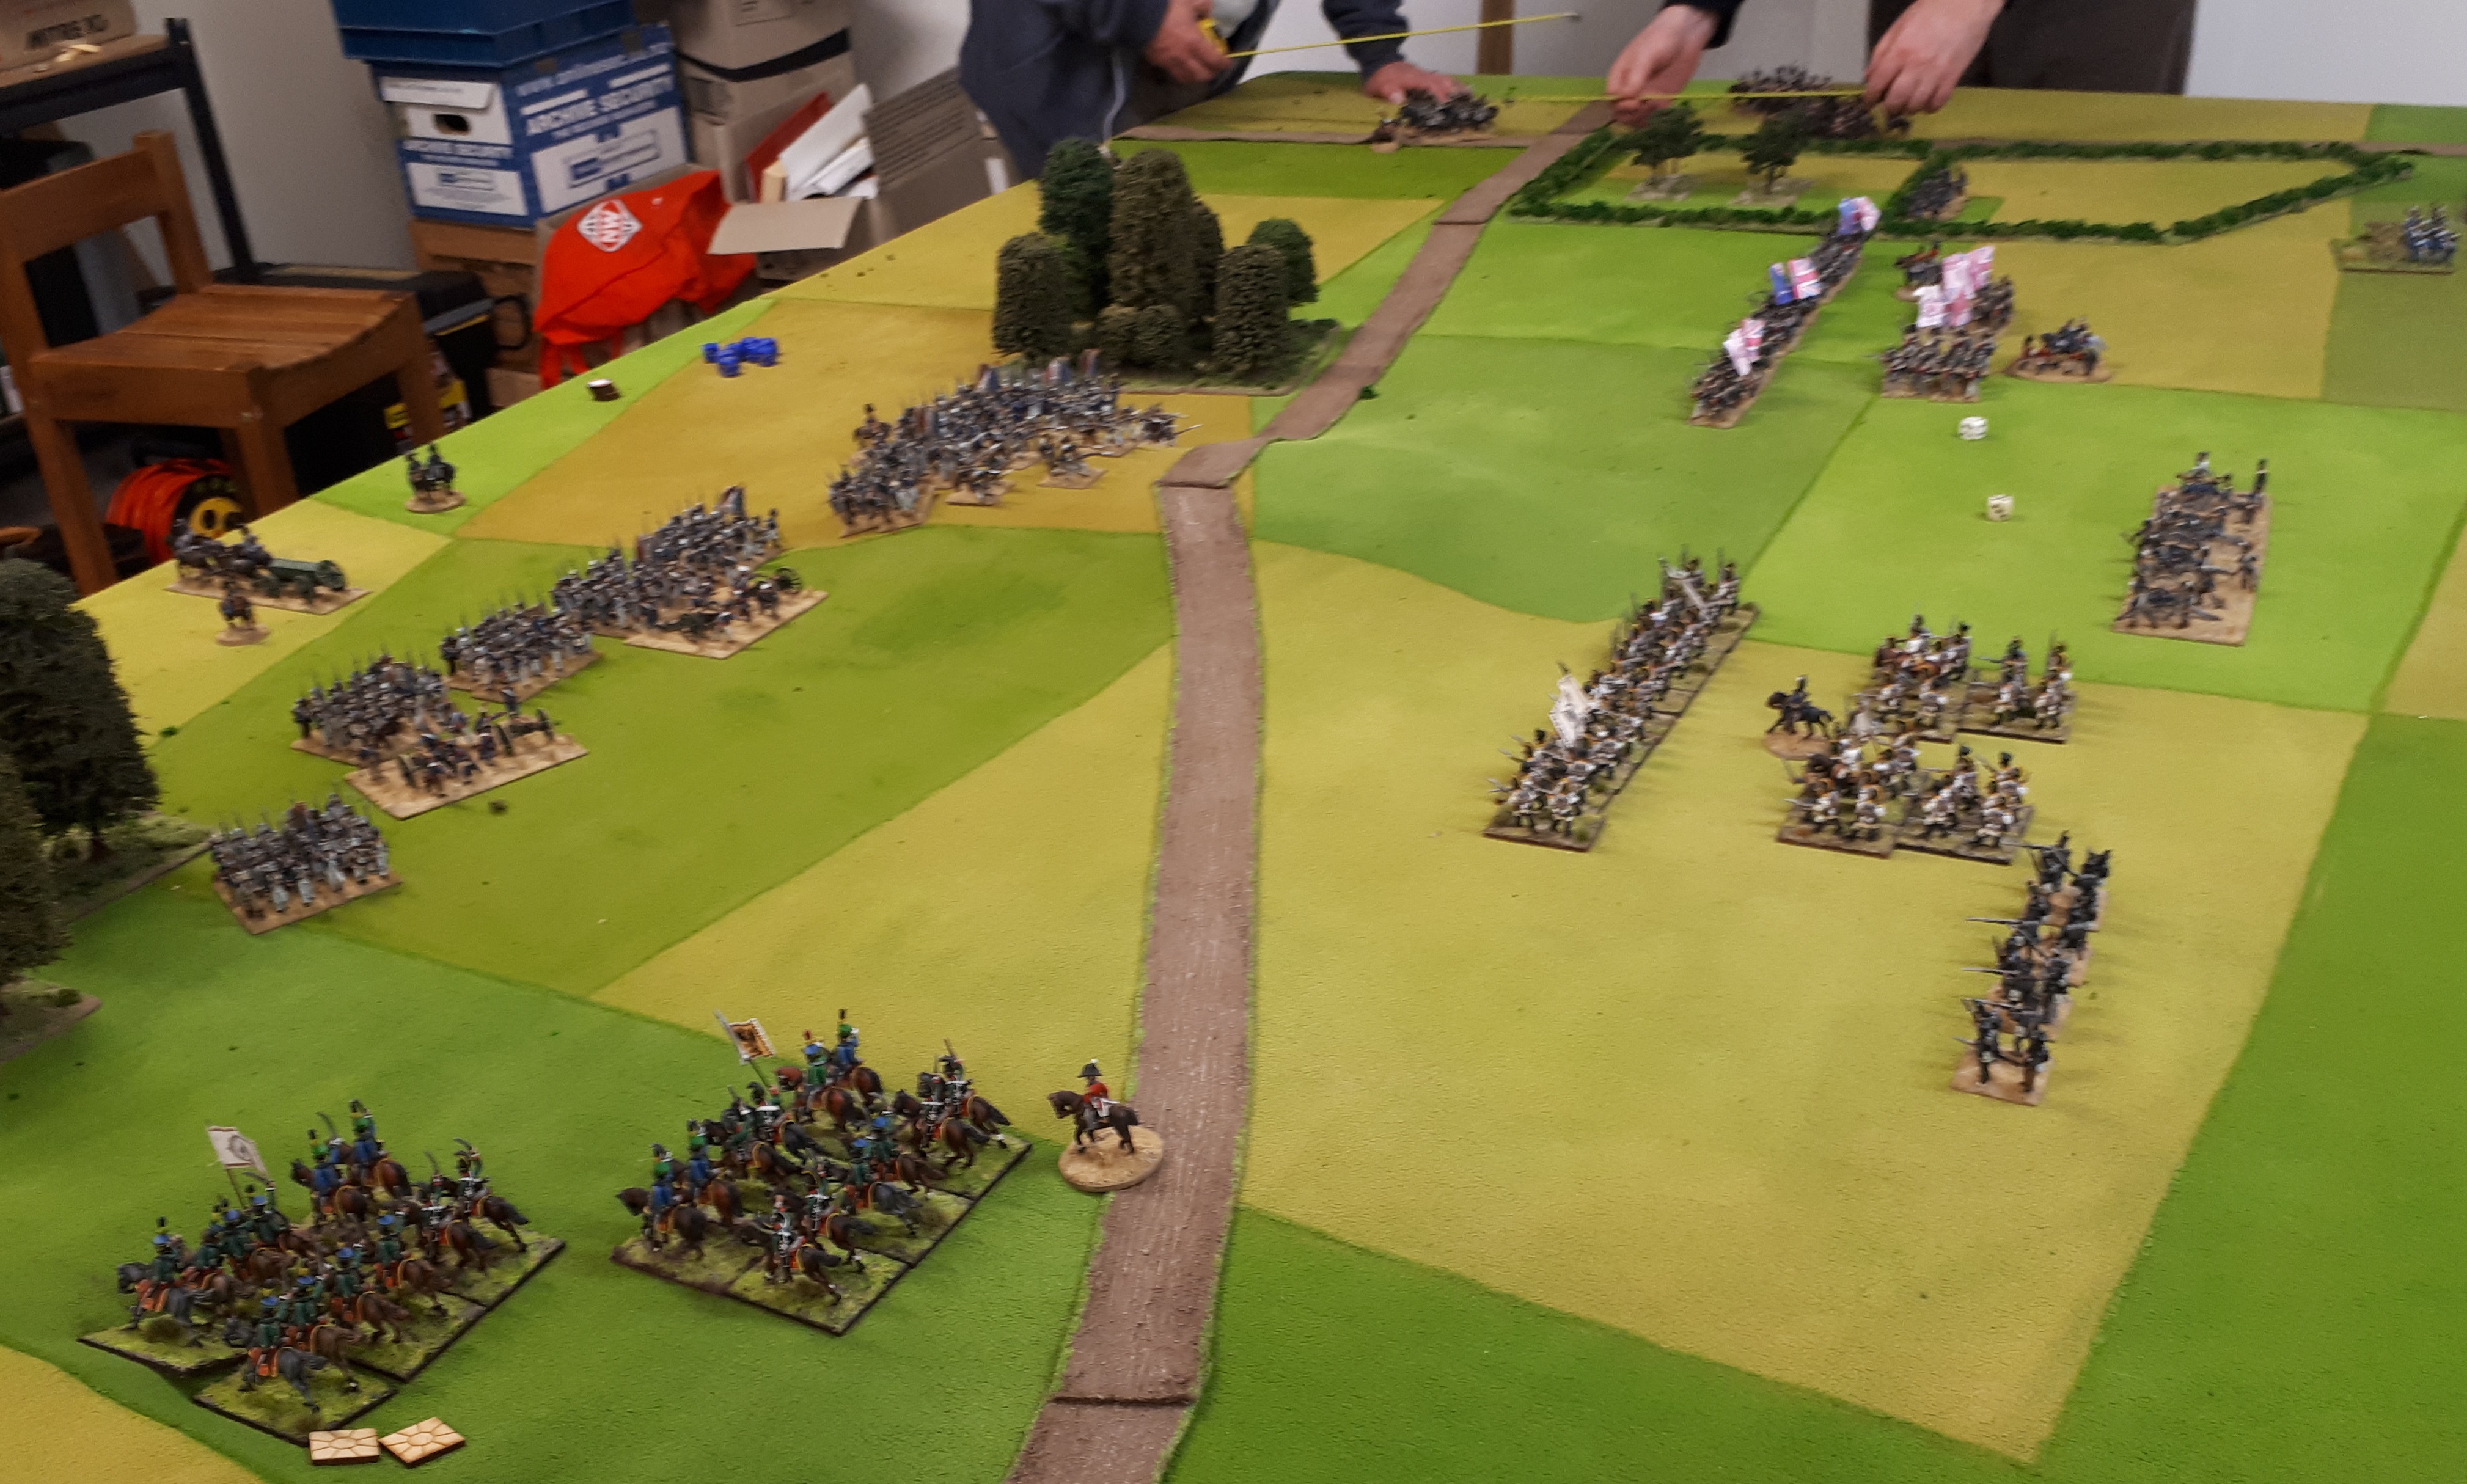
It took around 2 hours to play so at convention would be a couple more terms at least available.

Naps – 200 point game

So test games of 250 point Napoleonic armies have been carrying on. One particular game between my Austrians and Paul Weakley’s Russians was fought and refought 3 times before Paul eventually beat me. Paul was adapting his army after each game!

So decided to report on one from last week where Goldie and his French played Simon McBeth using British. Goldie was supplying the figures, however he left his Portugese at home so we subbed in some of my Austrians and called them Hanoverian’s. The army lists were around 200 points each and as the unbiased observer I did feel it made for a better game than a 250 point game.

Below is Simon McBeth who was having his first game in the Garage!

Welcome Simon 🙂

And here we have the illustrious Mr Paul Goldstone(aka Goldie)

Simon’s British brigade. Rear 2 bttns in column which they aren’t allowed to be. We don’t normally play British so not til later we realised this. Gun line to right rear…it remained there all game…I think it even got one shot in.

The crazy ‘Gallop at anything’ and ‘Reroll all misses in first round of combat’ British Dragoons!

Goldie’s French force.

Turn 1 and Goldie decides he will sacrifice his Dragoon brigade against Simon’s. I say this having seen what happens. Both attackers get 8 dice and hit on 3’s, save on 4’s. Each side gets a +1 to the combat result and Goldie adds +2 having flank and rear support. Simon gets to reroll any misses.

And here we have the conclusion of the action. Goldie loses the initial combat, and his beaten unit retires with 3 wounds shaken. Simon then proceeds to ‘Gallop at anything’ in the sweeping advance phase. He obliterates the stationary French Dragoon regt which stands and takes it. The British then rally back a little battered but having dealt out some serious damage. The reroll is a killer and leaves one to think you have to take on these British heavies with Cuirassier’s.

Simon’s moves his left flank light cavalry forward. There left flank is the table edge.

And the other flank the British cavalry are still slapping backs.

Goldie moves his left brigade up rise with wood covering left flank. Simon is marching the Austrians pretending to be Hanoverian’s forward.

Picture down the line…..sides slowly coming together.

Goldie’s an intelligent chap, but, this move was just suicide. He charged his non damaged Dragoon unit back in against the fresh British Dragoon regt.

The British Dragoons are shaken, the French… no where to be seen.

French right where Hanoverian light cavalry are disordered in front of a French square and battery. Not a great position to be in. Lovely block of 4 bttns in column in the middle. Oh for a howitzer battery. And that’s the British artillery in the top left of picture!

British left moves up whilst on the right British start to swing left now any threat from the departed French Dragoons is now gone. The British foot artillery is still on the start position…it didn’t move from it.

British line swings towards French skirmish screen on rise.

Goldie throws French columns into the Hanoverian line. Line holds.

On left flank, French columns attack line with skirmish support.

Hanoverian lights move up and charge guns, guns pop, lights then wheel left and position on flank of French column.

Position on British right. Hanoverian light cavalry still milling around, spent game as a target for French shooting, then kept failing ‘Follow Me’ orders when French units had open flanks. Hanoverian line locked in combat while other units have retired. Light infantry still on flank French column. British line sin centre are closing in.

French have charged British line on the rise, combat continues v Hanoverian line.

On other flank, British have retired from French columns which are both disordered. The horse battery by woods refused number orders to swing and shoot columns.

British won fight on rise, and a bttn has moved around flank to shot up retiring unit.

French bttn pops.

Its not looking good for the French. The Hanoverian infantry are holding on. The Hanoverian cavalry are still sitting on the flank, and doing nothing, but, they are still there. The British infantry are taking control of the centre.

British Dragoons charge the shaken square, it was disordered but the cavalry got the order confused previous turn and didn’t charge. The dice gods were on Goldie’s side and the shaken unit beat back the cavalry.

In centre the British are charging in again.

End of game and British/Hanoverian forces have taken the game. French have had Dragoons and one infantry brigade break.

These 2 French columns have done well, but with a horse battery, 2 bttns and 2 regts Dragoons against them, there seconds are numbered.

And that was the end of an entertaining game. Both sides had some great, and not so great dice throws. Goldie insisted on using my Blue French dice, and they carried on there ability to roll what you did not want.

The game did show in these point games, artillery is probably a poor choice of points and you need a strong cavalry force to beat up the enemies cavalry and then press home the advantage. But in 2 hours we got a result which was the aim.


Until next time…..


Nap game – Battle of Matthews Hill – 1813 style

So Goldie enjoyed the ACW Matthews Hill scenario so much, he insisted we play it with Naps.

So I took the Union role in the Guise of 1813 Russians, and Goldie the Confederates as Austrians. Same scenario and set up rules as the ACW game applied.

Turn 1, Russians march onto the field of battle. The Austrian Avante garde can be seen up ahead.

Close up below of the waiting Austrians.

Russians, sllloowwwwlllyyy advance.

Still advancing…still slowly.

So have set up small advance brigade to hold centre while larger brigade moved up onto my right flank. For some reason I now decided to send my Hussars off marauding to other flank…theory being to distract Goldies attention with threat of cavalry moving around his open flank.  As events will show, dumb dumb me.

Russian still slowly moving onto battlefield.

Russians so slow, Goldie got bored and advanced!

At last! On left Russians charge the grenz, who do the evade of evades and run away 36 inches! On right column goes into the Austrian line with 2 supports to help out. This be easy peasee.

So inflicted 3 wounds, taken 1 back, have 2 supports but they still won’t run away.

So now I charge the guns on the road, beat them,  throw unit into flank on the right, but in distance, Austrian reserves marching onto table at last. Still no sign of my Hussars…misinterpreted order… retired 2 moves on my left!

Close up of fight on the right. Both units are shaken, I have supports, and have charged into the flank. Should be an easy victory now!

I had 7 attacks, needs 3’s…got a single 6, he saved the wound. I had that sinking feeling now. Going to be one of those days.

Okay, game bit further on, pesky line bttn is gone…..have larger brigade going forward again, in centre smaller brigade is mucking around, won’t move, can’t get its guns up and as for the Hussars…there they are in the top left!

And here are the Austrians…nice big bttns just waiting for me.

So have managed to move further forward…but….game was done…..to slow to get moving ay start of game, couldn’t win combats quick enough and just keep either failing orders, or moving only 1 move! Even Goldies reserves turning up late didn’t help me!

Austrian victory  😦


ACW Game – Battle of Matthews Hill, 1st Bull Run

I found a nice scenario on line so organised a game.

Goldie would play the Union(he has blue bellies) and Russ would be the Confederates(he has rebels).

The game was played down the table(was 12 feet) with the map below.

Deployment:


  • Union begin game in column heading south from Sudley Springs Ford, with Burnside’s brigade in the lead. The head of the column should be at point A. All units in march column directly behind. This is the spearhead of an attempt to turn the Conferate flank.
  • The Confederates are trying to form a defence on Buck Hill at point B with Evan’s demi brigade. They are to hold as long as they can to allow for reinforcements to rush to hold the flank.

Troops:

  • Union: Commander Colonel D Porter.
  • 1st Brigade Colonel A Porter with 5 infantry regts, 1 cavalry regt and large battery.
  • 2nd Brigade Colonel A E Burnside with 3 infantry with large battery attached to 3rd regt. There is also a howitzer battery.
  • Confederates: Evans Demi brigade with 2 infantry and a battery
  • Bees Brigade: 5 infantry, Hamptons Legion and Waltons battery

The Union player has first turn.

Confederates roll a die on each turn from turn 2 onwards. Result:

  • 1-4 no reinforcements
  • 5-6 1st time: 2 regts arrive on south end of Sudley Rd
  • 2nd time: remainng regts of Bee brigade
  • 3rd time: Hamptons legion
  • 4th time: Waltons battery


Turn one and Burnside marches down Sudley Rd. Russ has painted up some dinky diorama pieces, here we have a photographer in the foreground.

The long blue column marches down the road. In distance the rebel road block on Buck Hill can be seen.

Russell’s blocking force on Buck Hill.

Goldie has sent his cavalry ahead on his right flank and lead column has formed into line on road…Russ has responded by moving a unit toward to fences to secure flank.

Goldie’s forces flow forward, Burnside to centre and Porter to the right.

Perry horse batteries are quite cool, here is one entering table and heading right.

Russell has managed to some Mississipi boyz to arrive!

Goldie continues to advance

Overview of Buck Hill where Russ still holds it.

Goldie’s forces moving closer to Bucks Hill. Russell’s unit by fences not in an envious position really.

Rebel unit is disordered, taking casualties, has dismounted cavalry and infantry shooting at it and units advancing on its exposed flank.

Goldie takes Buck Hill. On right Union units are flowing forward.

Those Mississipi boyz moving to cover the Unions flank march. Evans demi brigade retiring on the farmhouse.

More rebels arrive!

Russ takes up position

Goldie’s view of the attack.

End game. Union are pressing along the whole line. A lot of shooting was going on, the Union benefiting from the longer ranges and Goldie had achieved his objective marker.

Union victory called.

Next report is the same scenario…moved to 1813 and my Russians are the Union and Goldies Austrians are the Confederates.


ACW Game – The Battle of Wilson’s Creek 1861

Latest game was scenario from Black Powder supplement ‘Glory, Hallelujah!’

The Union players were Alan and Keith while Robert and Moi(Terry) were the Confederates.

The game was played down the table with the following terrain rules:

  • Terrain largely wooded, but only lightly so effect is visibility reduced to 24 inches. The effect was that small arms fire now hit on a 5 and not a 4.
  • No effect on artillery fire.
  • Skeggs creek ran across the battlefield and was a 6 inch movement penalty
  • The fences offered a -1 to hit advantage if you were directly behind them

Scenario:

  • The 3 Union brigades set up to North of Skeggs stream. On turn 2 brigade 4 is ordered on from south edge of table.
  • The 5 Confederate brigades are set up south of Skeggs stream. On turn 4 the Confederate cavalry brigade can be ordered on from behind Union right flank board edge. Cannot charge on turn 1.

Troops:

Union:

  • 1st Brigade – 3 x regts rifled muskets plus 6 pdr smoothbore battery(6 guns)
  • 2nd Brigade – 3 x regst rifled muskets plus 6pdr smoothbore battery(4 guns)
  • 3rd Brigade – 6 x regts riffled muskets
  • 4th Brigade – 4 regts rifled muskets, tiny cavalry regt and howitzer battery

Confederates:

  • 1st Brigade – 3 regts rifled muskets. 1 large
  • 2nd Brigade – 3 regts rifled muskets plus 6pdr smoothbore battery(4 guns)
  • 3rd Brigade – 6 regts smoothbore muskets plus 6pdr smoothbore battery(4 guns)
  • 4th Brigade – 3 regts smoothbore muskets plus 6pdr smoothbore battery(4 guns)
  • 5th Brigade – 3 regts smoothbore muskets
  • Cavalry brigade –  2 regts cavalry, 1 with rifled muskets and 1 with shotgun/revolver

Below is the set up as viewed from Confederate rear.

Confederate set up with briagdes 1 and 2 in forefront(both rifled muskets). Terry commanded these and the cavalry. Robert had brigade 3-5.

Turn 2 and Keith appears in Confederate rear.

Confederate left flank where large unit surges forward…no one else wanted to join him. This cowardice continued for a number of turns.

On right flank, Robert lined up in cover of trees and fences.

My large unit all alone! I was trying to press forward to pin the Union flank for when my cavalry arrives in their rear.

Robert surges his troops forward, well one anyway!

Keith’s attack form the rear, 2 confederate brigades have turned to punish him for his impudence.

Union advancing.

Alan’s left flank……many failed ordered…blunders backwards…all highly amusing.

Oops… here come the cavalry!

I found this more exciting than infantry….Keith failed orders to turn troops to face…so in my turn I dismounted the cavalry with the rifles and charged 2nd unit into rear. POP go the infantry…the guns POPPPED as well…..

And still can’t get rest Confederates to attack!

Guilty…the measuring tape is mine. So much for 2 Confederate brigades taking care of Keith’s attack from rear. His tiny dismounted cavalry would not die…..he shot me to bits with his infantry and guns…I couldn’t hit the side of a barn….

But more fun was Ala rolling a blunder and charging across the table! Robert got very excited.

Sigh… the tapes still there…..was distracted by my cavalry charge!

Last turn….Union right flank is gone…..cavalry in in their rear and a brigade in lining up a charge down the line of the flank(I played a pretend turn as we packed up..it was glorious!)

Another shot……Alan and Robert hard at t on other flank but Alan has no managed get any supports up so his bluebellies are not going to last much longer.

And that was it….Union right flank gone…holding in centre but that’s about to get steam rolled and on Union left things not looking good. Conversely…the Union attack in the Confederate rear is going well…but am sure they will retire!