Naps – 200 point game

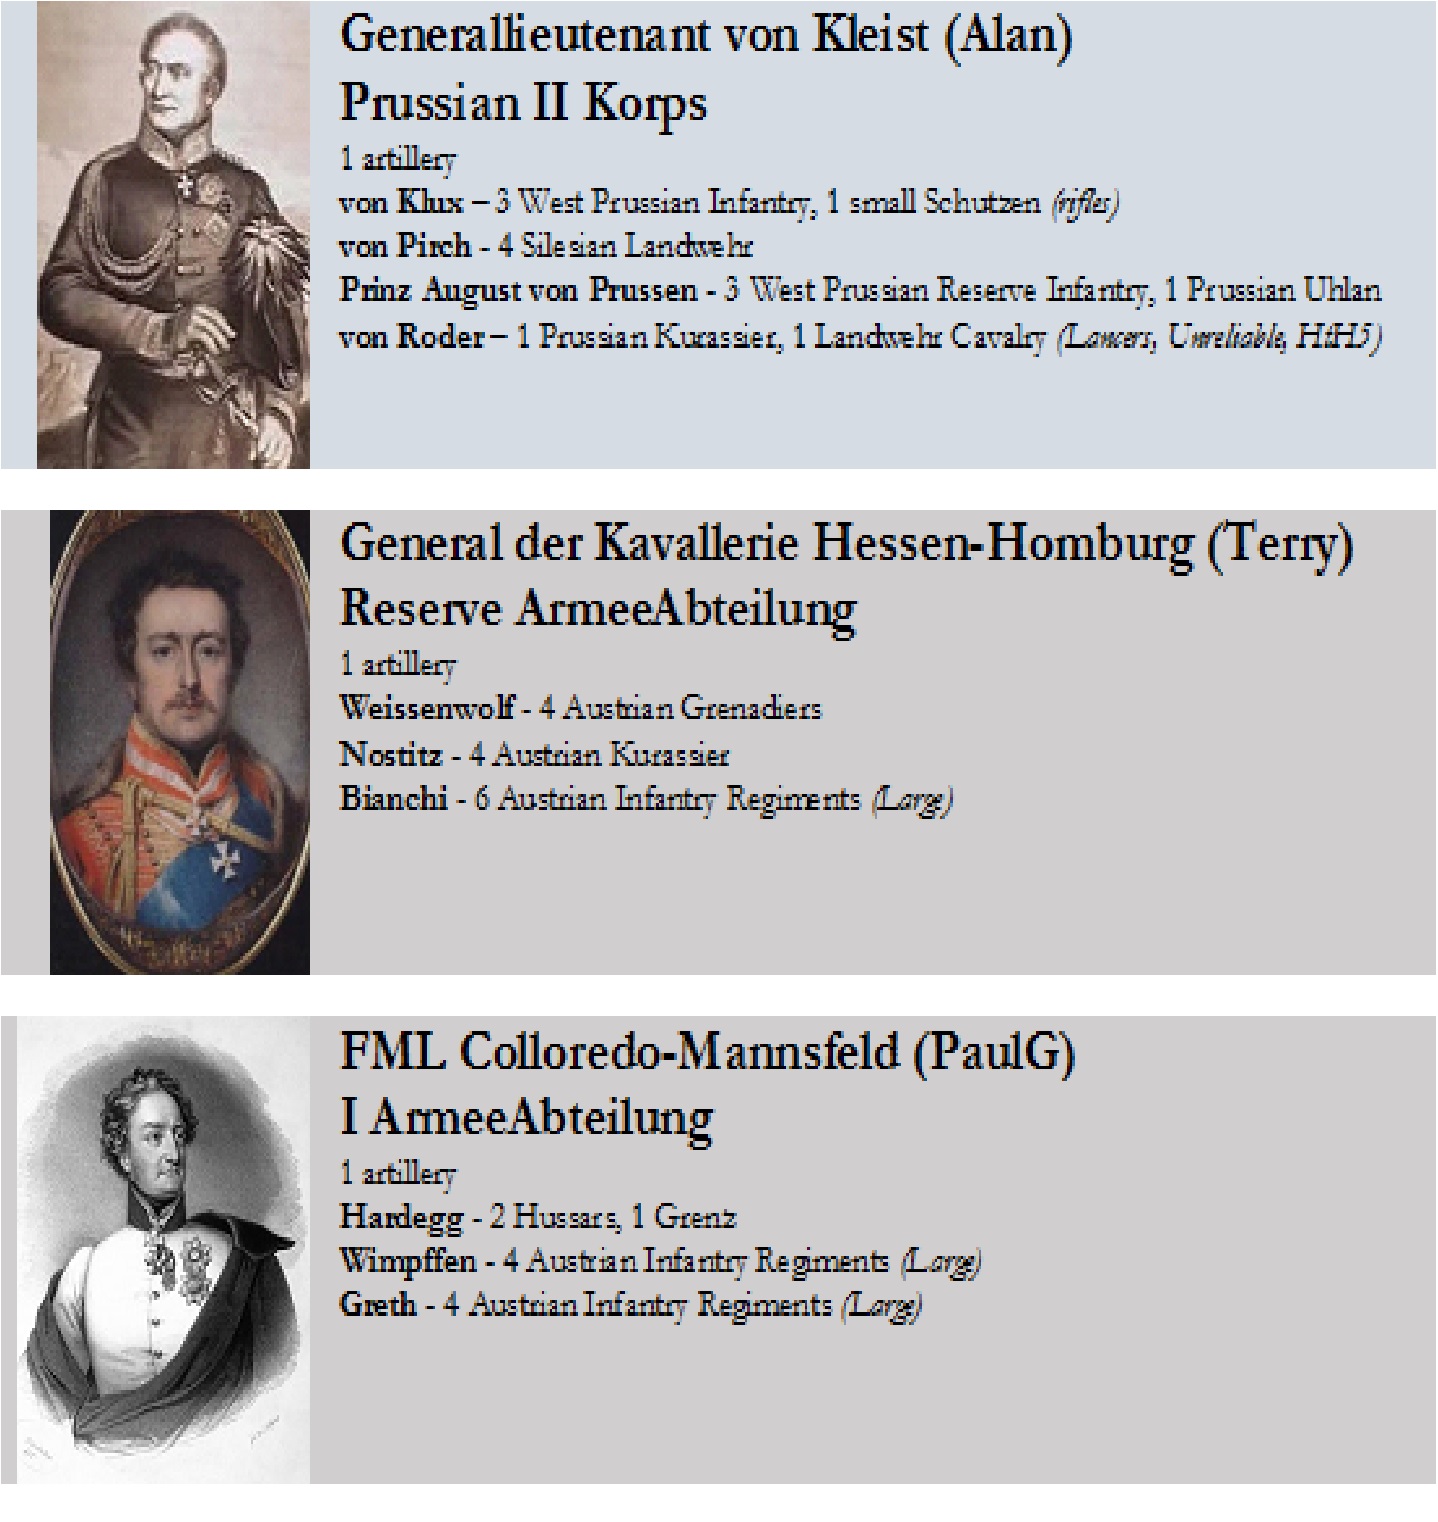
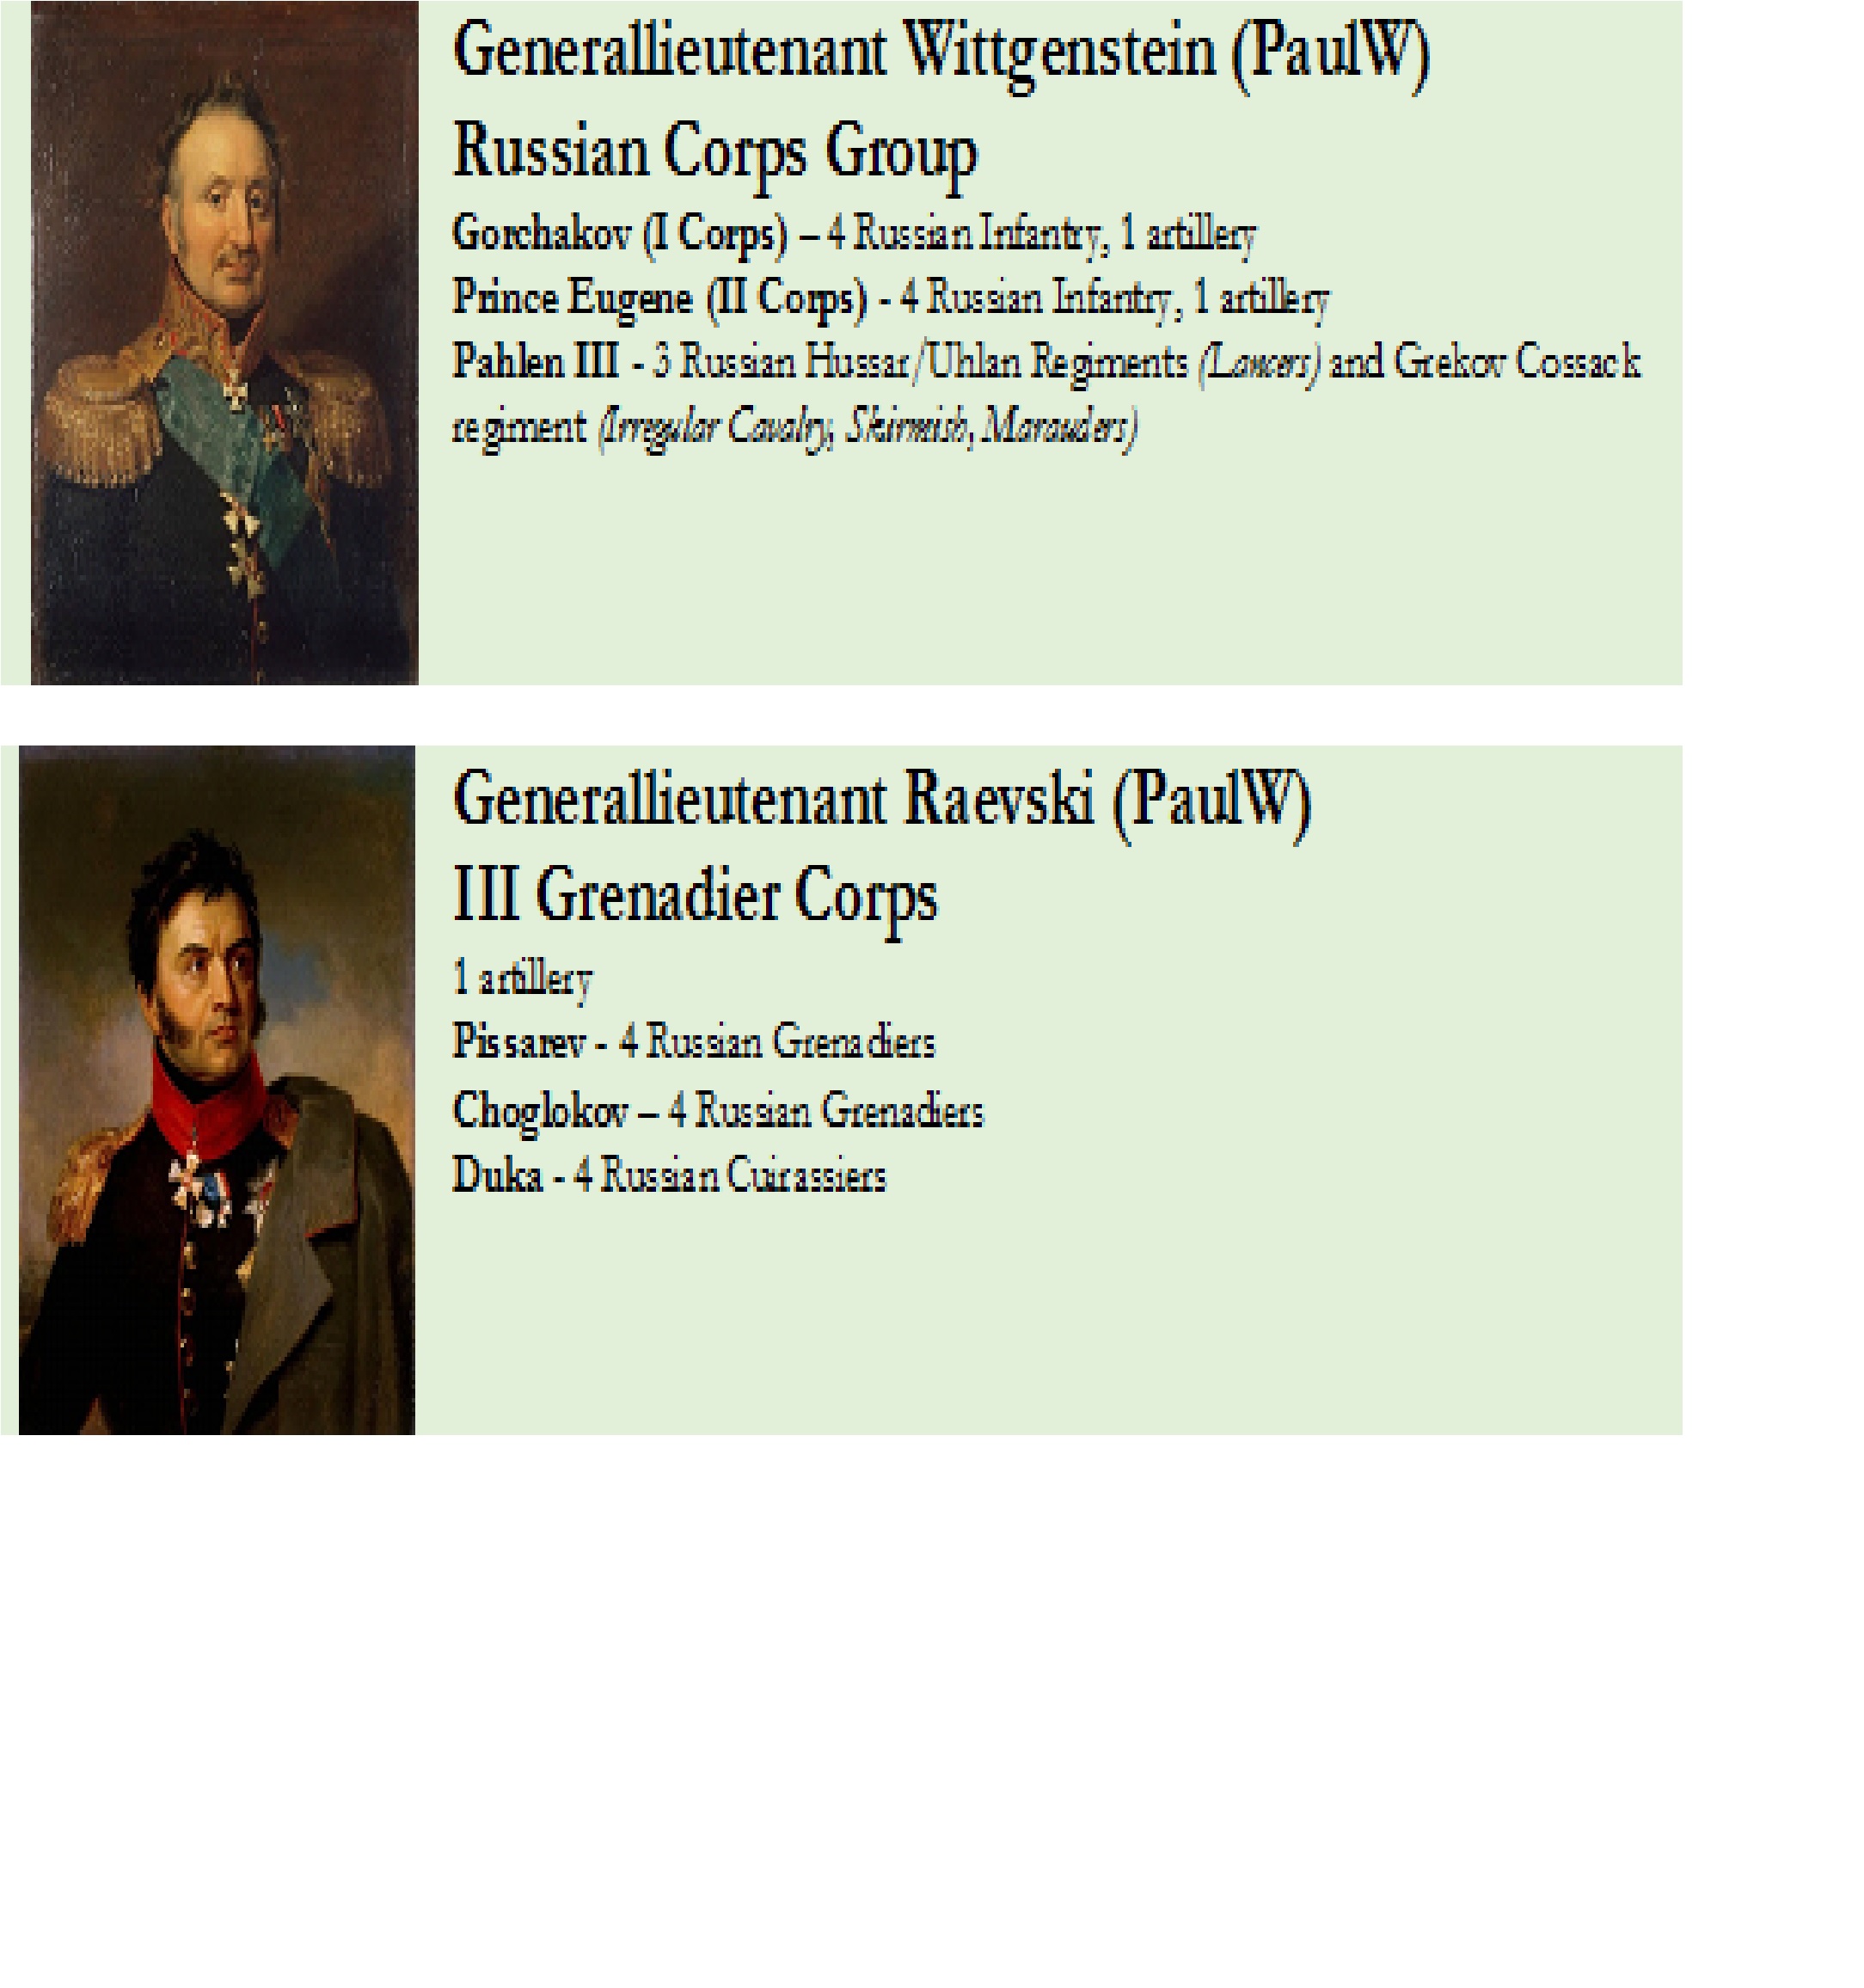
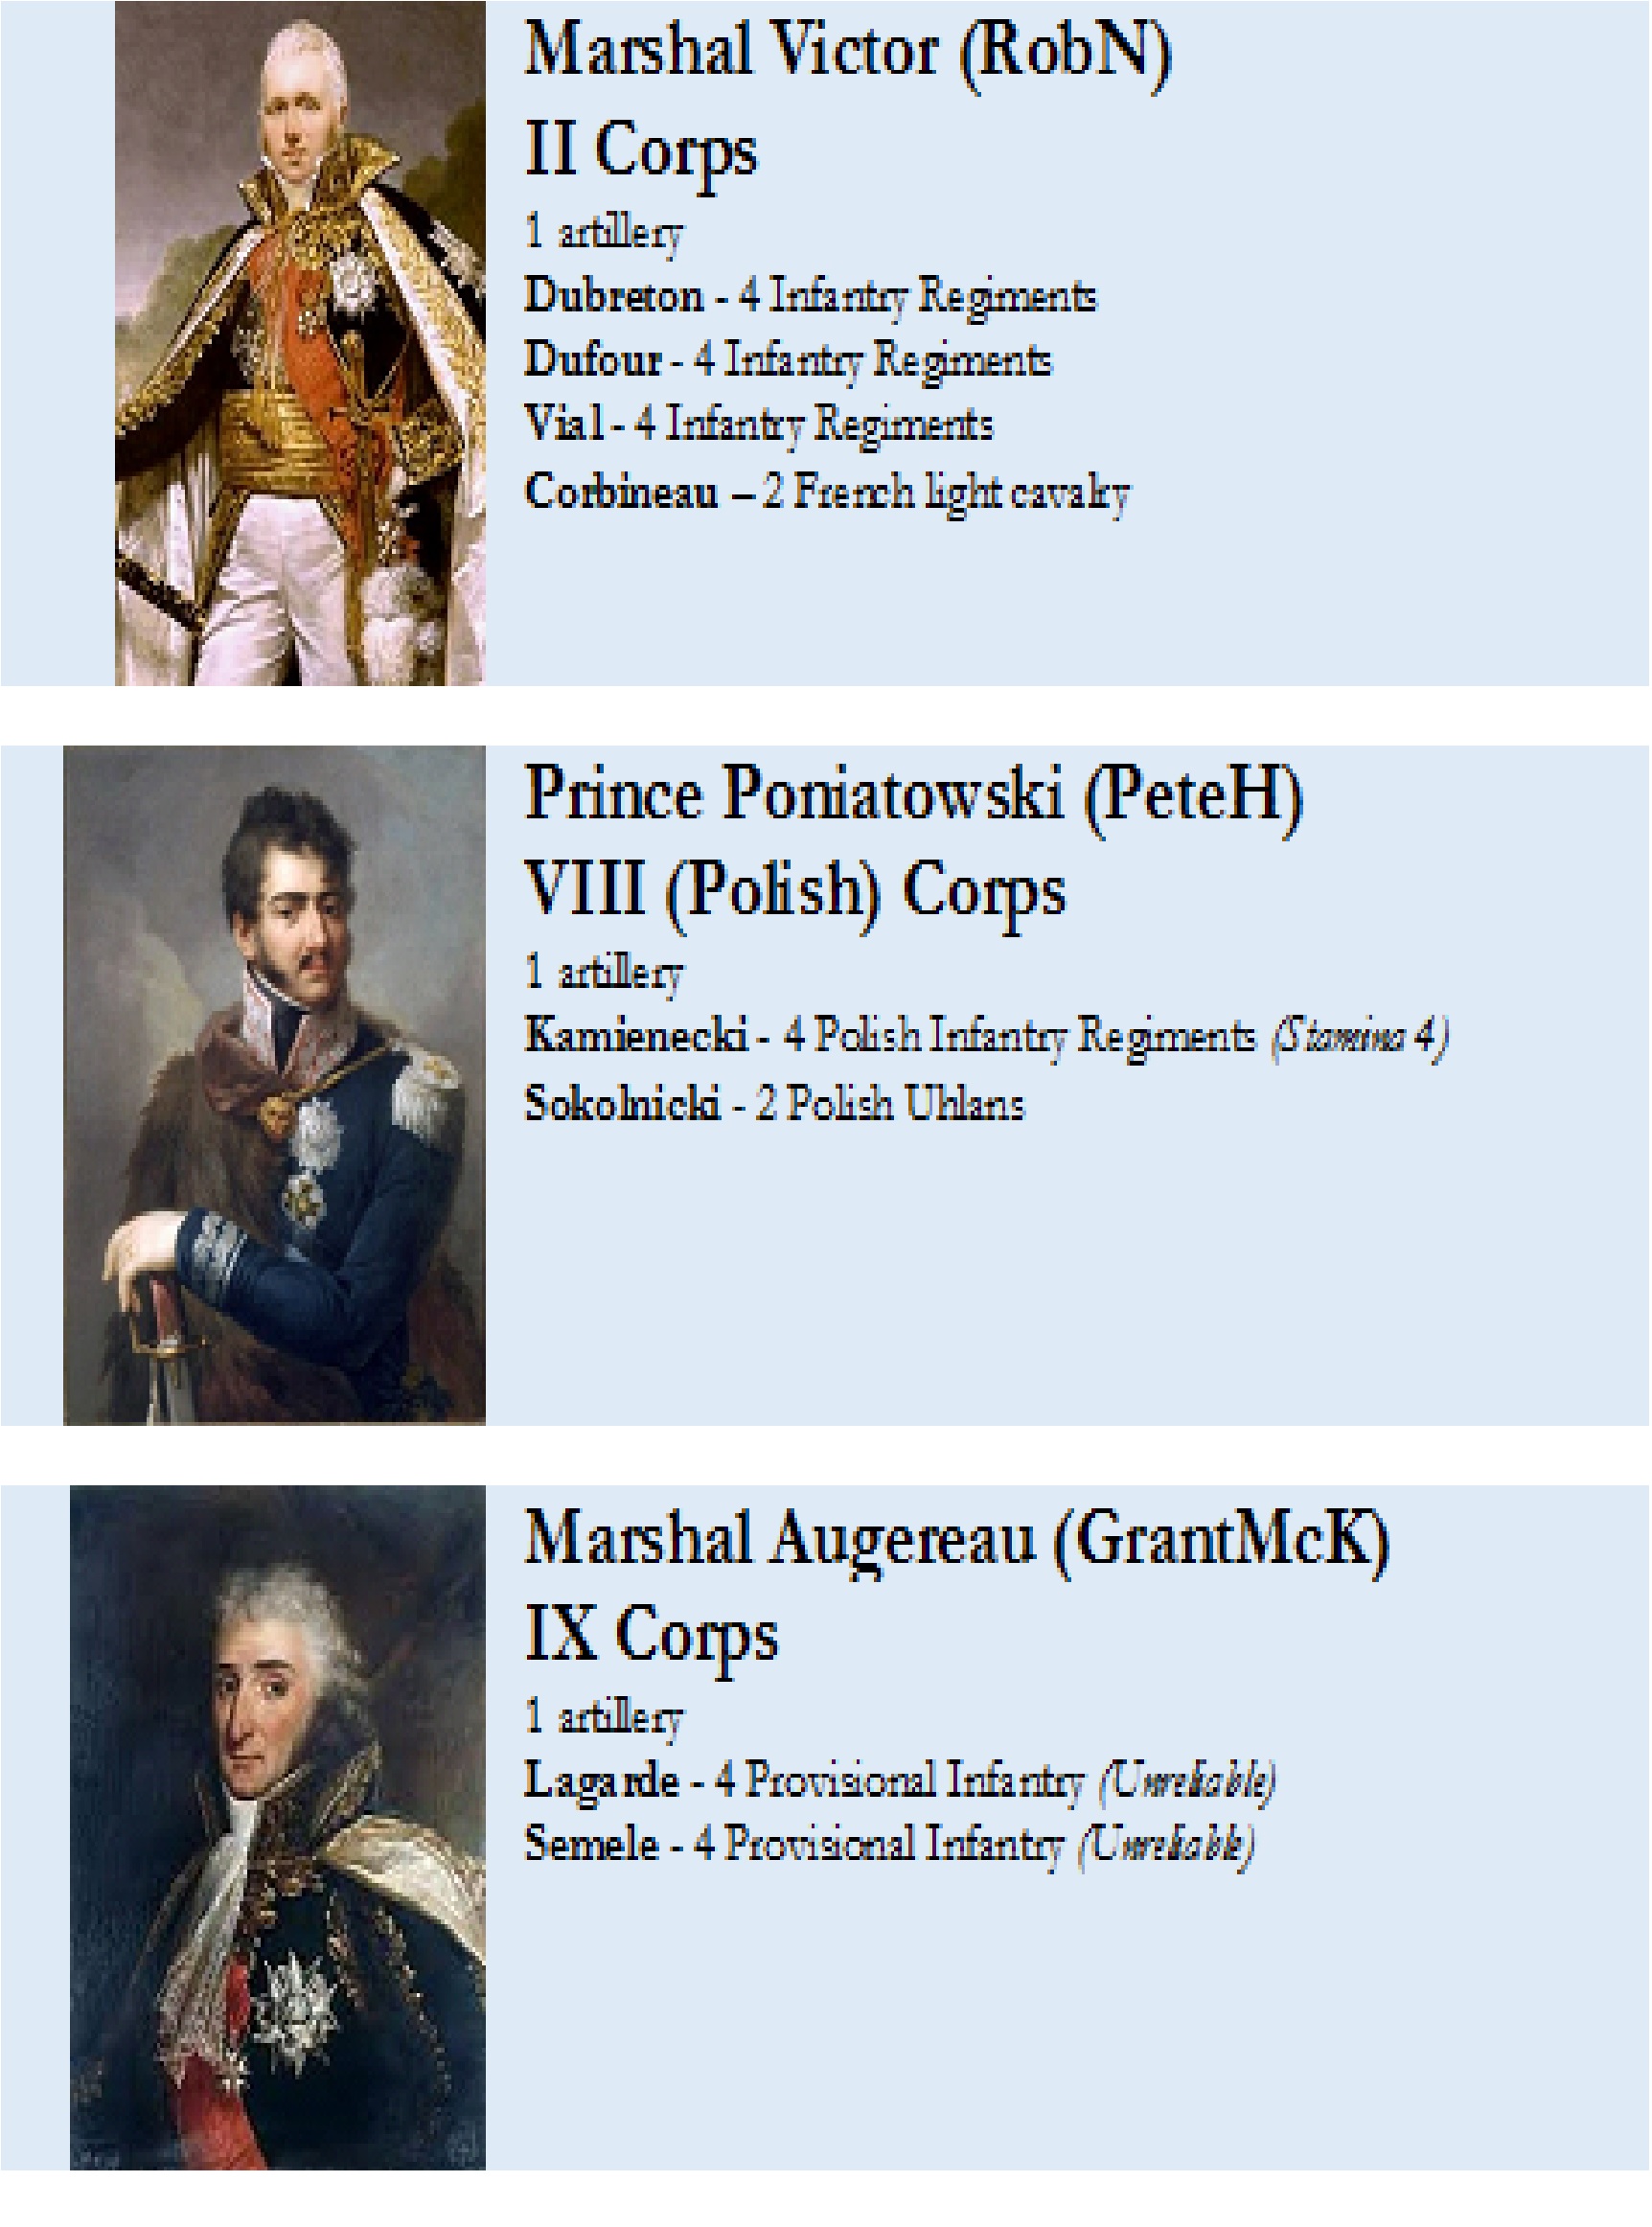
So test games of 250 point Napoleonic armies have been carrying on. One particular game between my Austrians and Paul Weakley’s Russians was fought and refought 3 times before Paul eventually beat me. Paul was adapting his army after each game!

So decided to report on one from last week where Goldie and his French played Simon McBeth using British. Goldie was supplying the figures, however he left his Portugese at home so we subbed in some of my Austrians and called them Hanoverian’s. The army lists were around 200 points each and as the unbiased observer I did feel it made for a better game than a 250 point game.

Below is Simon McBeth who was having his first game in the Garage!

Welcome Simon 🙂

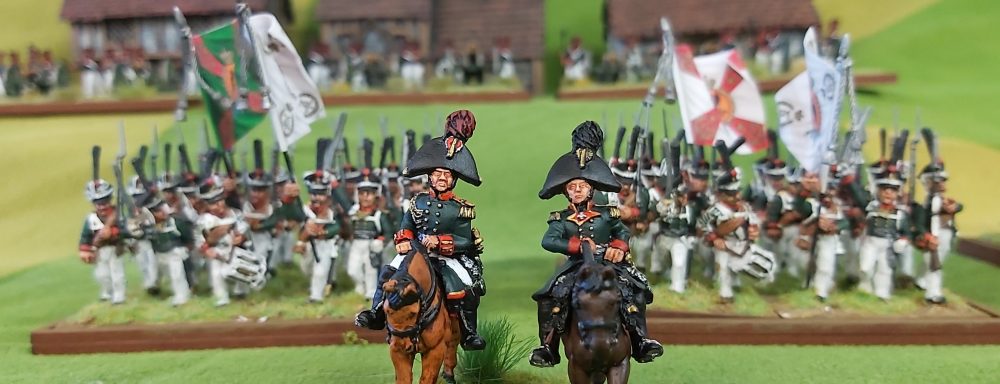
And here we have the illustrious Mr Paul Goldstone(aka Goldie)

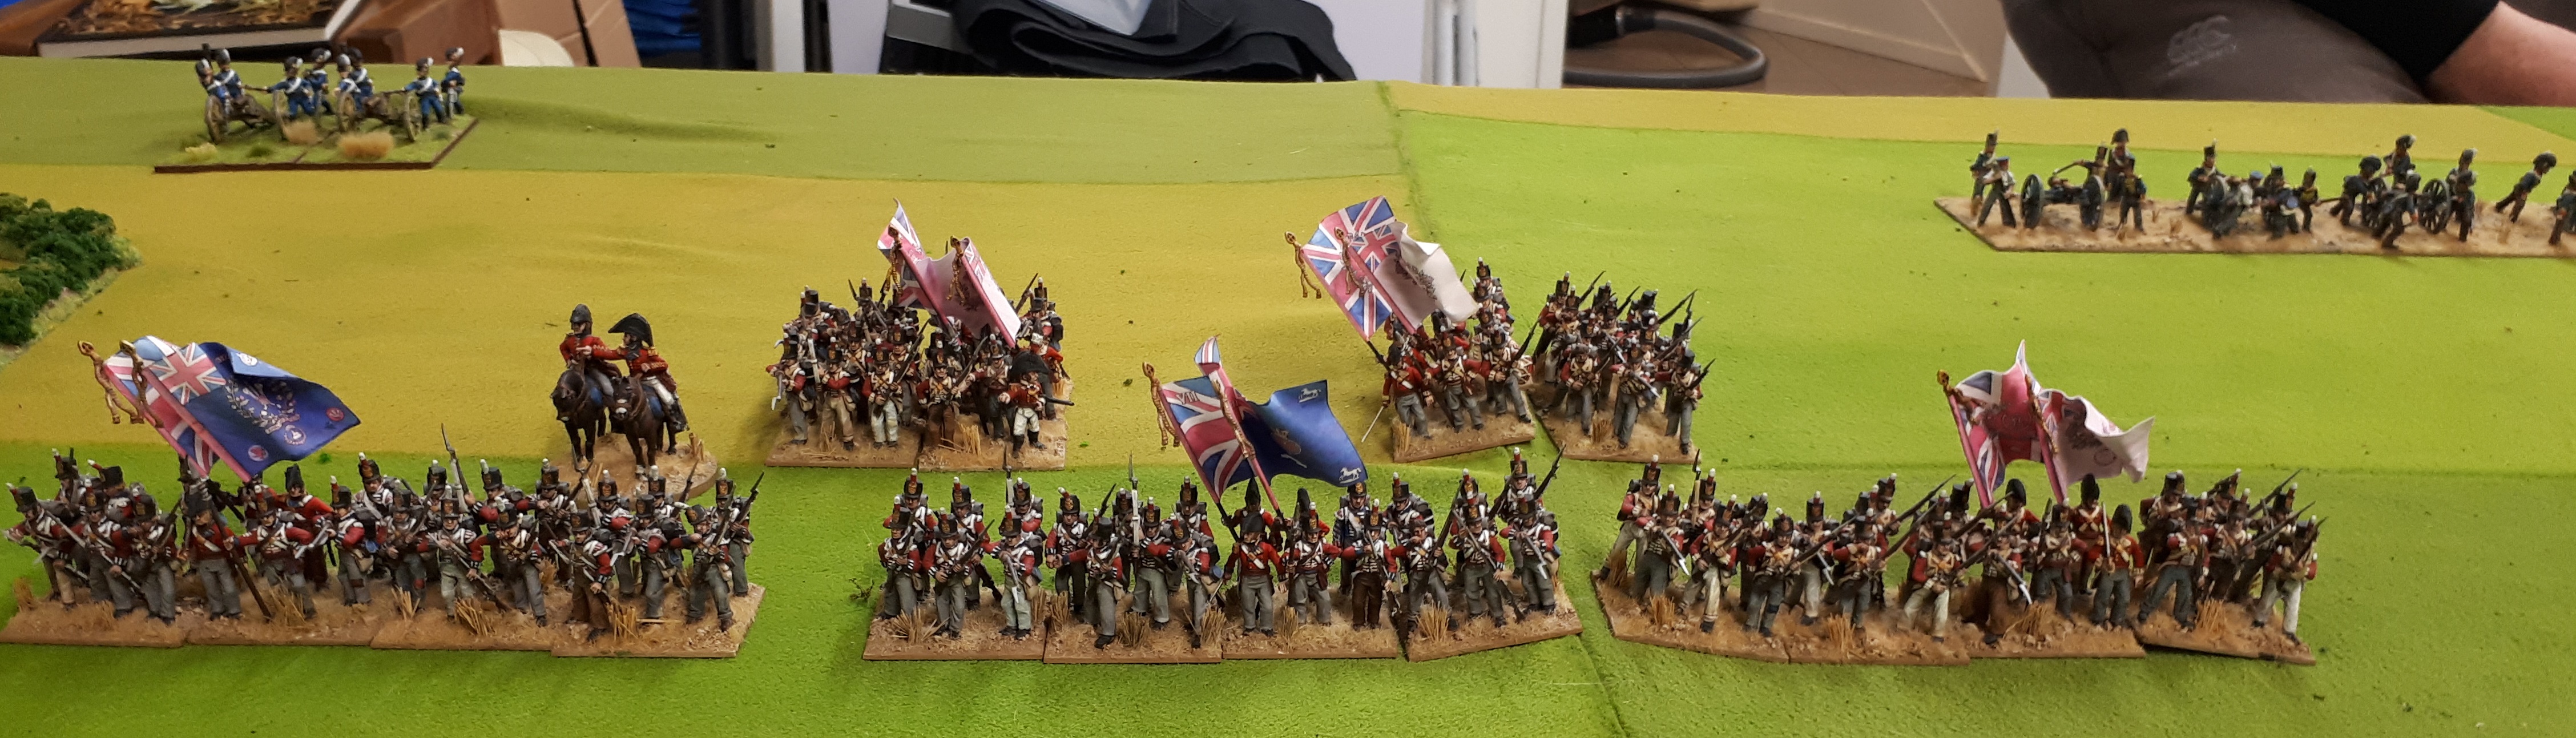
Simon’s British brigade. Rear 2 bttns in column which they aren’t allowed to be. We don’t normally play British so not til later we realised this. Gun line to right rear…it remained there all game…I think it even got one shot in.

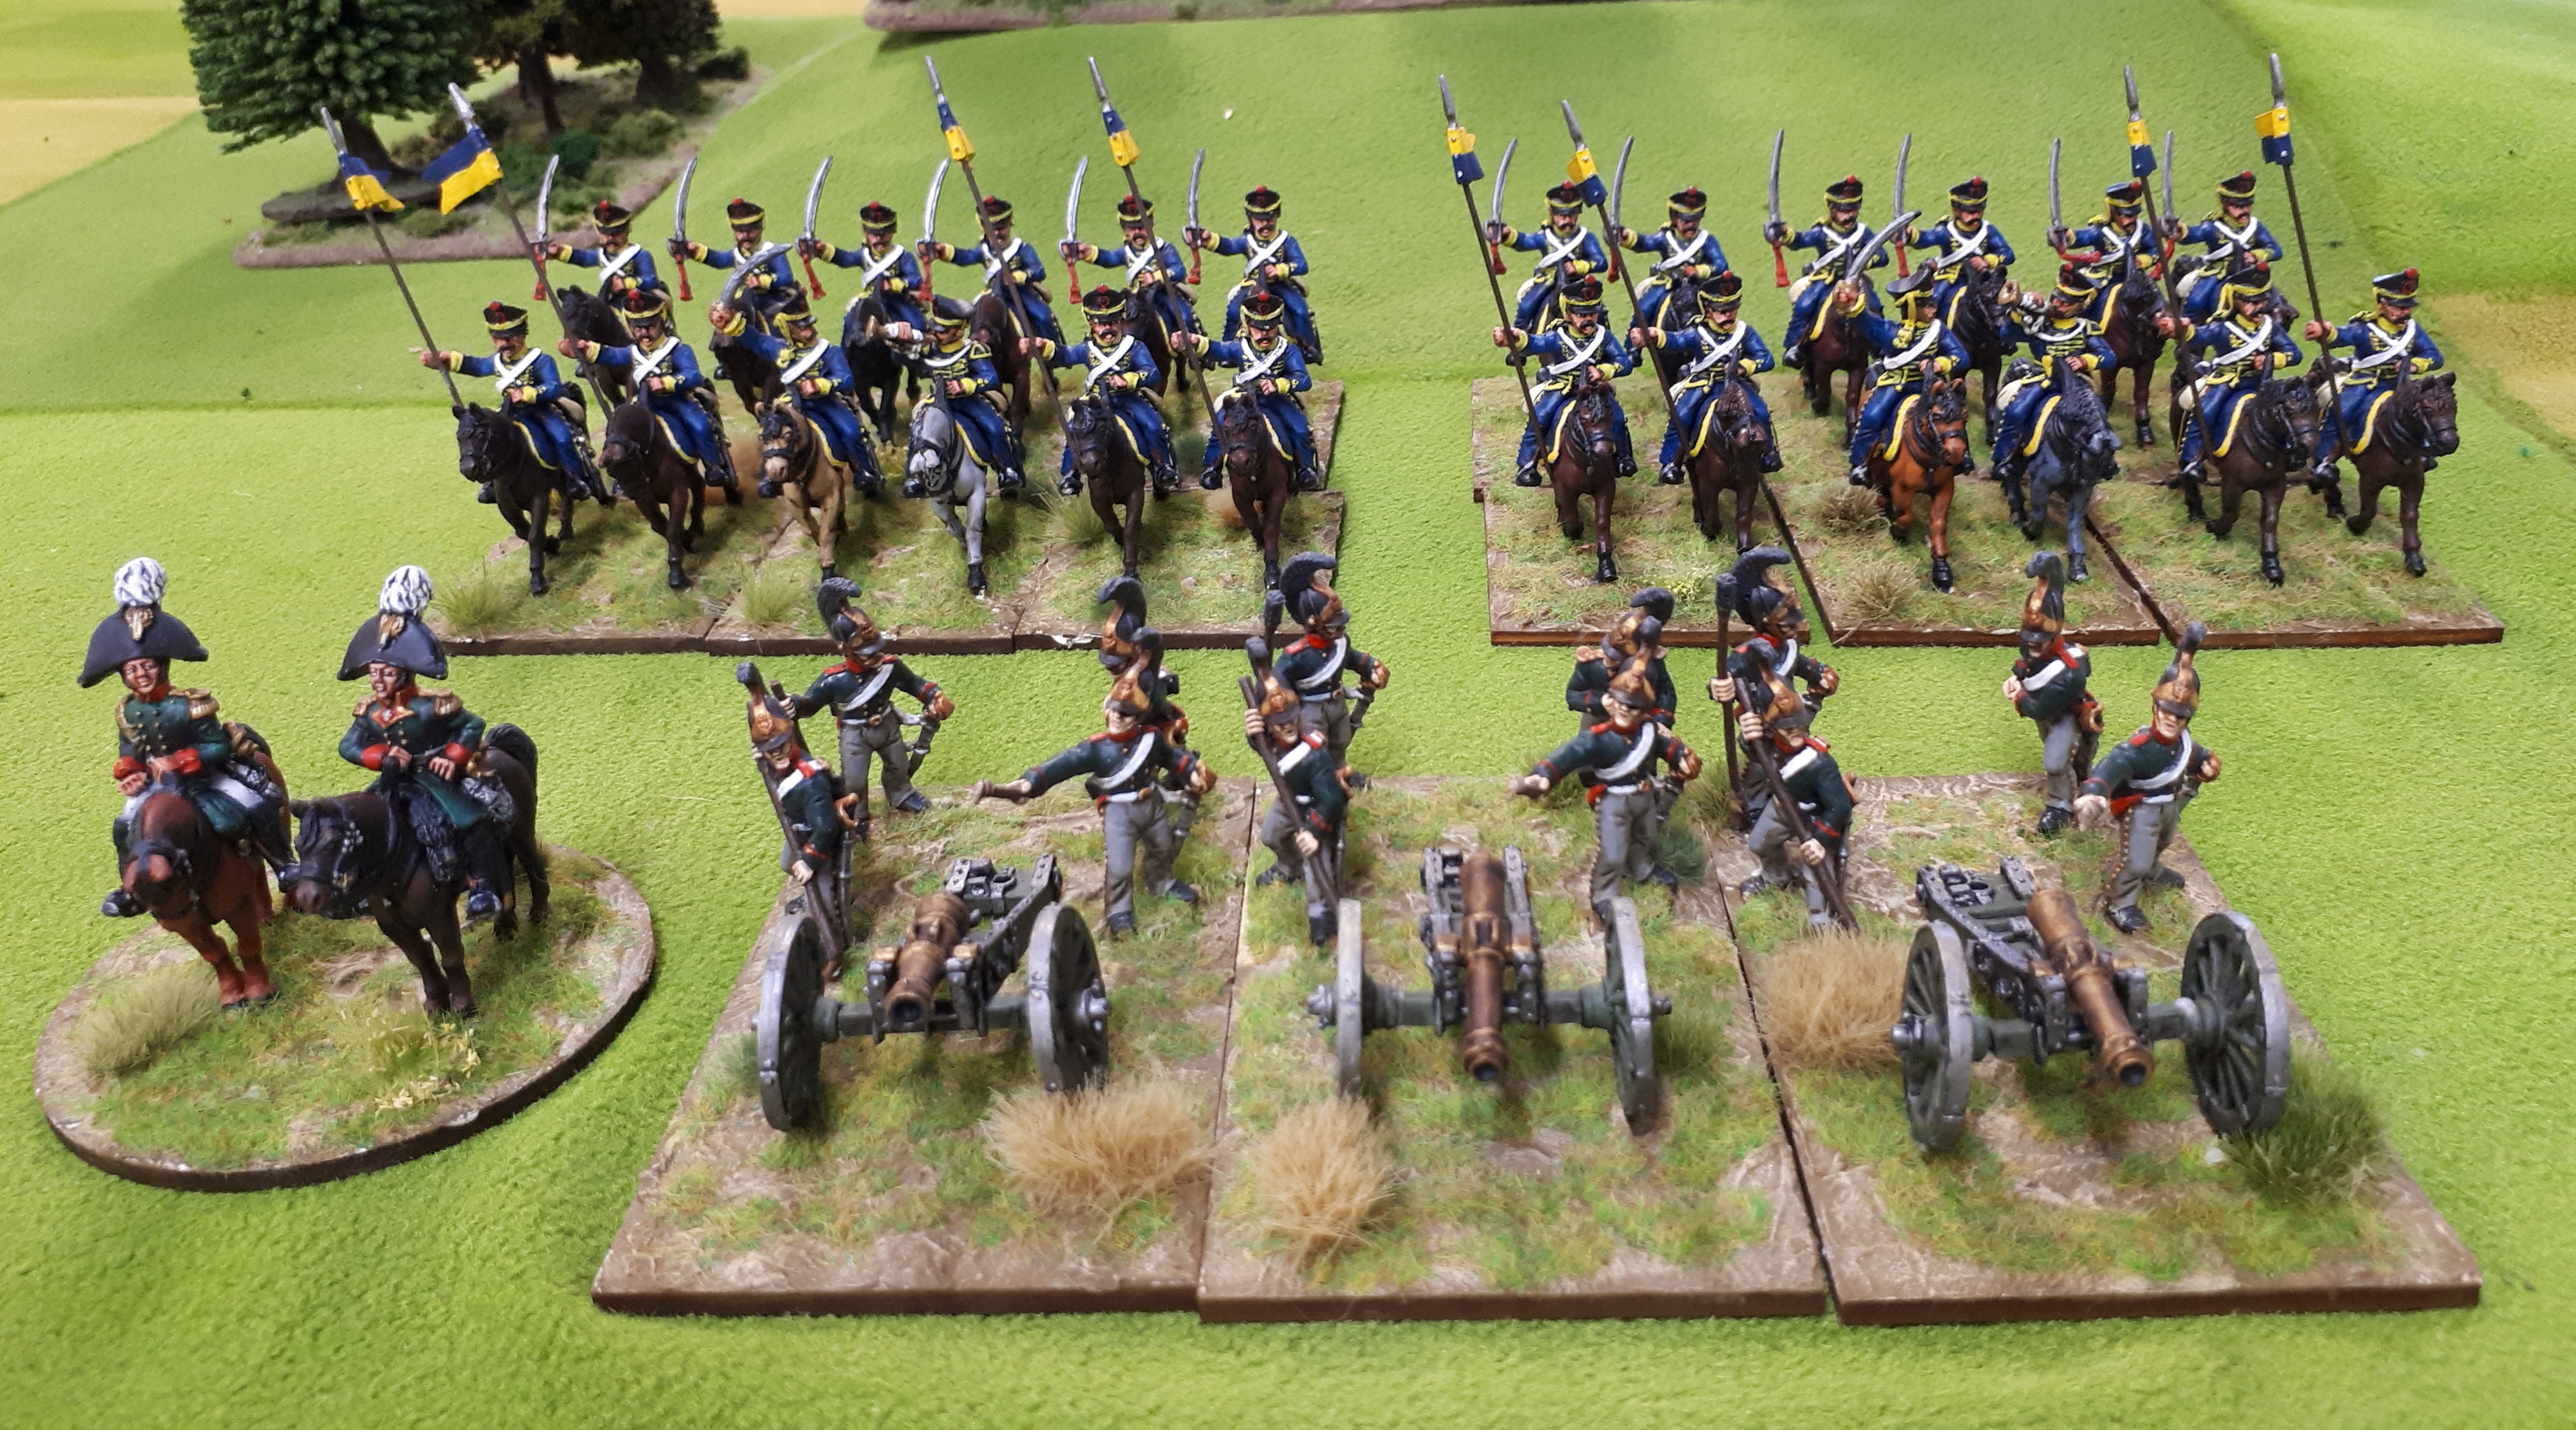
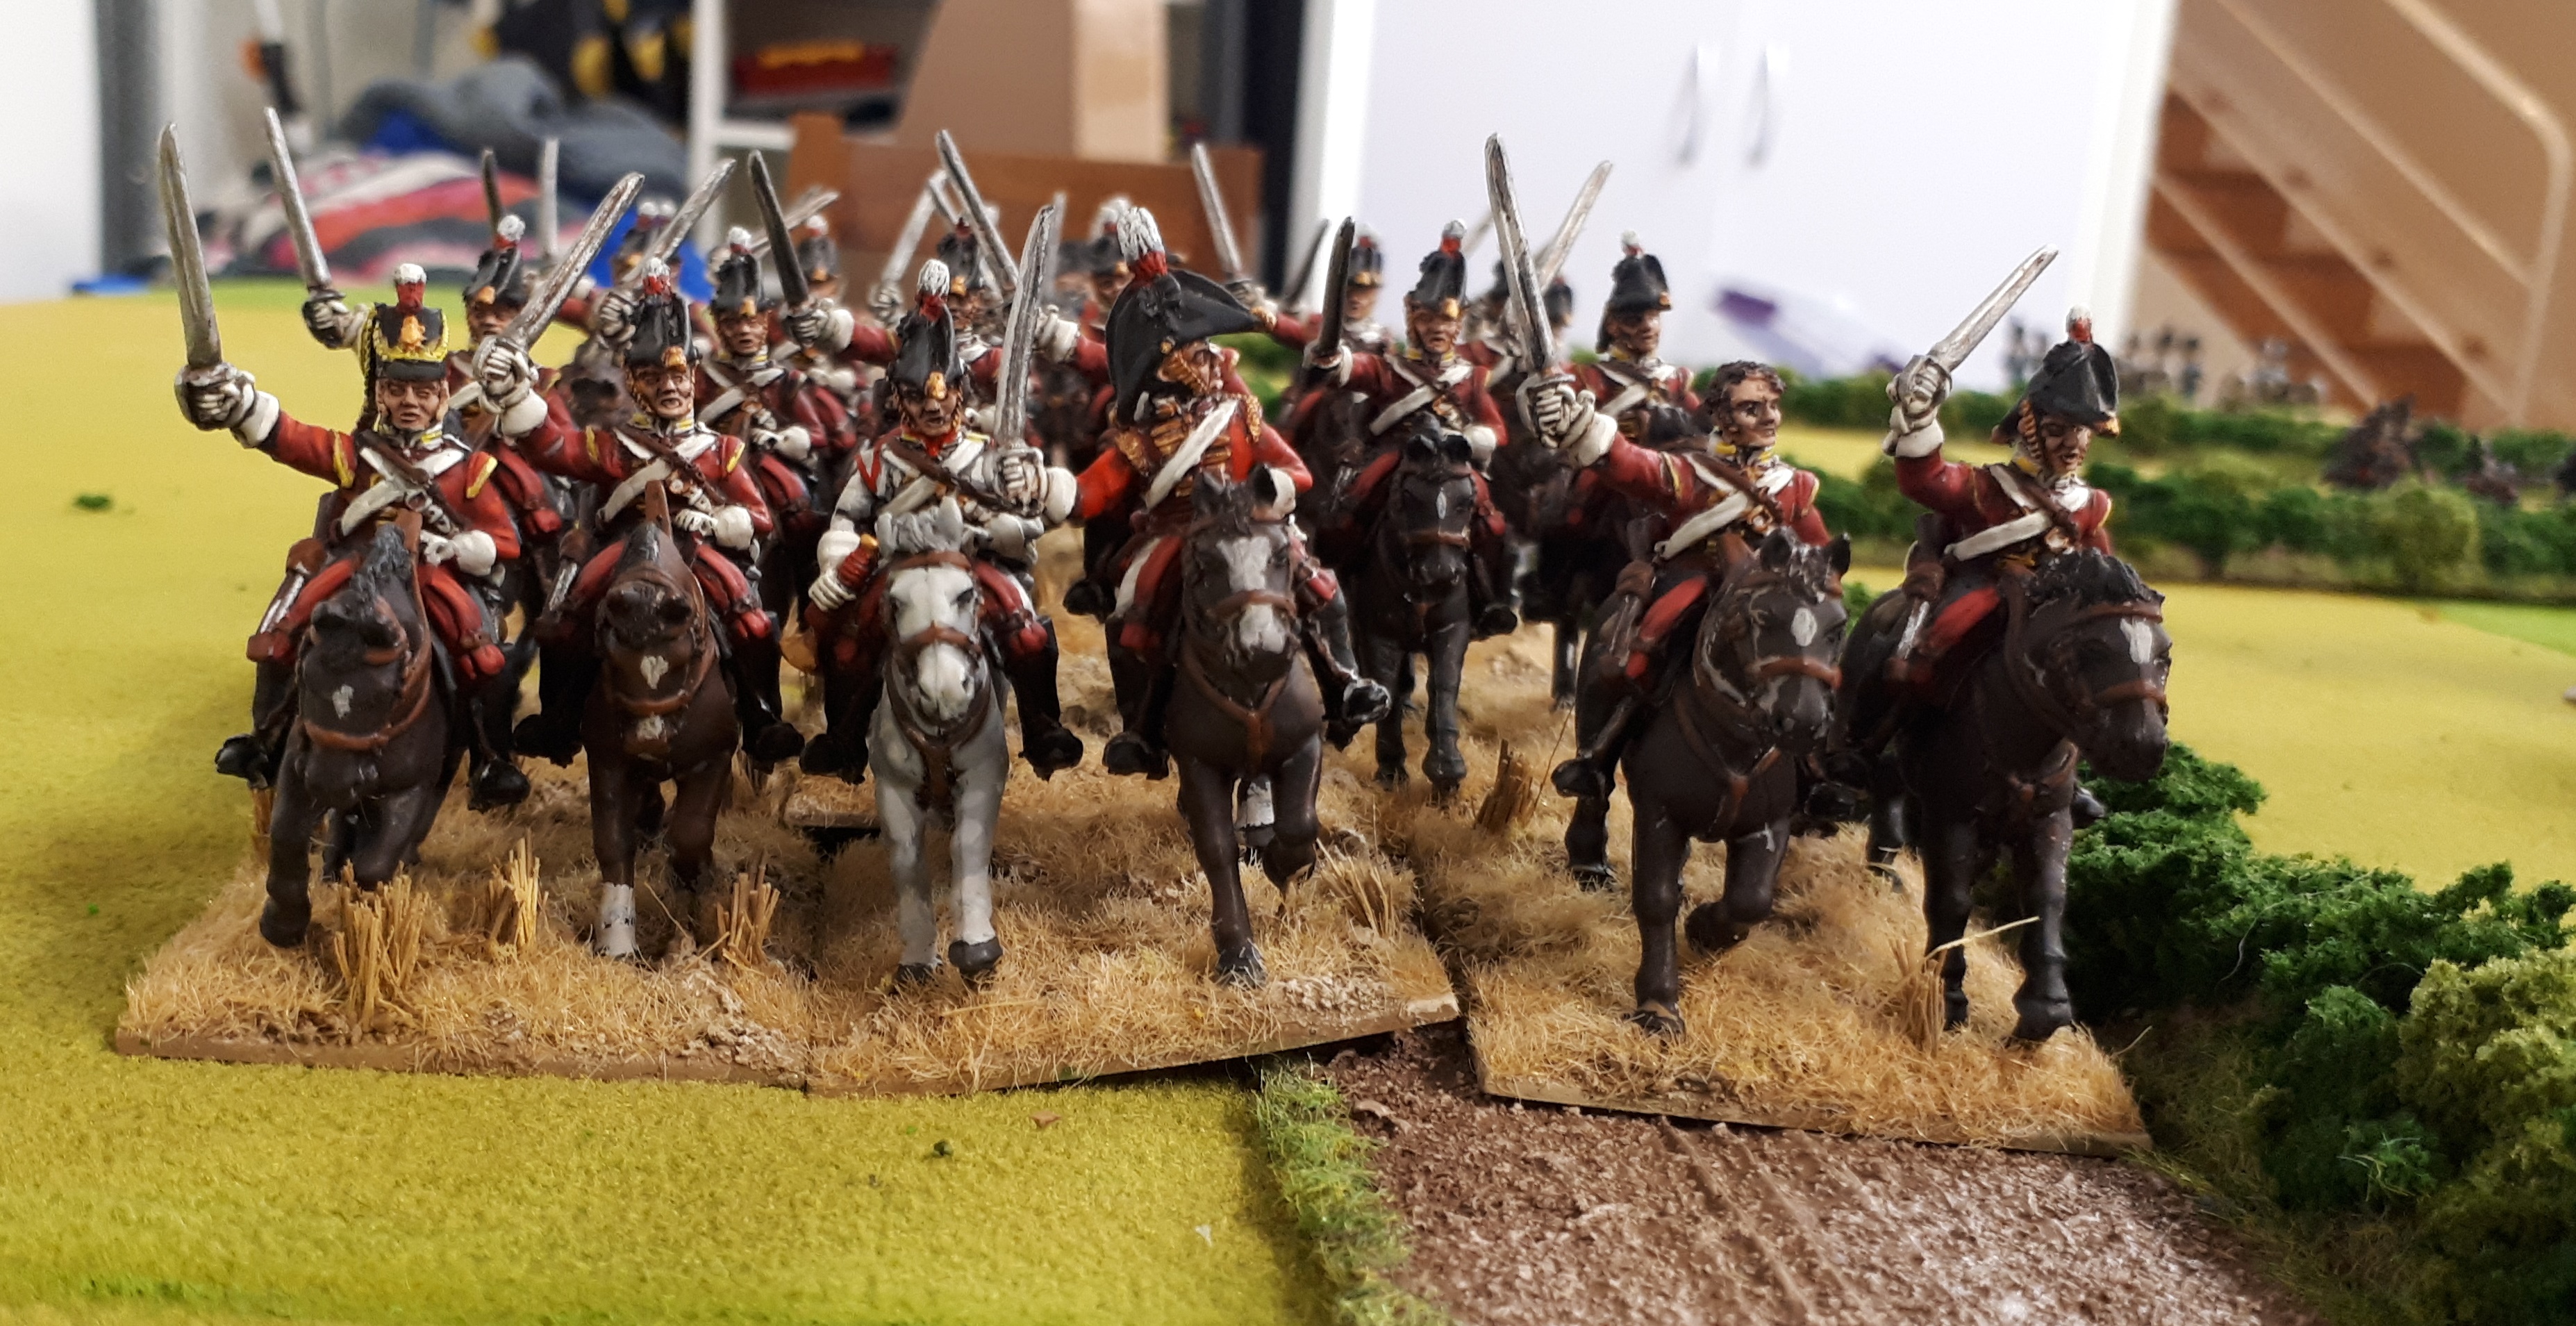
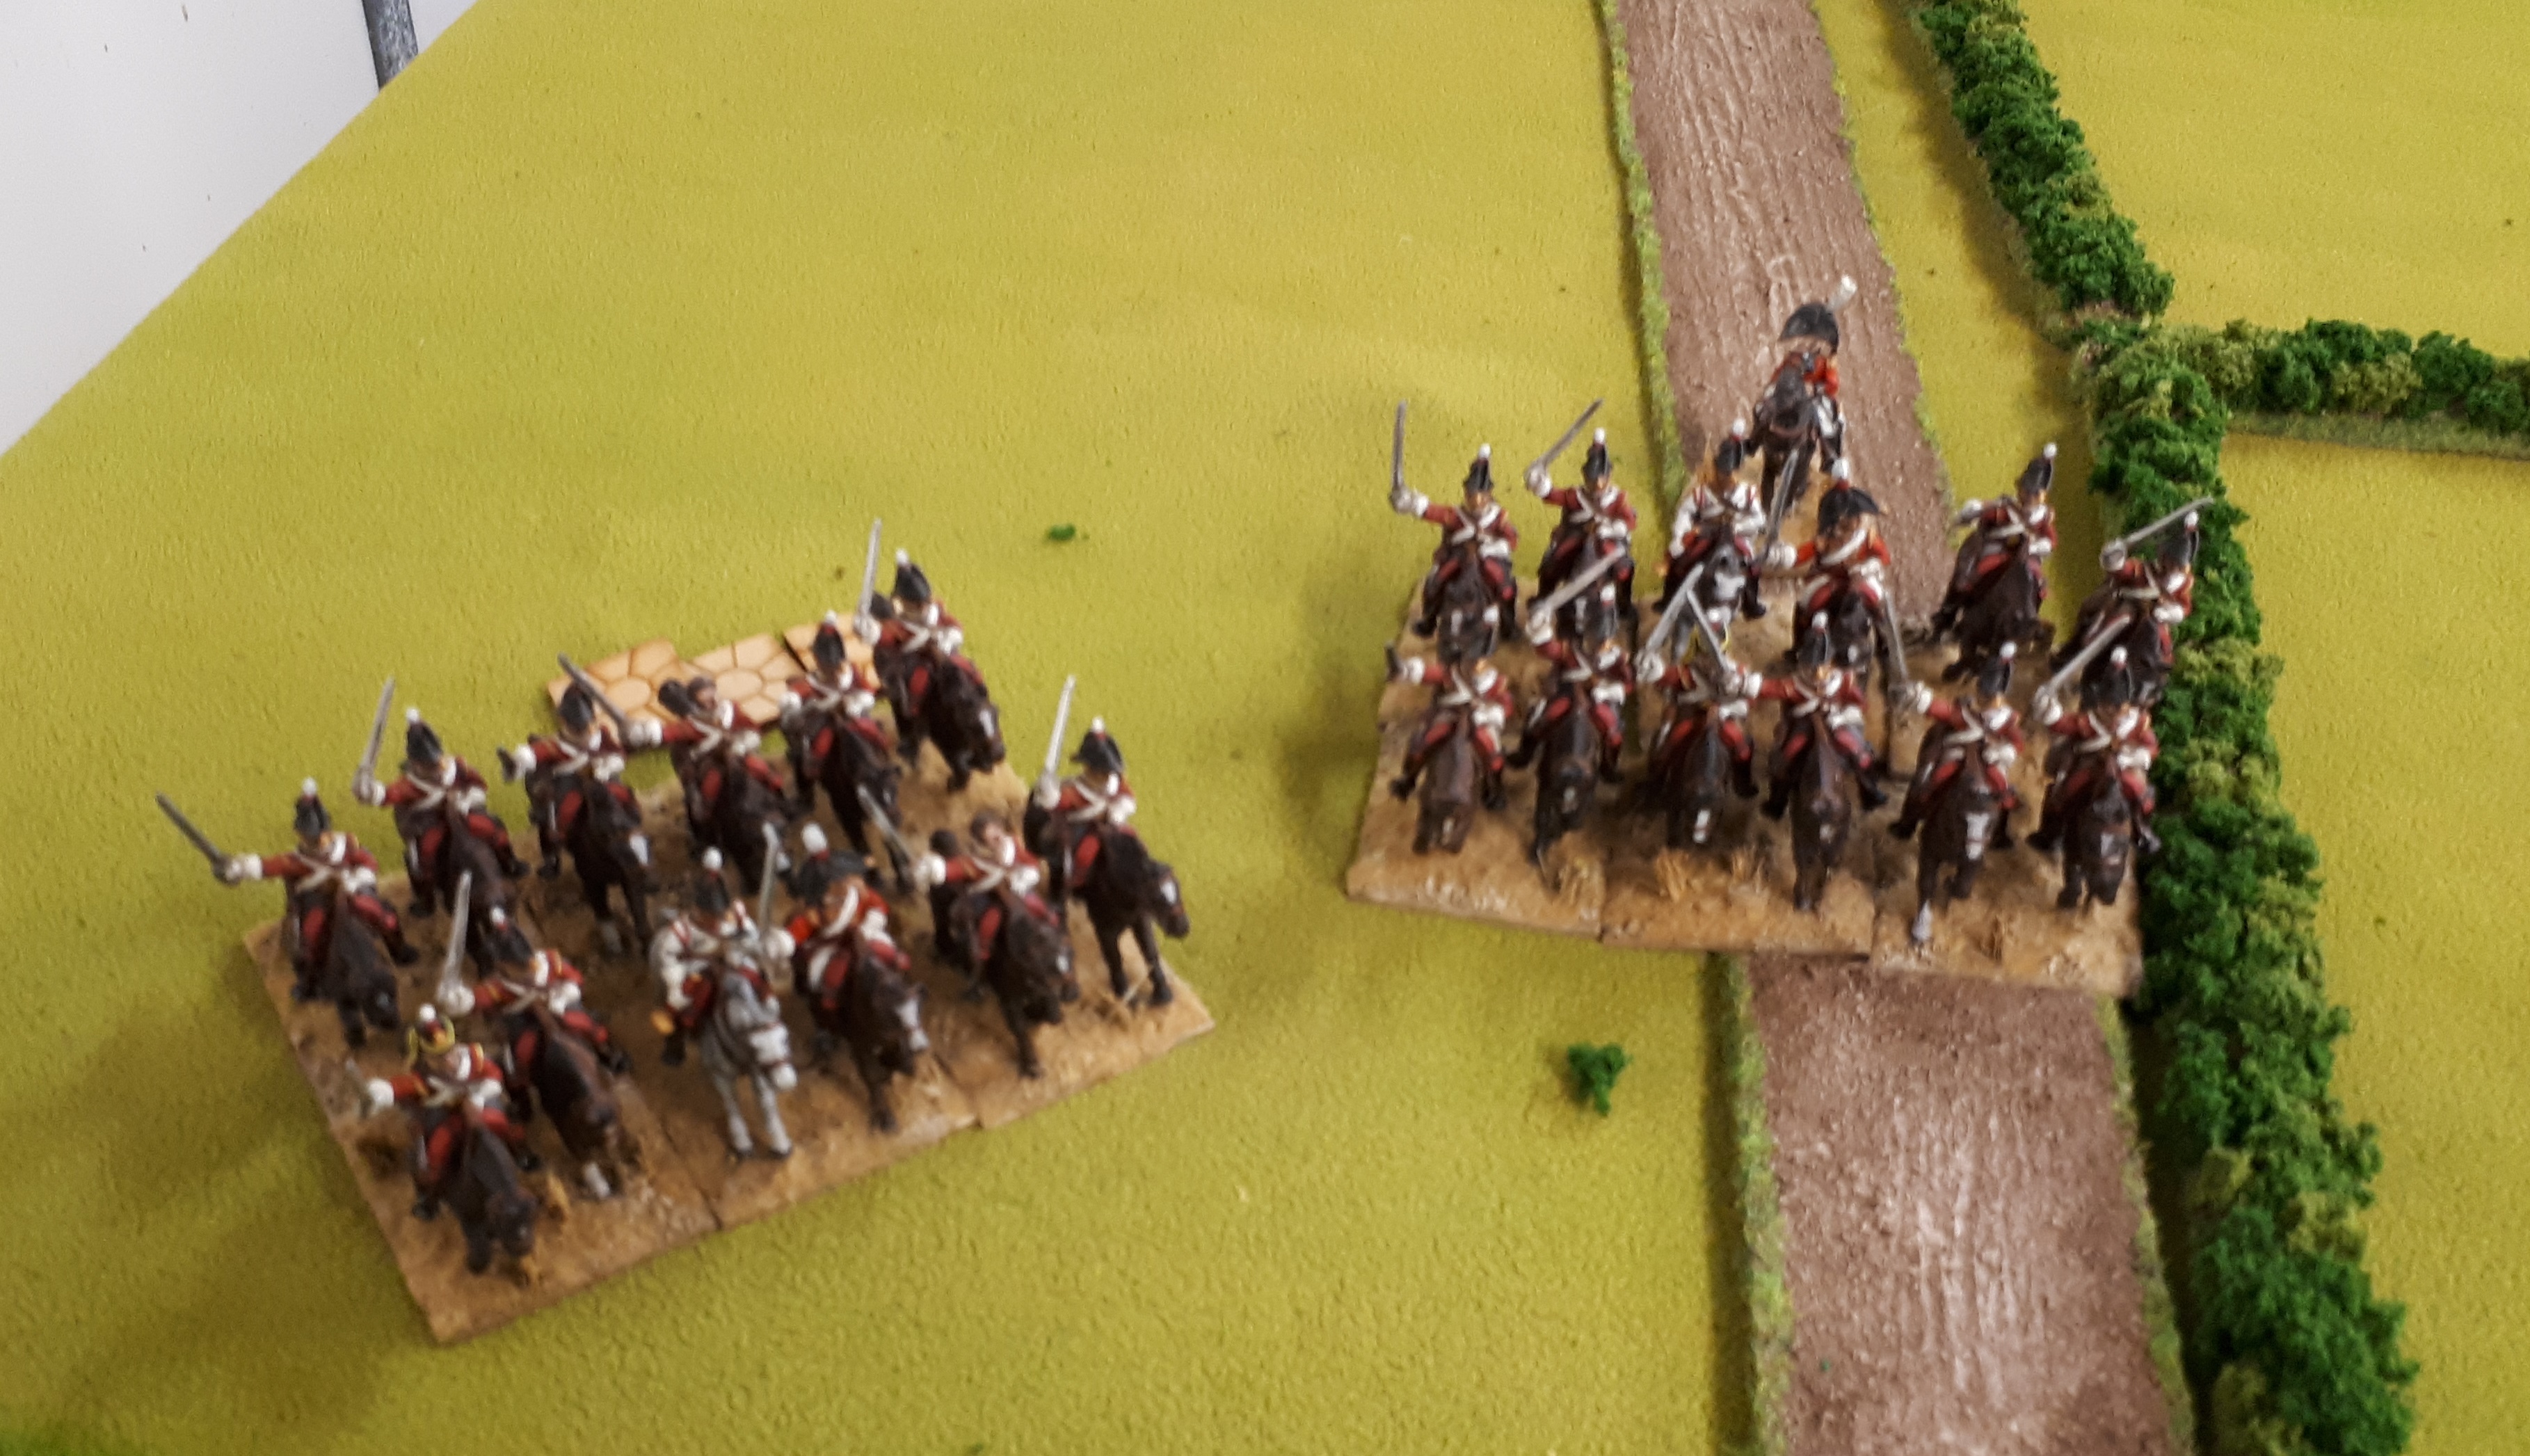
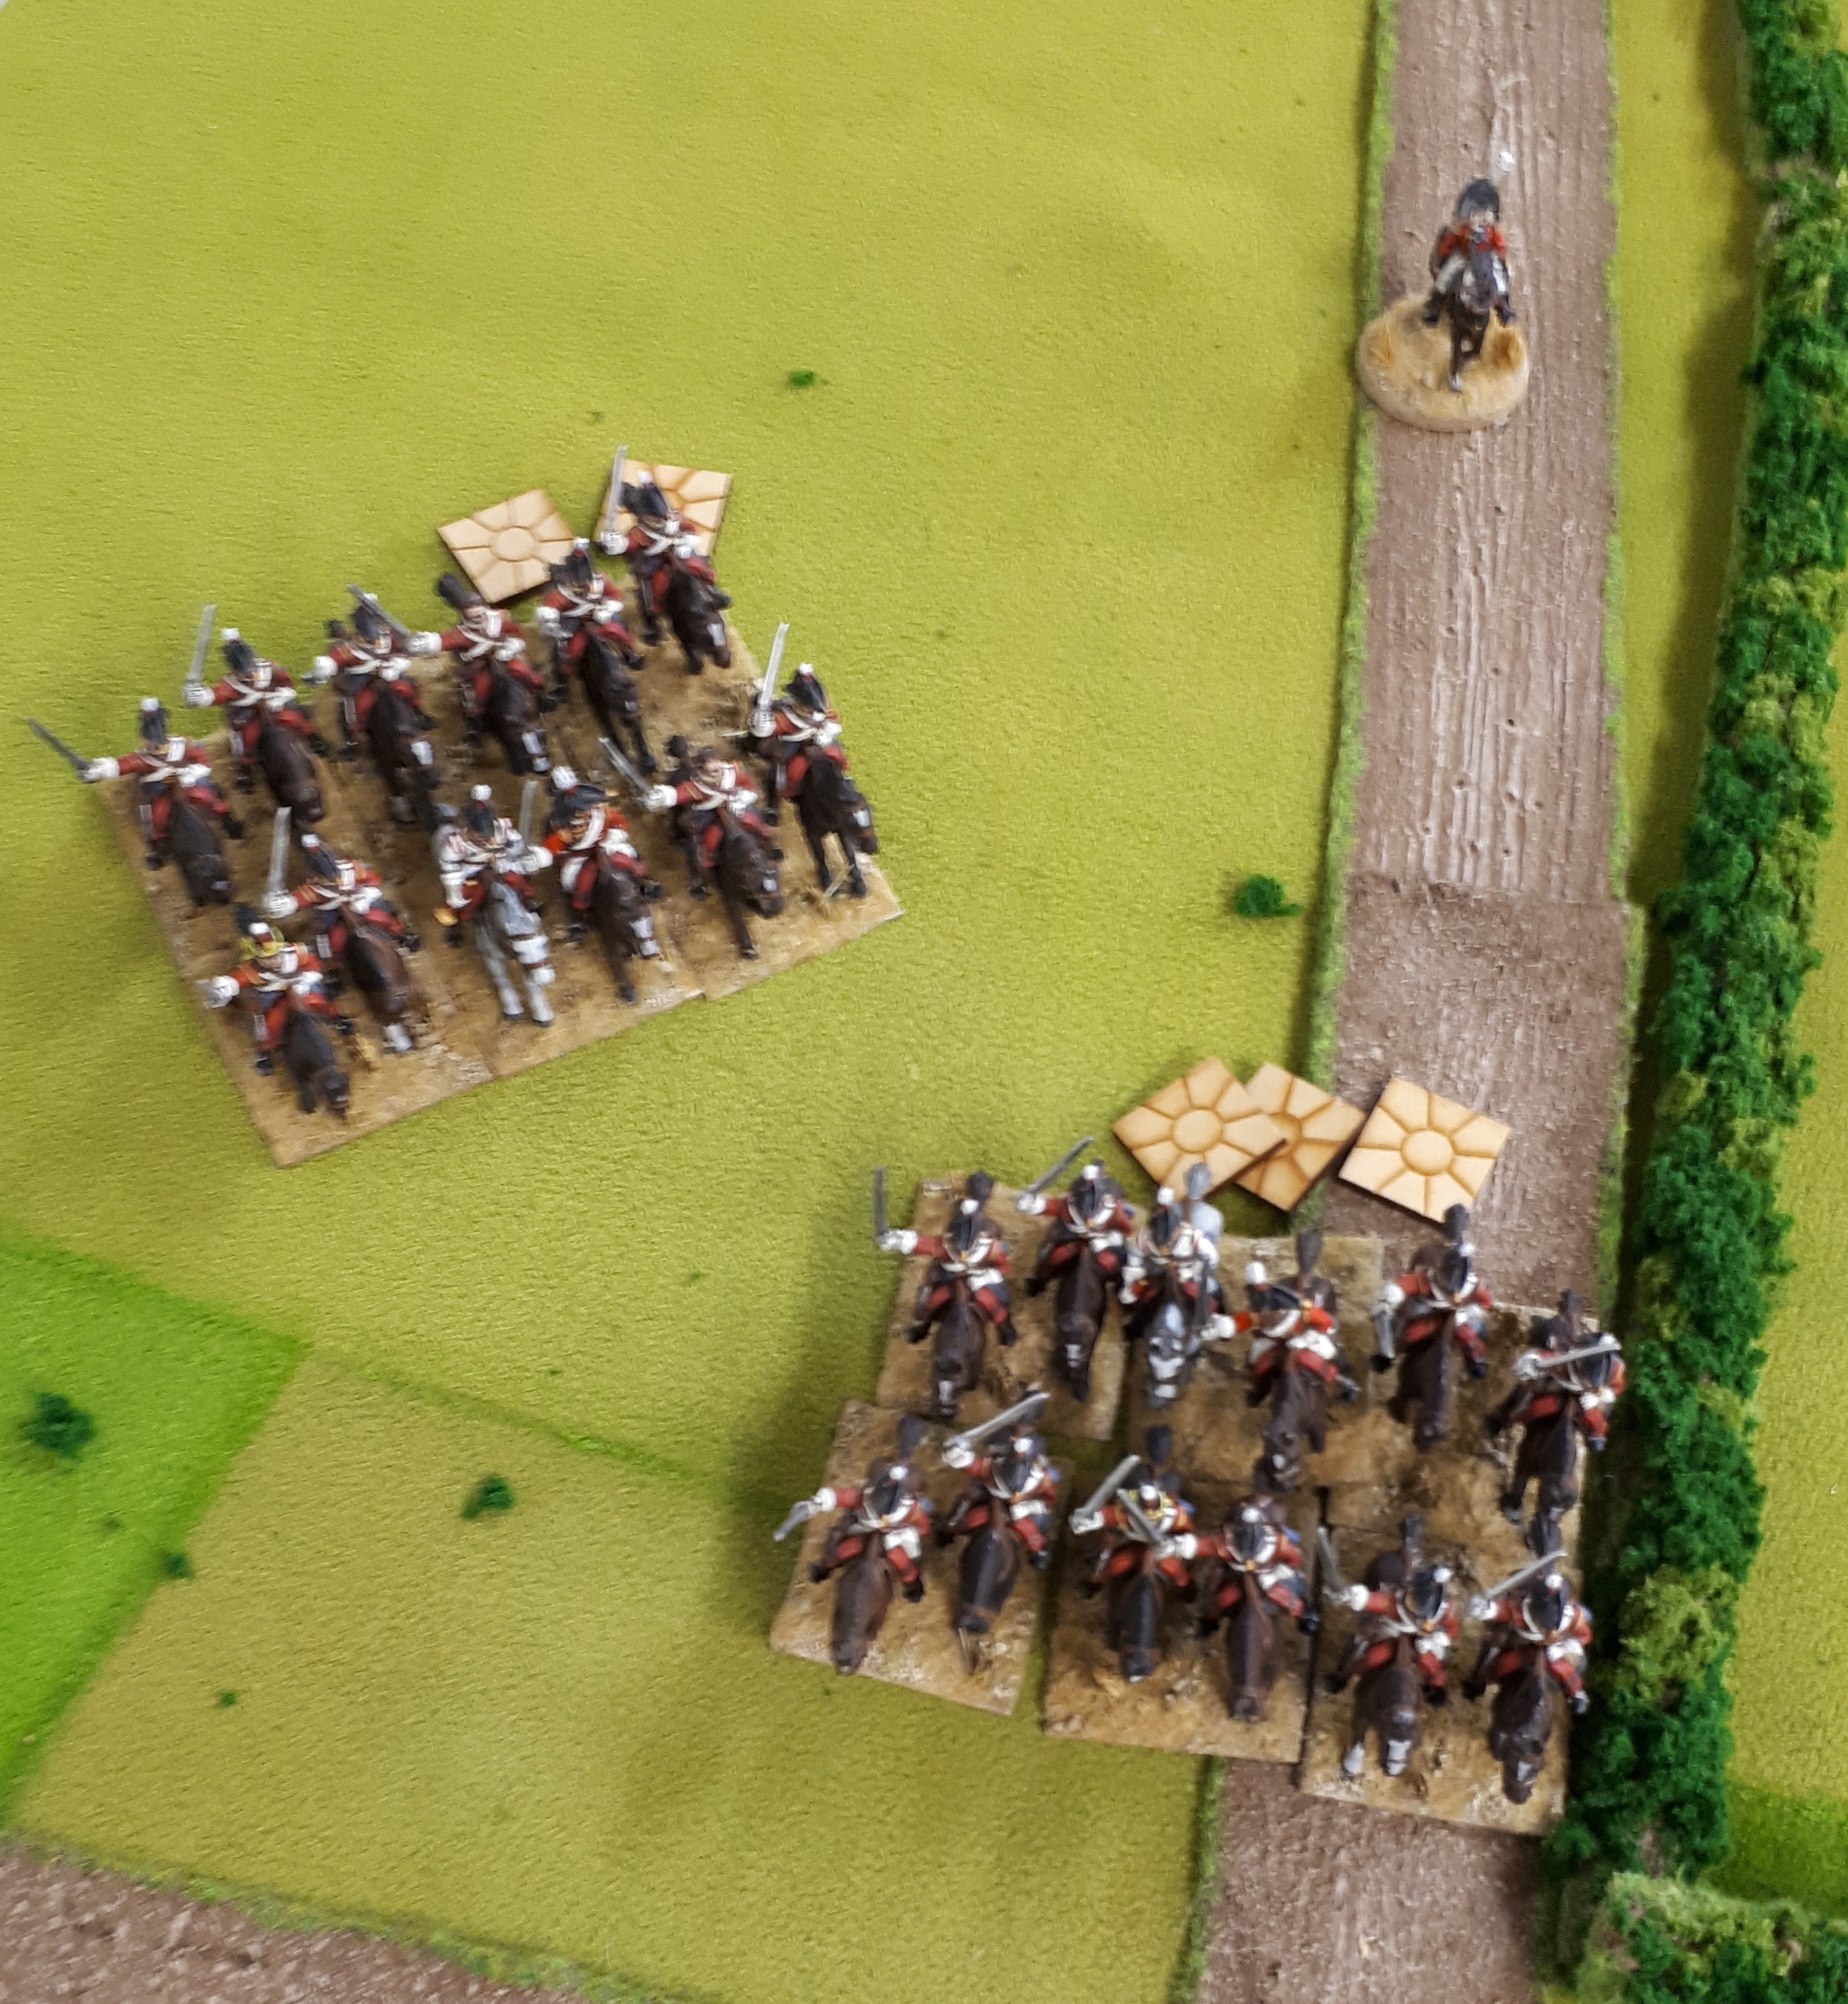
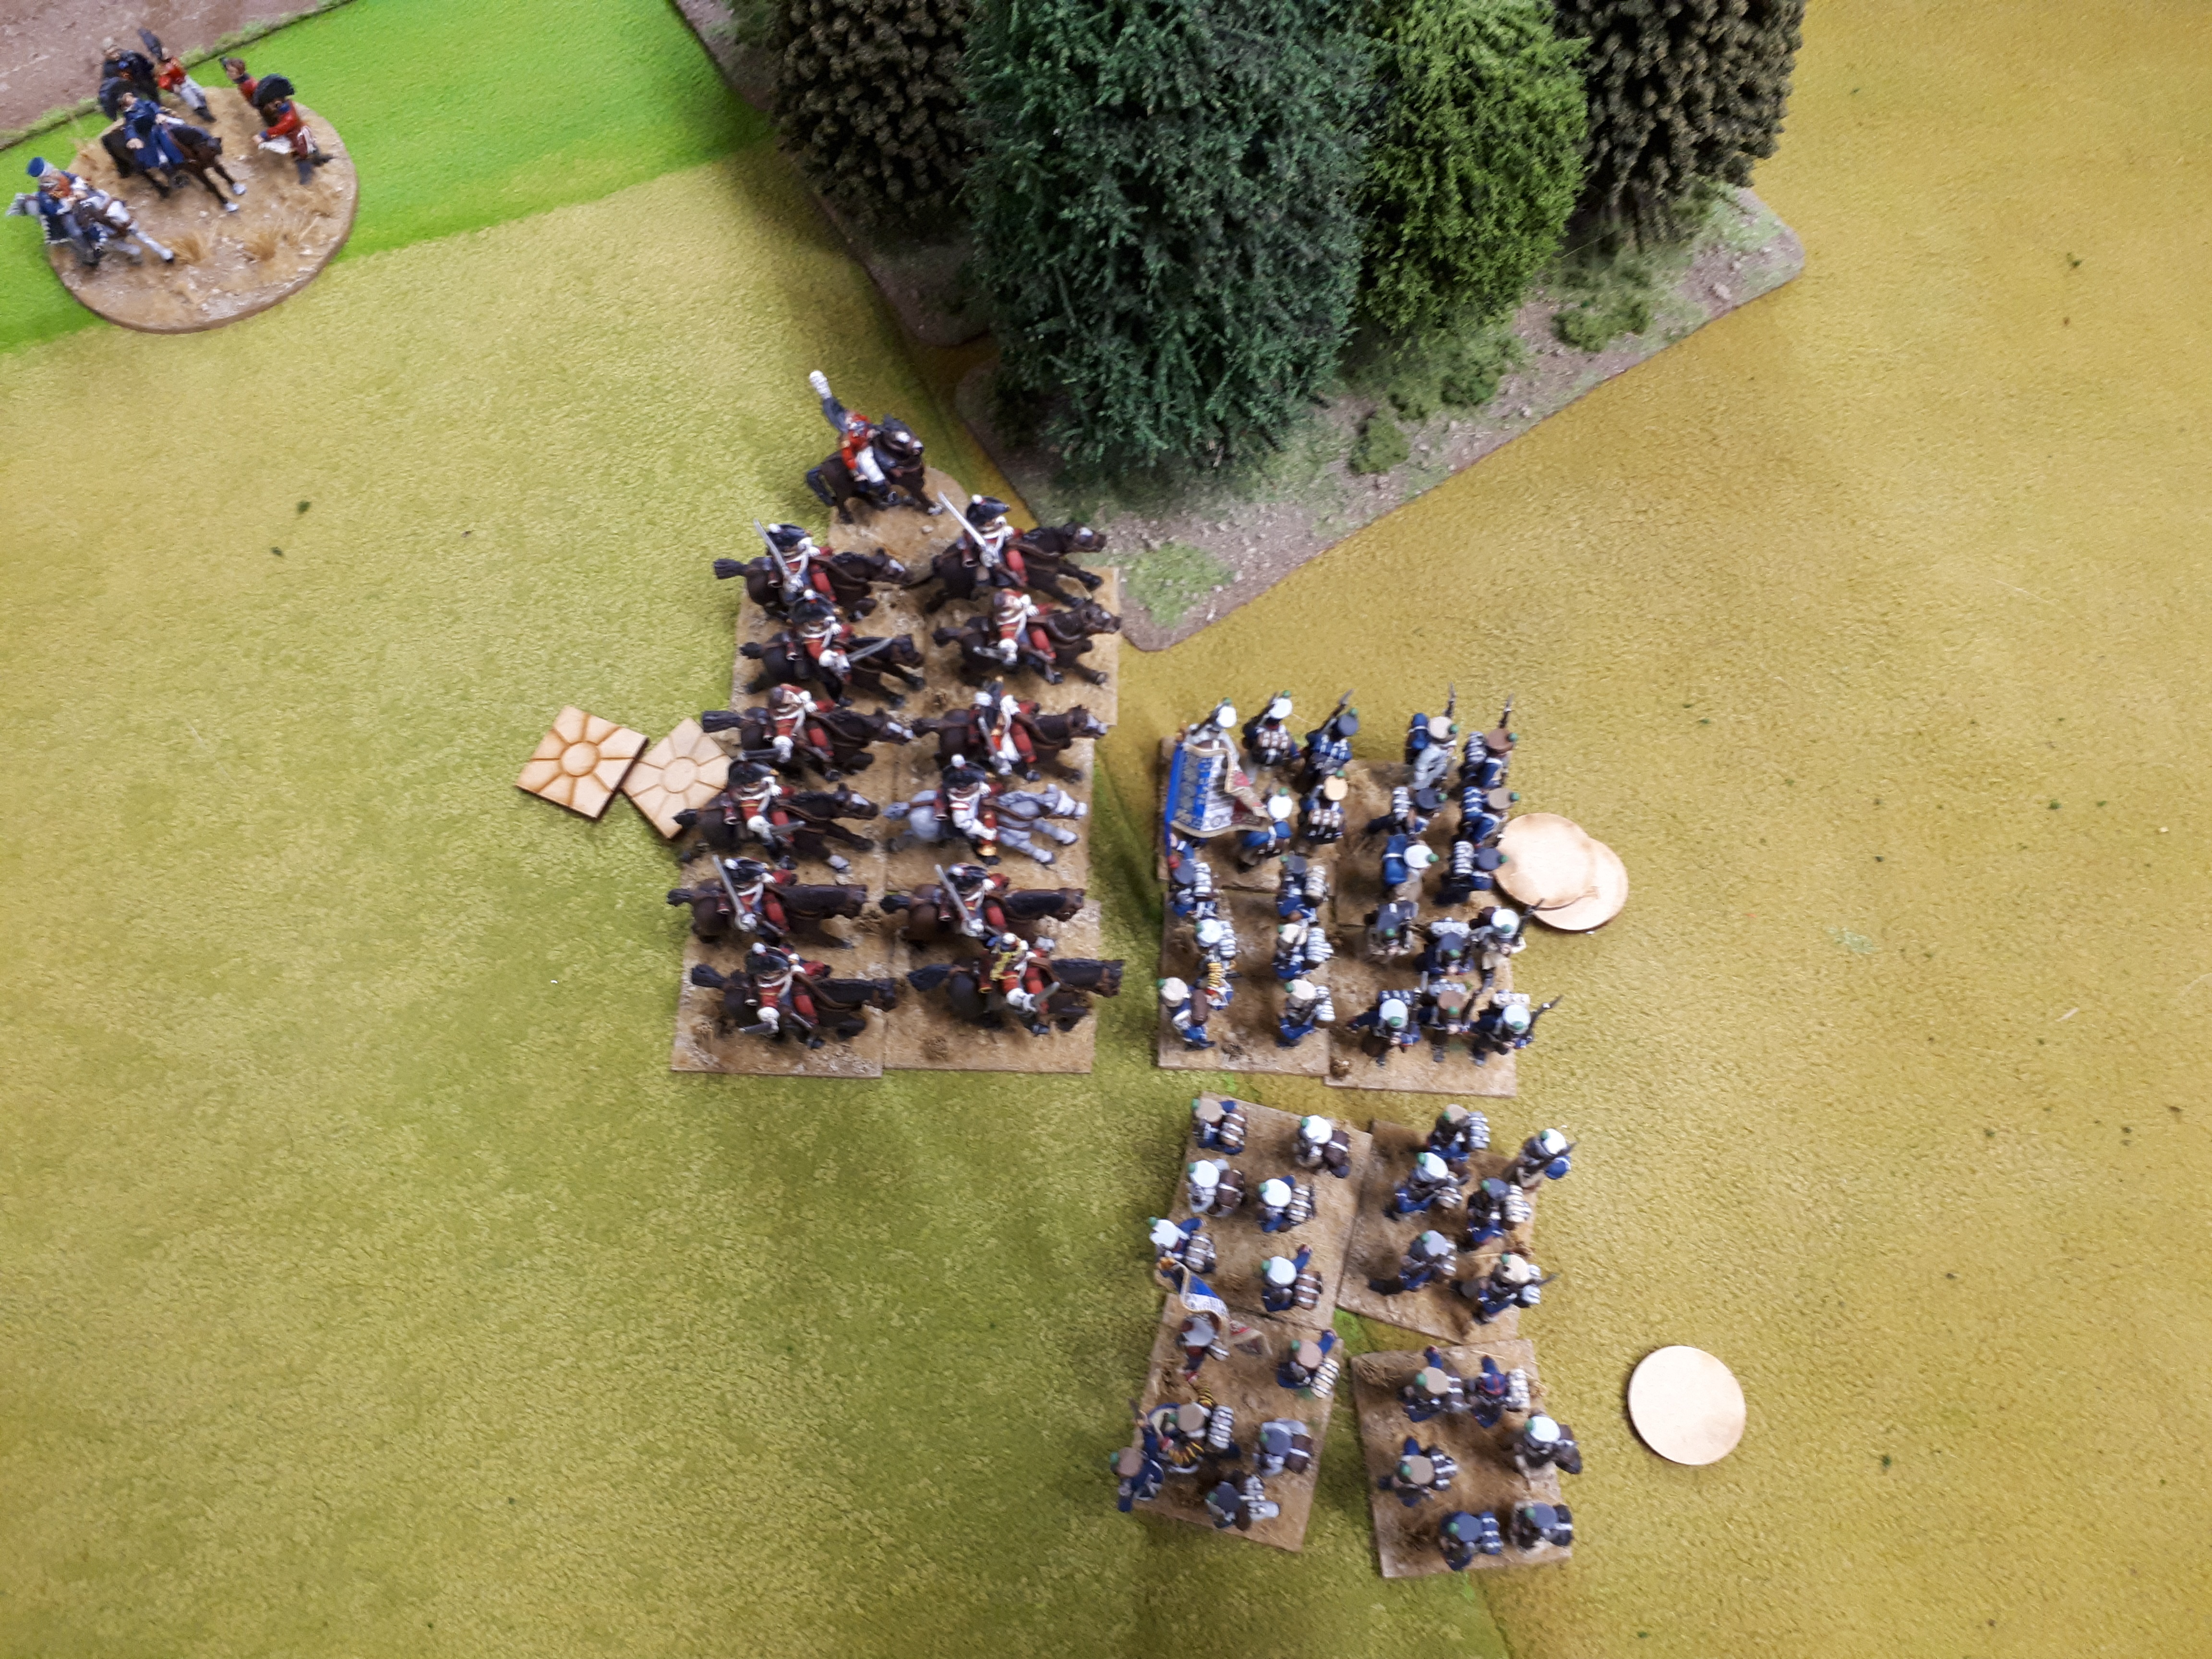
The crazy ‘Gallop at anything’ and ‘Reroll all misses in first round of combat’ British Dragoons!

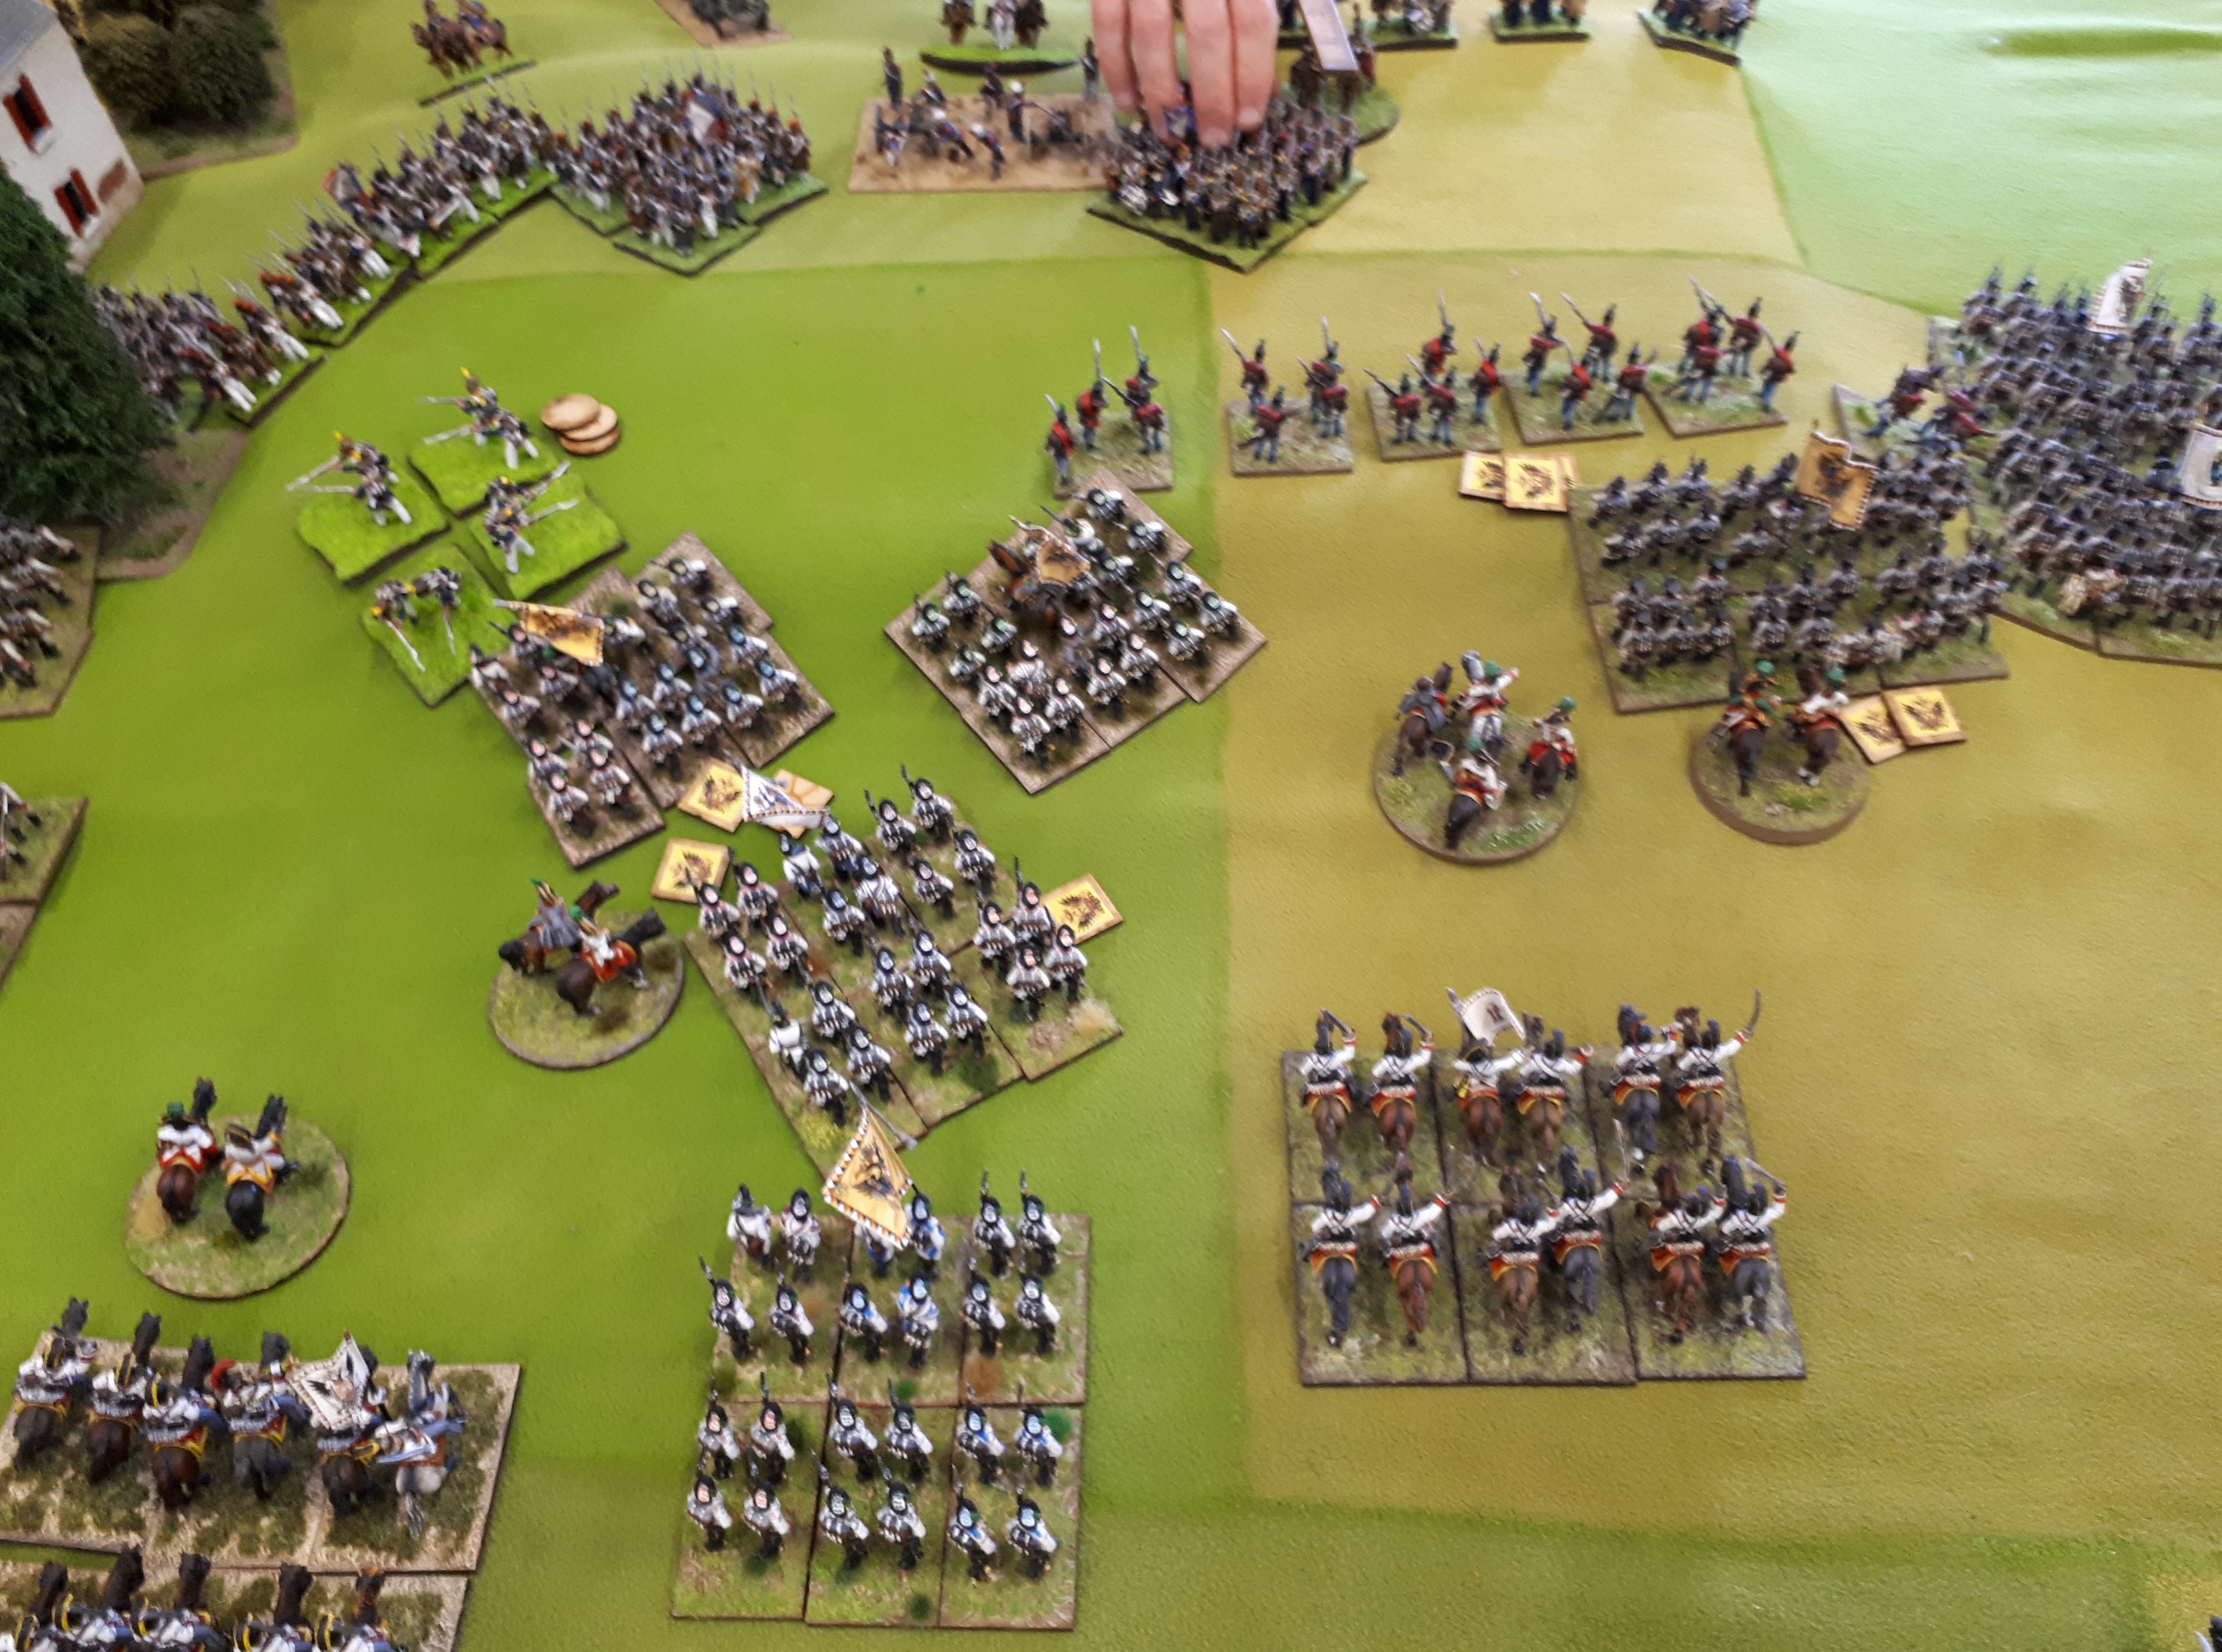
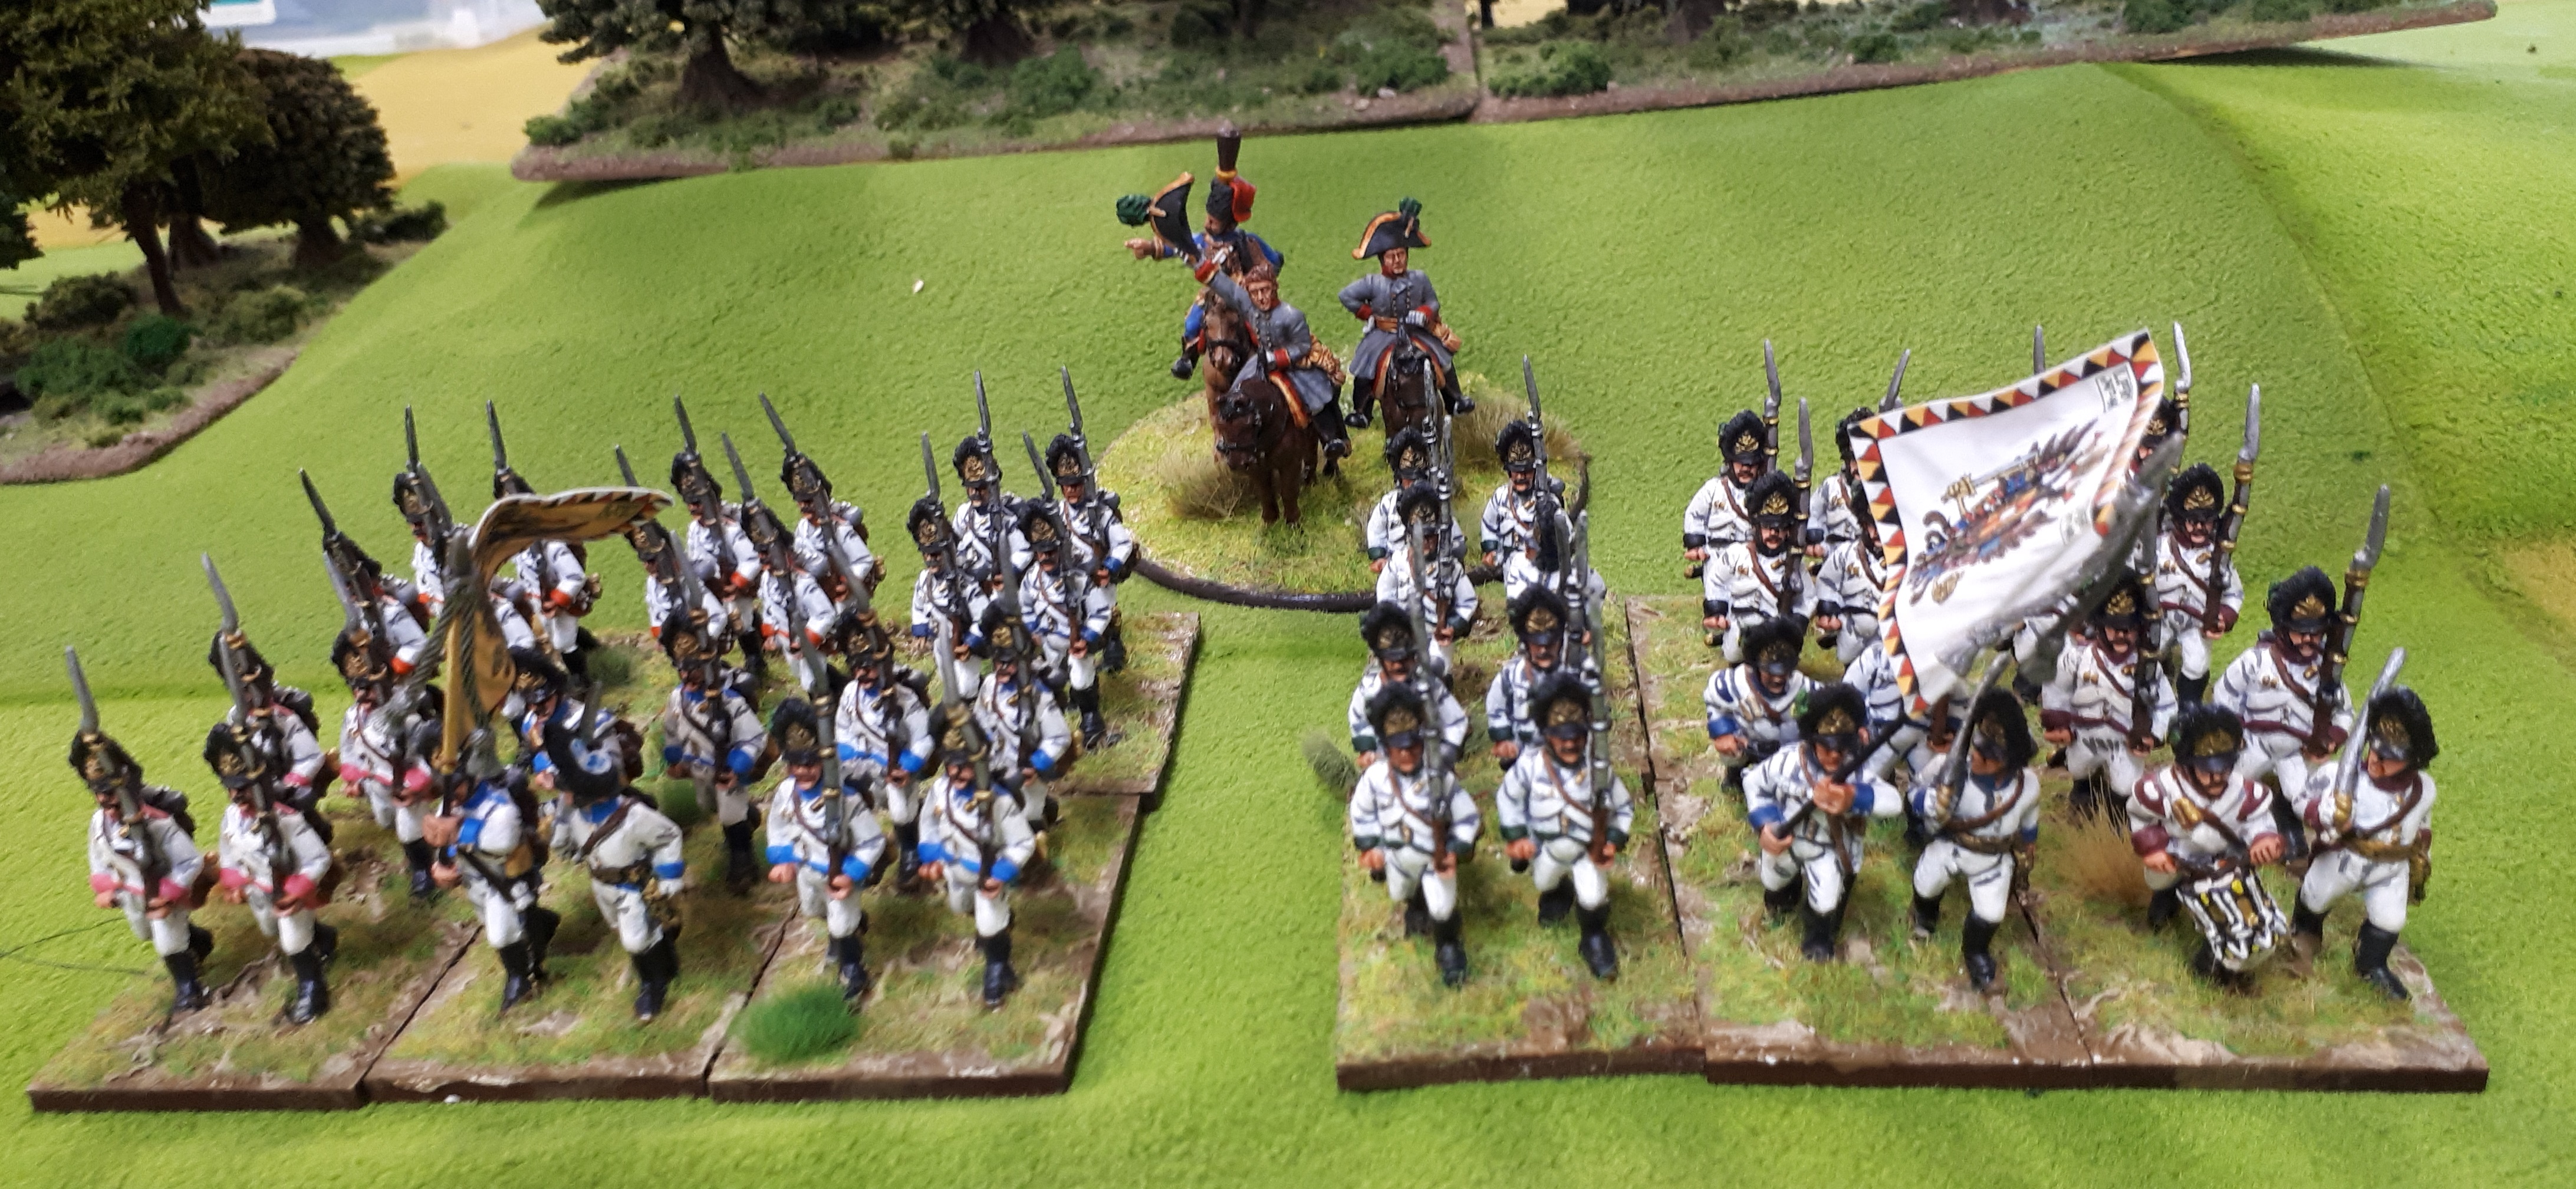
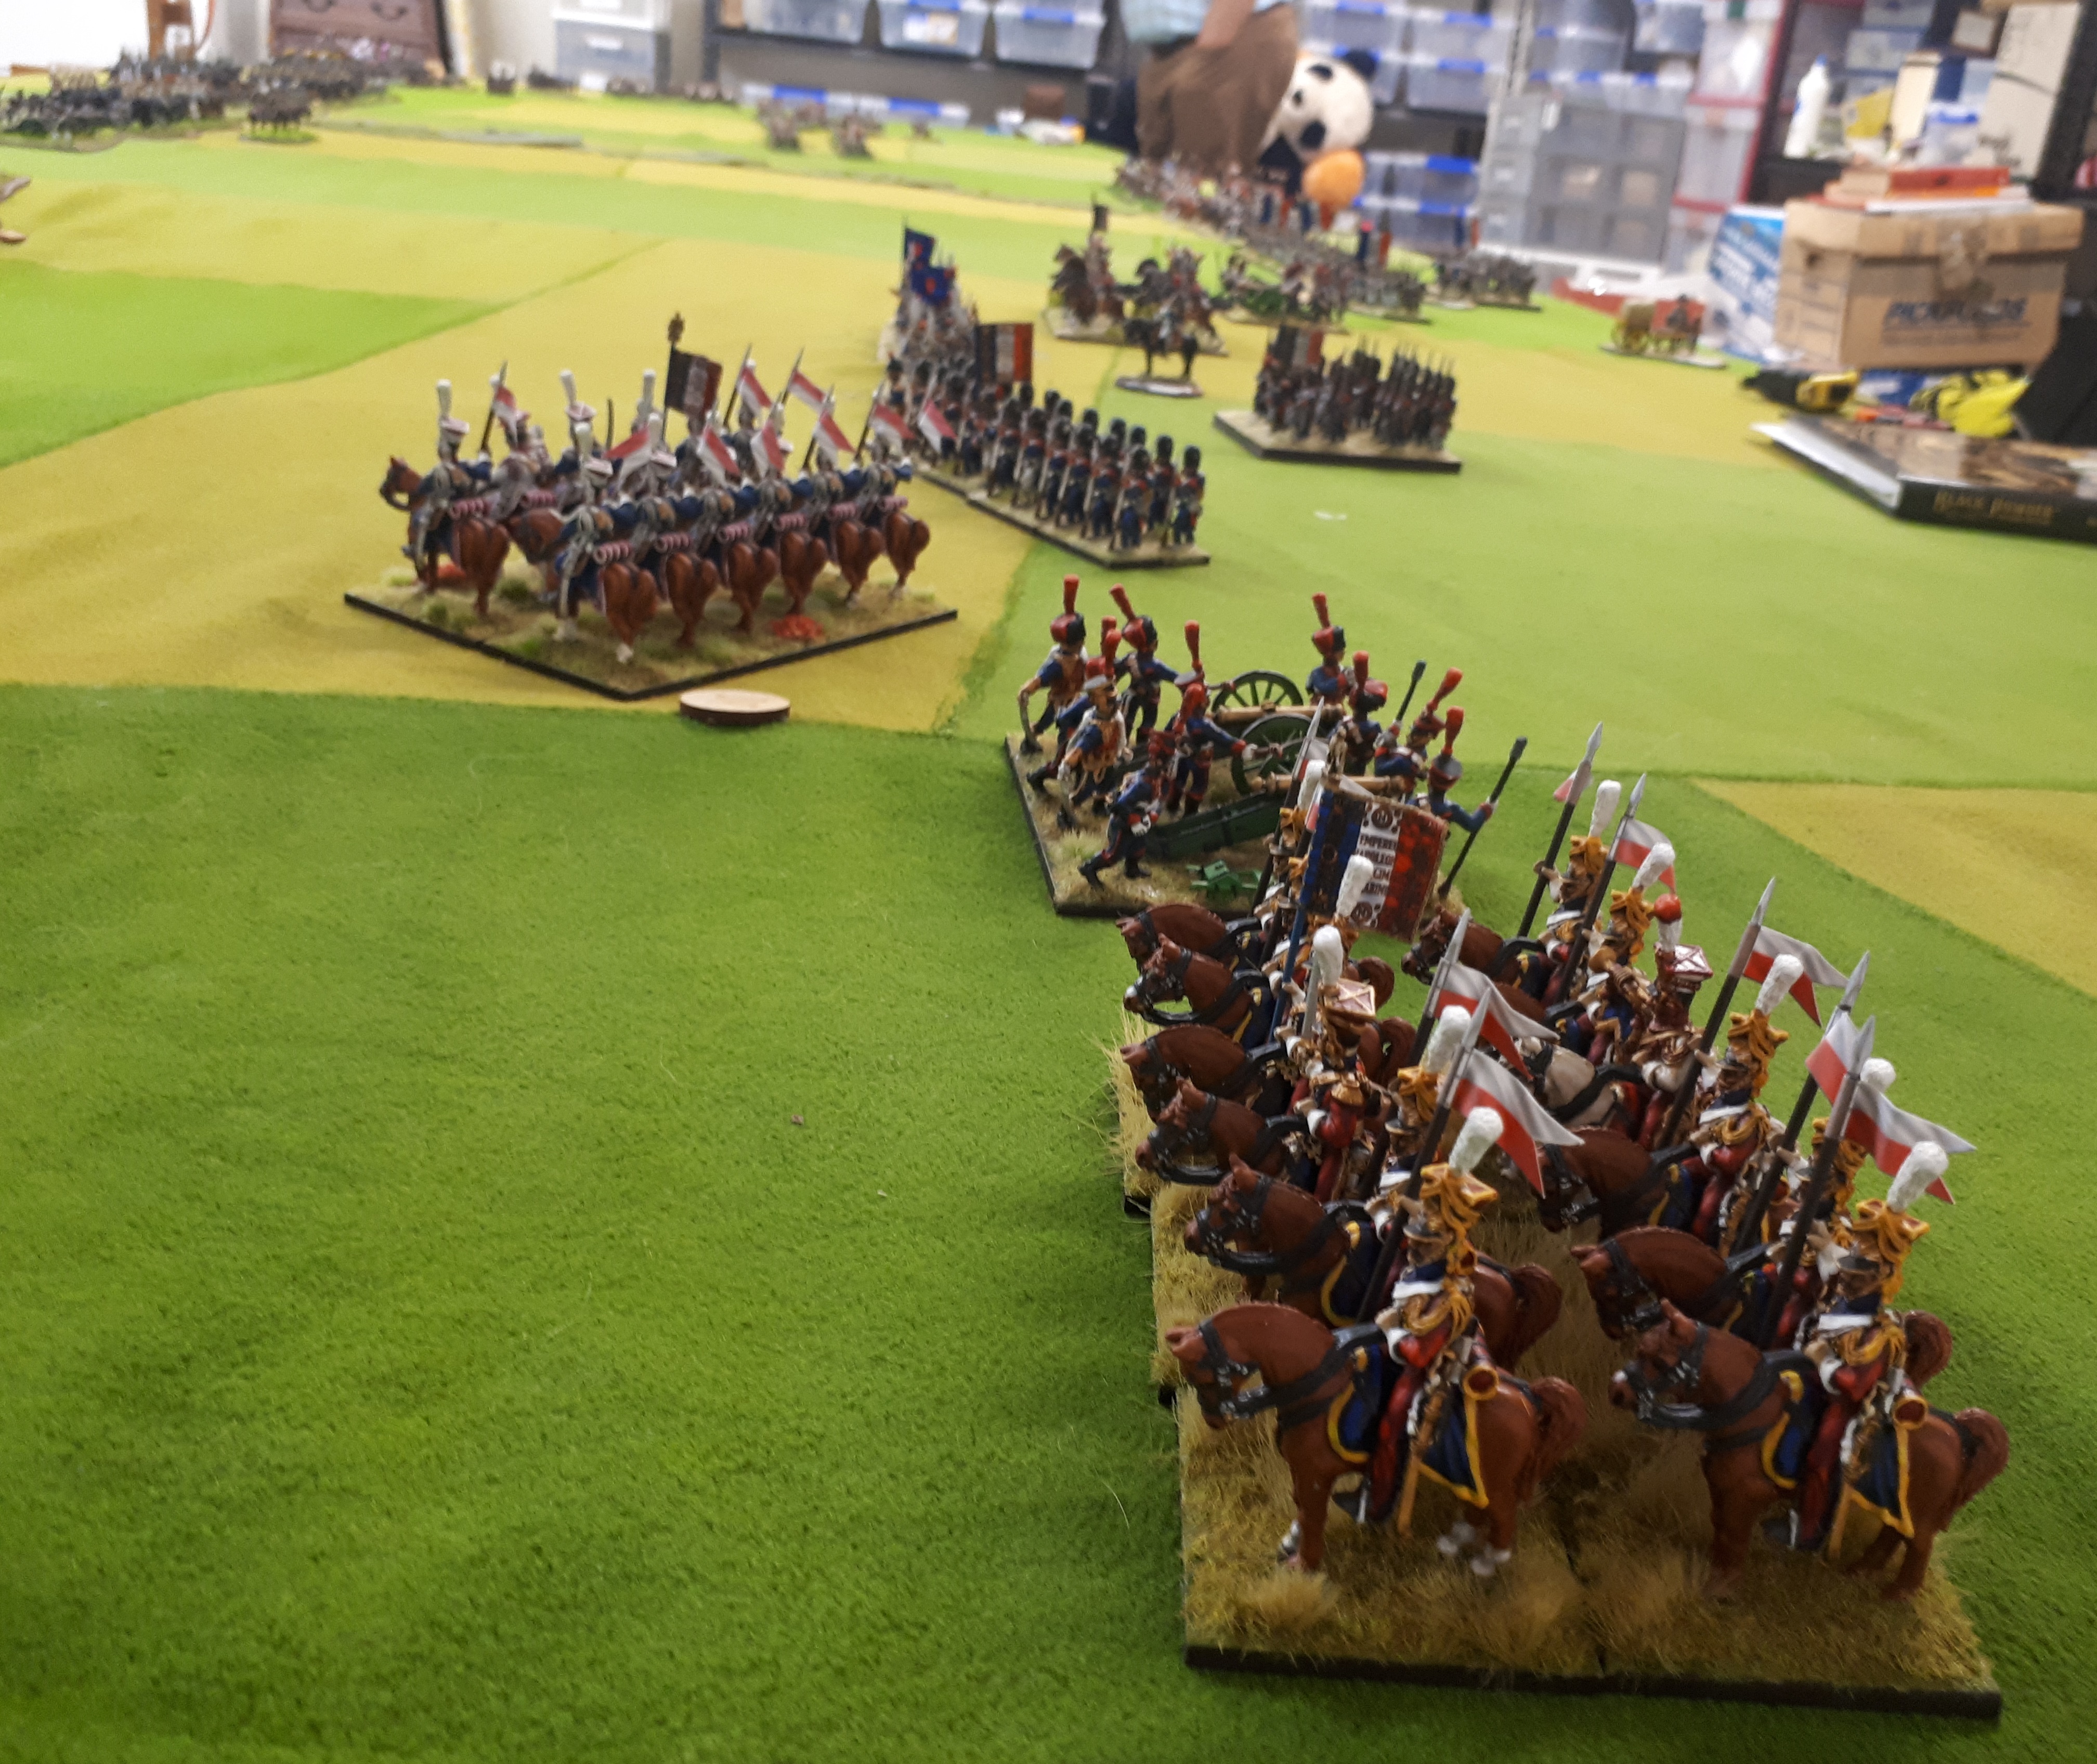
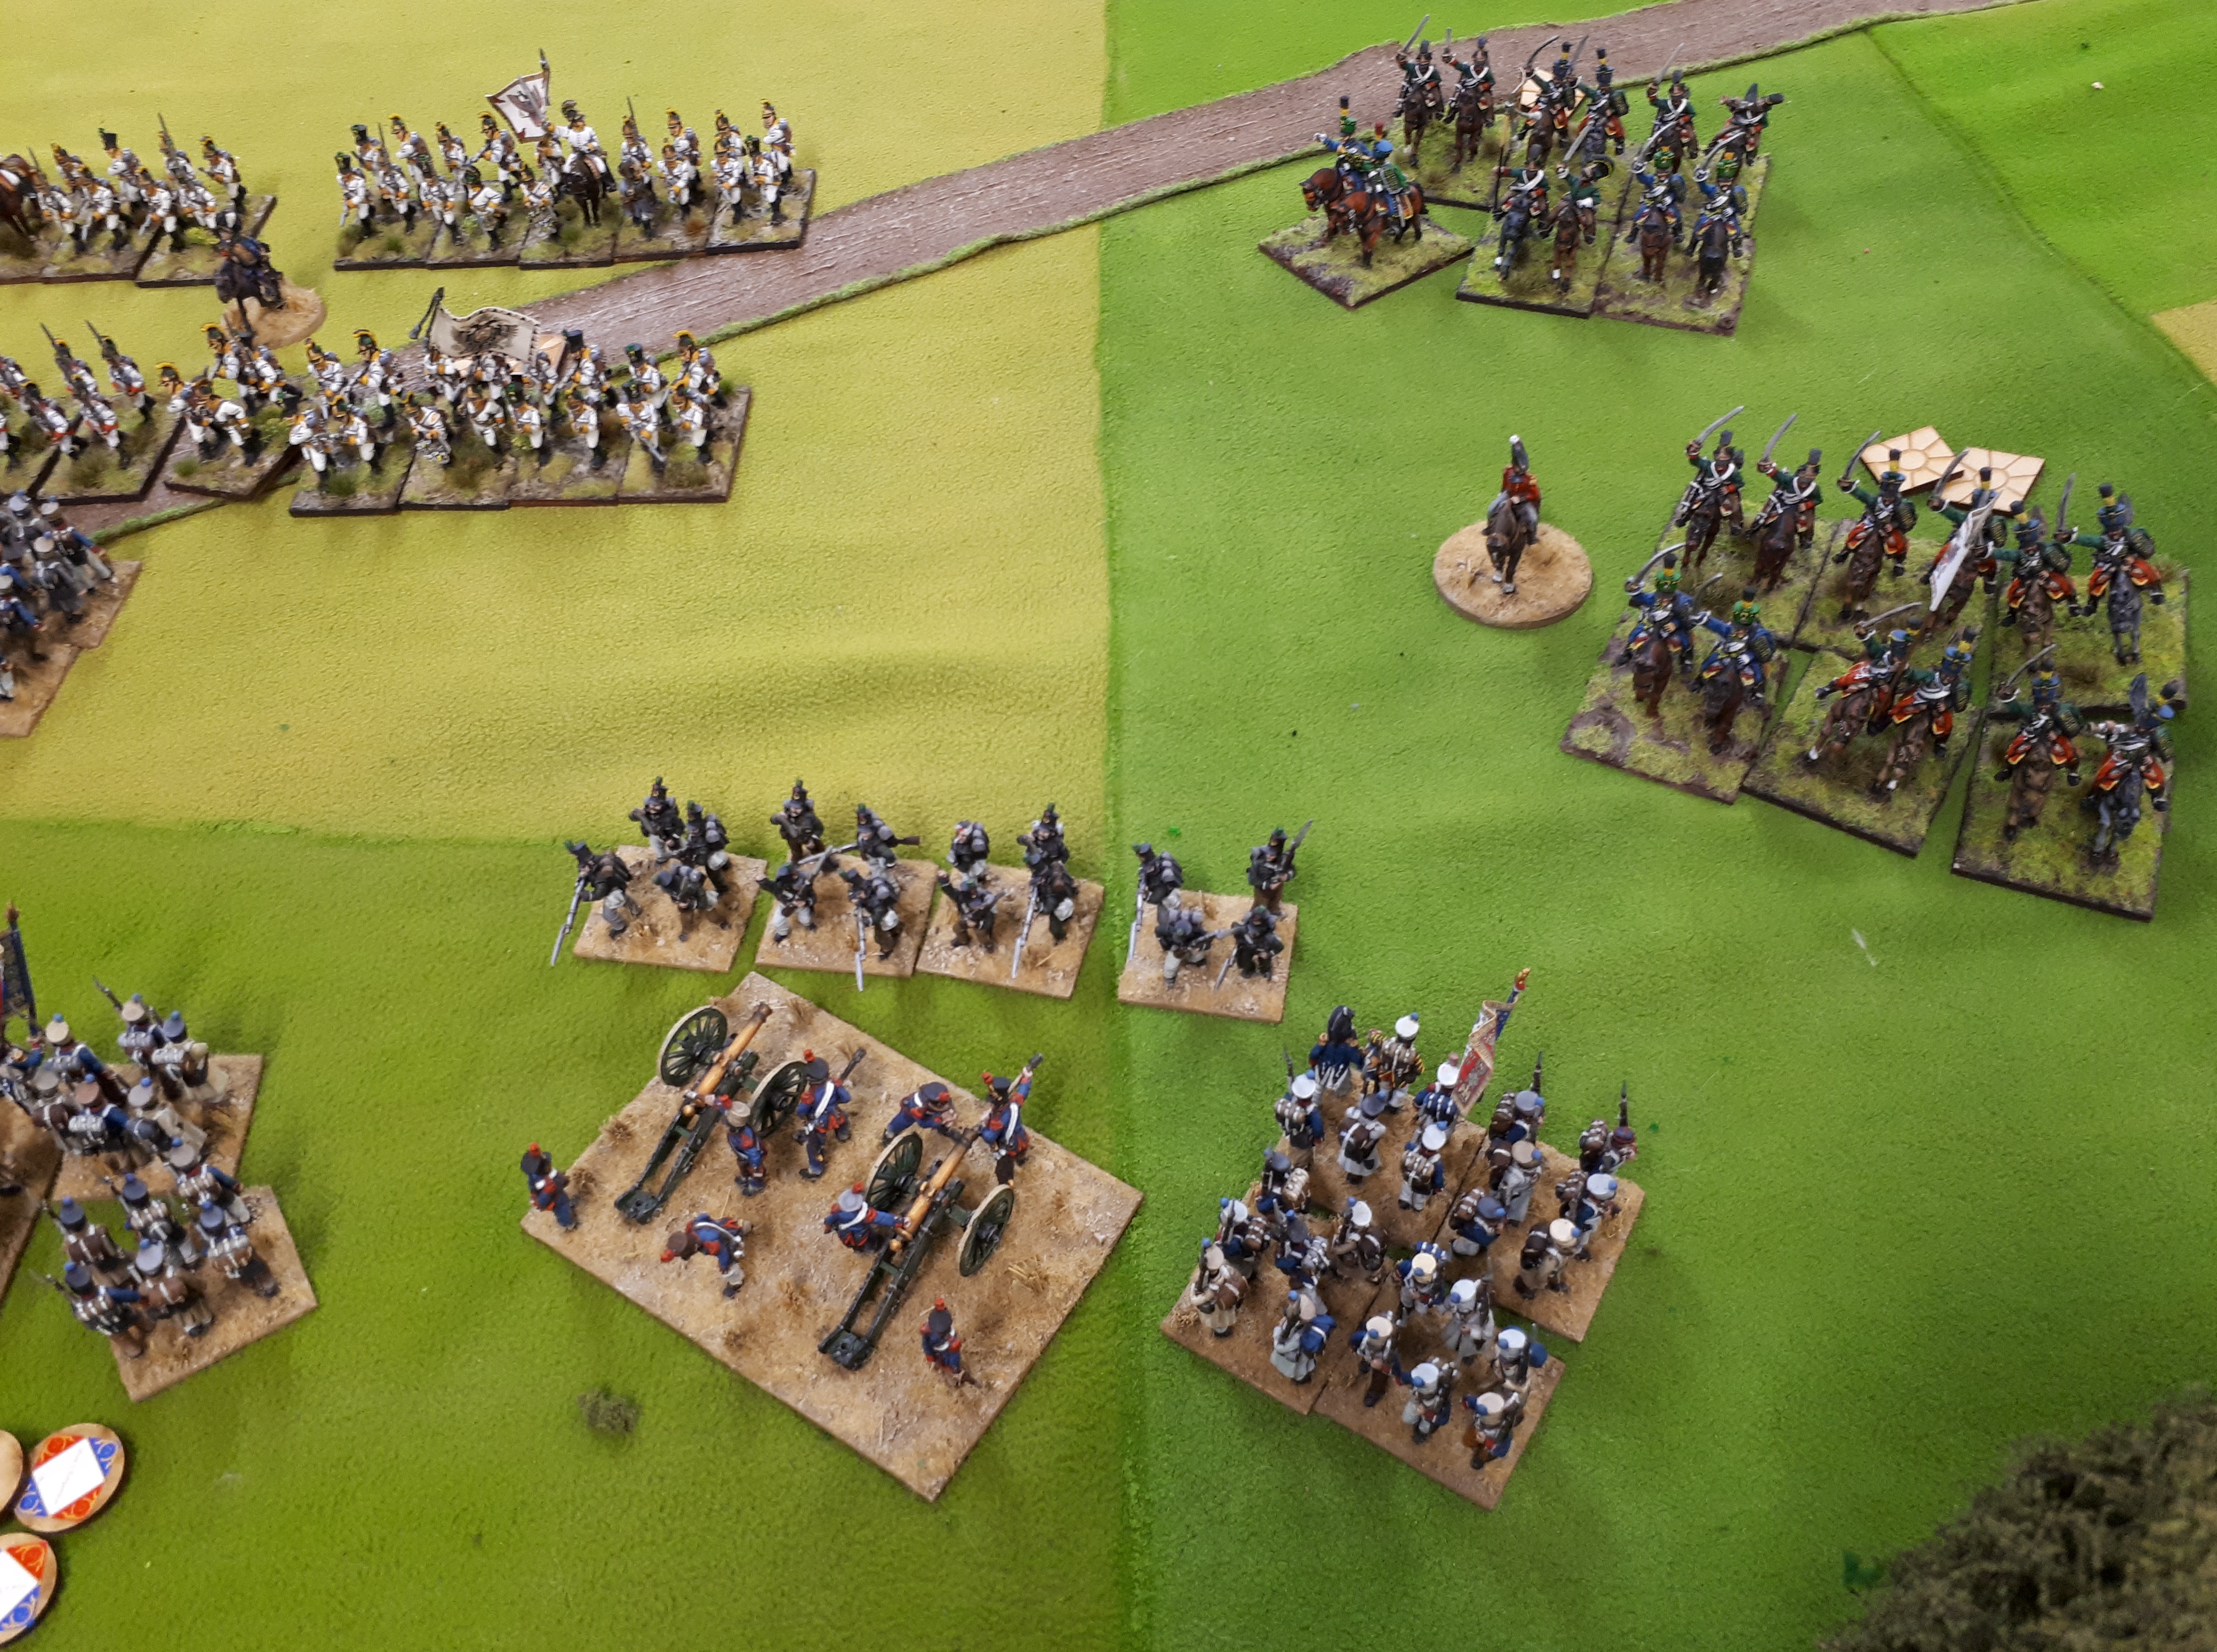
Goldie’s French force.

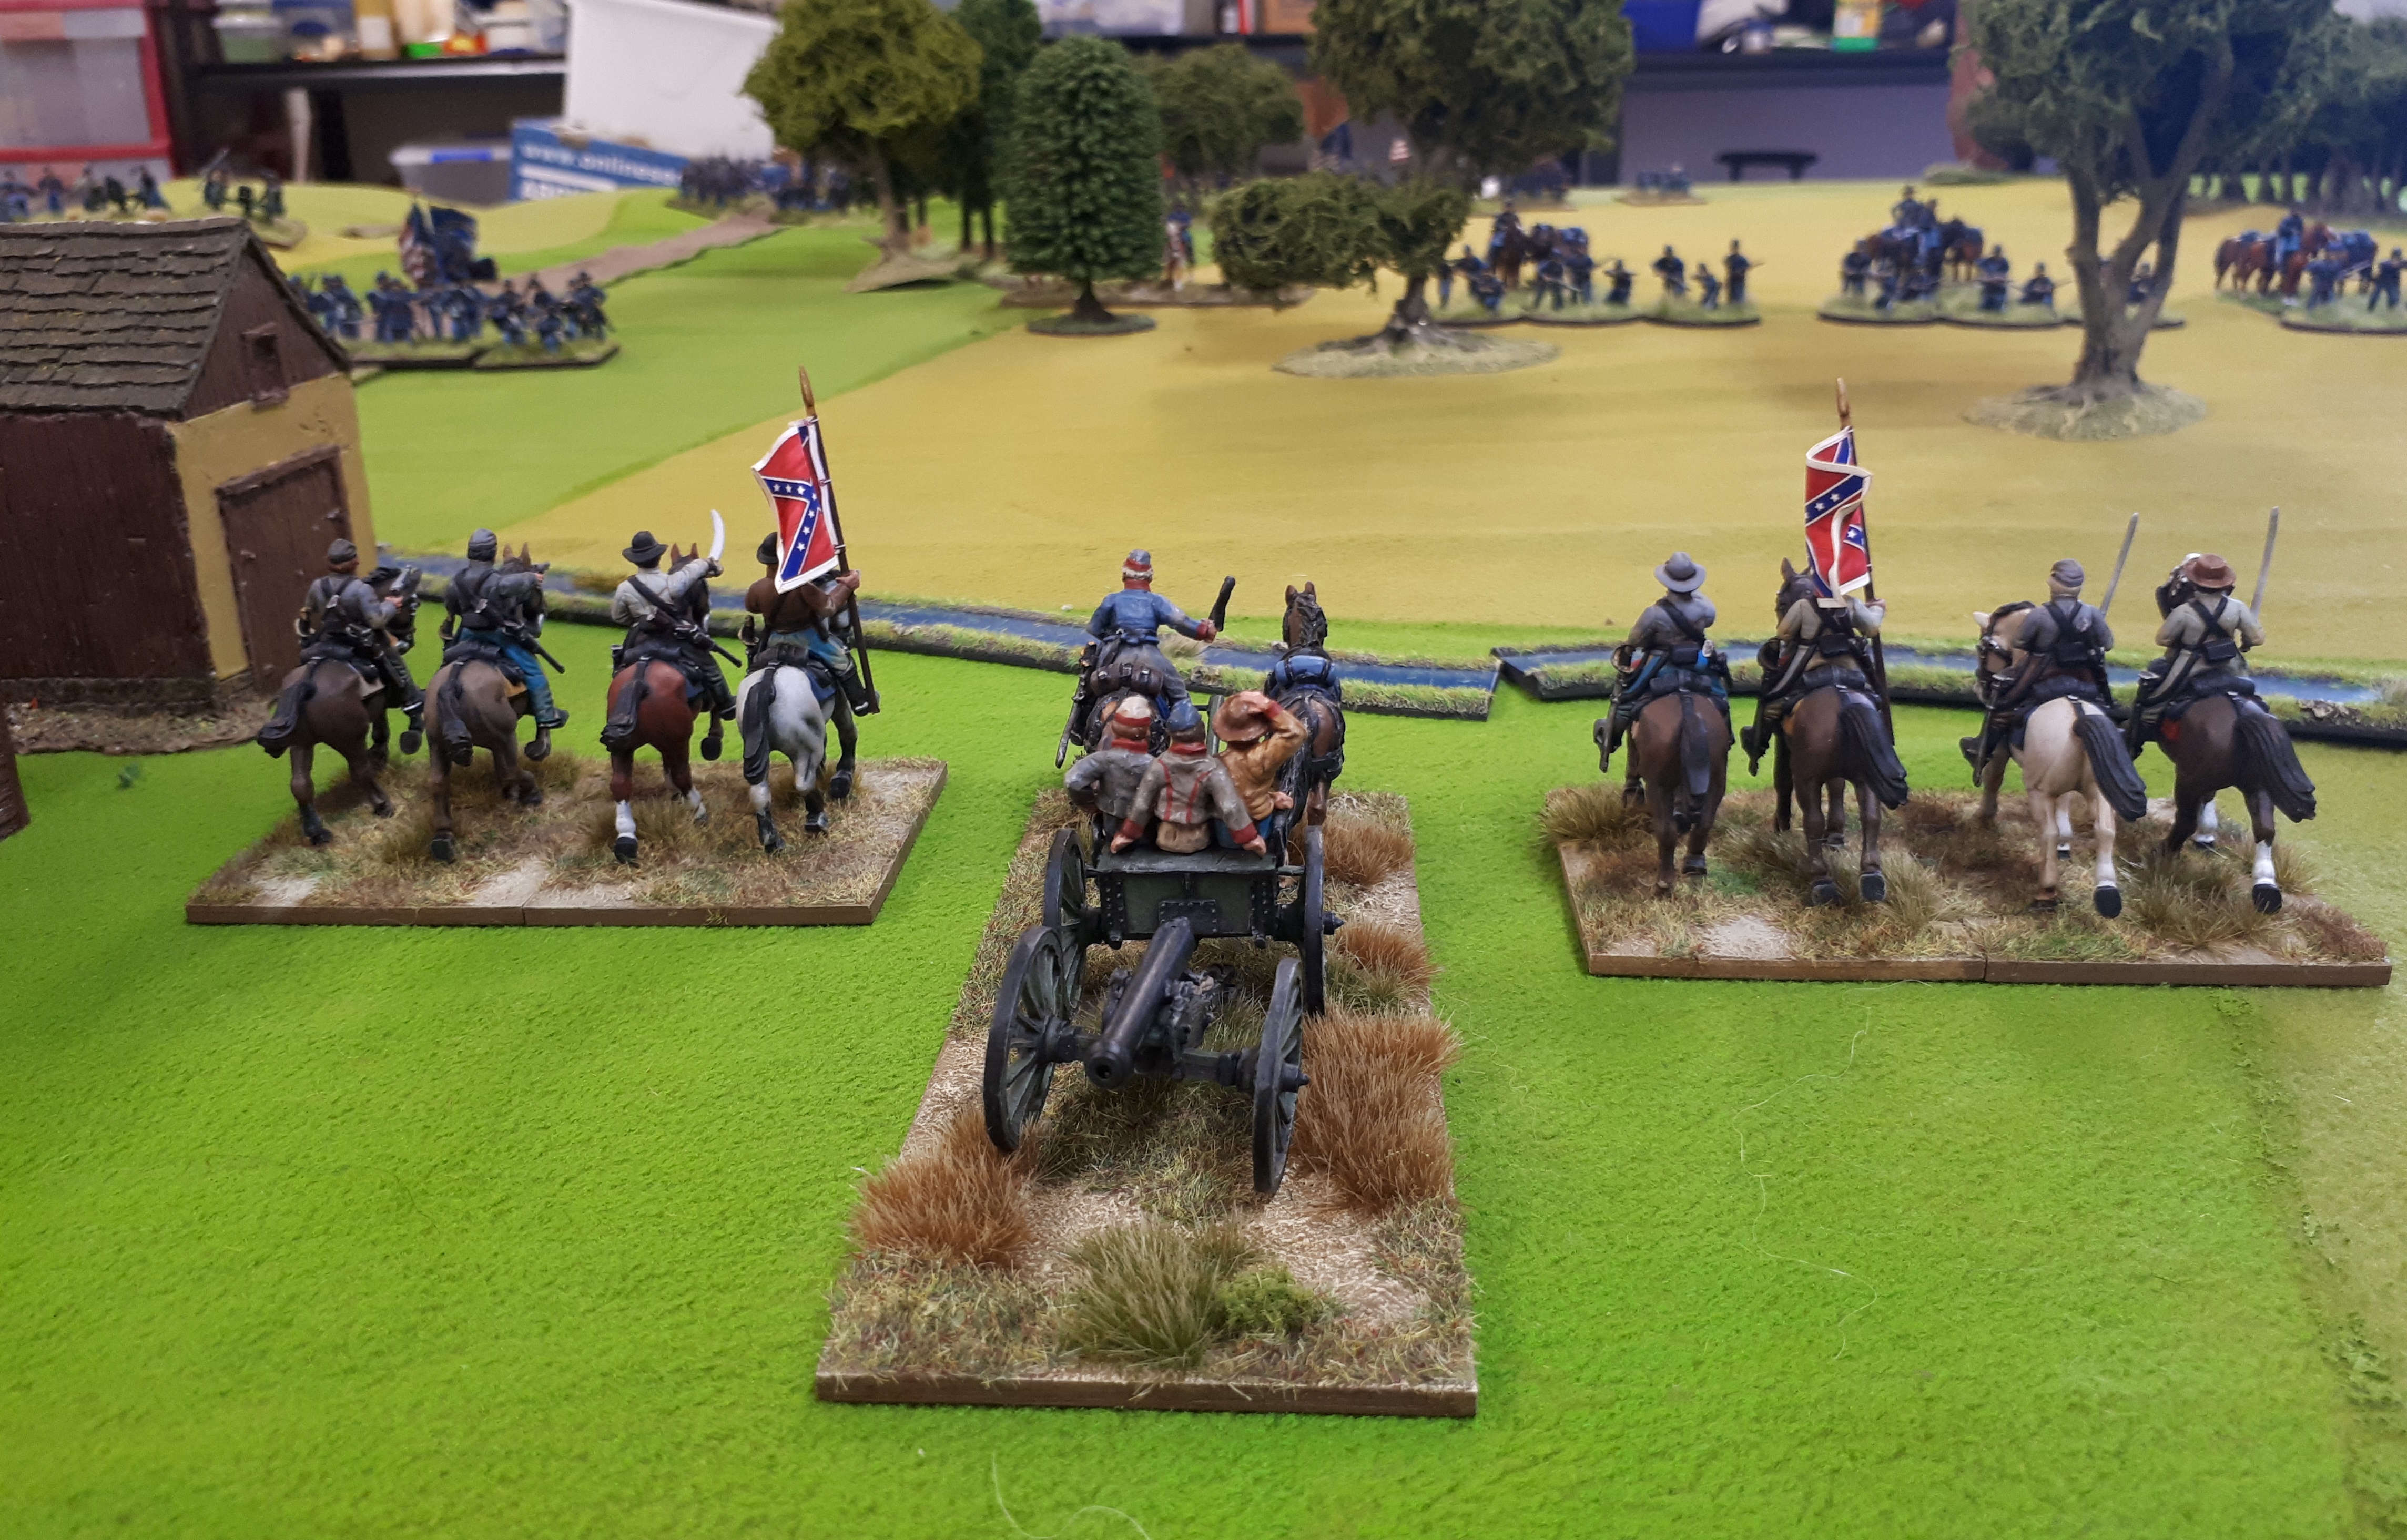
Turn 1 and Goldie decides he will sacrifice his Dragoon brigade against Simon’s. I say this having seen what happens. Both attackers get 8 dice and hit on 3’s, save on 4’s. Each side gets a +1 to the combat result and Goldie adds +2 having flank and rear support. Simon gets to reroll any misses.

And here we have the conclusion of the action. Goldie loses the initial combat, and his beaten unit retires with 3 wounds shaken. Simon then proceeds to ‘Gallop at anything’ in the sweeping advance phase. He obliterates the stationary French Dragoon regt which stands and takes it. The British then rally back a little battered but having dealt out some serious damage. The reroll is a killer and leaves one to think you have to take on these British heavies with Cuirassier’s.

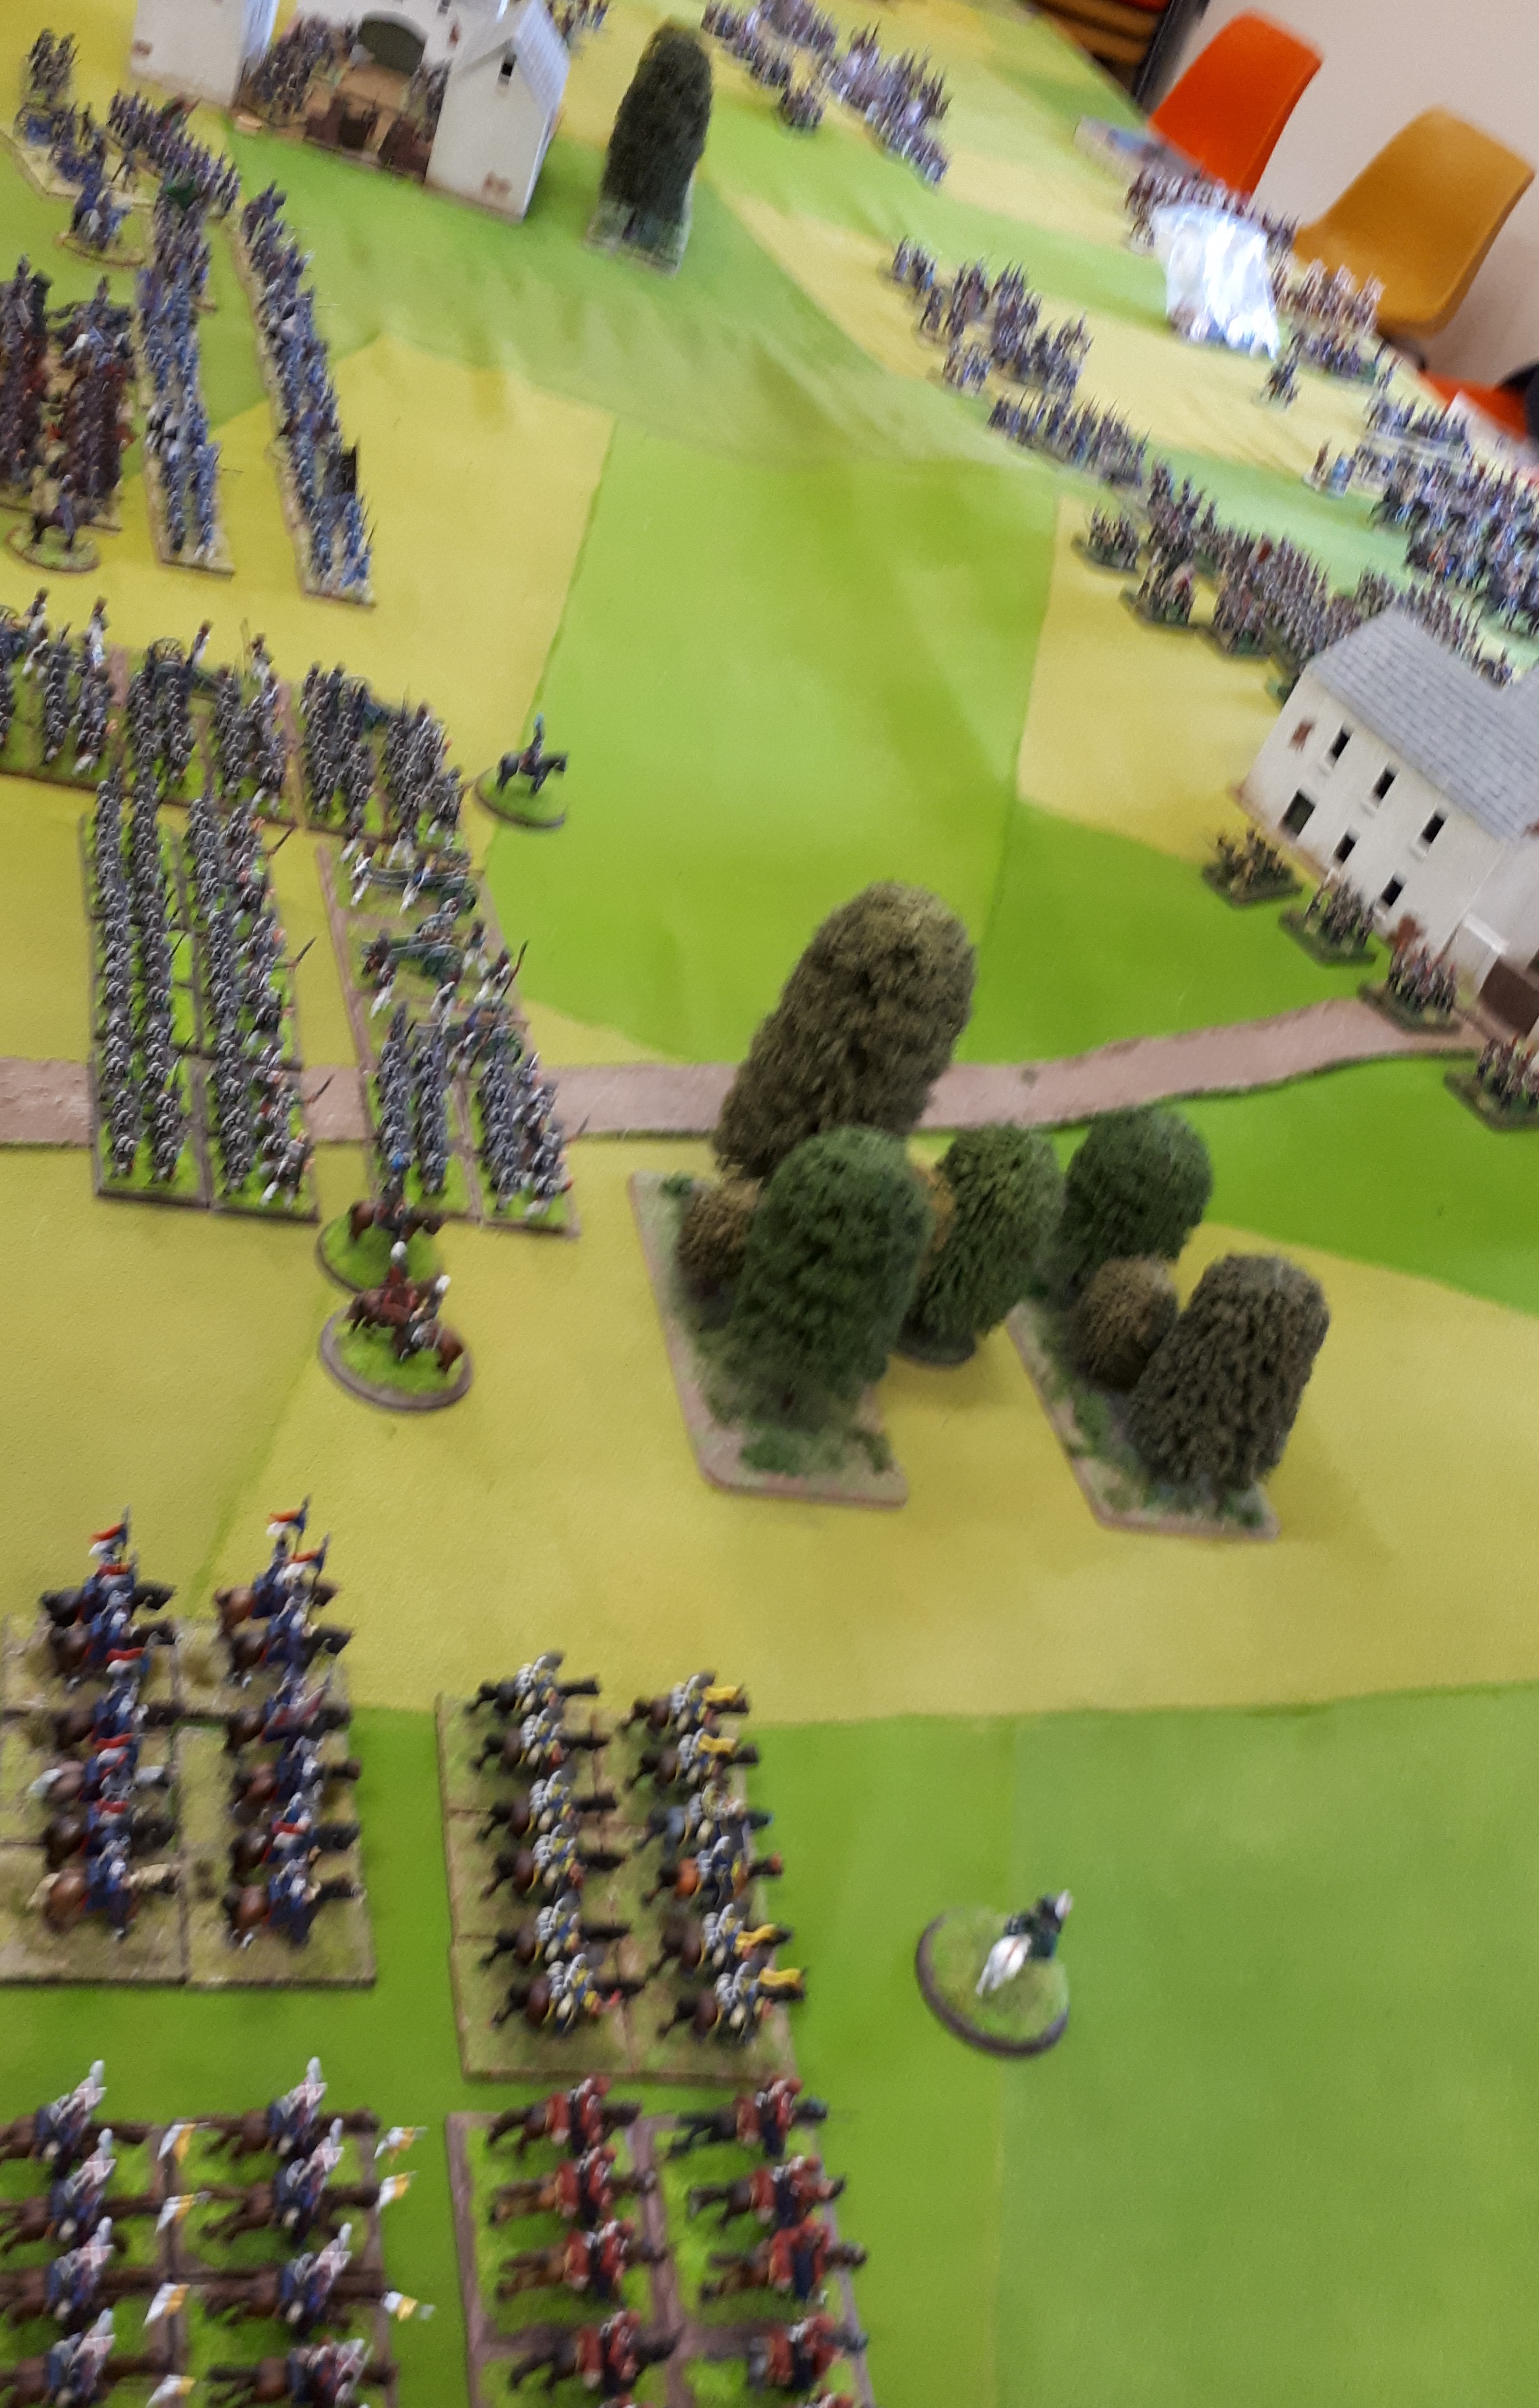
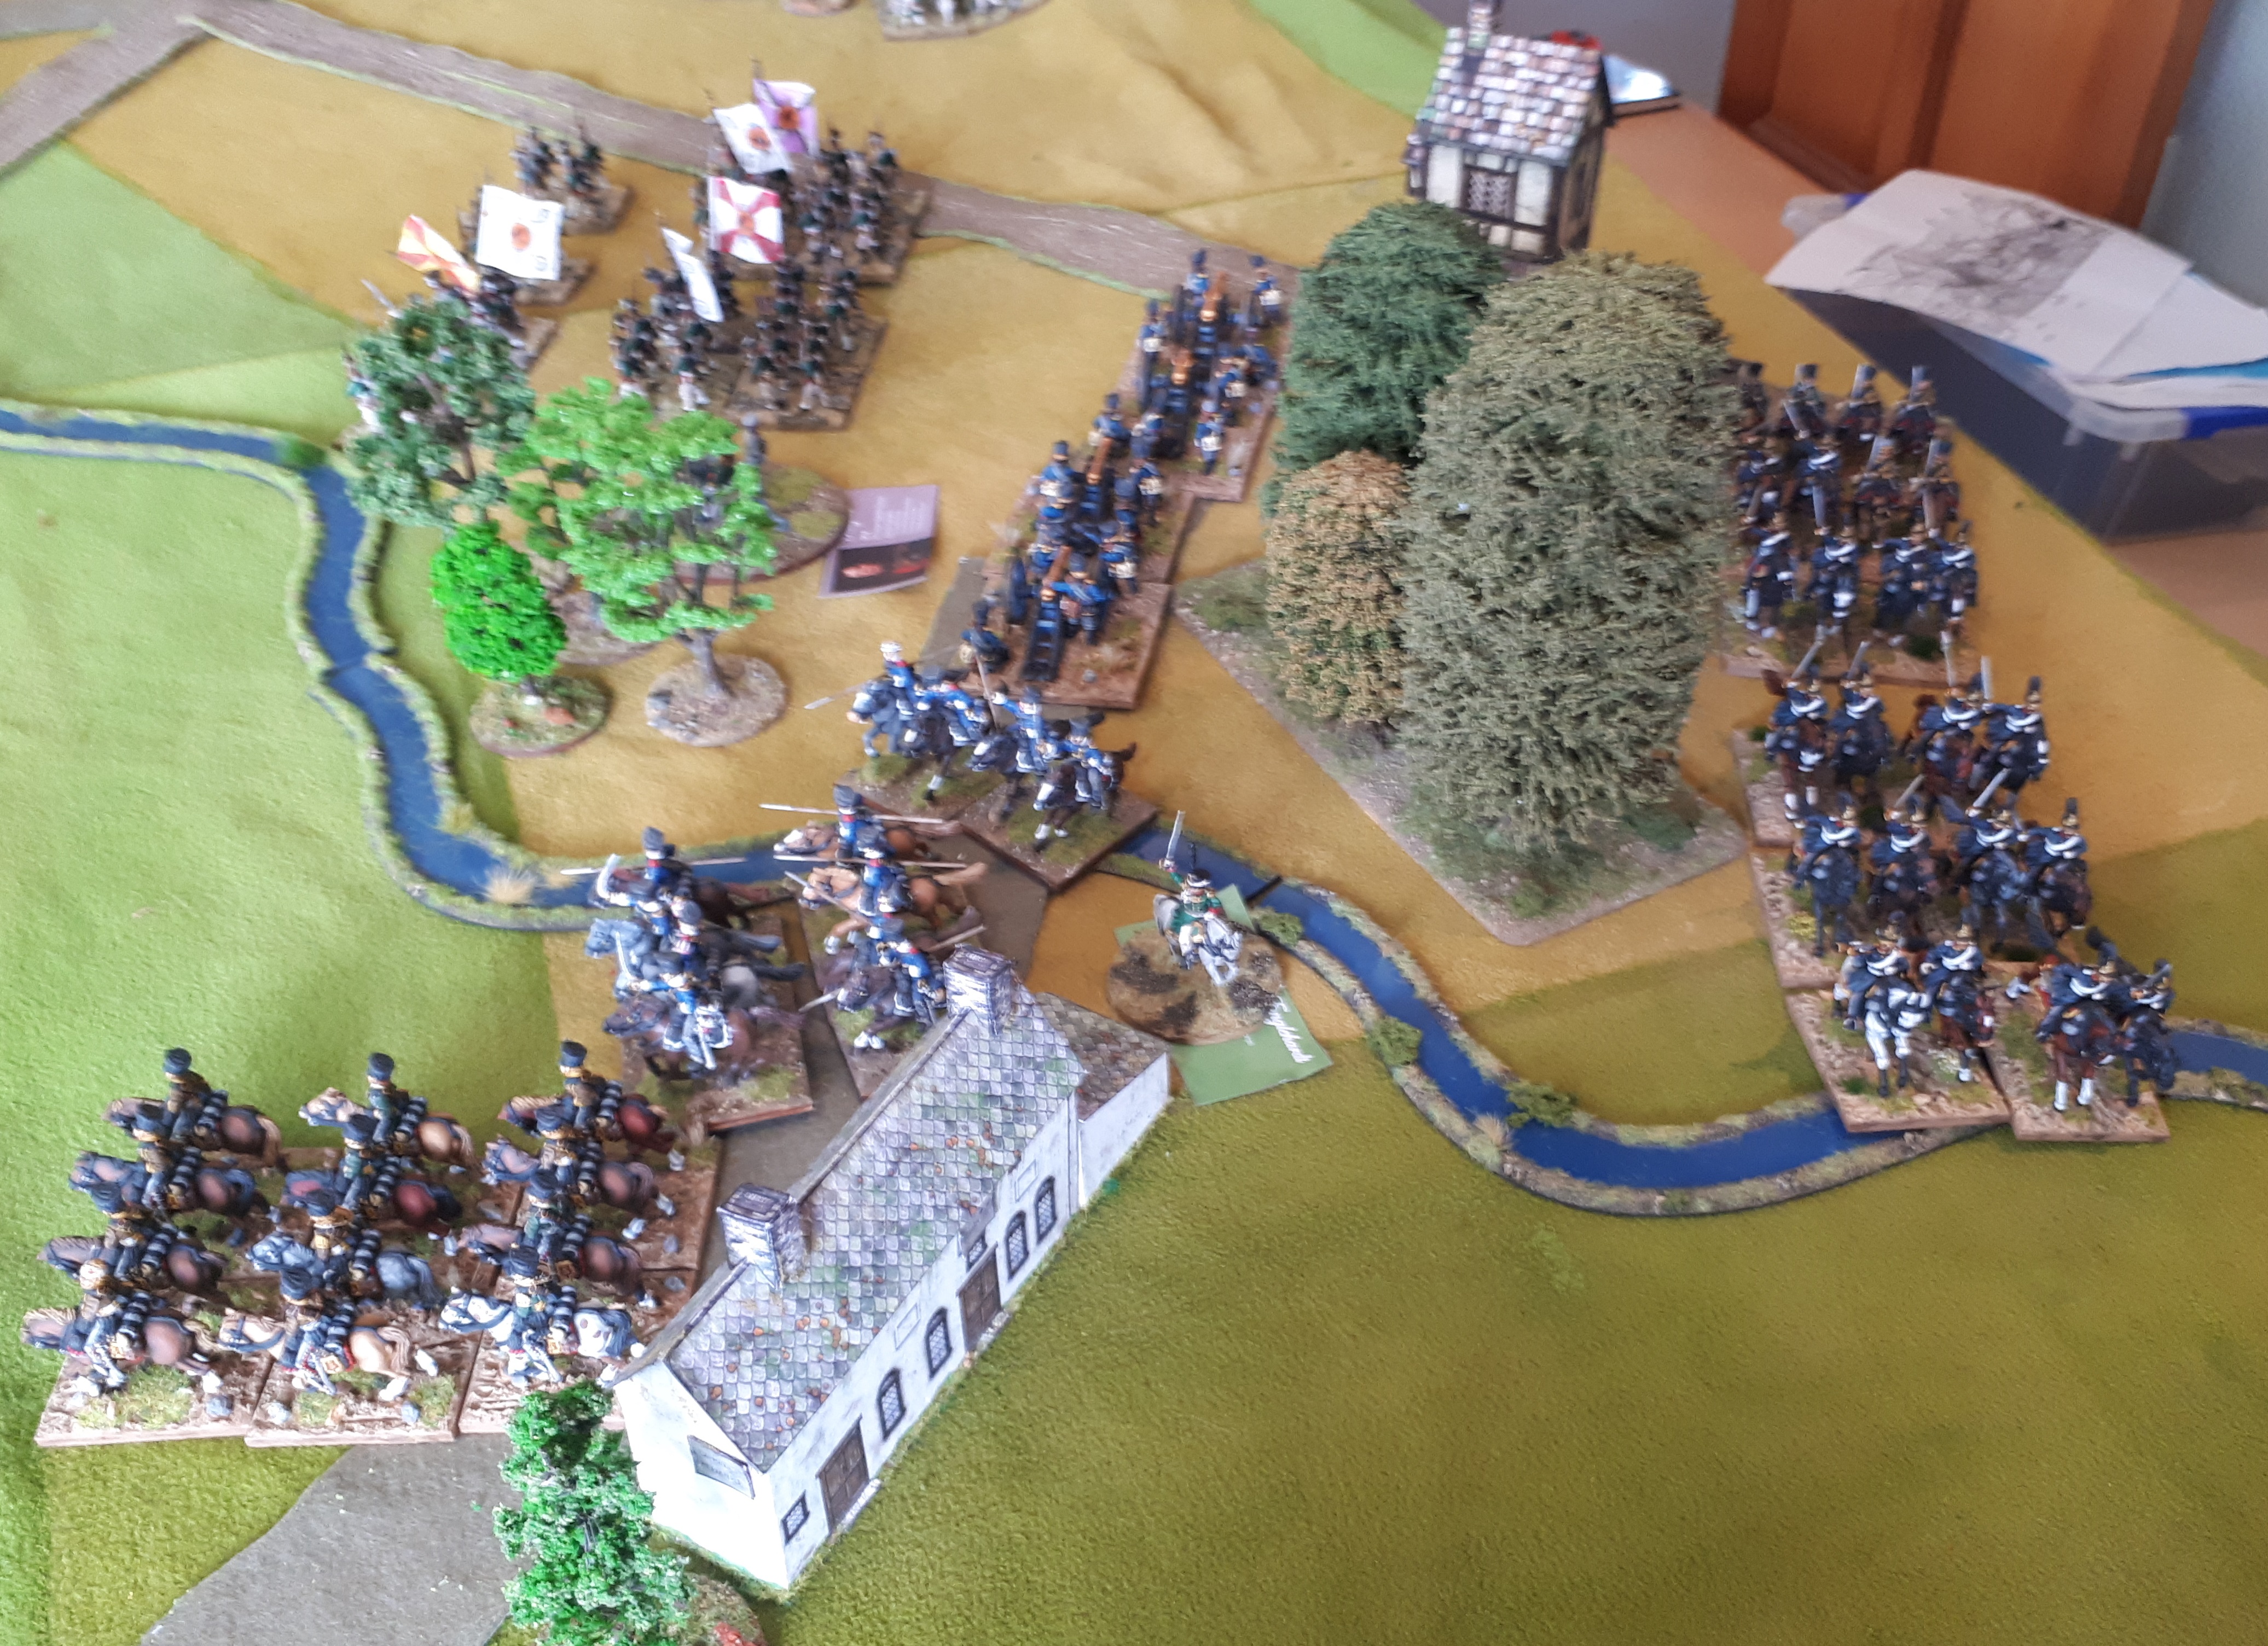
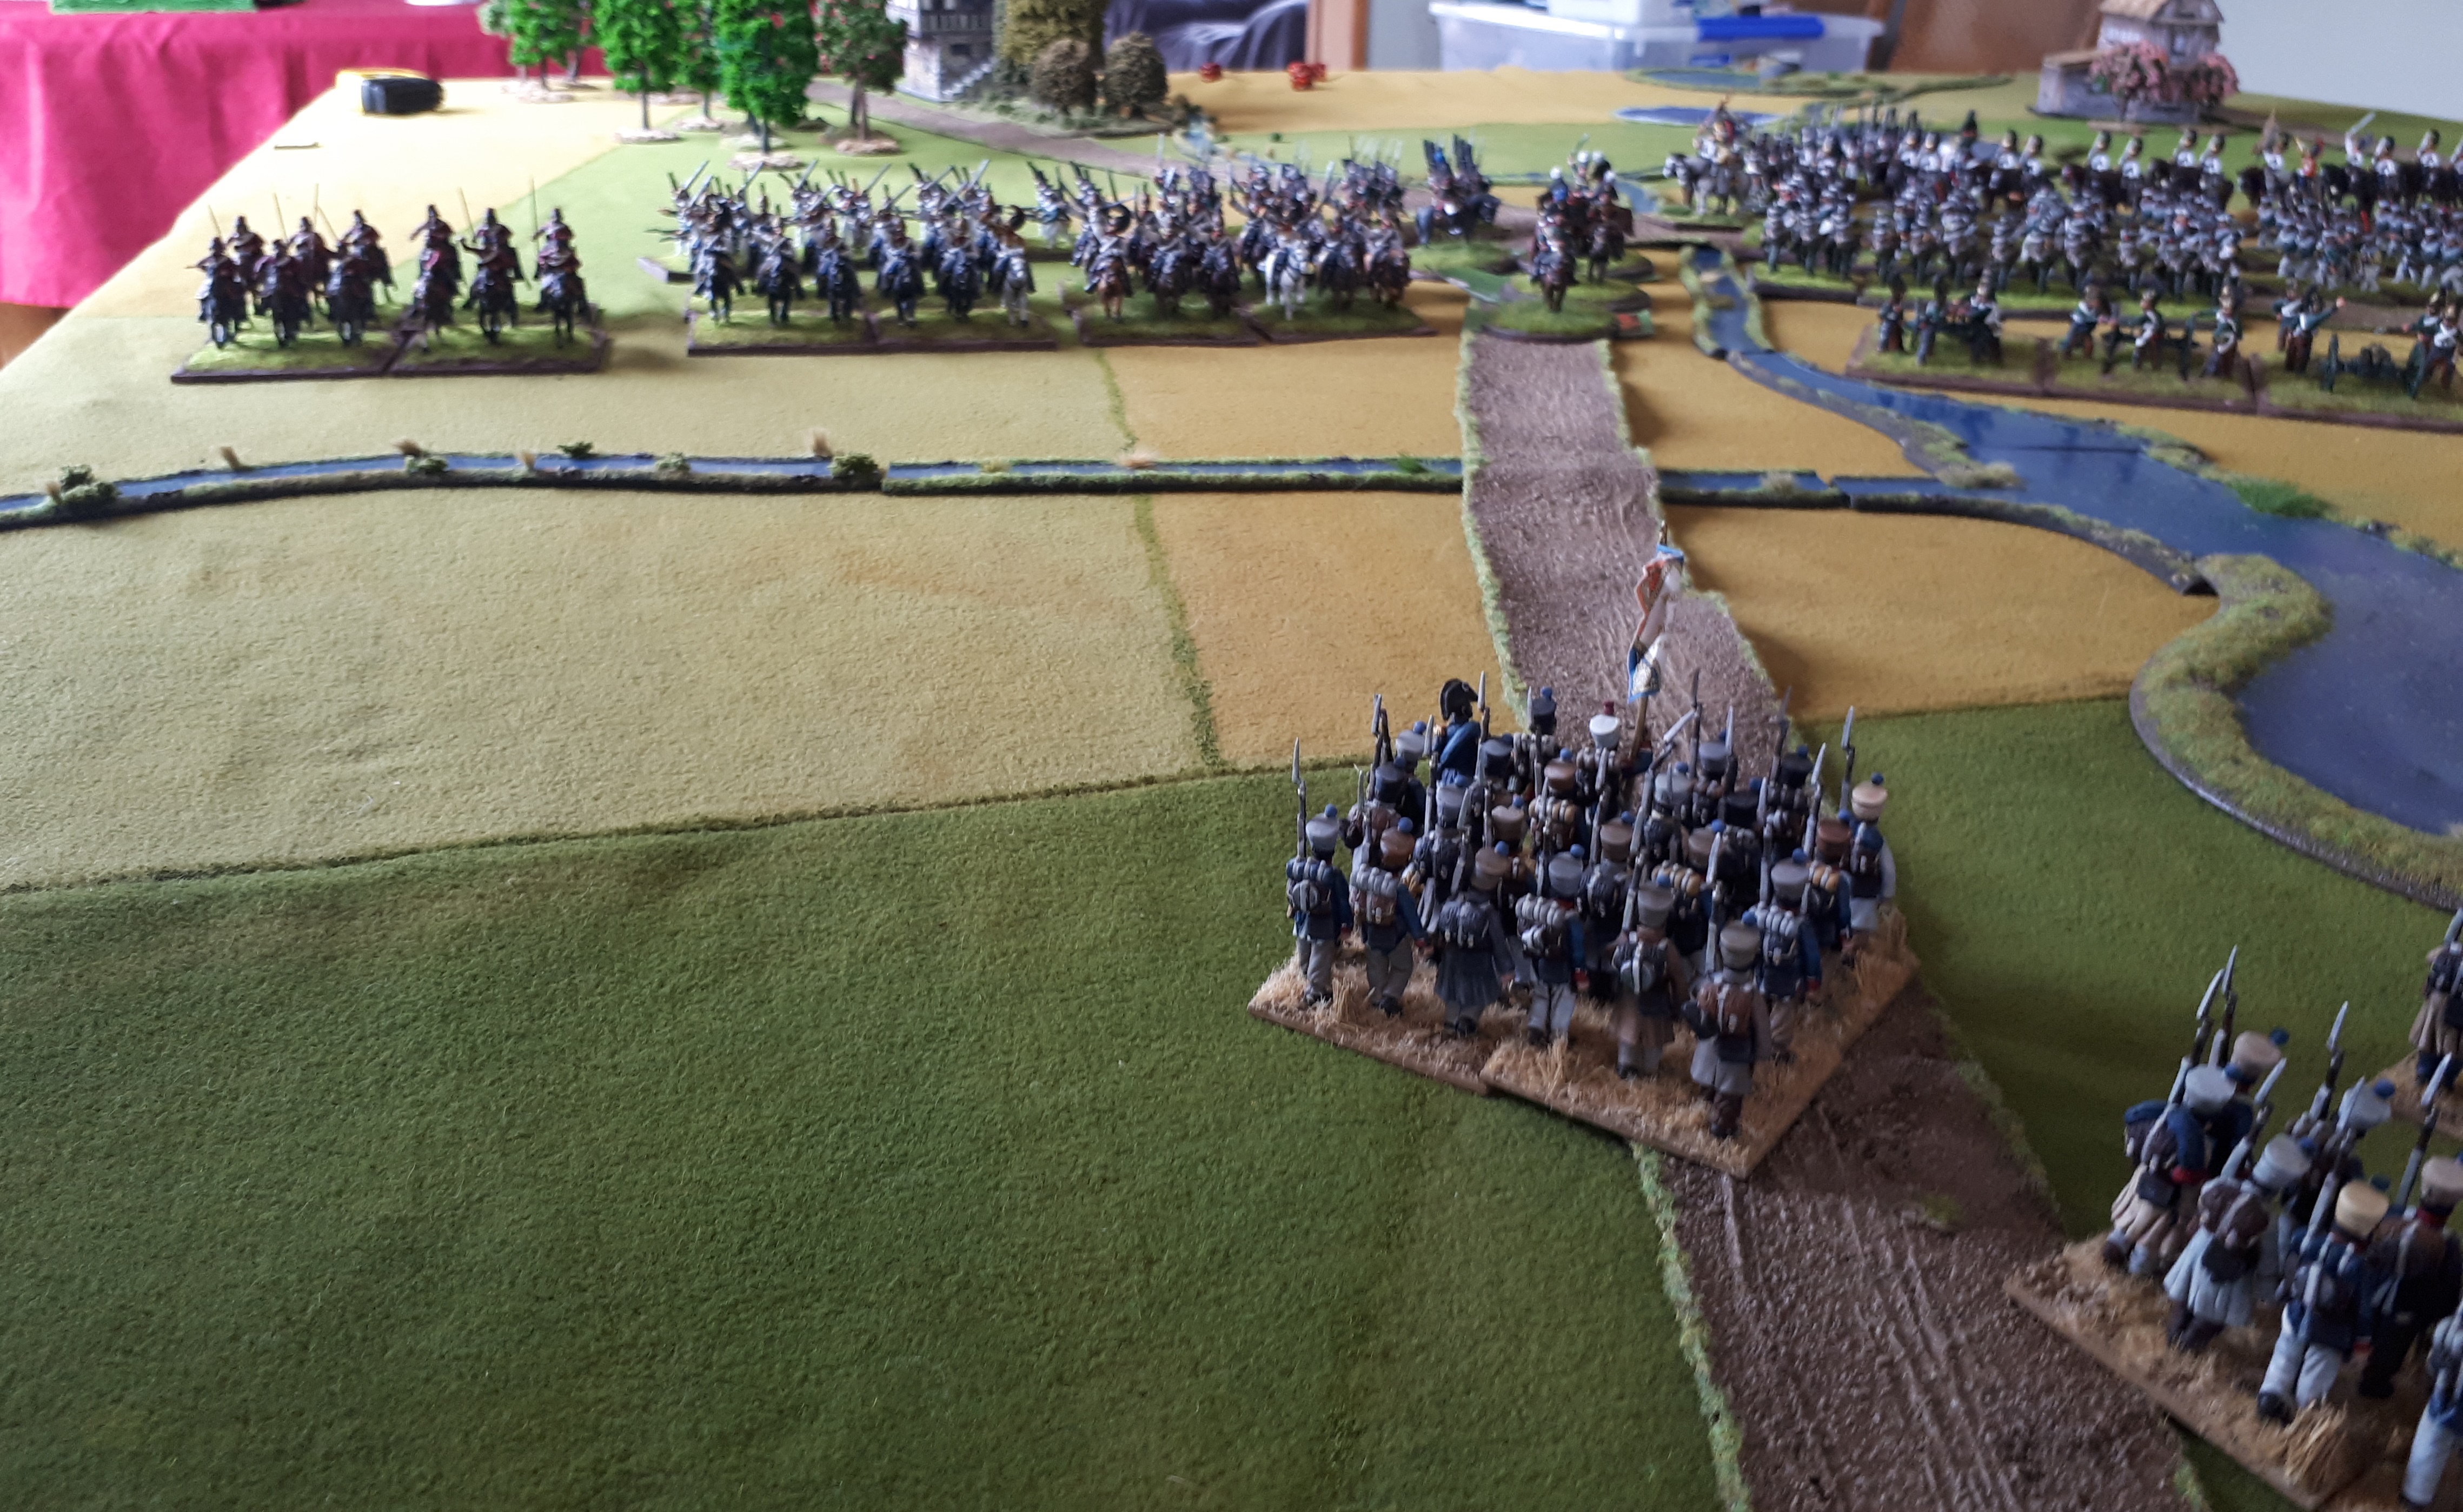
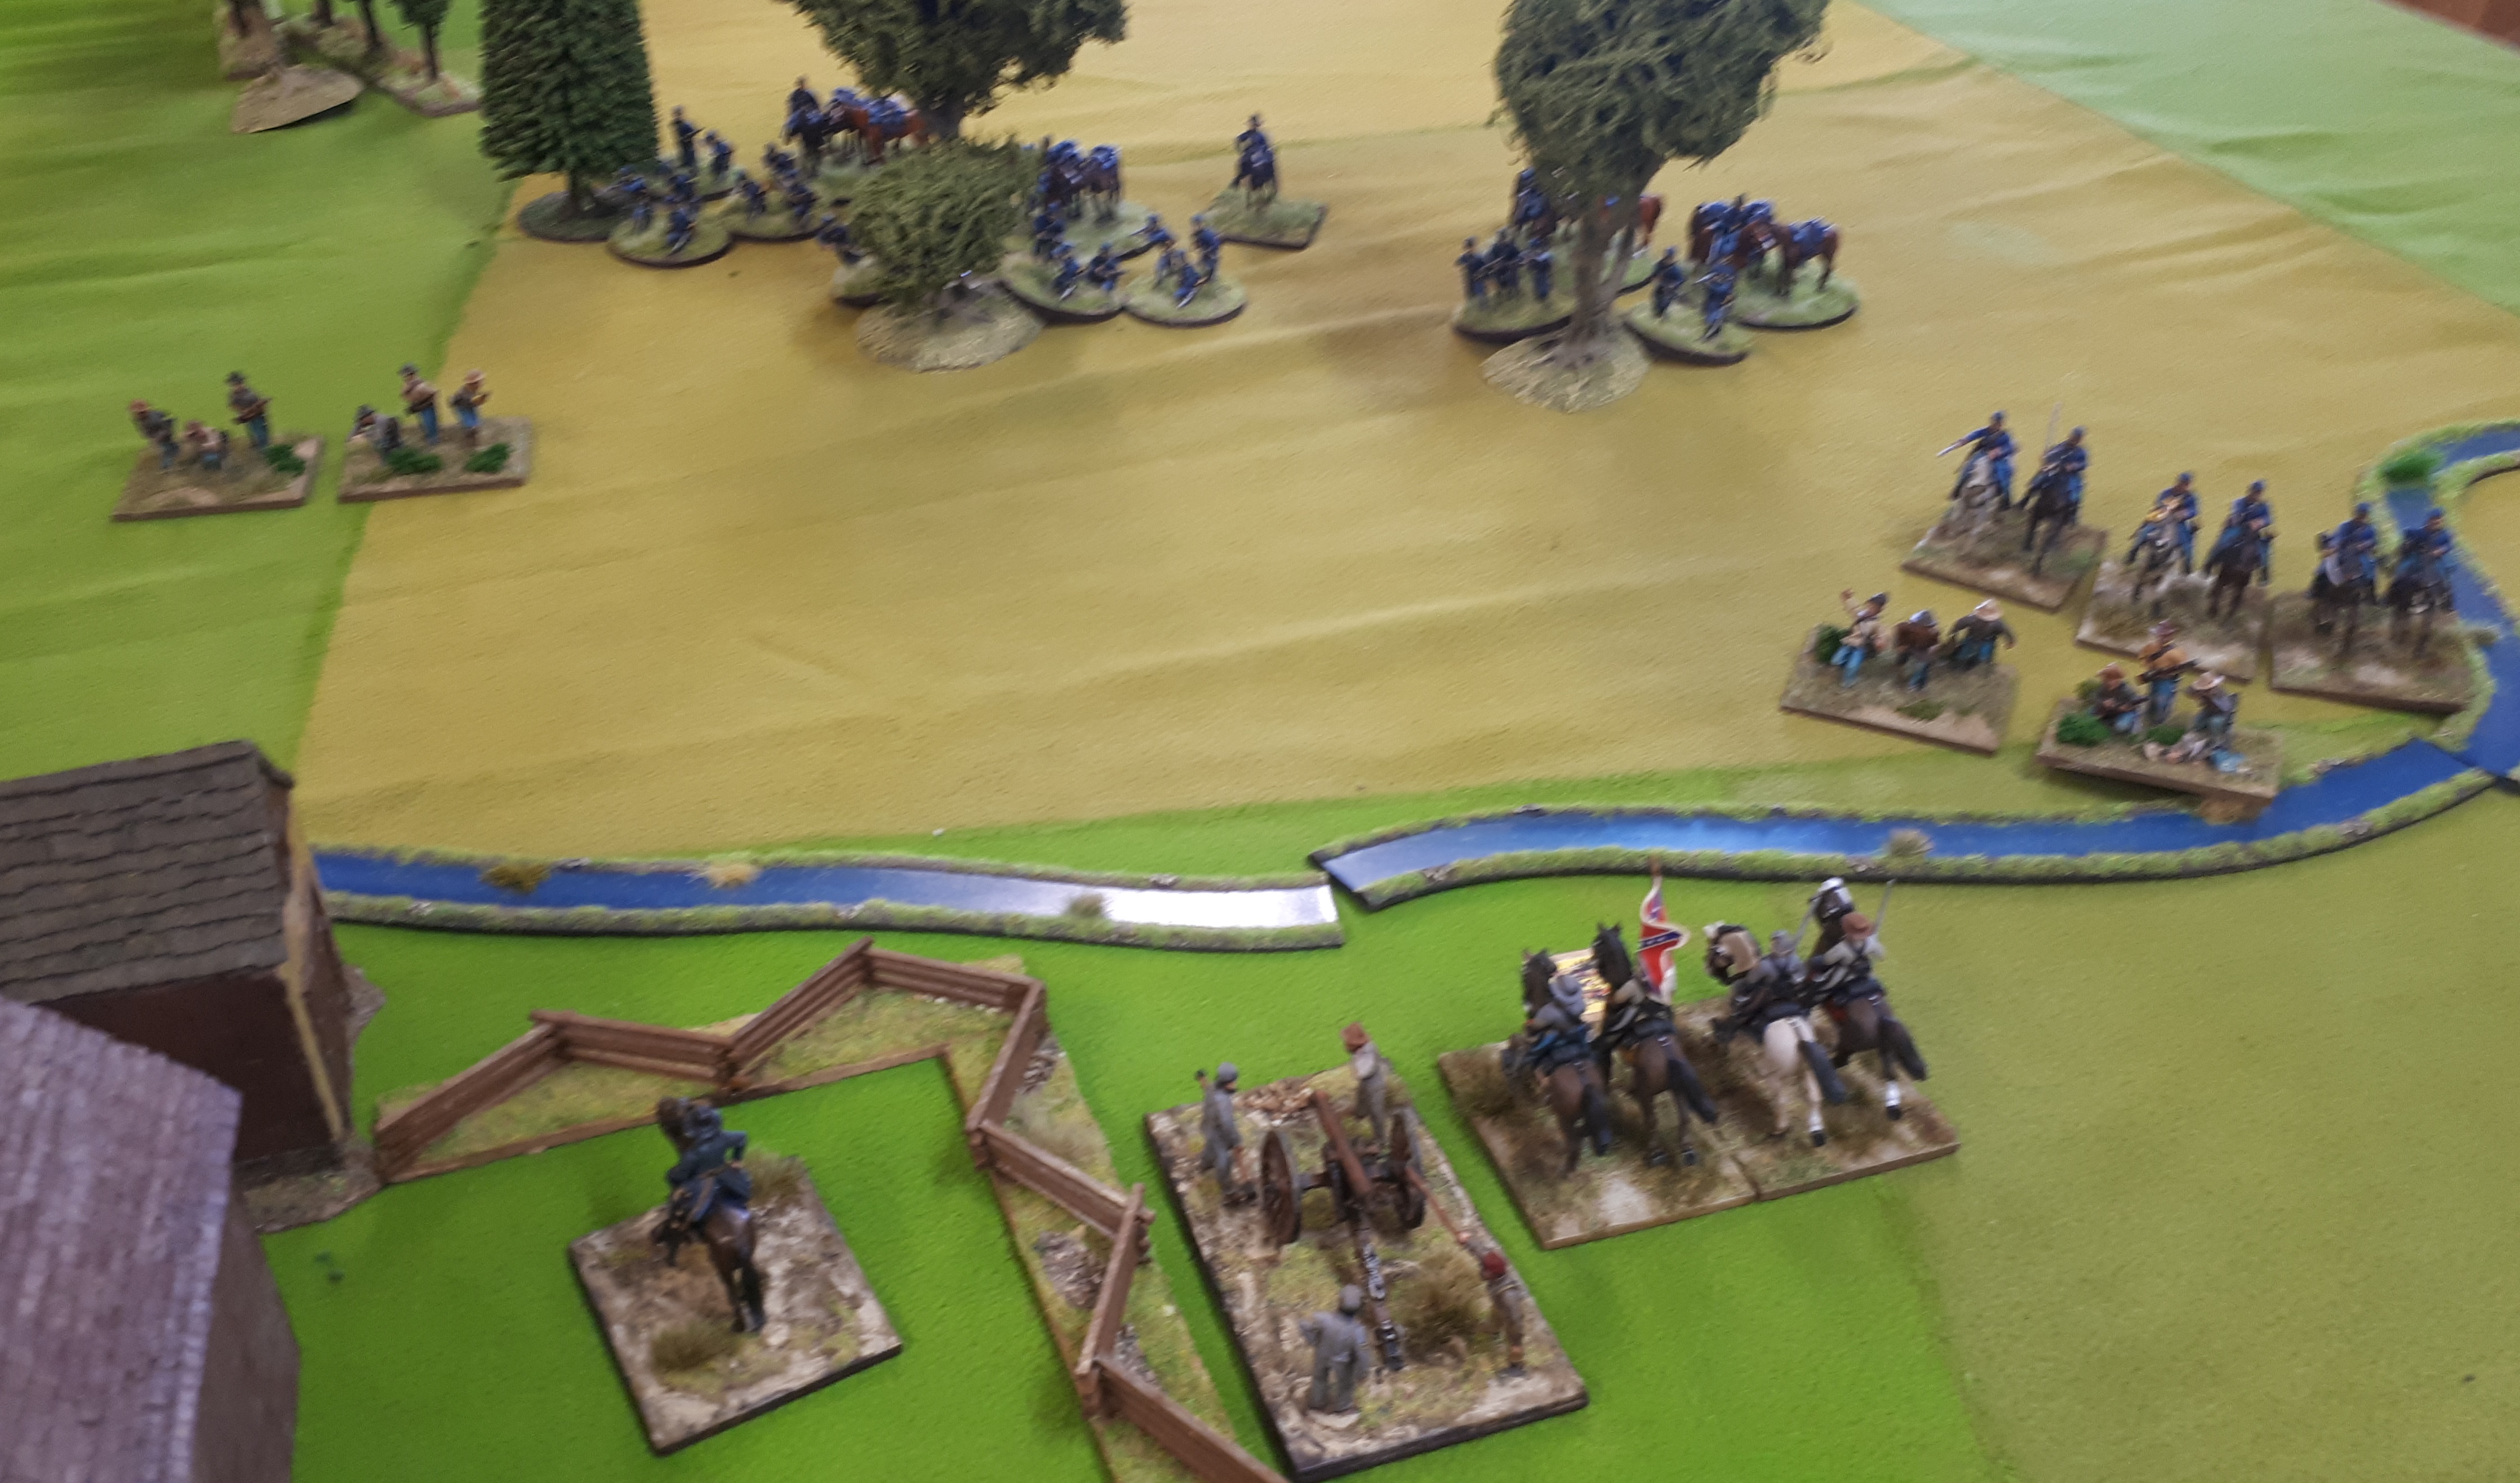
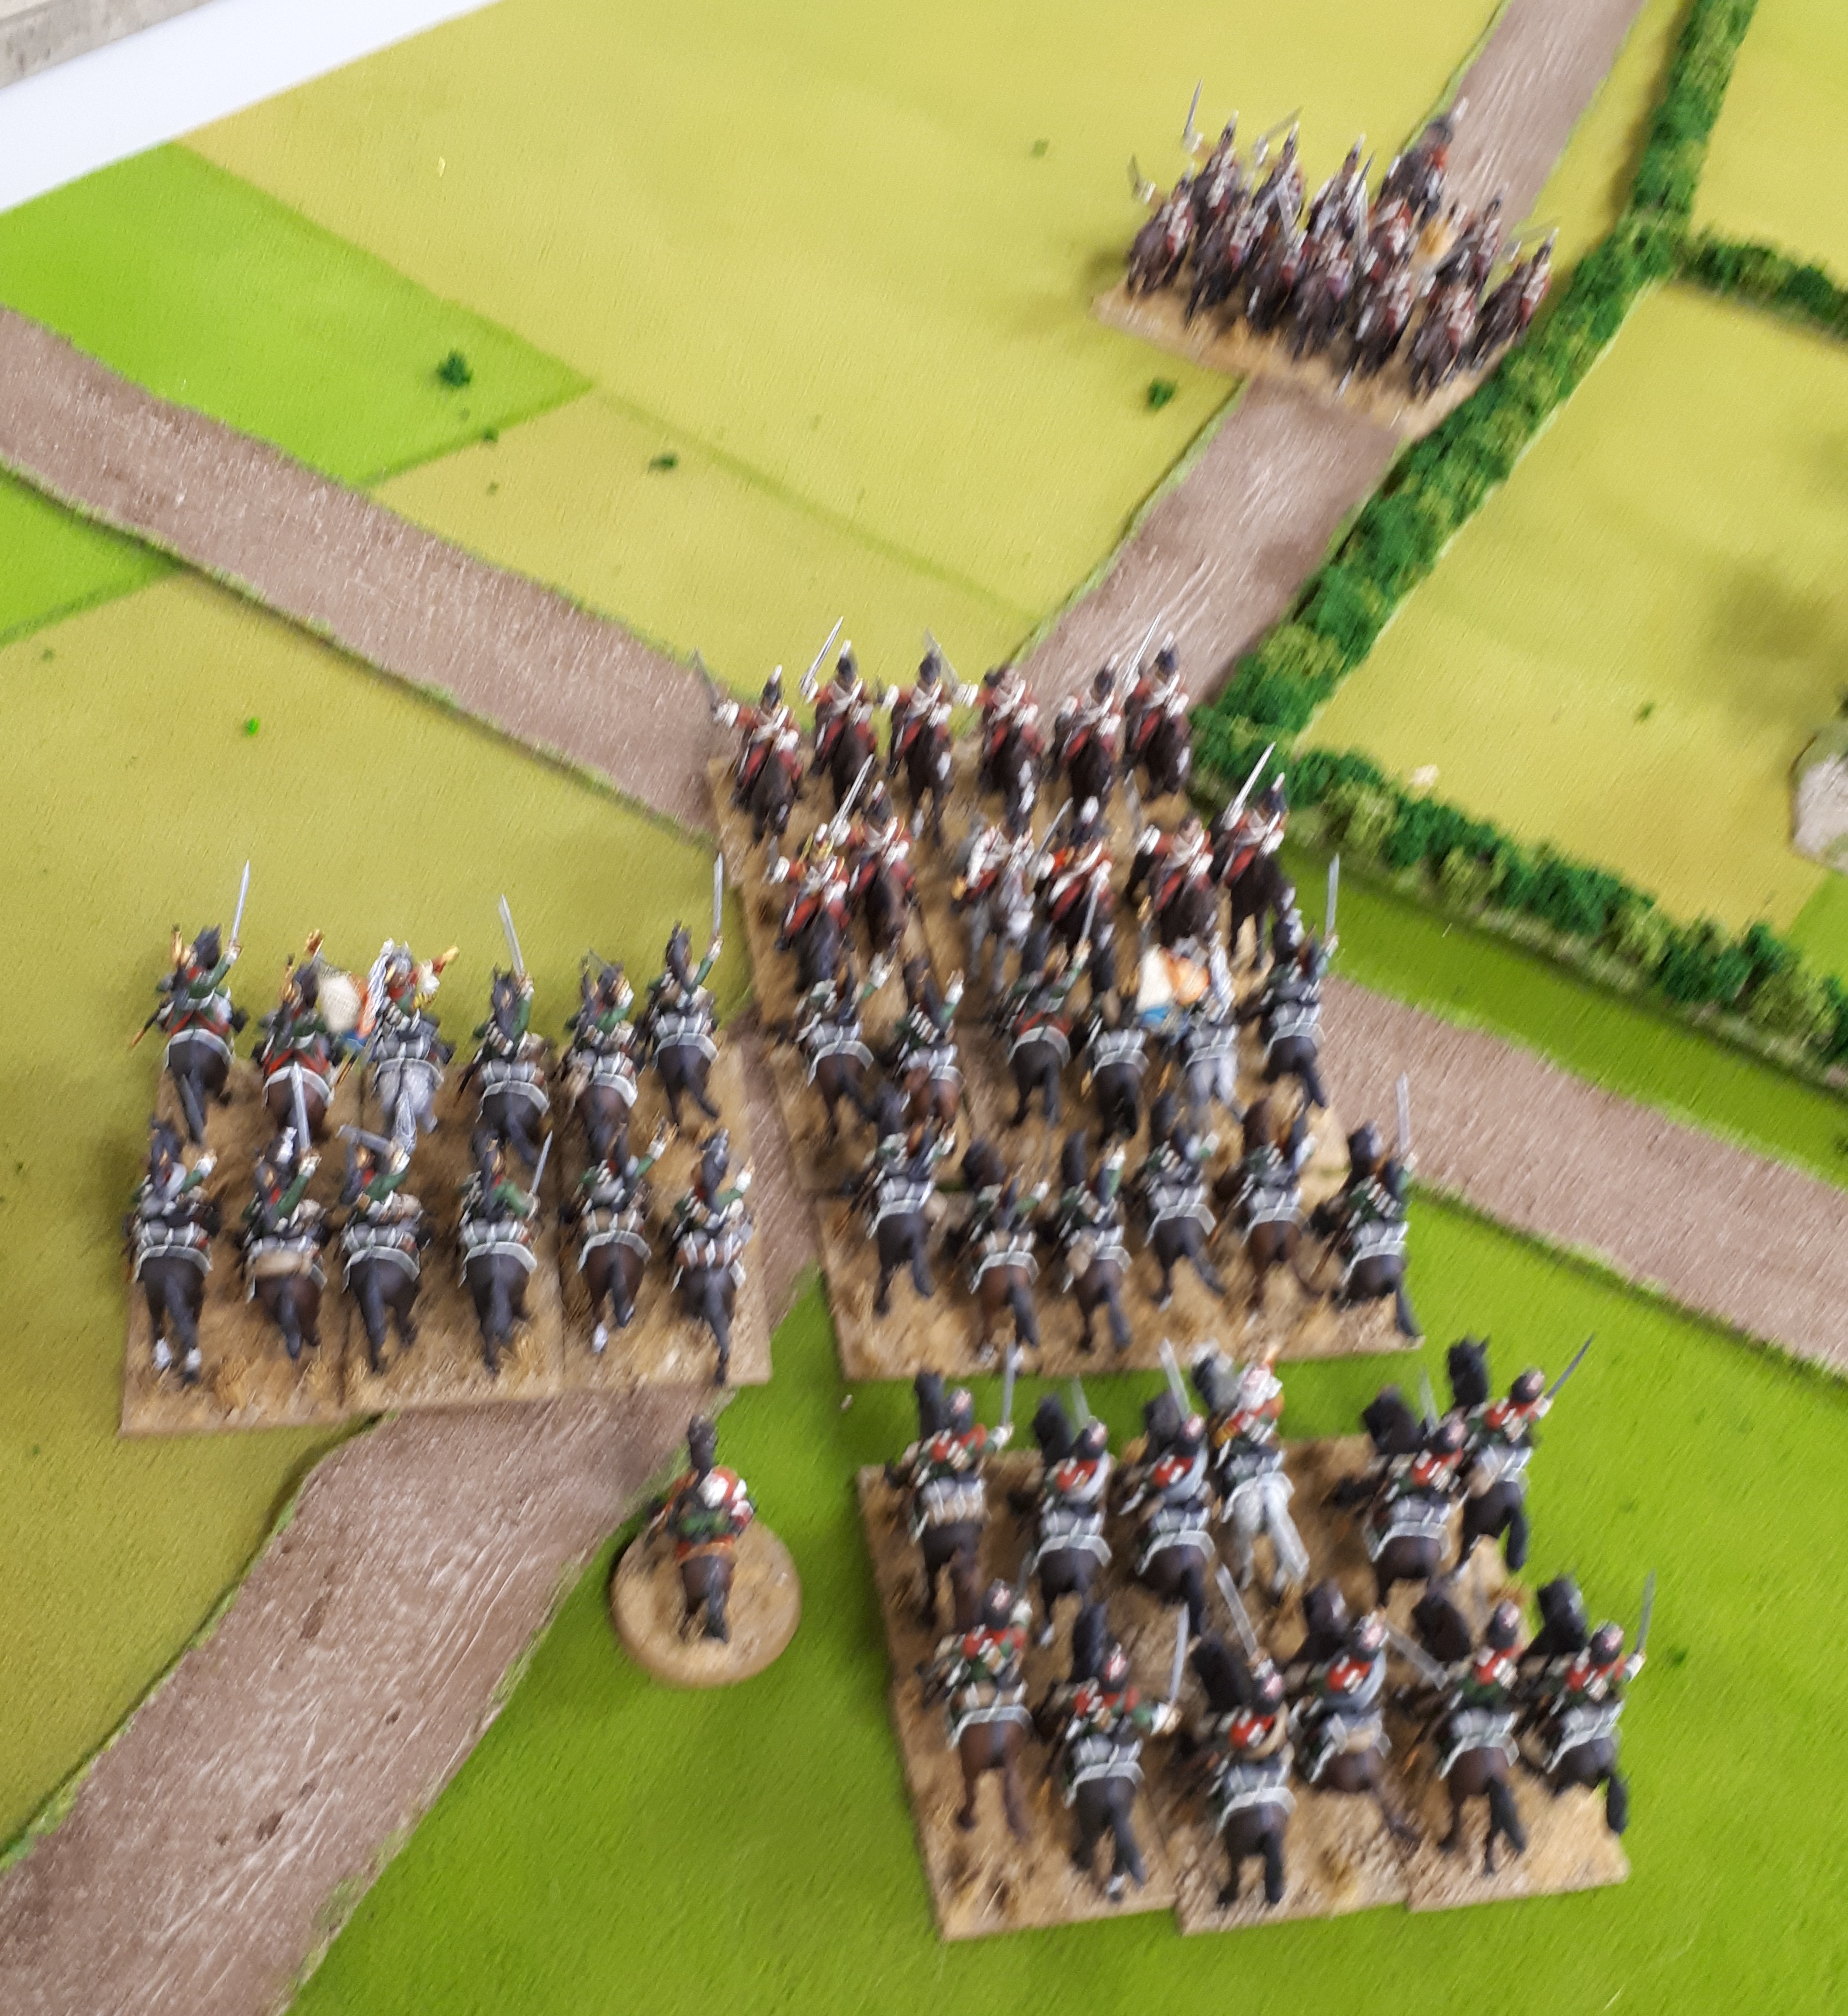
Simon’s moves his left flank light cavalry forward. There left flank is the table edge.

And the other flank the British cavalry are still slapping backs.

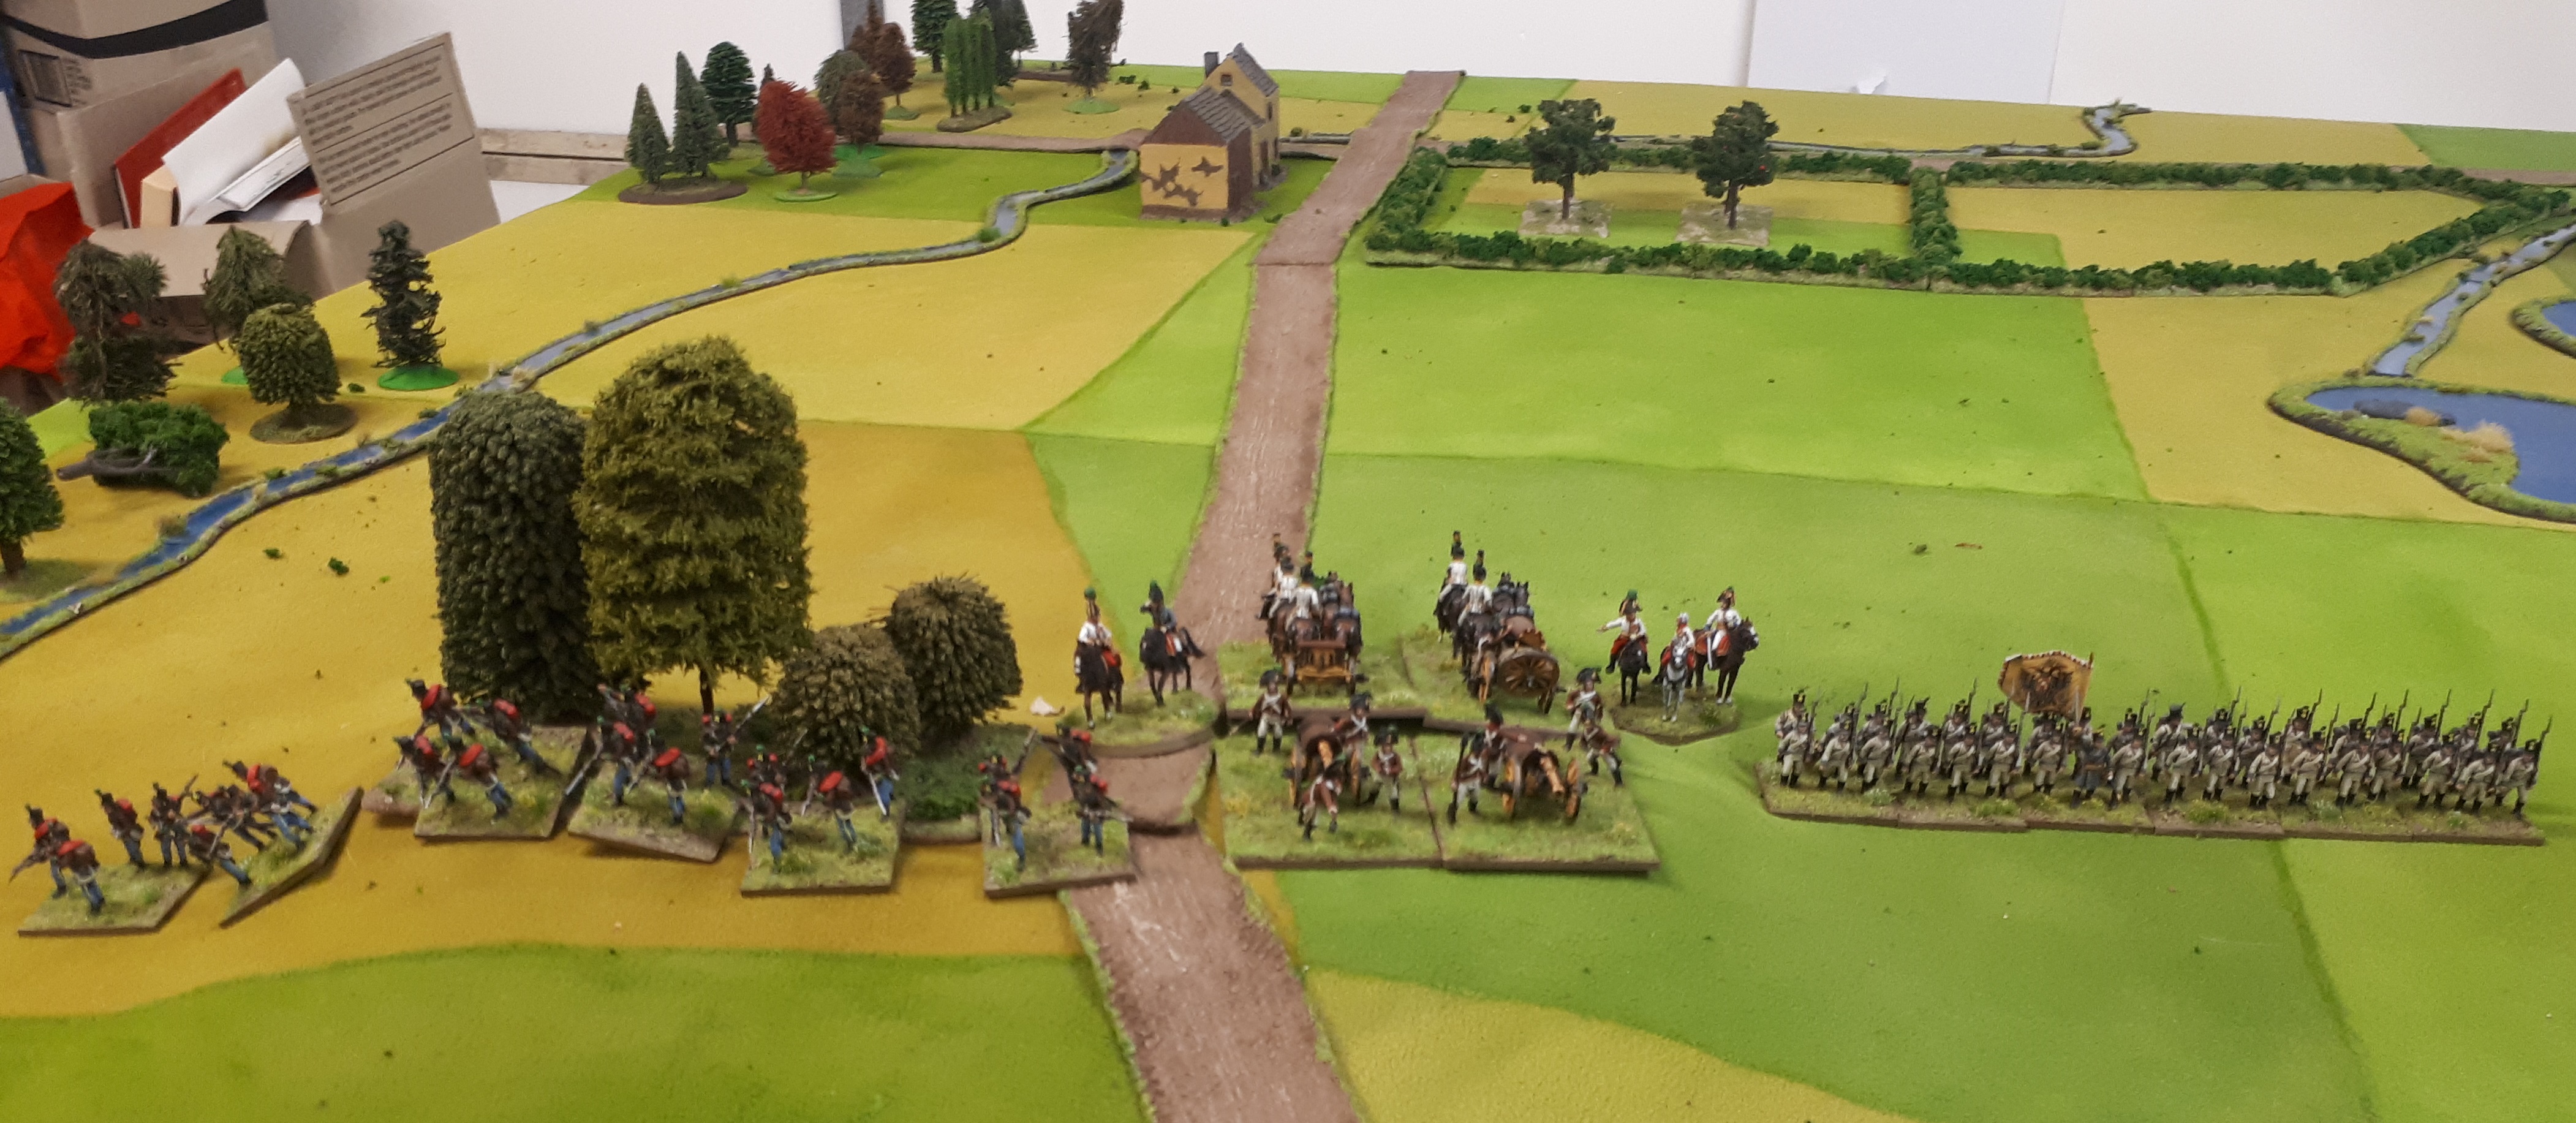
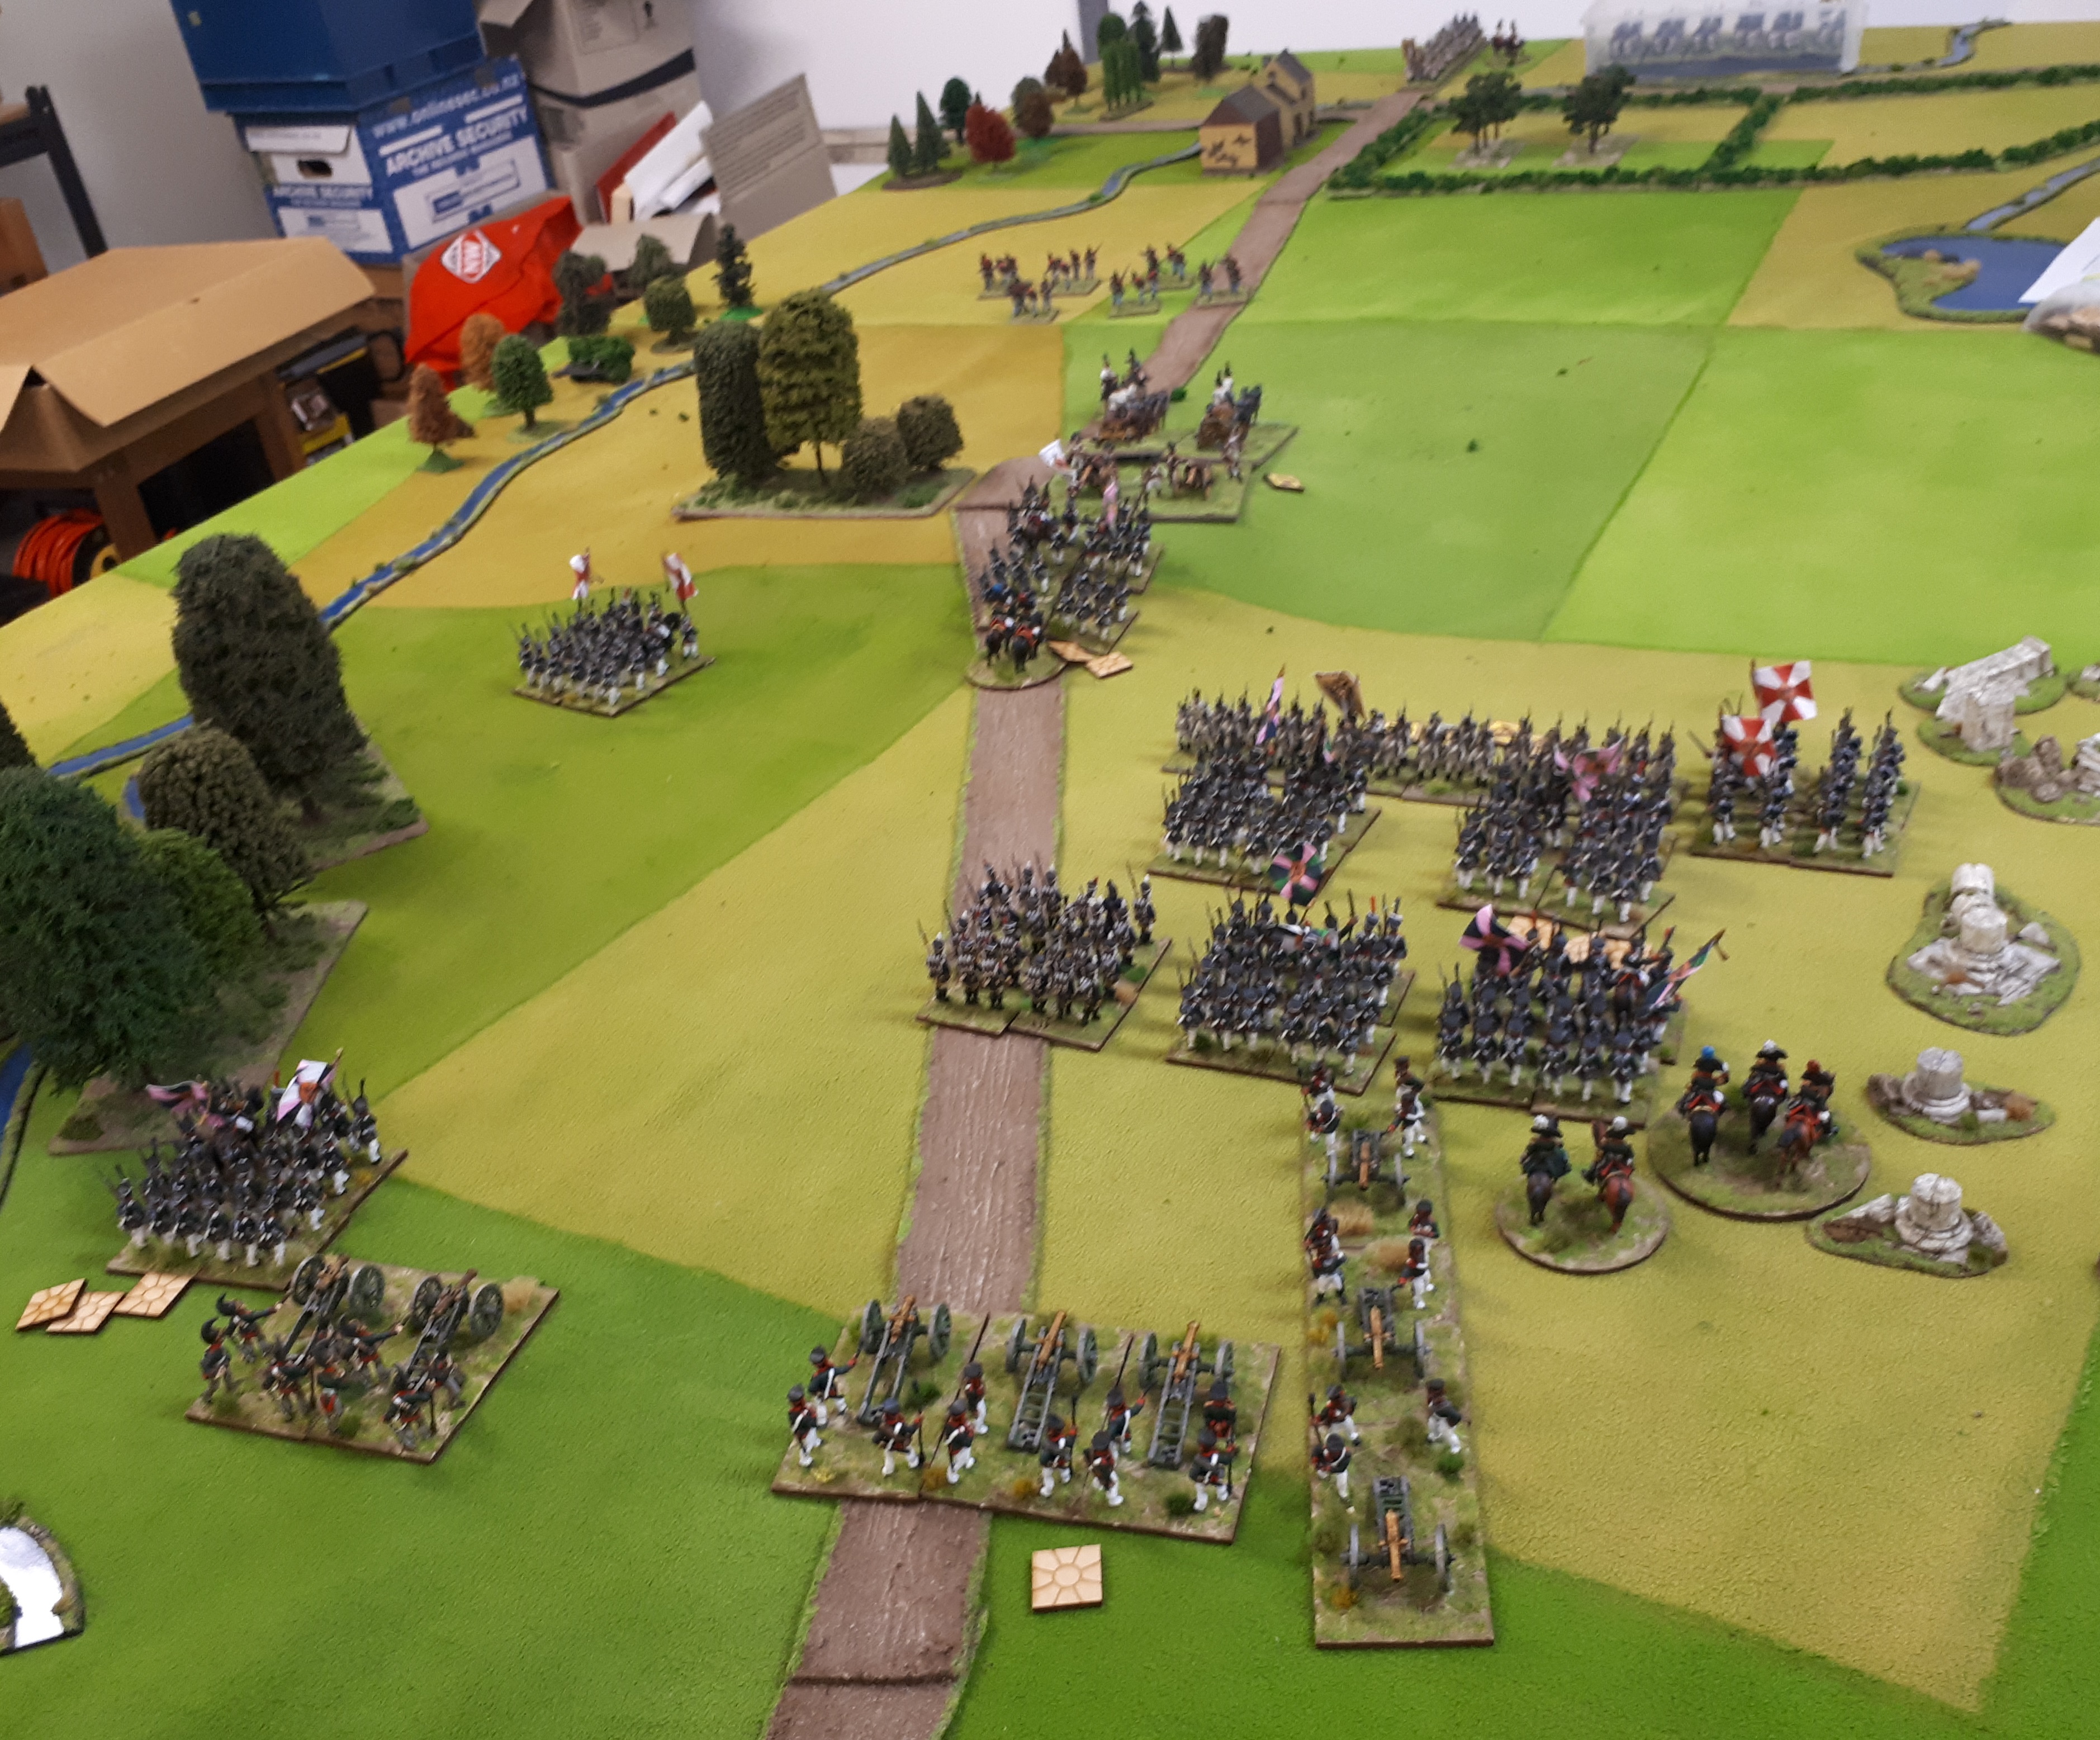
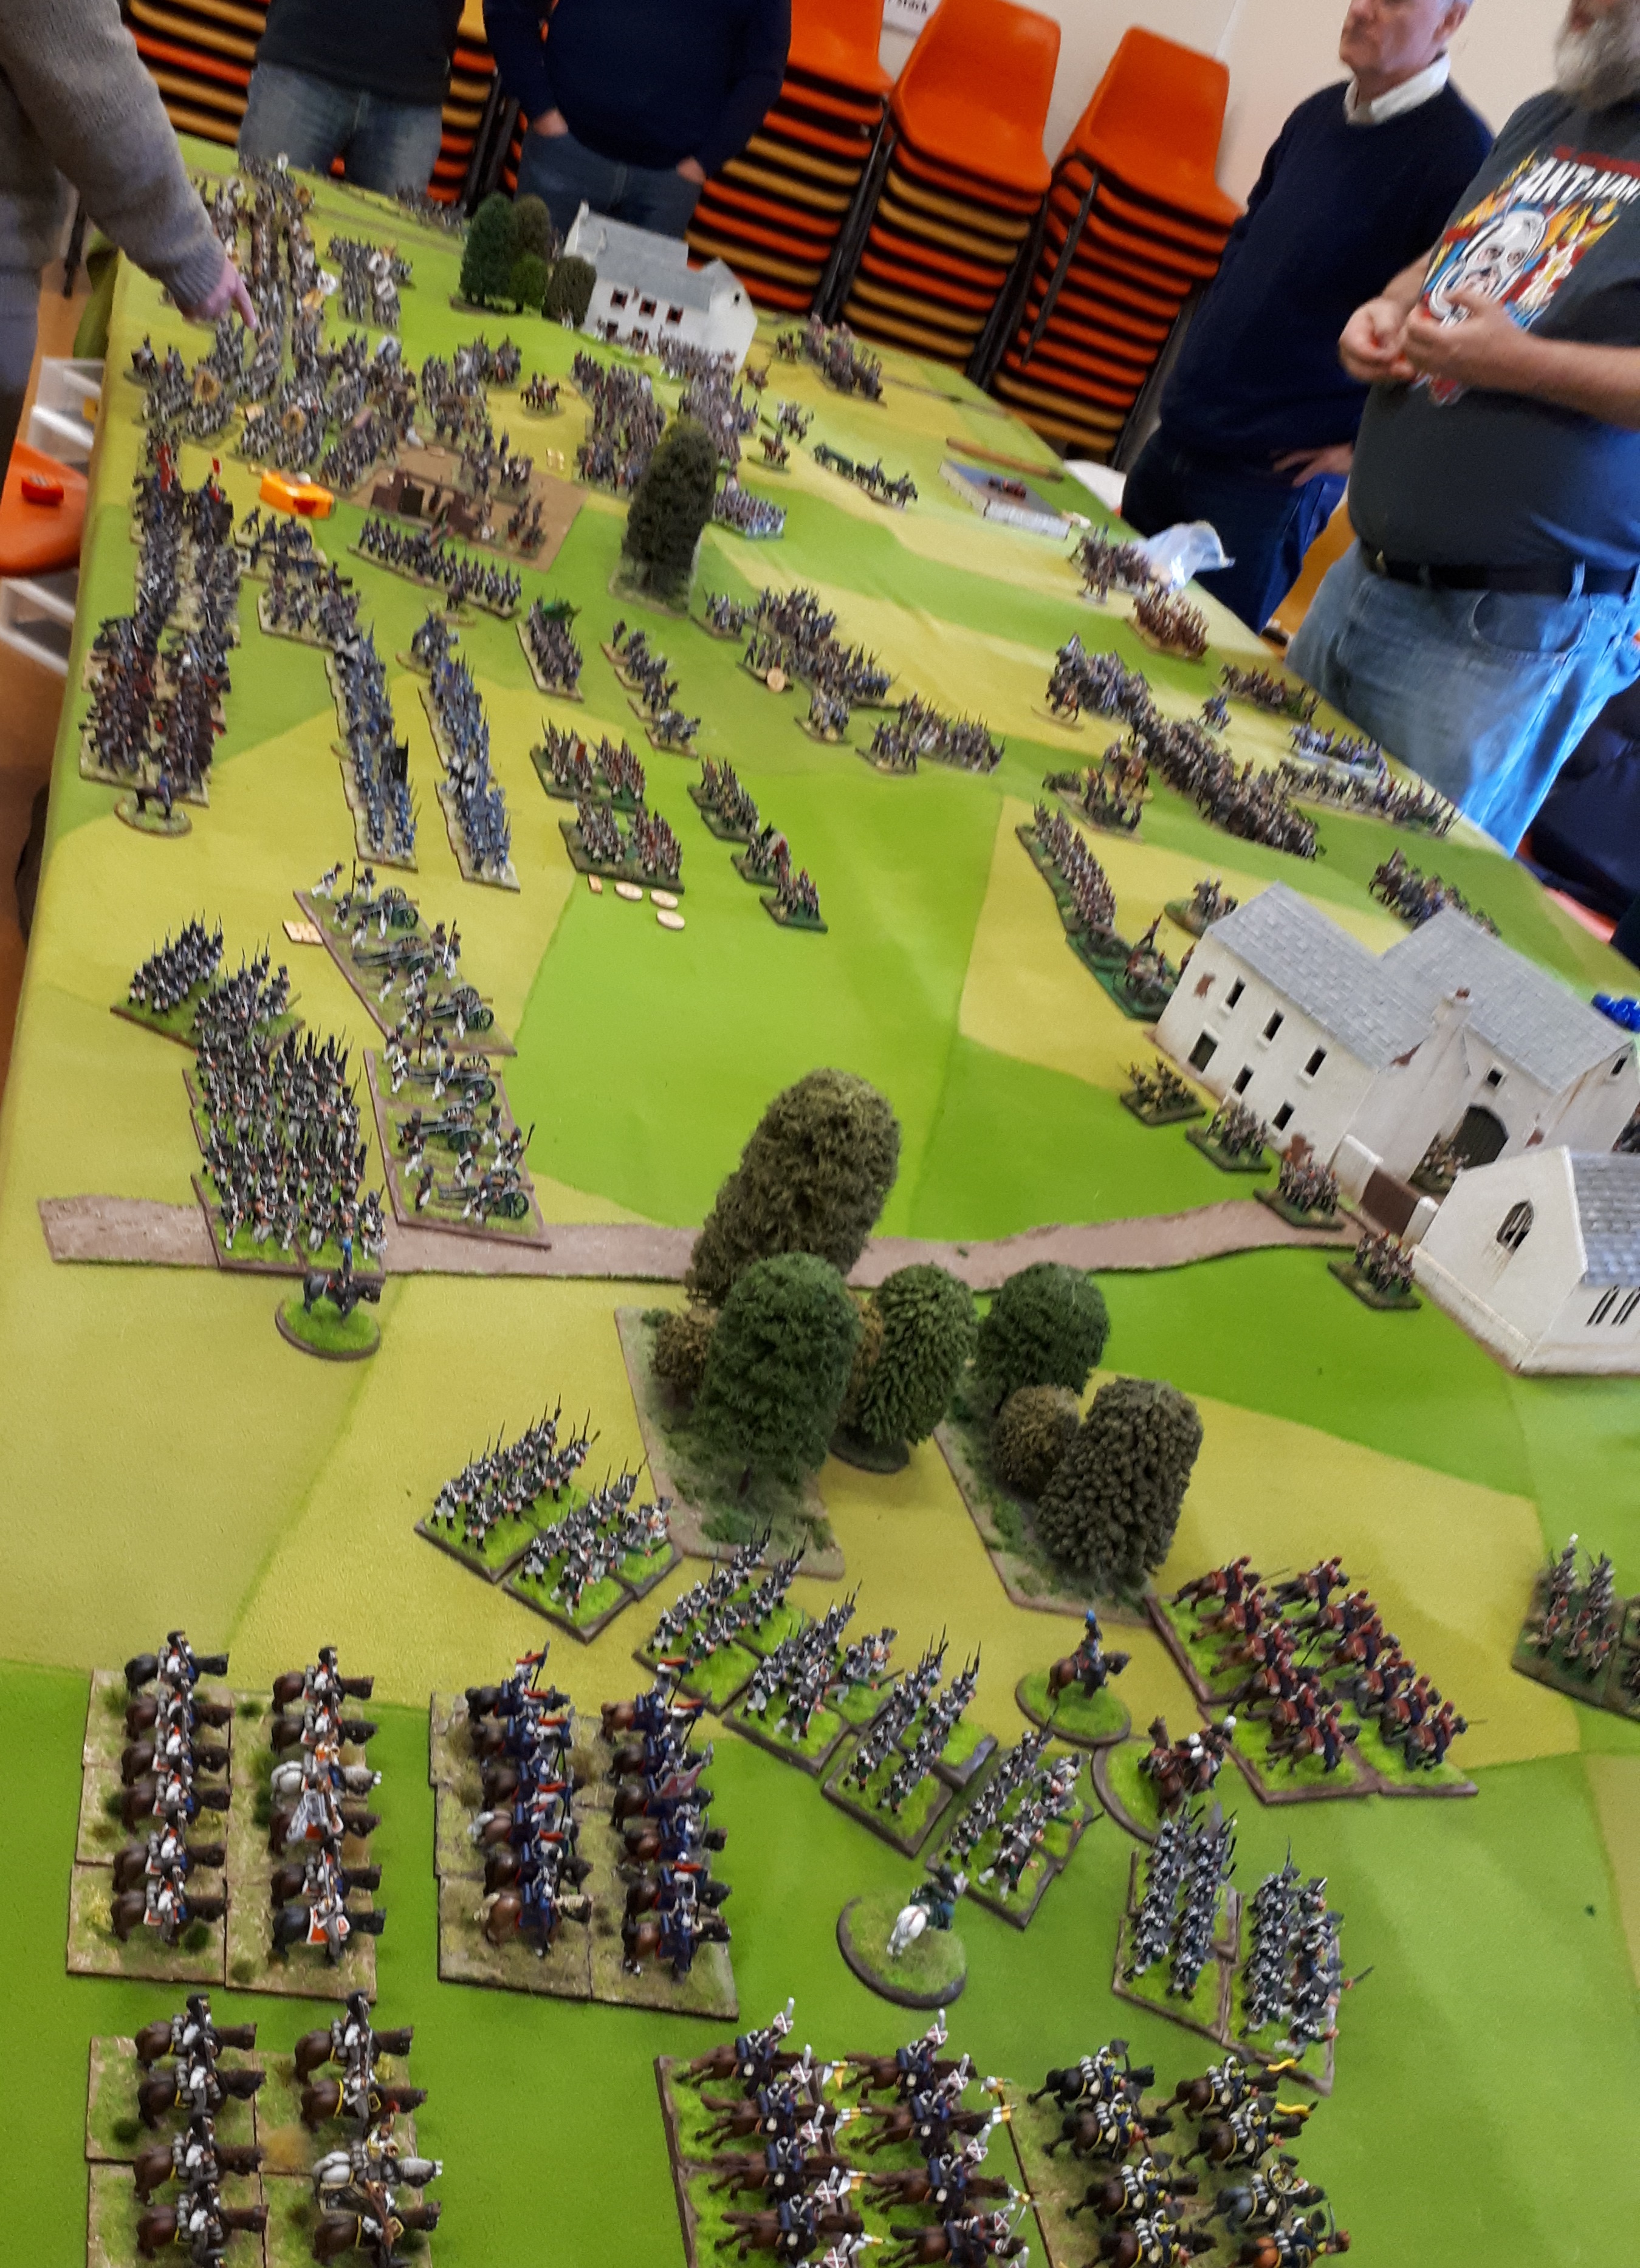
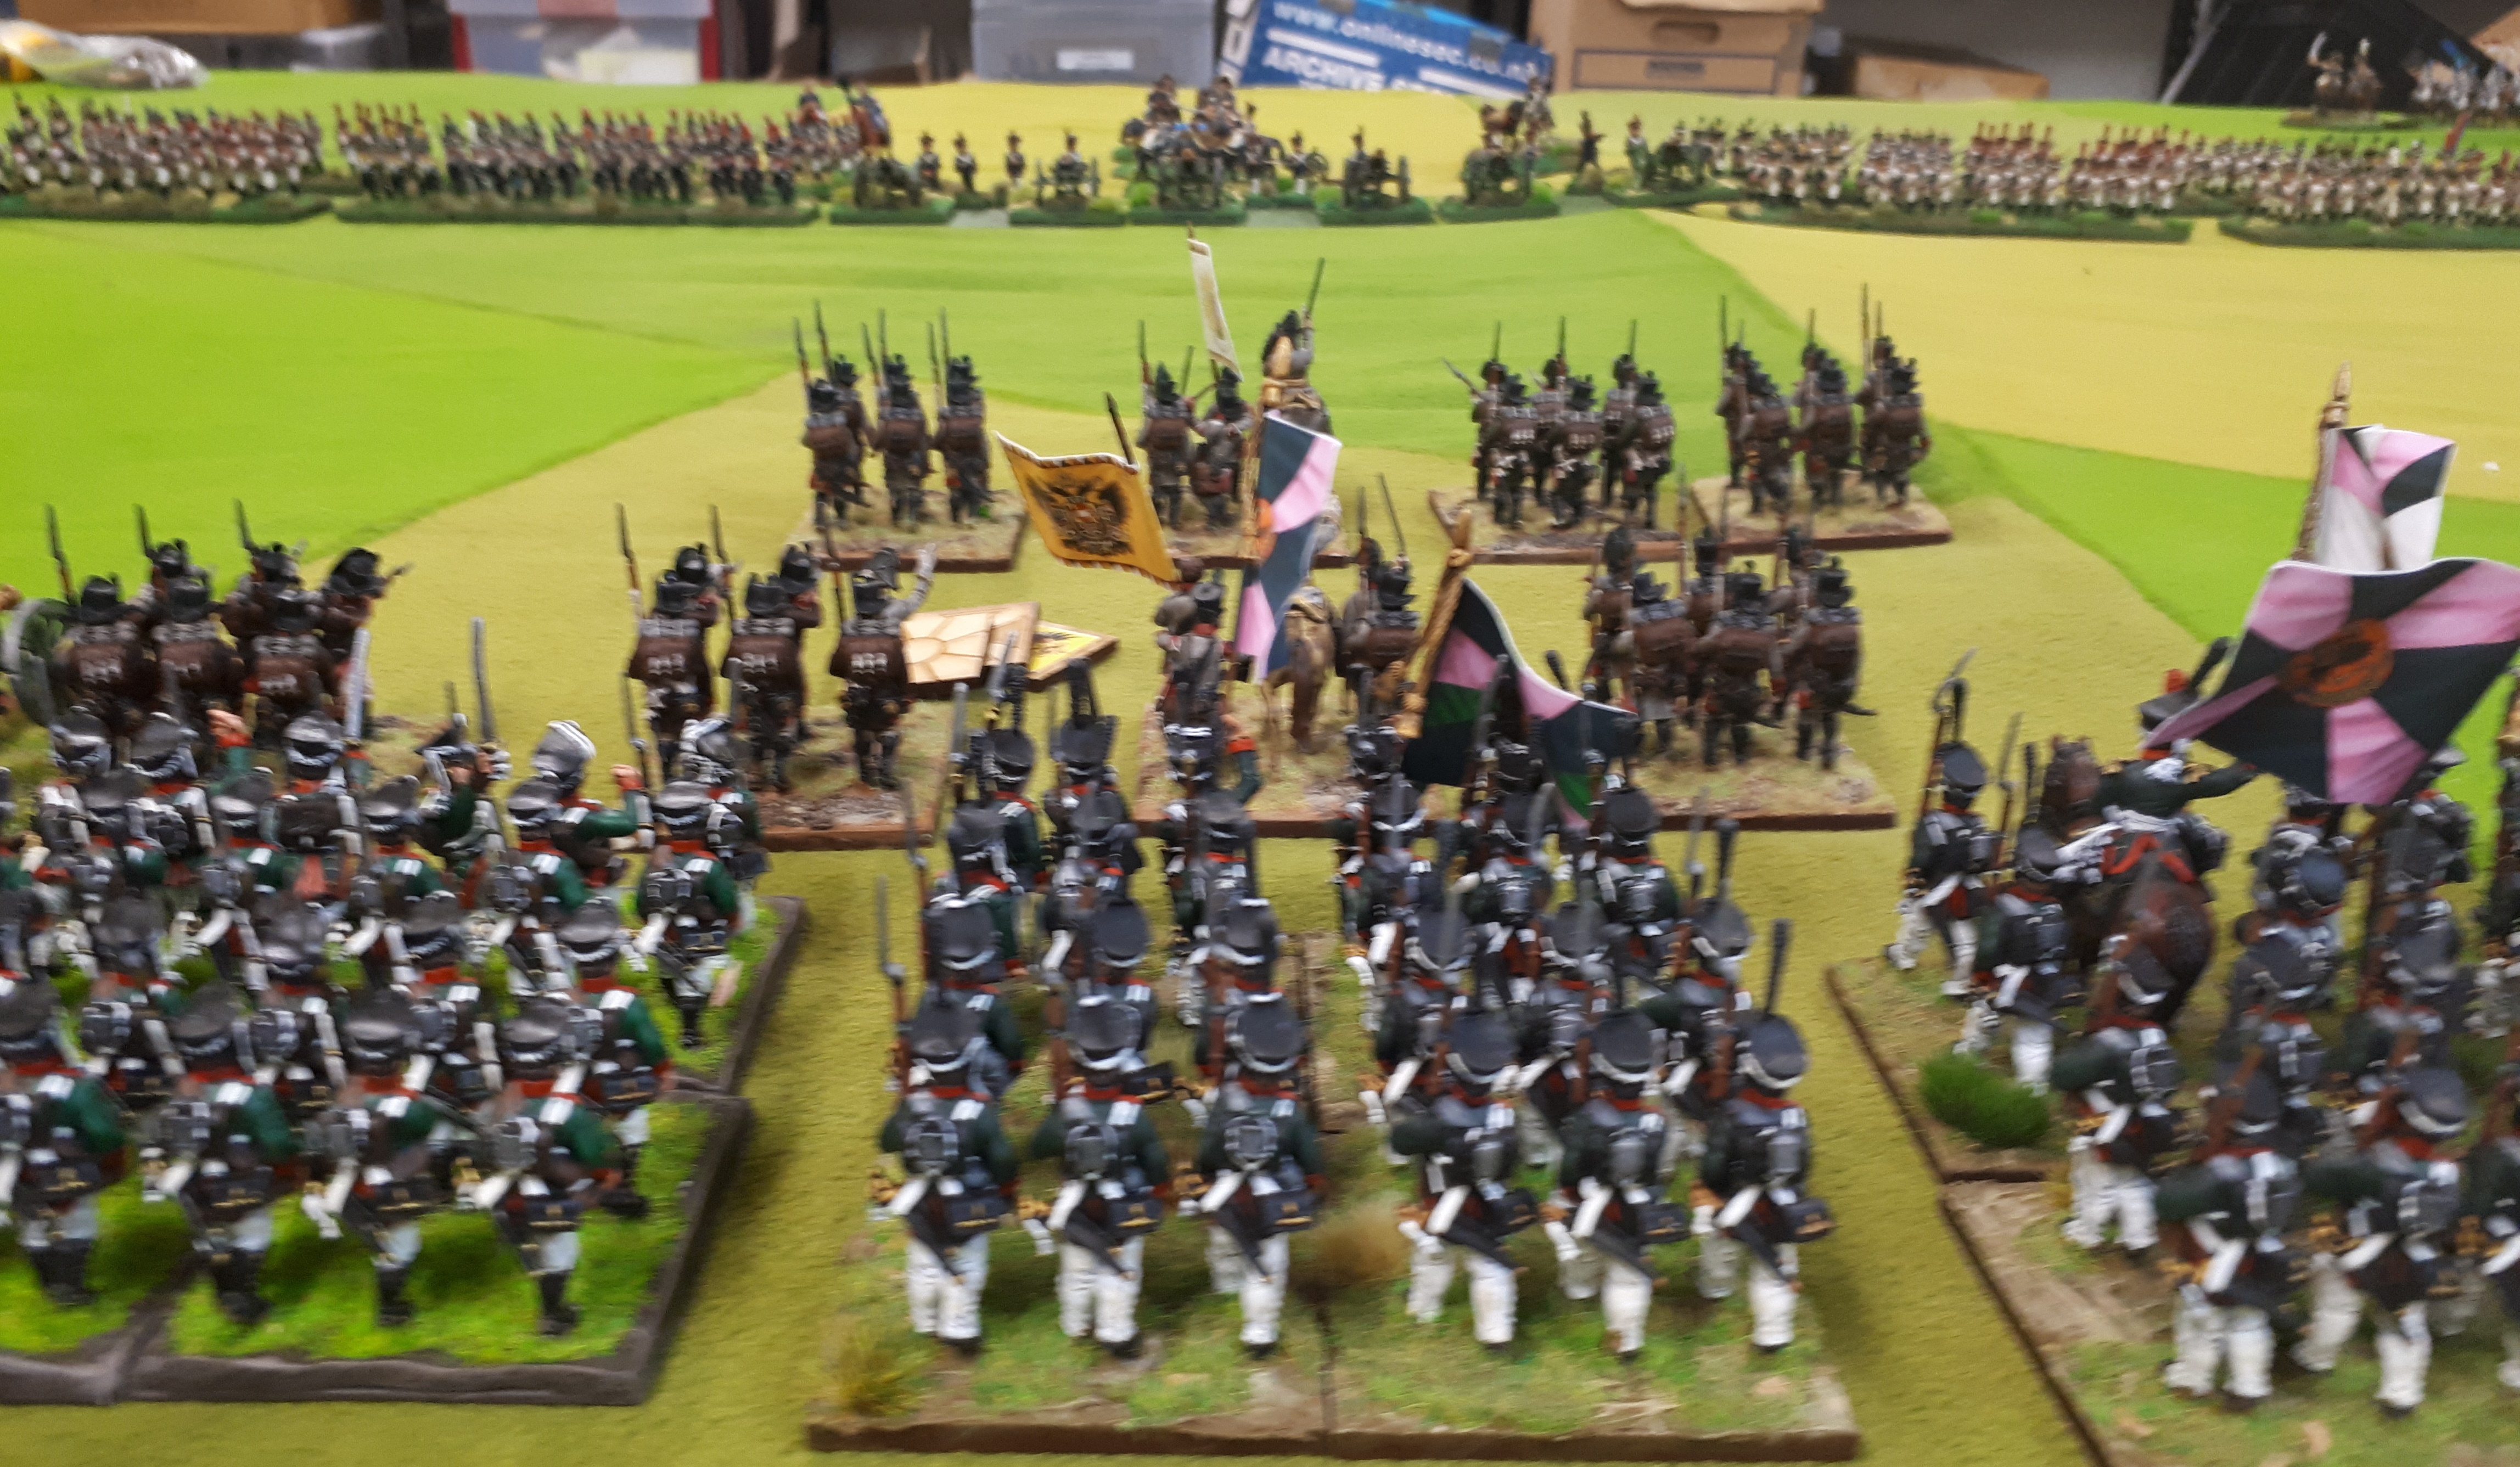
Goldie moves his left brigade up rise with wood covering left flank. Simon is marching the Austrians pretending to be Hanoverian’s forward.

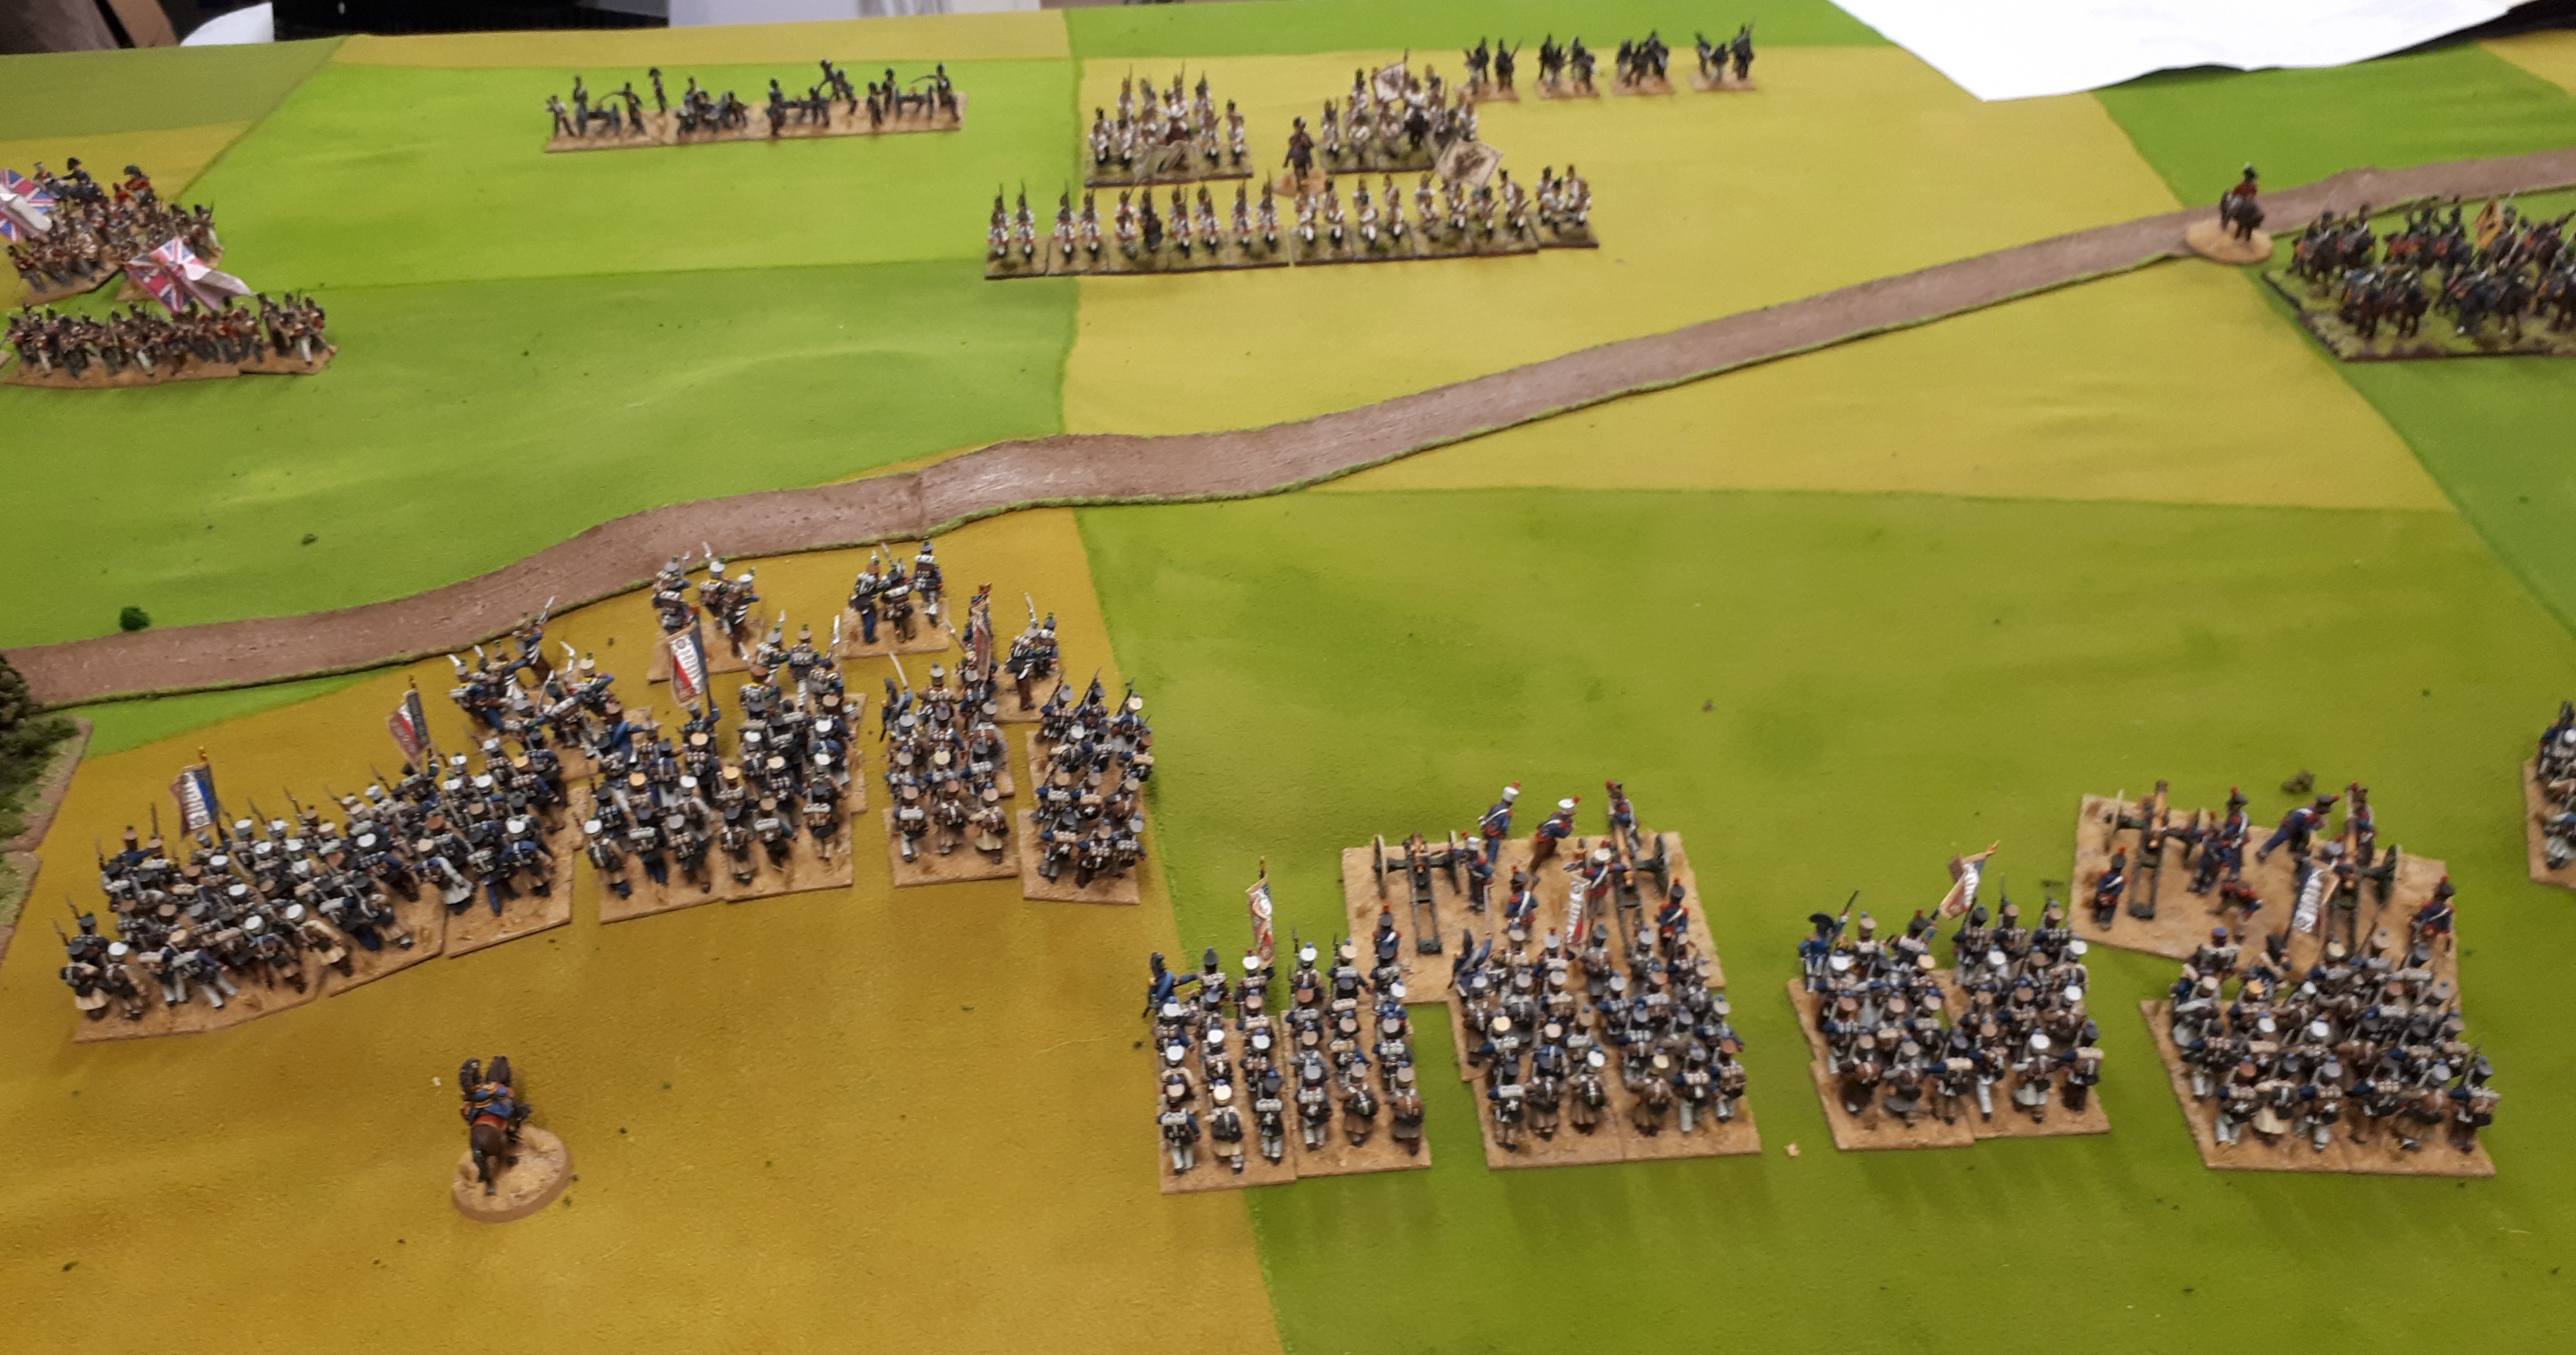
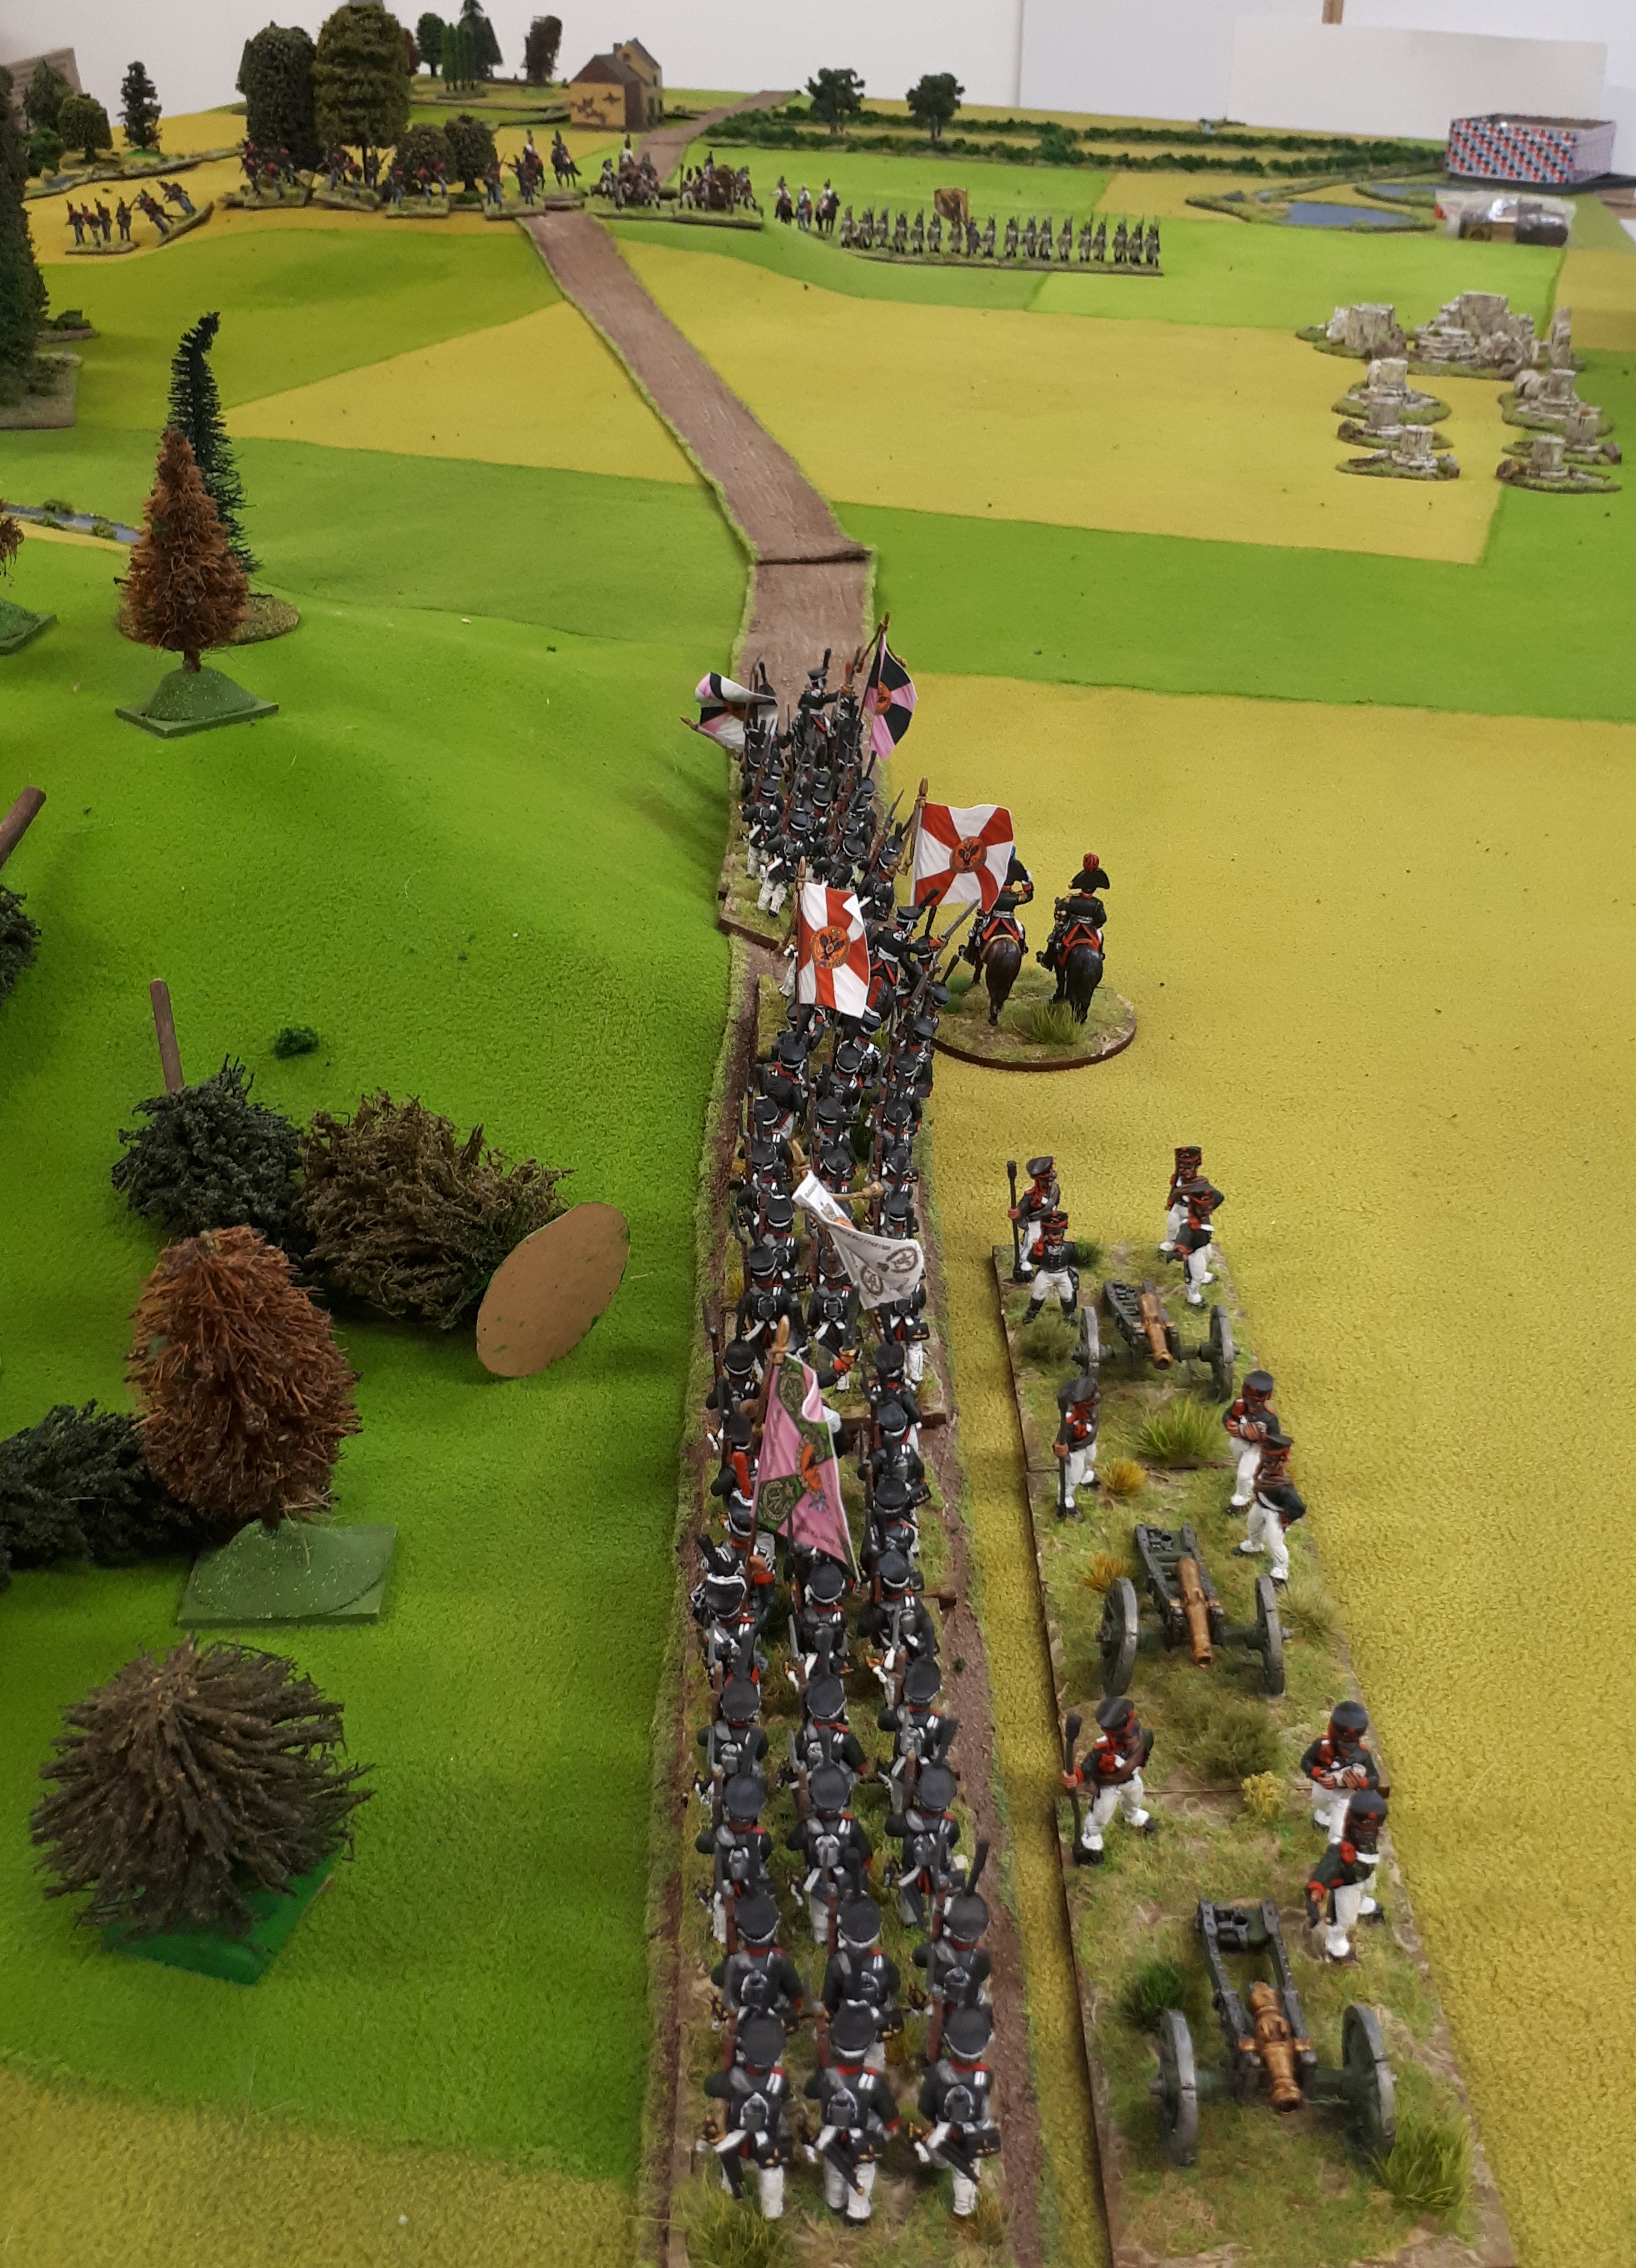
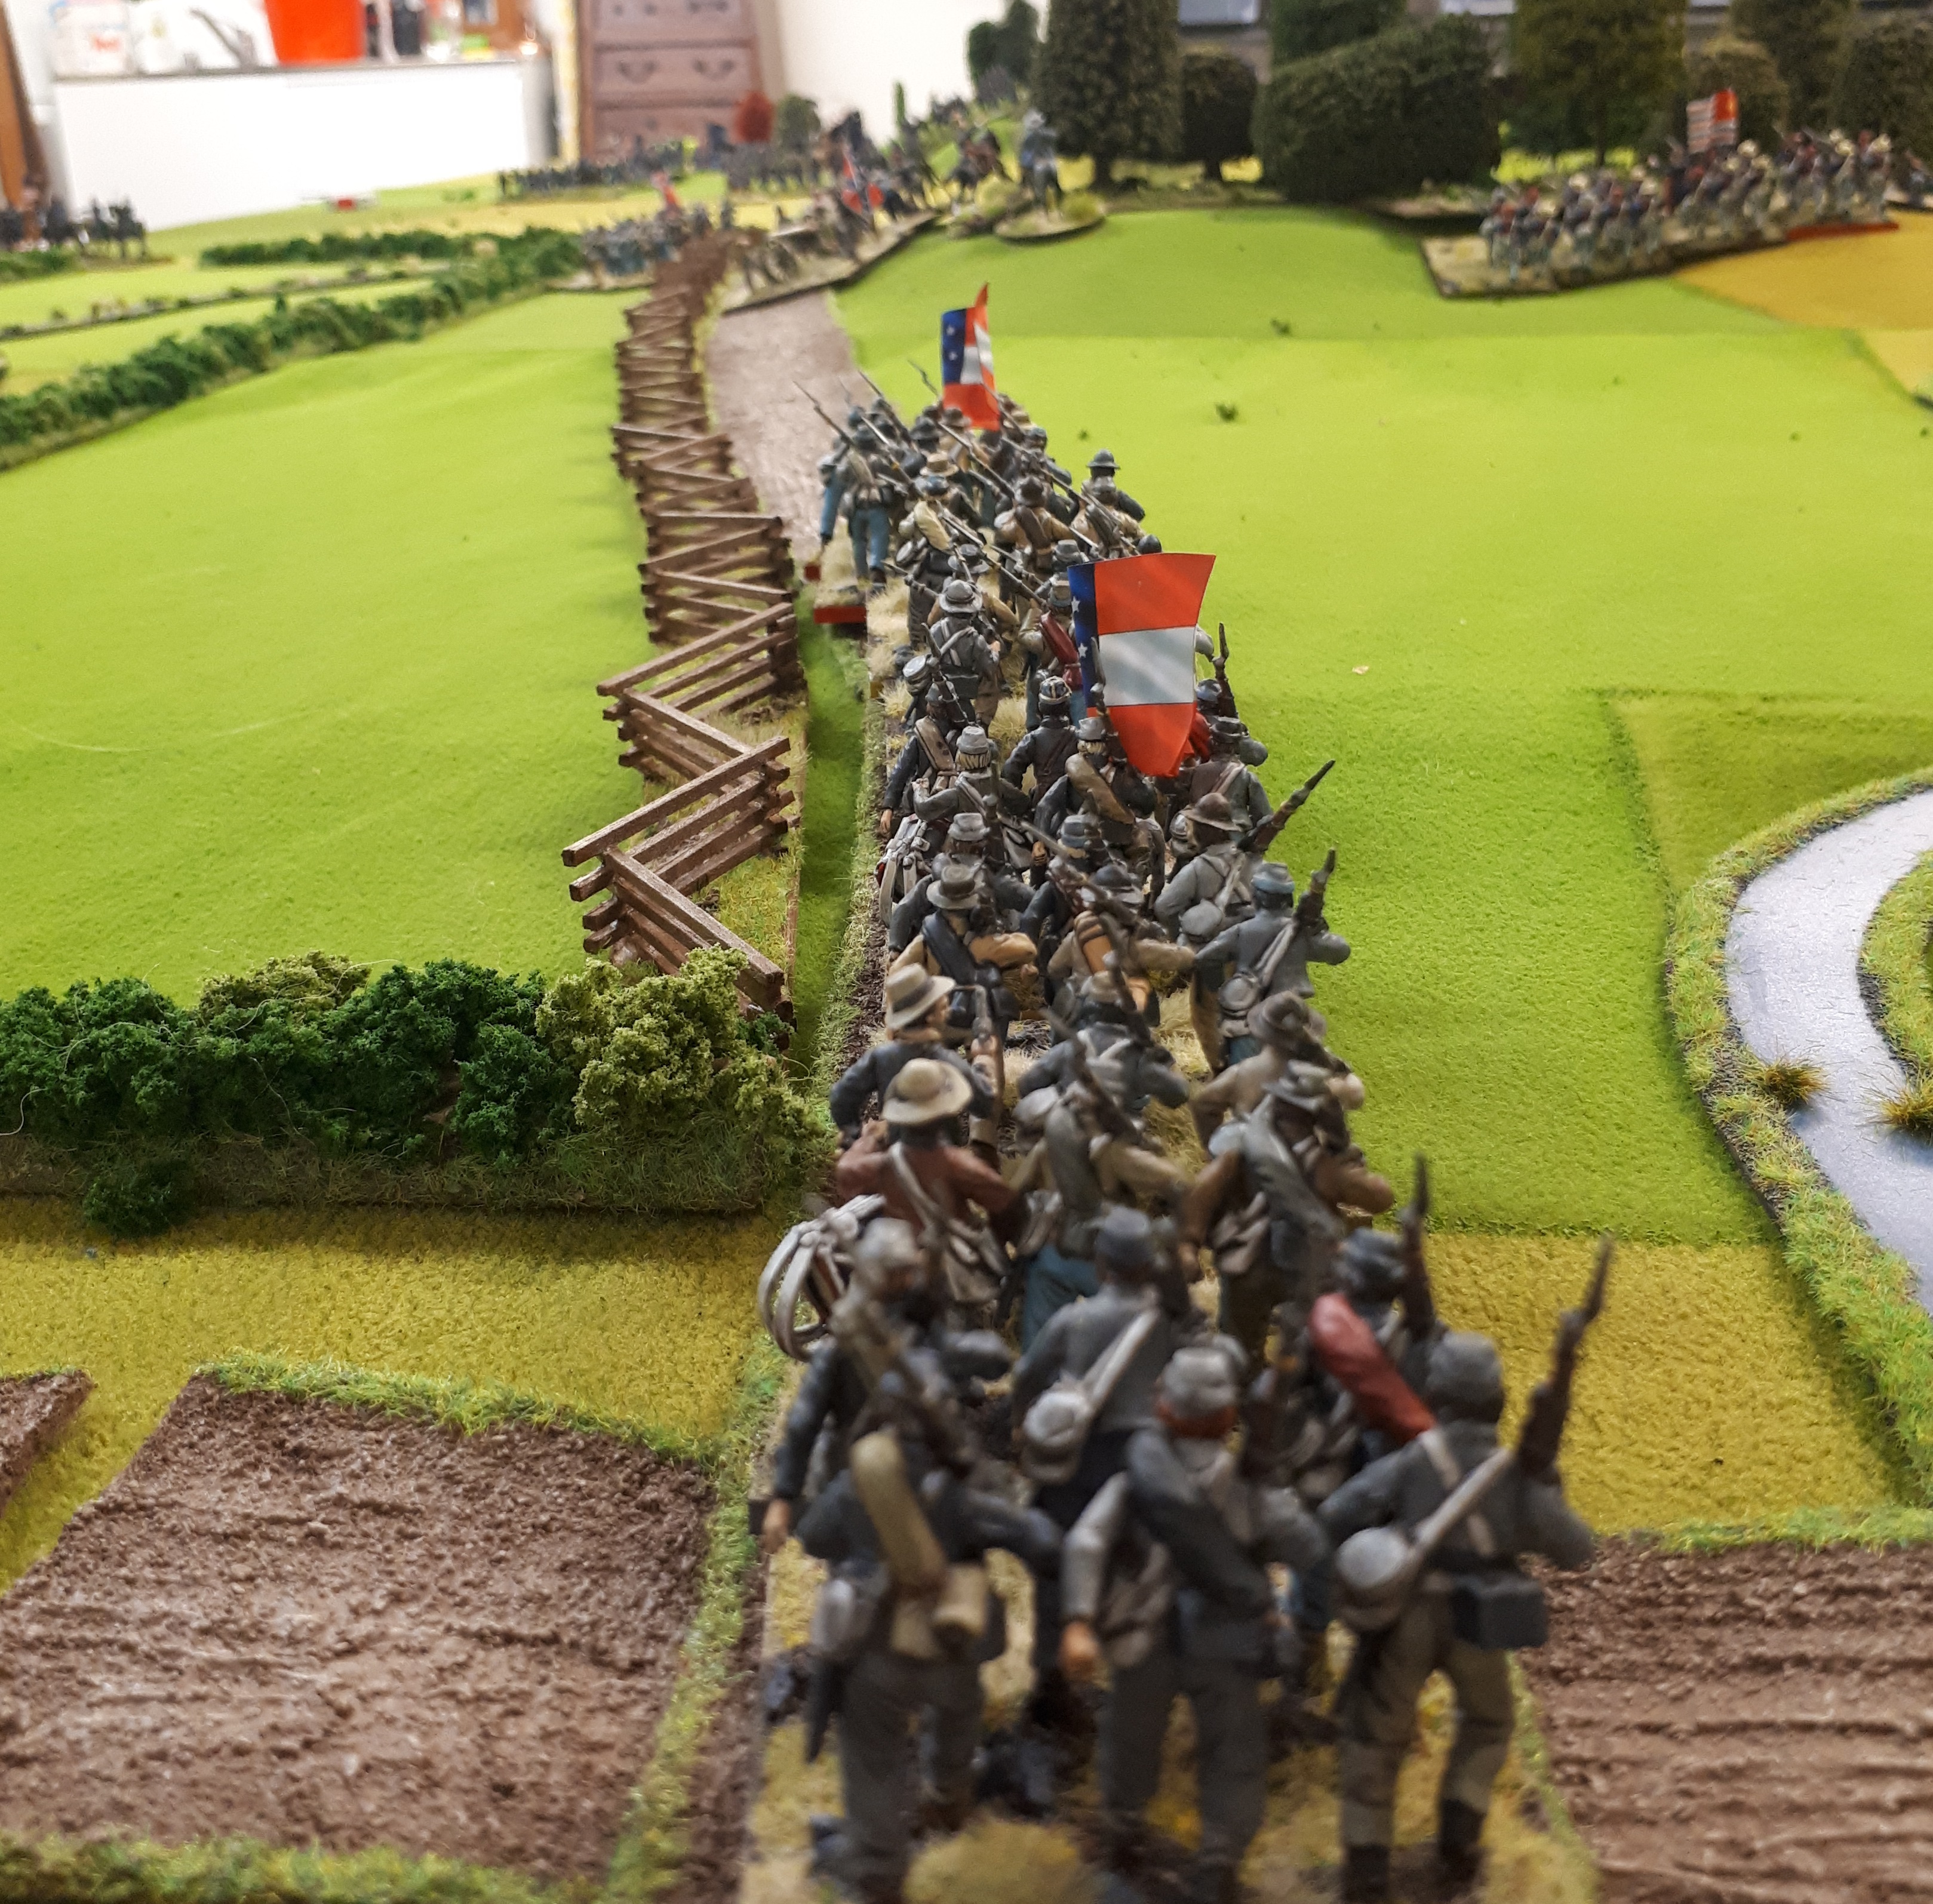
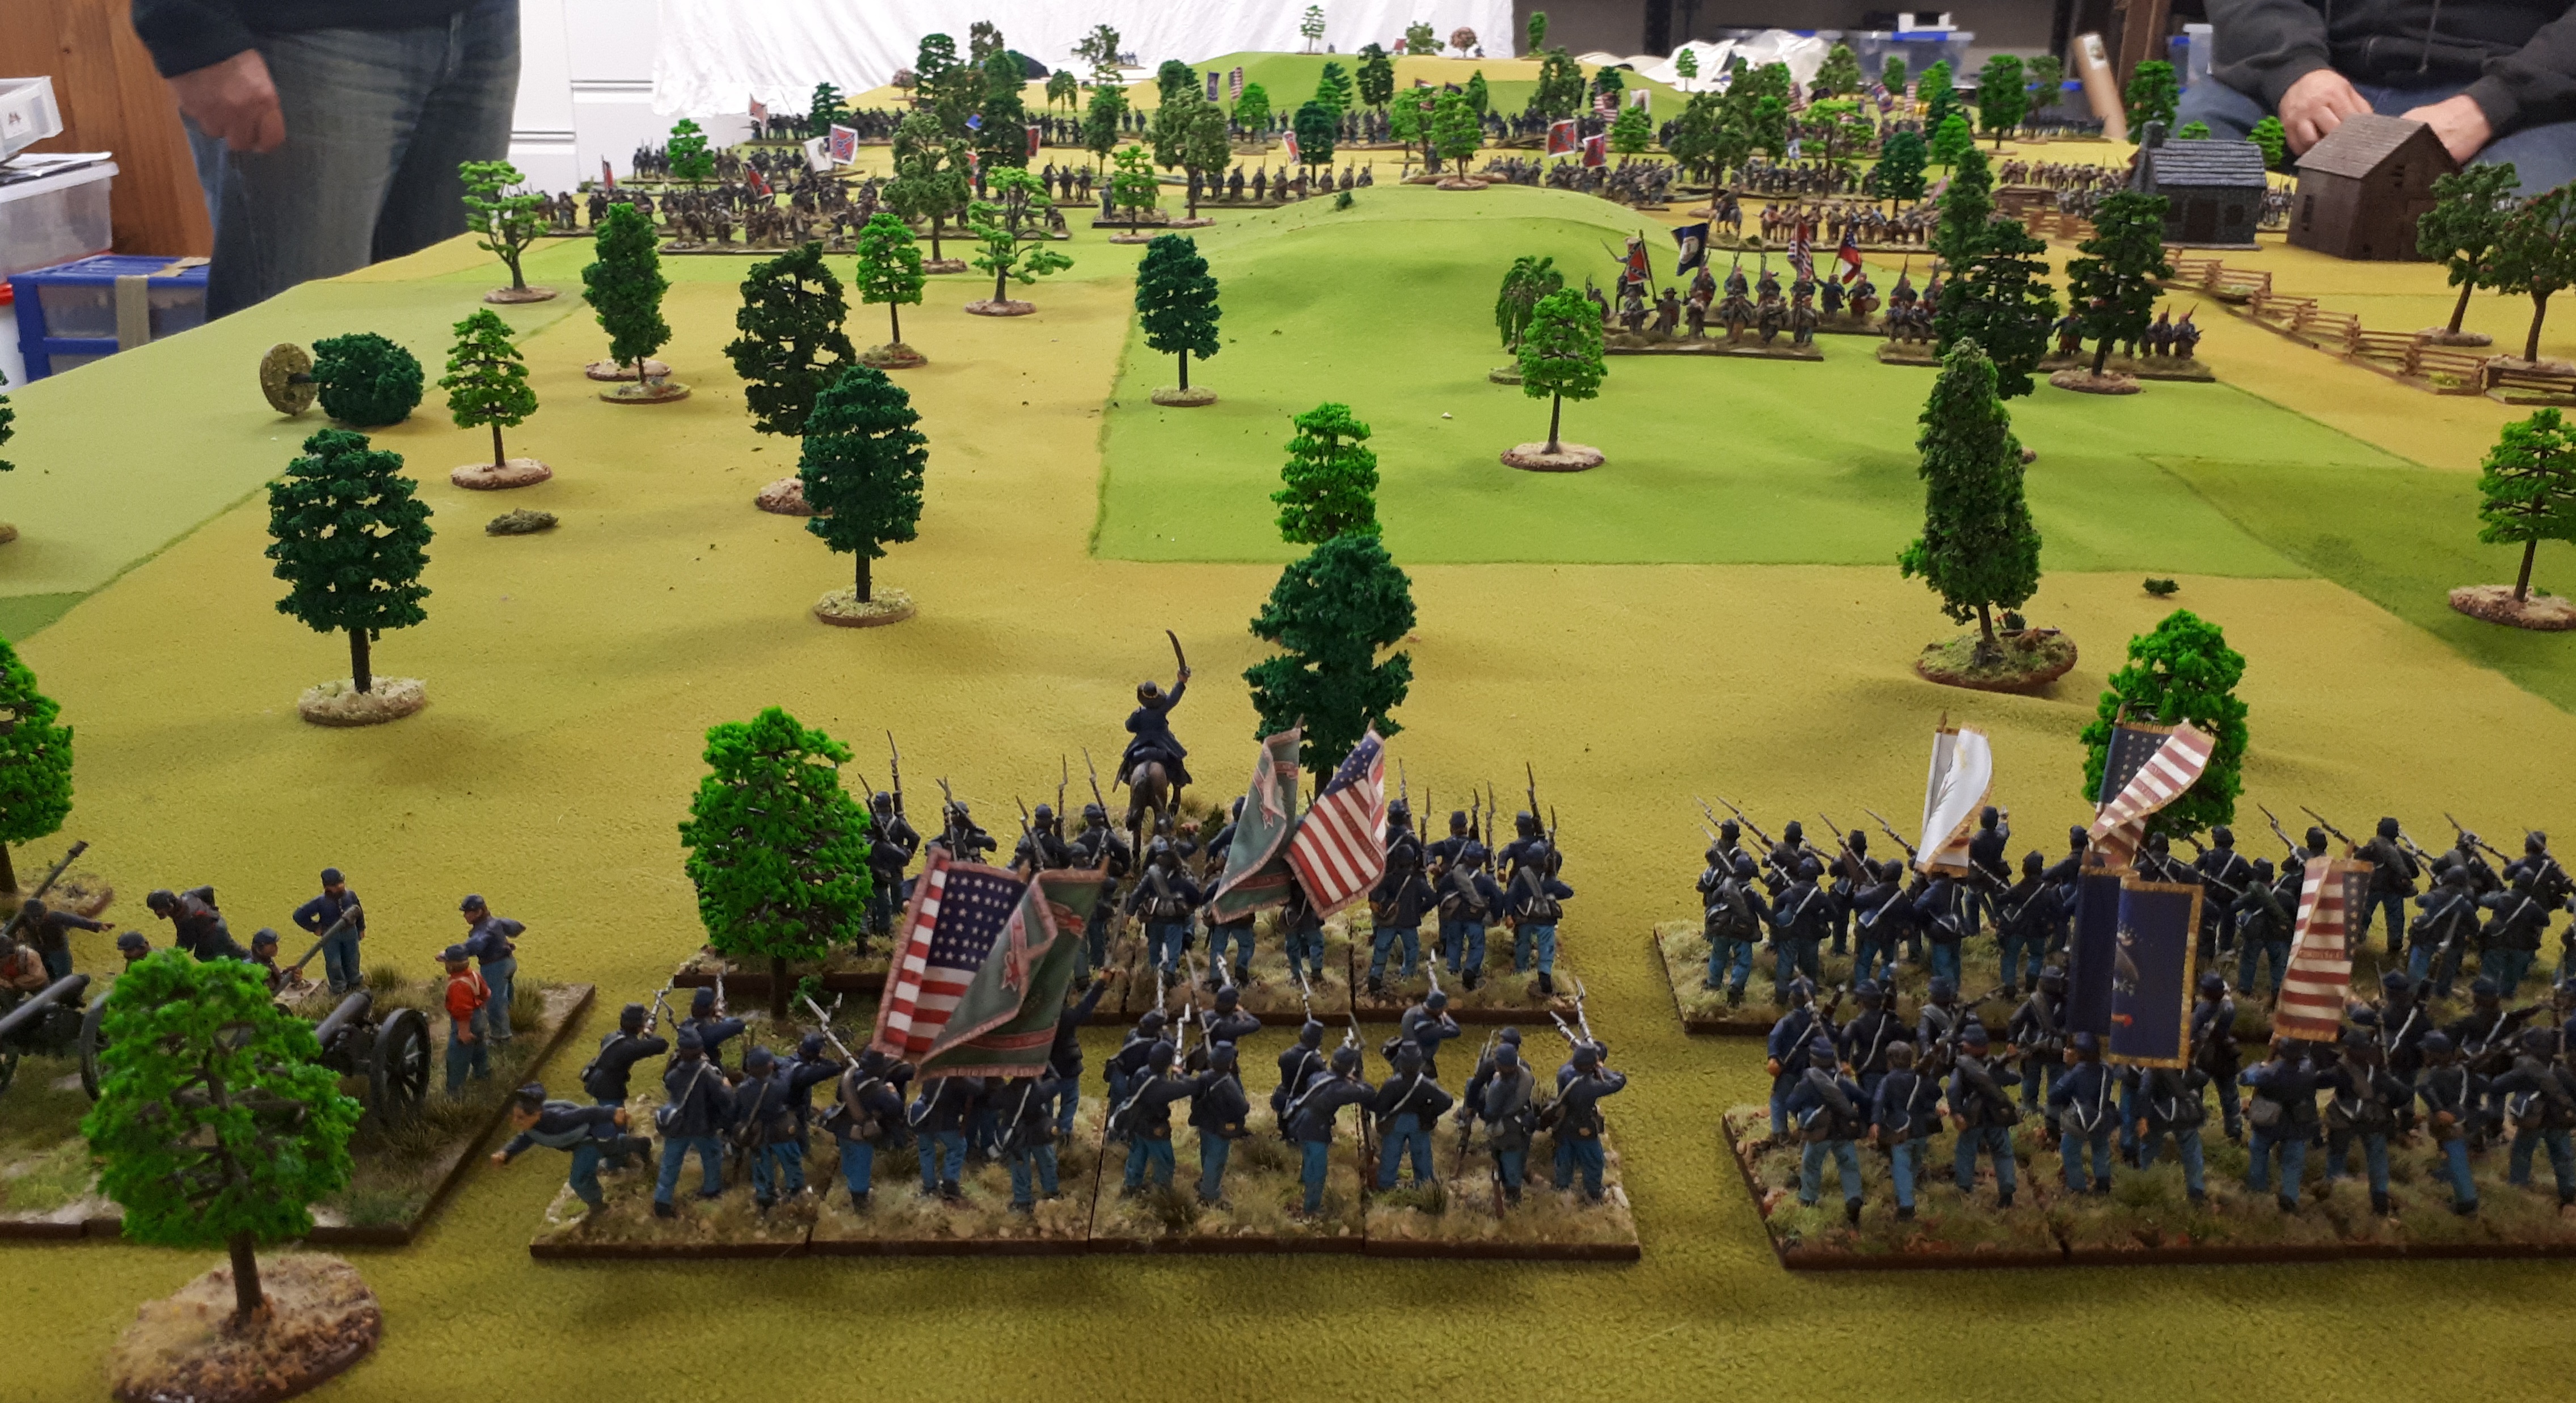
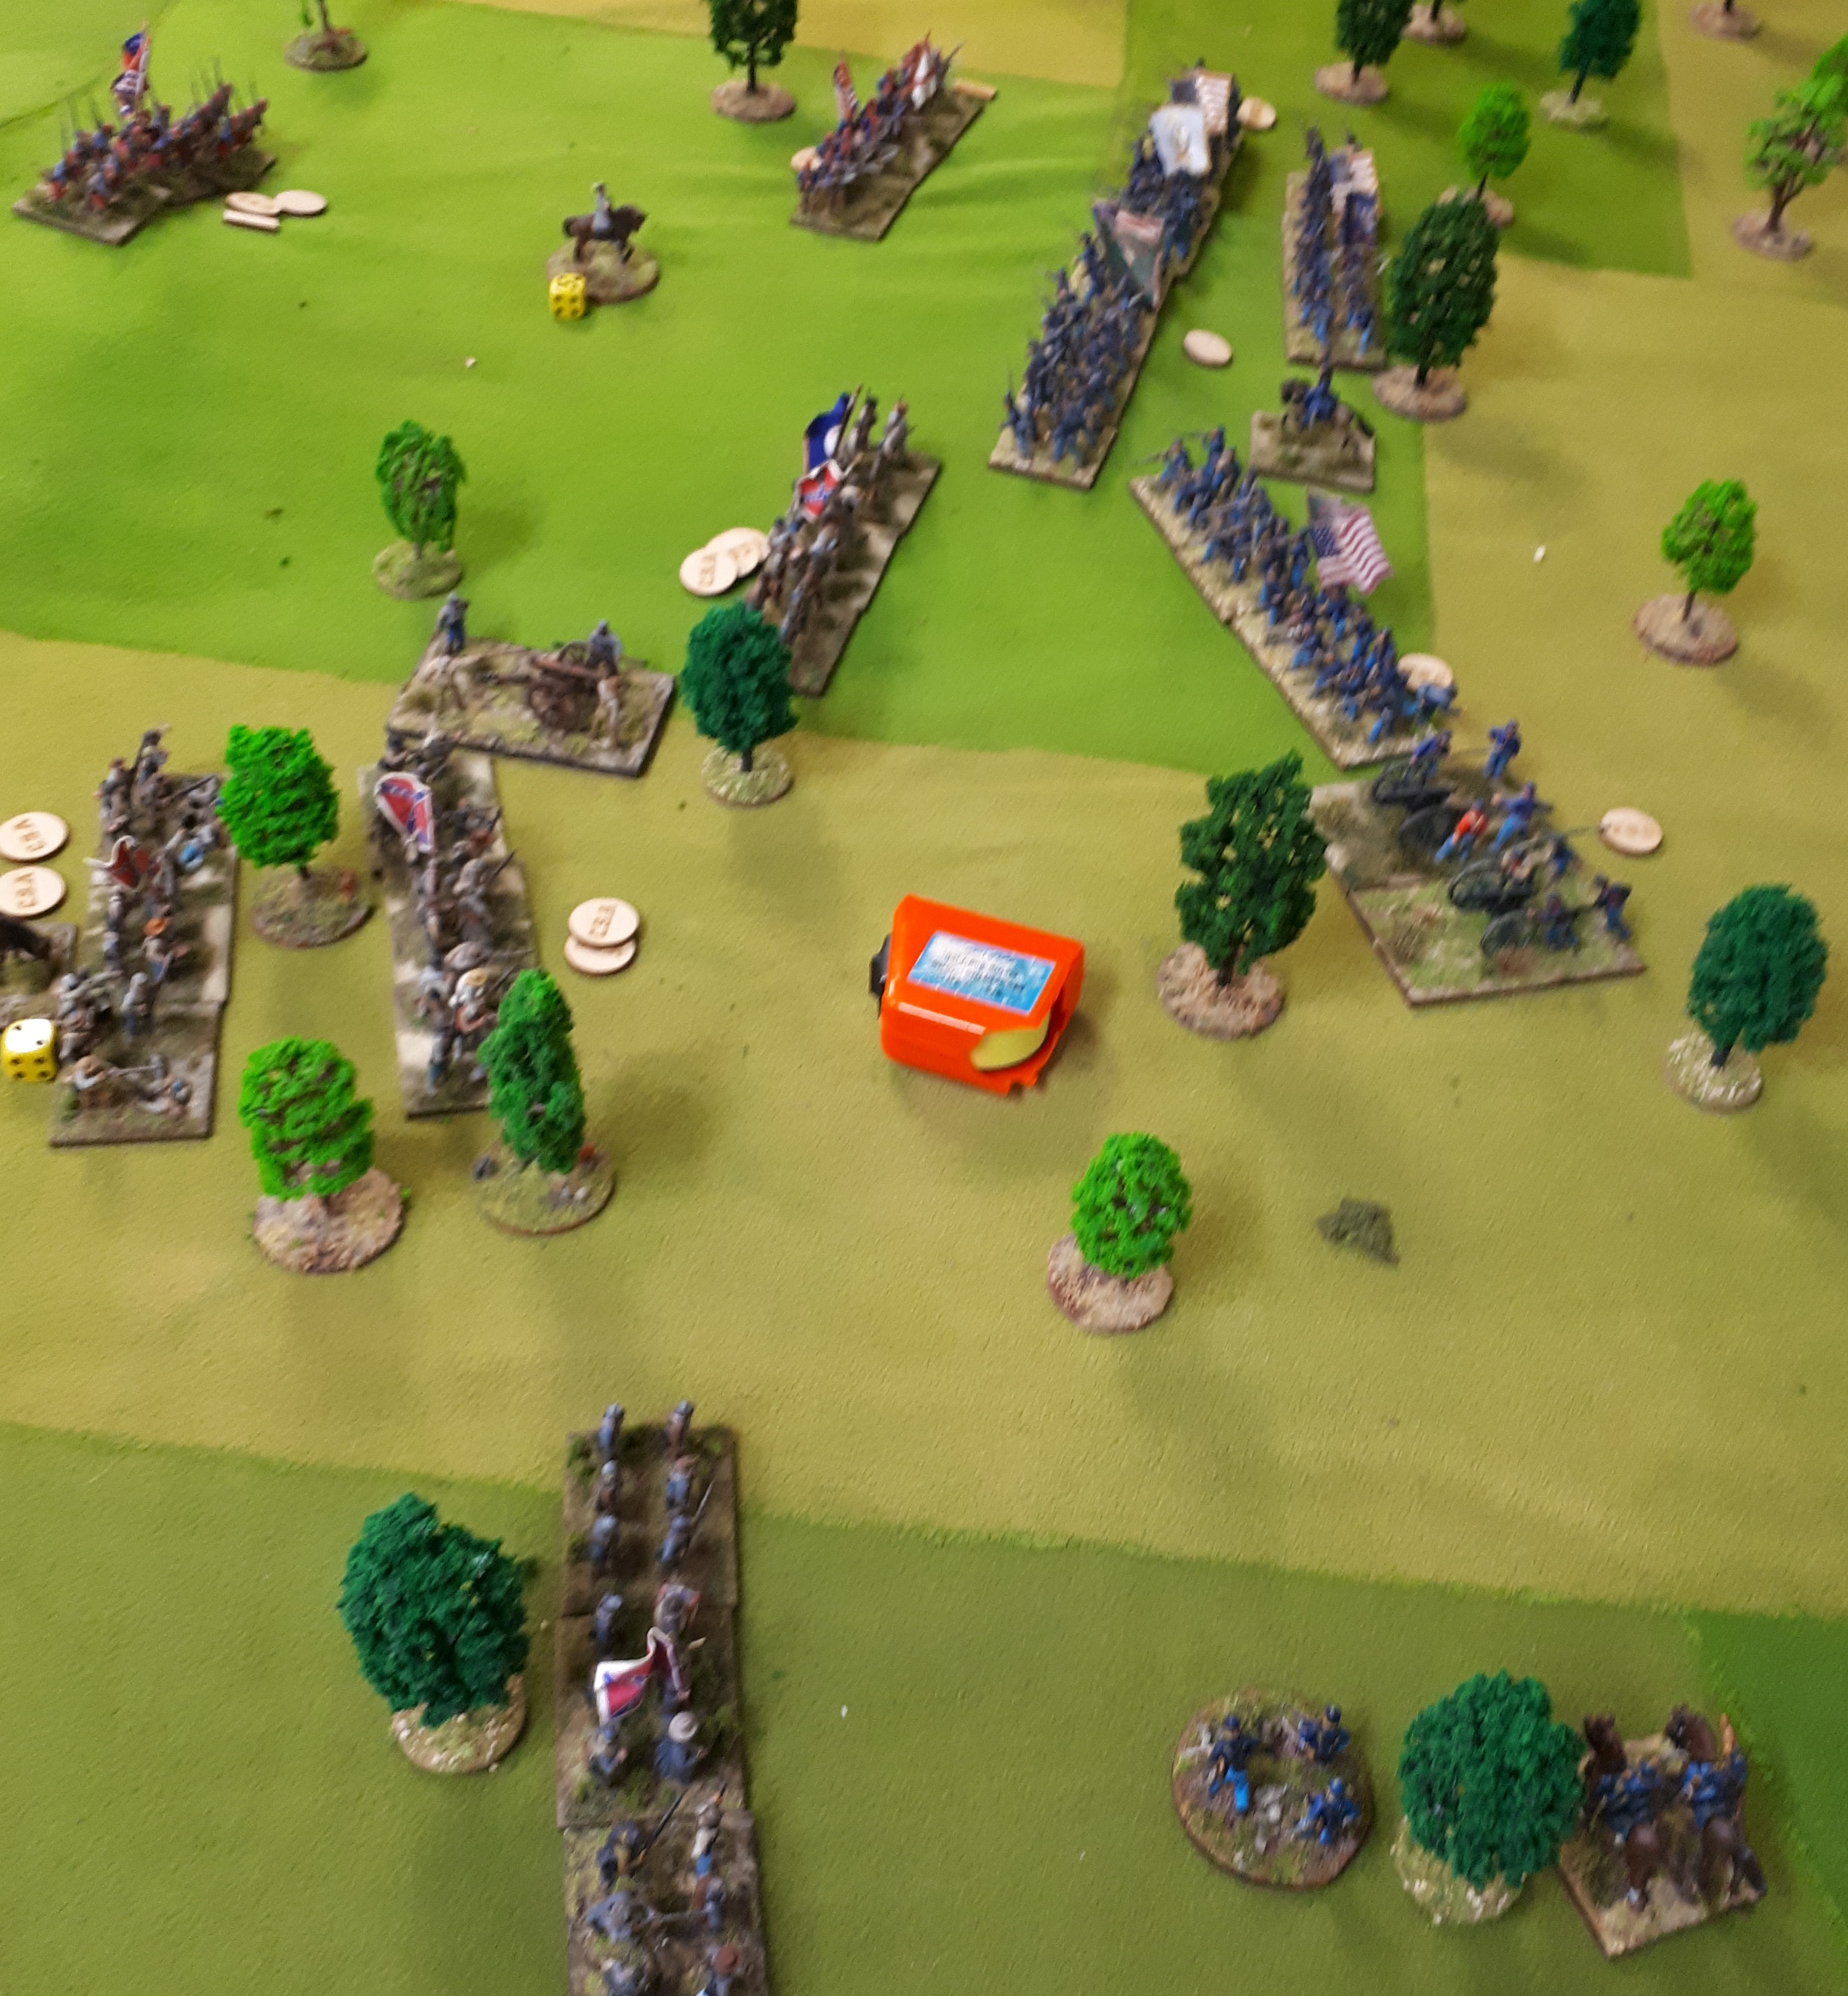
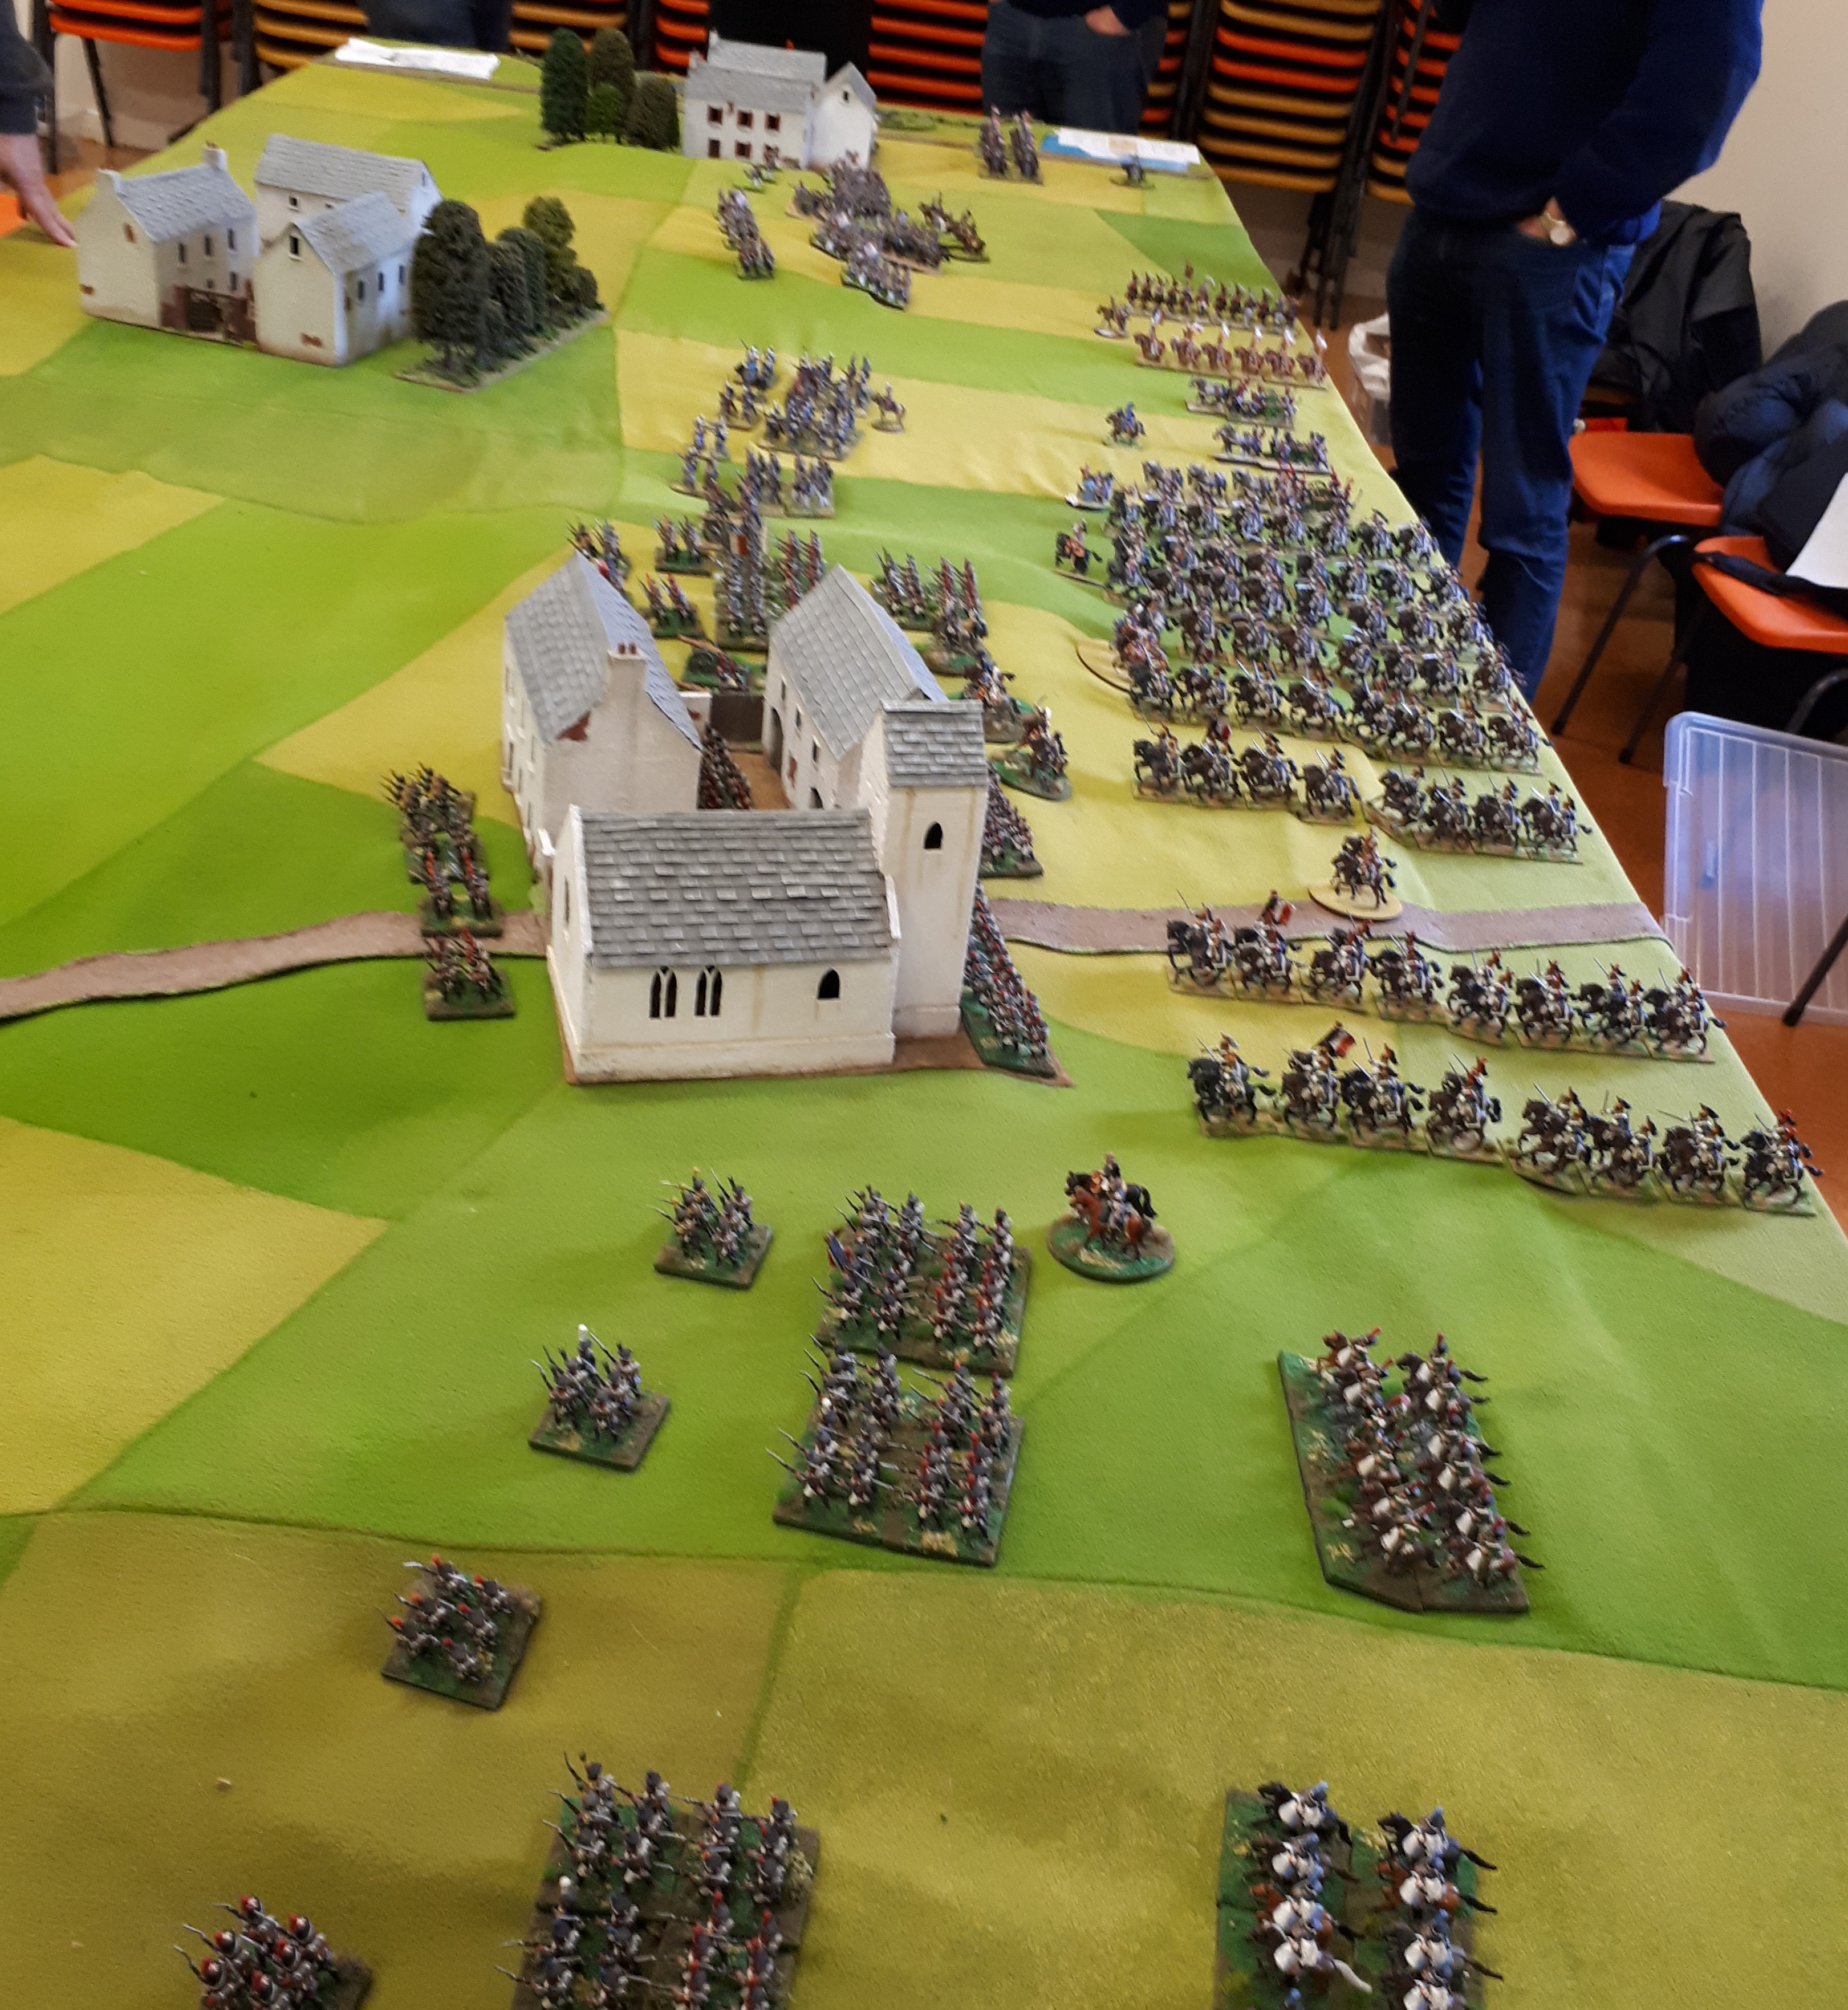
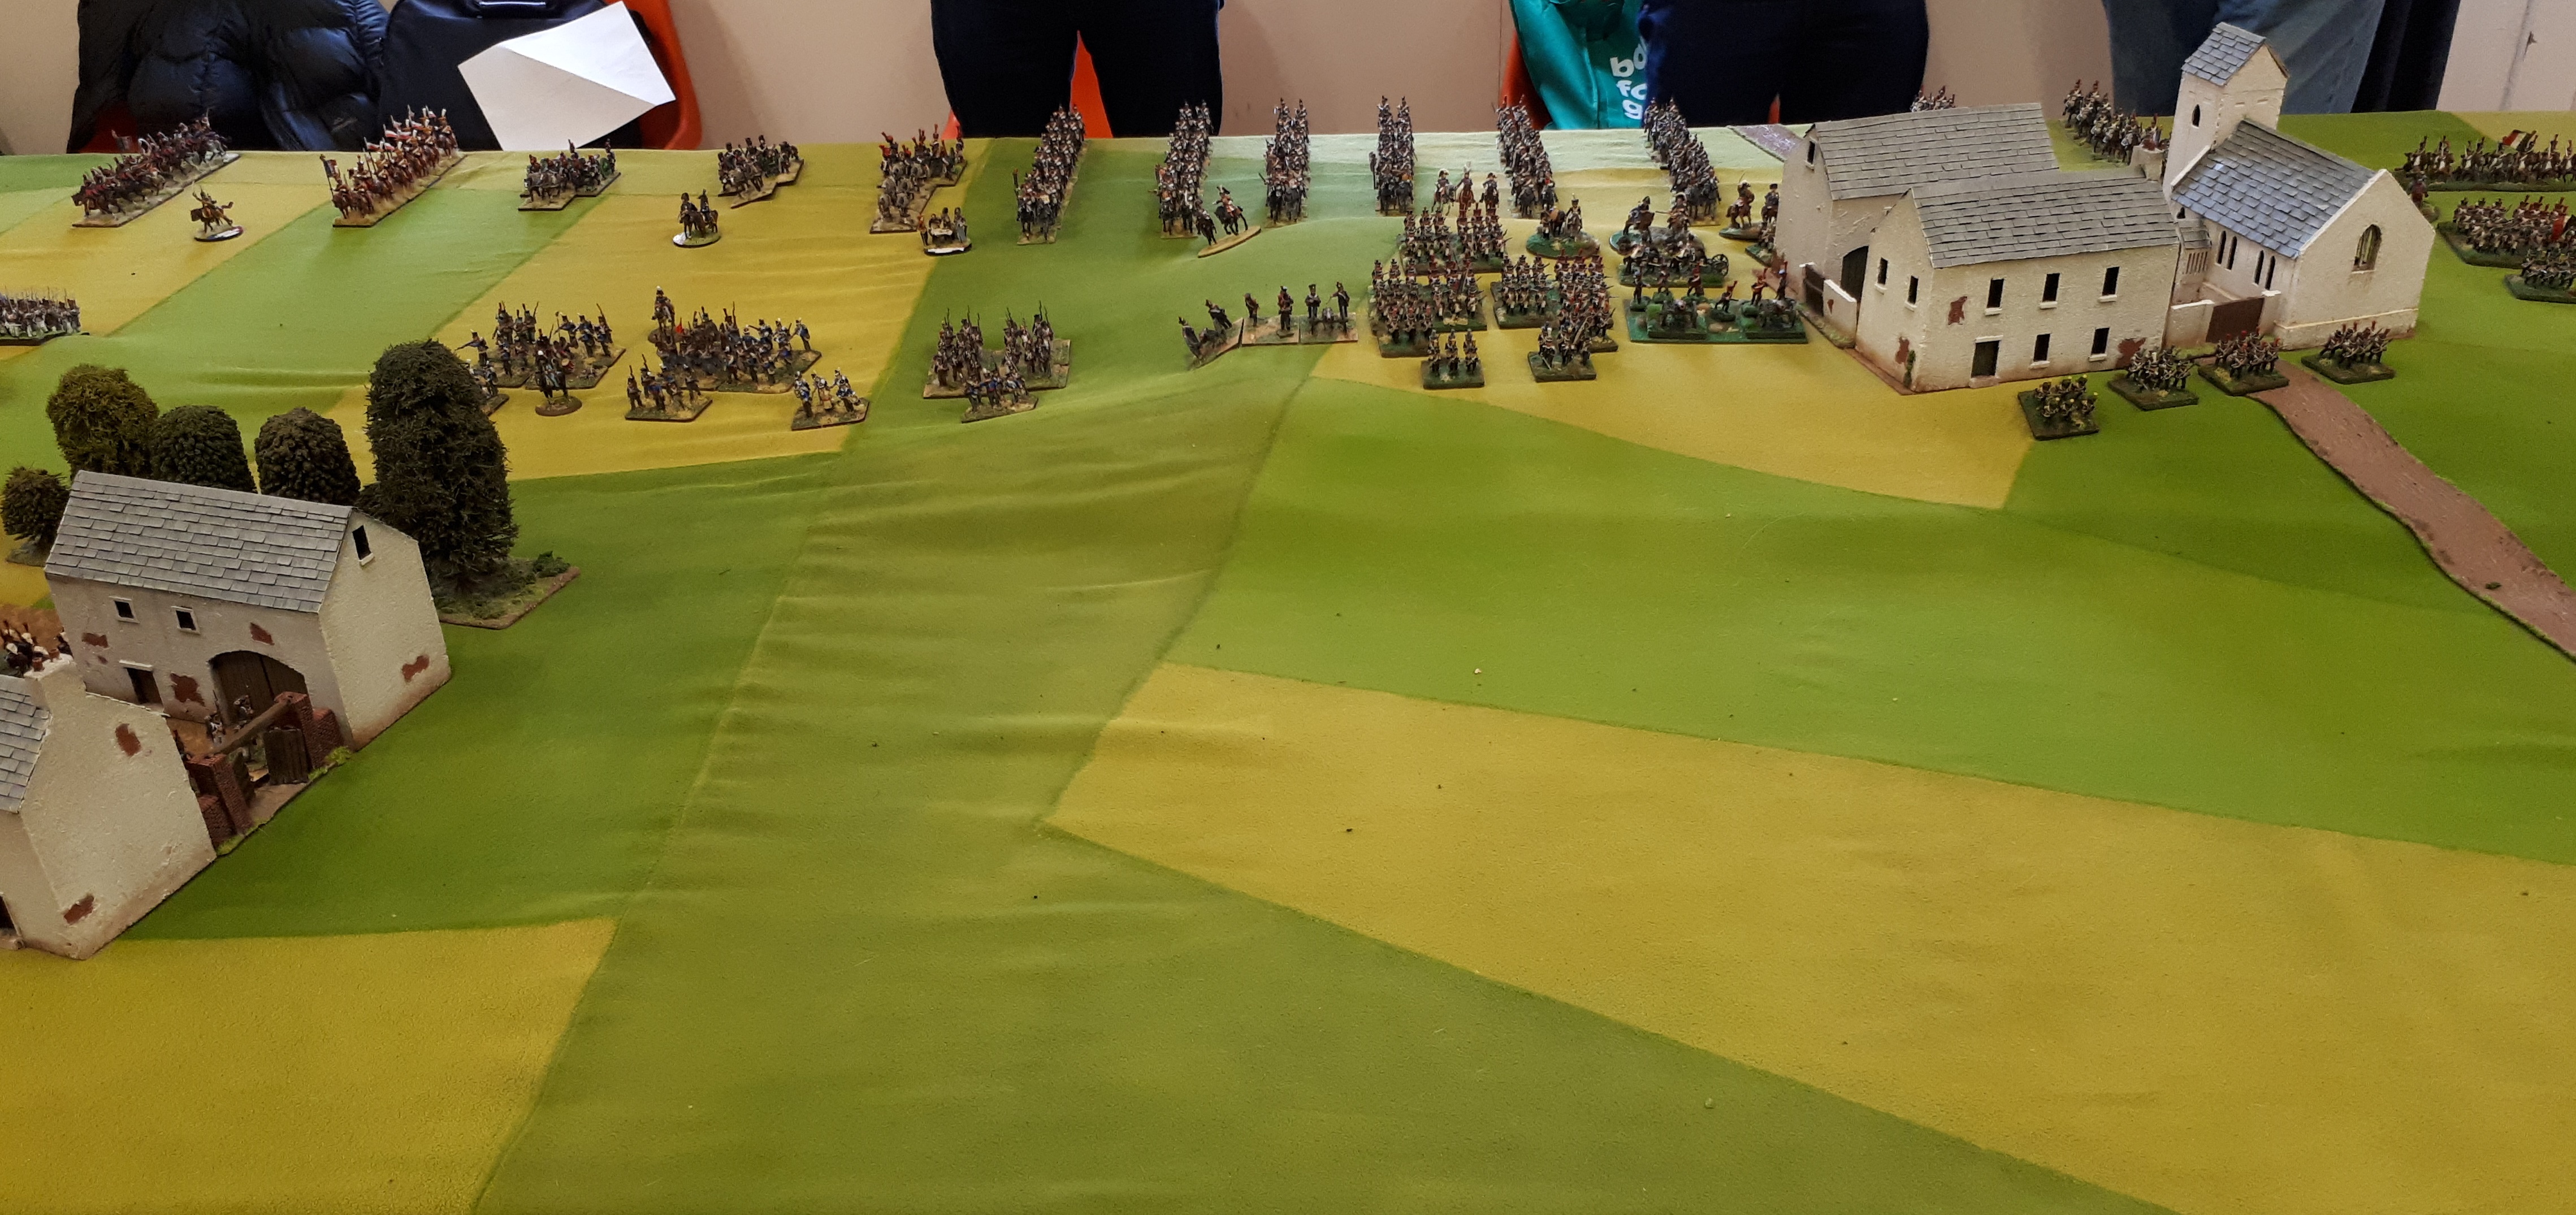
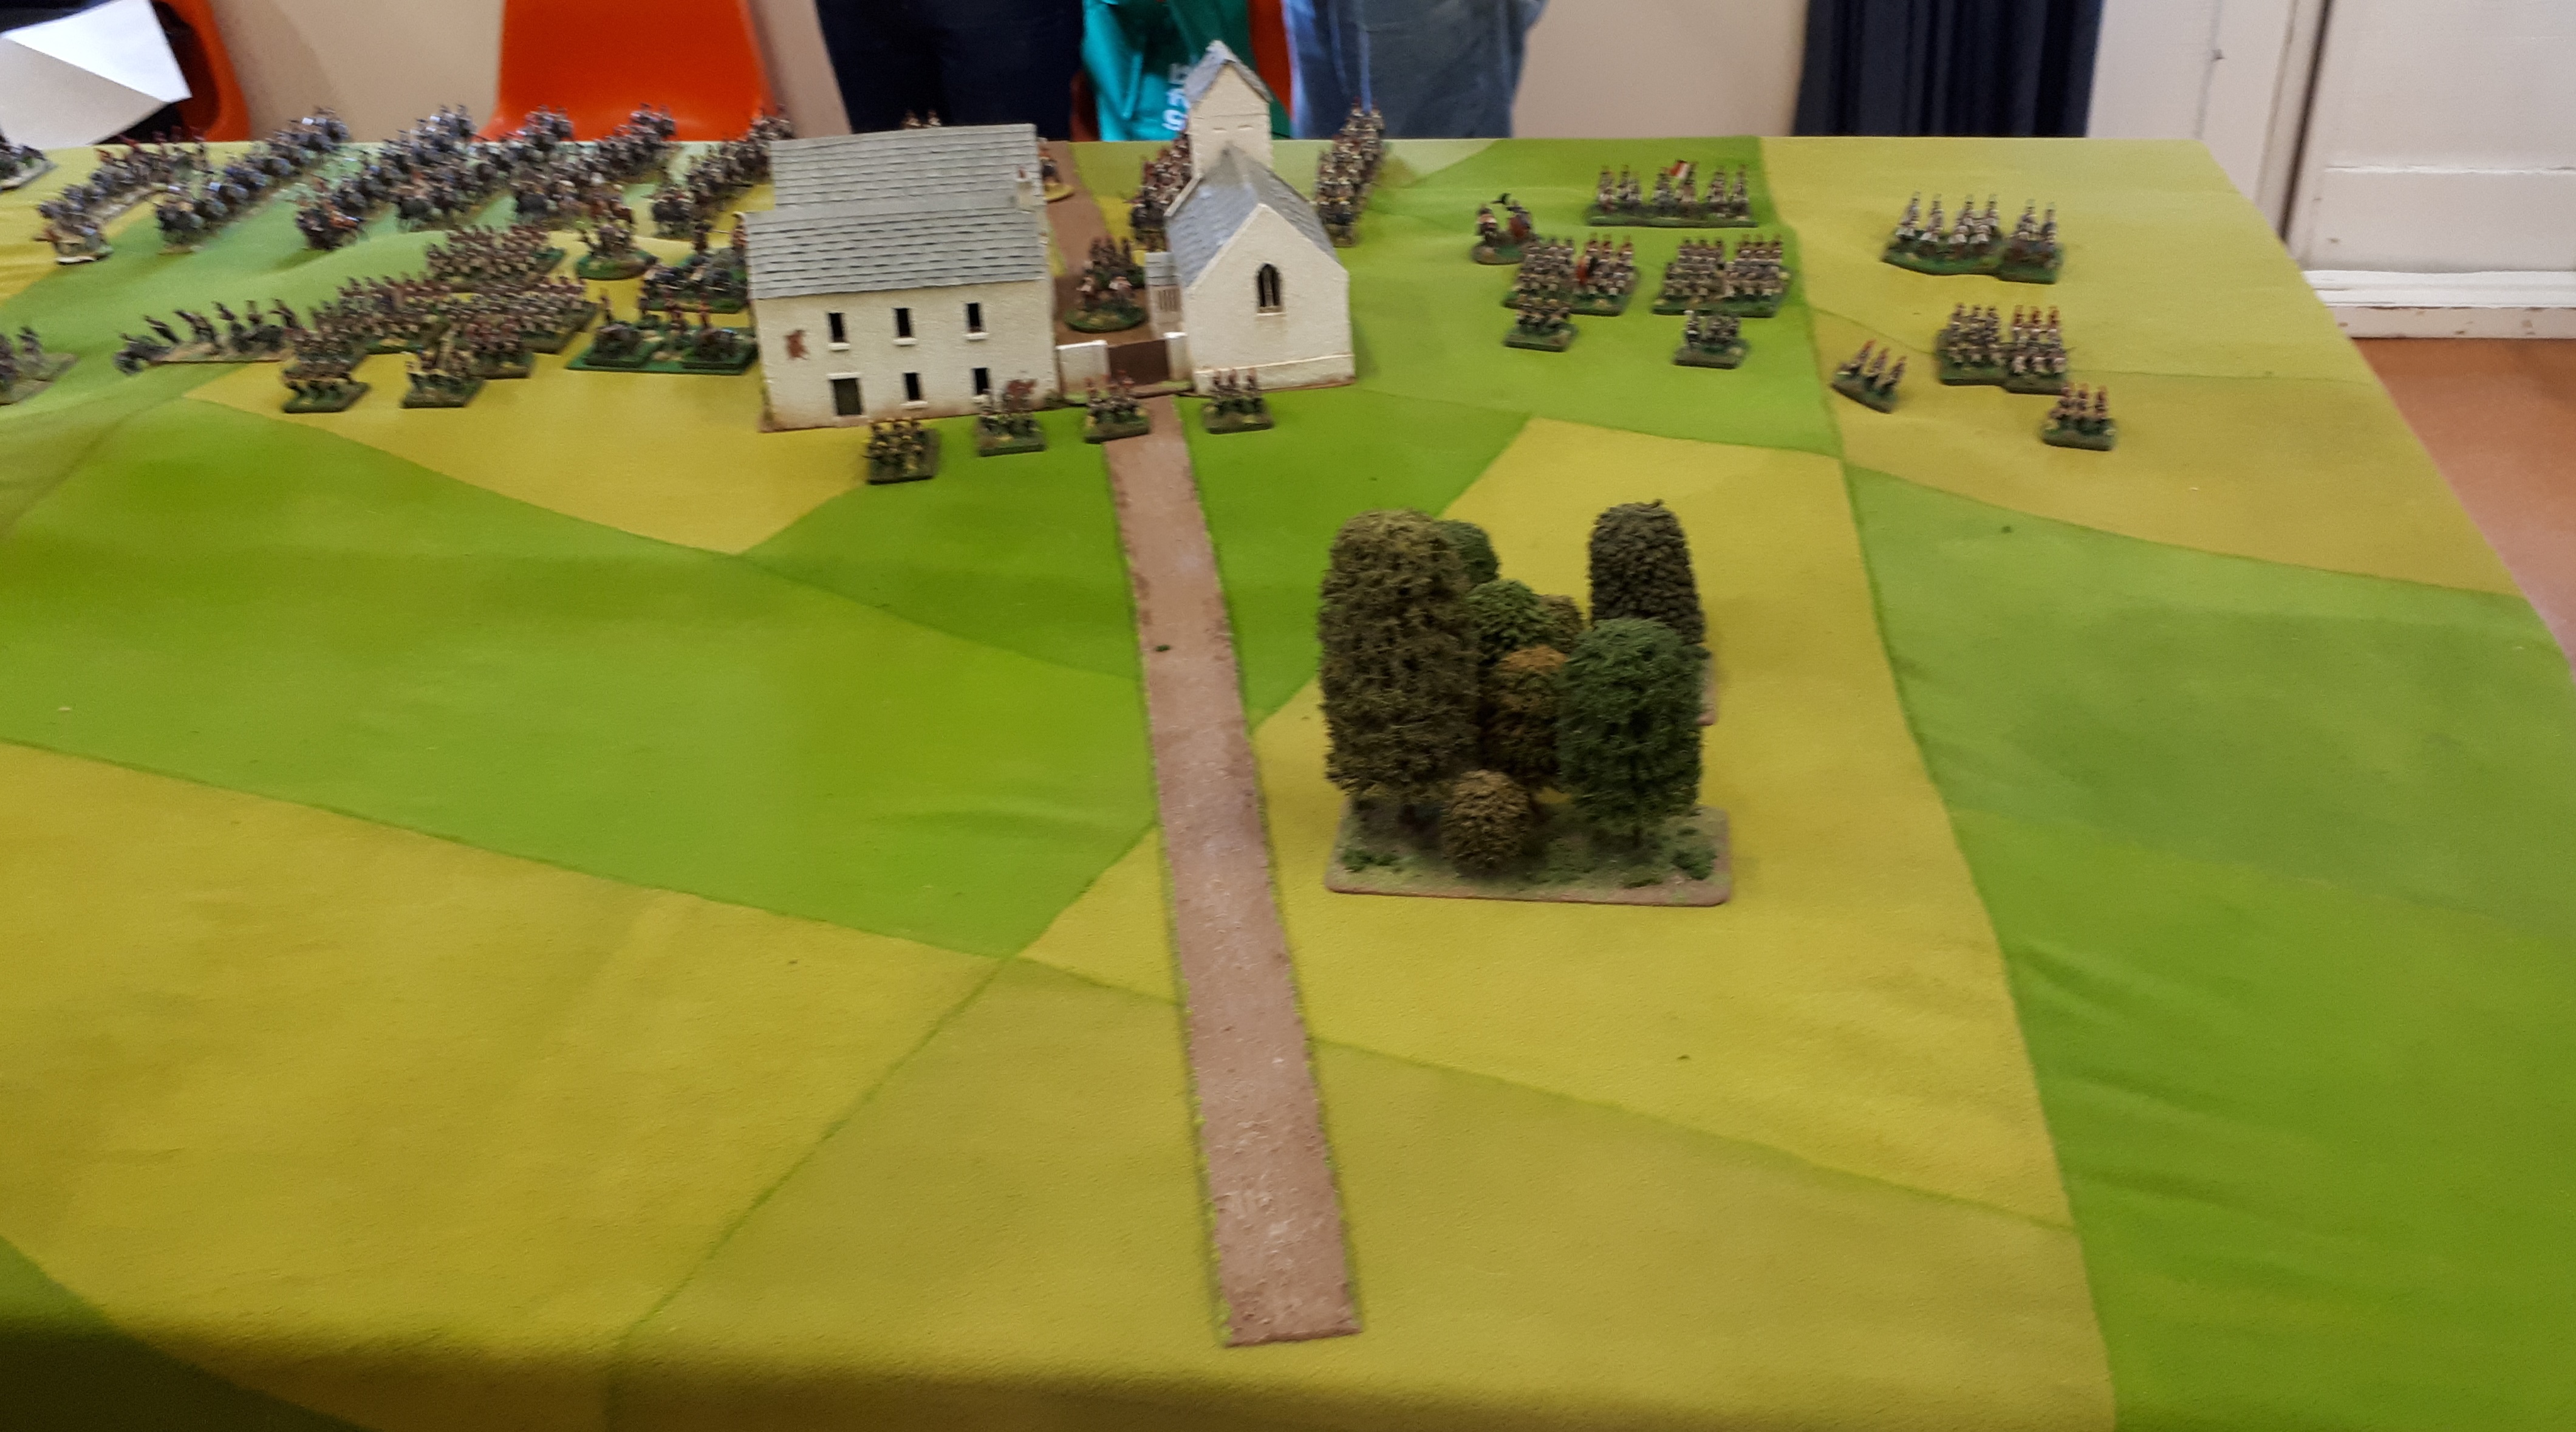
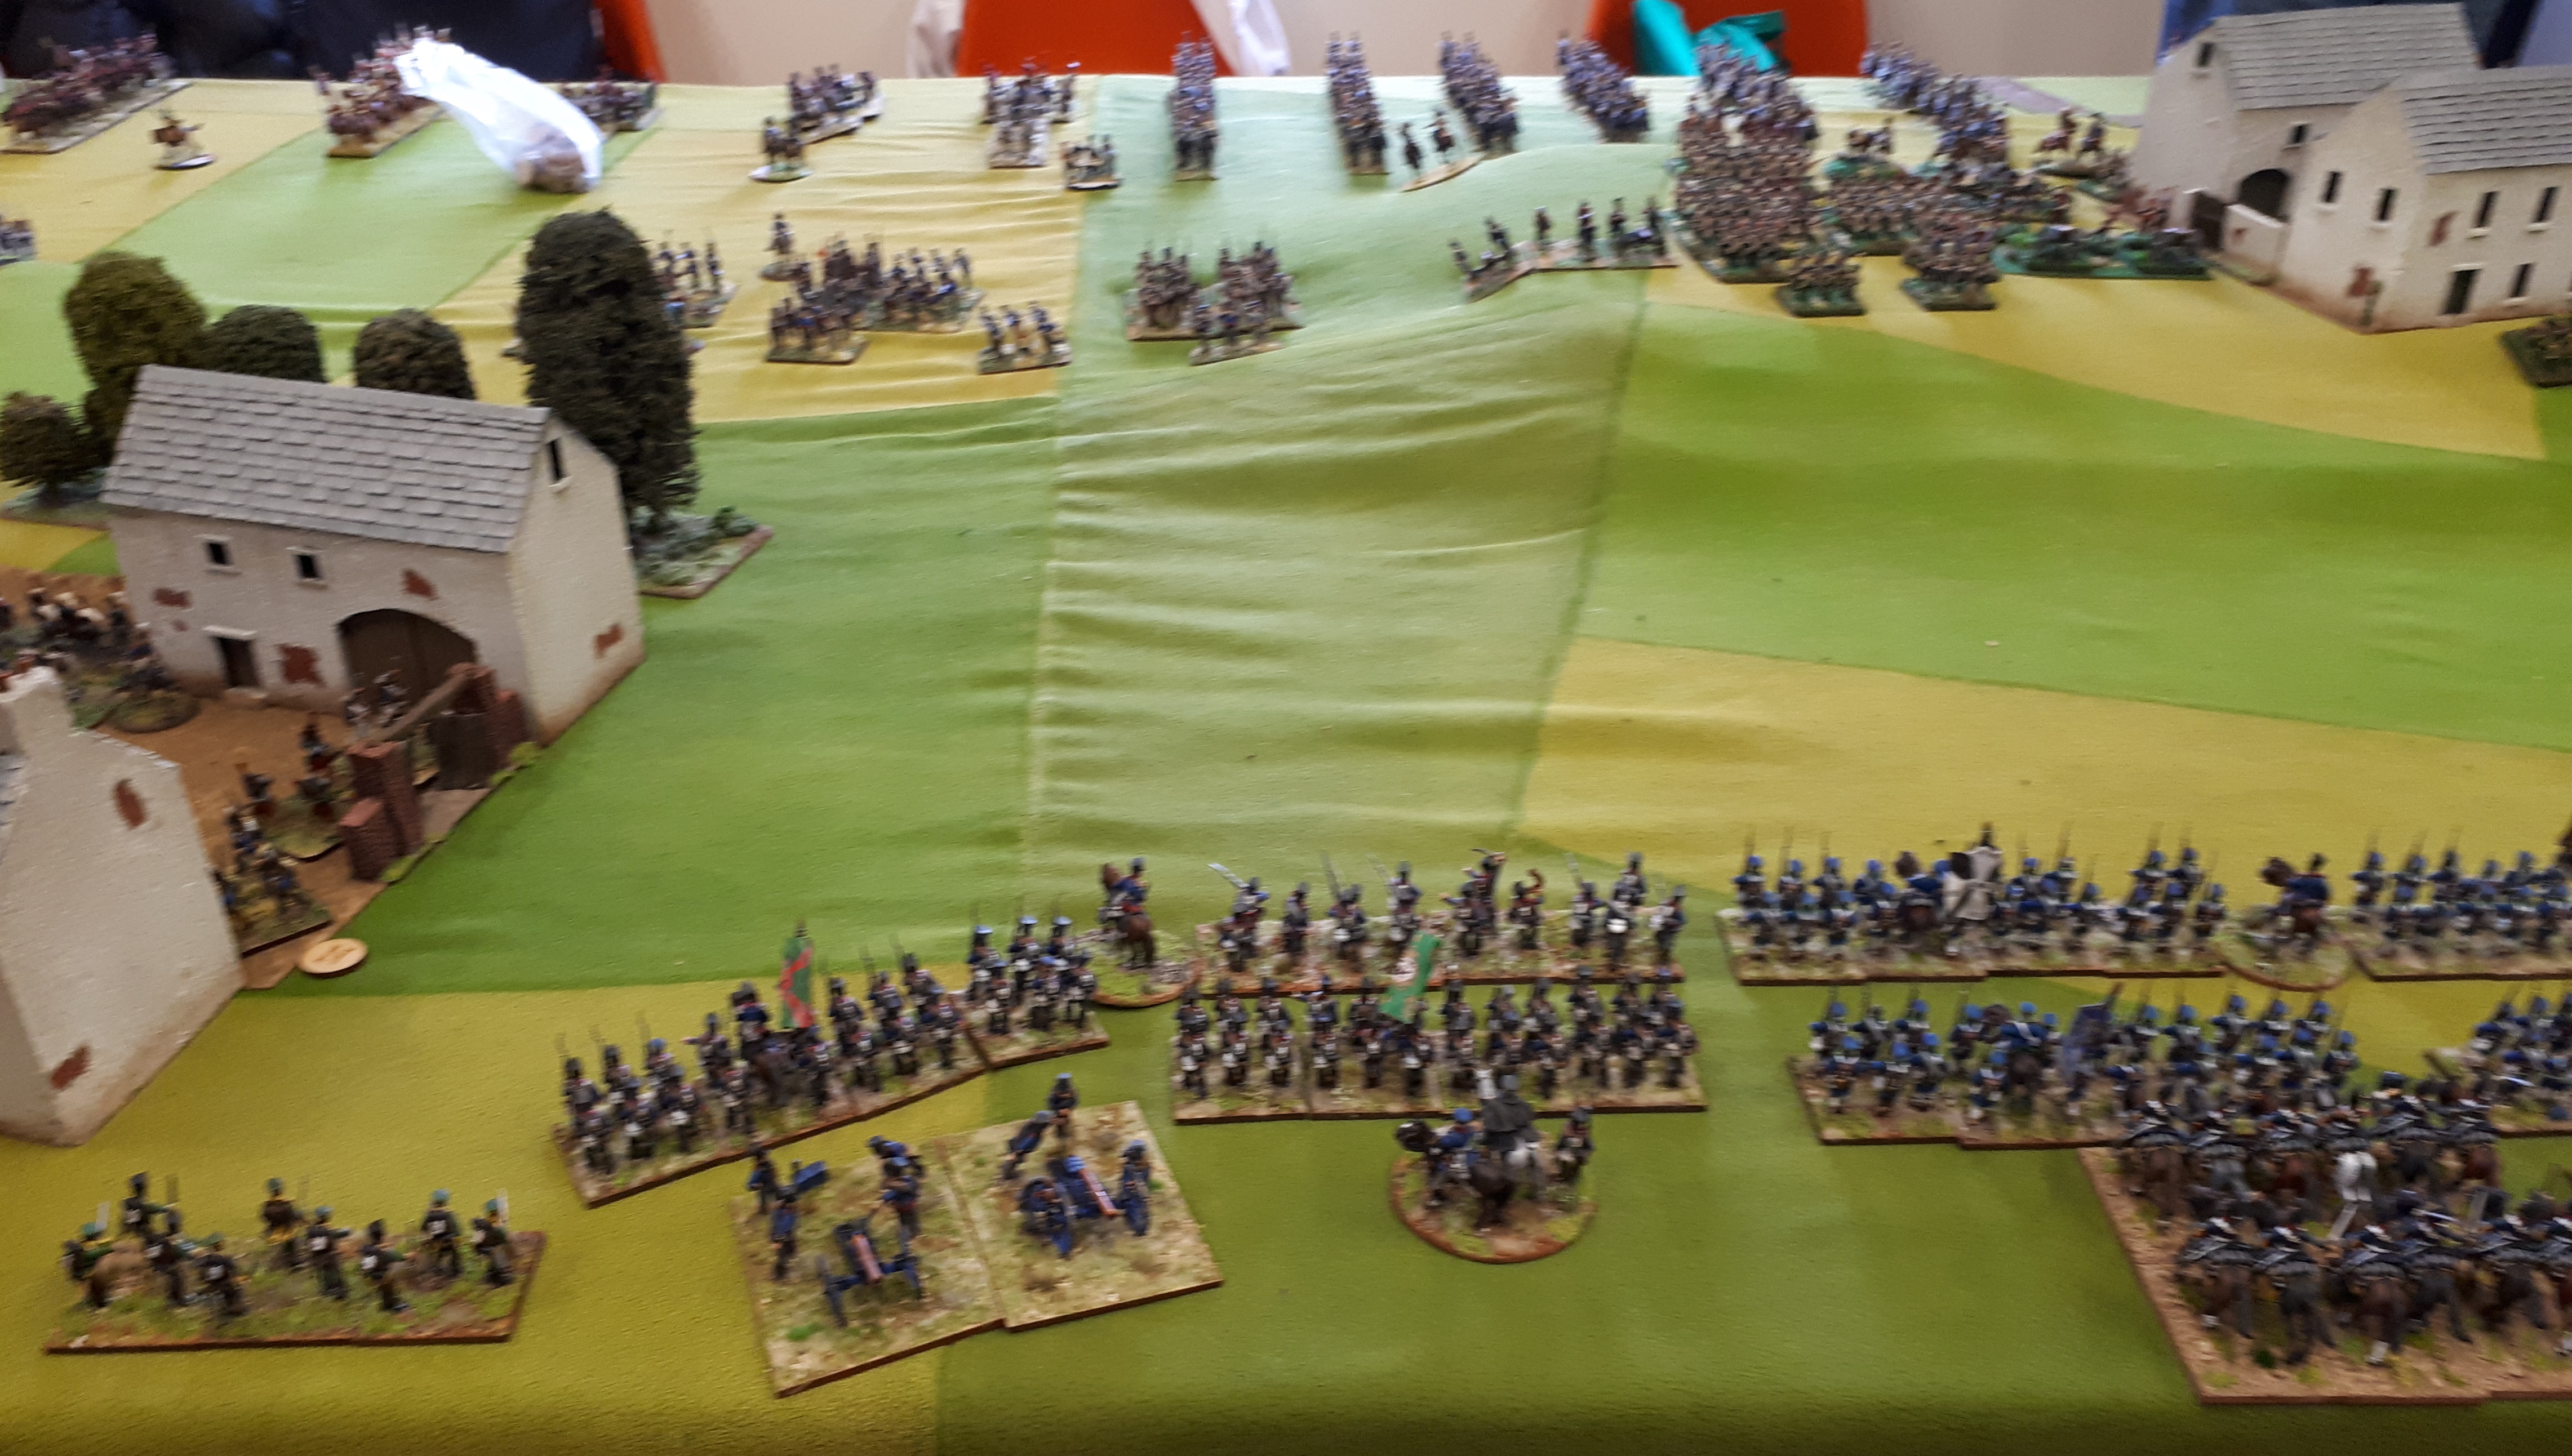
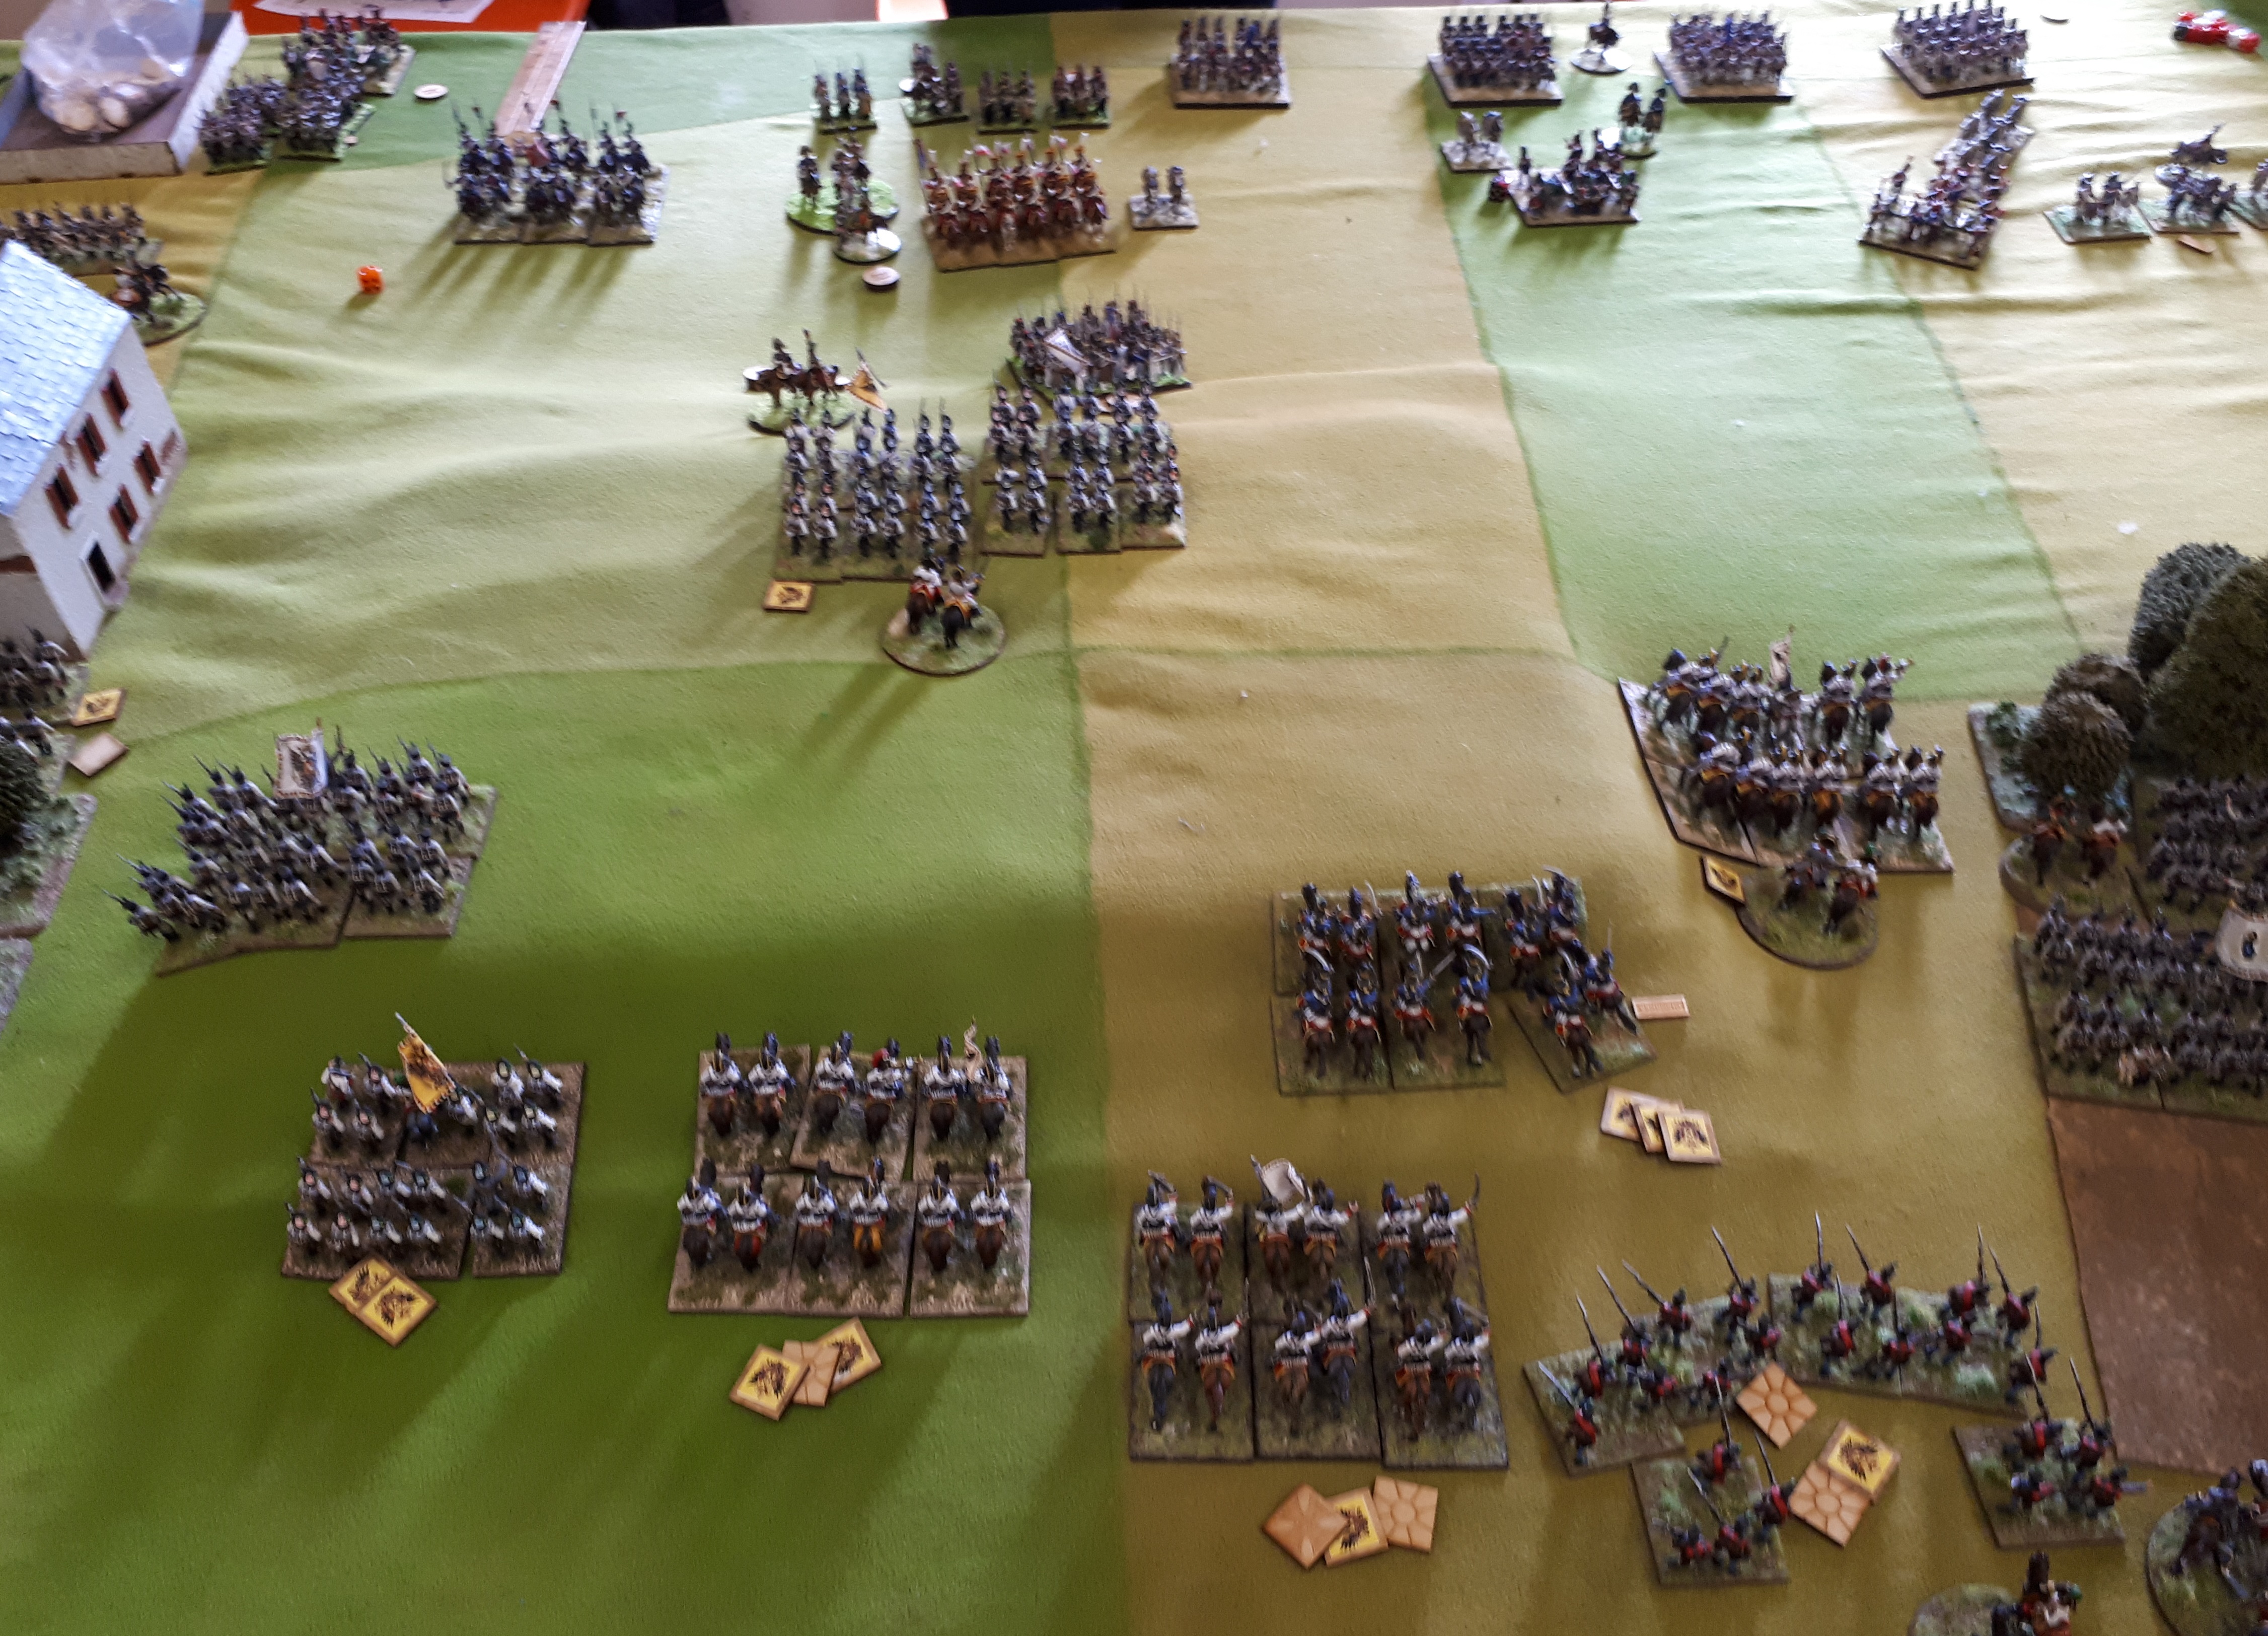
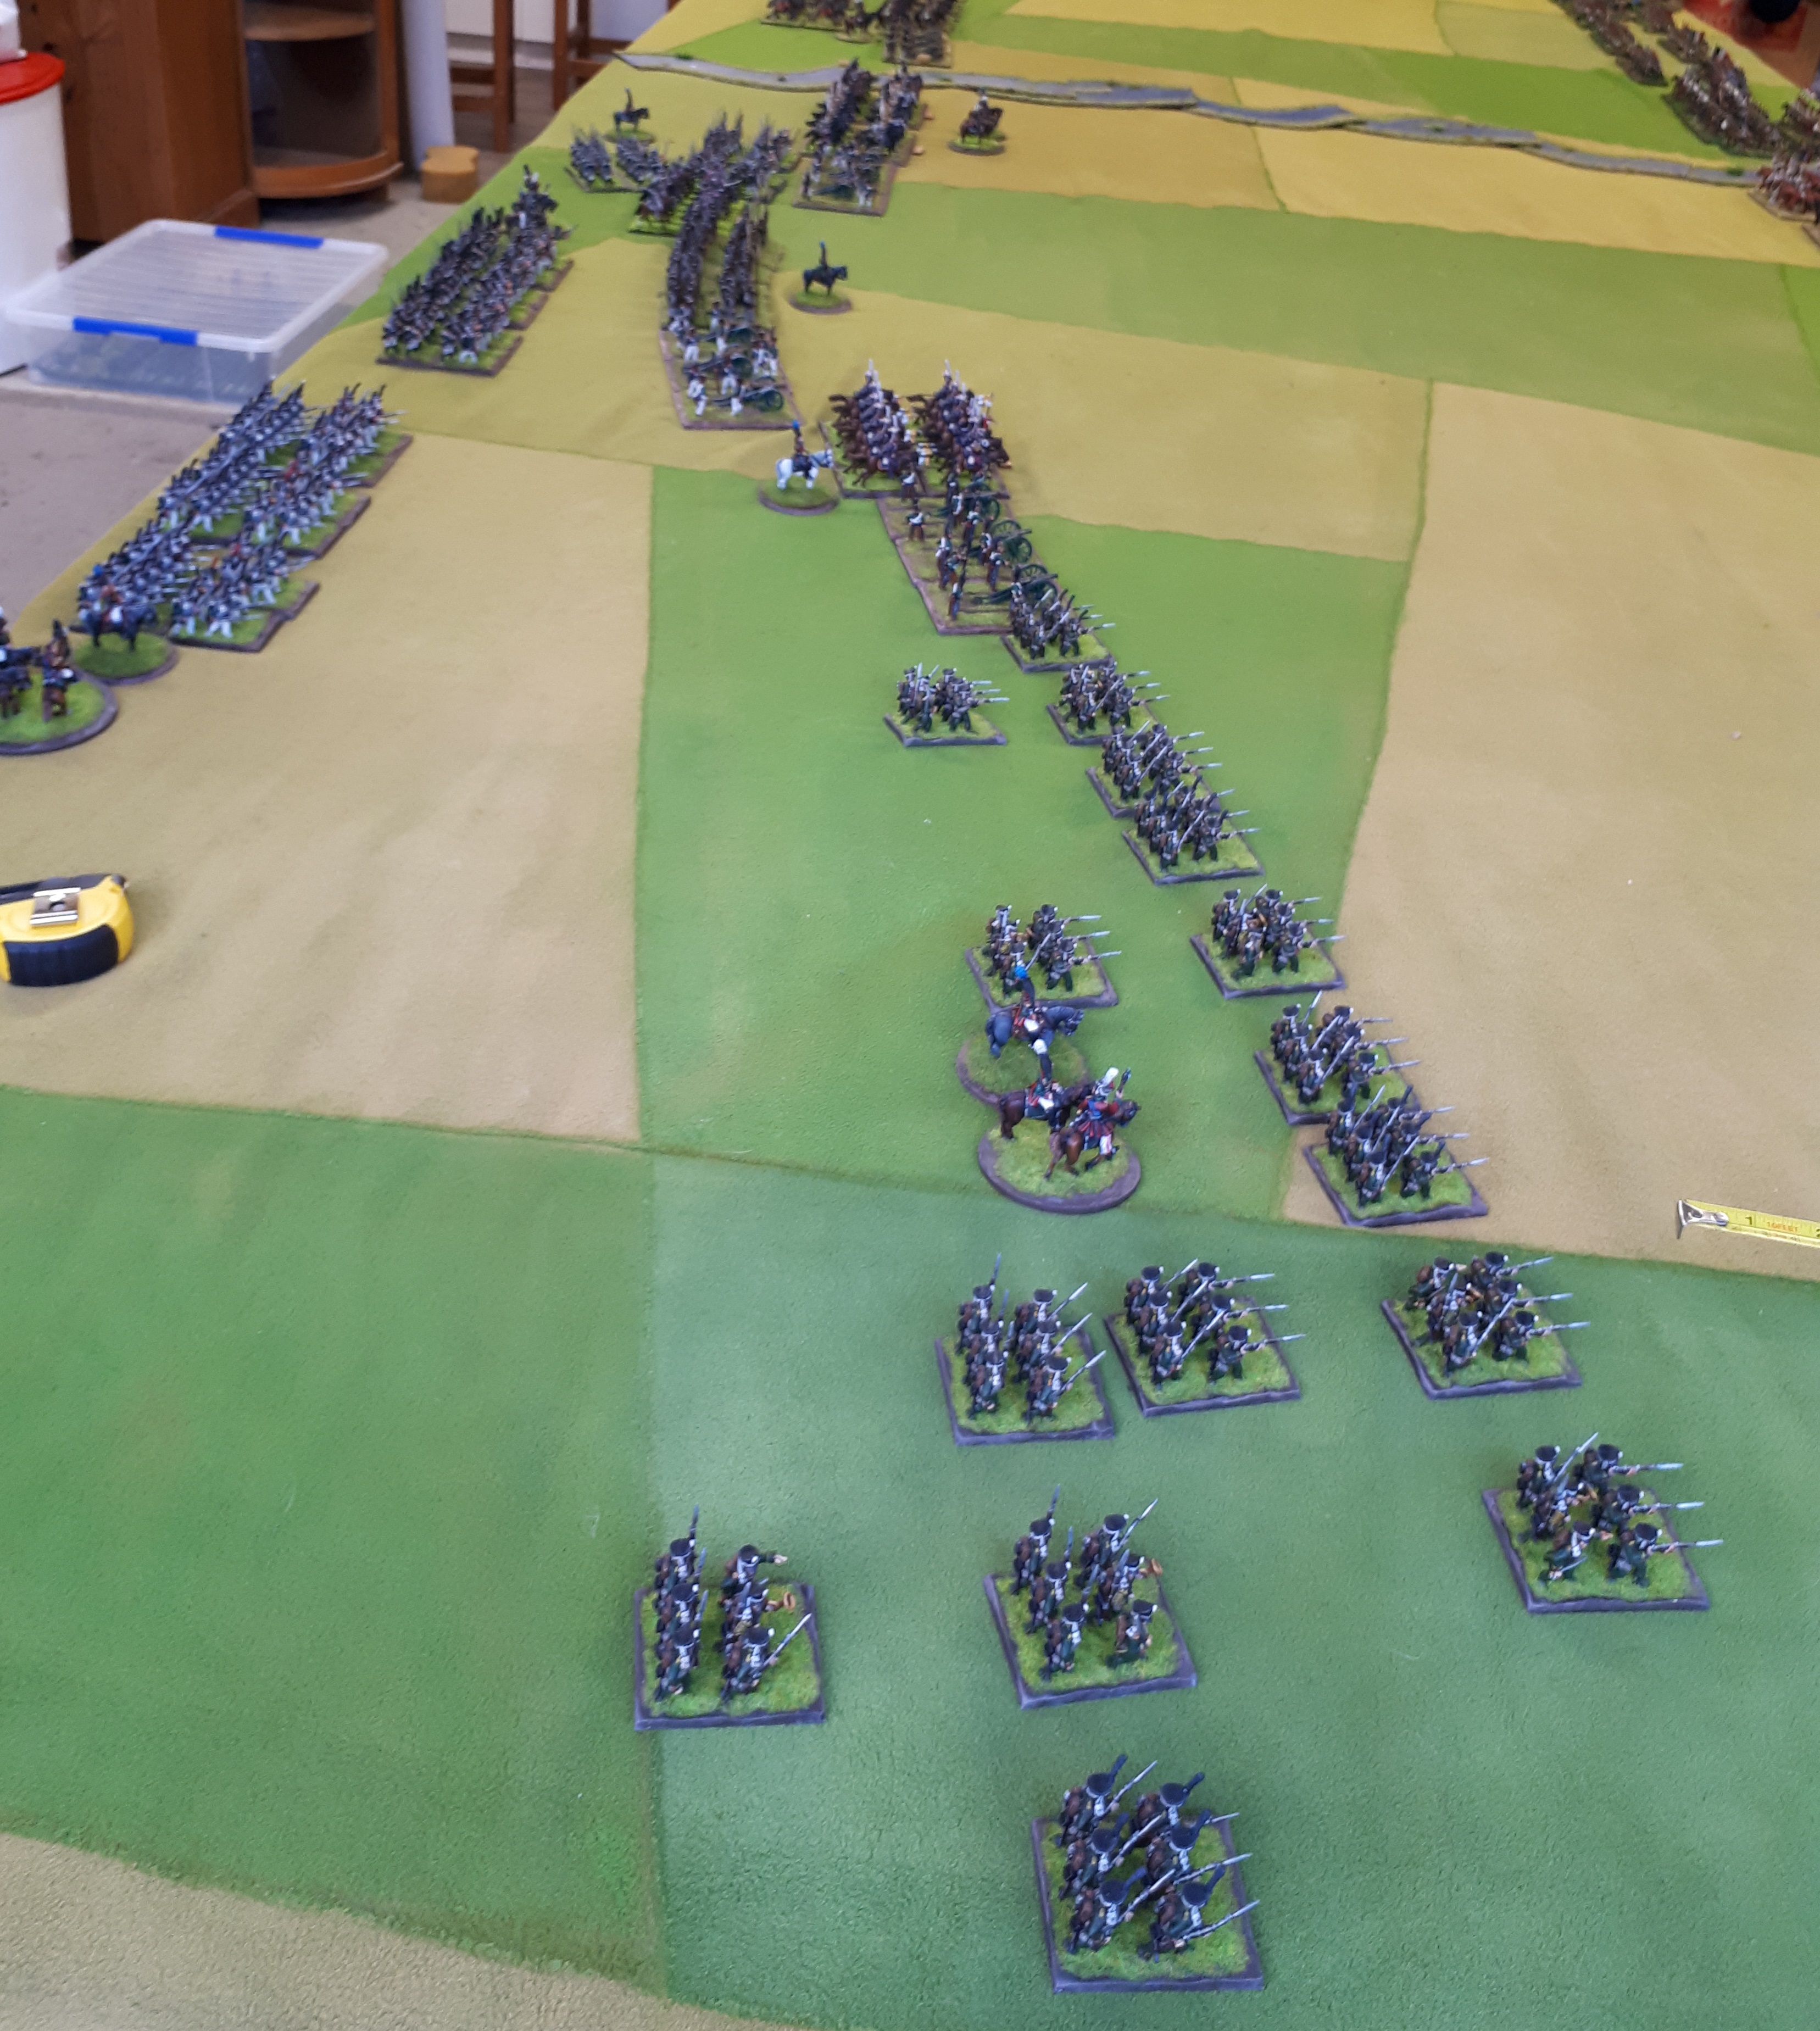
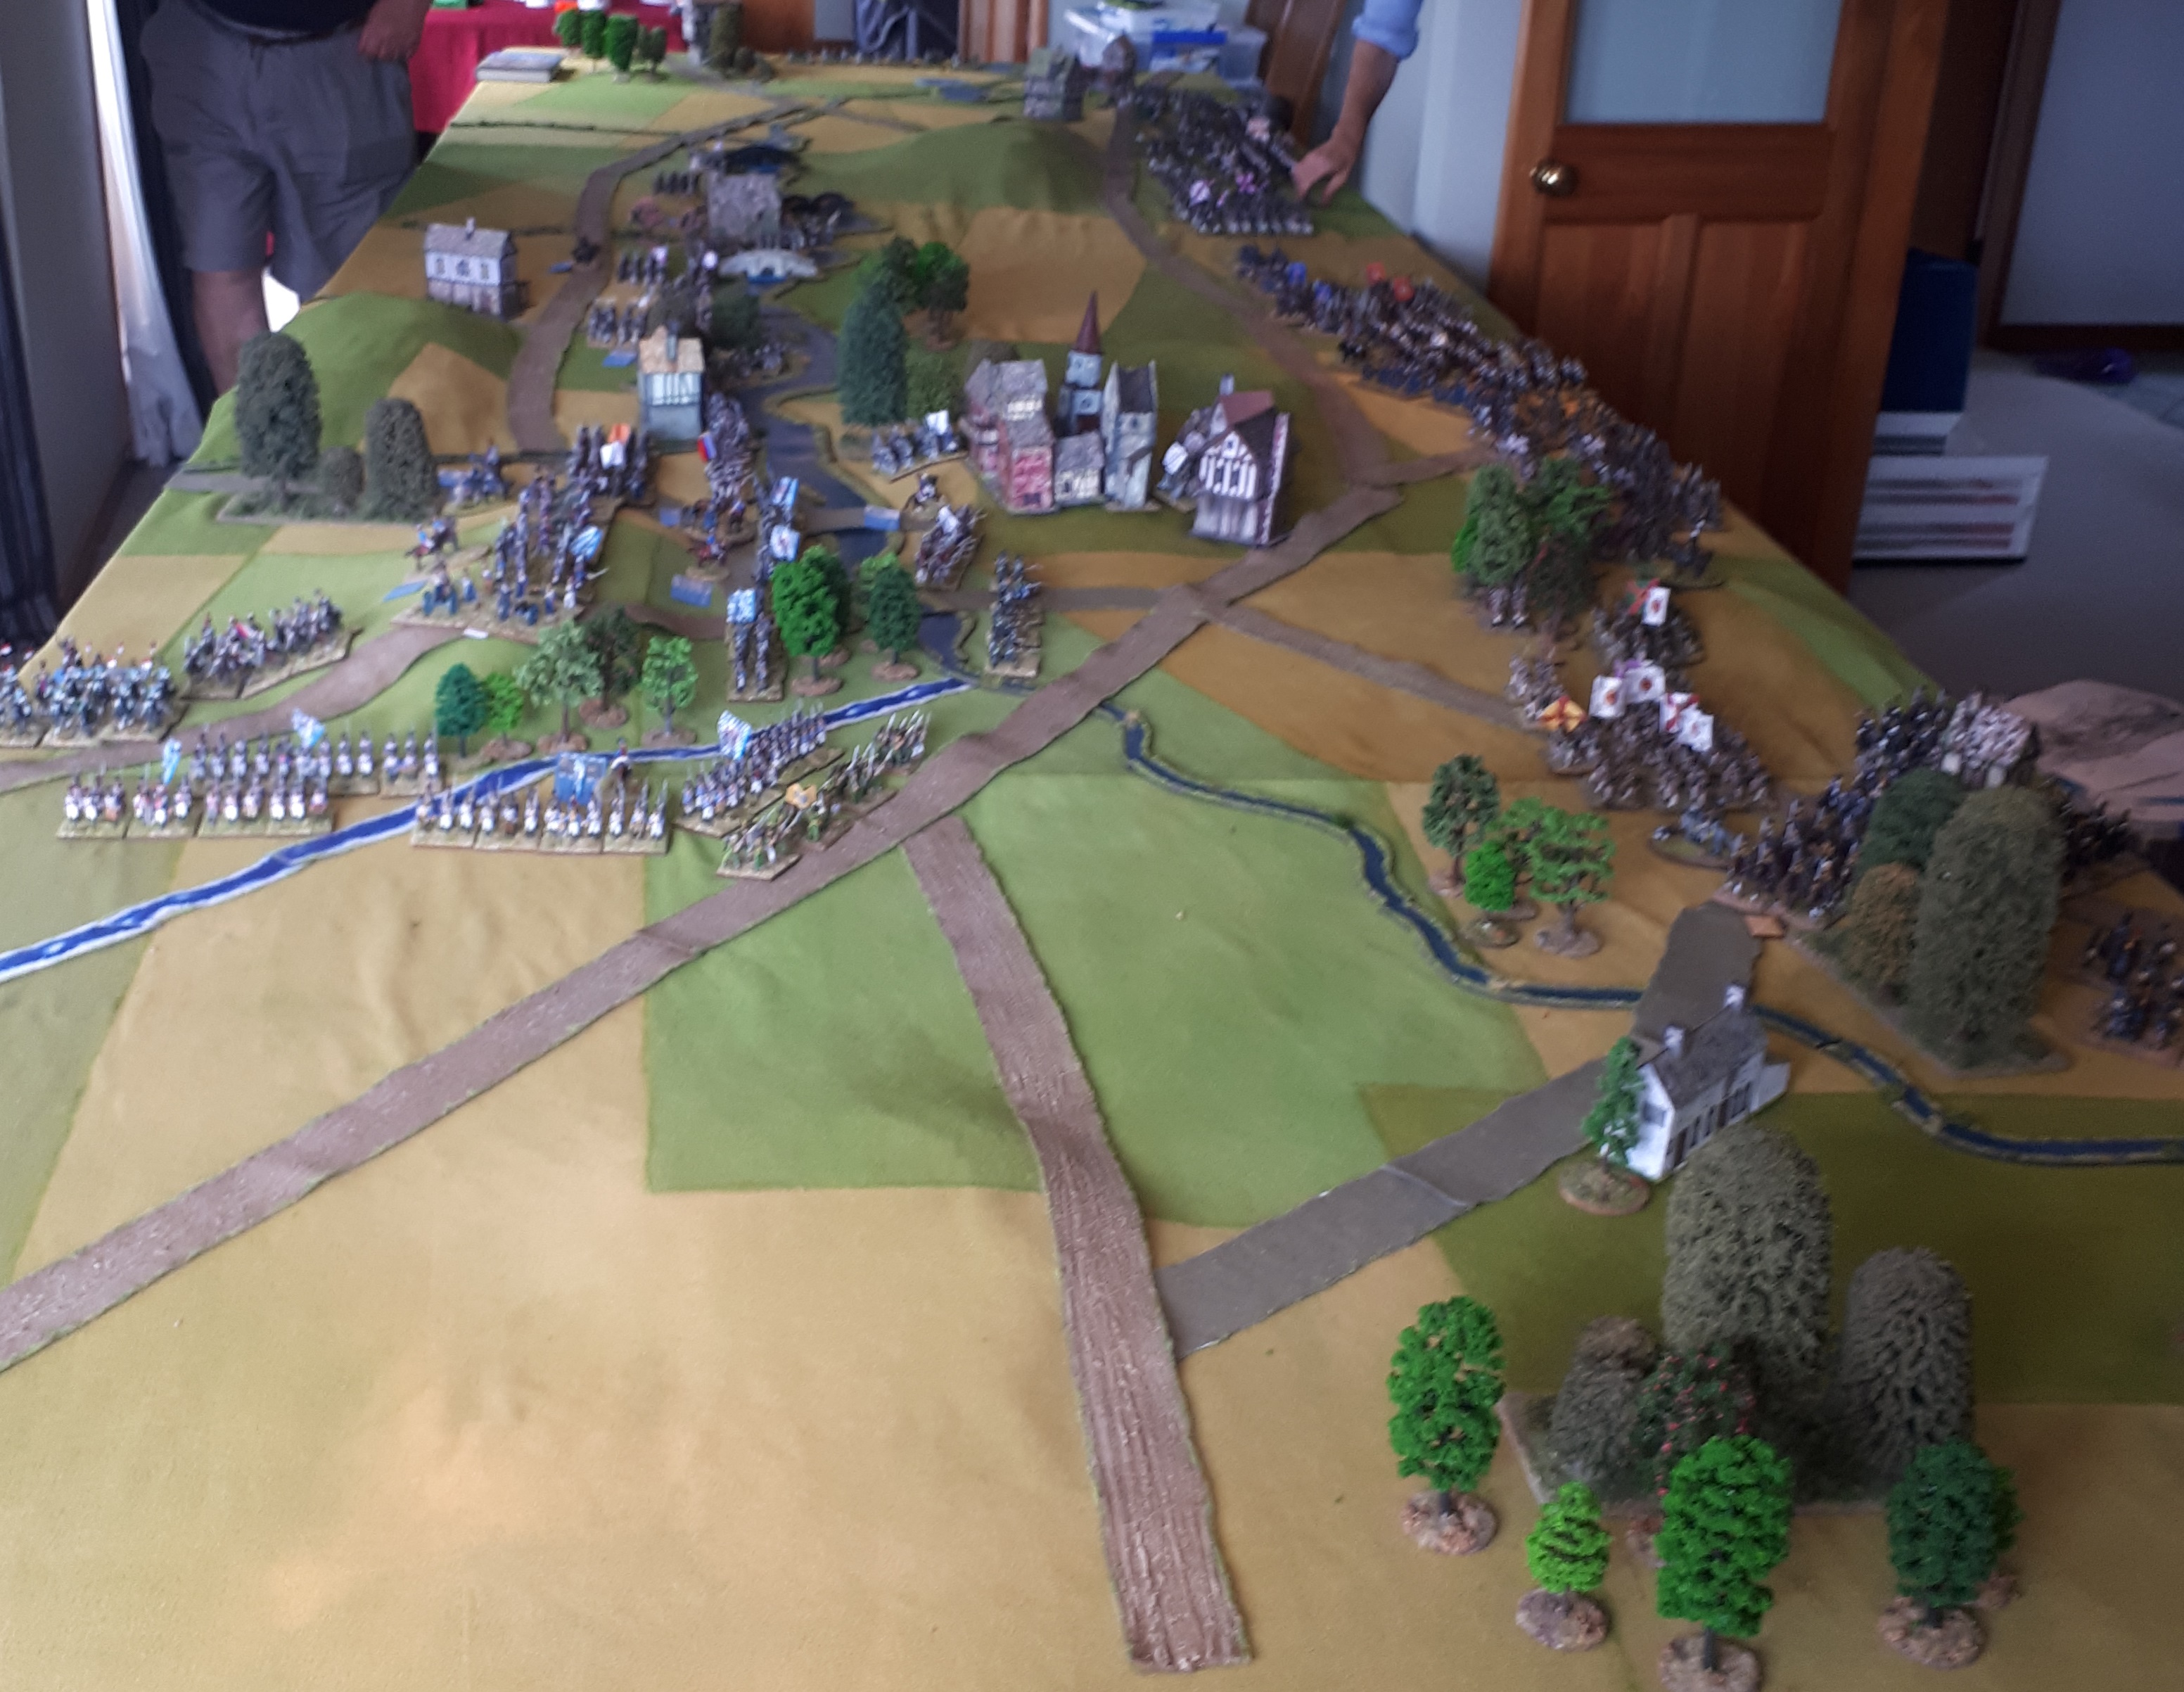
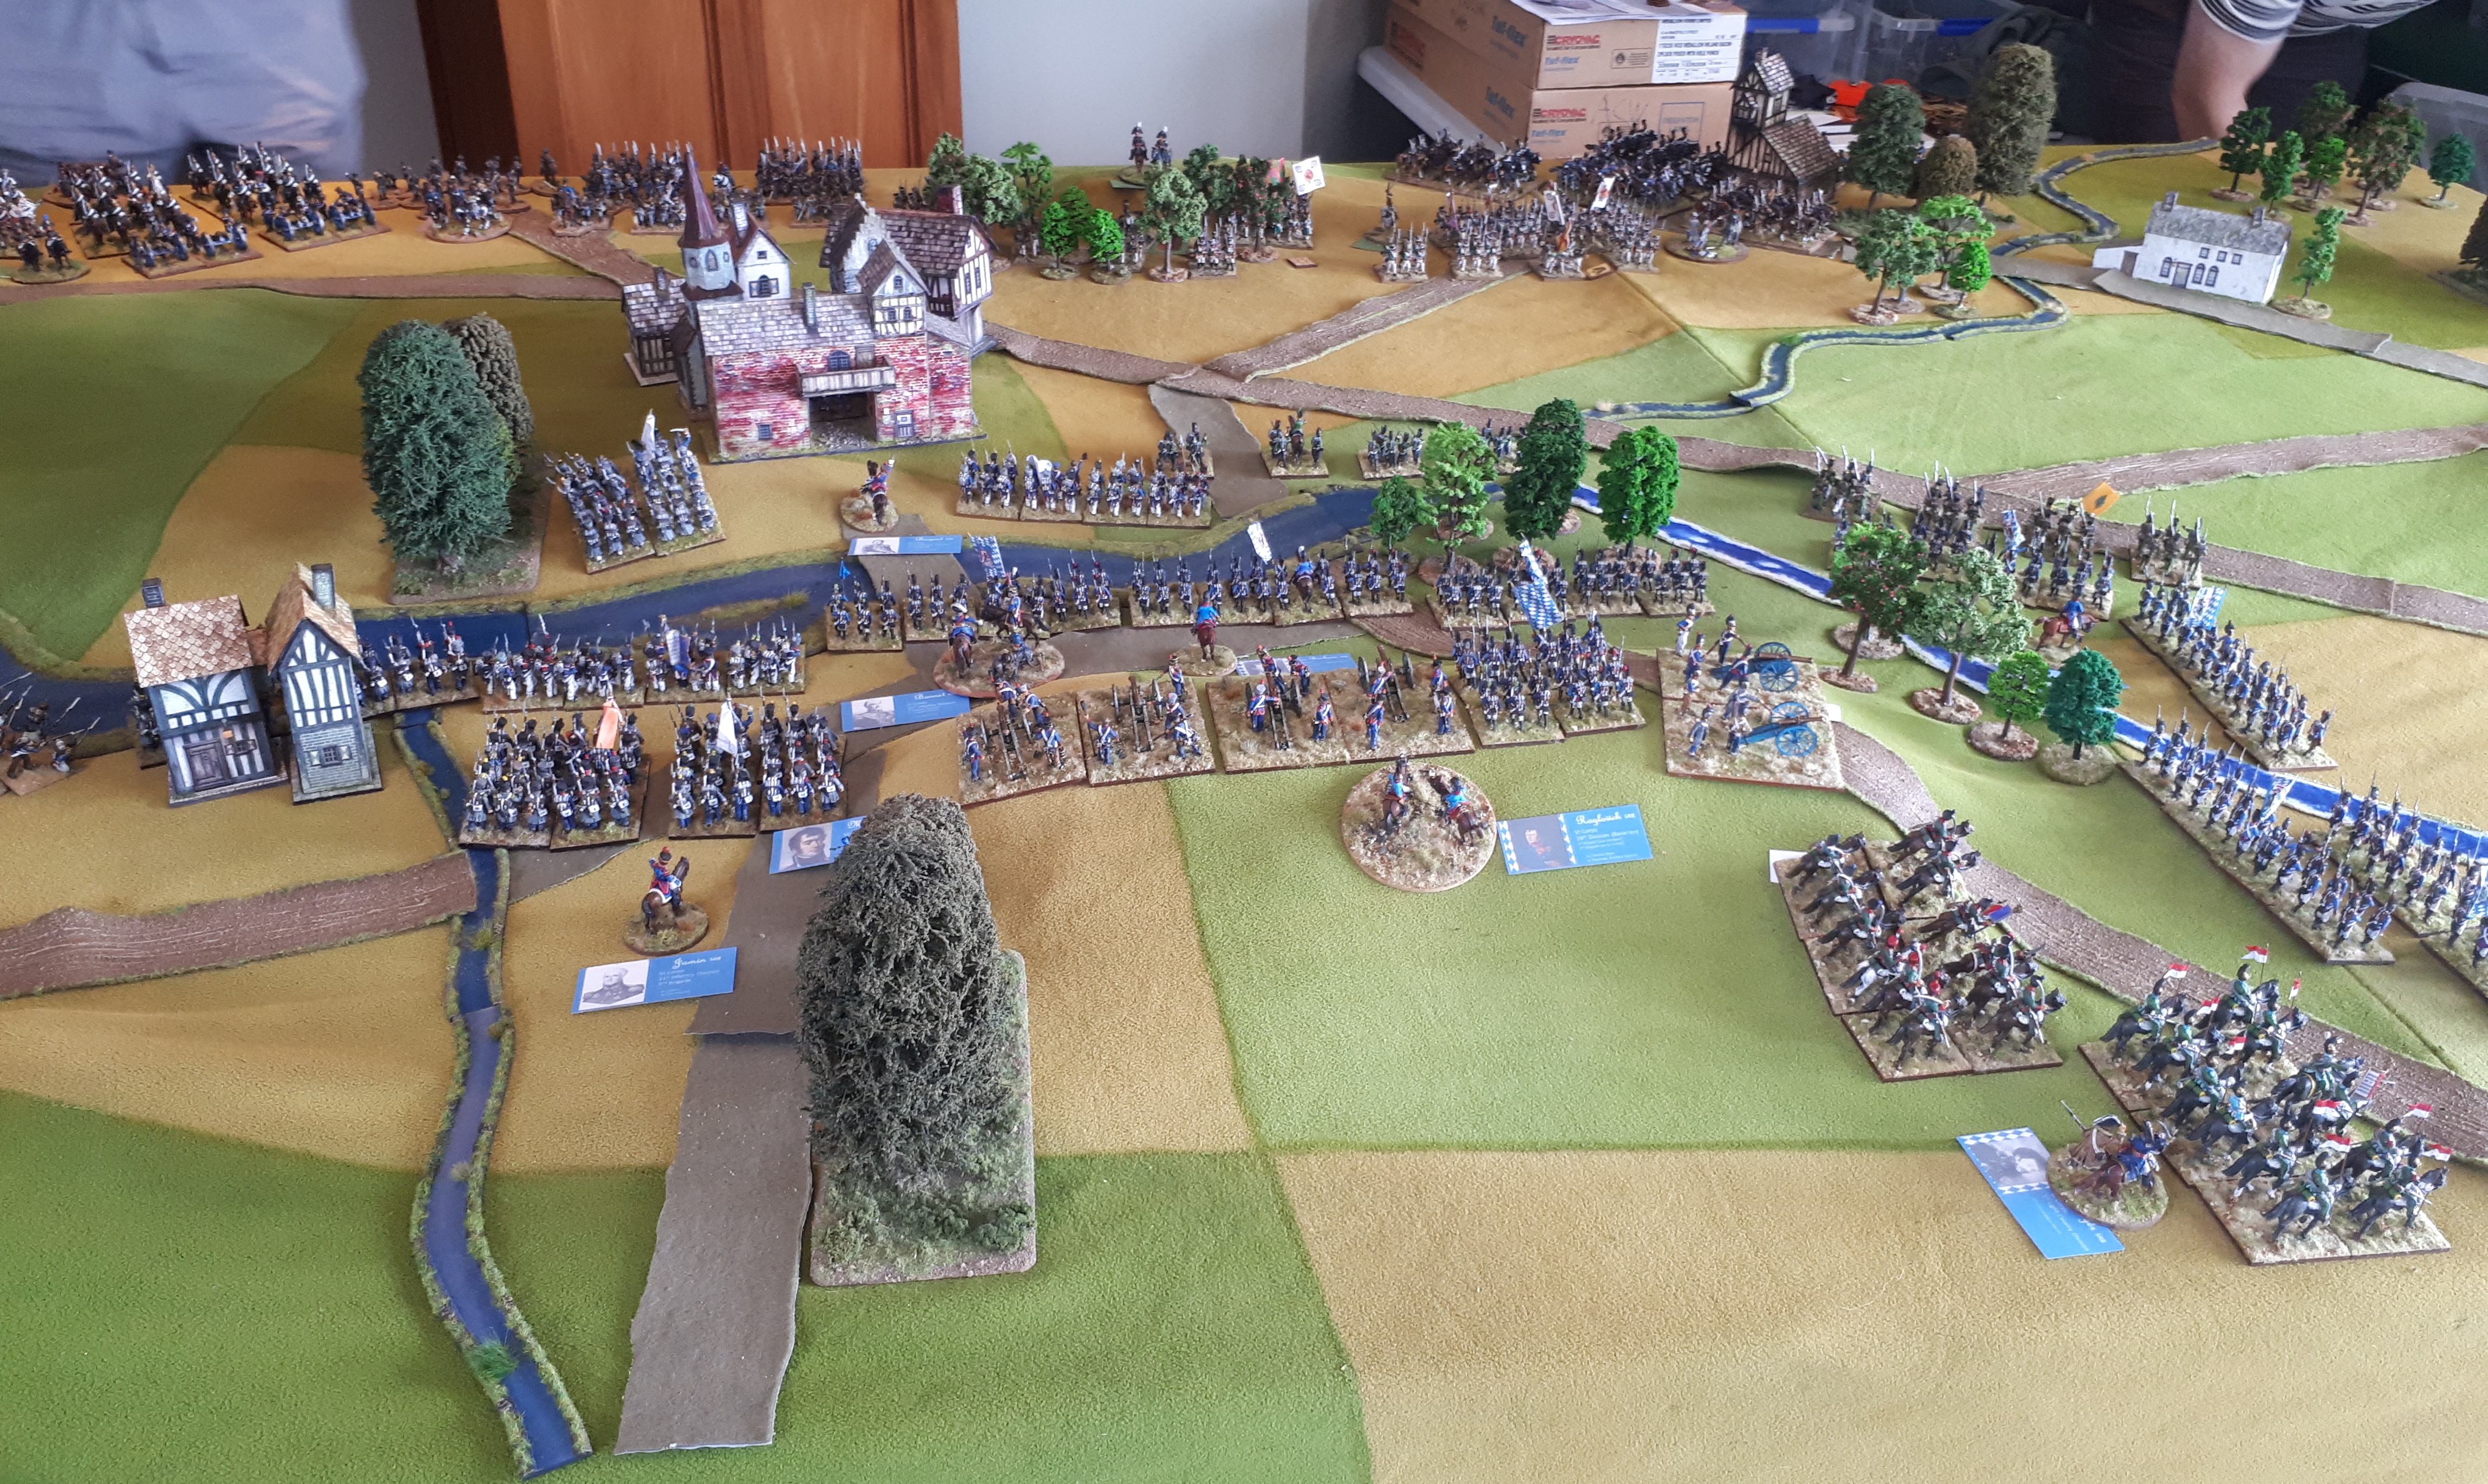
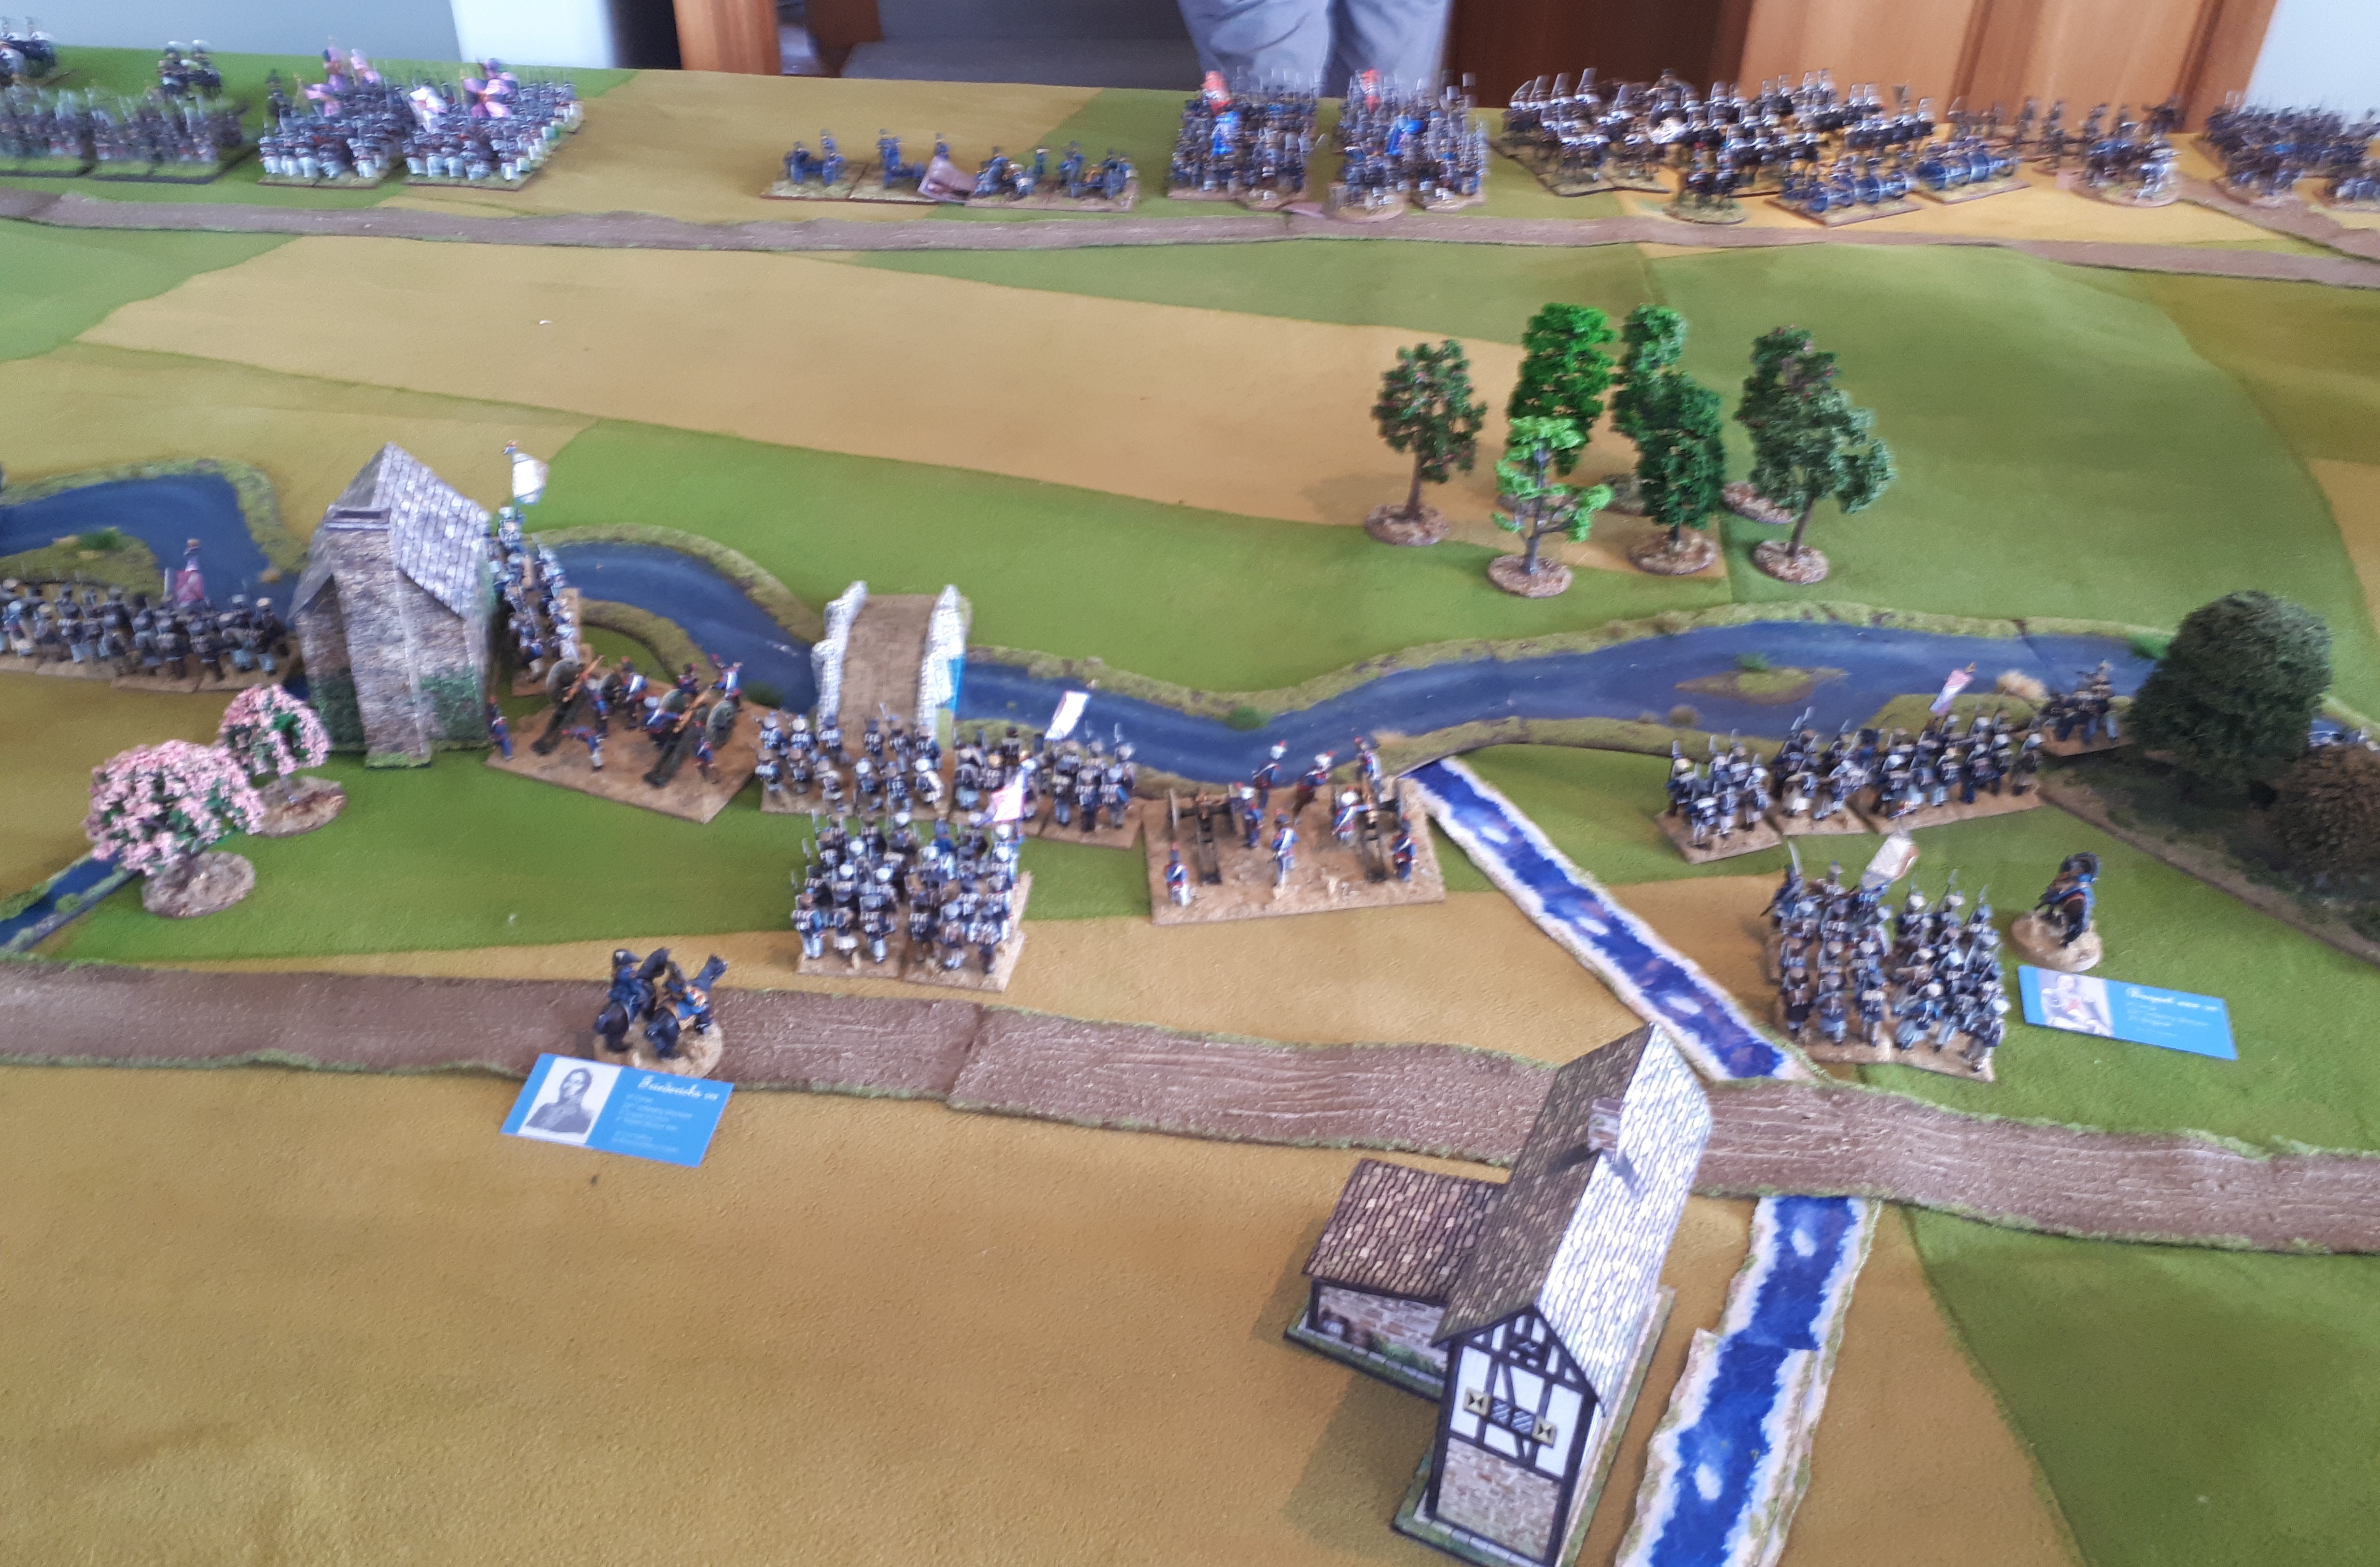
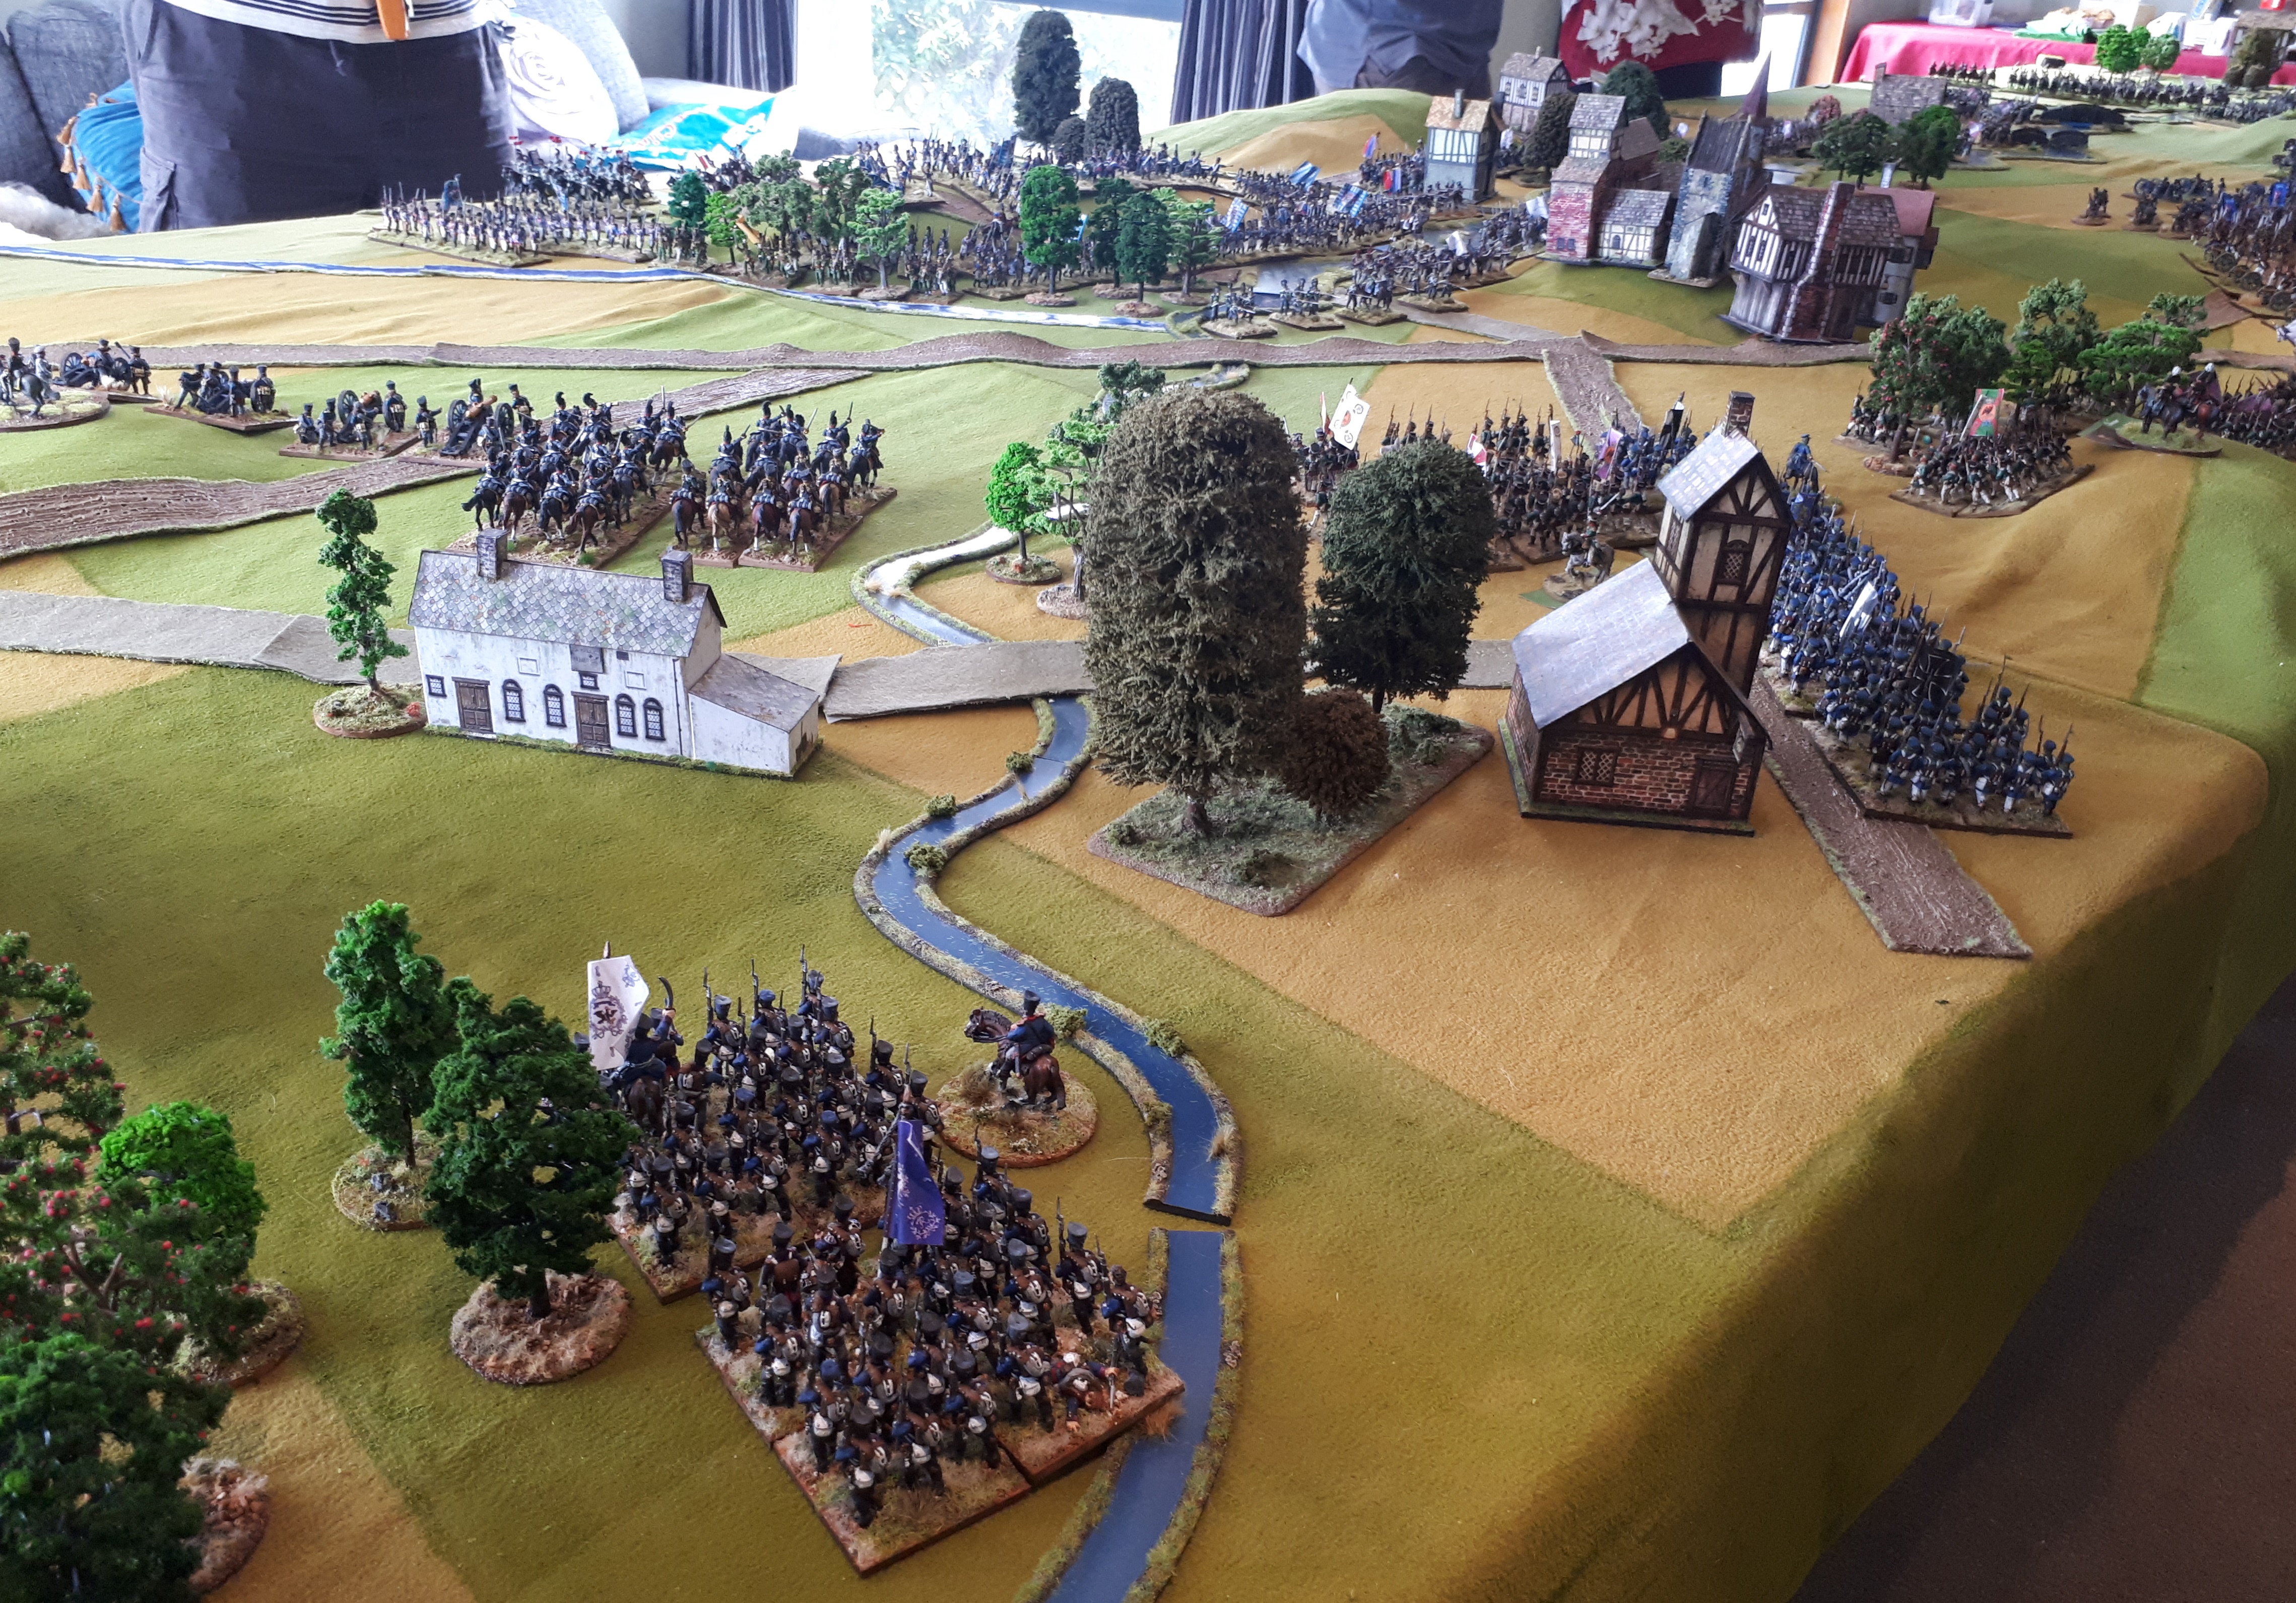
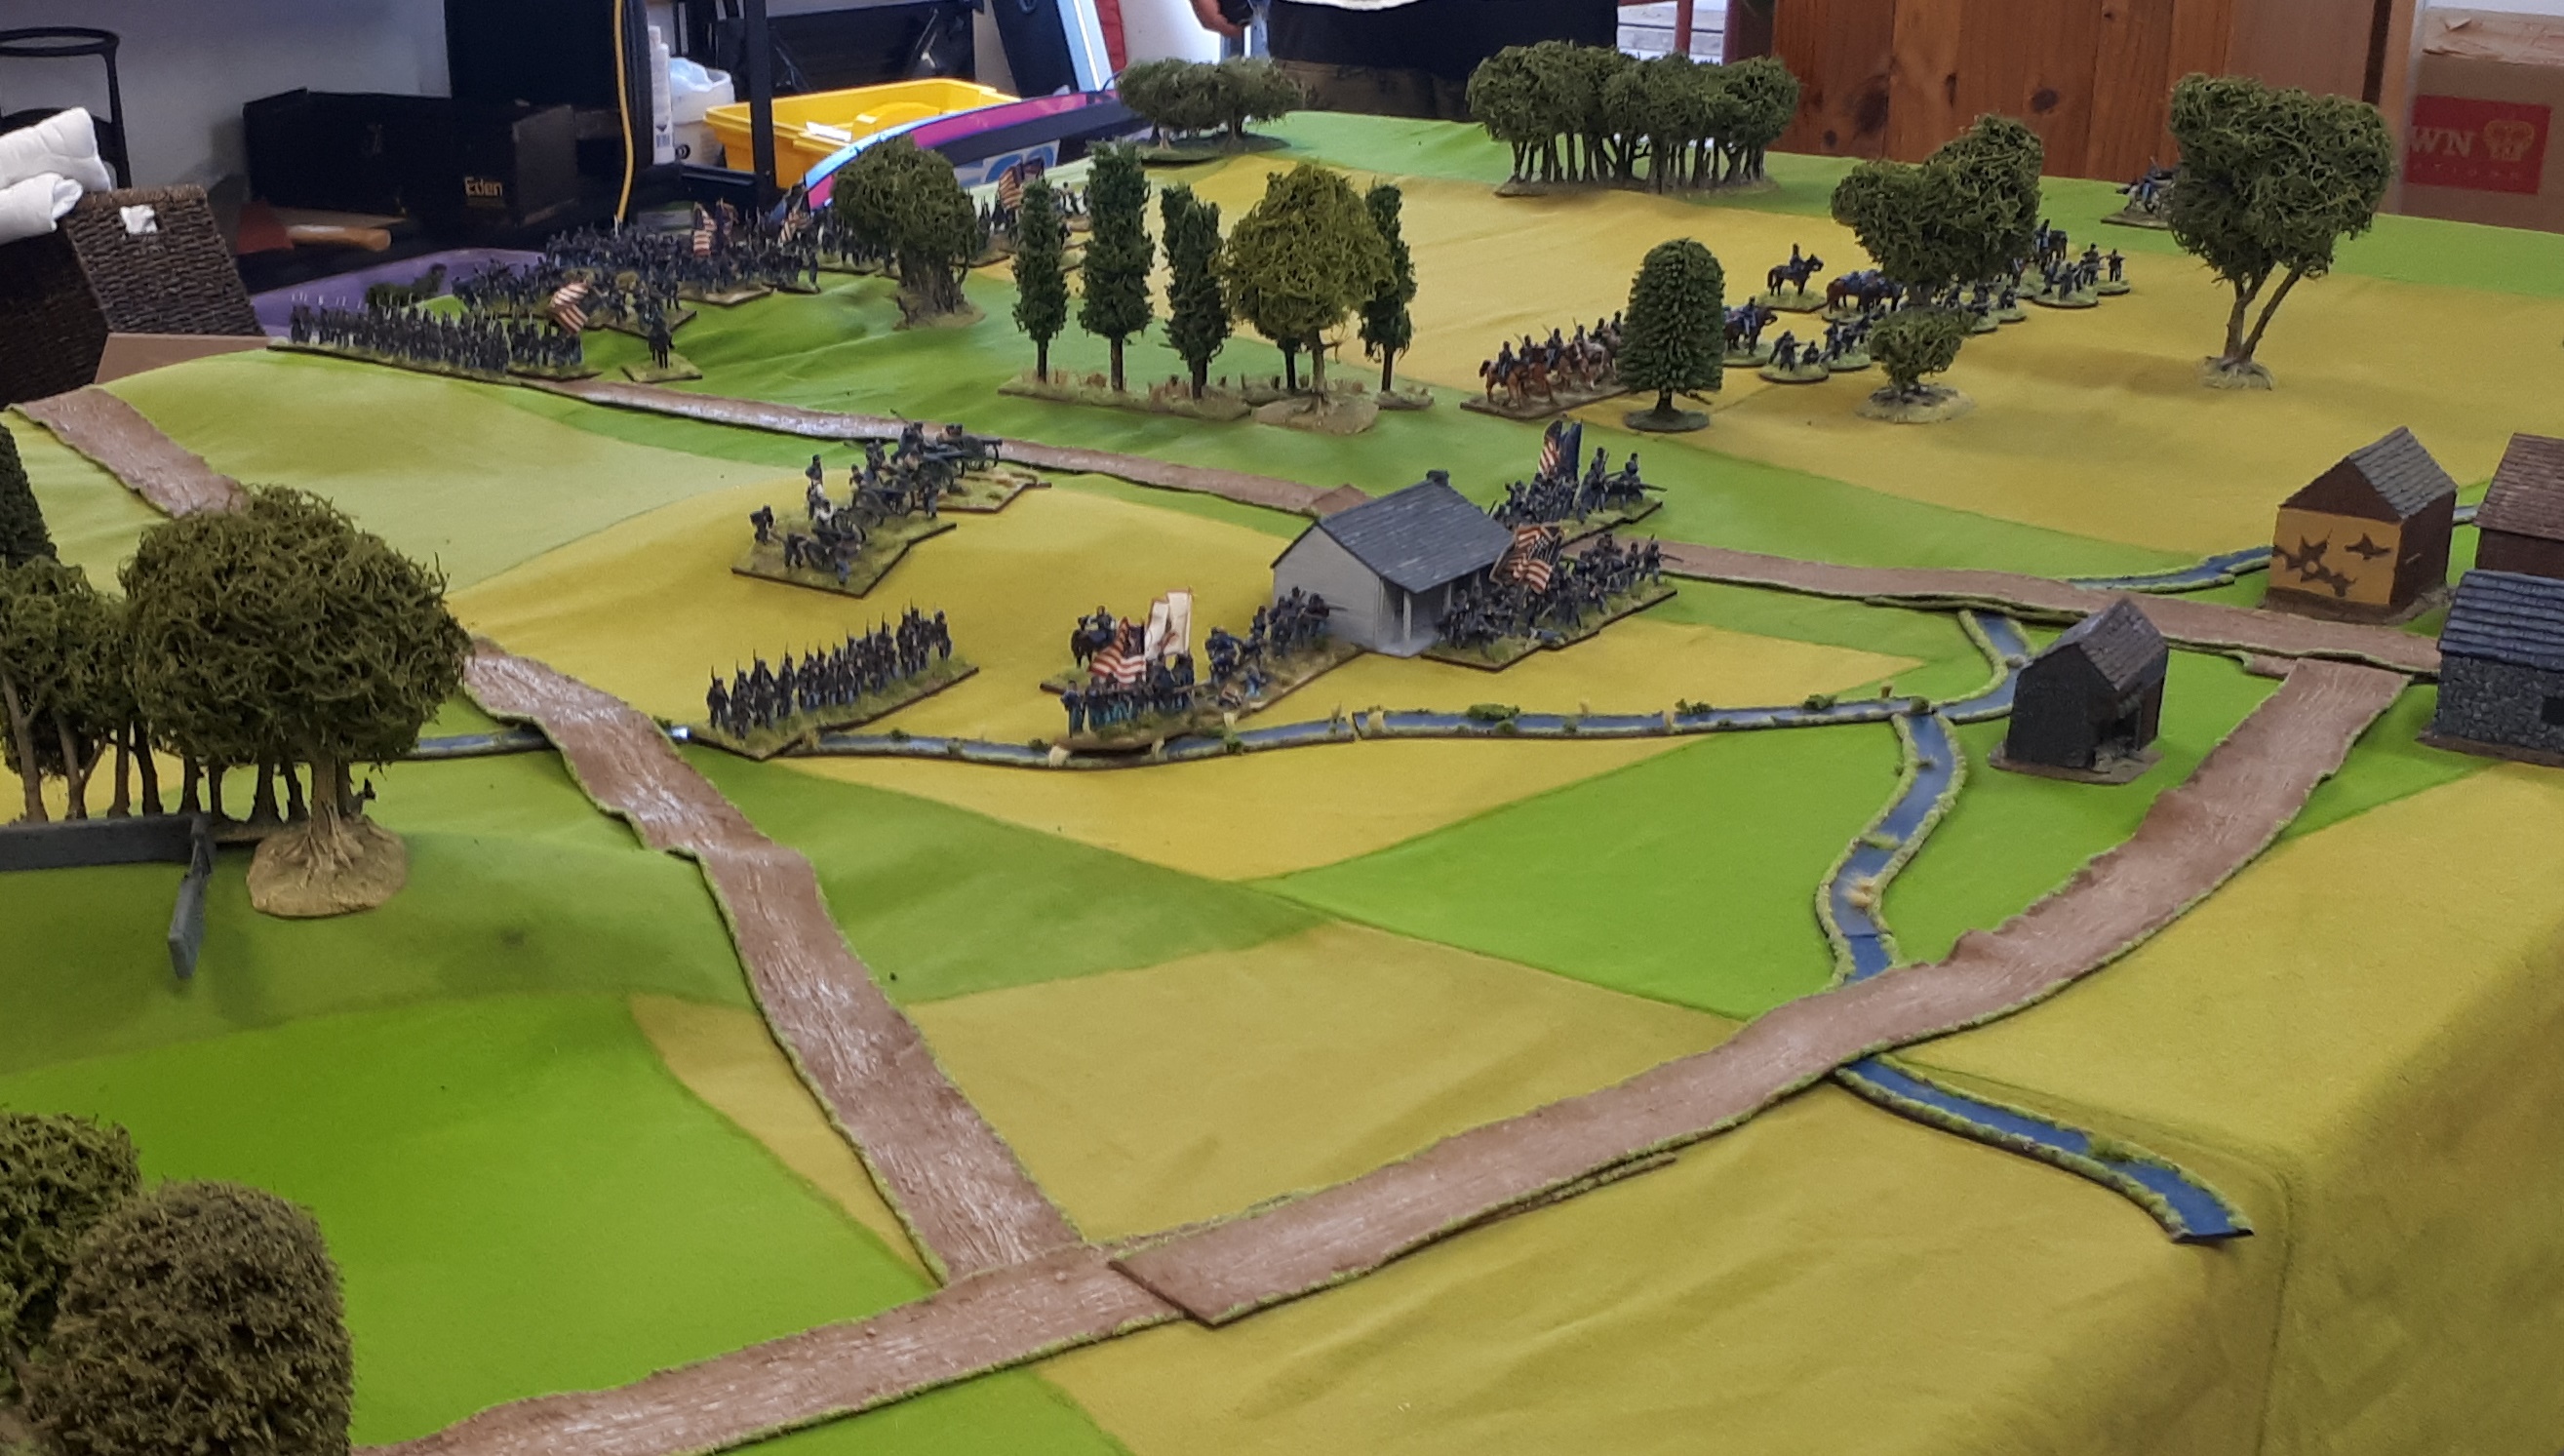
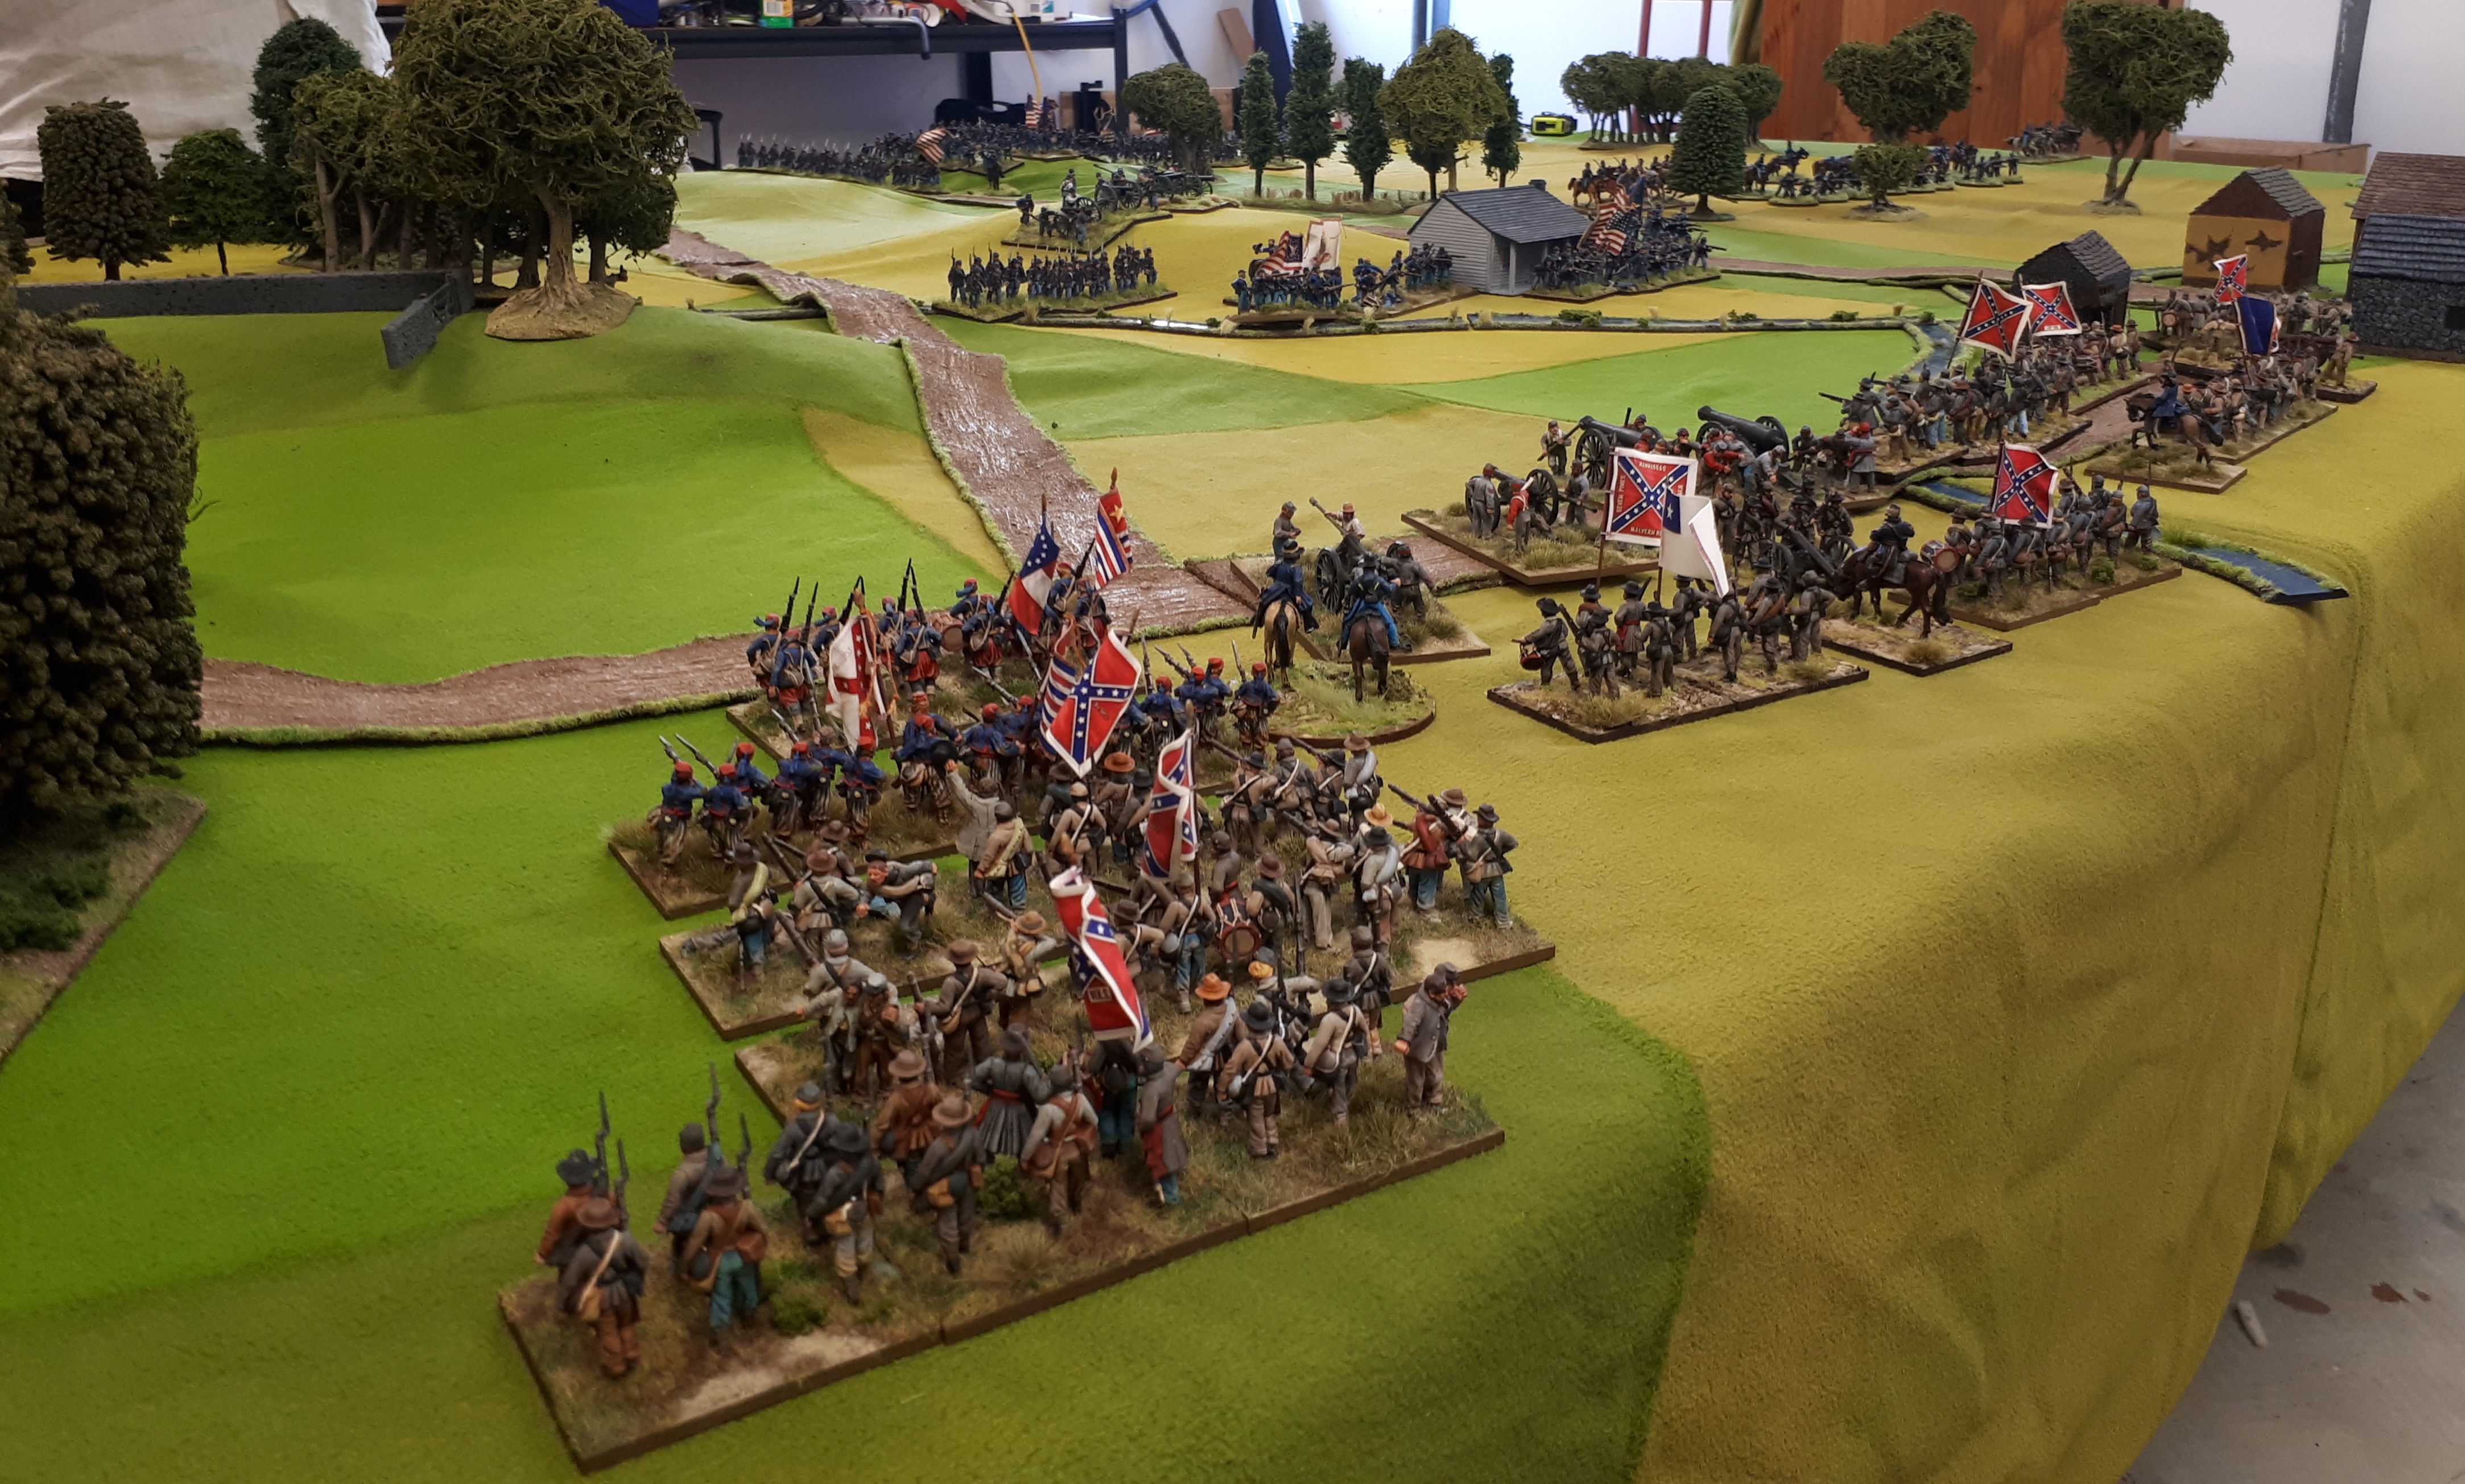
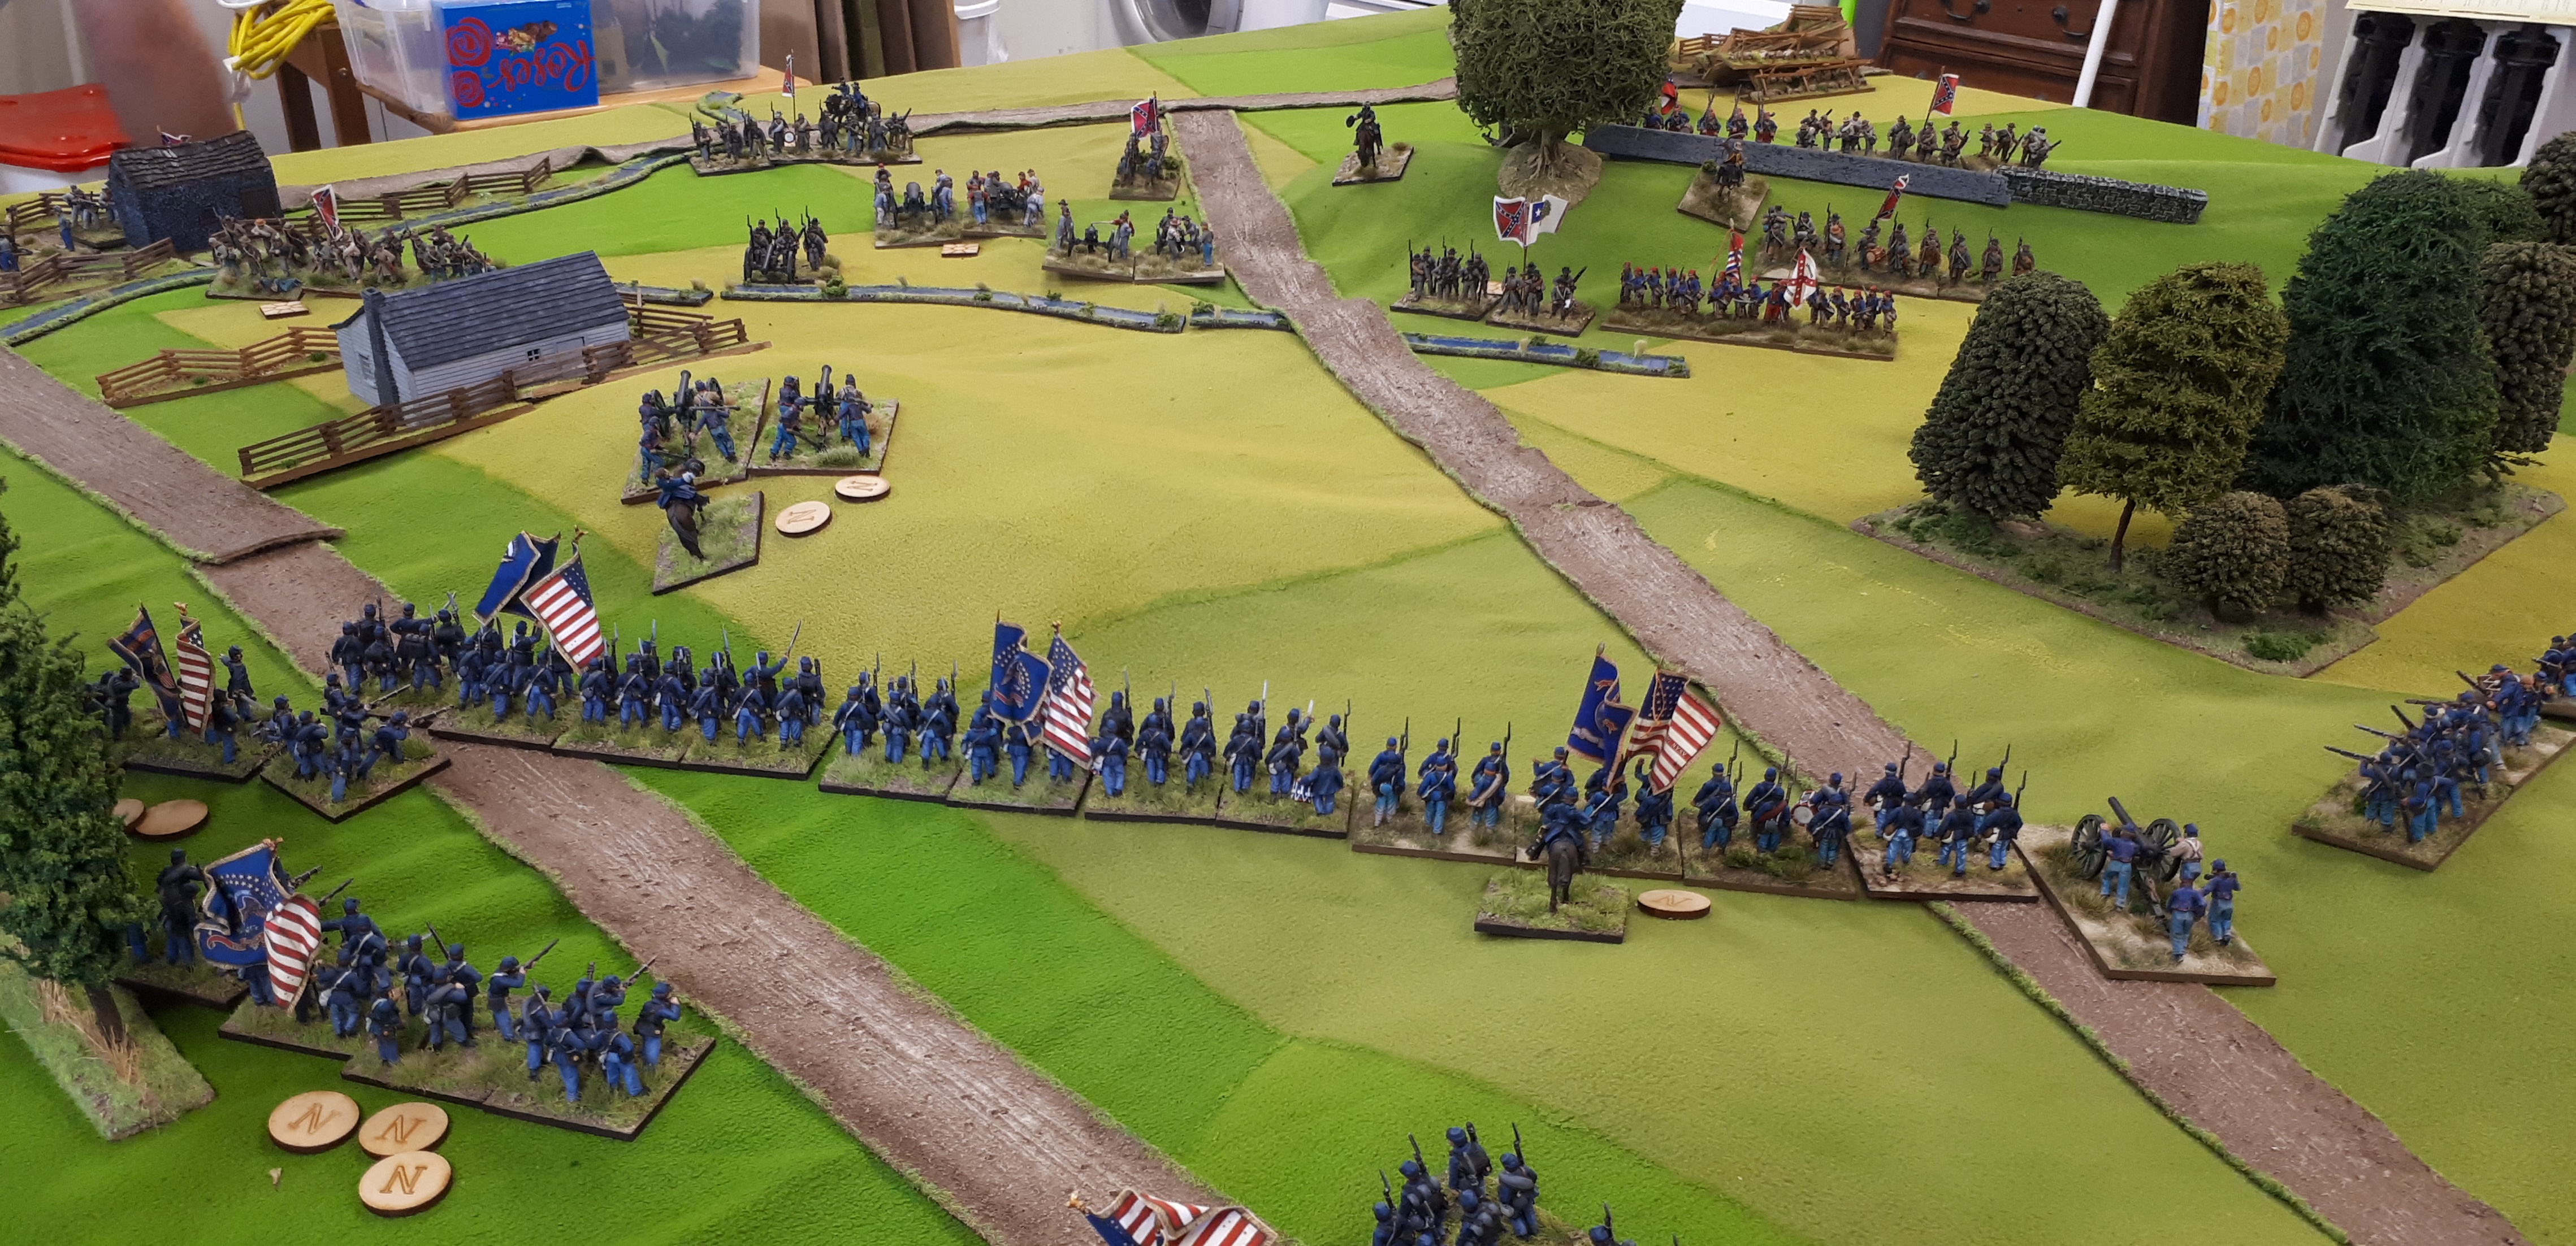
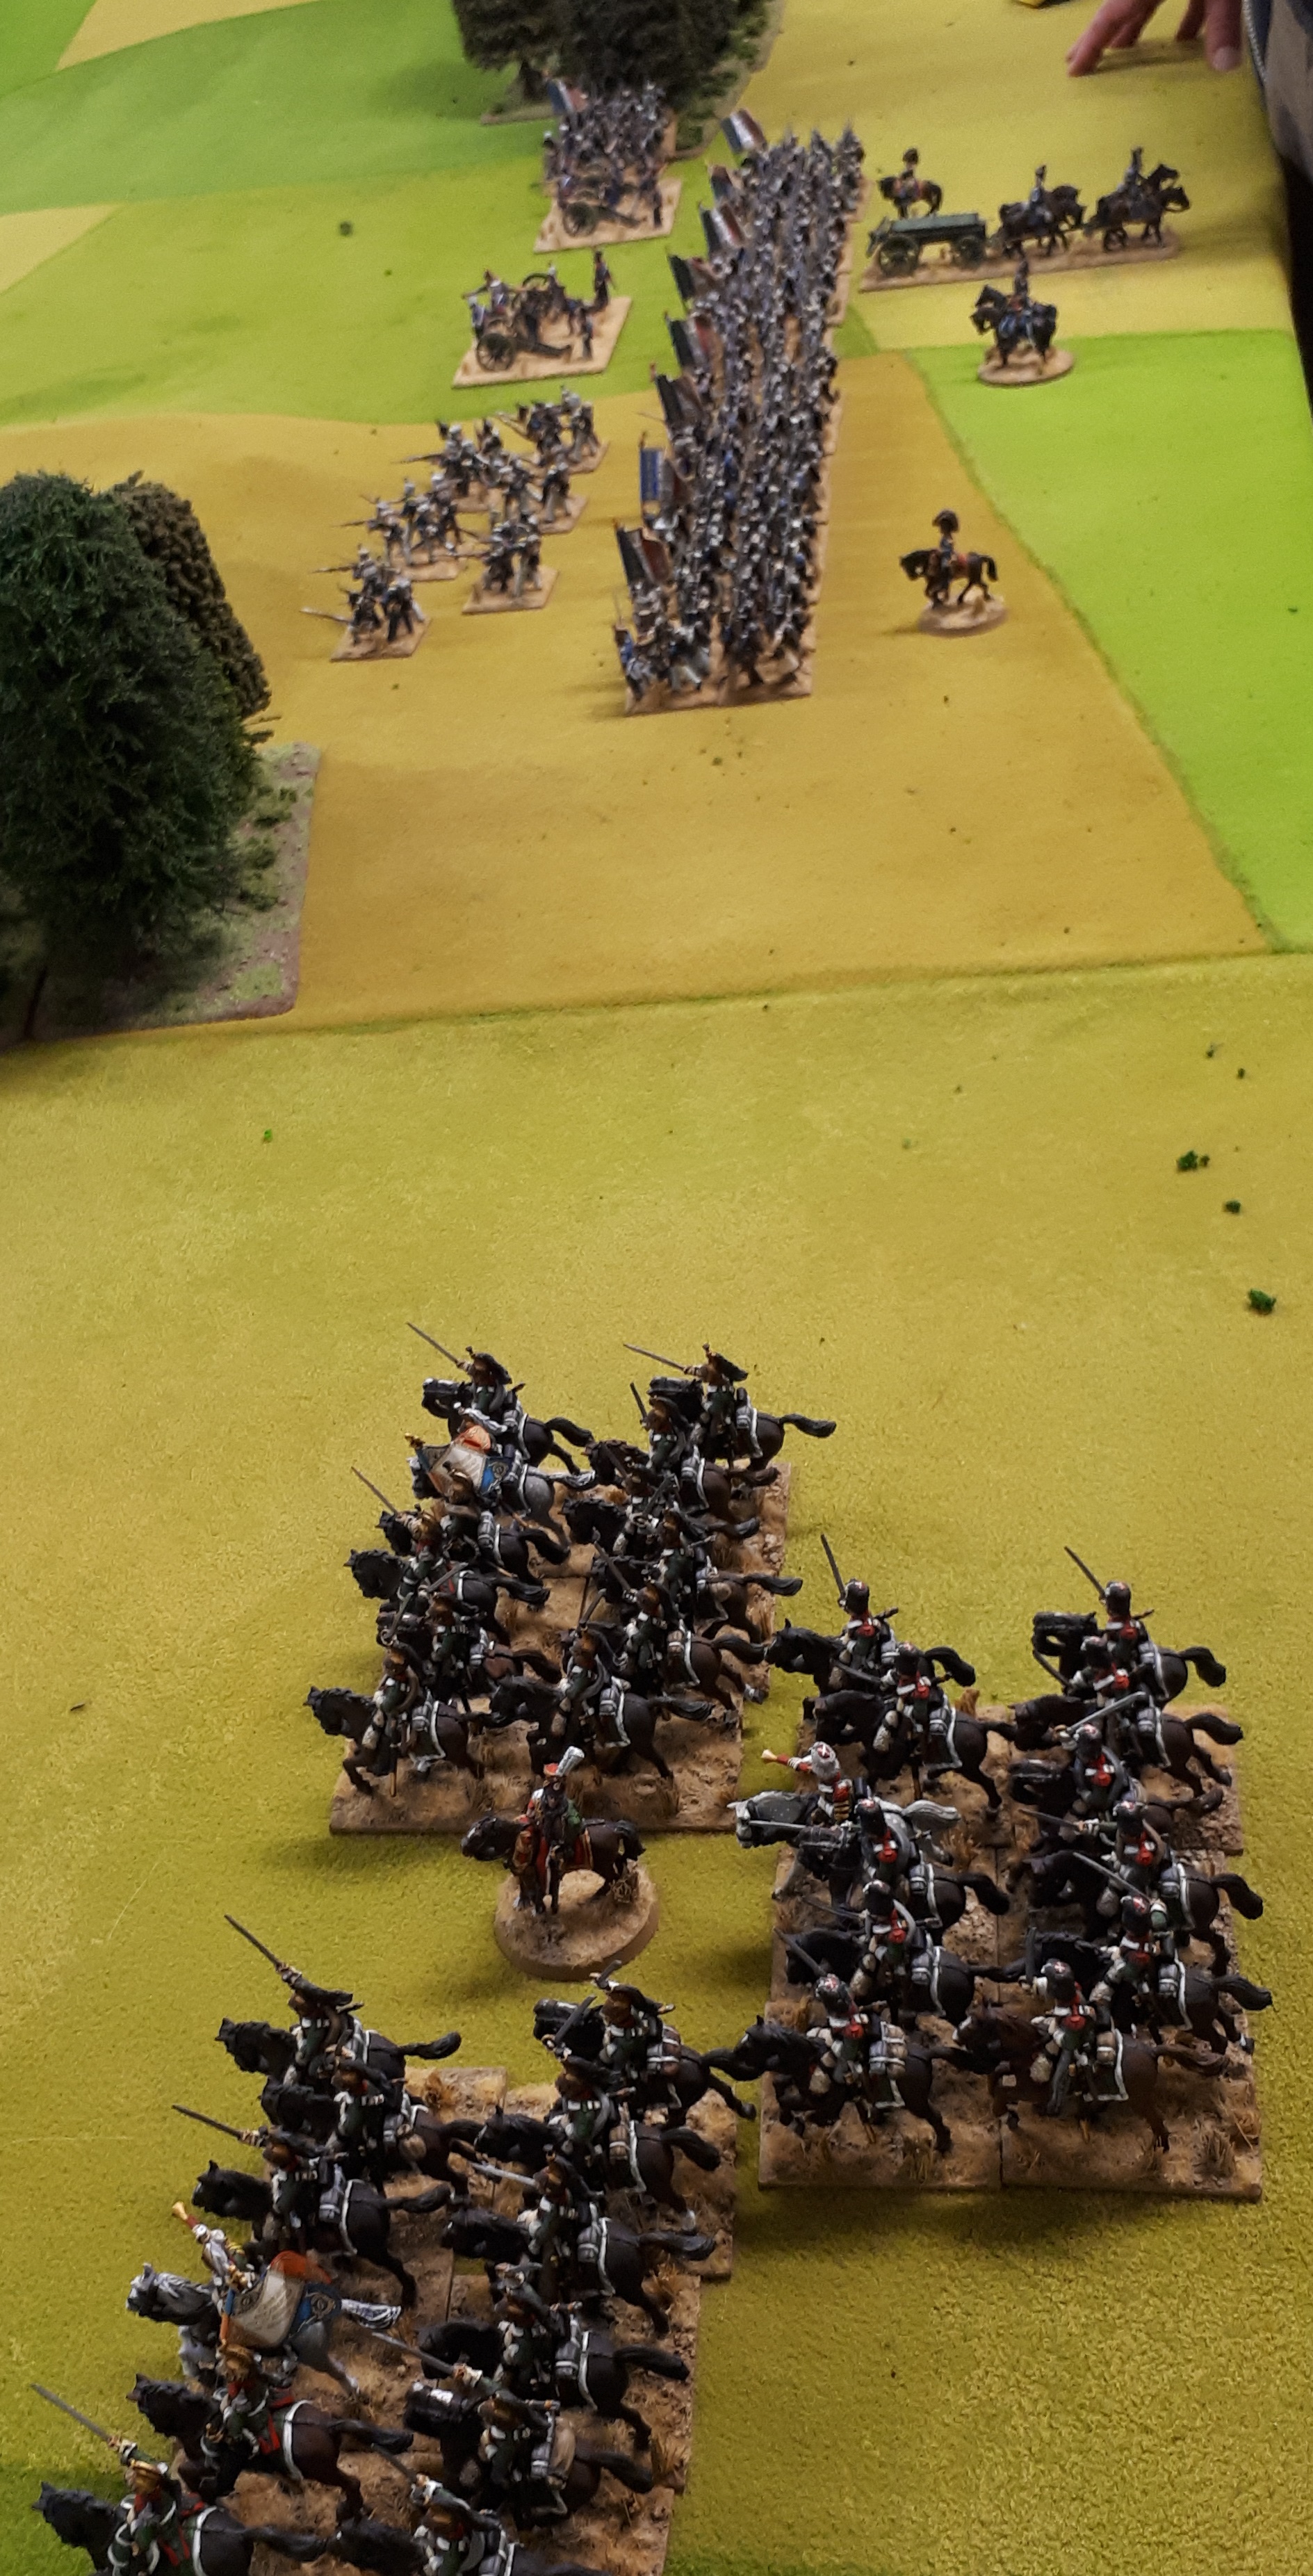
Picture down the line…..sides slowly coming together.

Goldie’s an intelligent chap, but, this move was just suicide. He charged his non damaged Dragoon unit back in against the fresh British Dragoon regt.

The British Dragoons are shaken, the French… no where to be seen.

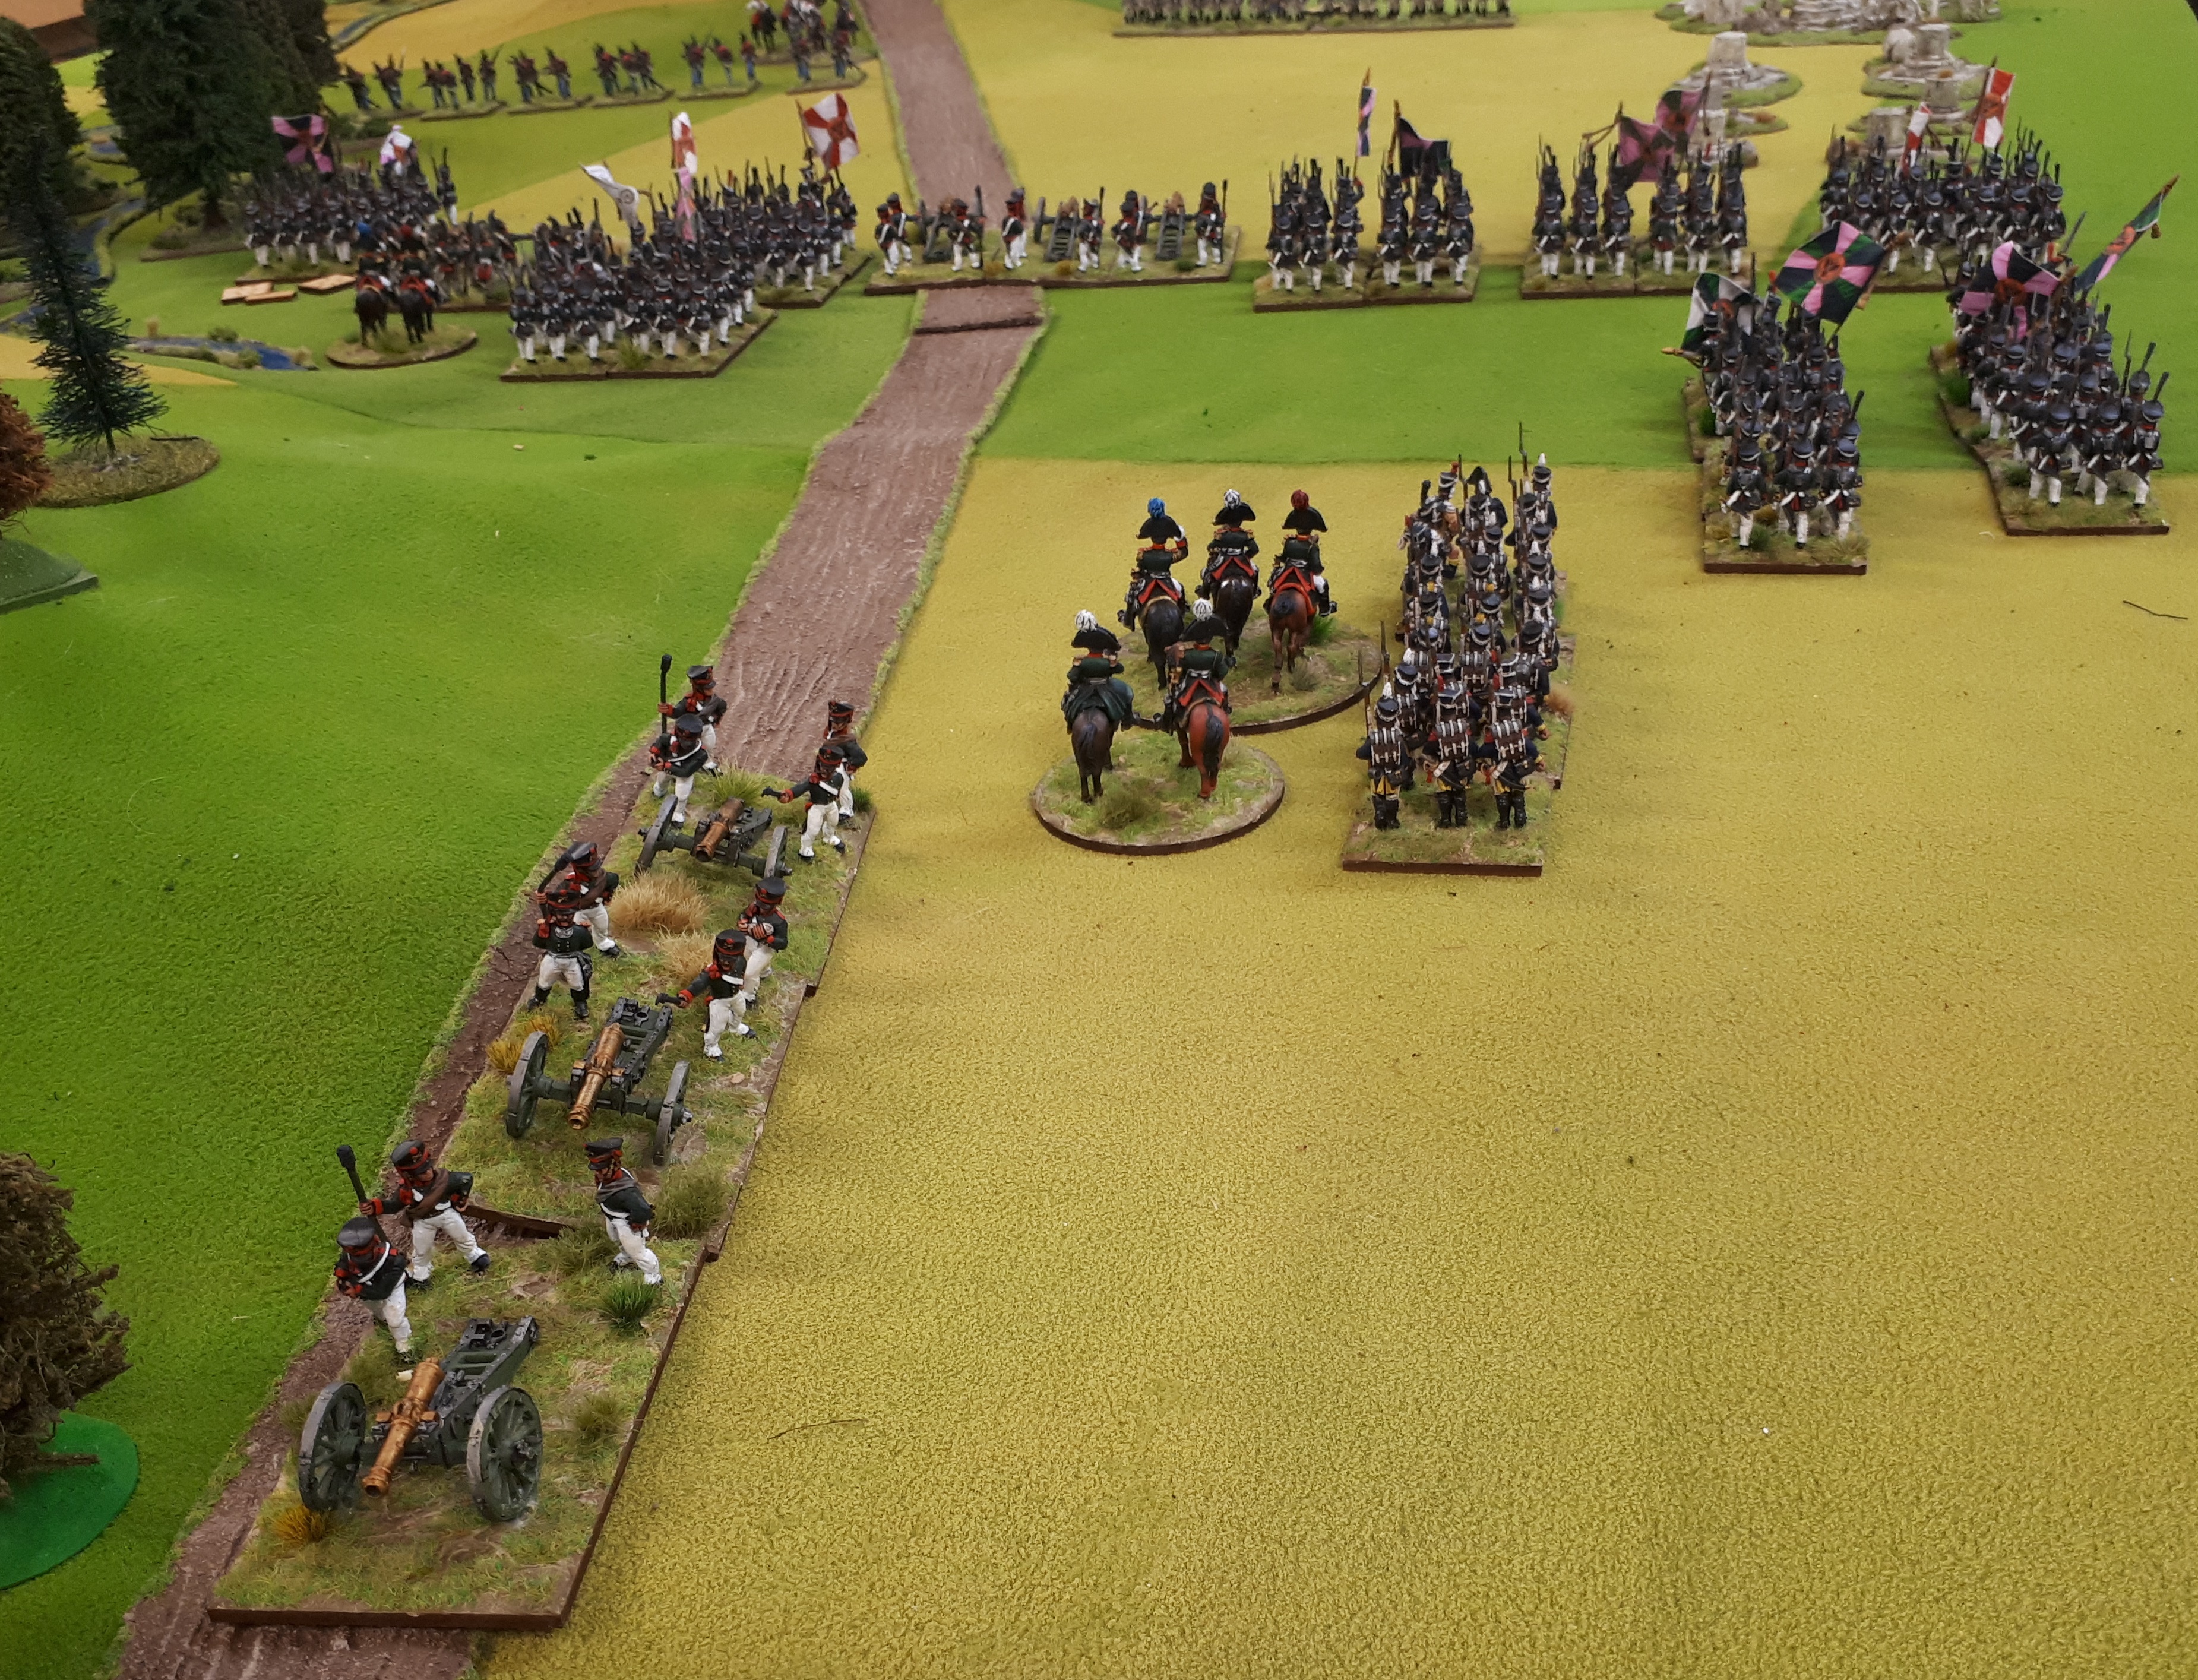
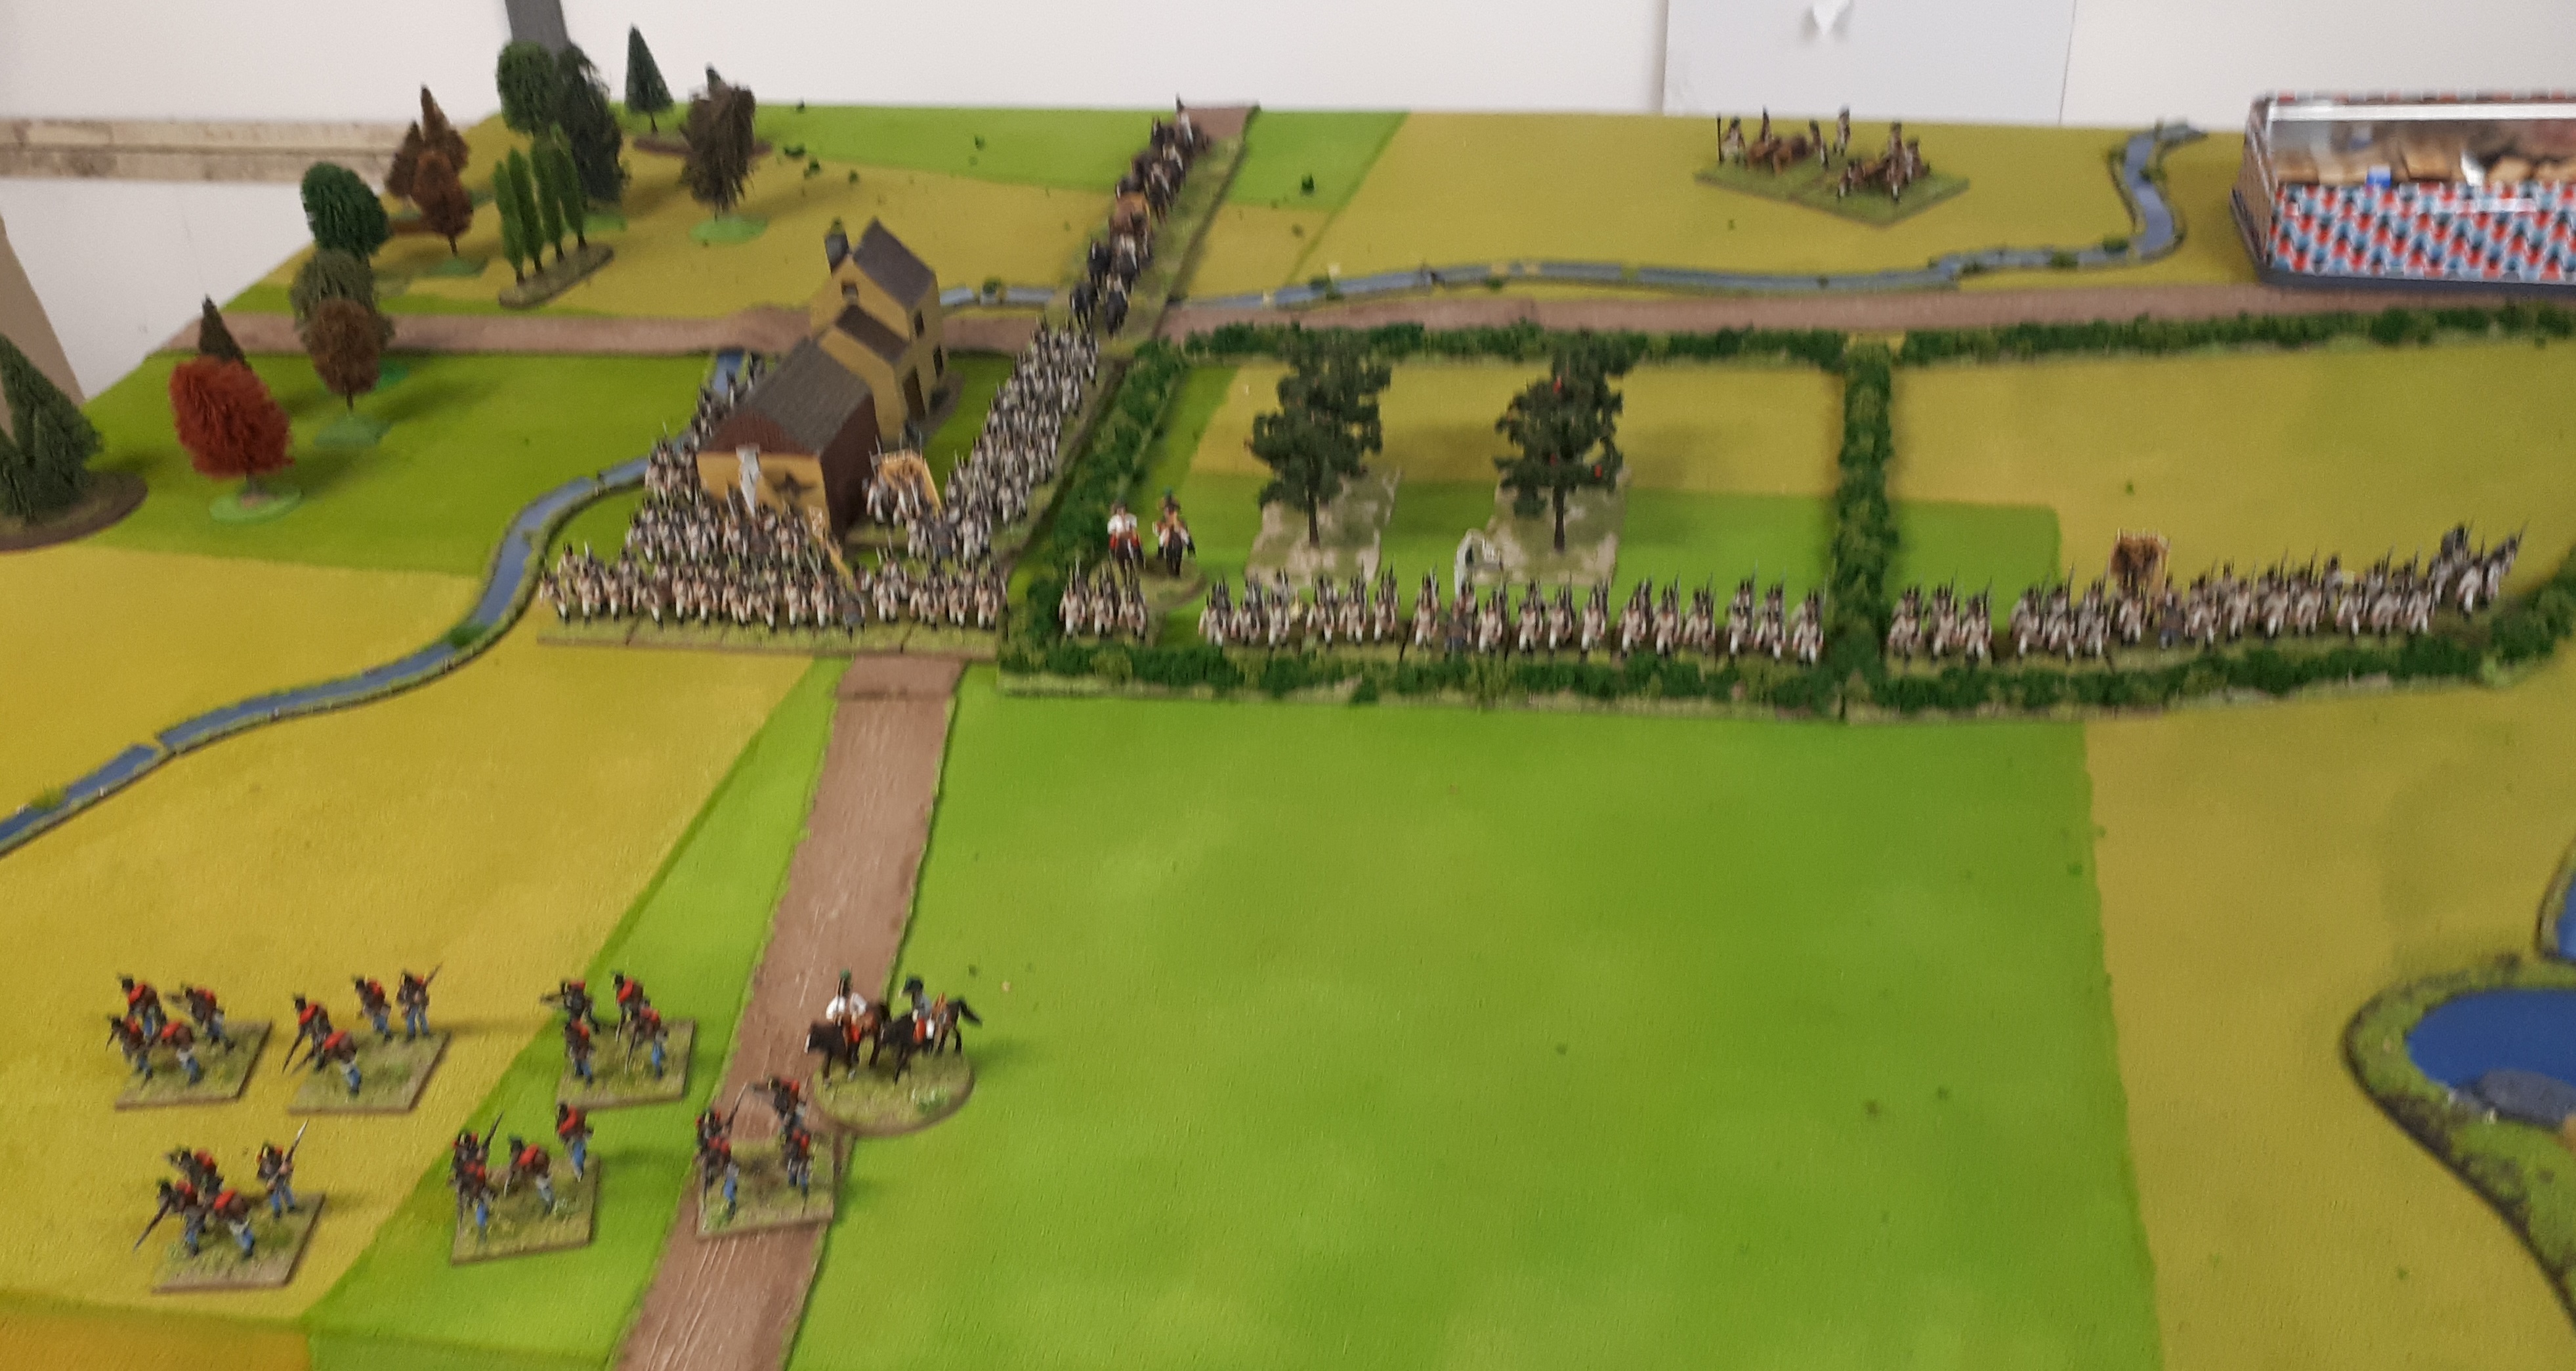
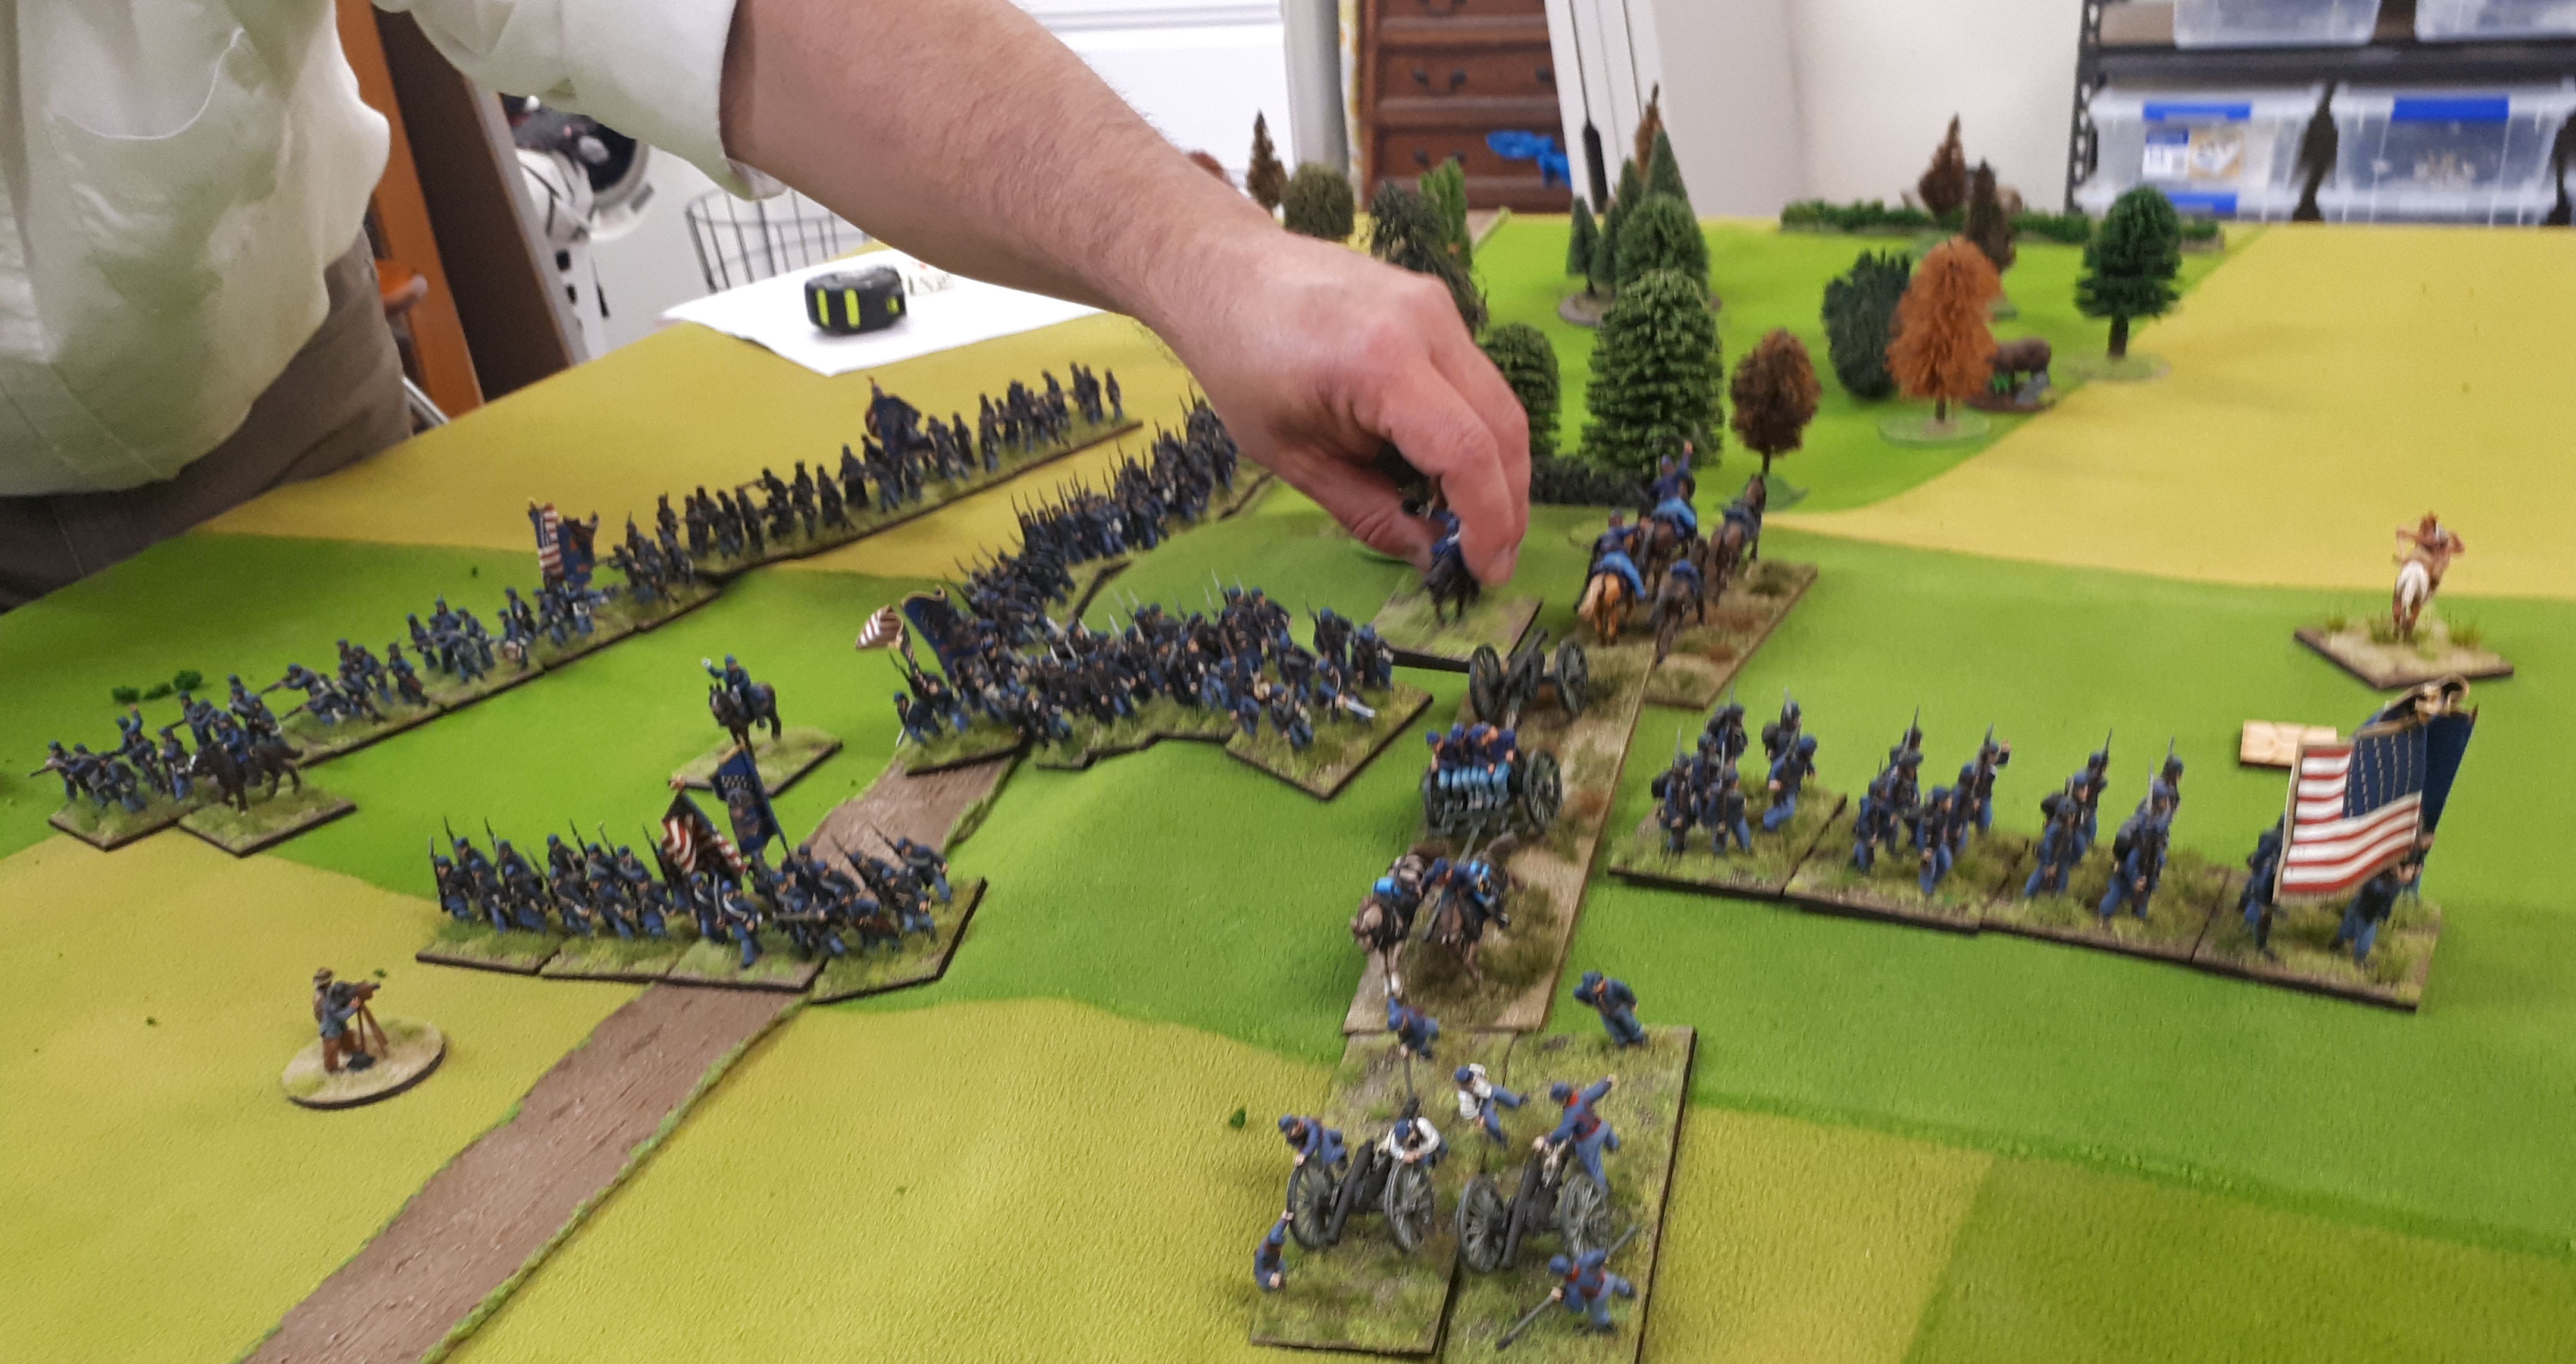
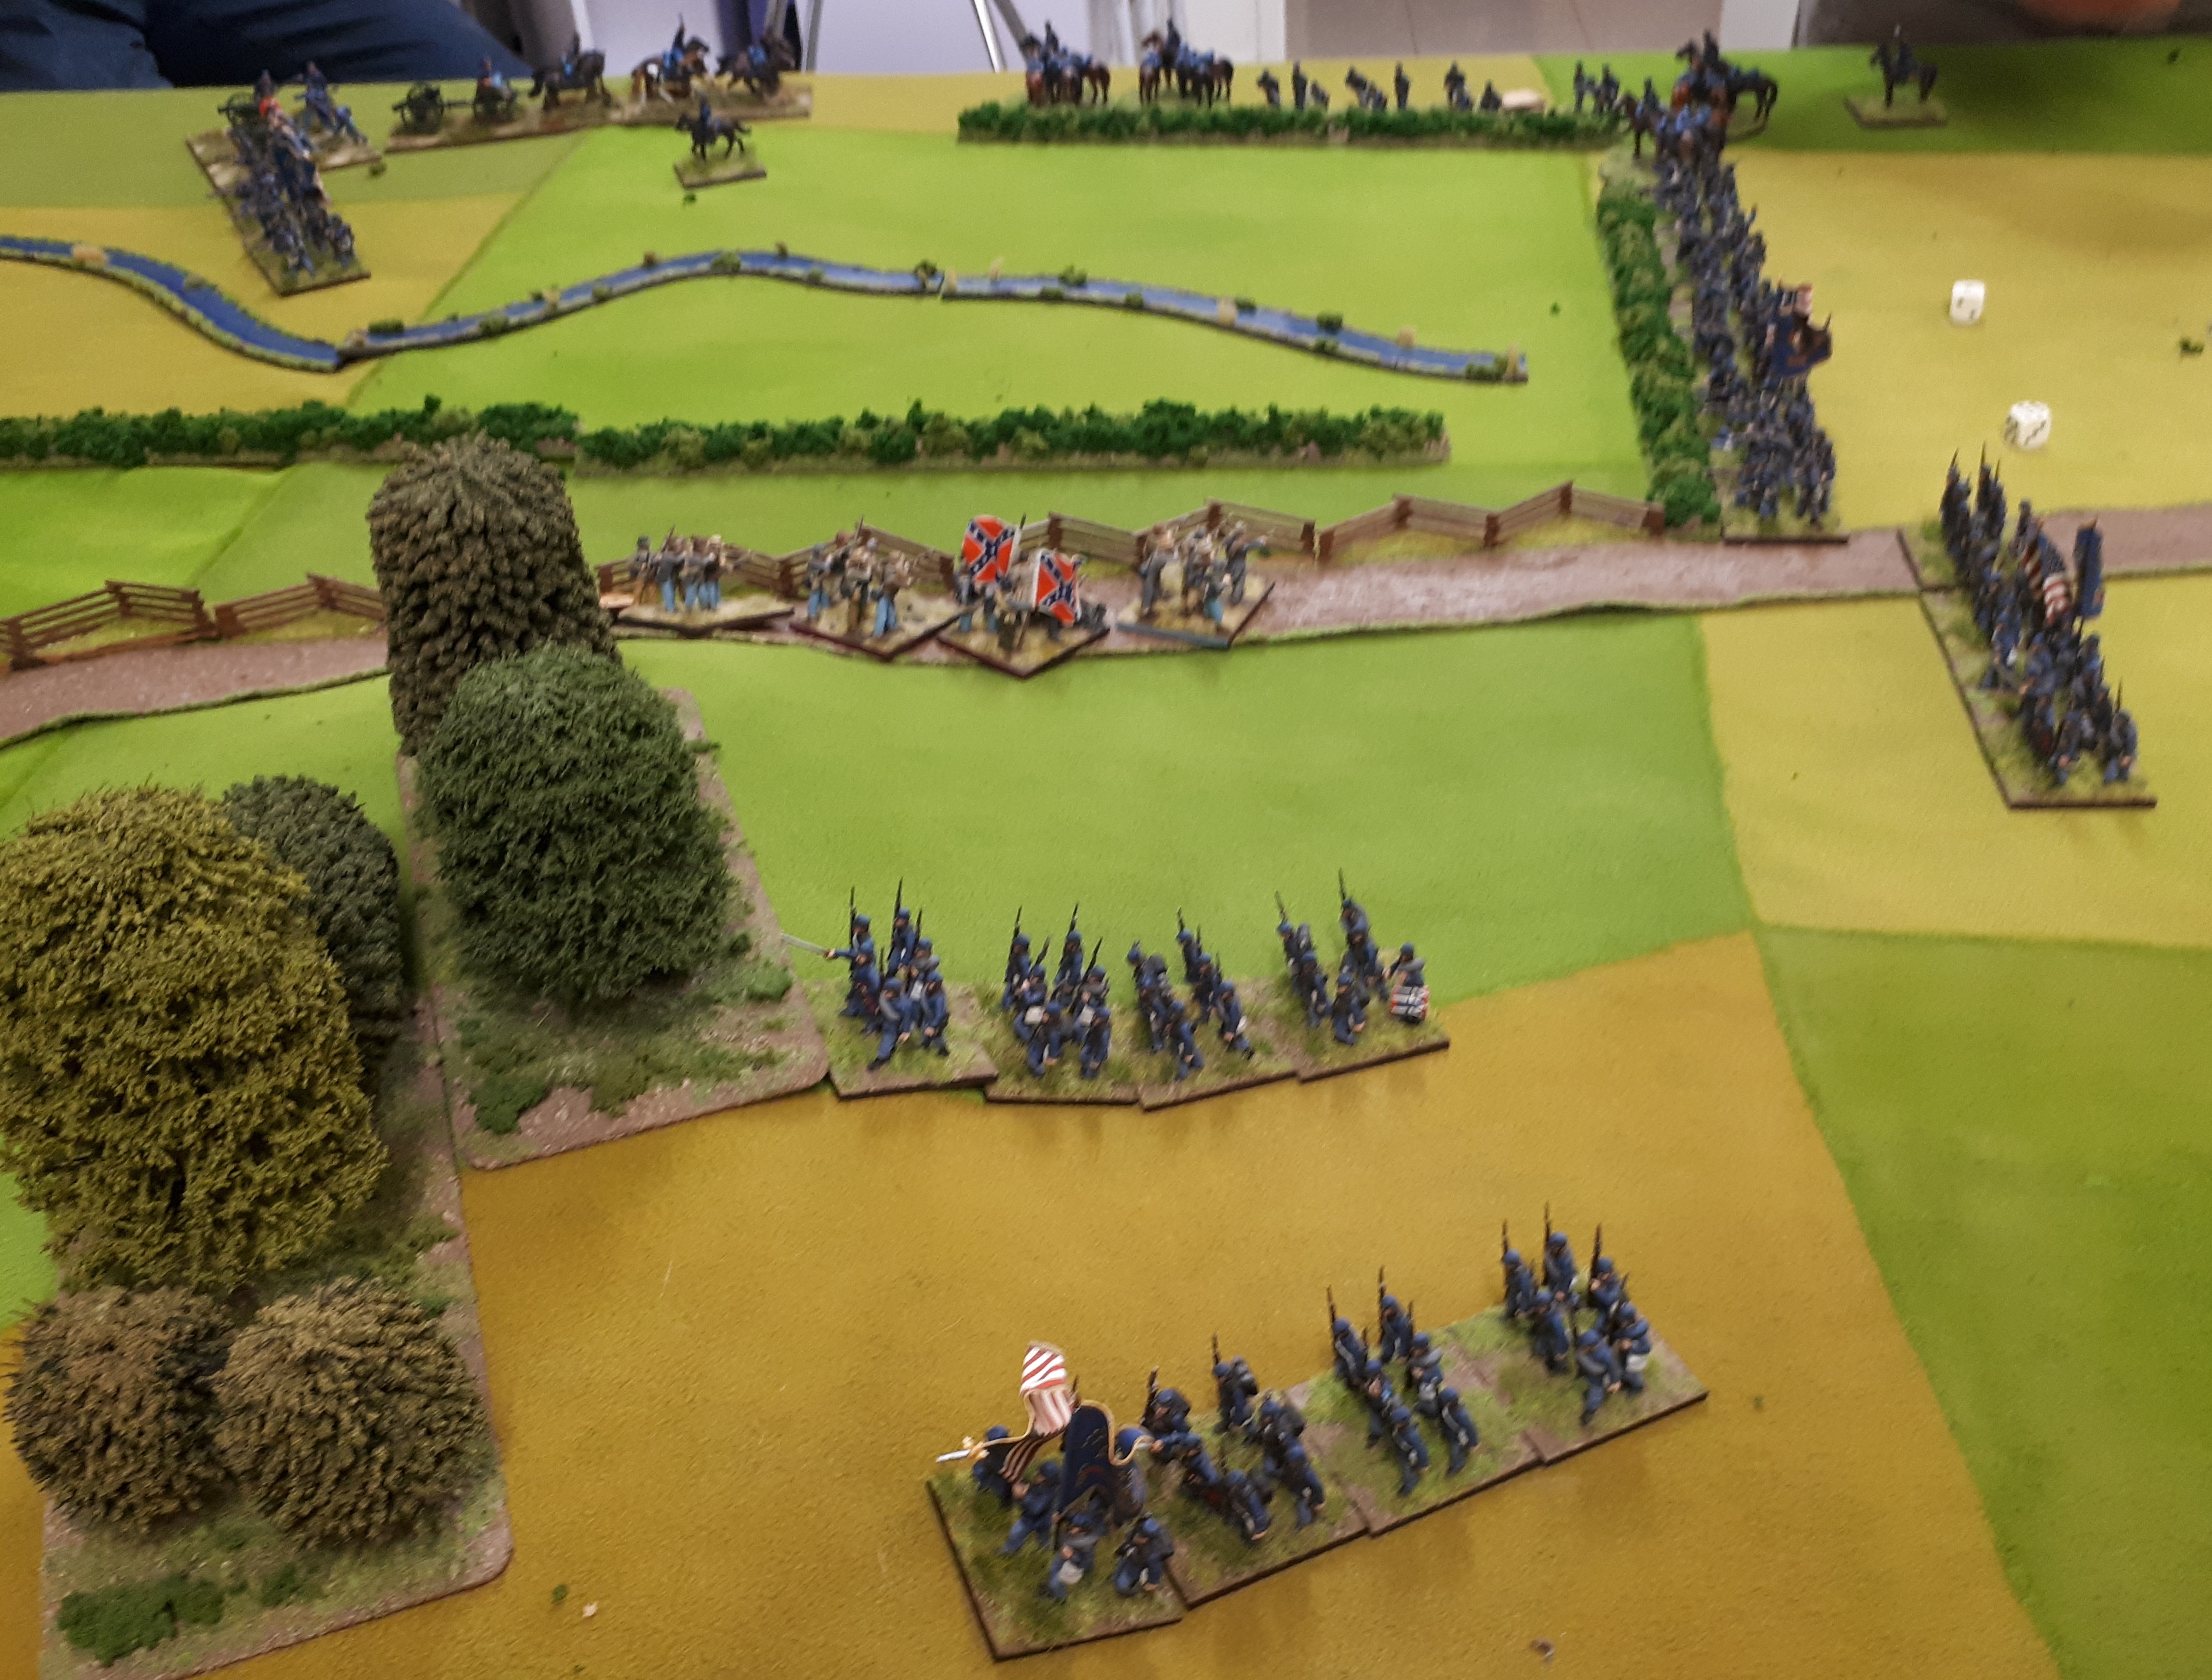
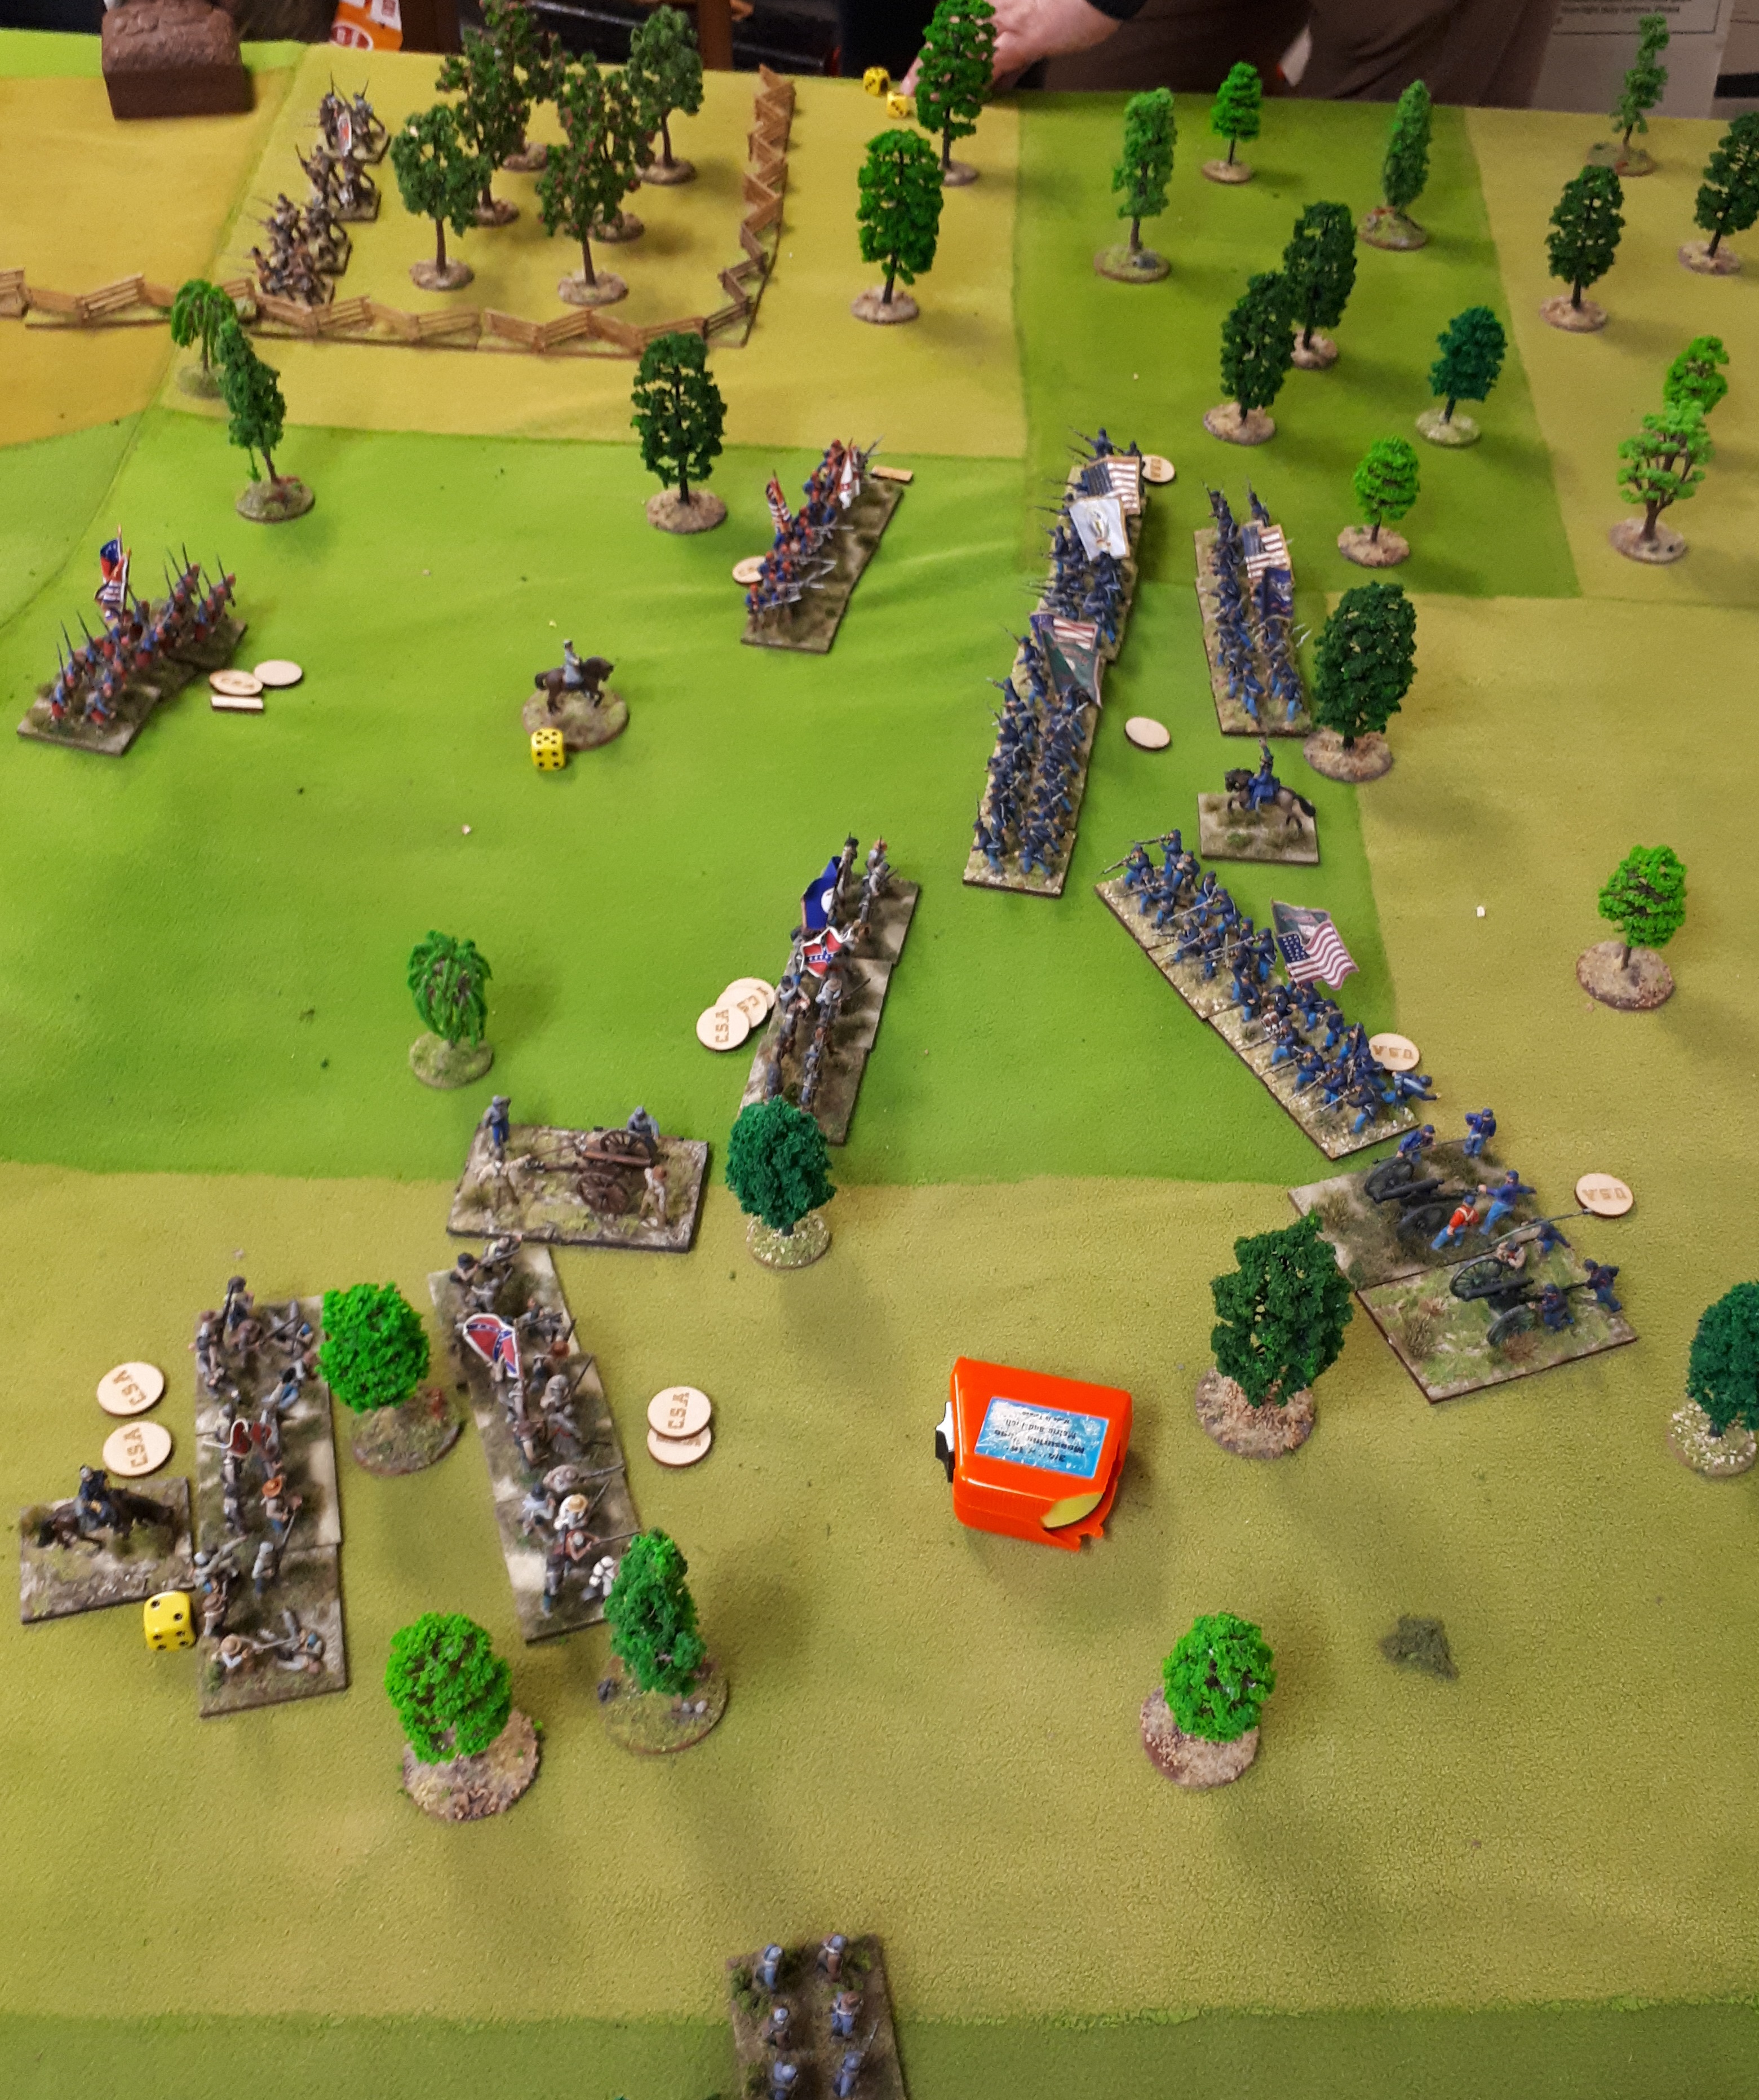
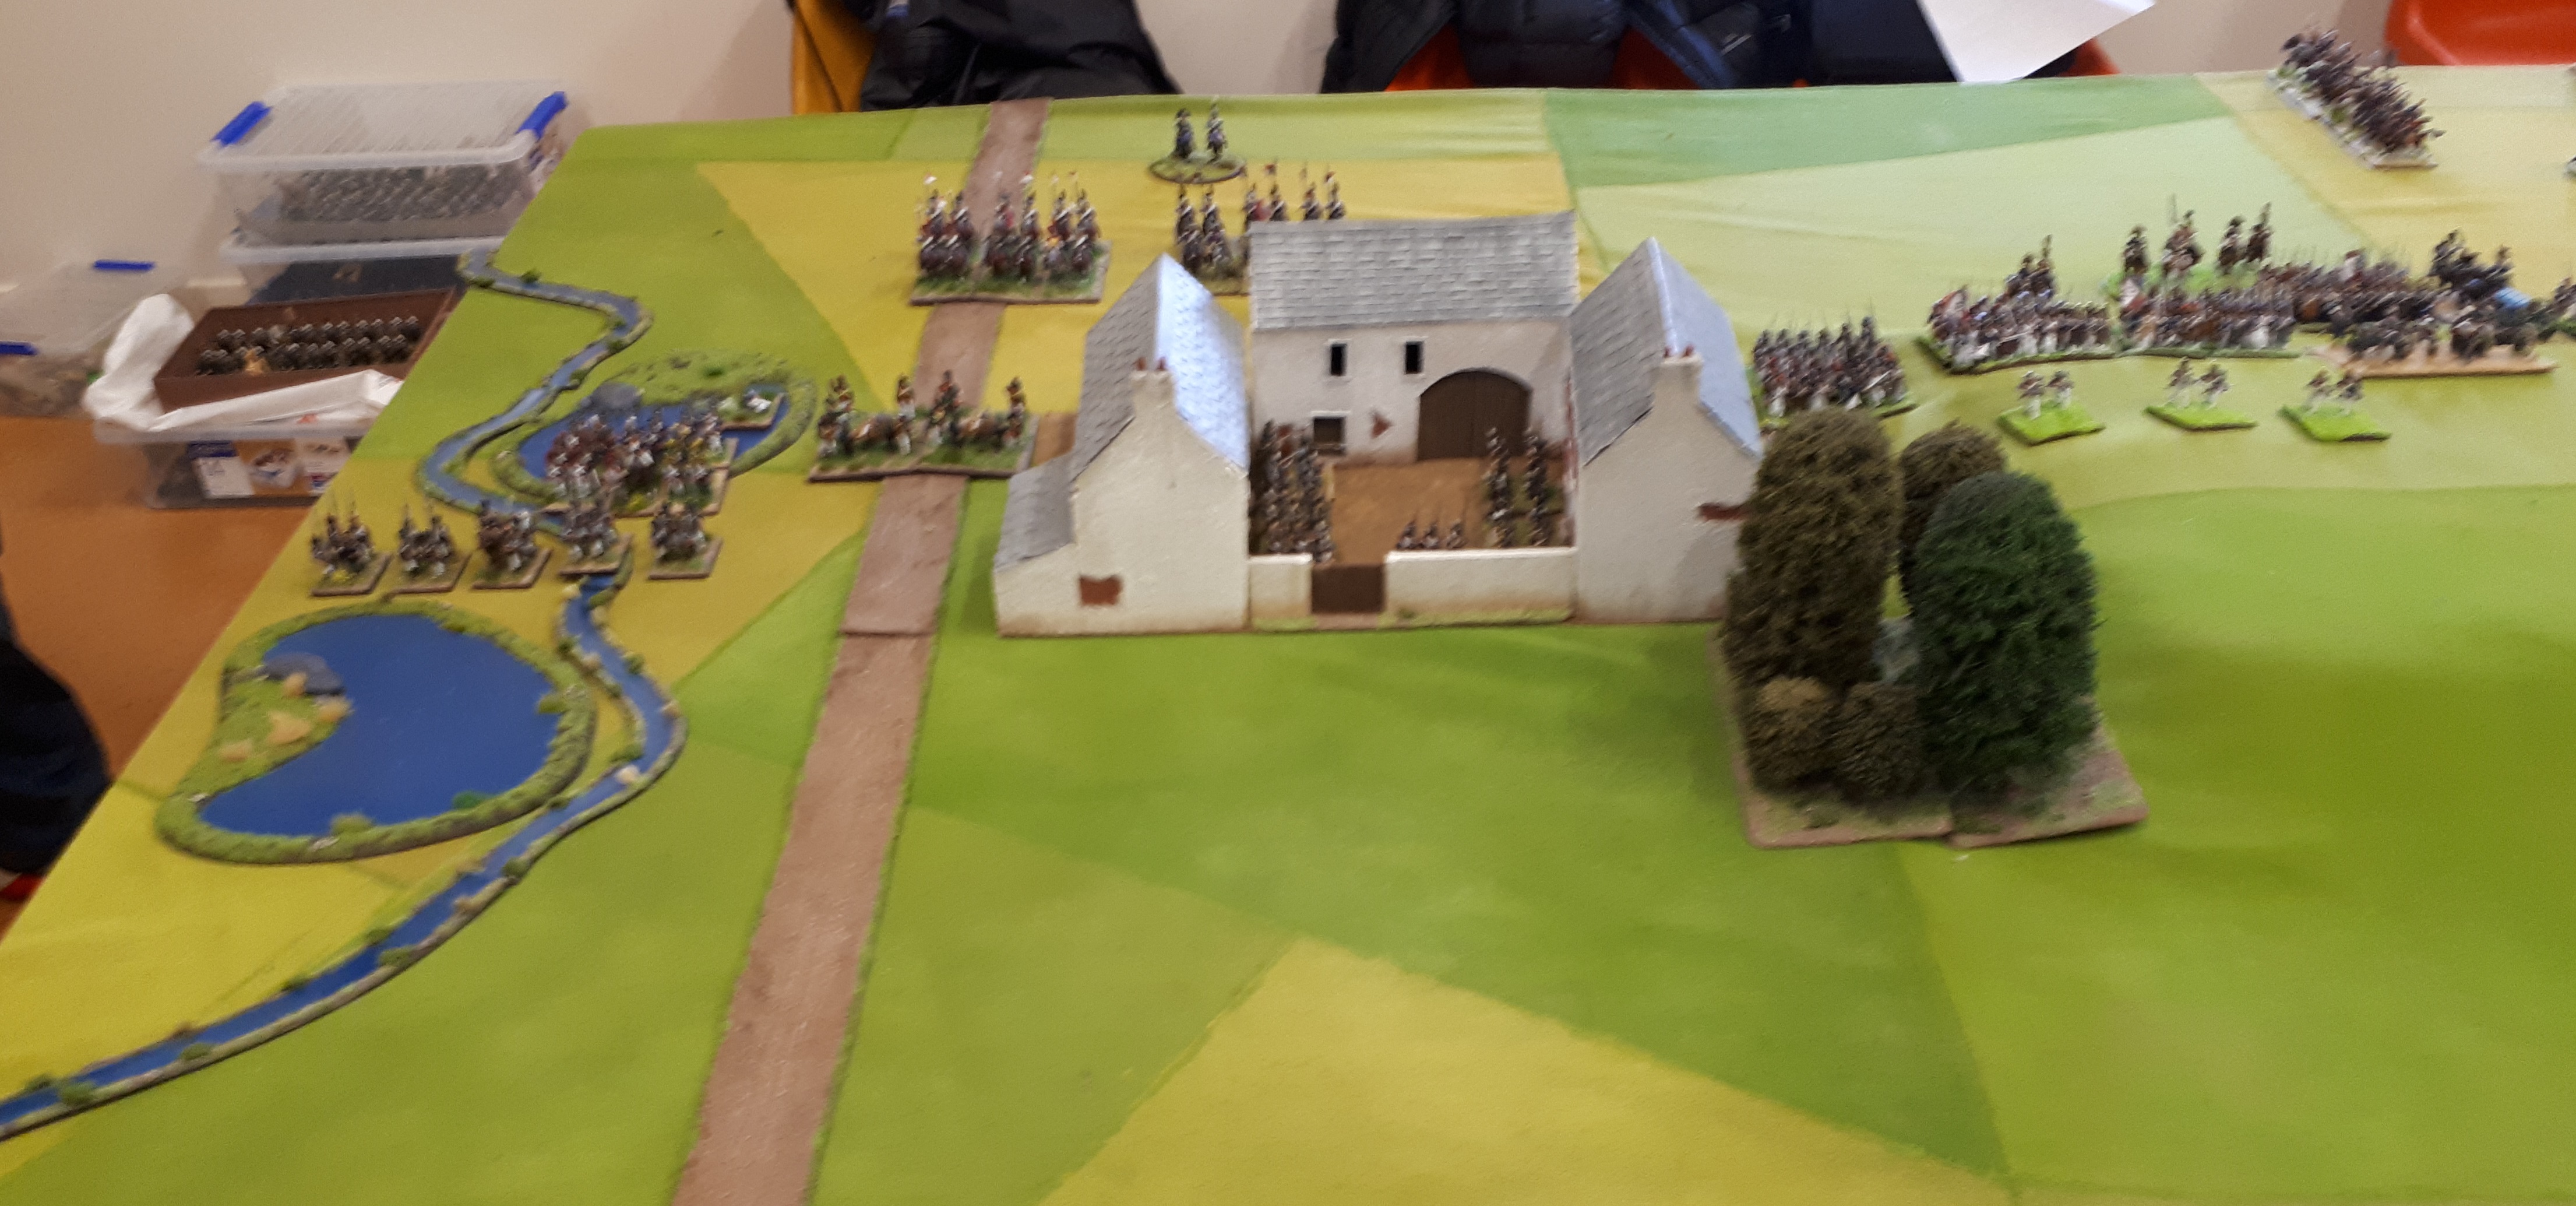
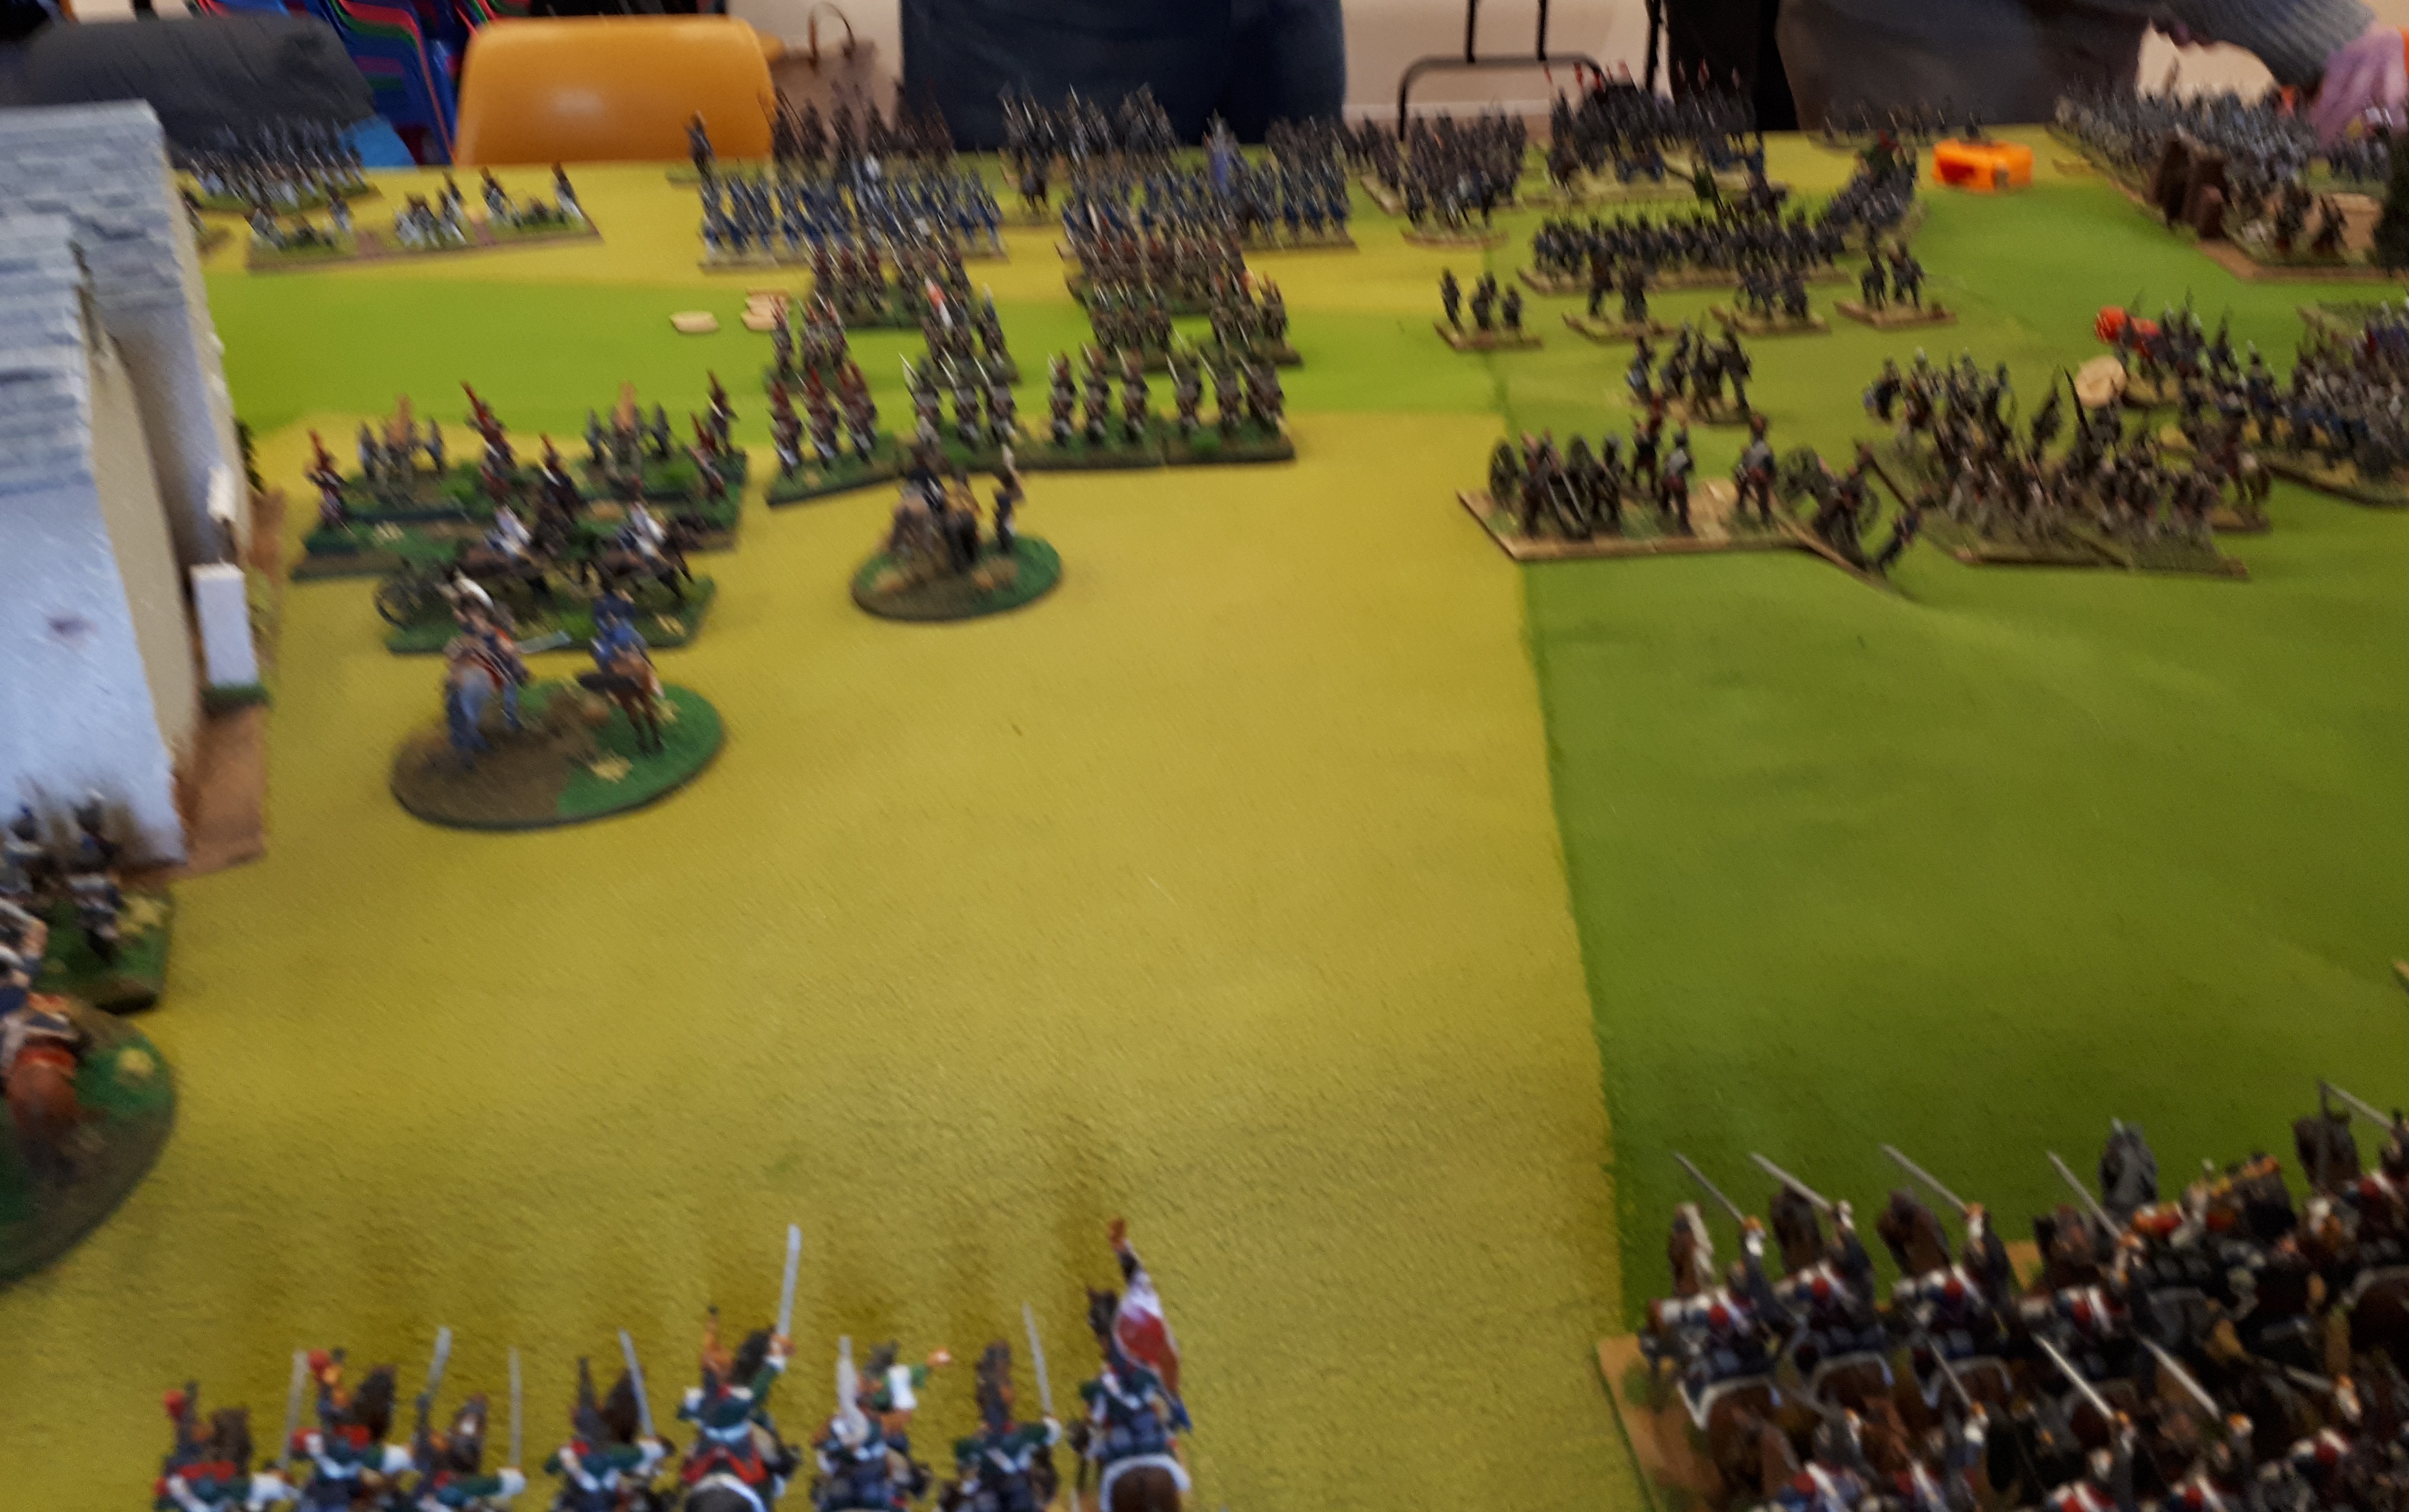
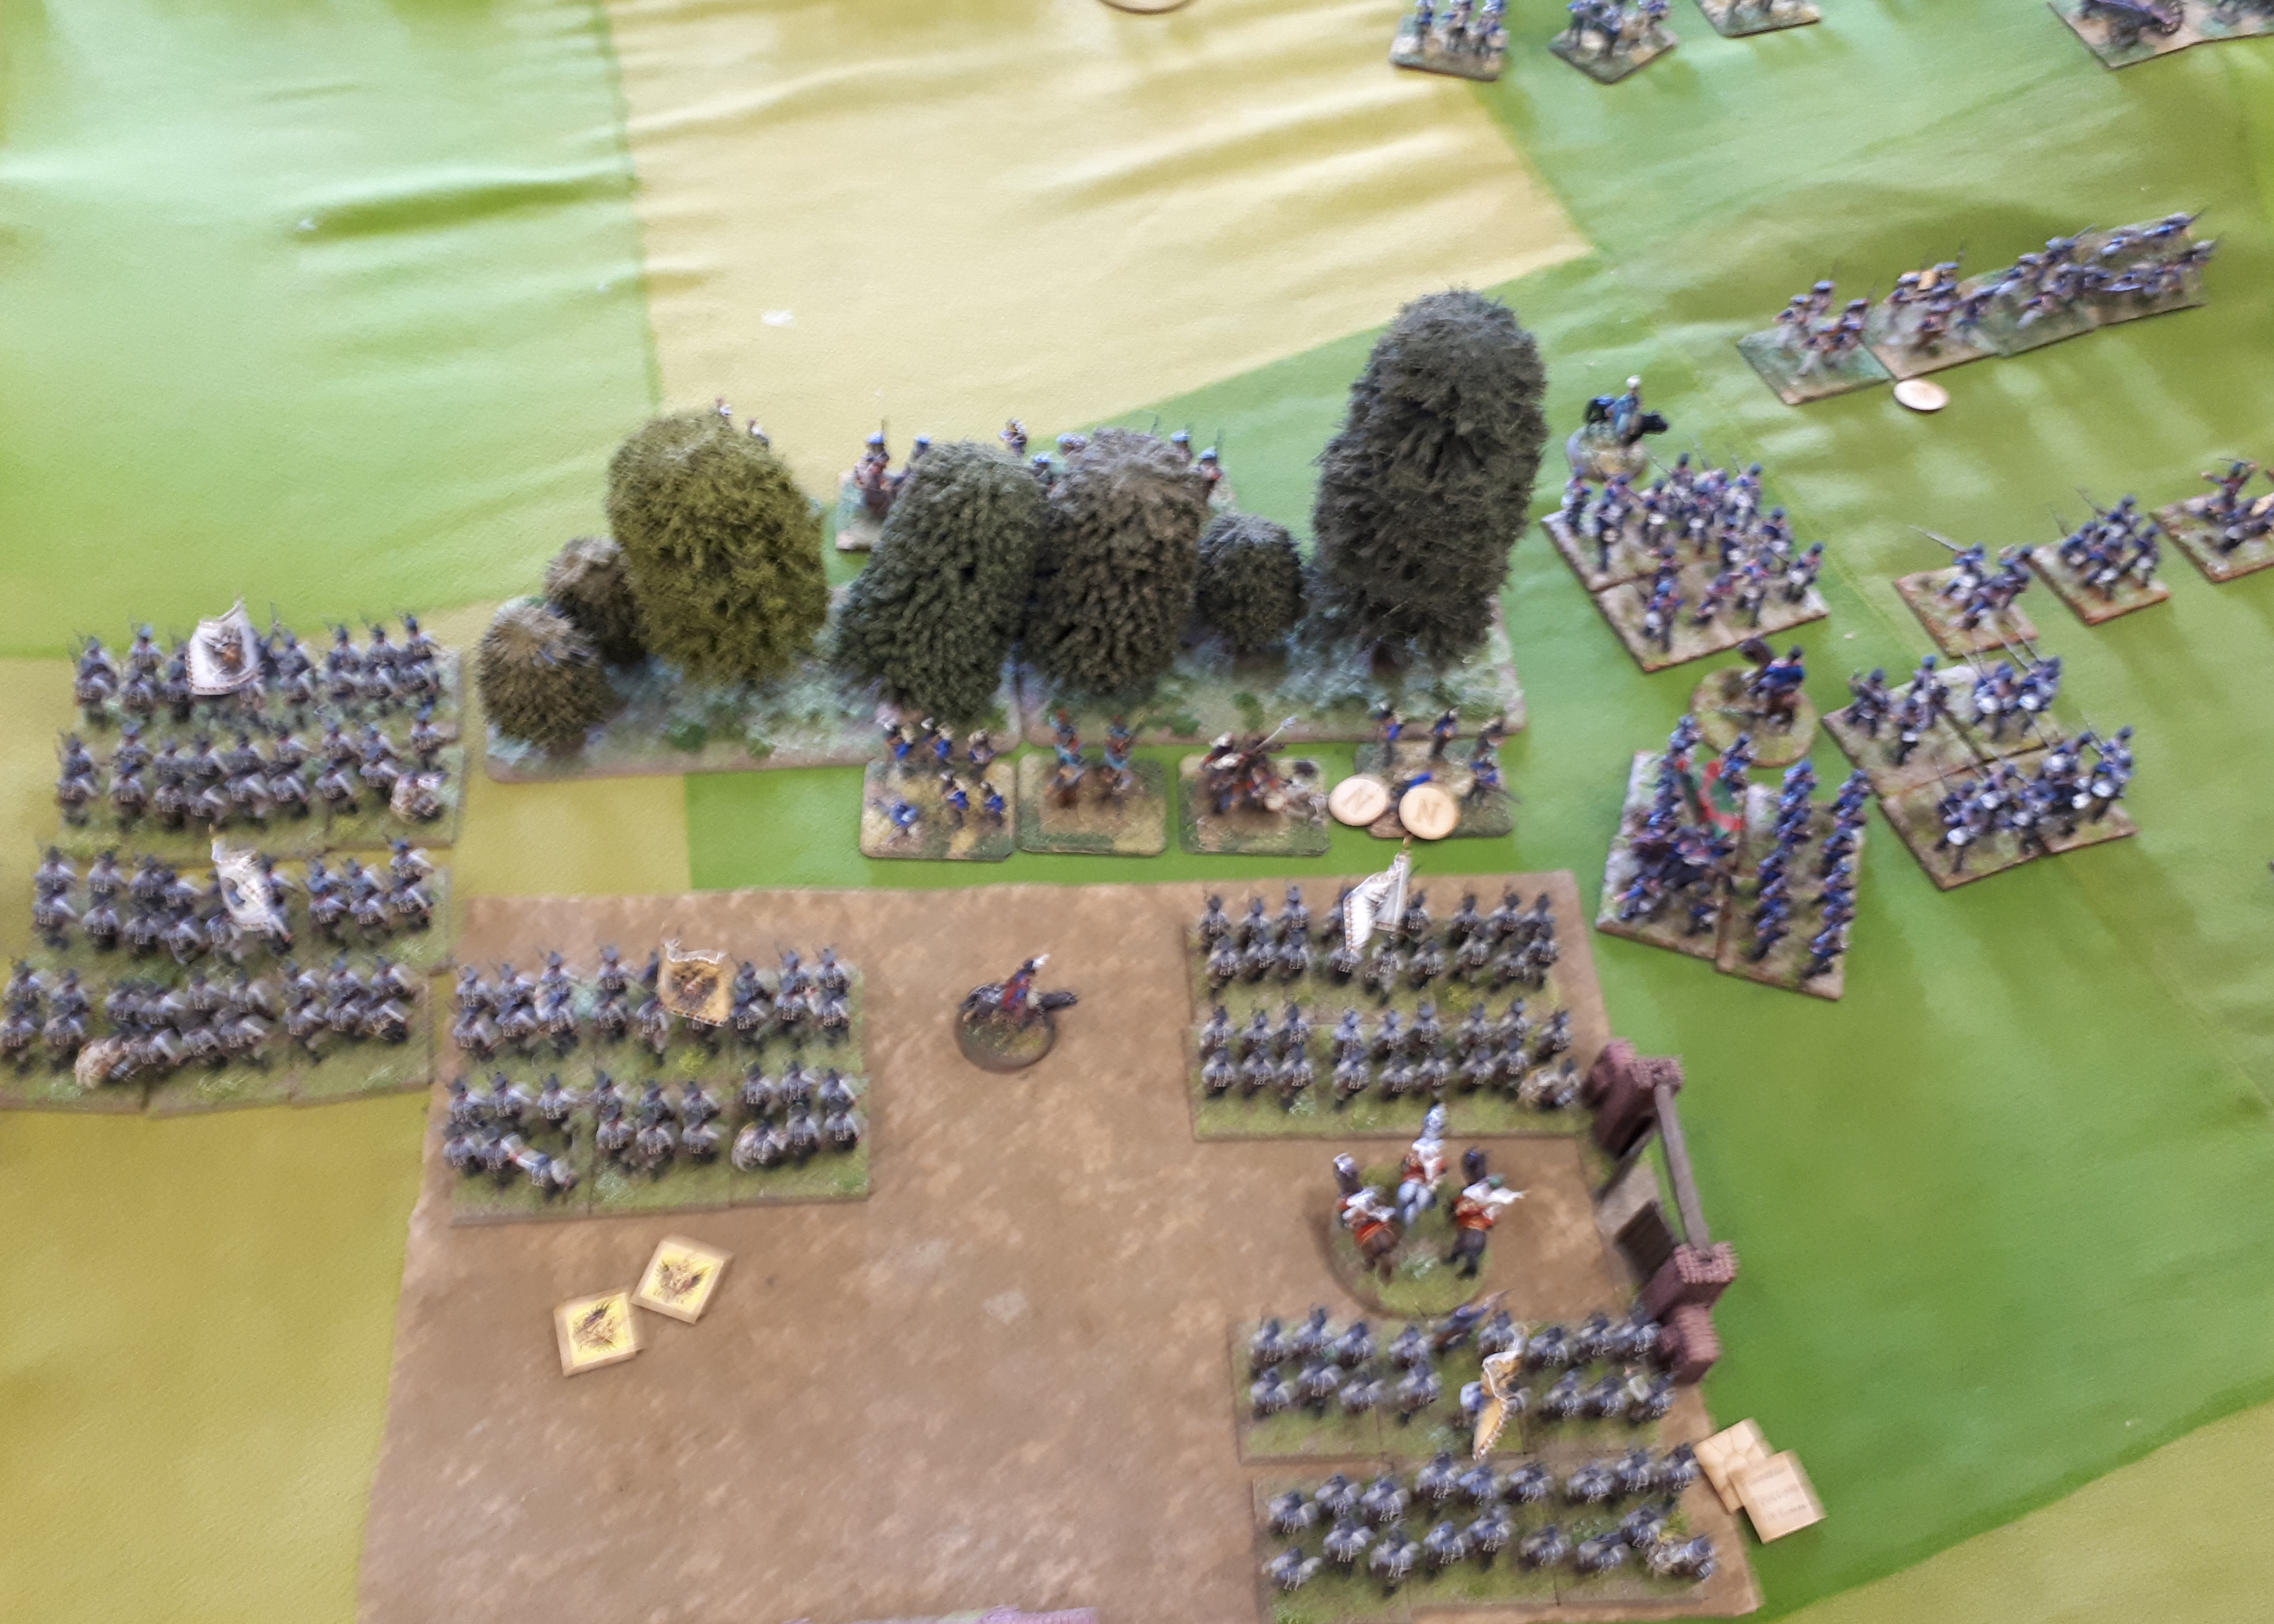
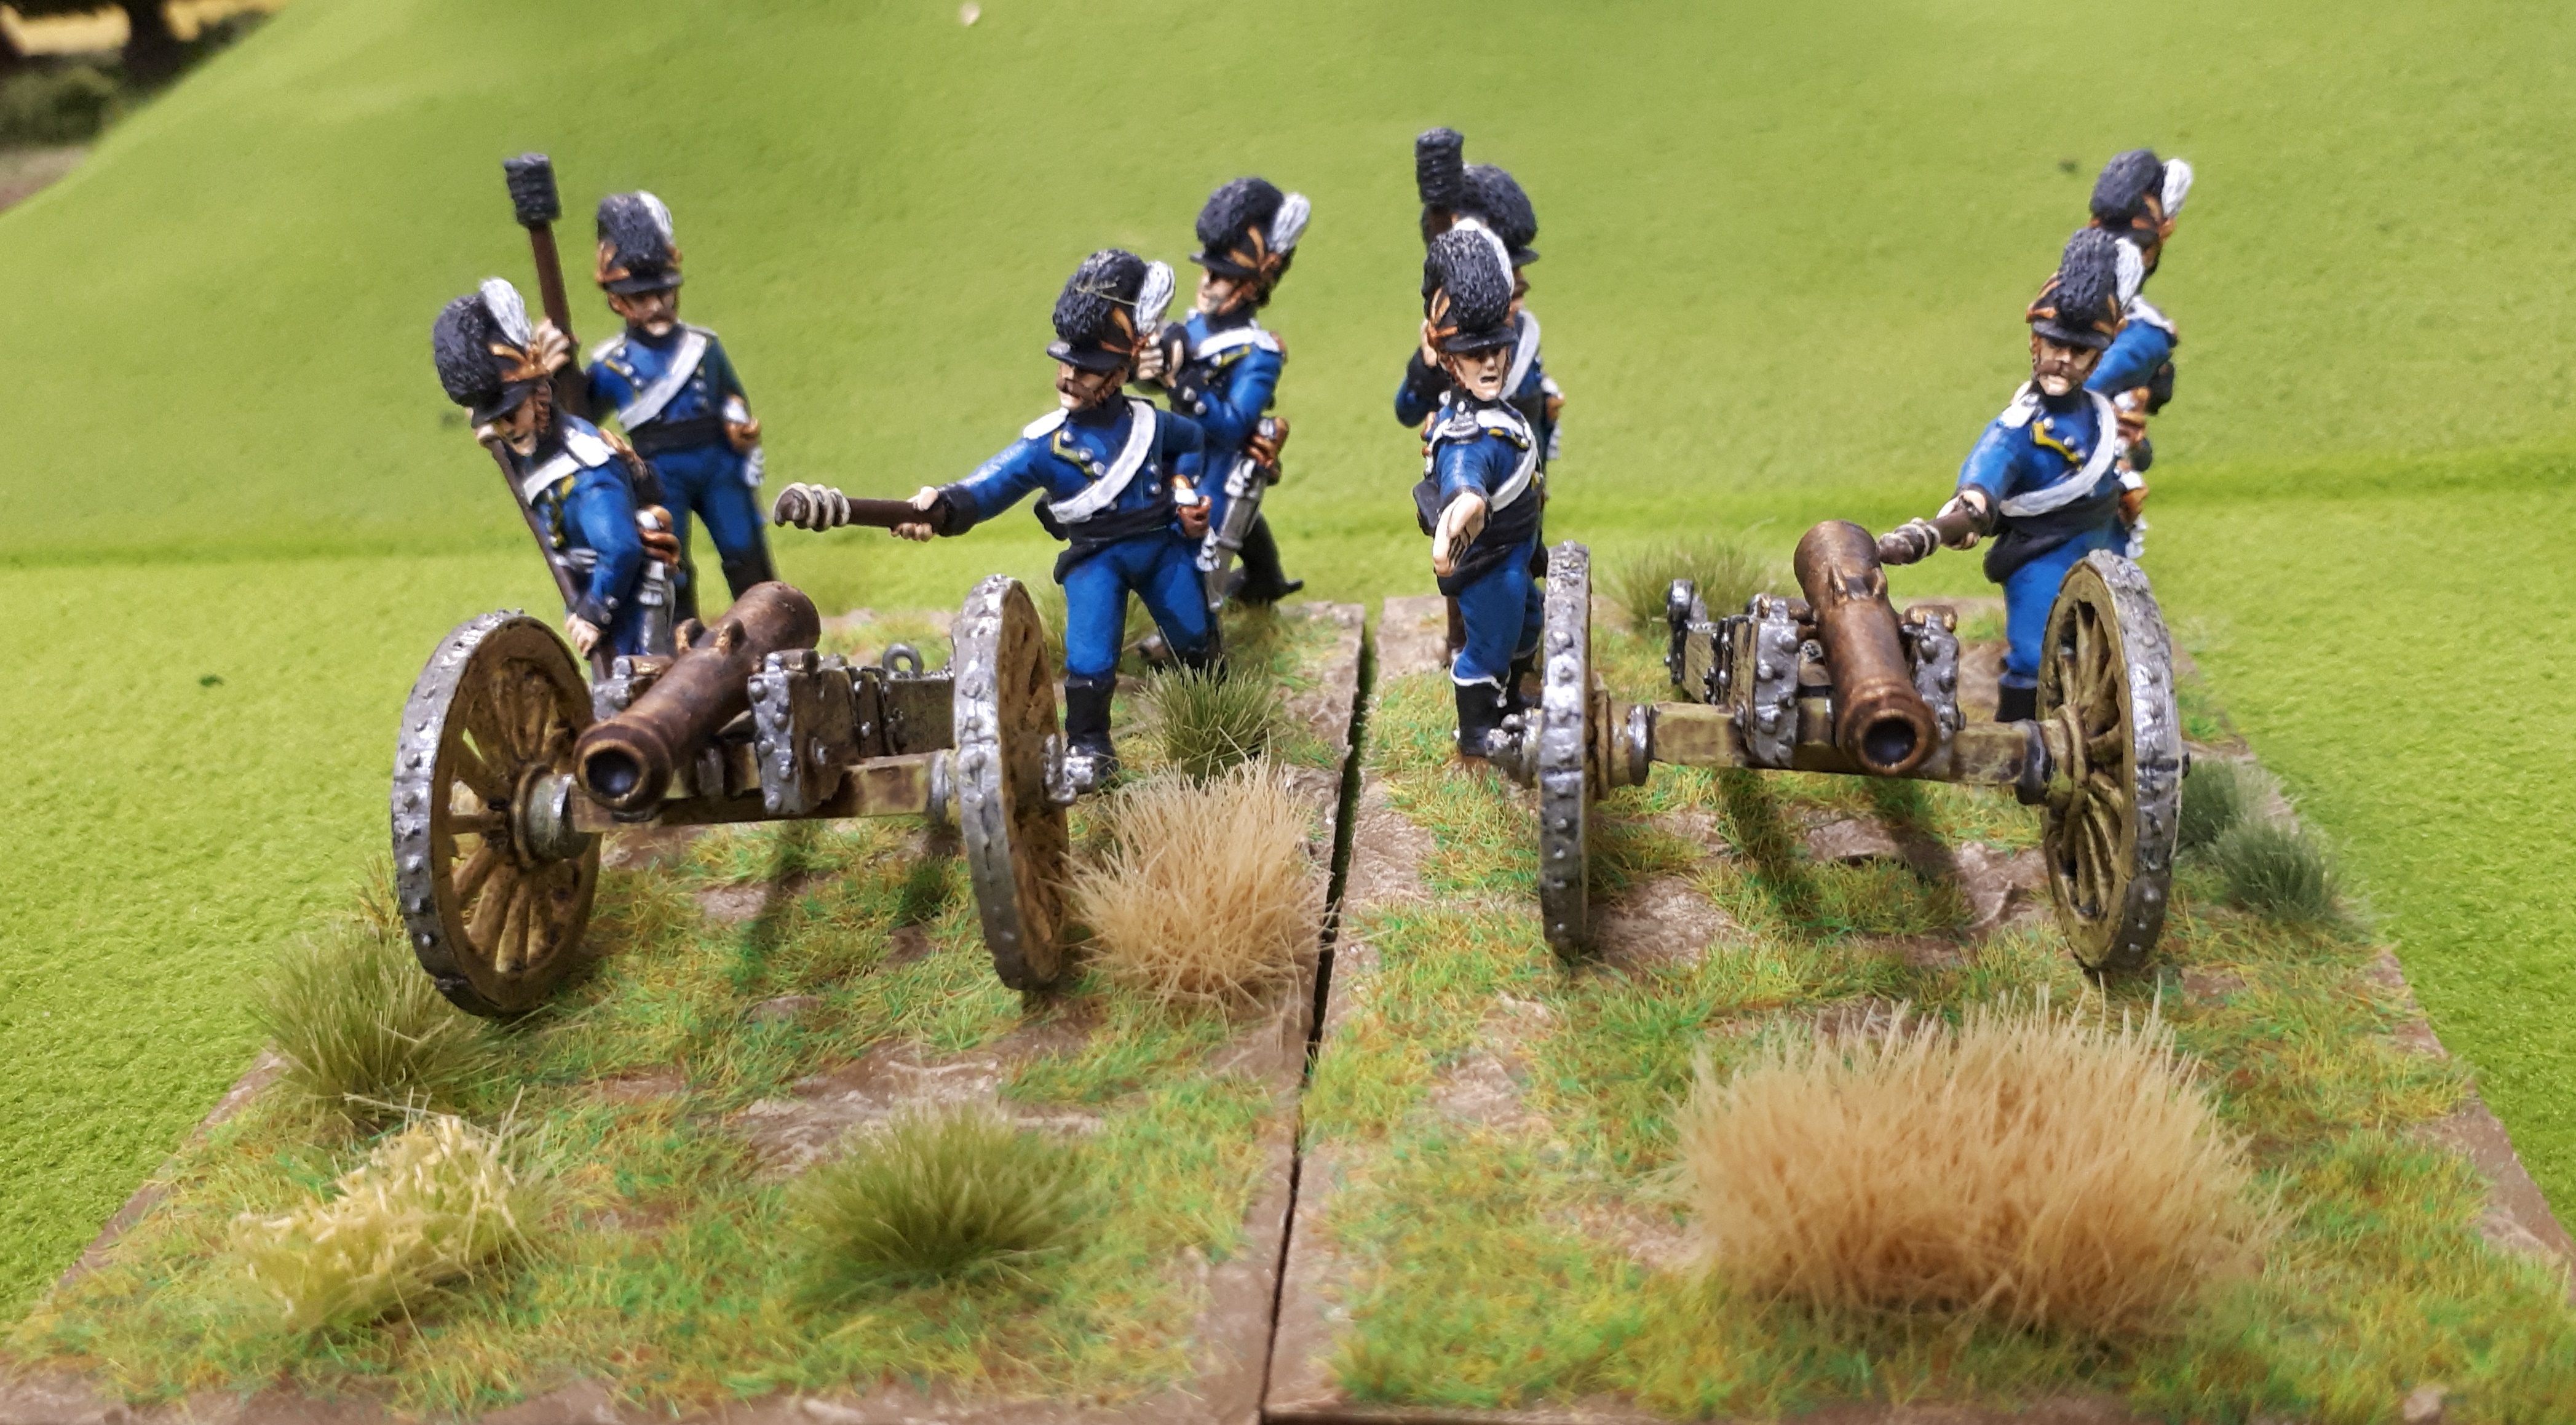
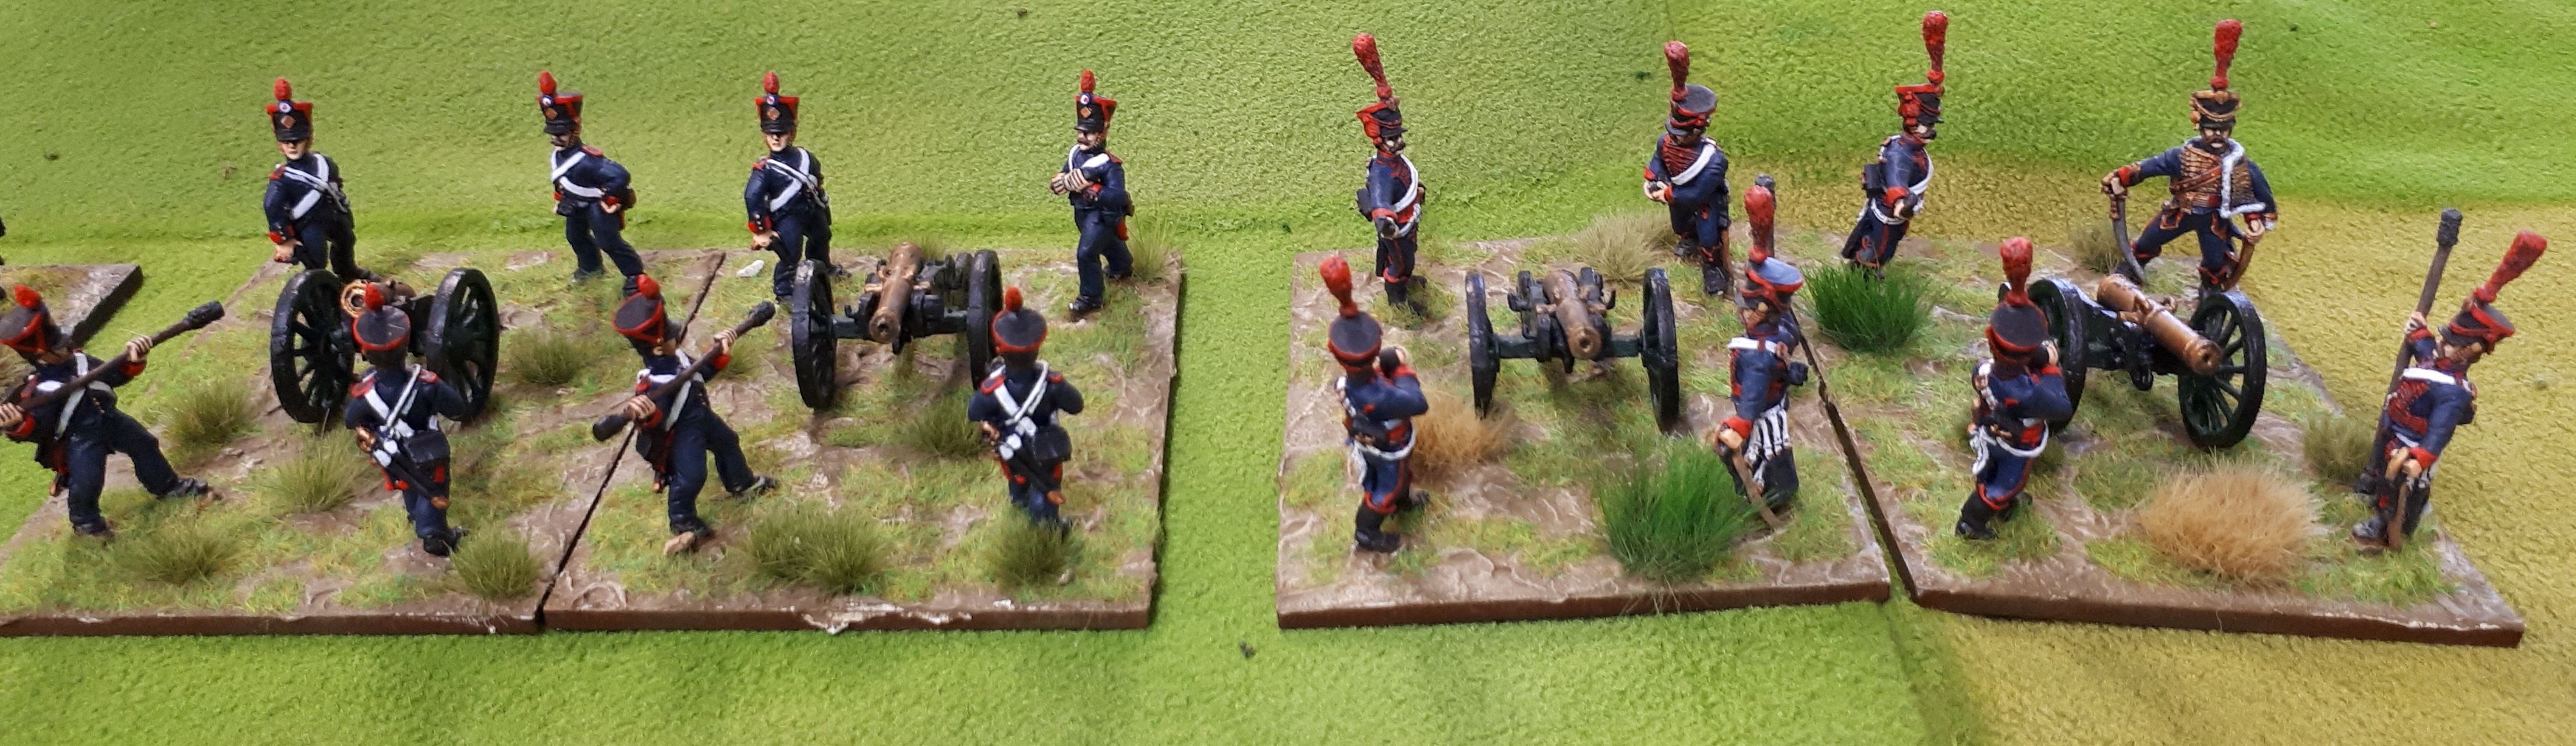
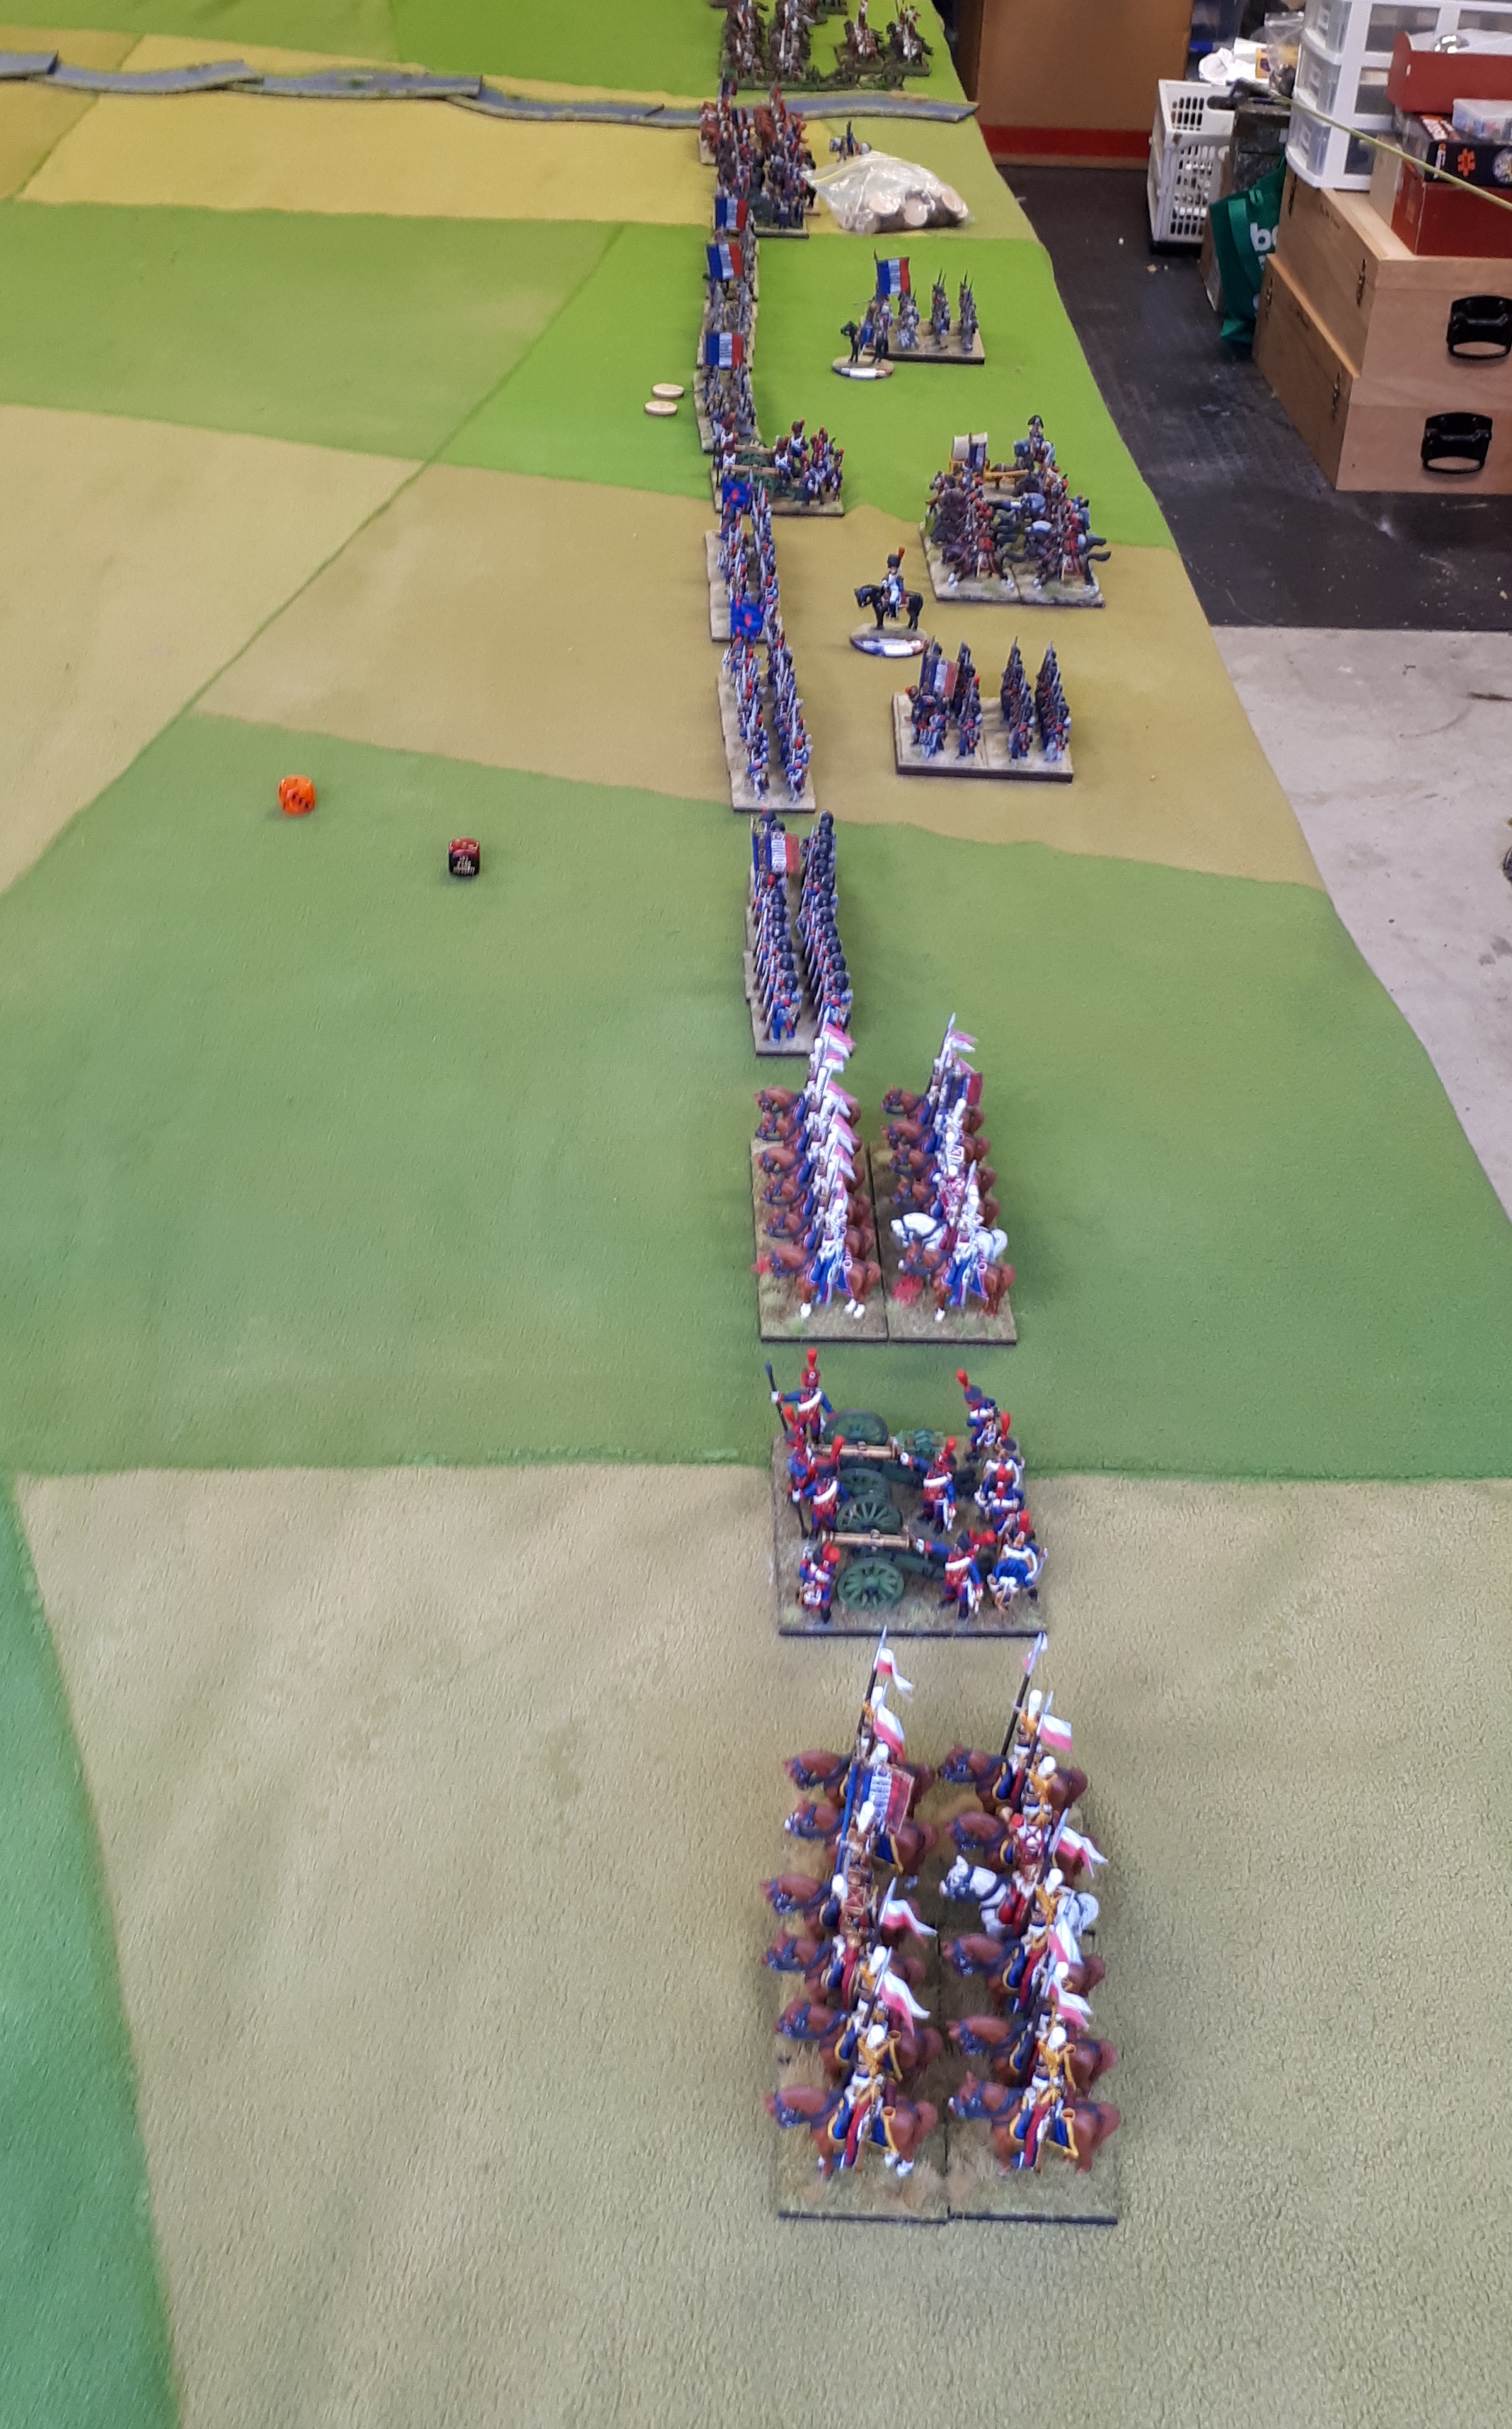
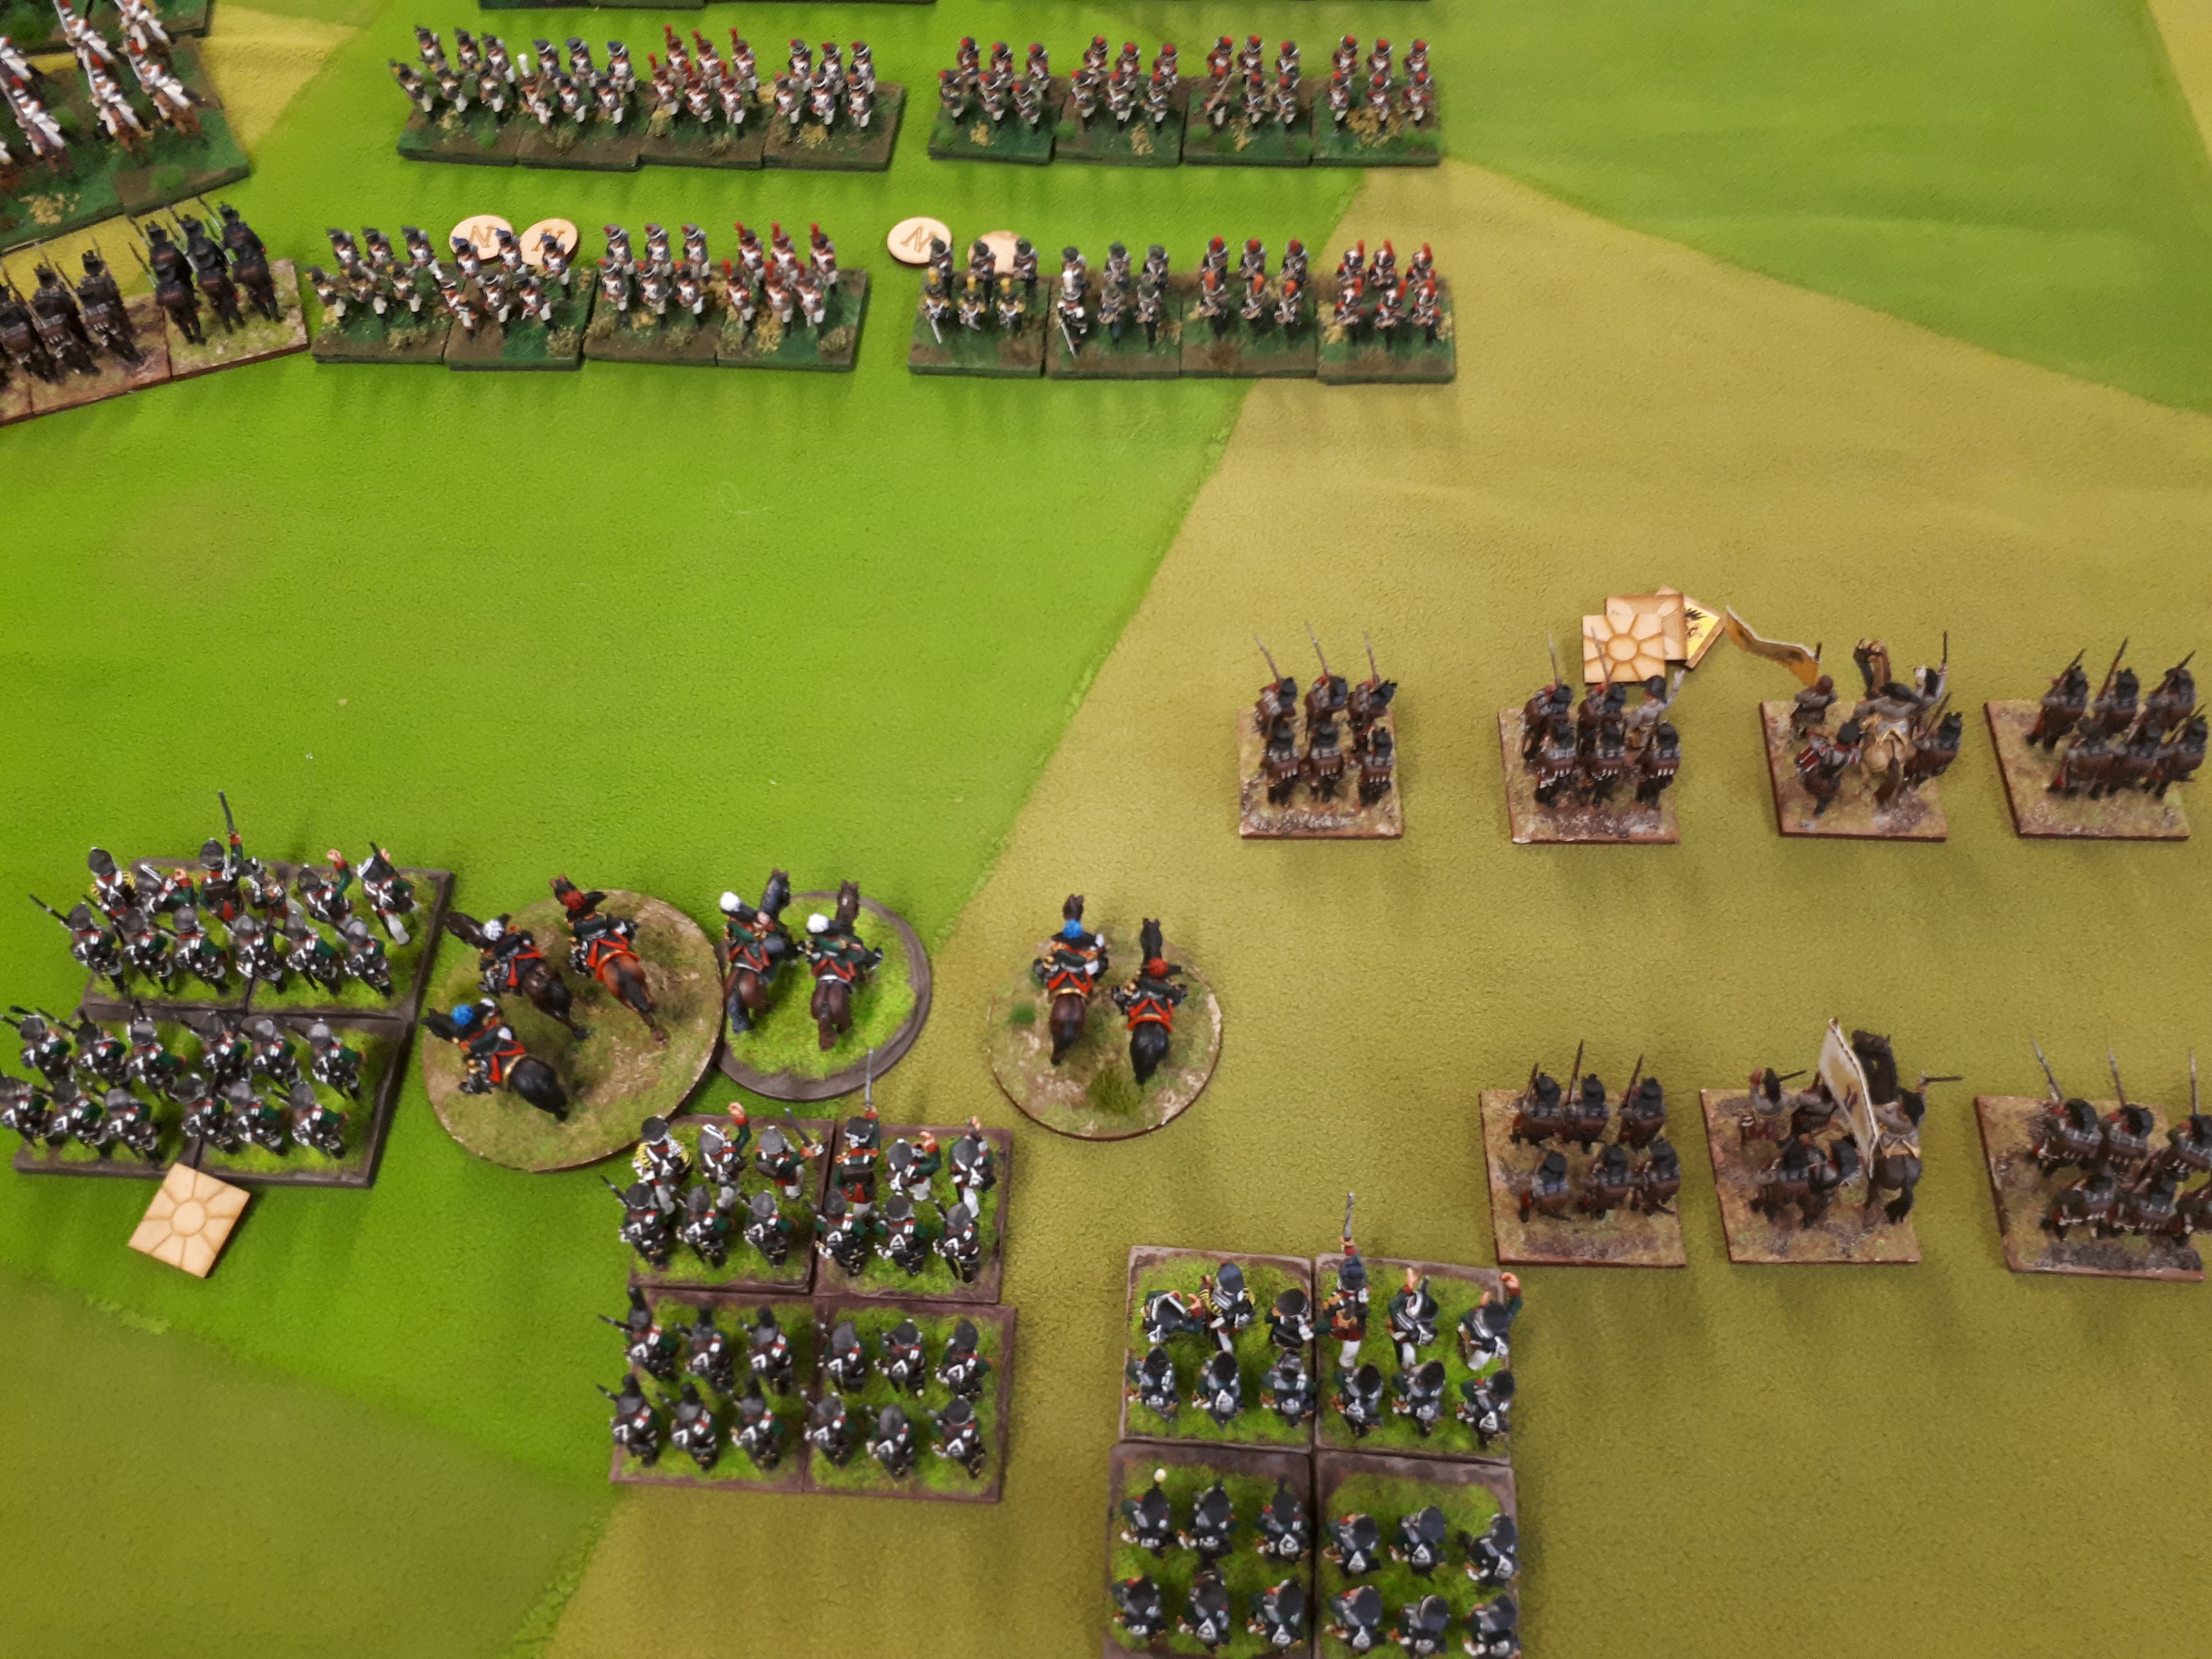
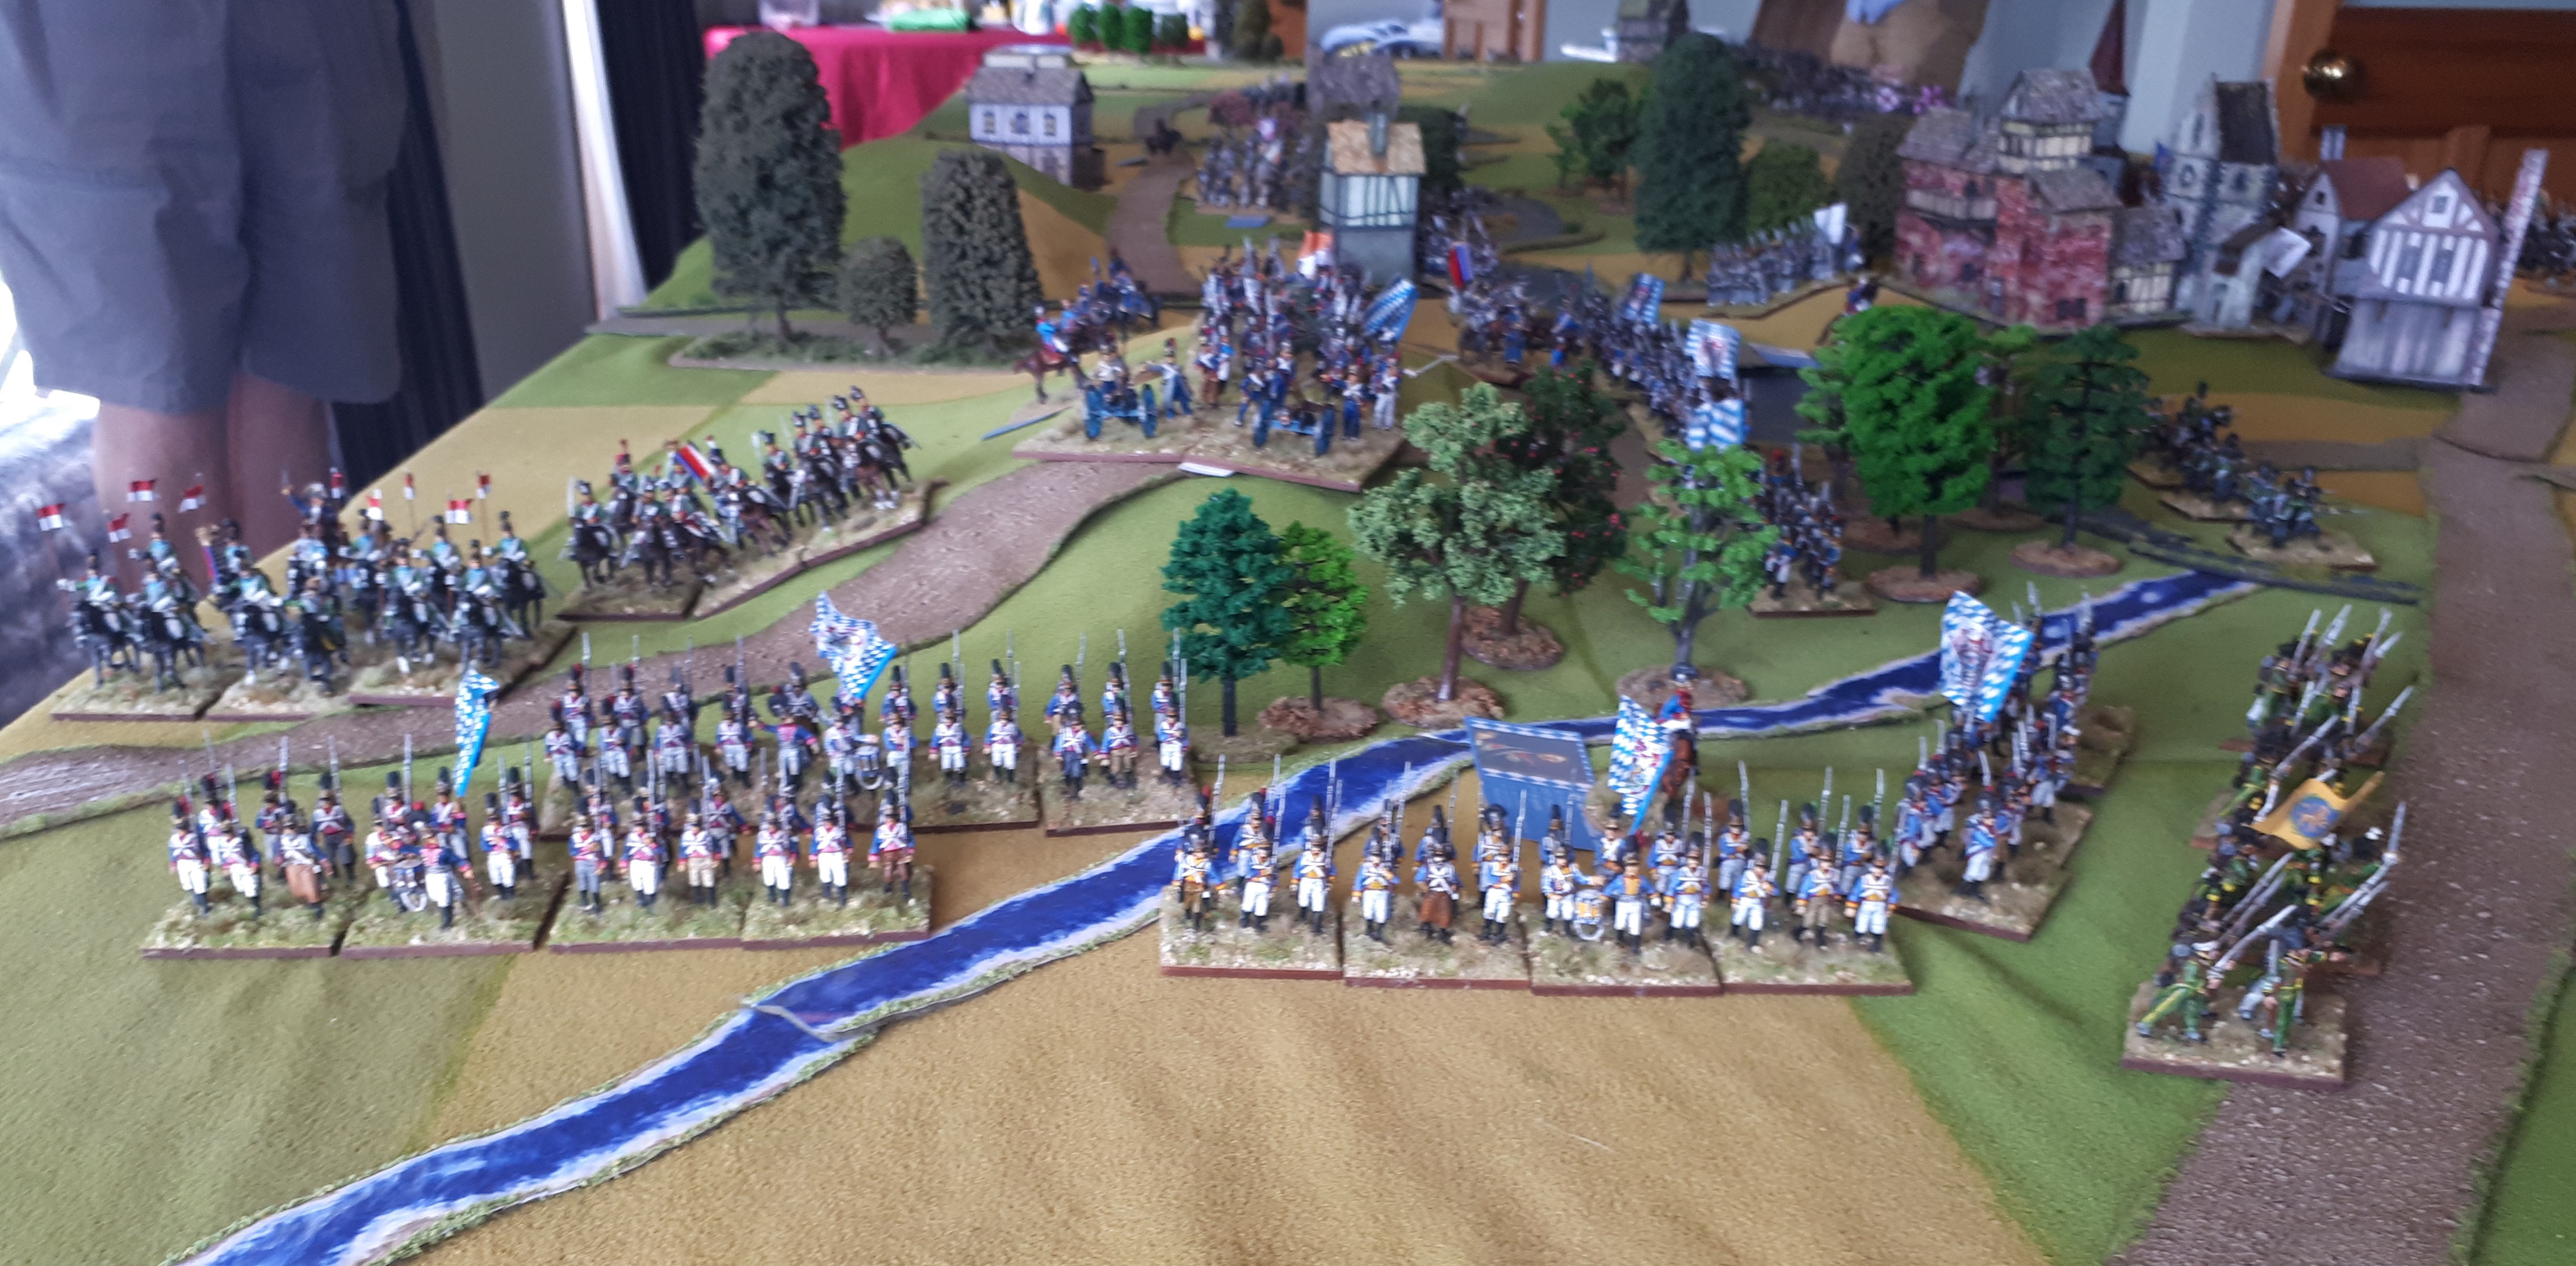
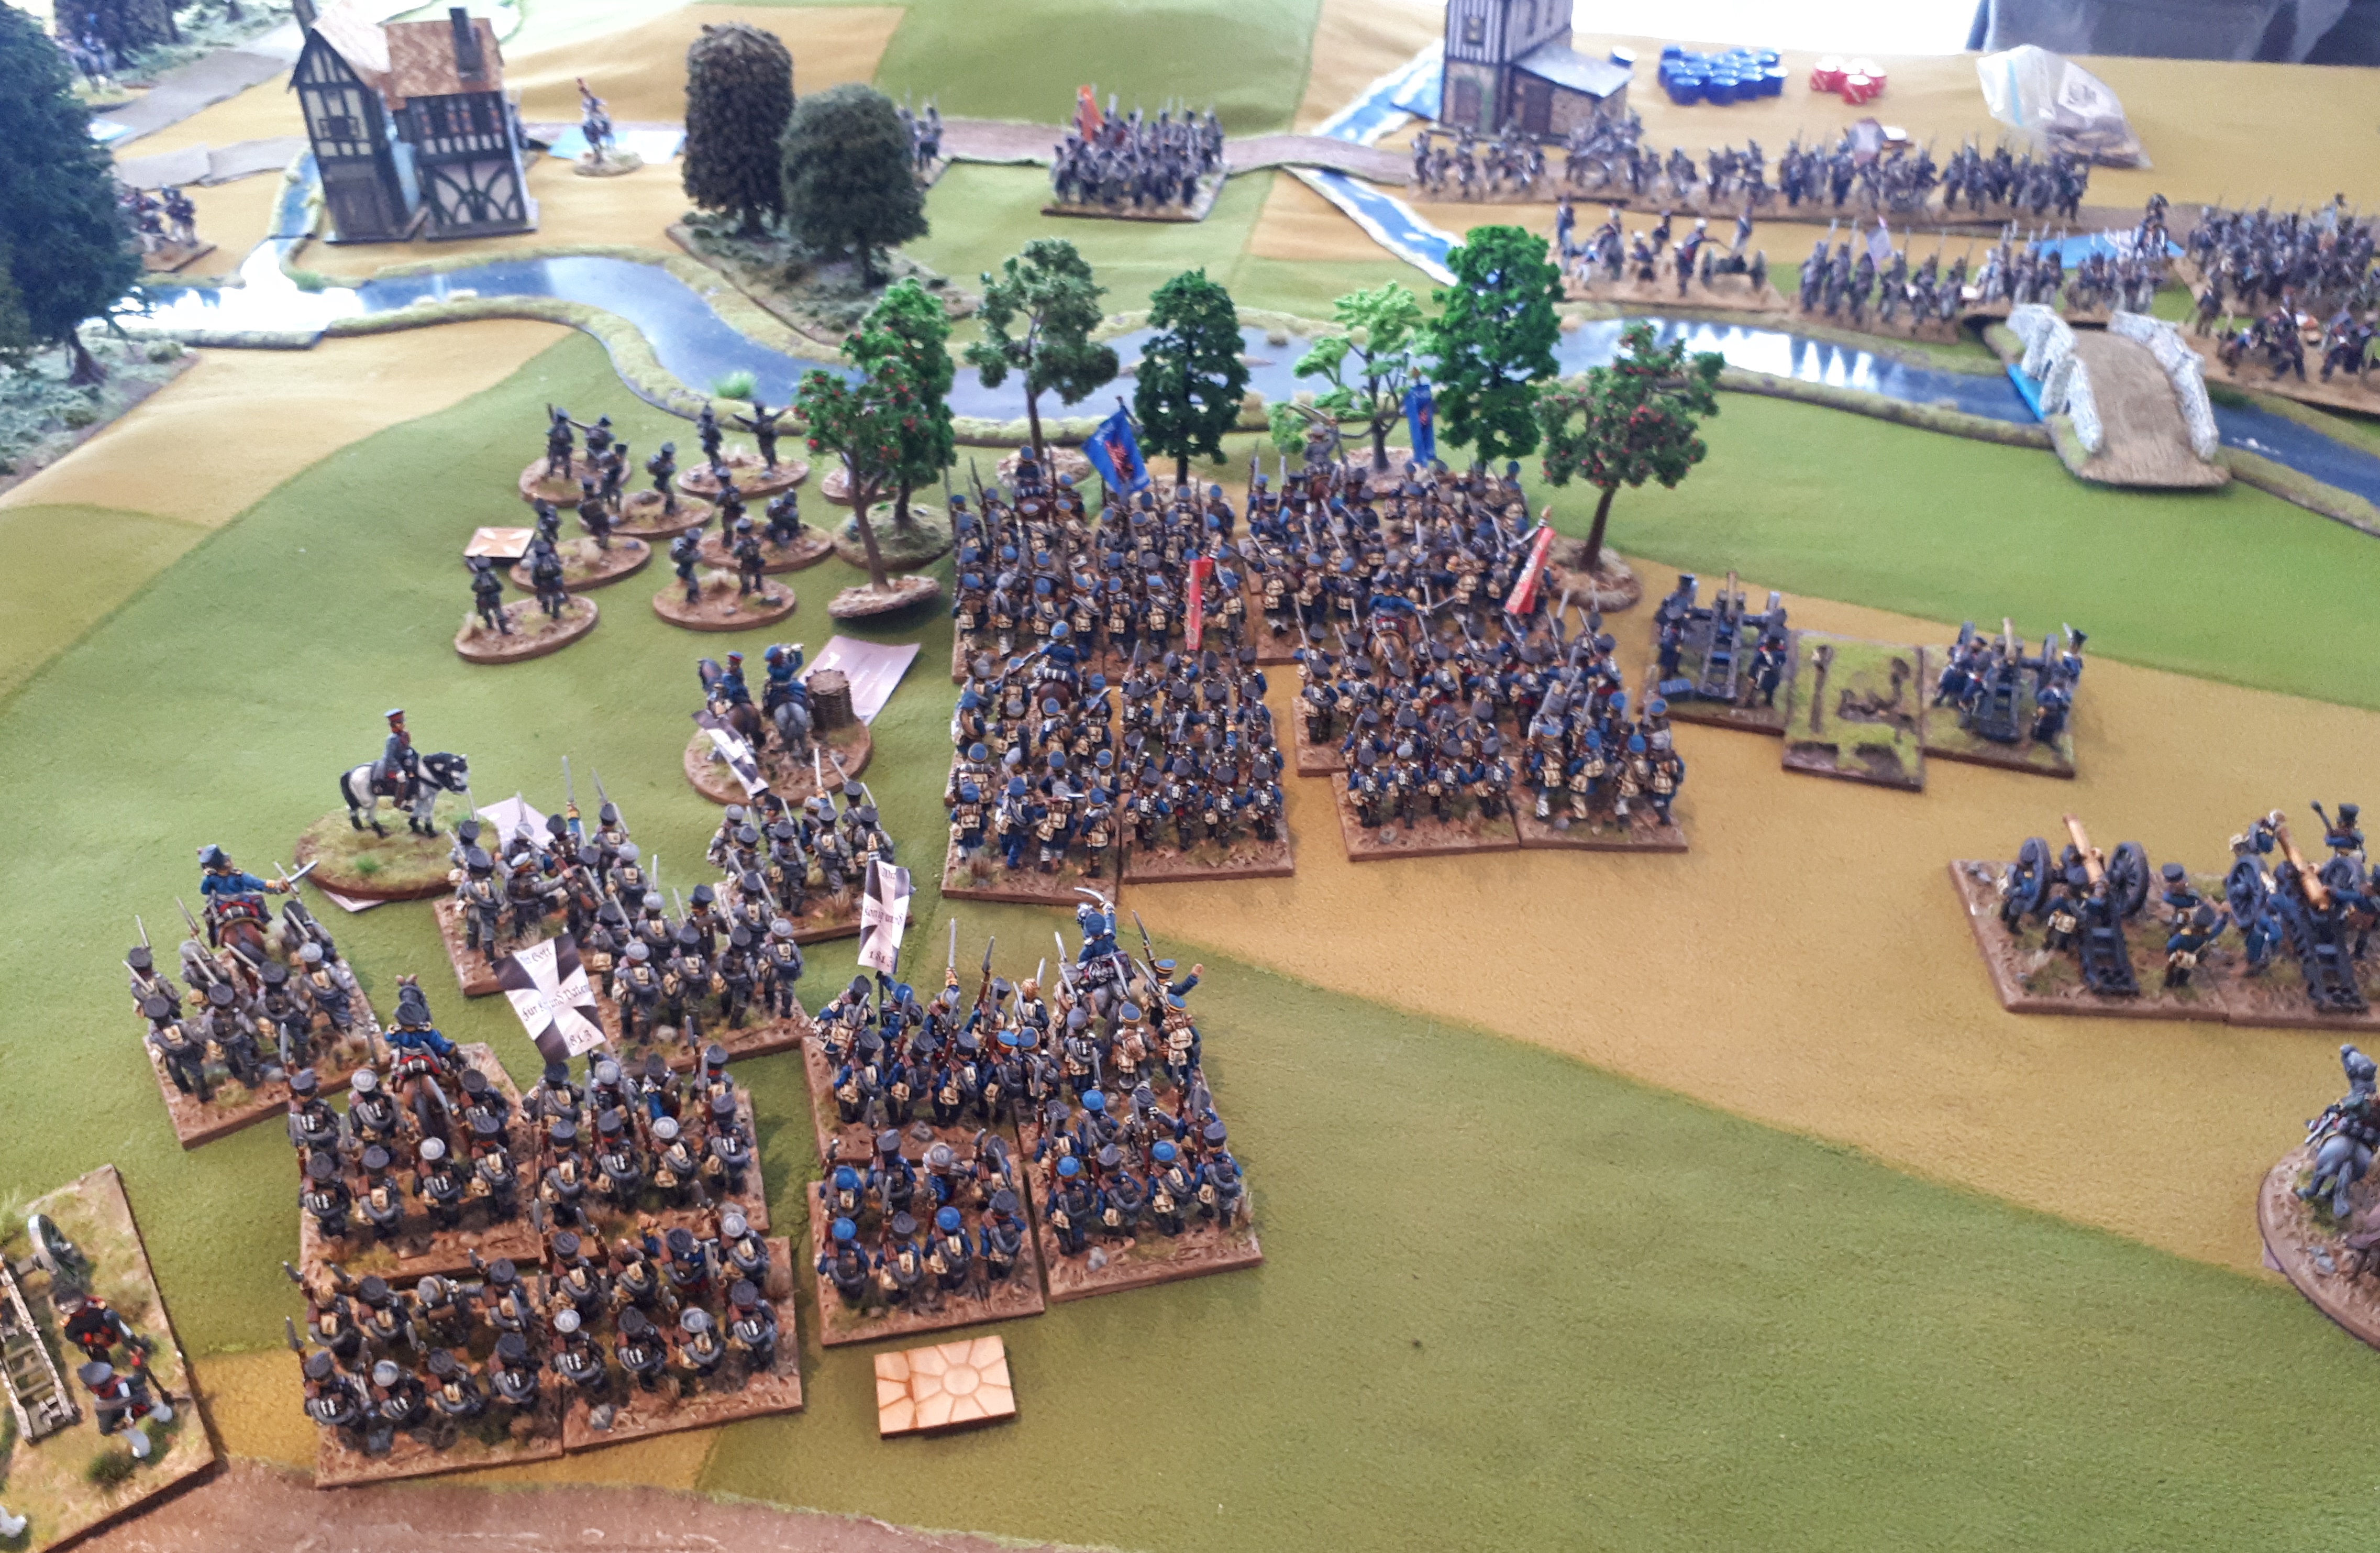
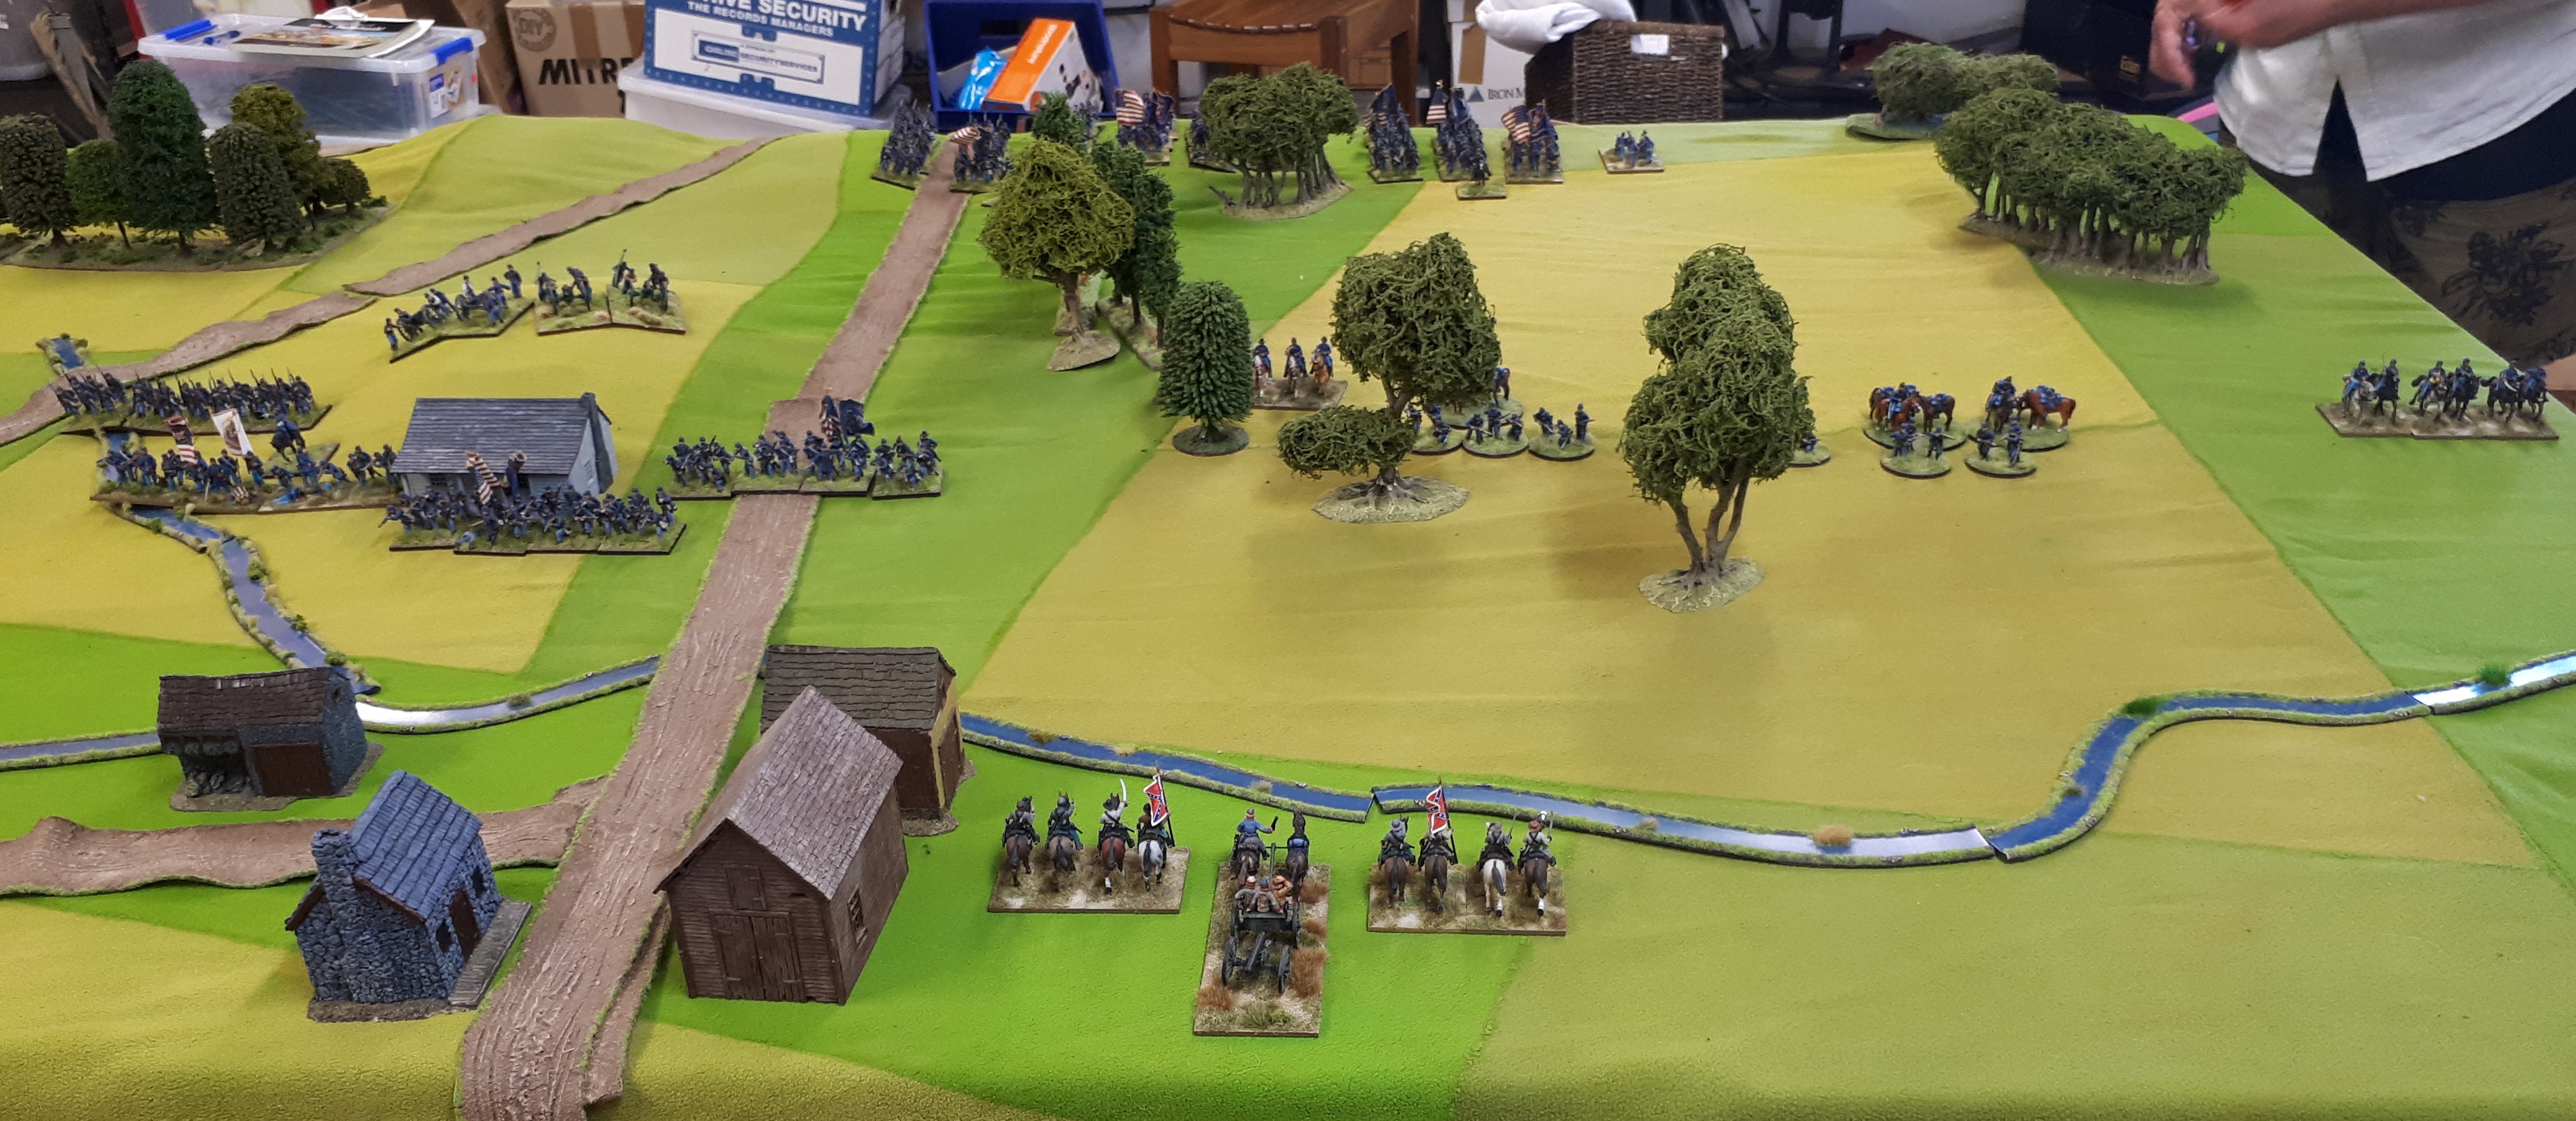
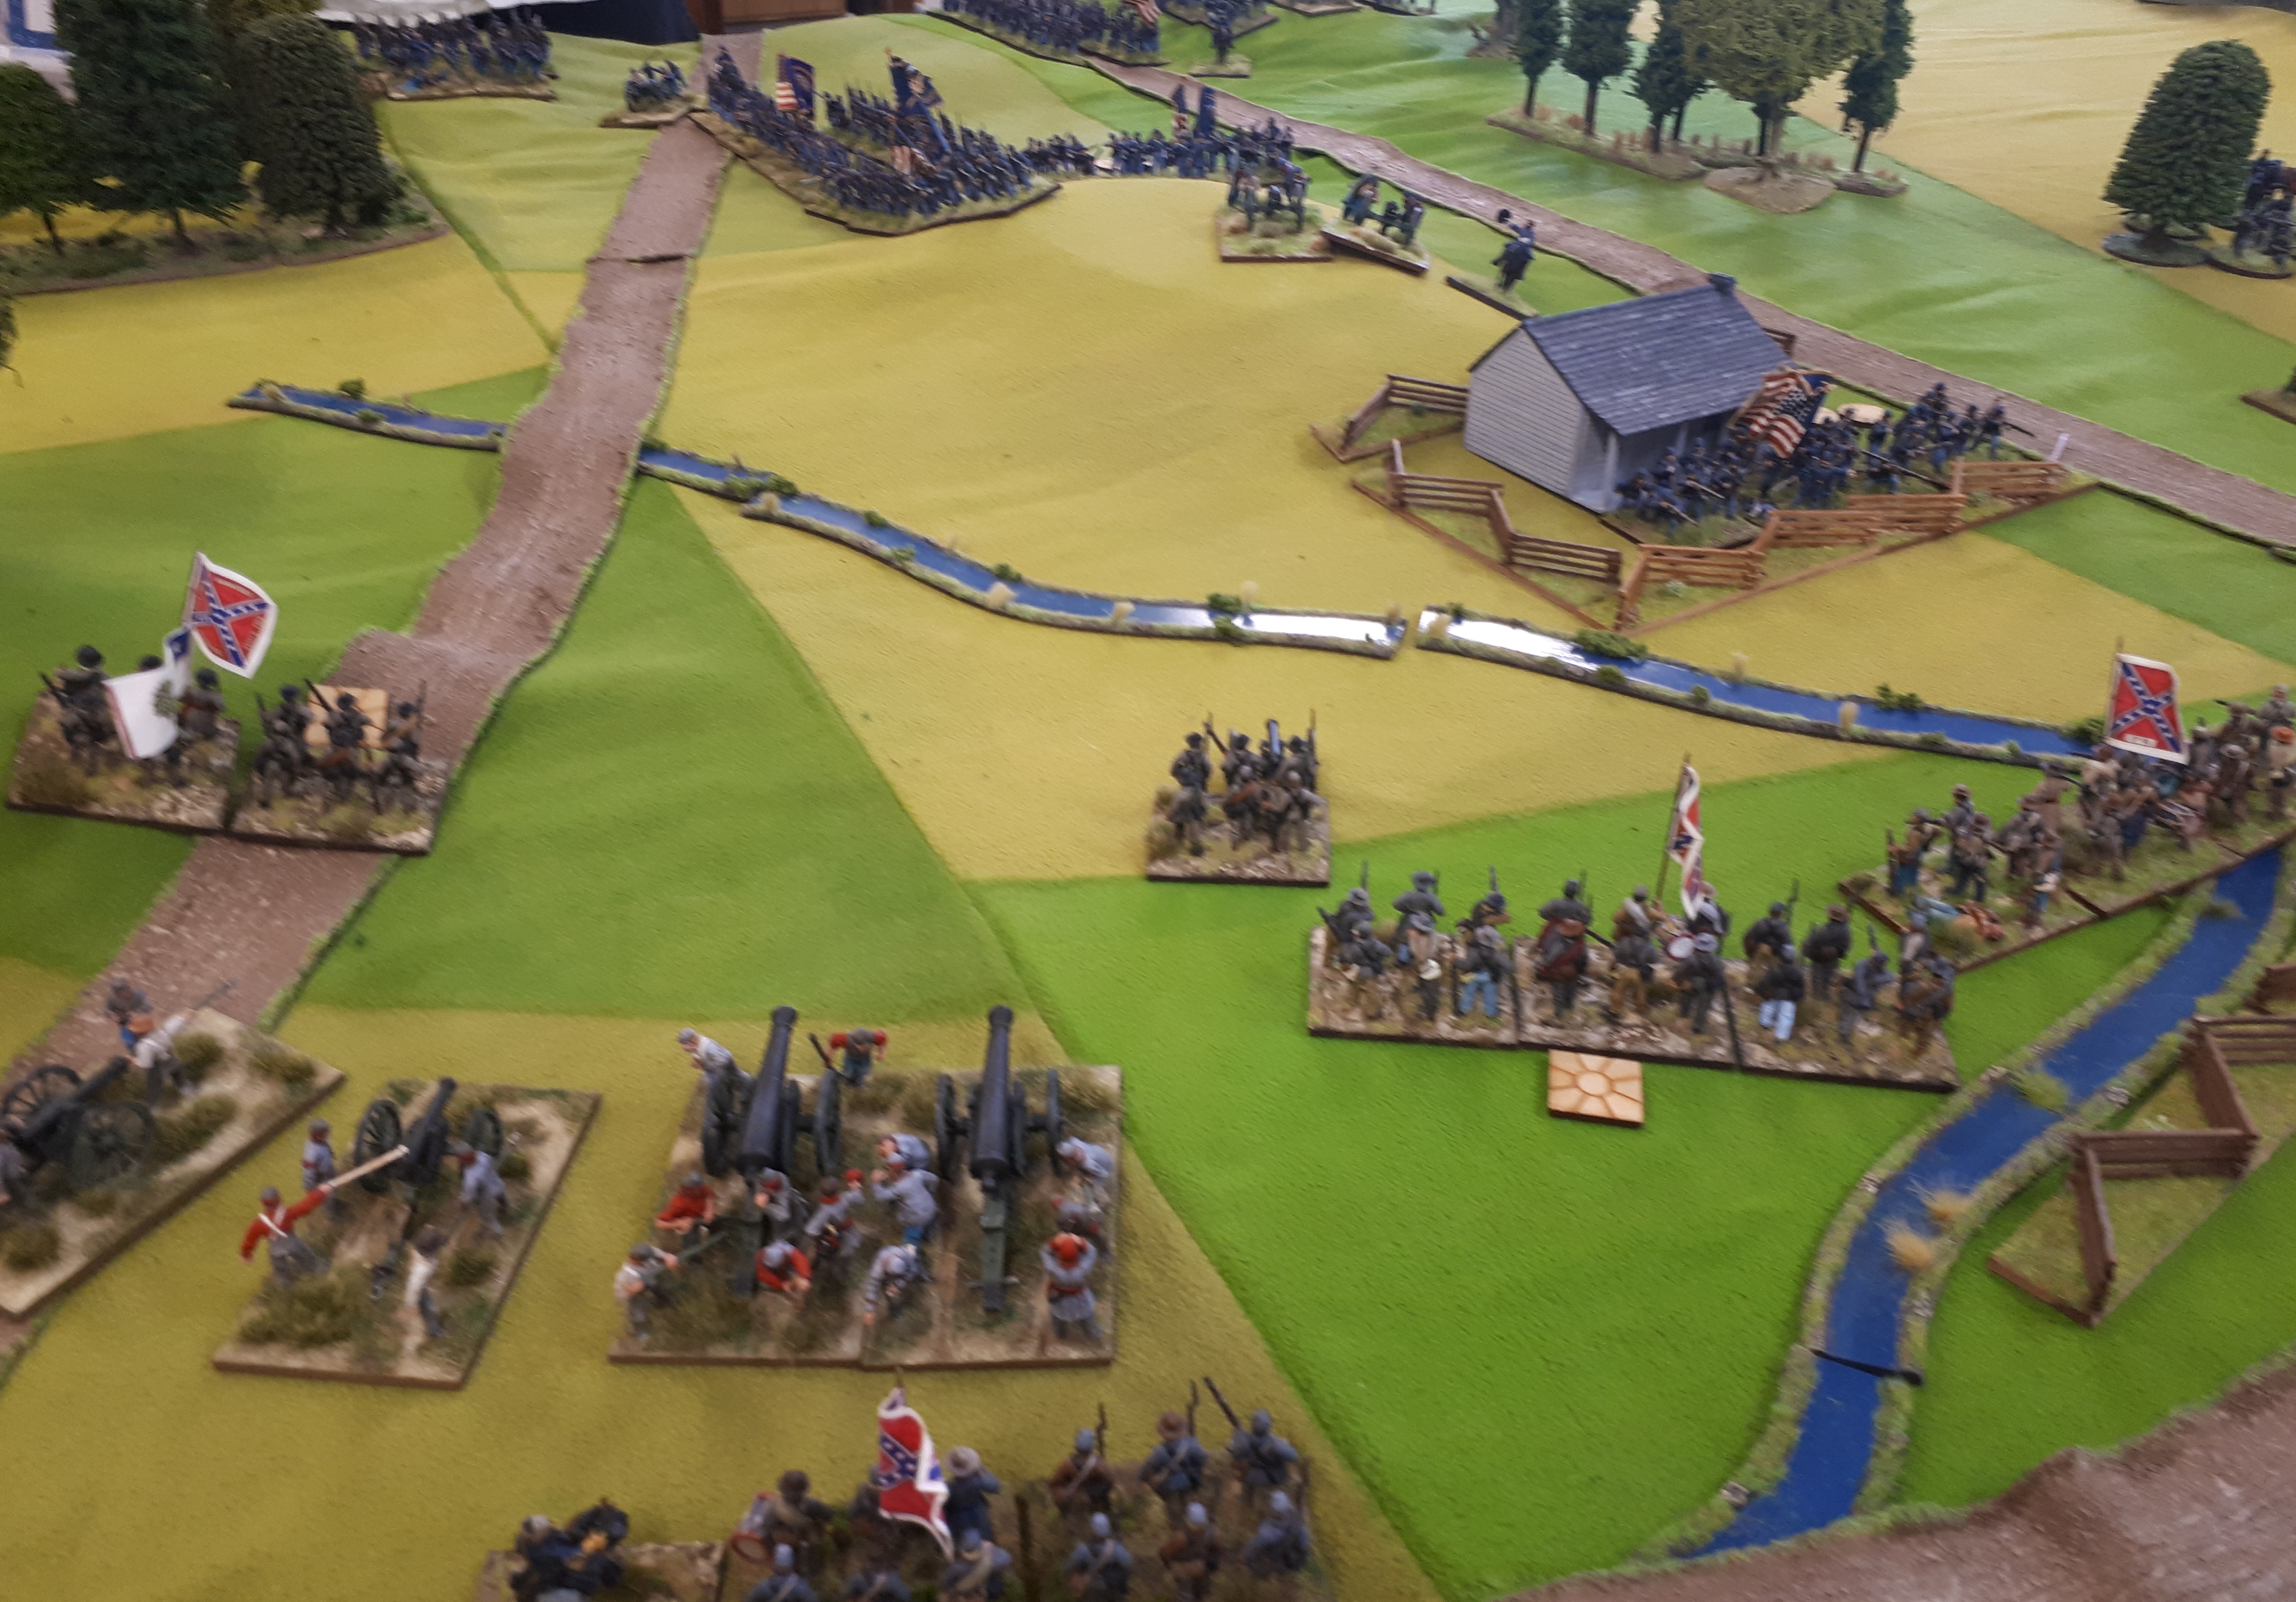
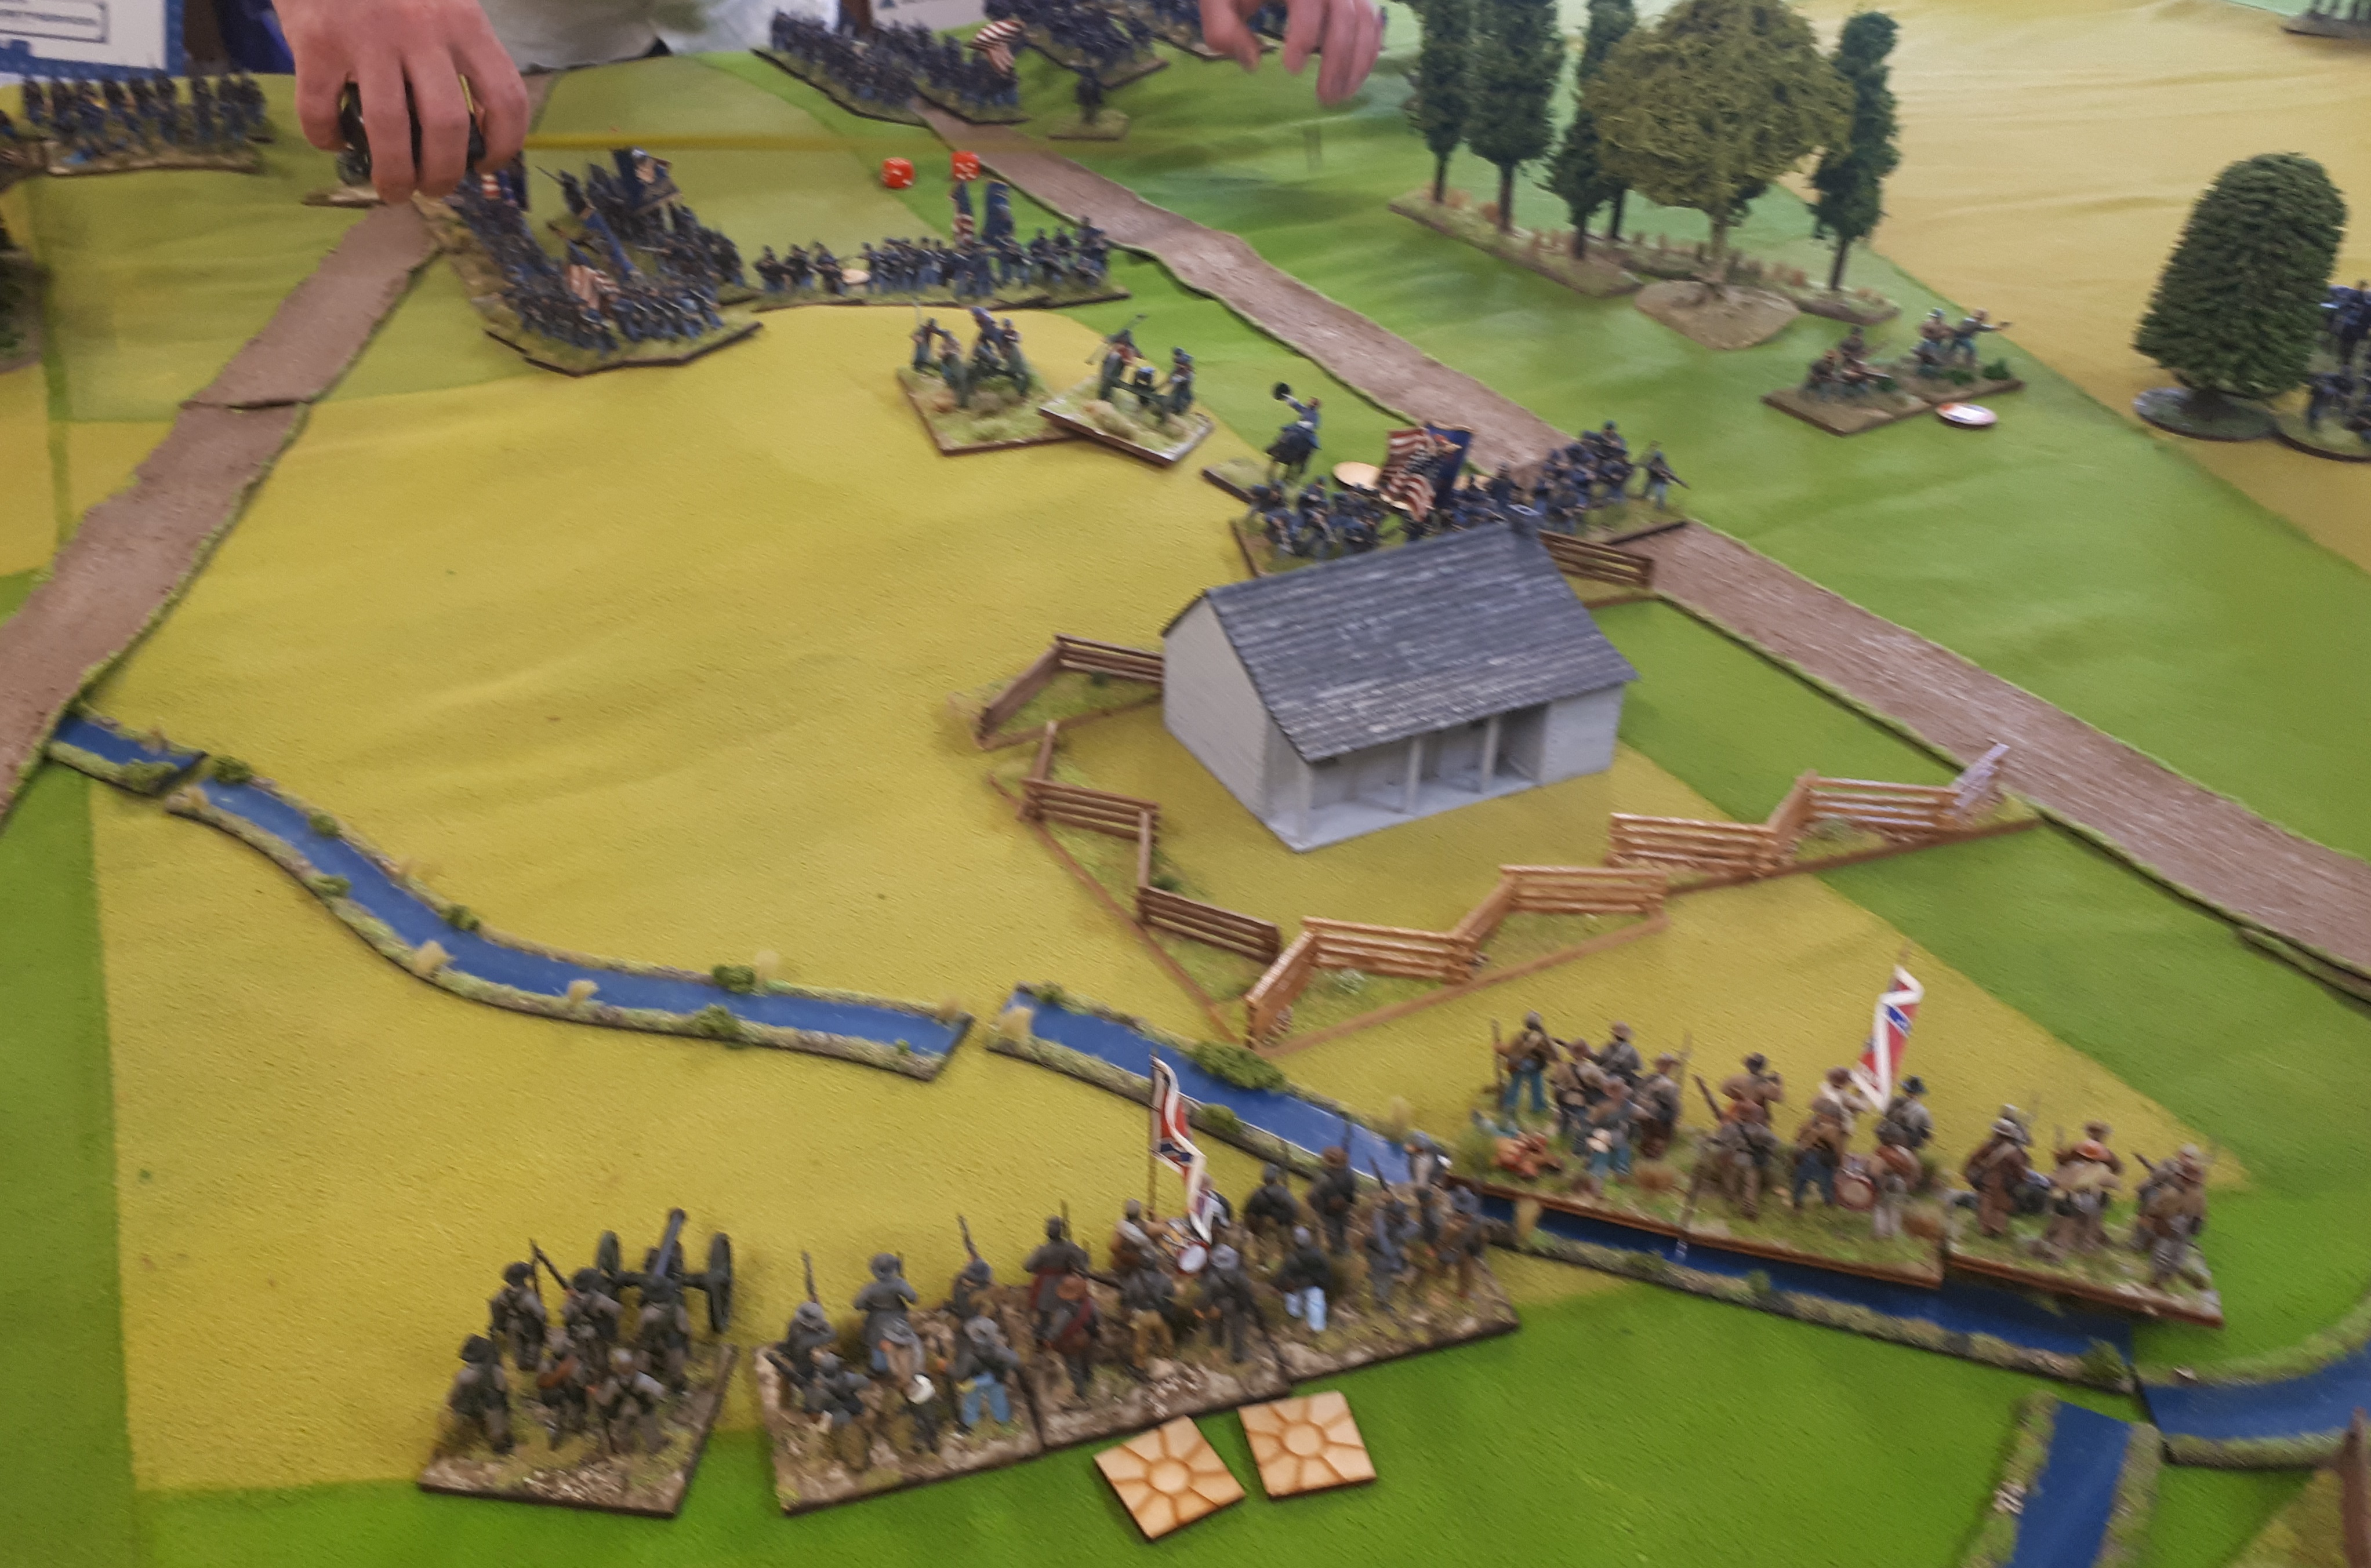
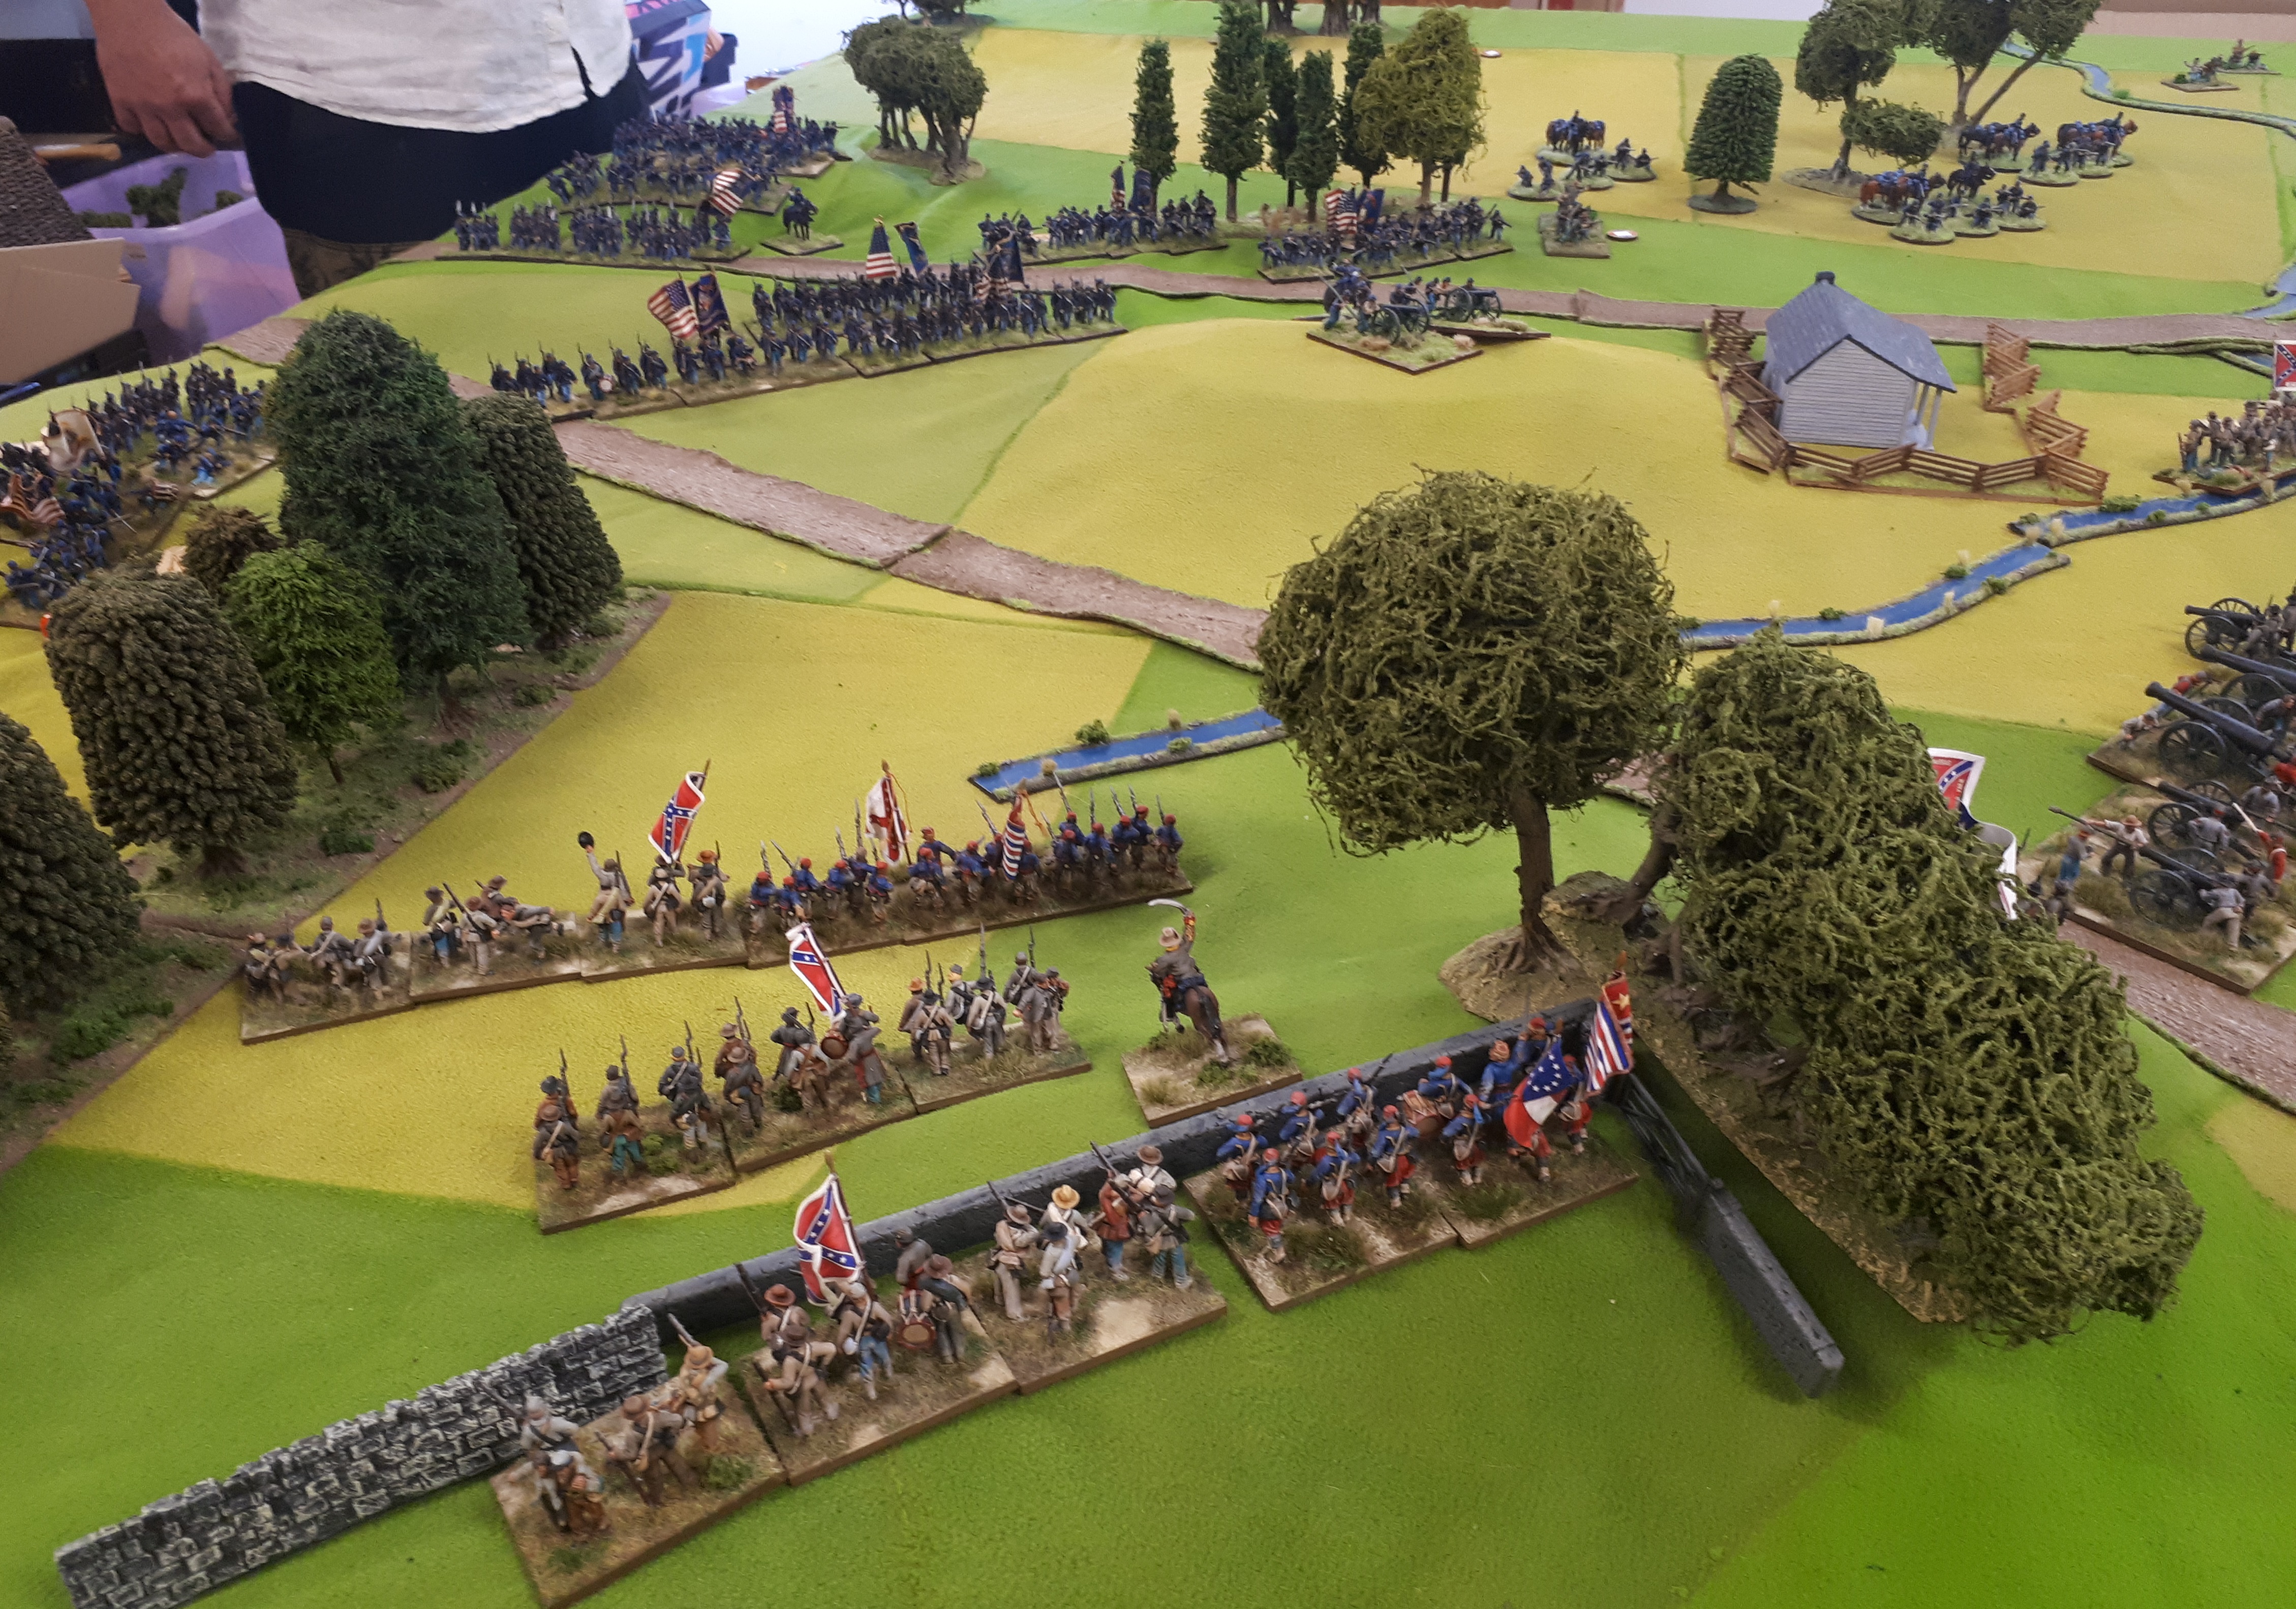
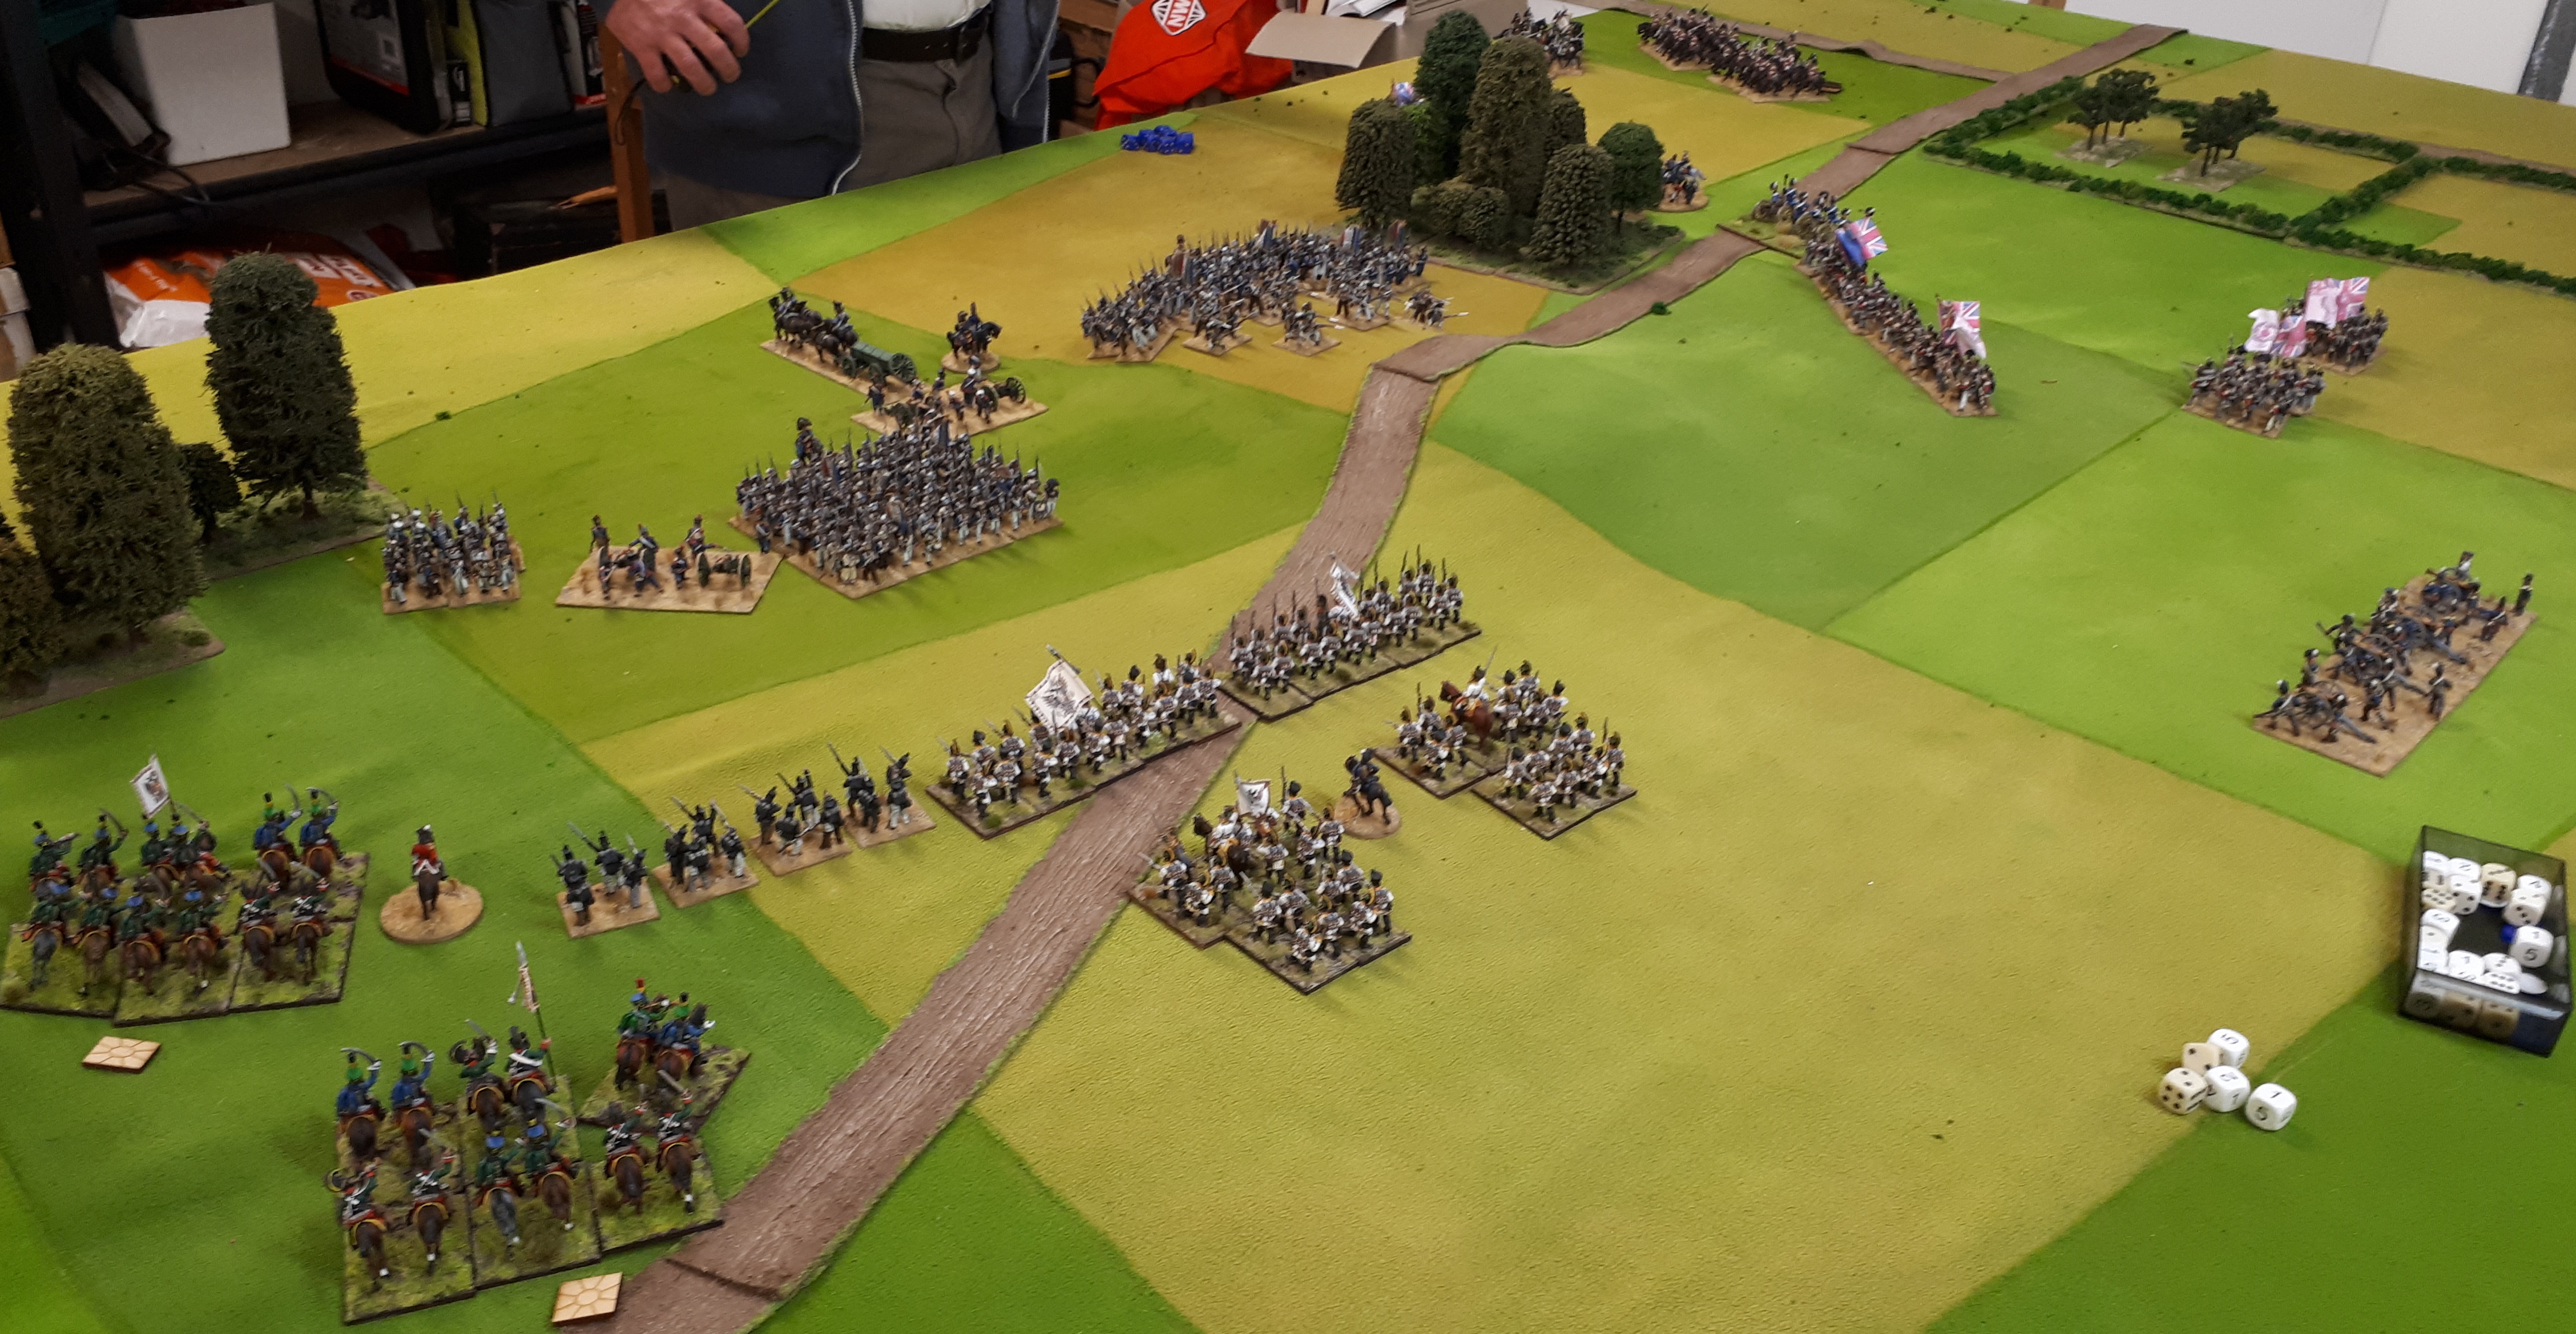
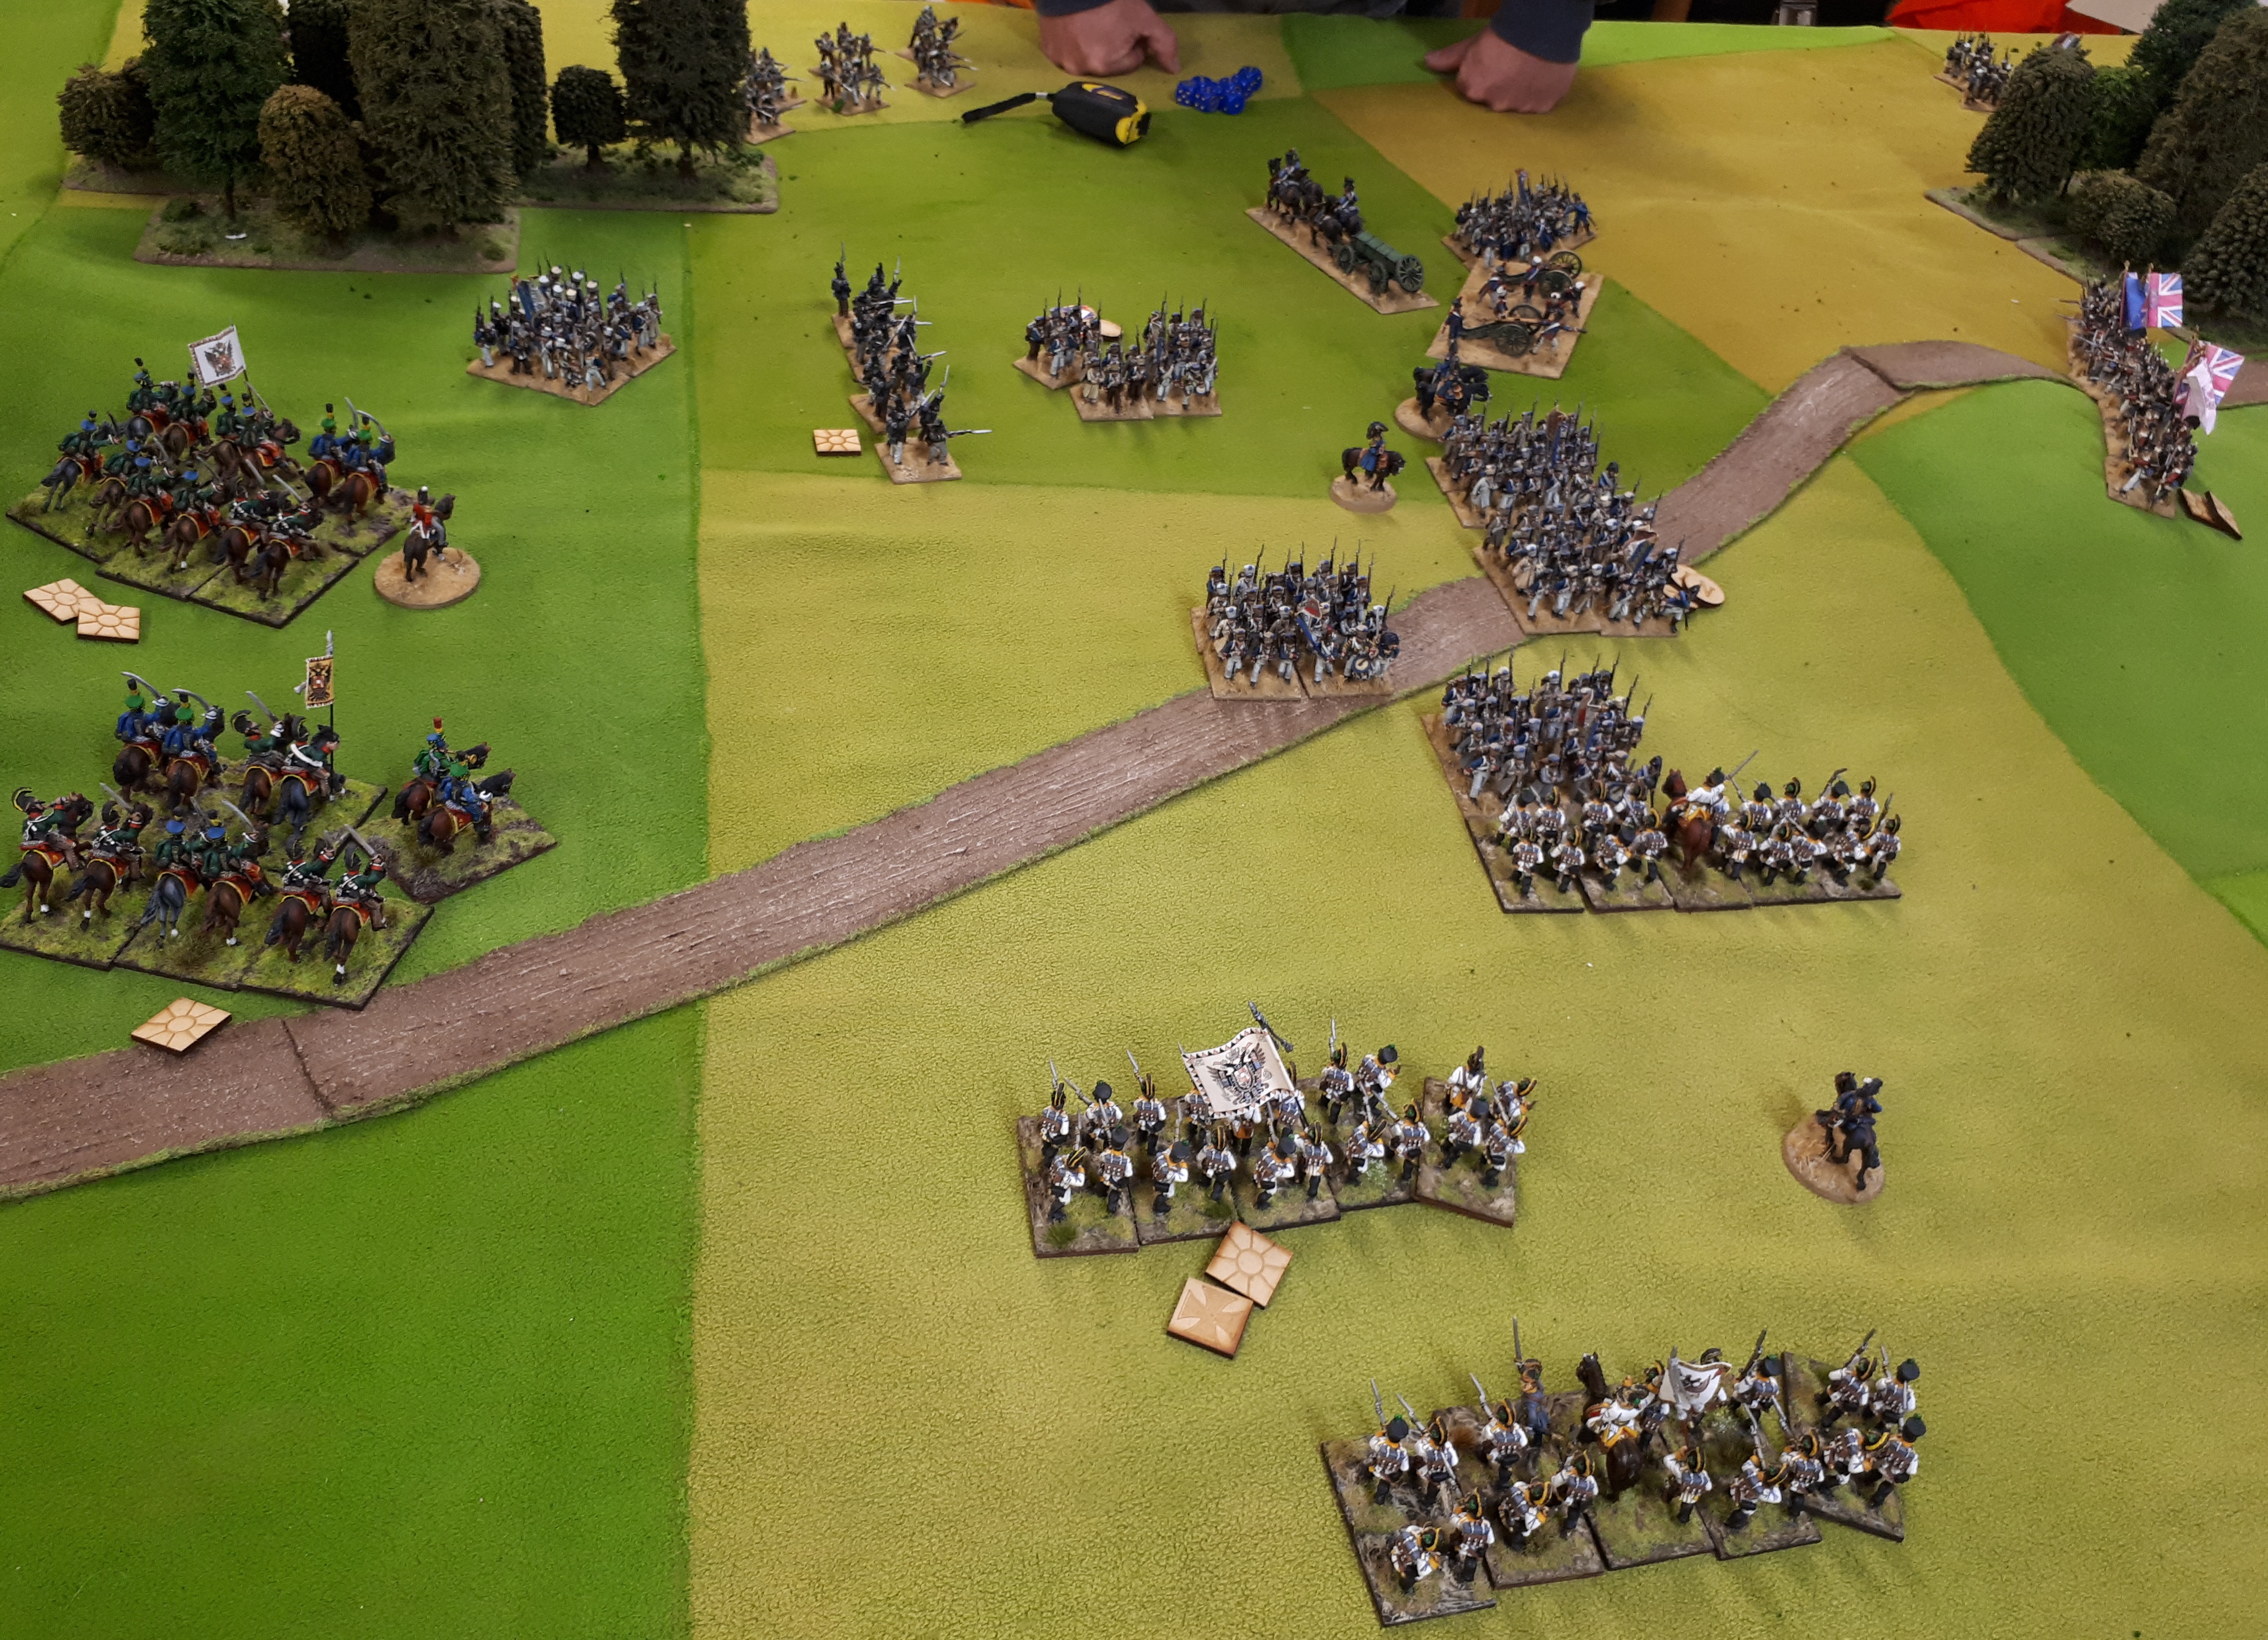
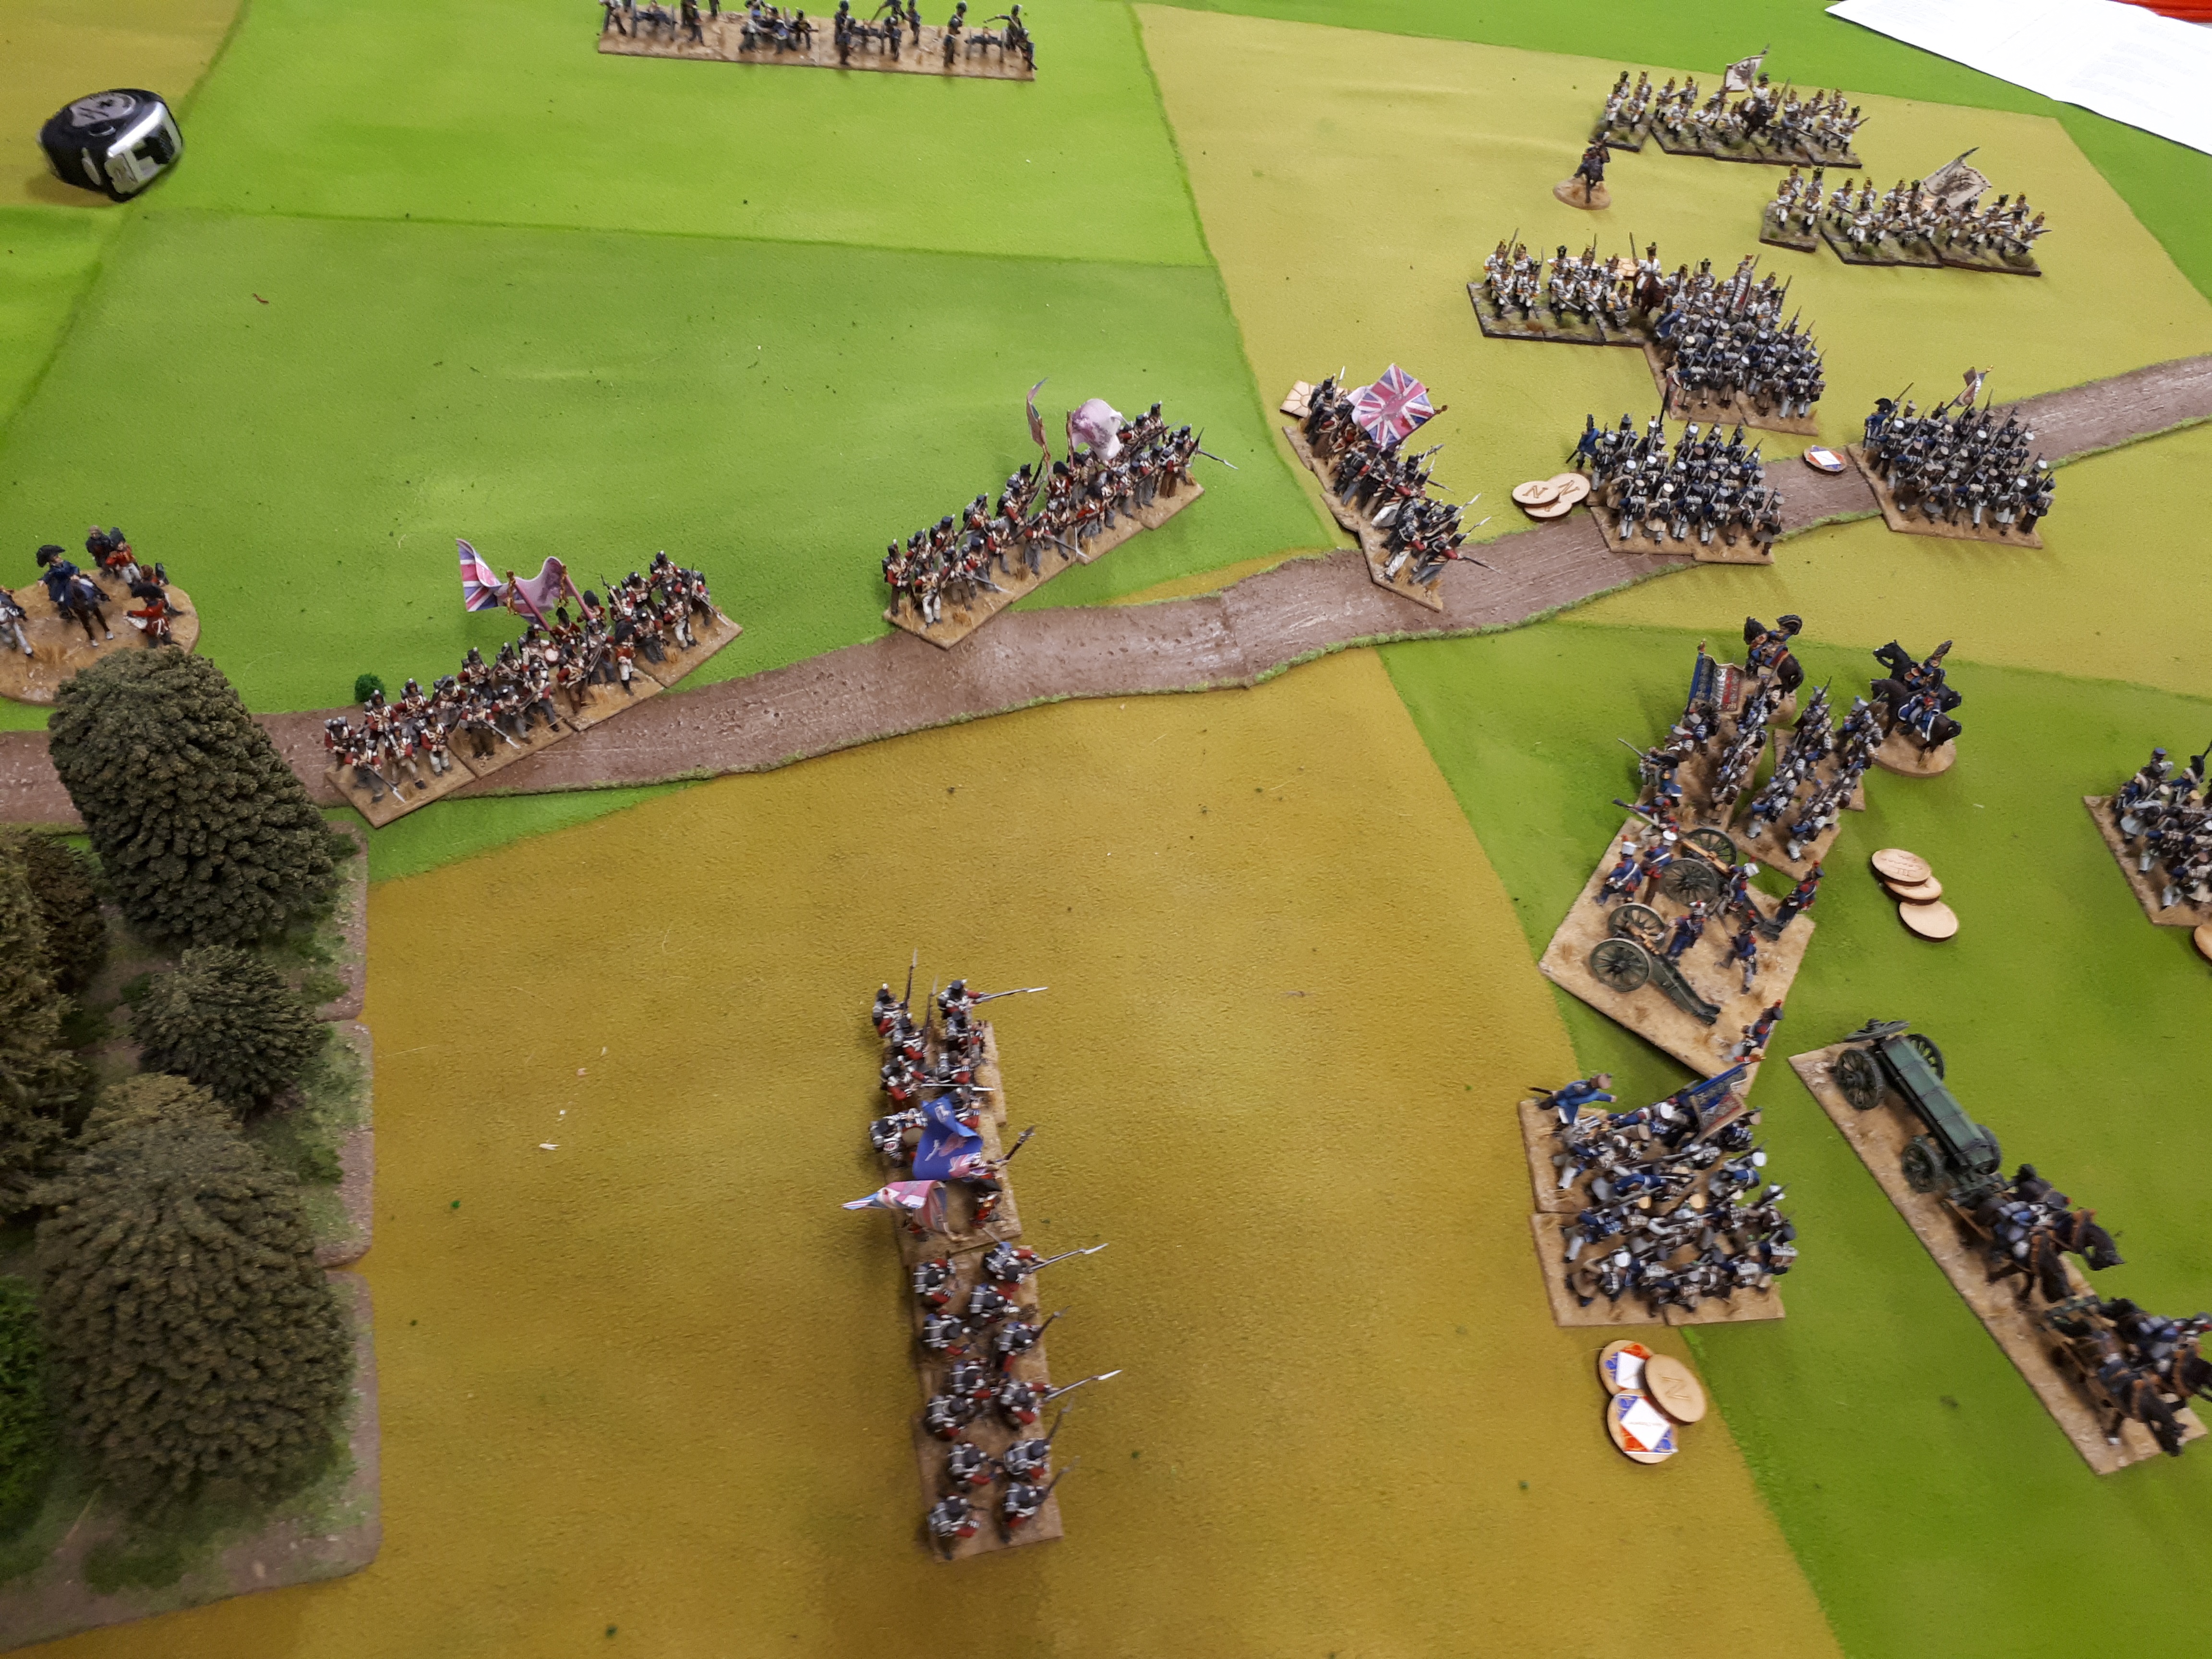
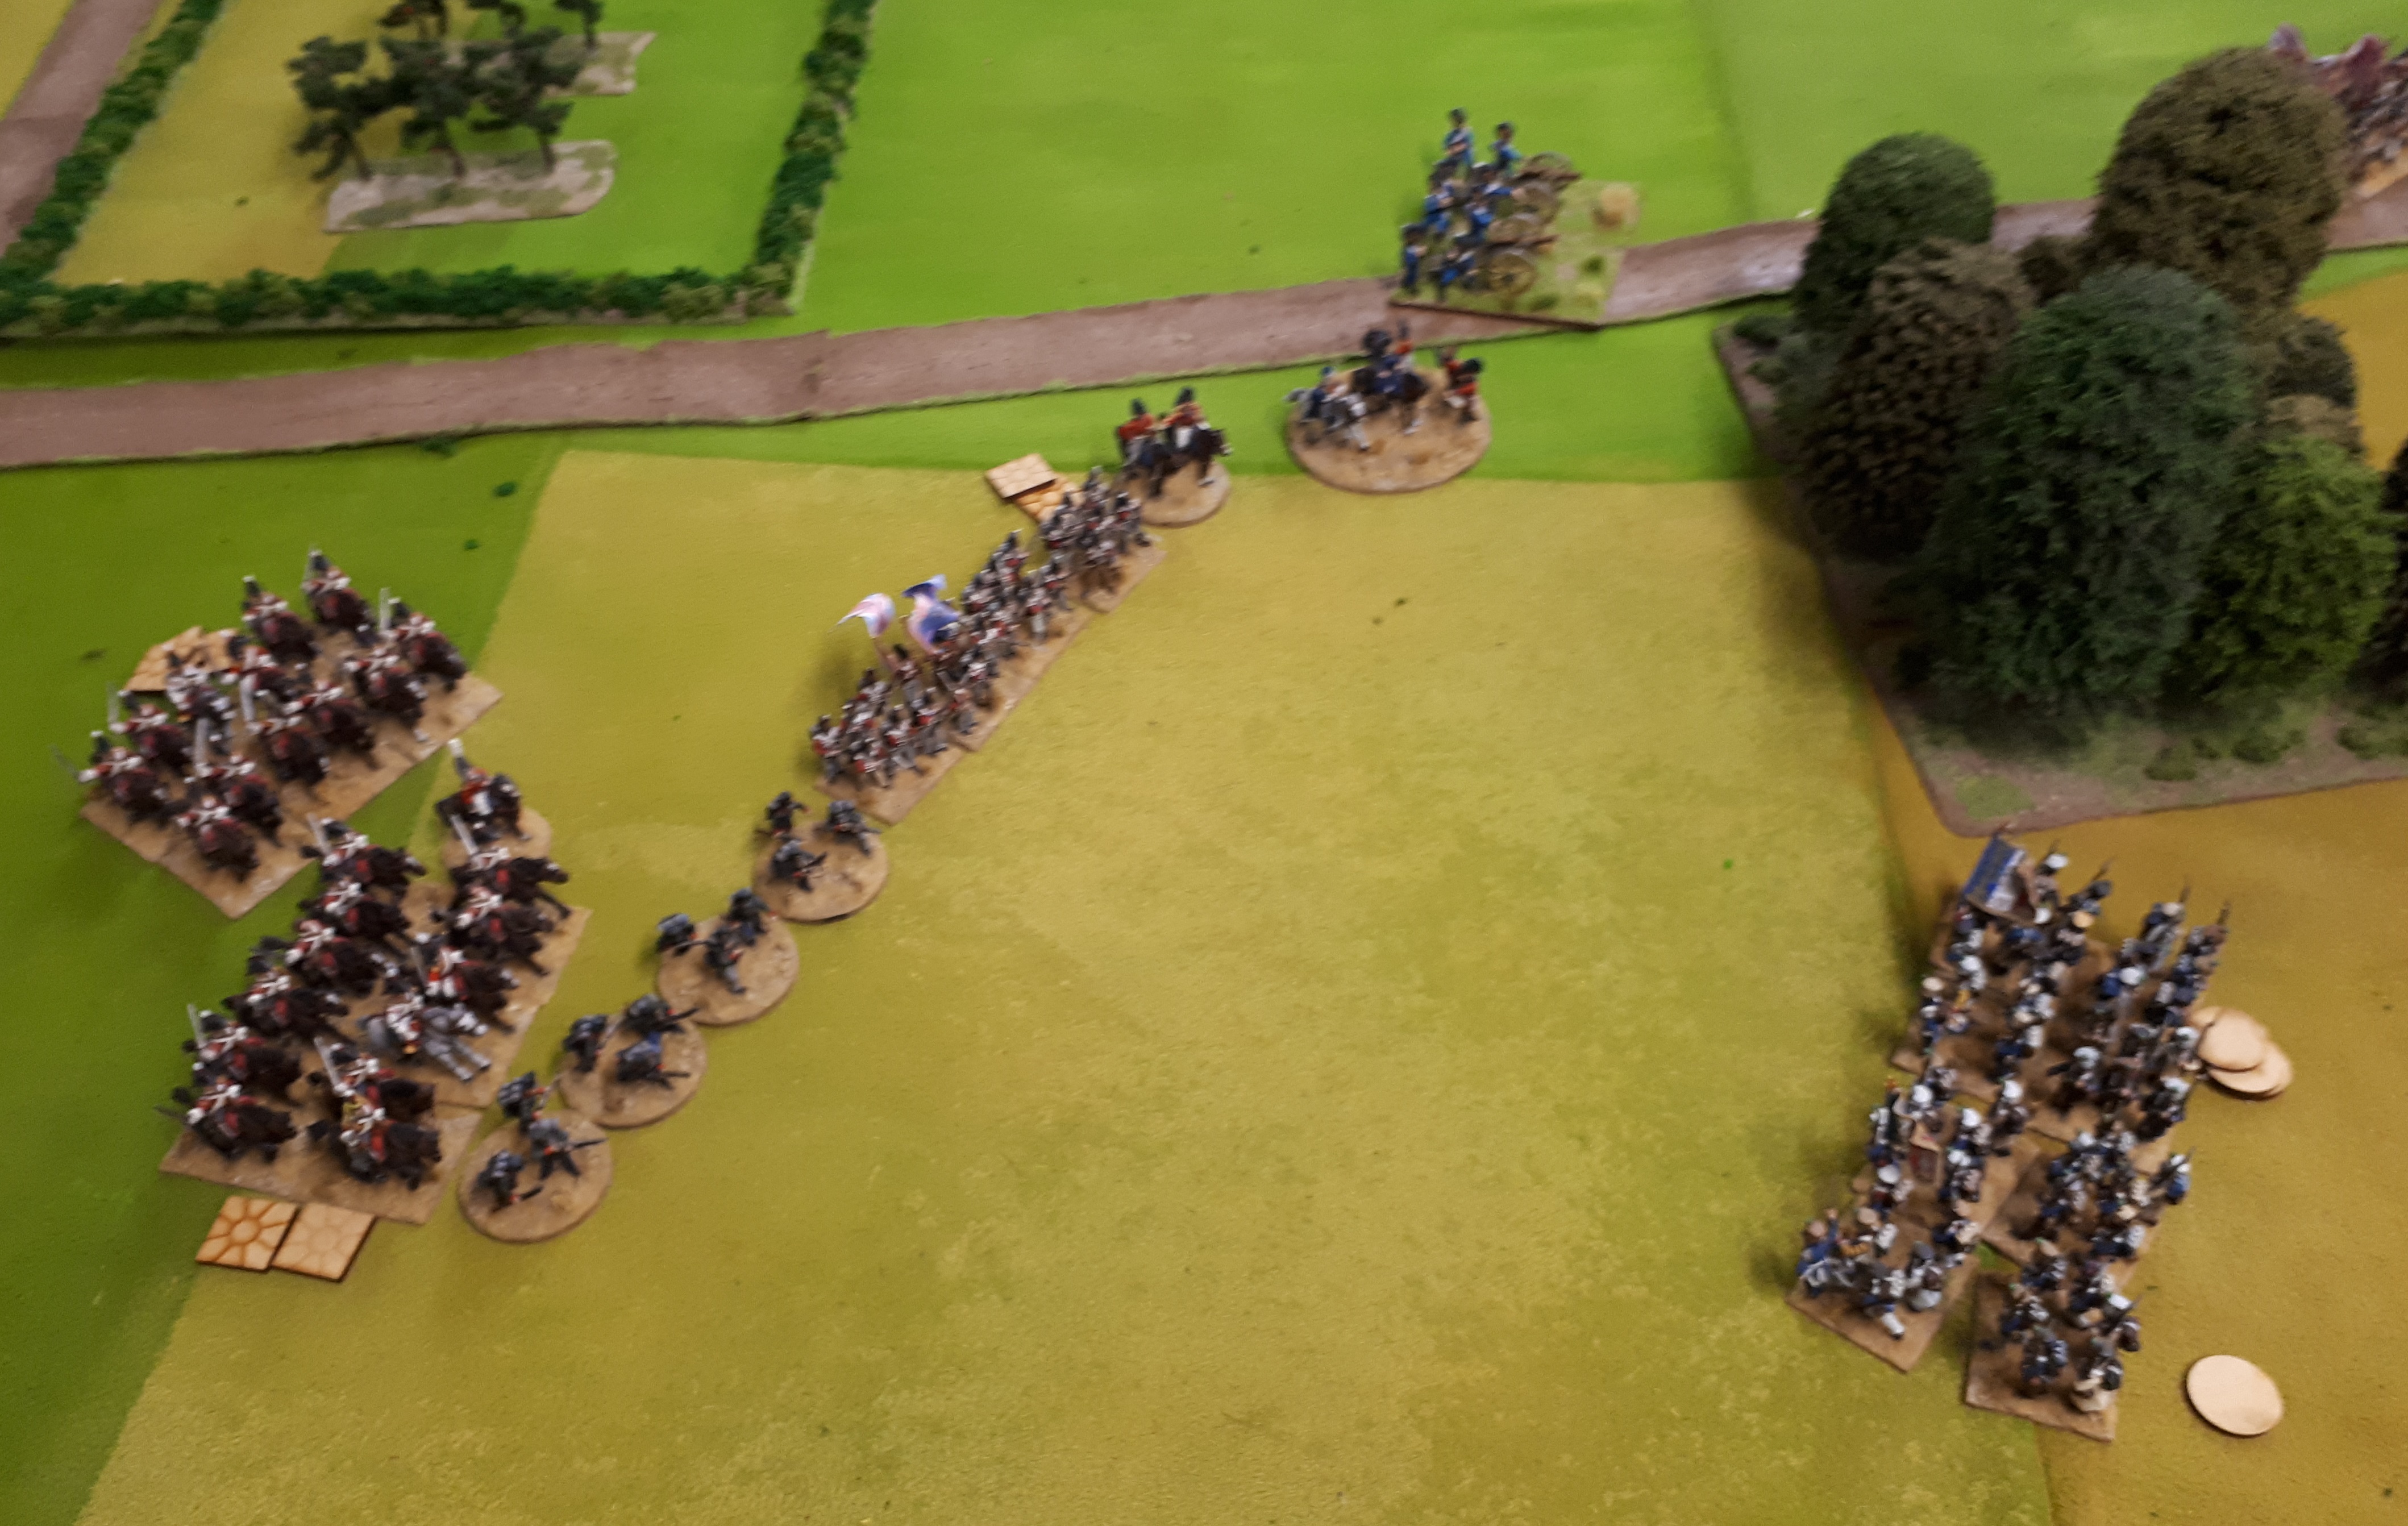
French right where Hanoverian light cavalry are disordered in front of a French square and battery. Not a great position to be in. Lovely block of 4 bttns in column in the middle. Oh for a howitzer battery. And that’s the British artillery in the top left of picture!

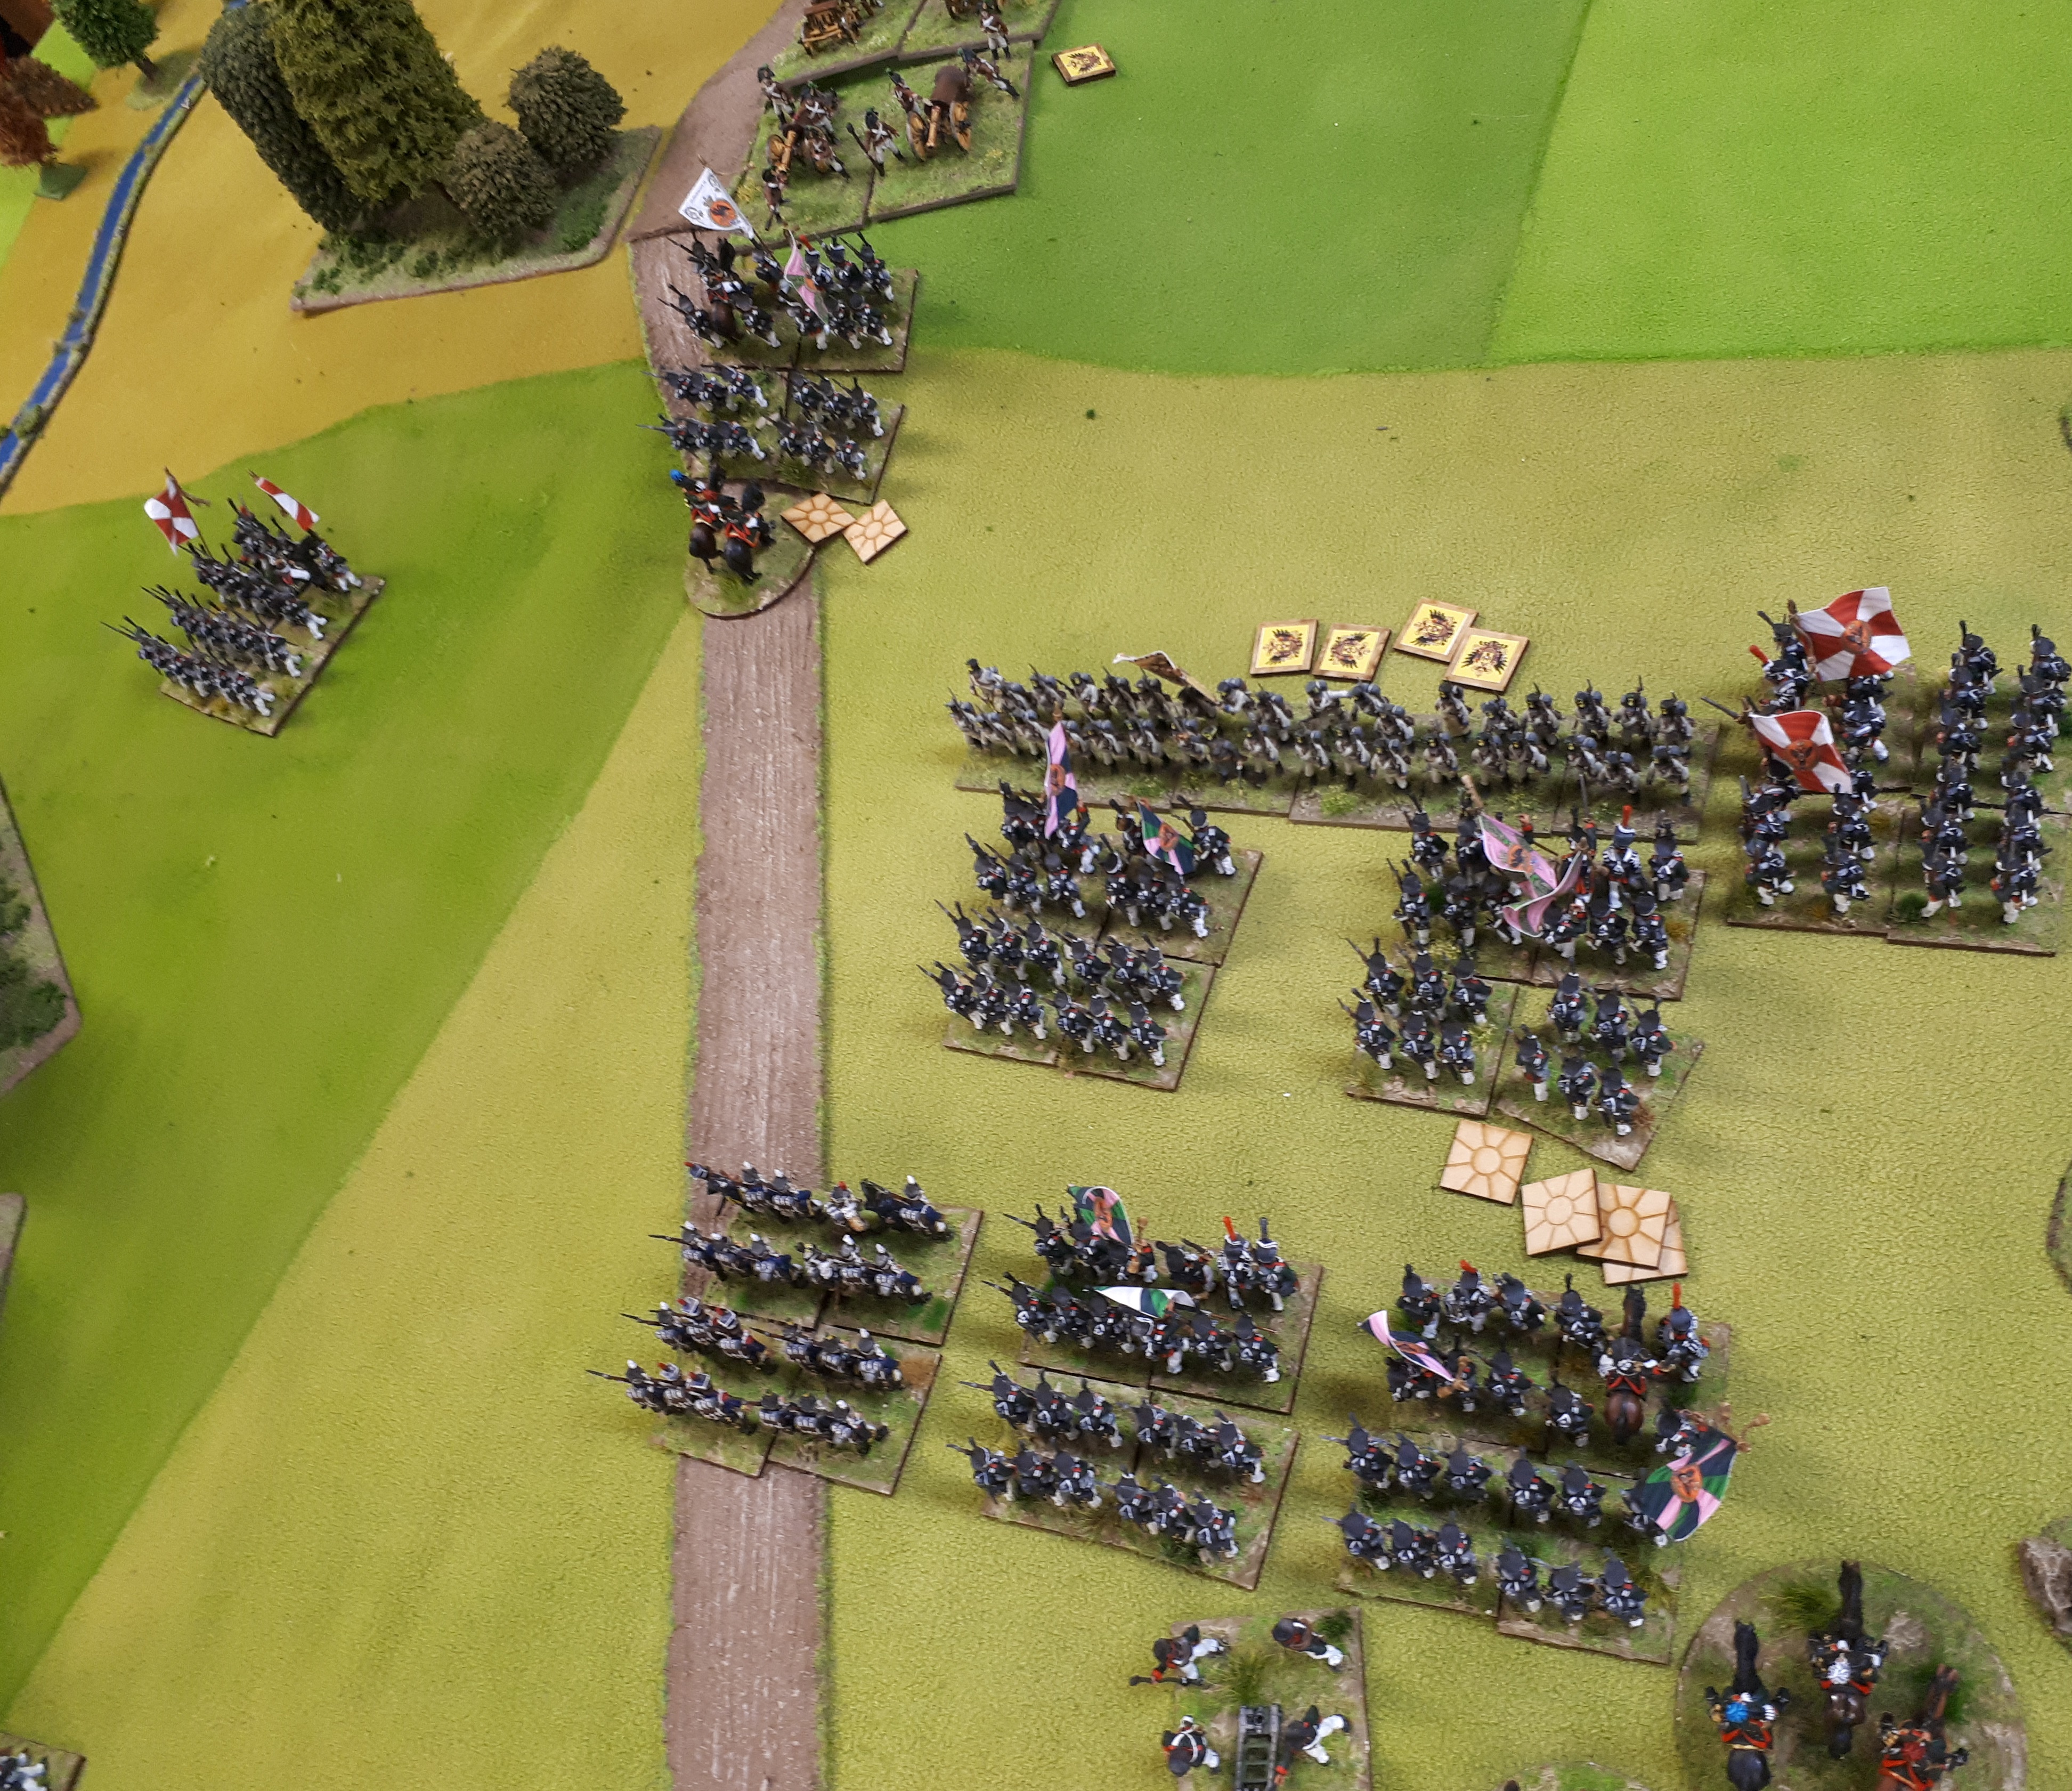
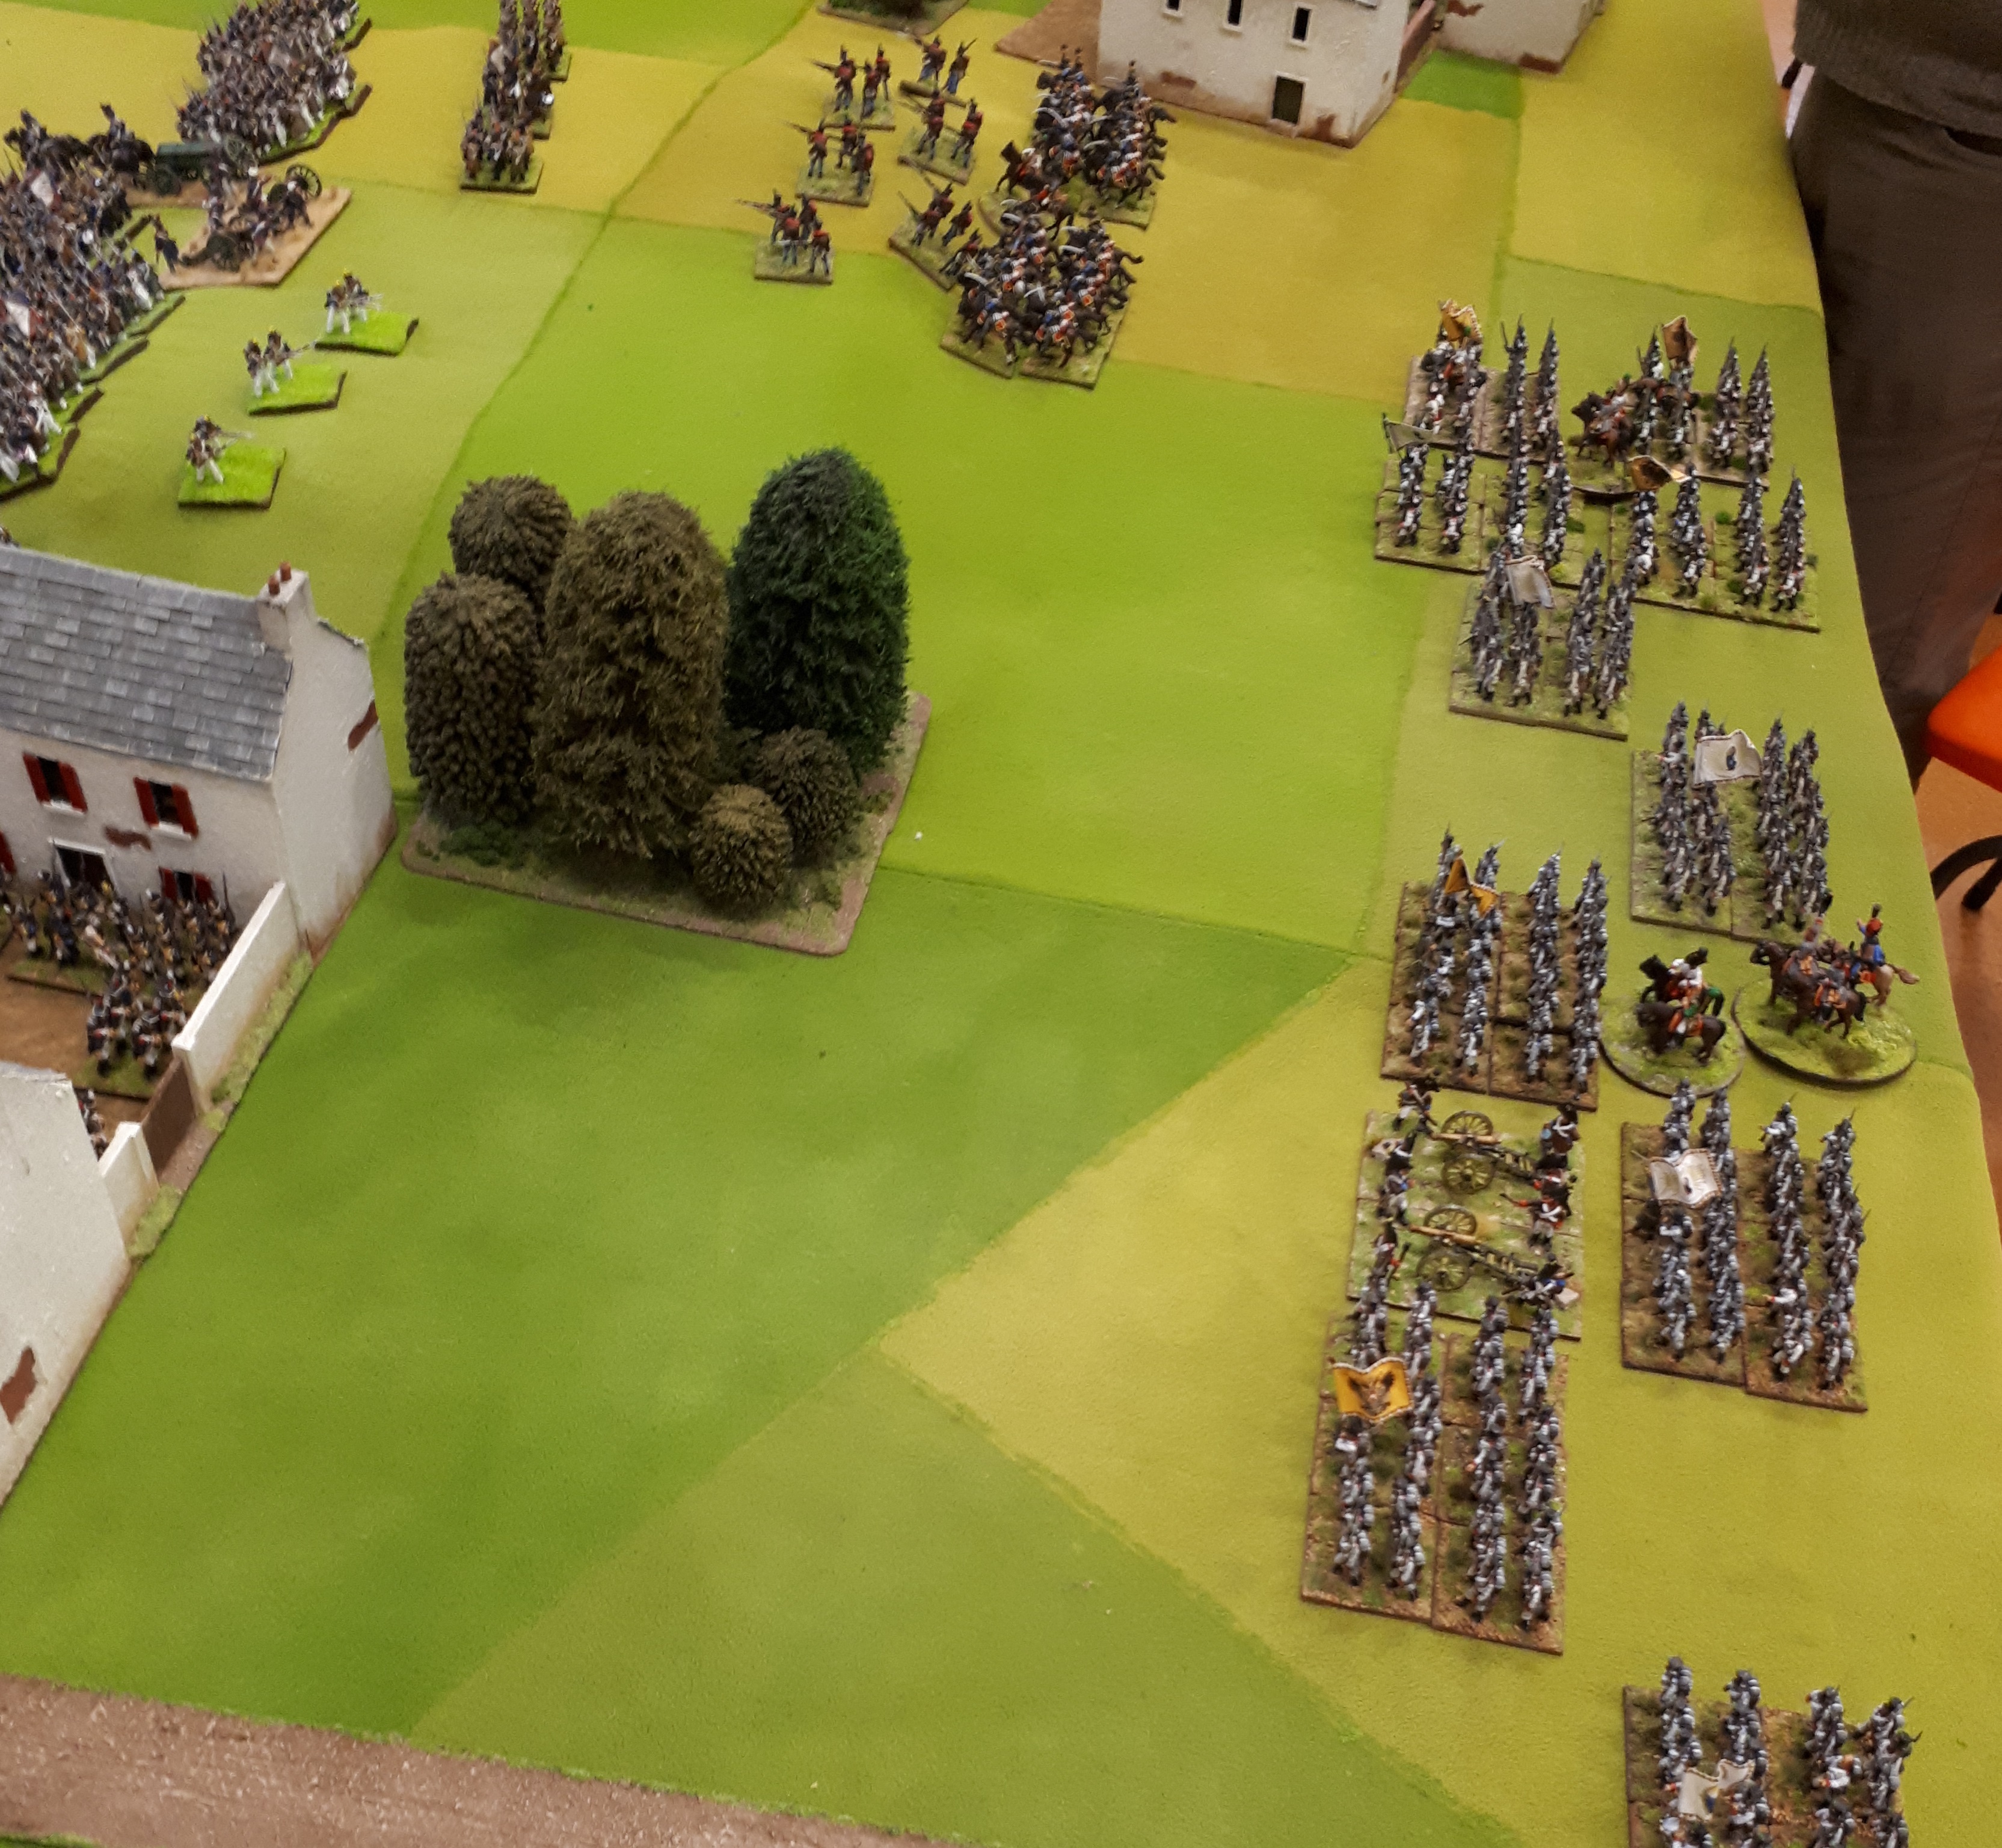
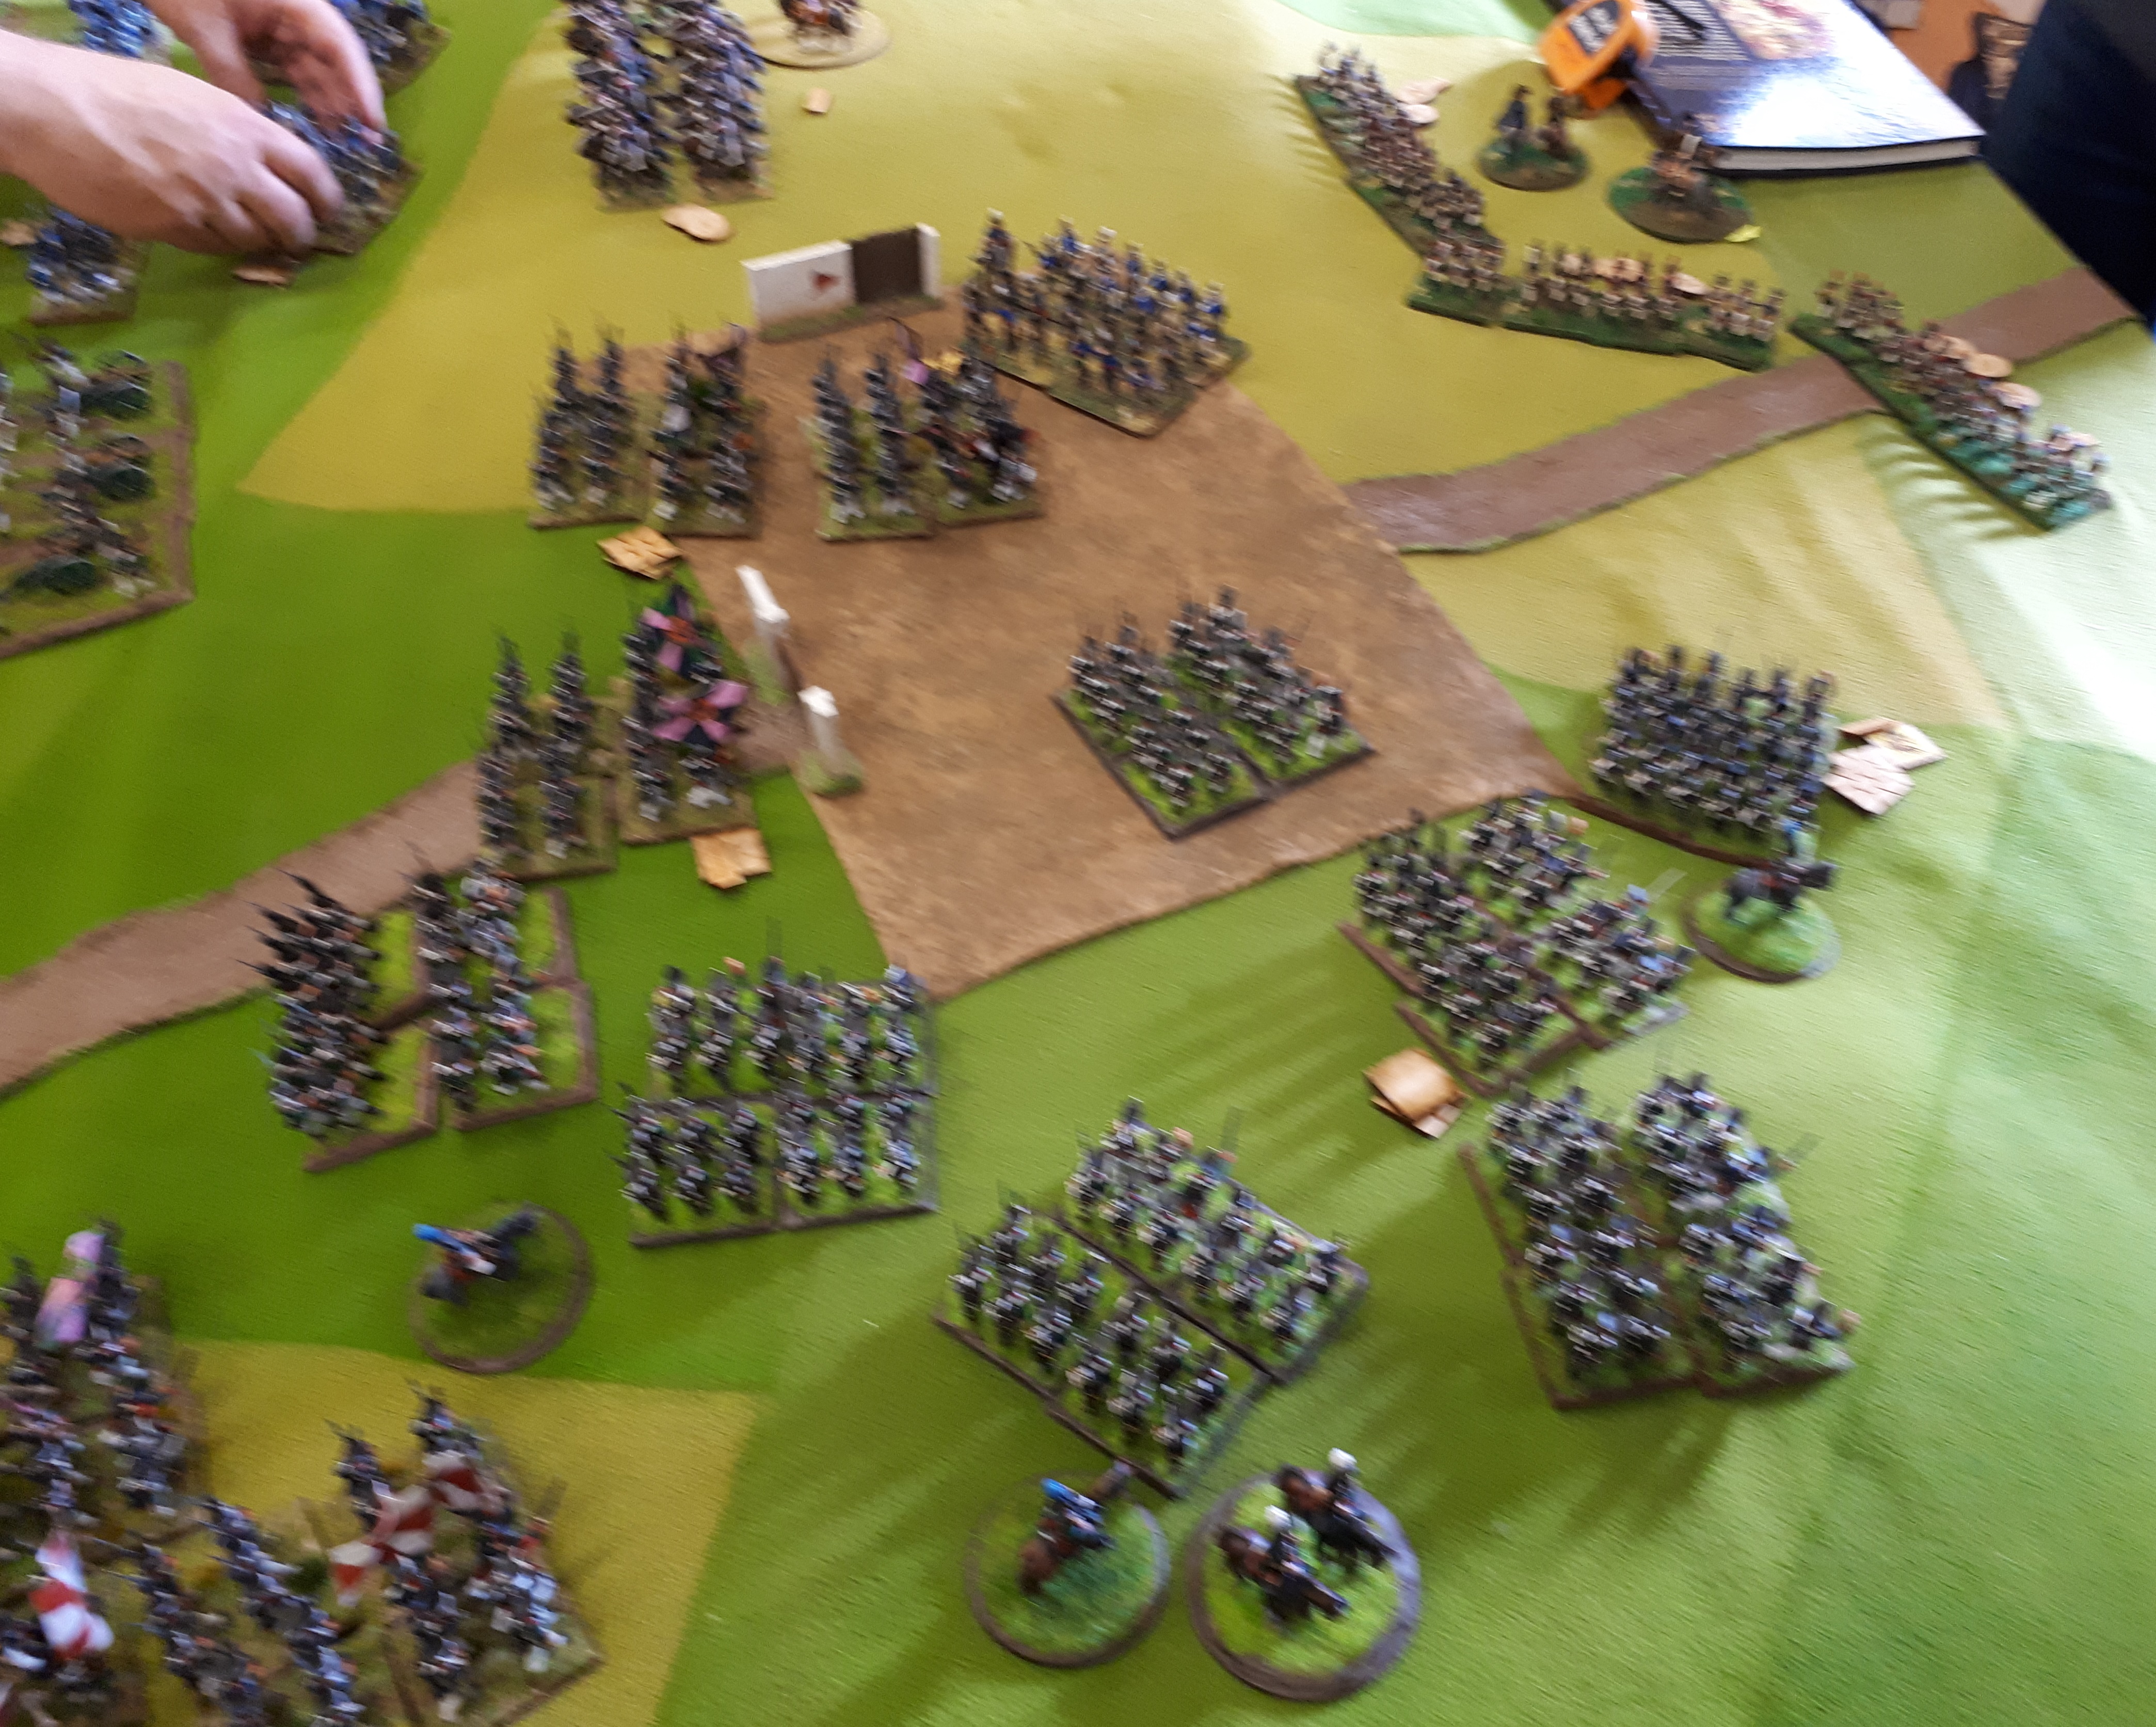
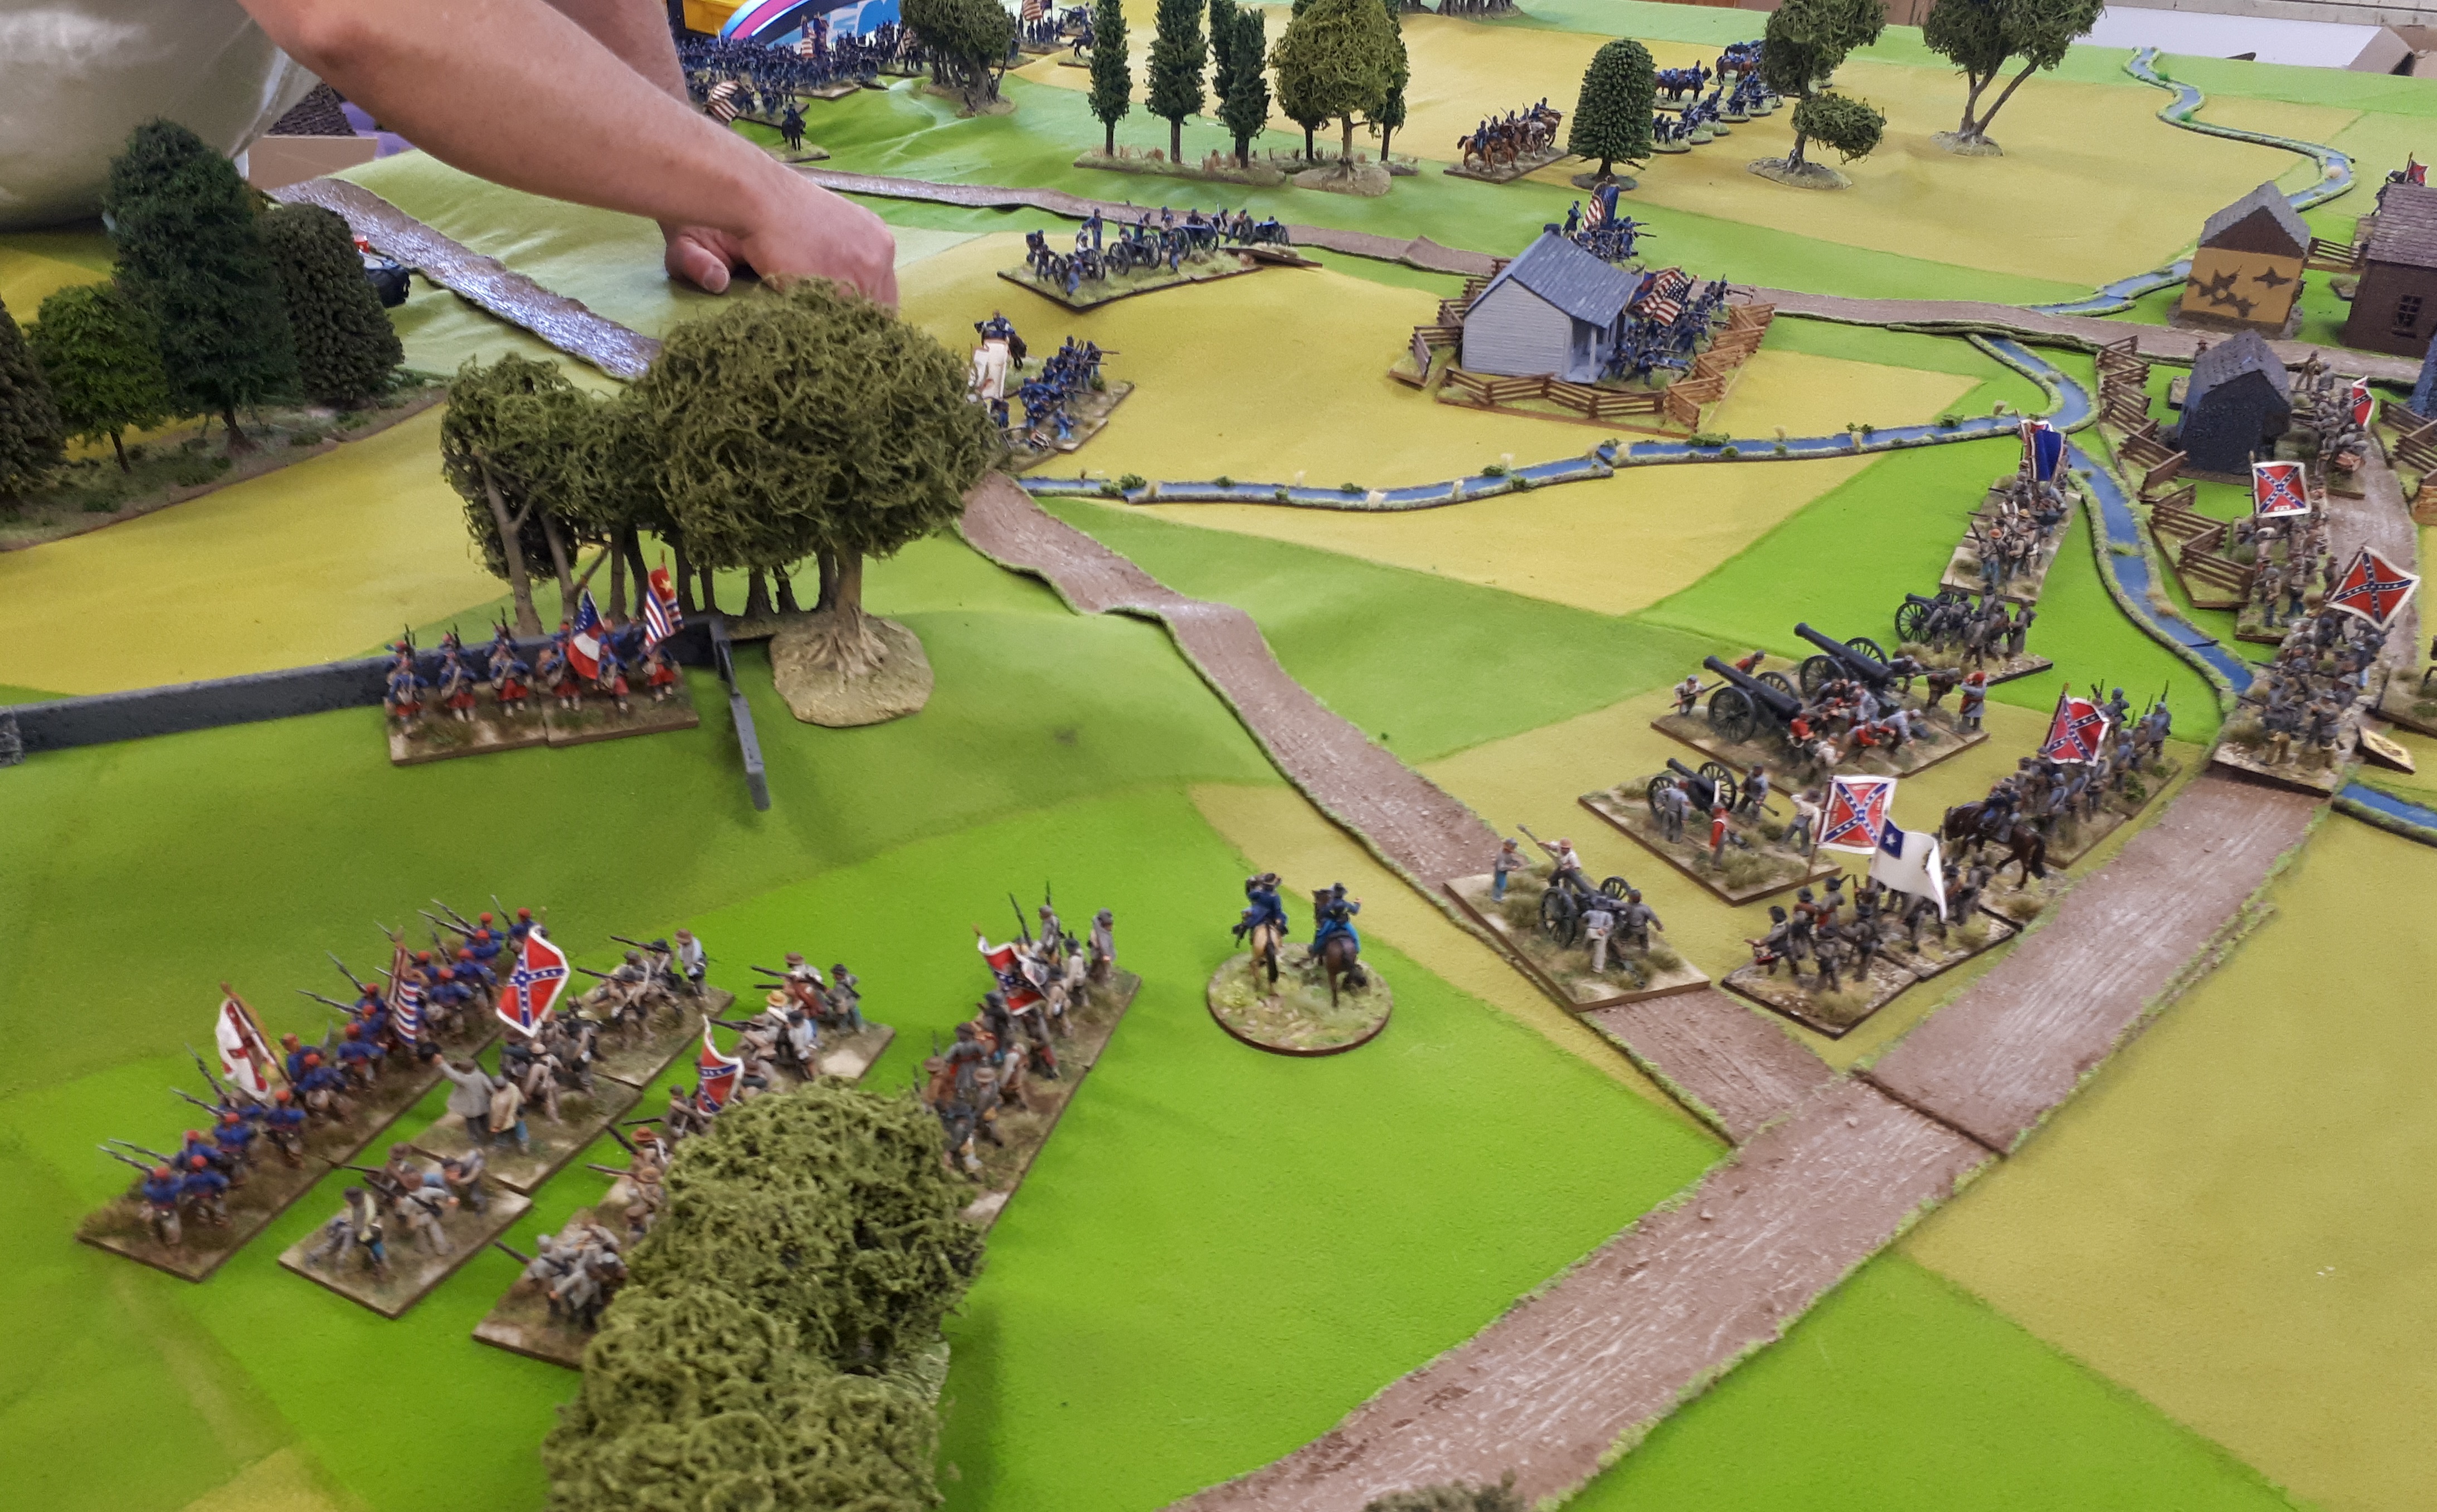
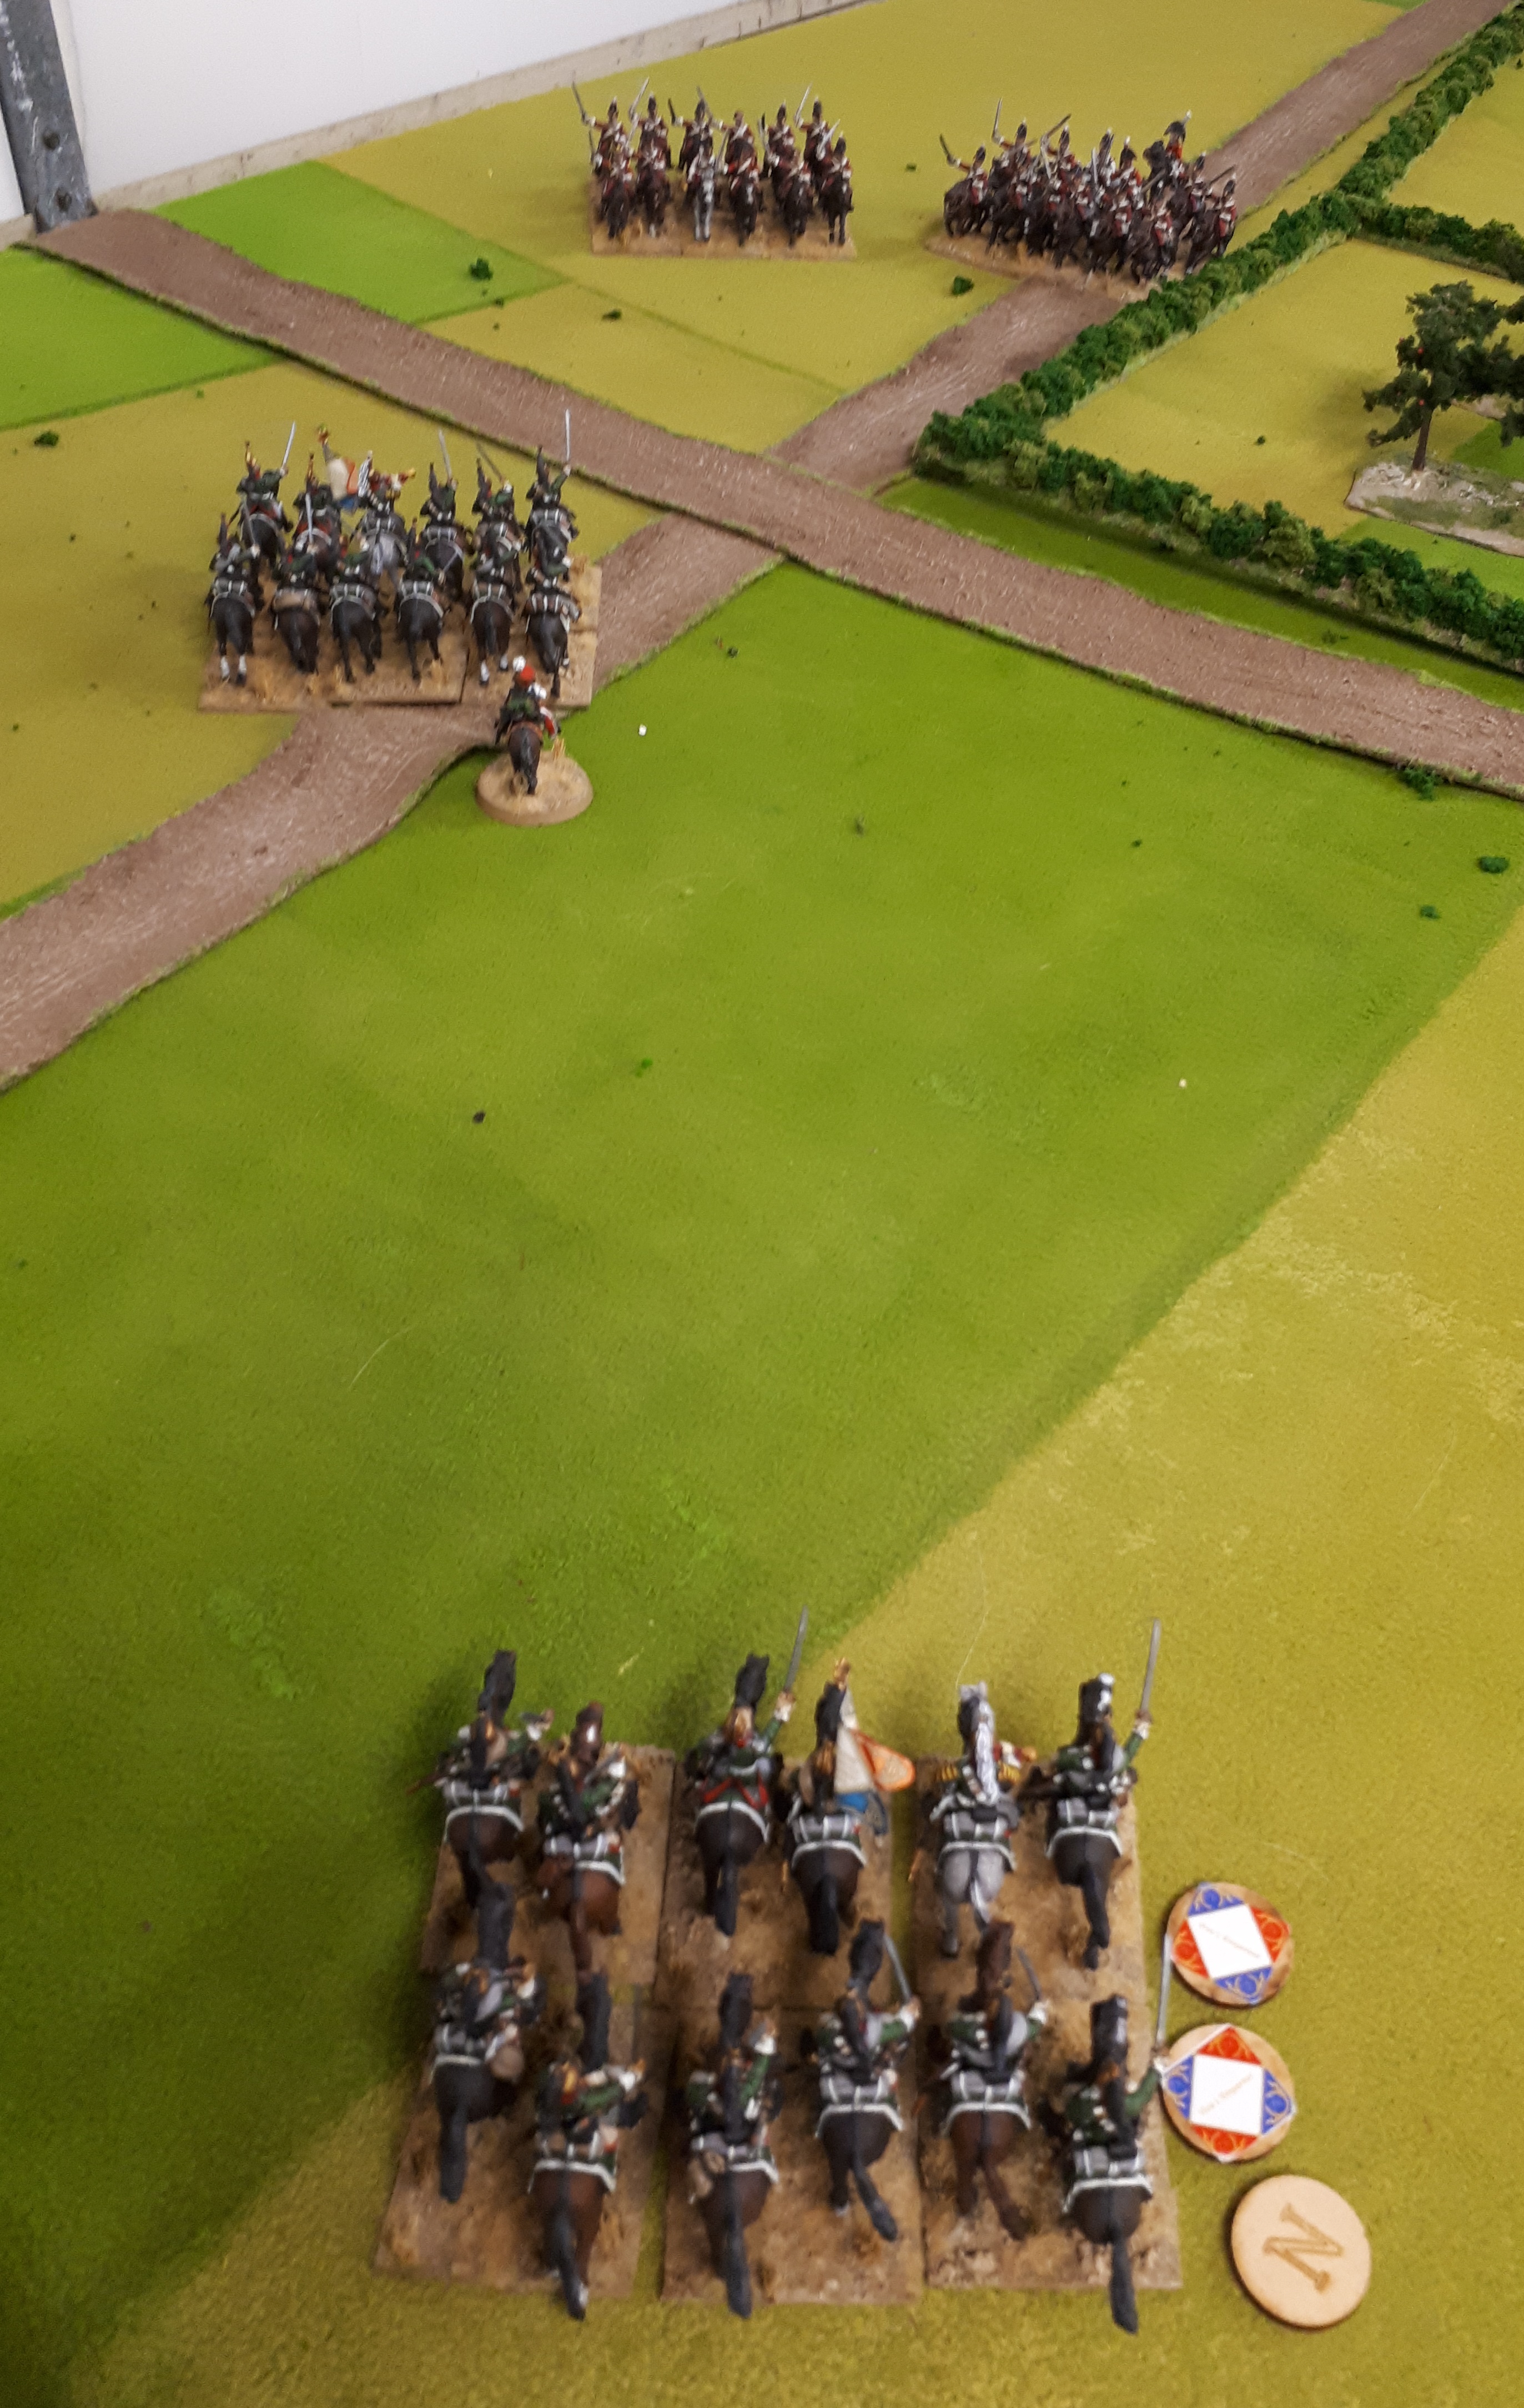
British left moves up whilst on the right British start to swing left now any threat from the departed French Dragoons is now gone. The British foot artillery is still on the start position…it didn’t move from it.

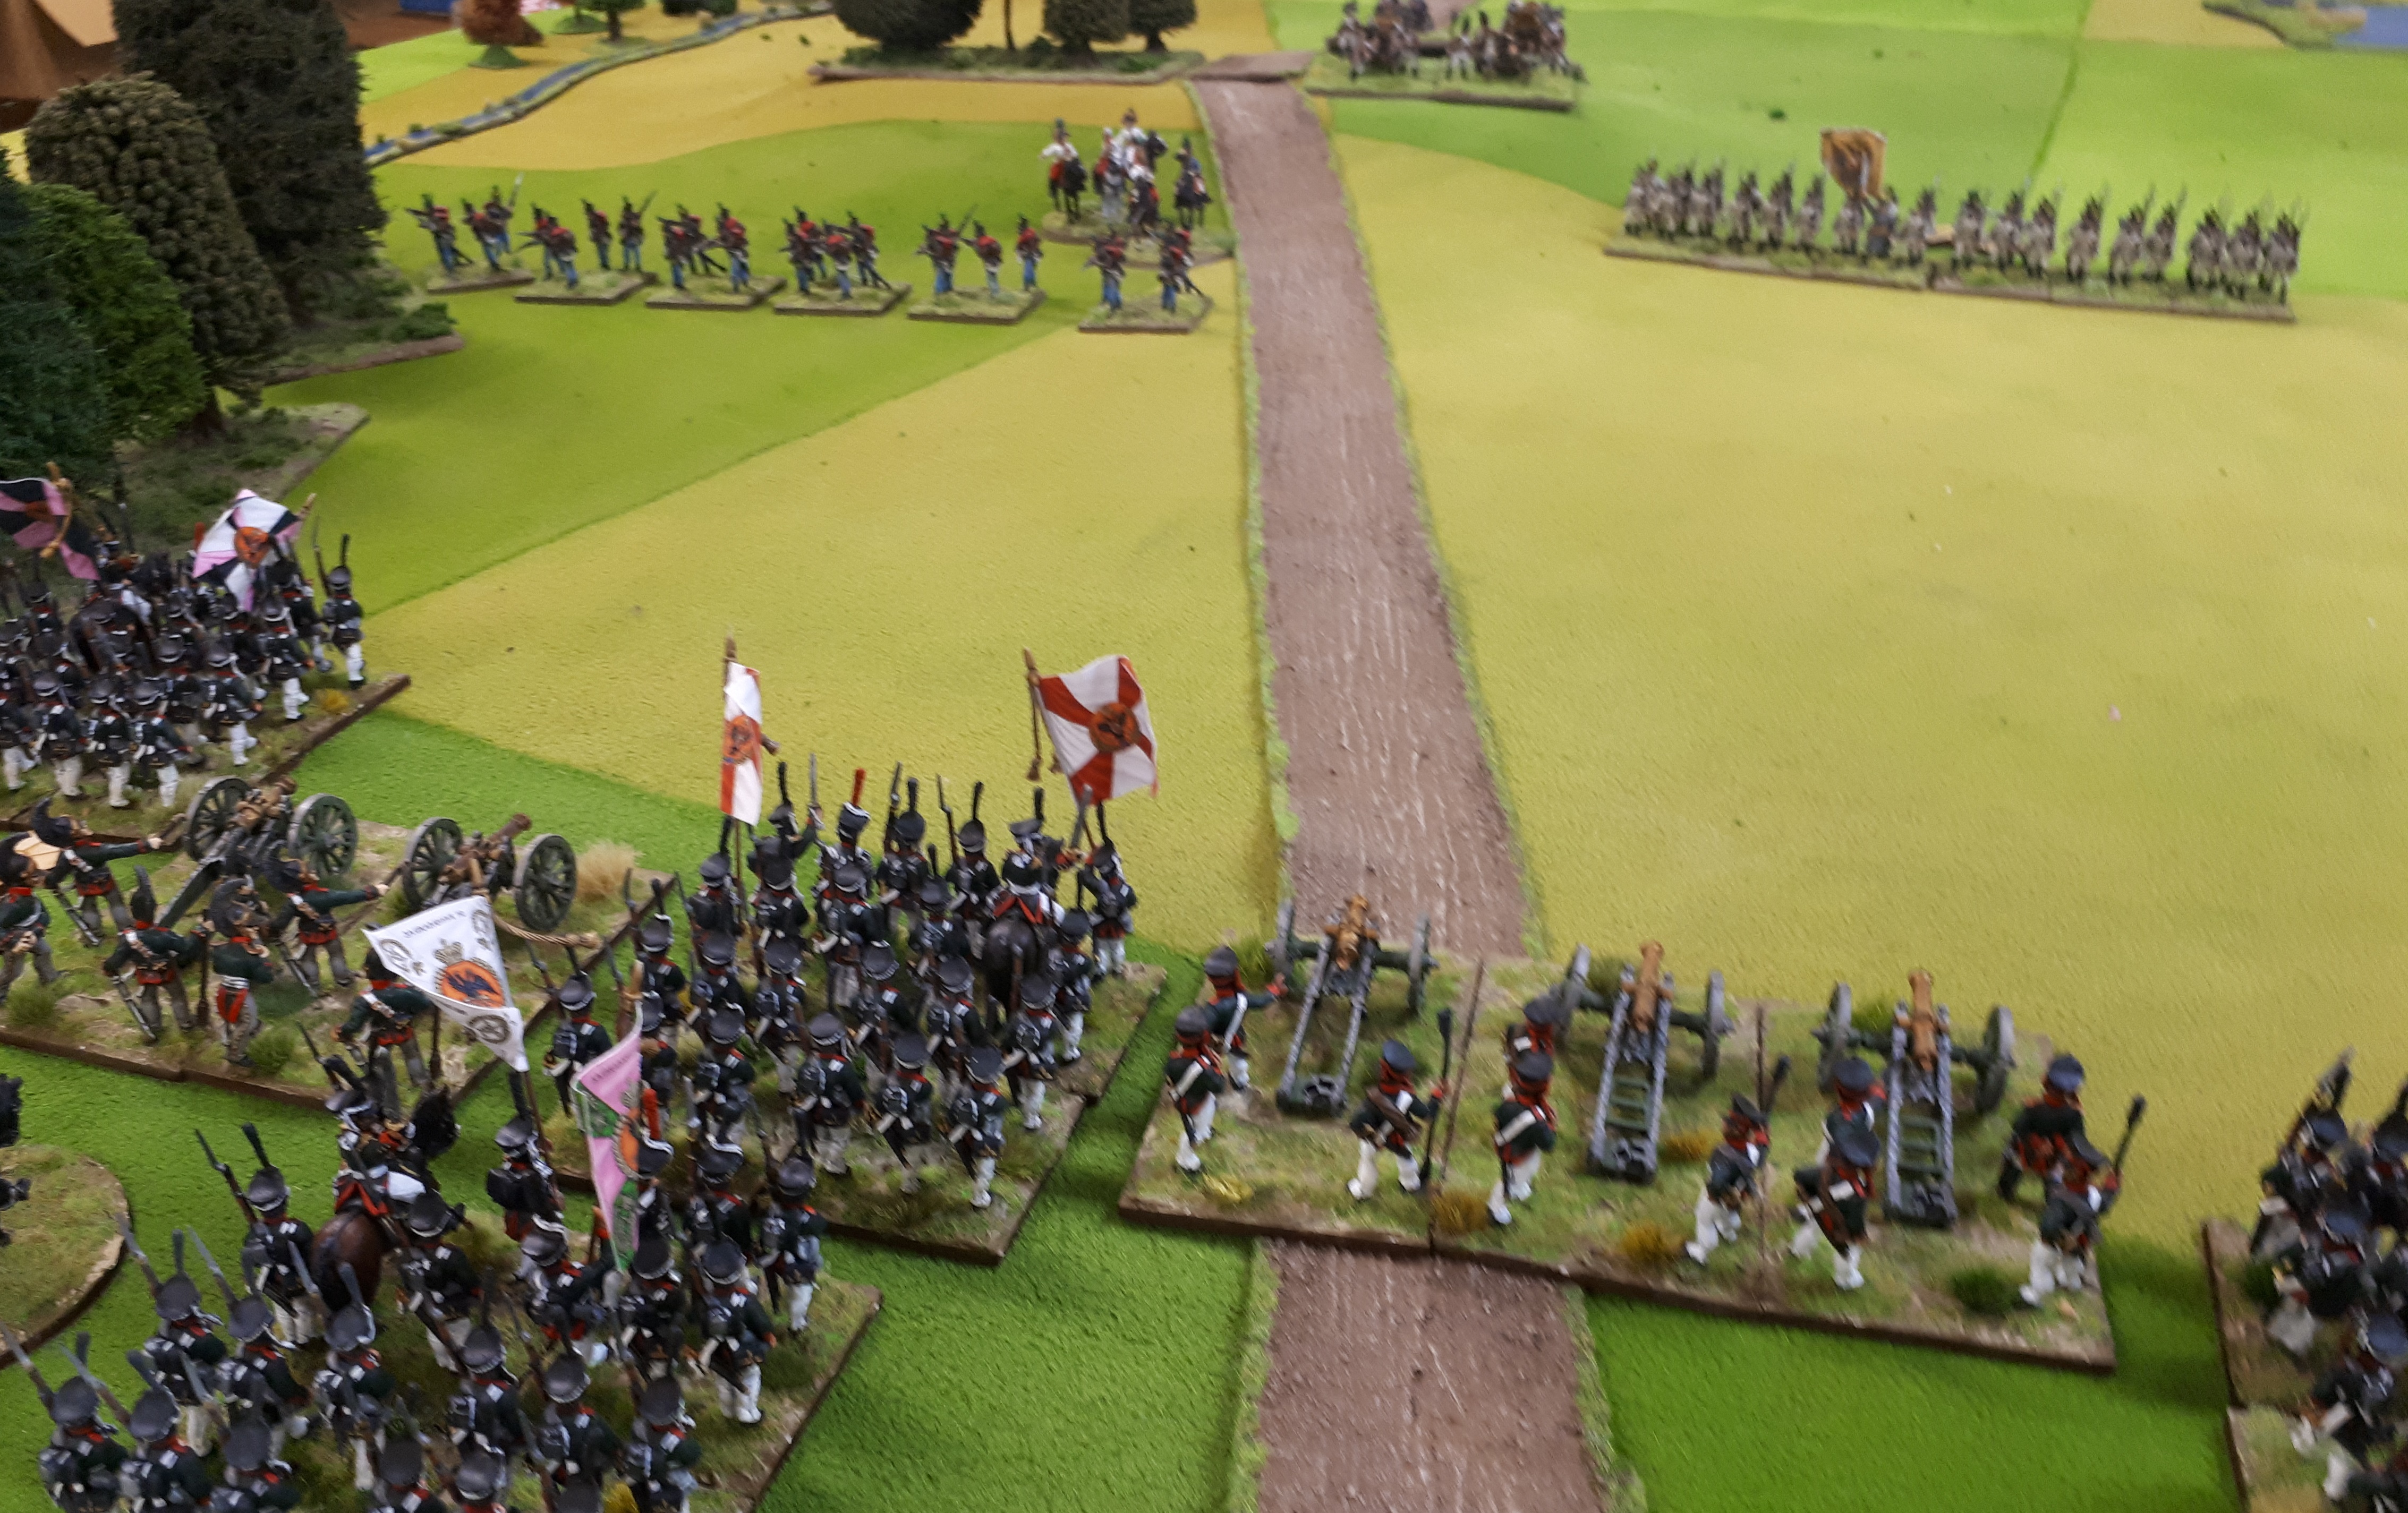
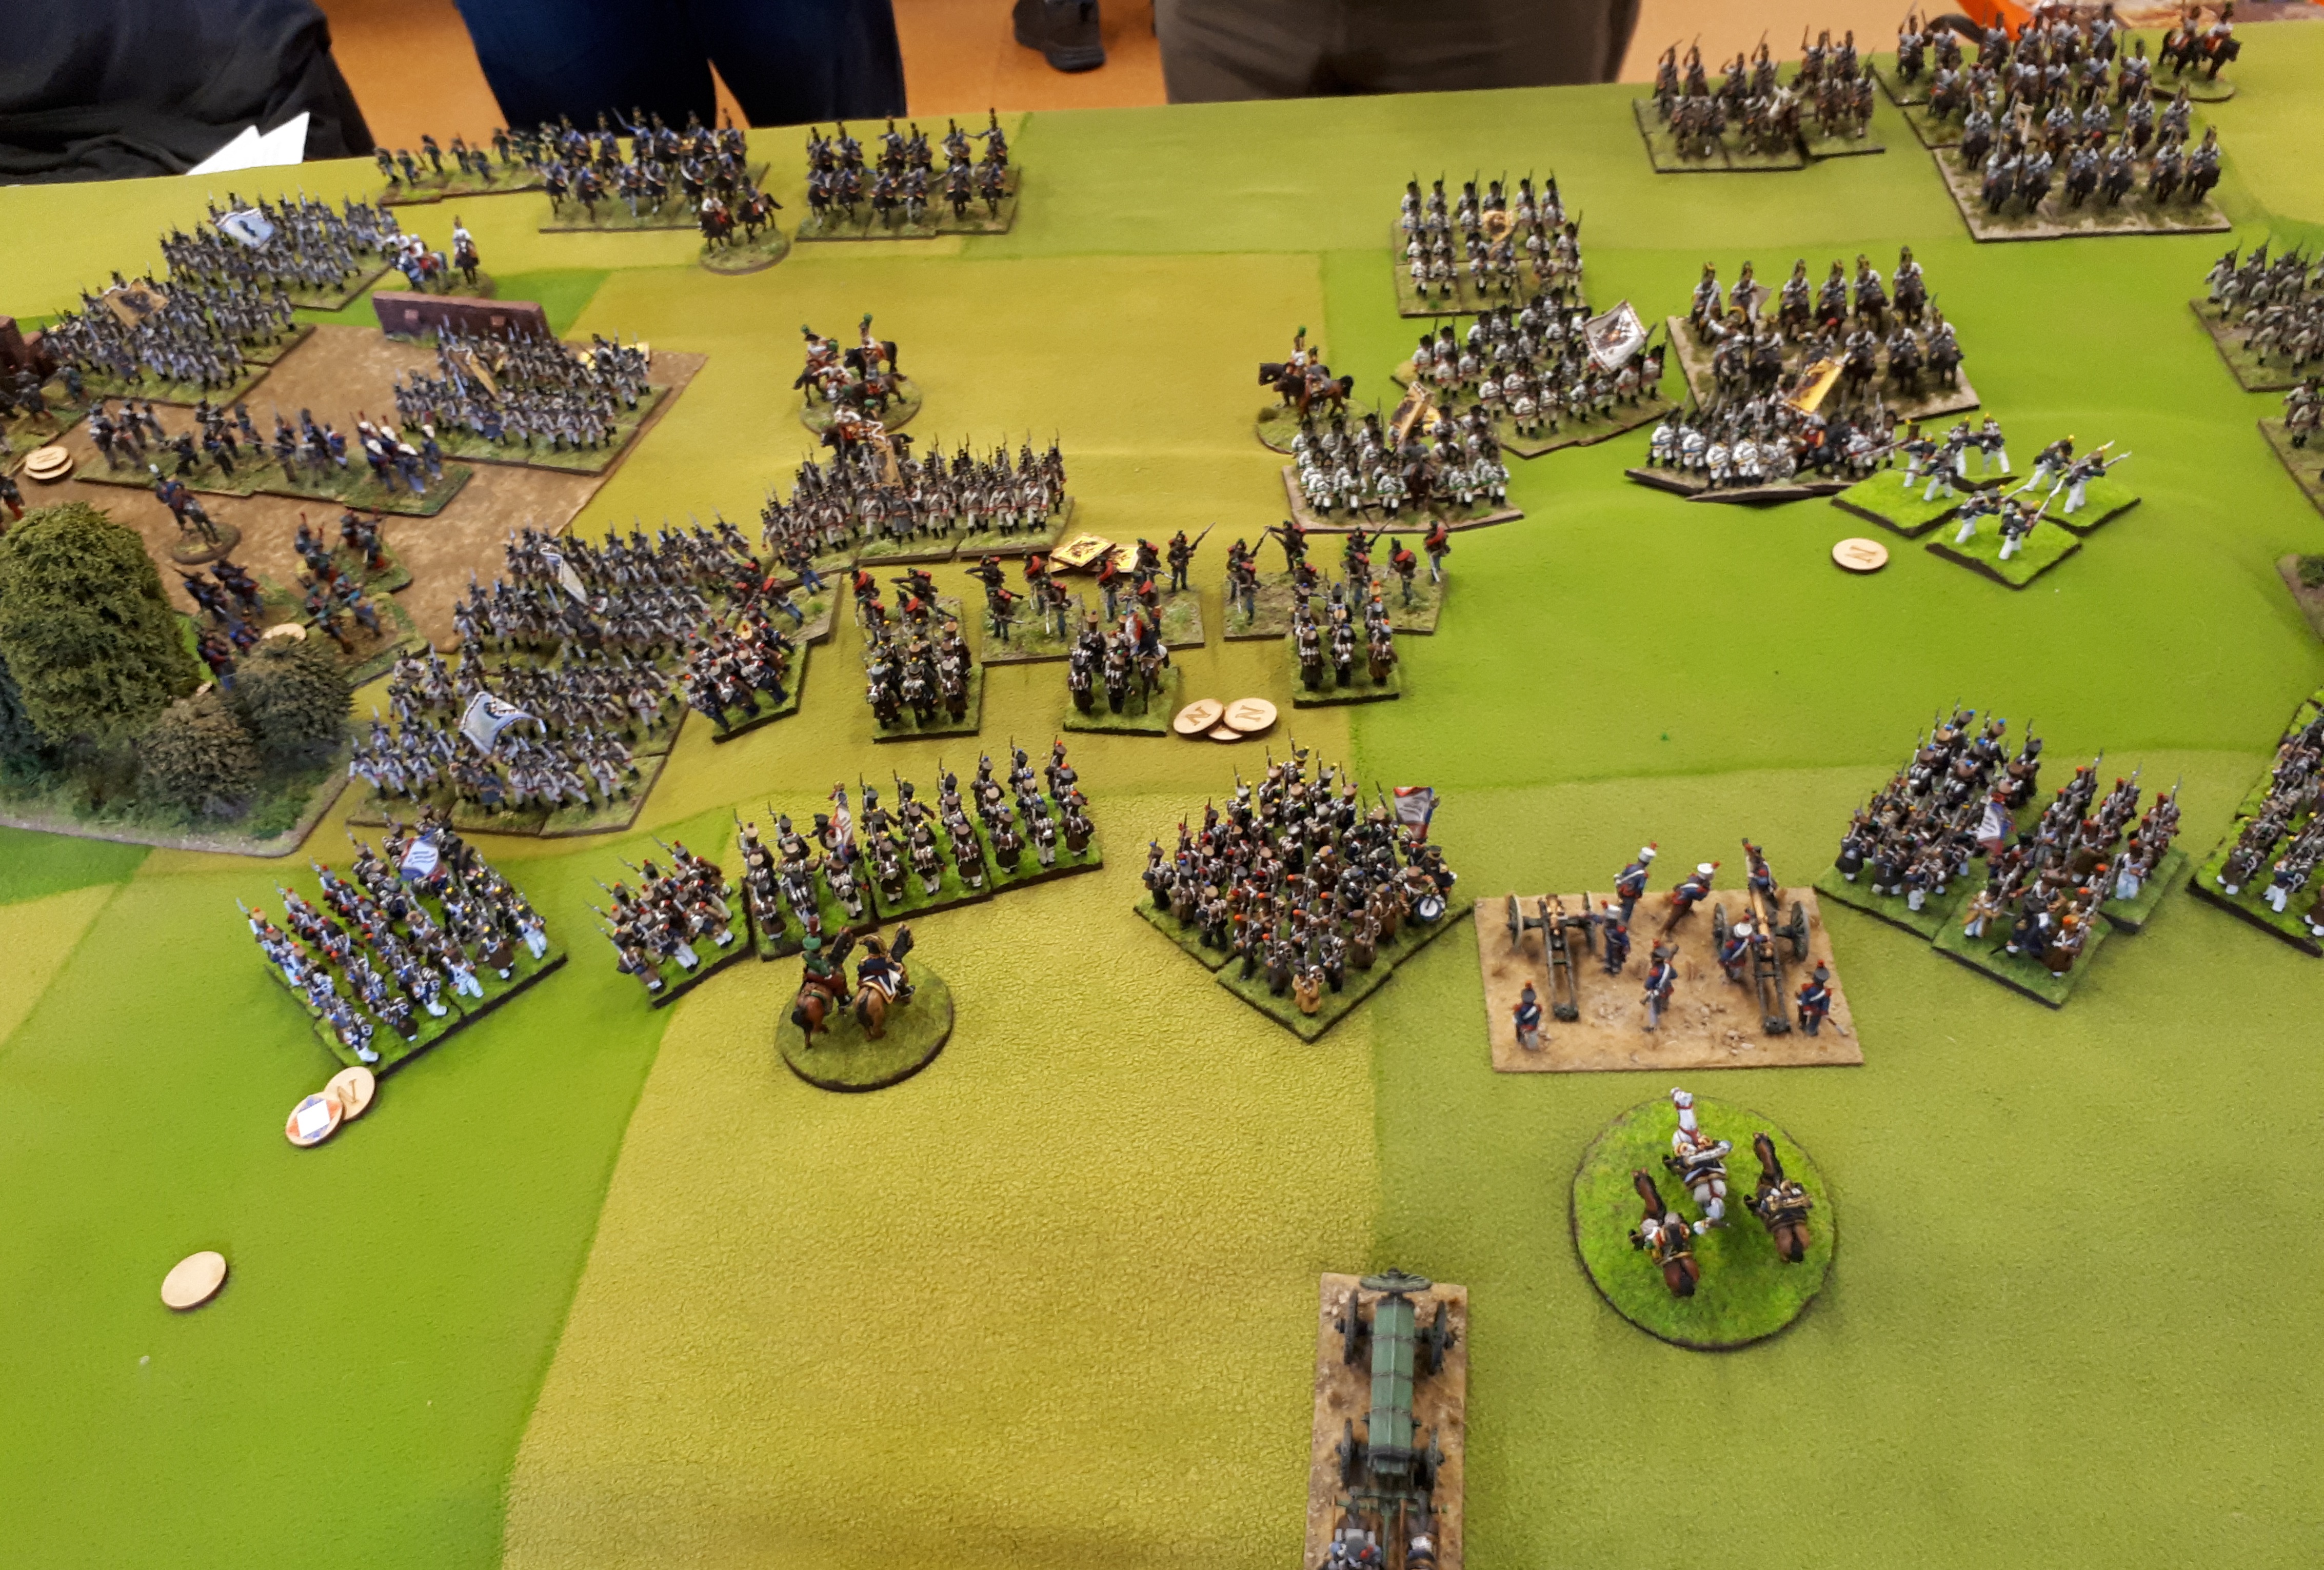
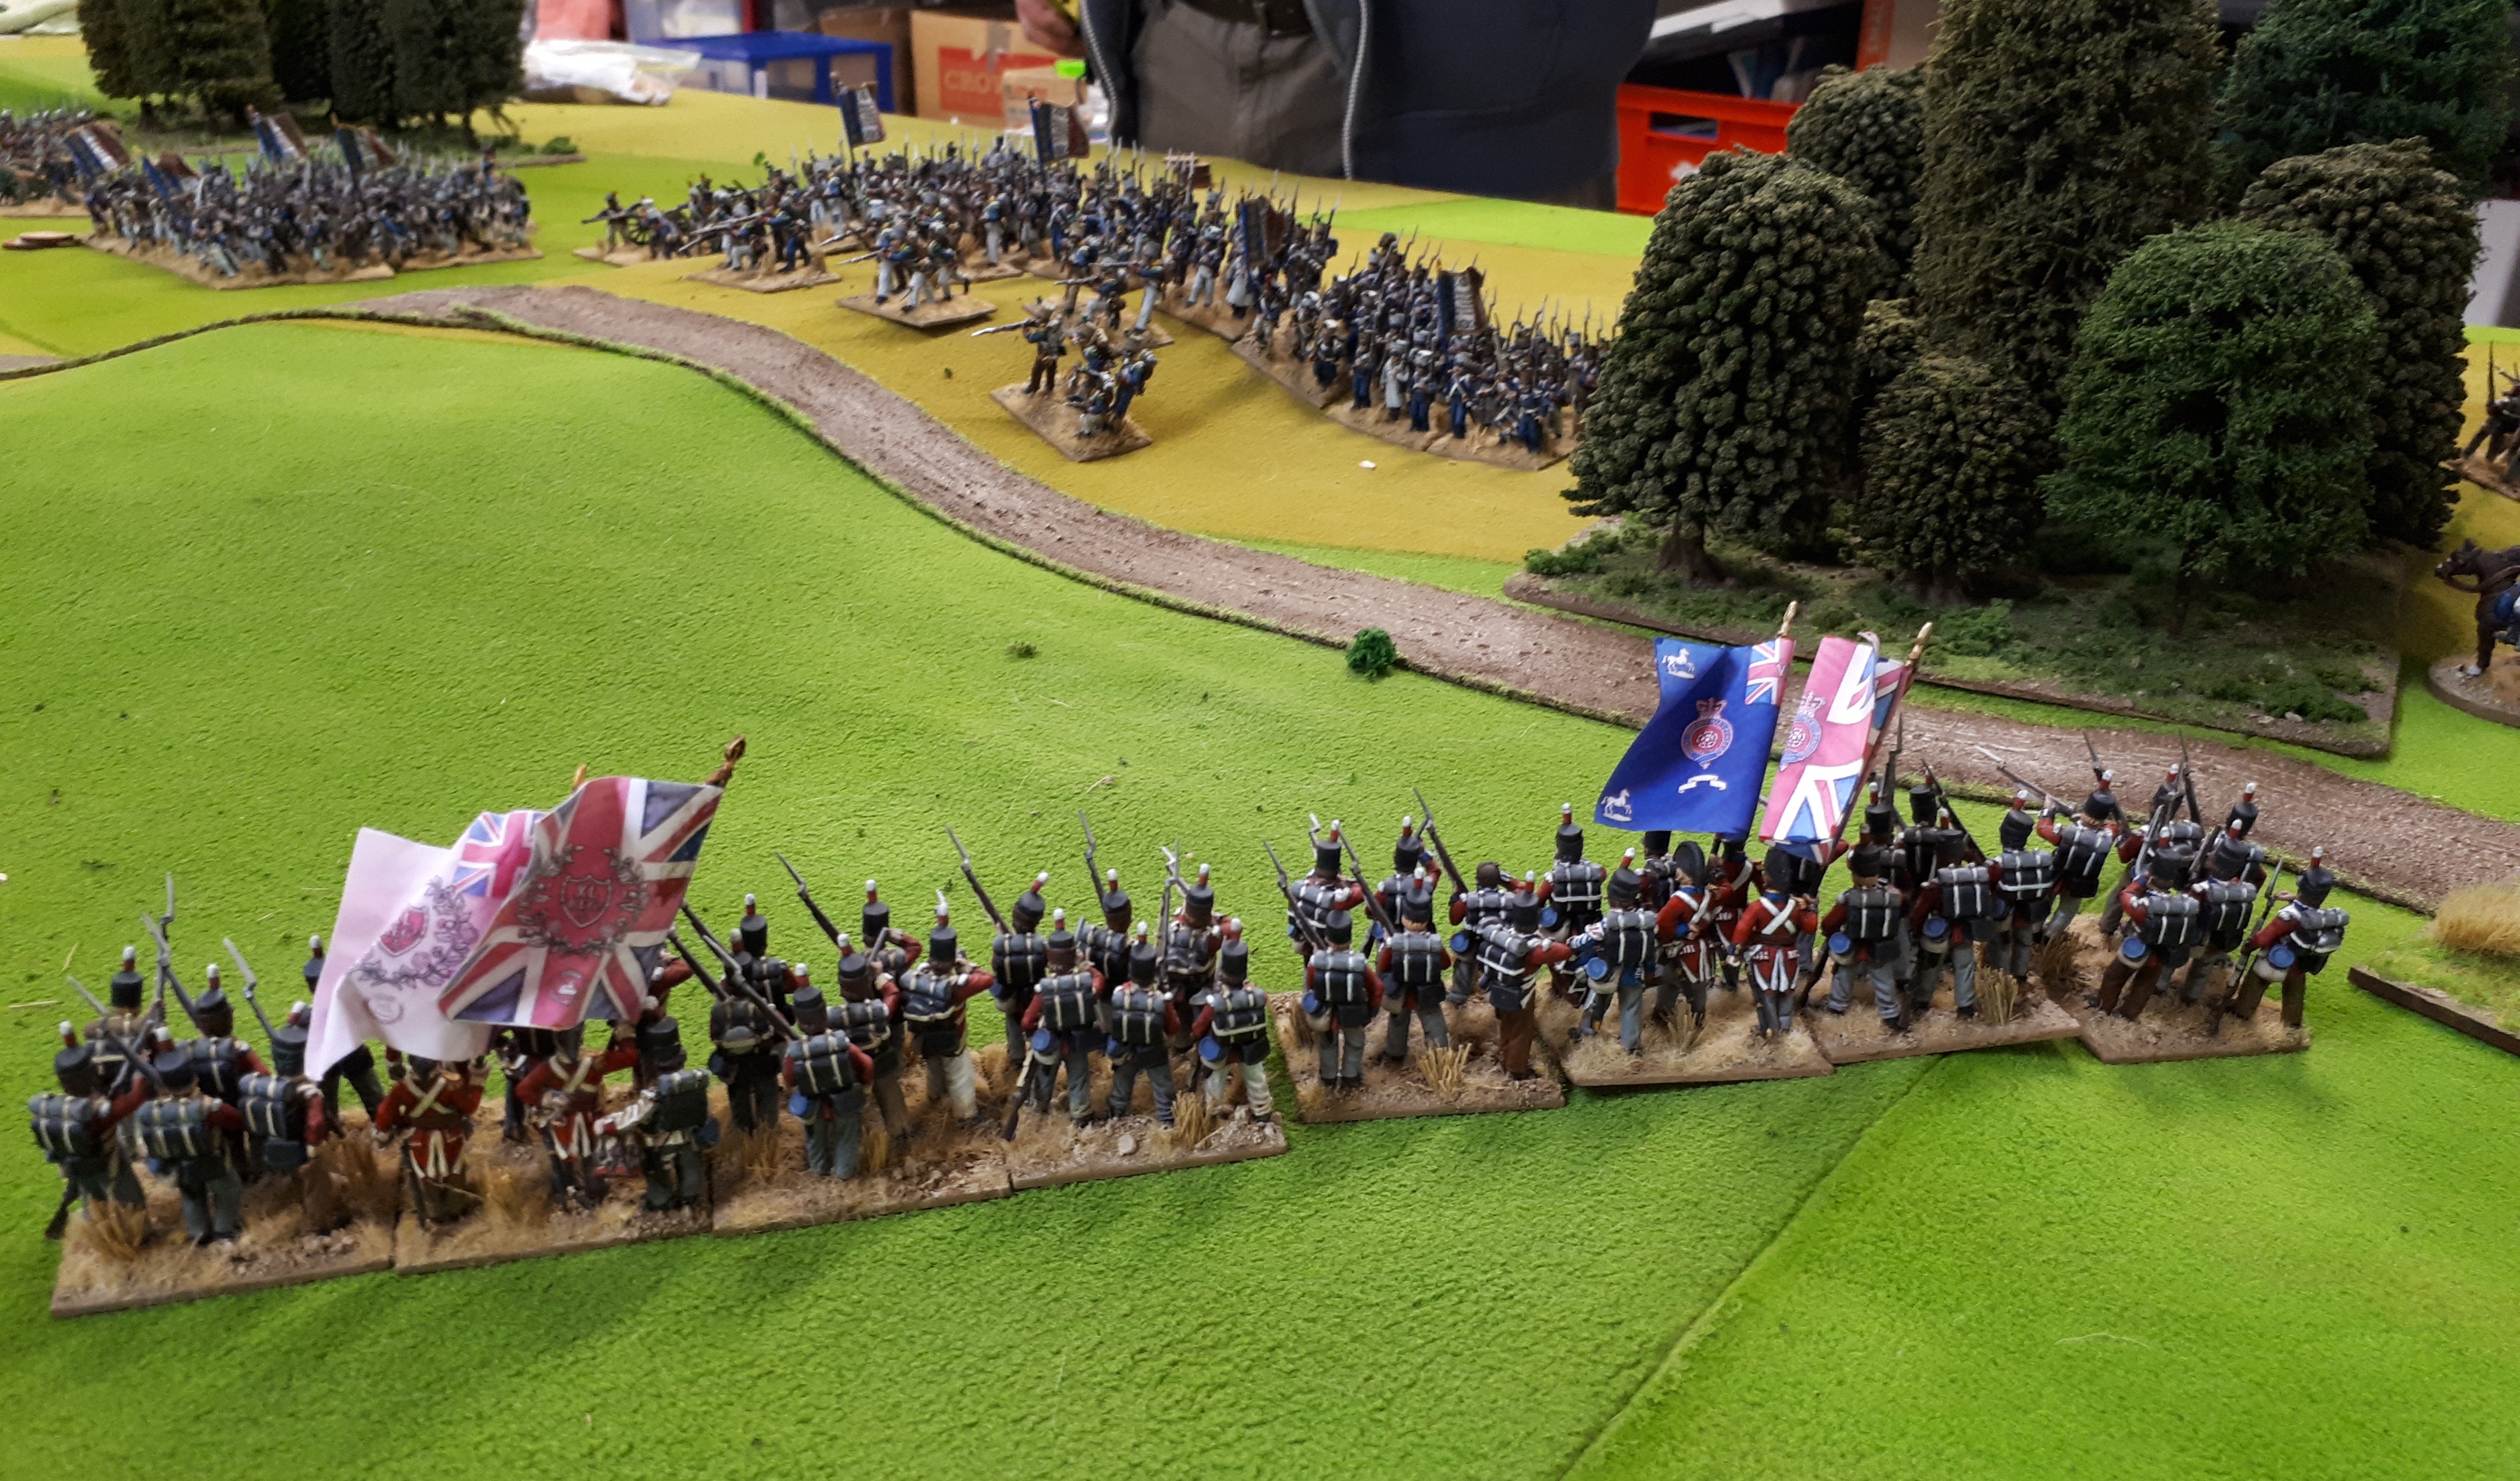
British line swings towards French skirmish screen on rise.

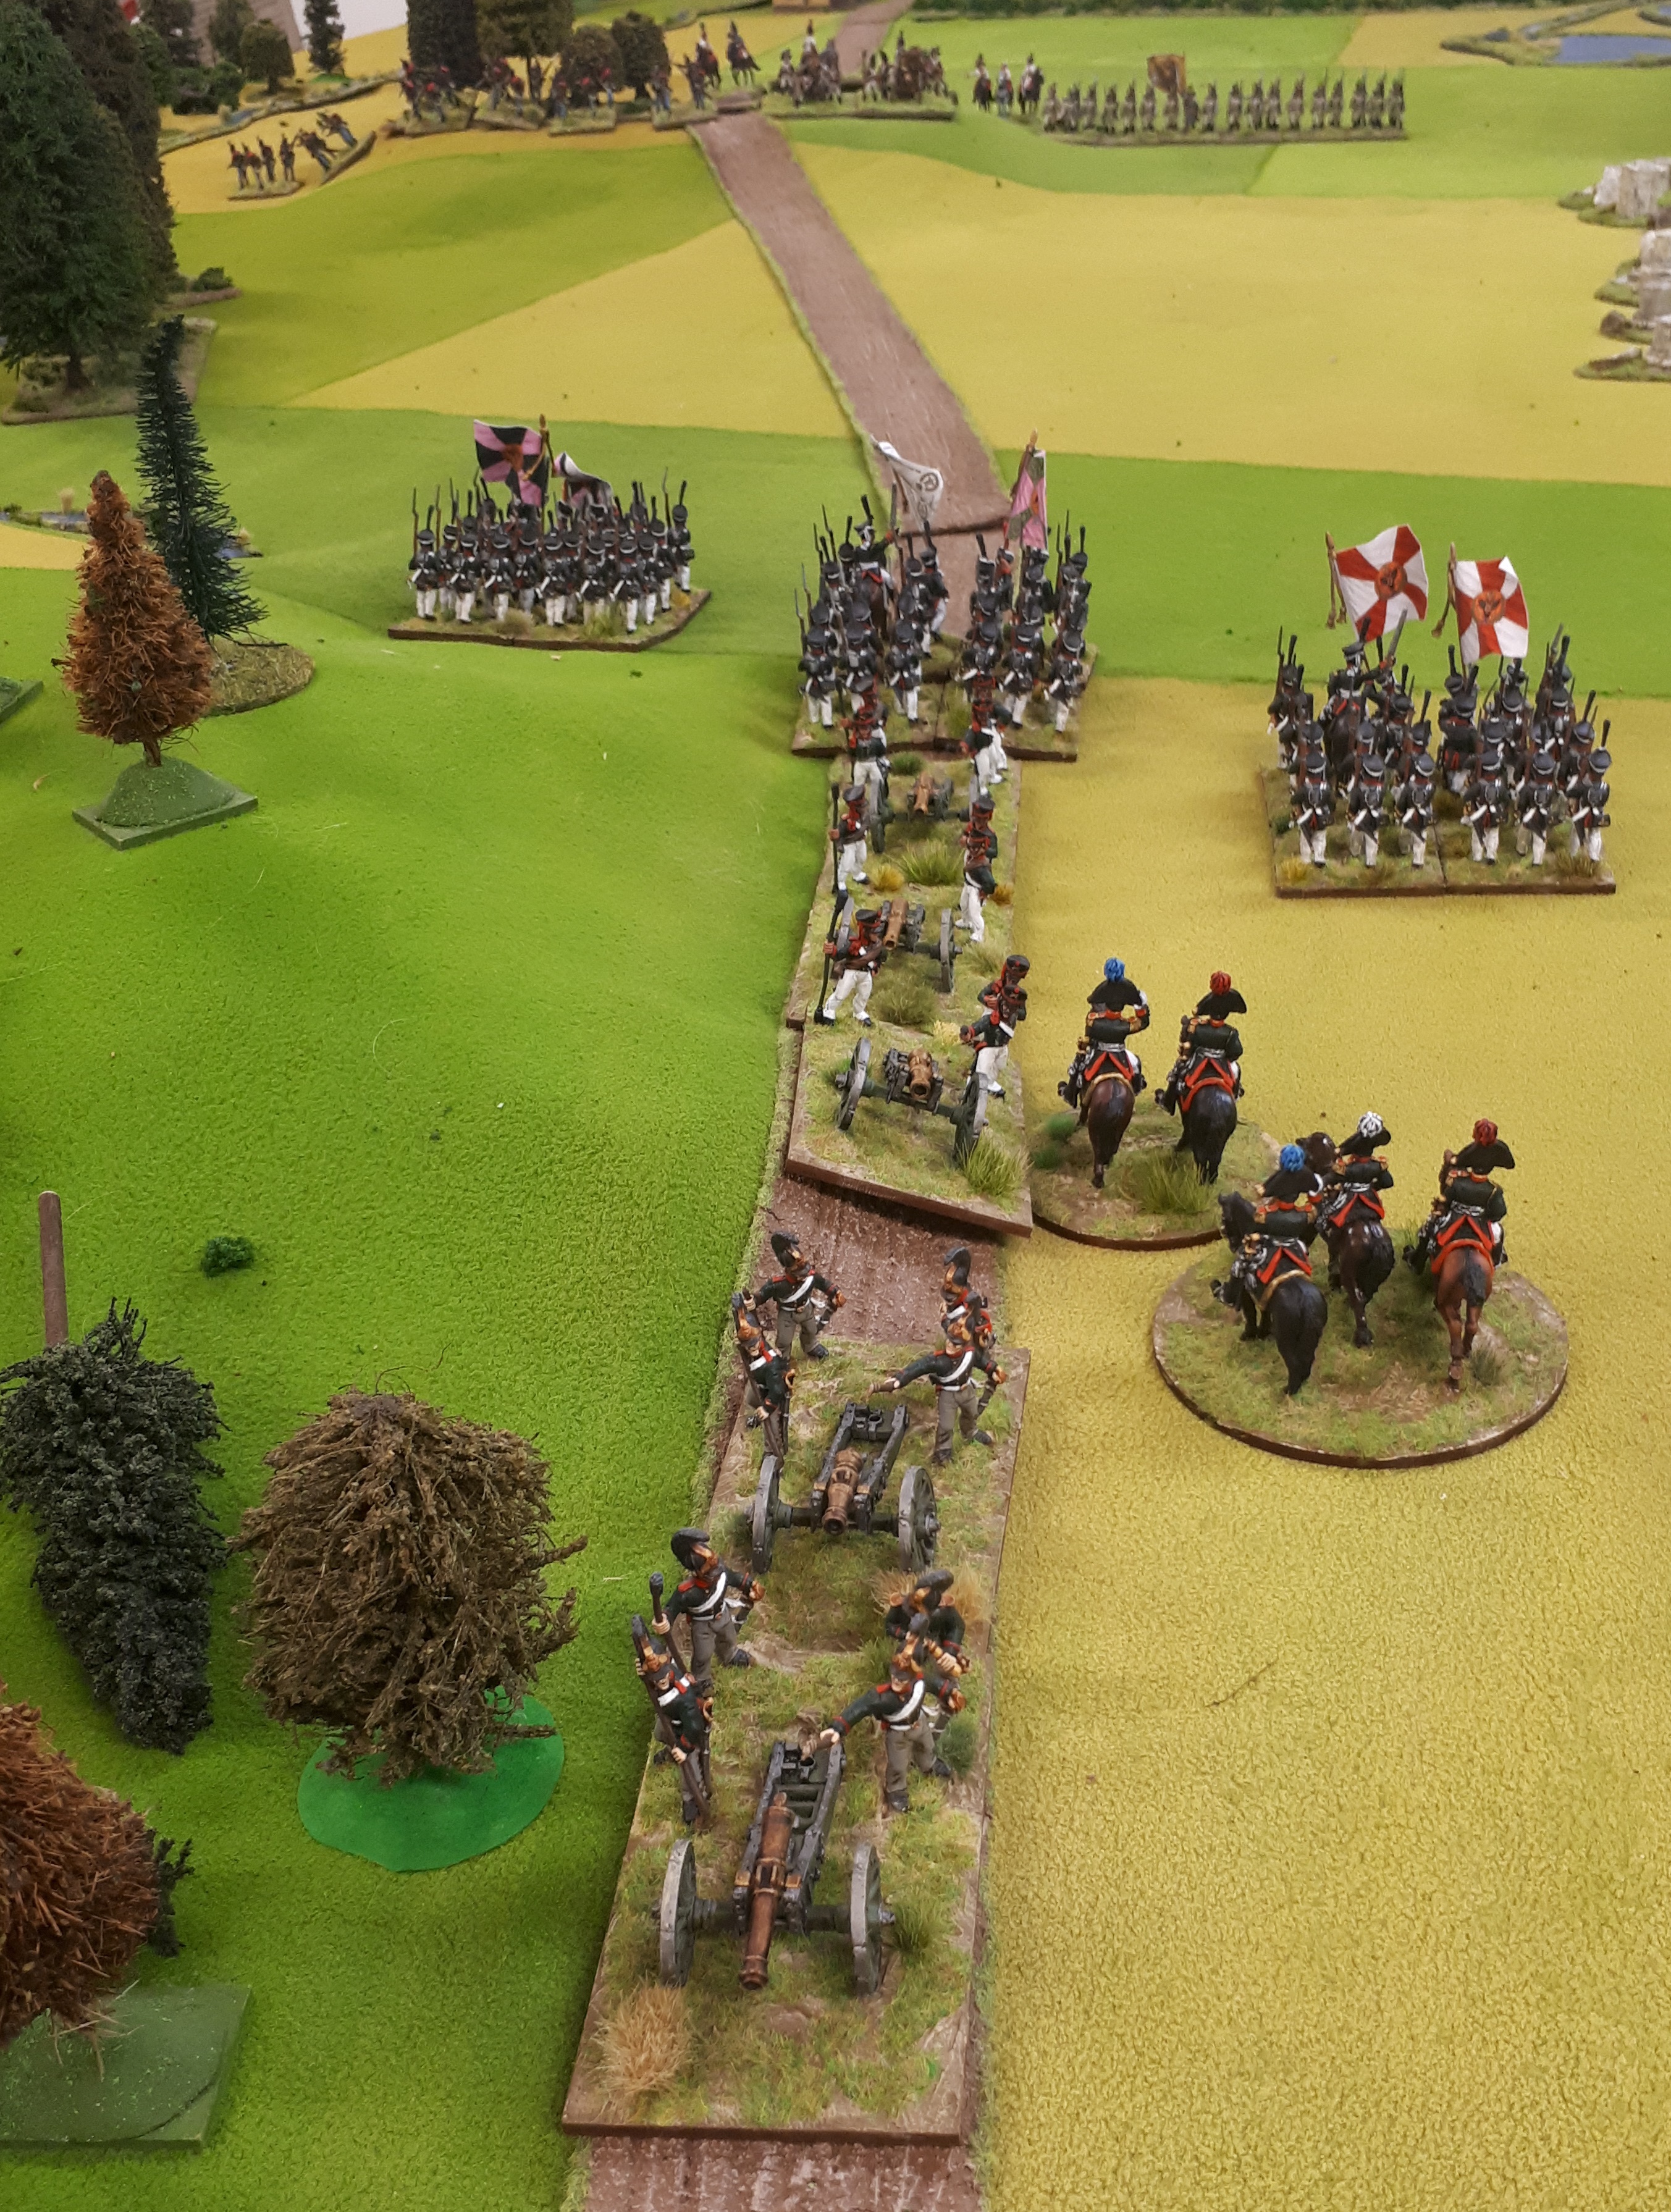
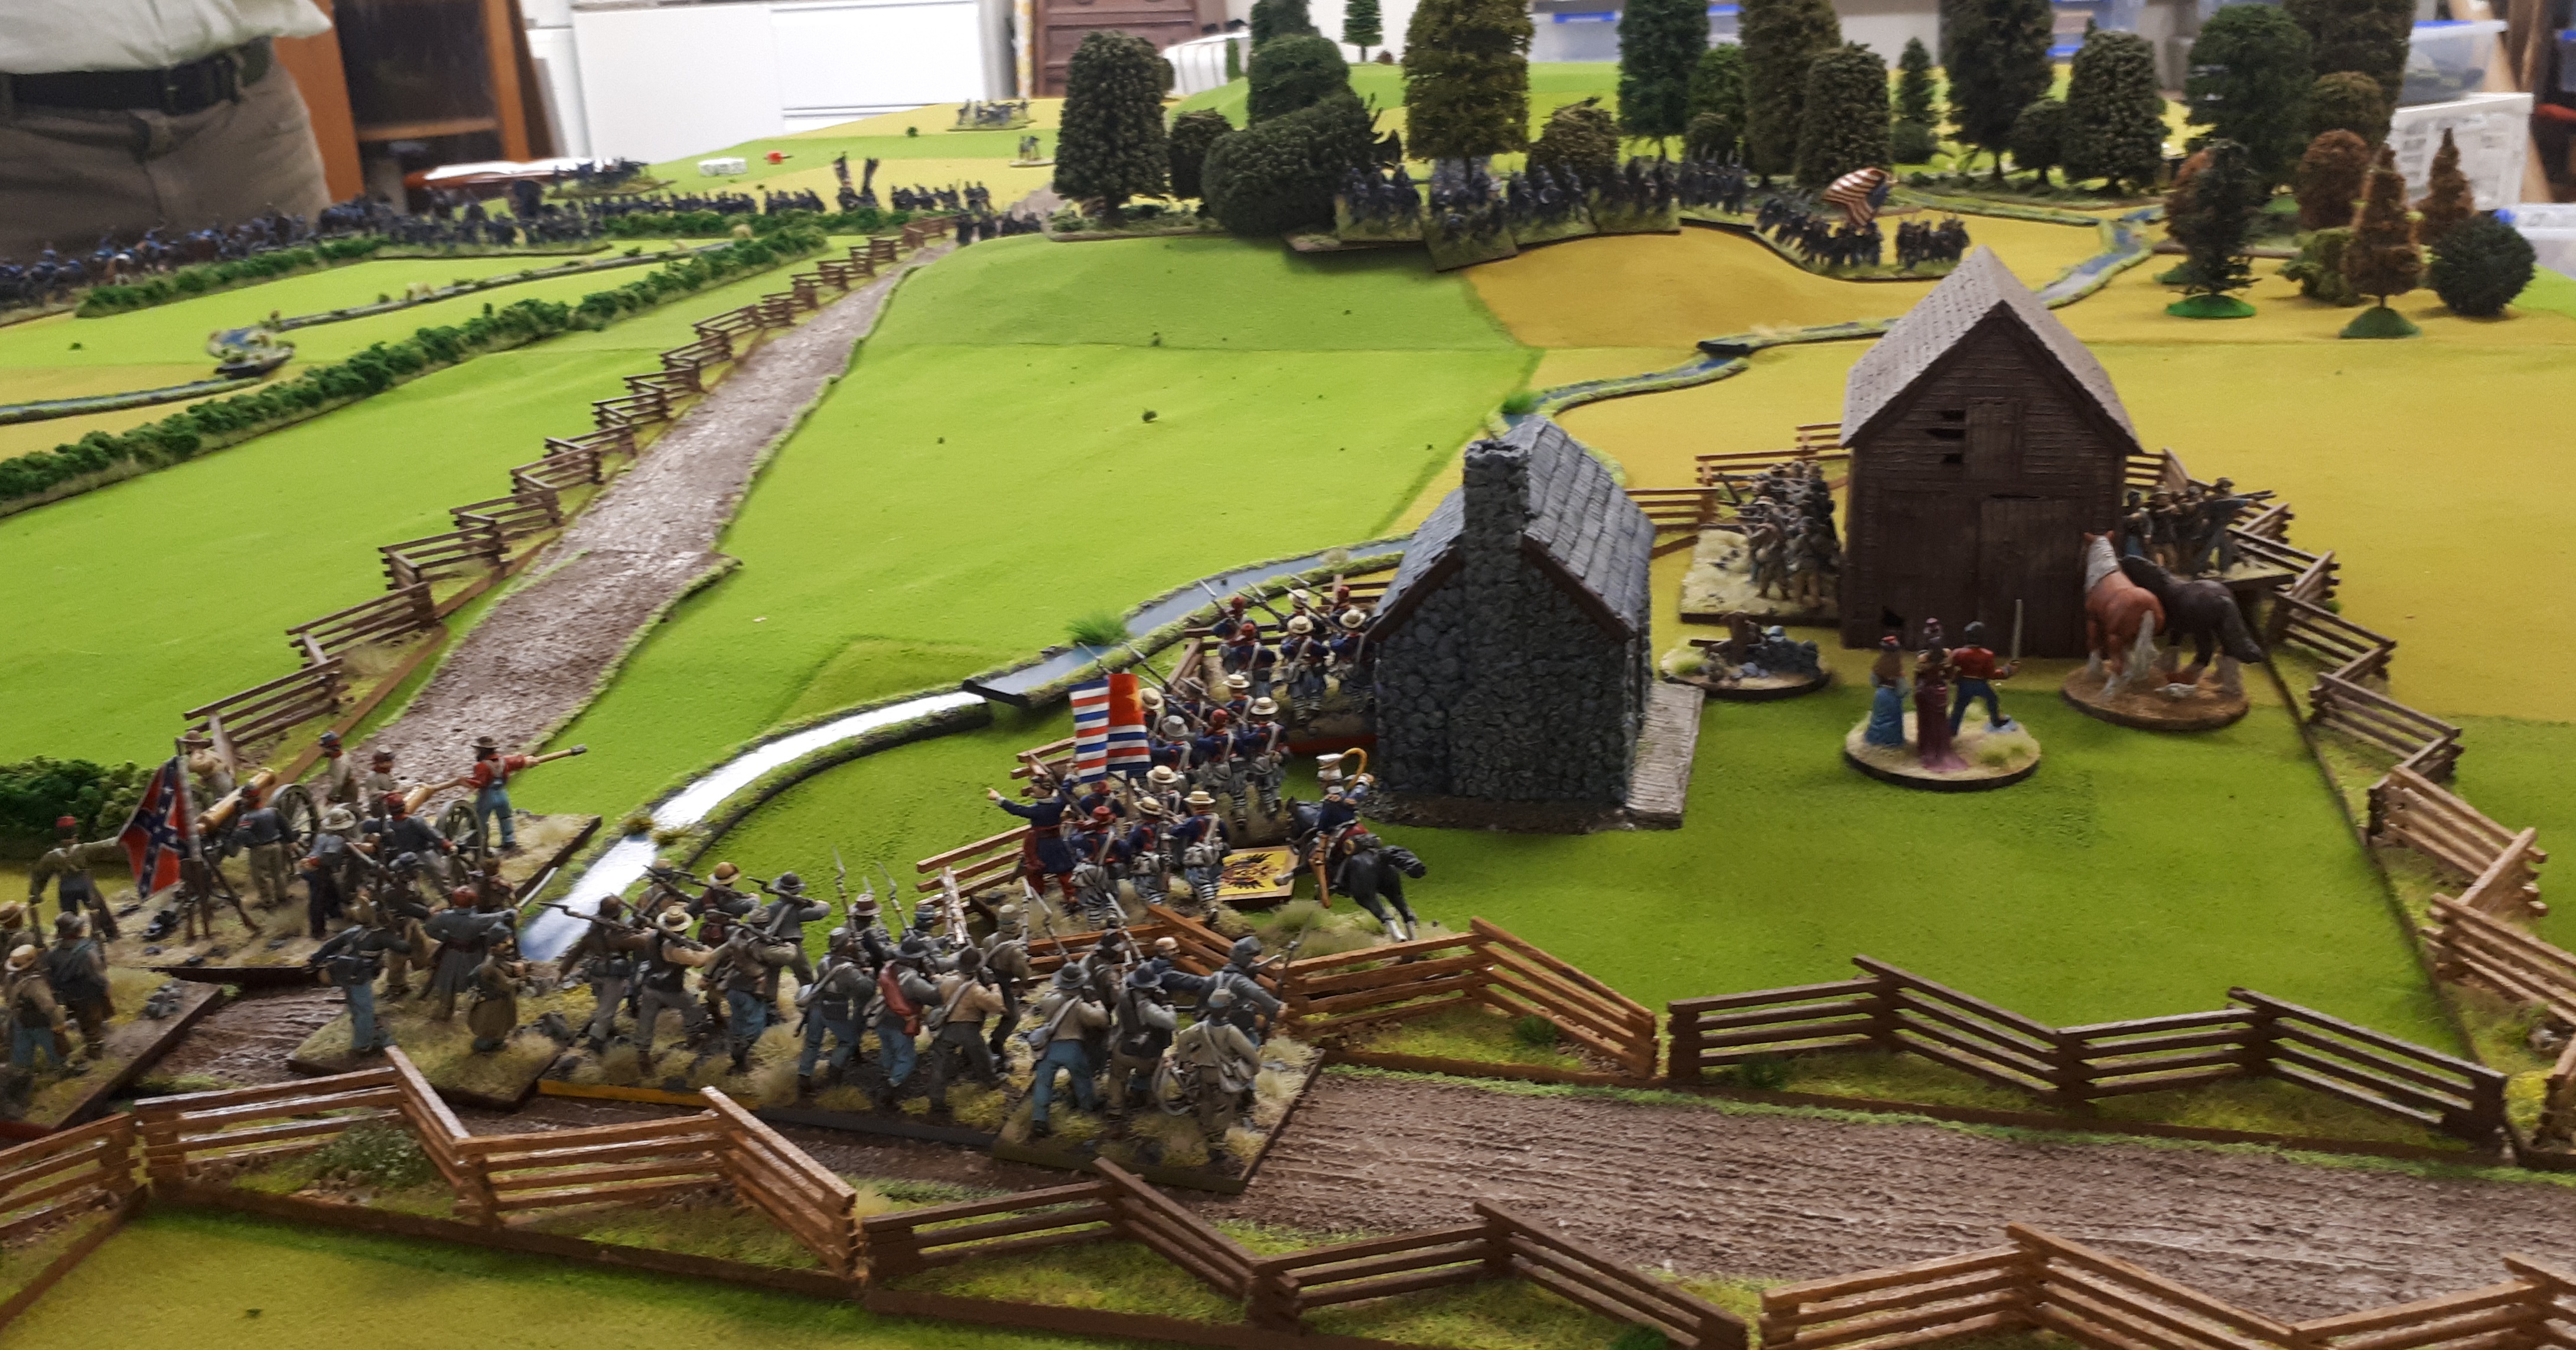
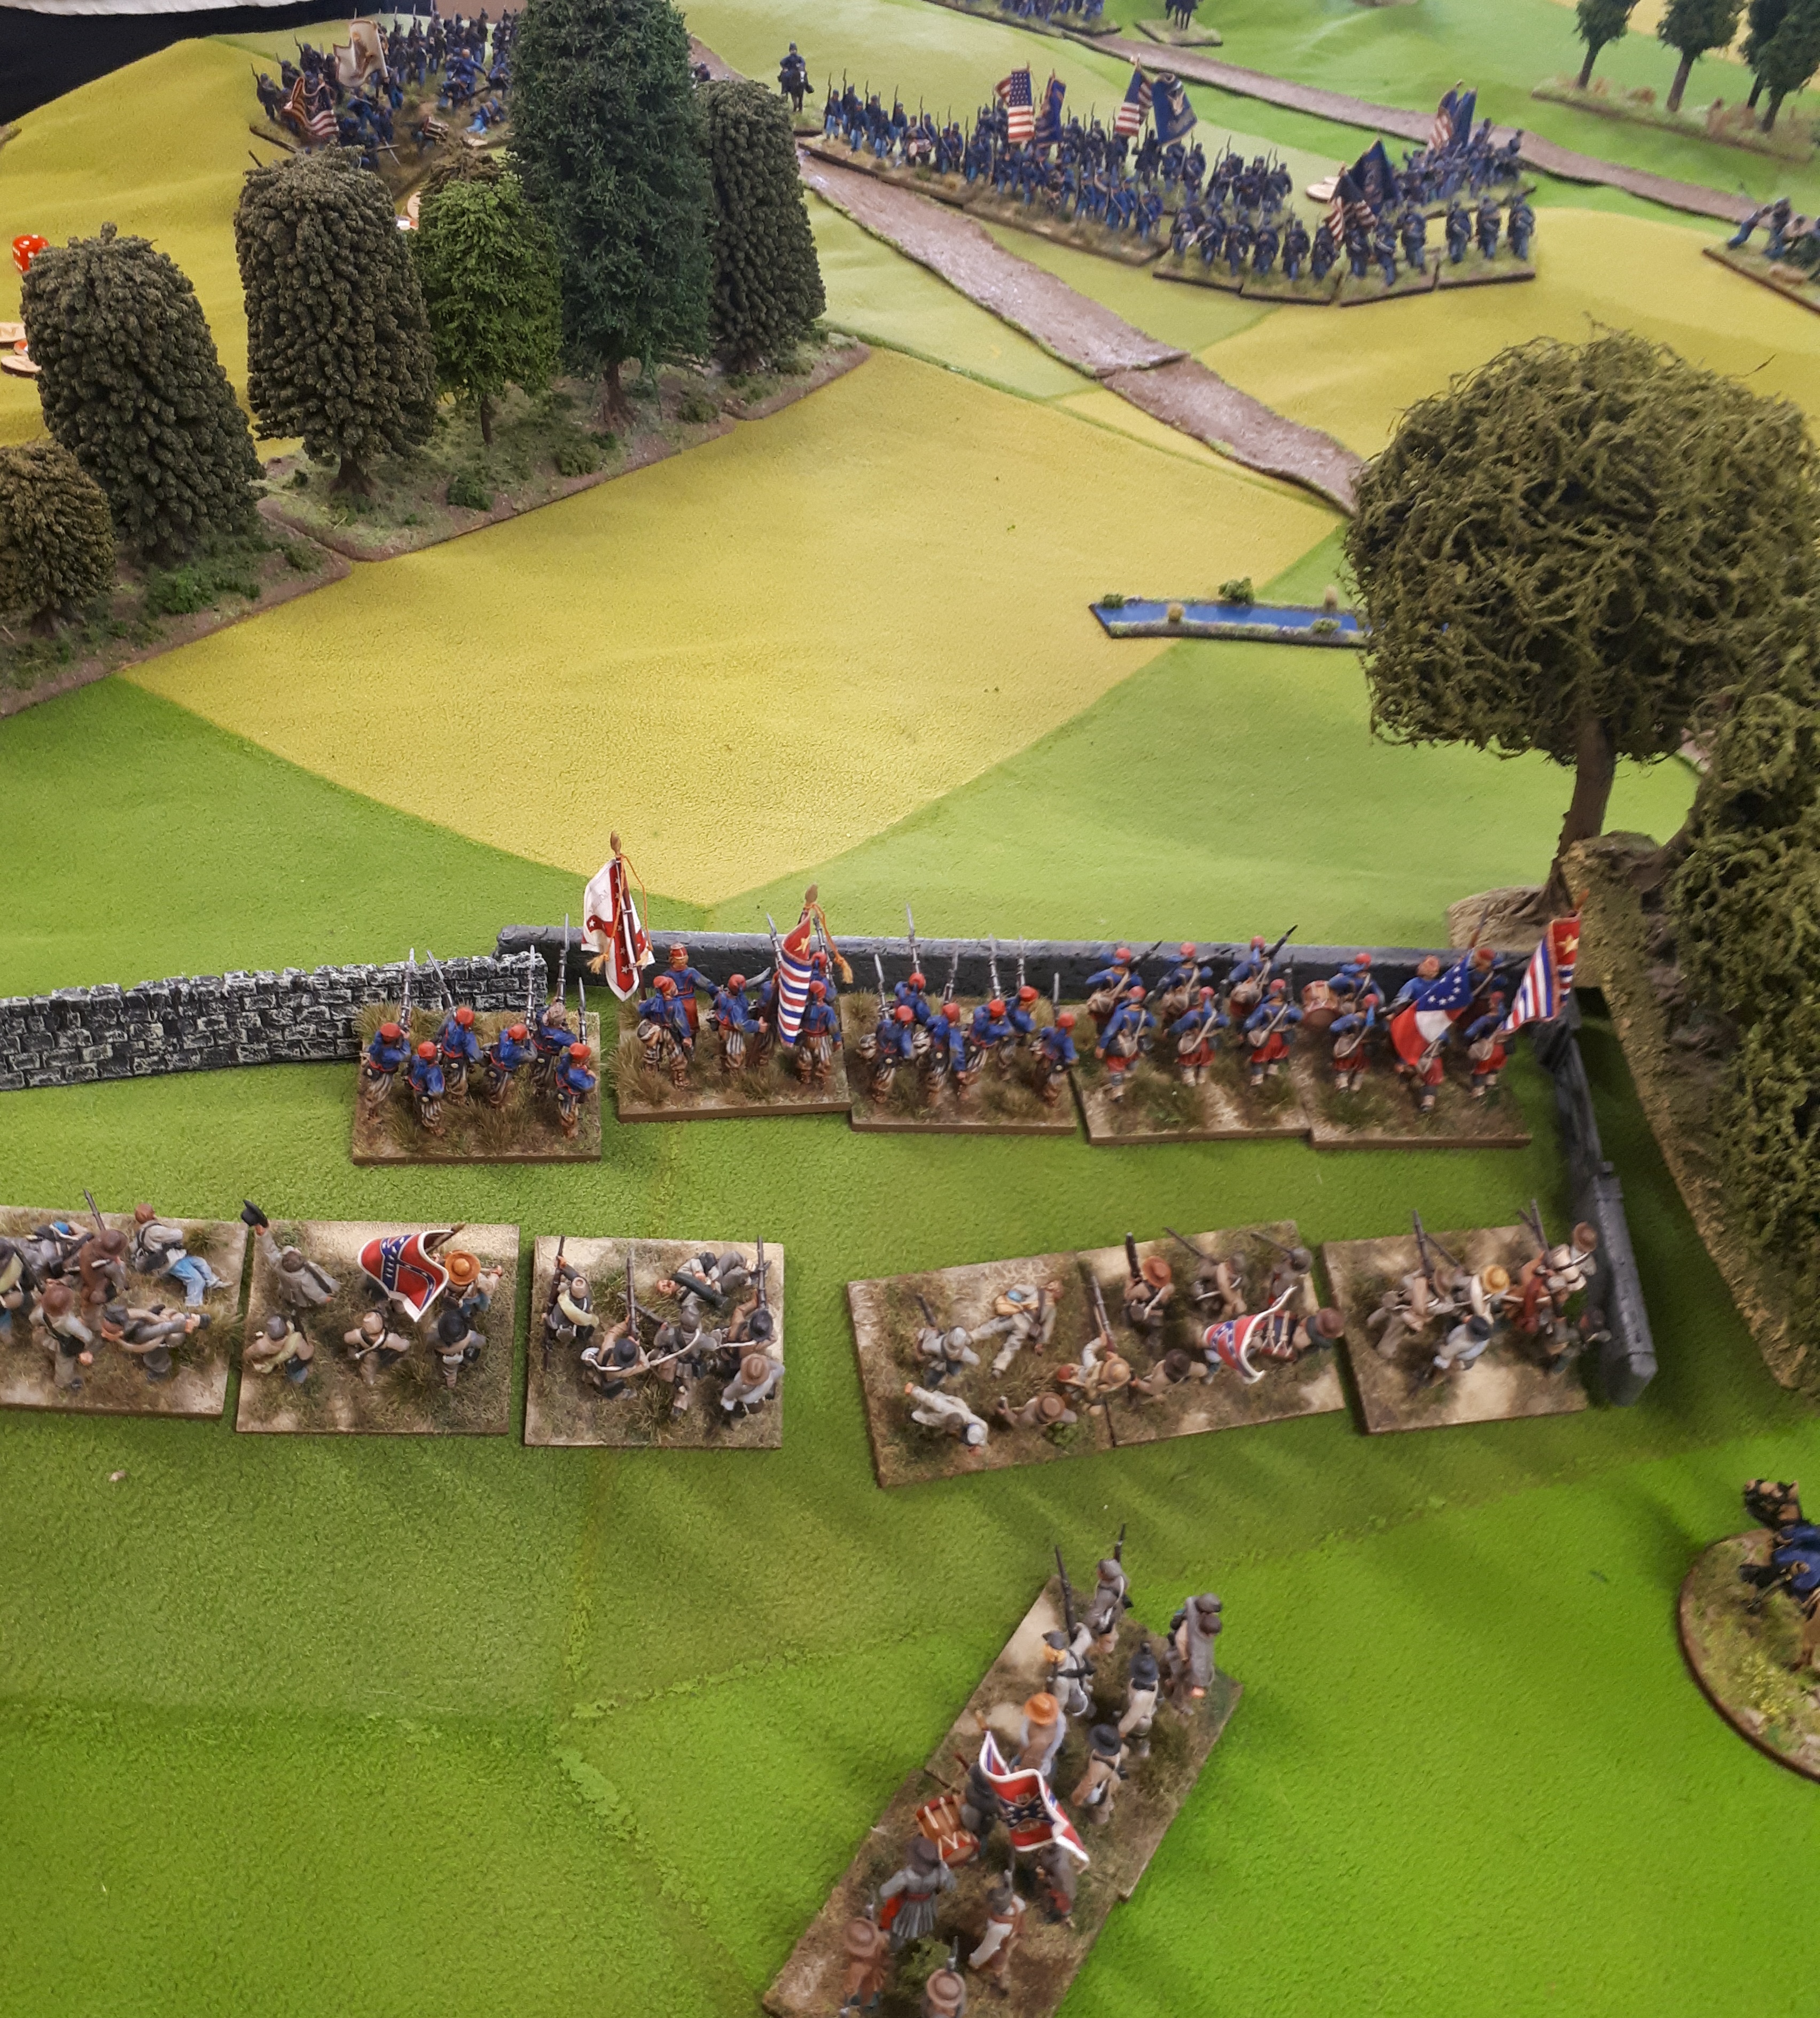
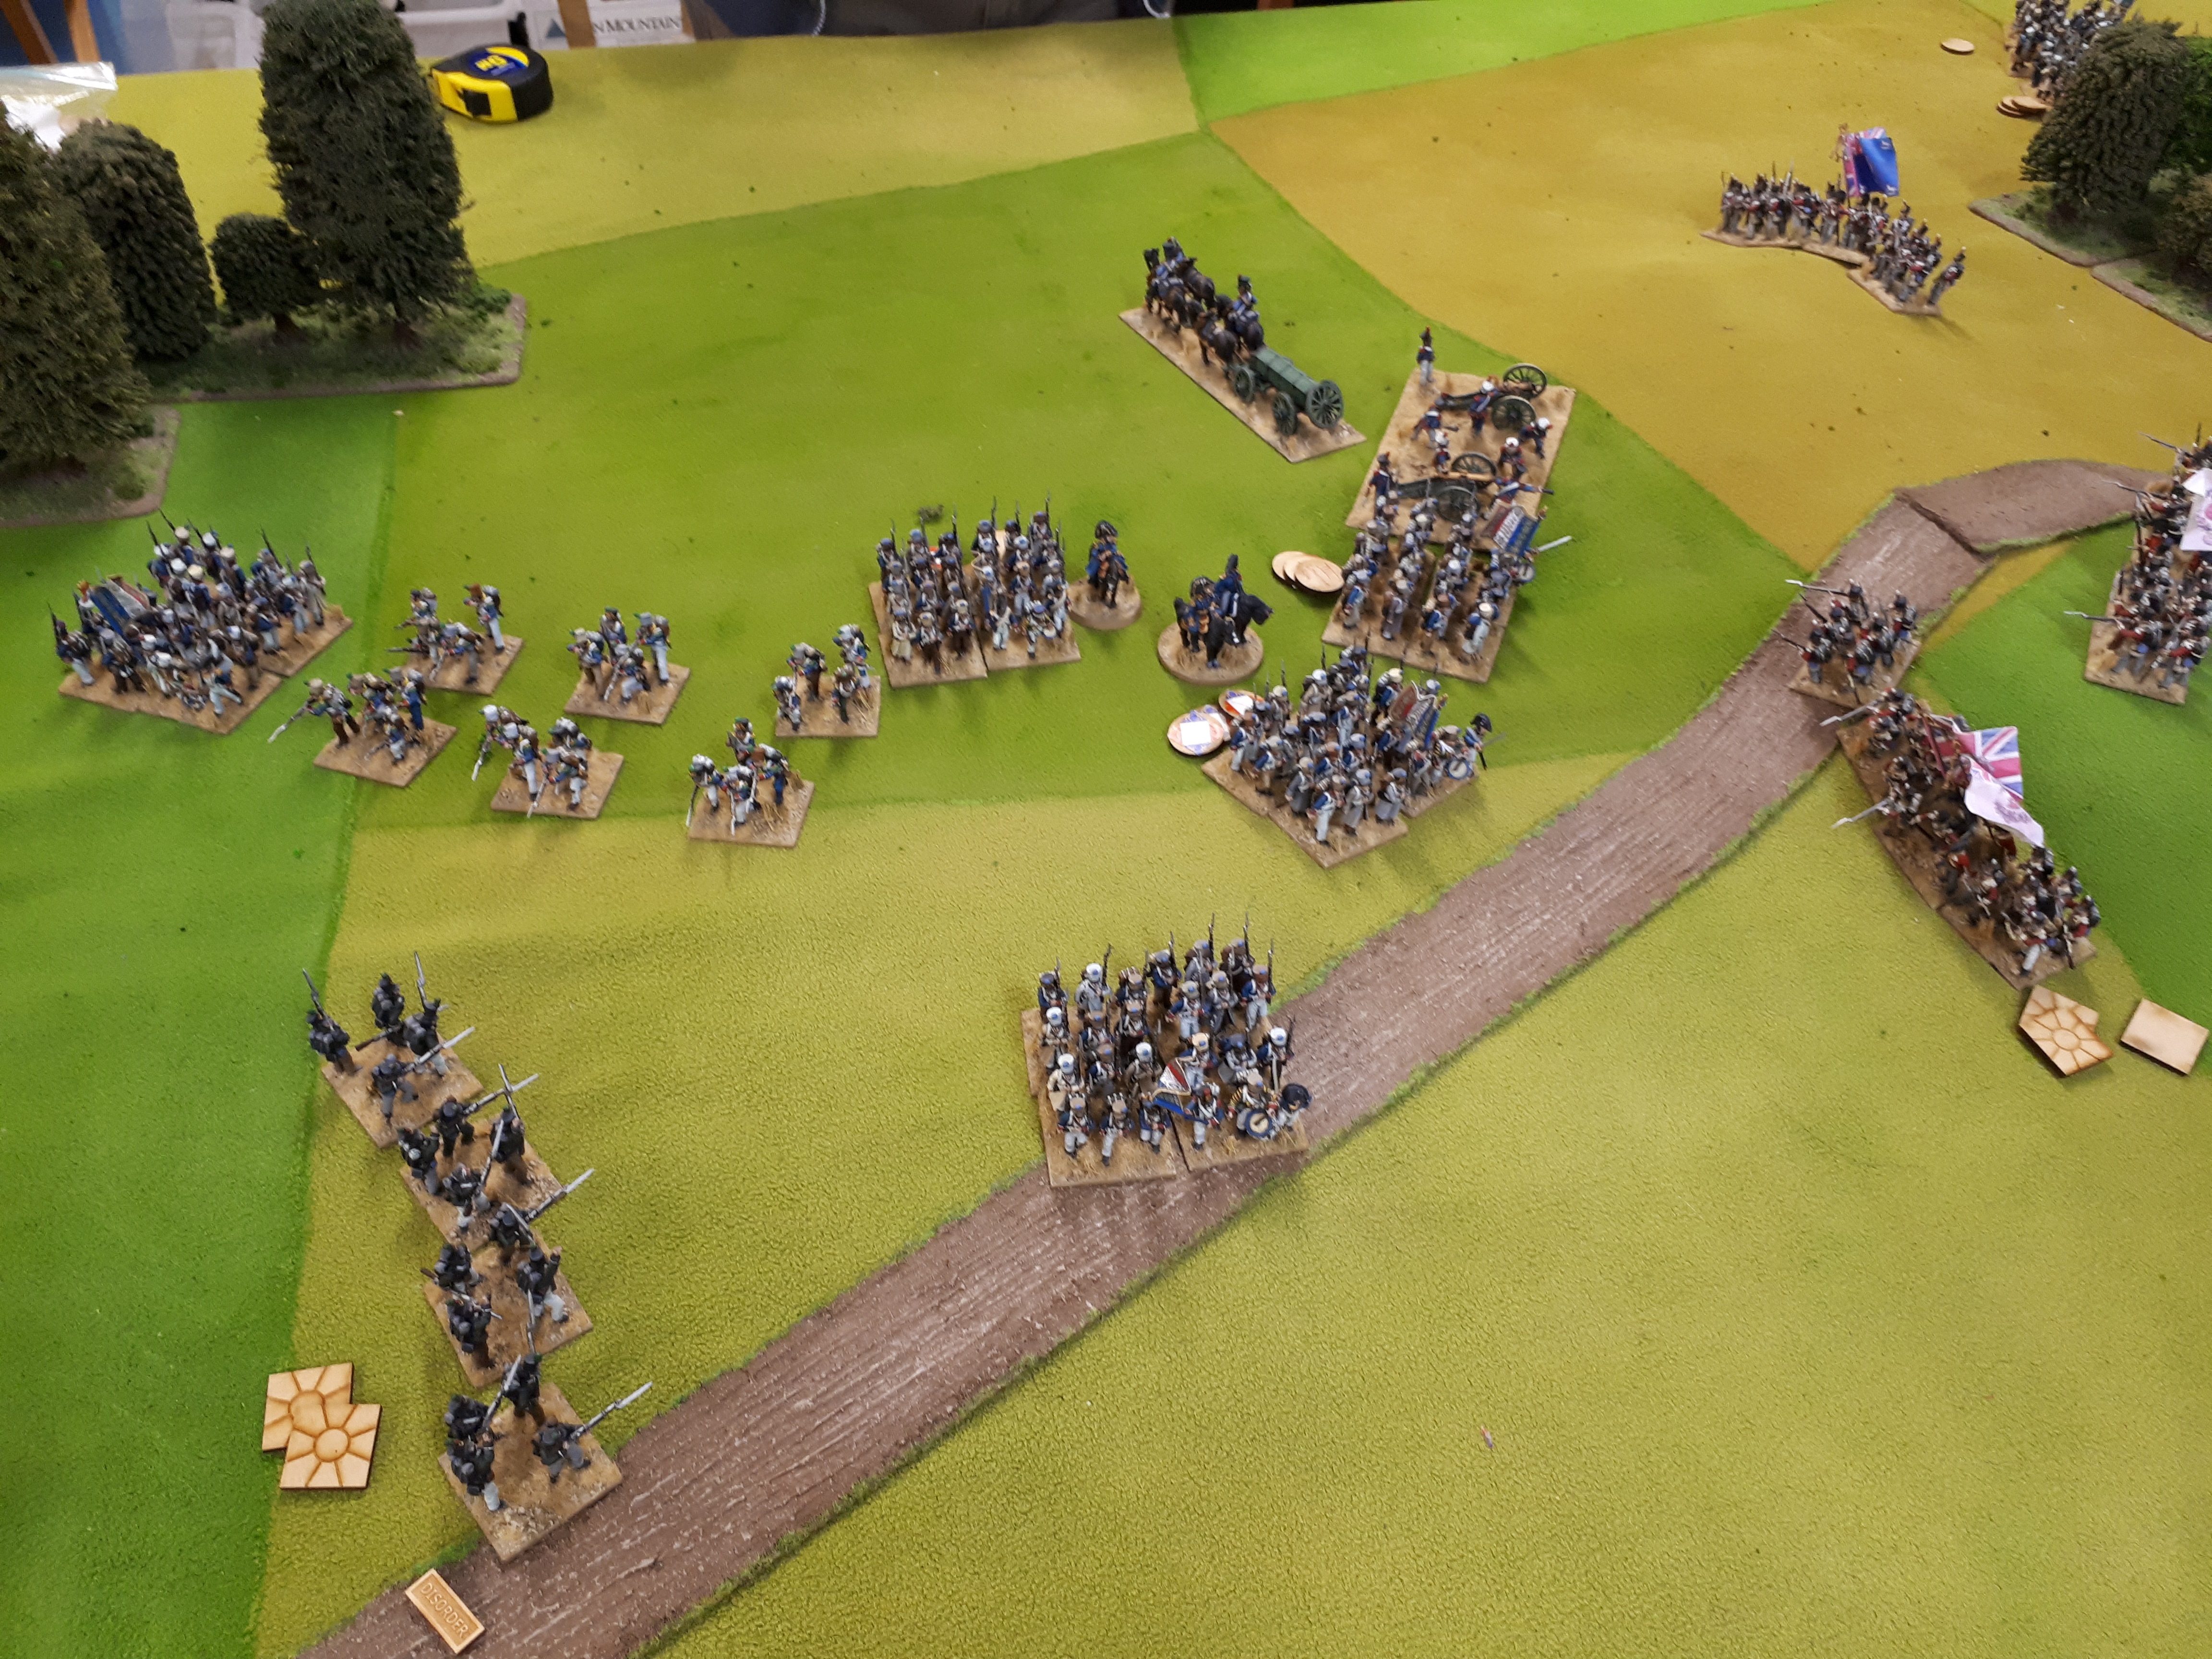
Goldie throws French columns into the Hanoverian line. Line holds.

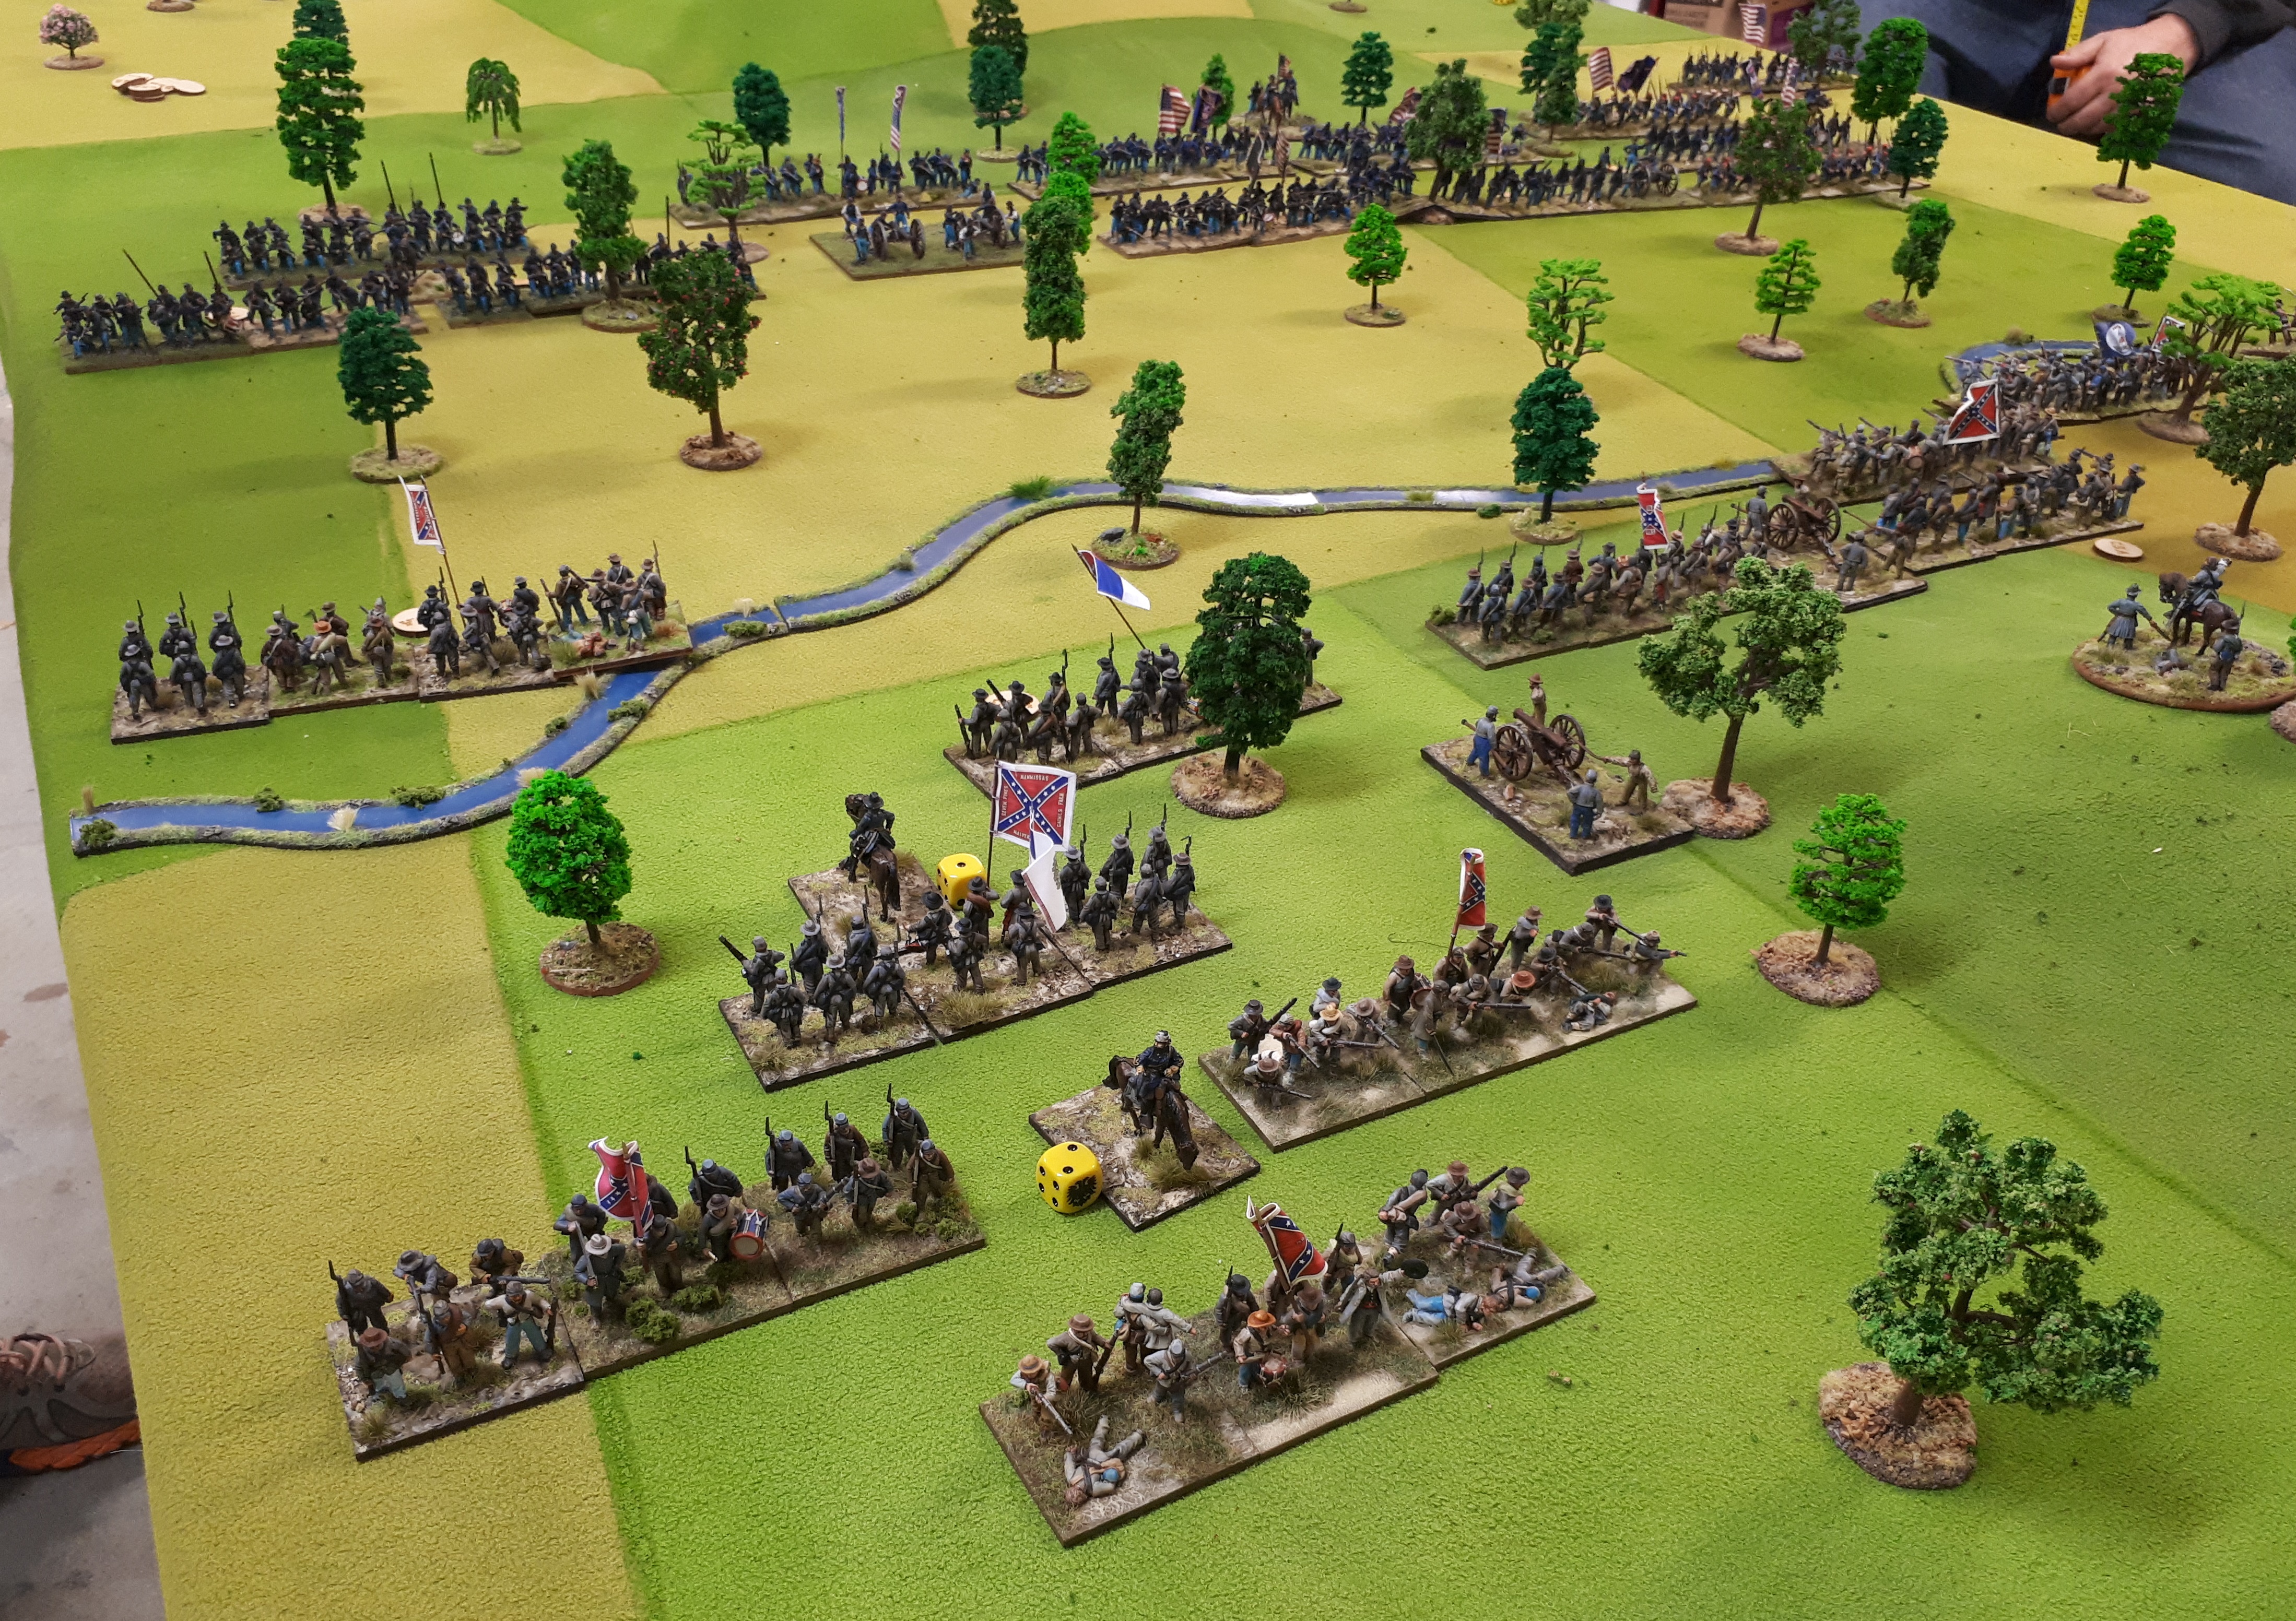
On left flank, French columns attack line with skirmish support.

Hanoverian lights move up and charge guns, guns pop, lights then wheel left and position on flank of French column.

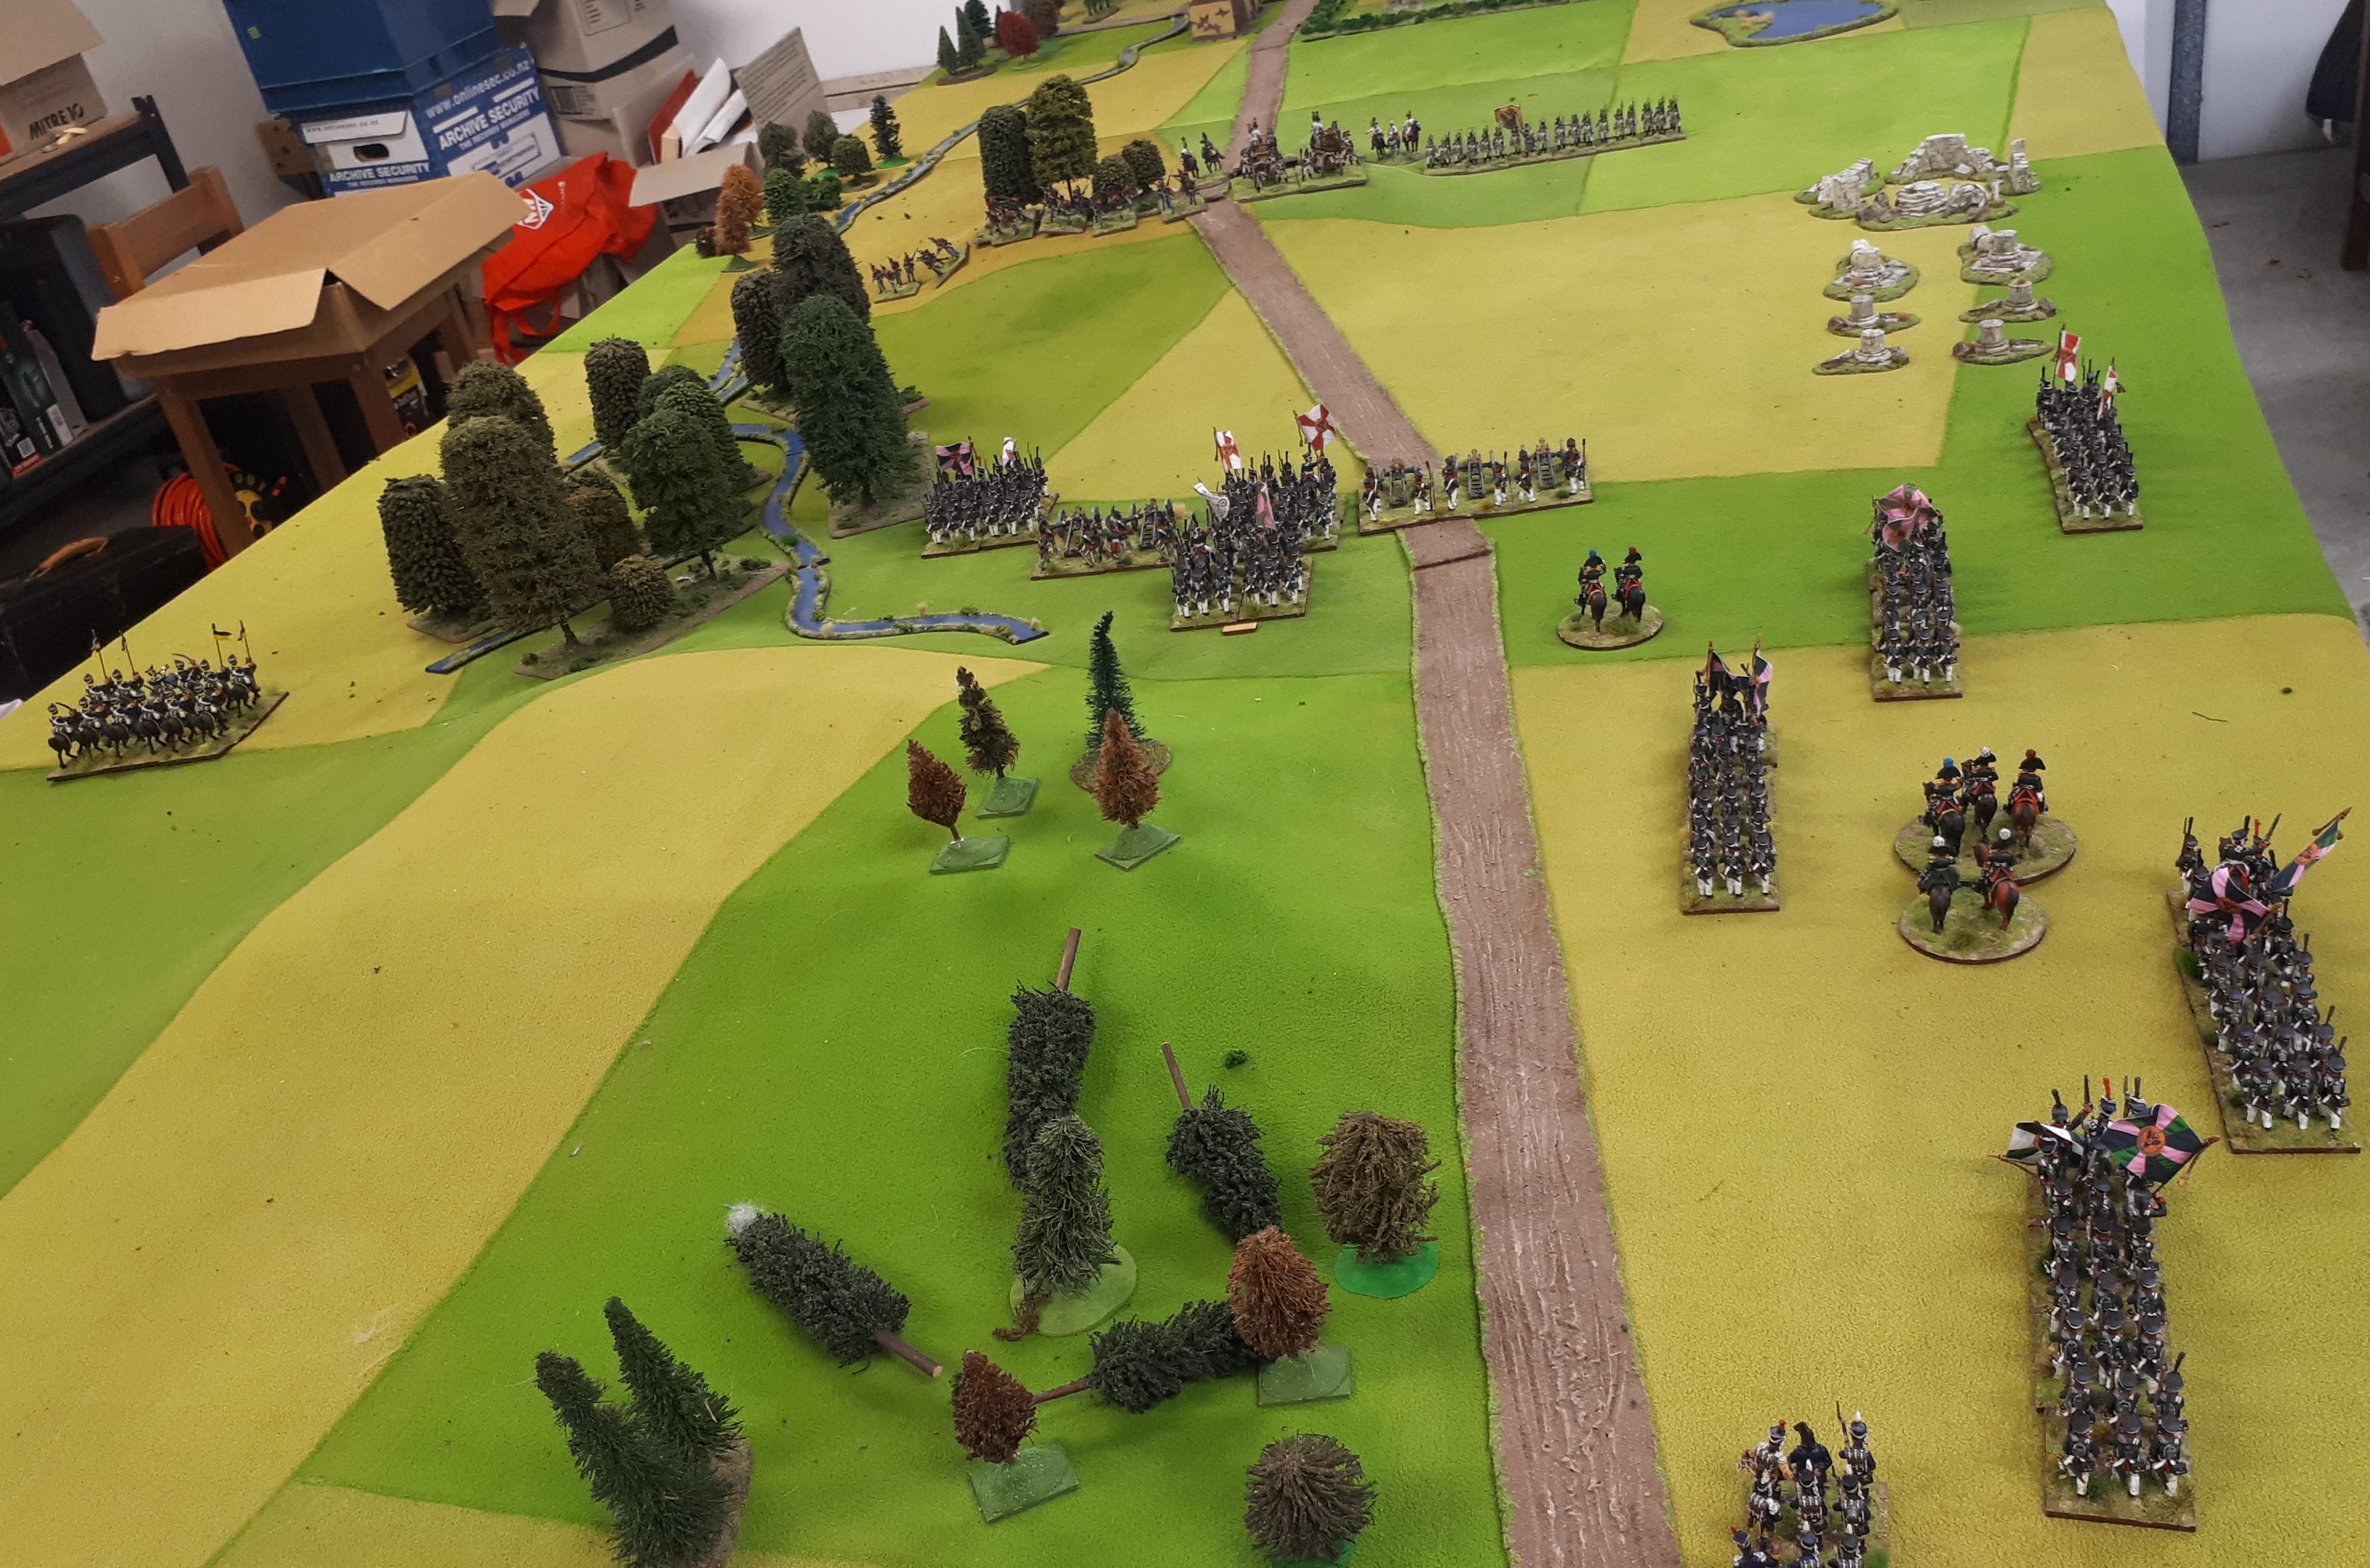
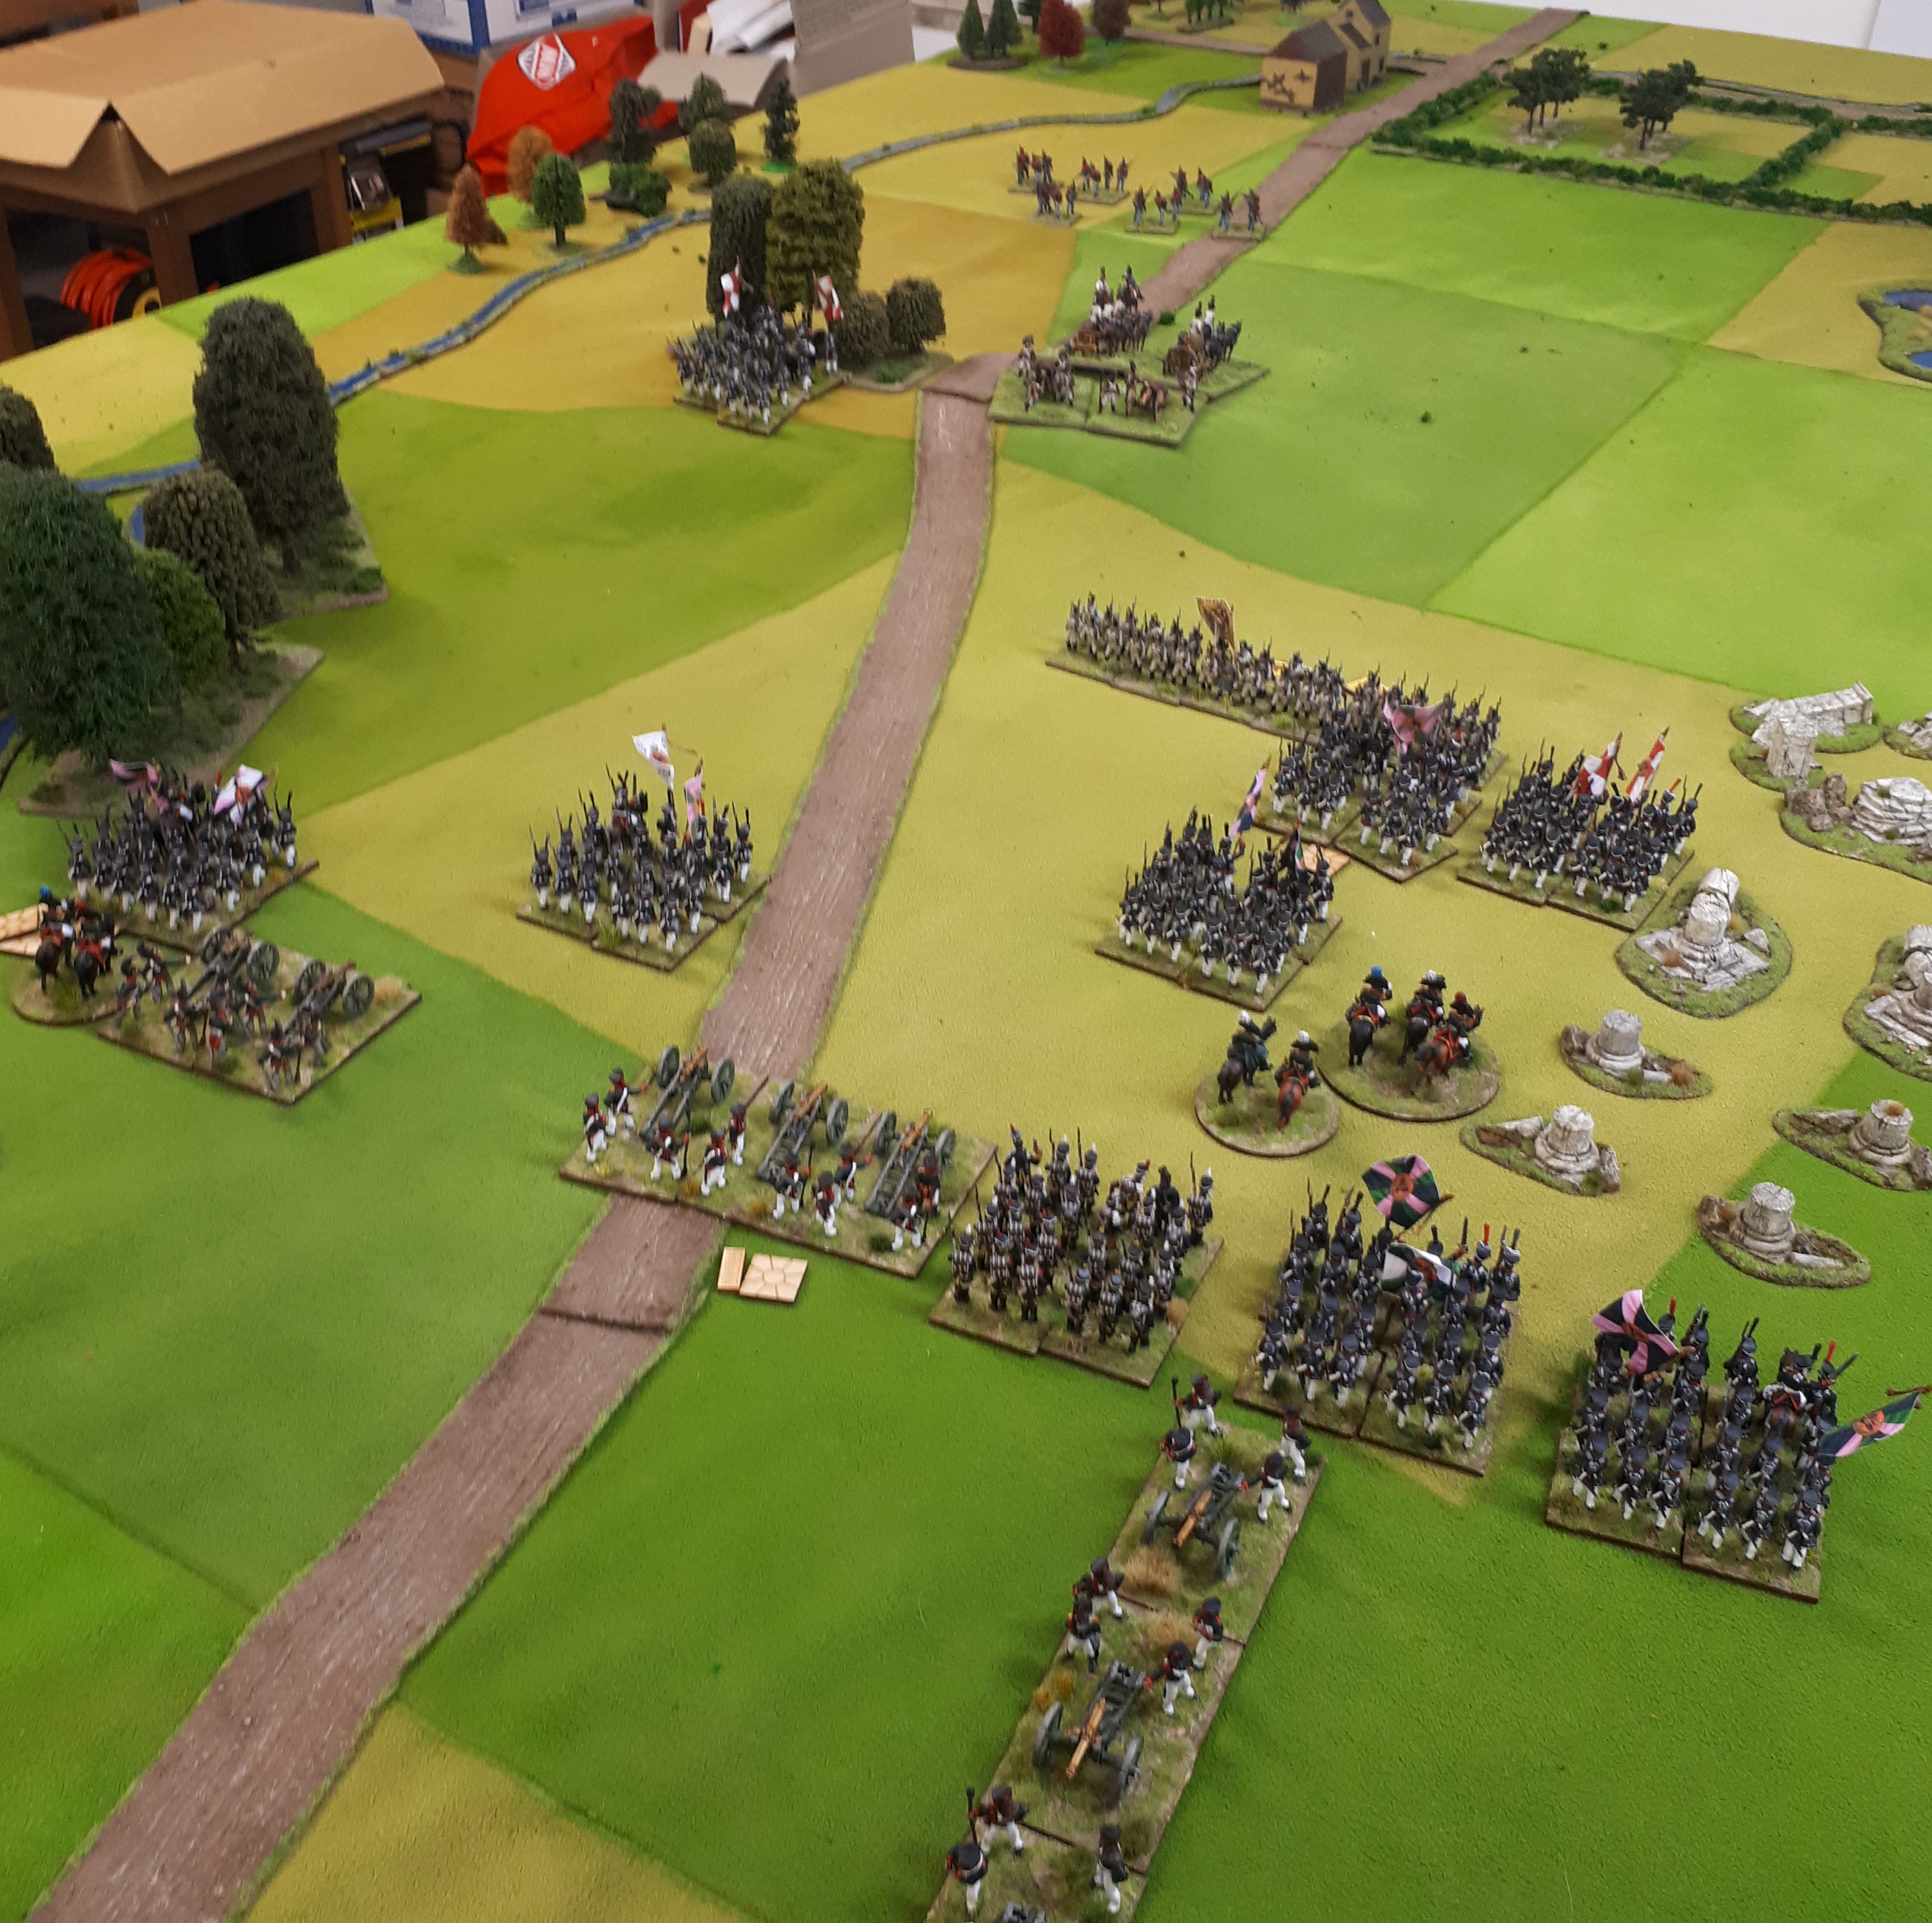
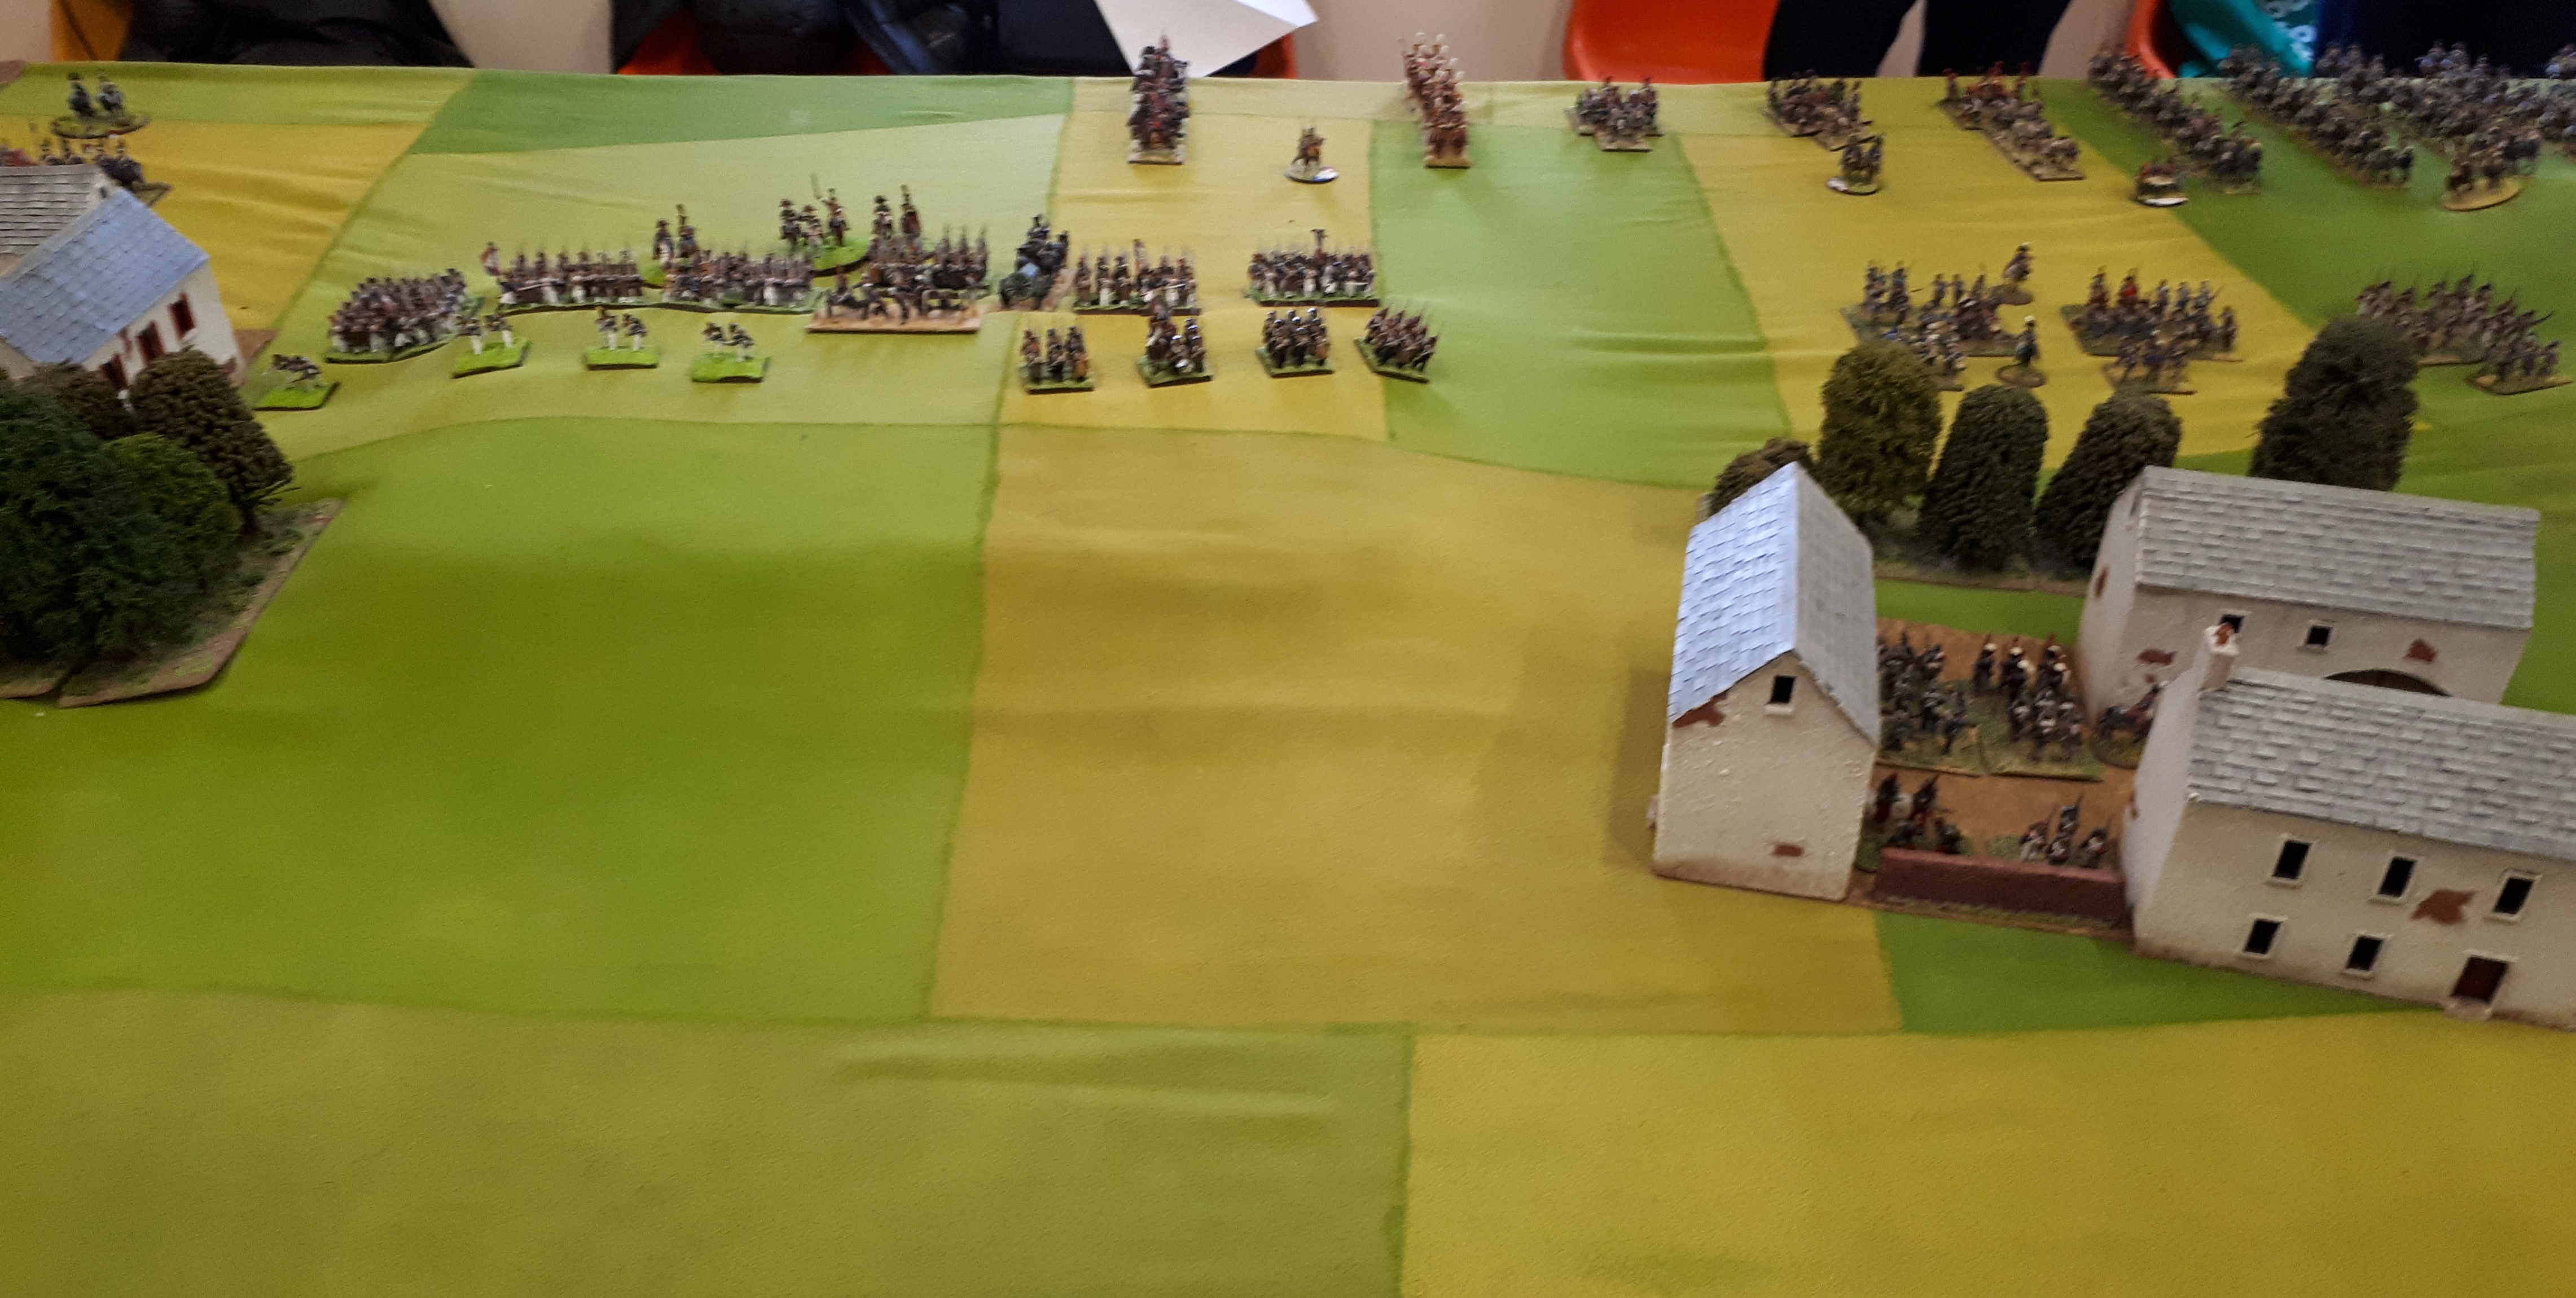
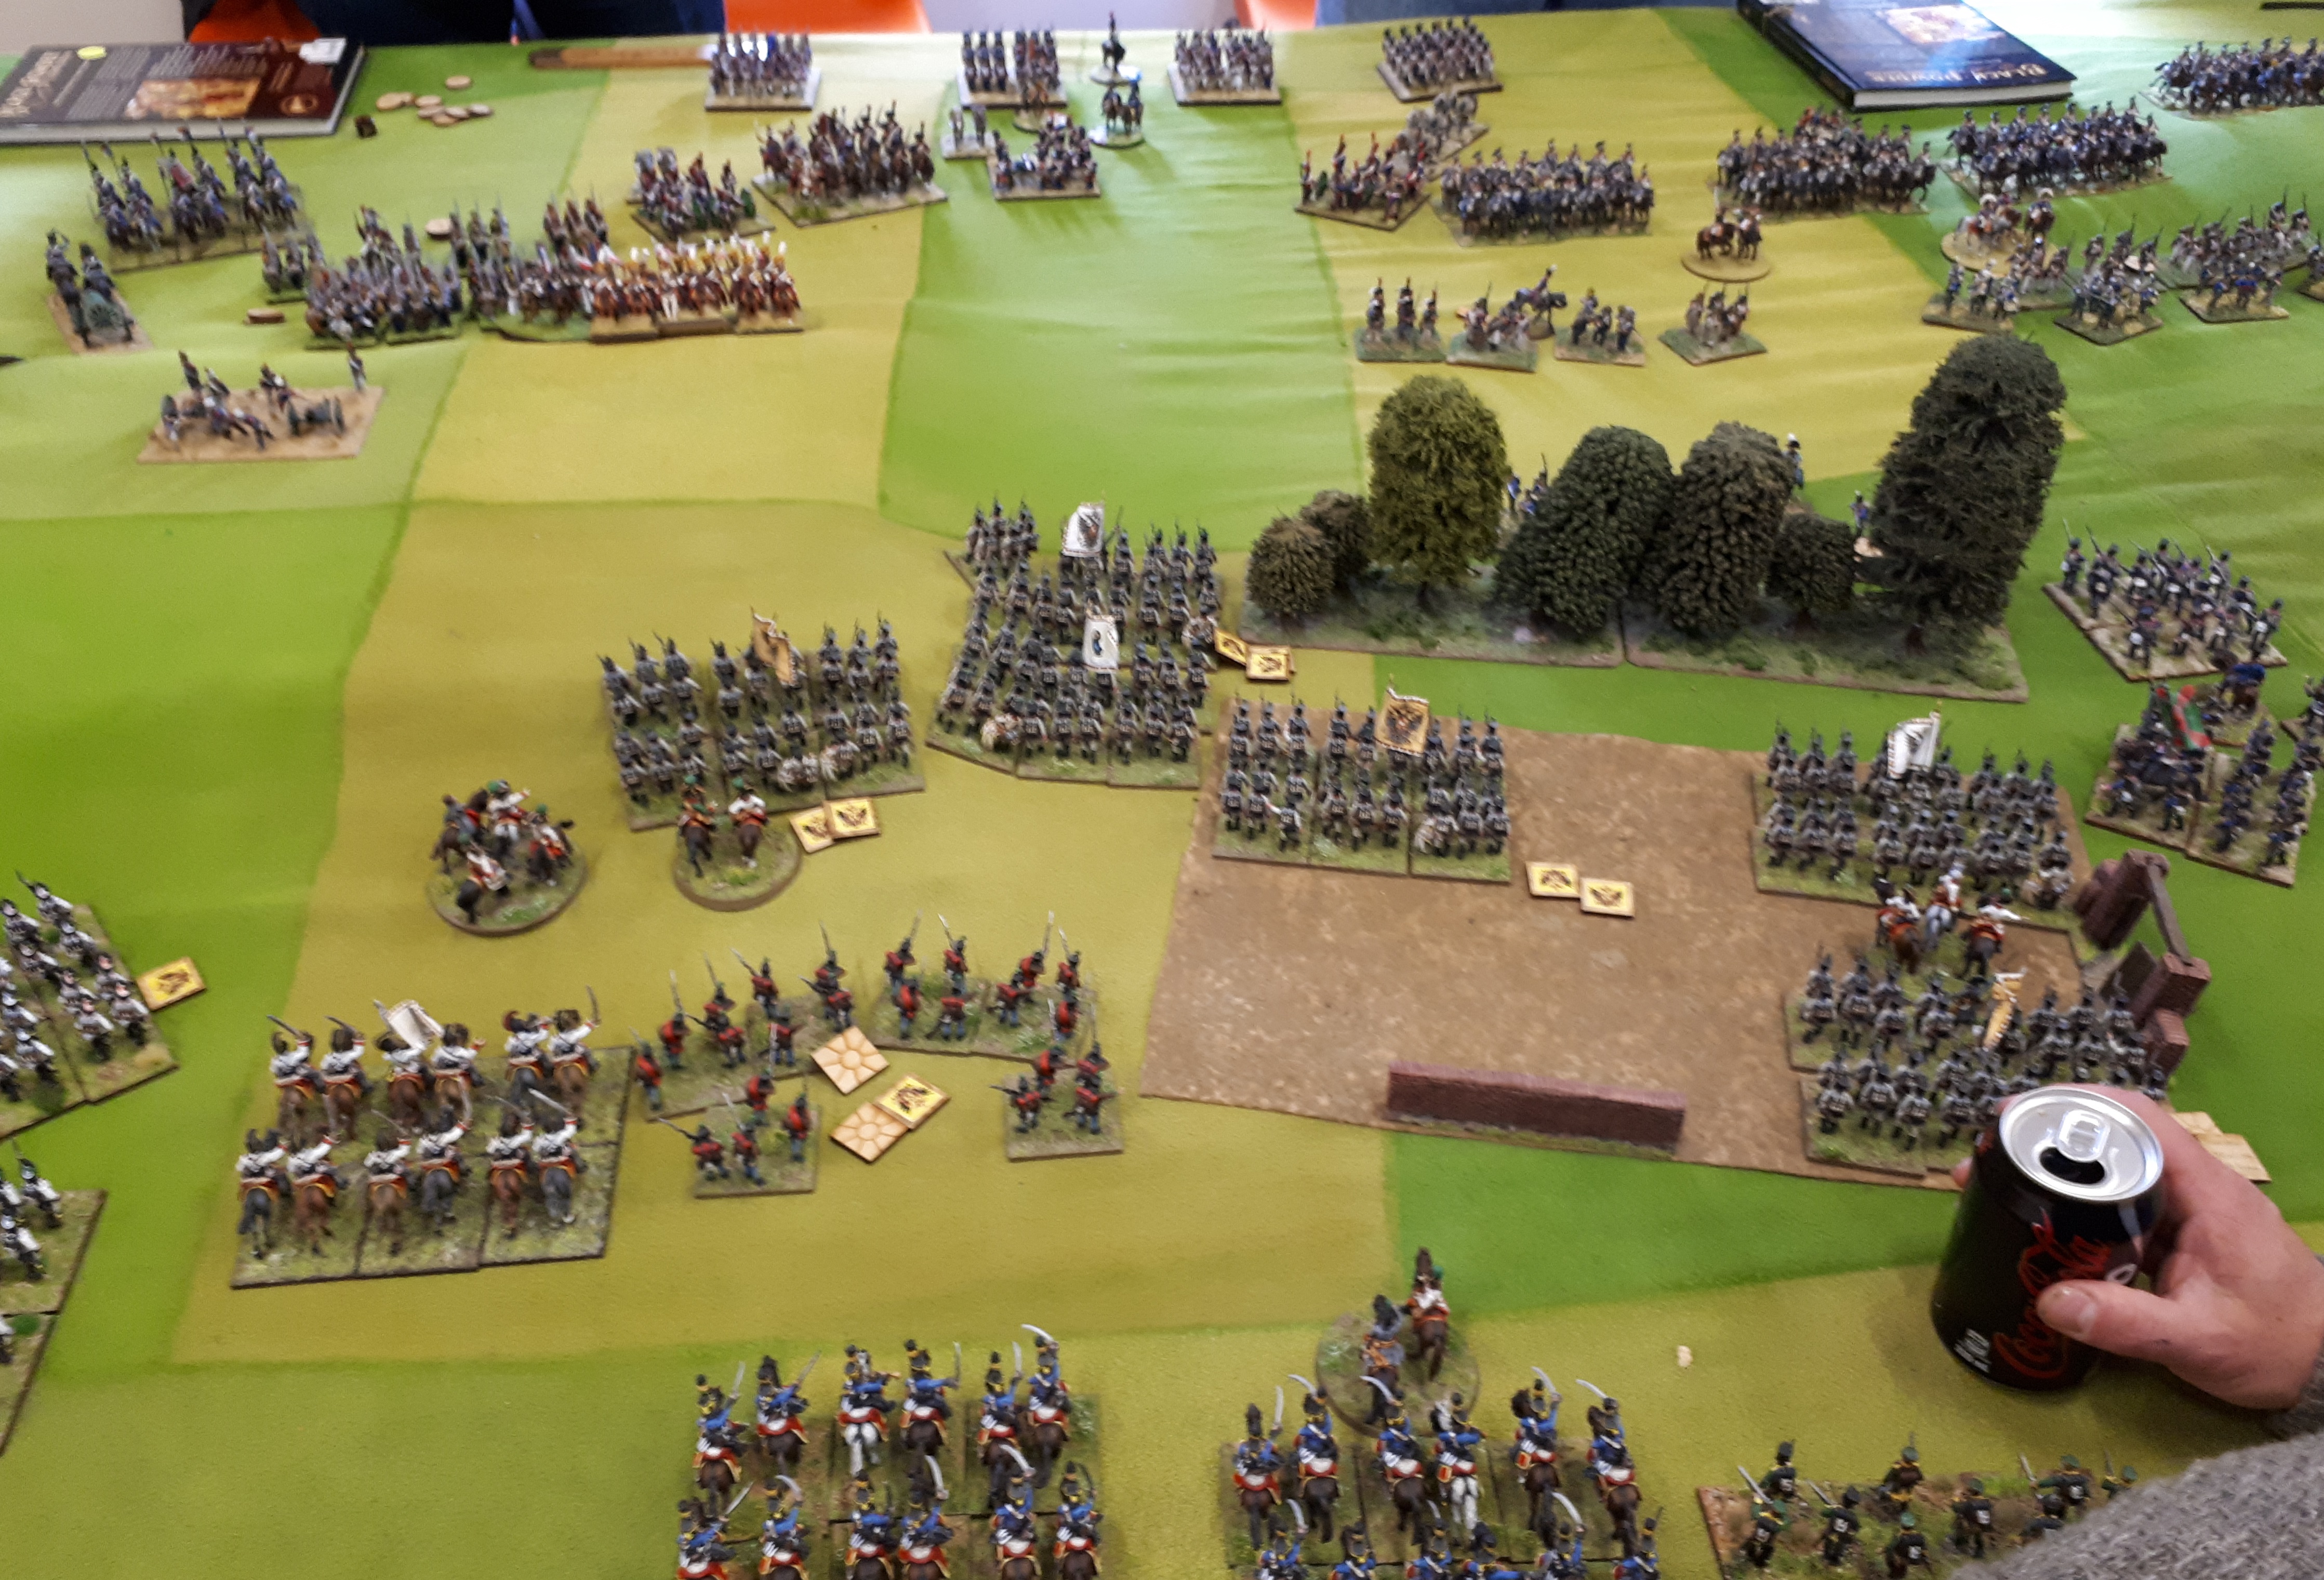
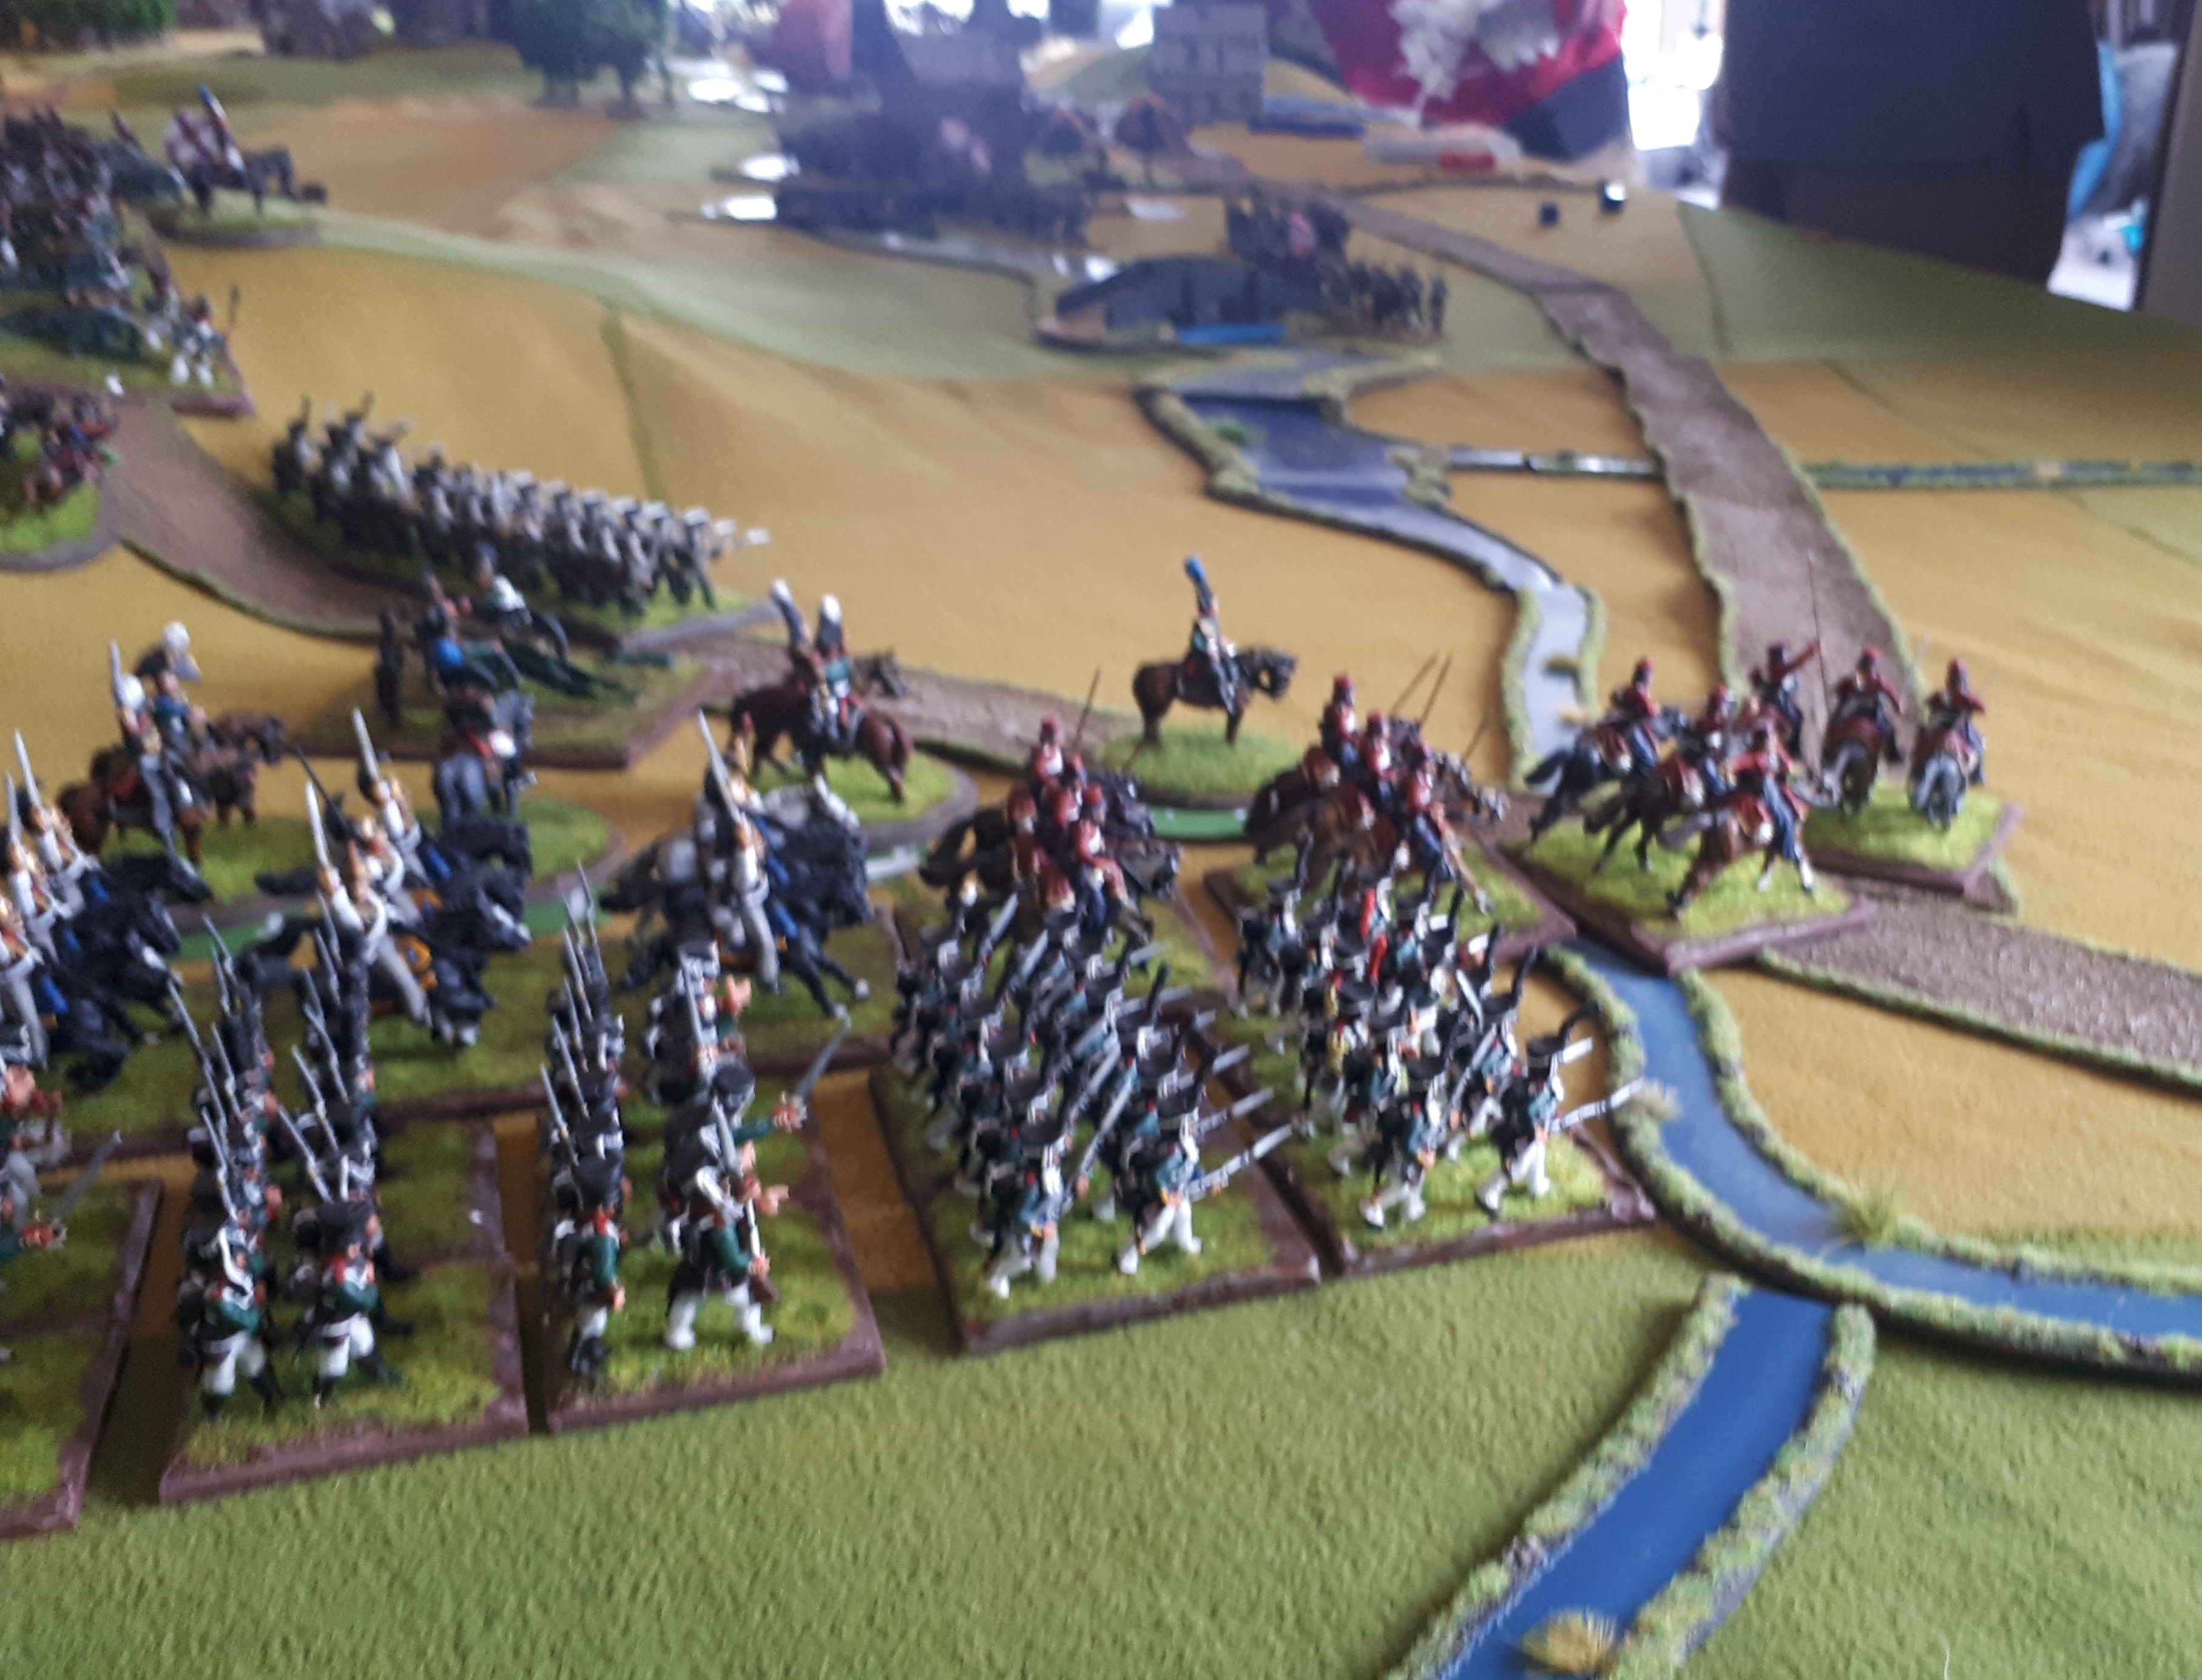
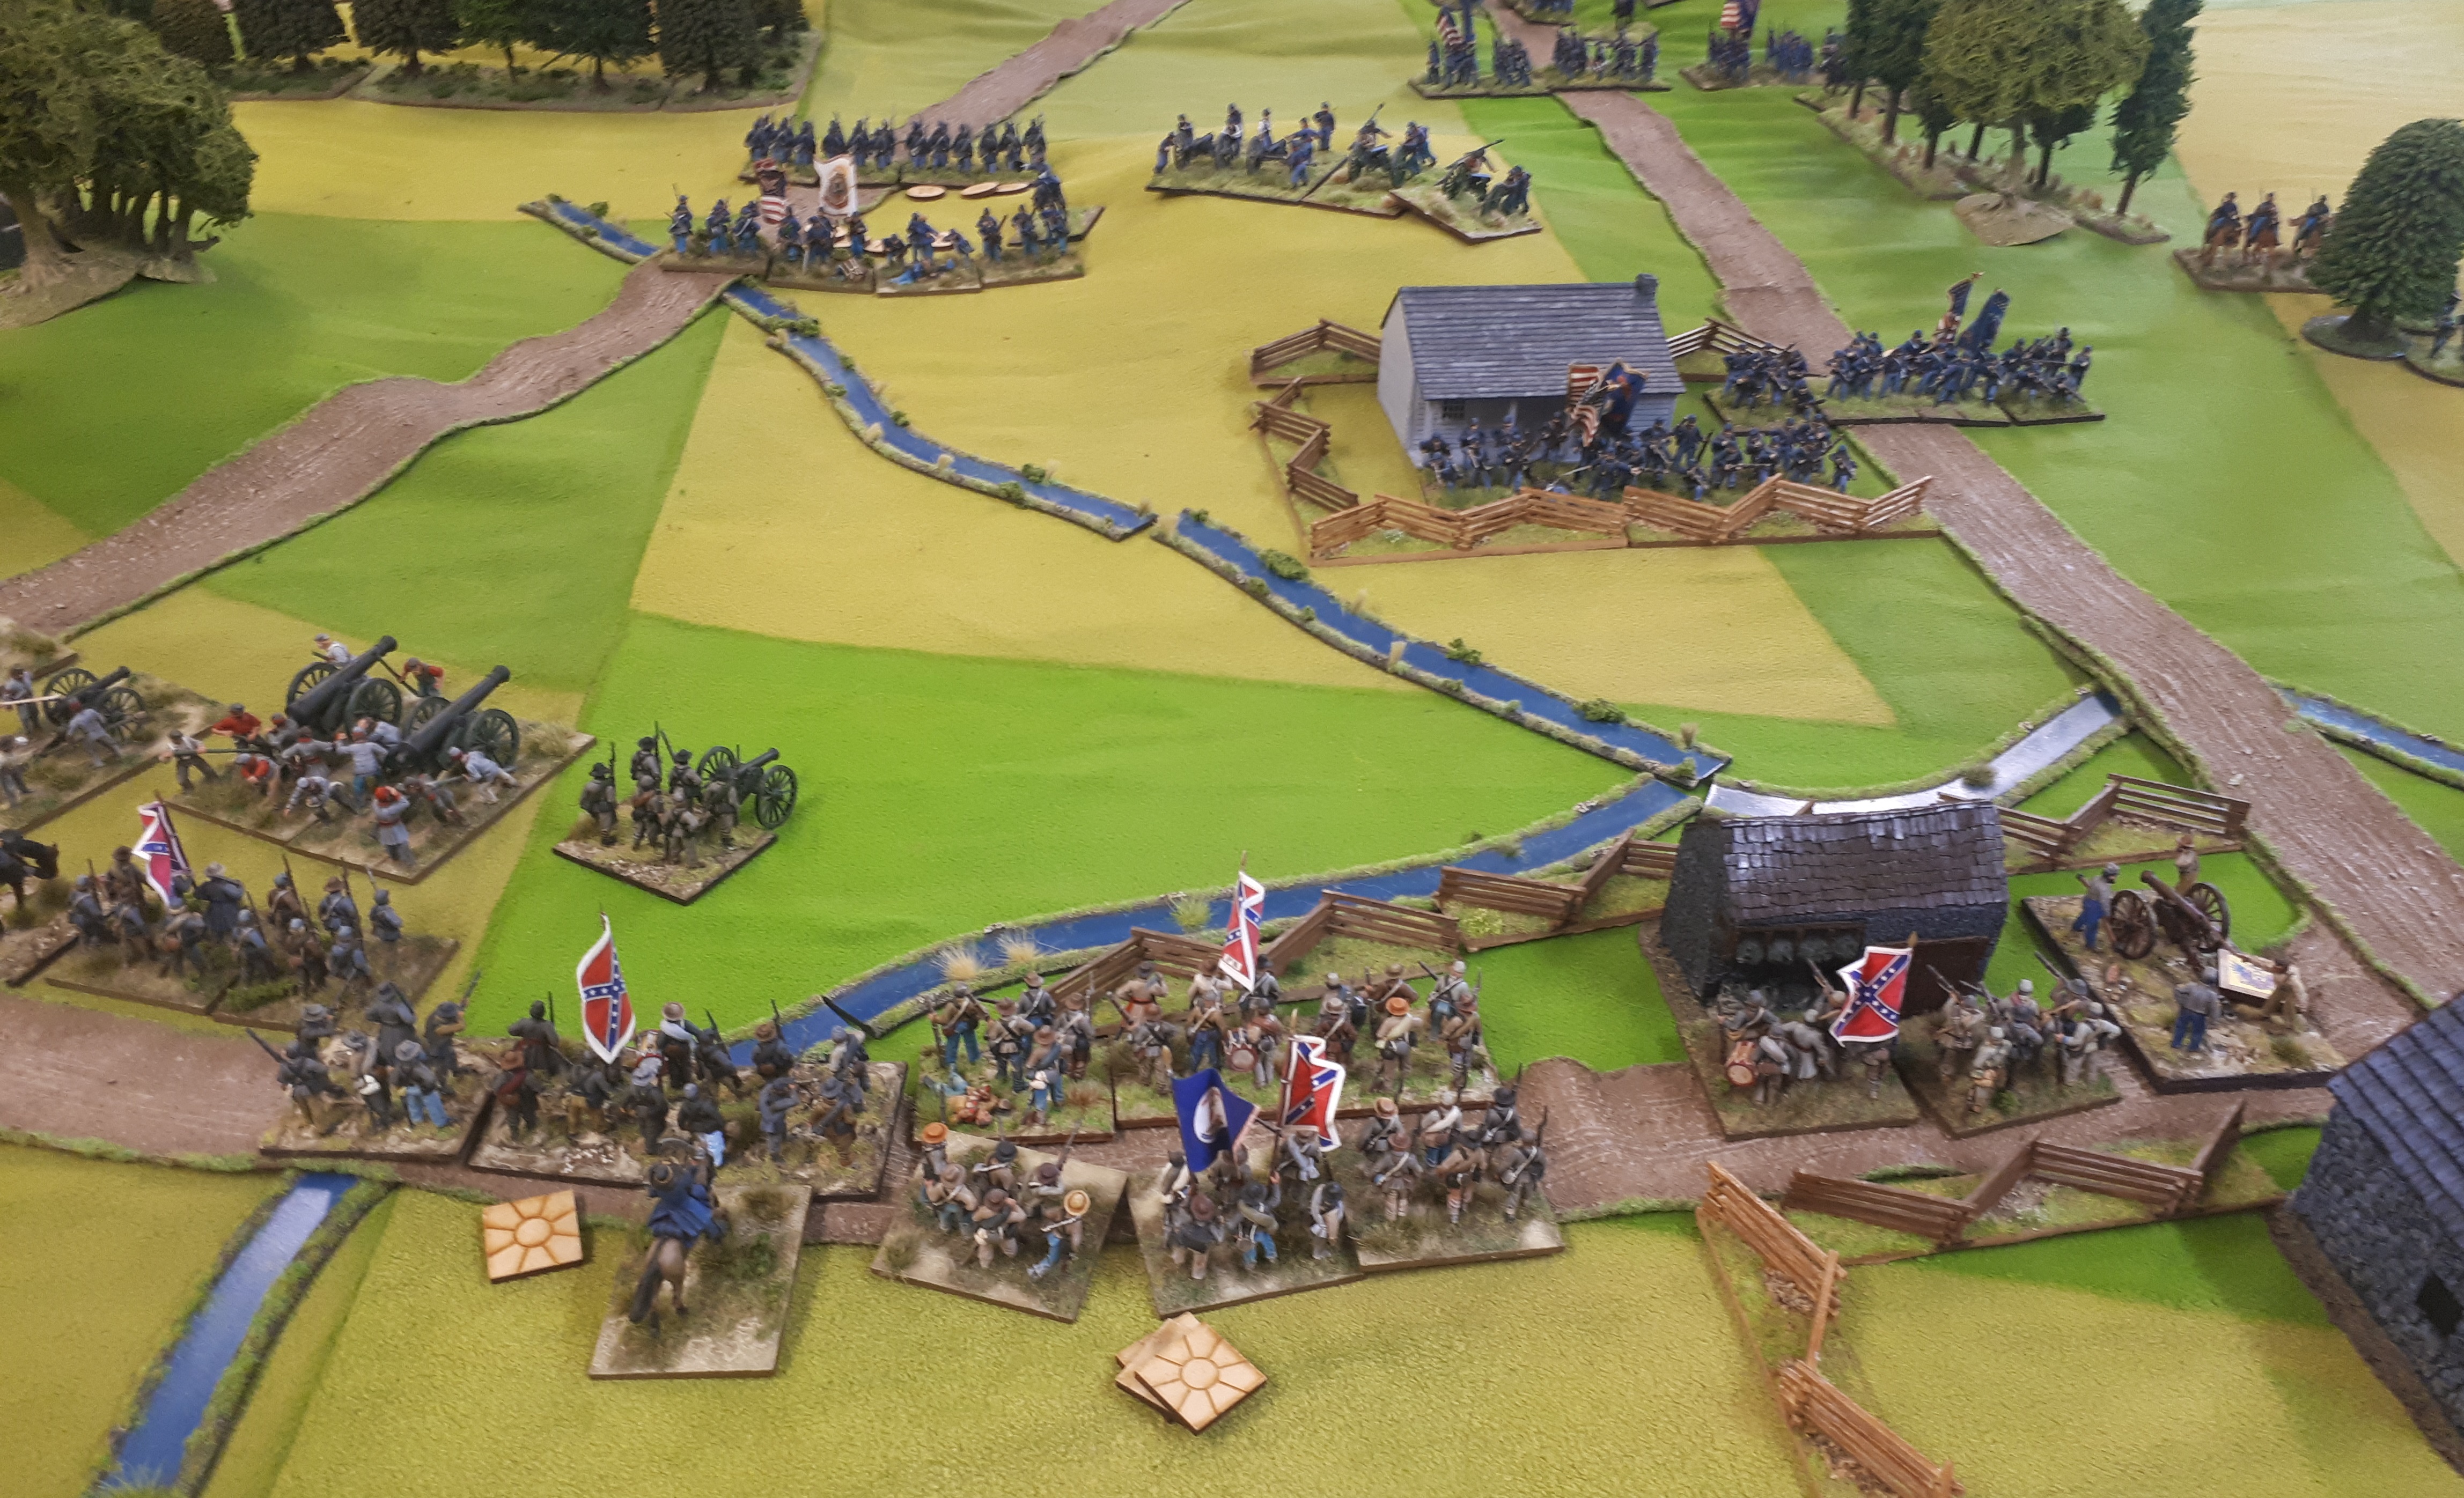
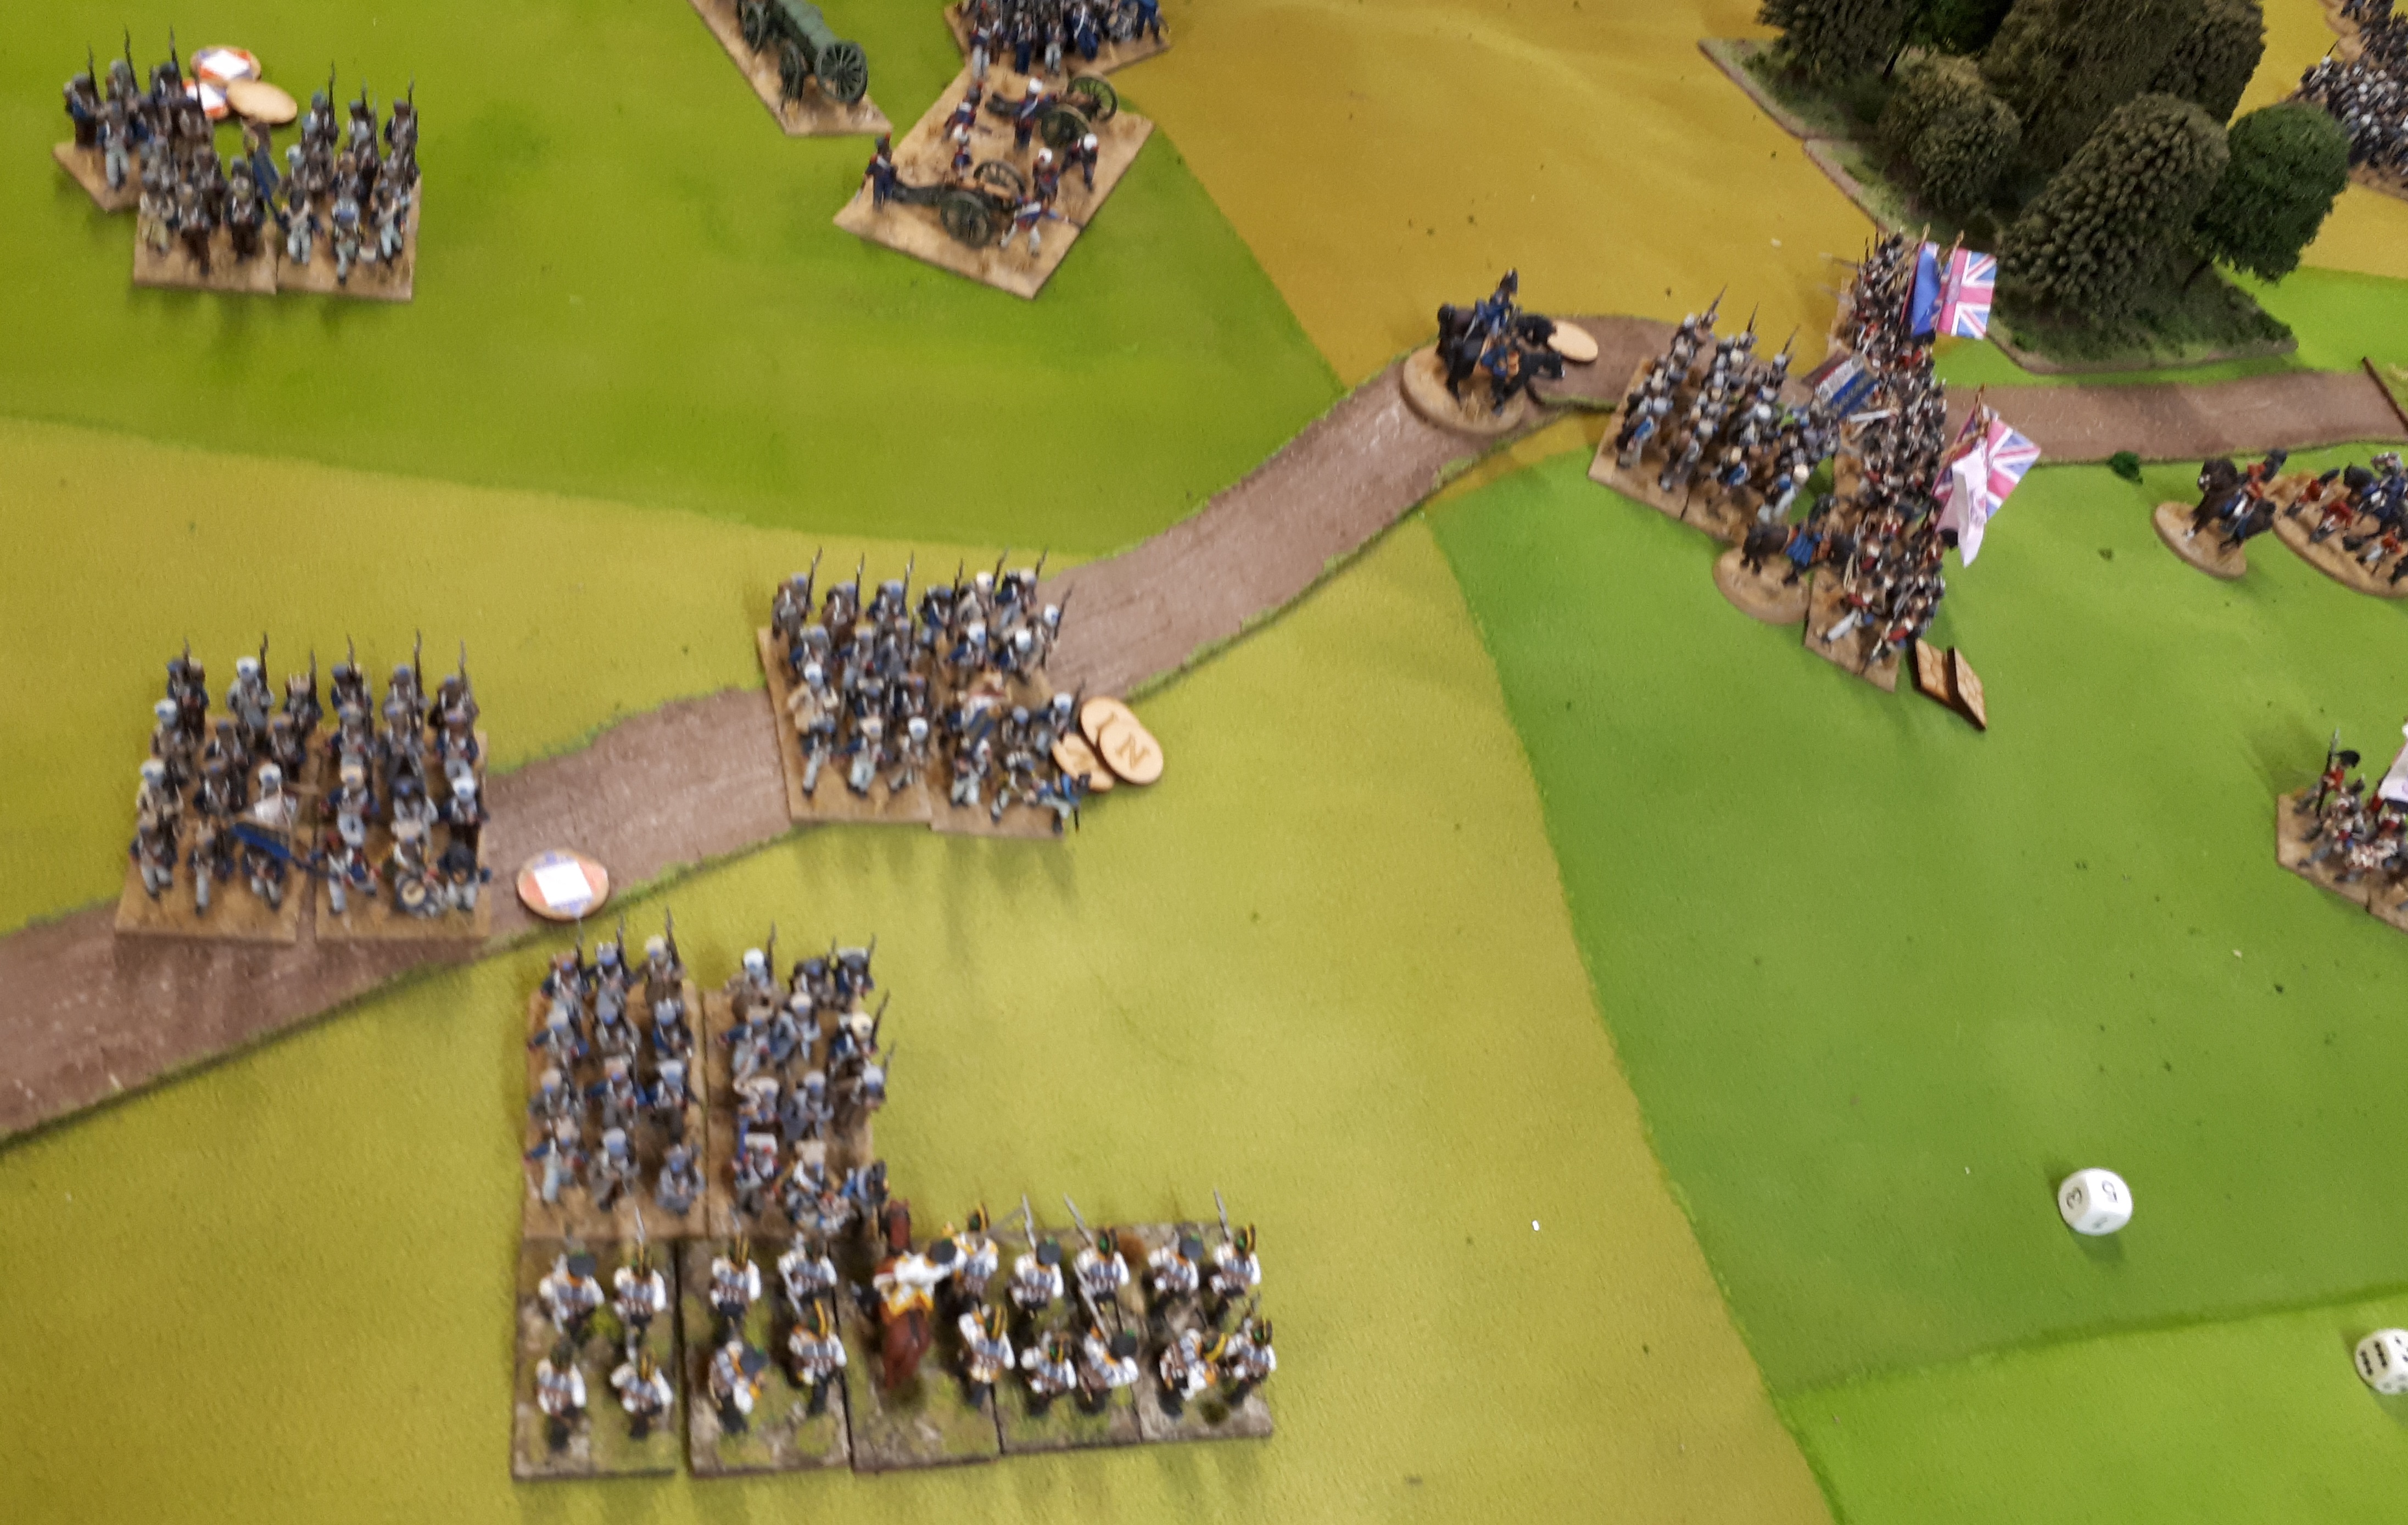
Position on British right. Hanoverian light cavalry still milling around, spent game as a target for French shooting, then kept failing ‘Follow Me’ orders when French units had open flanks. Hanoverian line locked in combat while other units have retired. Light infantry still on flank French column. British line sin centre are closing in.

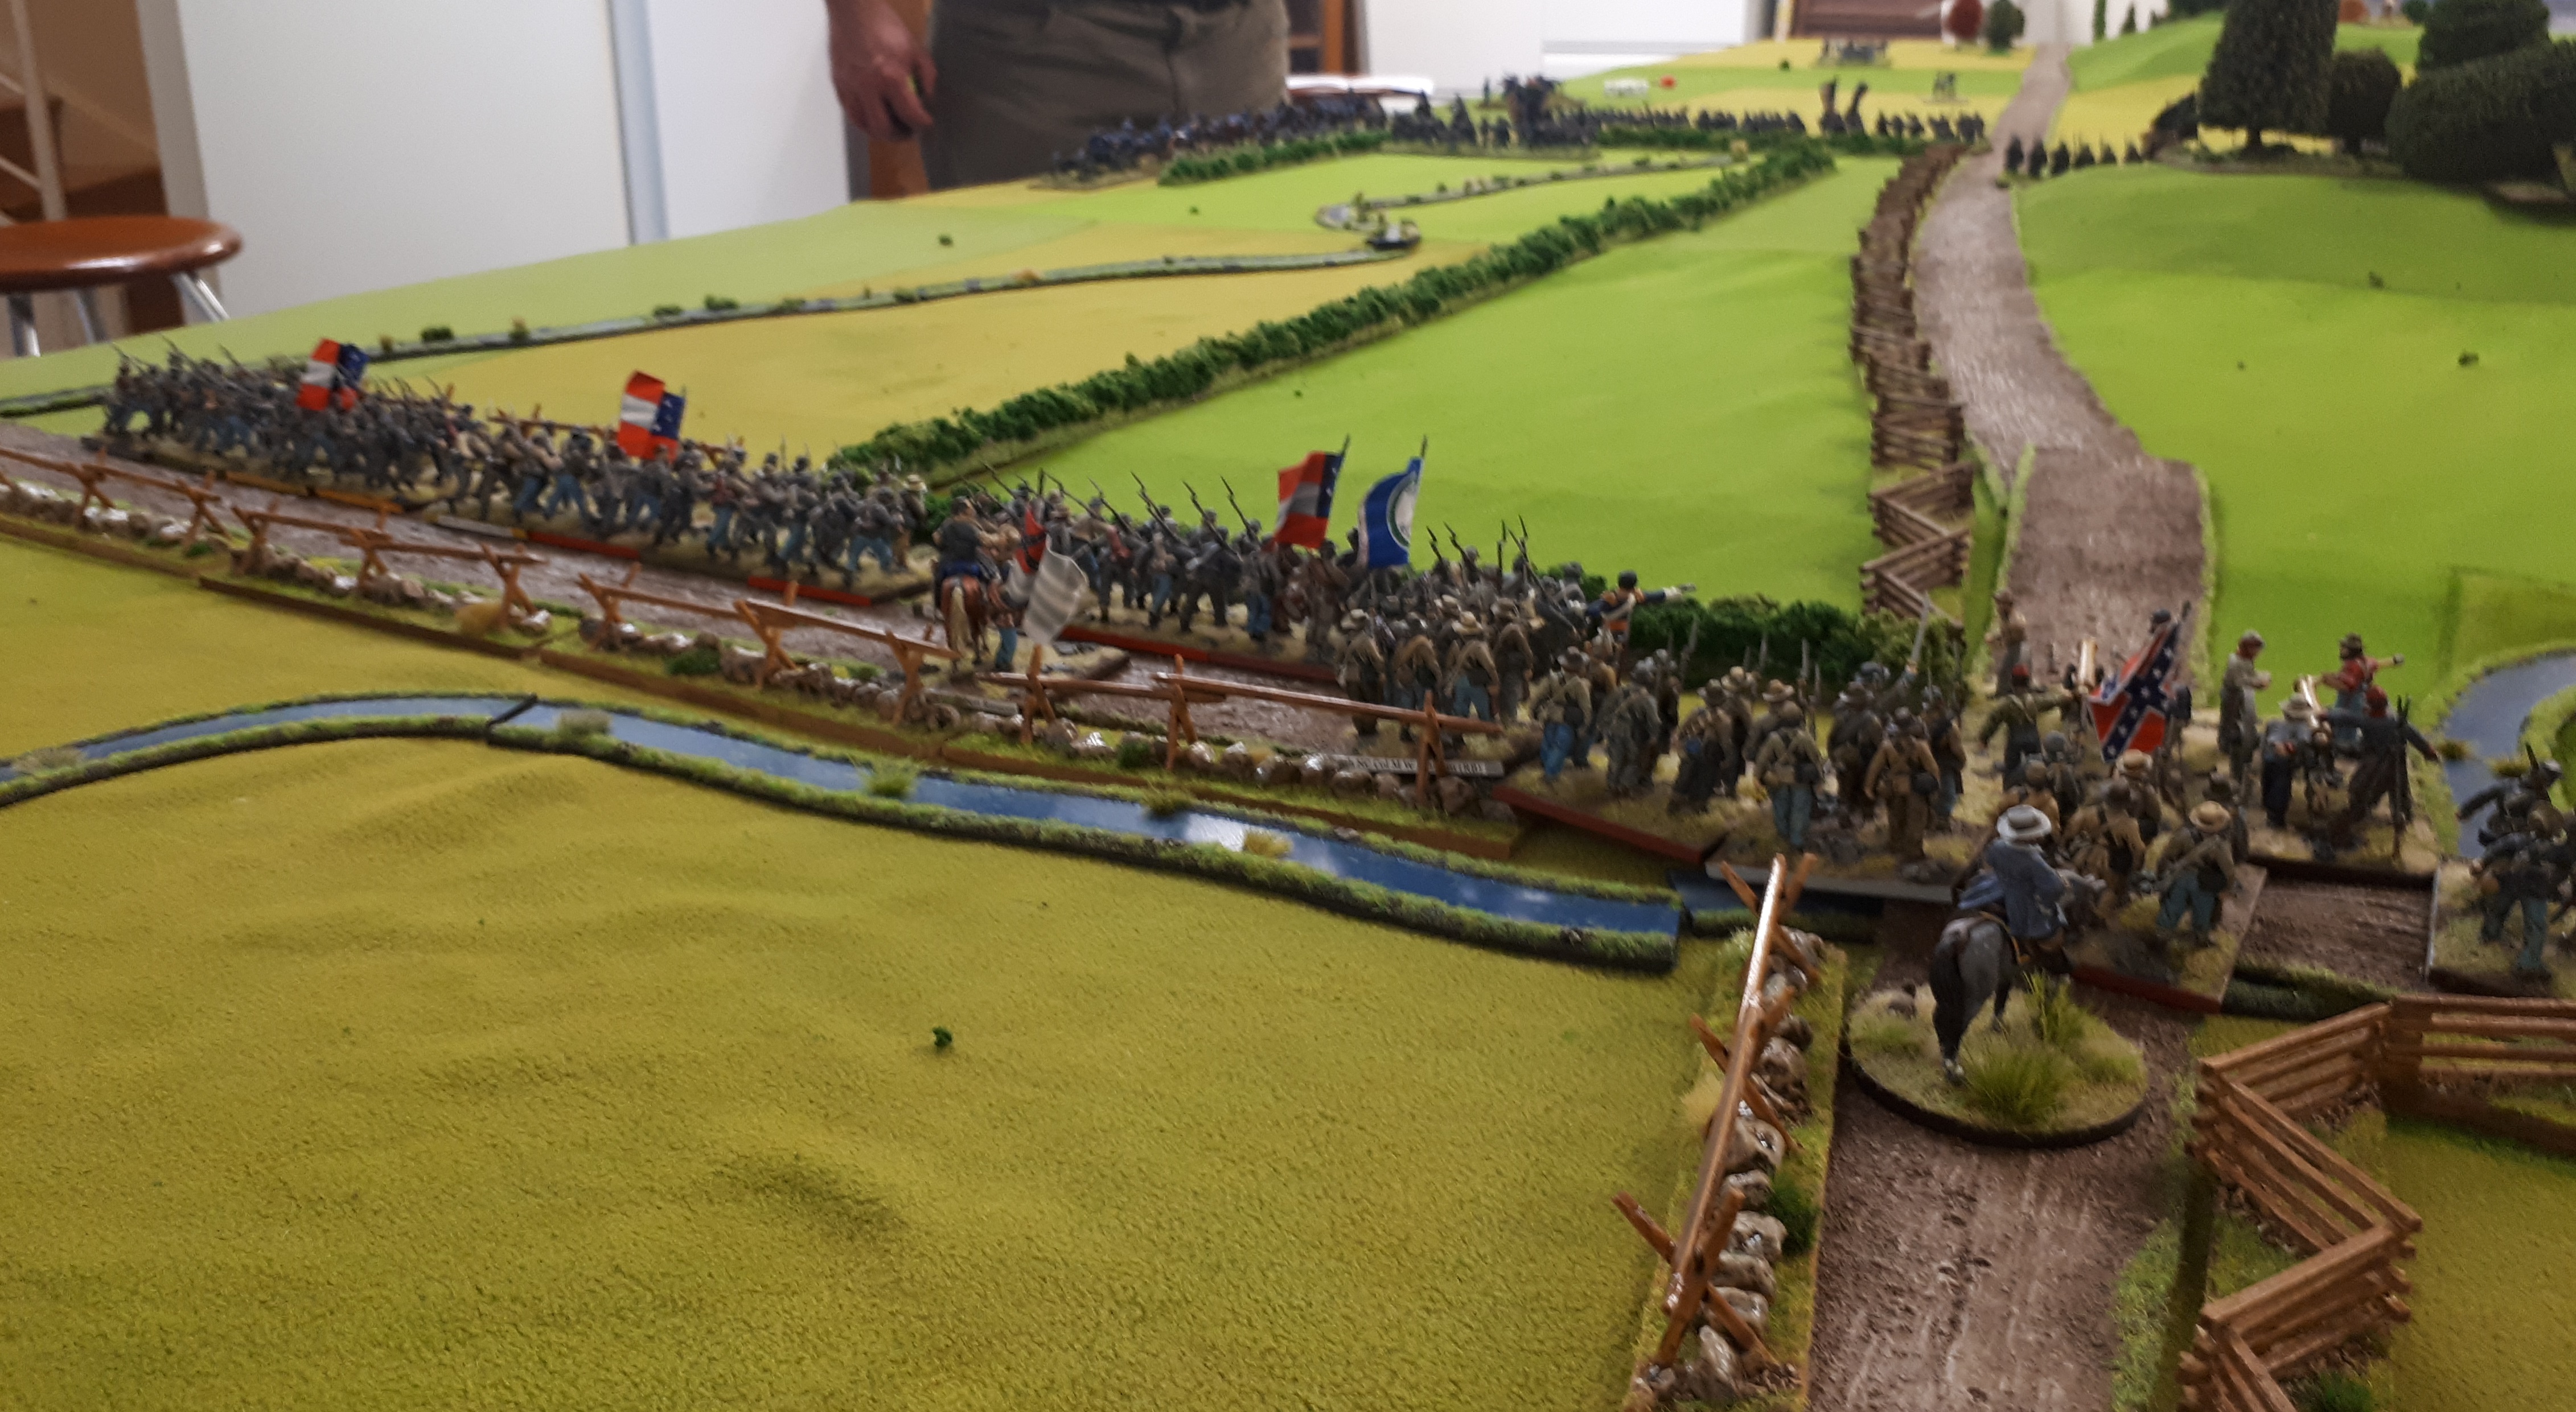
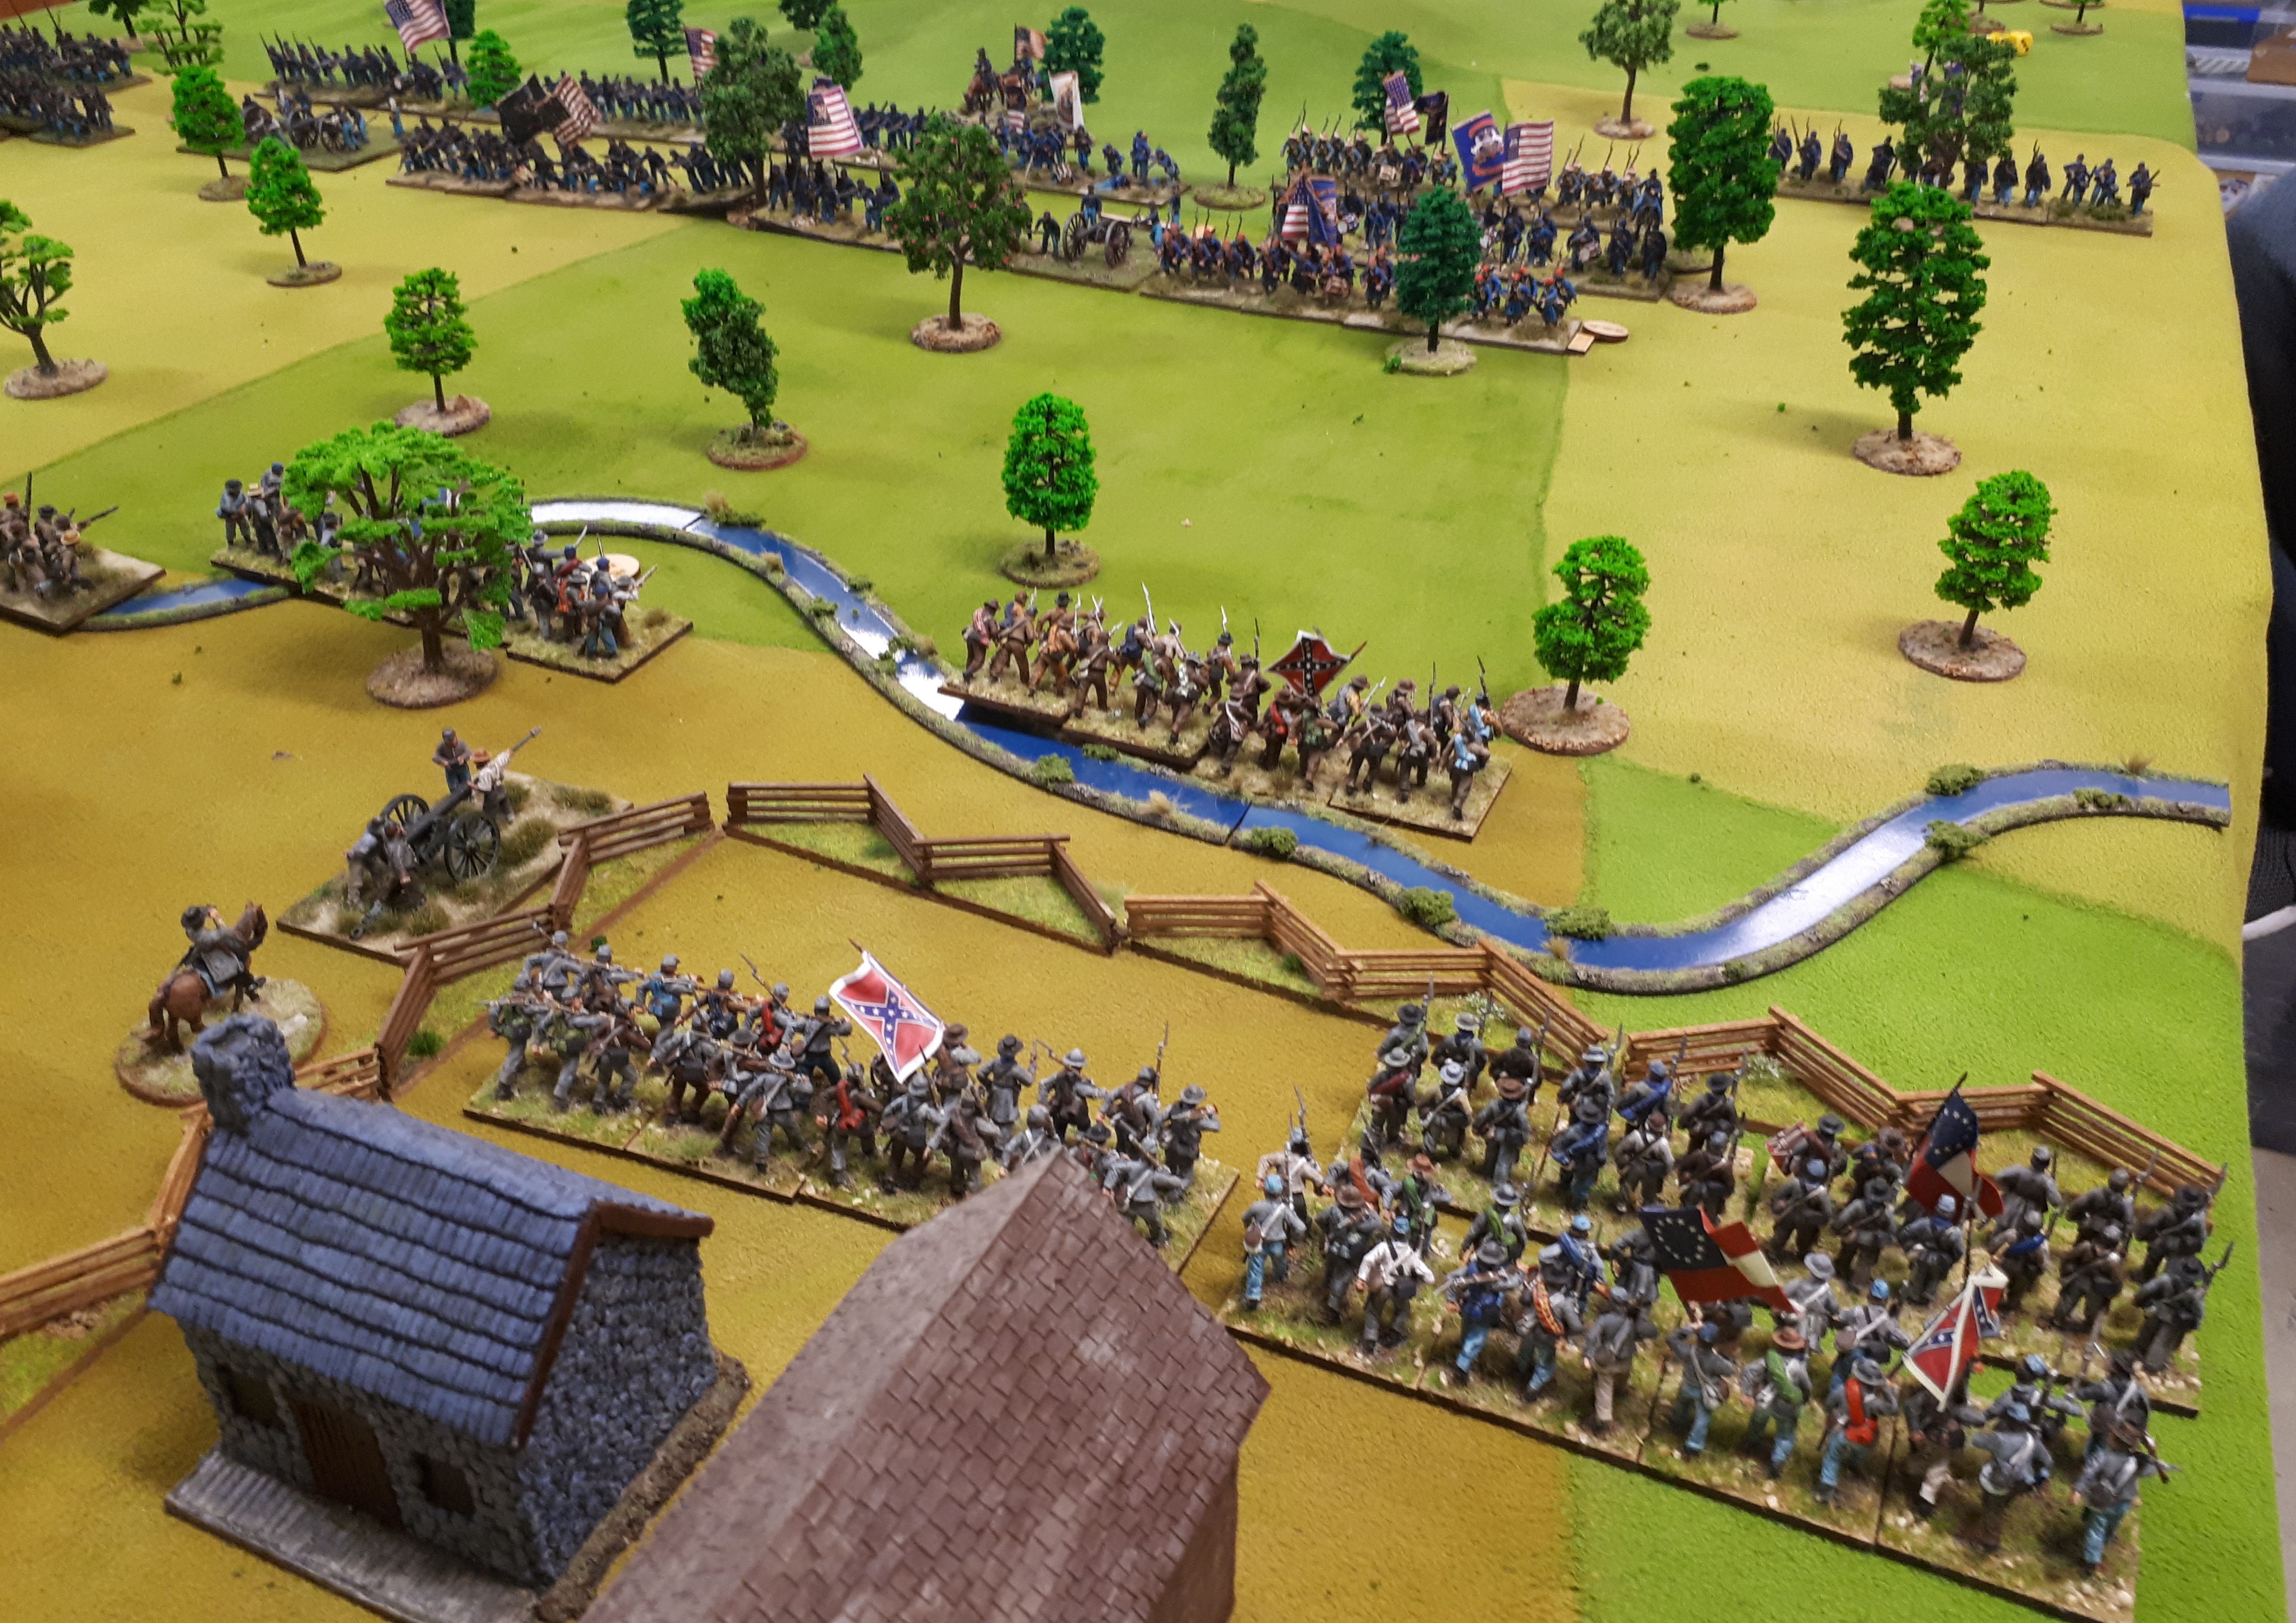
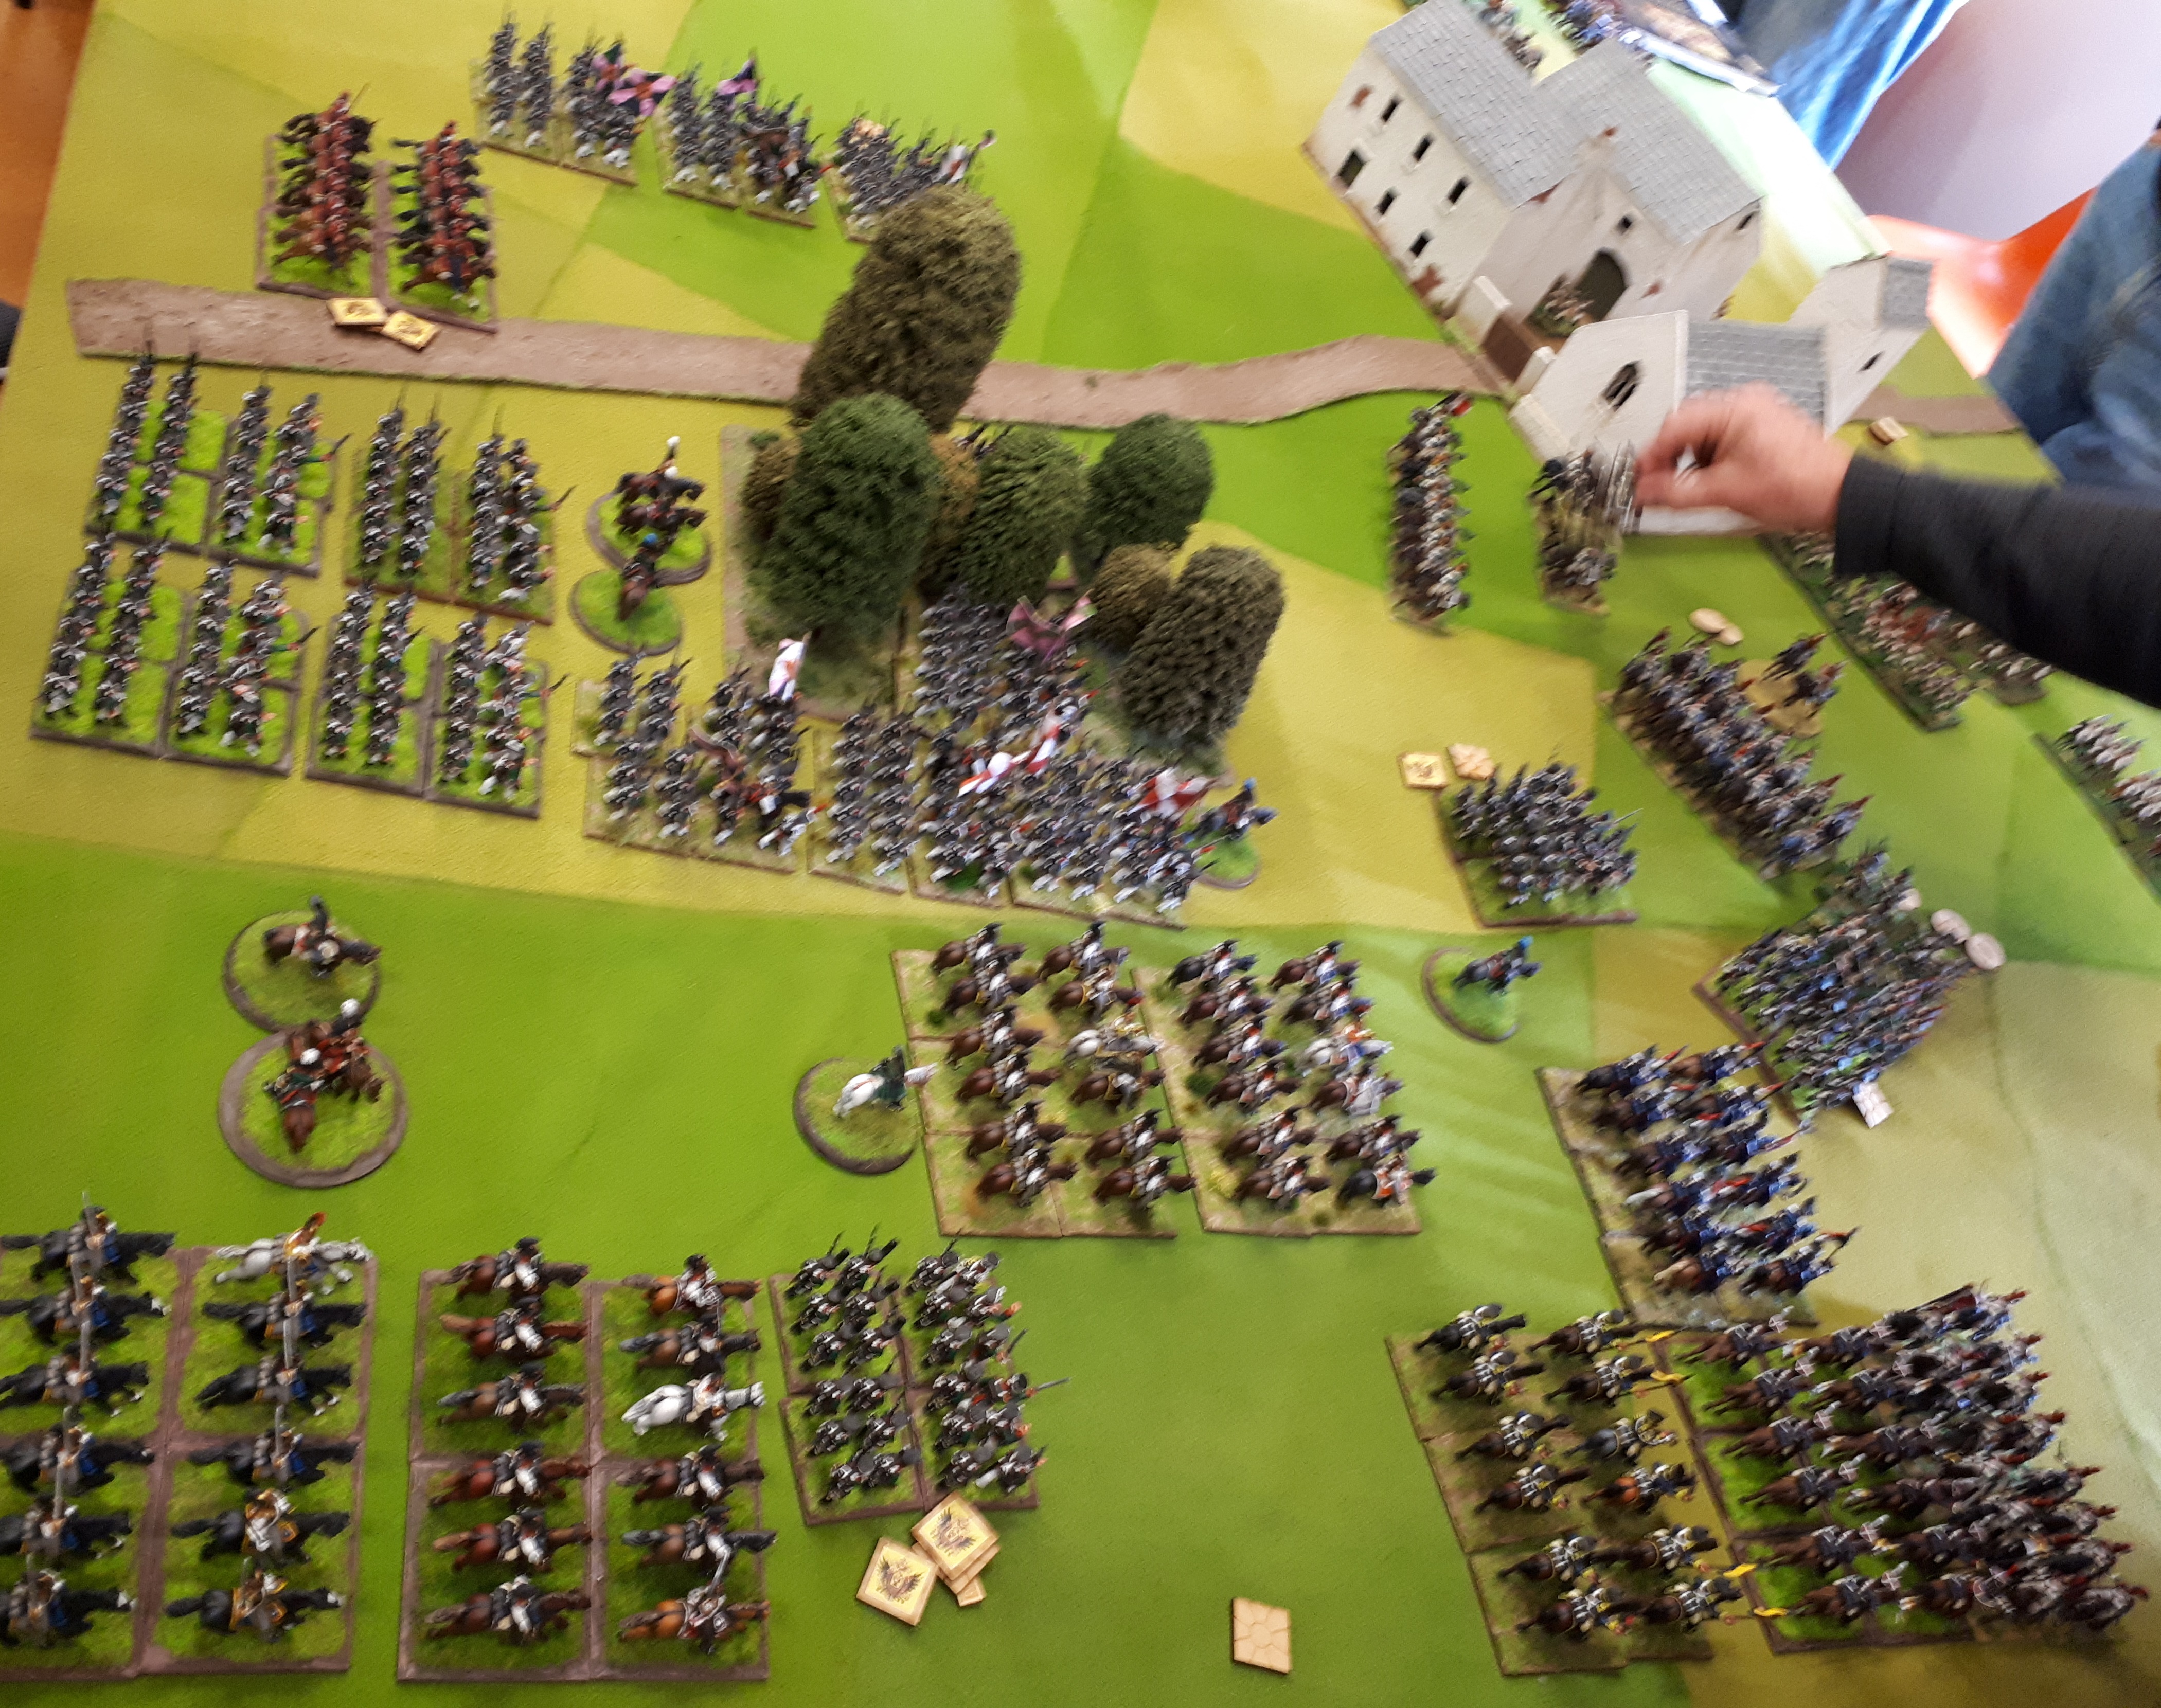
French have charged British line on the rise, combat continues v Hanoverian line.

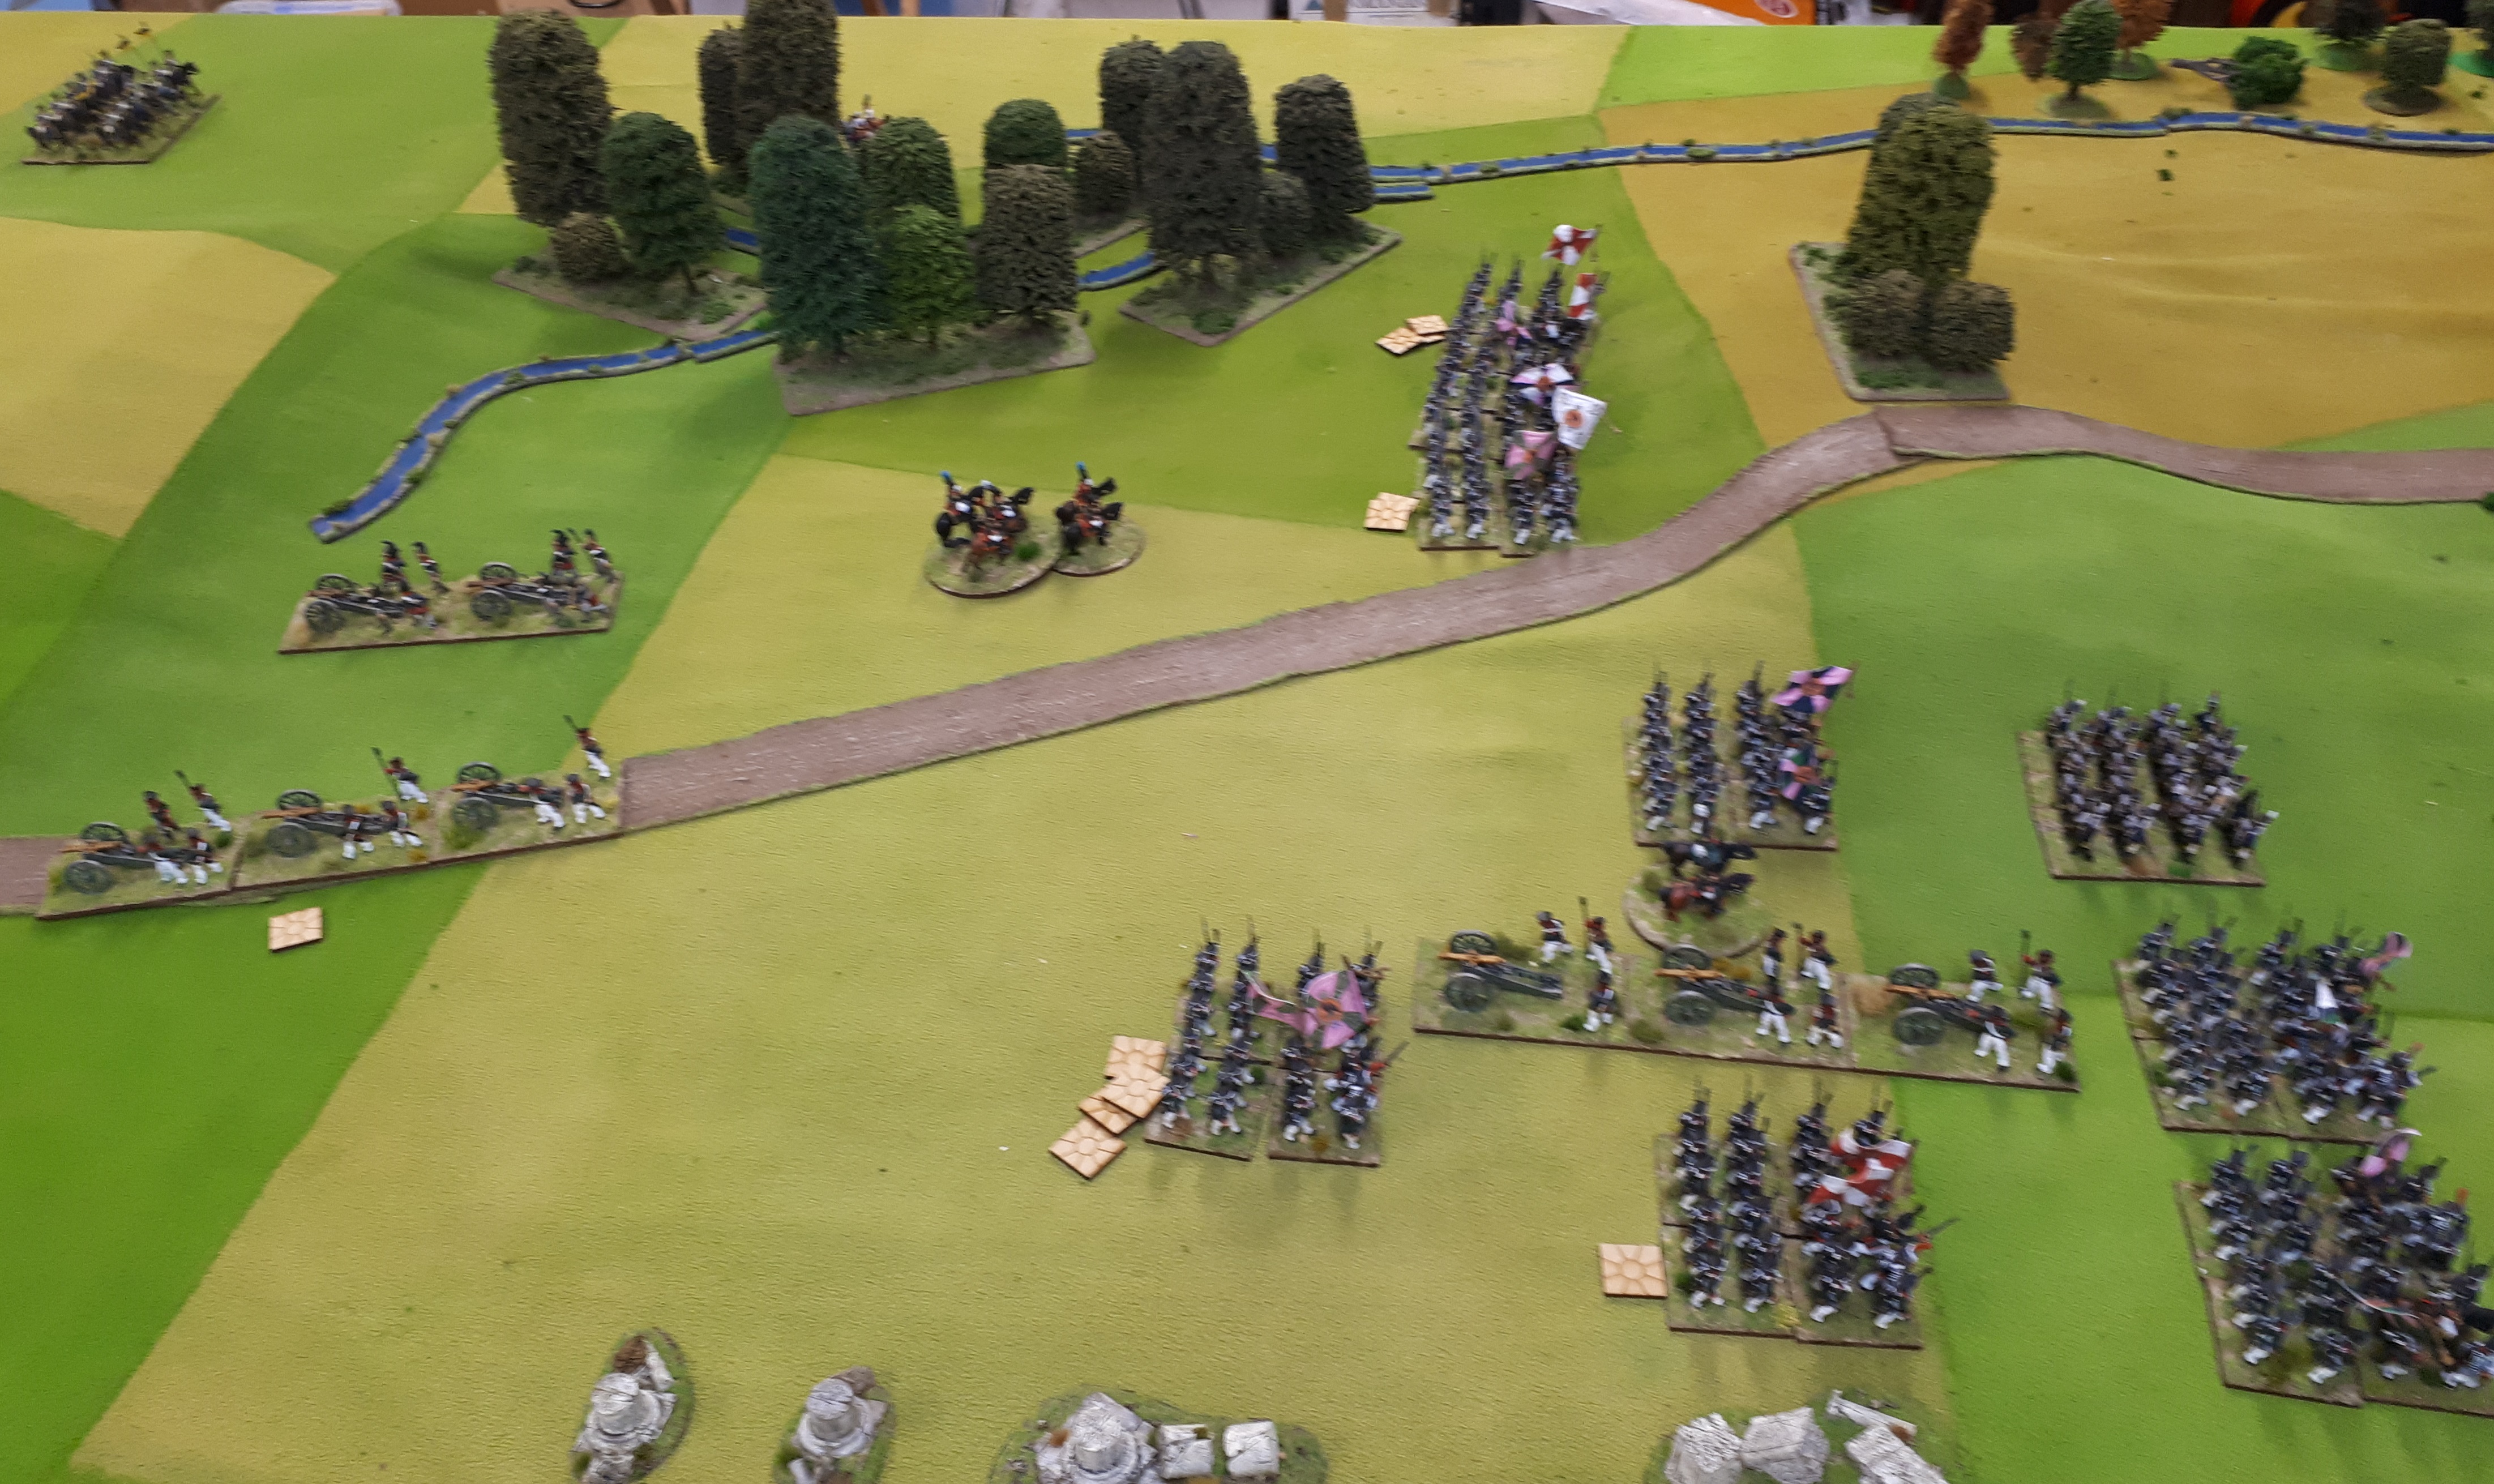
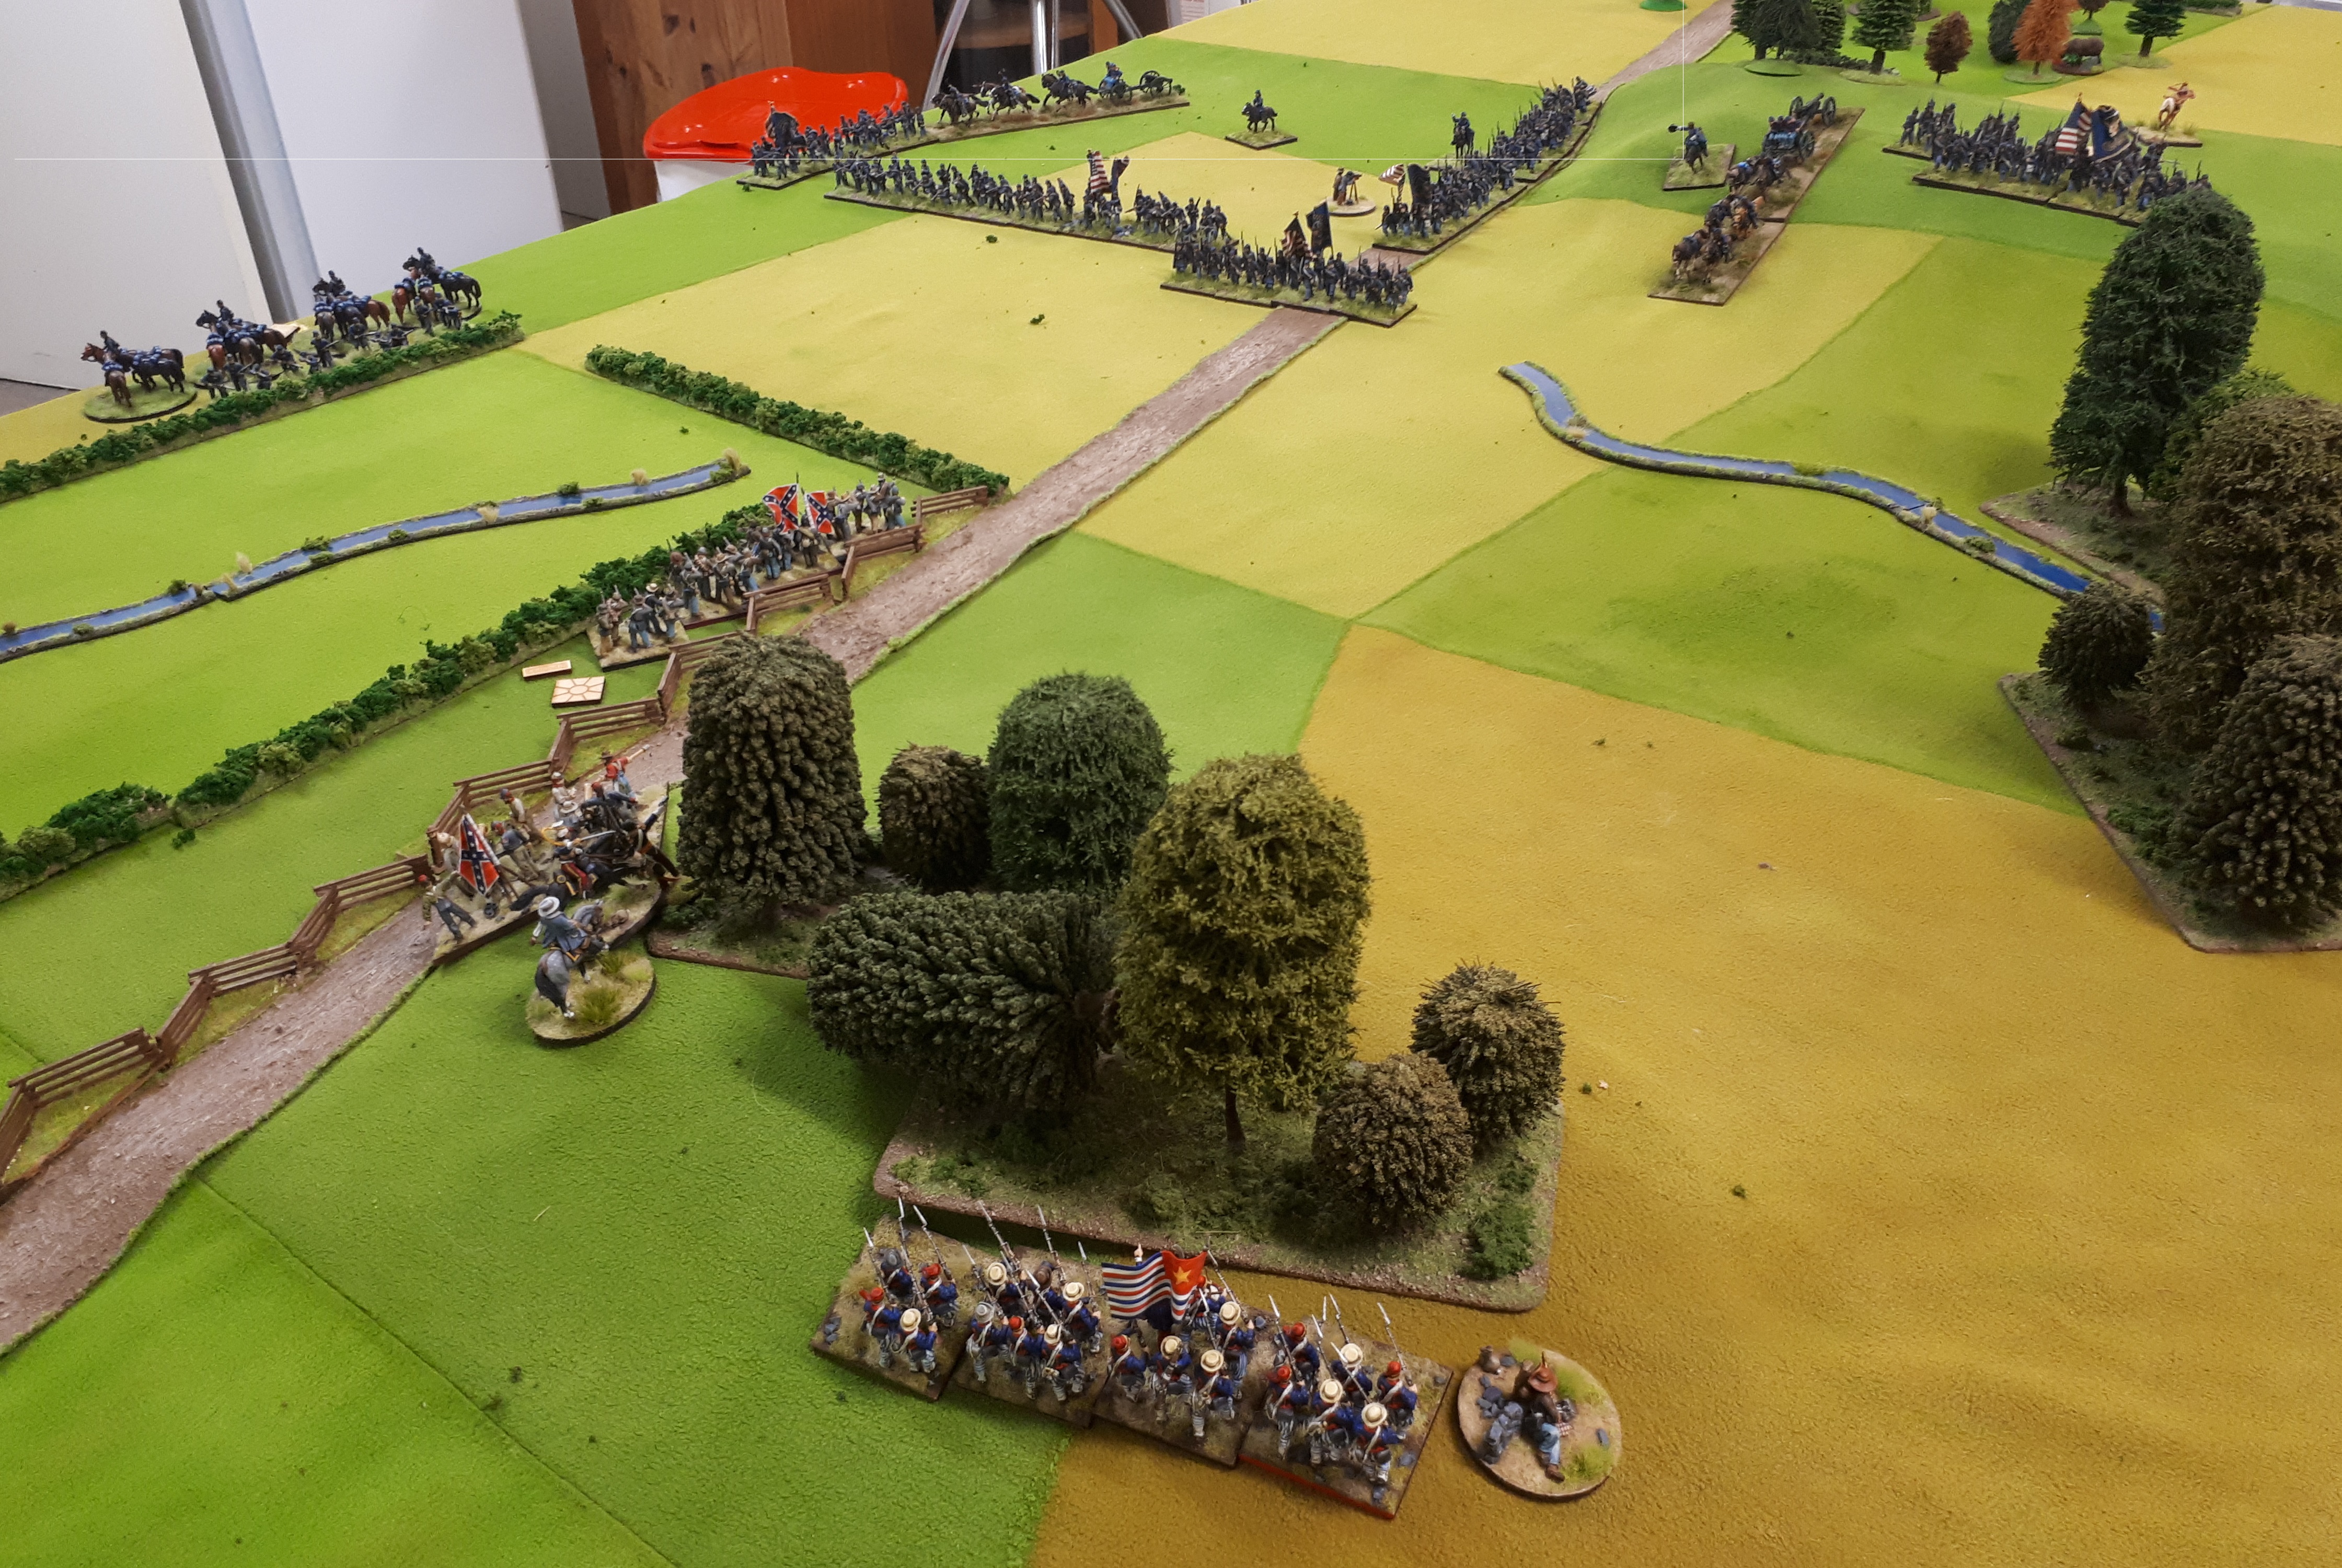
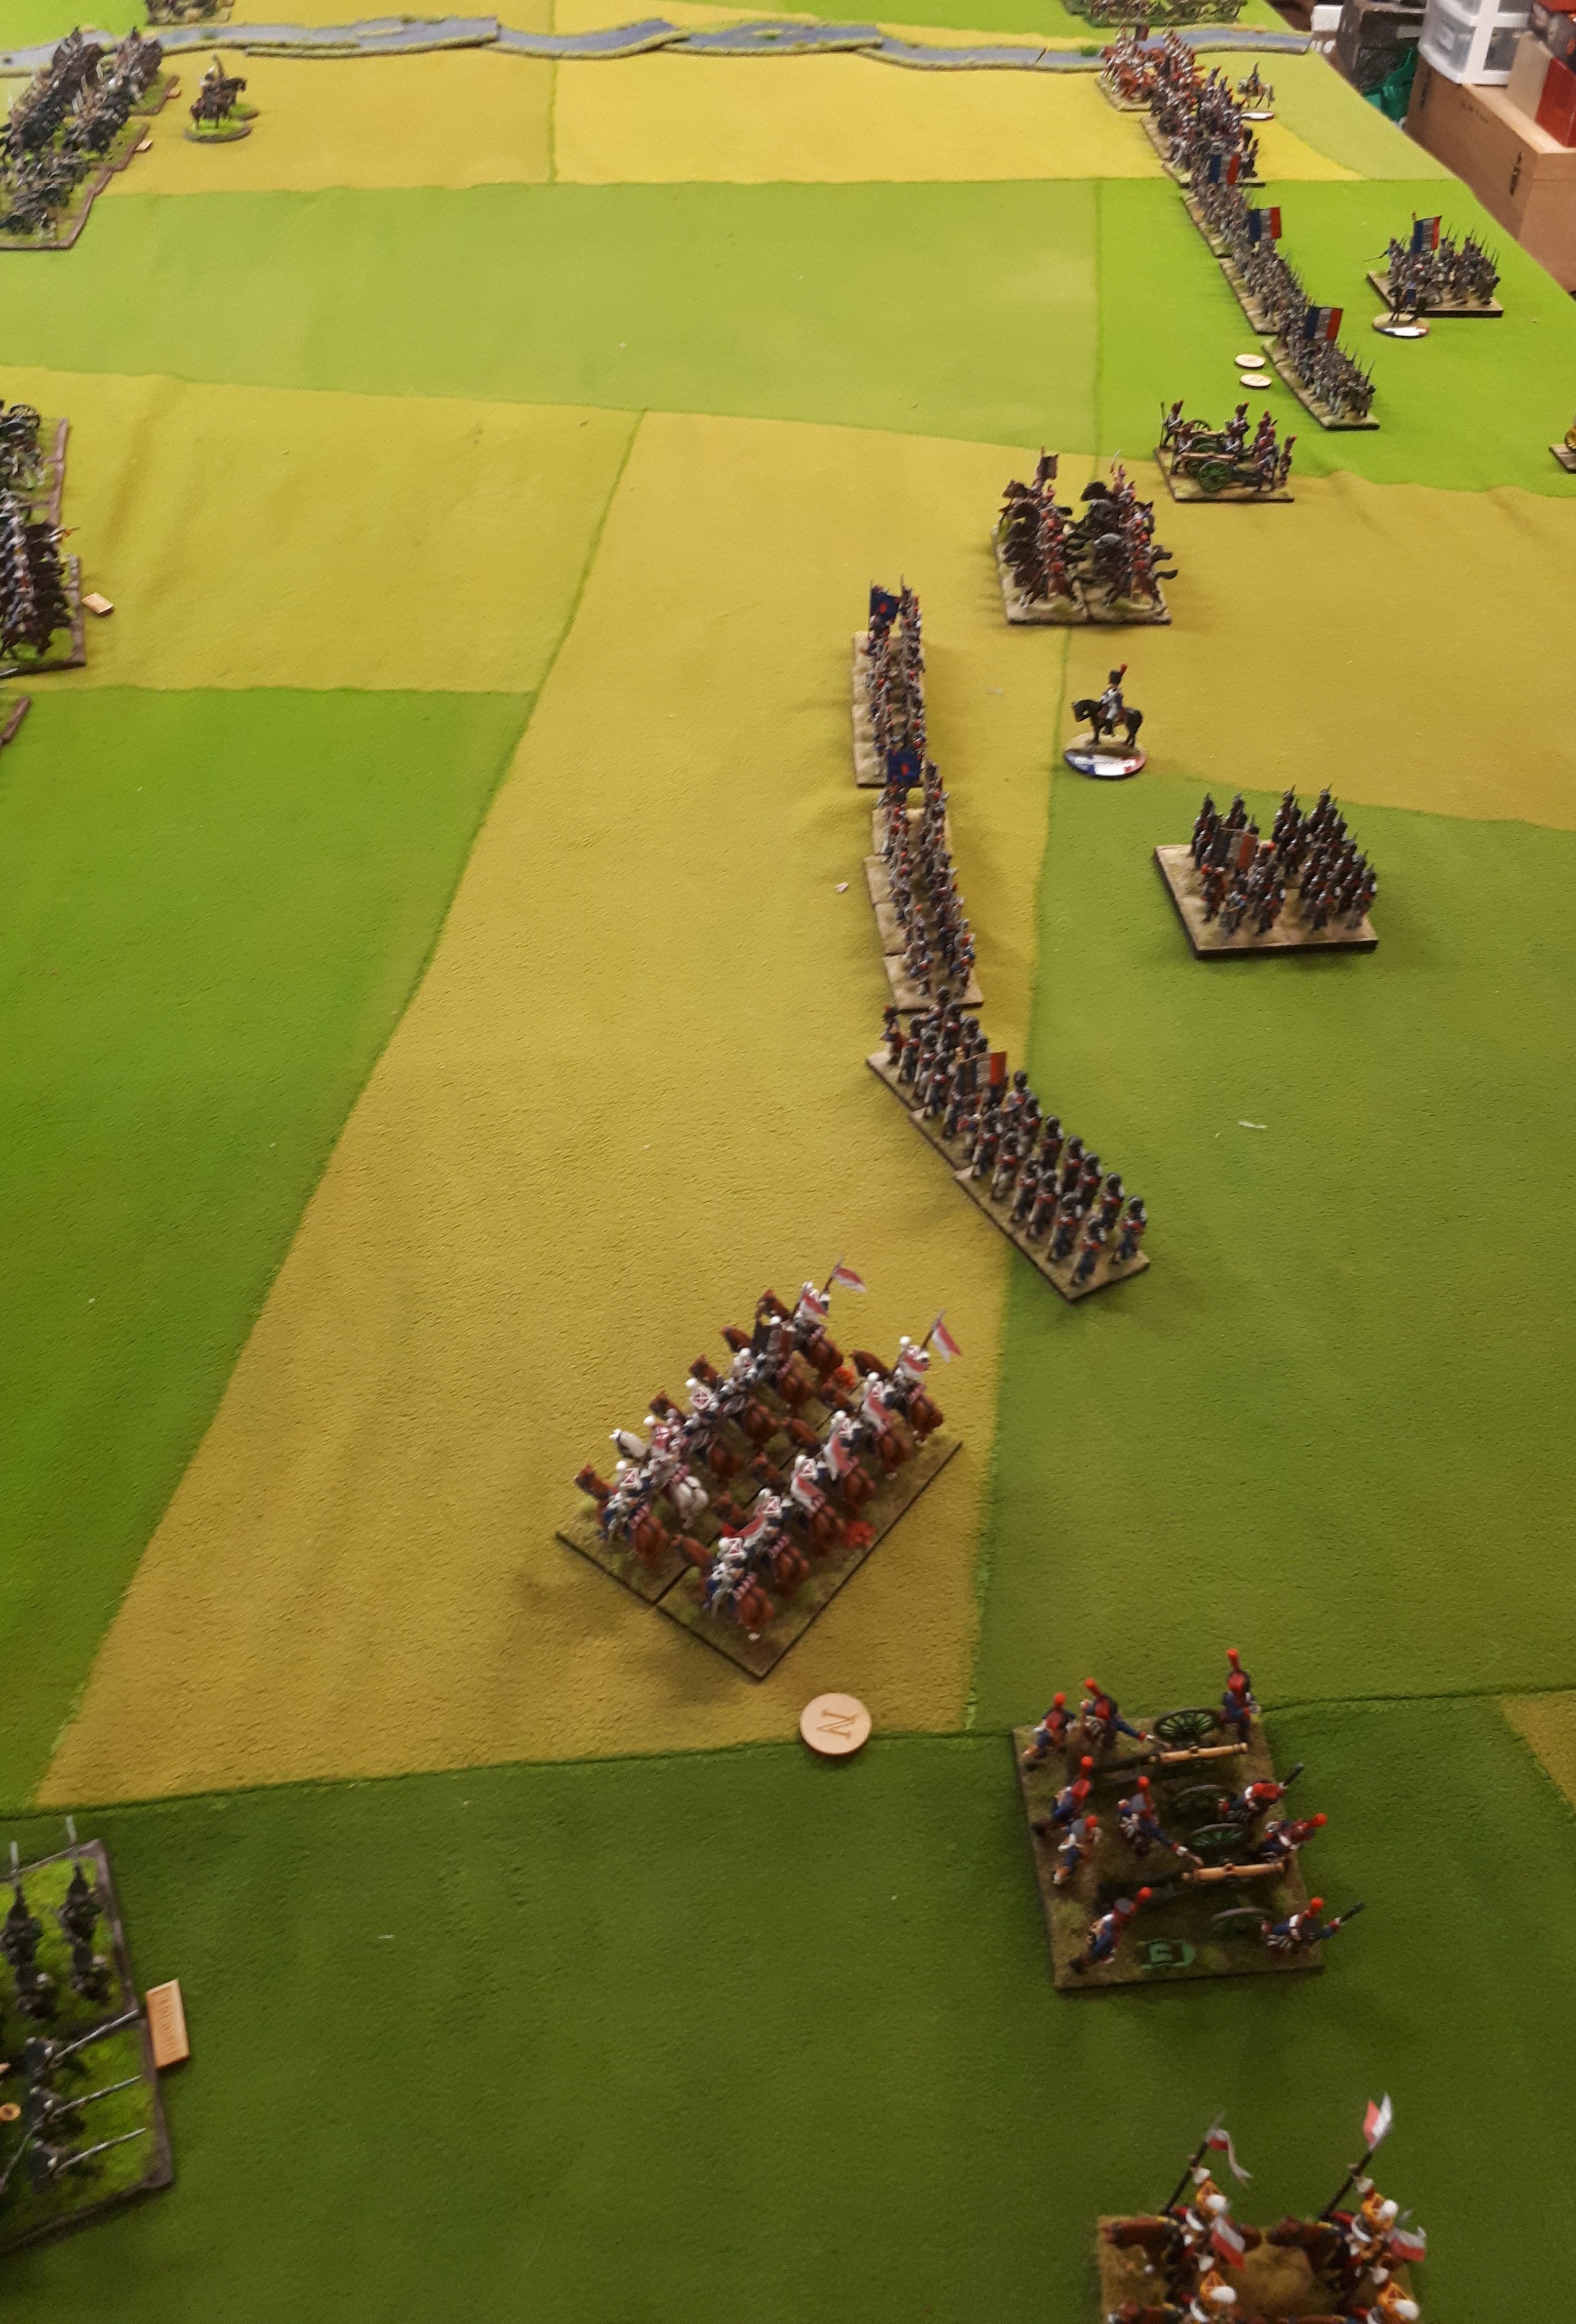
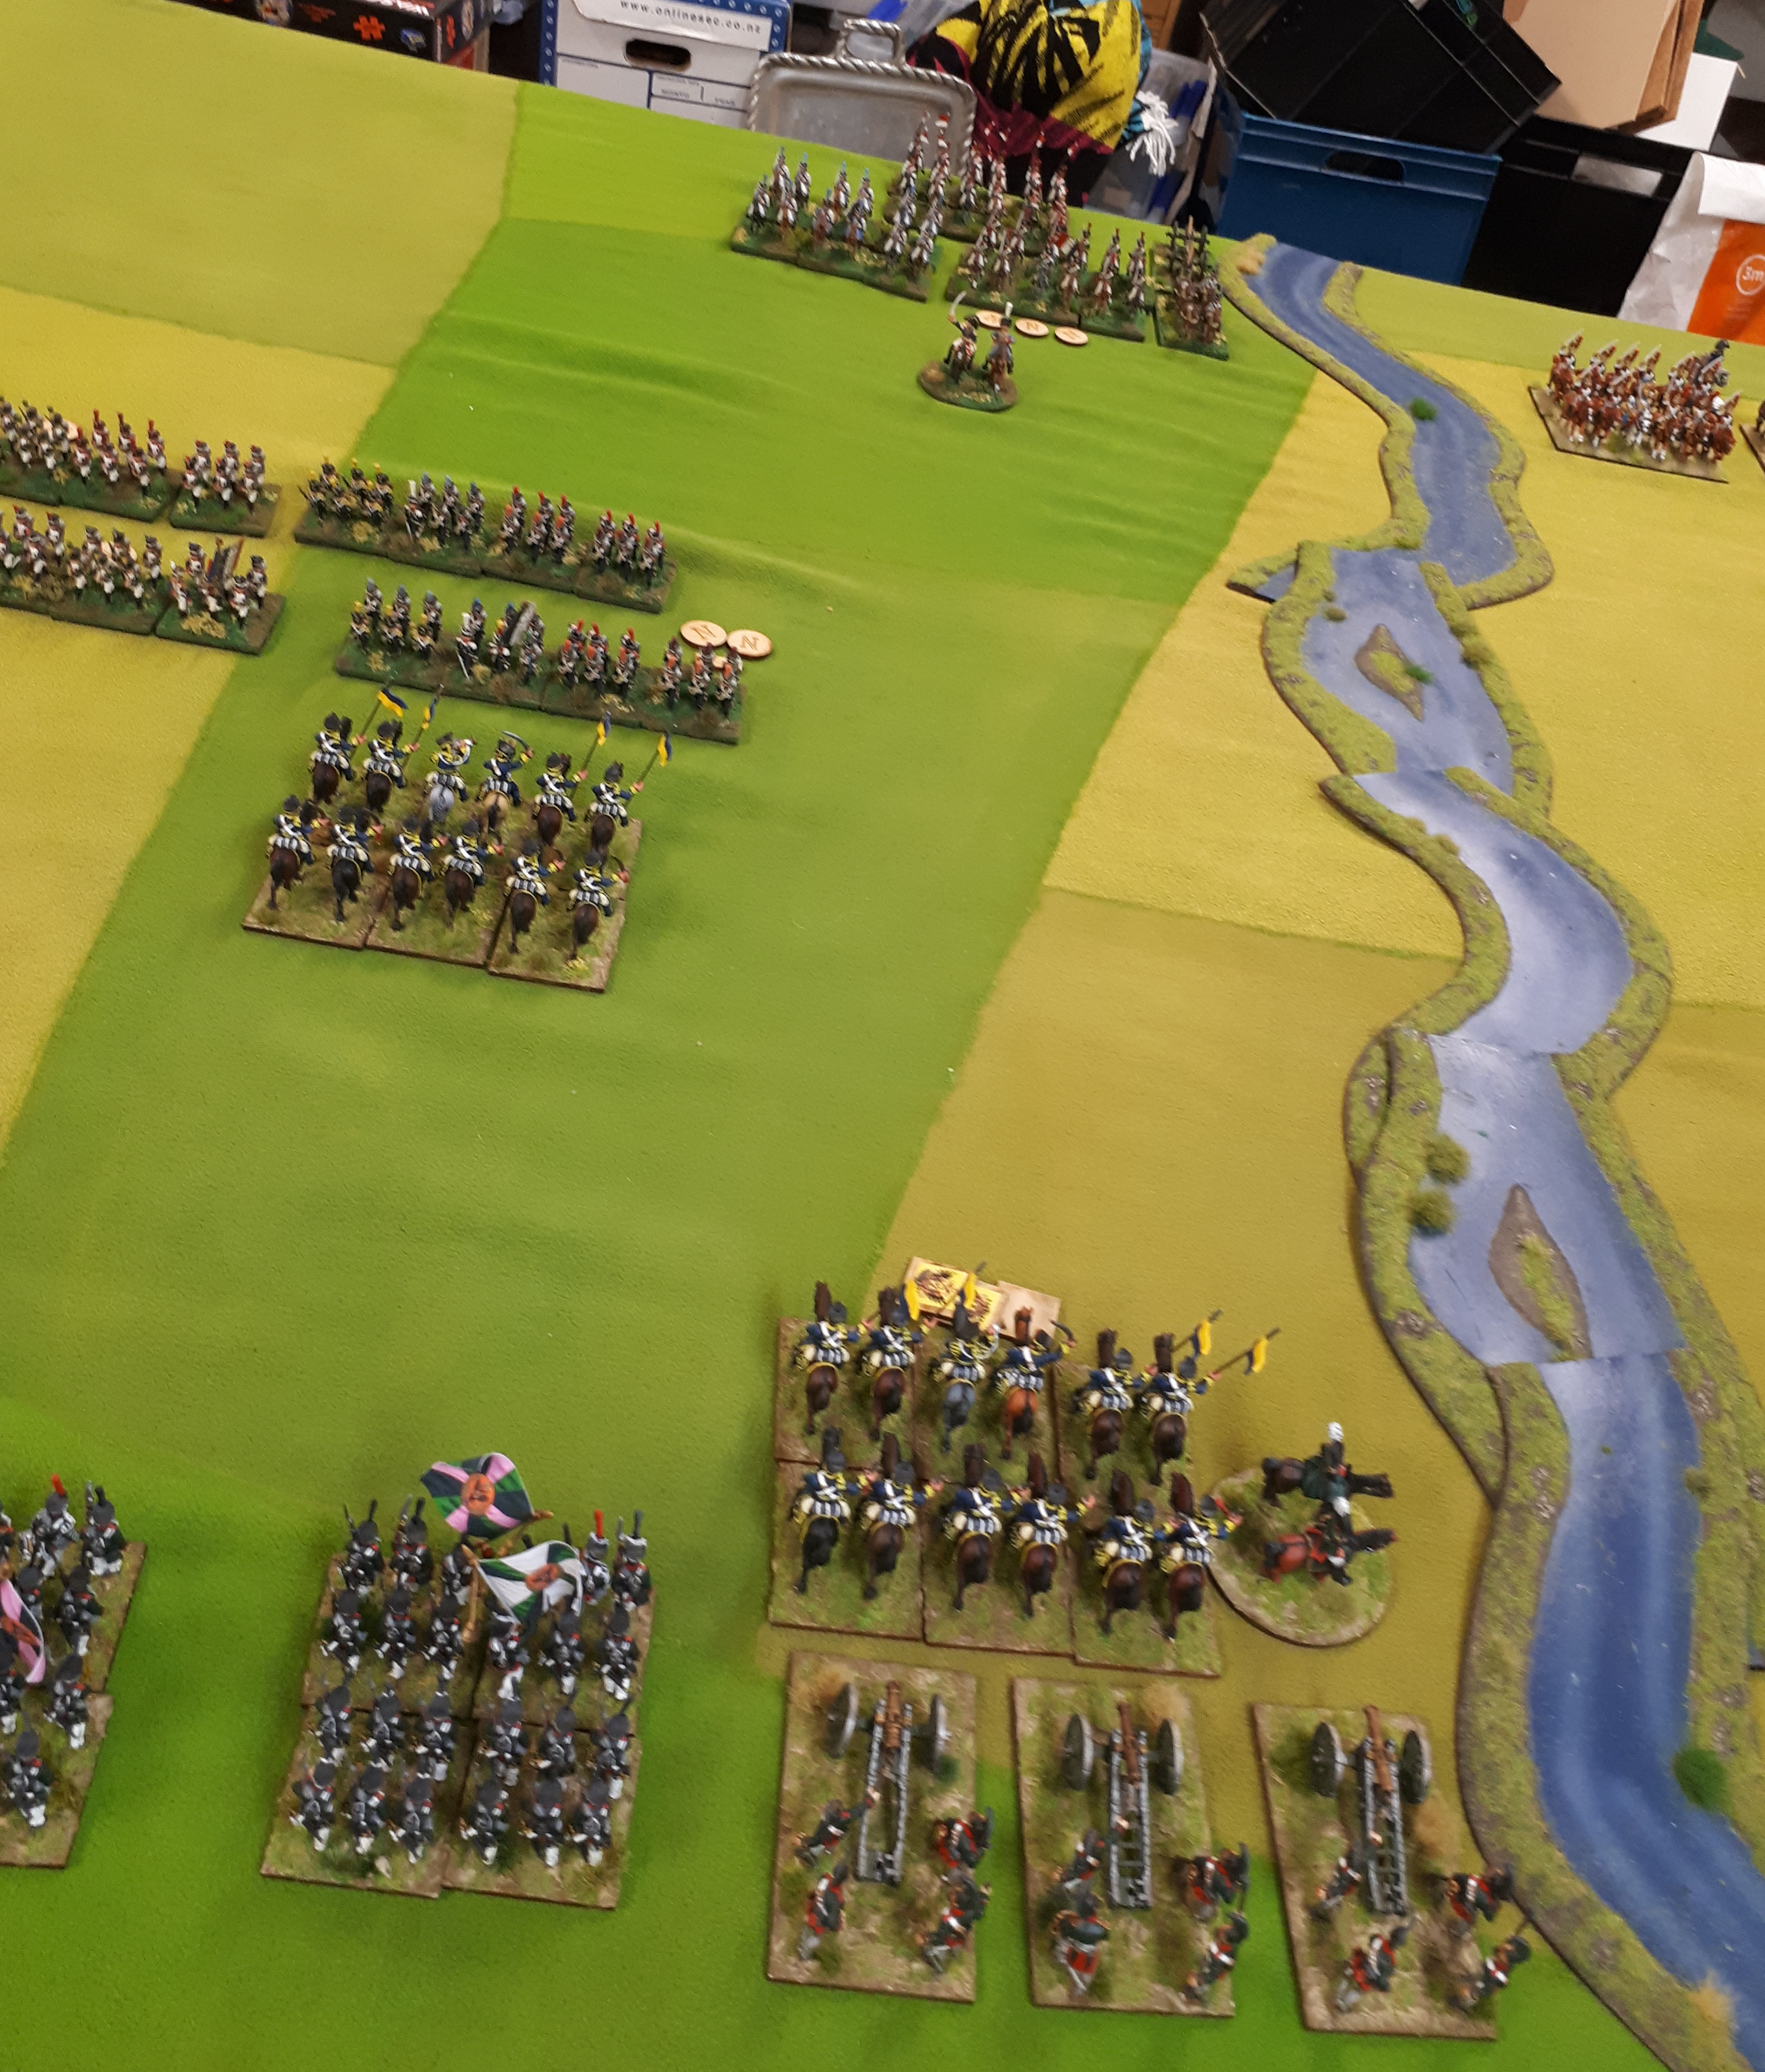
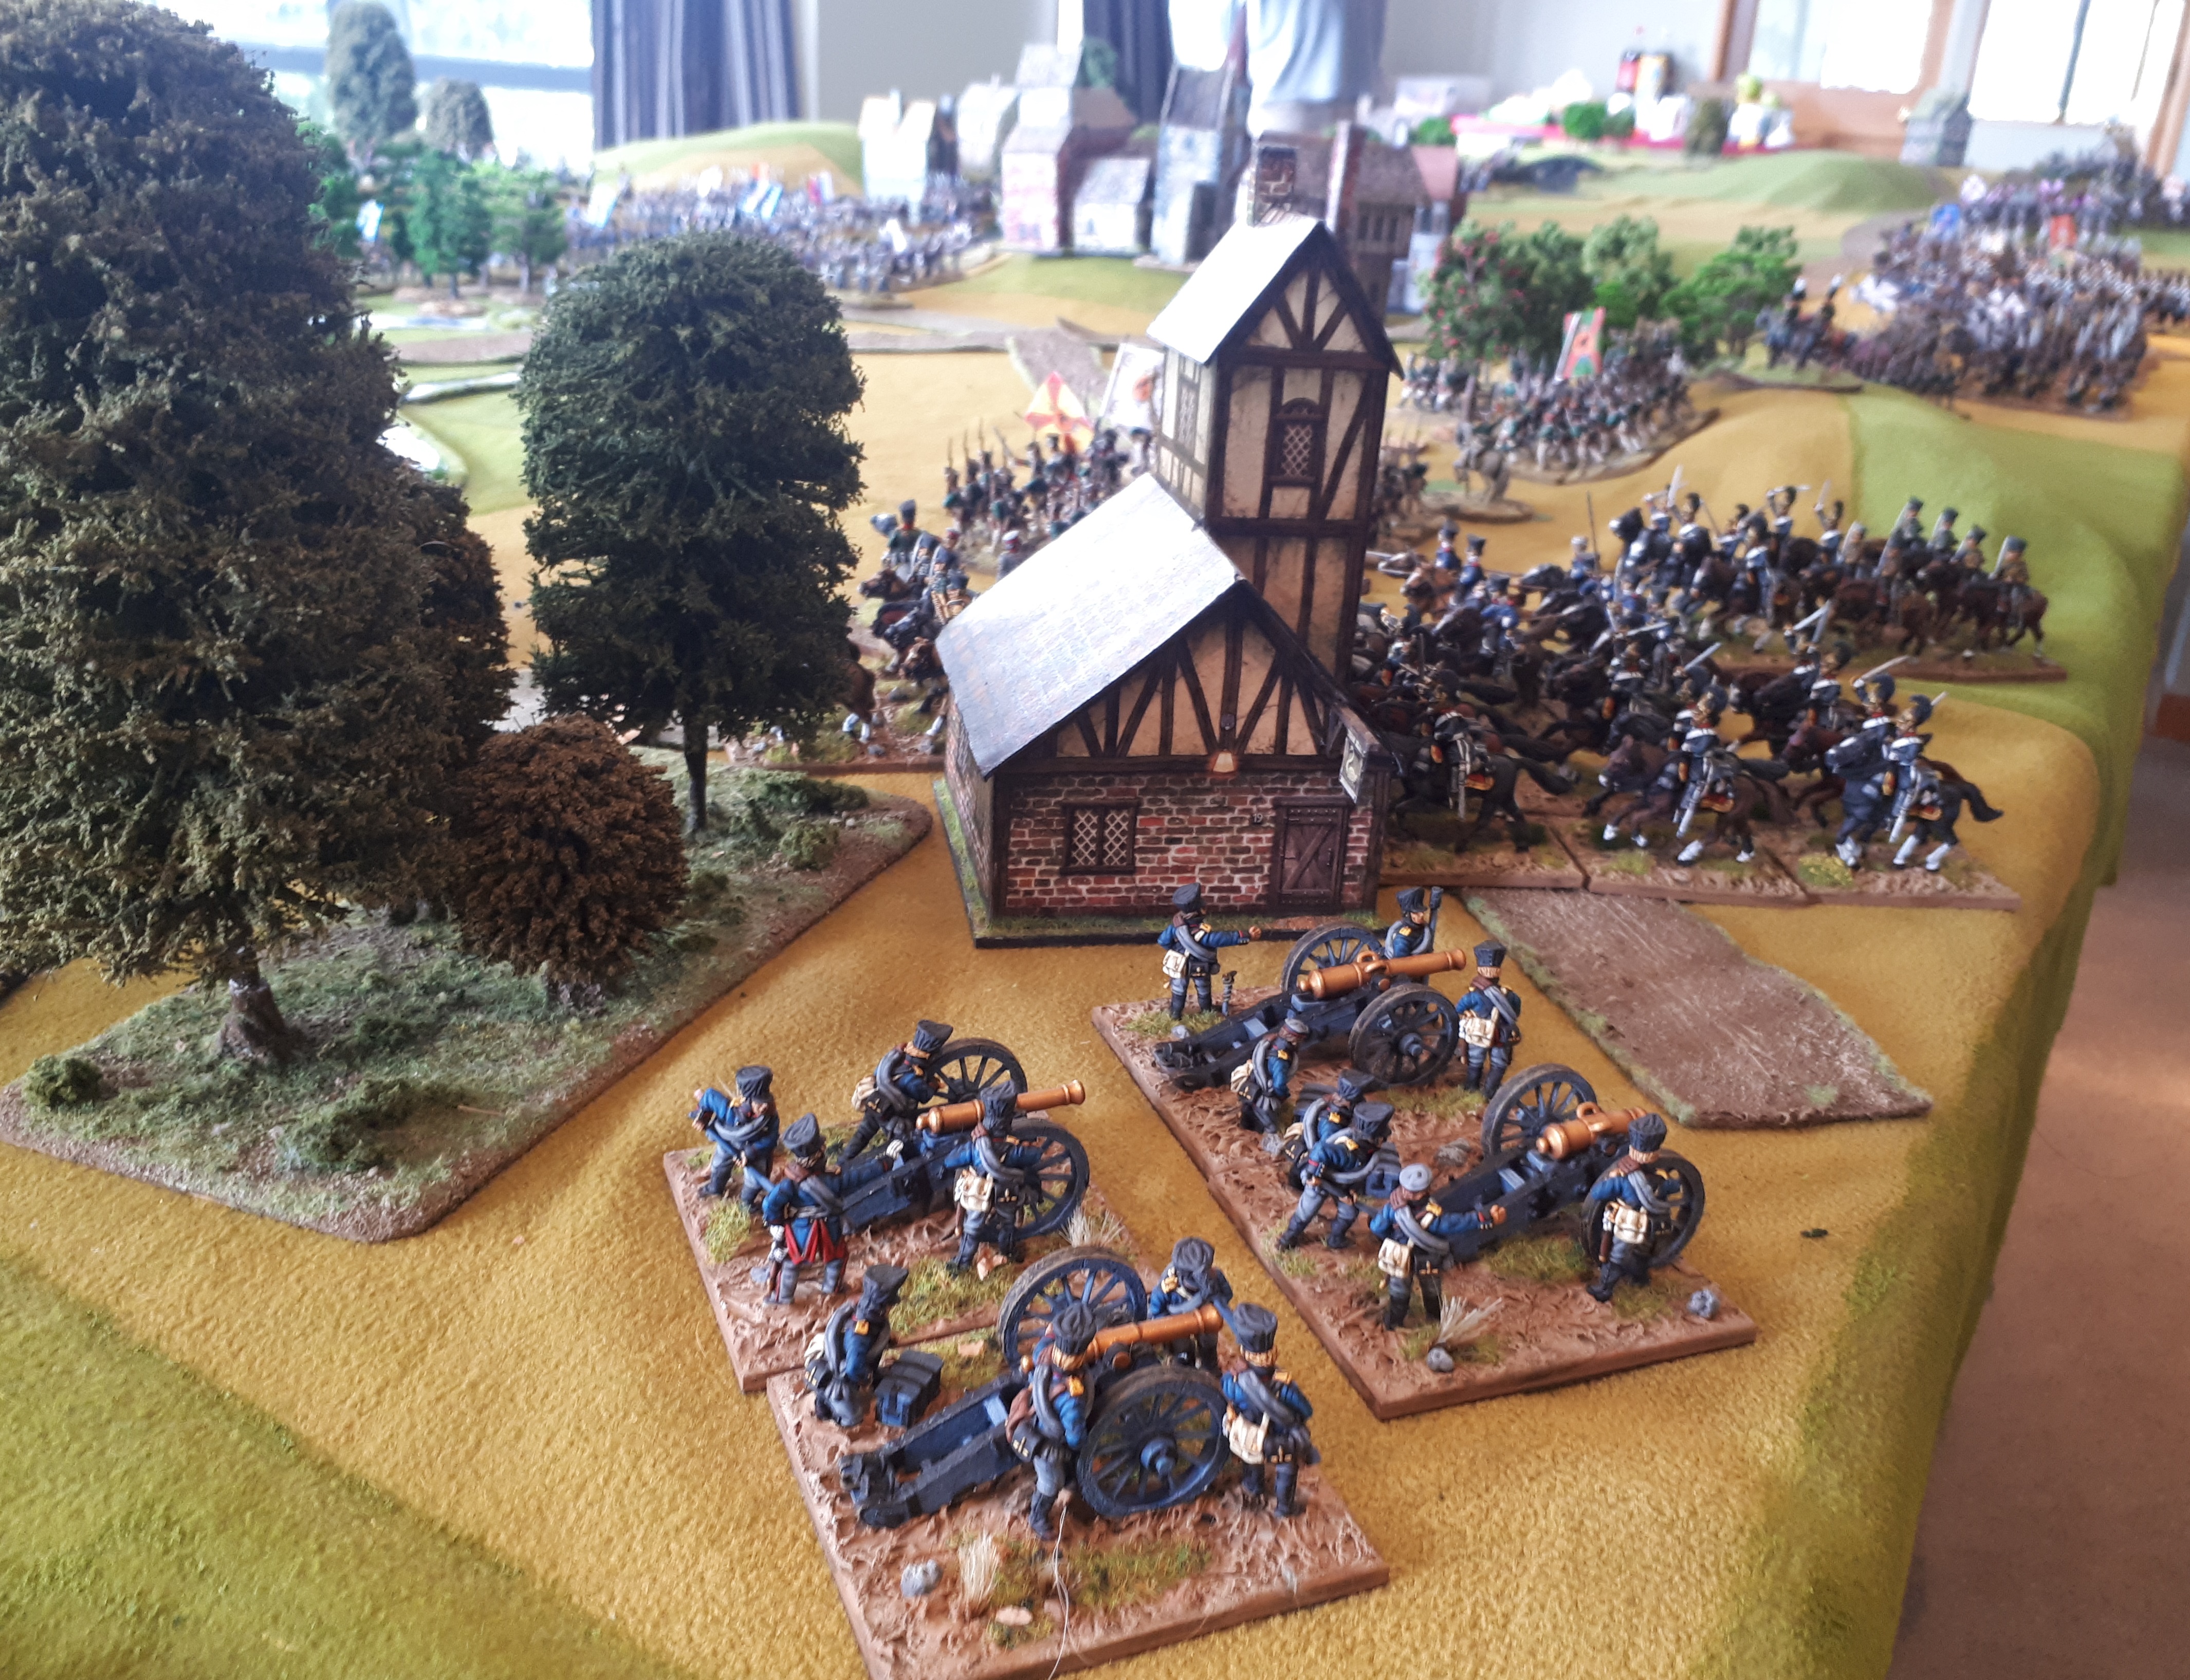
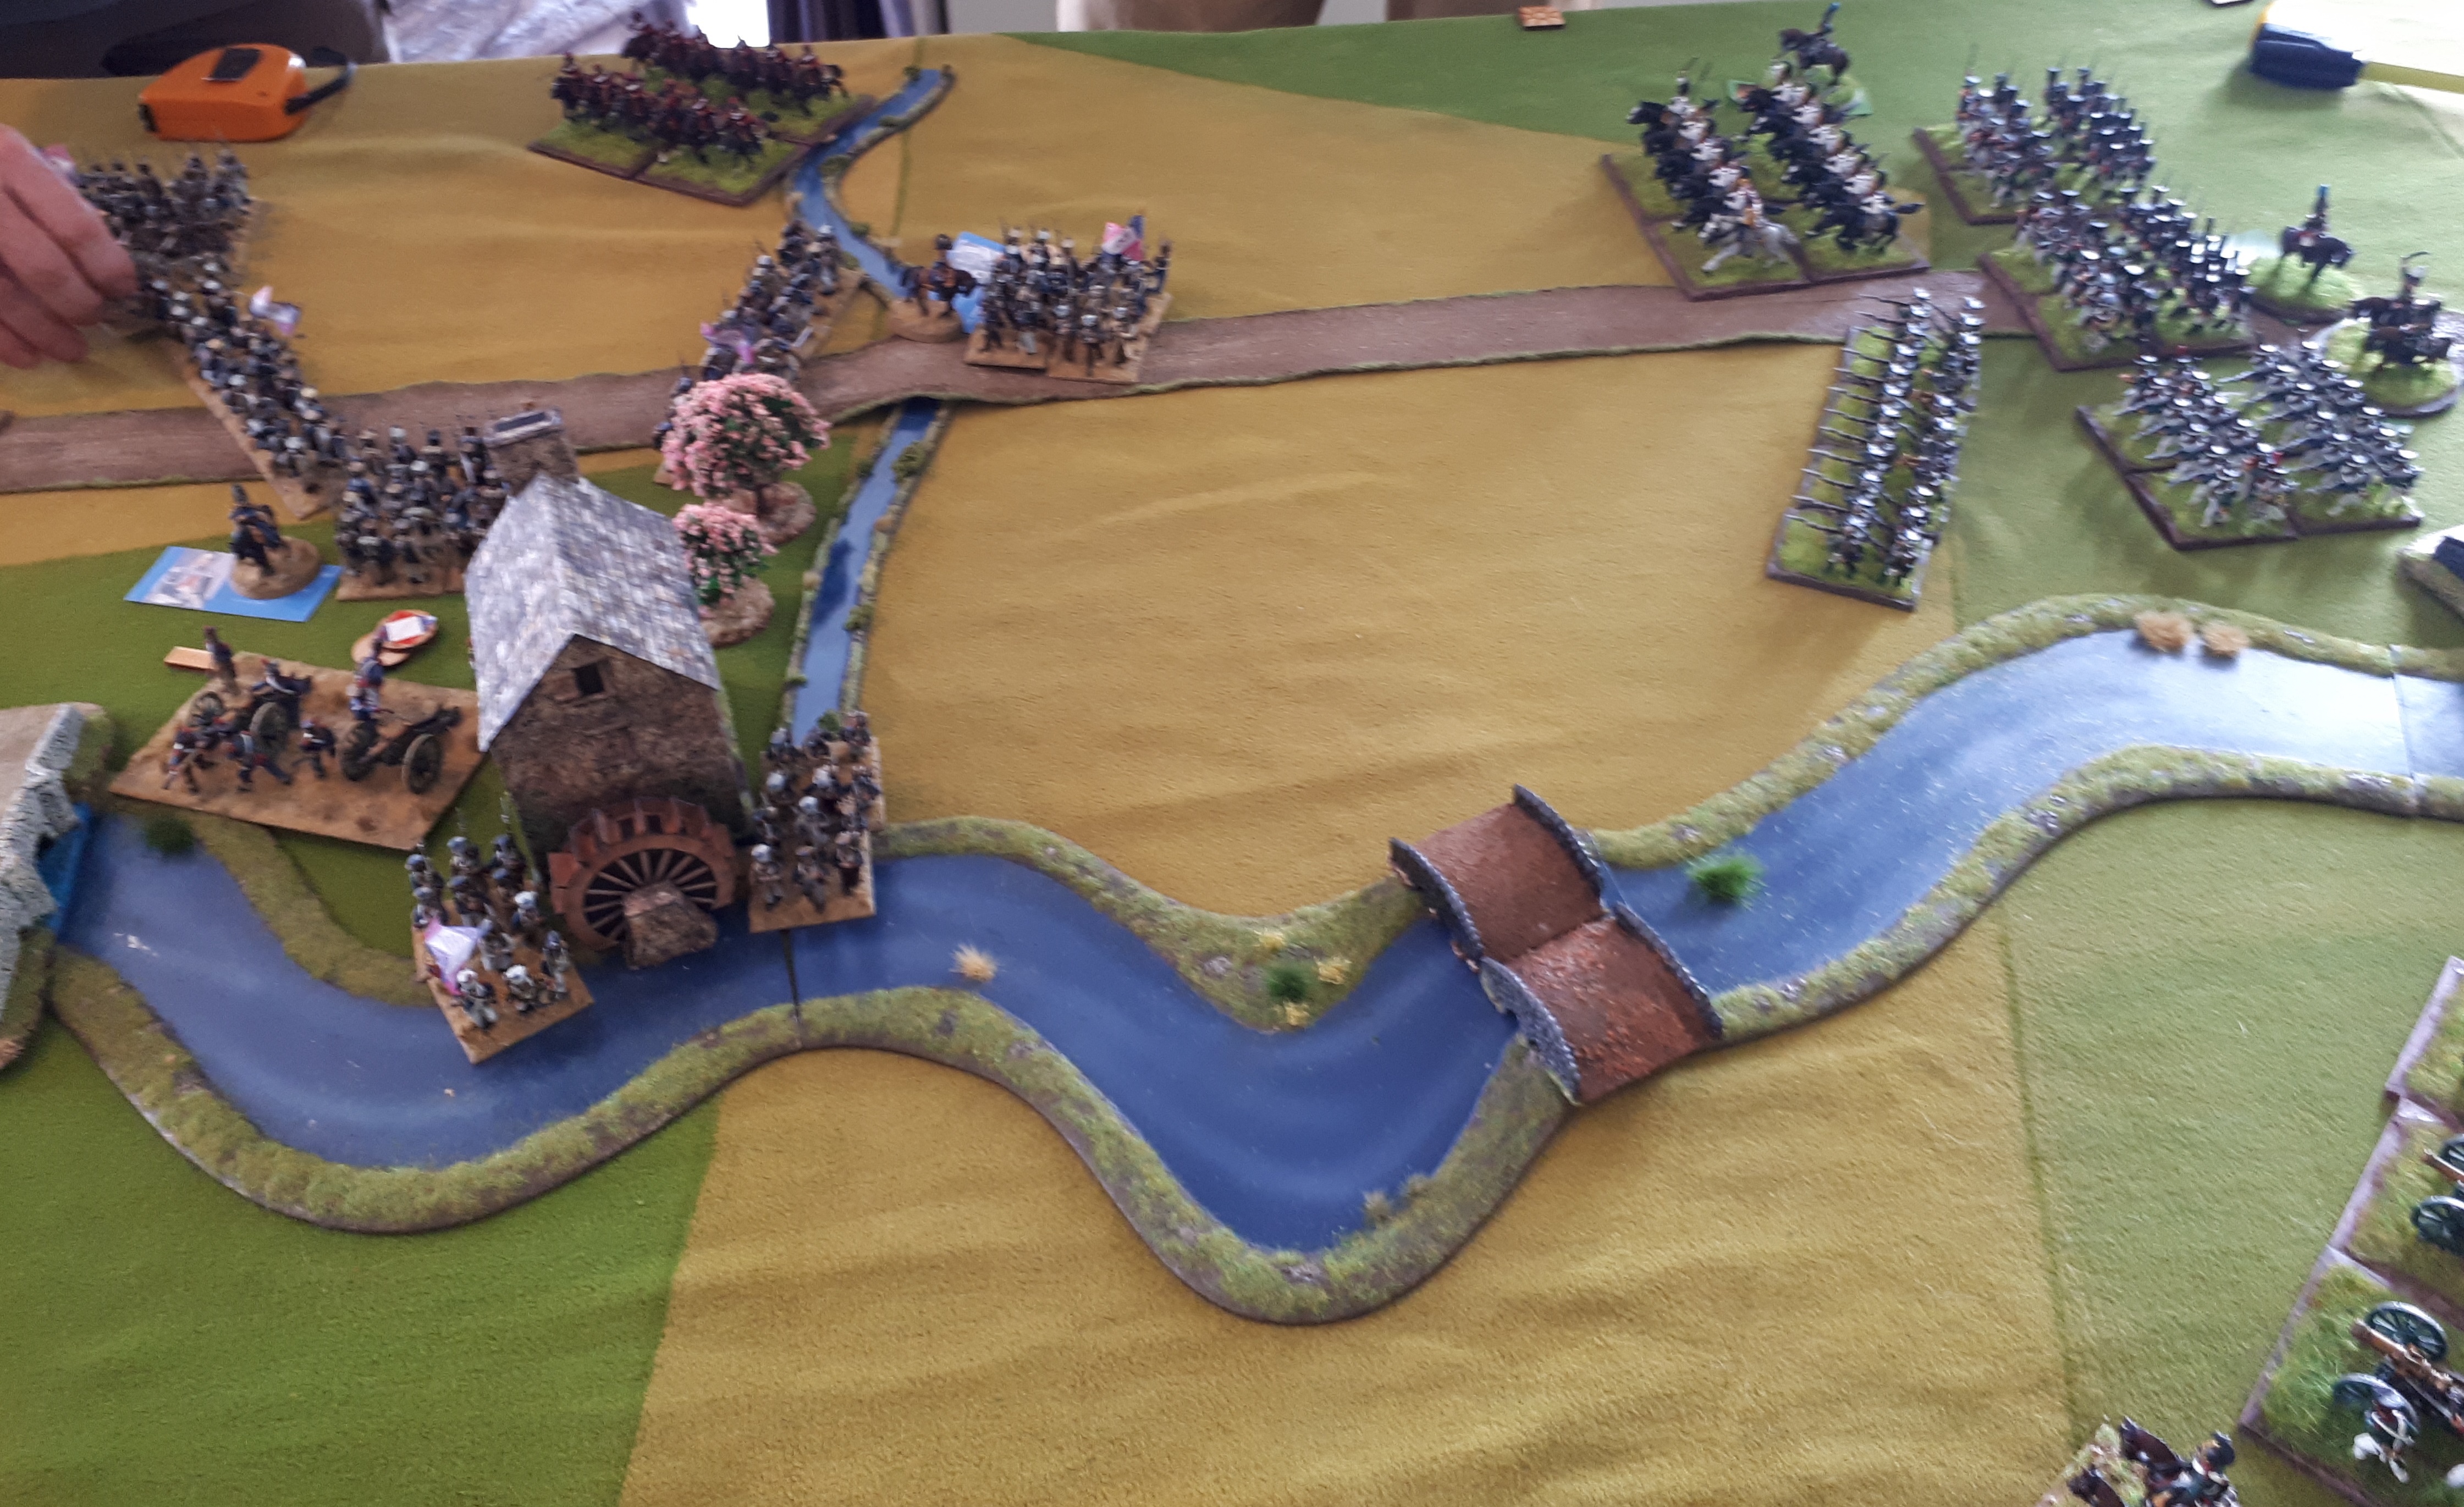
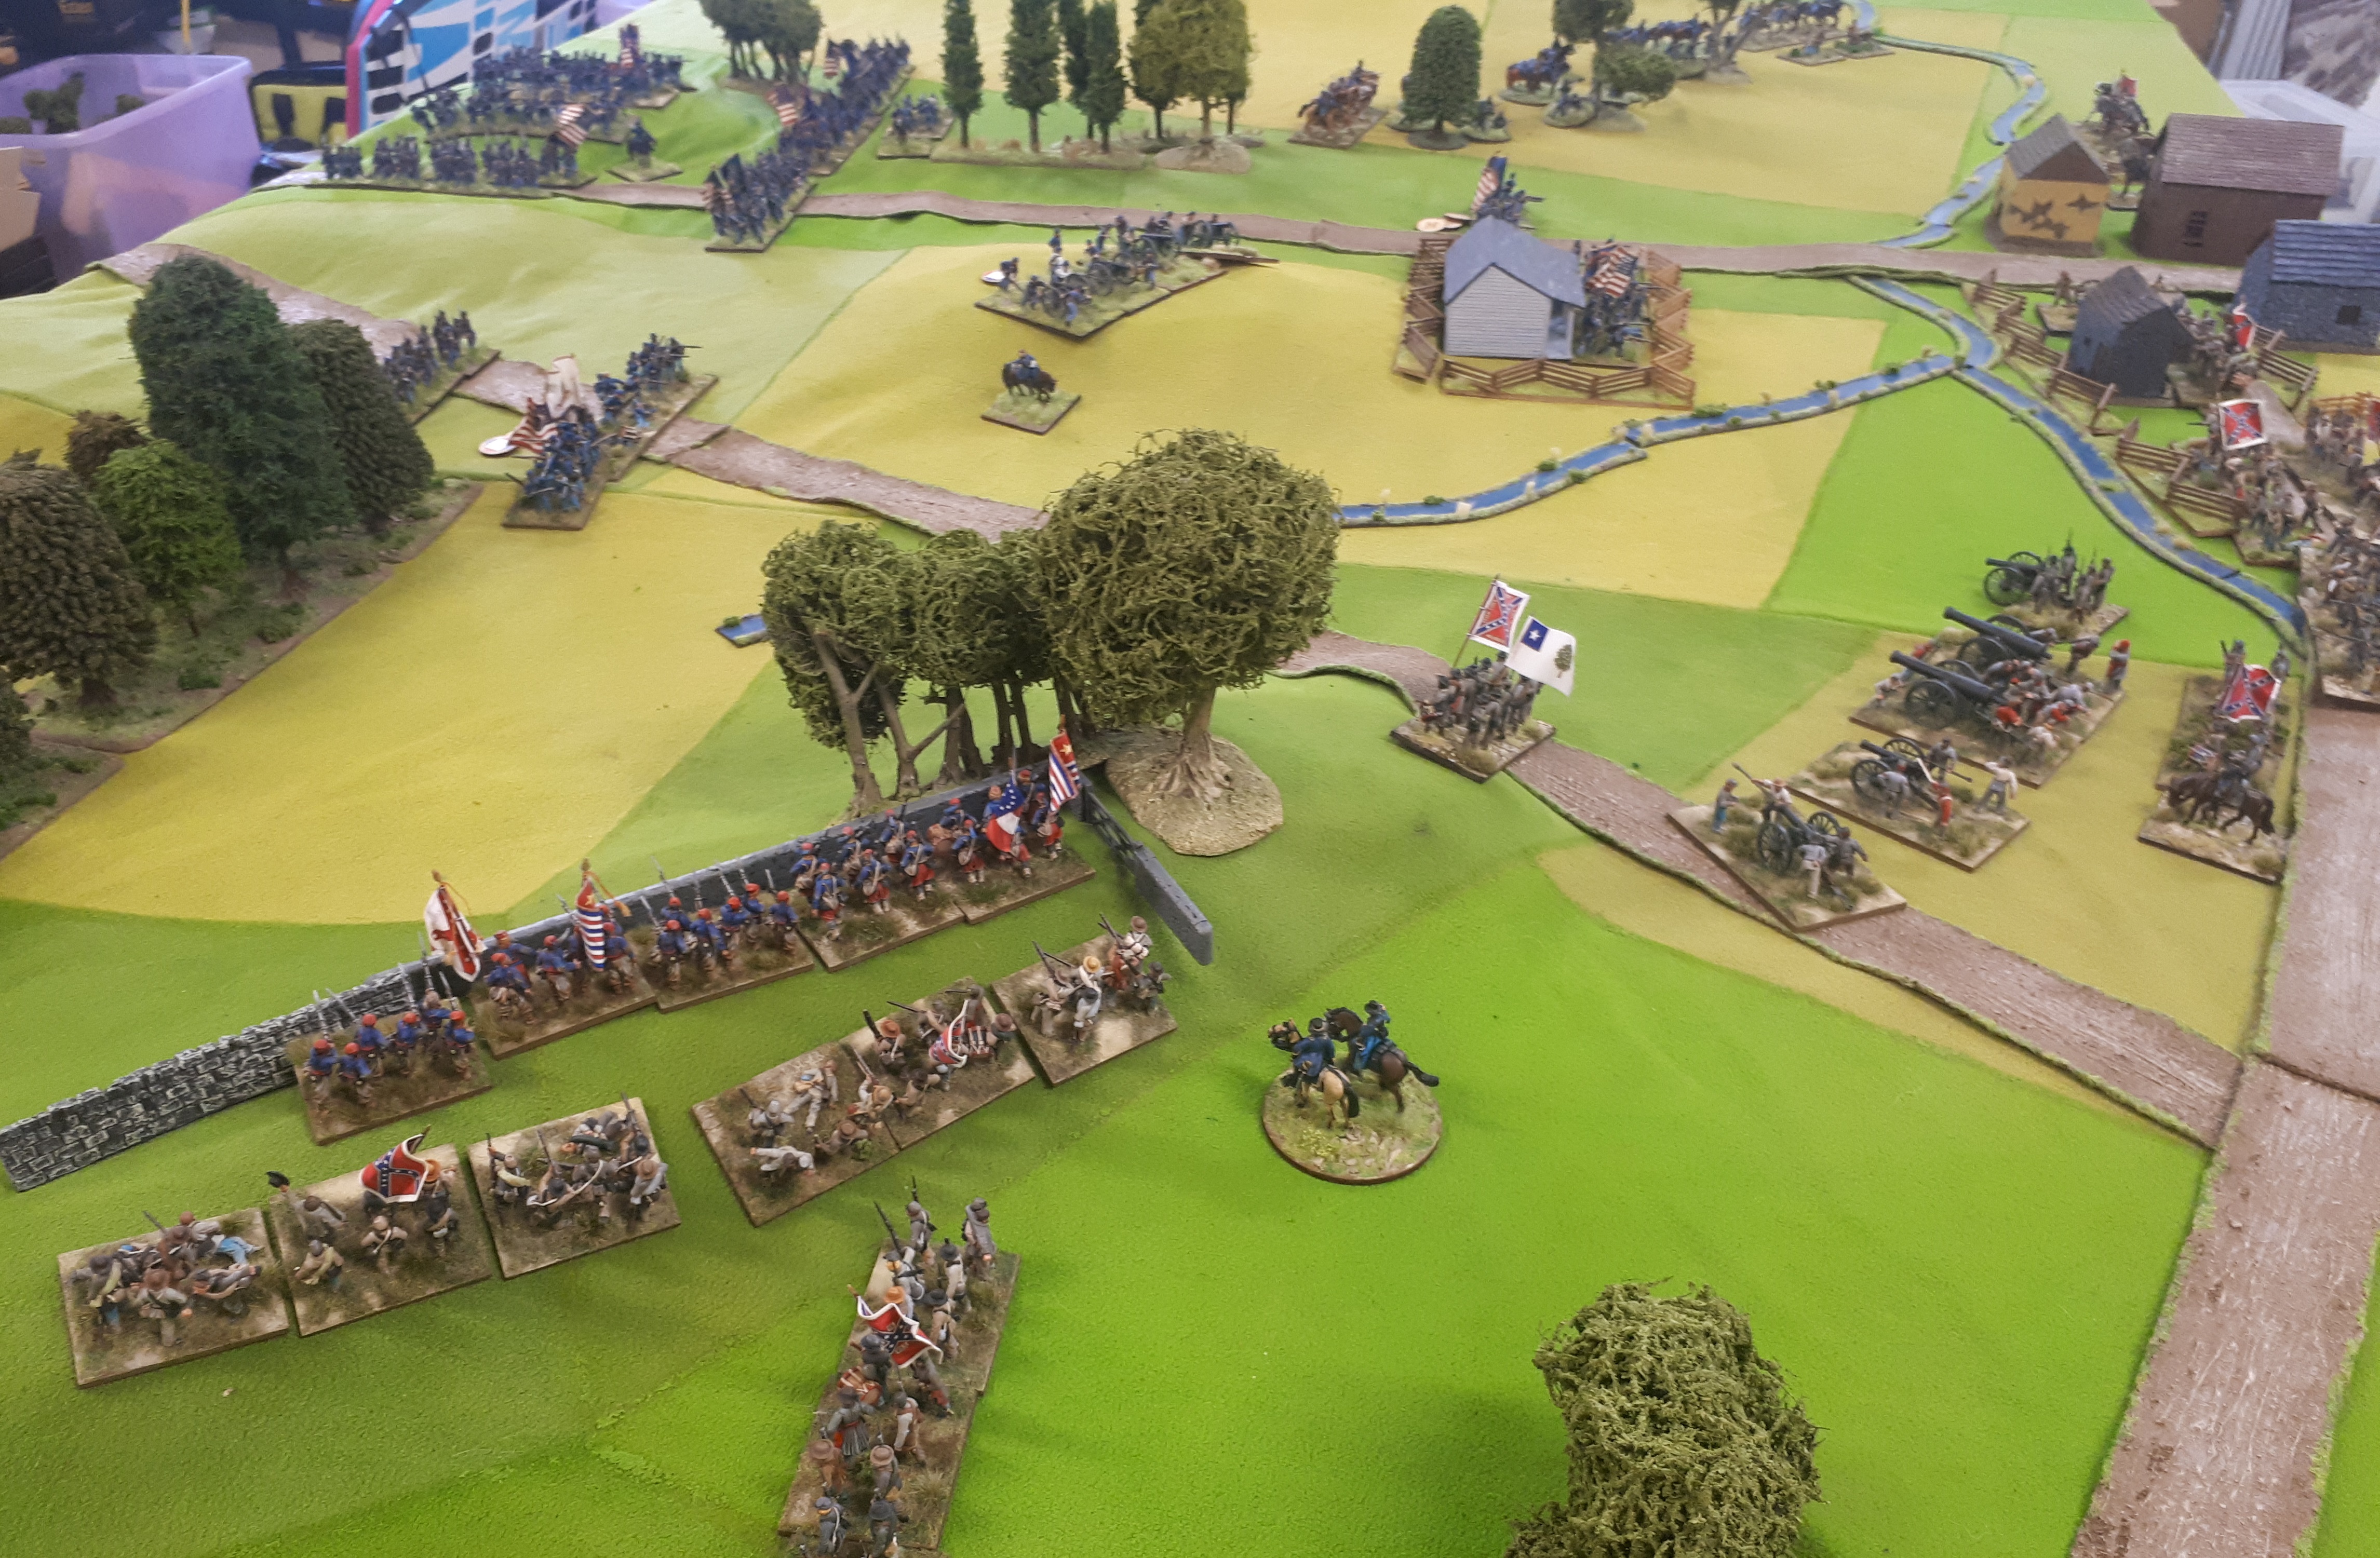
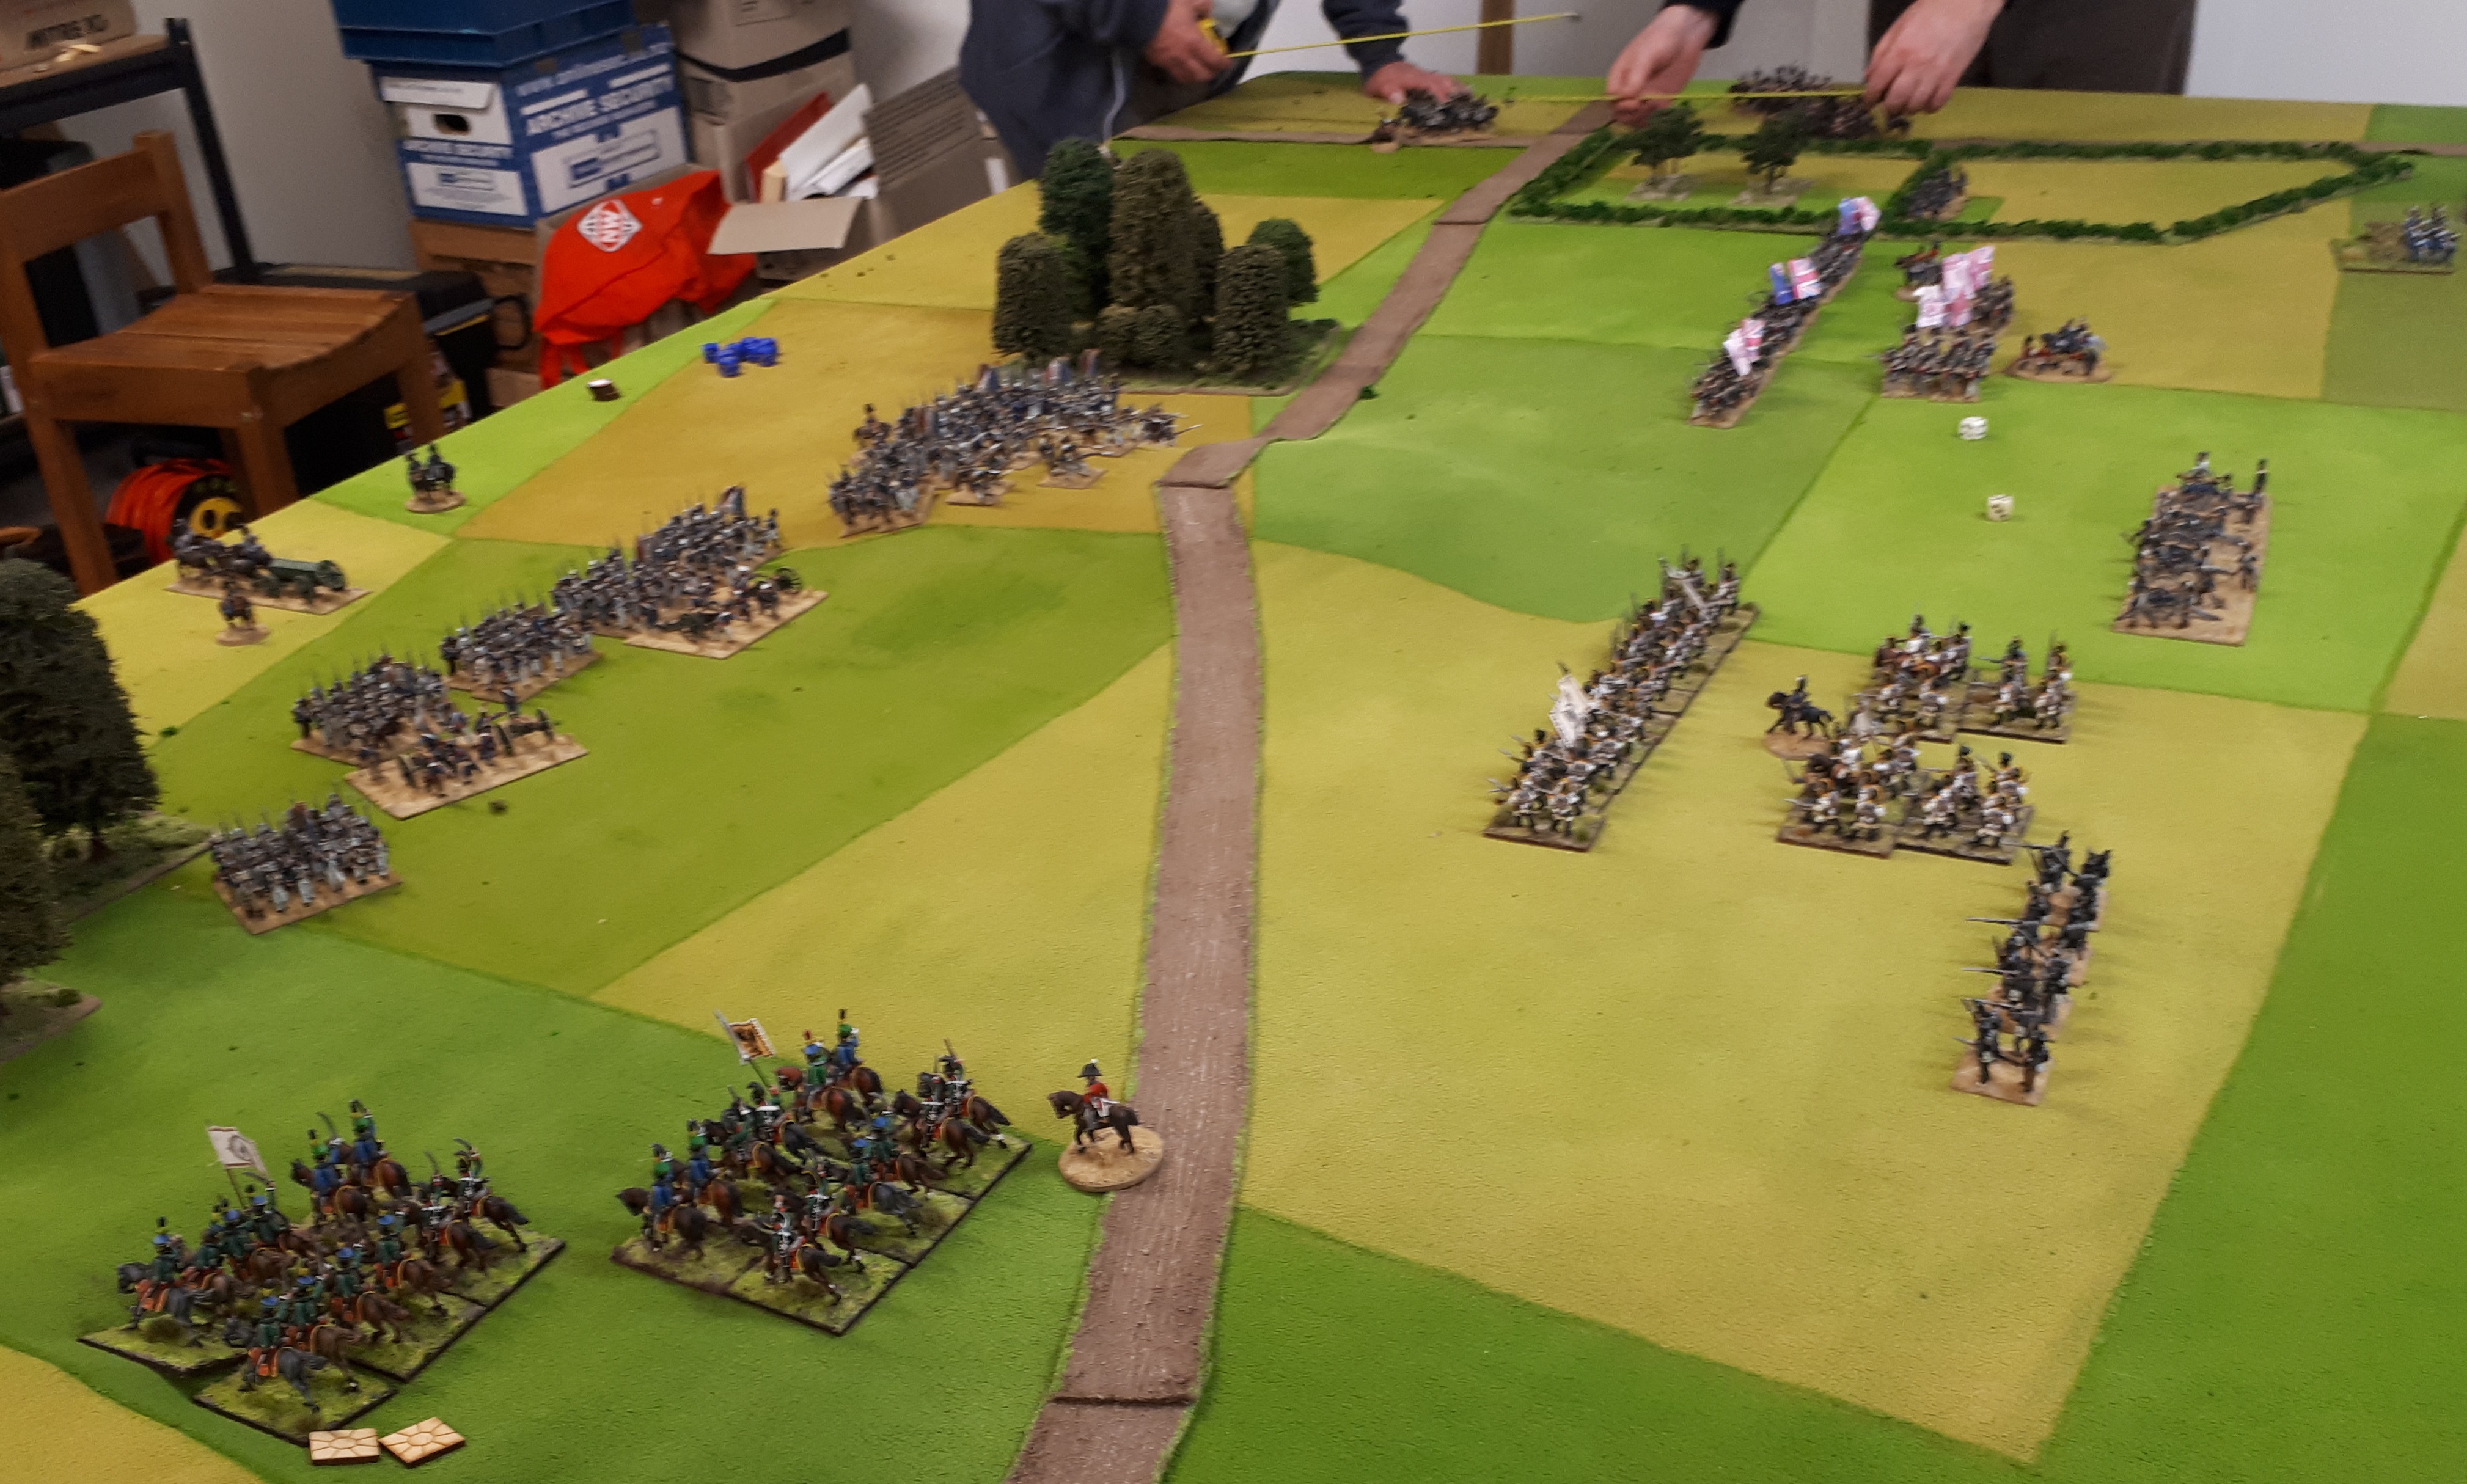
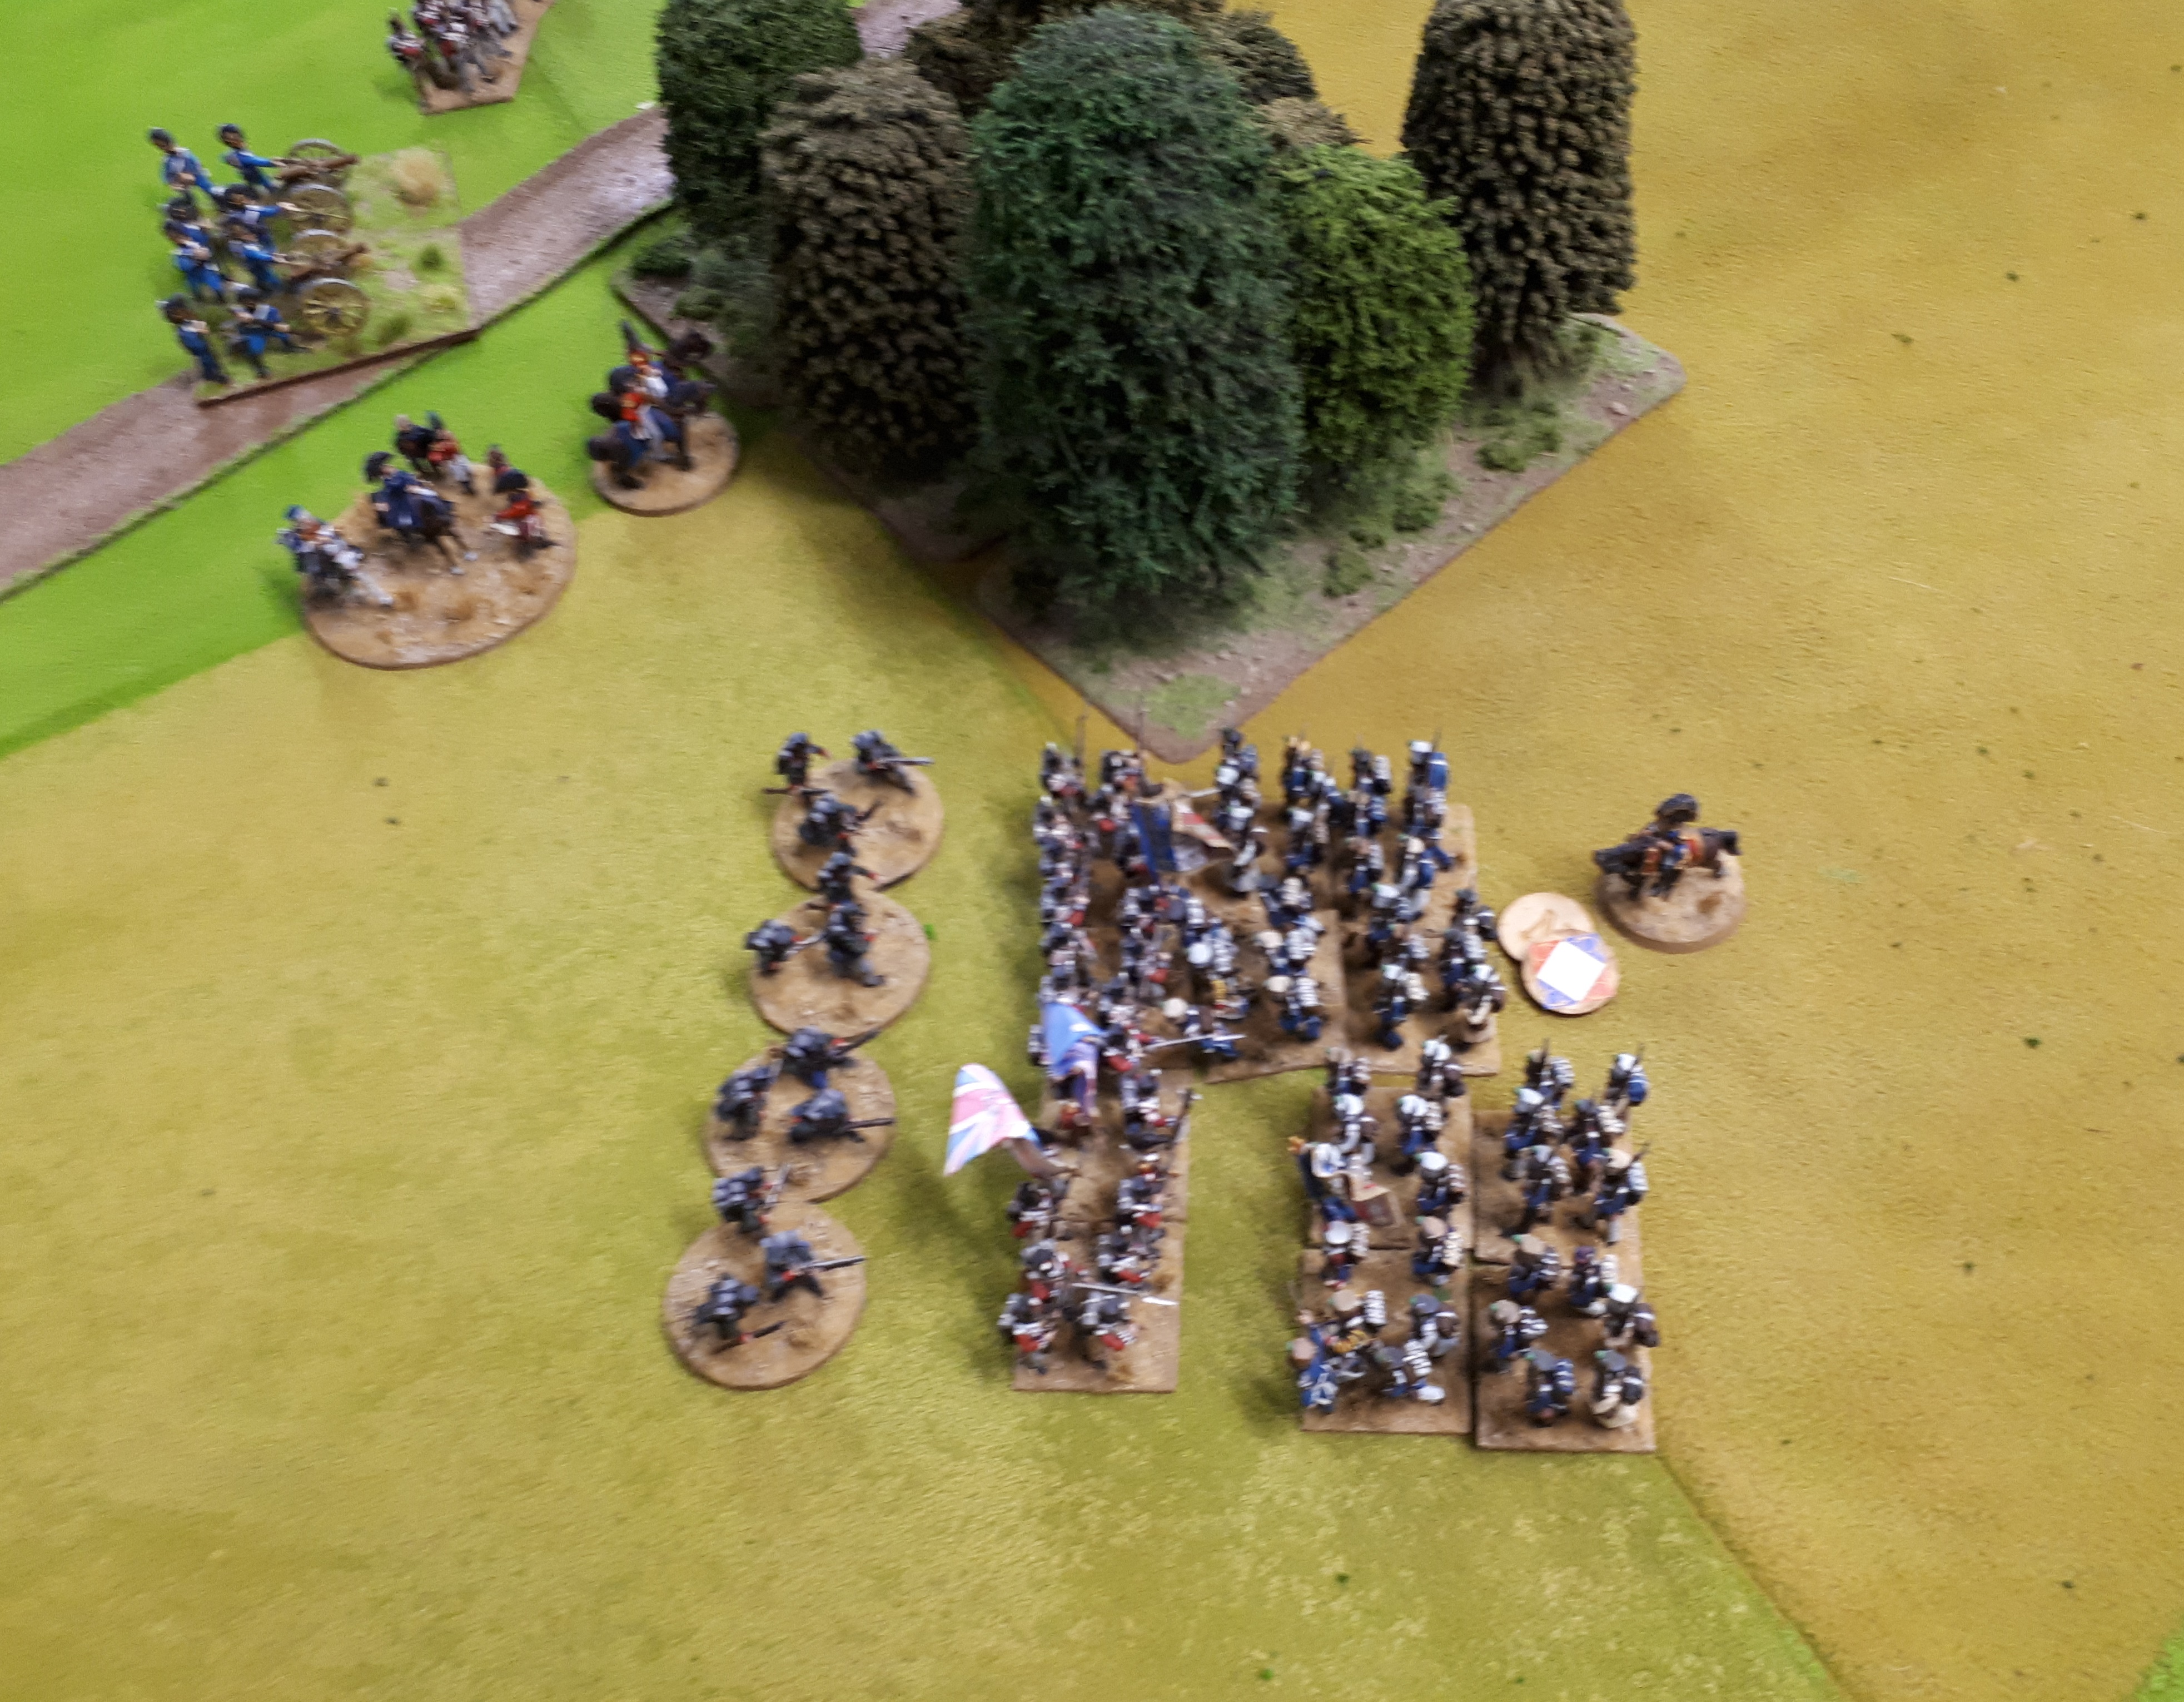
On other flank, British have retired from French columns which are both disordered. The horse battery by woods refused number orders to swing and shoot columns.

British won fight on rise, and a bttn has moved around flank to shot up retiring unit.

French bttn pops.

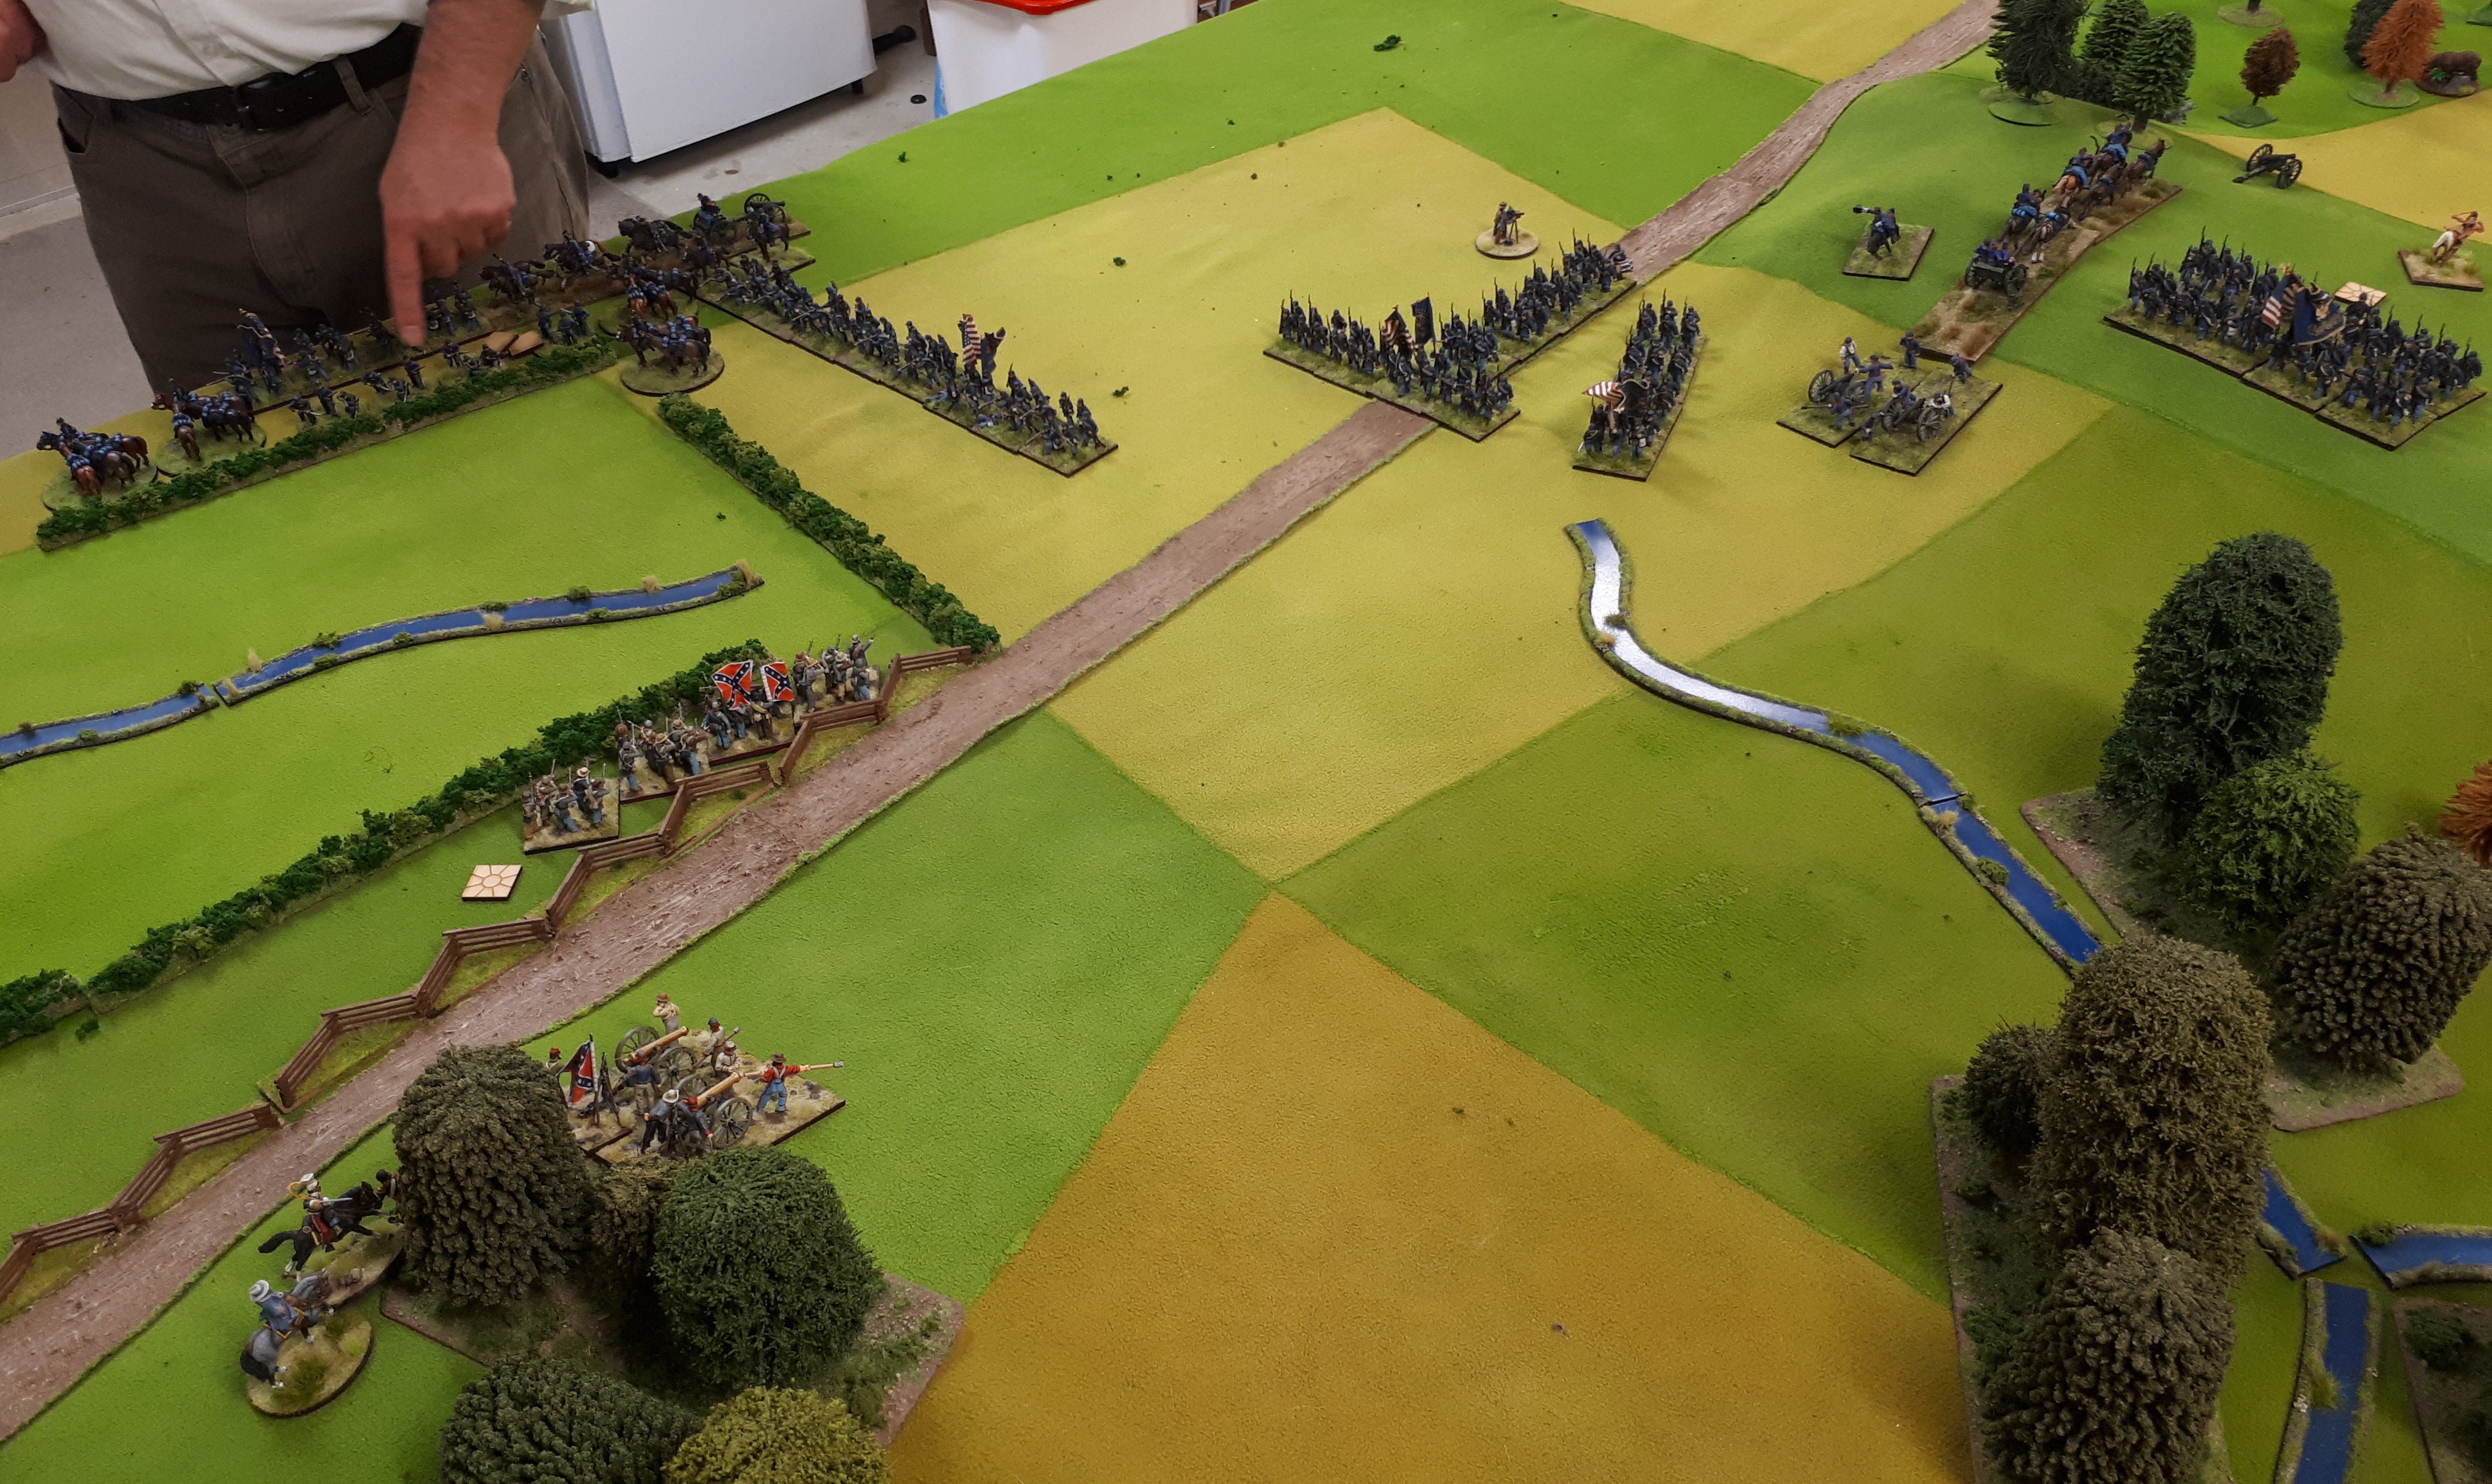
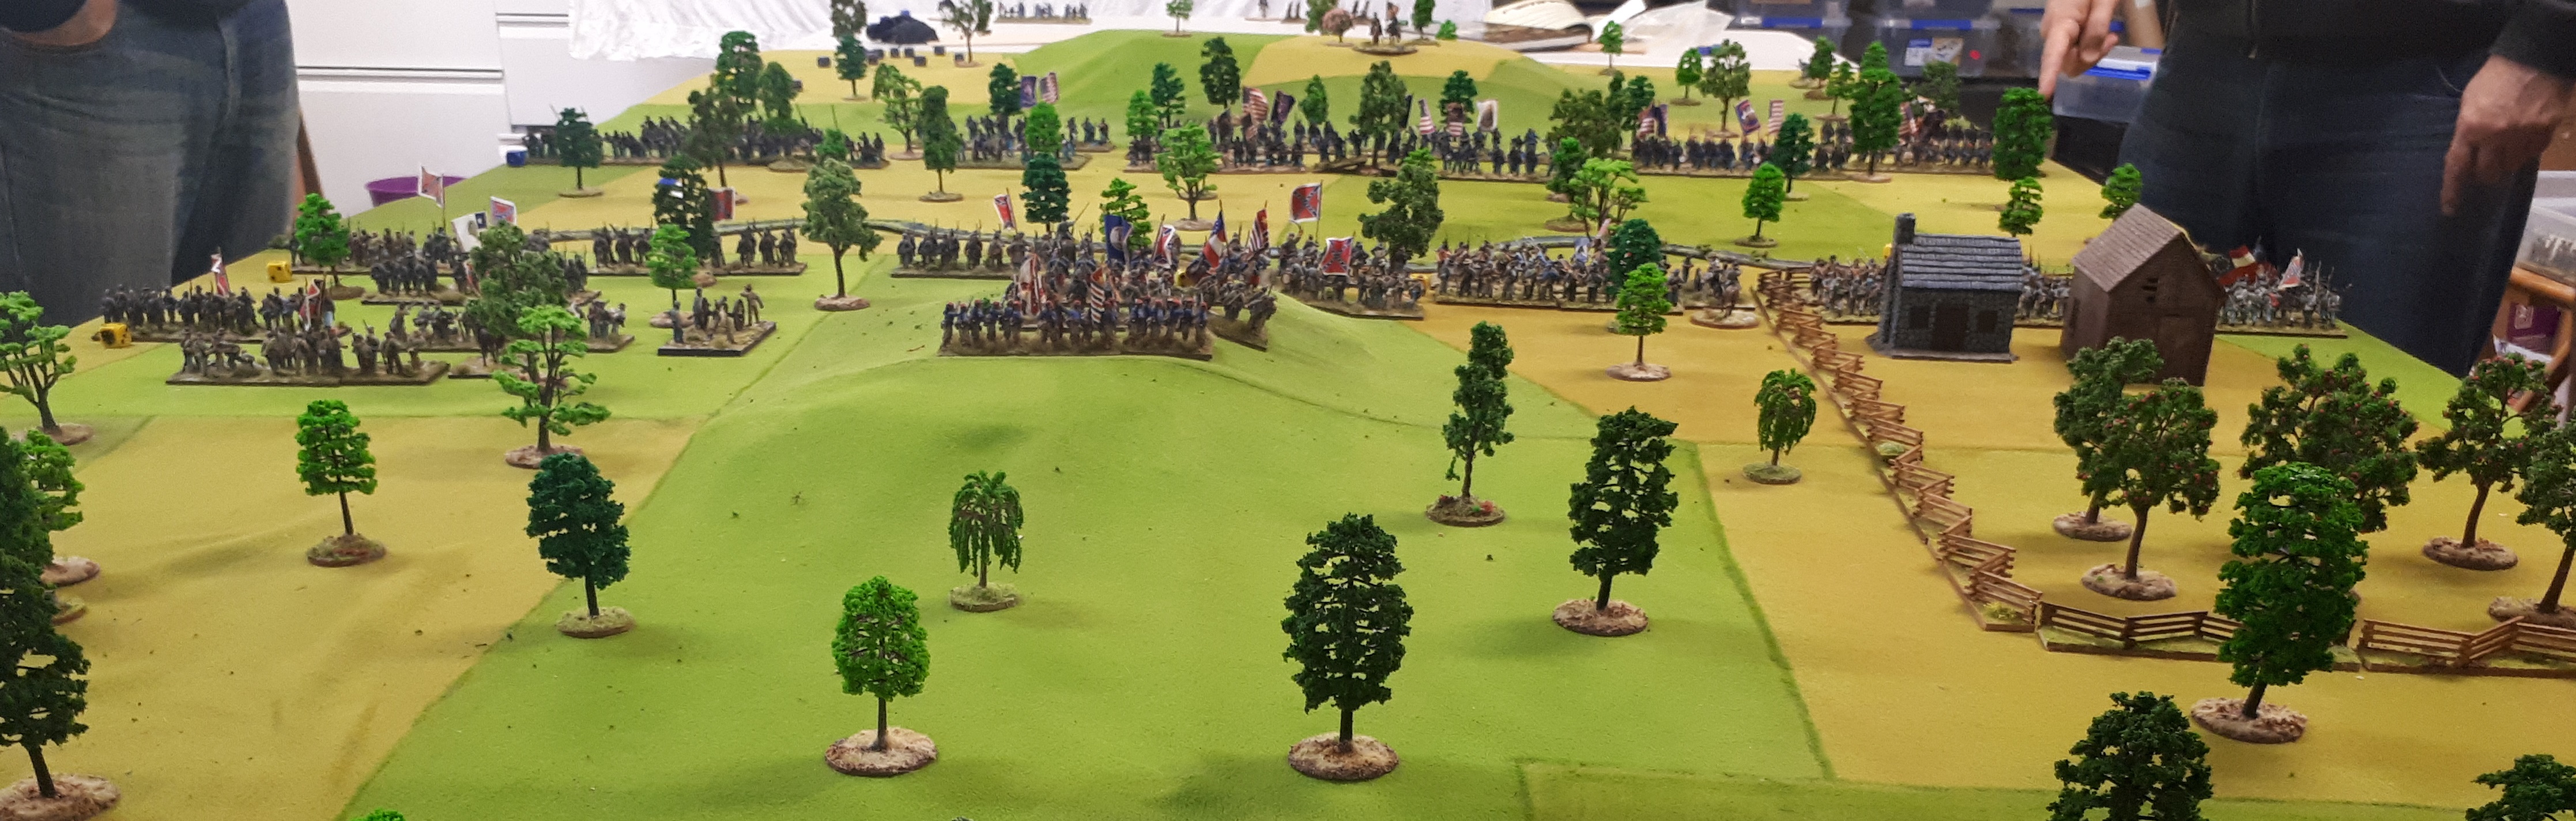
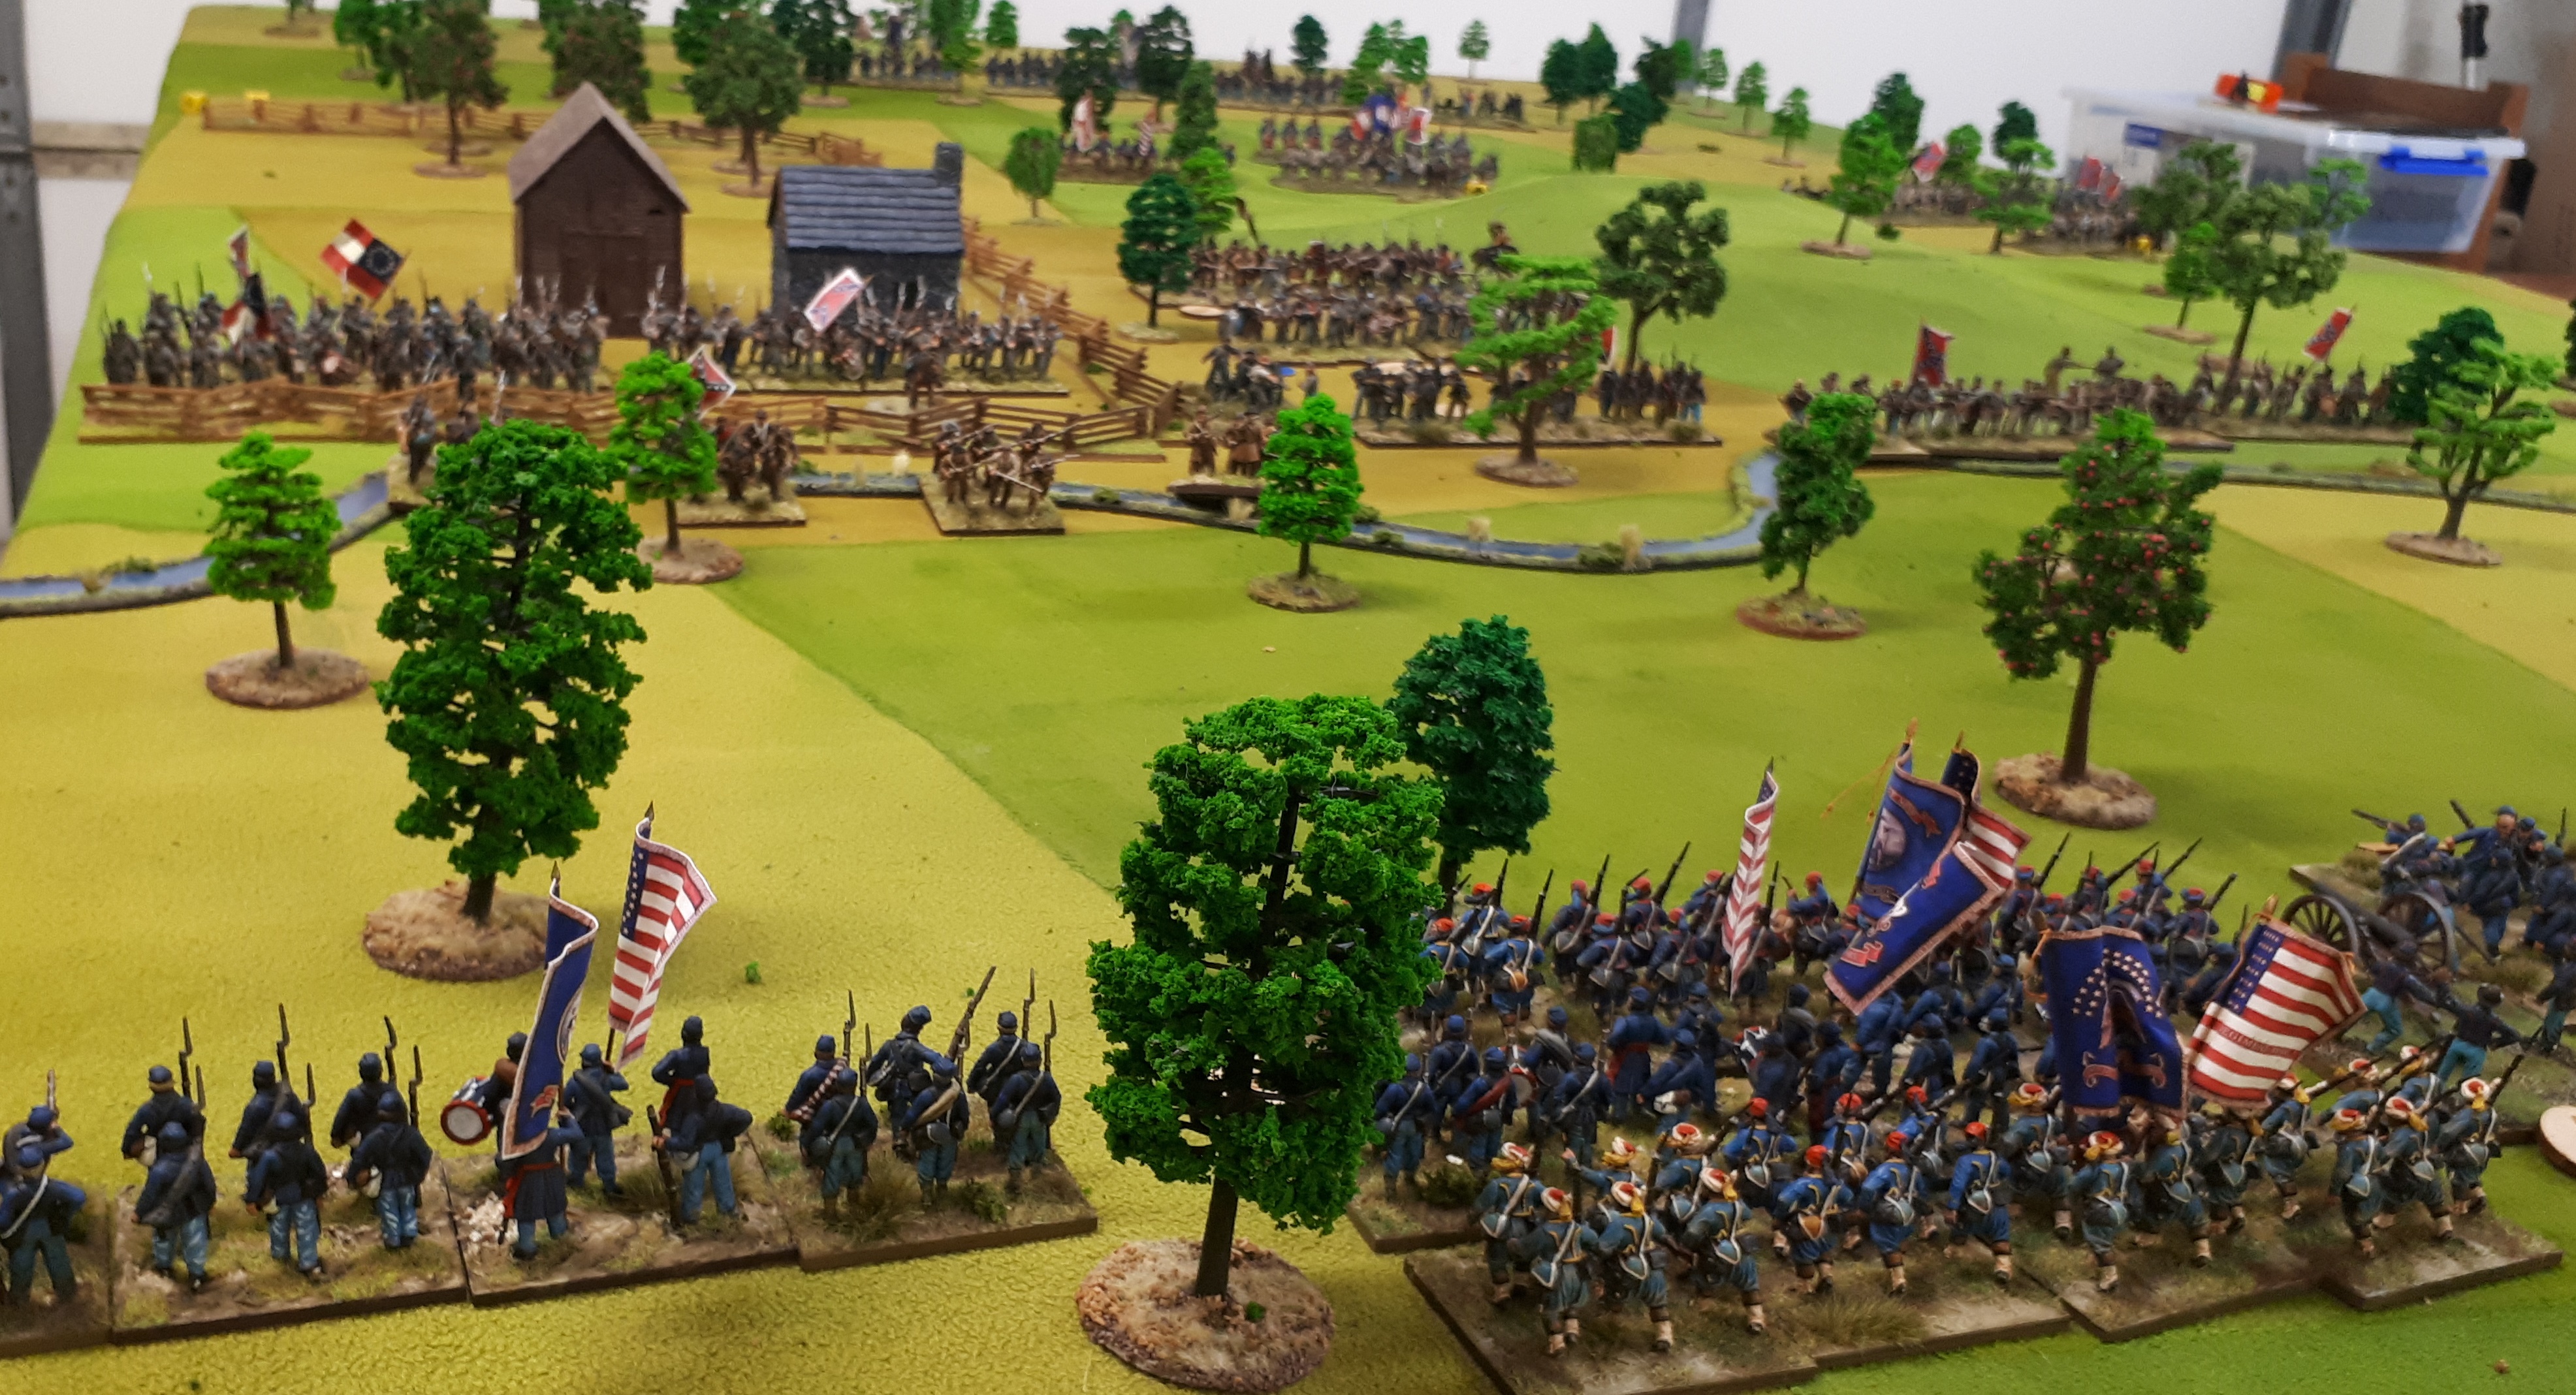
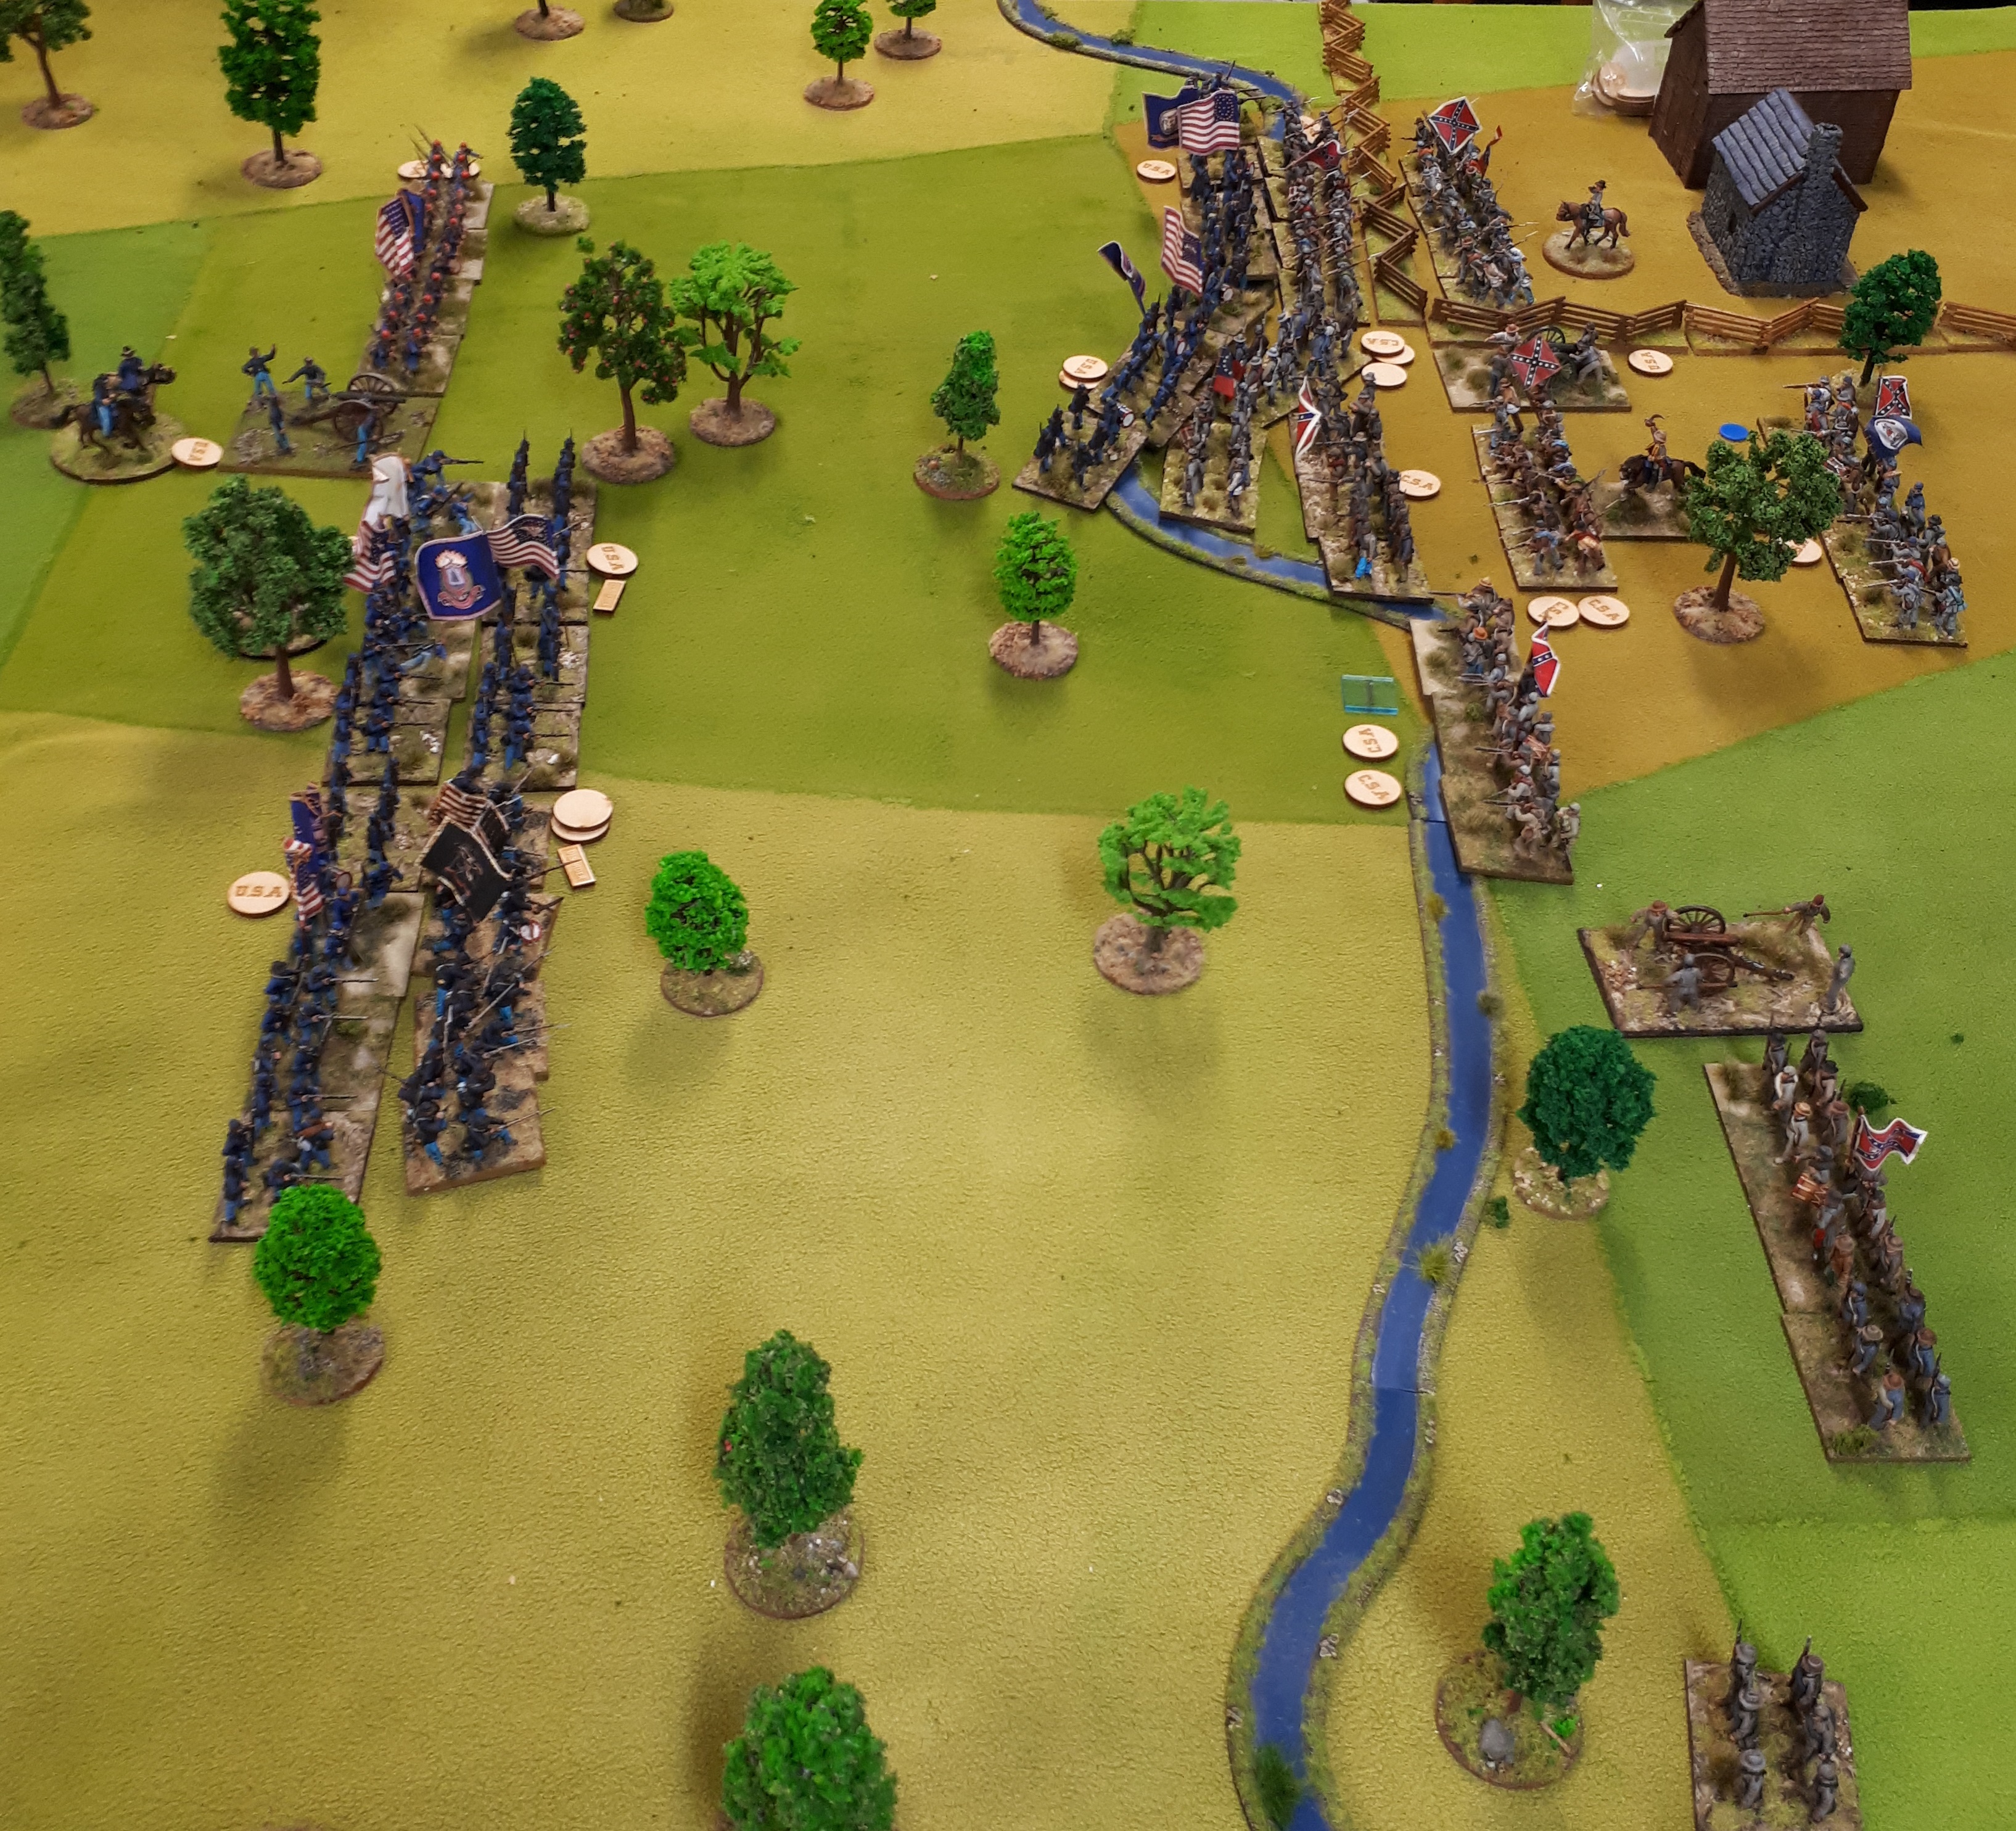
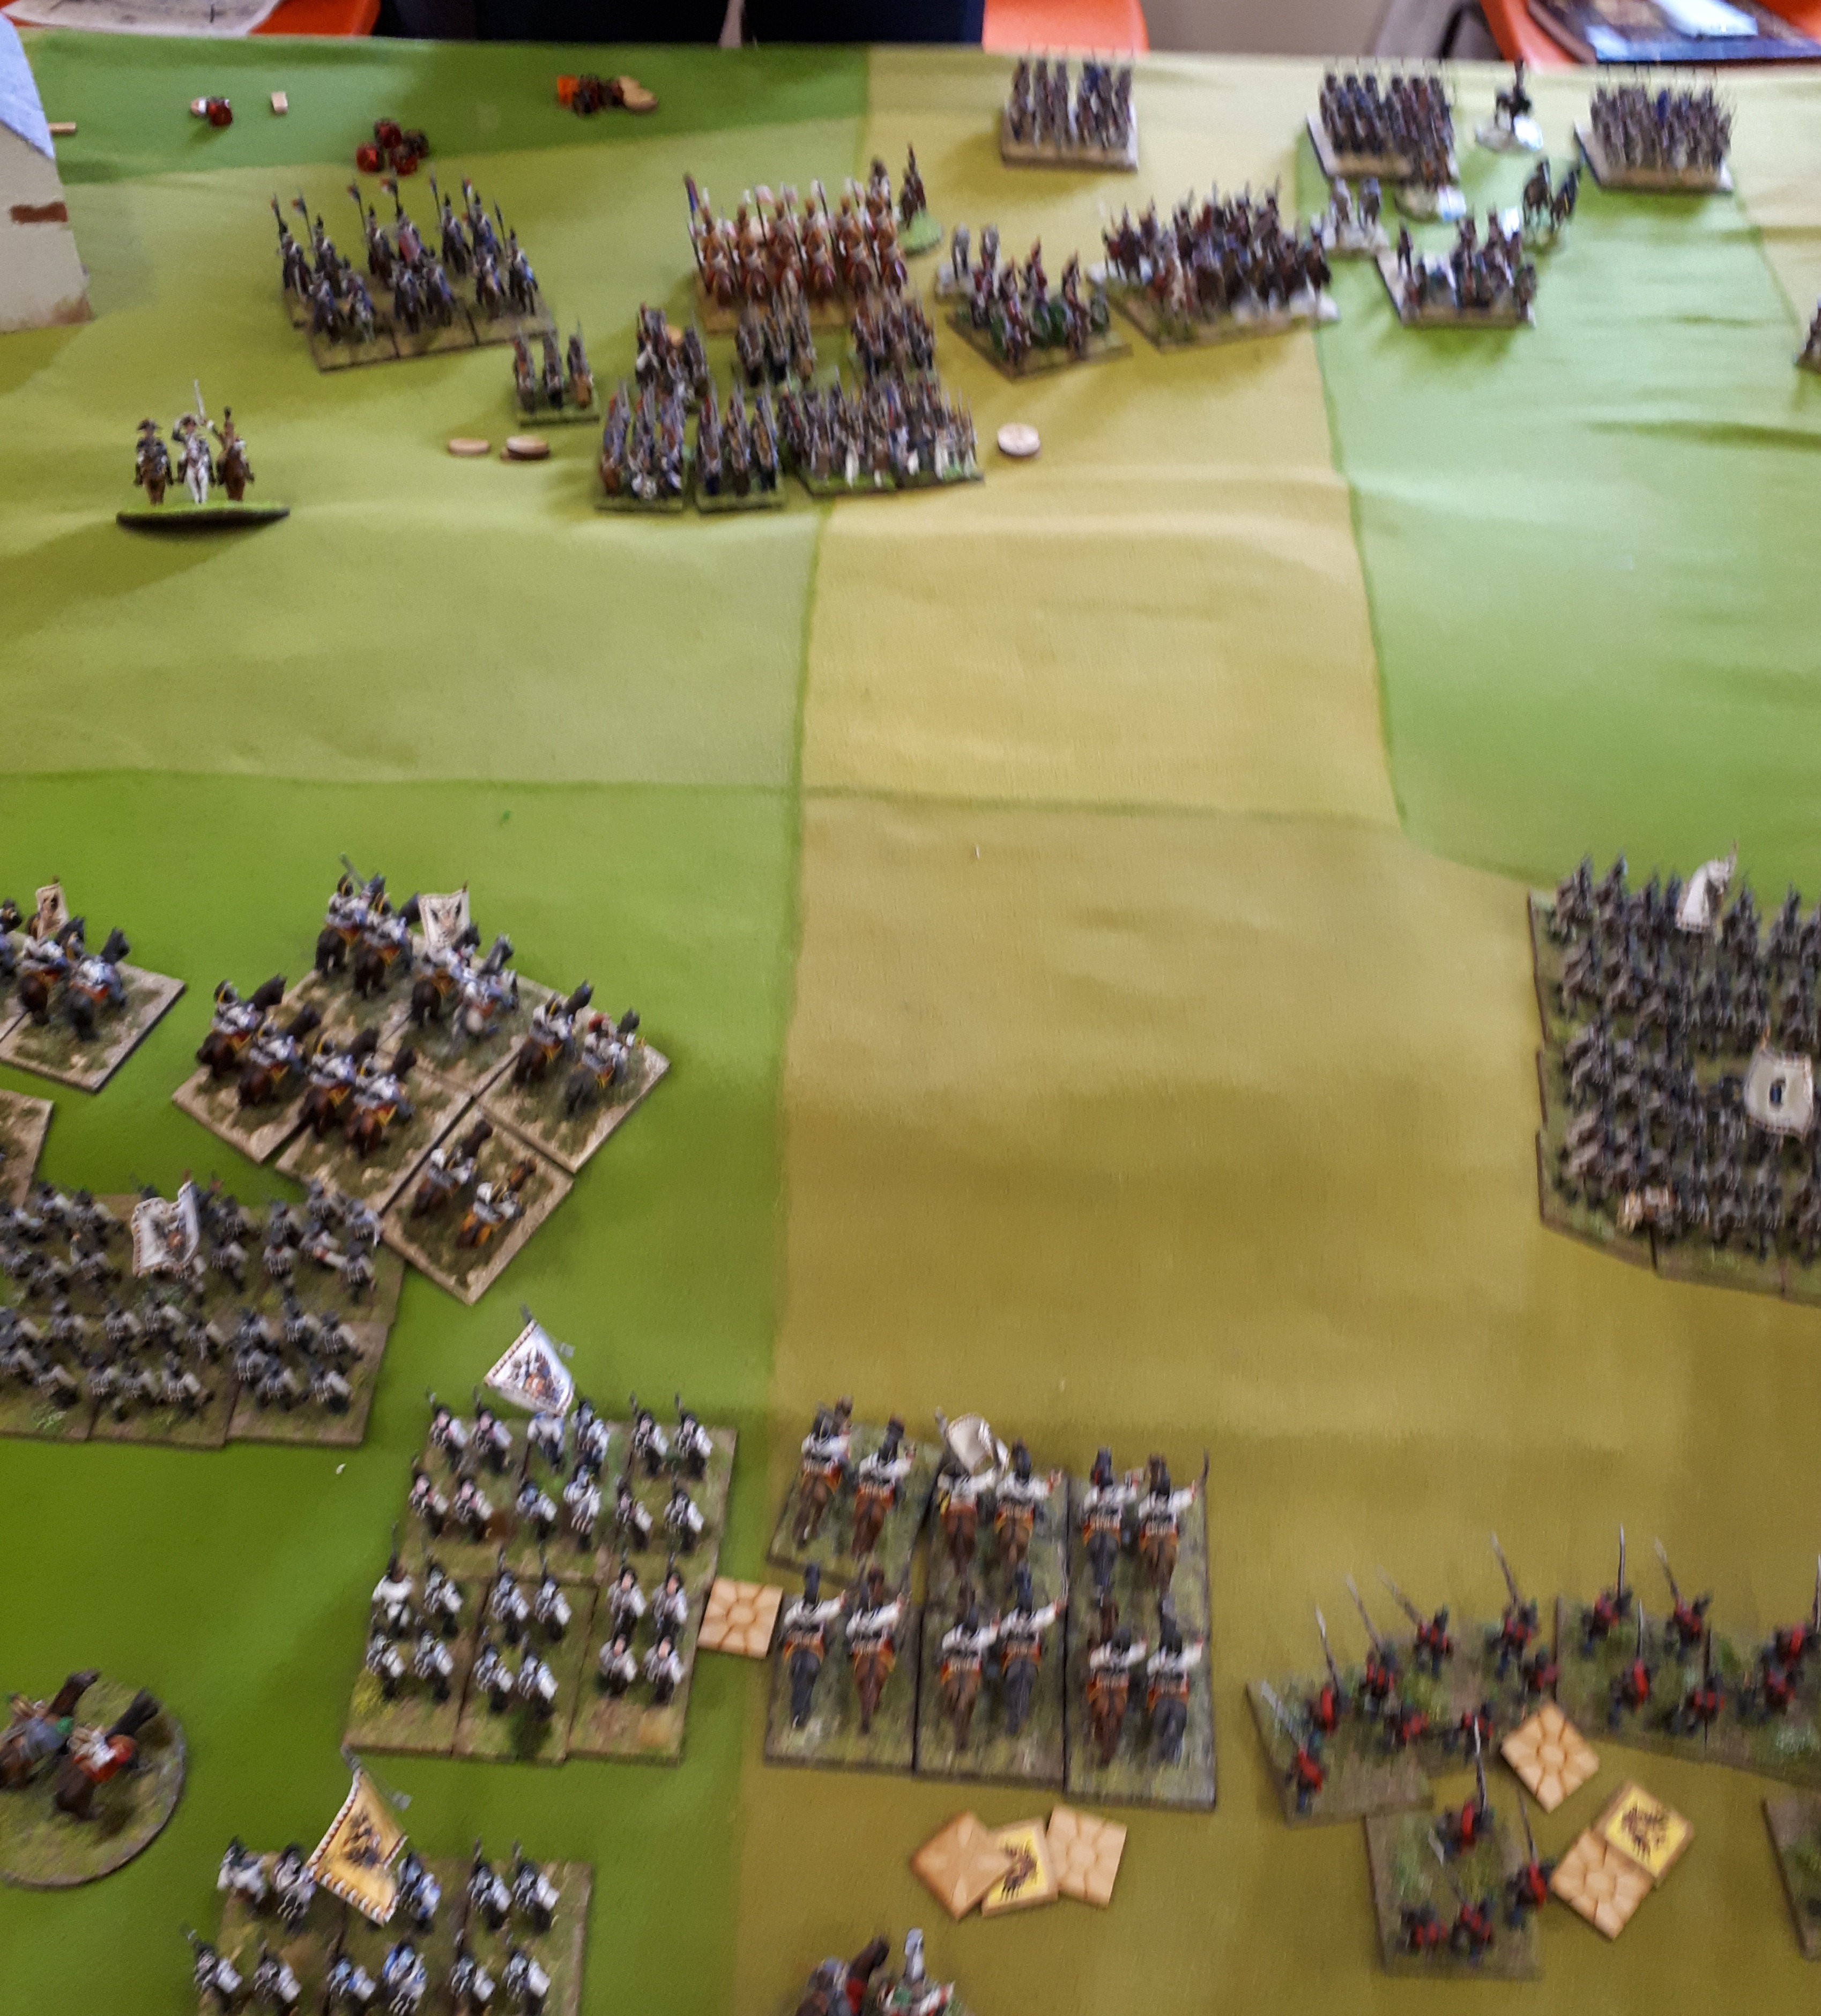
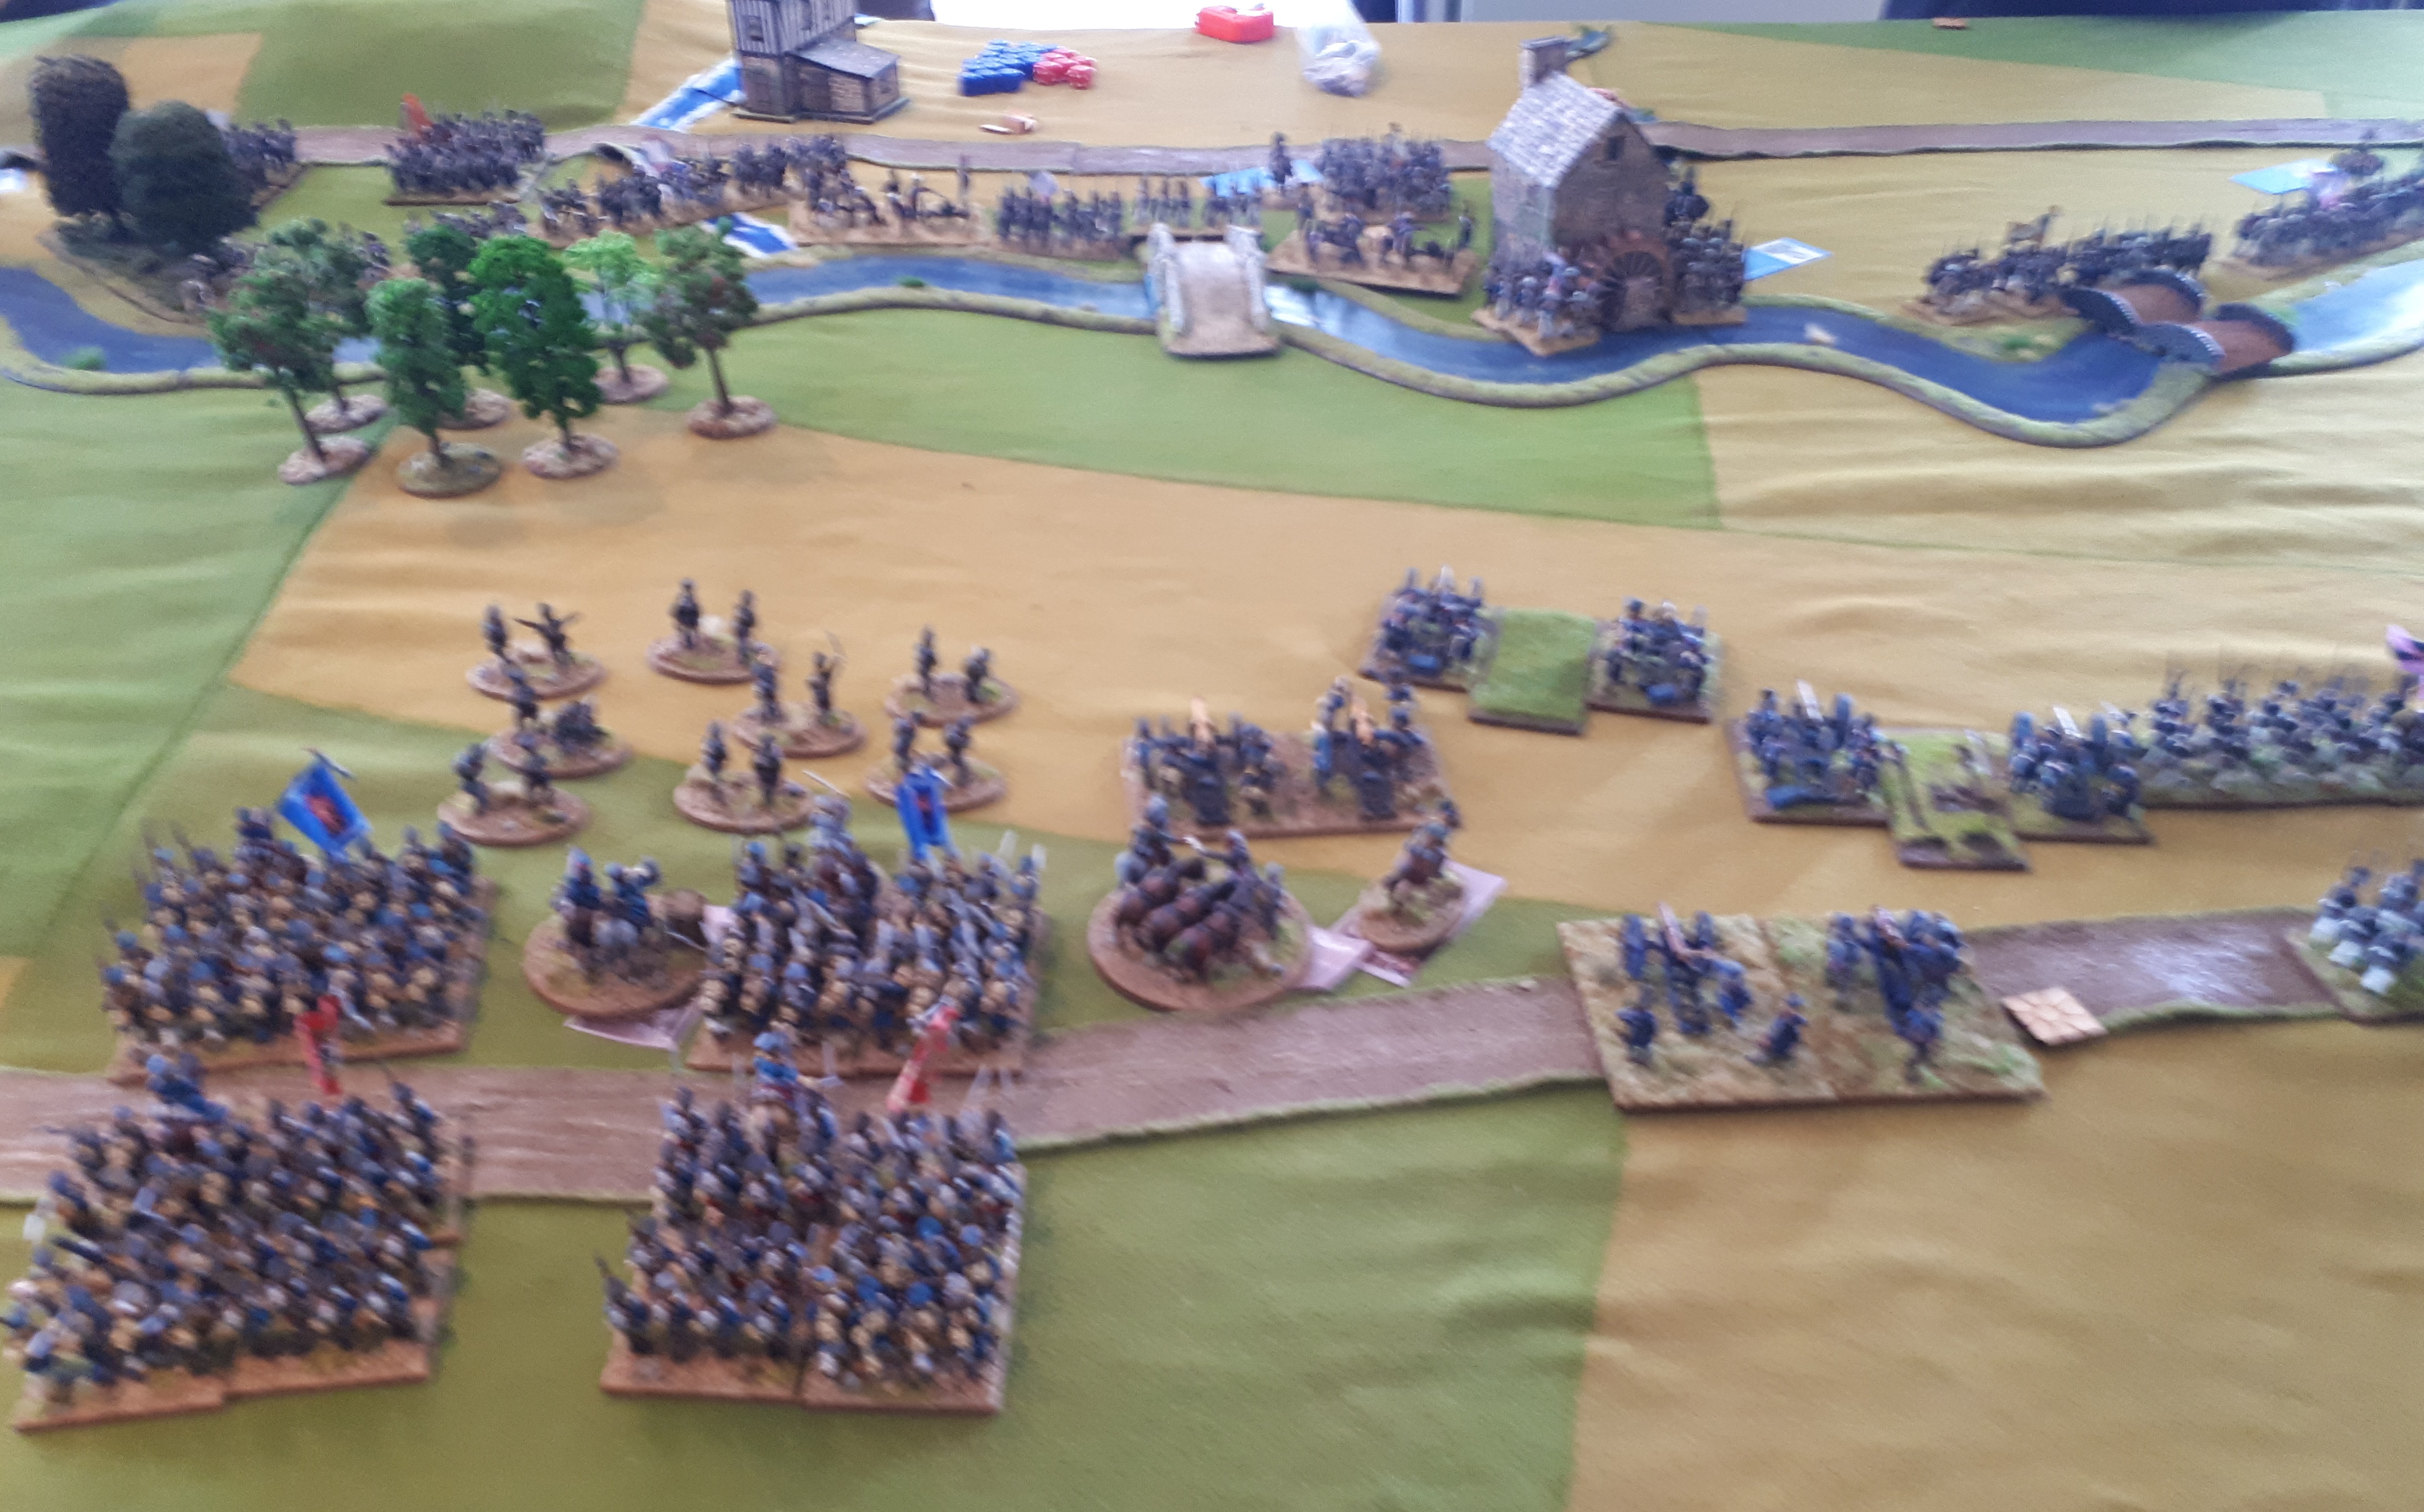
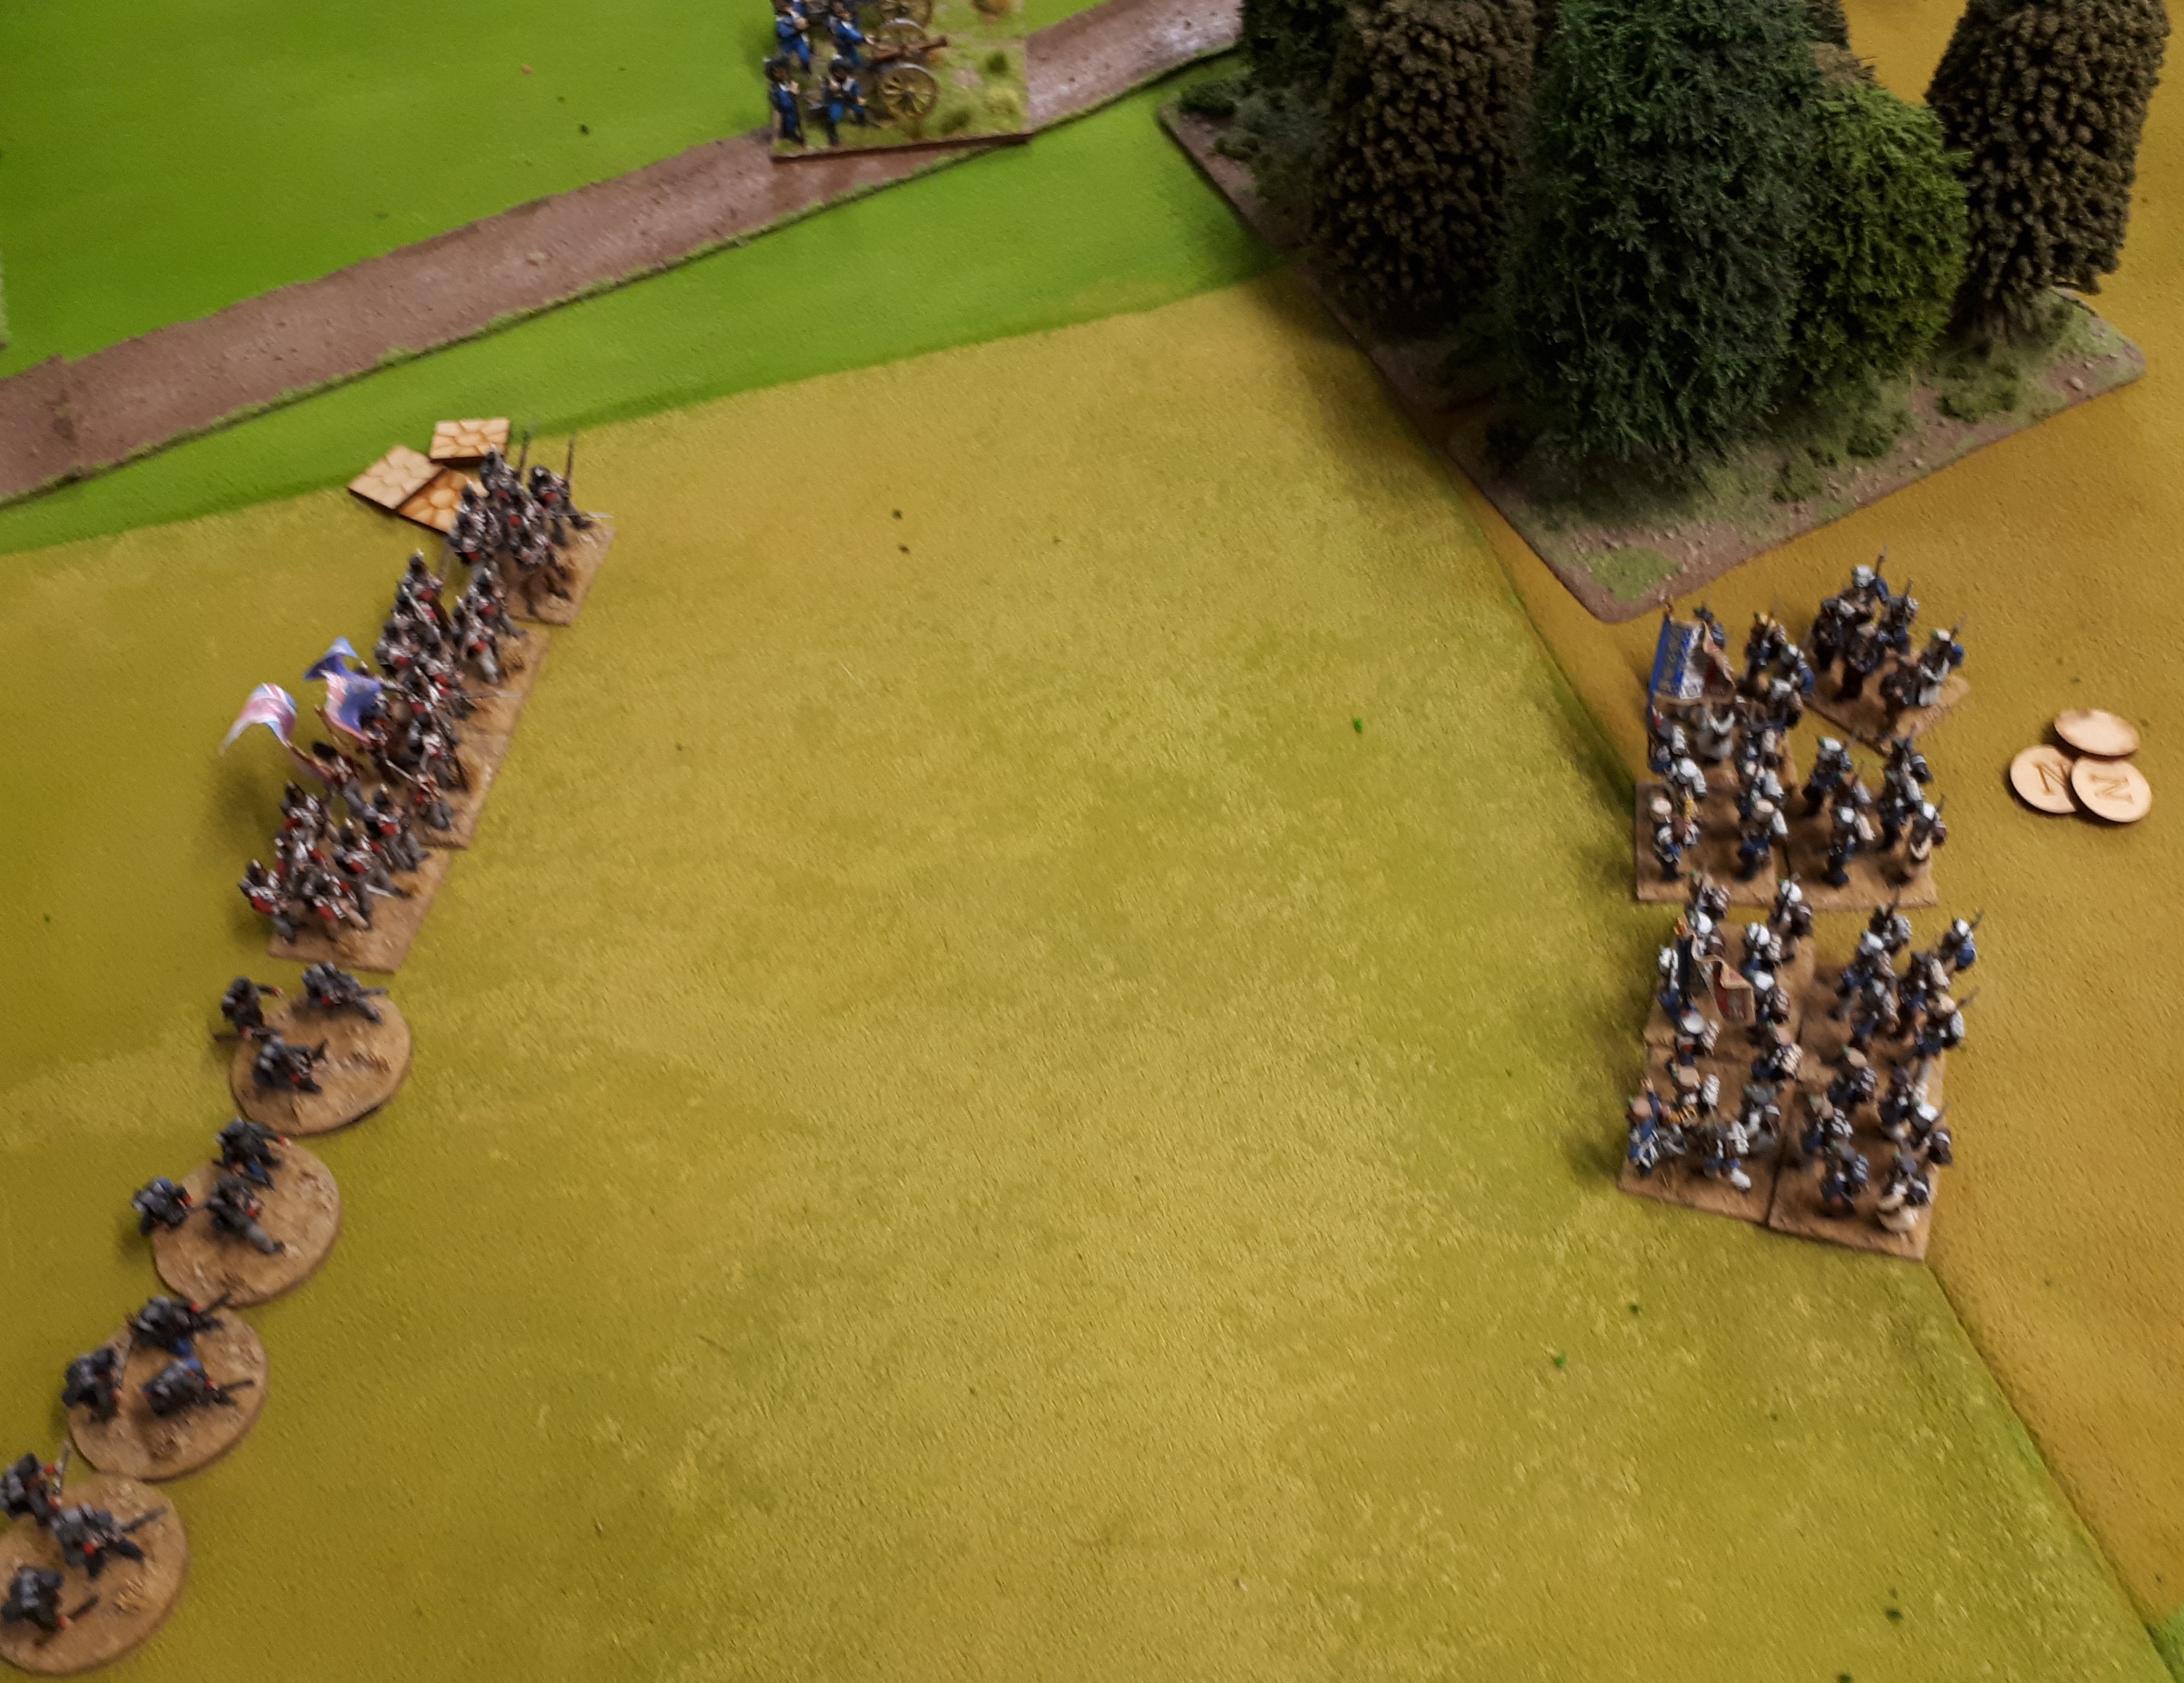
Its not looking good for the French. The Hanoverian infantry are holding on. The Hanoverian cavalry are still sitting on the flank, and doing nothing, but, they are still there. The British infantry are taking control of the centre.

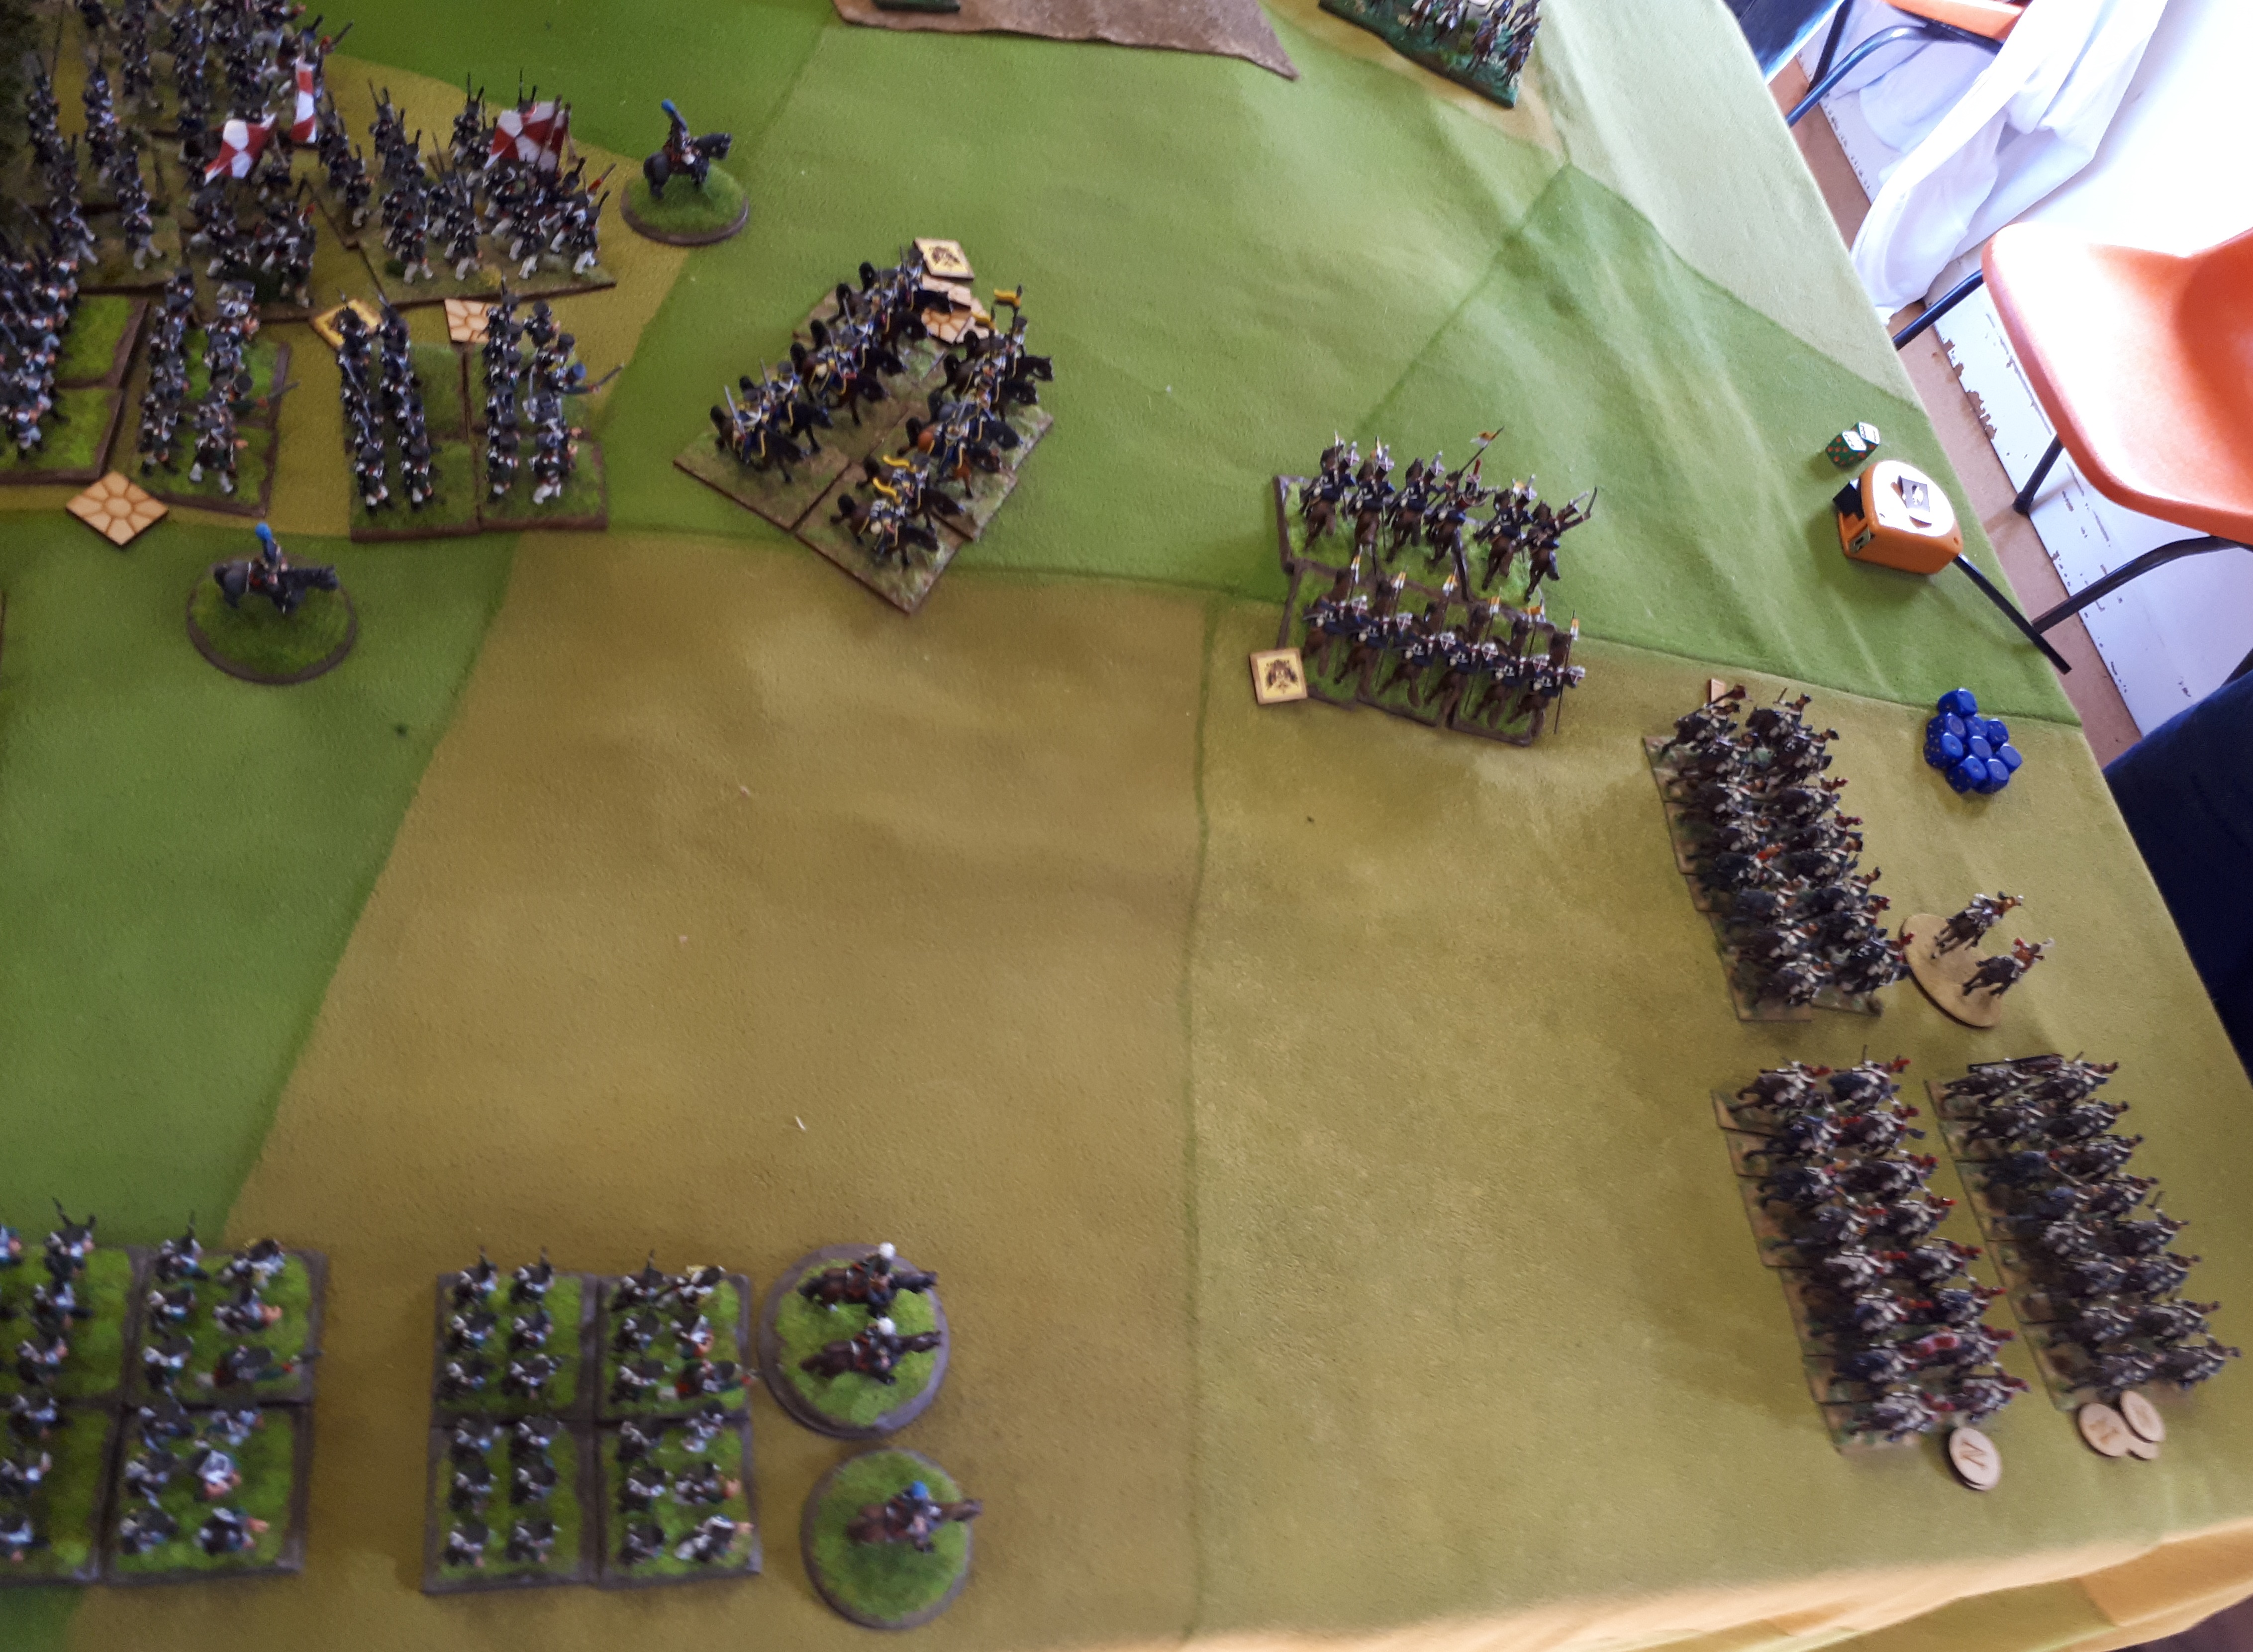
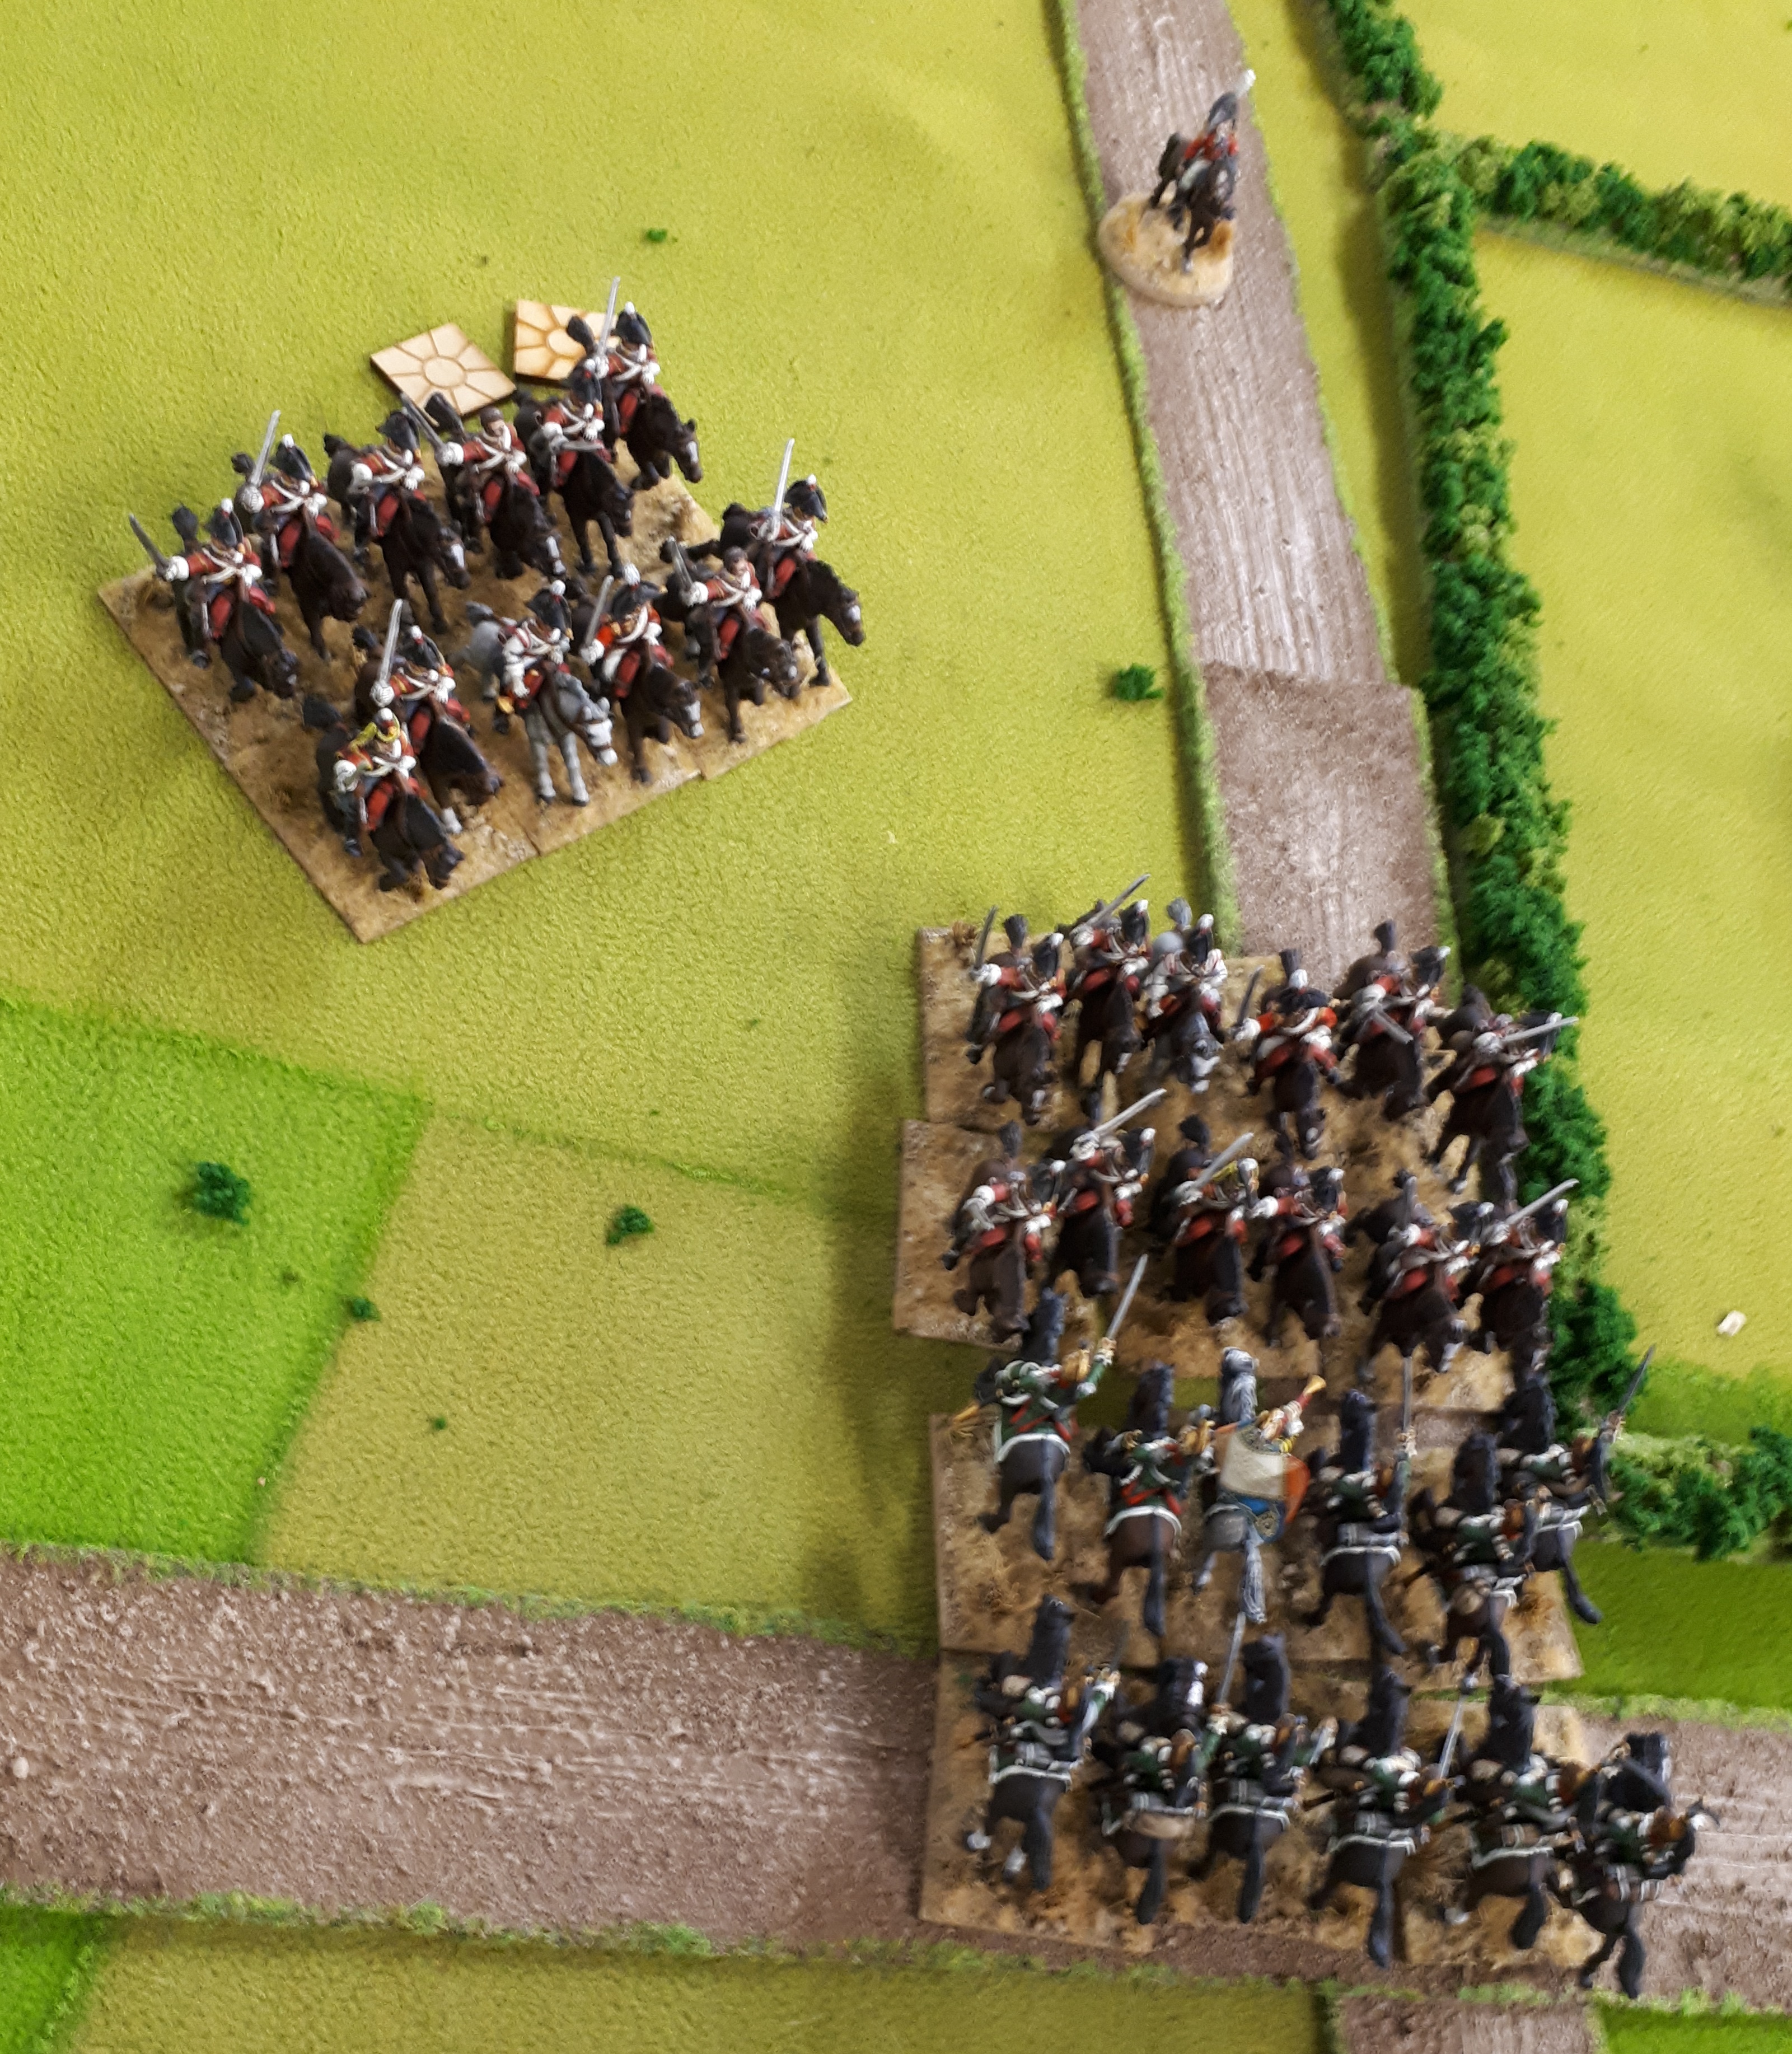
British Dragoons charge the shaken square, it was disordered but the cavalry got the order confused previous turn and didn’t charge. The dice gods were on Goldie’s side and the shaken unit beat back the cavalry.

In centre the British are charging in again.

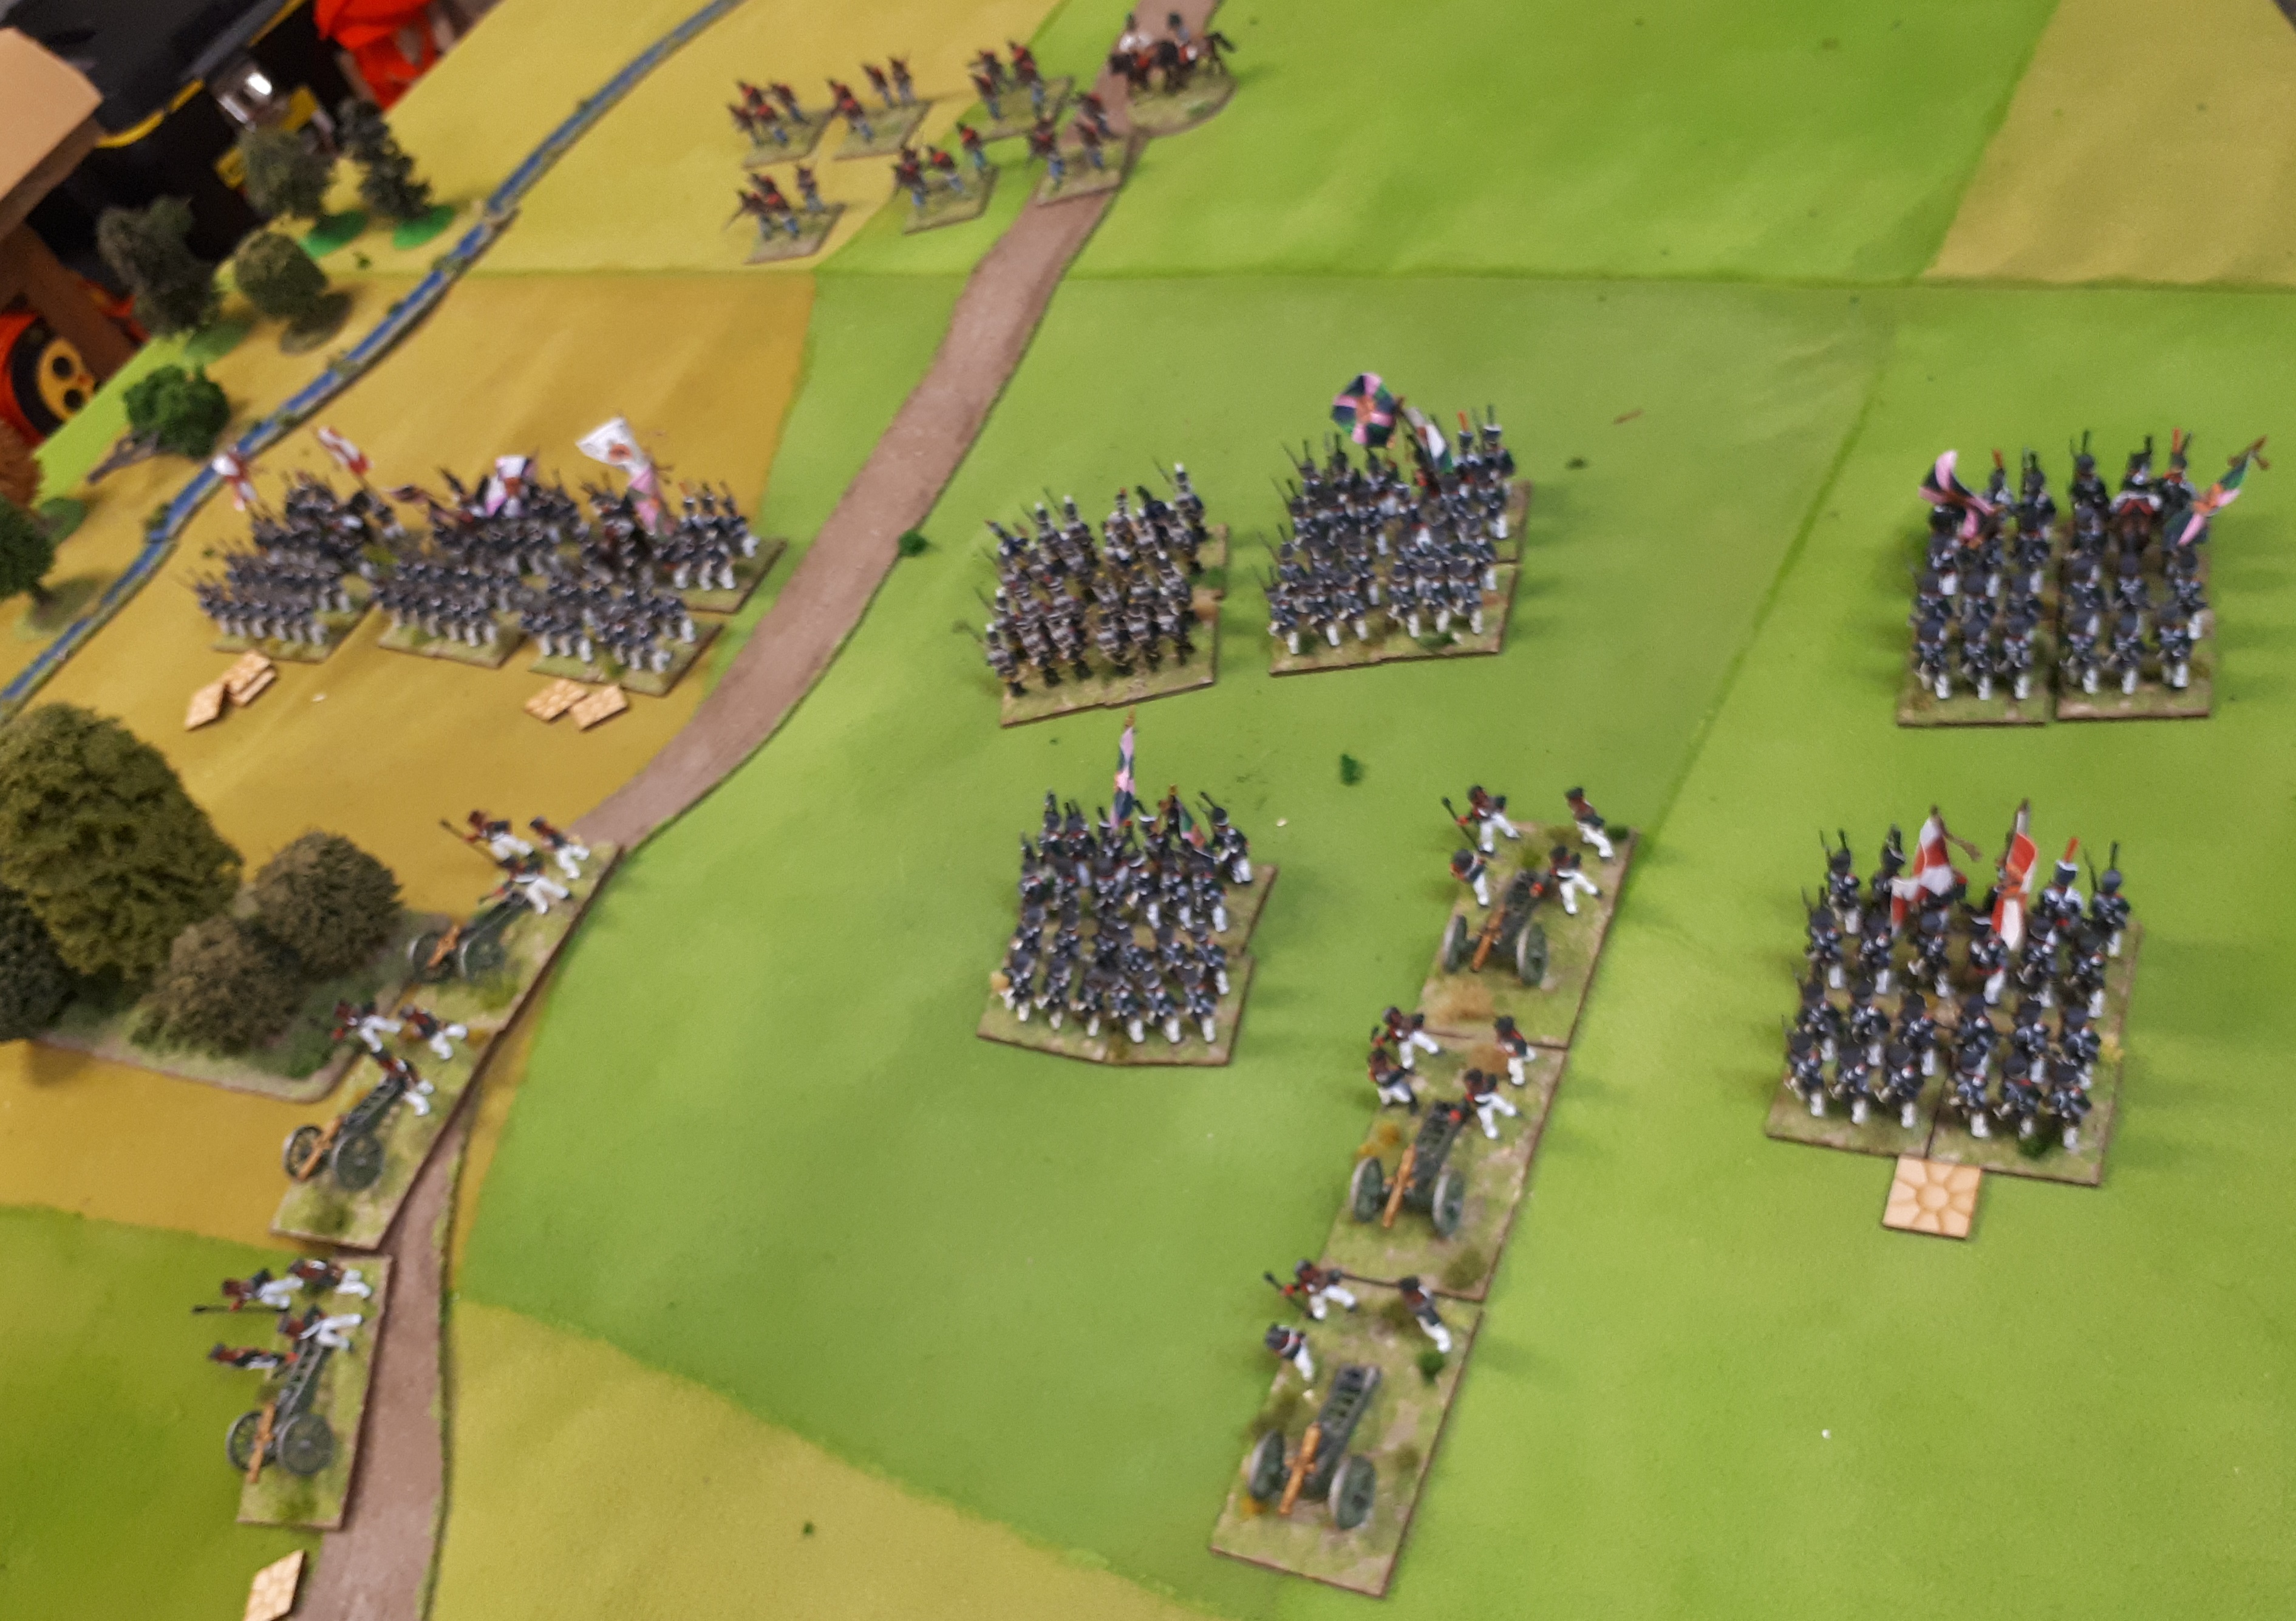
End of game and British/Hanoverian forces have taken the game. French have had Dragoons and one infantry brigade break.

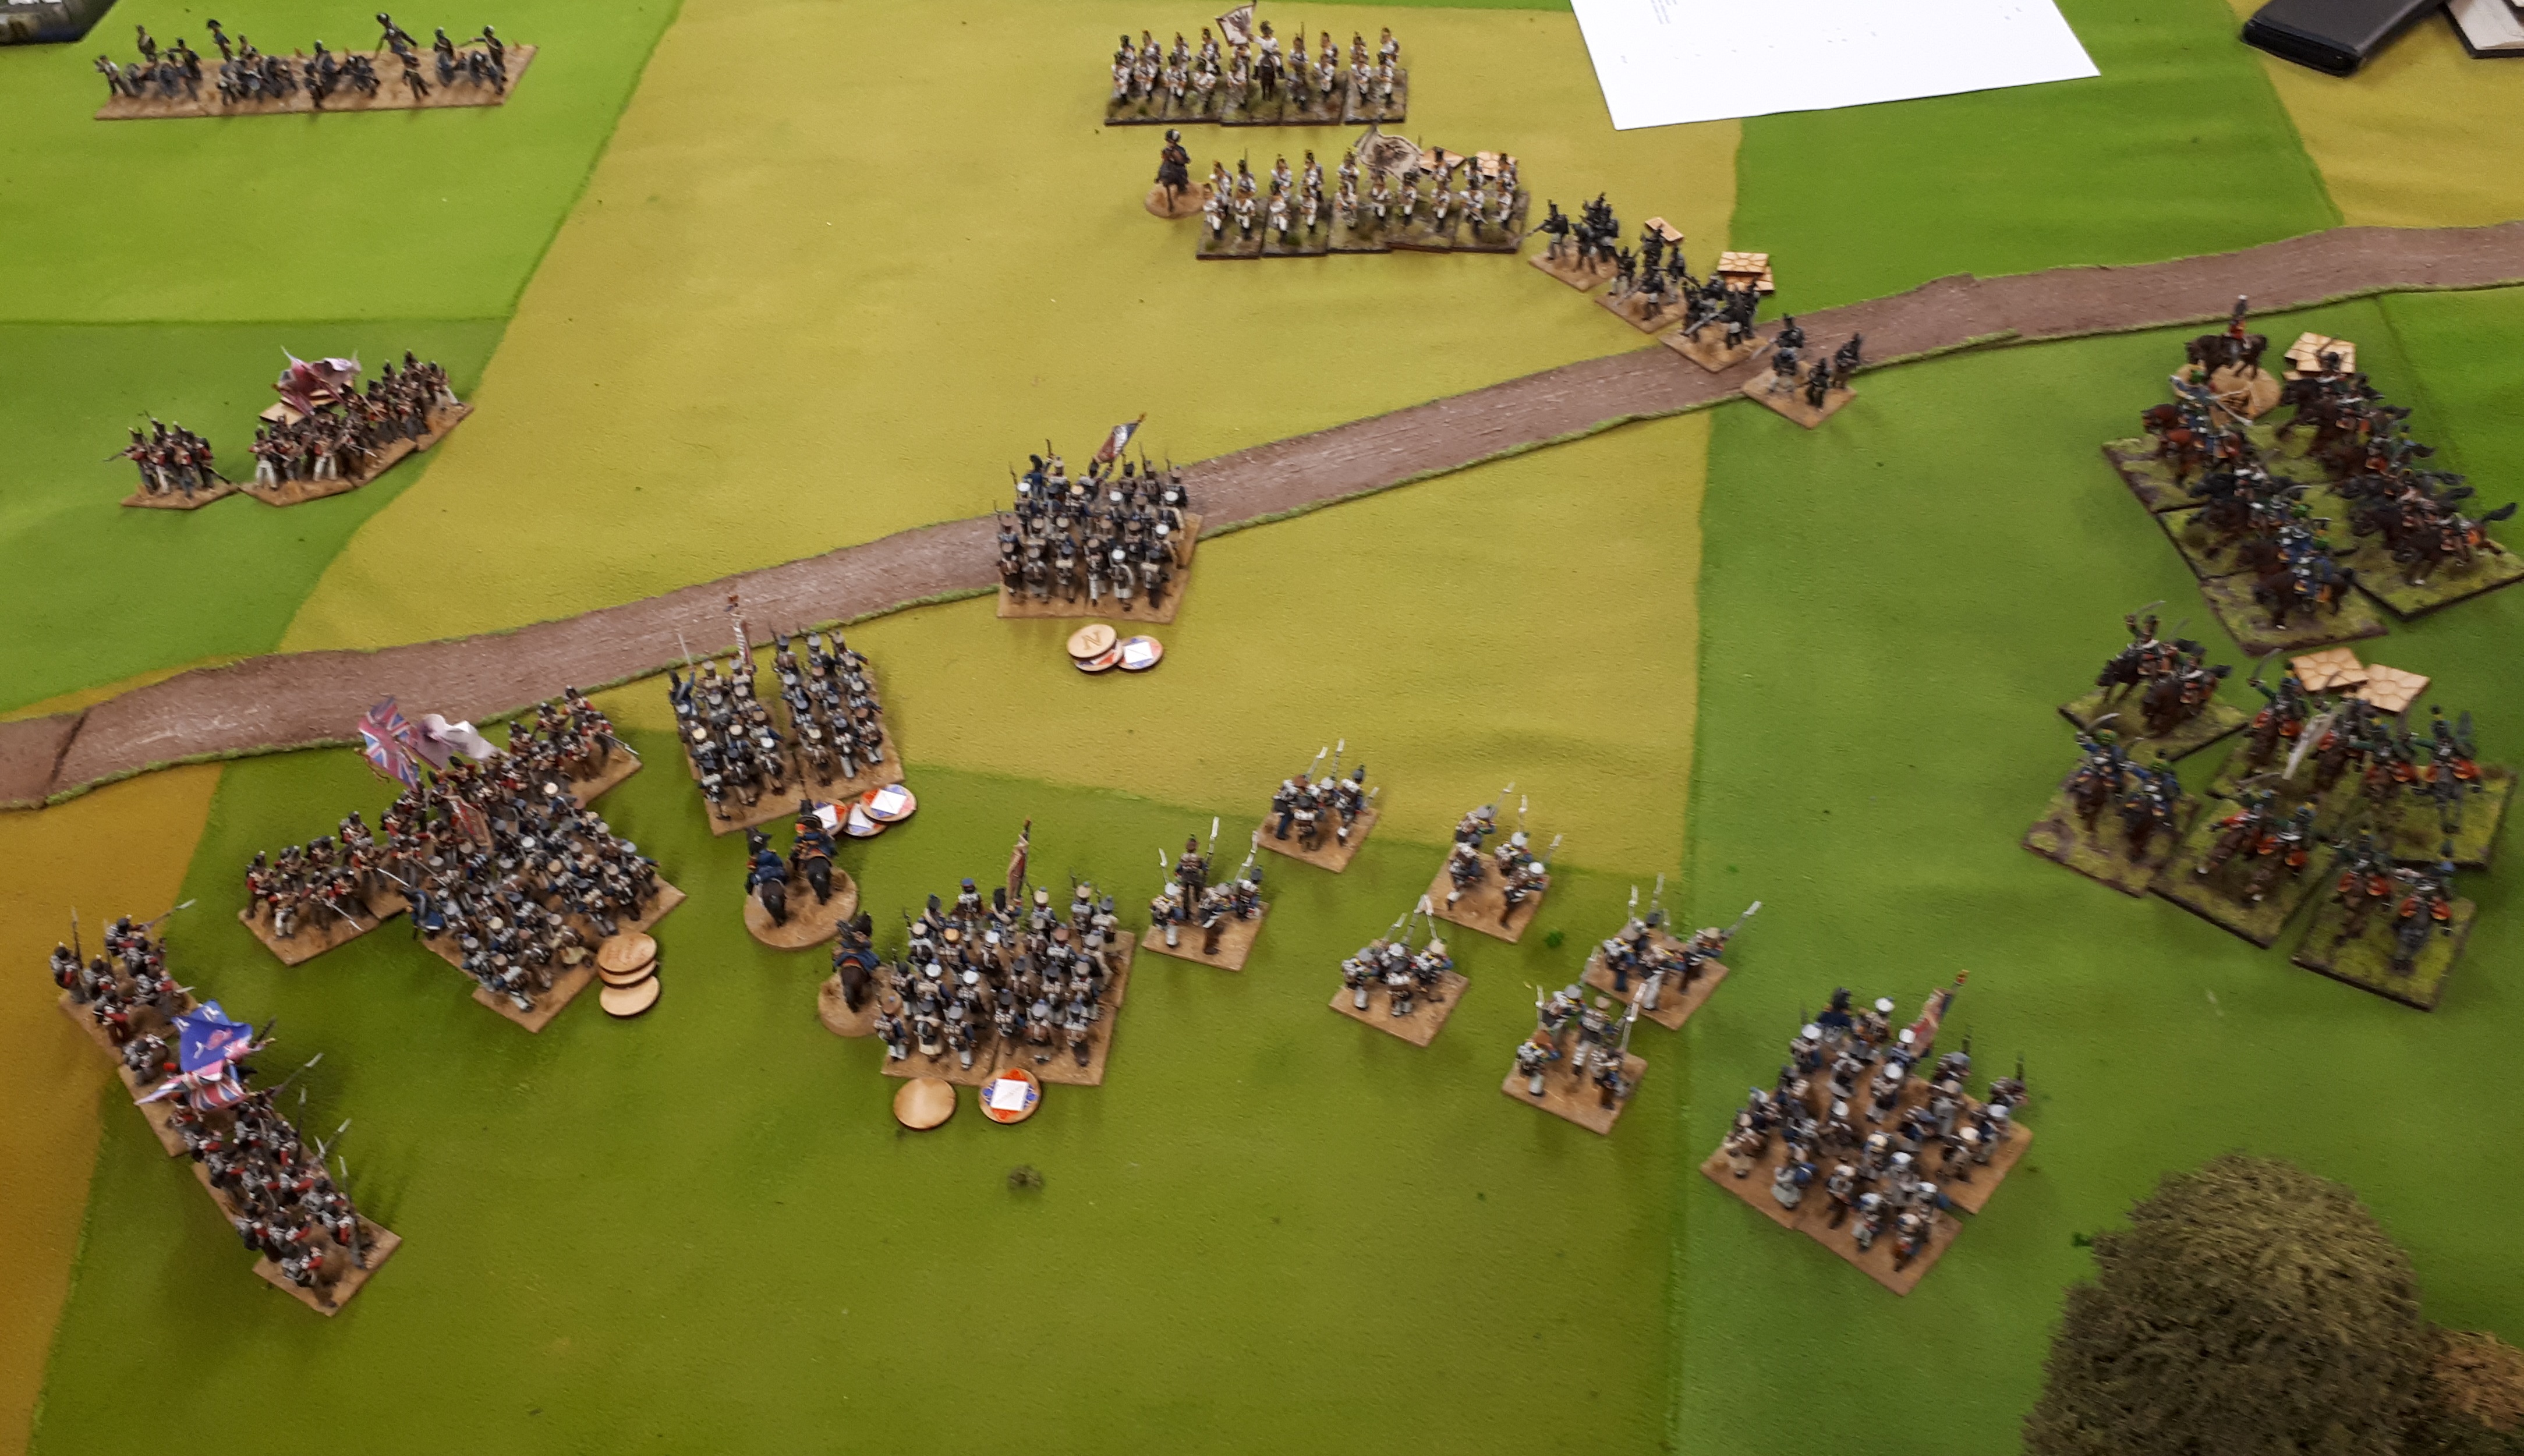
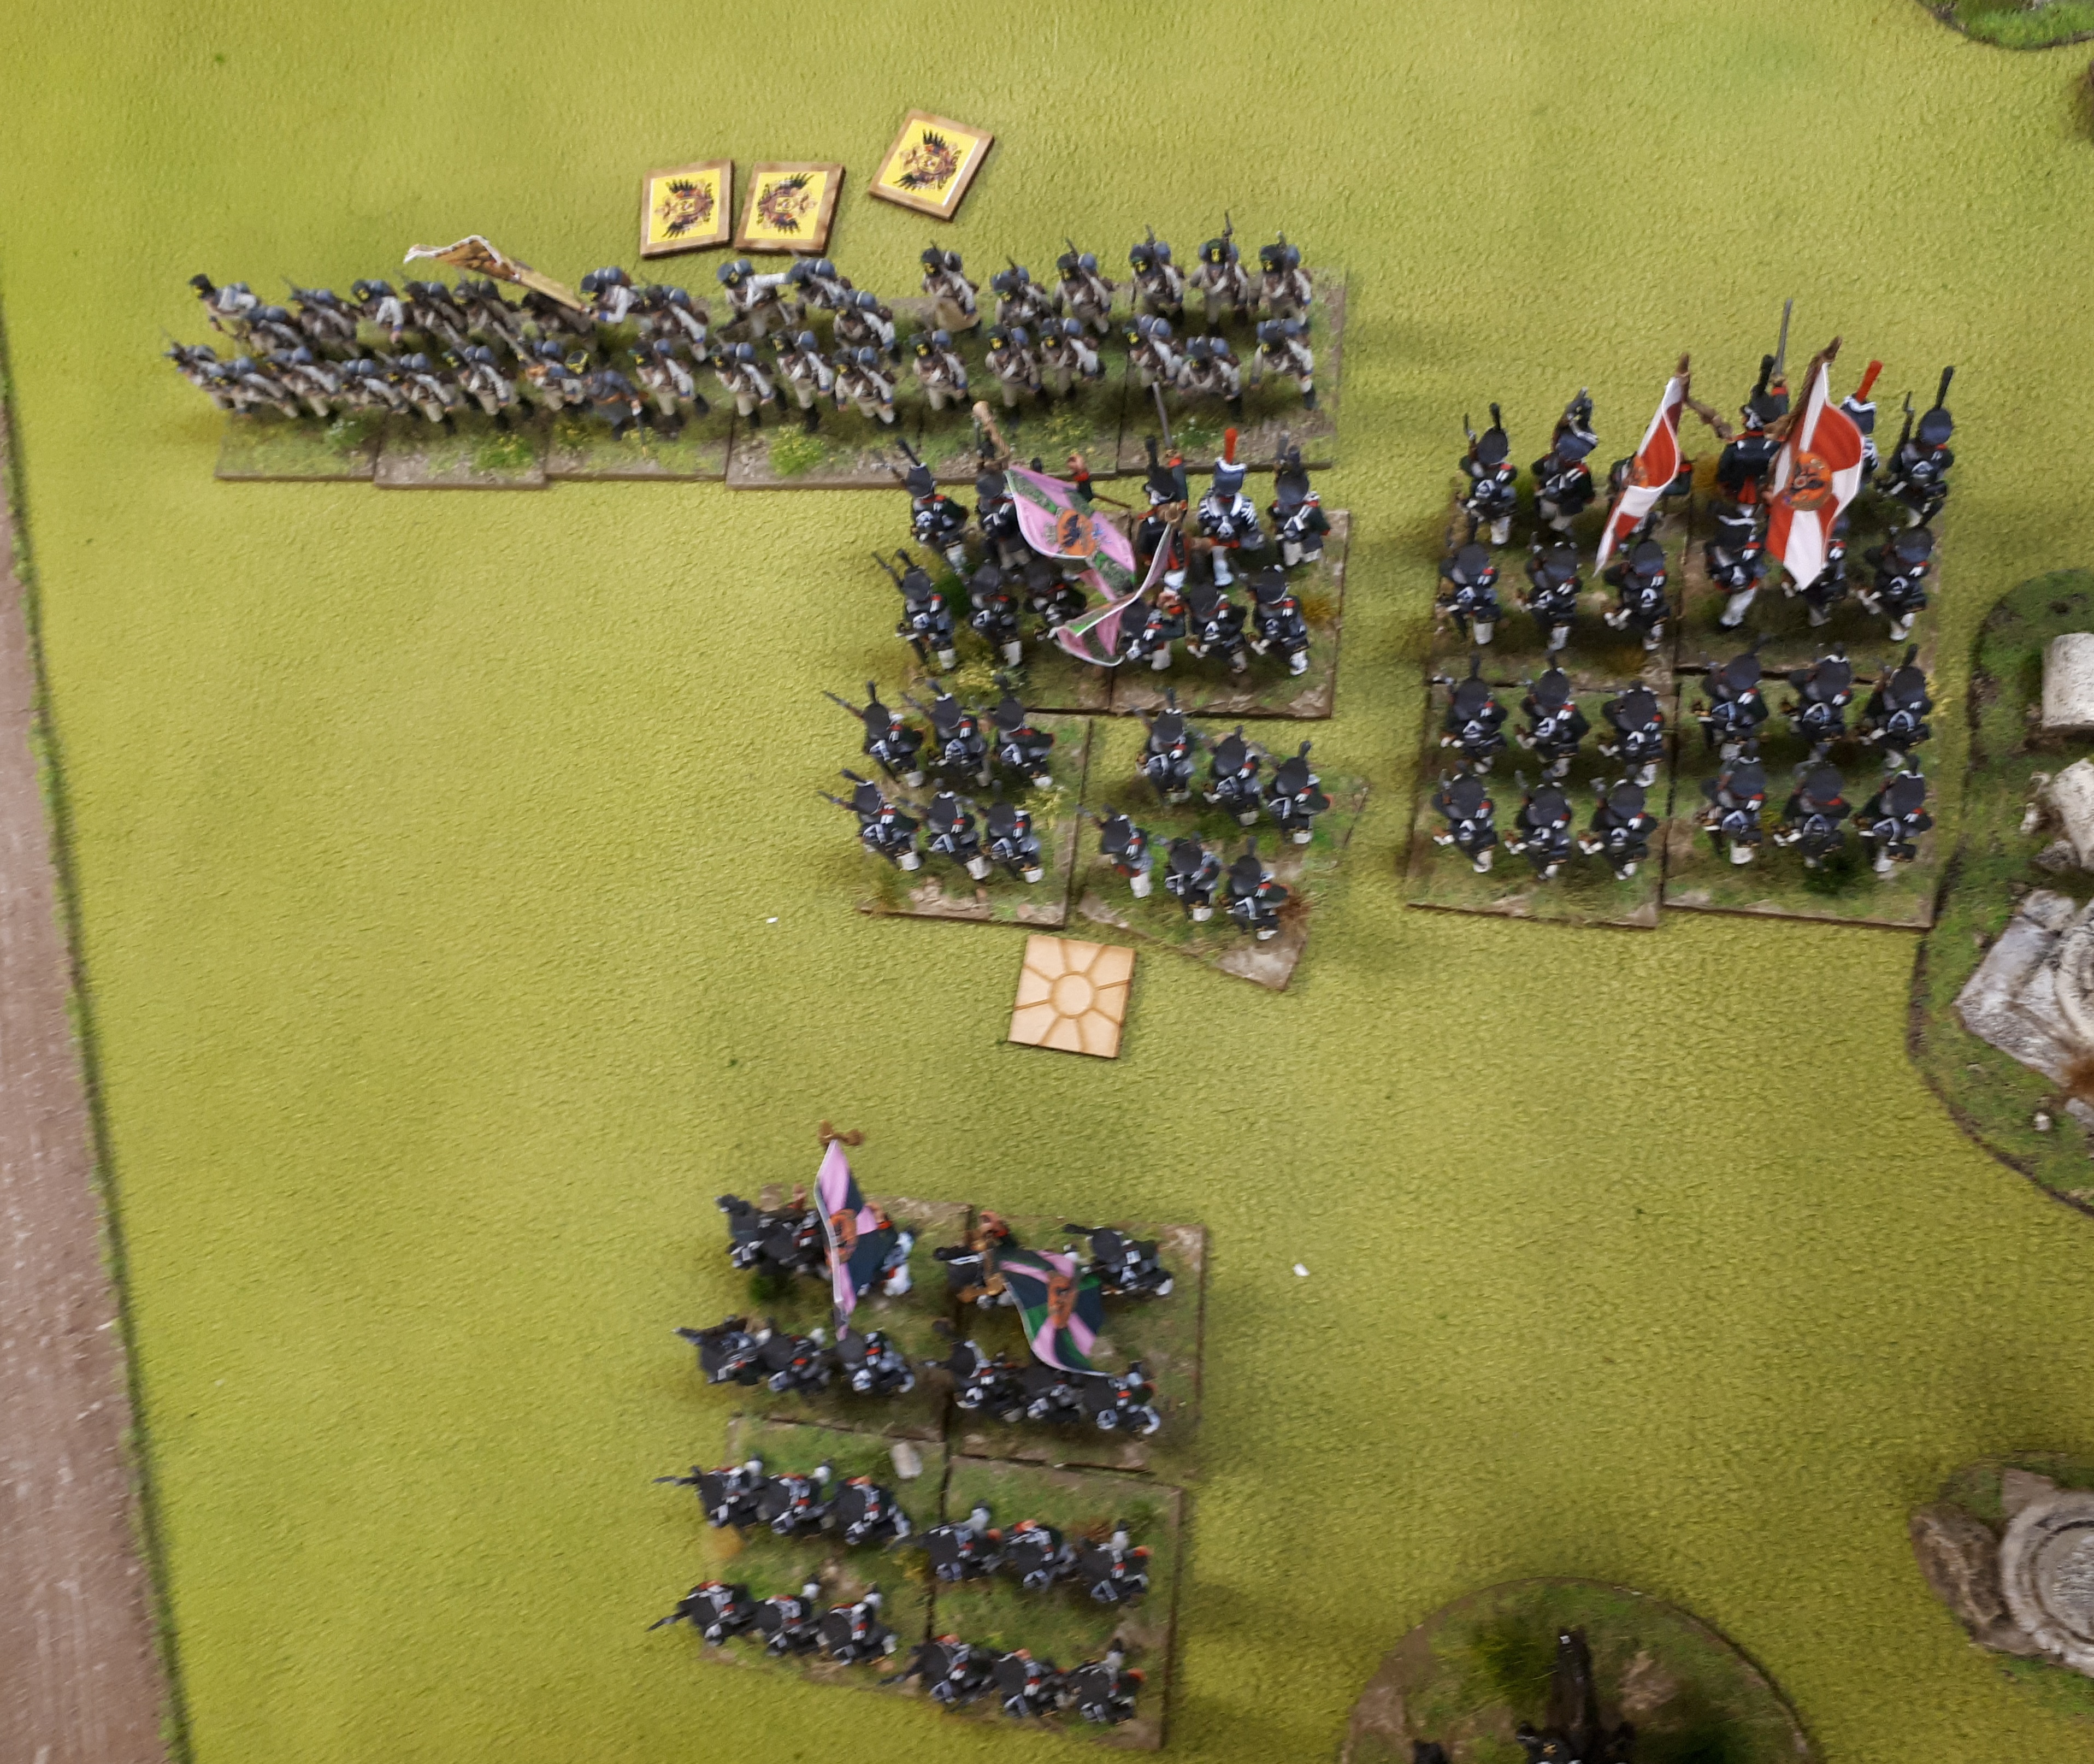
These 2 French columns have done well, but with a horse battery, 2 bttns and 2 regts Dragoons against them, there seconds are numbered.

And that was the end of an entertaining game. Both sides had some great, and not so great dice throws. Goldie insisted on using my Blue French dice, and they carried on there ability to roll what you did not want.

The game did show in these point games, artillery is probably a poor choice of points and you need a strong cavalry force to beat up the enemies cavalry and then press home the advantage. But in 2 hours we got a result which was the aim.


Until next time…..


Nap game – Battle of Matthews Hill – 1813 style

So Goldie enjoyed the ACW Matthews Hill scenario so much, he insisted we play it with Naps.

So I took the Union role in the Guise of 1813 Russians, and Goldie the Confederates as Austrians. Same scenario and set up rules as the ACW game applied.

Turn 1, Russians march onto the field of battle. The Austrian Avante garde can be seen up ahead.

Close up below of the waiting Austrians.

Russians, sllloowwwwlllyyy advance.

Still advancing…still slowly.

So have set up small advance brigade to hold centre while larger brigade moved up onto my right flank. For some reason I now decided to send my Hussars off marauding to other flank…theory being to distract Goldies attention with threat of cavalry moving around his open flank.  As events will show, dumb dumb me.

Russian still slowly moving onto battlefield.

Russians so slow, Goldie got bored and advanced!

At last! On left Russians charge the grenz, who do the evade of evades and run away 36 inches! On right column goes into the Austrian line with 2 supports to help out. This be easy peasee.

So inflicted 3 wounds, taken 1 back, have 2 supports but they still won’t run away.

So now I charge the guns on the road, beat them,  throw unit into flank on the right, but in distance, Austrian reserves marching onto table at last. Still no sign of my Hussars…misinterpreted order… retired 2 moves on my left!

Close up of fight on the right. Both units are shaken, I have supports, and have charged into the flank. Should be an easy victory now!

I had 7 attacks, needs 3’s…got a single 6, he saved the wound. I had that sinking feeling now. Going to be one of those days.

Okay, game bit further on, pesky line bttn is gone…..have larger brigade going forward again, in centre smaller brigade is mucking around, won’t move, can’t get its guns up and as for the Hussars…there they are in the top left!

And here are the Austrians…nice big bttns just waiting for me.

So have managed to move further forward…but….game was done…..to slow to get moving ay start of game, couldn’t win combats quick enough and just keep either failing orders, or moving only 1 move! Even Goldies reserves turning up late didn’t help me!

Austrian victory  😦


ACW Game – Battle of Matthews Hill, 1st Bull Run

I found a nice scenario on line so organised a game.

Goldie would play the Union(he has blue bellies) and Russ would be the Confederates(he has rebels).

The game was played down the table(was 12 feet) with the map below.

Deployment:


  • Union begin game in column heading south from Sudley Springs Ford, with Burnside’s brigade in the lead. The head of the column should be at point A. All units in march column directly behind. This is the spearhead of an attempt to turn the Conferate flank.
  • The Confederates are trying to form a defence on Buck Hill at point B with Evan’s demi brigade. They are to hold as long as they can to allow for reinforcements to rush to hold the flank.

Troops:

  • Union: Commander Colonel D Porter.
  • 1st Brigade Colonel A Porter with 5 infantry regts, 1 cavalry regt and large battery.
  • 2nd Brigade Colonel A E Burnside with 3 infantry with large battery attached to 3rd regt. There is also a howitzer battery.
  • Confederates: Evans Demi brigade with 2 infantry and a battery
  • Bees Brigade: 5 infantry, Hamptons Legion and Waltons battery

The Union player has first turn.

Confederates roll a die on each turn from turn 2 onwards. Result:

  • 1-4 no reinforcements
  • 5-6 1st time: 2 regts arrive on south end of Sudley Rd
  • 2nd time: remainng regts of Bee brigade
  • 3rd time: Hamptons legion
  • 4th time: Waltons battery


Turn one and Burnside marches down Sudley Rd. Russ has painted up some dinky diorama pieces, here we have a photographer in the foreground.

The long blue column marches down the road. In distance the rebel road block on Buck Hill can be seen.

Russell’s blocking force on Buck Hill.

Goldie has sent his cavalry ahead on his right flank and lead column has formed into line on road…Russ has responded by moving a unit toward to fences to secure flank.

Goldie’s forces flow forward, Burnside to centre and Porter to the right.

Perry horse batteries are quite cool, here is one entering table and heading right.

Russell has managed to some Mississipi boyz to arrive!

Goldie continues to advance

Overview of Buck Hill where Russ still holds it.

Goldie’s forces moving closer to Bucks Hill. Russell’s unit by fences not in an envious position really.

Rebel unit is disordered, taking casualties, has dismounted cavalry and infantry shooting at it and units advancing on its exposed flank.

Goldie takes Buck Hill. On right Union units are flowing forward.

Those Mississipi boyz moving to cover the Unions flank march. Evans demi brigade retiring on the farmhouse.

More rebels arrive!

Russ takes up position

Goldie’s view of the attack.

End game. Union are pressing along the whole line. A lot of shooting was going on, the Union benefiting from the longer ranges and Goldie had achieved his objective marker.

Union victory called.

Next report is the same scenario…moved to 1813 and my Russians are the Union and Goldies Austrians are the Confederates.


ACW Game – The Battle of Wilson’s Creek 1861

Latest game was scenario from Black Powder supplement ‘Glory, Hallelujah!’

The Union players were Alan and Keith while Robert and Moi(Terry) were the Confederates.

The game was played down the table with the following terrain rules:

  • Terrain largely wooded, but only lightly so effect is visibility reduced to 24 inches. The effect was that small arms fire now hit on a 5 and not a 4.
  • No effect on artillery fire.
  • Skeggs creek ran across the battlefield and was a 6 inch movement penalty
  • The fences offered a -1 to hit advantage if you were directly behind them

Scenario:

  • The 3 Union brigades set up to North of Skeggs stream. On turn 2 brigade 4 is ordered on from south edge of table.
  • The 5 Confederate brigades are set up south of Skeggs stream. On turn 4 the Confederate cavalry brigade can be ordered on from behind Union right flank board edge. Cannot charge on turn 1.

Troops:

Union:

  • 1st Brigade – 3 x regts rifled muskets plus 6 pdr smoothbore battery(6 guns)
  • 2nd Brigade – 3 x regst rifled muskets plus 6pdr smoothbore battery(4 guns)
  • 3rd Brigade – 6 x regts riffled muskets
  • 4th Brigade – 4 regts rifled muskets, tiny cavalry regt and howitzer battery

Confederates:

  • 1st Brigade – 3 regts rifled muskets. 1 large
  • 2nd Brigade – 3 regts rifled muskets plus 6pdr smoothbore battery(4 guns)
  • 3rd Brigade – 6 regts smoothbore muskets plus 6pdr smoothbore battery(4 guns)
  • 4th Brigade – 3 regts smoothbore muskets plus 6pdr smoothbore battery(4 guns)
  • 5th Brigade – 3 regts smoothbore muskets
  • Cavalry brigade –  2 regts cavalry, 1 with rifled muskets and 1 with shotgun/revolver

Below is the set up as viewed from Confederate rear.

Confederate set up with briagdes 1 and 2 in forefront(both rifled muskets). Terry commanded these and the cavalry. Robert had brigade 3-5.

Turn 2 and Keith appears in Confederate rear.

Confederate left flank where large unit surges forward…no one else wanted to join him. This cowardice continued for a number of turns.

On right flank, Robert lined up in cover of trees and fences.

My large unit all alone! I was trying to press forward to pin the Union flank for when my cavalry arrives in their rear.

Robert surges his troops forward, well one anyway!

Keith’s attack form the rear, 2 confederate brigades have turned to punish him for his impudence.

Union advancing.

Alan’s left flank……many failed ordered…blunders backwards…all highly amusing.

Oops… here come the cavalry!

I found this more exciting than infantry….Keith failed orders to turn troops to face…so in my turn I dismounted the cavalry with the rifles and charged 2nd unit into rear. POP go the infantry…the guns POPPPED as well…..

And still can’t get rest Confederates to attack!

Guilty…the measuring tape is mine. So much for 2 Confederate brigades taking care of Keith’s attack from rear. His tiny dismounted cavalry would not die…..he shot me to bits with his infantry and guns…I couldn’t hit the side of a barn….

But more fun was Ala rolling a blunder and charging across the table! Robert got very excited.

Sigh… the tapes still there…..was distracted by my cavalry charge!

Last turn….Union right flank is gone…..cavalry in in their rear and a brigade in lining up a charge down the line of the flank(I played a pretend turn as we packed up..it was glorious!)

Another shot……Alan and Robert hard at t on other flank but Alan has no managed get any supports up so his bluebellies are not going to last much longer.

And that was it….Union right flank gone…holding in centre but that’s about to get steam rolled and on Union left things not looking good. Conversely…the Union attack in the Confederate rear is going well…but am sure they will retire!

Goldies 50th Birthday Game

So dear old Goldie(Paul Goldstone) announced he would like to celebrate his 50th Birthday with a game at our local club, Wellington Warlords. Said game to be played on Saturday 6th April 2019.

The Coalition forces would be commanded by Goldie(Paul G) supported by me(Terry), Alan and Paul W.


The forces of evil would be commanded by Russ, supported by Simon, Rob, Robert, Von Peter and Grant. At the last minute Simon had to withdraw so Russ took over his command.


The French set up first.

The French right commanded by Von Peter’s Poles with Young Guard to right.

Young Guard stretching across the open terrain.

Grants troops from the village on left to ridge and then Roberts troops from ridge to village to table edge. Robs cavalry in rear in conga column of march column. Now that was different.

Another shot of Roberts troops.

Allied turn one, Terrys troops march on in checker board formation. I had to bring the reserve grenadiers on early as Goldie managed to get his Avante Garde on…but nothing else and were rather exposed.

Unfortunately my camera photos of centre and other end of table from me tuirned out very poor…hall lighting and sun effect so limited shots can be used.

here we have Alan’s Prussians arriving in force and the start of PaulW’s Russian attacks.

Alan’s Prussians

The Allied right where PaulW has a conga line of Russian infantry along with massed cavalry brigades.

French cavalry watching from rear of ridge.

What a mess. Picture from French side of my Austrian on right and centre and Goldies on left. The buildings of the village have been removed as street fighting going on. At this point I announced Goldie was walking home due to his ineptude as a  commander. he had lost 2 brigades in an ill fated charge on village. A review of rules showed he had not if applied new support of units in combat rules correctly. But it stymied his attack for a while.

The mess in the Austrian centre. Goldies Avante Garde going for it…my Grenadiers going for it…my Cuirassiers going for it…Russ throwing in Young Guard……it was really rather bloody.

Village to Goldies front where he got in…Grant then counter charged and a lot of dice seemed to be getting roled for some time.

PaulW’s conga line supported by cavalry. French now moved Dragoon’s to support the infantry squares.  I understand the poncy Russian Cuirassiers felt combat was beneath them for most of the game and just sat and watched.

Austrian left and I am in part of the village and fighting for the rest.

On open ridge to flank and a few units from both sides been cleared out. It was a meat grinder.

On the right the Russians look very pretty.

On the left the Allied cunning plan is coming to fruition( we decided this after the game). Russ committed his reserve of the Middle Guard and Guard cavalry/artillery to this sector and not where the Russians were crushing Robert.

On left Austrians have both parts of village, Russ thru some Young Guard into flank but were held and then countered to their flank by more Austrians…Vistula Legion then charged into village form far side but were held. In the end the Austrians held the village.

On ridge the Young Guard were eventually broken as were the Guard cavalry. A final charge by the Austrian grenadiers broke the Polish infantry brigade but in turn were broken. Polish Uhlans and Cuirassier’s had a wee tussle as well. The Middle Guard thankfully picked on Goldie!

The far flank village…buildings removed as units all over. Robert has been pushed out.

Goldies village….holding it at this stage but has a lot of damaged units and Middle Guard closing in. Grant has been pushed back.

Right flank….last waltz of the French Dragoons. Gather French Cuirassiers other side of village weren’t keen on combat either. More ponces. At least my Austrians were good keen men.

And that was Goldies Birthday Bash…successful win for the Allies who held most of villages and had broken more French brigades than they had lost.

Footnote: My new units of Vistula Legion and Austrian Grenadiers all broke…shameful performance.


Update: new units

So the Xmas and holiday season is well and truely over and as its nice and warm we Kiwis tend to go on holiday then. In my case that was several weeks at a lovely small beach side town called Whangamata on the Coromandel Peninsula where 2 weeks of sun, no clouds, no wind and days around 30 degrees celsius were enjoyed. I did take my Xmas present from my beloved along with me, a Warlord Games Roman Army box  plus an extra legionnaire and auxilia unit and managed to assemble all but the Praetorian figures.

These figures will be painted gradually over 2019 to counter the expected losses in campaigns to come.

The expansion of my Napoleonic armies has continued.

  • Austrian CL unit
  • Russian horse battery
  • Wurttemburg horse battery
  • 2nd Russian Hussar regt
  • French horse battery
  • French foot battery
  • Austrian Grenadiers
  • Vistula Legion

Pictures below plus pictures of the brigades they have now joined.

My Austrian light cavalry now number 2 regiments of Chevaulegers and 2 of Hussars.

Picture of new unit and then the 4 together below.

The Russian horse battery and 2nd half of the 8 squadron Hussar regiment join my light cavalry brigade.

Picture of new units and then the brigade below.

Below are a Wurttemberg horse battery to accompany a light cavalry brigade.

A few years ago we did a refight of Waterloo. I decided to paint the Dutch heavy cavalry brigade for the battle(mainly because I love the Front Rank Belgian Carabiners uniform). However not liking the Dutch uniform, I painted Wurttemberg Chevau-legers. I rally like the 3 regiments together. Am treating the Belgians as Hesse Darmstadt Dragoons when playing as French allies!

The French horse battery joins Jacquinot’s brigade of Montbrun’s light cavalry division attached to Davouts 3rd Corps at the battle of Wagram along with the 7th Hussars and 1st and 2nd Chasseurs-a-Cheval. The foot battery is an addition to my infantry division, Friants.

Picture of new unit and the brigade above. All figures Front Rank.

The French foot artillery bring me to 3 foot batteries. I have another base for next battery completed and figures/gun for next gun/crew on way from UK. These are on 75mm wide bases which was my initial size based on a bttn having a line frontage of 200mm and my reading saying batteries tended to be 2/3 frontage. Rest group started on 50mm bases, so I made the Austrians/Russians 60mm to fit in and they have now moved to 75mm bases! I ain’t changing them as quite like my bases.

Below are 2 bttns of Austrian Grenadiers(2 more to go…1 below painted by me, 1 from Sri lanka. Shite paint job so have been heavily touched up. 2 more shite units to be touched up plus some surgery…lost quite a few broken metal muskets in transit.. grumble grumble)

And lastly my small Polish force. 2 units of Uhlans(that normally play as Russian Uhlans until get real Russians) and 2 bttns Vistula legion.  These are Warlord Games figures which friend Keith decided he would like to paint. Need 2 more to finish brigade. Somehow lost the metal command figures…then ordered some nice Front Rank ones with a small order did last month…..but did not click on the save selection button so did not get ordered…next order! Idiot.

The new units were painted by moi, plus Keith and of course Goldie. And Fernando Enterprises in Sri Lanka… who vary between great and crap.

Currently on paint table have packed away all Napoleonic’s and have a 10th century Byzantine army under construction.


Napoleonics and the 300 point army

As much fun as our games are, there are those that like a good competitive game.

So thoughts have turned to how to field a competitive Napoleonic Army using Black Powder 2 rules?

At this point John Hutton has played with his light bulb and had a bright idea(he tends to have bright ideas…) and has done some serious numbers crunching and come up with a series of army lists. The initial lists correspond to the armies we are using at the moment, namely French and Russians. The rest will follow in time.

The aim is to be able to have a game in roughly 2.5 to 3 hours therefore allowing for a game of an evening, or our target for the year to commence a tournament for a minimum of 8 players at the local “Call to Arms” convention in August 2019.

Our initial points per army is a 300 point army.

I hosted 2 games the other night where my Russians faced Roberts French and Paul’s Russians faced Russell’s French Imperial Guard. The French won both games. For the purpose of these first games we decided to rate all commanders as rating 8’s. The standard in future will be 7 and then you pay 7 points extra to increase to an 8 and then 7 more to a  9 etc.

My army was:

  • Commander in Chief
  • Brigade Commander with 4 bttns Grenadiers plus battery
  • Brigade Commander with 4 bttns Musketeers plus battery
  • Brigade Commander with 4 bttns Jager
  • Brigade Commander with 2 regts Cuirassiers and 1 regt Uhlans
  • Brigade Commander with 2 regts Hussars, 2 Regts Cossacks and 1 horse battery

Robert fielded:

  • Commander in Chief
  • Brigade Commander with 6 bttns and a battery
  • Brigade Commander with 6 bttns and a battery
  • Brigade Commander with 2 regts Cuirassiers plus a horse battery
  • Brigade Commander with 2 regts Dragoons
  • Brigade Commander with 2 regts Chasseurs, 1 regt Lancers and a horse battery
  • 12pder battery

I got walloped. Tried to move up slowly allowing my artillery to shoot at long range where have extra shot…didn’t work. Skirmish line of Jager didn’t work,  cavalry wouldn’t charge(well try to) or when did…failed to reach French…and when we did reach them and fight…even with odds in my favour…Robert saved wounds and dealt them back…..with extra pain…..and Robert had his heavy cavalry on his right flank and they had a good time chopping me up and his horse artillery got onto flank of my cavalry who didn’t want to move.

Sigh…… one of those forgetable days at the office.

So lessons learned from game?

  1. Light cavalry are not battle cavalry and in a competitive game, you need battle cavalry so out they go and Cuirassiers/Dragoons the way to go. They will have their place in scenario/campaign/fun games.
  2. The heavy cavalry need a commander on a rating of 9 to ensure the cuirassiers who are reliable are running around on a rating 10. When you order them, you need them to do it. Dragoons will have to settle for a 9!
  3. Playing 3 small brigades of Russian infantry may be historically correct….but cannot afford it. Command rating 7’s with units in column gives a command rating effectively of 8. 2 brigade commanders 23 inches apart with the overall commander in between allows me to reroll a command roll either way and negates need to spend more points on them.
  4. Artillery…am Russians…need to field more guns…somehow…few test games to be played and will continue to tinker around. In meantime, Front Rank are going to need to send me some more figures as don’t have any Jager and subbing in Austrian landwher just does not look right.

Pictures of the 2 games below.

Terry Russian’s

Robert French

Paul W Russian’s

Russell’s French

Robert’s advance from the Frederick the Great playbook

My Austrian Landwher pretending to be Russian Jager skirmishing to the French front.

Russell advances

Russell’s Guard lancers

Paul’s heavies

Terry’s centre

Terry’s left …with Polish Uhlans pretending to be Russian’s… probably why they refused to move.

Terrys’ right with 2 new units having first battle, the 2nd unit of Hussars and the horse battery.

Bother…or words to that effect…what we see her eis a gap where a column of my infantry charged the French….the odds heavy in my favour…I lost…the infantry blew up…the gun battery to their left flank blew up…the skirmishers to their right retired,….

Rigth flank…the cavalry had refused to move…allowing Robert to geta horse battery on their flank…served them right. The jager had shot up the Dragoons so they could not charge…however their was a shaken unit of skirmishers with Cuirassiers to their front…it ain’t gunna be pretty.

Other flank…Hussars charge infantry…miss by 3 inches…what a lovely target they will make…..other Hussars had charged French cavalry…met in middle…shaken each other up and retired…..turning into ‘one of those nights’.

Other game…there seem to be units everywhere…but French guard I understand had the better of things…makes sense that doesn’t it.

And the Russian cavalry manage to destroy the Gods….that’s the gap in the left centre in front of the Russian Cuirassiers. The Militia are holding the line…that will be the wind up the French Imperial Guard won’t it.


And that was it….2 French victories. Hopefully that won’t happen next round of trial games.


Campaign Game: Bautzen 1813(played in 2019)

The latest Campaign 1813 game threw up a refight on the same terrain as the battle of Bautzen 1813.

The scenario rules for the battle are below.


The map to be battled over is below. In this battle our Campaign God Russell decided each side would not get the orbats for the other, however our scouting alerted us to the French commander Marmont probably having 3 infantry divisions,with some batteries and cavalry defending the river line. Oudinot was known to be advancing in support and our scouts had estimated his force at several infantry divisions and some cavalry.

It was my turn to run the Allied side and I was again Blucher. I placed the Prussian cavalry on the extreme left of our deployment with the orders to move round to threaten the French flank. The Prussian Guard infantry were split into 2 forces, both in the centre to the right of Bautzen where they were to hold until an appropriate time to dominate the French centre. The Prussian foot artillery to support the centre while the horse artillery was to face Bautzen with one battery added to the cavalry command.

PaulW again had the Russian Guard, or rather what remained of it after the battle of Spremberg, and they thirsted for revenge. They were placed on the Allied right flank with orders to advance and turn the French flank and be a blocking force on any approaching French reserves.

Keith would have Vorontsov’s troops with the infantry to the left of Bautzen with the cavalry the right. The Jager to skirmish in front of Bautzen and to await the Prussian reserves before engaging.


The Prussian reserves of Yorke to be split between Terry/Blucher and Keith. Terry to get 1st Brigade to support the cavalry on the left flank, Keith the 2nd/8th brigades for the assault on Bautzen and Dolf to support them.

From Constantines reserves, 14th Div to support Paul. The artillery to bombard Bautzen thus allowing the Prussian horse artillery to move to support the Prussian Guard assaults. The cavalry to join the left flank cavalry attacks.

Tormasov entry points were on eastern edge of table so we really needed to get control of that then bring the cavalry on in support of the Prussian cavalry. Keith/Terry to command.

The French force under Marmont were a surprise. They deployed leaving their left flank in the air, awaiting Oudinots arrival. After Spremberg where the French all arrived at the start and the Allied reserves much later, this was taking a risk as they had 3 entry points on  their left and no troops covering them.

Oudinots force was different to my assessment in that the 2nd division was cavalry and not infantry as expected.


We played this game at Alans house in his lounge/dining room. Its was a wee bit dark so the pictures are not the greatest. Below is the French right/Allied left flank.

A close up of the Bavarians on the French right flank with Bautzen to the top right. Bautzen town was held by 2 bttns while the castle had 2 more.

Prussian cavalry on flank ready to take off around the open flank.

Bautzen with Bavarians to the left rear and more French on other side of river on the right.

Allied centre with Prussian Guard, Russian Grenadiers, Prussian guns and Russian Dragoons…. French on other side of the river.

Allied right with PaulW’s Russian Guard

View from behind French right where Alan commanded 2 divisions.

French centre where Goldie had 1 division.

Prussian cavalry on turn 1, not the mad rush I hoped for.

However on Allied right…there was  a mad rush from the Russians.

In Allied centre batteries engage French guns over river while guard jager skirmish in front of brigade of guard.

PaulW ordered his grenadiers to turn and march off after the guard. Unfortunately the managed only to turn…thus presenting flank to French(like turning back time to Spremberg when same sight….).. however I managed to get a Dragoon division into the gap on order to charge any enemy that approached within 12 inches. Whew.

PaulW’s troops continue to pour across the Spree with no opposition.

On Allied left Yorke arrives early with 1st and 8th brigade marching onto table.

French view from behind Bautzen.Sorry, not a good photo. Russain guns have deployed in top left while 8th brigade marching down road towards Bautzen in top right.

View from French left where Goldies ladz see a lot of Russians closing in.

With PaulG rolling up the French left flank, and still no sign of their reserves…I launched the Prussian Guard into Goldie’s troops. My artillery on the right eventually took out the French artillery…. I got some good rolls with my horse artillery when advanced to point blank range.

Allied left where Prussian infantry and artillery are advancing on the Bavarians while I attempted to the the cavalry to charge…managed to get 1 charge away…on a shaken unit so forming square did not help them……but rest were very disappointing!

Its not looking good for Goldie as PaulW rolls up that flank.

Russian guns opposite Bautzen….1 battery at close range…1 battery moving behind them to set up on other side…..and 2 more batteries on the right. I love the large Russian batteries.

Troops lining up to charge Bautzen and also the supporting Bavarians.

In centre, Prussian guard have taken out the French guns and some infantry and engaged with more to their left.

Allied right where Prussian infantry attacking Bavarians.

Part of the massed Allied cavalry on the left waiting…and ….waiting to attack the juicy targets to their front.


It was at this point the French called the game.

Our 2 day game had lasted 5 hours……..the 3 divisions on the table were…doomed……the French reserves were due to arrive…but the Russian Guard and undamaged Prussian Guard with significant artillery and cavalry and all of exceptional quality(yes am biased) was waiting for them.

Post battle discussions resulted in a halt being called on the campaign. We will look to activate the armistice and allow the Austrians to save the Allies and recommence at a later time.

In mean time, we are looking to develop an army points system which John Hutton has designed. The first test of this is next week when 4 x 300 point armies will face off. The aim is to develop this and run a competition at the Wellington Warlords annual convention ‘Call to Arms’ in August. Its early days…but looks like will work so…well done and a big thank you to John for all the number crunching that has been done.

While we park the Campaign for the moment…a HUGE THANKS TO RUSSELL BRIANT for running and putting up with us through it!

We as a group now have increased French armies, new Russian and Prussian armies ready for the battles to come.


Campaign Game: Battle of Bautzen 2019

On the weekend of 19 – 20 January 2019 the latest campaign game was played. While I write up the official report with pictures of the action, here is an amusing take on the battle from one of the French commanders.


Set up – France’s 22nd Division on French left is deployed along the bank of River Spree, 21st Division holds Bautzen, 29th Division hold the French the right wing

Russians face French left wing, deploying from behind the hills 6ft in from left table edge and extending up to Bautzen.  Prussians deploy opposite Bautzen and the French right wing.

Battle commences at 7am.

The allies have cossacks everywhere scouting out the enemy. They have been tracking the movements of Oudinot’s forces and hindering their progress, delaying them enough to give the allies a major advantage.


Turn 1.  Russians advance on French left, reaching the left-most bridge. They position their belt-fed automatic artillery batteries on the hill overlooking the French left and start pouring fire into the French infantry.  Prussians advance and unlimber hordes of batteries opposite Bauzten and cavalry advances down the right flank. In a revolutionary new tactic, all the Allied cavalry form dense masses to manoeuvre more quickly and to allow more regiments to be packed into the frontline.

France’s 22nd Division extends to the left – a heroic thin “blue” line in the face of vast hordes of Russians!  French right wing consolidates along the Spree tributary.

Turn 2: Yorck arrives.  Russians sweep across river while Russian artillery start to mow down French battalions holding a thin line along the river.  Musket and artillery fire around Bautzen.

Turn 3: Tormasov arrives.  Russian Guard Cuirassiers charge into the French left formations. A French battalion panics and fails to form square (snake eyes1), who then suffer eight casualties in a turn, then the Guard cuirassiers make a sweeping advance but halted in hand-to hand-combat with a second battalion. The French General starts to wonder if Terry has played a cunning trick by Terry in making the French use the blue ‘N” dice. French players demand an inquiry into whether Terry has used Dark Magicks to curse the blue dice.

French left wing falls back.

Turn 4: On the French left Russian Guard Cossacks destroy a second French battalion (because really, why bother forming square at all), resulting in a broken brigade (2nd Brigade under Bouquet).   More artillery fire around Bautzen.  On the French right flank Russian Guard Uhlans charge across the tributary of the Spree and destroying a Bavarian battalion.  A sweeping advance fails.

Musket and artillery duels continue along the front.

Turn 5: Oudinot scheduled to arrive.  With their superior intelligence (snigger), the Russians anticipate Oudinot’s arrival and position three Russian Guard and Grenadier battalions to await him, supported by the Guard Cuirassiers. In the centre Prussian jaegers stream across the Spree advancing on Bautzen.  Tormasov’s cavalry mass on French right wing, with horse artillery emplaced.

The French still think they have a chance until they see the Moscow Opolchenie marching forward from their reserve position. The site of these awesome forces puts the French army into full flight.

The French capitulate. Or the advance of the Moscow Oplochenie after the battle had ended resulted in ironic cheers, but the Russian commander was delighted that his new units had finally been able to move!.

Back in Paris Napoleon is informed of the disaster on the Spree. 50 battalions cut to shreds by allied cavalry. Green French infantry unable to form adequate squares and skewered by Cossack spears. The total absence of French cavalry and artillery is laid bare and the populace is baying for a resumption of hostilities.

In order to appease the rioting crowds and attempt to replenish their infantry, the Allies are forced to sue for an armistice.

ACW game December 27th 2018

So Goldie and I decided to play an ACW game for a change over the Xmas break. I picked the ACW scenario on the Battle of Kernstown from the Black Powder 2 book.

Goldie would of course be the Union and I the rebels.

The stated Victory conditions are:

Jackson’s aim was simply to inflict as much damage as possible upon Shield’s Division and he would probably have attacked regardless of where he’d found him. As such the game is all about casualties.

To achieve victory the Union must break both Burk’s and Garnetts brigades – Faulkerson’s and Ashby’s brigades are to small to be conted towards the destruction of Jackson’s force. Similarly, for a Confederate victory any two of Kimball’s, Sullivan’s or Tyler’s brigade must be broken.

The Union force was:

  • Kimball – 4 regts and 2 batteries
  • Sullivan – 3 regts and 1 battery
  • Tyler – 5 regts and 2 batteries
  • Brodhead – 5 cavalry regts of varying tiny/small size

Confedrate force was:

  • Garnett – 5 regts and 3 batteries
  • Burk – 3 regts and 2 batteries
  • Faulkerson – 2 regts and 1 battery
  • Ashby – 2 tiny cavalry regts and a horse artillery battery

The set up map is below.


The Union infantry were large units armed with rifled muskets and their artillery and mix of 12 pdr and 3″ rifled guns. The Confederates were regular units with rifled muskets or smooth bores. Their artillery were 6pdr smooth bores.

Below we have the set up on rebel right flank with the small cavalry brigade with the Union cavalry across stream in woods. Union infantry occupy farmhouse and fields in front of hill in centre with Union guns on the hill.

Rebel right where the Union in the centre can be seen and the Rebels not yet on battlefield.

Close up of the Rebel cavalry. They were a major let down, would not dismount…

Rebel left and in a rush the troops and guns arrive.

Combined Rebel artillery and musketry start to punch holes in the Union line. The Union guns on the hill are doing damage, but I started retiring the damaged units and recover morale on them rather than risk them being destroyed.

On Rebel left brigade heads for the stonewall…where it would win its famous note in history, the ‘Stonewall brigade’.

In centre Rebel units are taking some damage from the Union batteries on hill and unit in the farmhouse.

On left brigade almost at Stonewall. They weren’t moving very fast! In centre Union infantry have broken and retired.

Union reserves appear behind hill. Unit in farmhouse not retired as in cover….so have to blast them out! Guns on hill damaged and retired.

On left flank…cavalry still will not dismount…Union skirmishing cavalry are closing in.

Finally…at the Stonewall……fresh Union brigade approaching.

Union regt forced out of farmhouse…part of broken brigade so now has to retire.

Stonewall brigade not advances towards flank of hill. The Union guns would not get concentrated fire from both cannons and musket…..they would break.

After several attempts a Rebel regt finally managed to follow orders and take possession of the town. The combined firepower from them, the battery and the unit in foreground broke the Union cavalry.

It was at this time the game was called. The Union had lost their artillery(its actually broken…photo not good enough)…they had 2 broken brigades and did not hold the hill. They would be obliterated if tried to take hill with largely intact rebel gun line supported by quality infantry, which they were not.

History once again changed!