Now 1809 is my favourite period in the Nappy Wars so am always happy when we swing into some 1809 games.
Now Garage Gamer Paul W will be leaving us for 3 years as his beloved has obtained an overseas posting in Vanuatu and Paul, who rightfully considers himself the luckiest man alive will spend 3 years not being allowed to work there and so will sit round the pool drinking or go diving looking at all those WW2 ship wrecks…lucky man indeed.
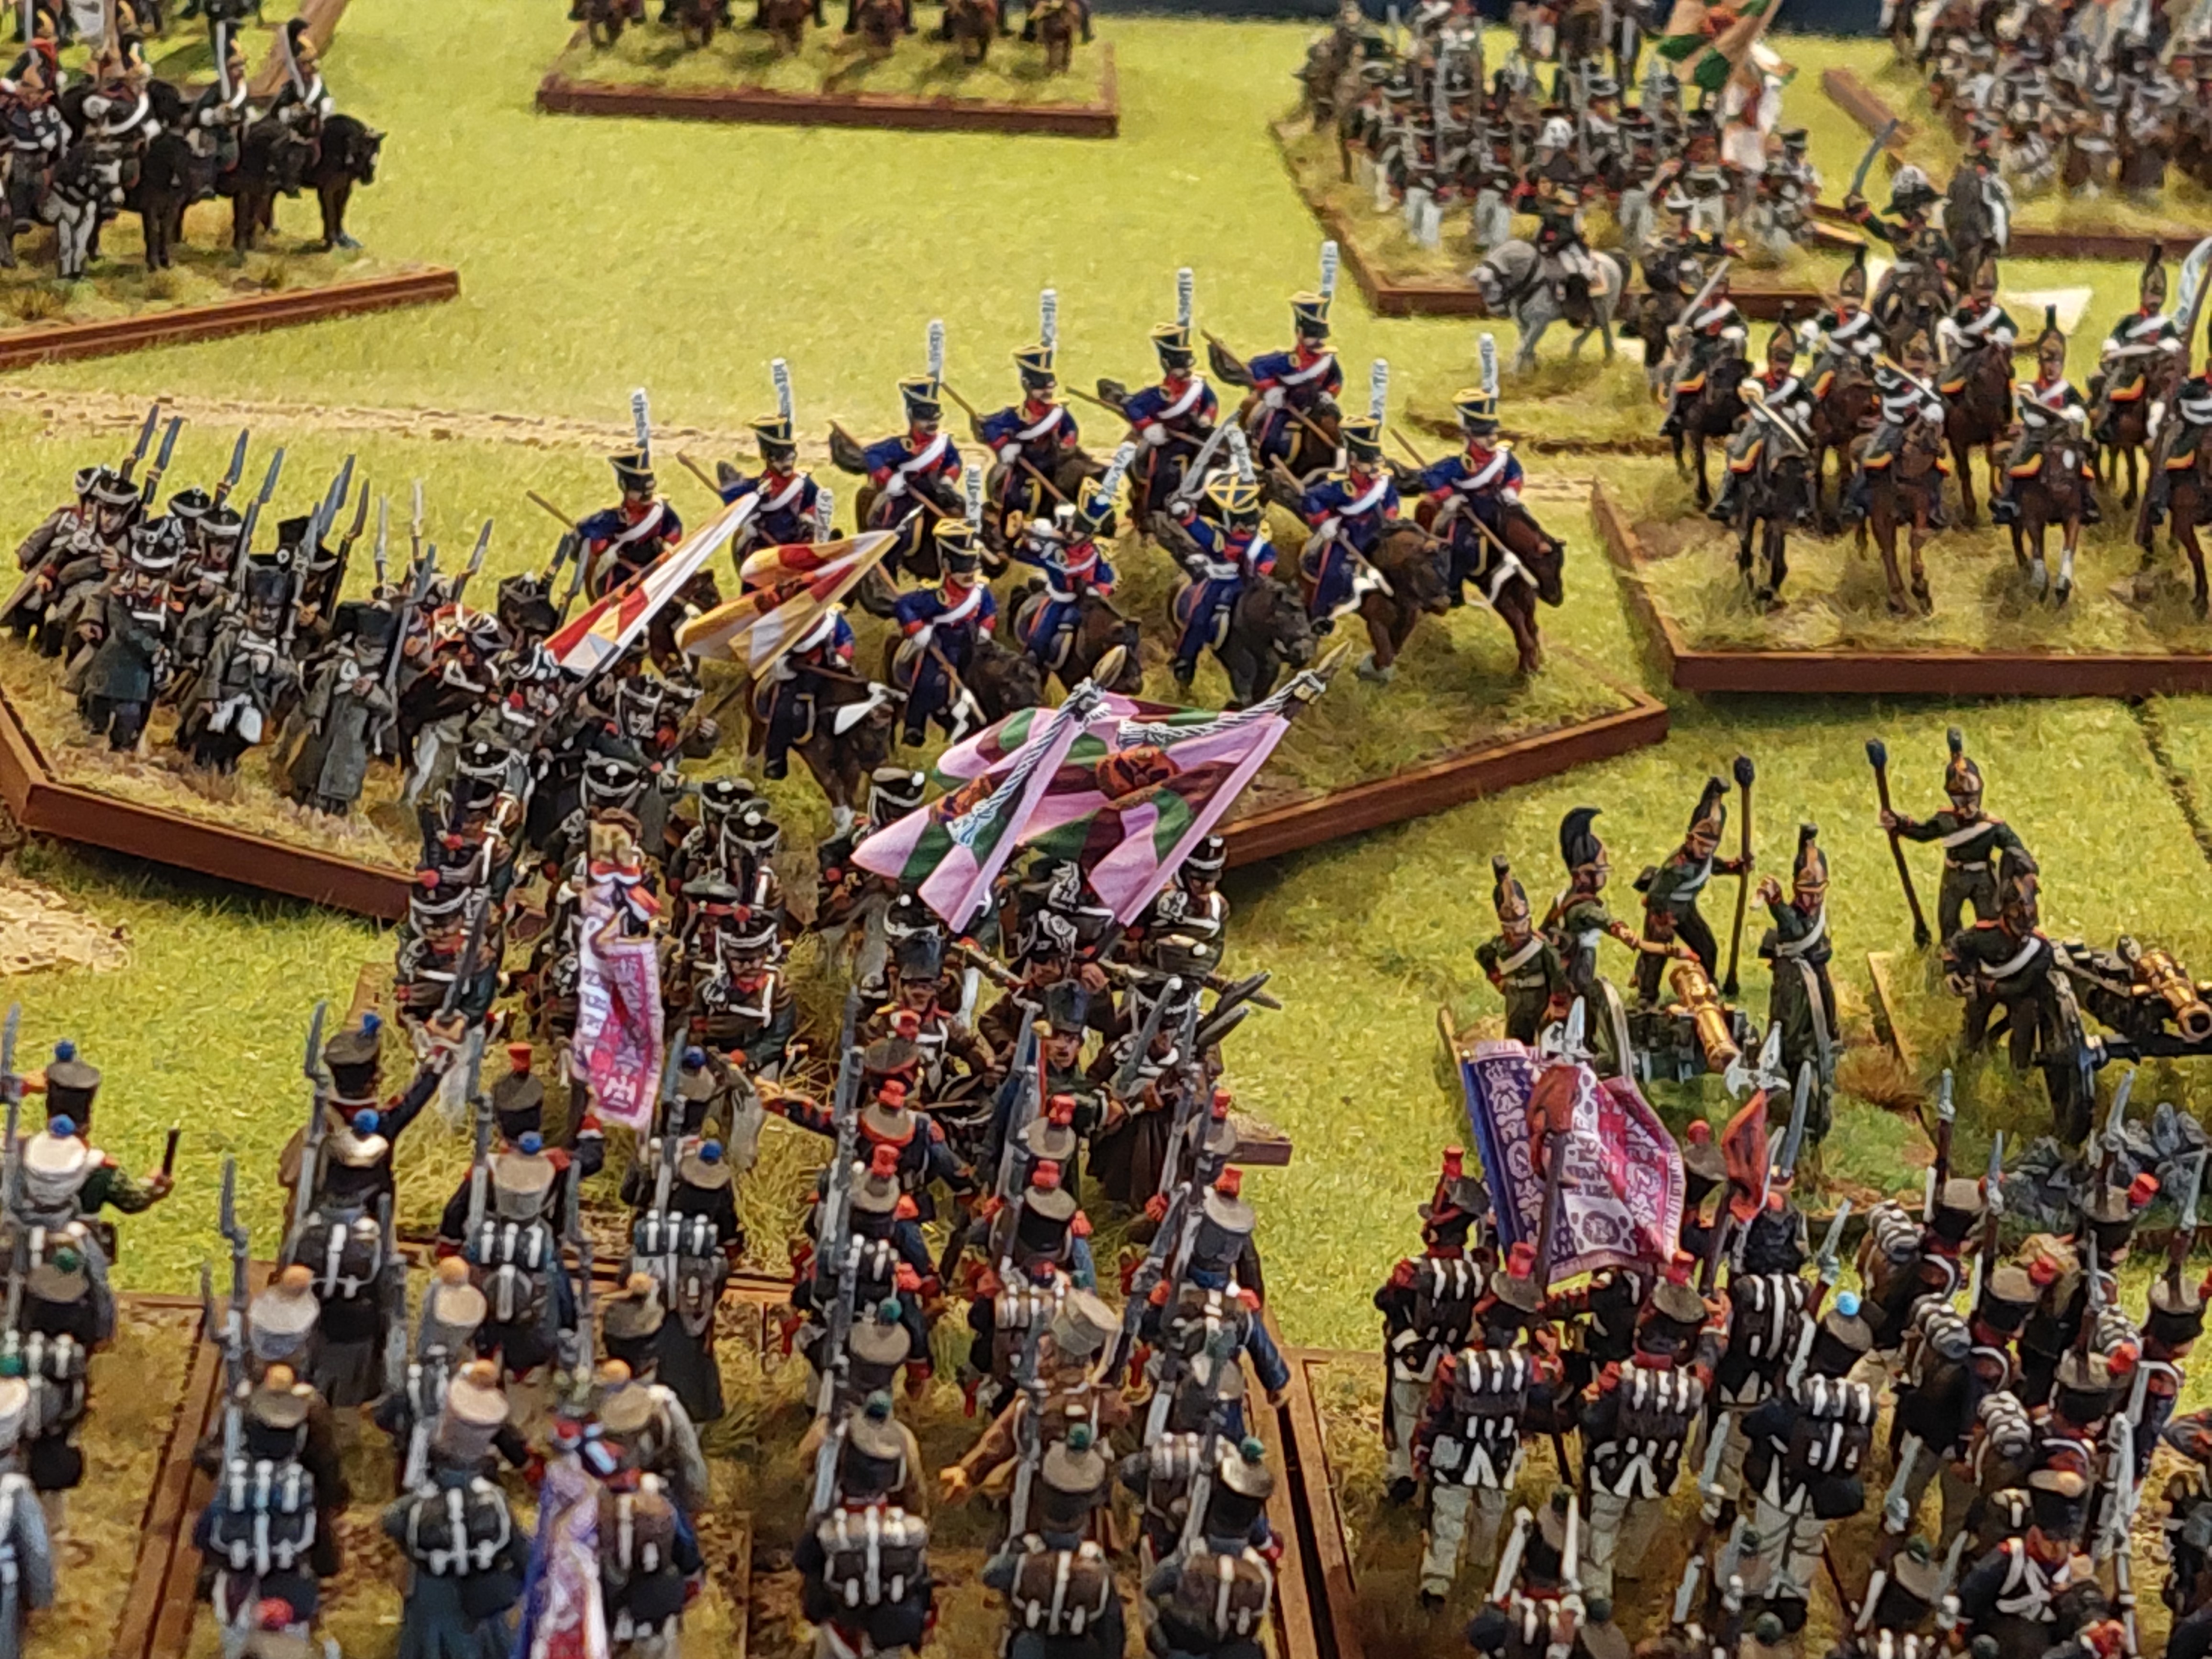
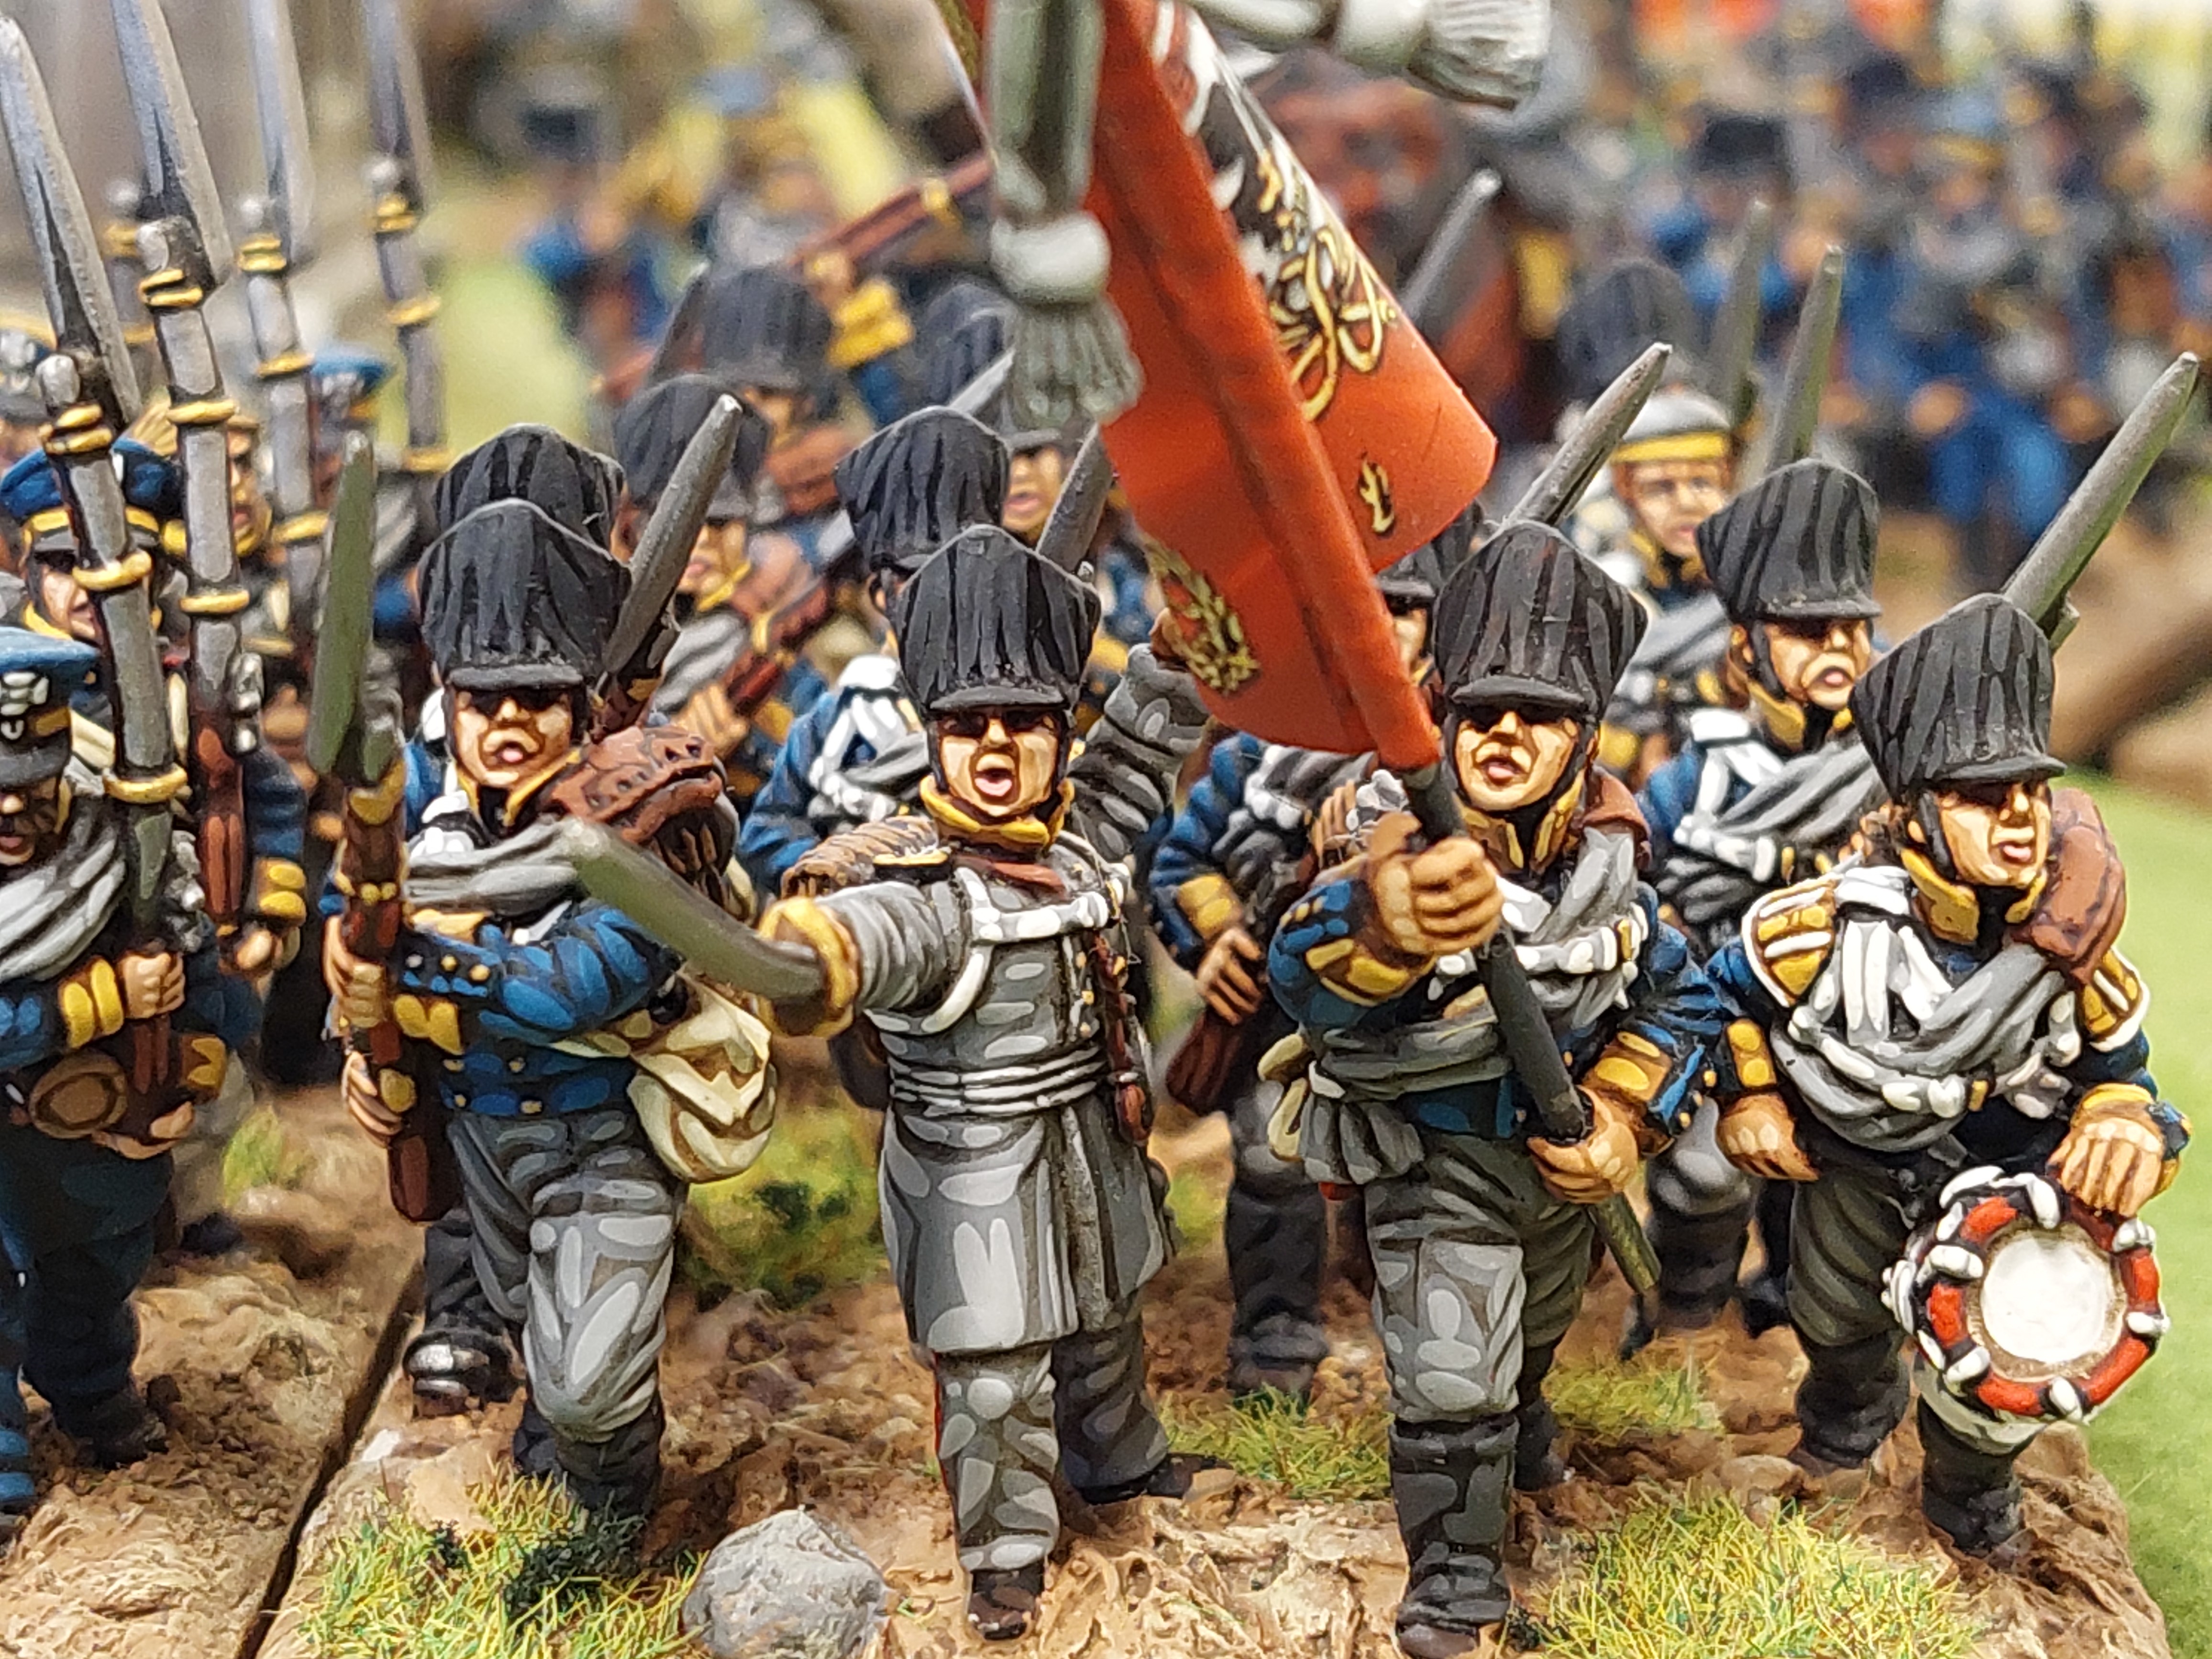
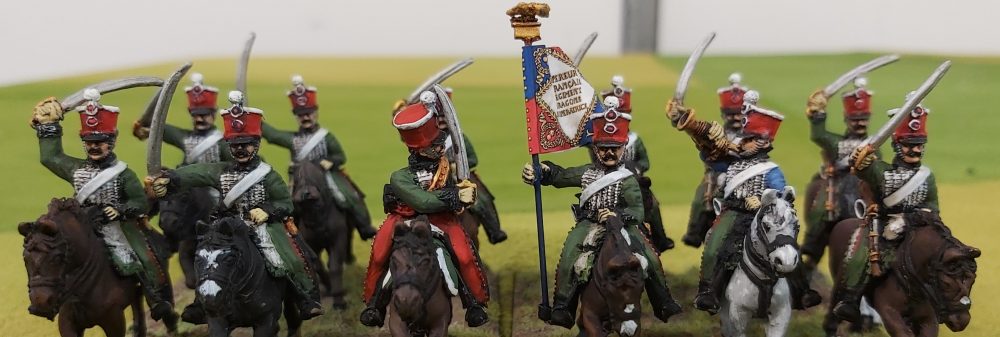
Now Paul has expressed a desire to refight a game on his Wagram Terrain boards before he goes. So this has resulted in another surge of new troops led by Alan with units of Grenz, Jager, 2 Hungarian line and artillery. I have pitched in with 2 units of Grenz and am expanding my 24 figure line bttns to 36’s. Goldie is painting up the Wurttemberg light Infantry brigade as well.
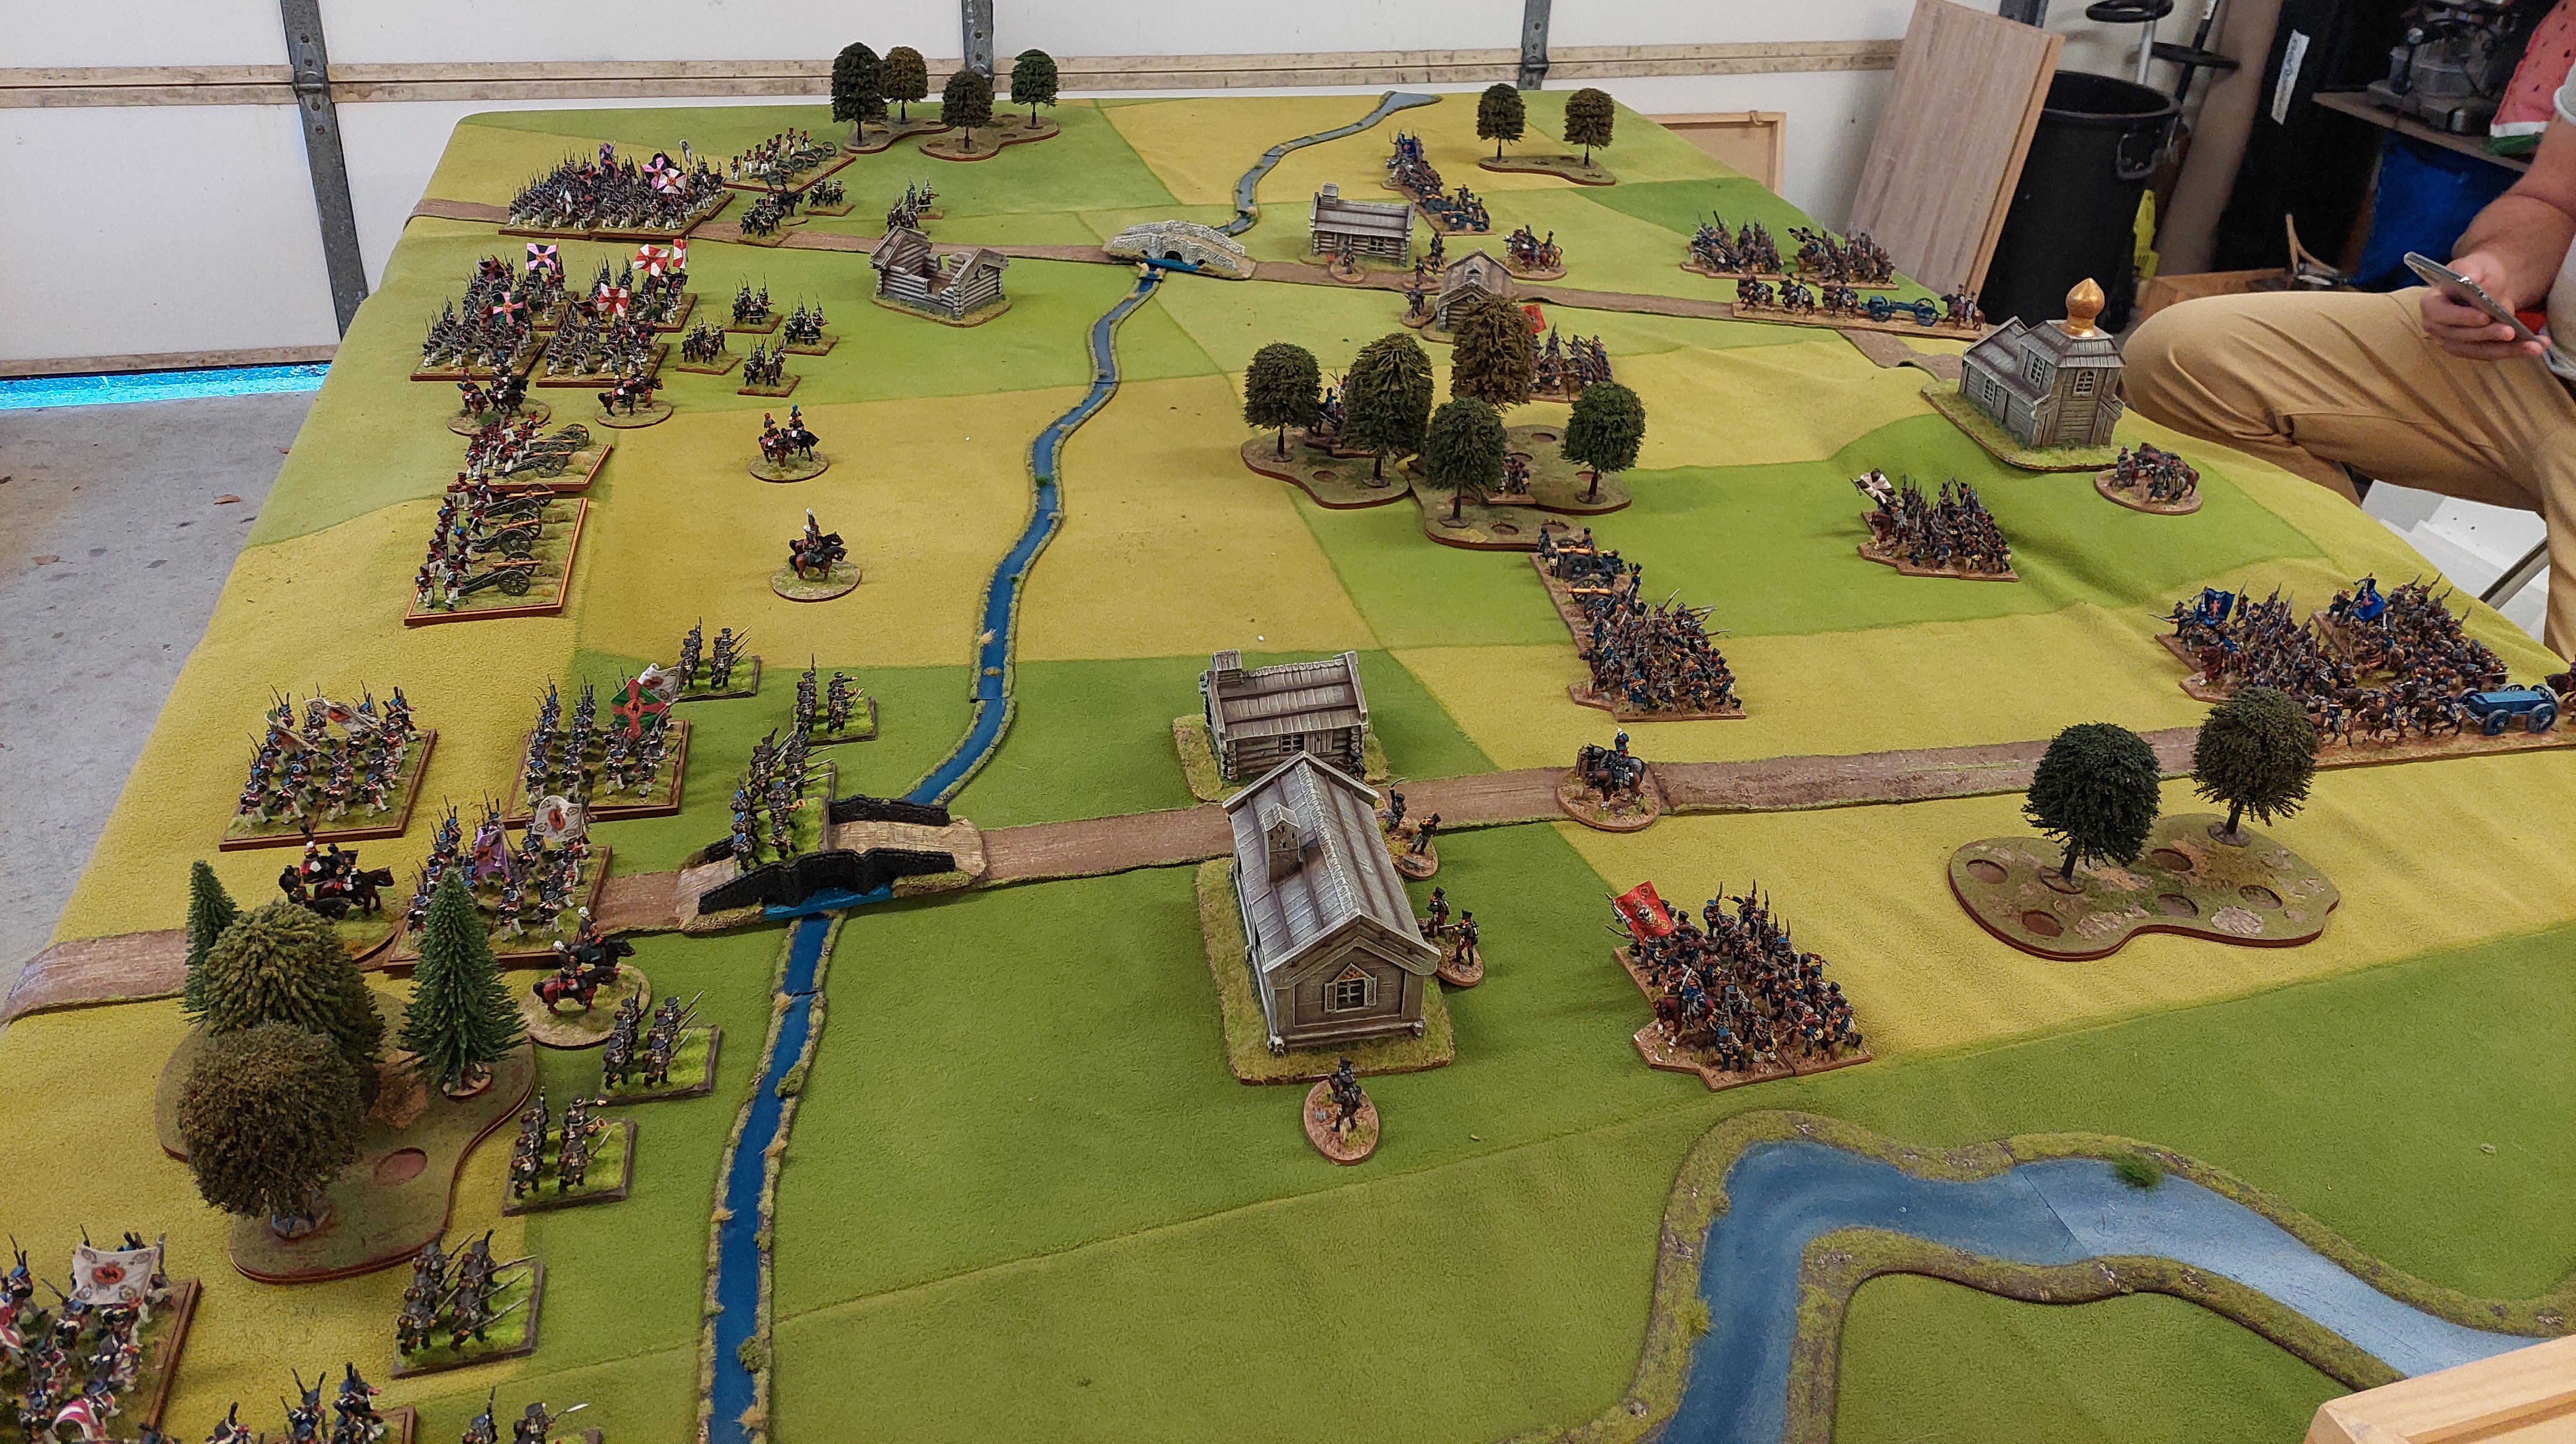
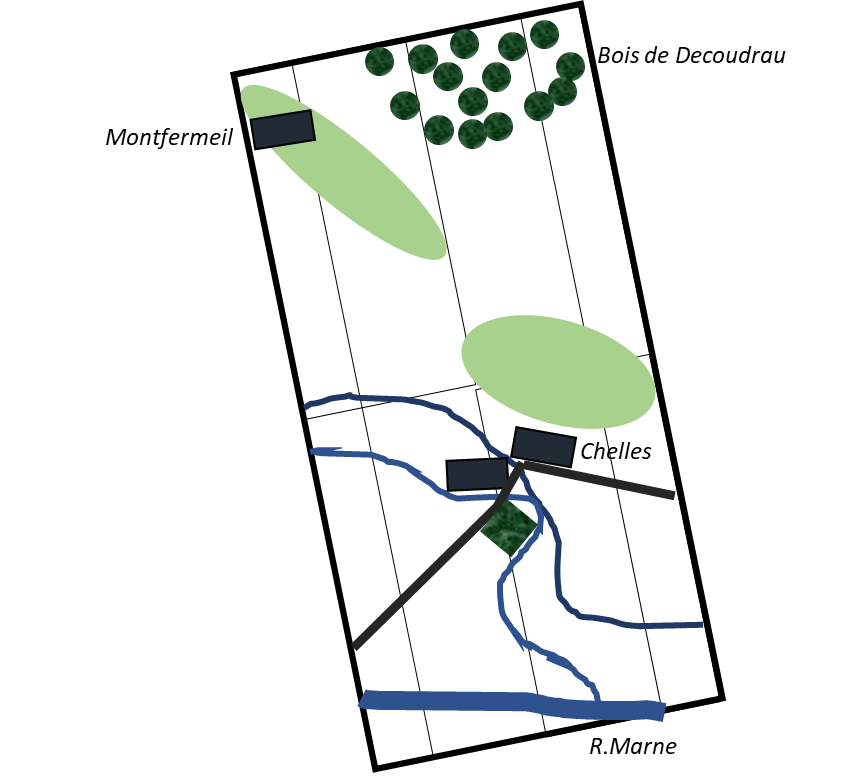
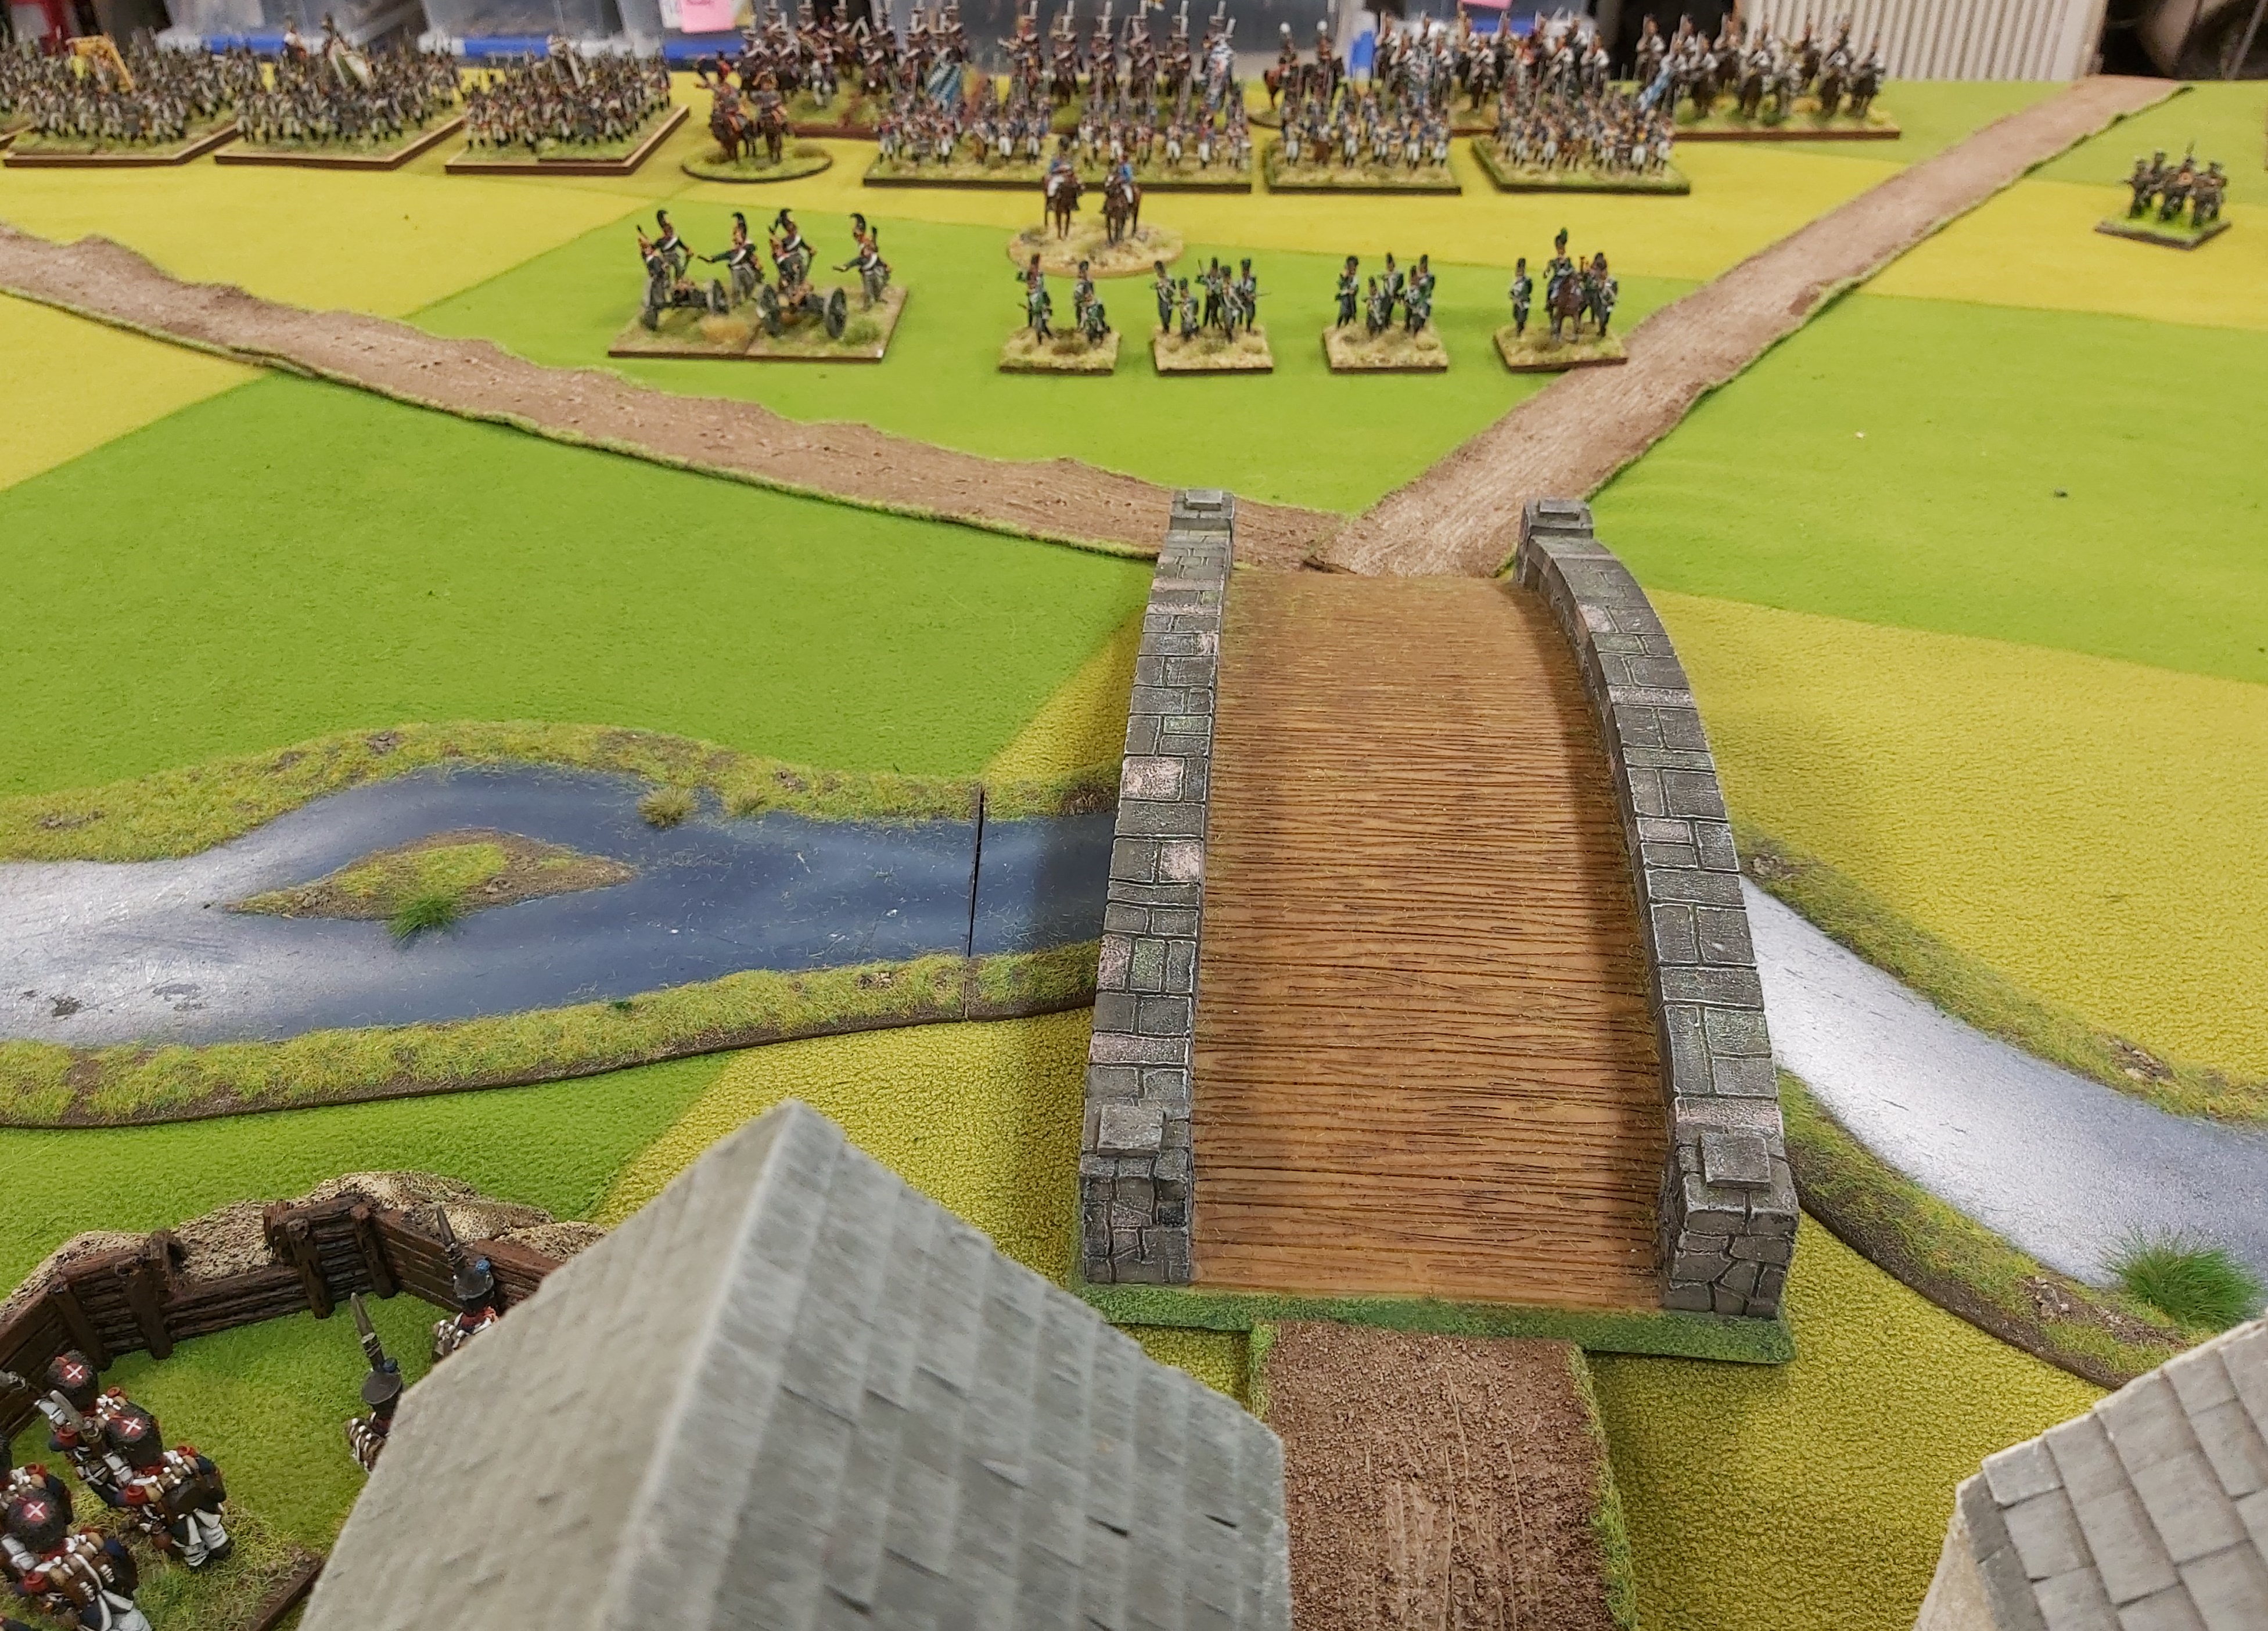
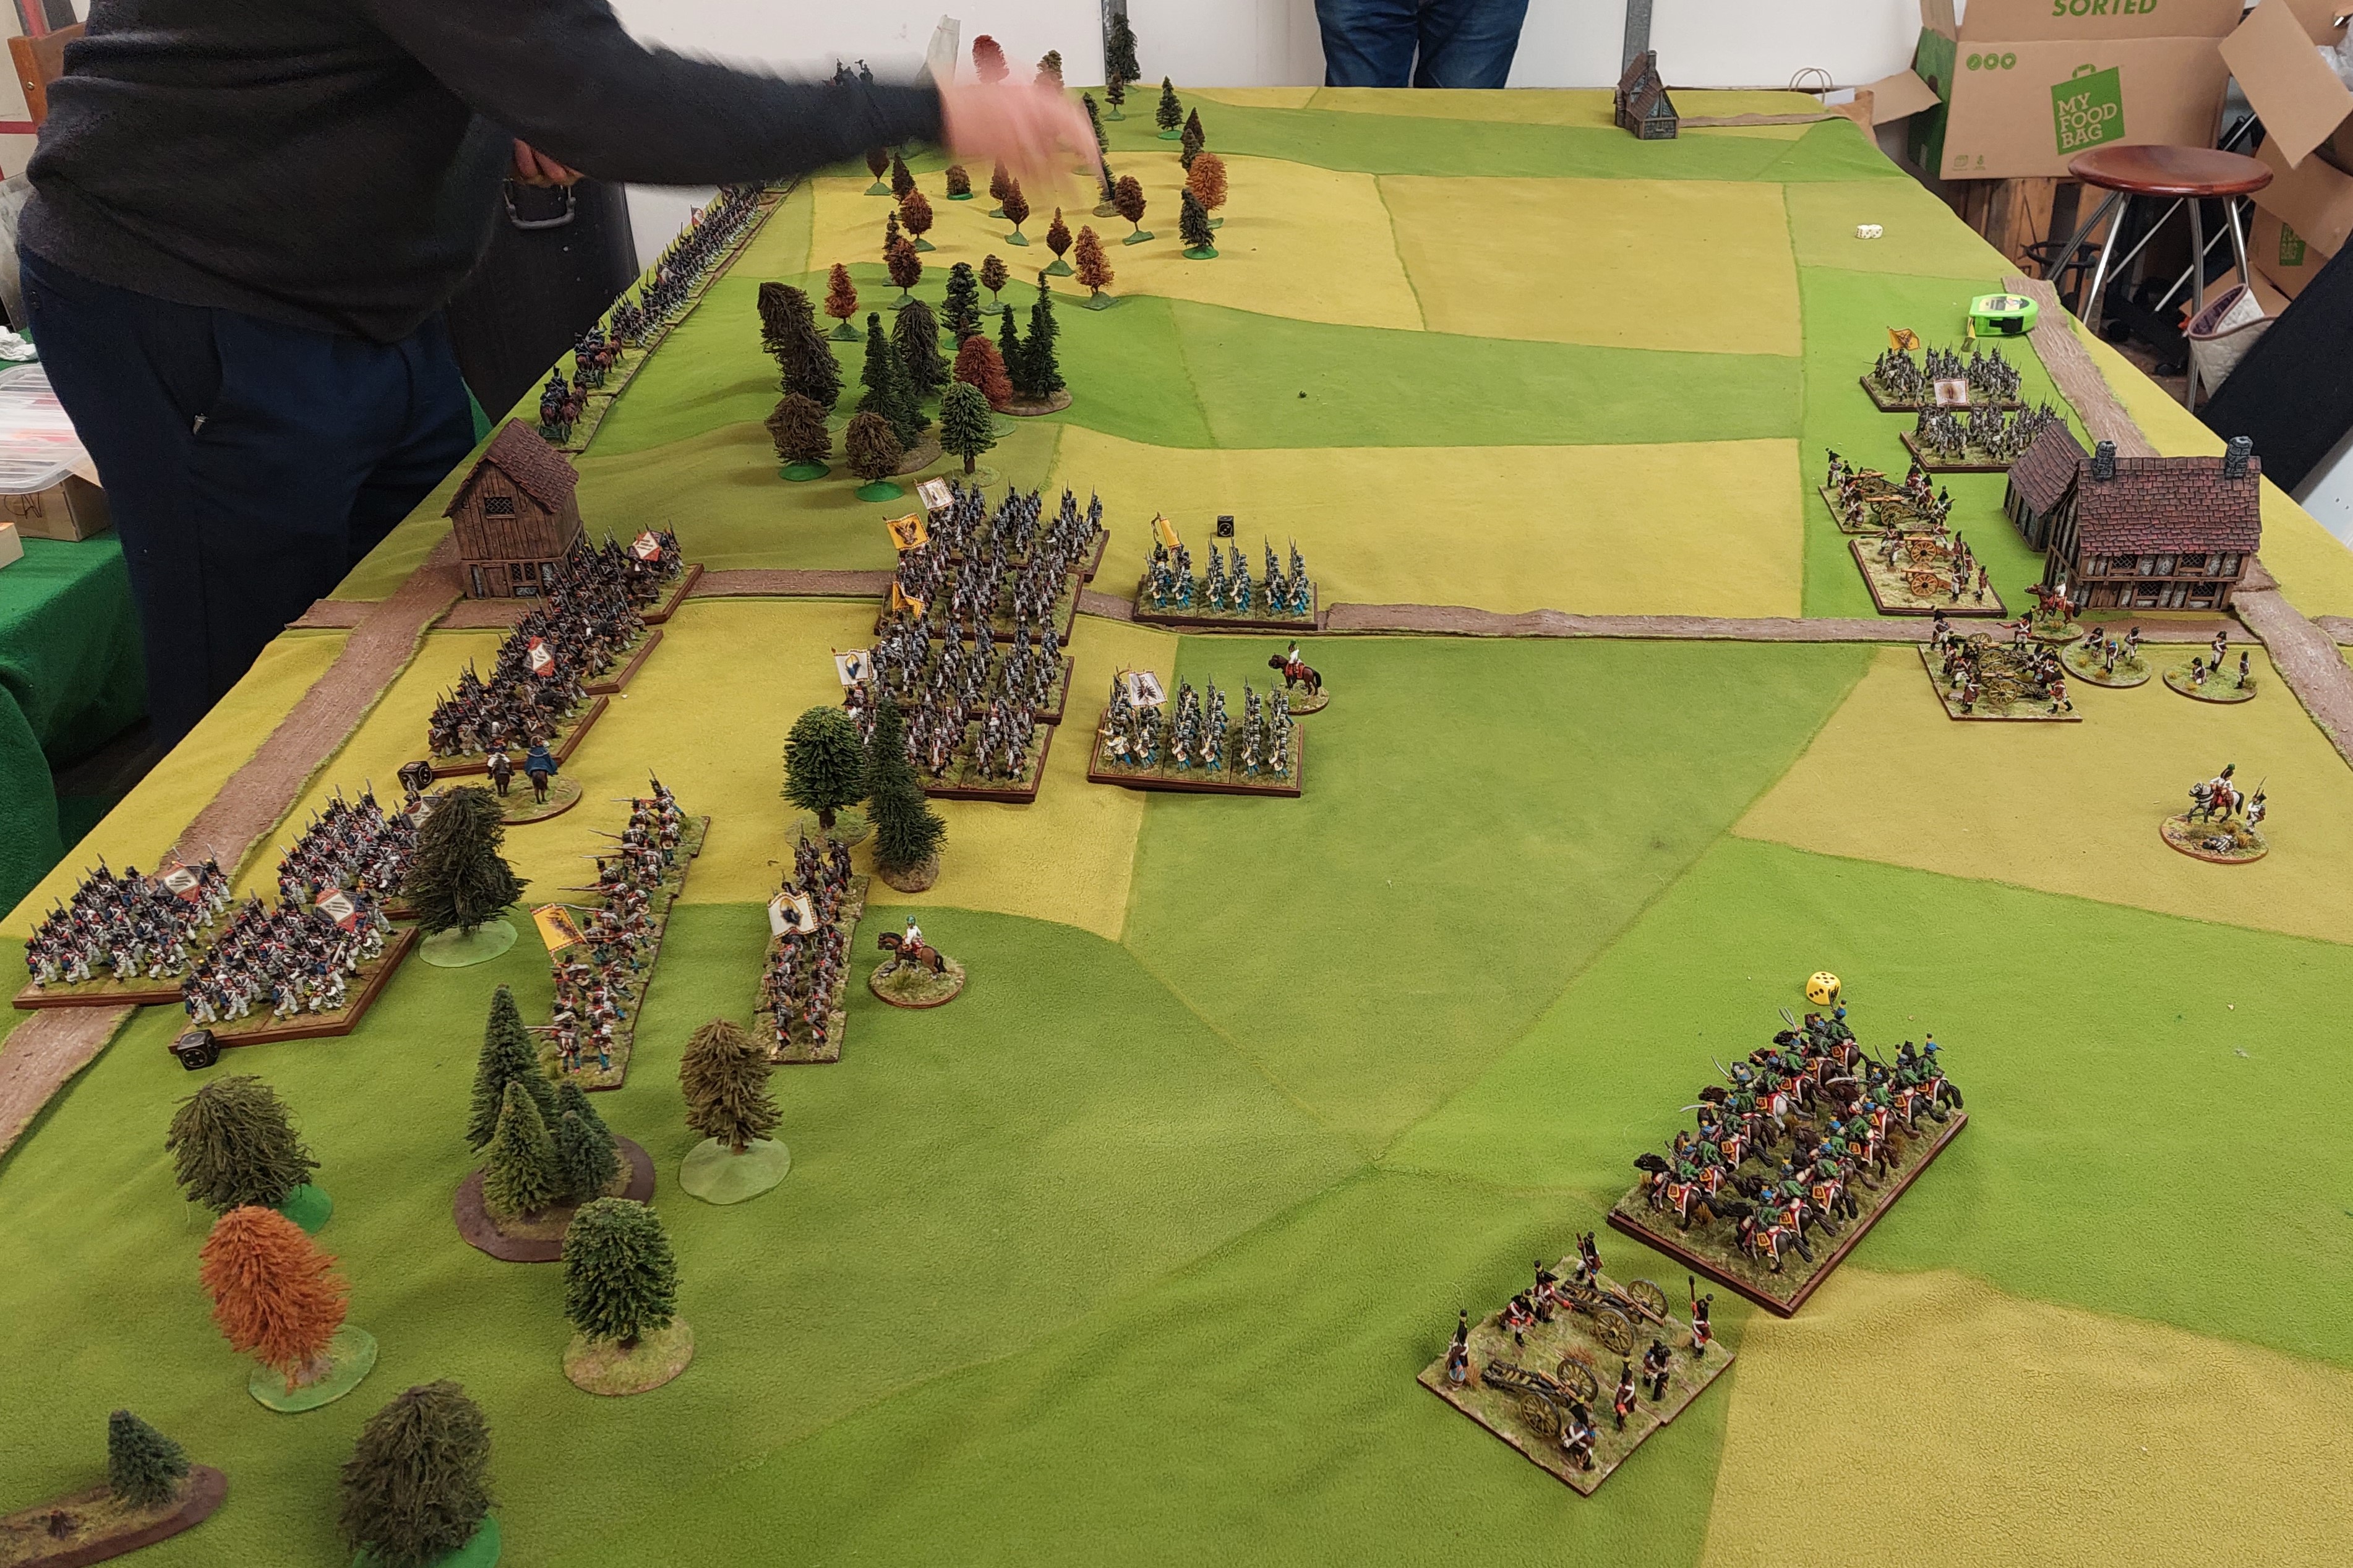
So before we get round to refighting Wagram there will be a few practice games. The first is a refight of Teugn-Hausen which was fought on the 19th April 1809. In this battle Davout’s 3rd Corp is marching along a road heading north when Hohenzollerns 3rd Corps attempts to intercept him. The 2 sides are fairly equal in numbers of around 17,000 each with the Austrians having 5 squadrons of Hussars as the only cavalry. The French are marching along a road and the Austrians cross a wood lined ridge to attack them. Both sides have troops then joining in.
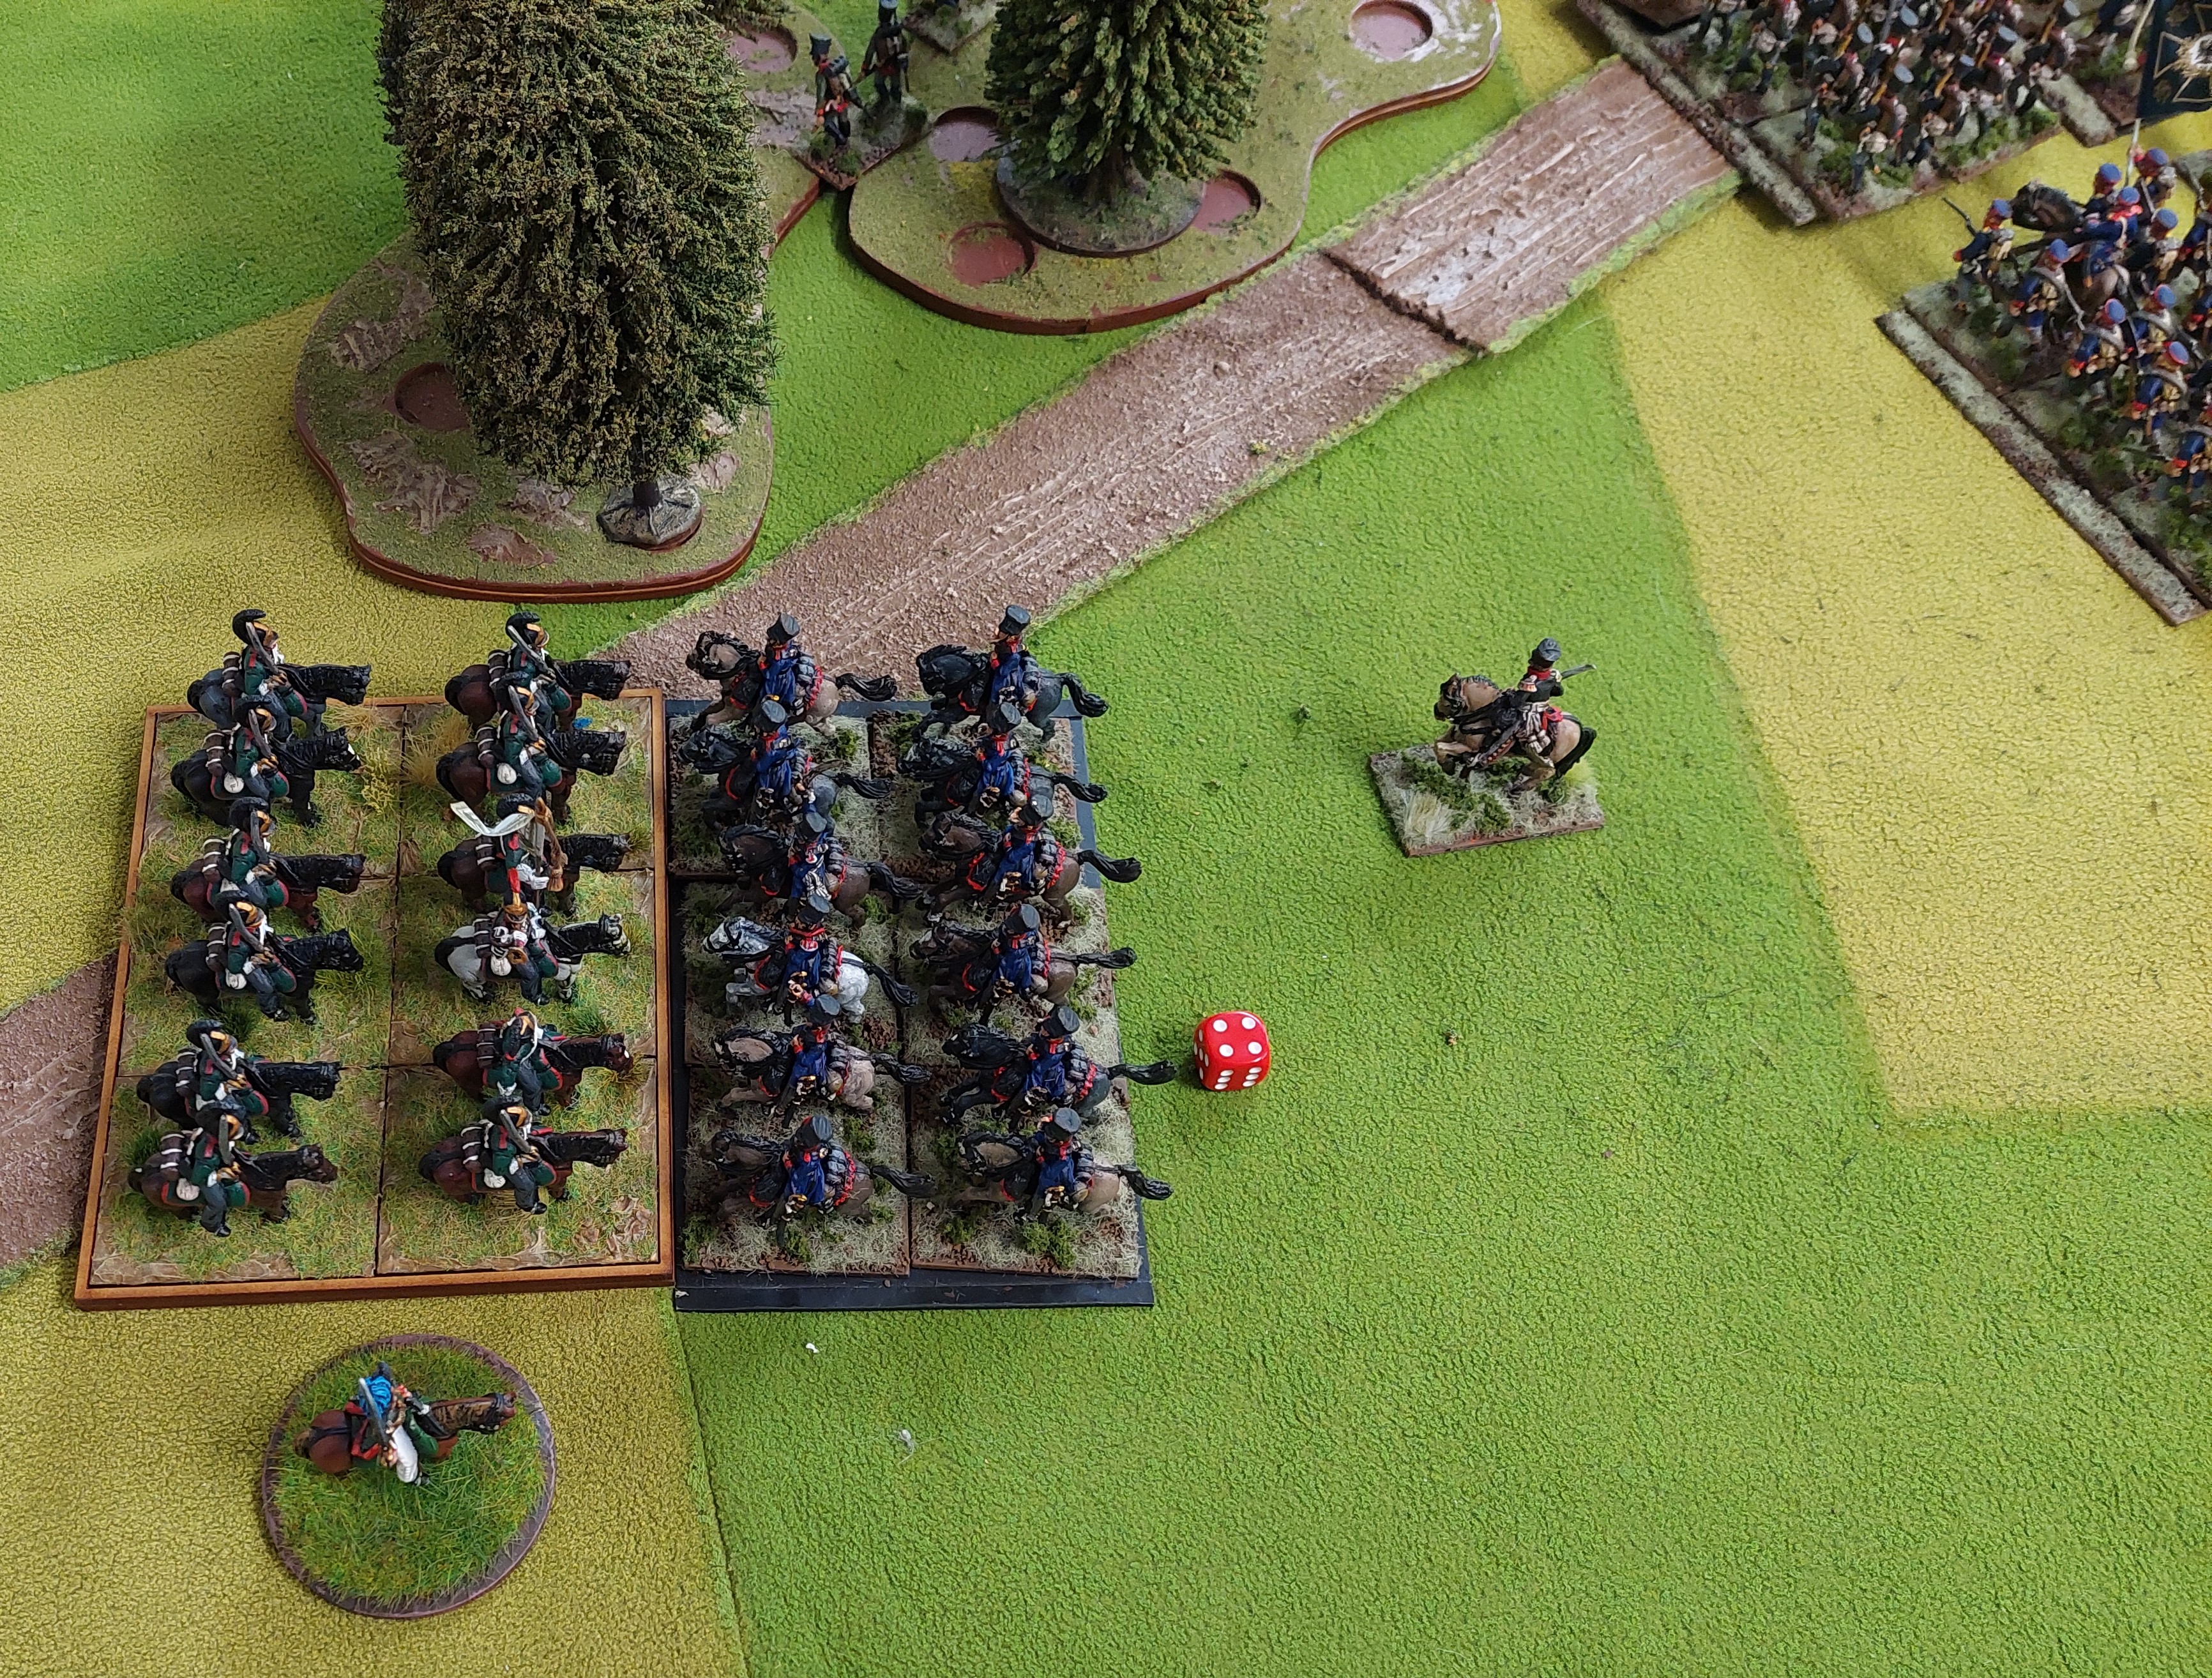
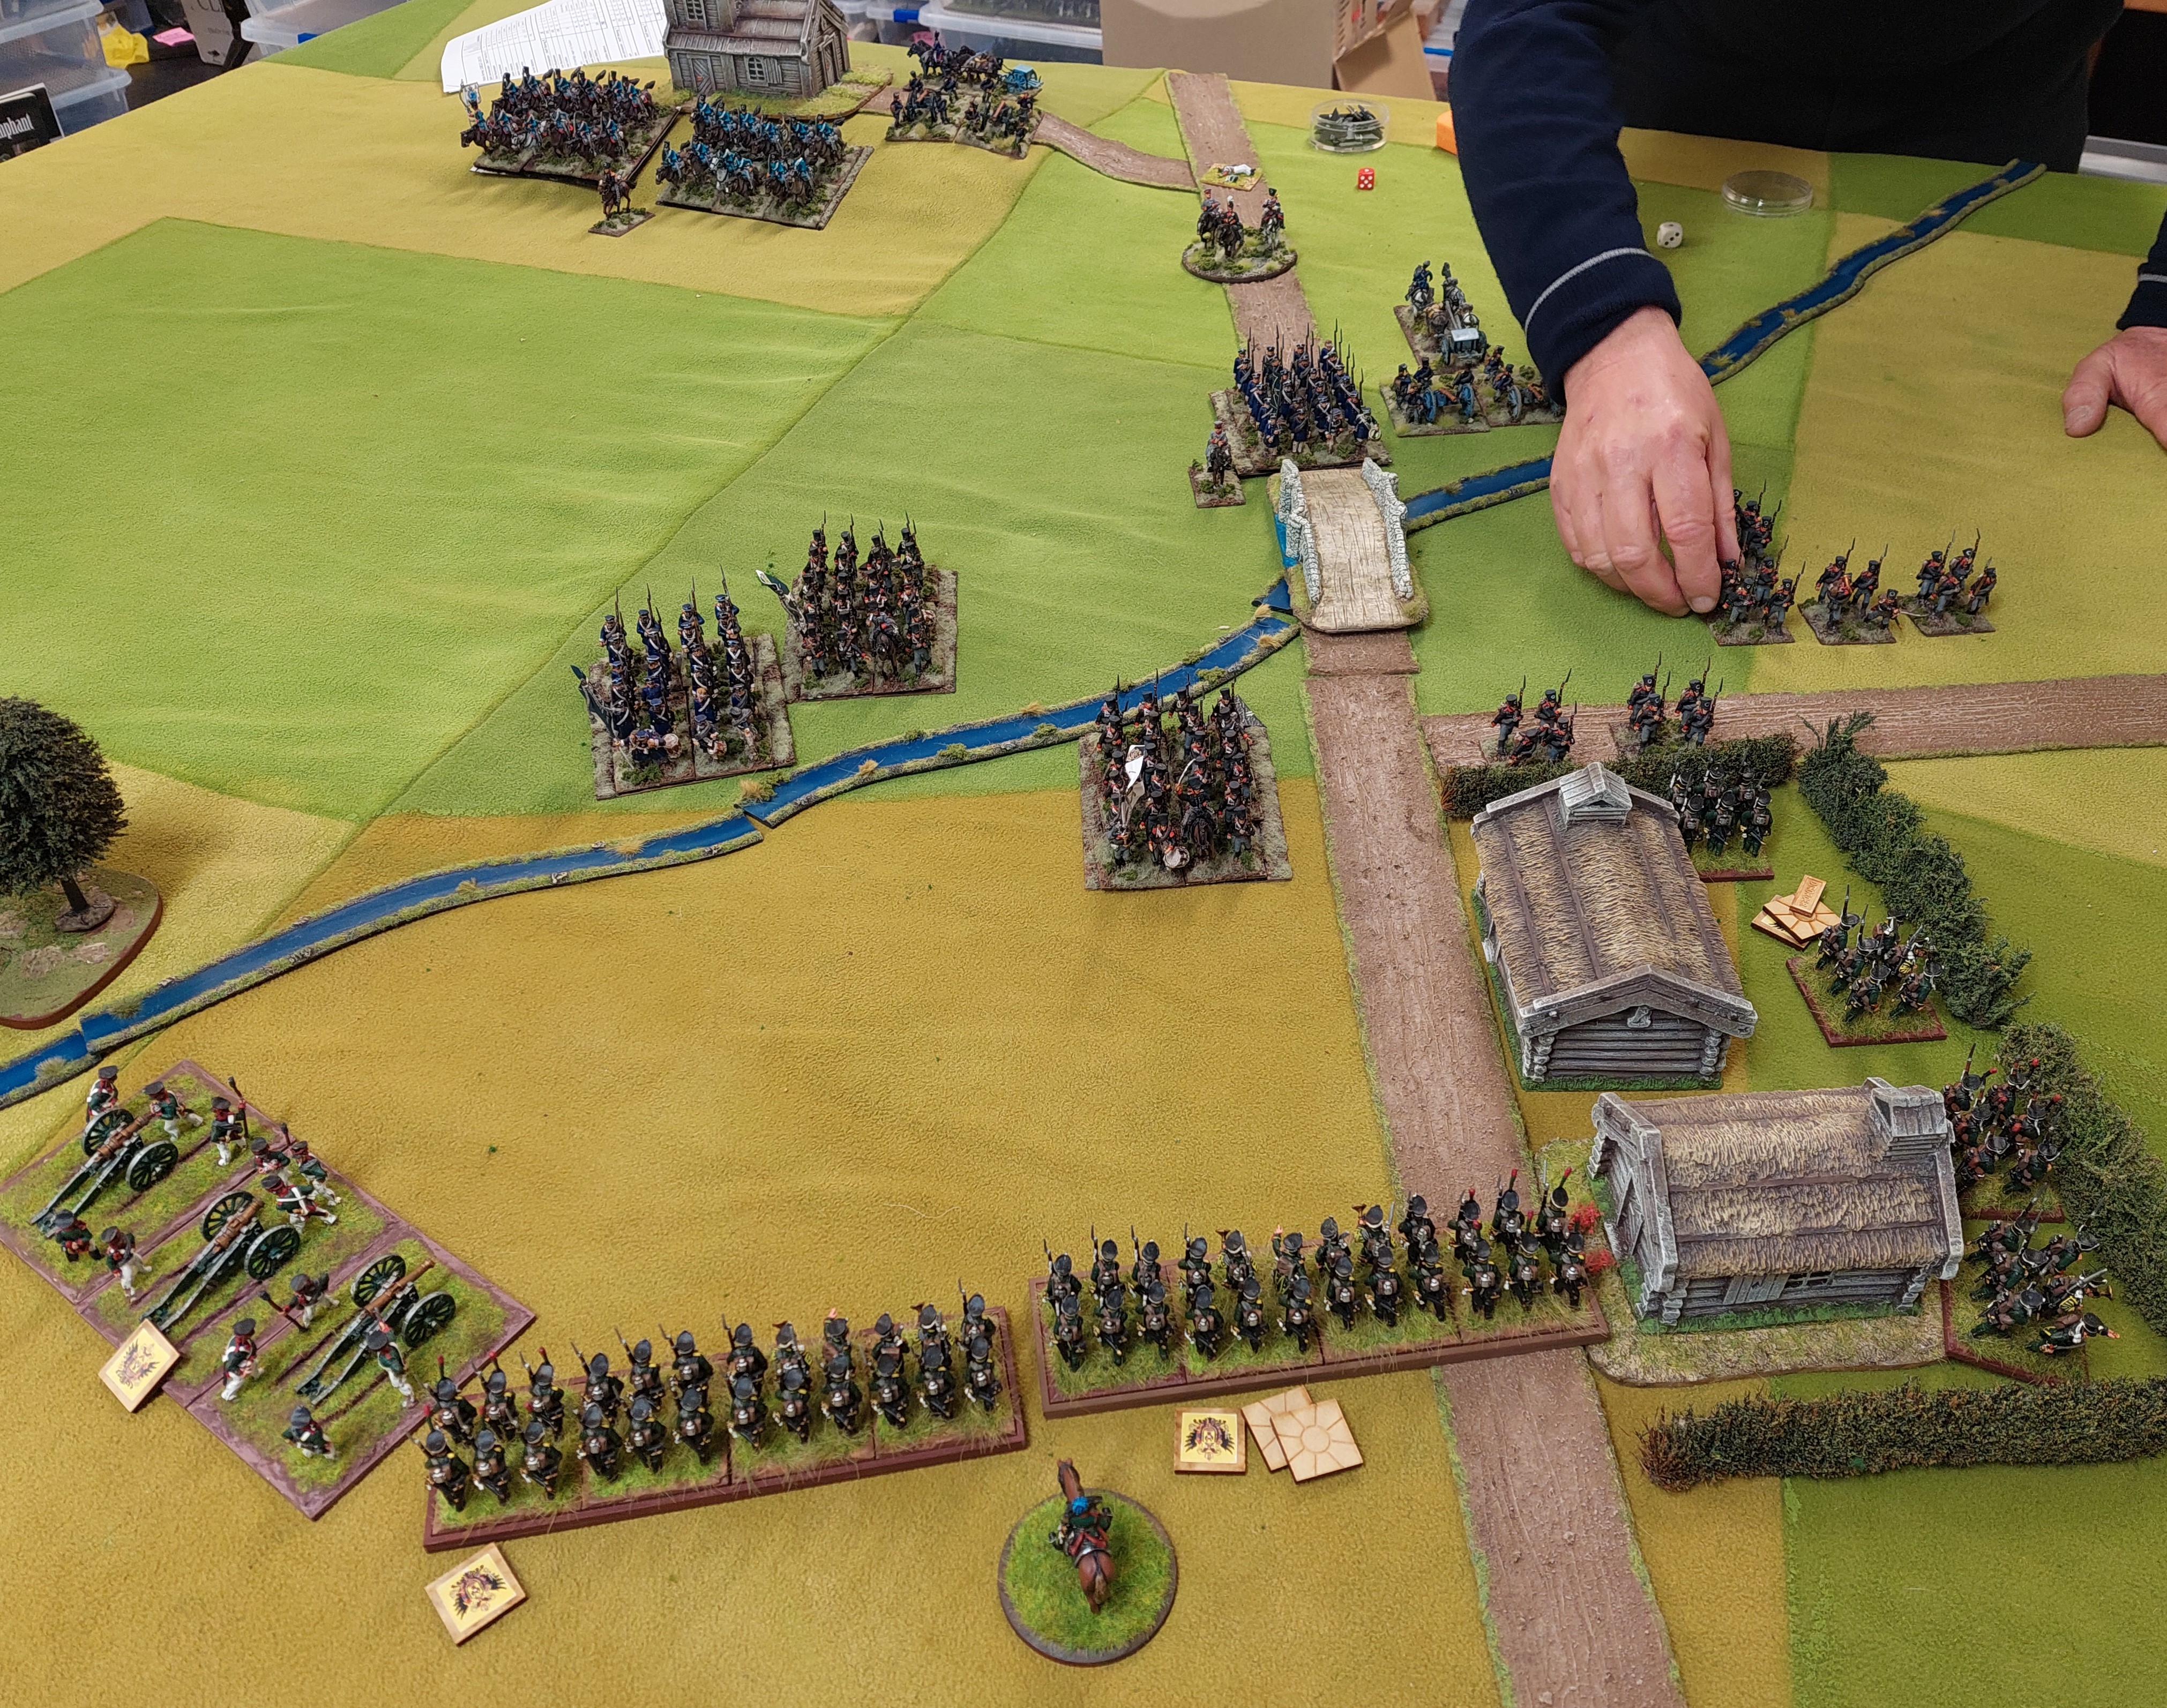
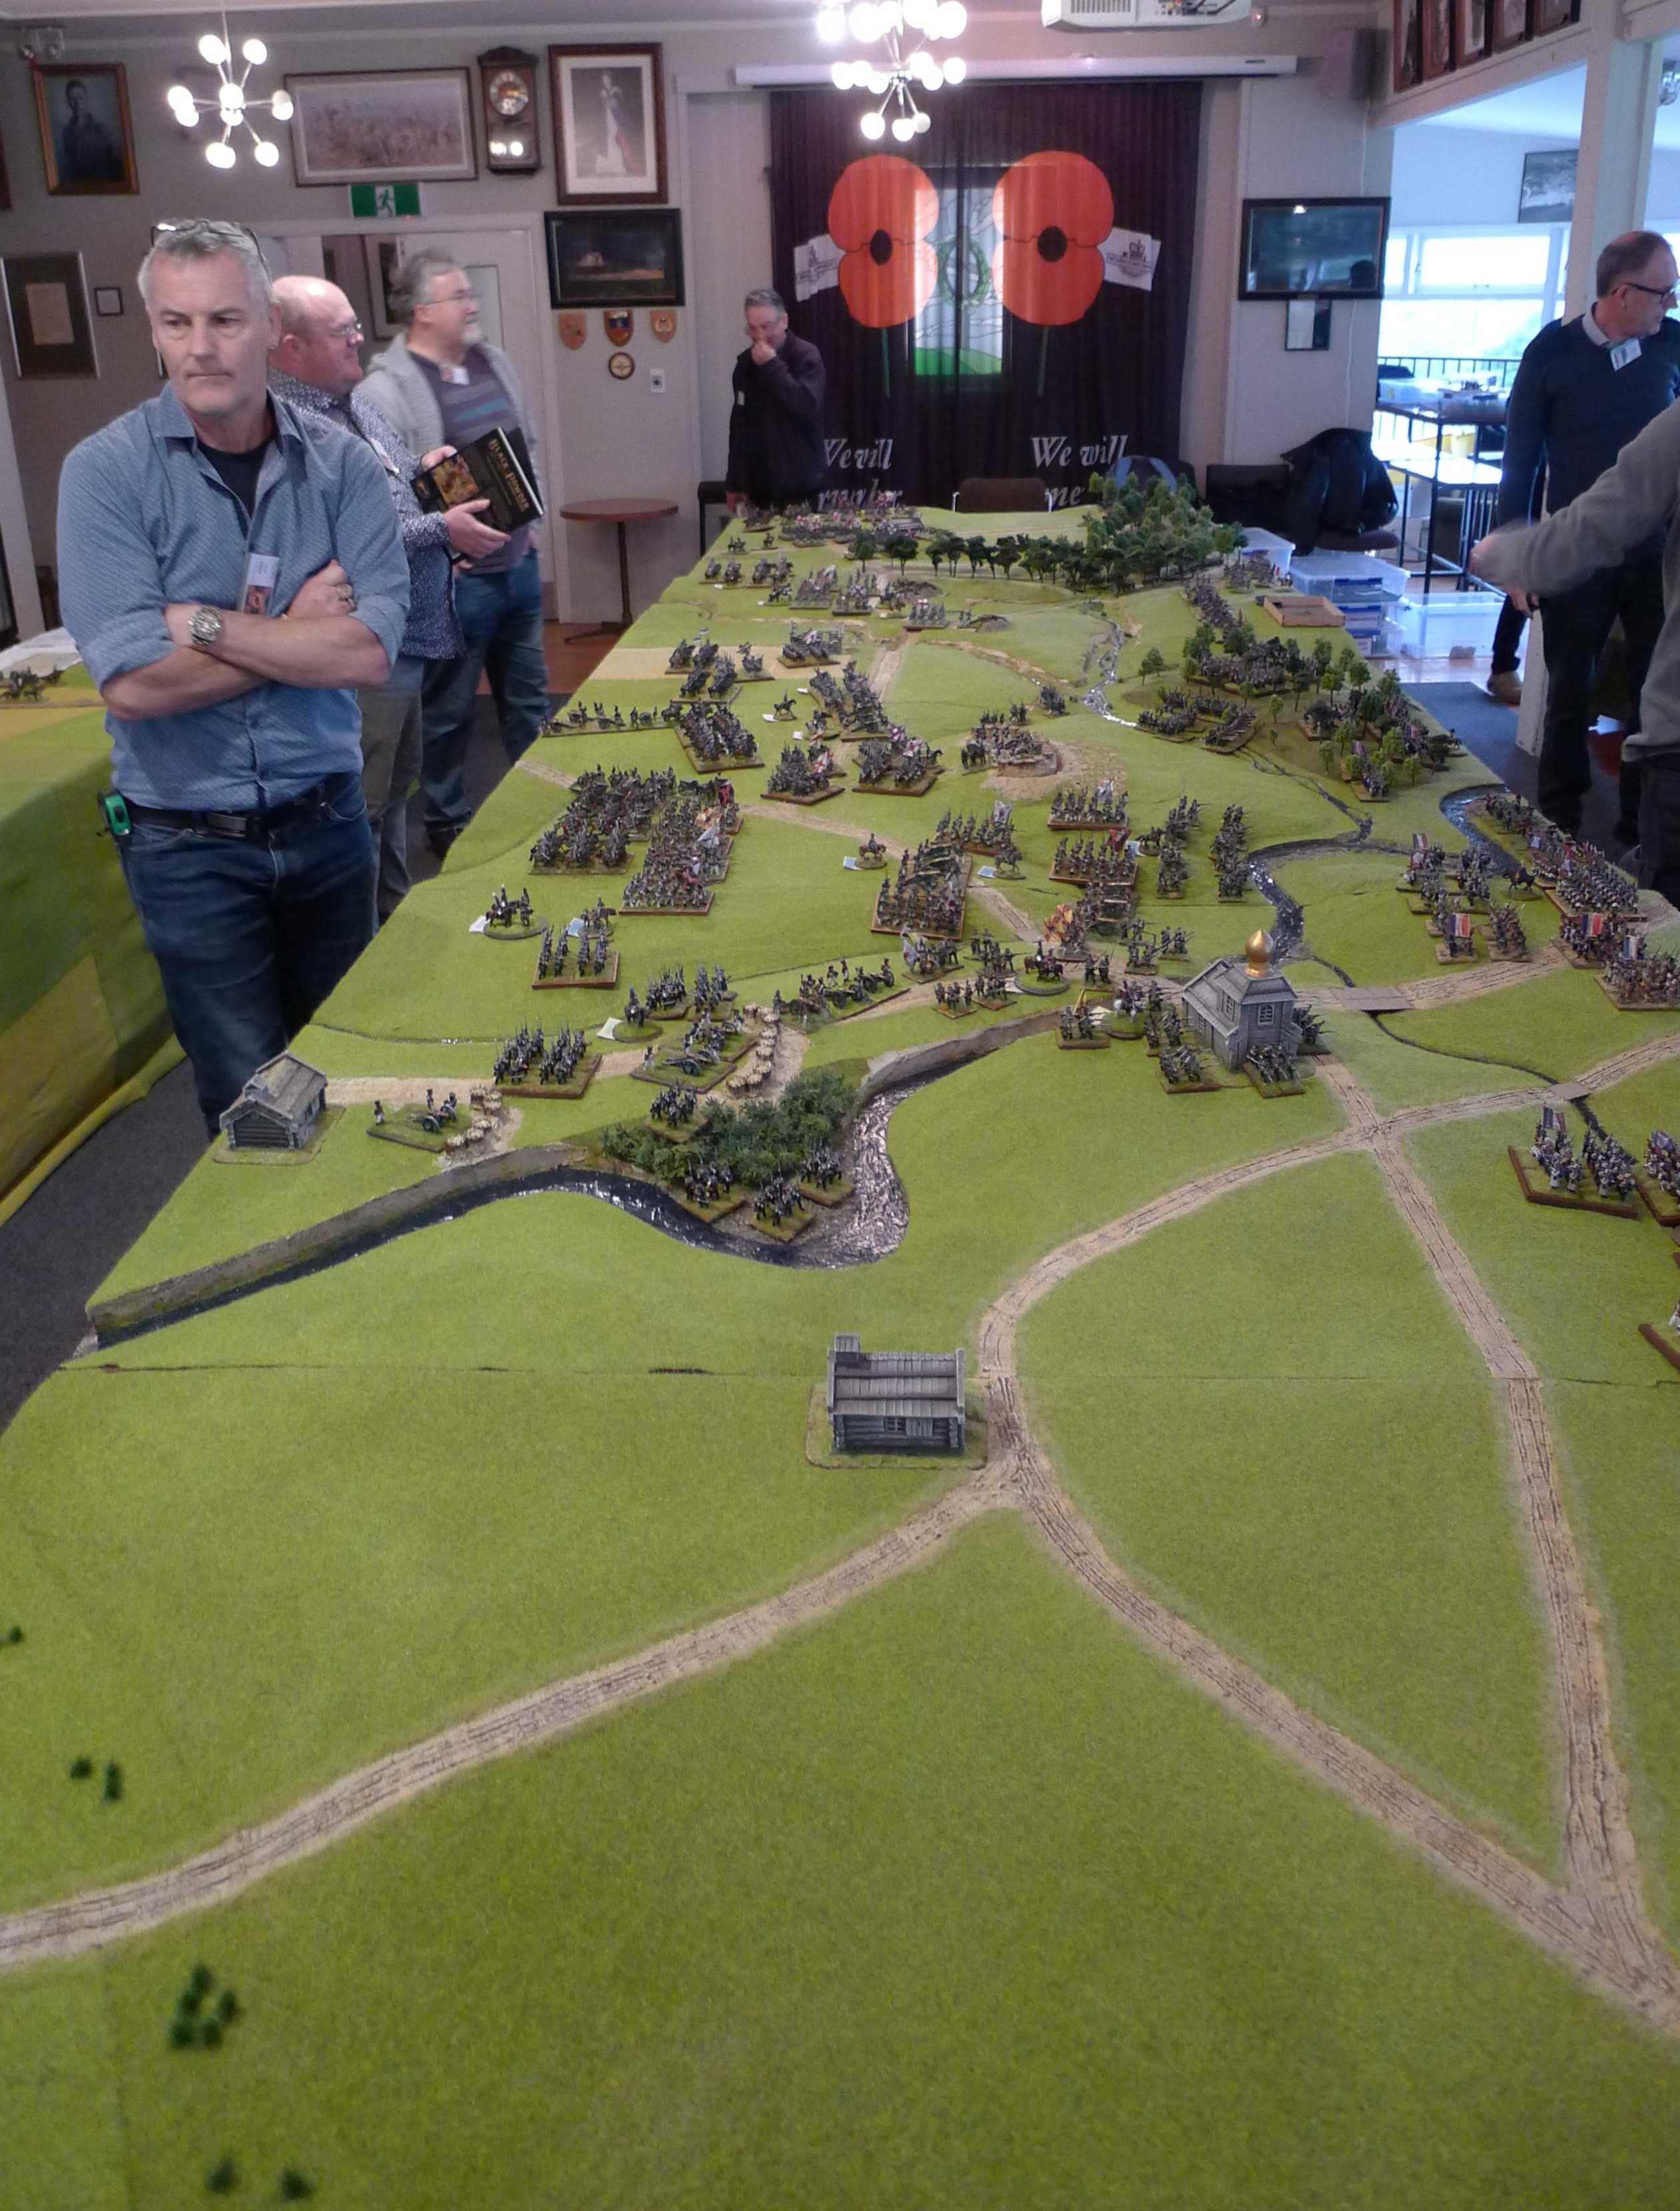
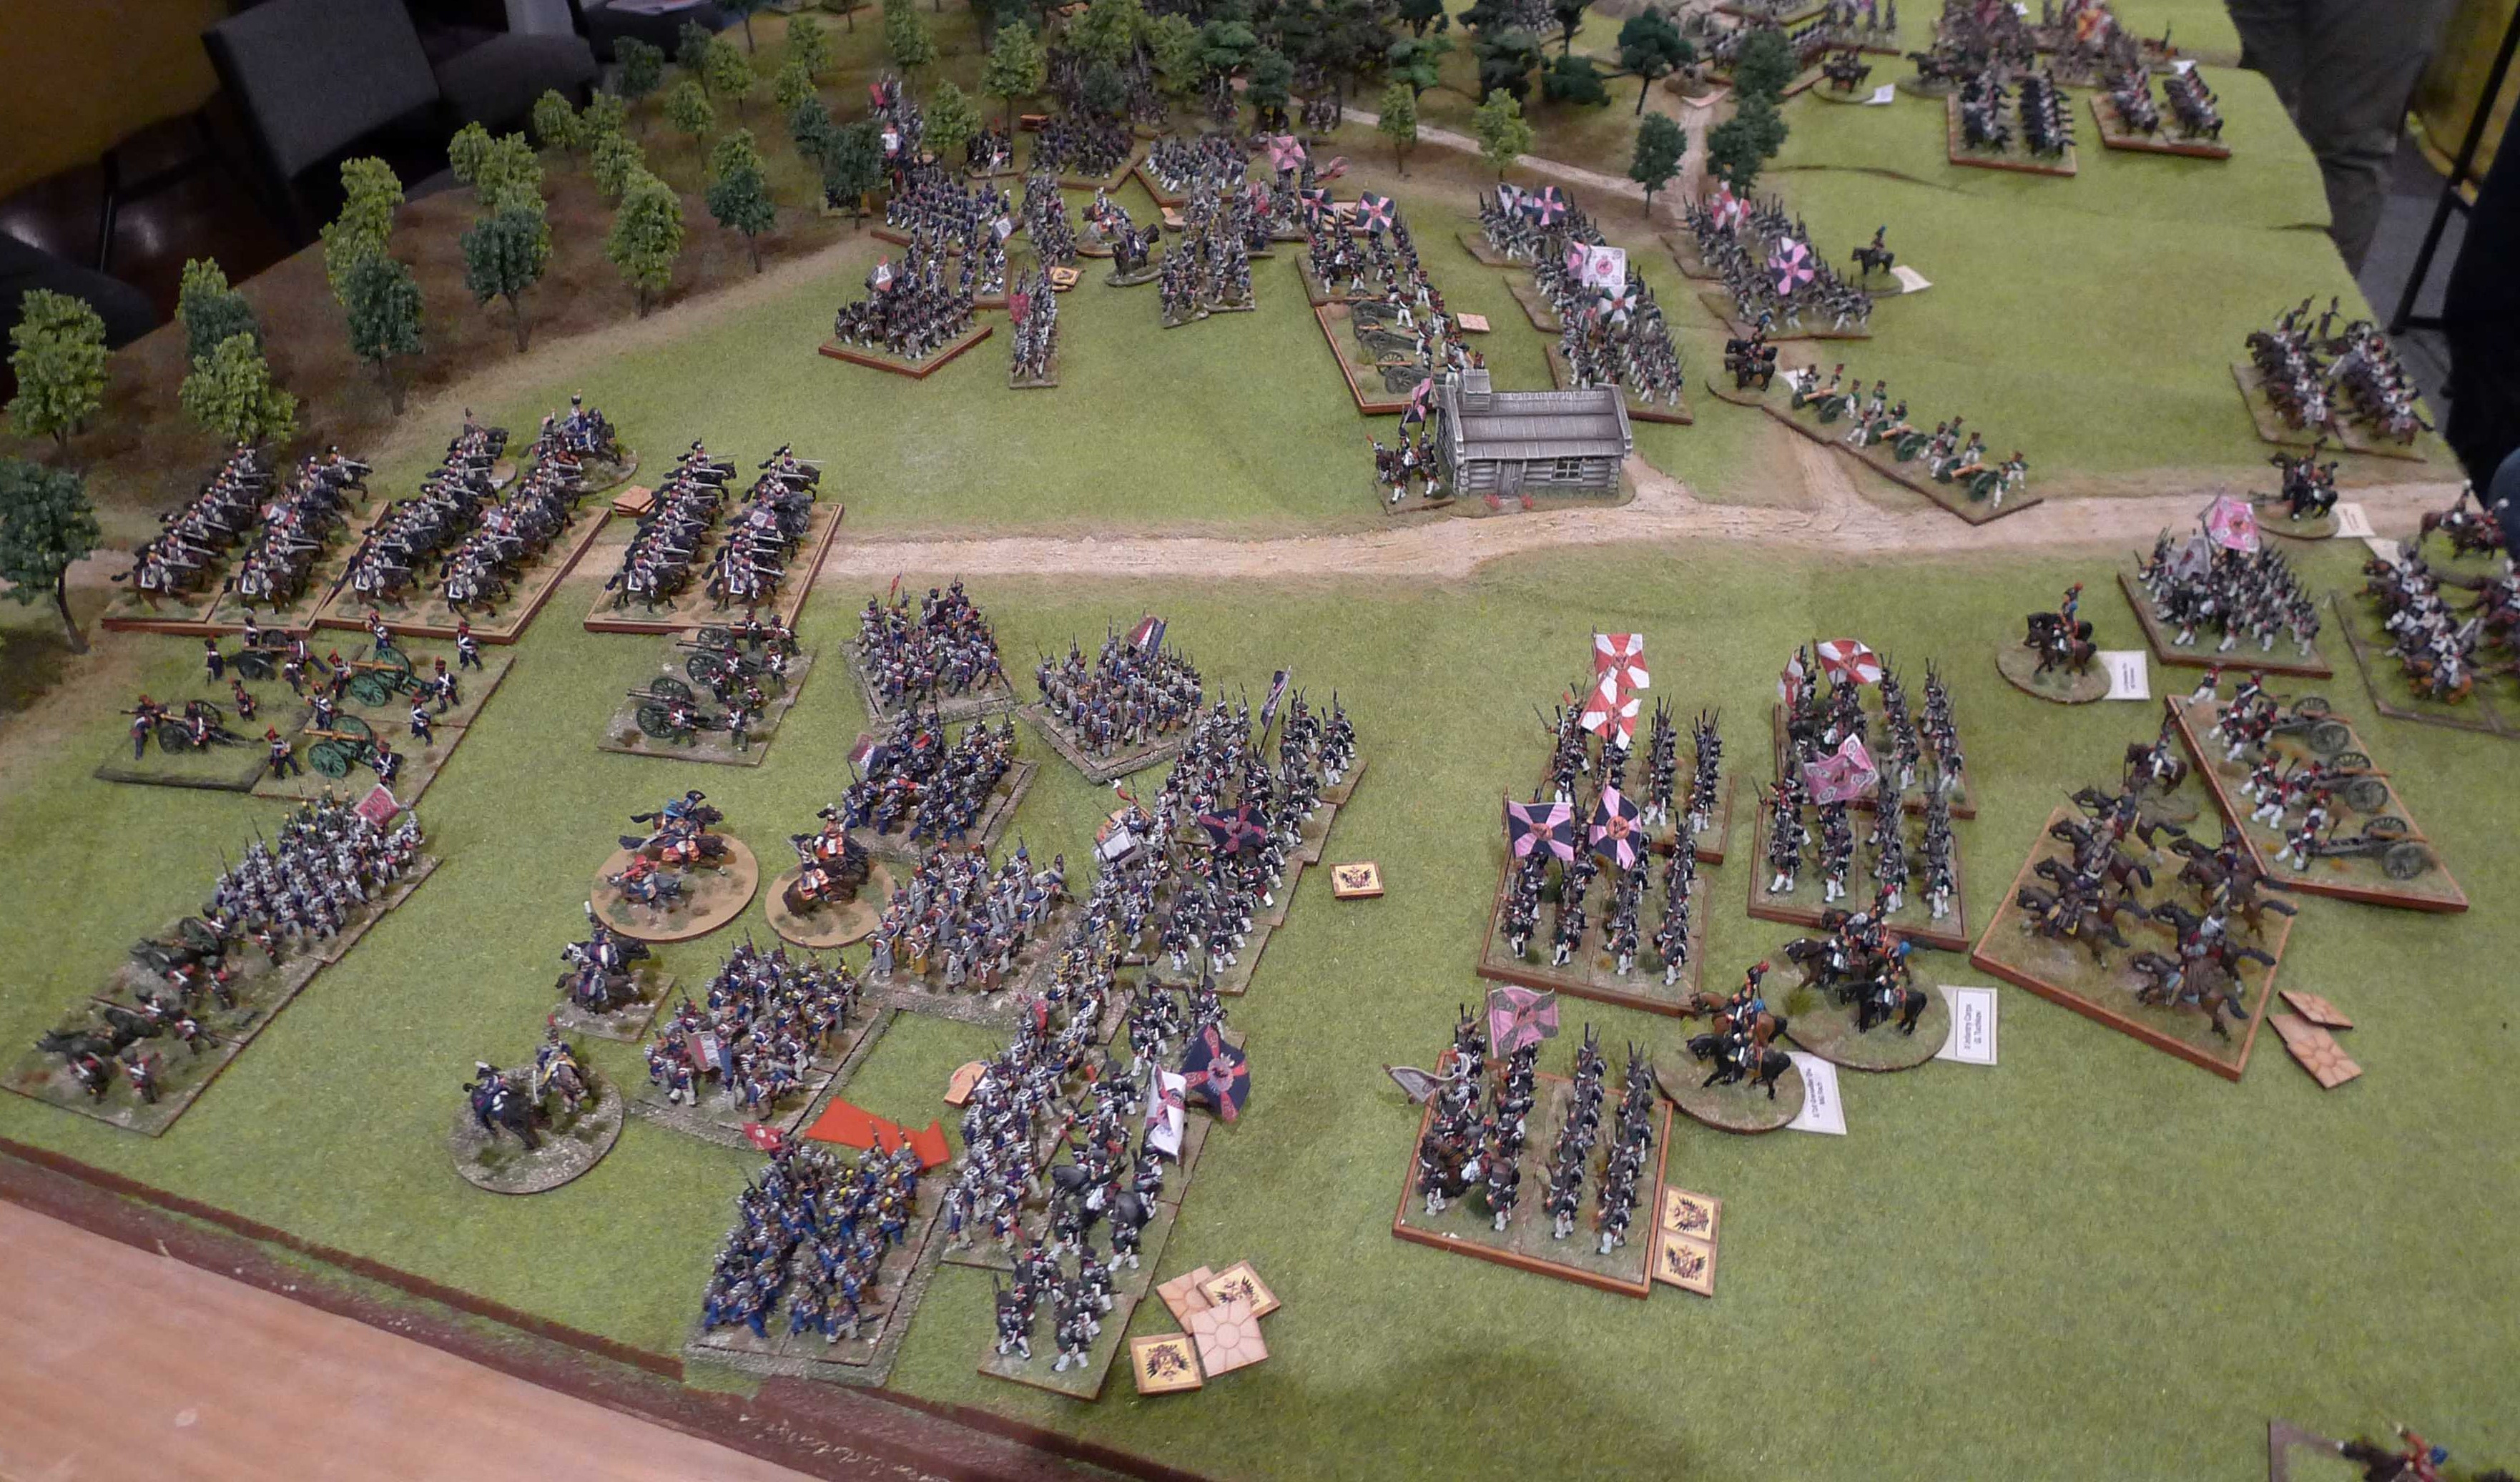
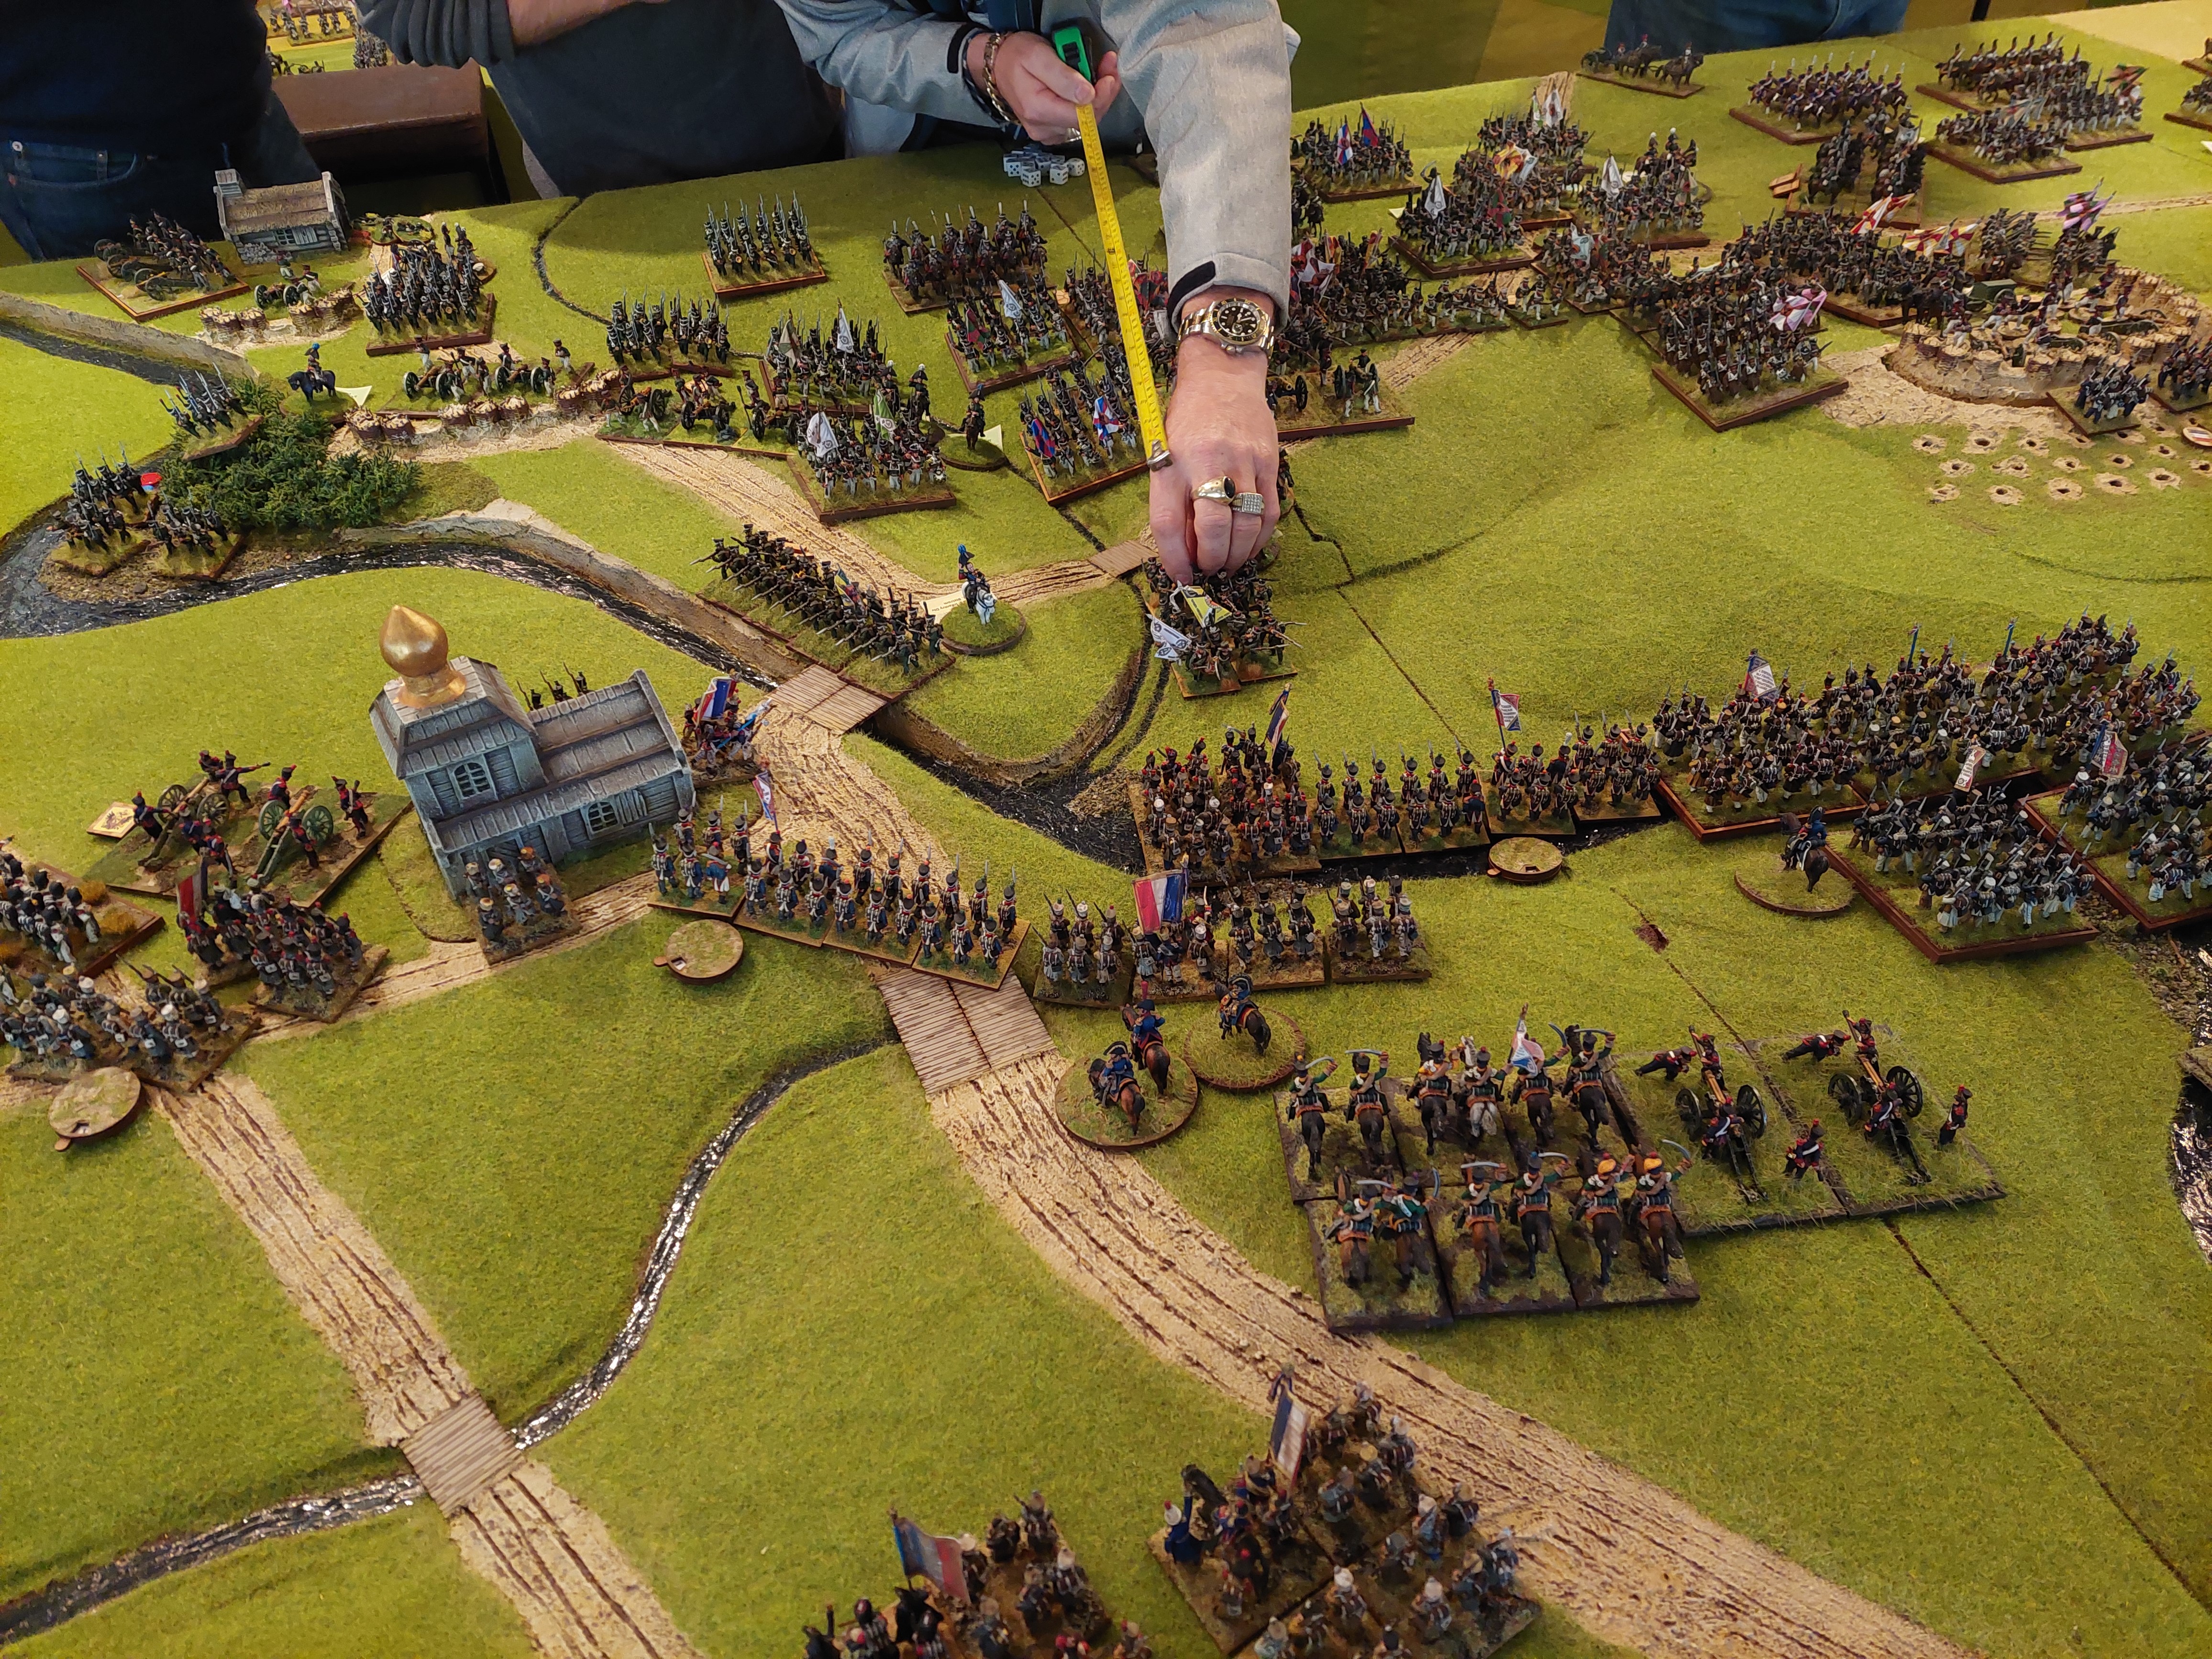
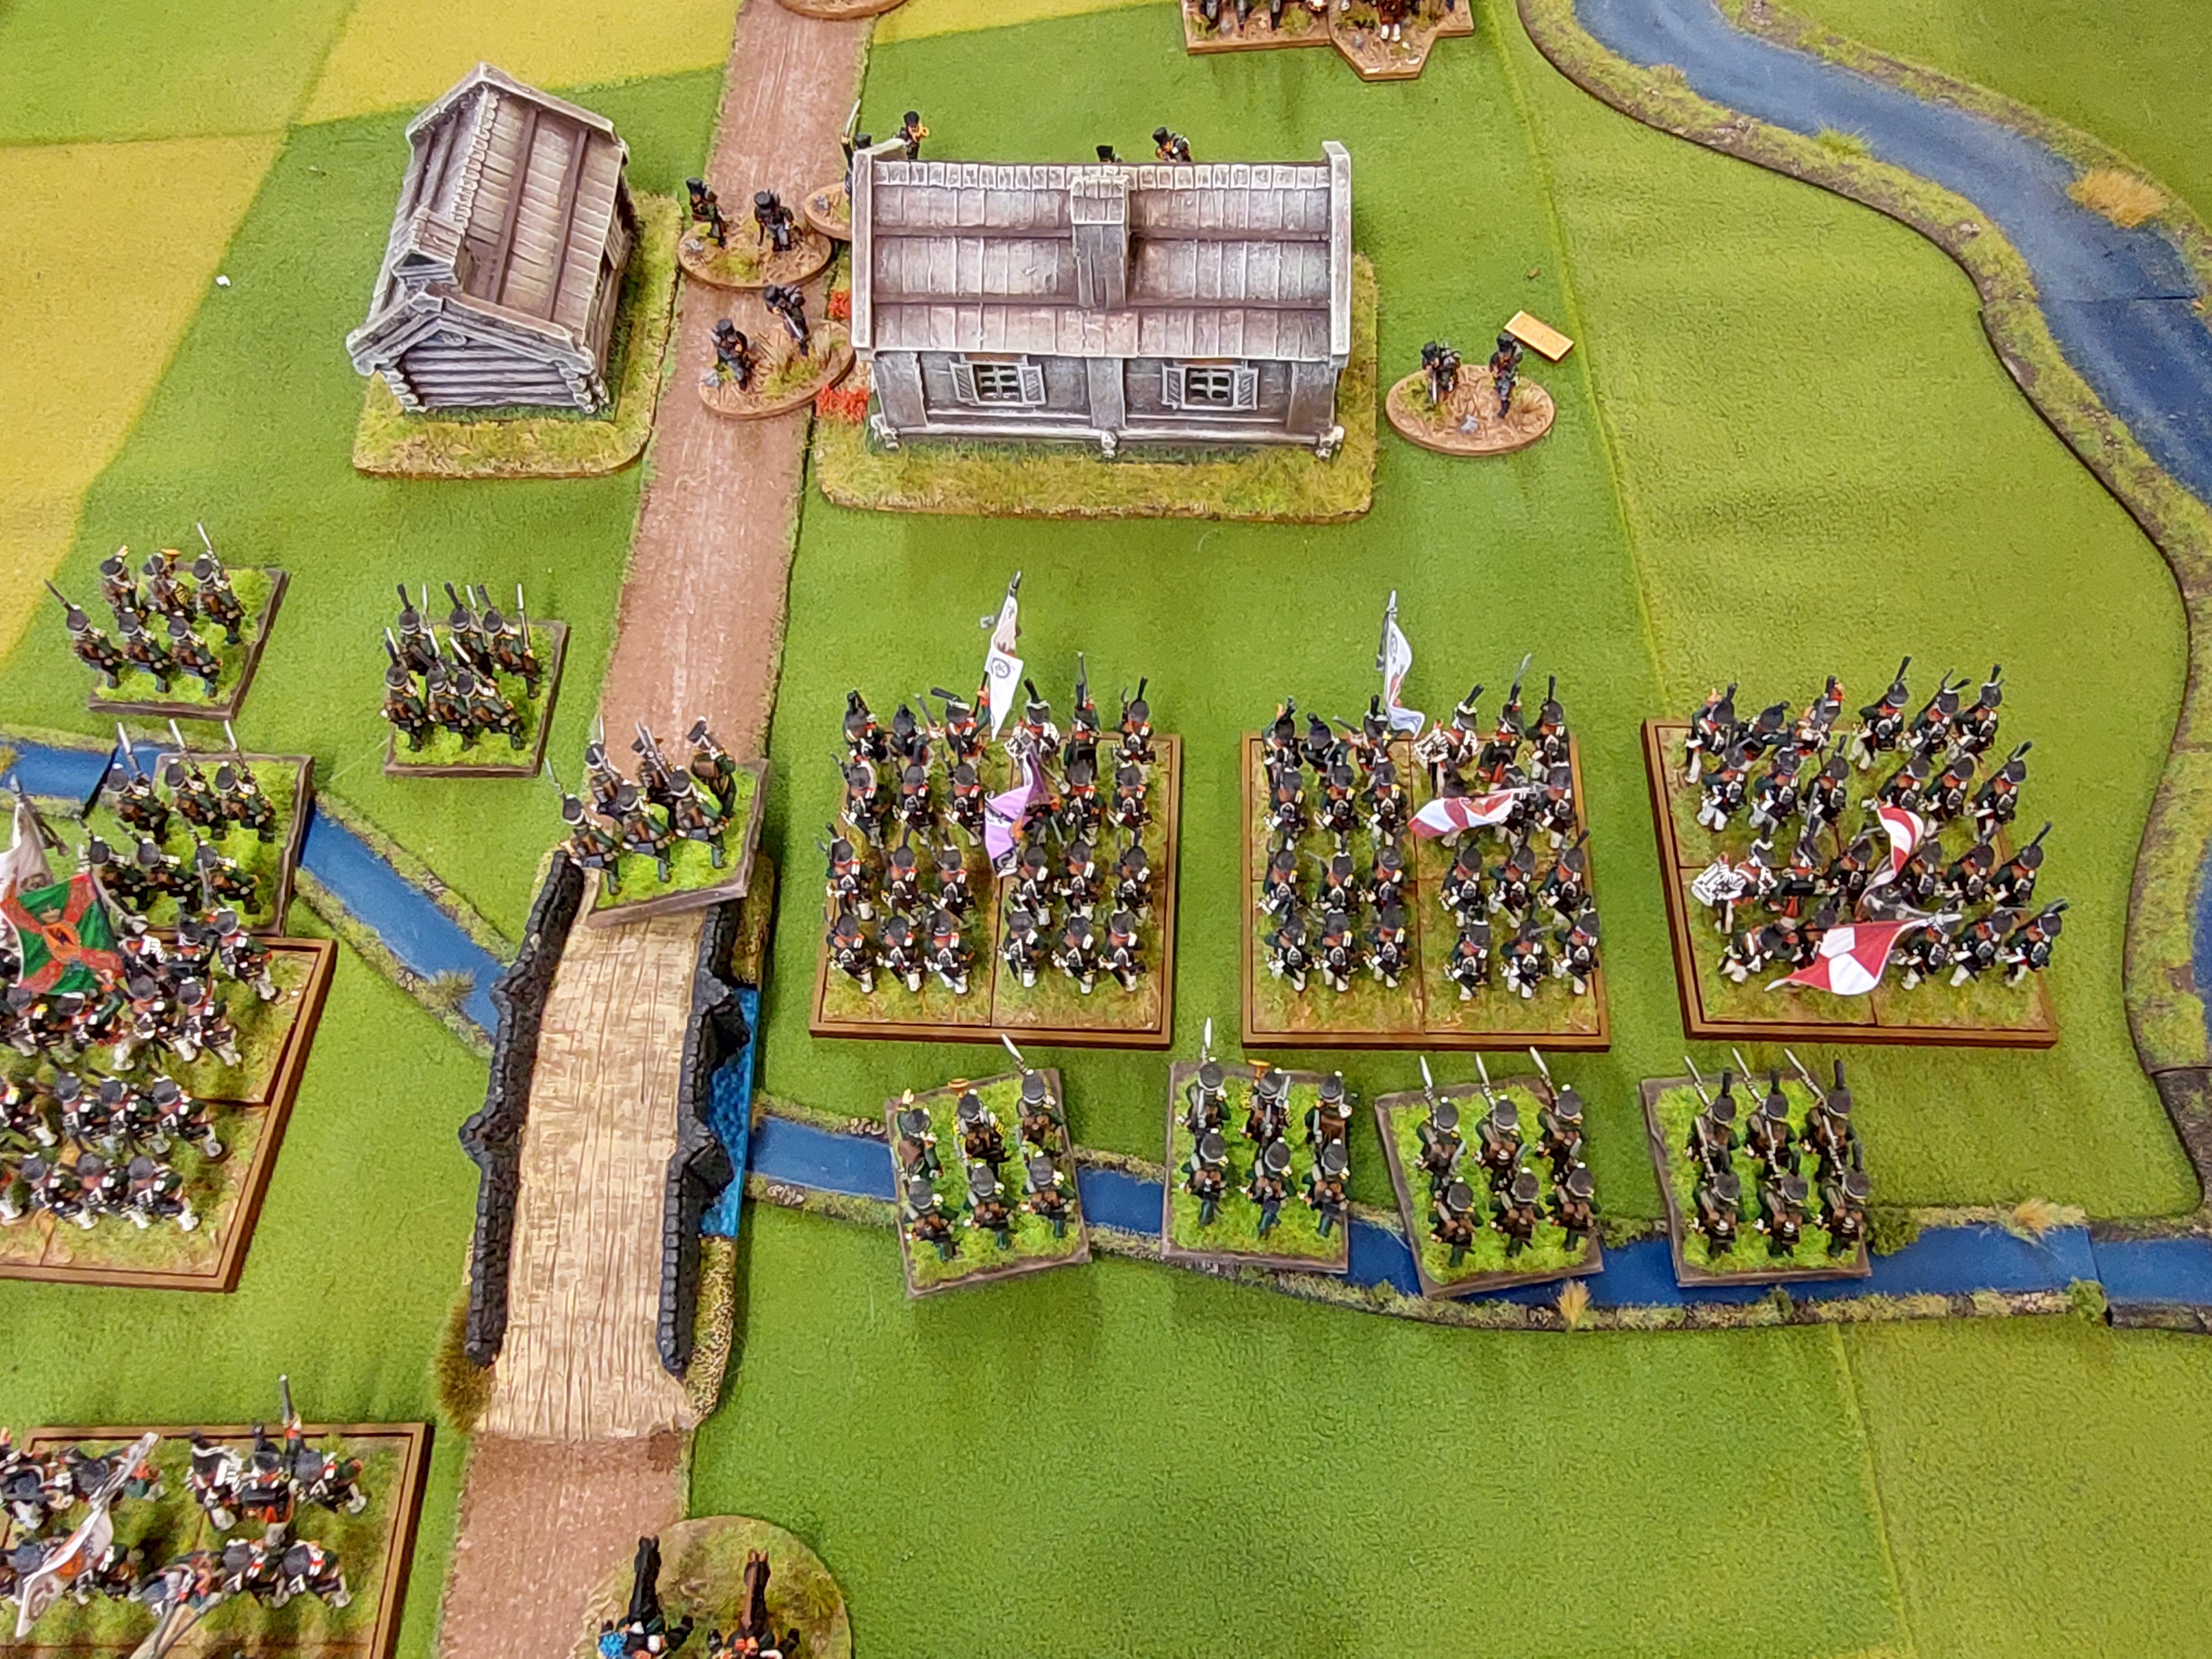
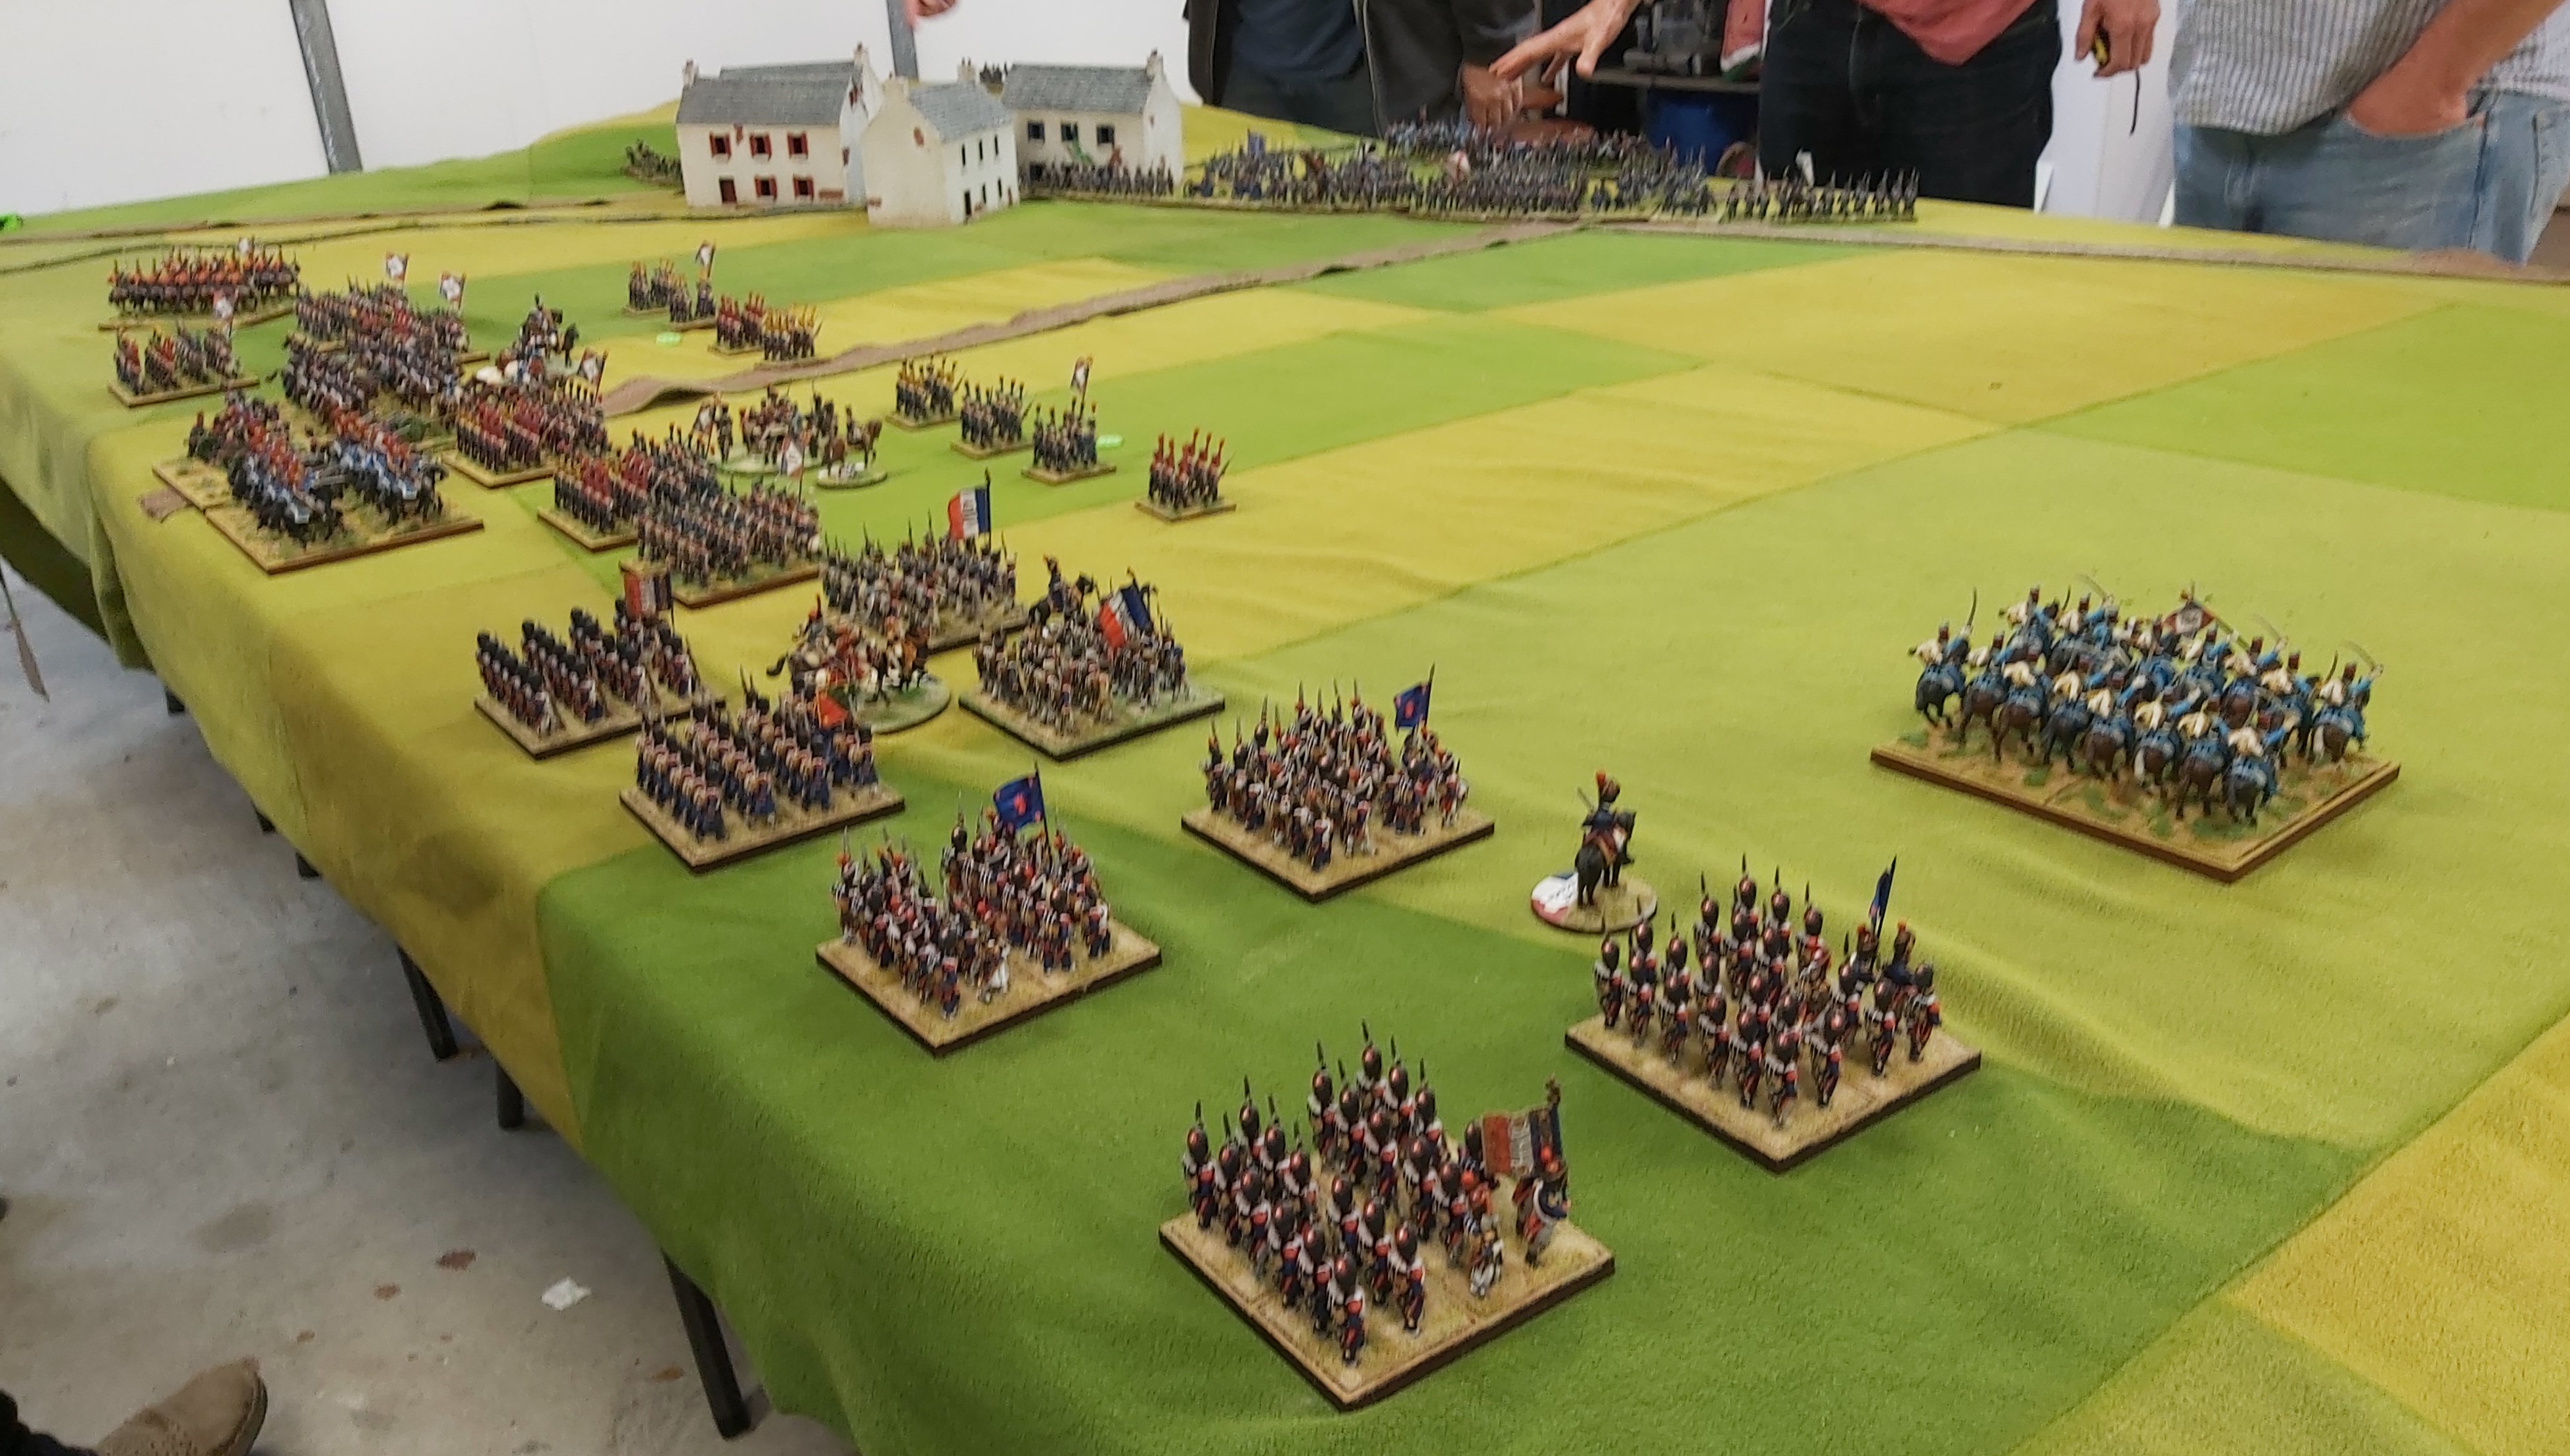
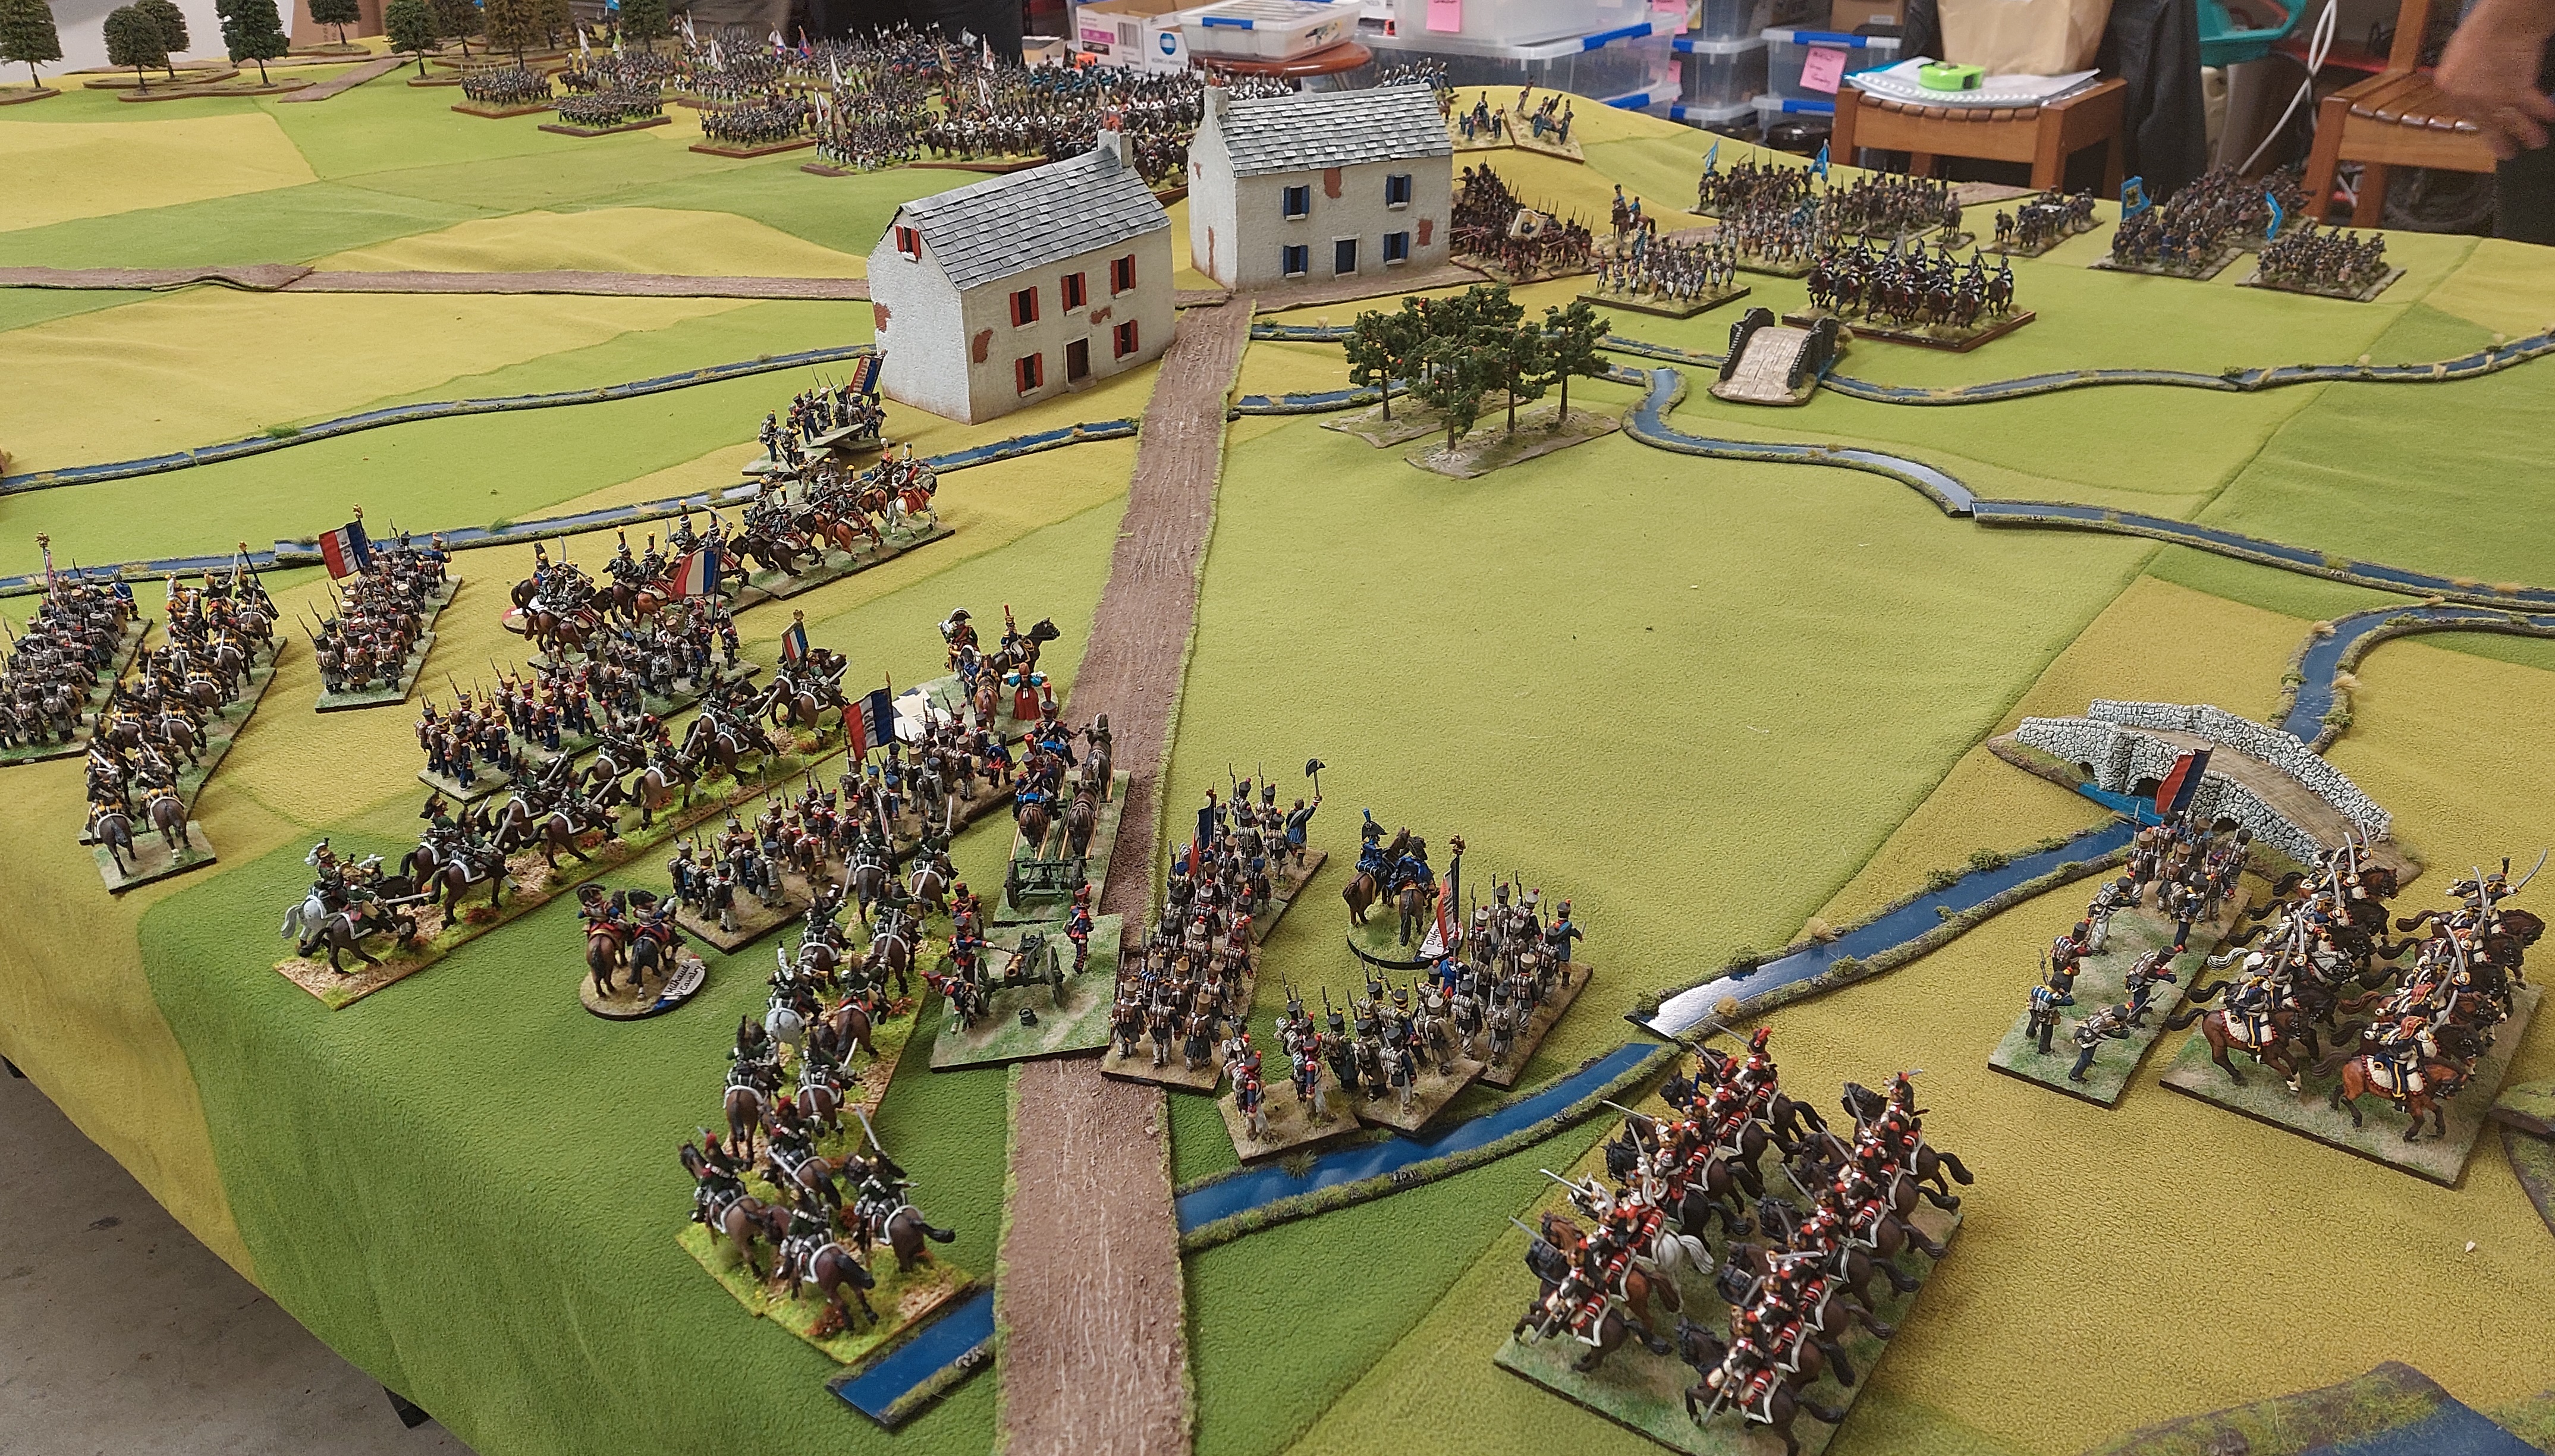
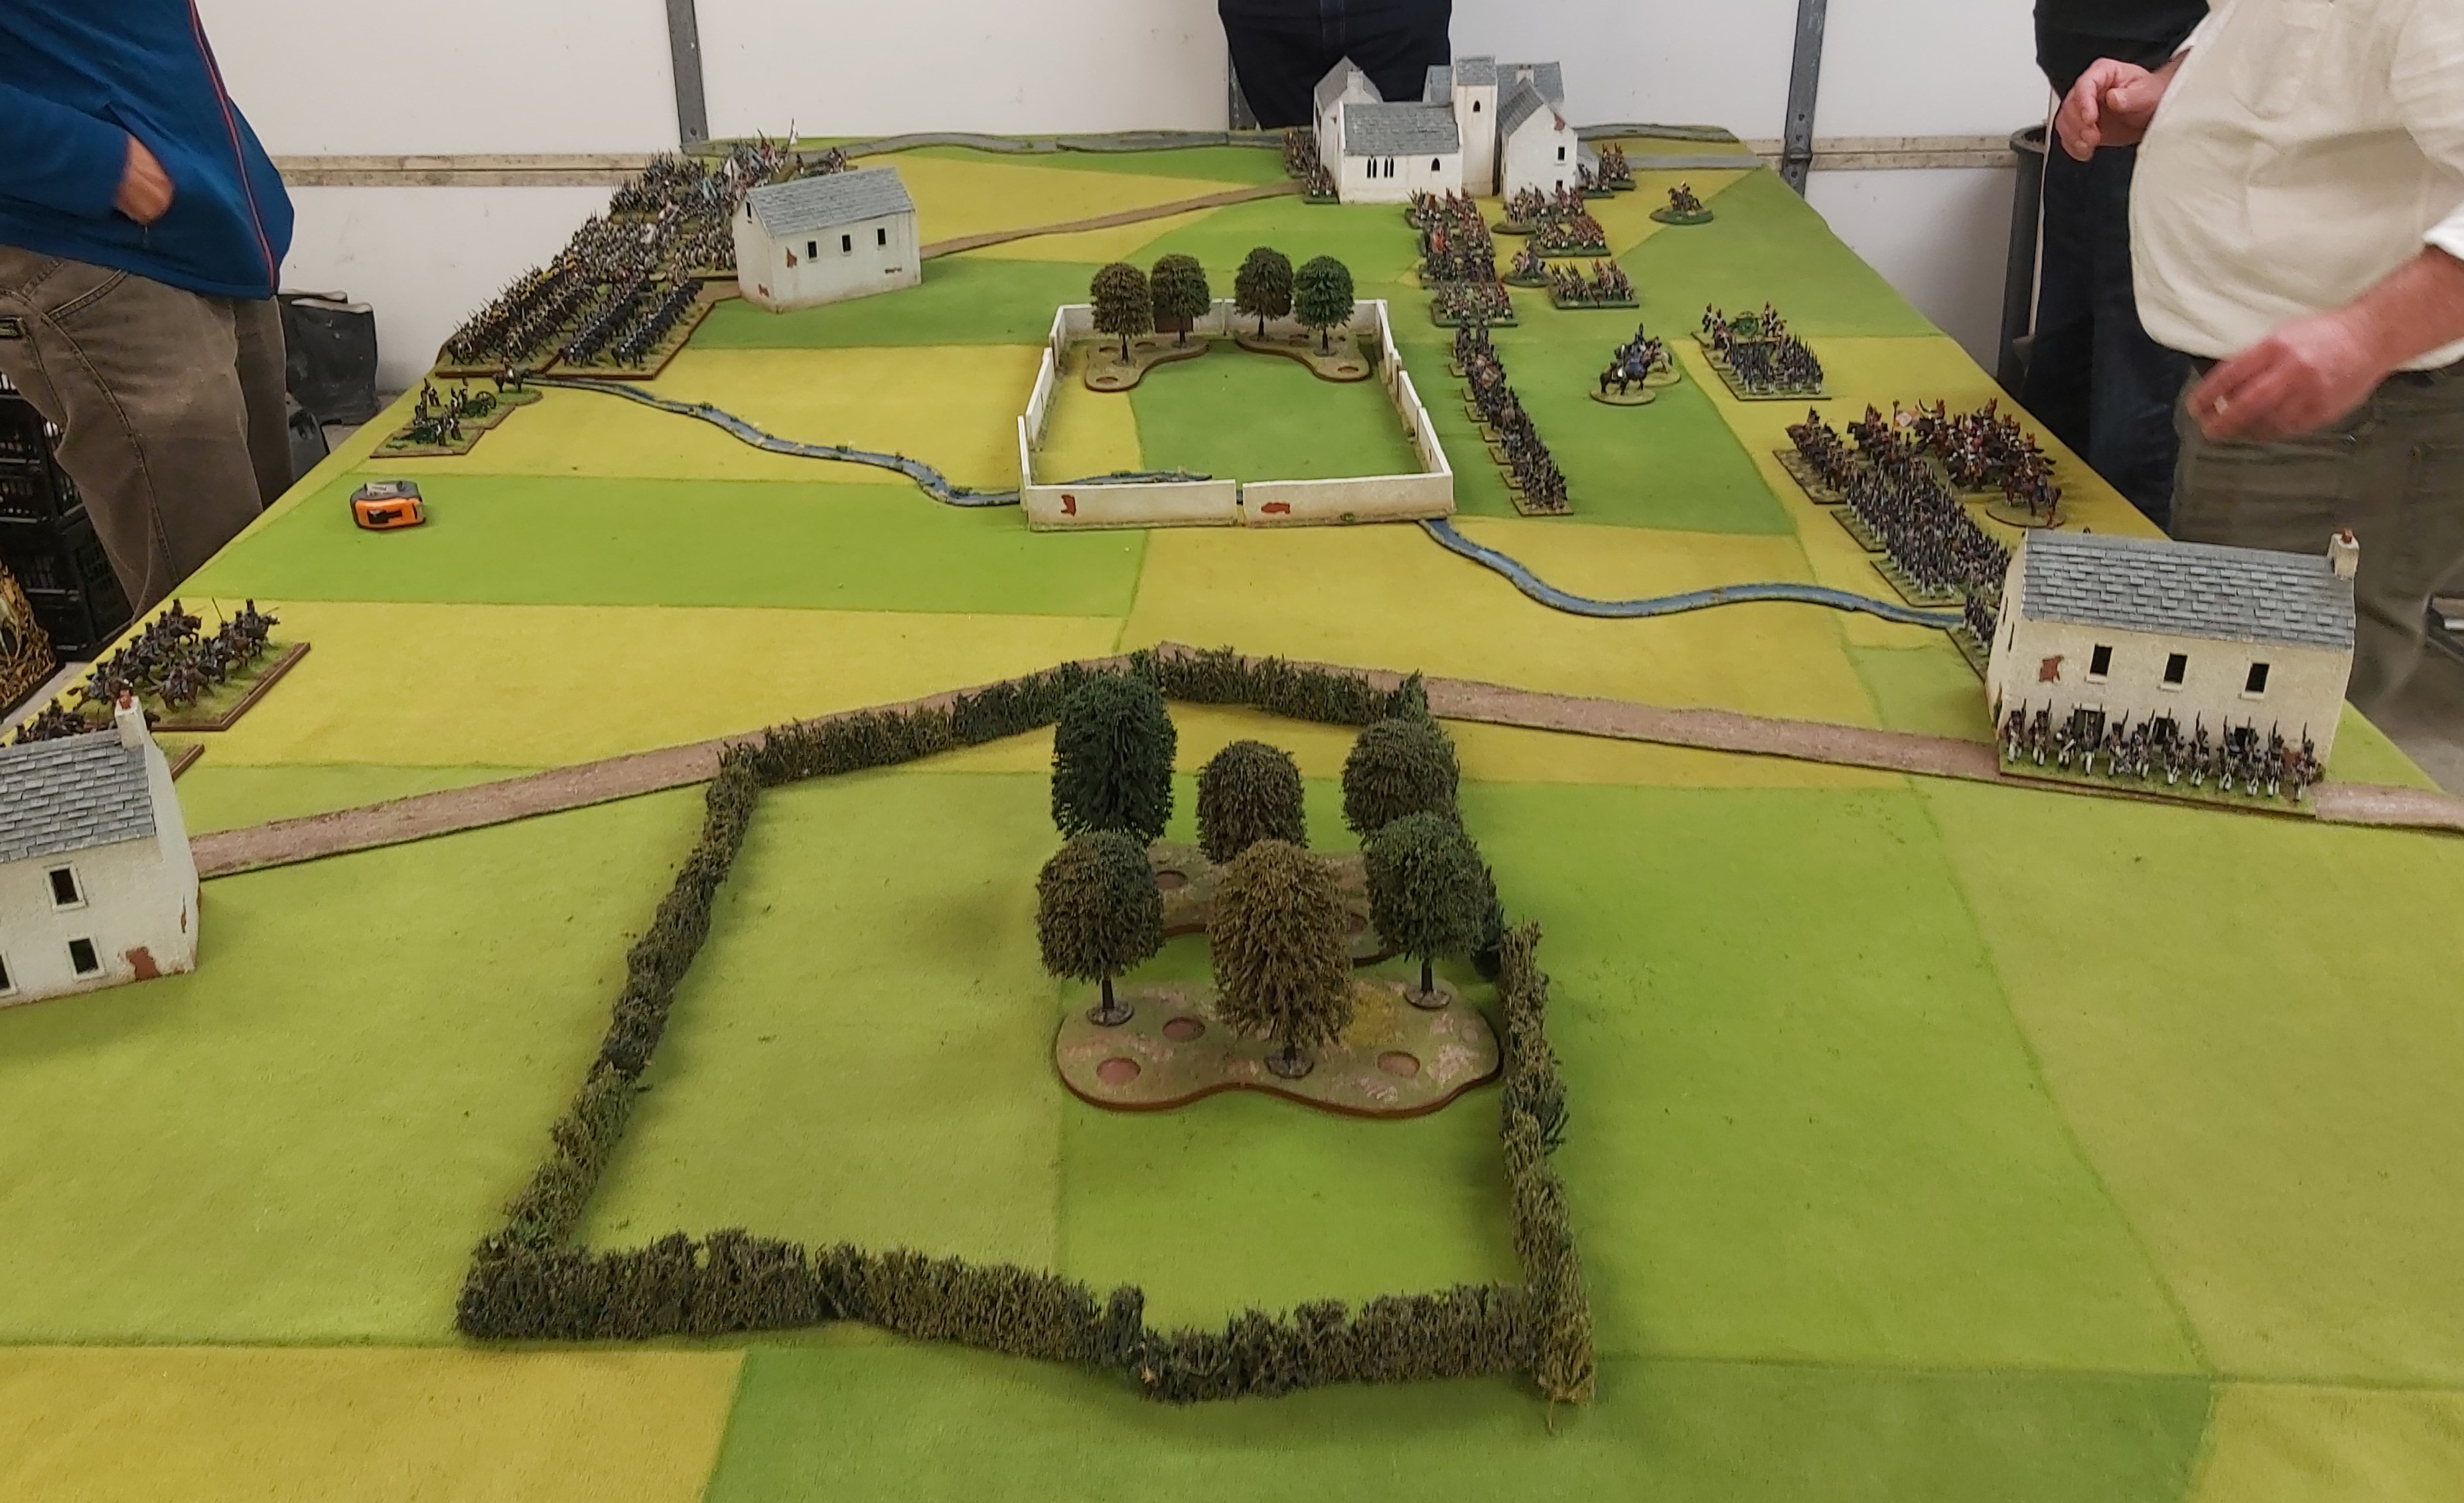
Below is the opening set up. I allocated sides to players as they arrived. Alan arrived first so he deployed his Austrians including the new units on the ridge to sweep the French aside and take Teugn. StephenC arrived next so he got to be the French defending Teugn. StevenT was next so he got to be the Austrian artillery batteries massed in front of Hausen and the 5 bttns marching onto the table. Goldie was next so he got his 6 French bttns lined up on road heading north. These French bttns are the very same bttns that were on that road in 1809….incuding..groan..the 57th. Robert arrived next so he was 3 French bttns and a battery marching on from behind Teugn.
Oh dear…its very early on in the game and as often happens, newly painted units don’t last long. Alan has already lost his Grenz and Jager! French have a shaken unit and Alan is charging forward with his large bttns.

Alan has had some success, but Robert is rushing on with more French and a battery is trying to blunt a bttn’s advance.

So after the Austrian initial advance, they have been repulsed and the French ready themselves to counter attack.
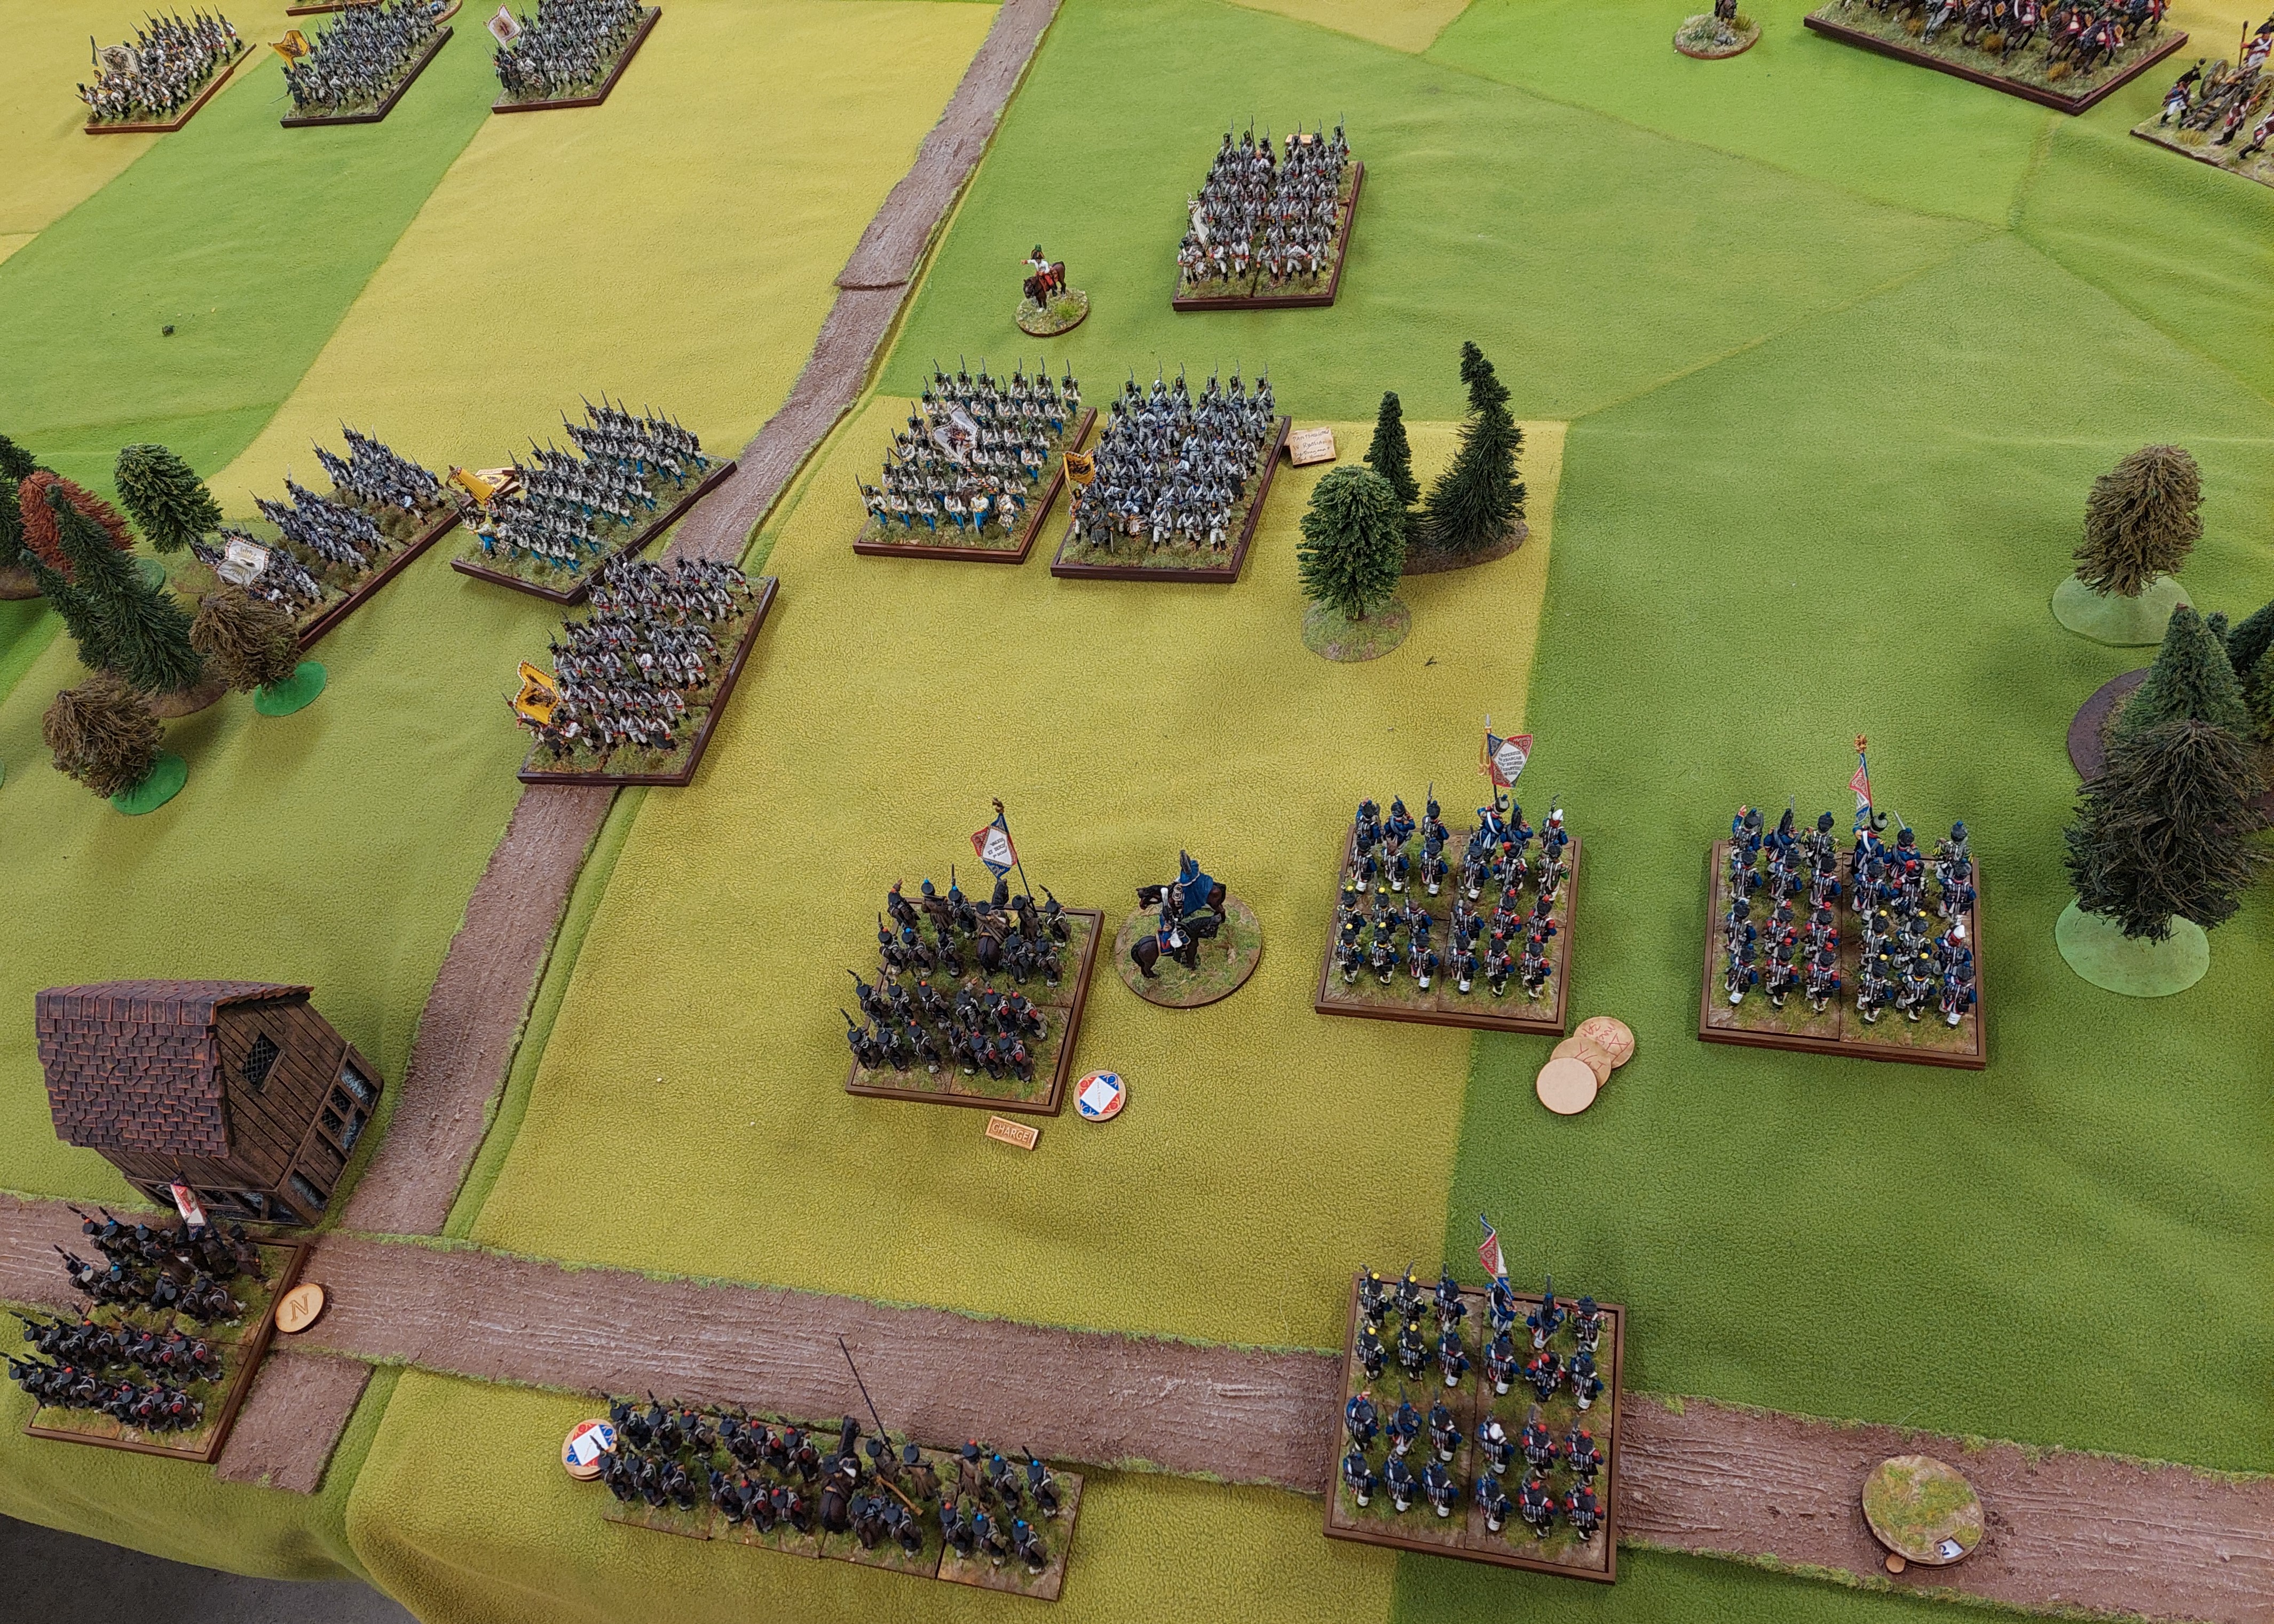
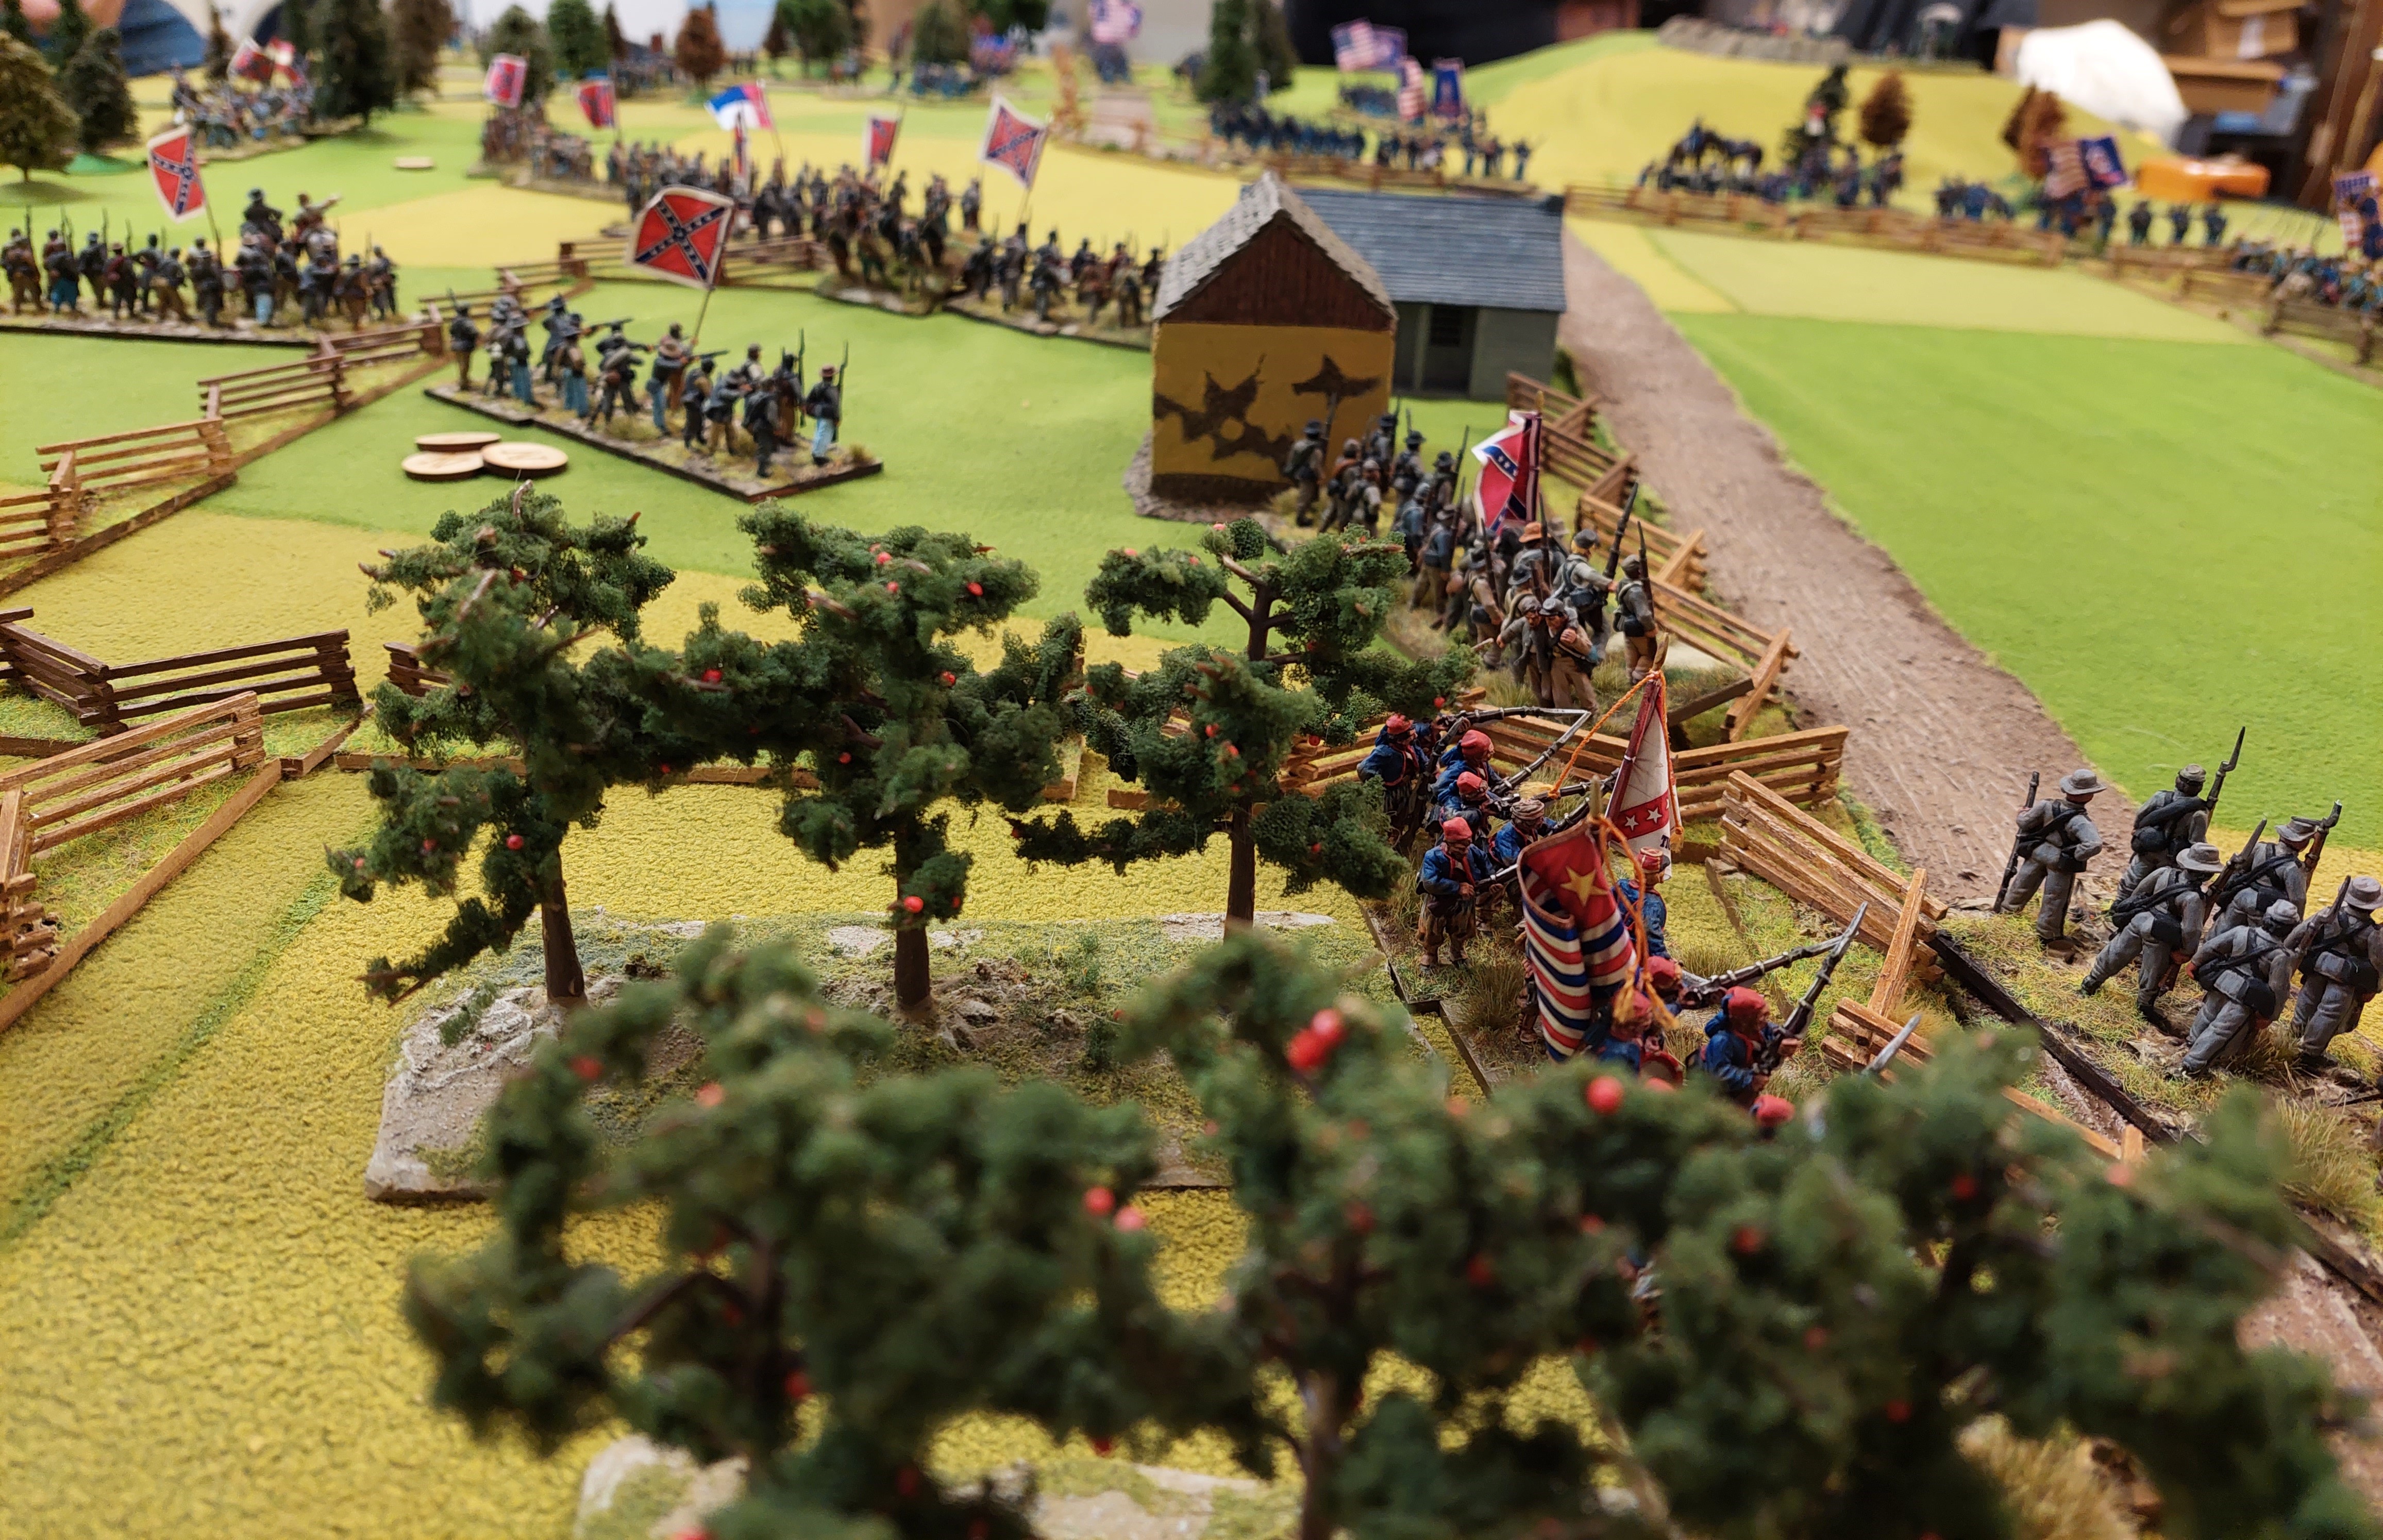
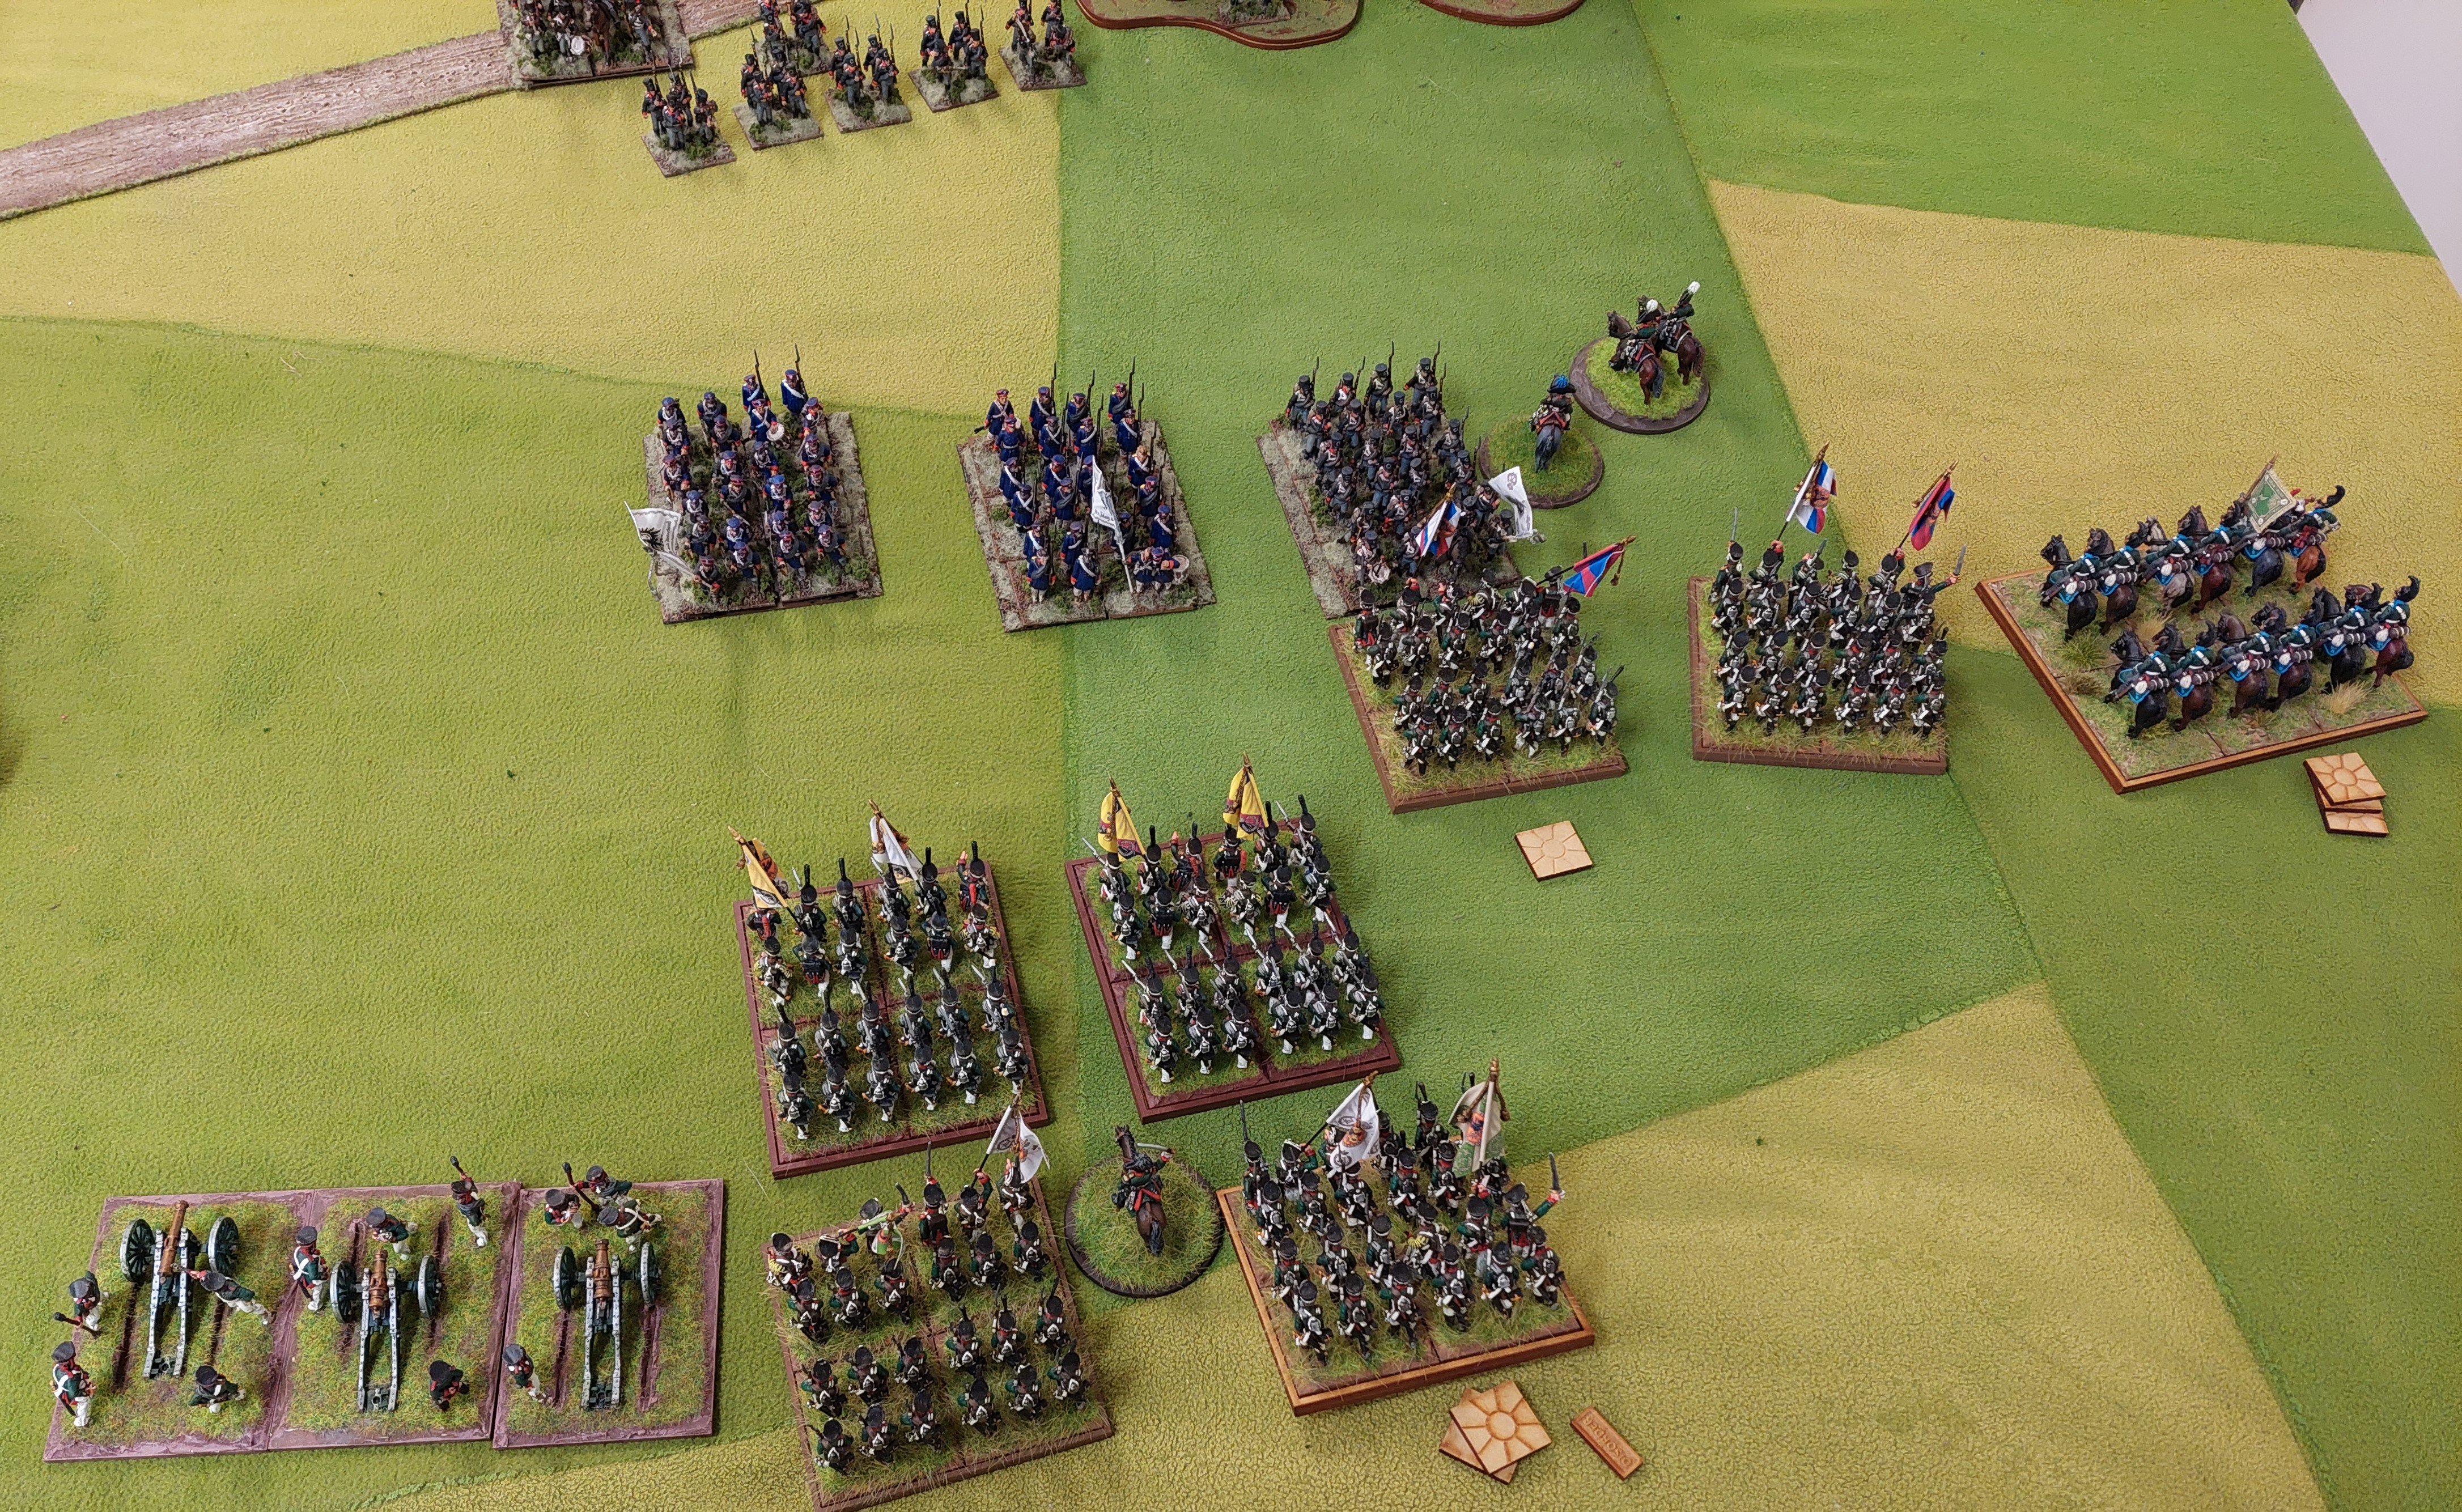
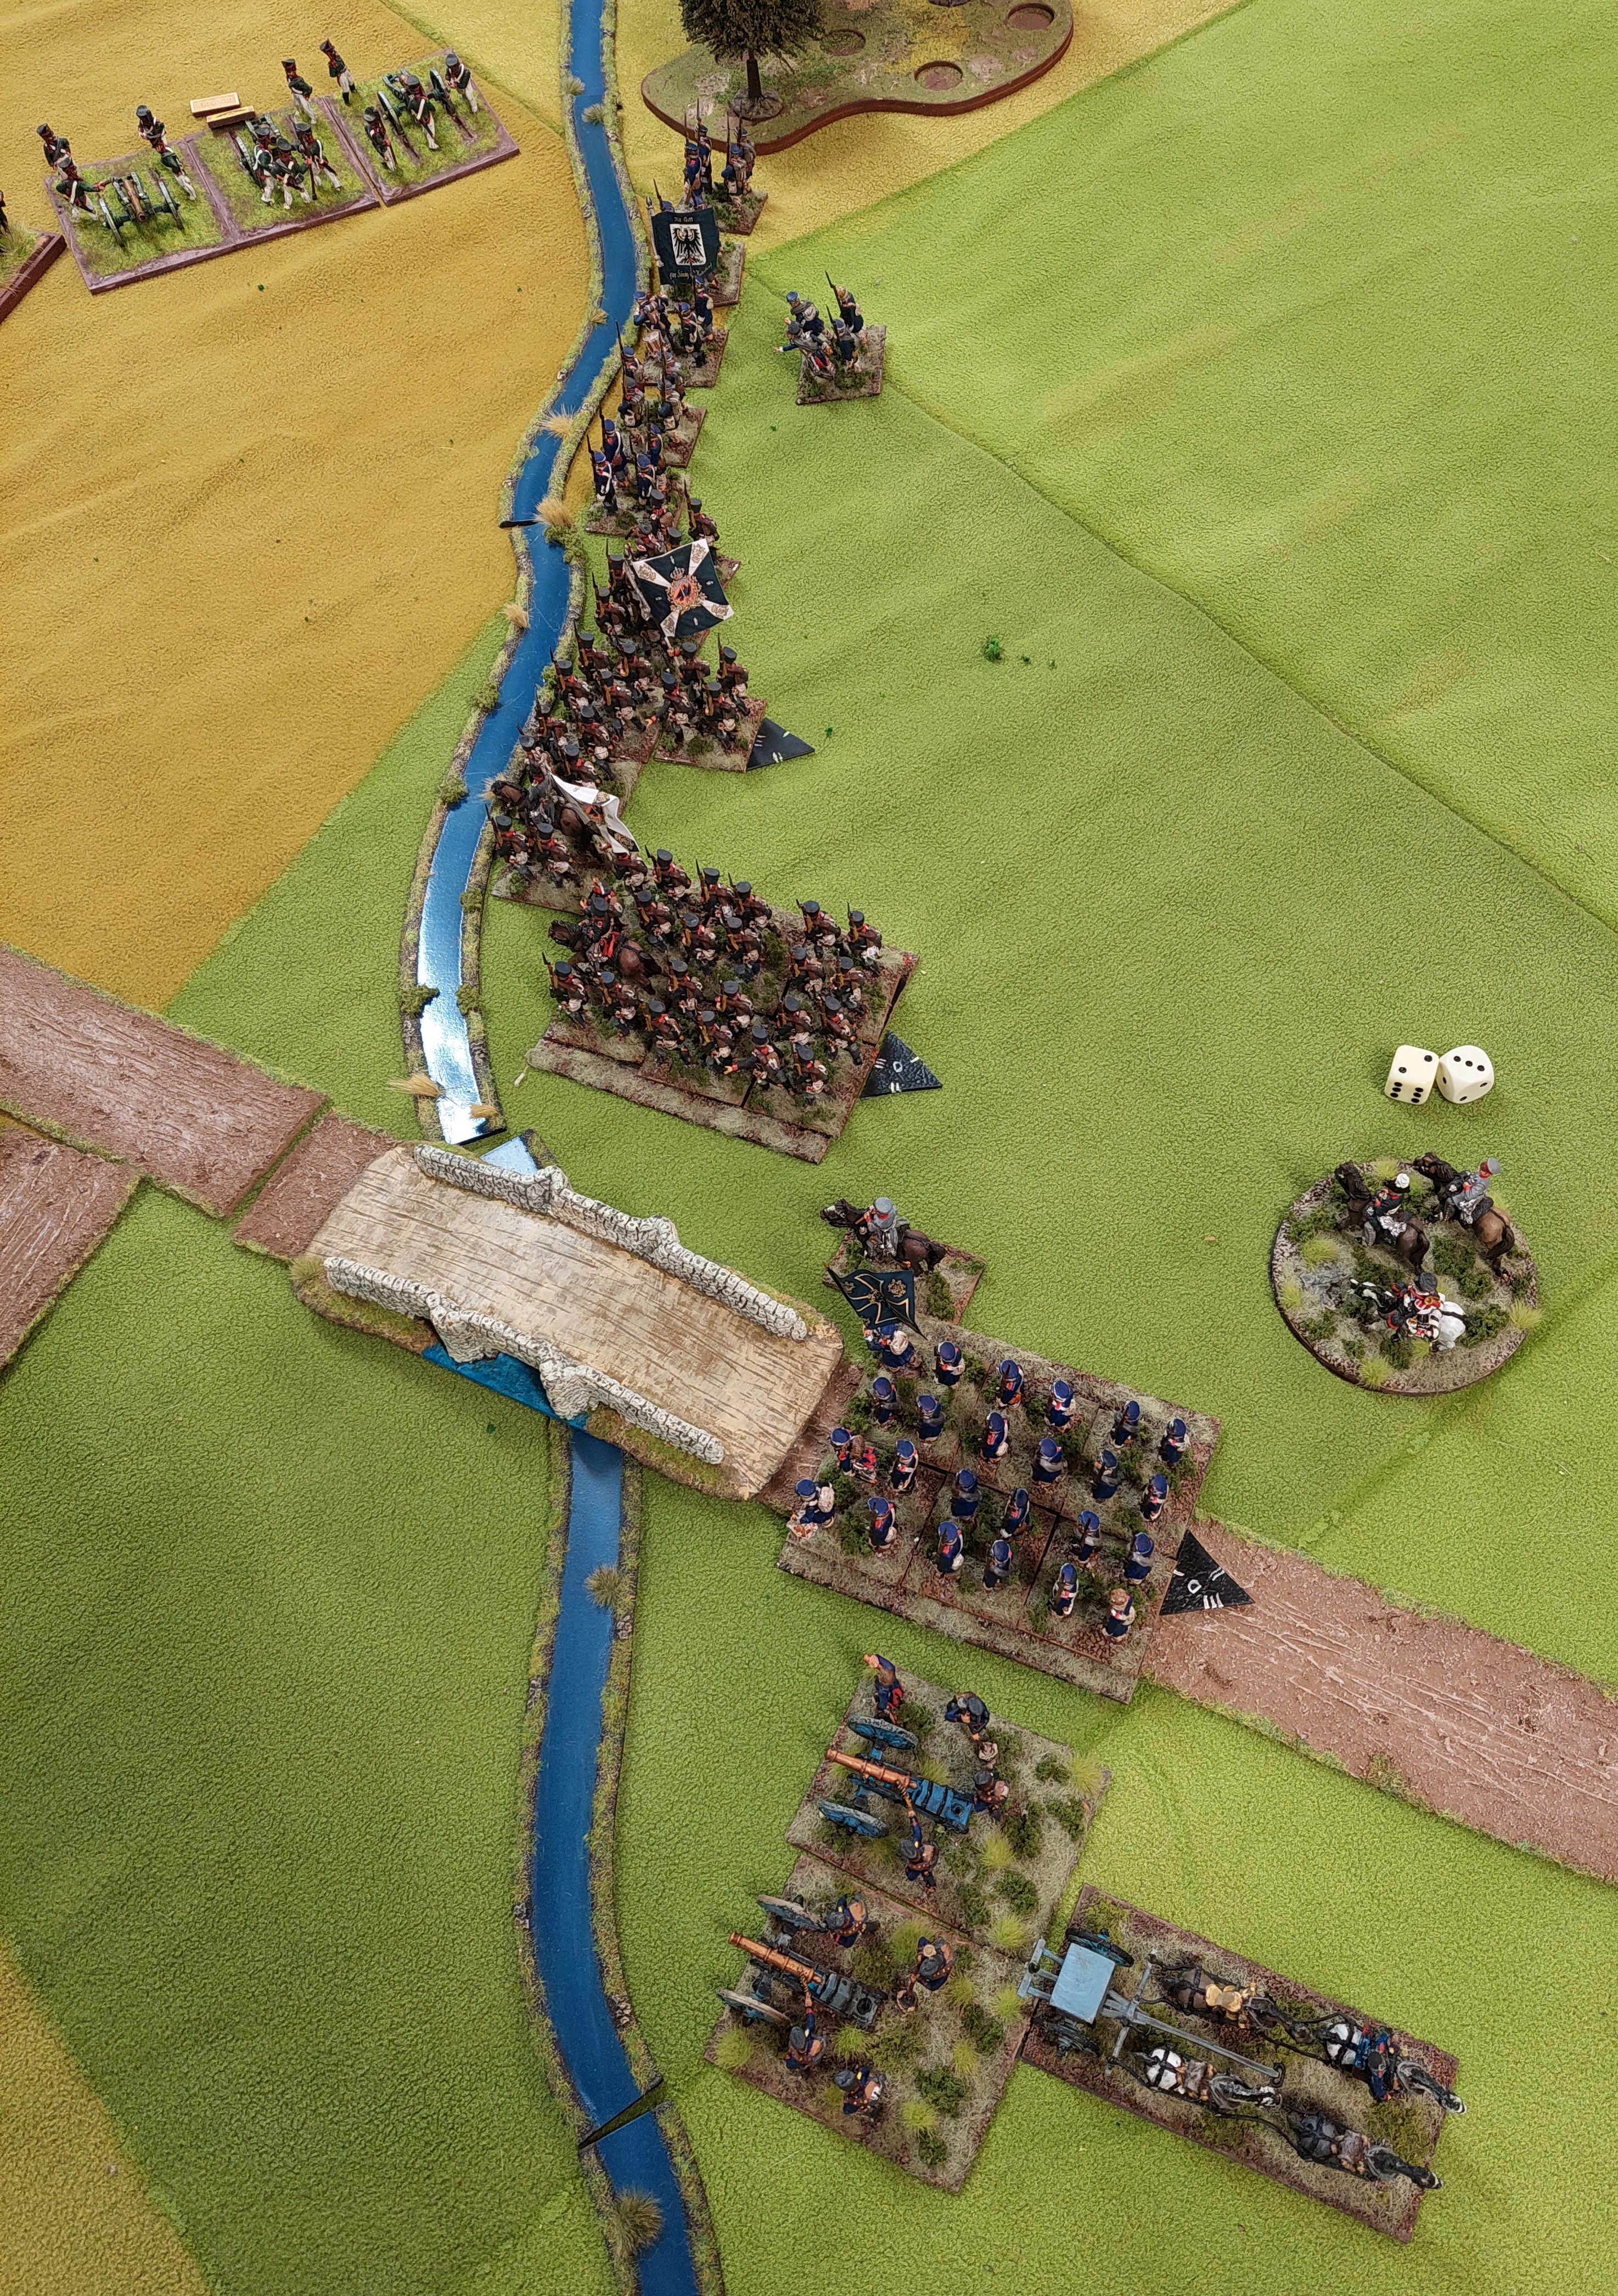
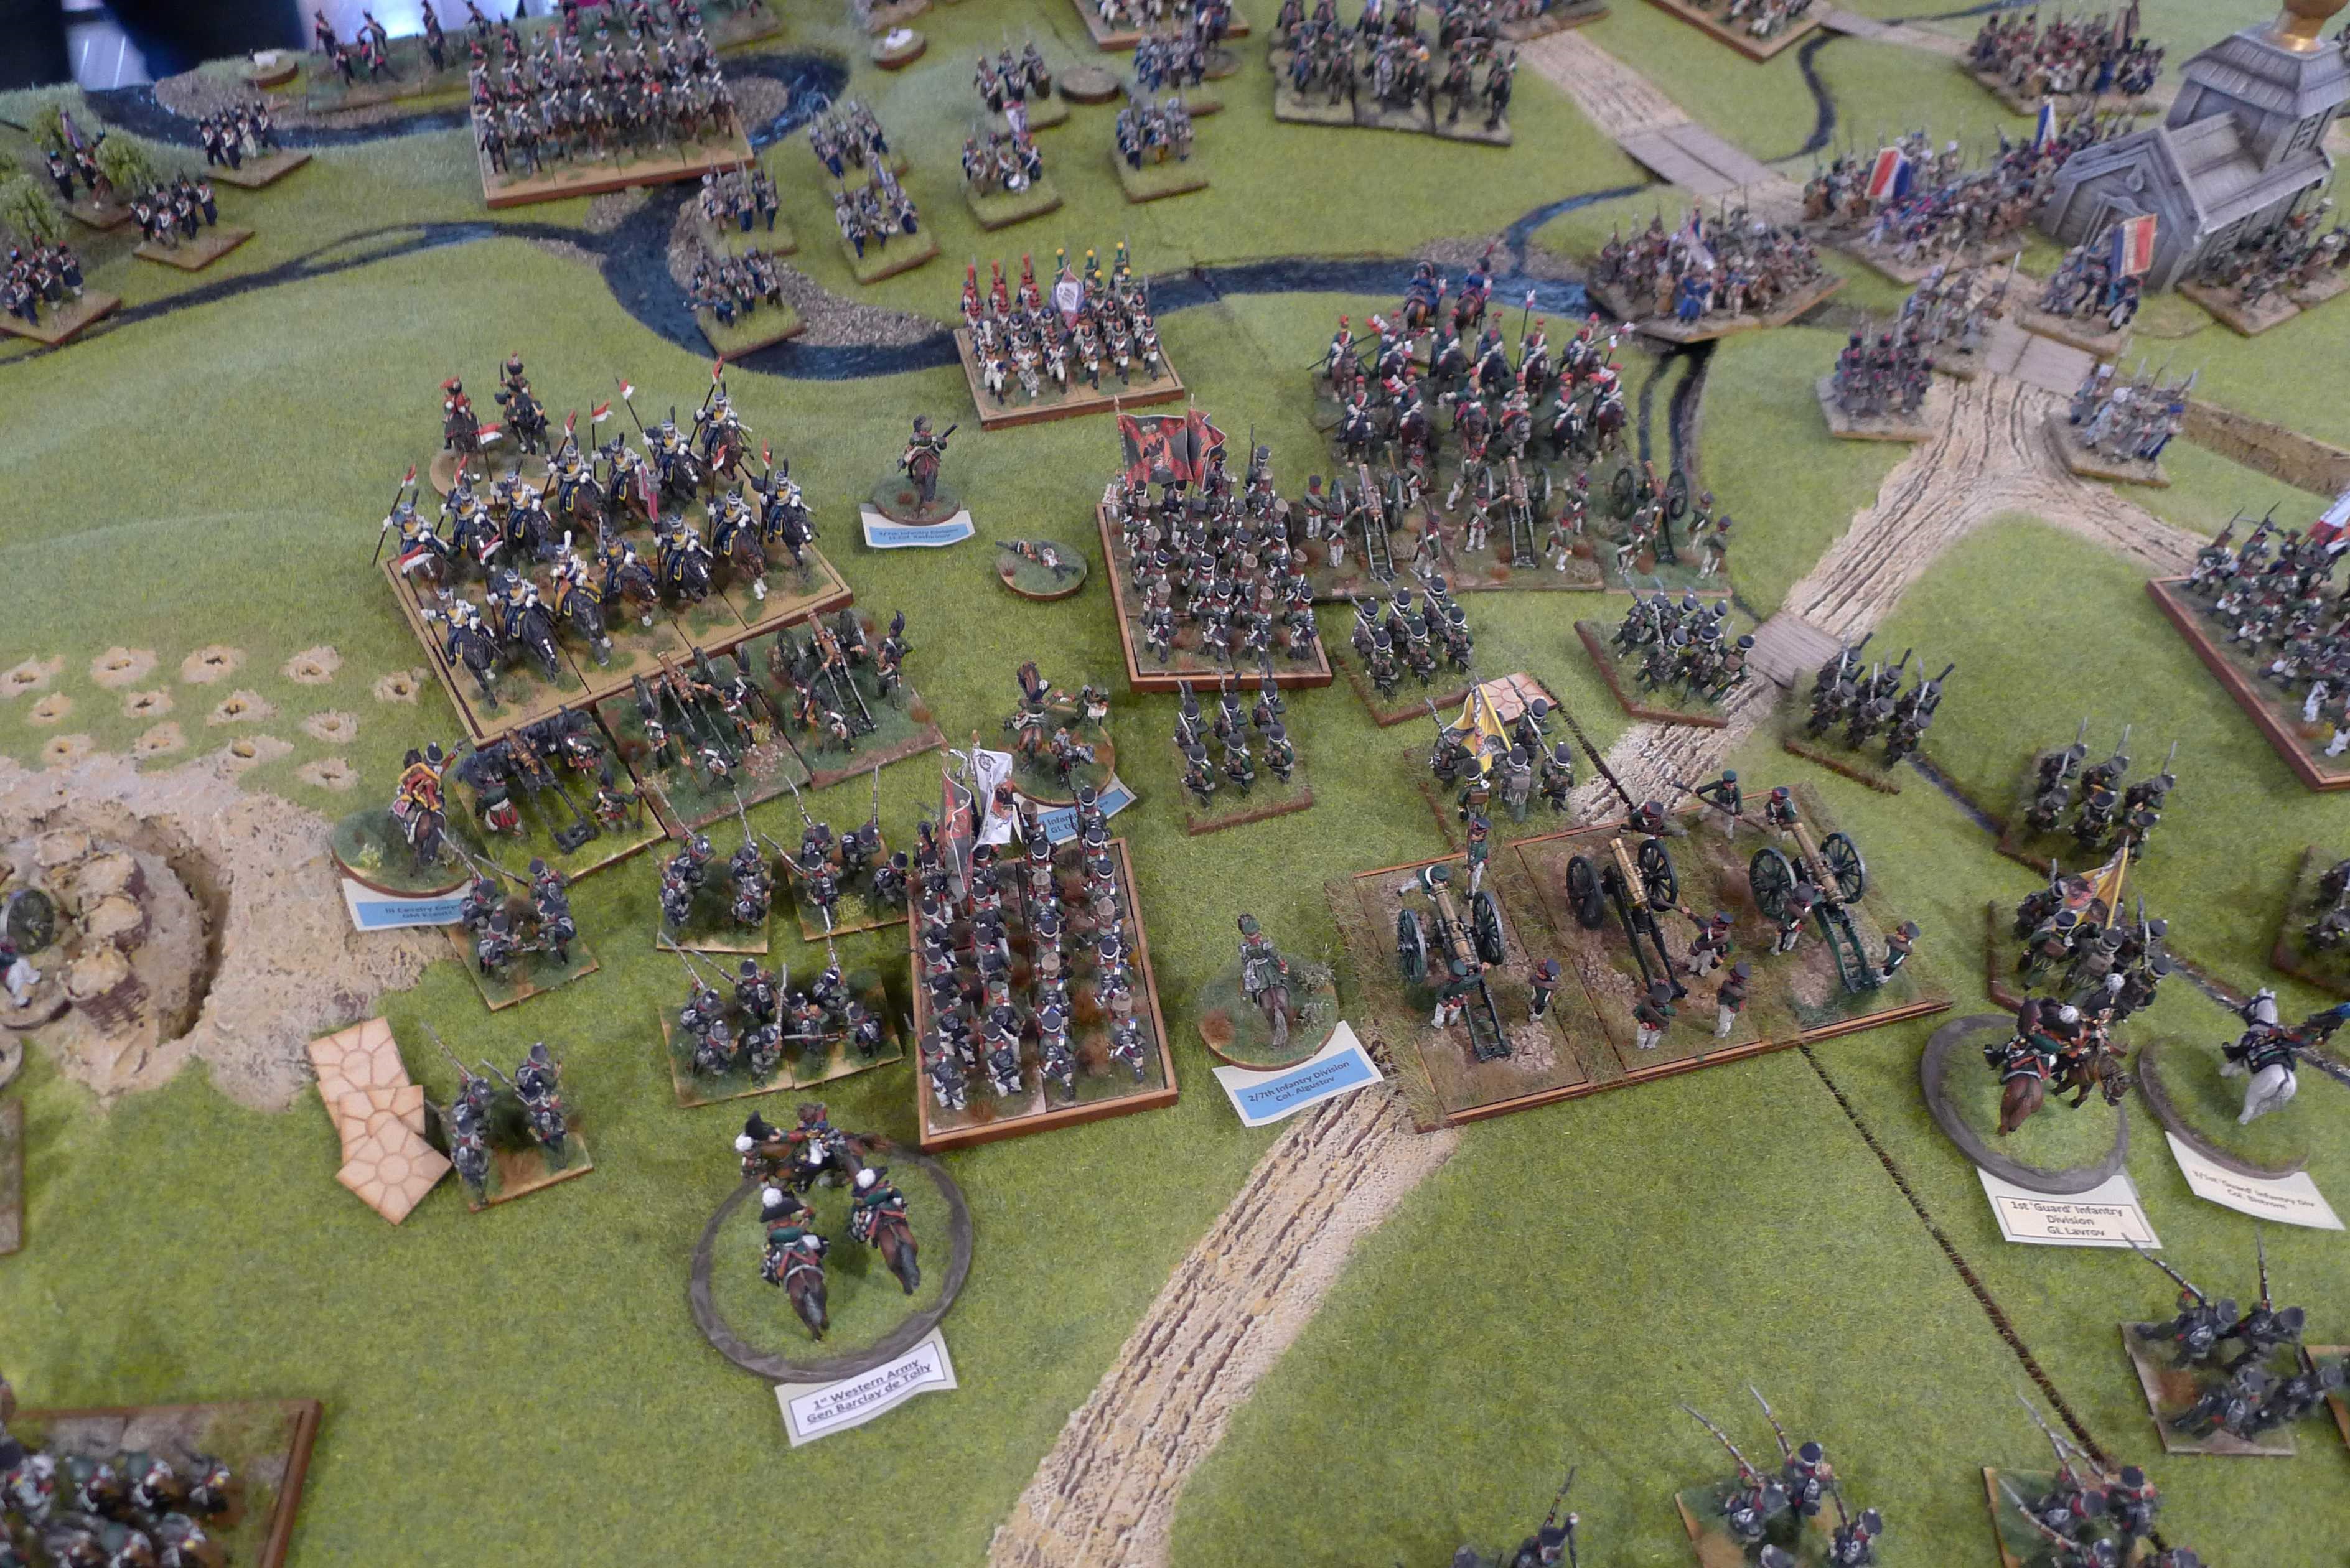
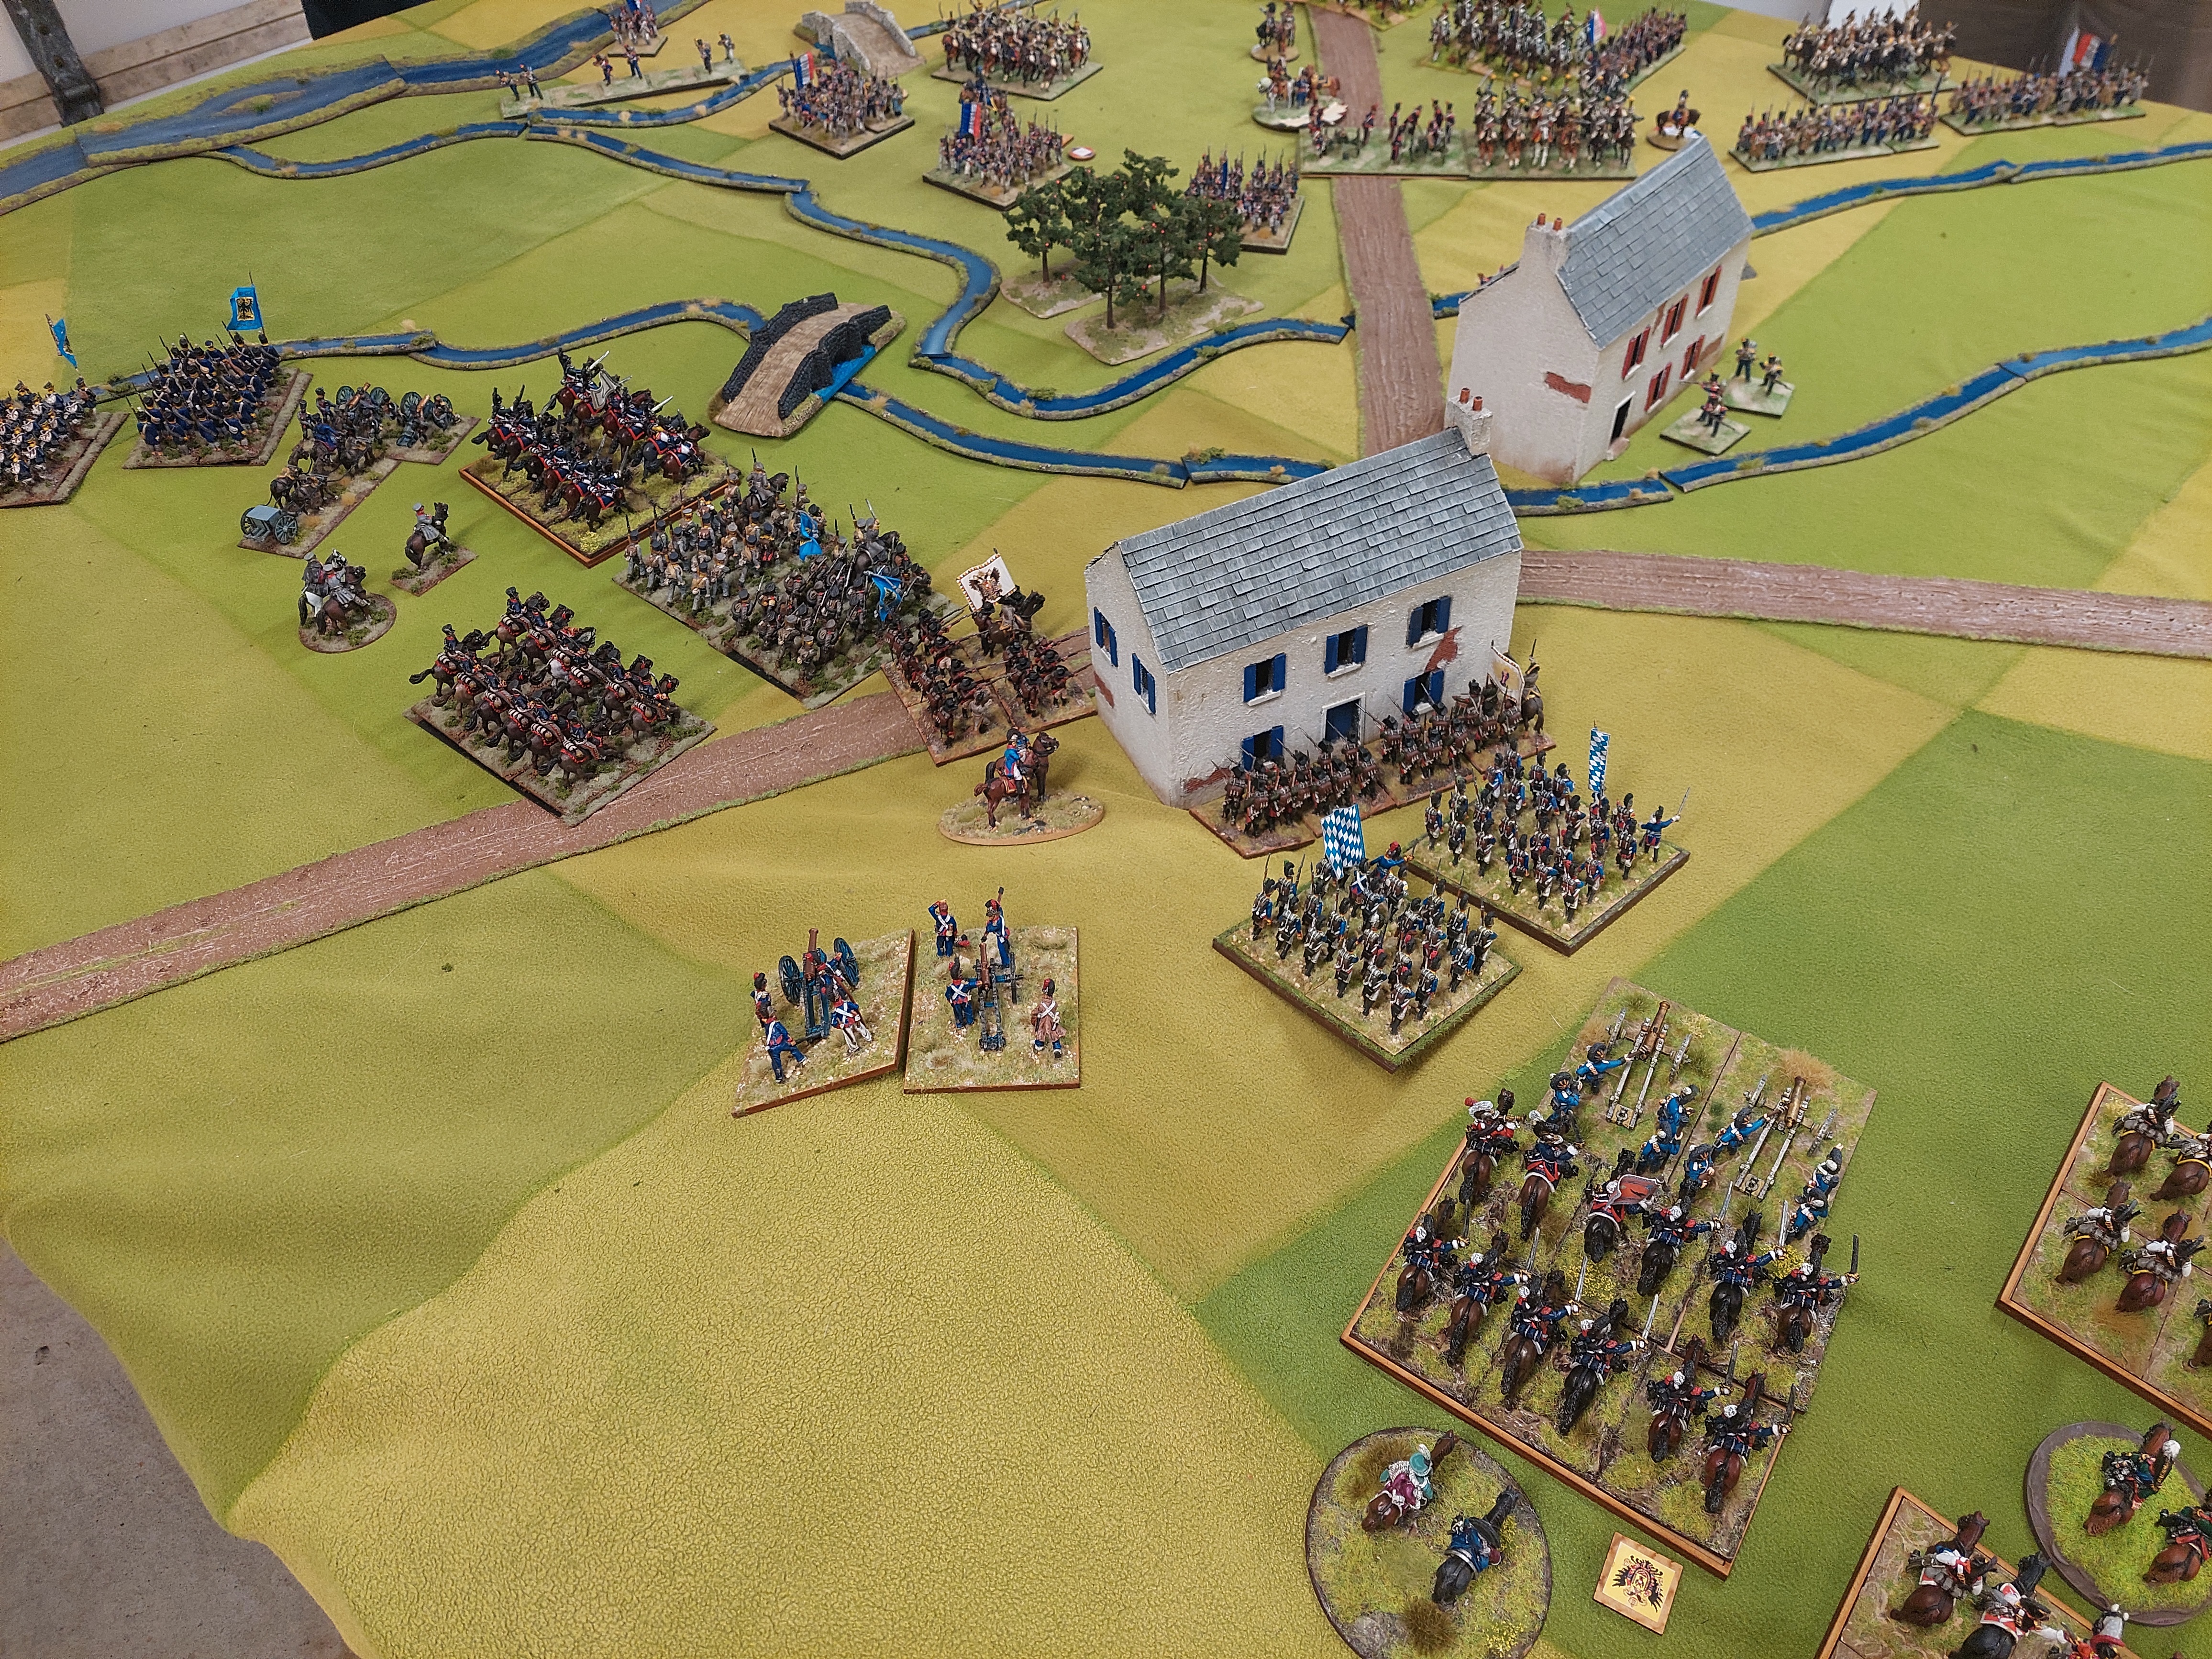
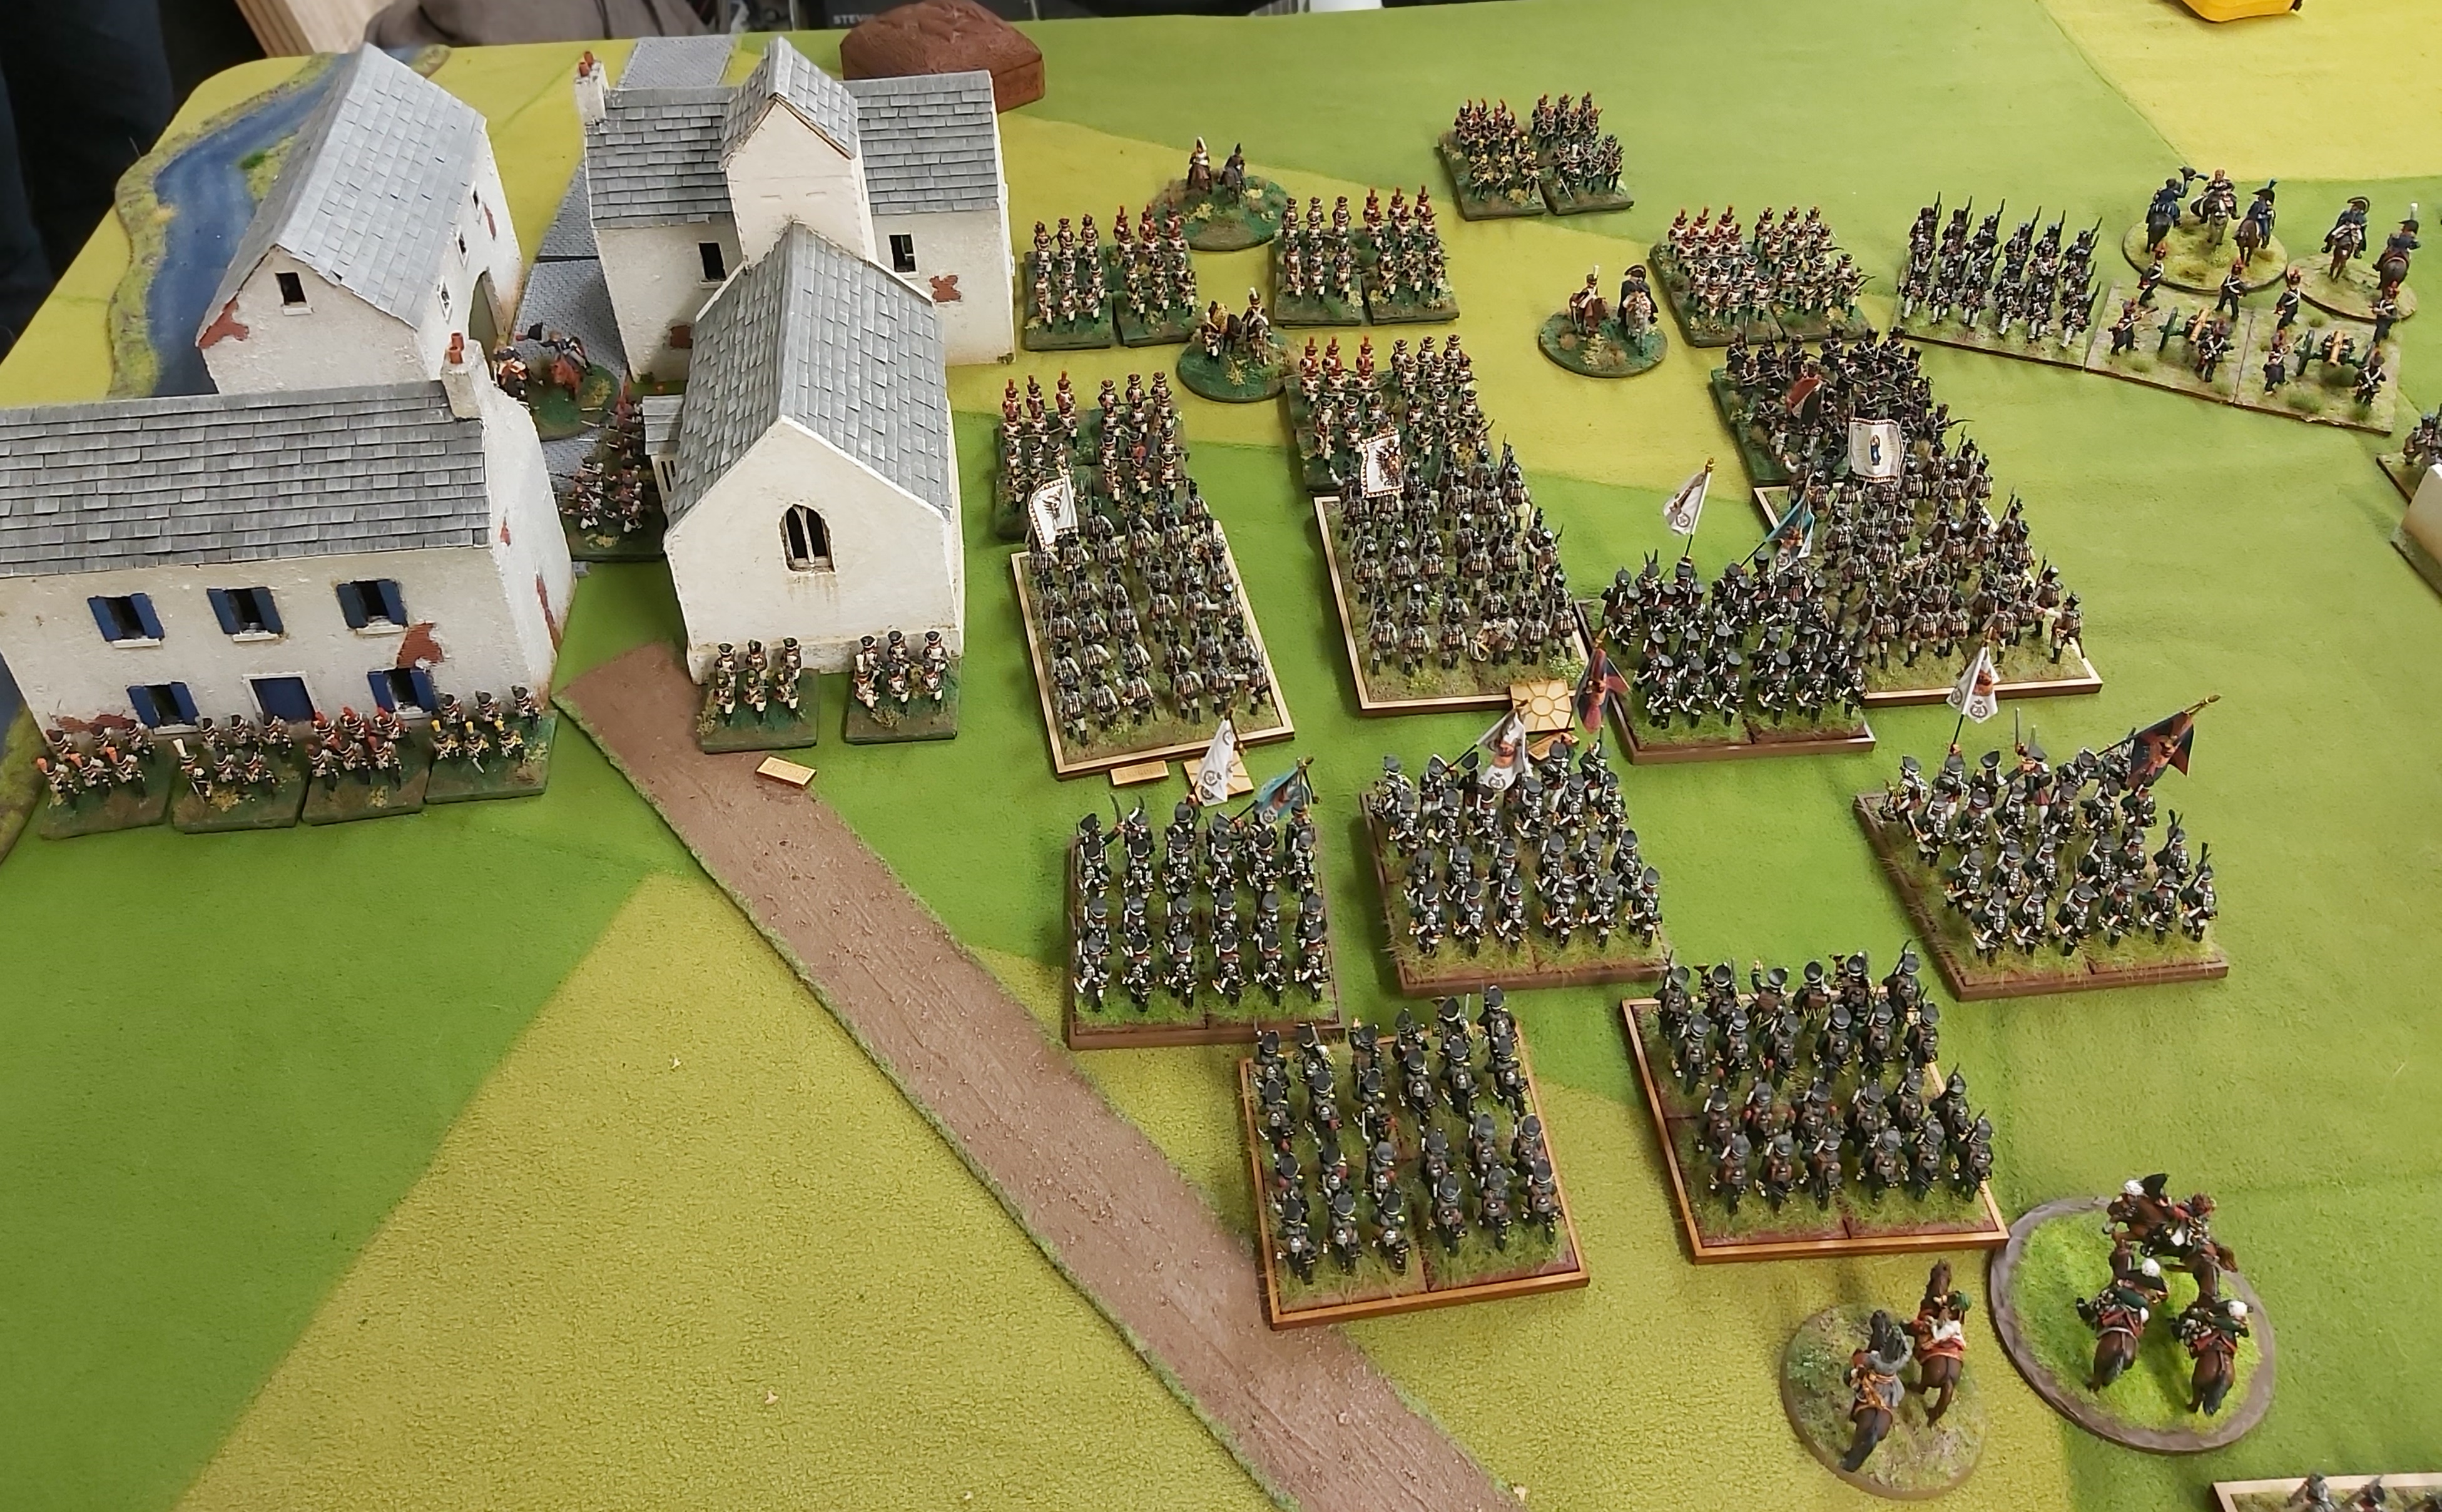
So Goldie has now taken the field with his French troops that were marching down the road. They can be seen moving through the woods. StevenT is opposite him with 5 large bttn’s of Austrians. There were 3 batteries posted in front of the Hausen which StevenT has moved and placed in what looks a dangerous position. Roberts French can be seen moving to link up in the centre. StephenC’s French have stated to advance as well. Alan has moved his horse artillery and Hussars up on the flank.

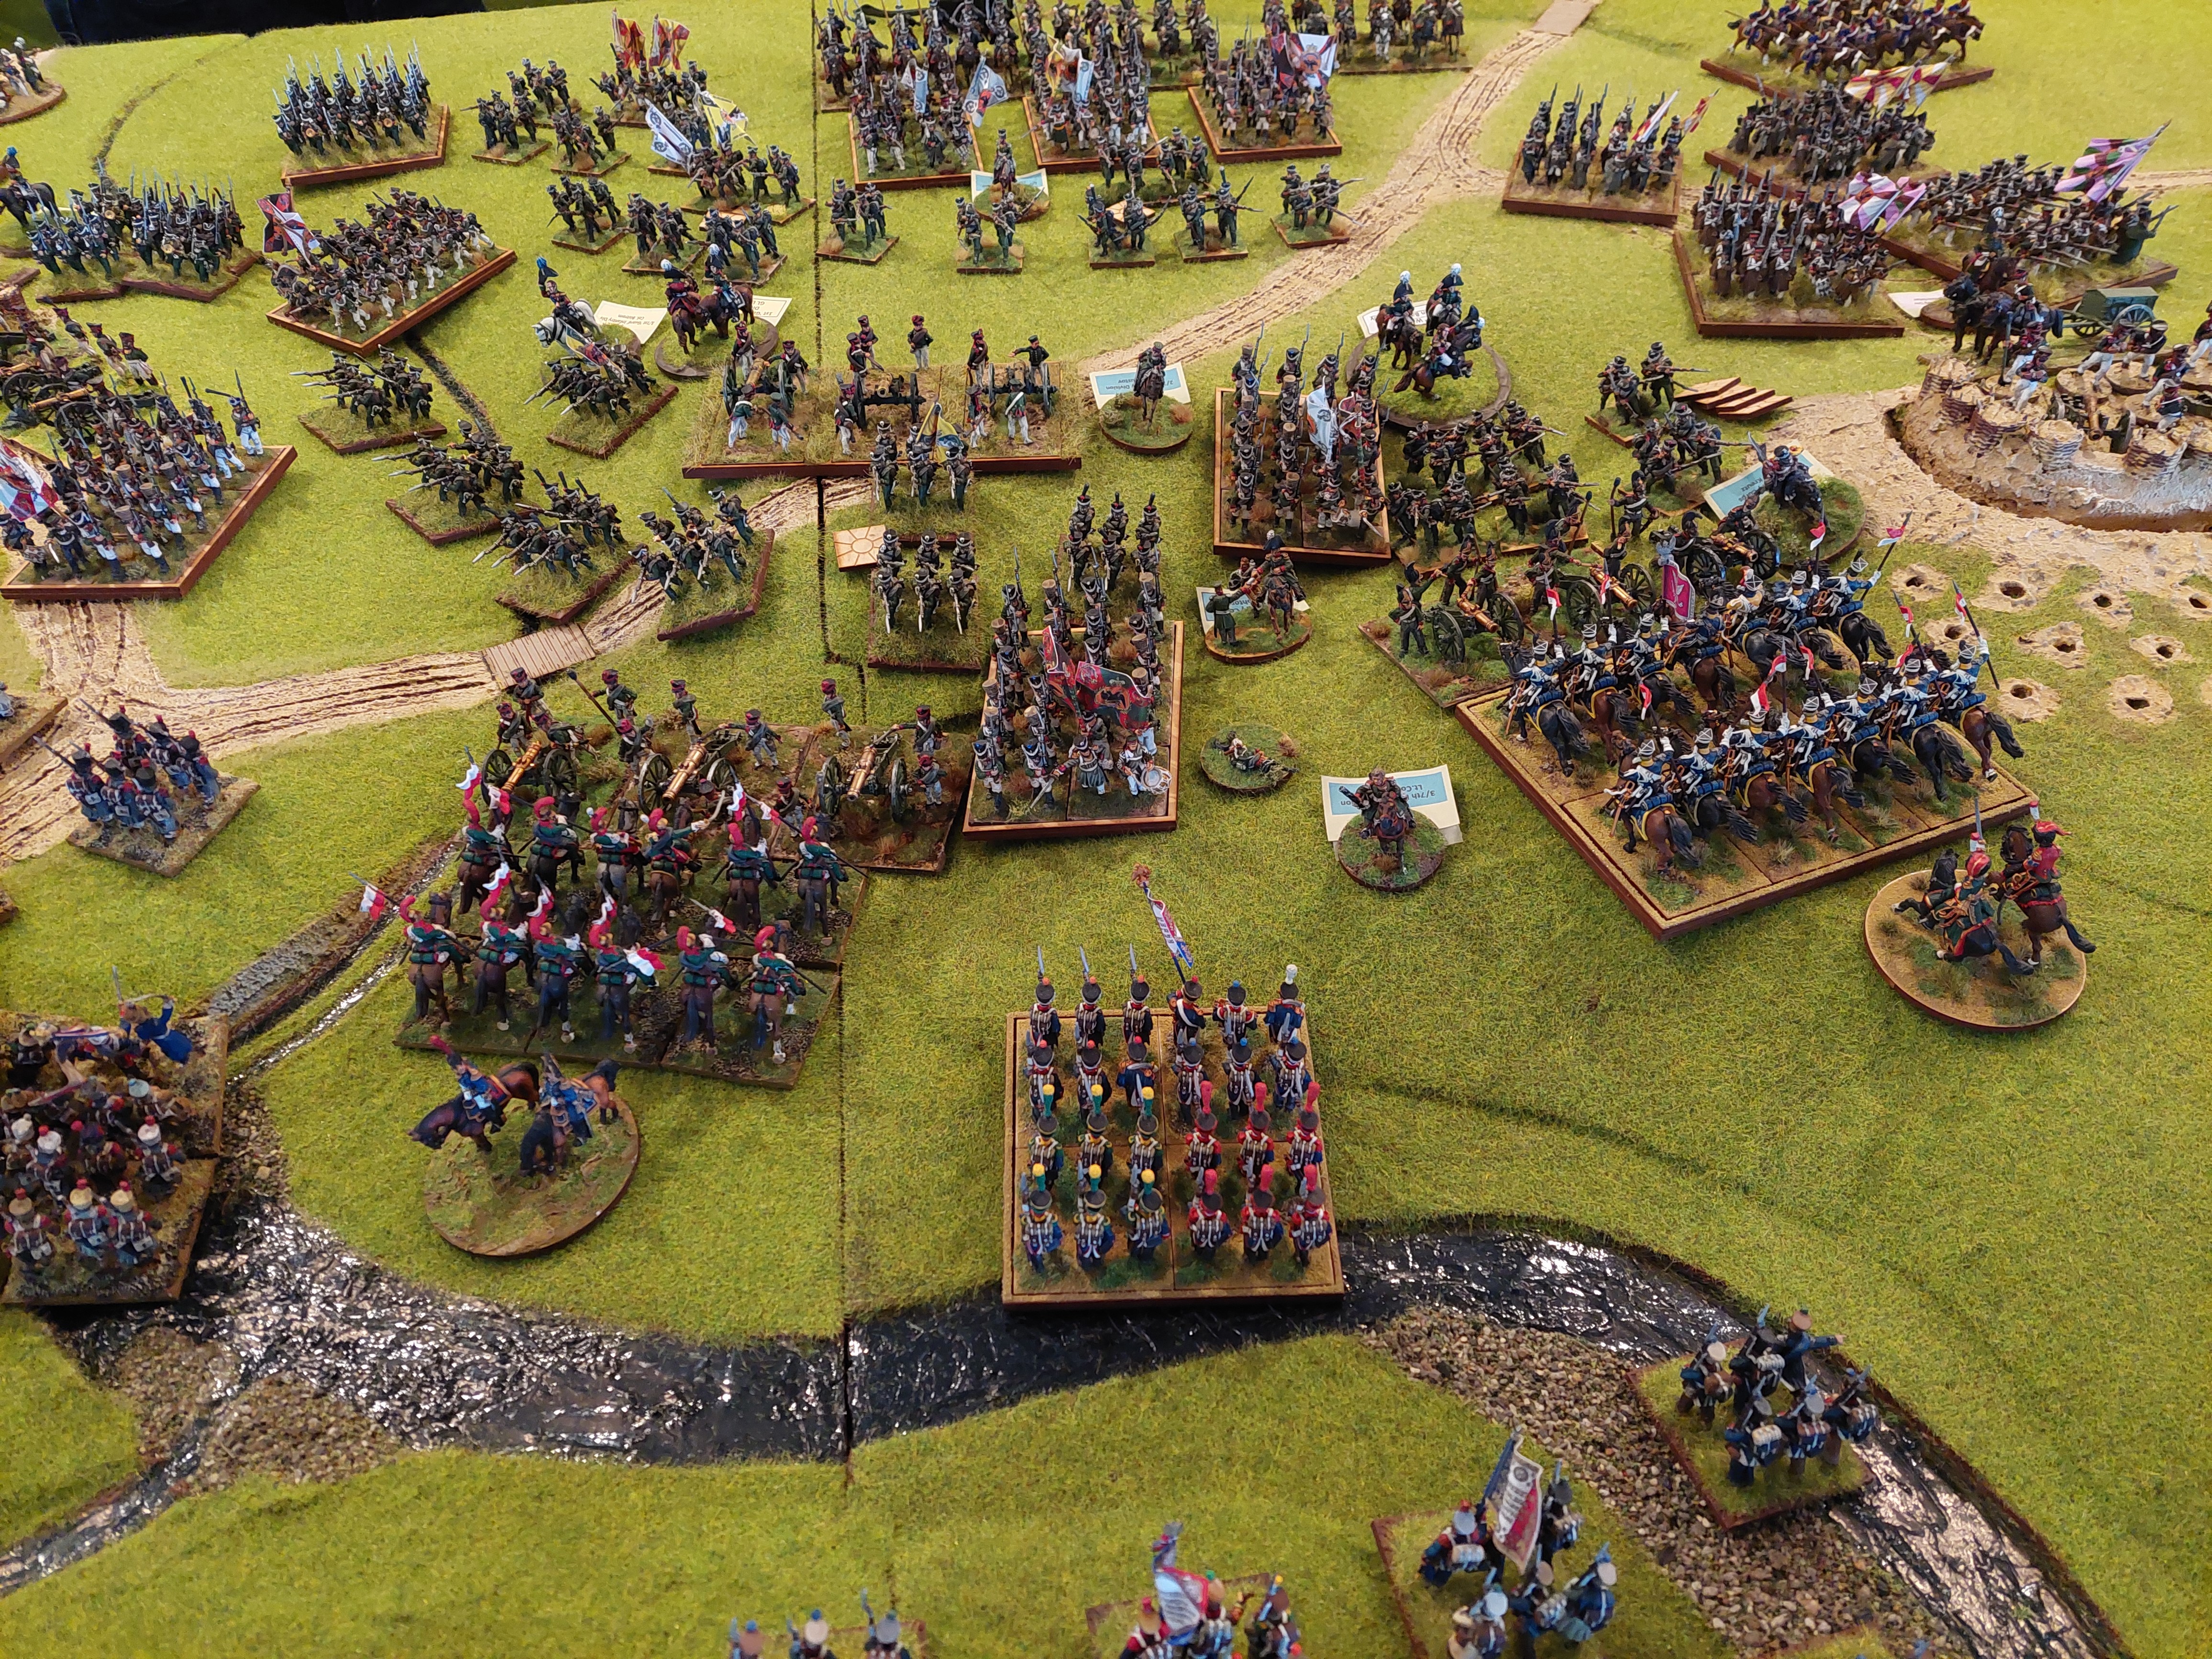
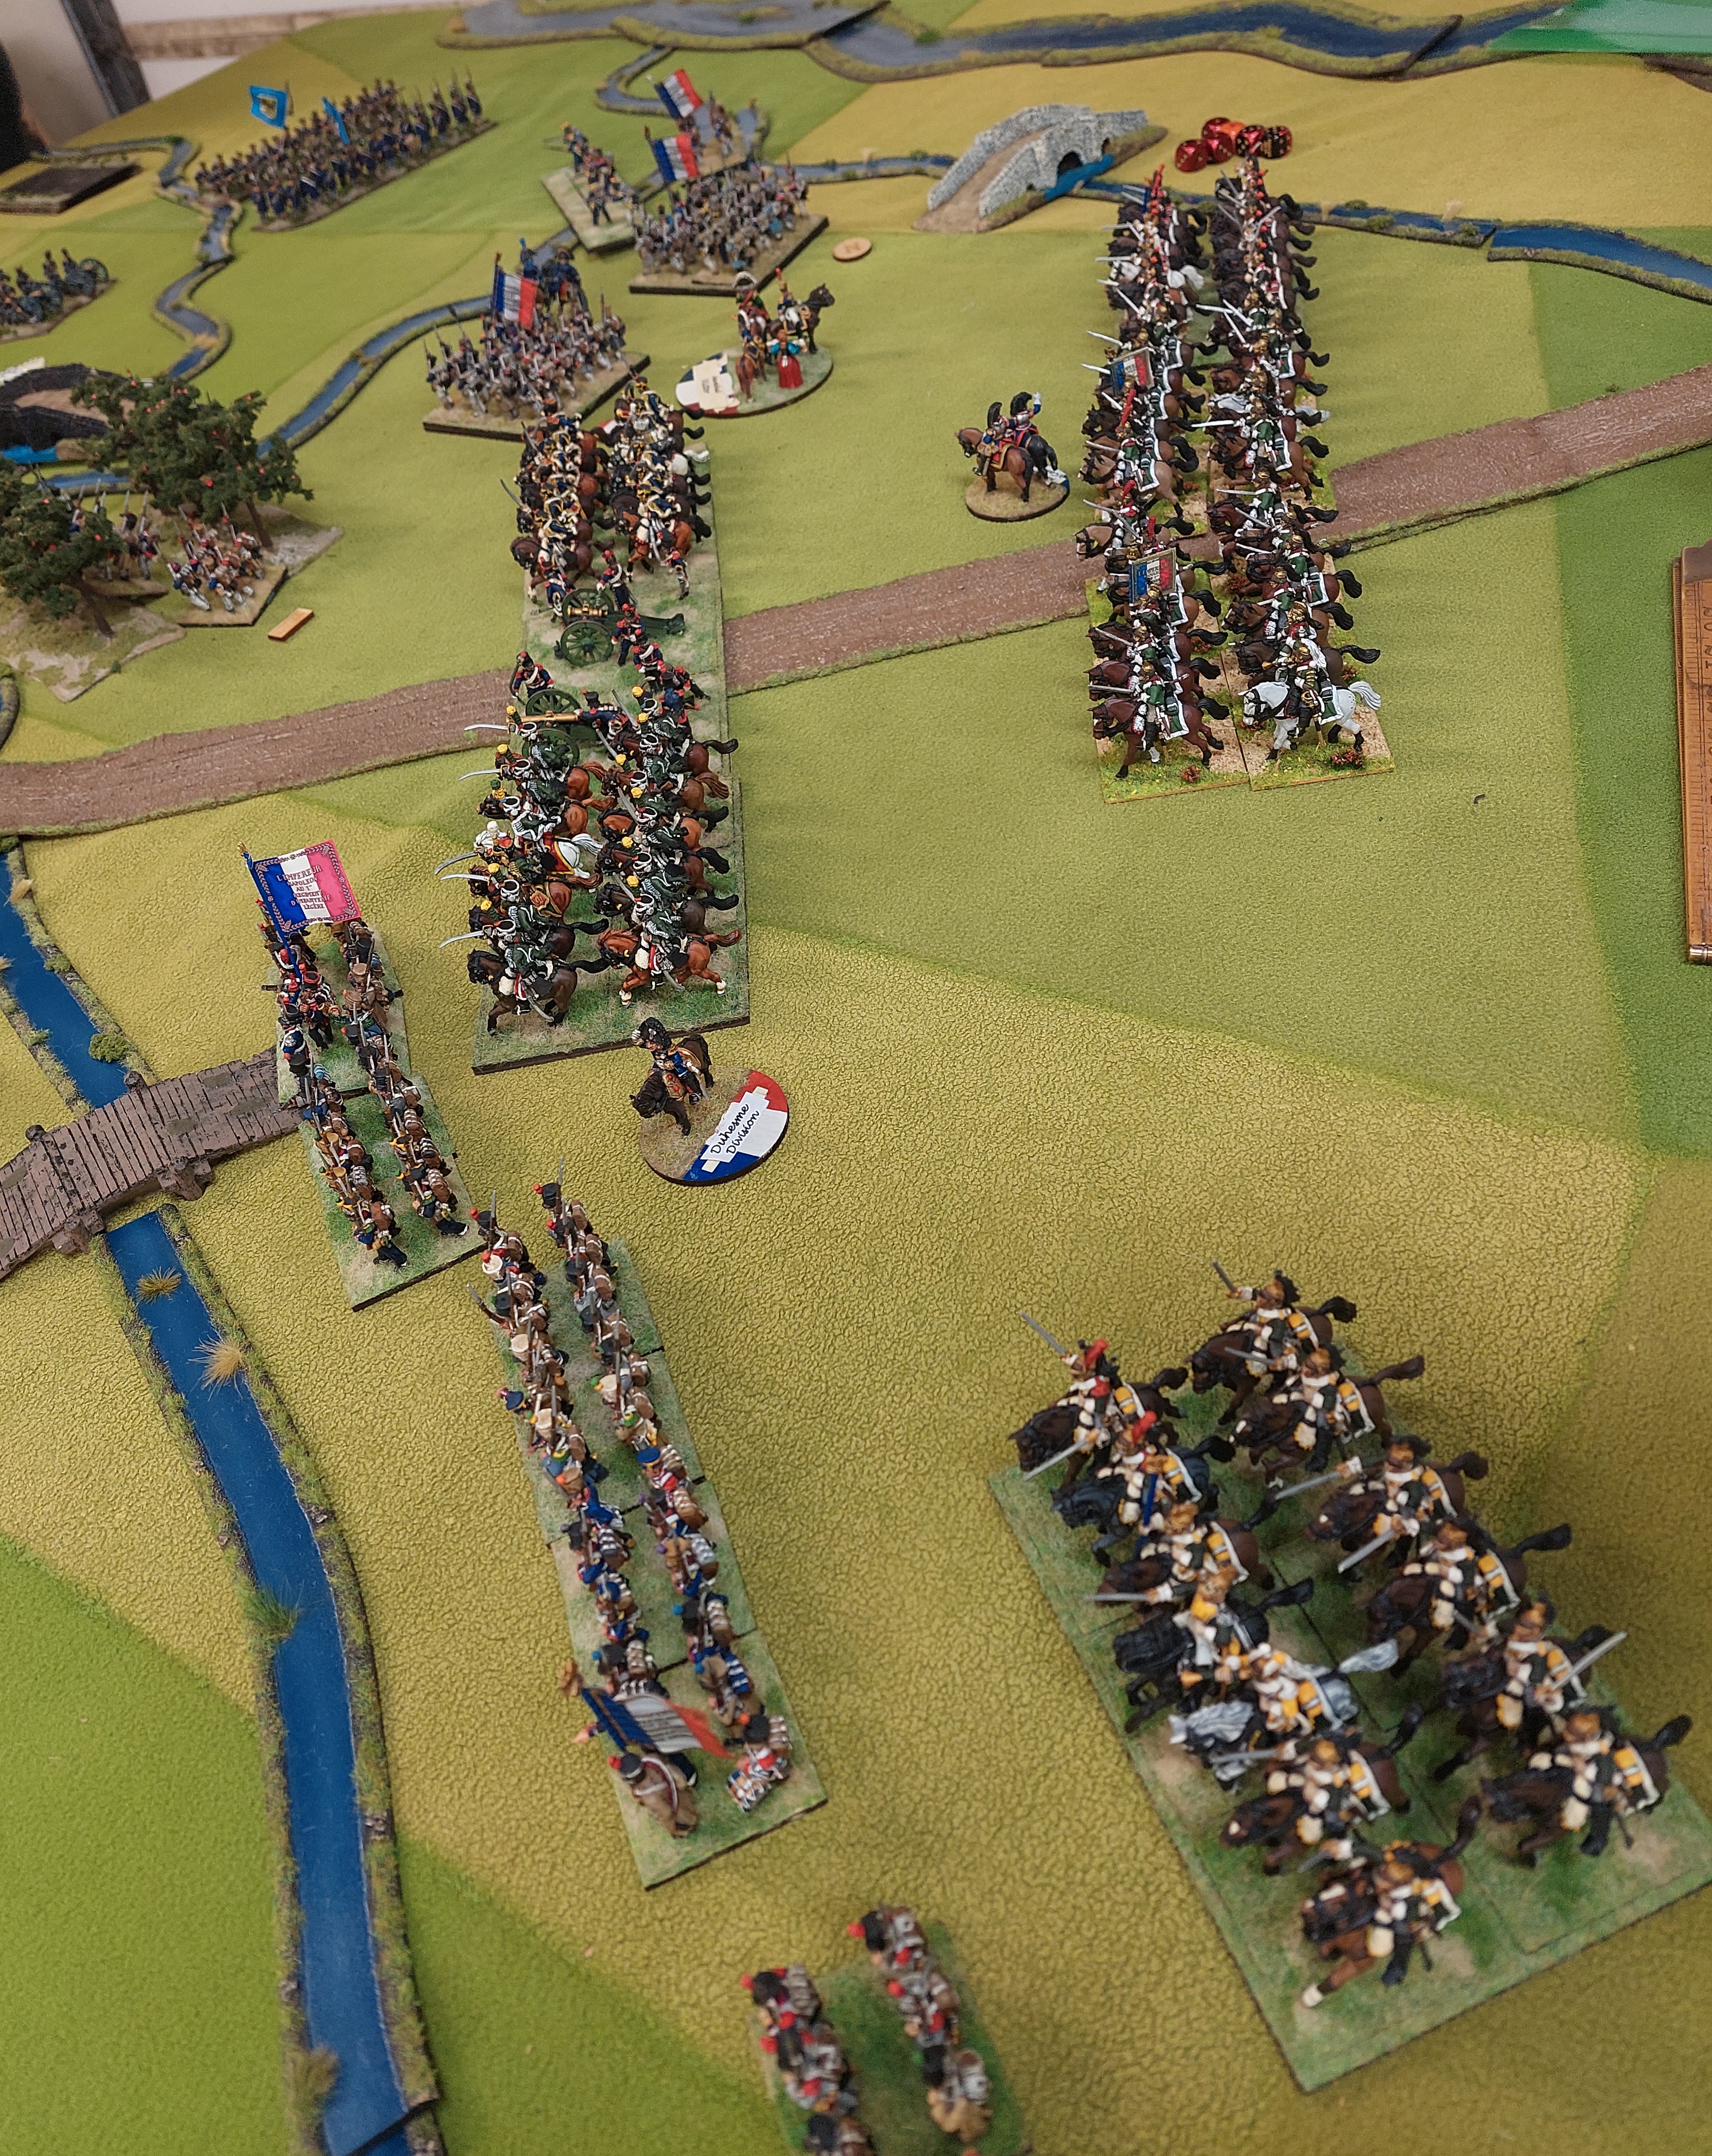
So in the centre Robert has charged a shaken Austrian column. I didn’t take a picture…but…it didn’t go well for the Austrians…more French charged in ..the artillery was hit in flanks…pooped from other combats….someone is not getting artillery again for a while! Yes that’s you Mr Thompson!!

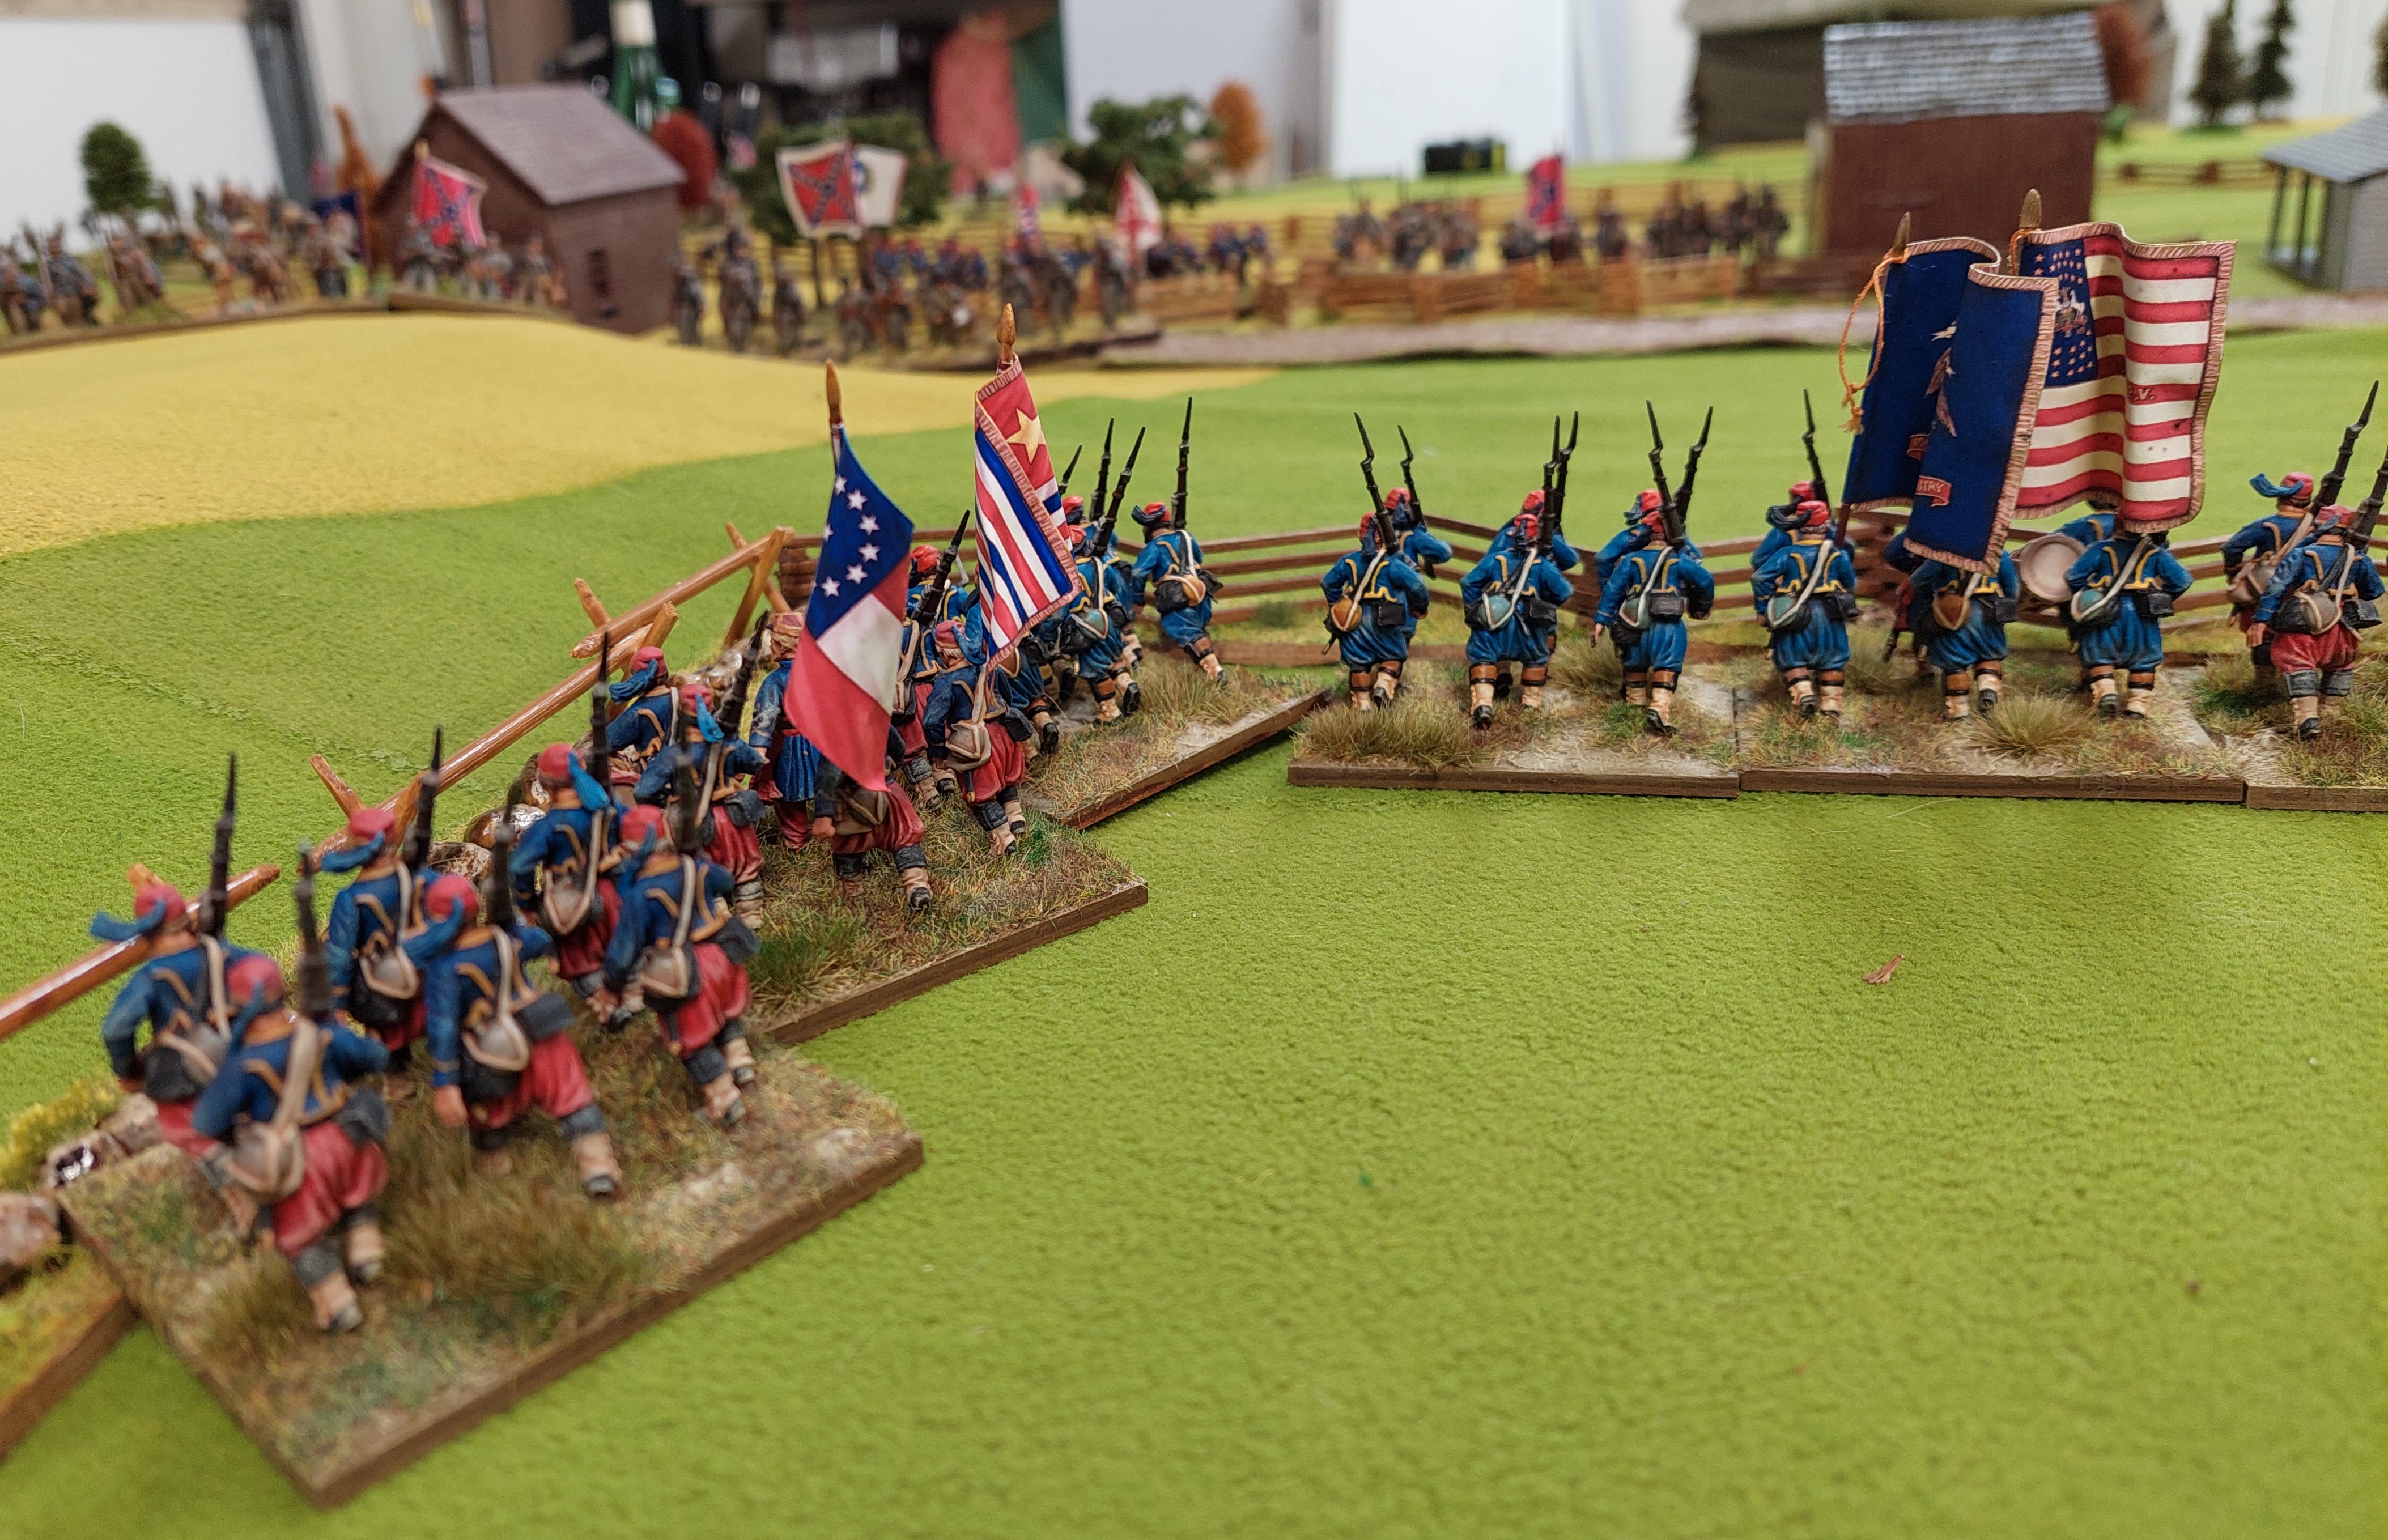
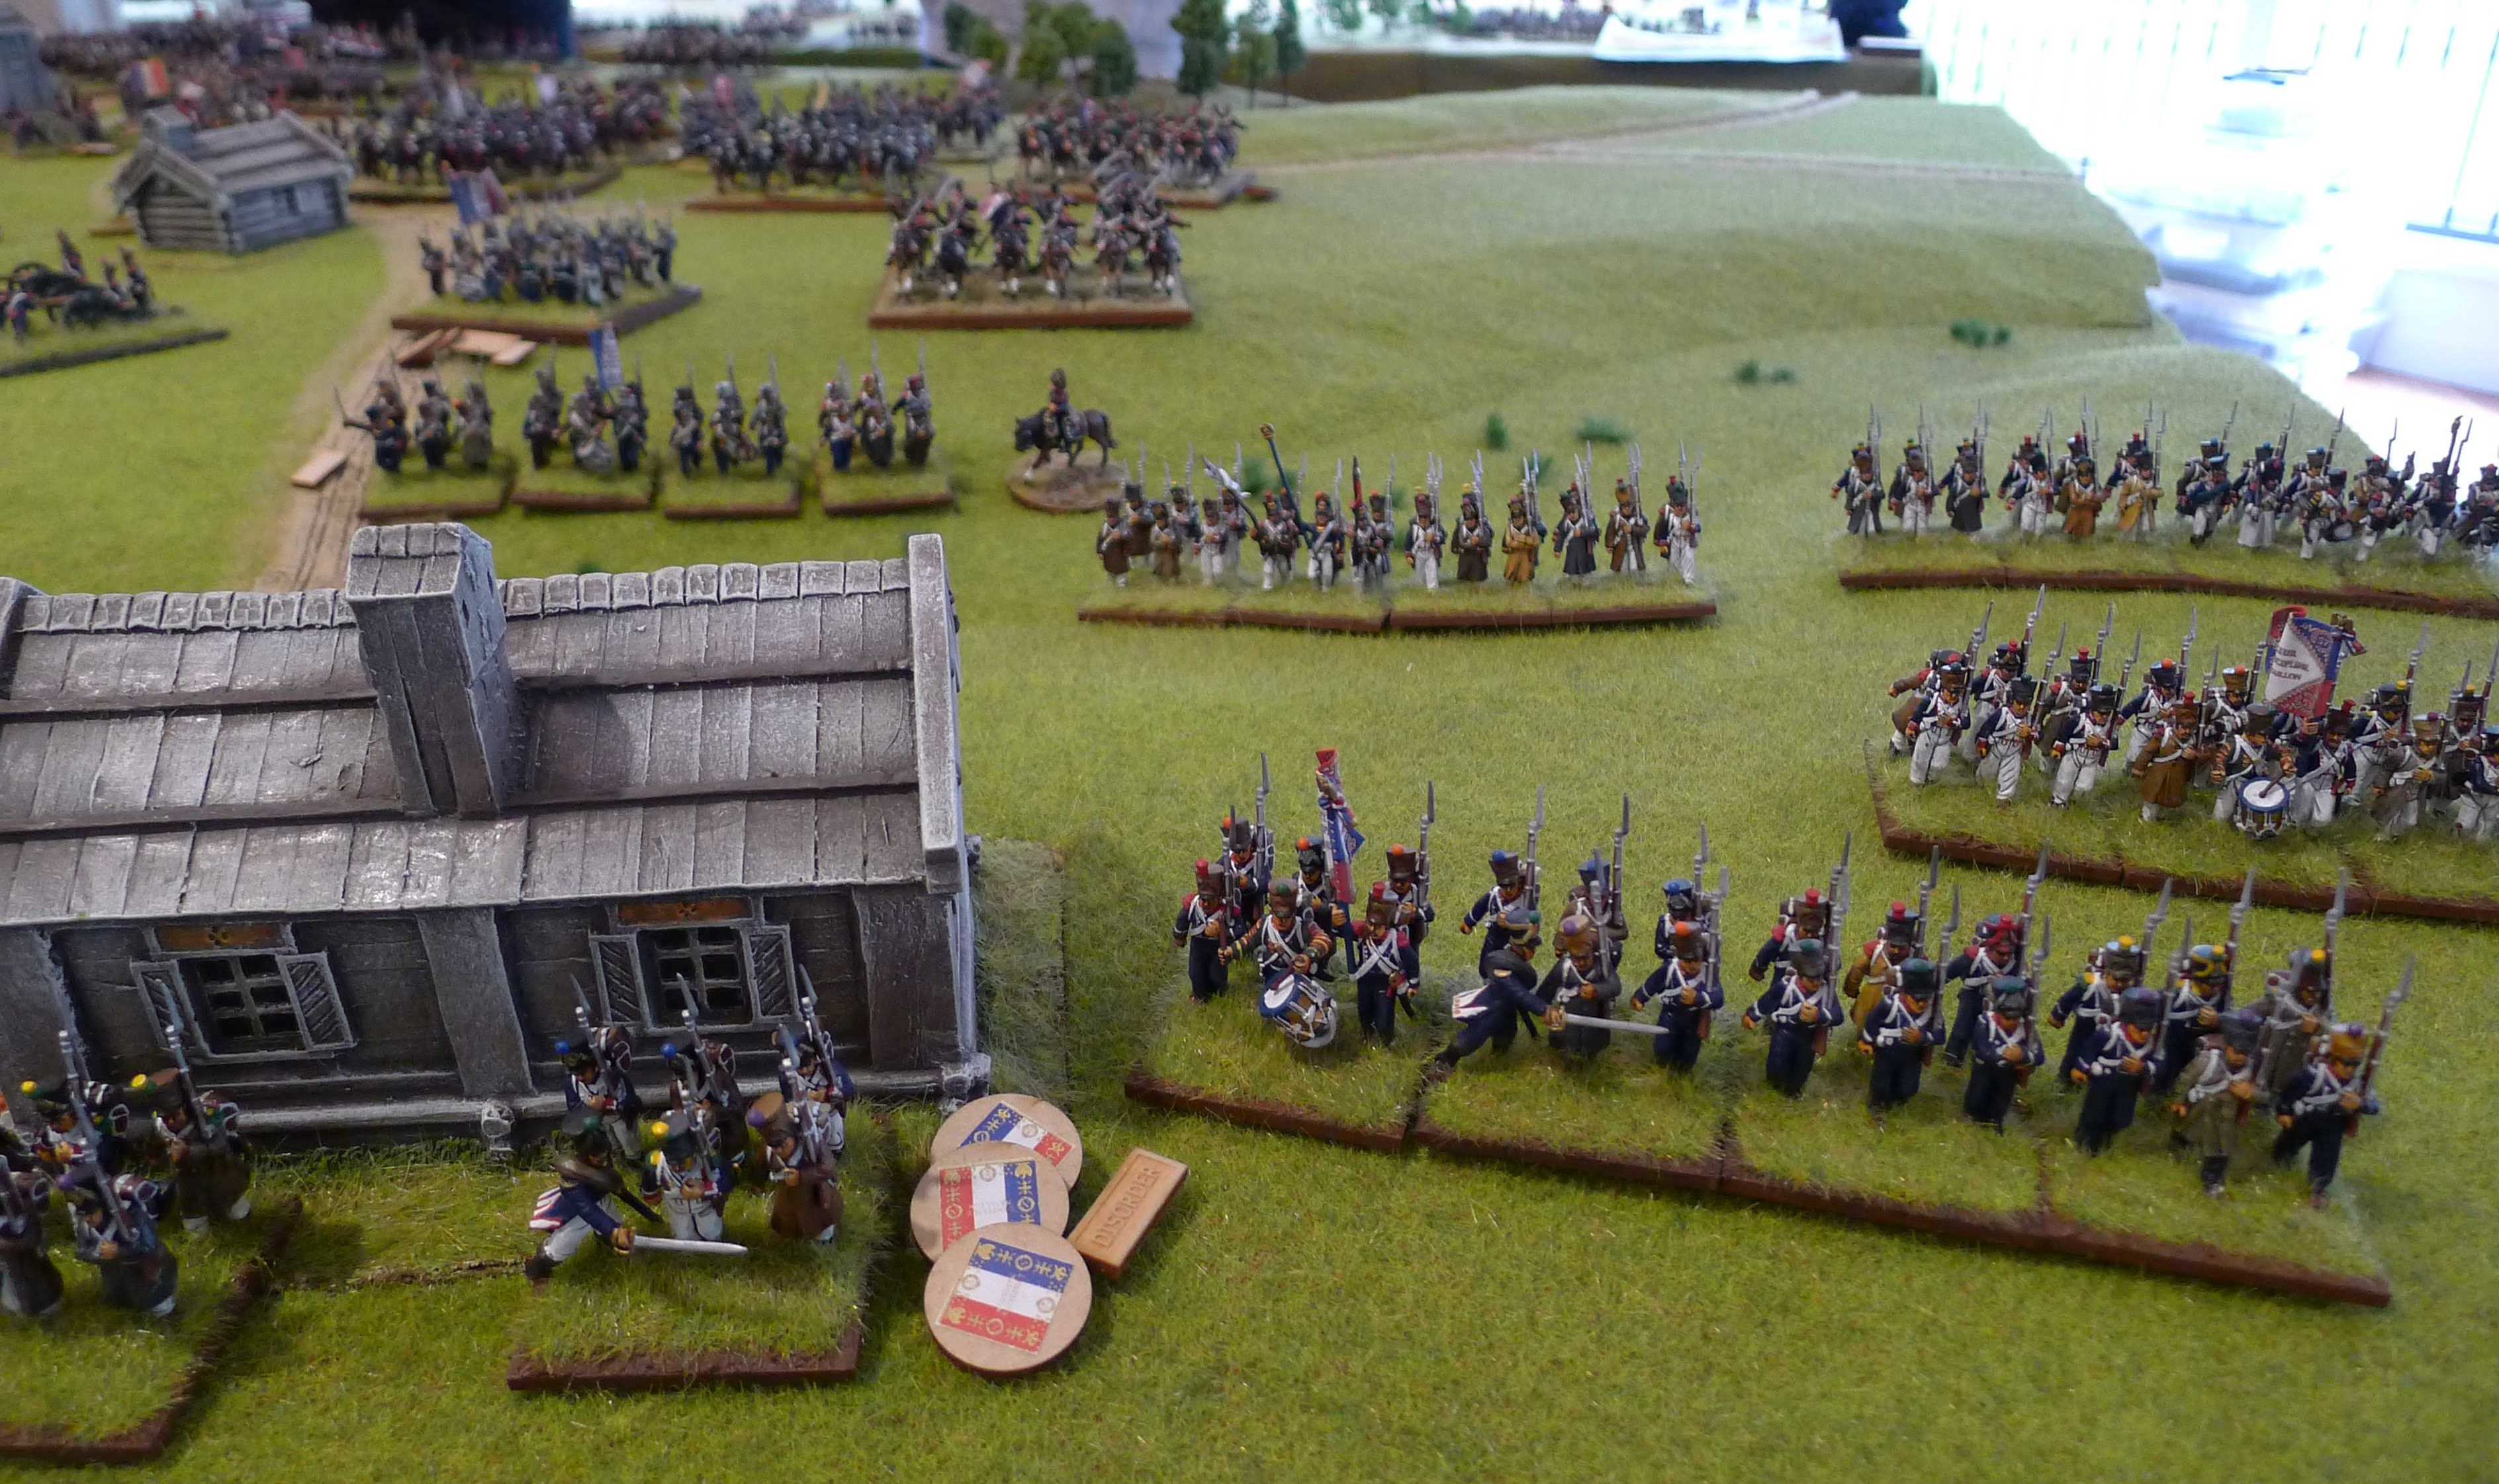
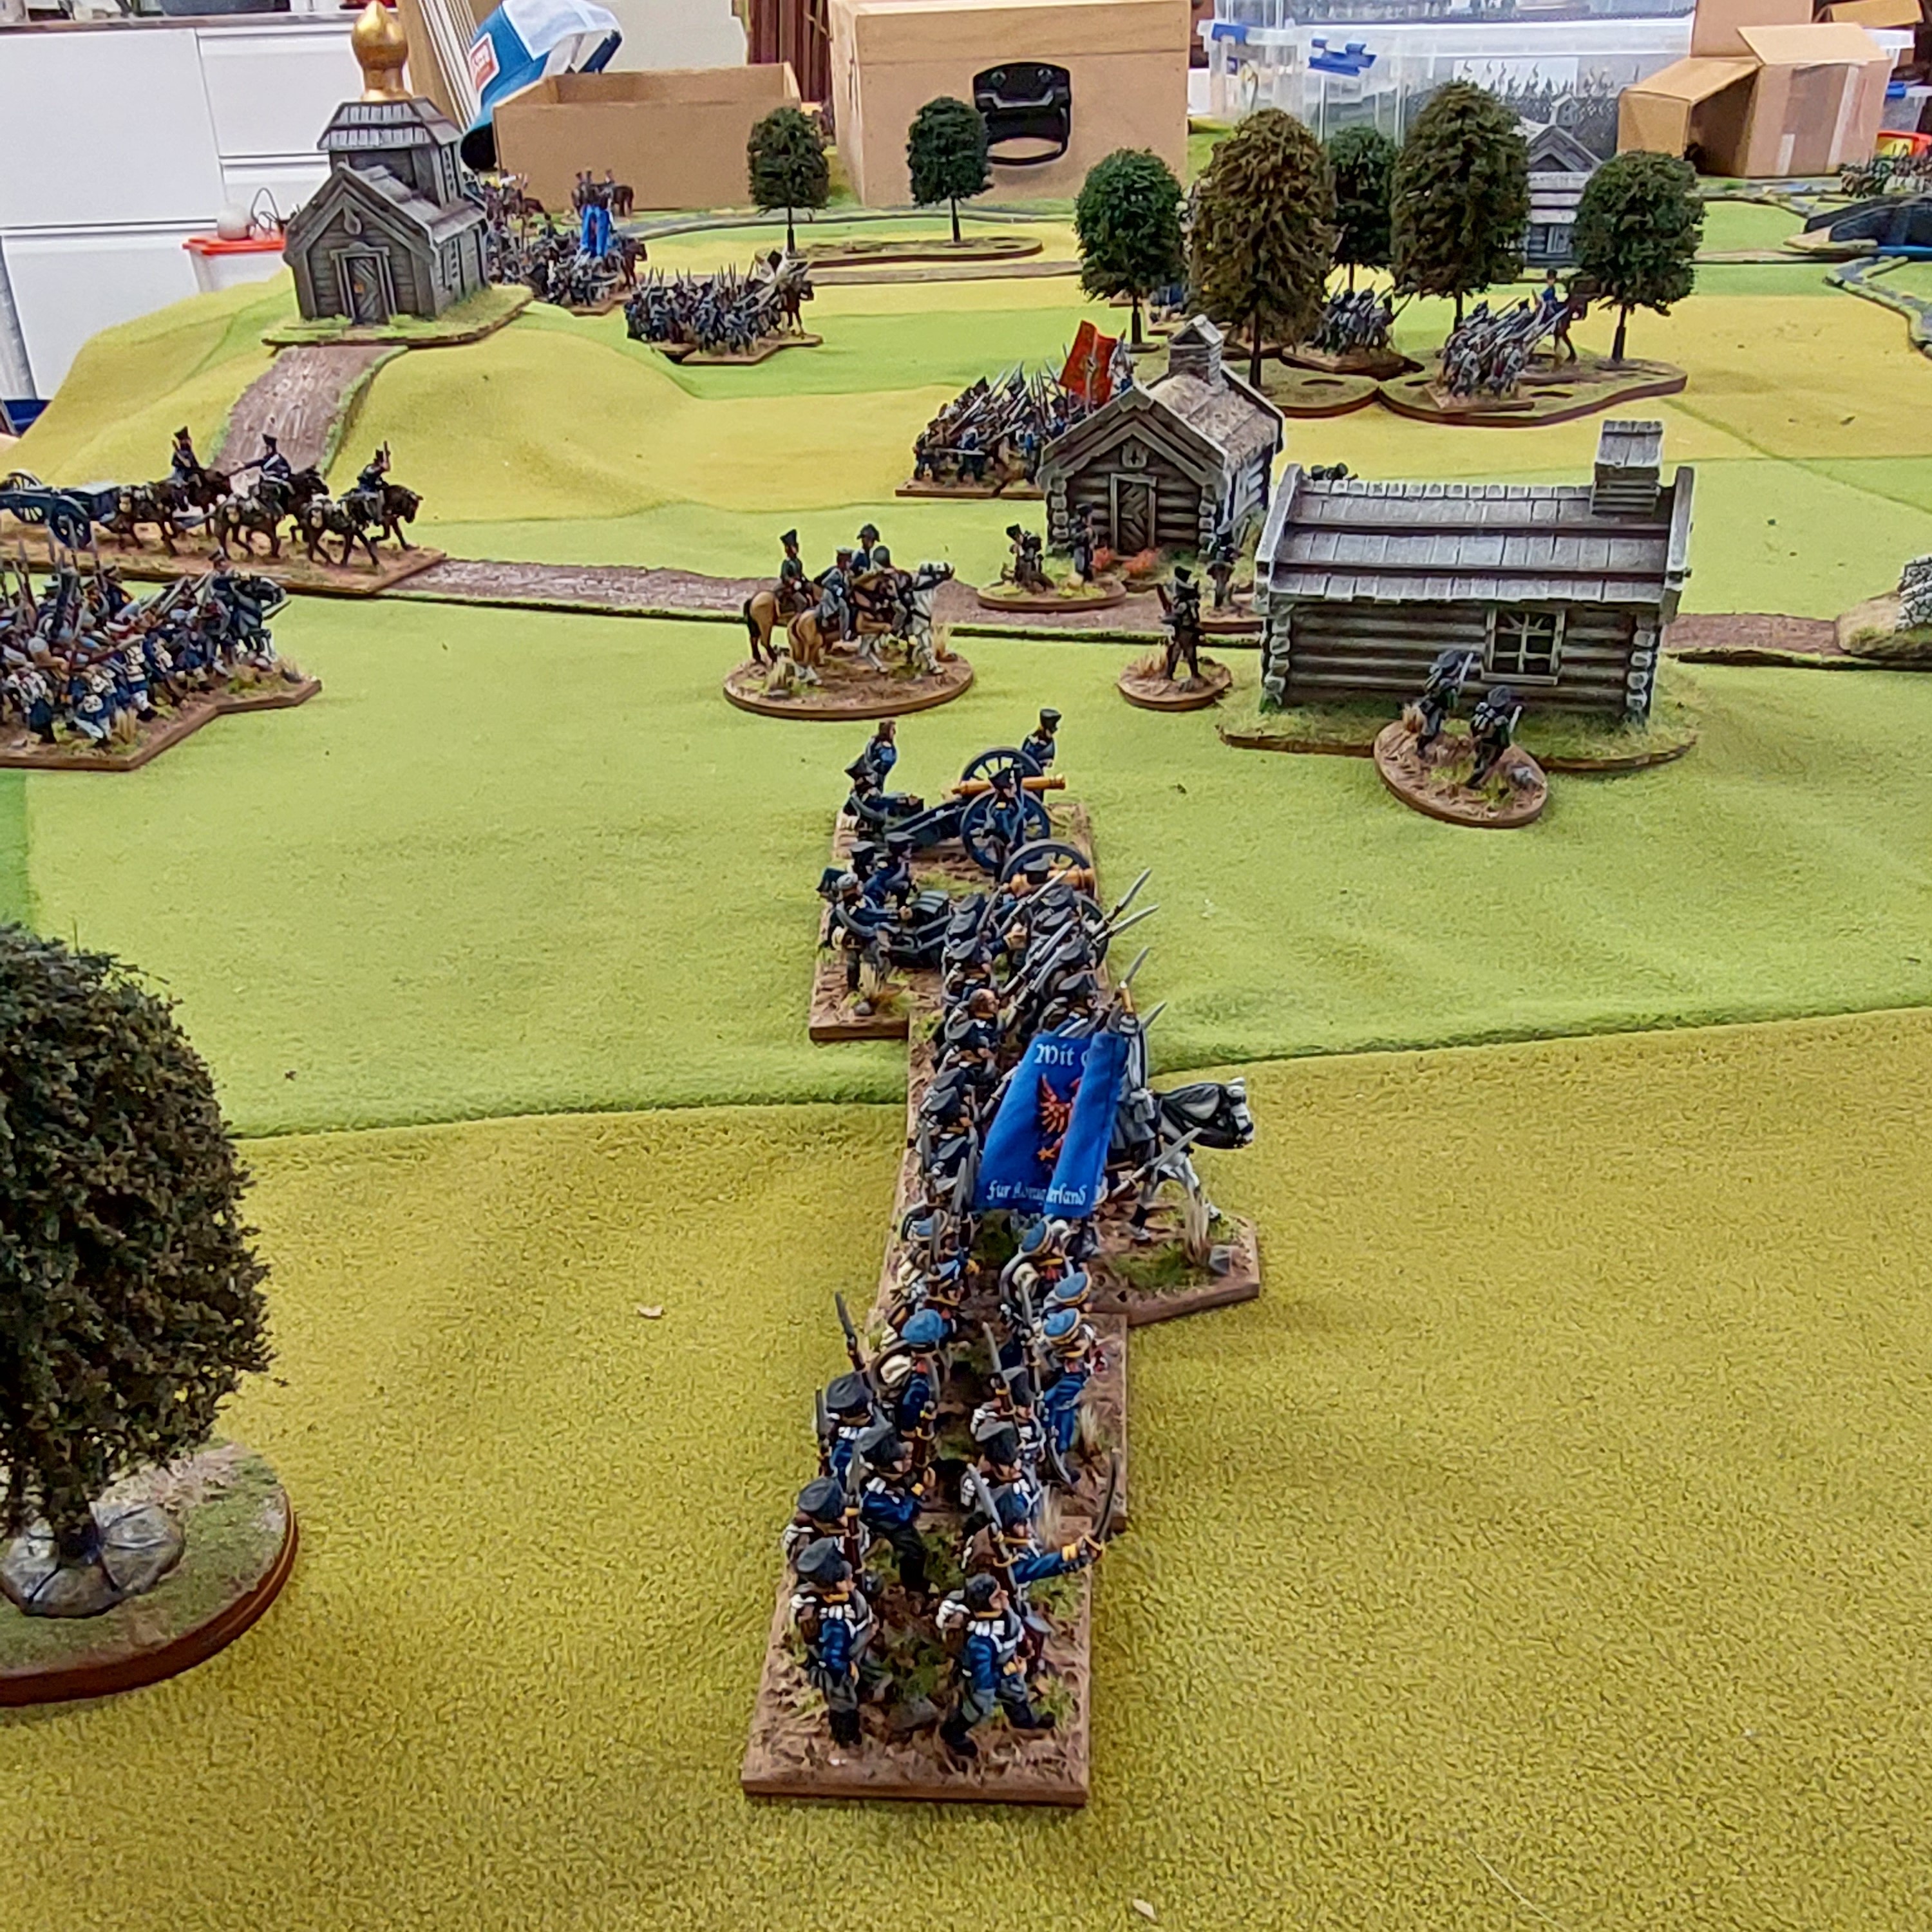
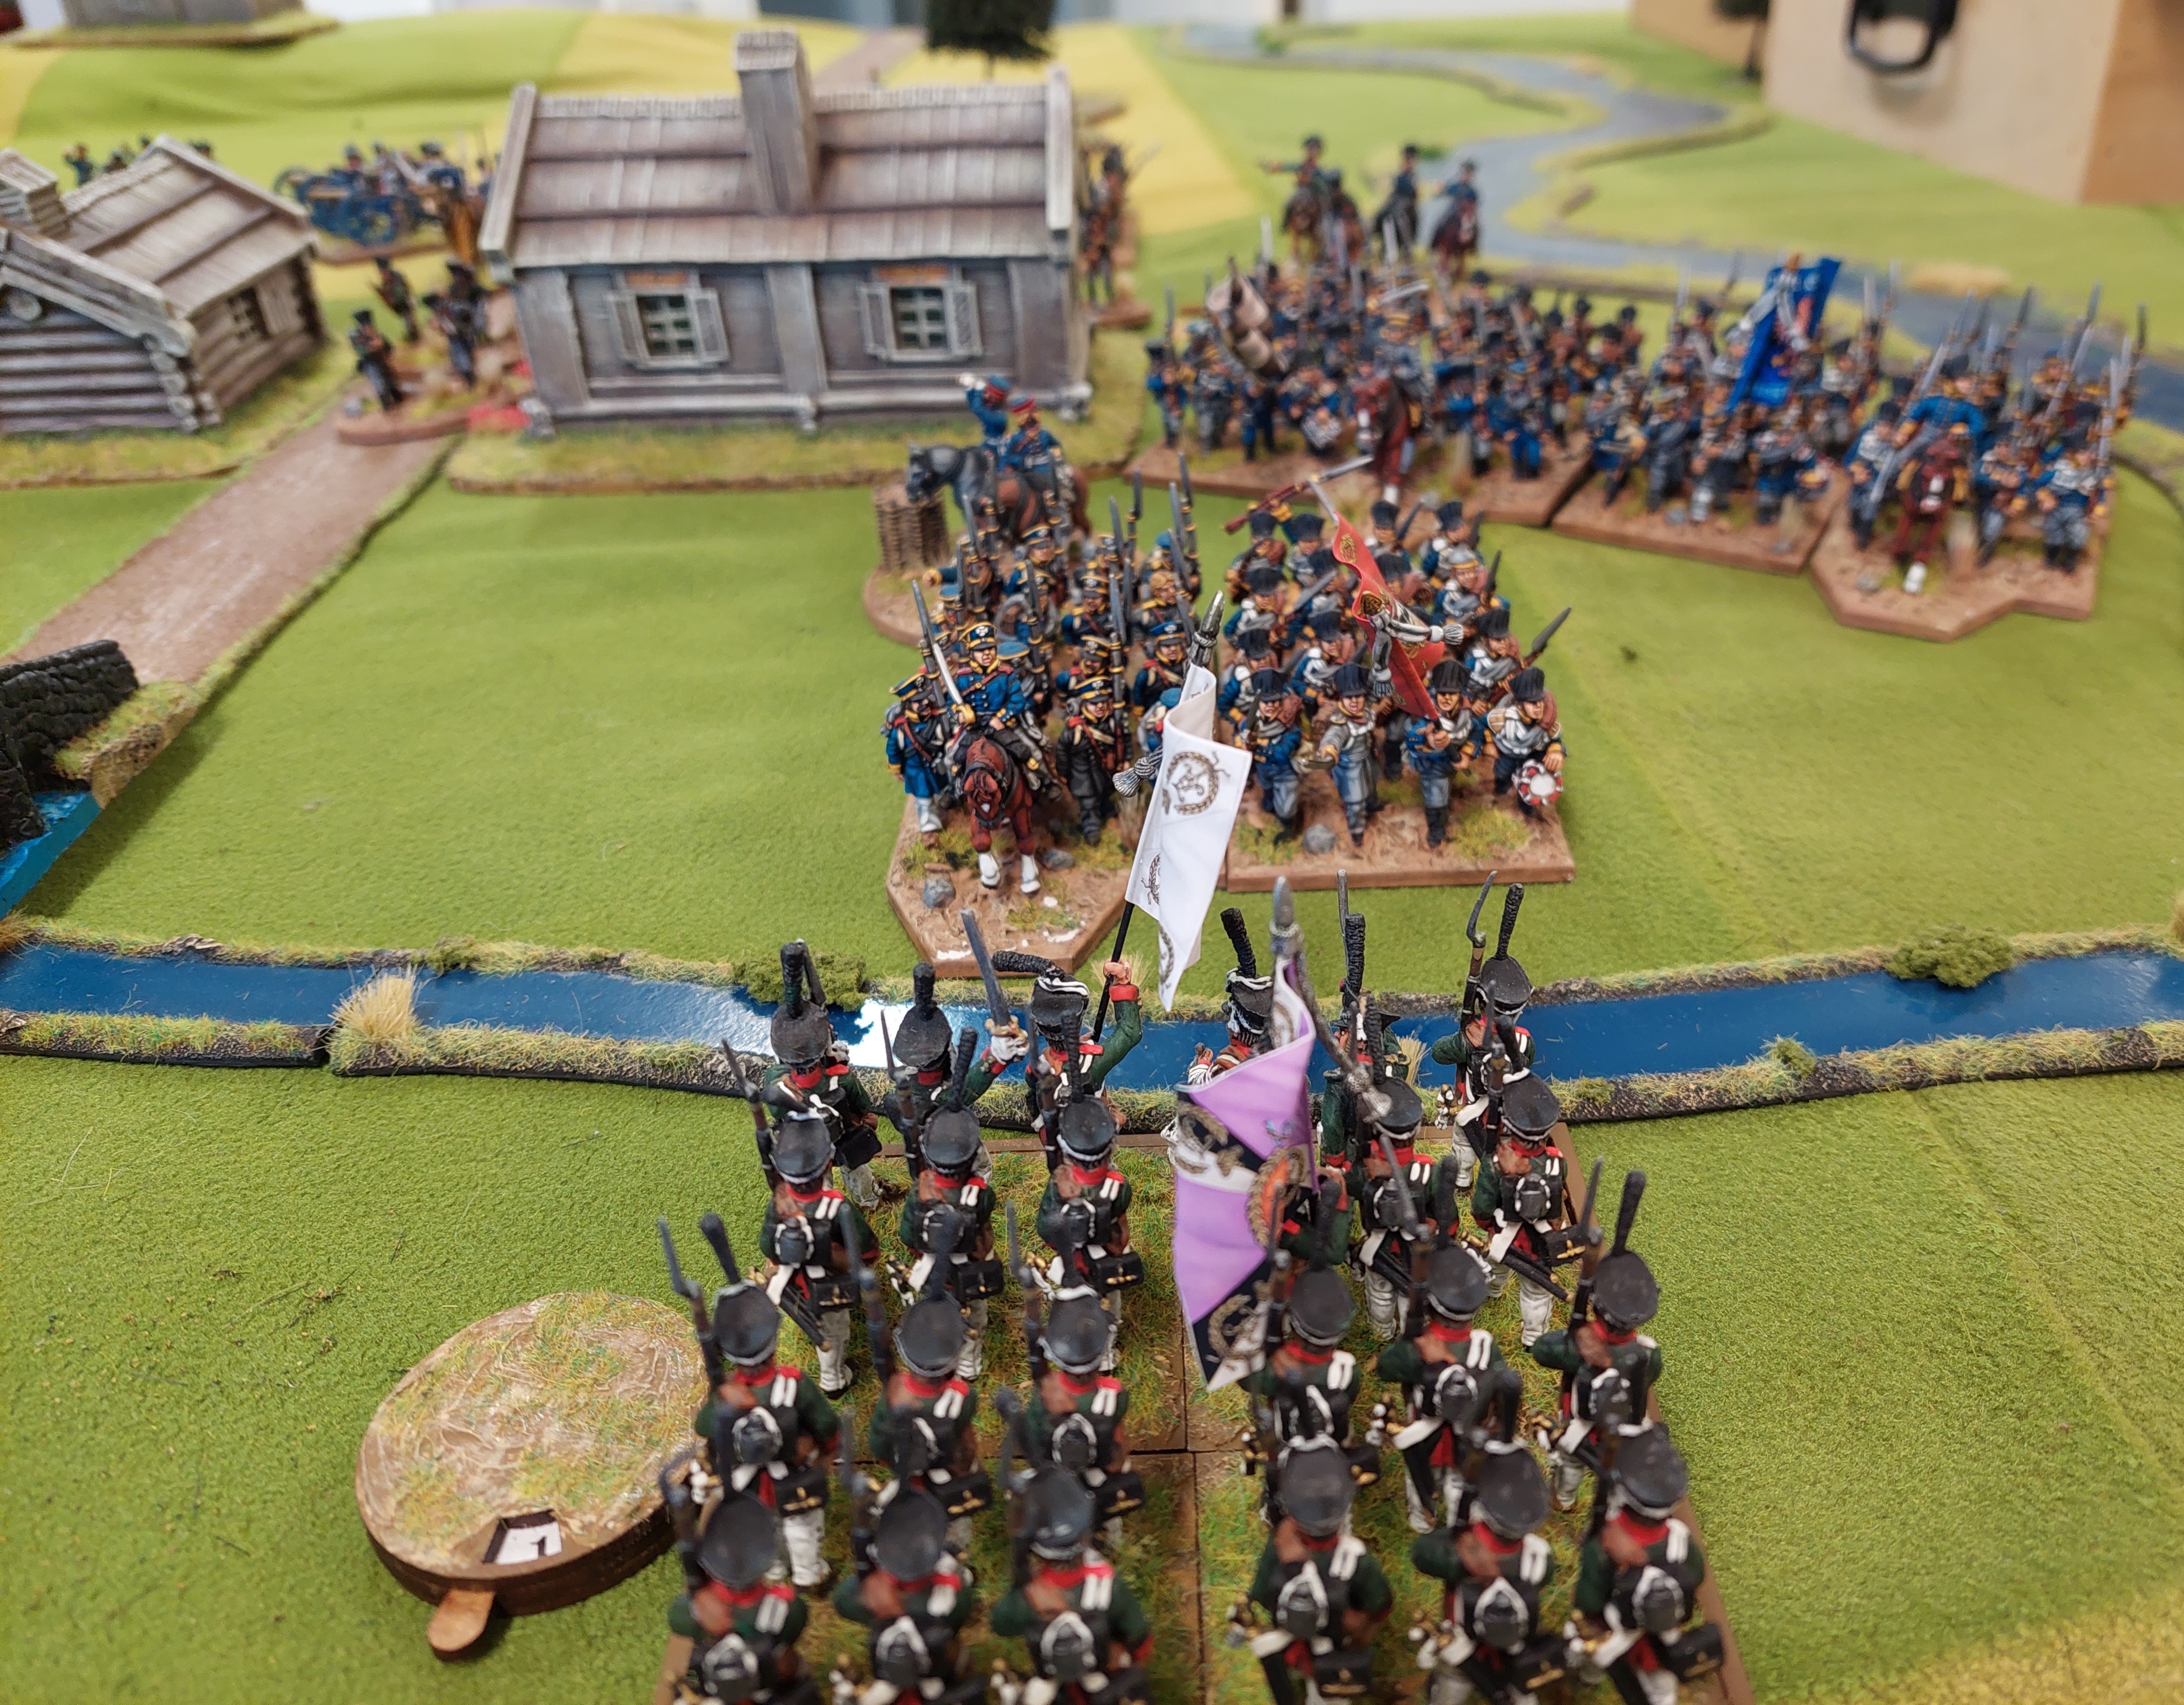
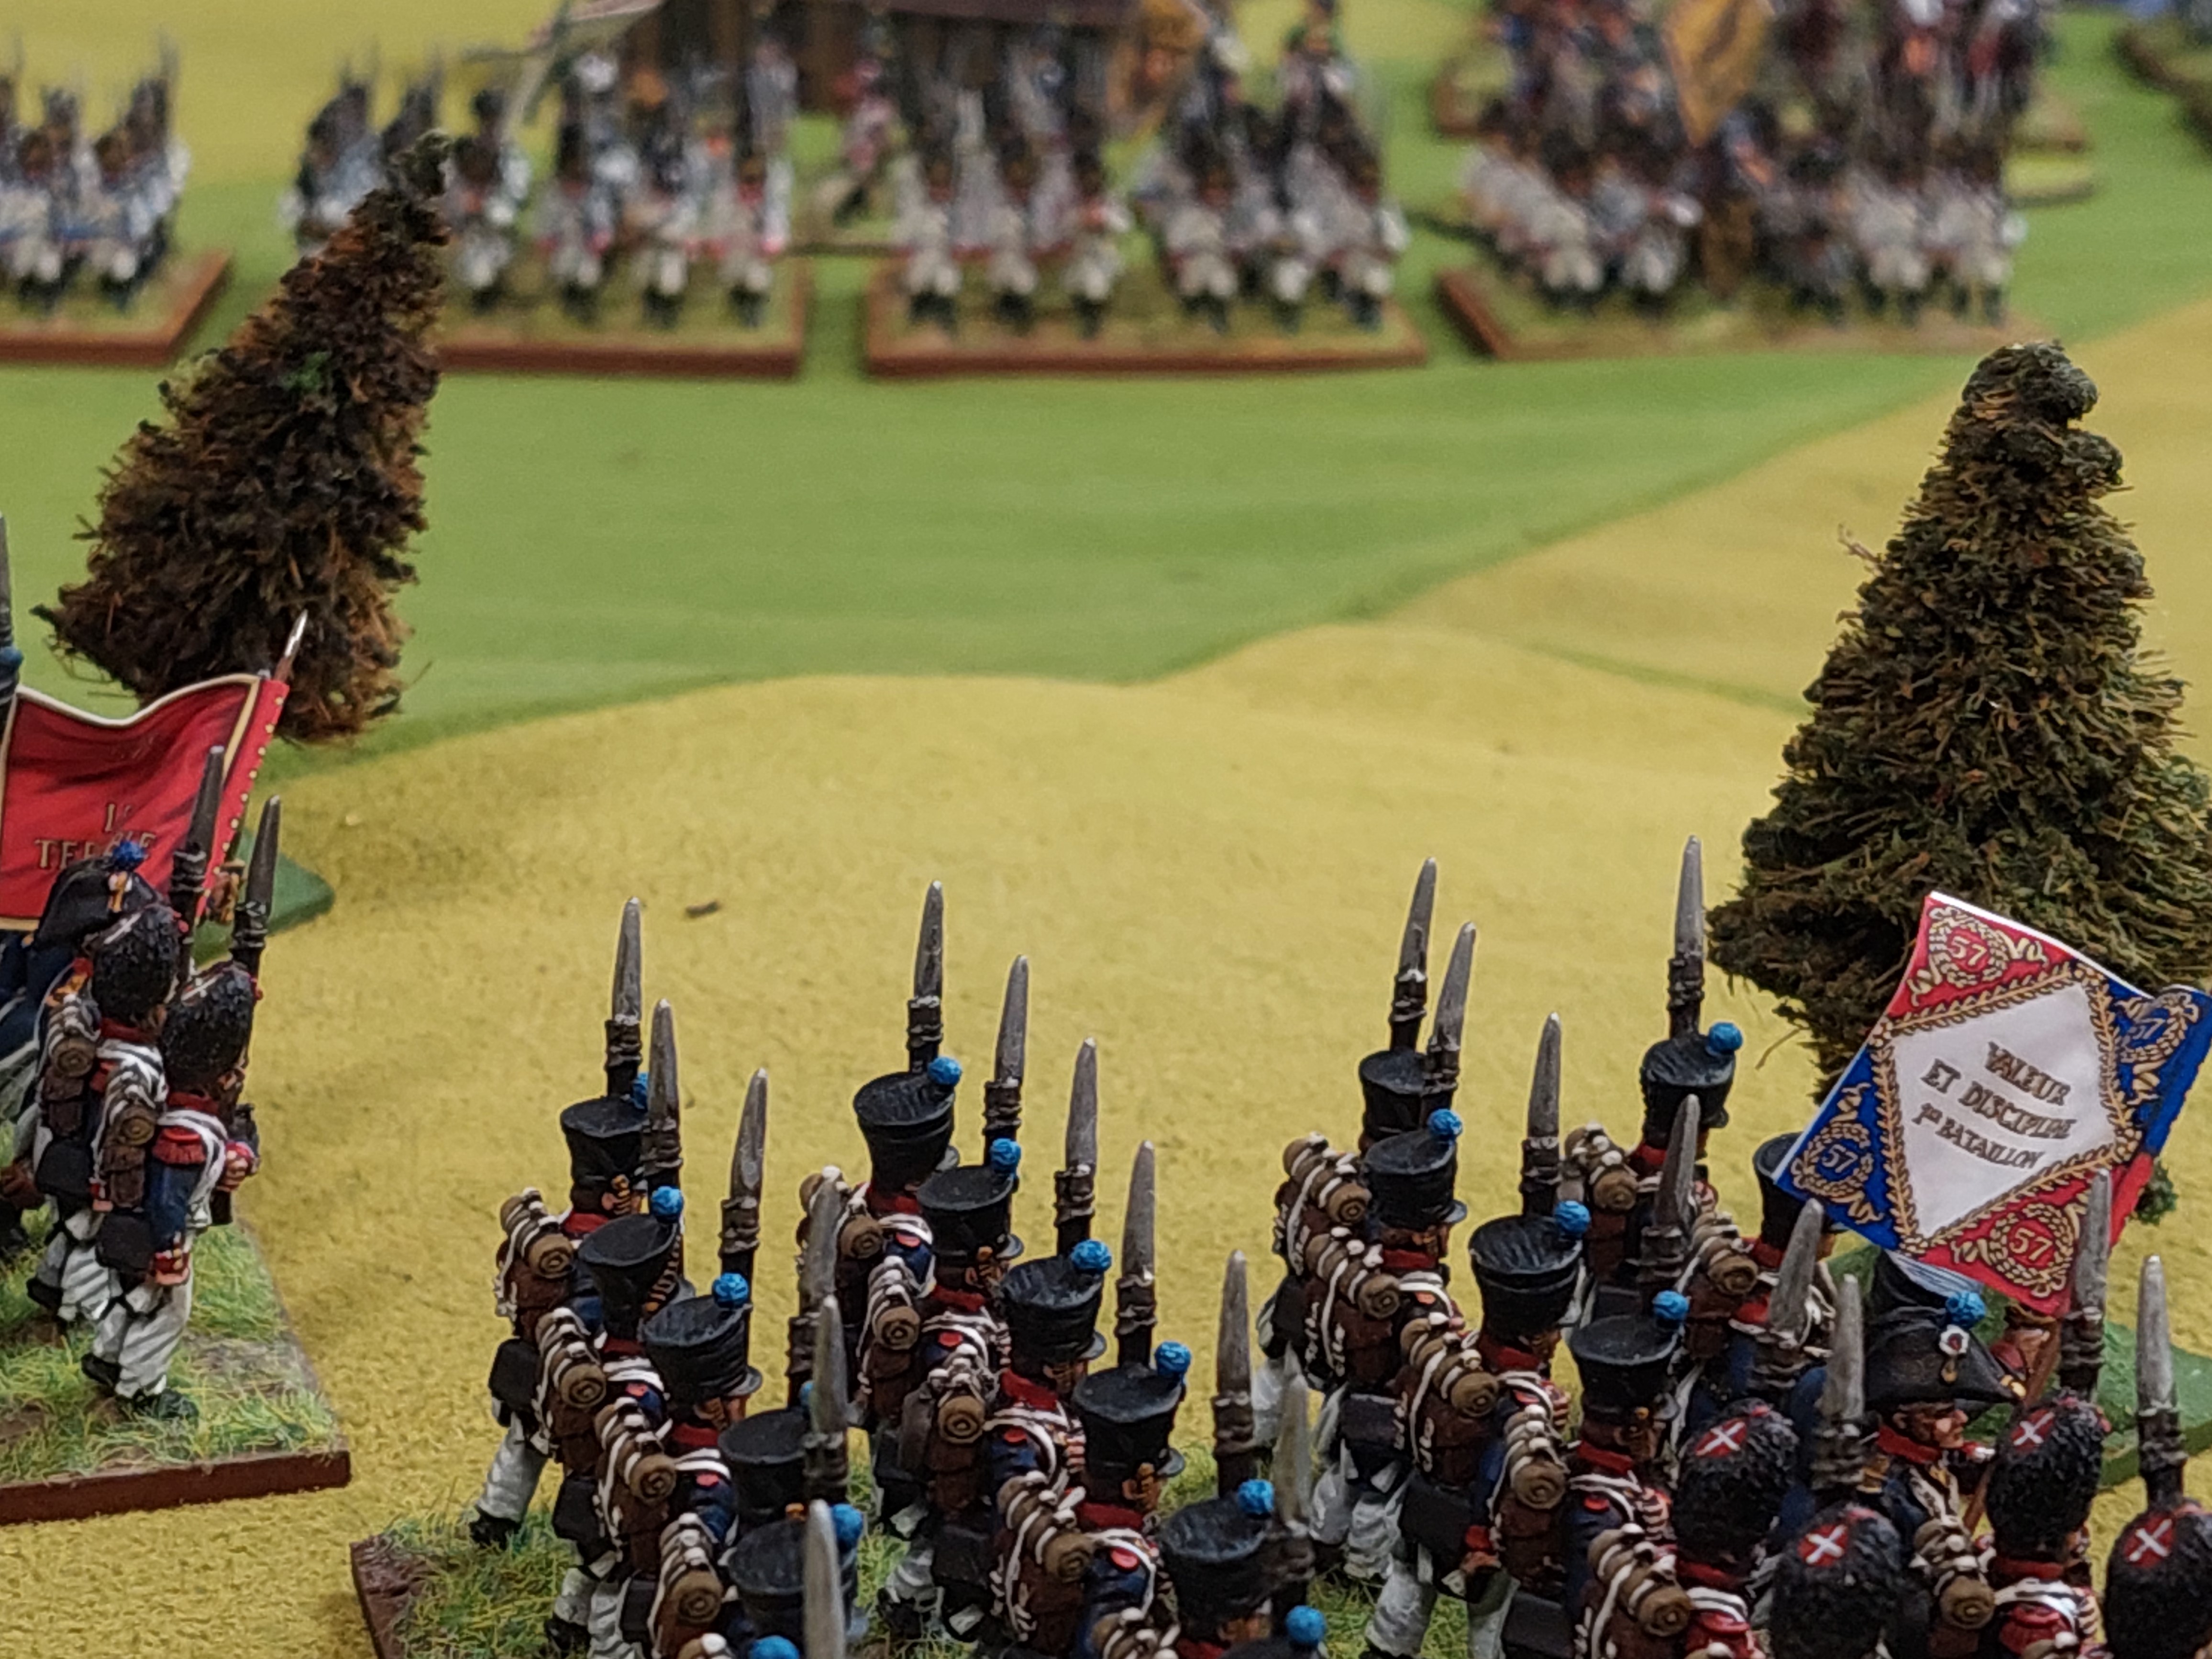
The Terrible 57th march to the attack!
StephenC launches an attack on the right.

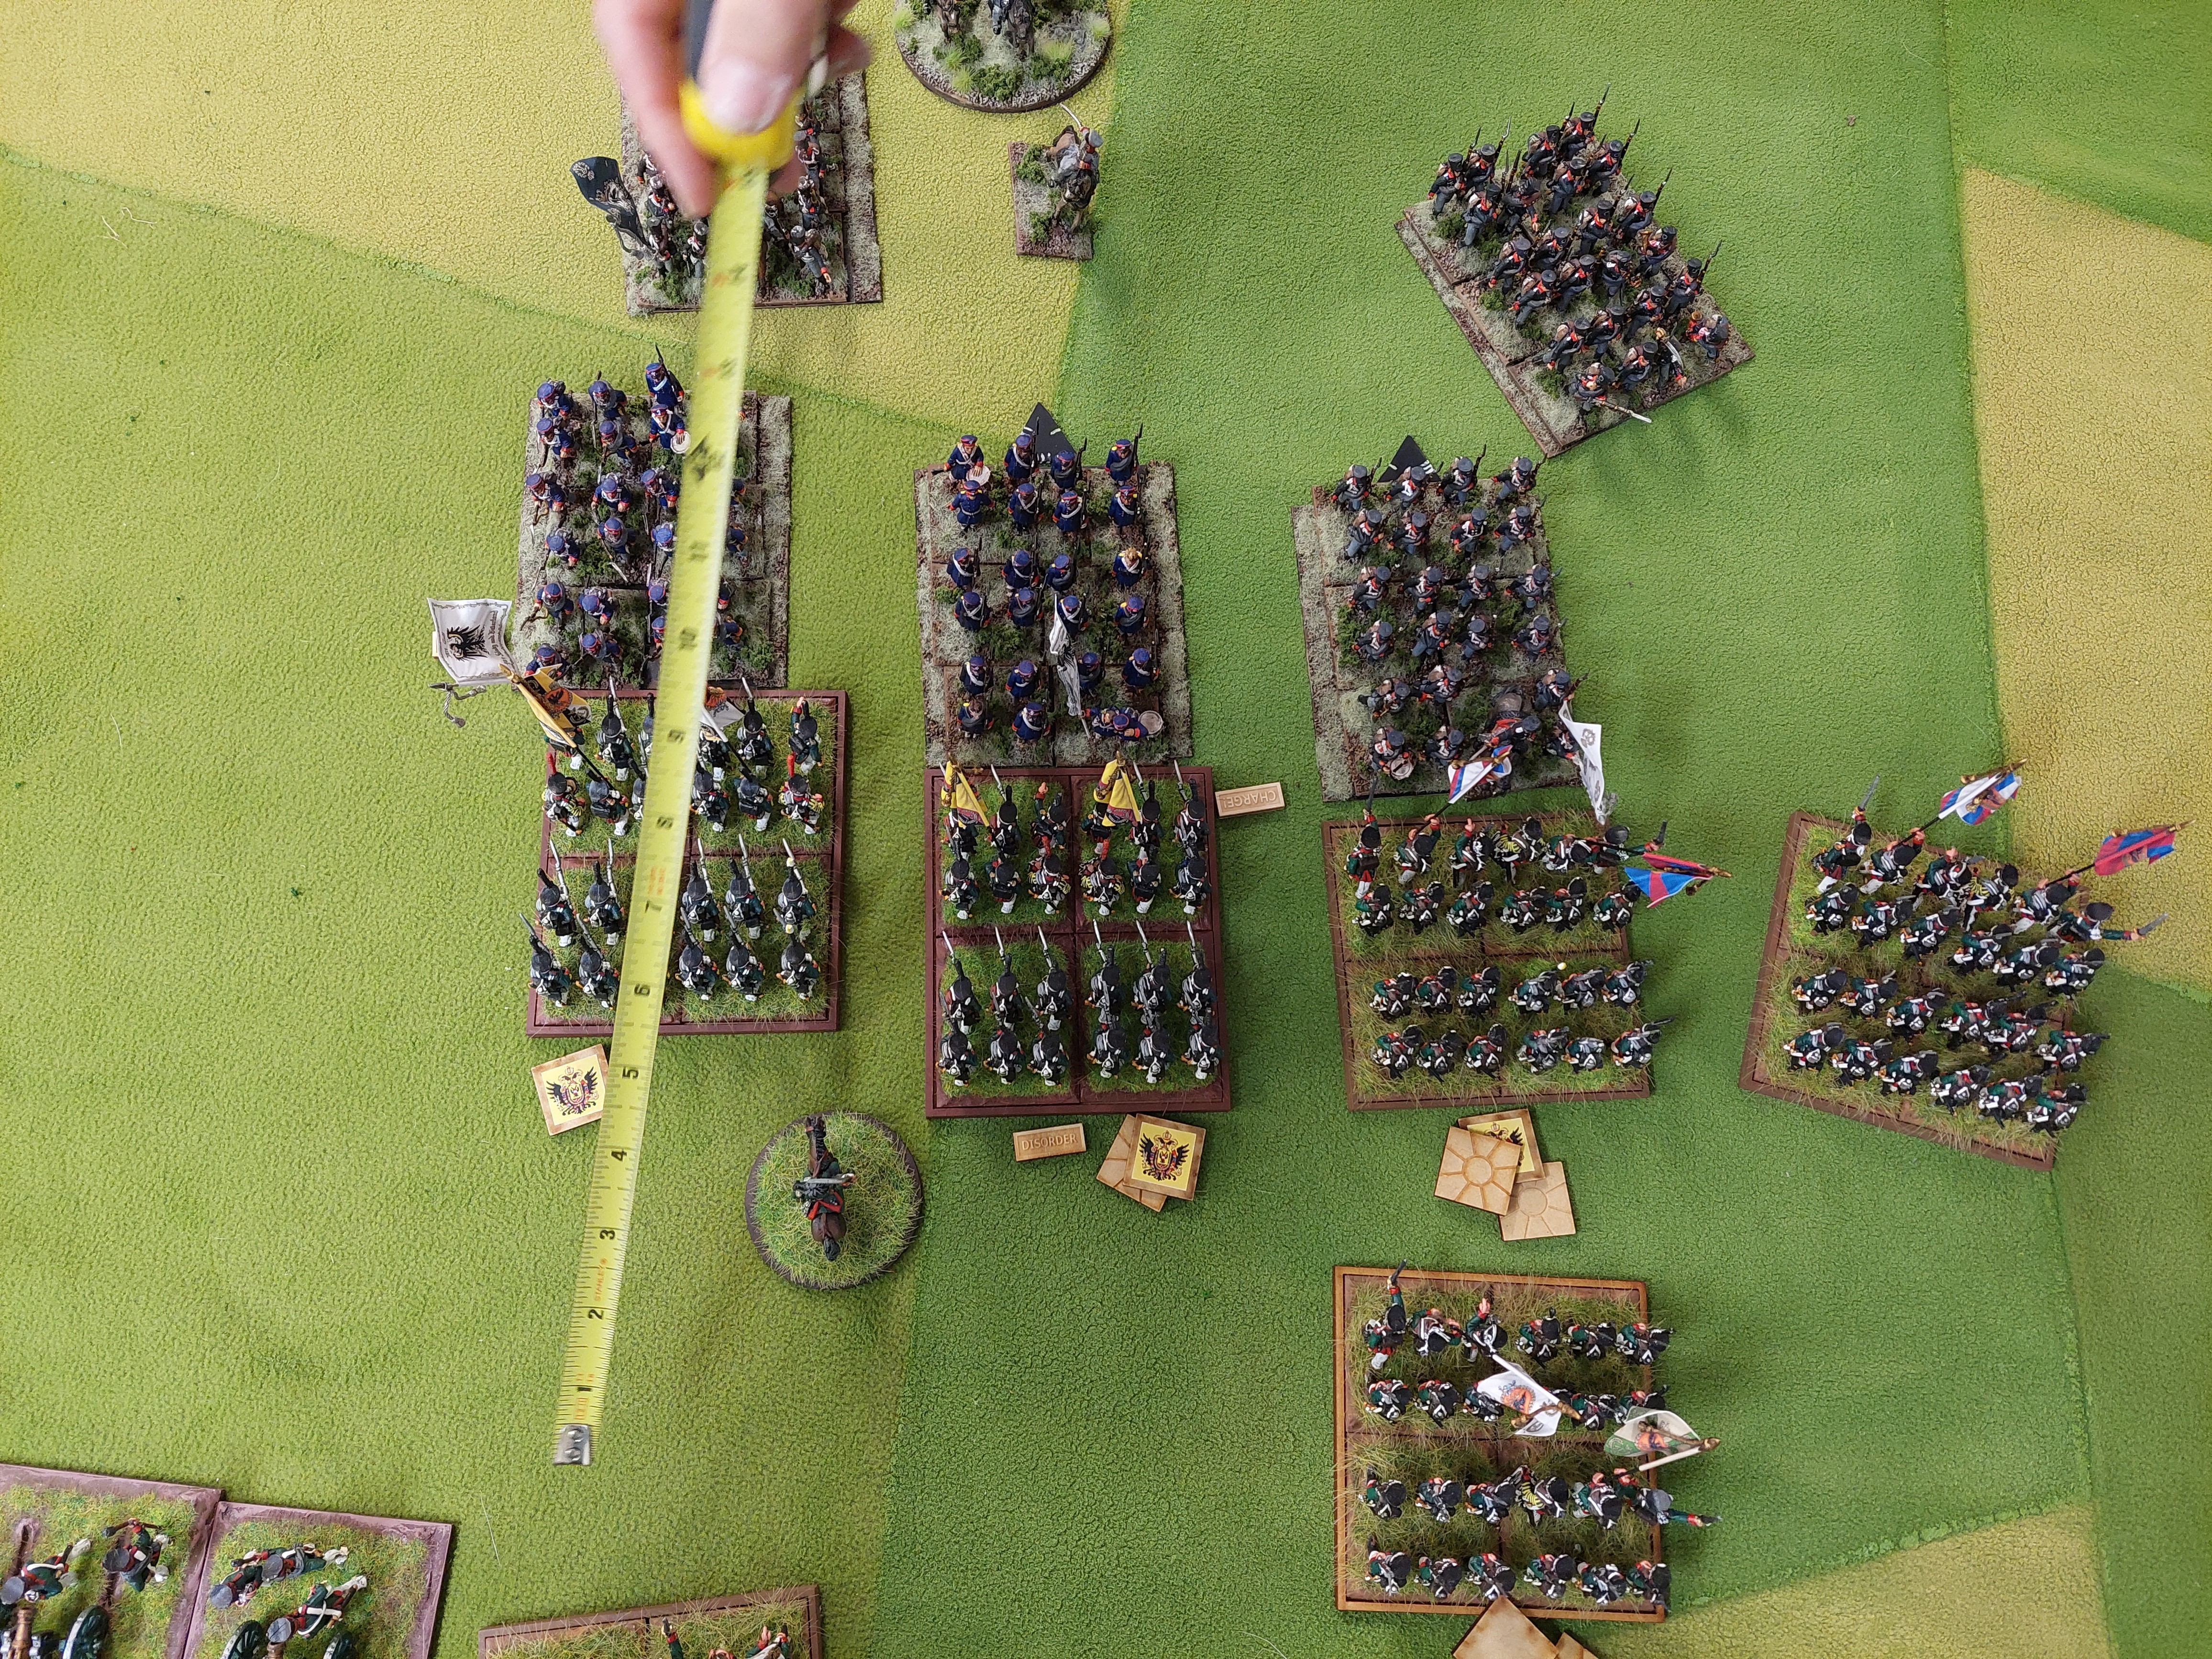
But…all is not lost for the Austrian, I arrive with Grenadiers from the Austrian right! Sounds impressive……but…am attacking French with same stats…I have 7 attacks, they have 6 and re roll a miss…. so its…all down to the dice rolling.

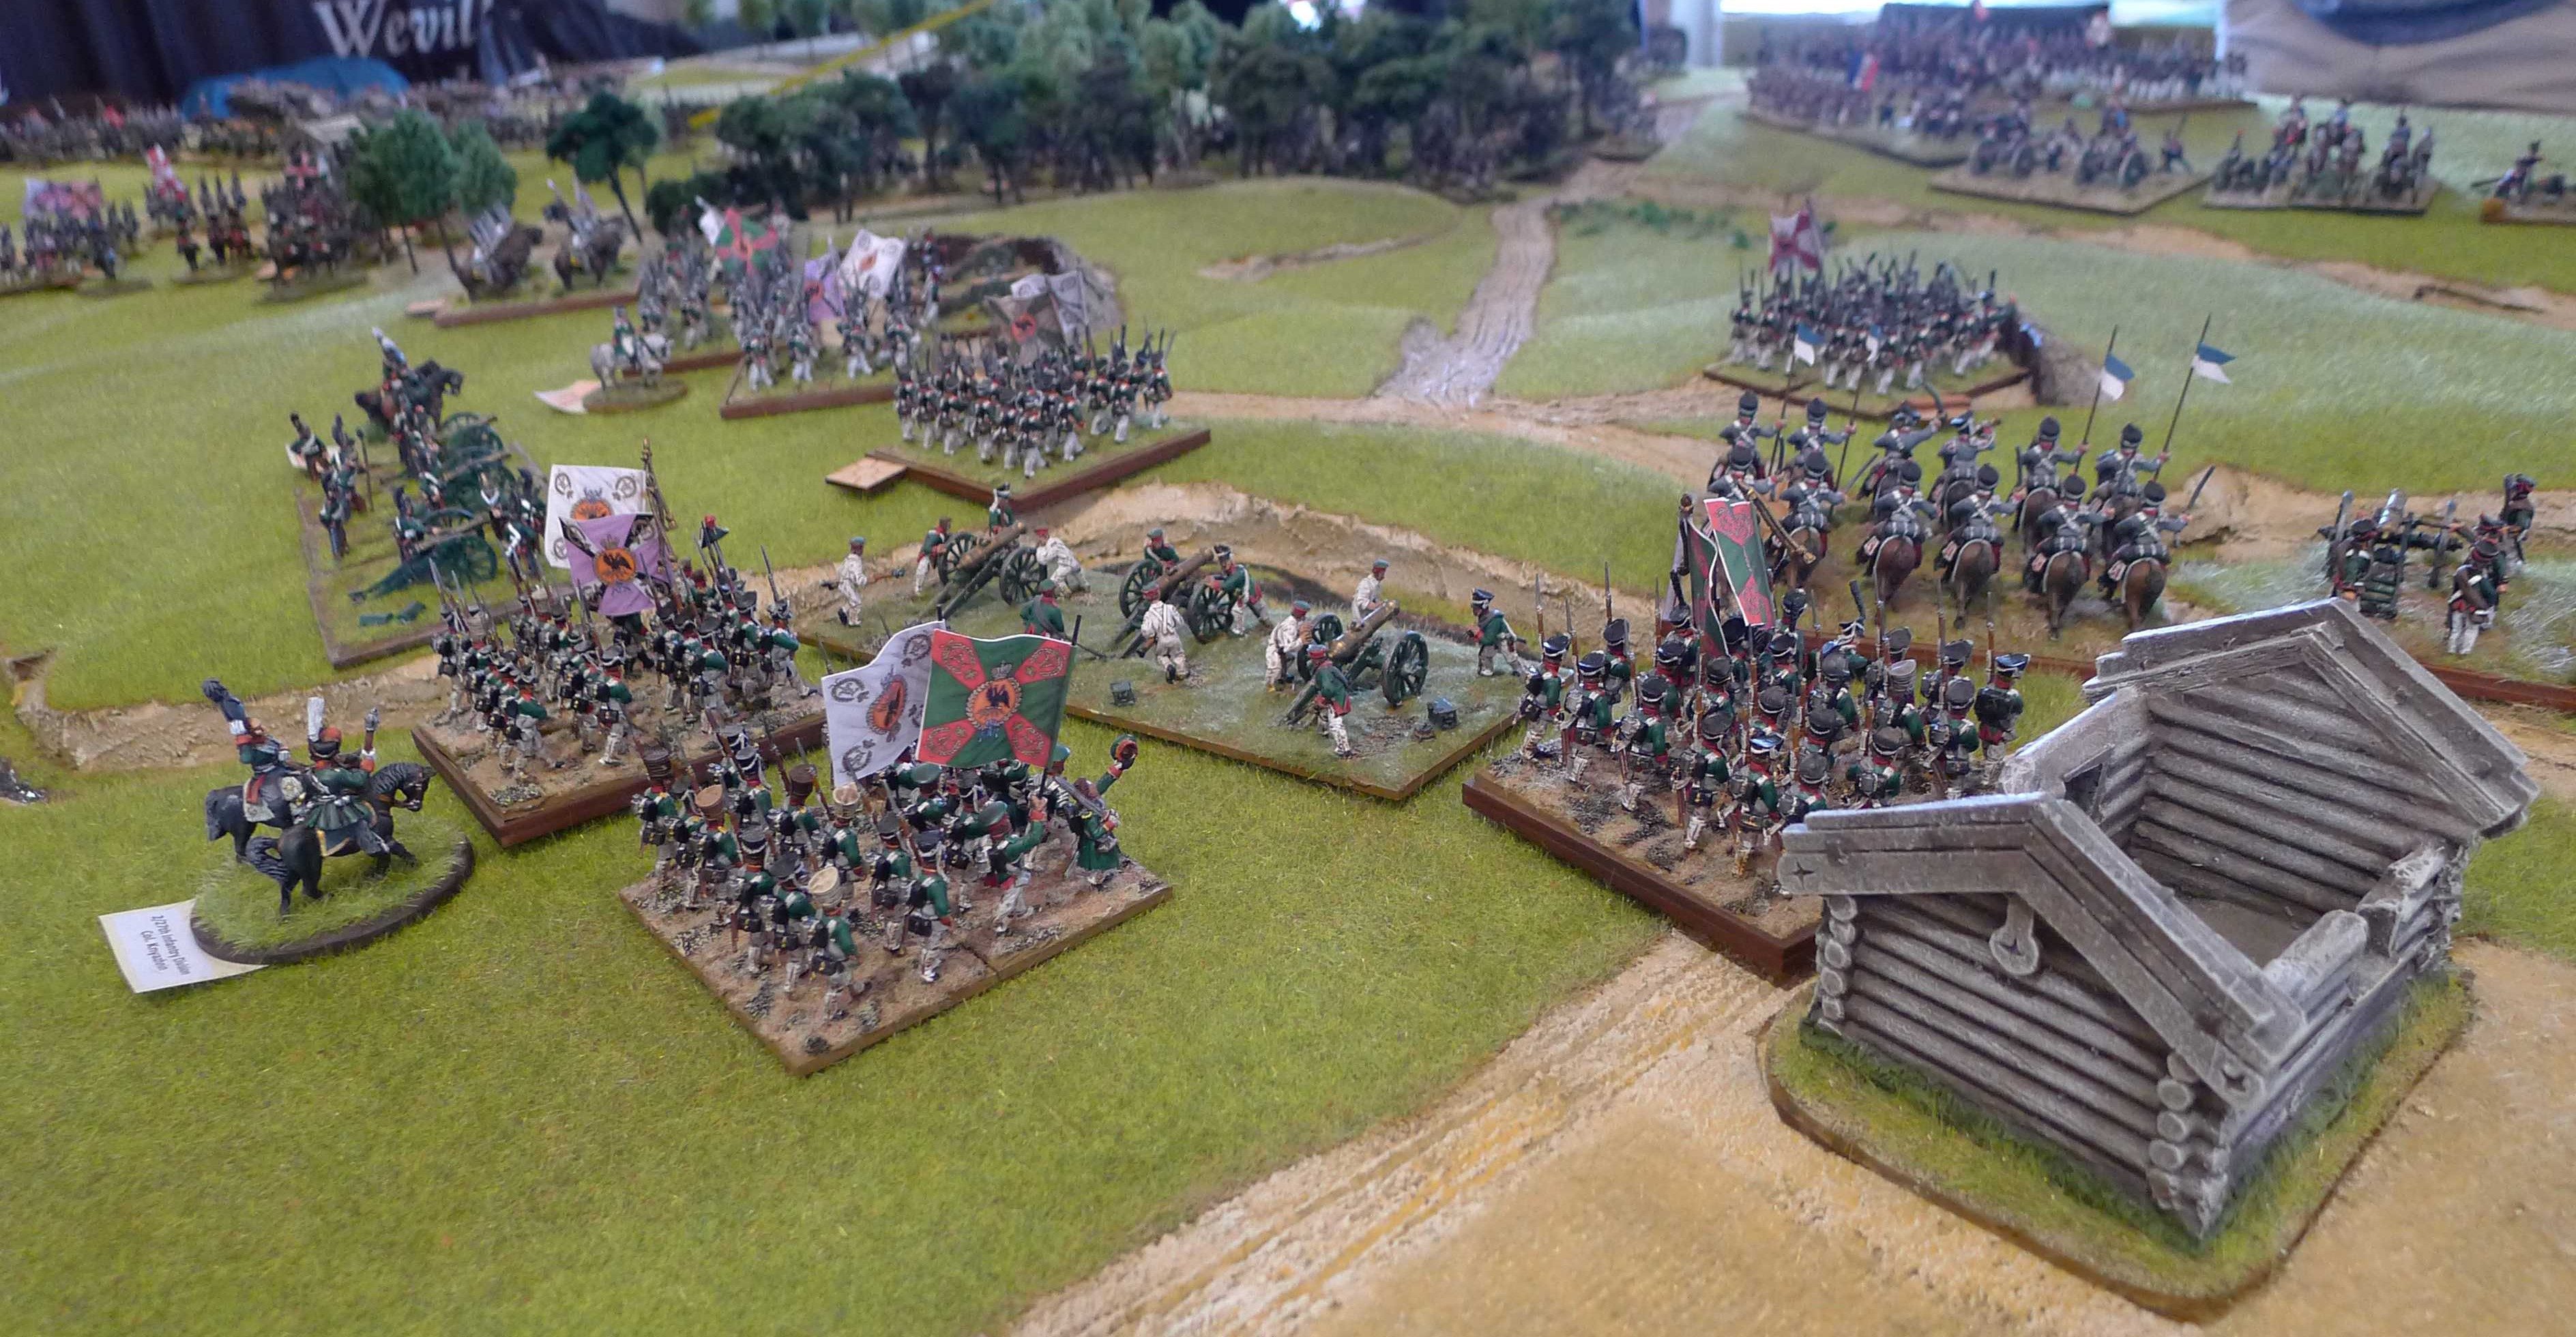
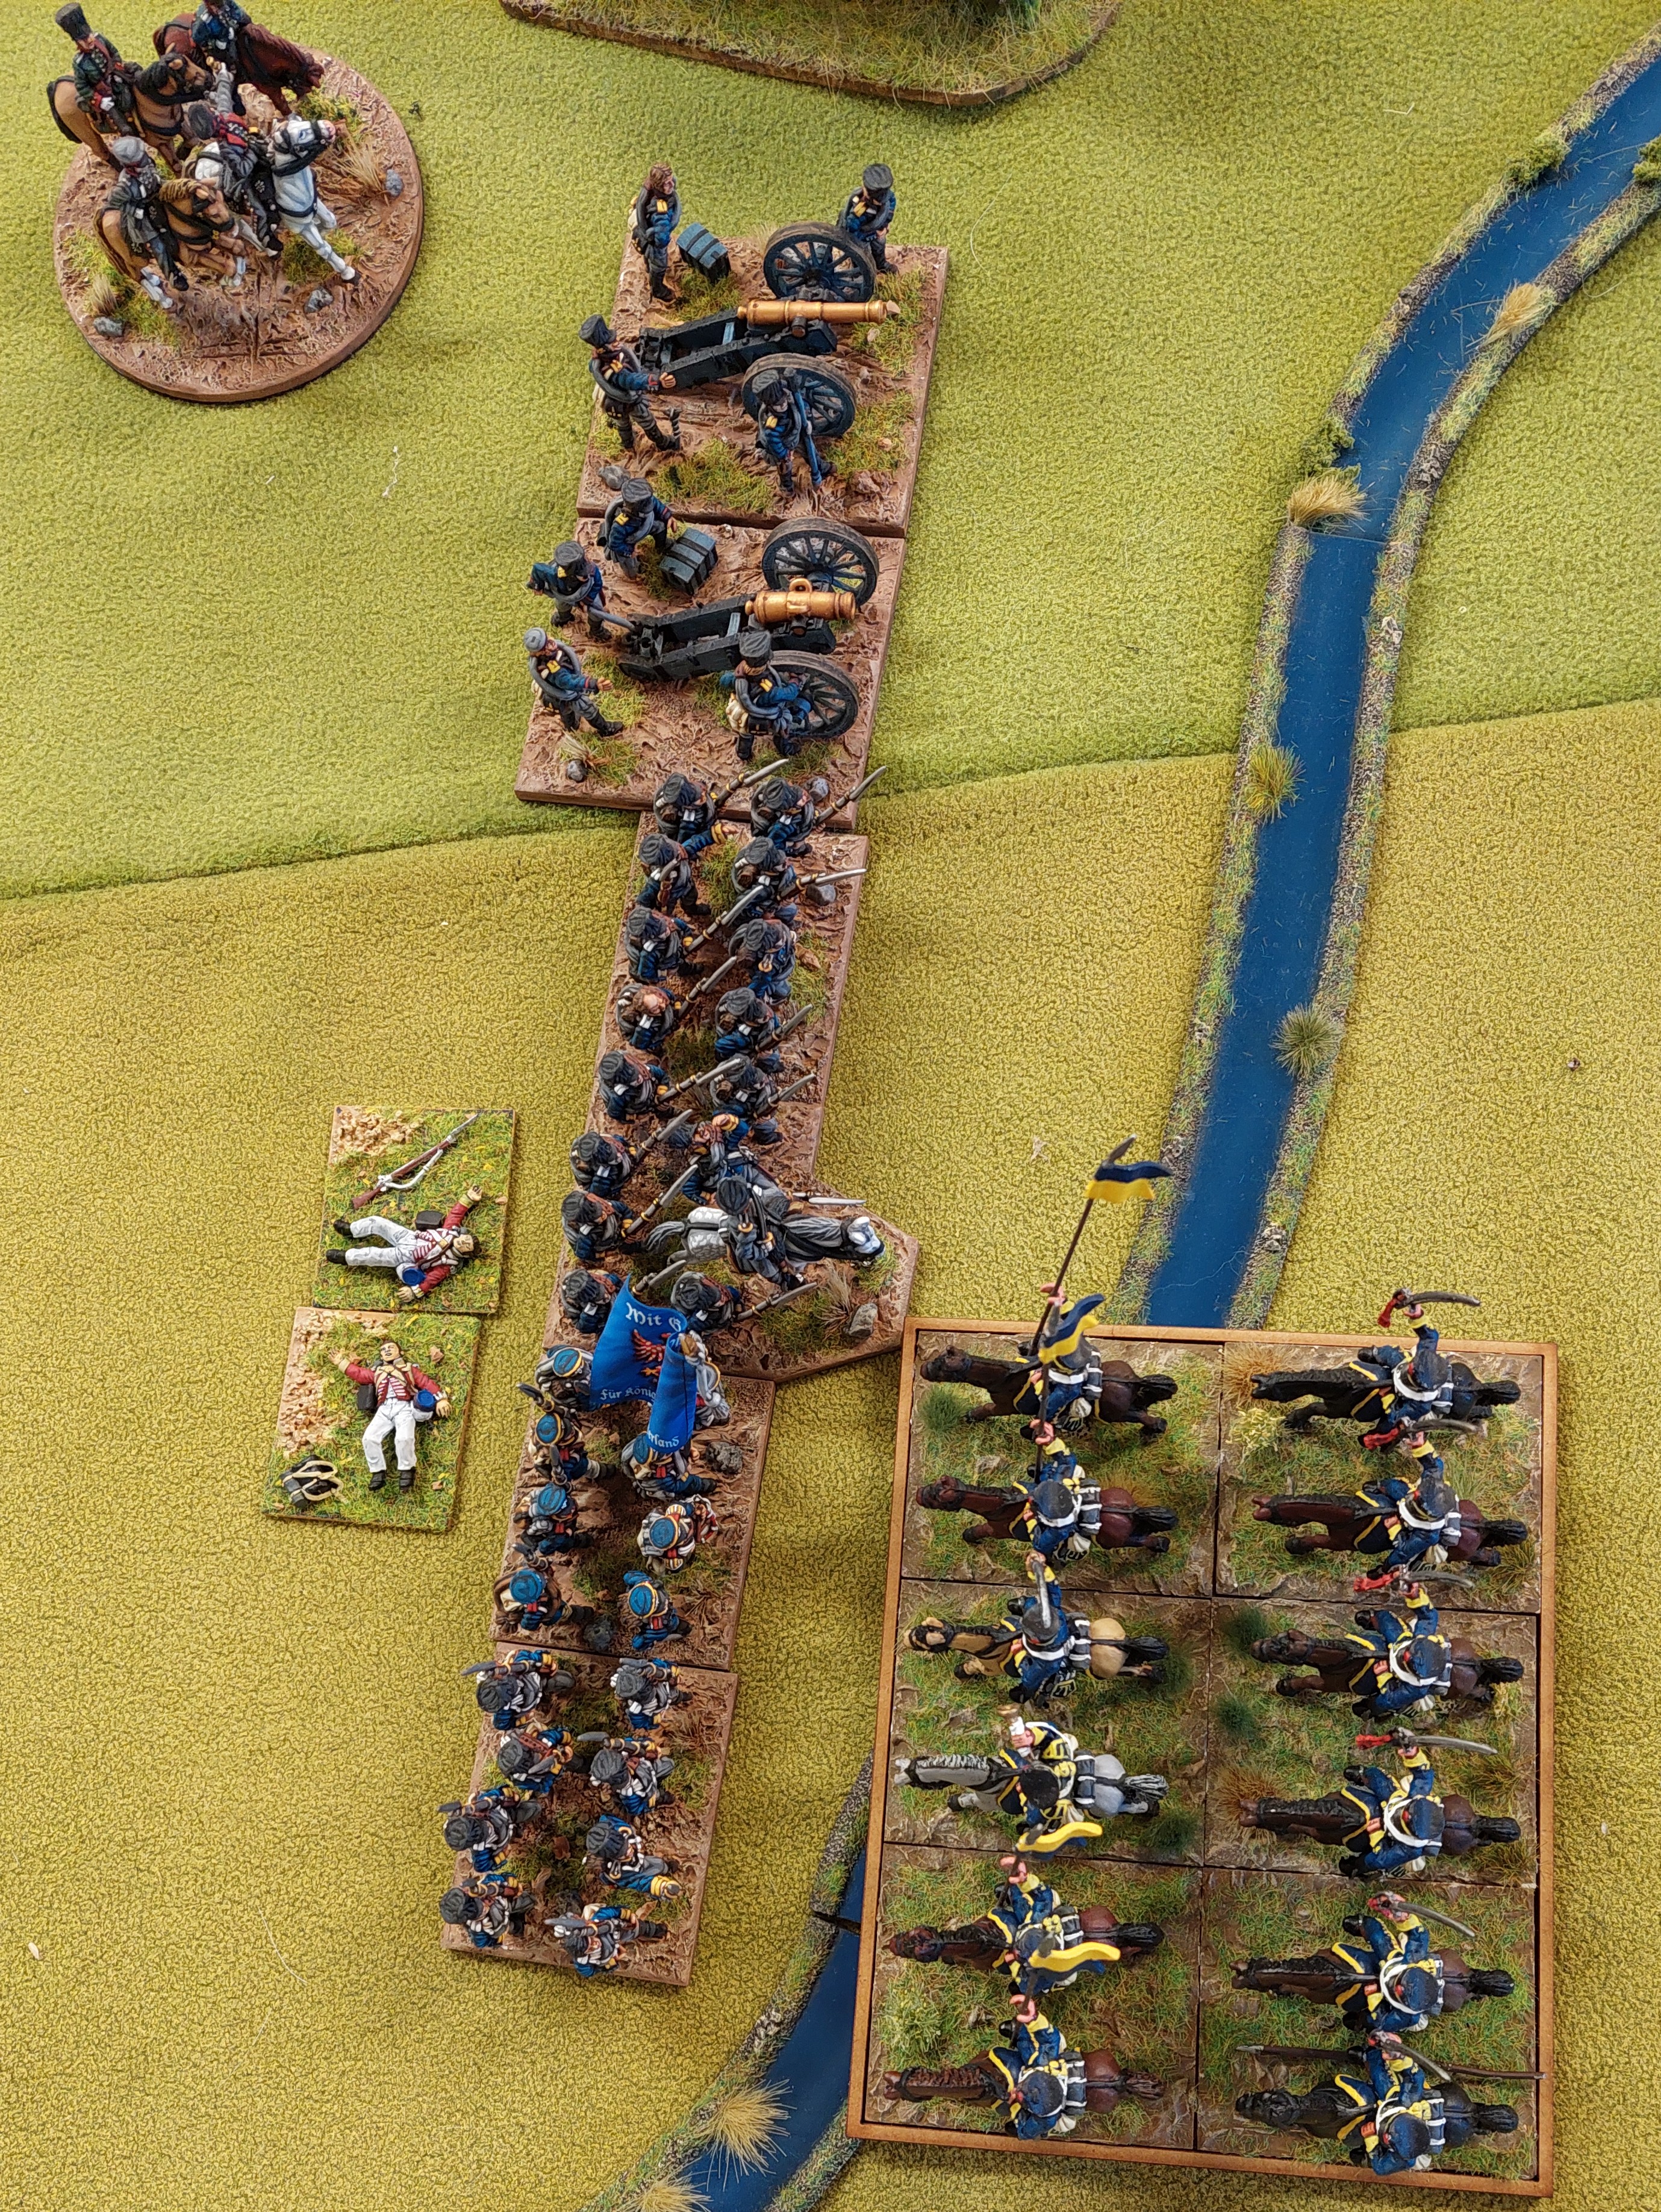
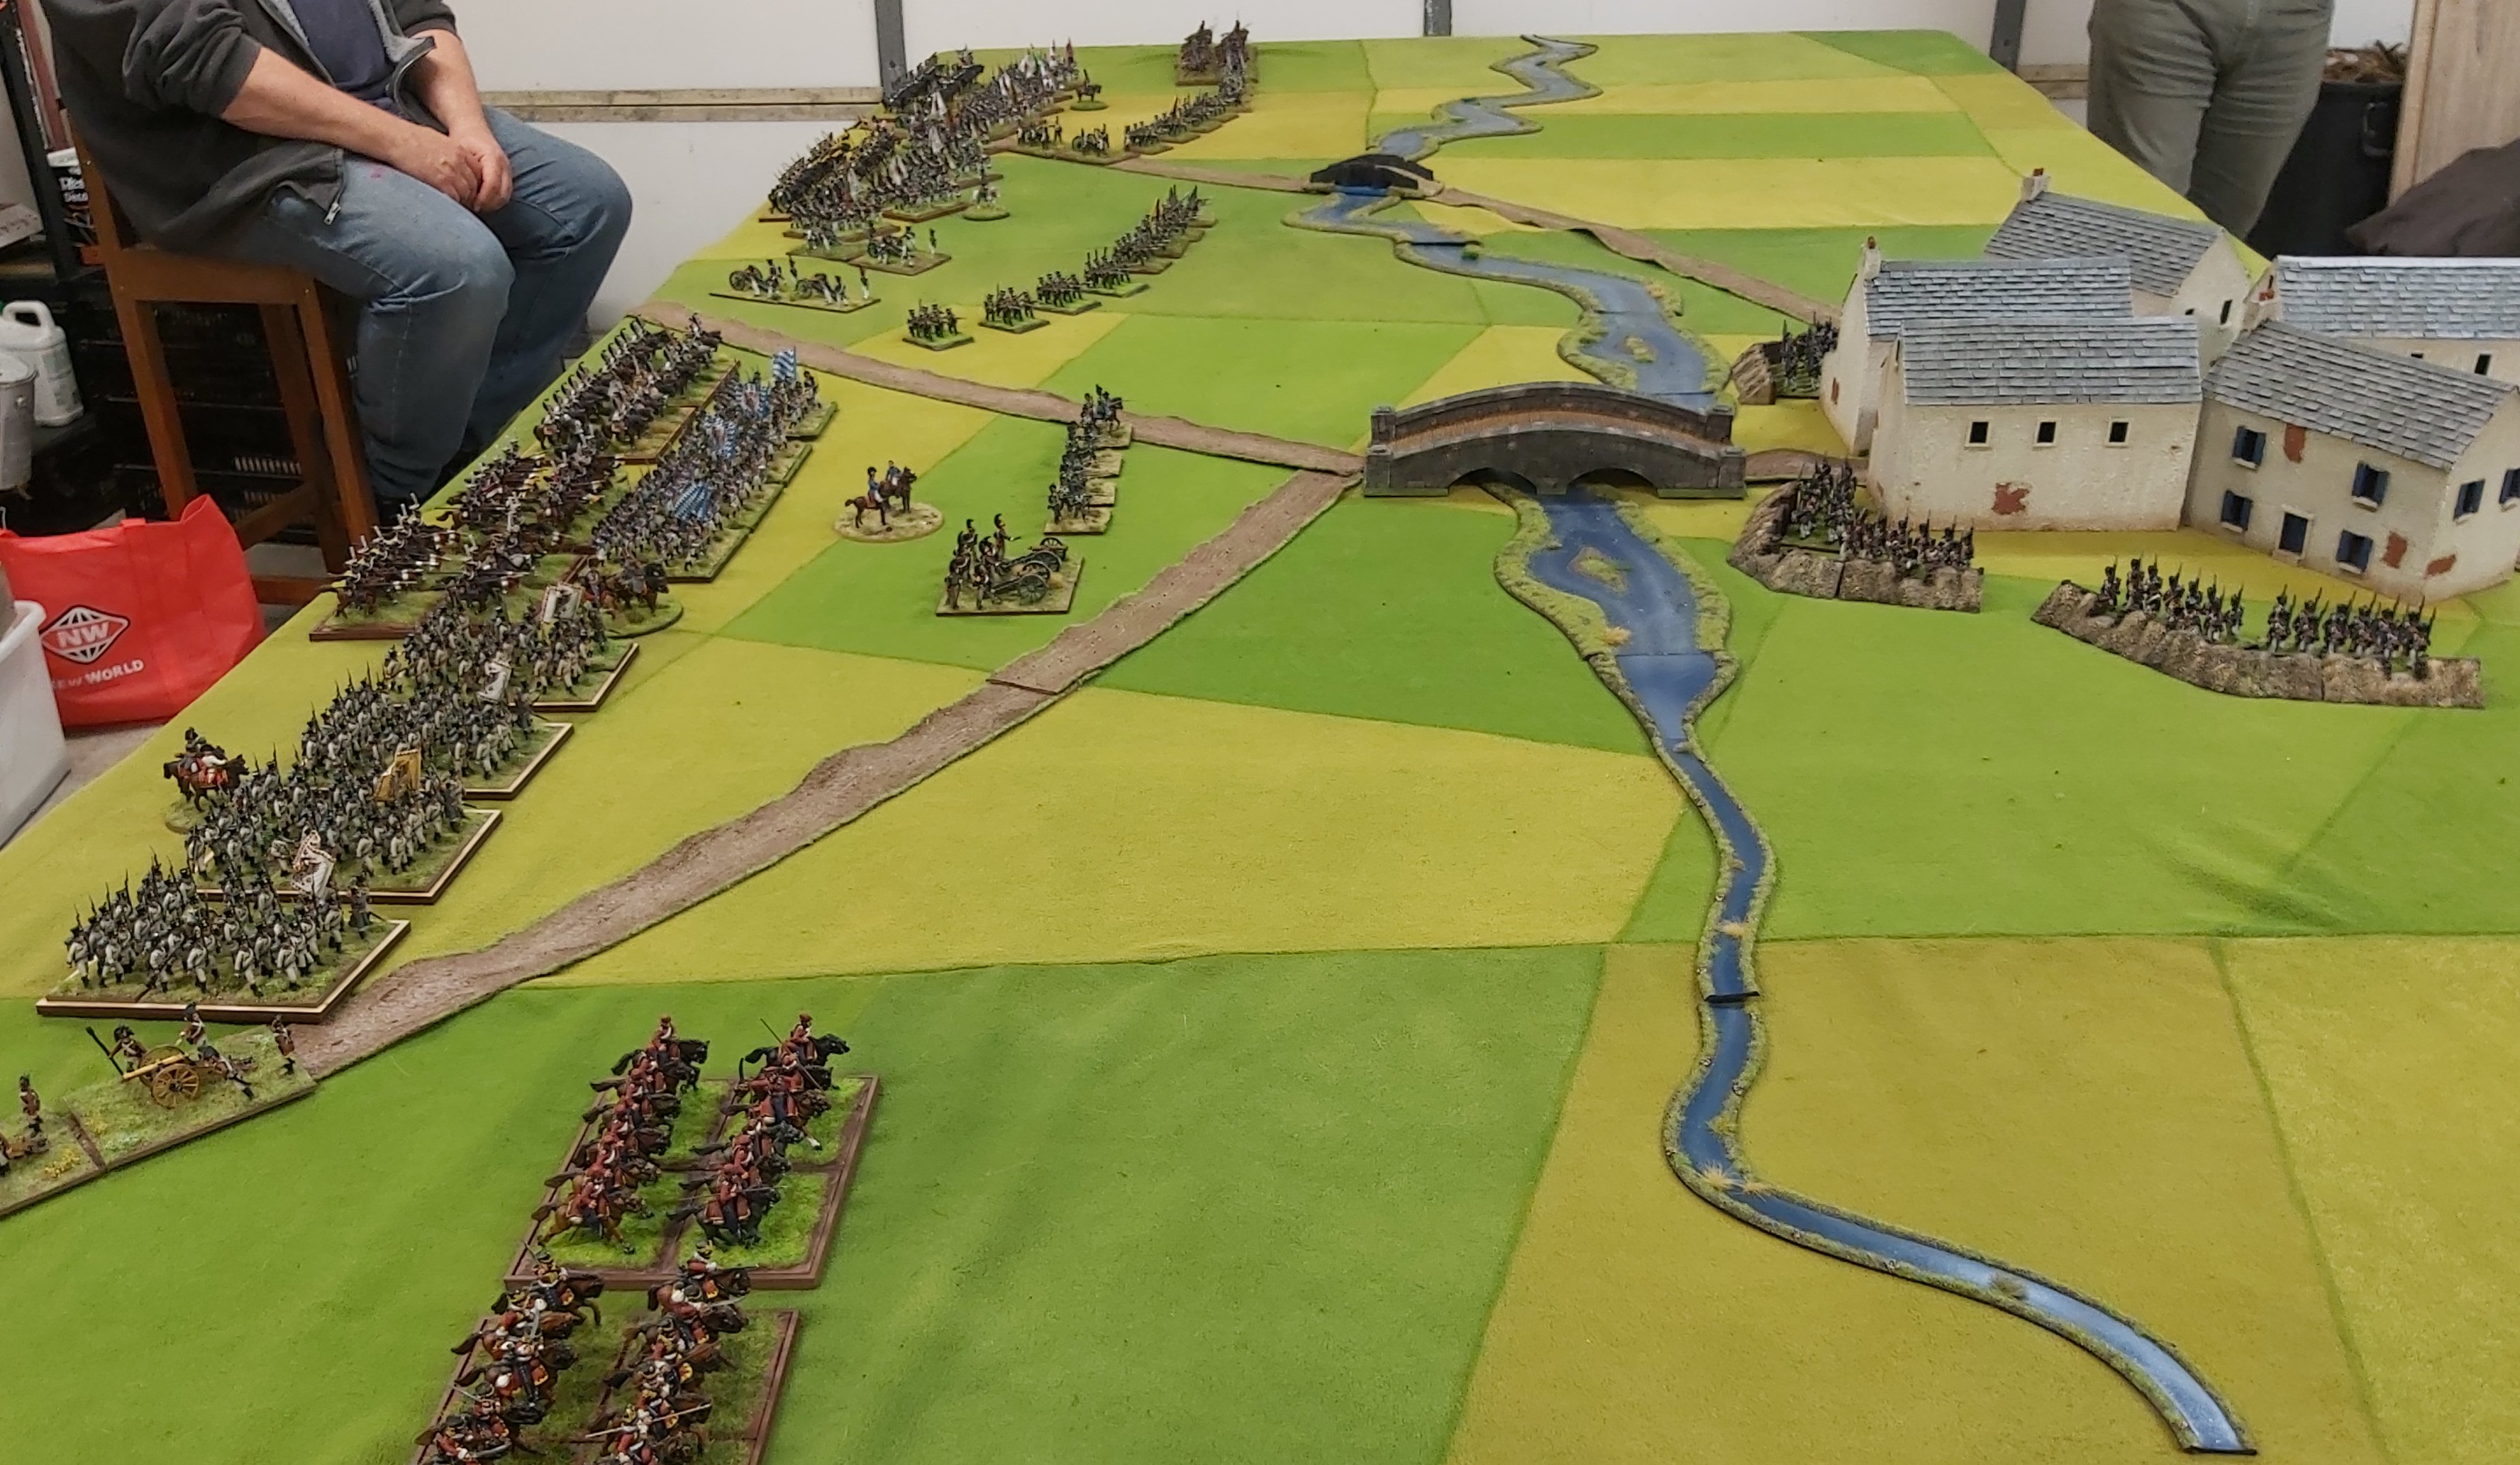
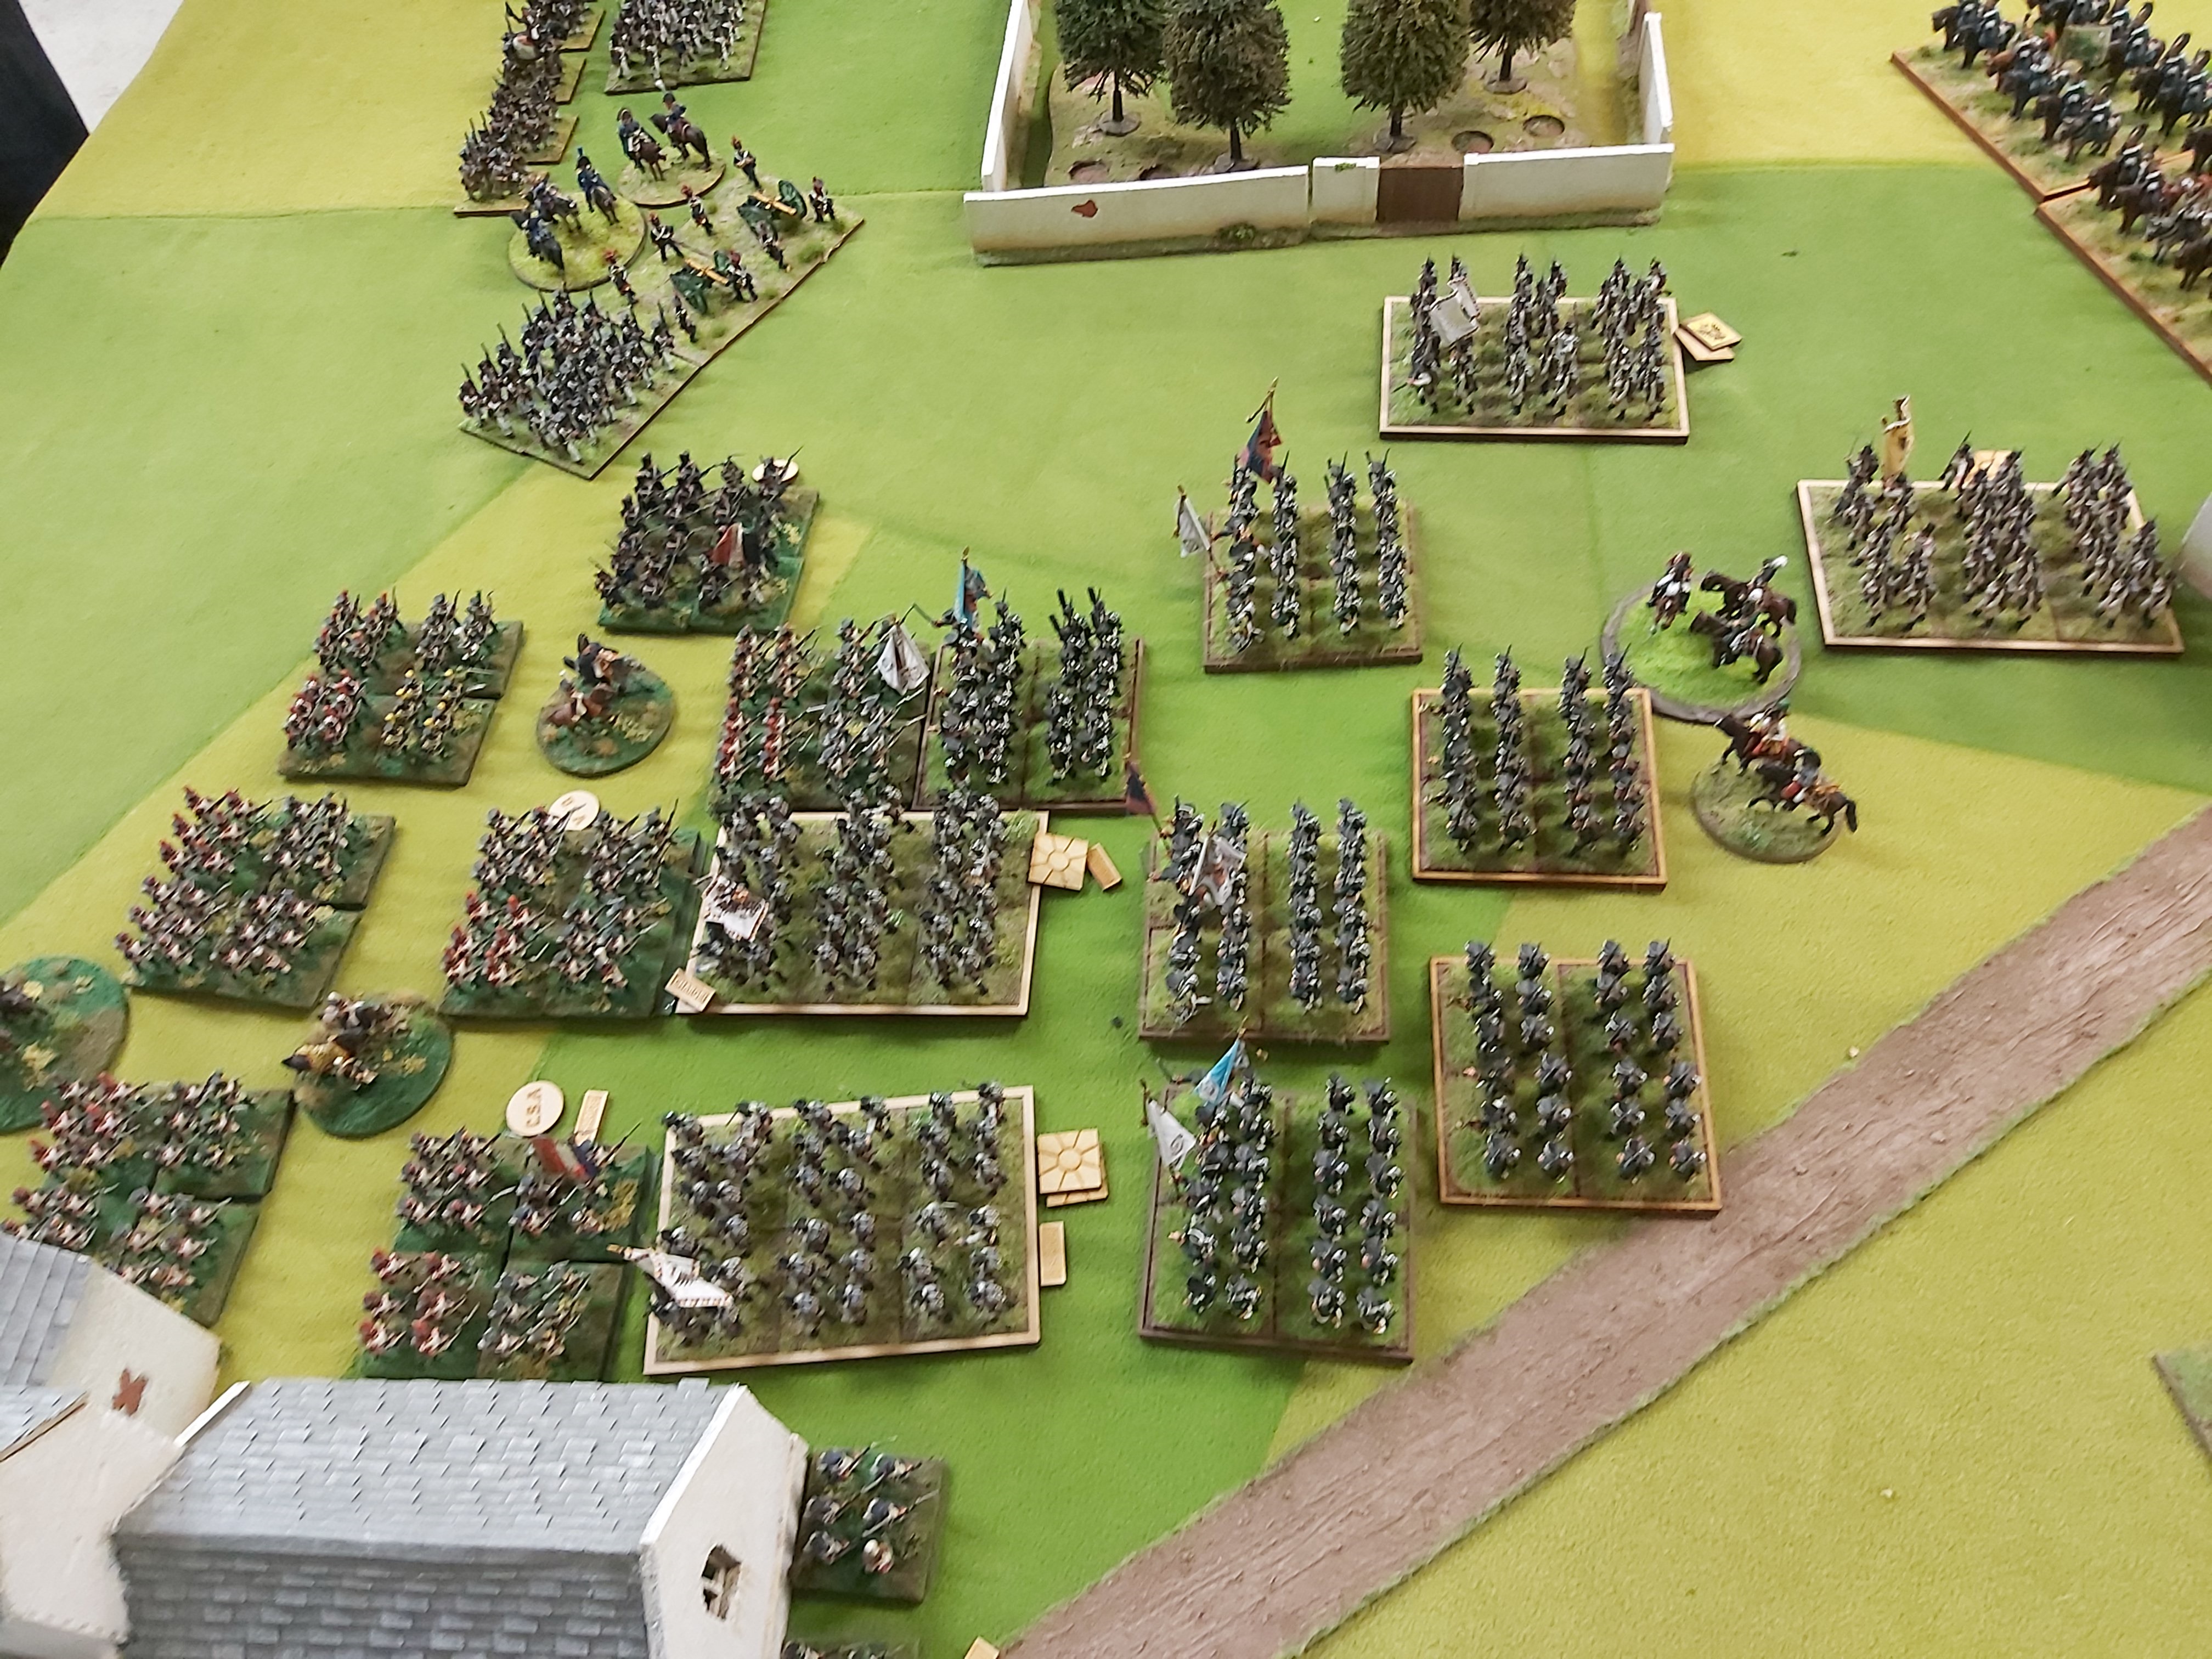
So a bit further on…. 57th getting destroyed…..combat had gone on here for a few rounds…the flanking Grenadier unit is there as I got very excited when had a unit ready to roll up the French flank where you can see the 12 pdr battery. Forgot to announce the order before rolled, an automatic Blunder Order …and as a result…they moved to the right and onto the flank of unit now charging…so they joined combat in their next turn. Thankfully after combined artillery fire into flank with infantry shooting from front, the French bttn…popped!

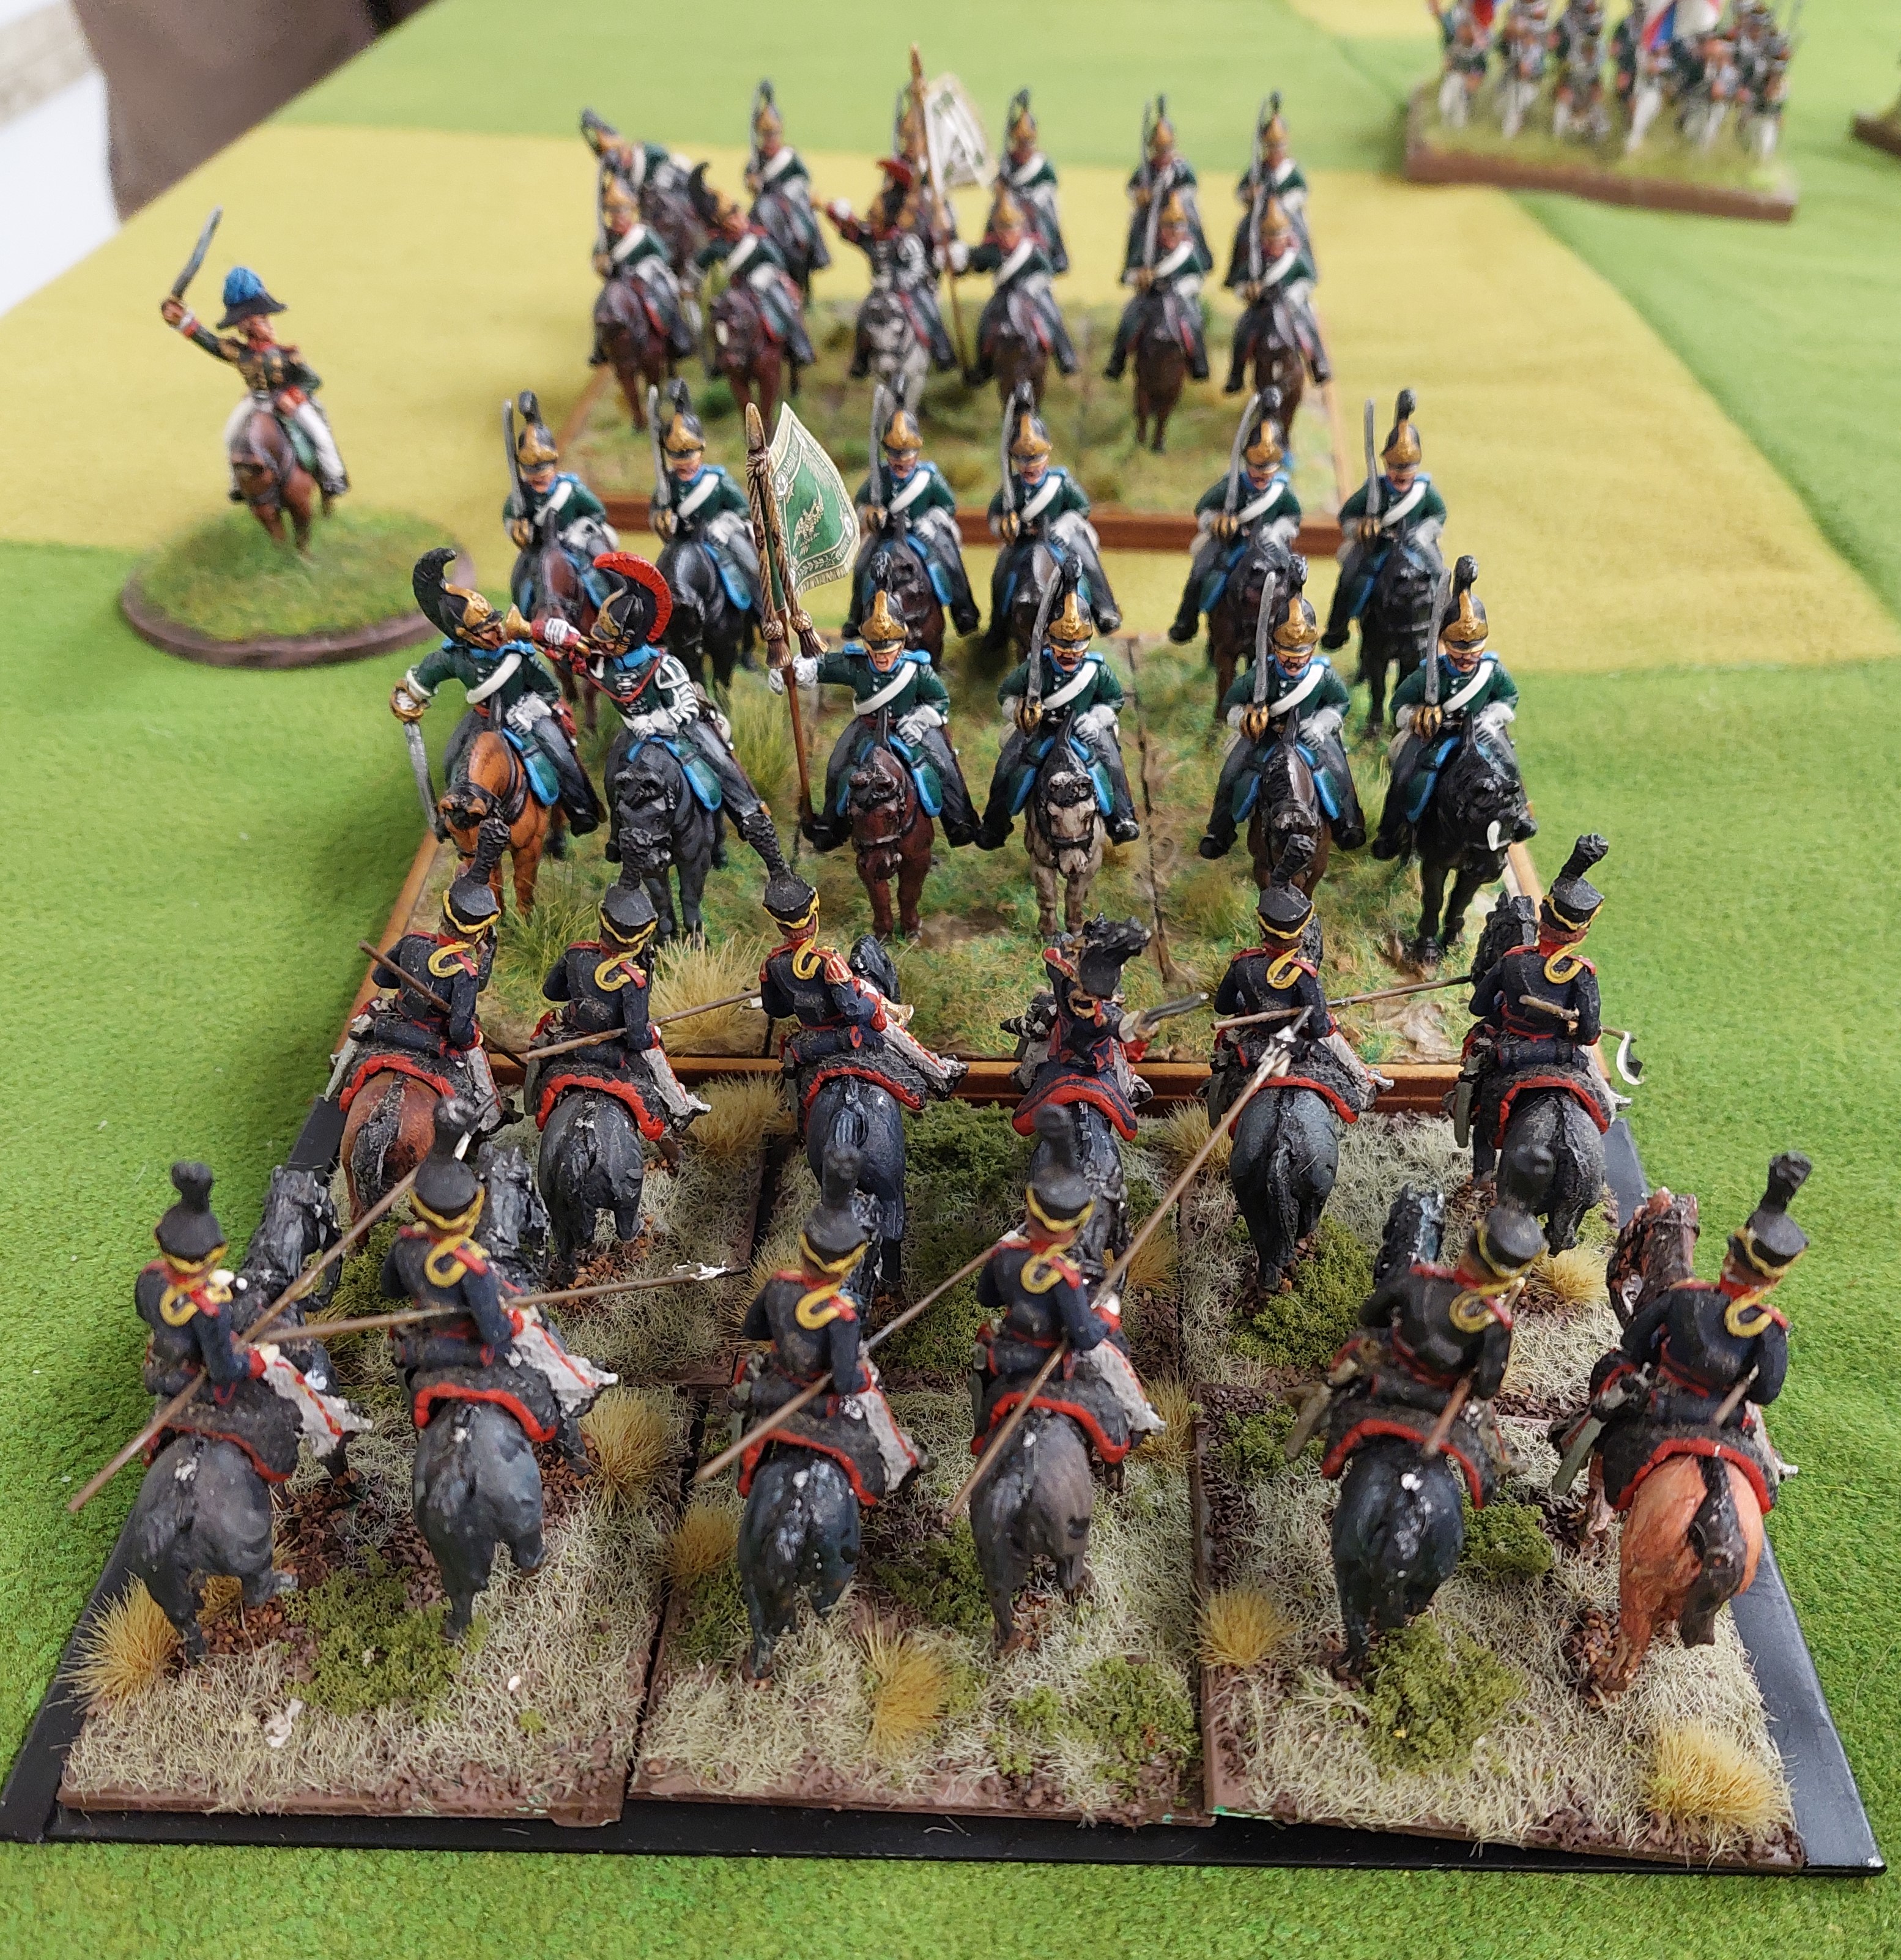
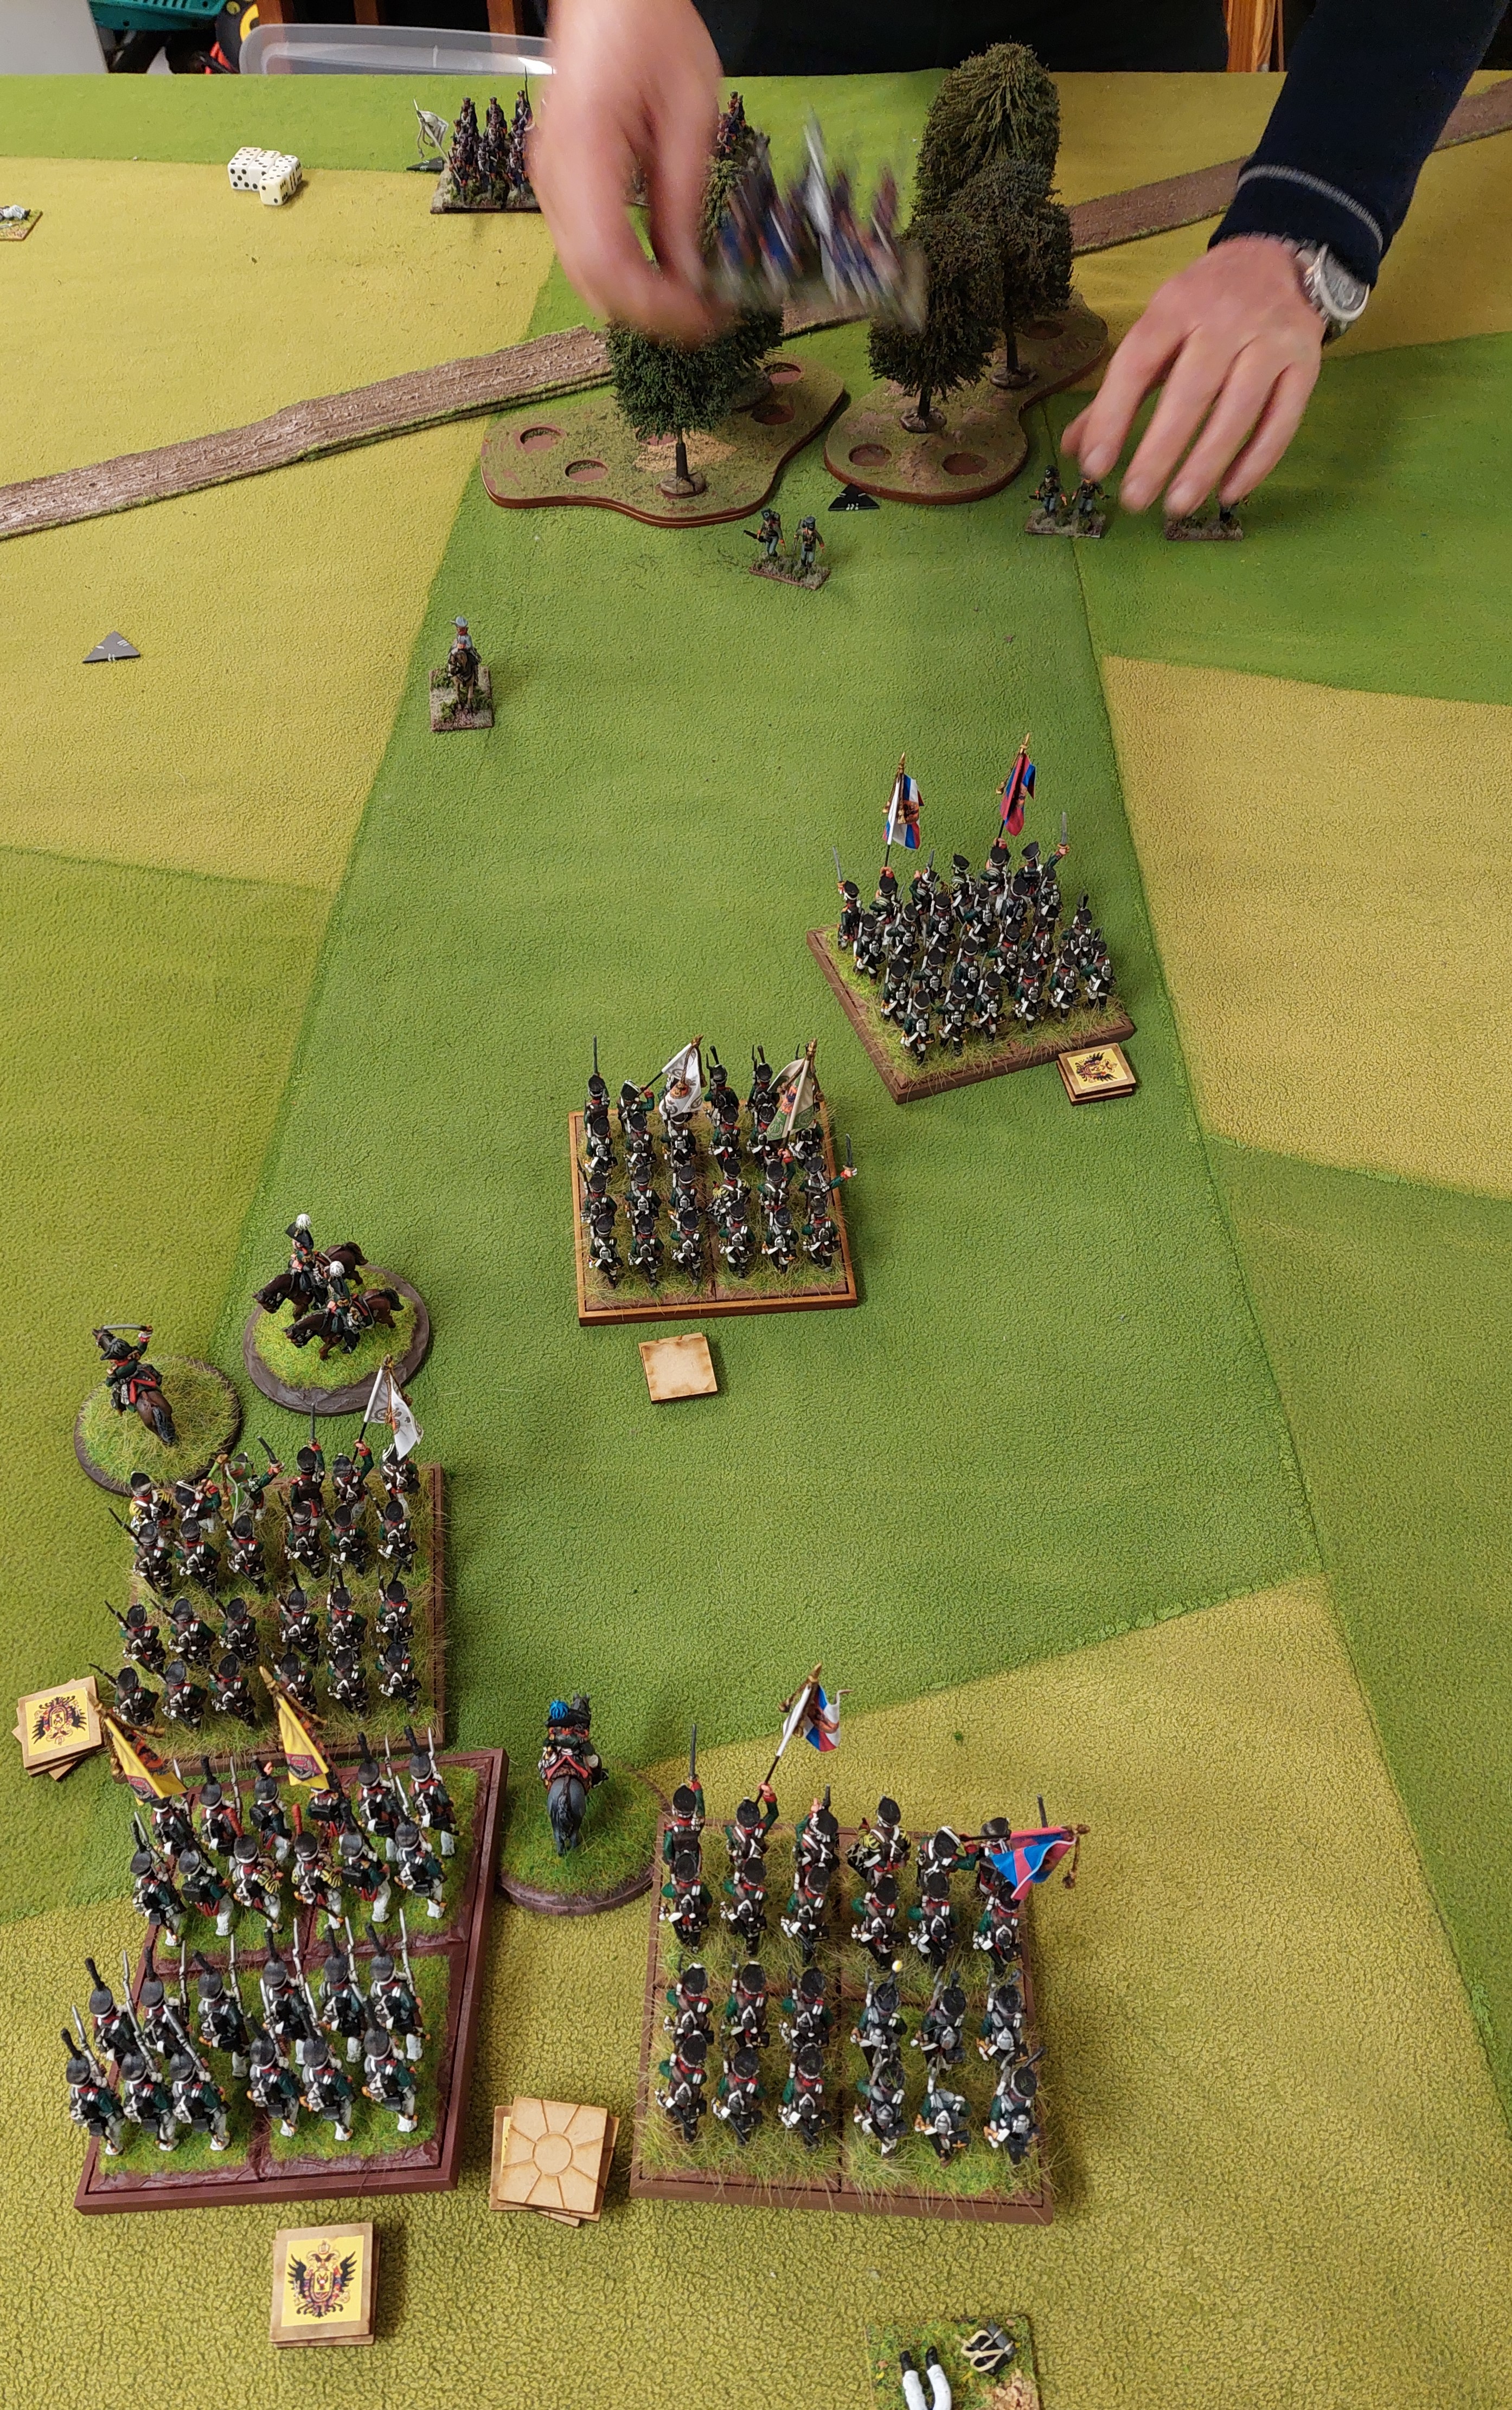
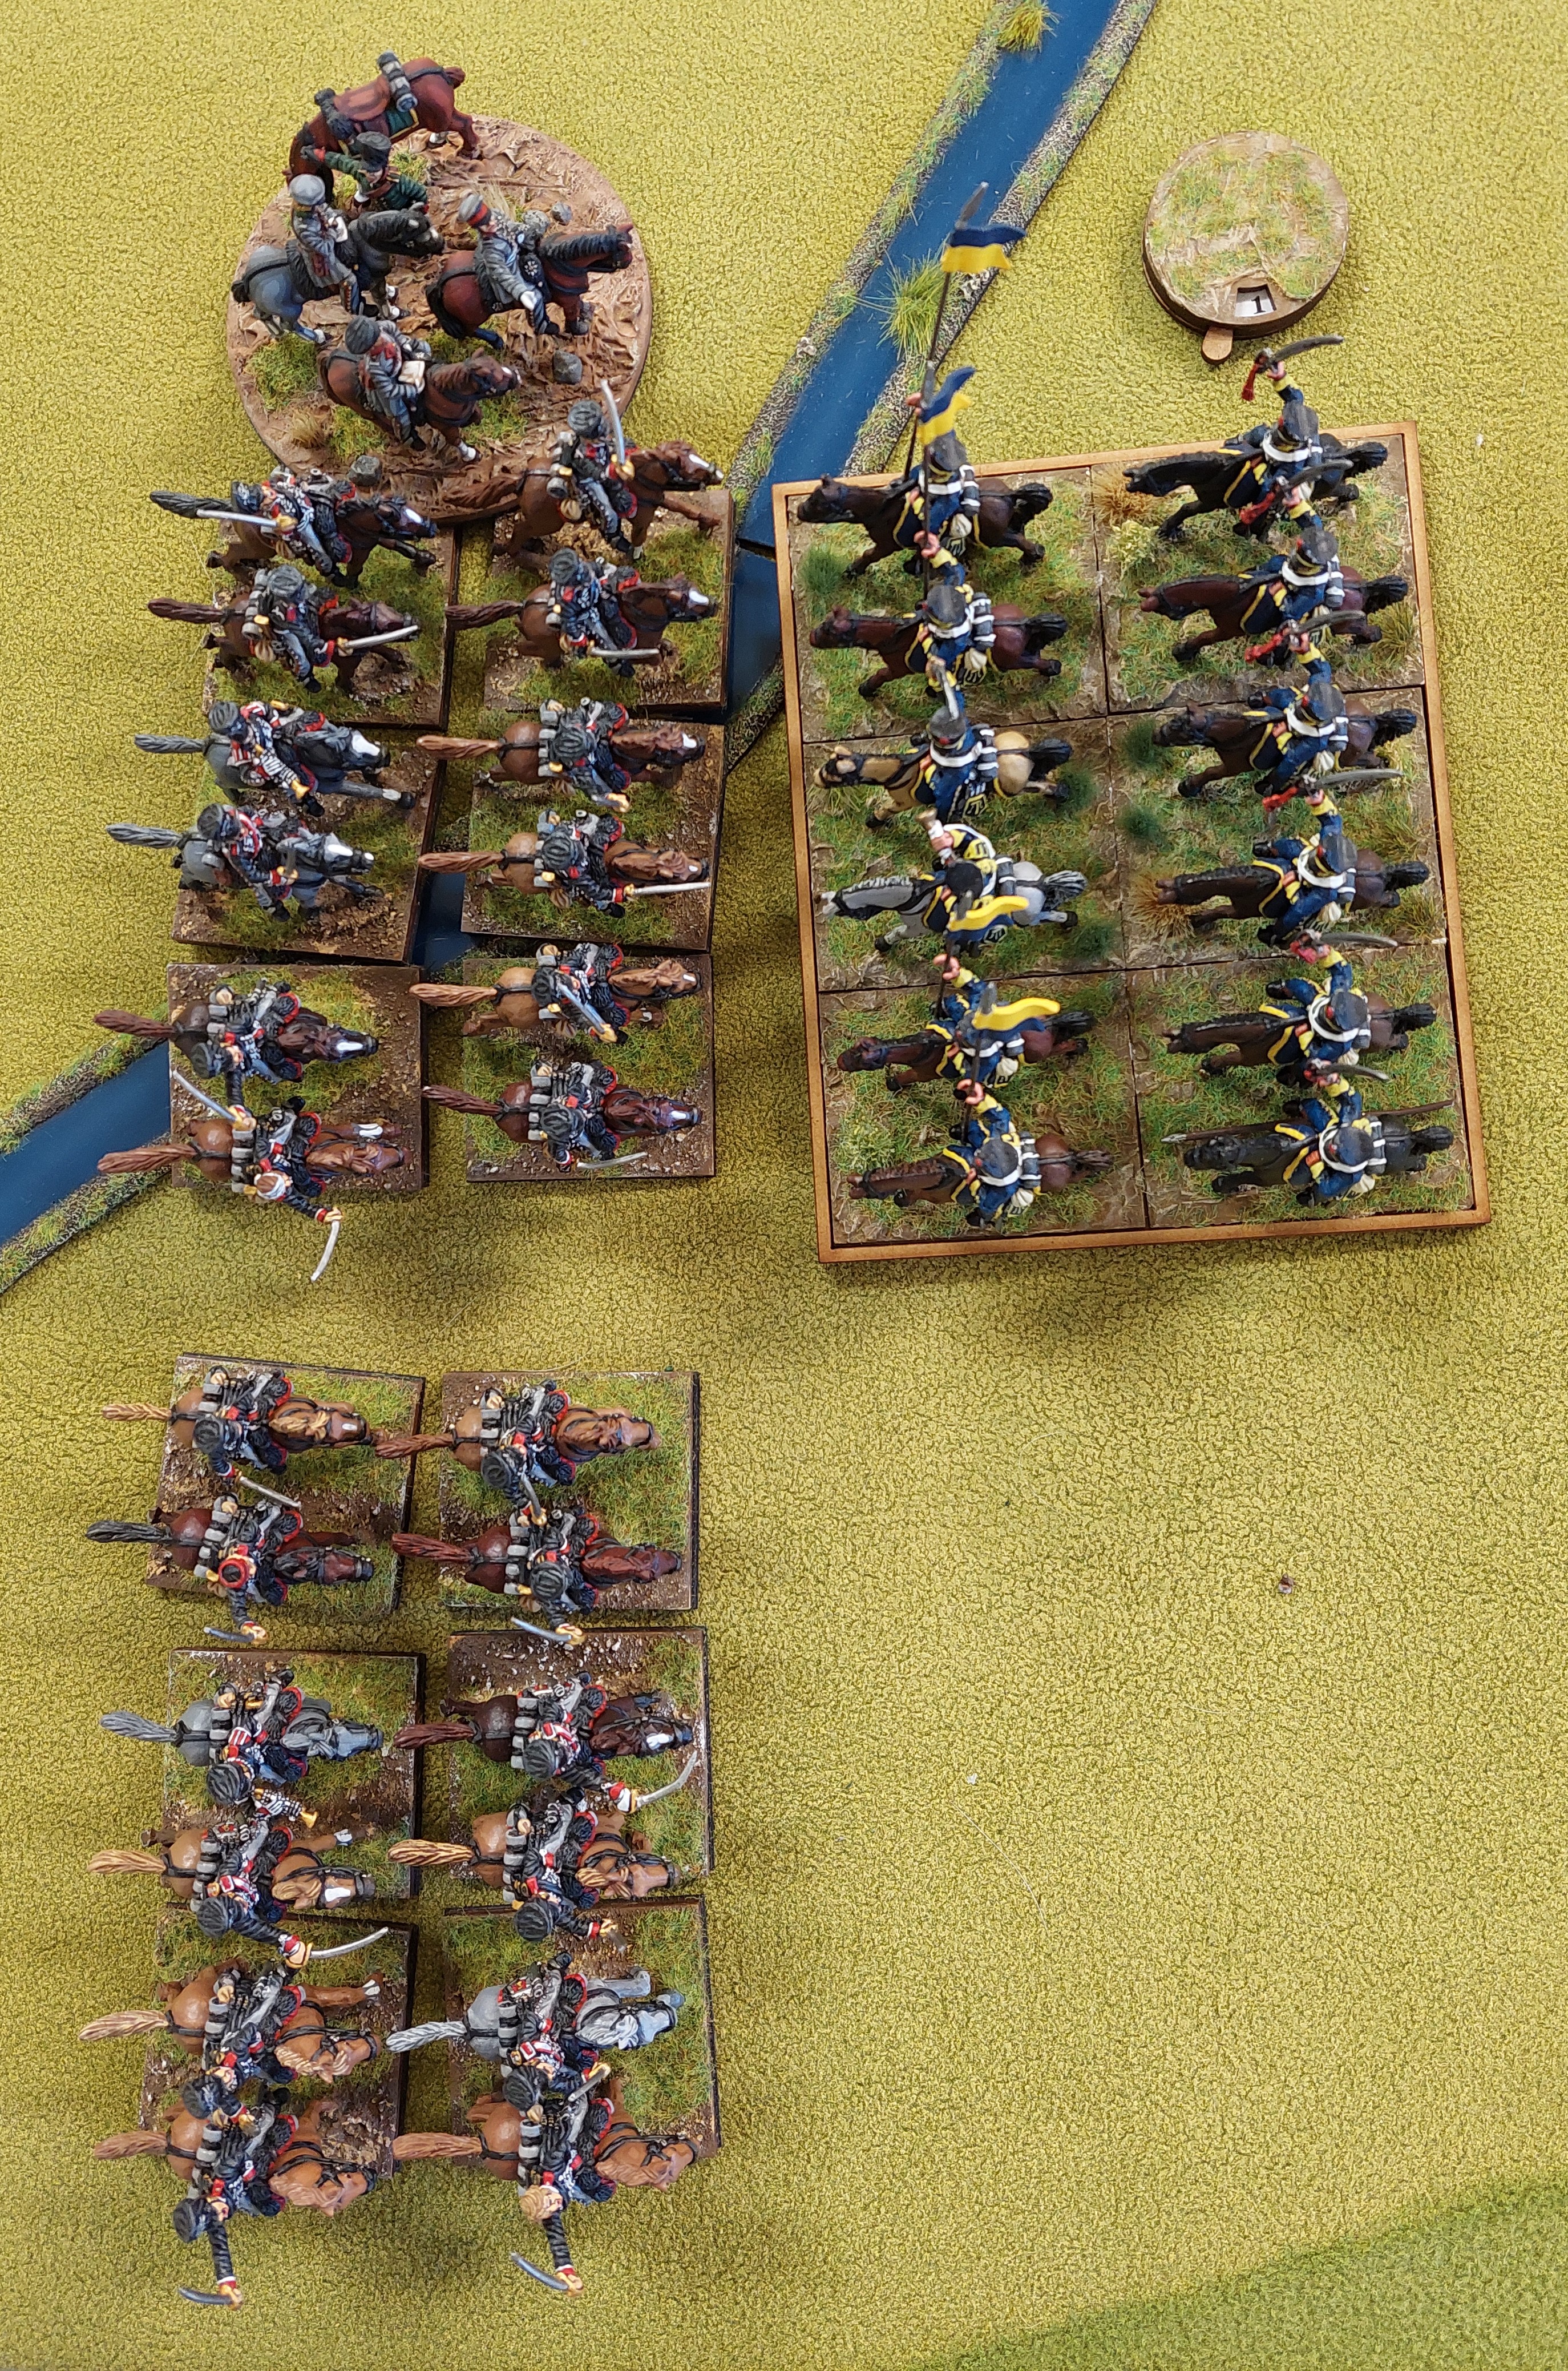
Meanwhile in the centre….Arch Duke Charles has arrived with an escort of Cuirassiers ….he was there to look good…not join in! The Austrians here had lost their artillery but still had intact bttns.

While in the centre, Alan has retired his damaged brigade before it pops….. with StevenC and Robert closing in.

So that was that……the Austrians failed to break through and stop Davout’s march Northwards. The early loss of the Grenz and Jagers in the right woods followed by the loss of the 3 batteries in the centre really put the breaks on the Austrian attack. I rolled to see if the Austrian reserves were 5 more large bttns in the centre or the 4 Grenadiers and a 12pdr from the right corner marching on…happy was Grenadiers. But in the end, the French were to good in the centre.
So to the Whisky of the week….and it is a BEAUTY!
I have just ticked over another year so I asked the beloved for a nice bottle as a prezzie. Now when Anita had her 60th earlier this year, we dined out at a lovely restaurant where I sampled a whisky with my dessert which I asked for. It was OUTSTANDING!
So this week, the Whisky of the wee is the GLENDRONACH PARLIAMENT 21 years.
It is with out doubt the smoothest whisky I have owned. I have worked up from the GlenDronach 12 and 15 and now jumped past the 18 to the 21.
It is named “Parliament” after the collective term for a group of rooks – and there is a Parliament of Rooks living in the trees near GlenDronach… how cute.

Nose: Soft smoke and lemon juice, cedar wood, apple peel, toasty oak, soft earth, date and walnut cake and a hint of freshly made espresso.
Palate: Golden syrup, soft, juicy raisins, tangy oak notes, peach, cherry blossom, cocoa and honeydew melon.
Finish: Sherry tones lead the finish, with a hint of sulphur, chocolate, luscious fruit and pepper.
And there we have it readers, get one if you can!!
Til next time.