An update from Alan.
Due to work commitments and the with my father passing earlier in the month I was very remiss in not planning ahead and ordering the figures I need to complete some projects.
End result could well be I (hopefully) will get everything I currently have on the ‘to paint list’ completed in the next 3 – 4 weeks.
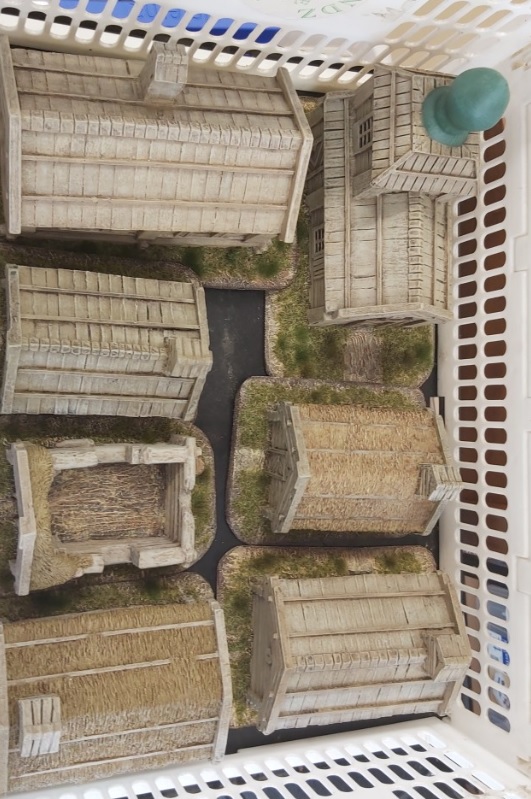
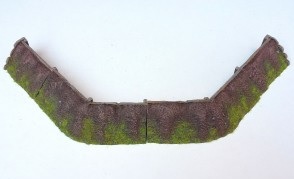
The Gaelic Division for my Carthaginian Army is now complete (pic 1). I have a 1 unit of heavy spearmen, 2 units of Samnites, some light troops plus some Nubian Cav figures to paint (pic 2) and then that’s it till mail order starts again. But with the rest of my Carthaginians and Spanish there should be a sufficient force to halt the blight which is the spread of Rome (have to learn the rules first though).
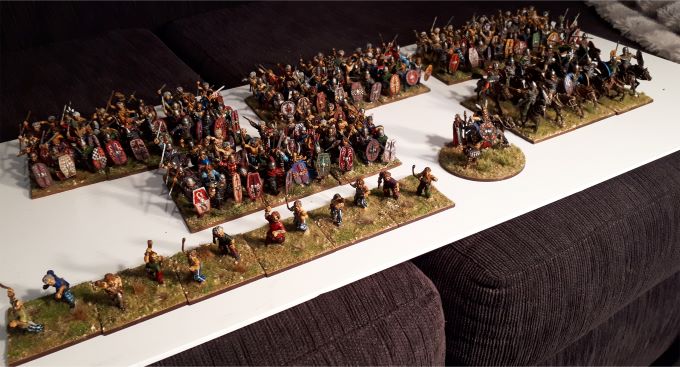
Pic 1

Pic 2
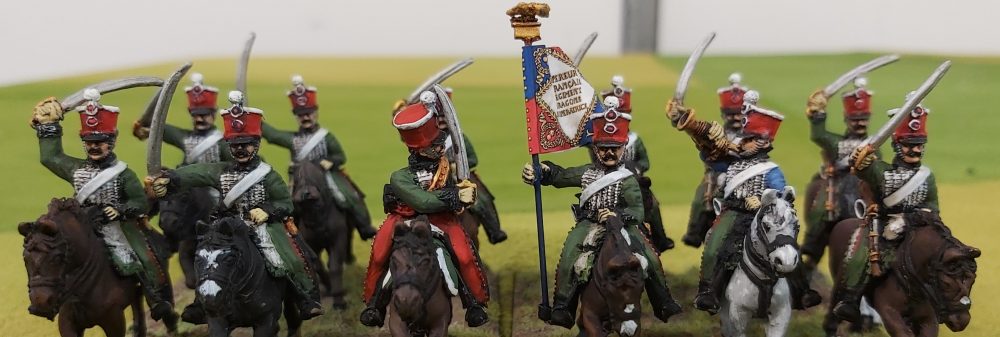
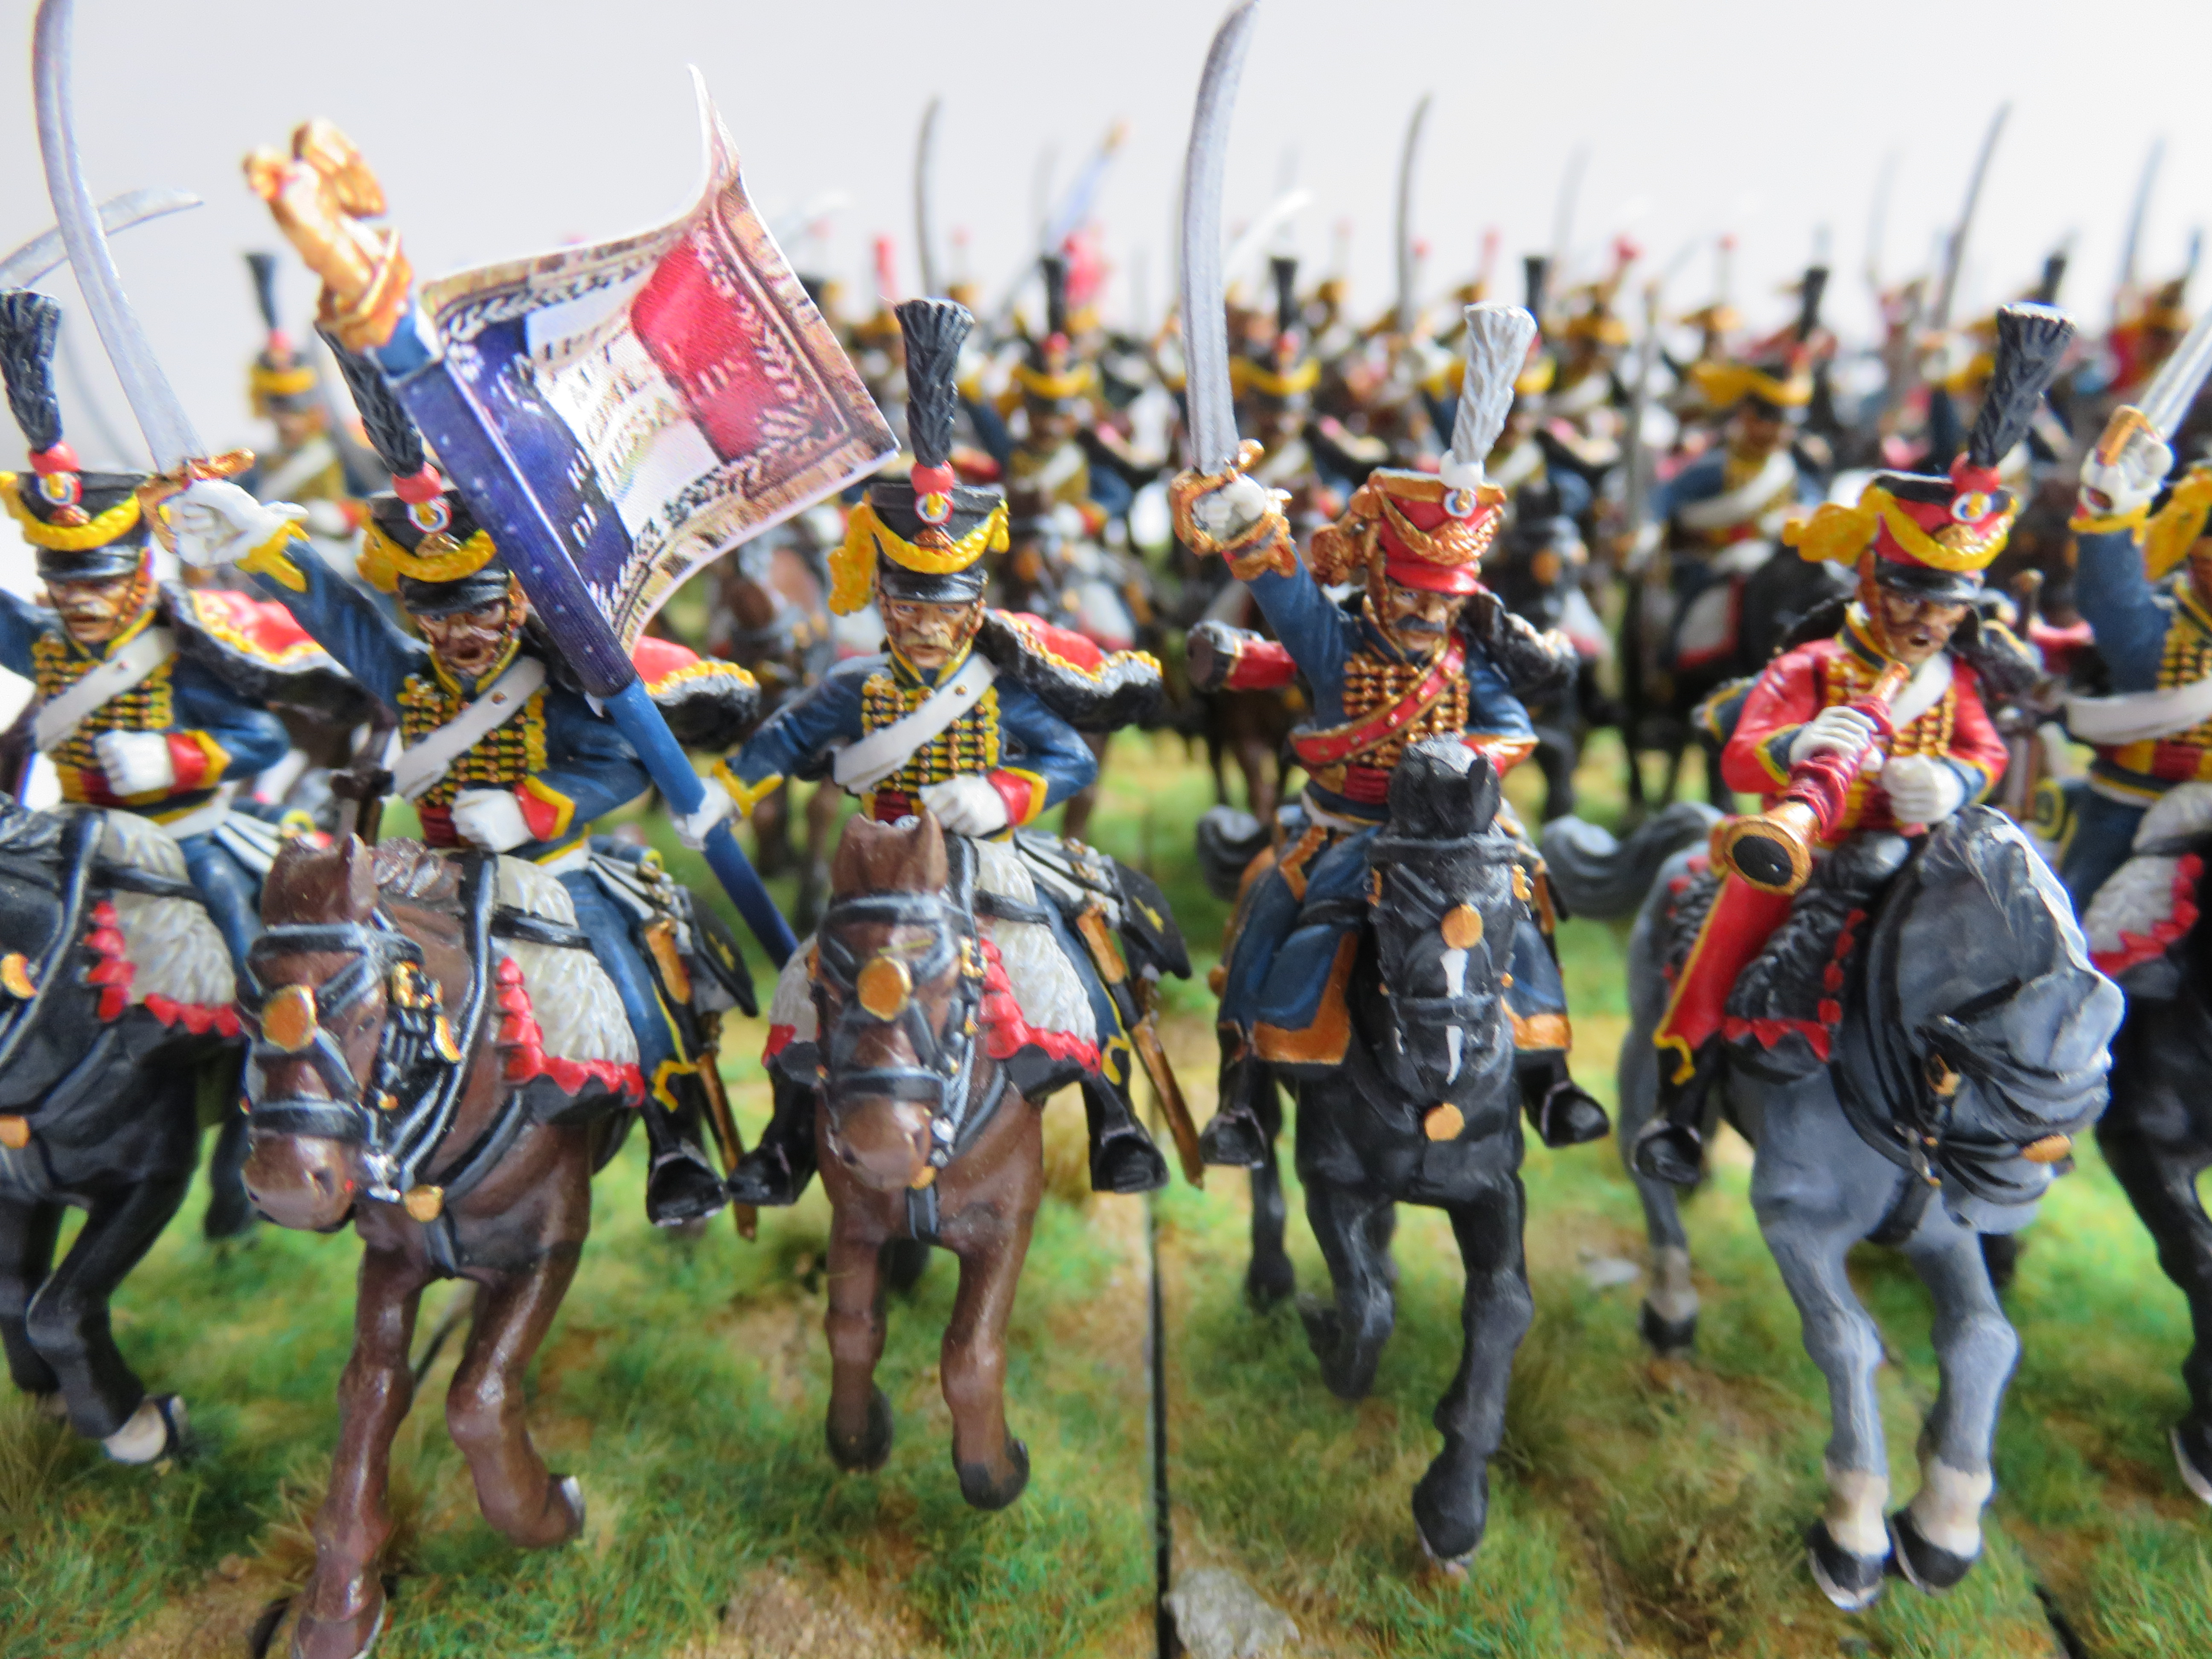
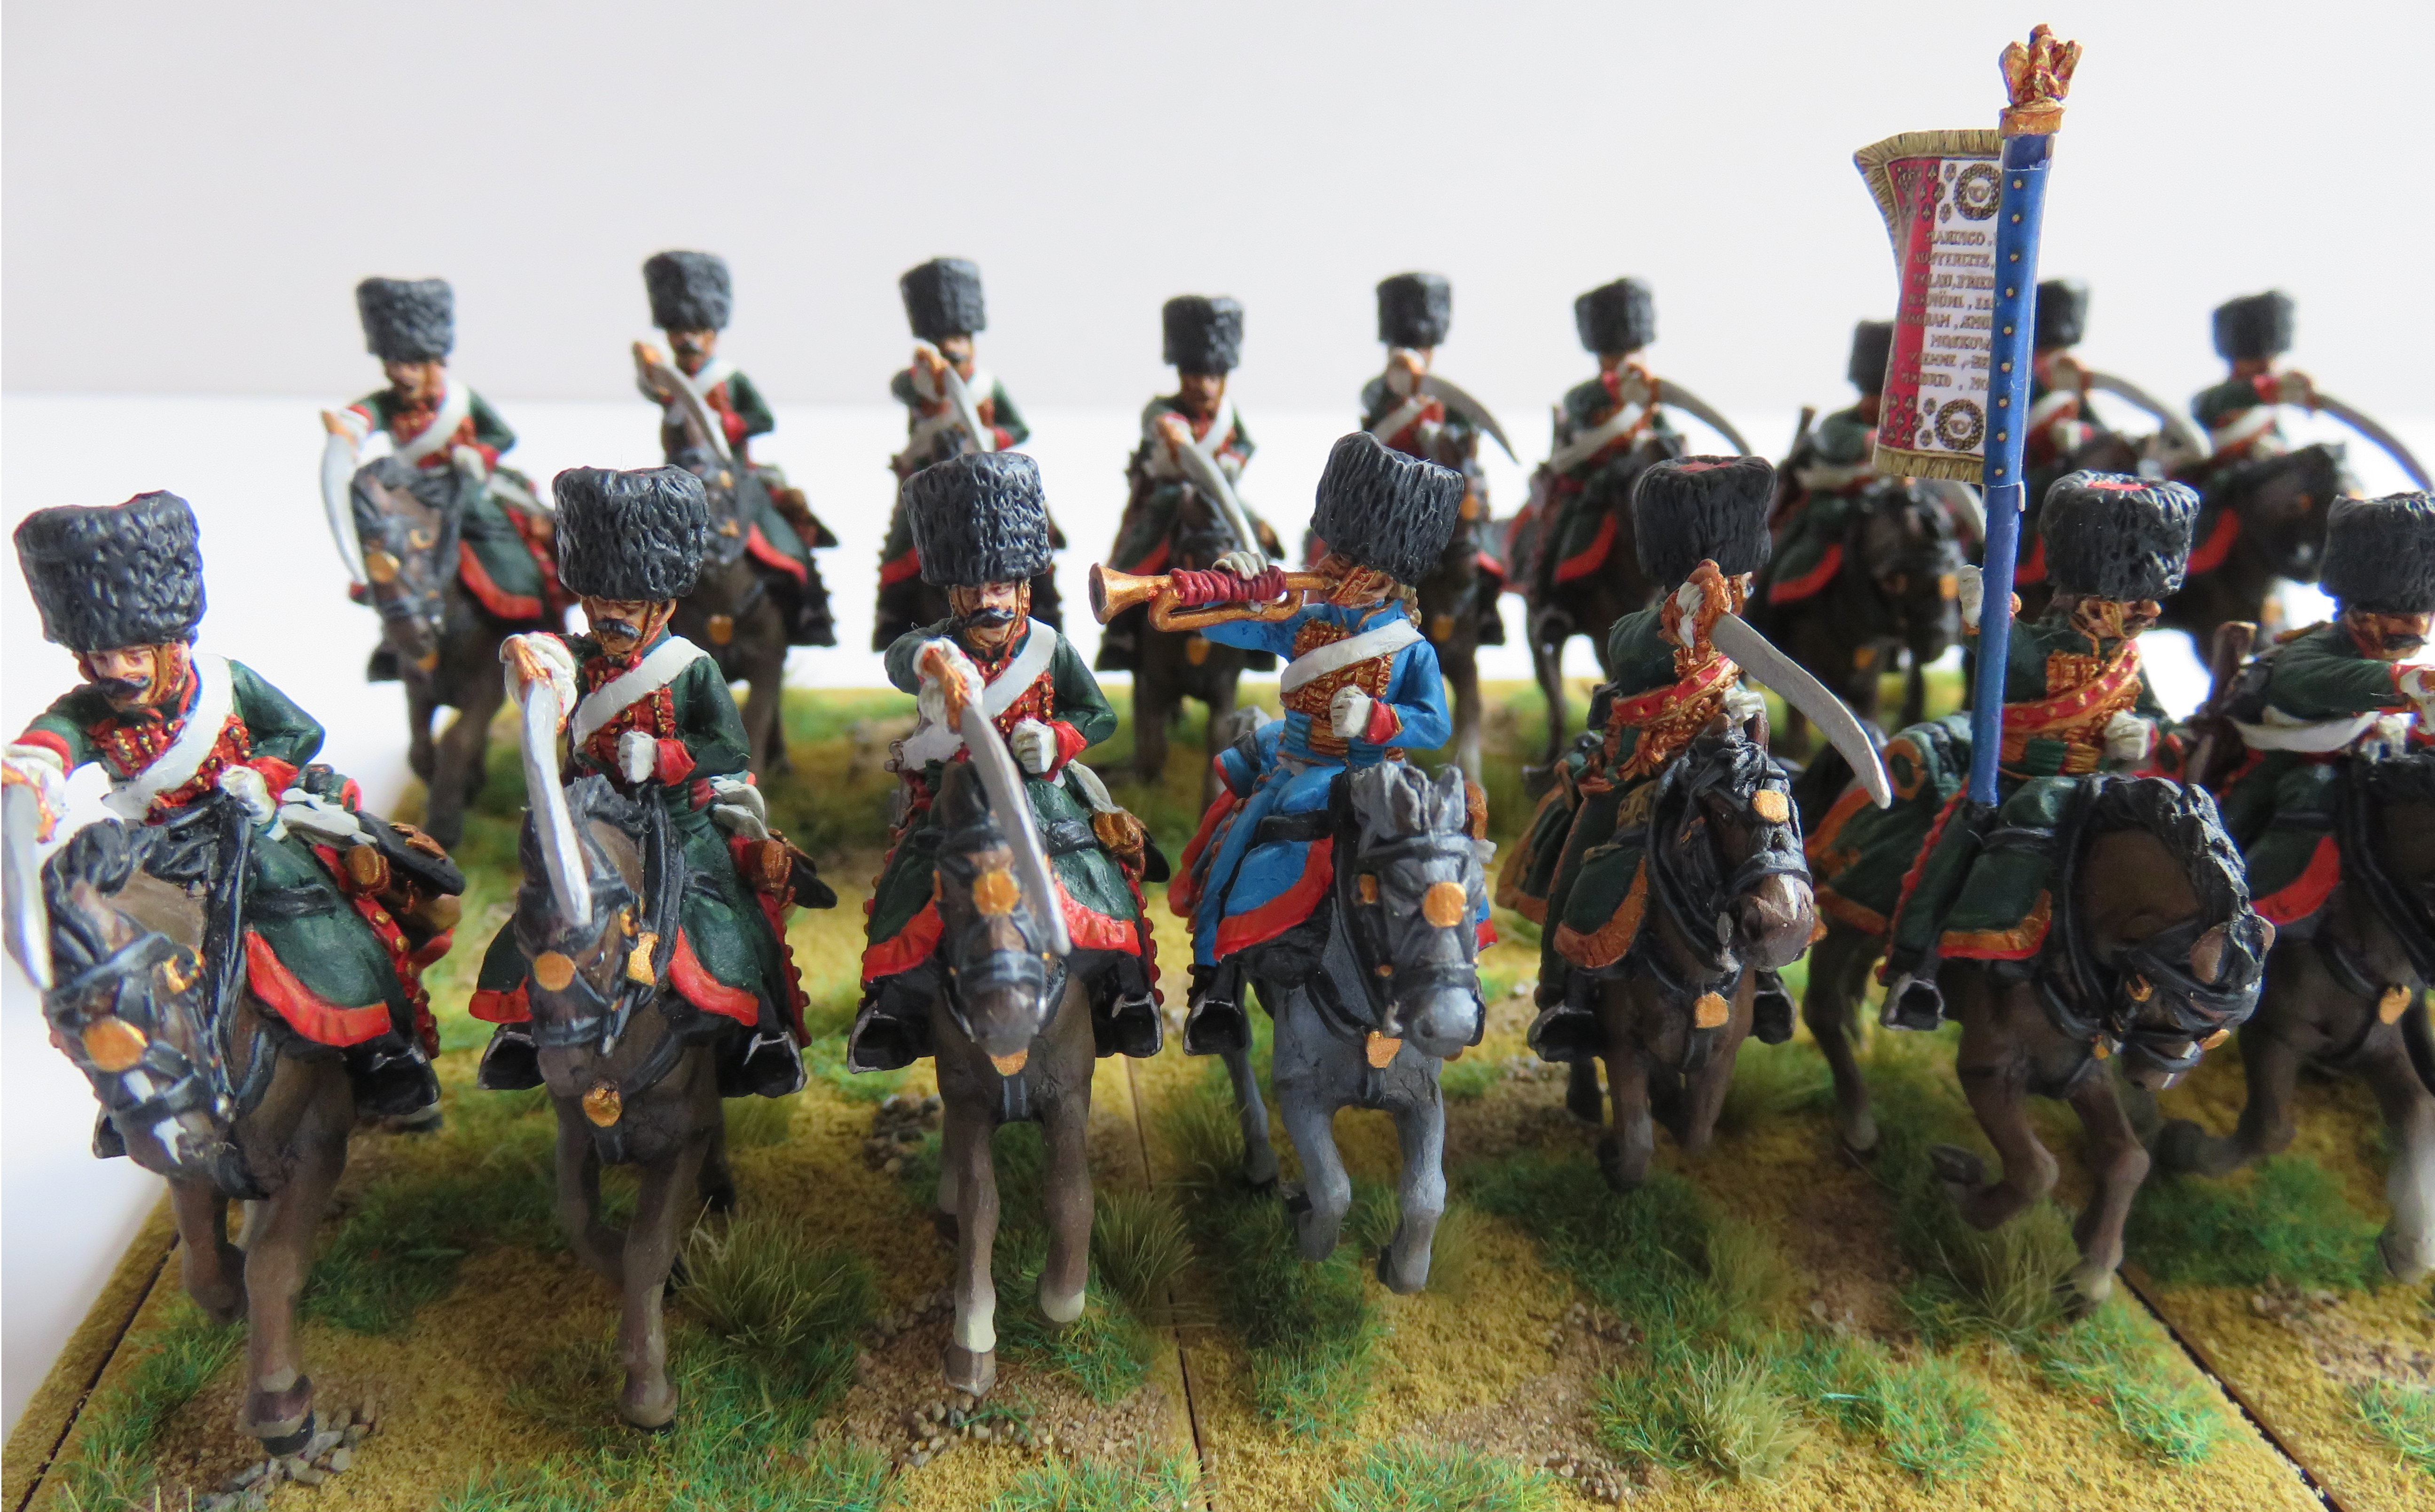
I was going to complete some Westphalian units (since Borodino delayed) but could only score at the very last minute one box of the new Perry French (will need to purchase 3 more when the bugs have gone) … but do have one Westphalian light Regt under way (pic 3).

Pic 3
Additionally I have been painting up some Black Seas ships, which were are nice change from 28mm figs, but have only one French 1st rate and small merchant vessel left to complete that collection (pic 4 &5)

Pic 4
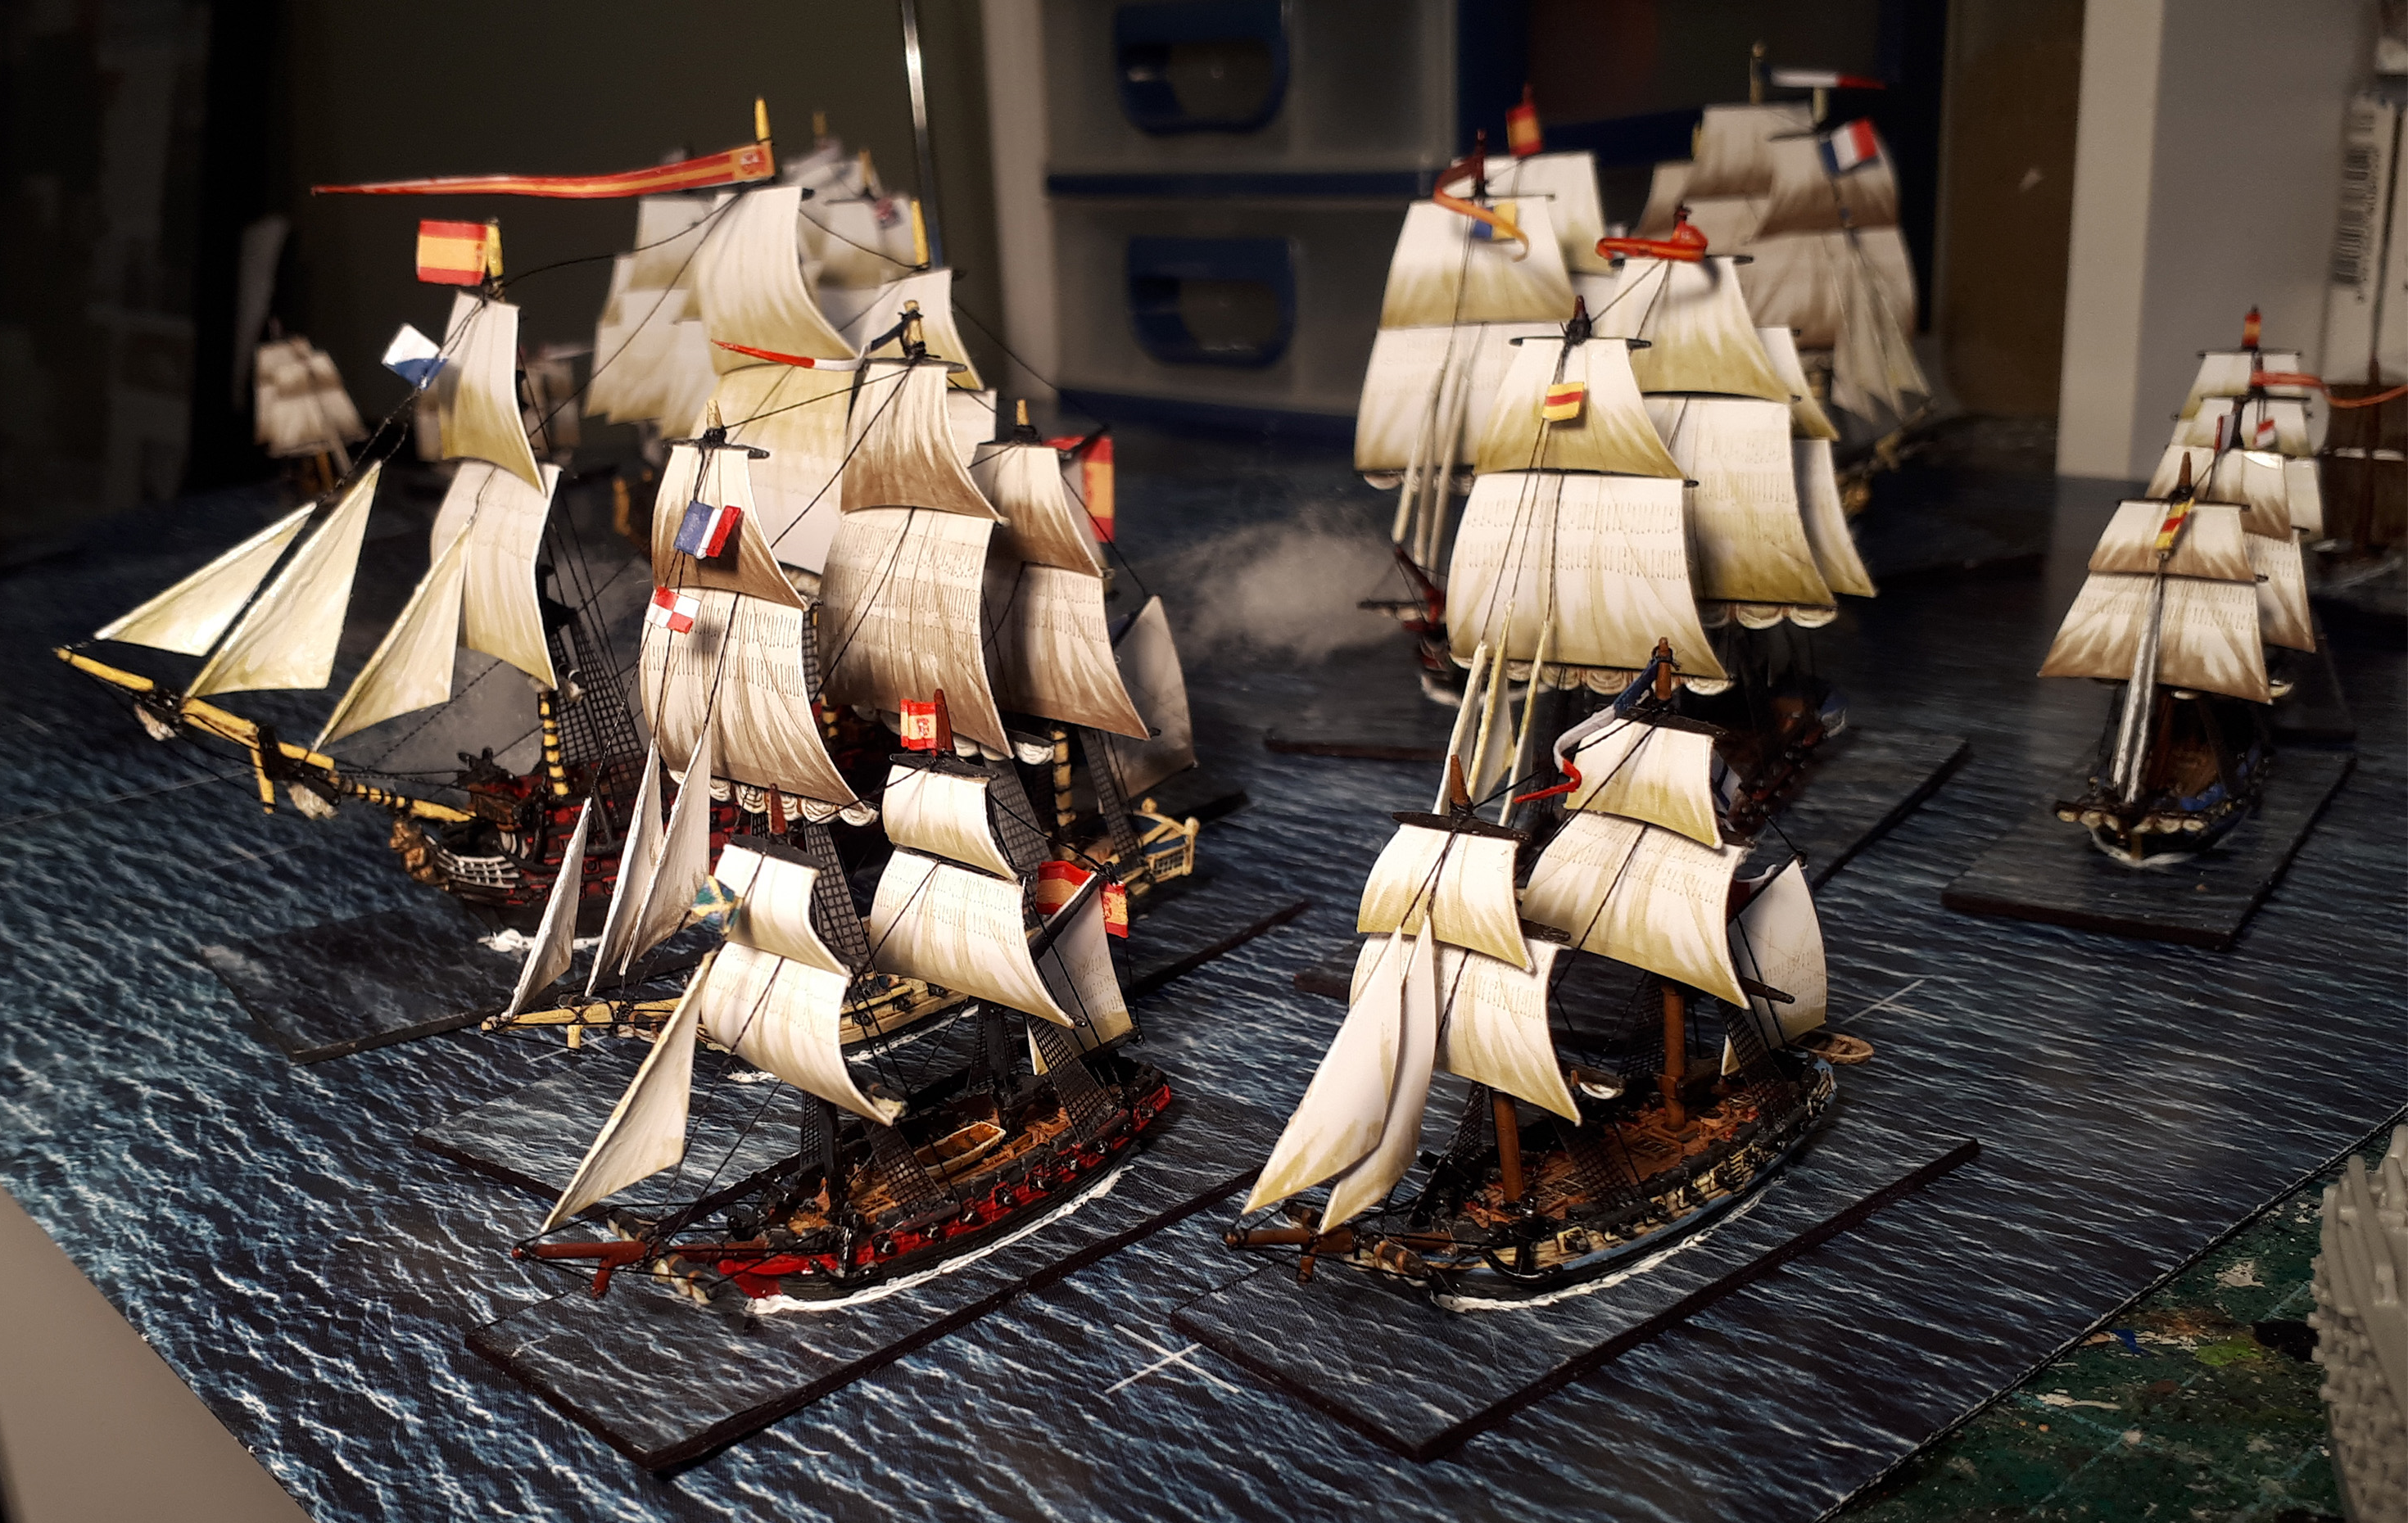
Pic 5
Finally …. as a last resort if lockdown drags on, and the paints don’t run out, there is an unpainted 15mm Austrian SYW army in the cupboard gathering dust.
Stay safe.
Footnote: Terry here… I have offered Alan some more Victrix Samnites to paint …the 15mm figures are happy gathering dust….they truely are…honest Alan…reallllllly happy…...


 Exercise organised? Double tick.
 Yep they seem ready!