So into July and the planned game for the night was our first ‘Pike n Shotte’ game…. however Stephen was providing most of the figures and had to pull out at the last minute. So I quickly alerted the ladz and planned a Naps practice. It’s been a while since as a group we had a game, and we have a Dresden 1813 refight coming up. So, I asked each player to bring 1 foot brigade and a light cavalry brigade, with the aim of boosting it with Garage stocks.
In the end I boosted each player up to 2 brigade’s of foot and 1 of light cavalry. Each foot brigade also had 1 battery. Commanders were to be 8’s, however each side was to randomly make one a 9, and then make another ‘Aggressive’ which added a +1 to ‘Charge’ orders. Goldie insisted I give him the ‘Aggressive’ when I won the roll off on our side…apparently unlike me, Austrian commanders are not allowed to be ‘Aggressive’.
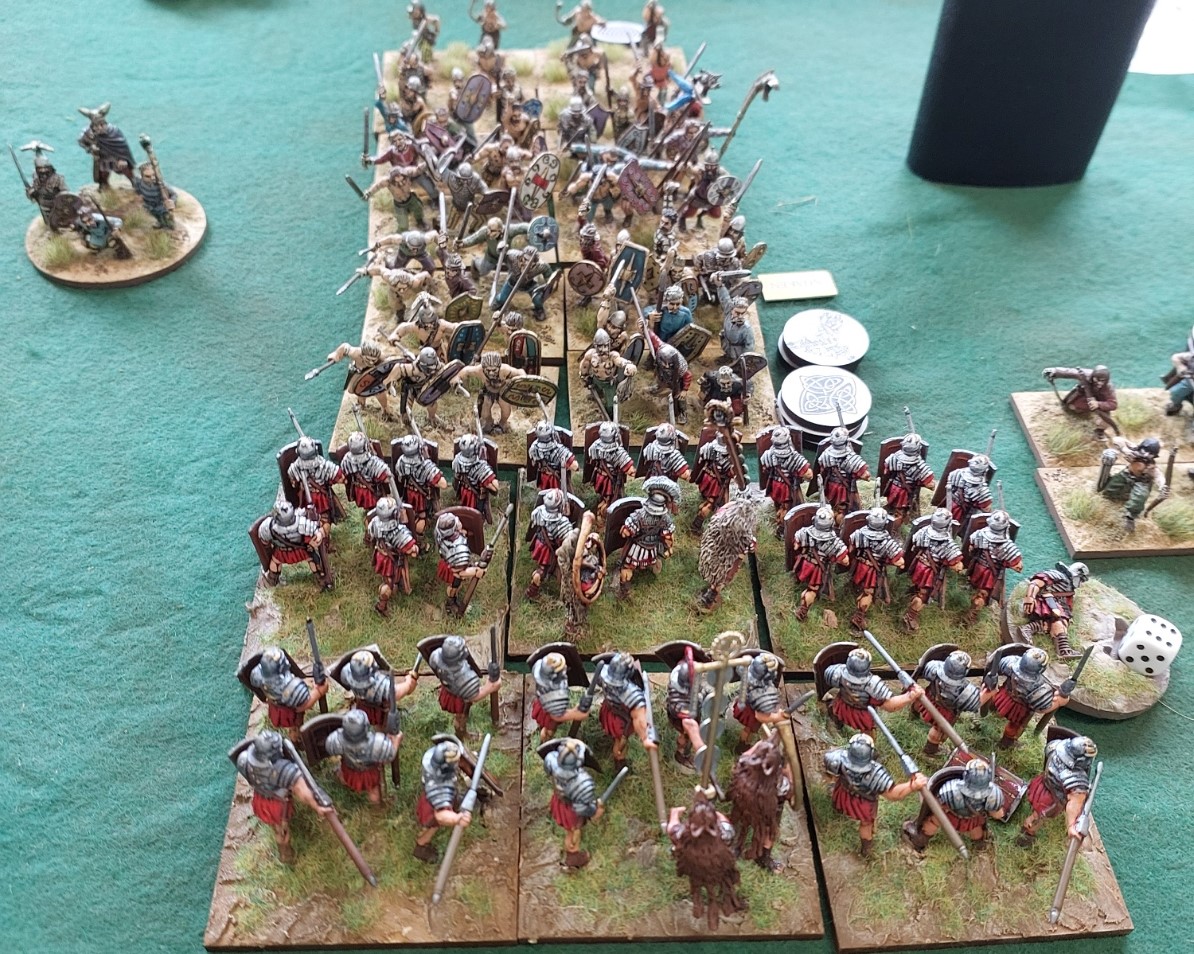
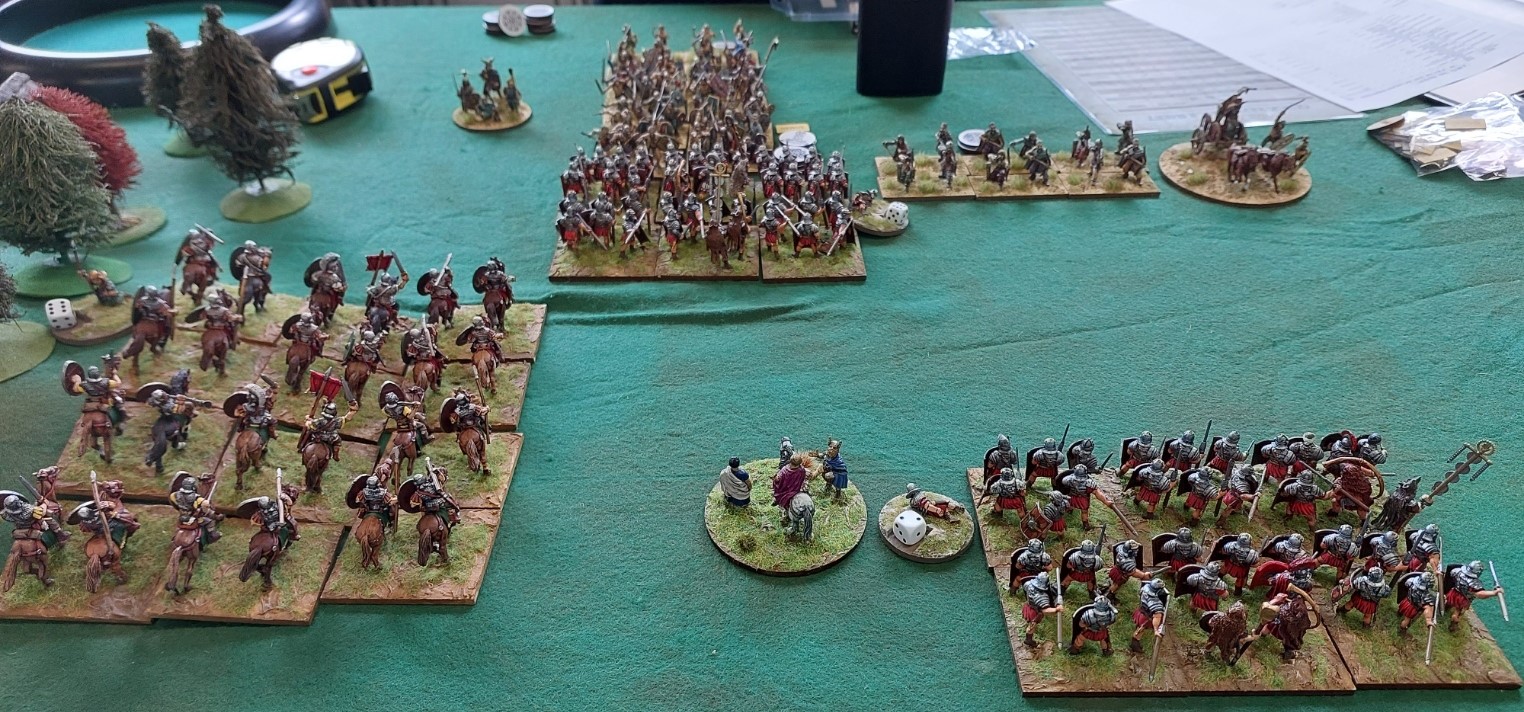
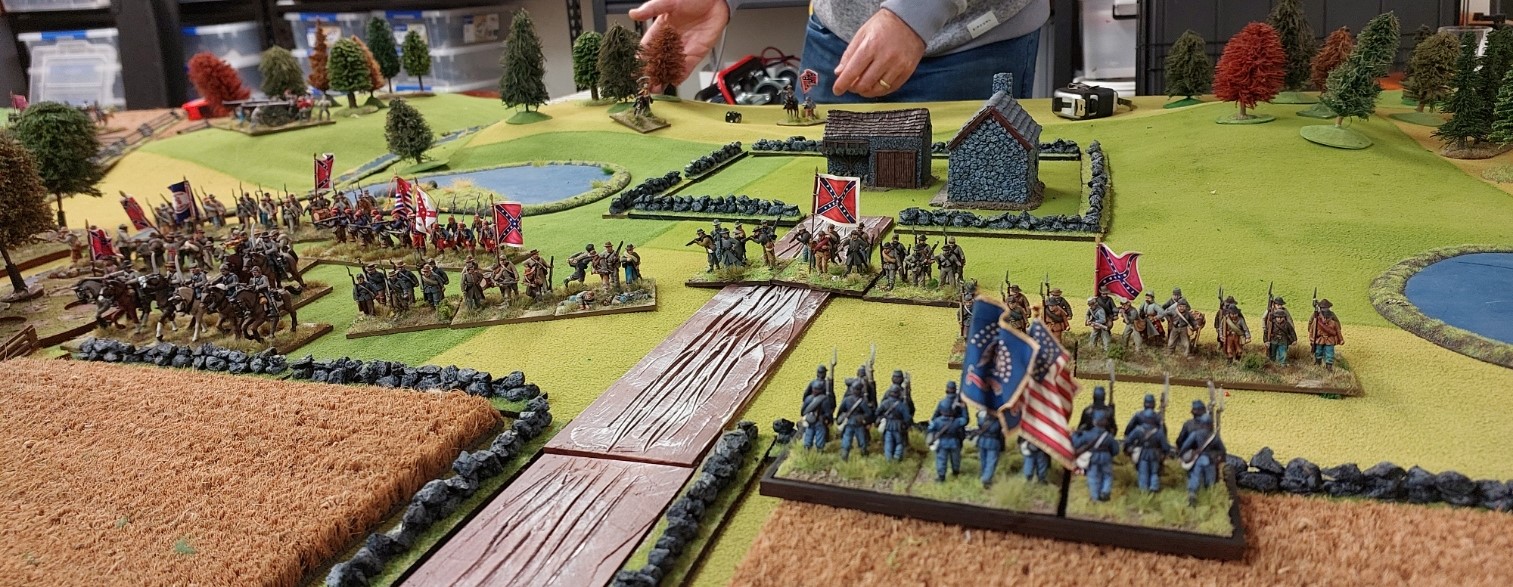
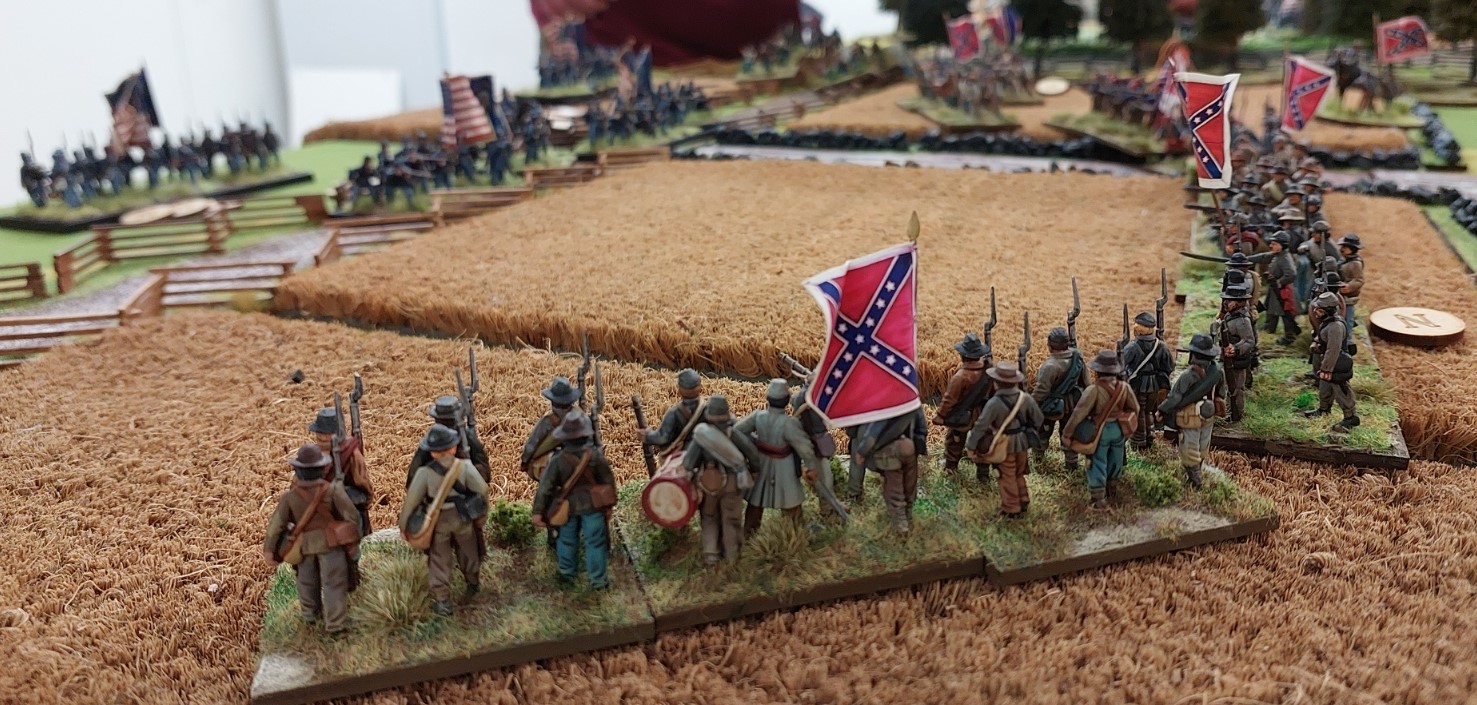
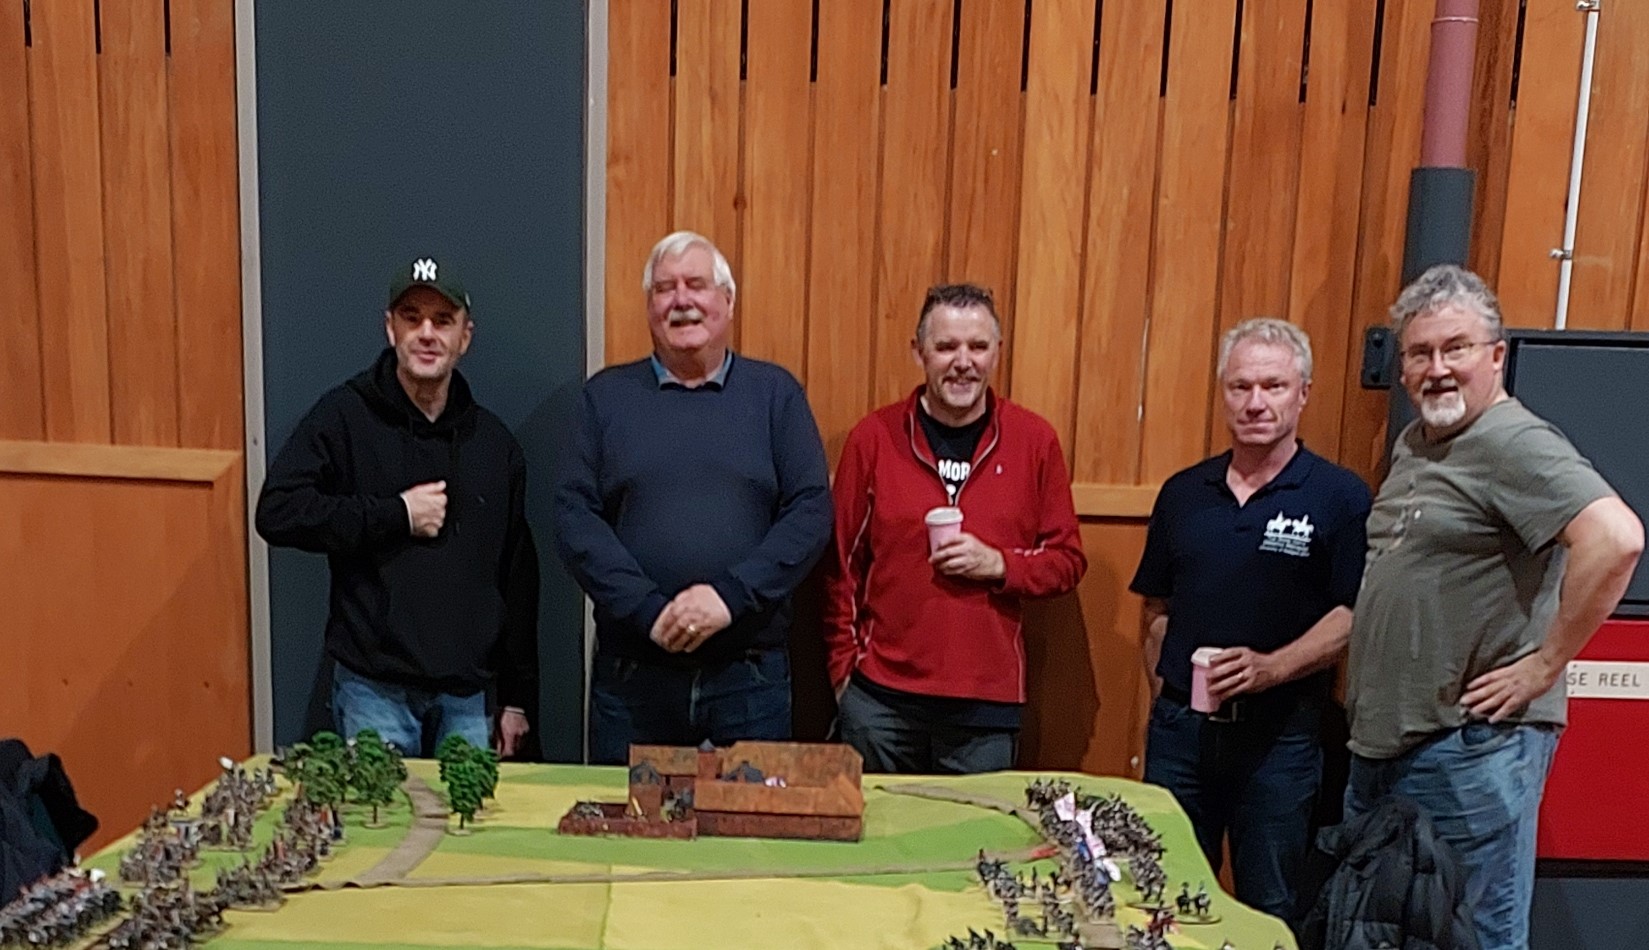
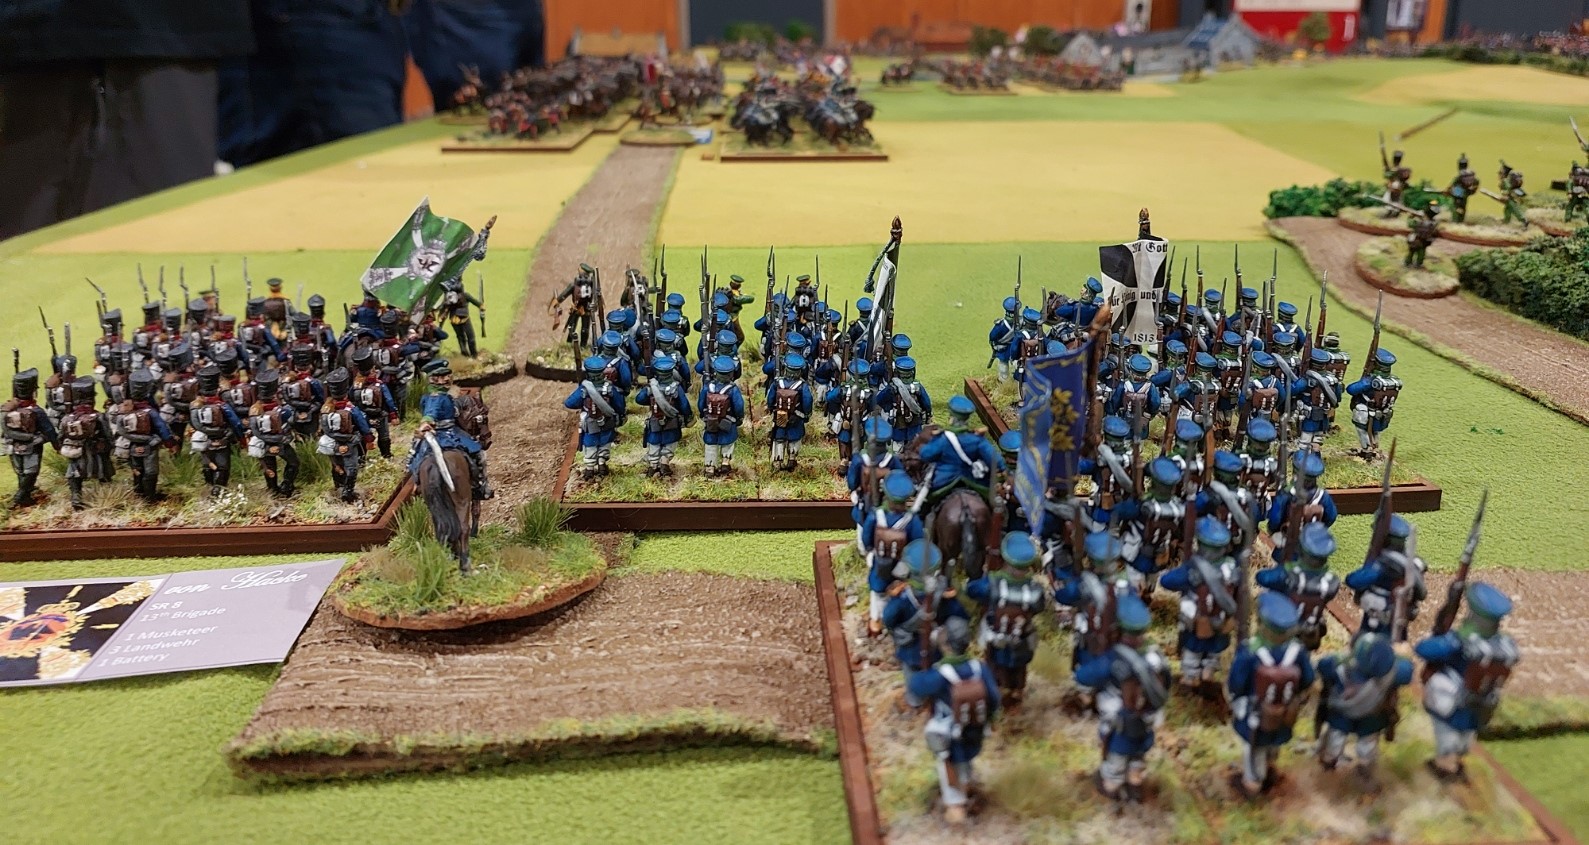
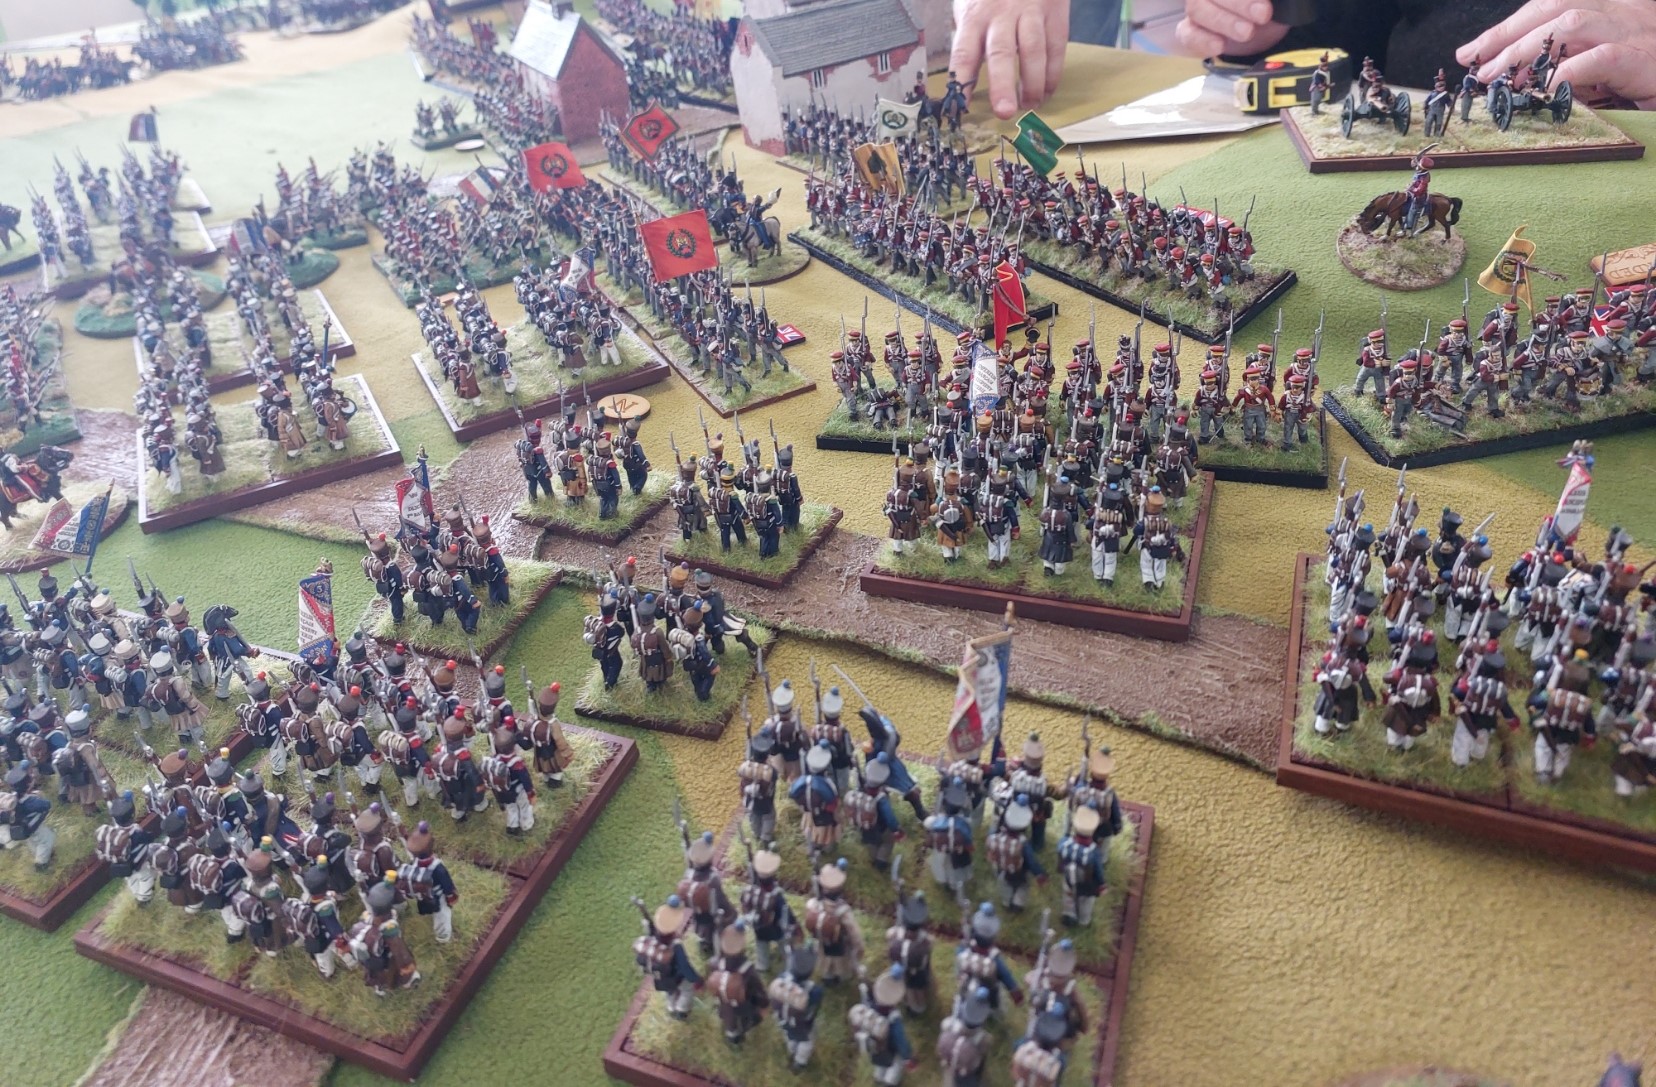
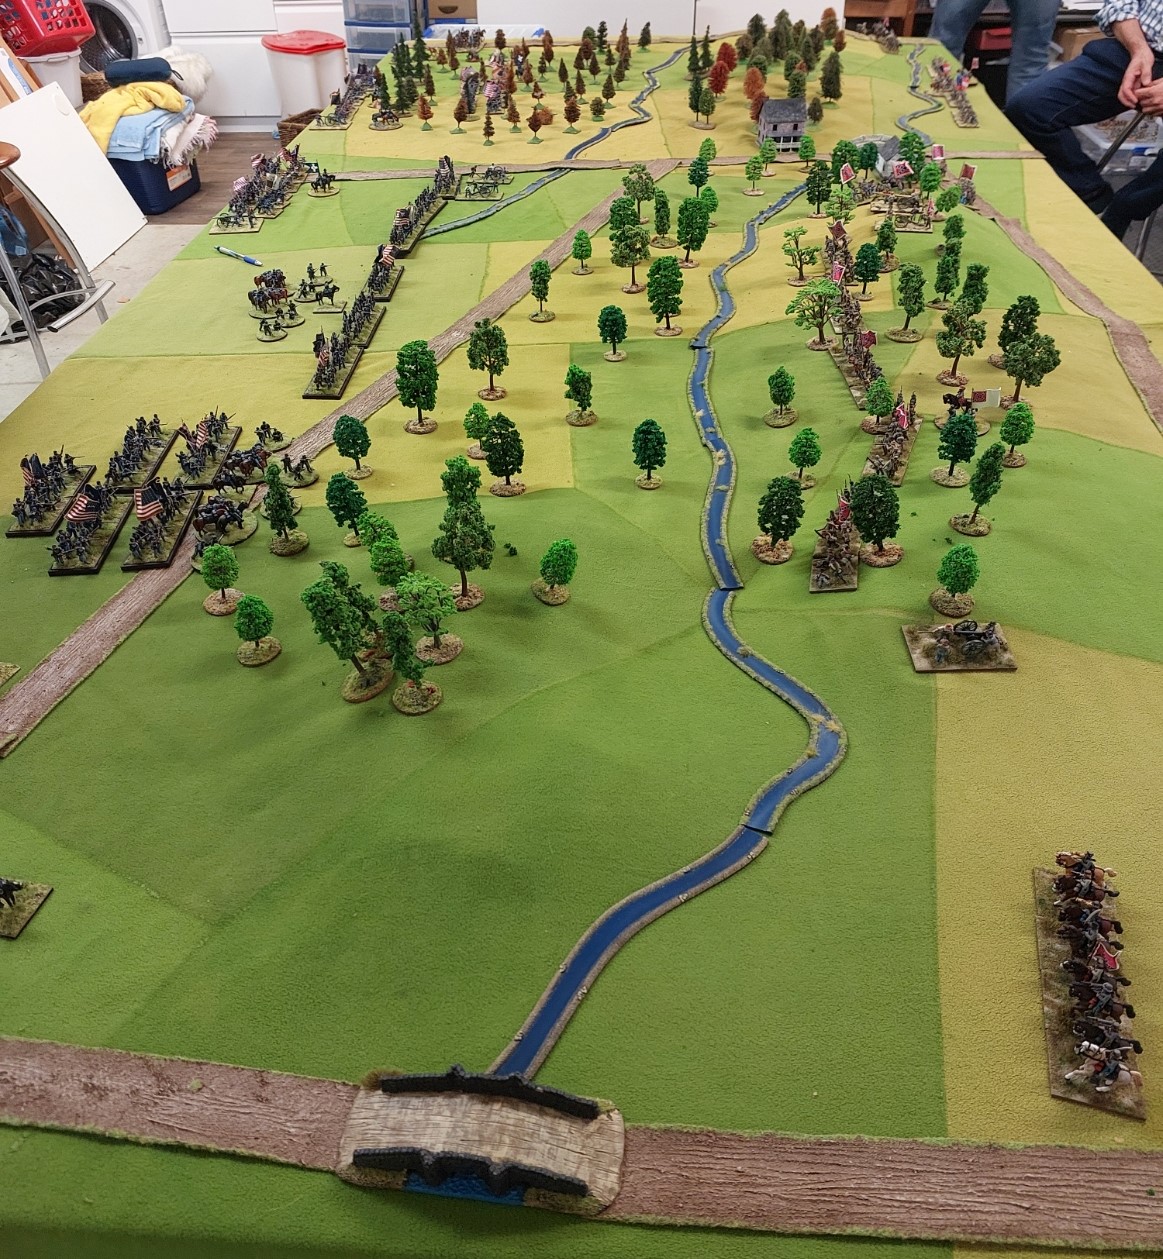
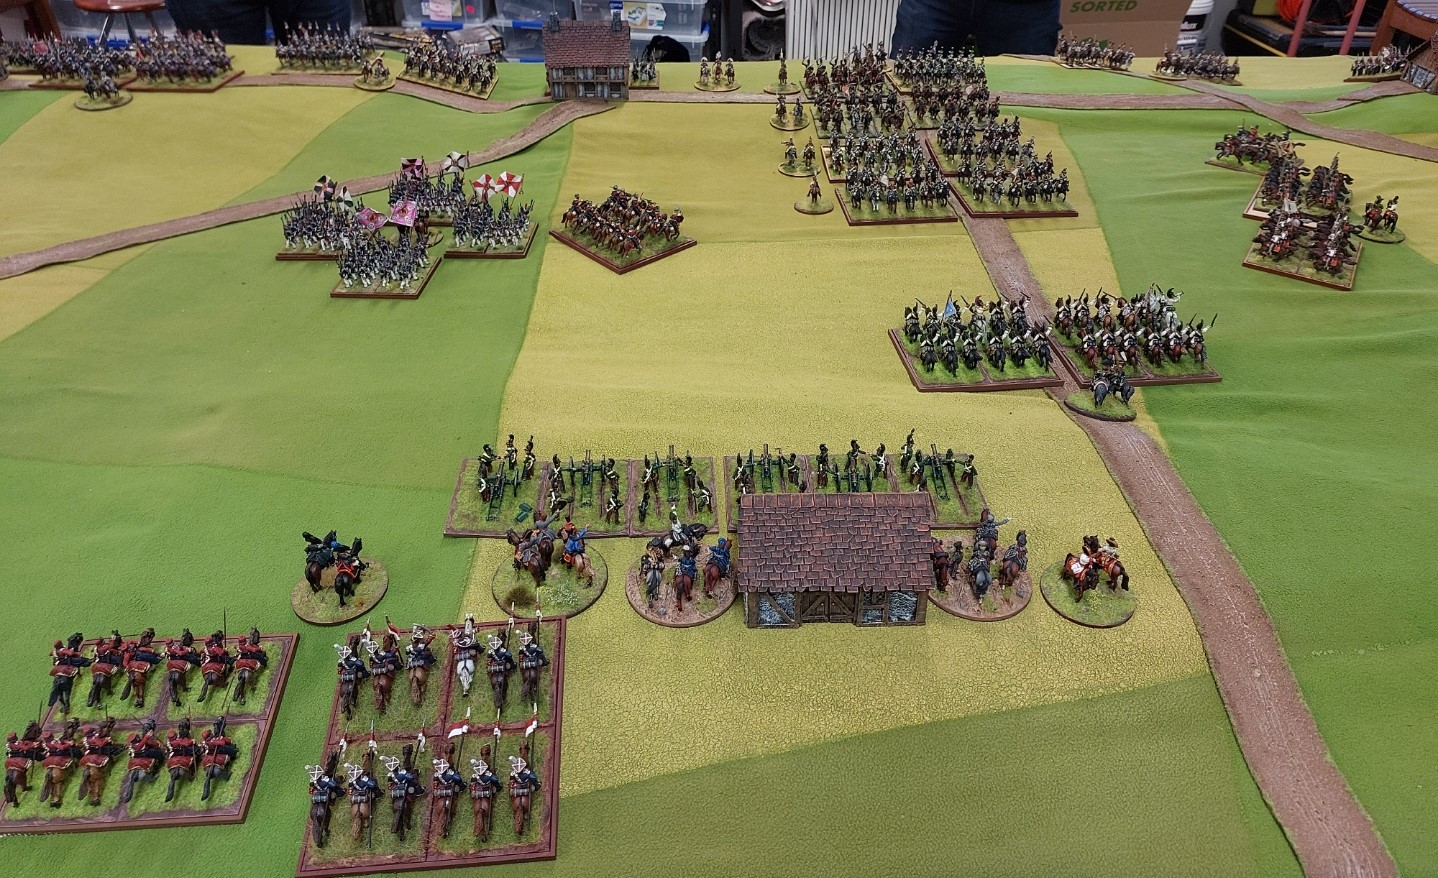
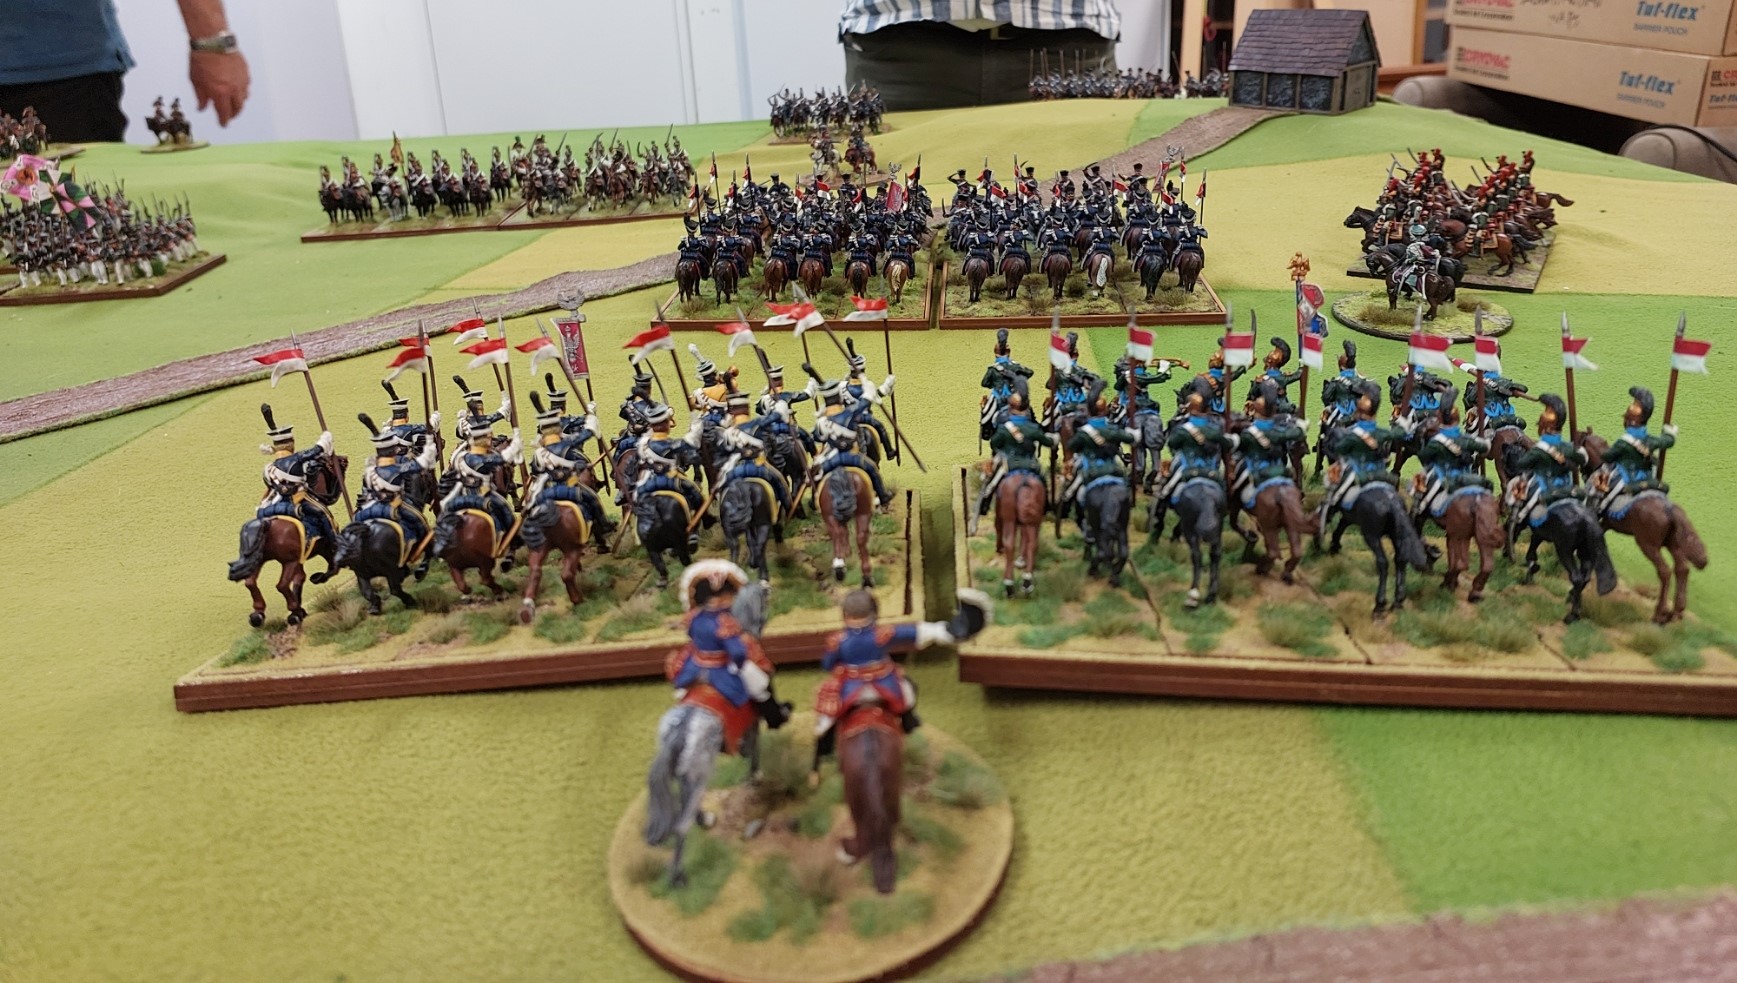
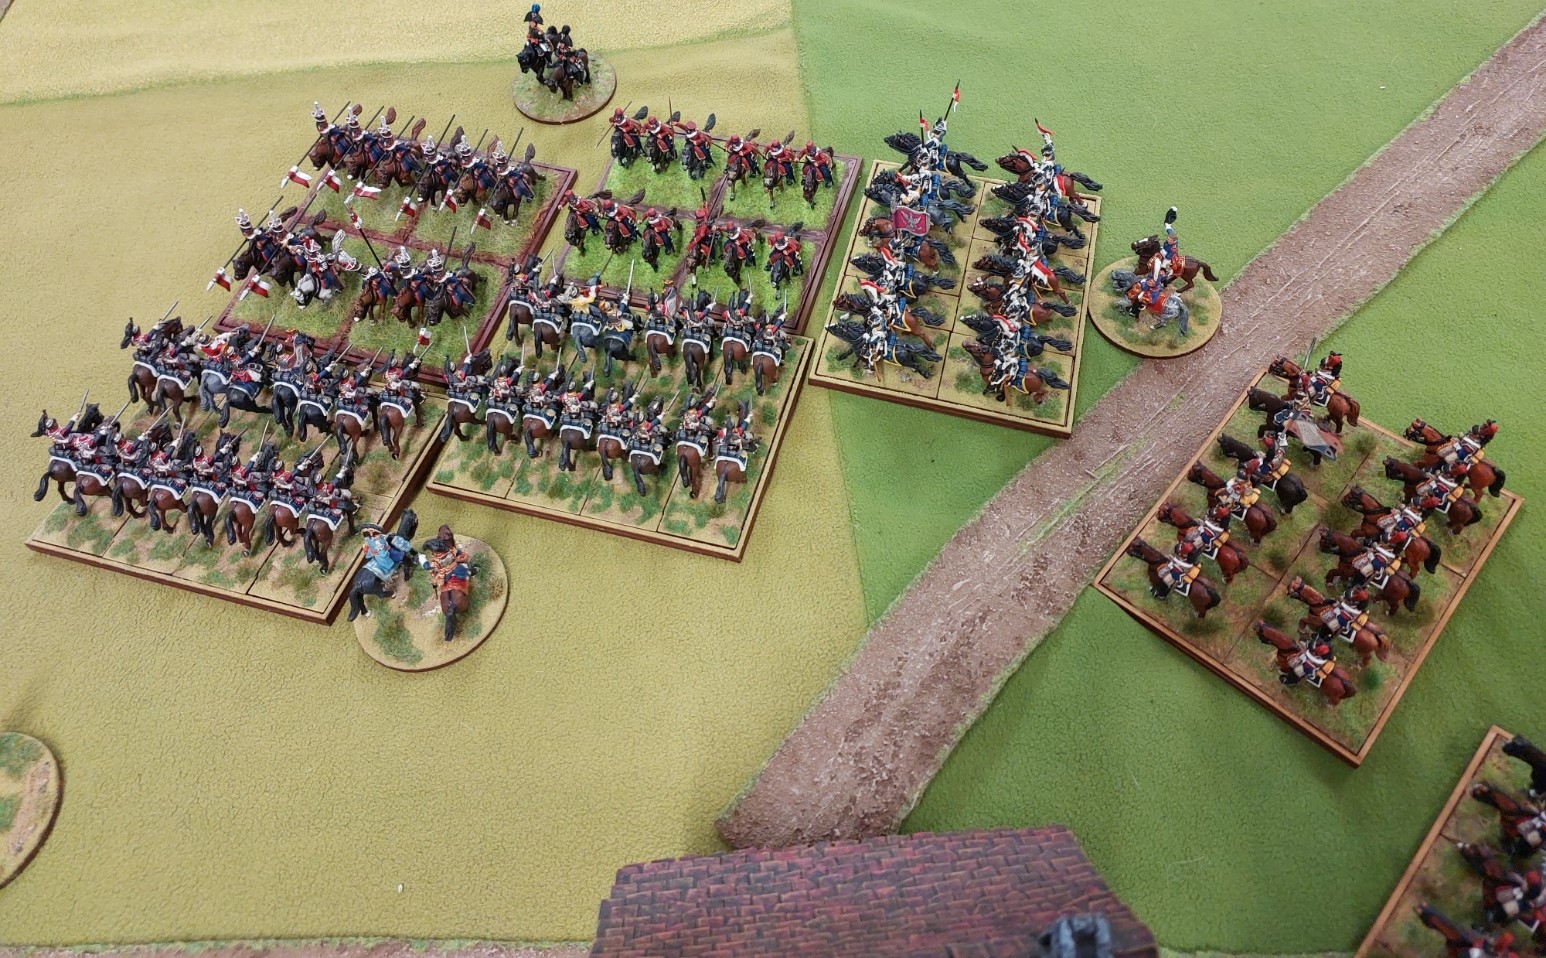
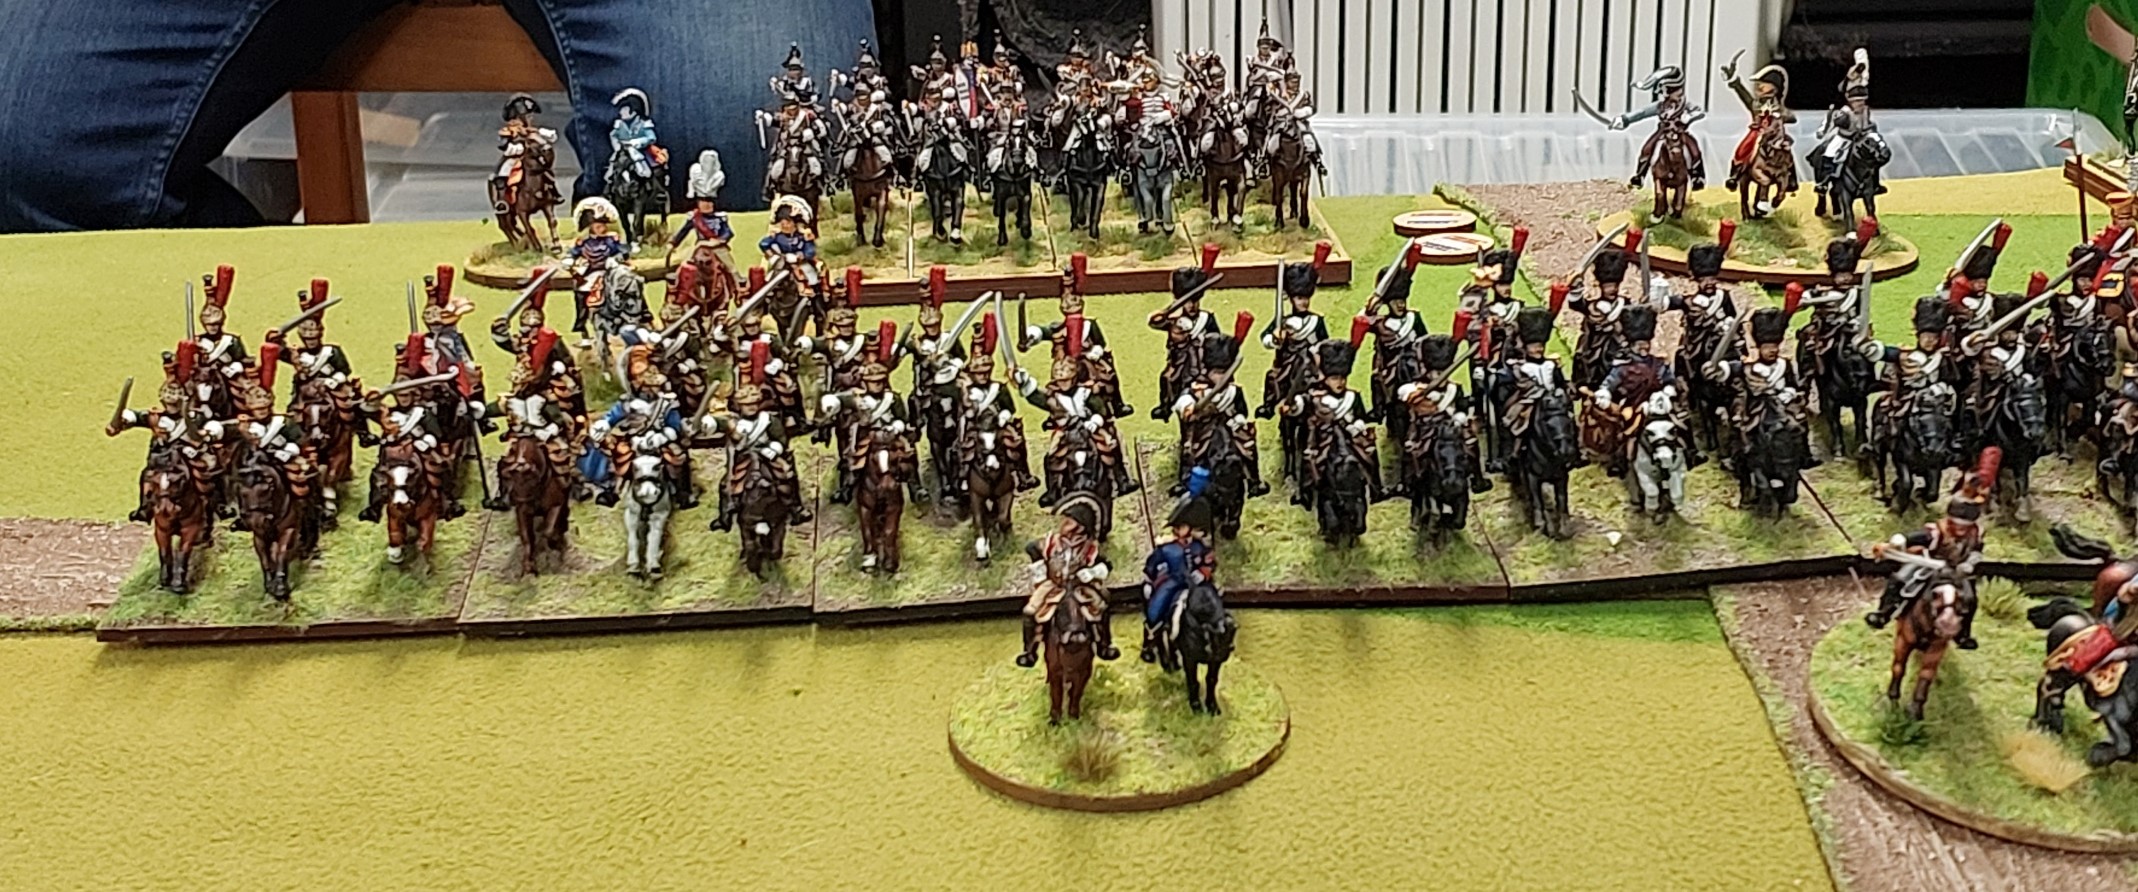
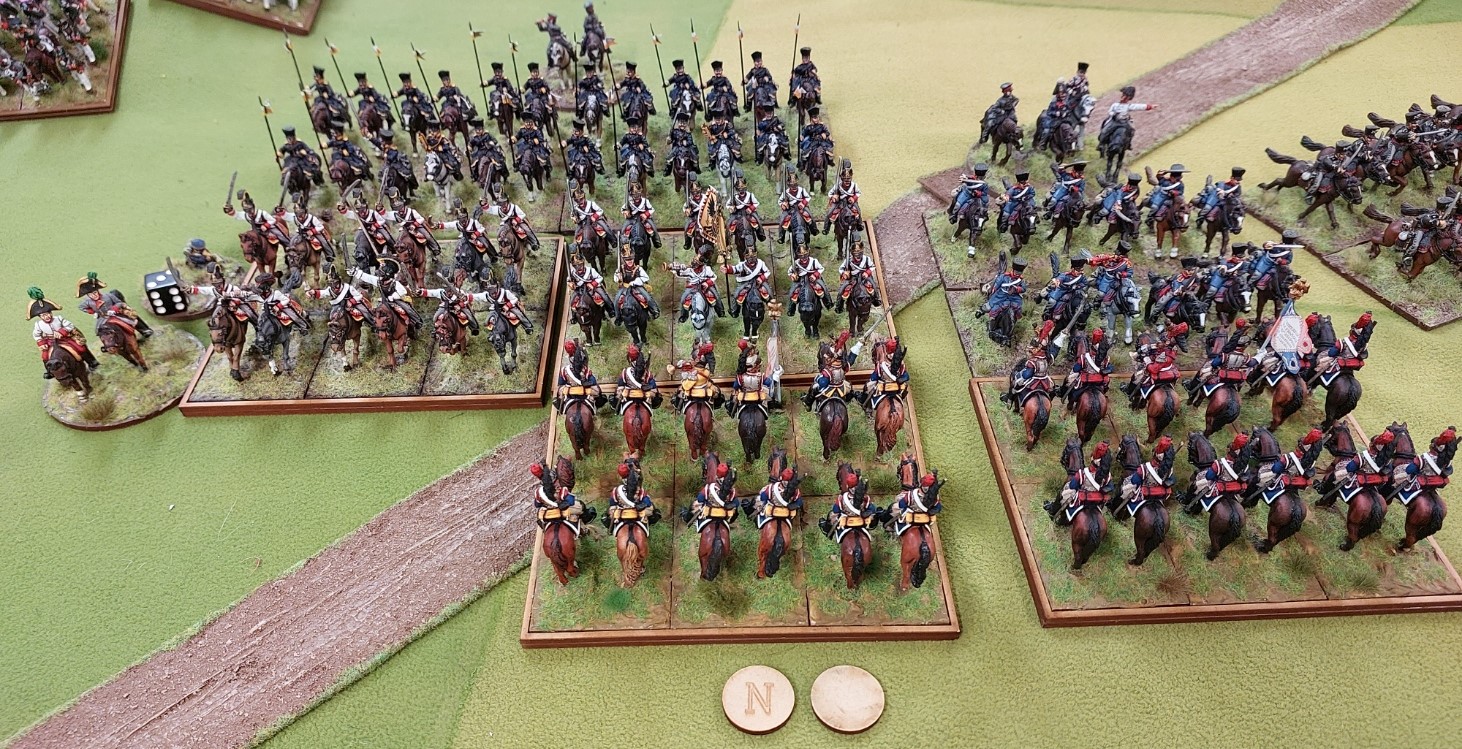
Franco-Bavarian force commanders from left to right were Alan with Bavarians, Graham with French and Robert with French. The Allies from left to right were Goldie with Prussians, Keith with Russians and me(Terry) with Austrians. Terrain was rolling fields with a scattering of woods and a central village with another small village in Allied deployment zone.

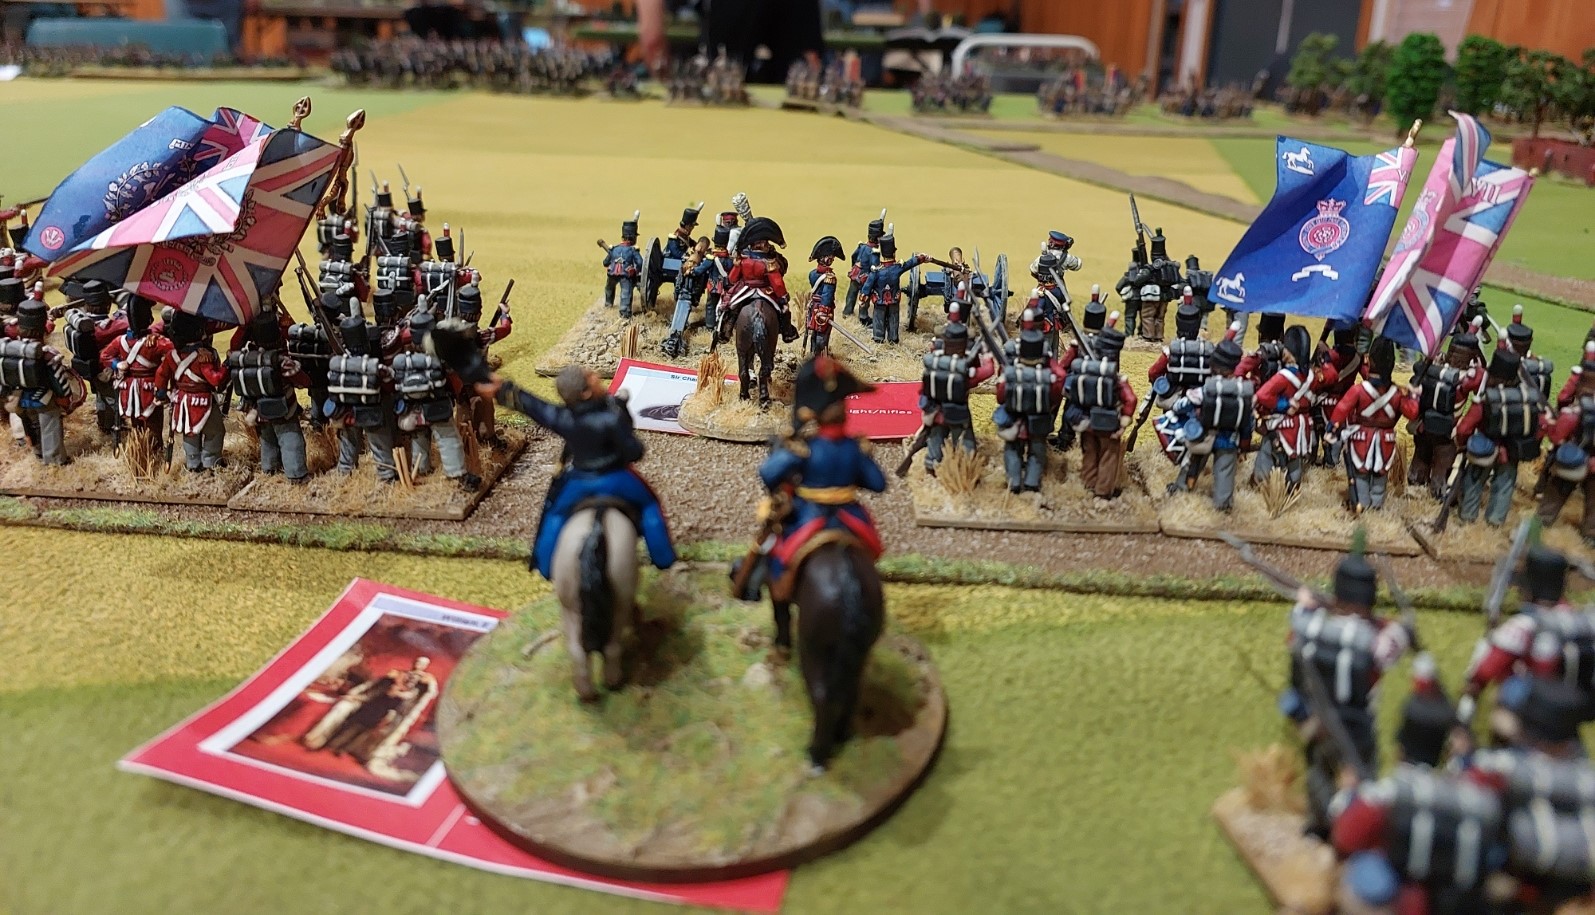
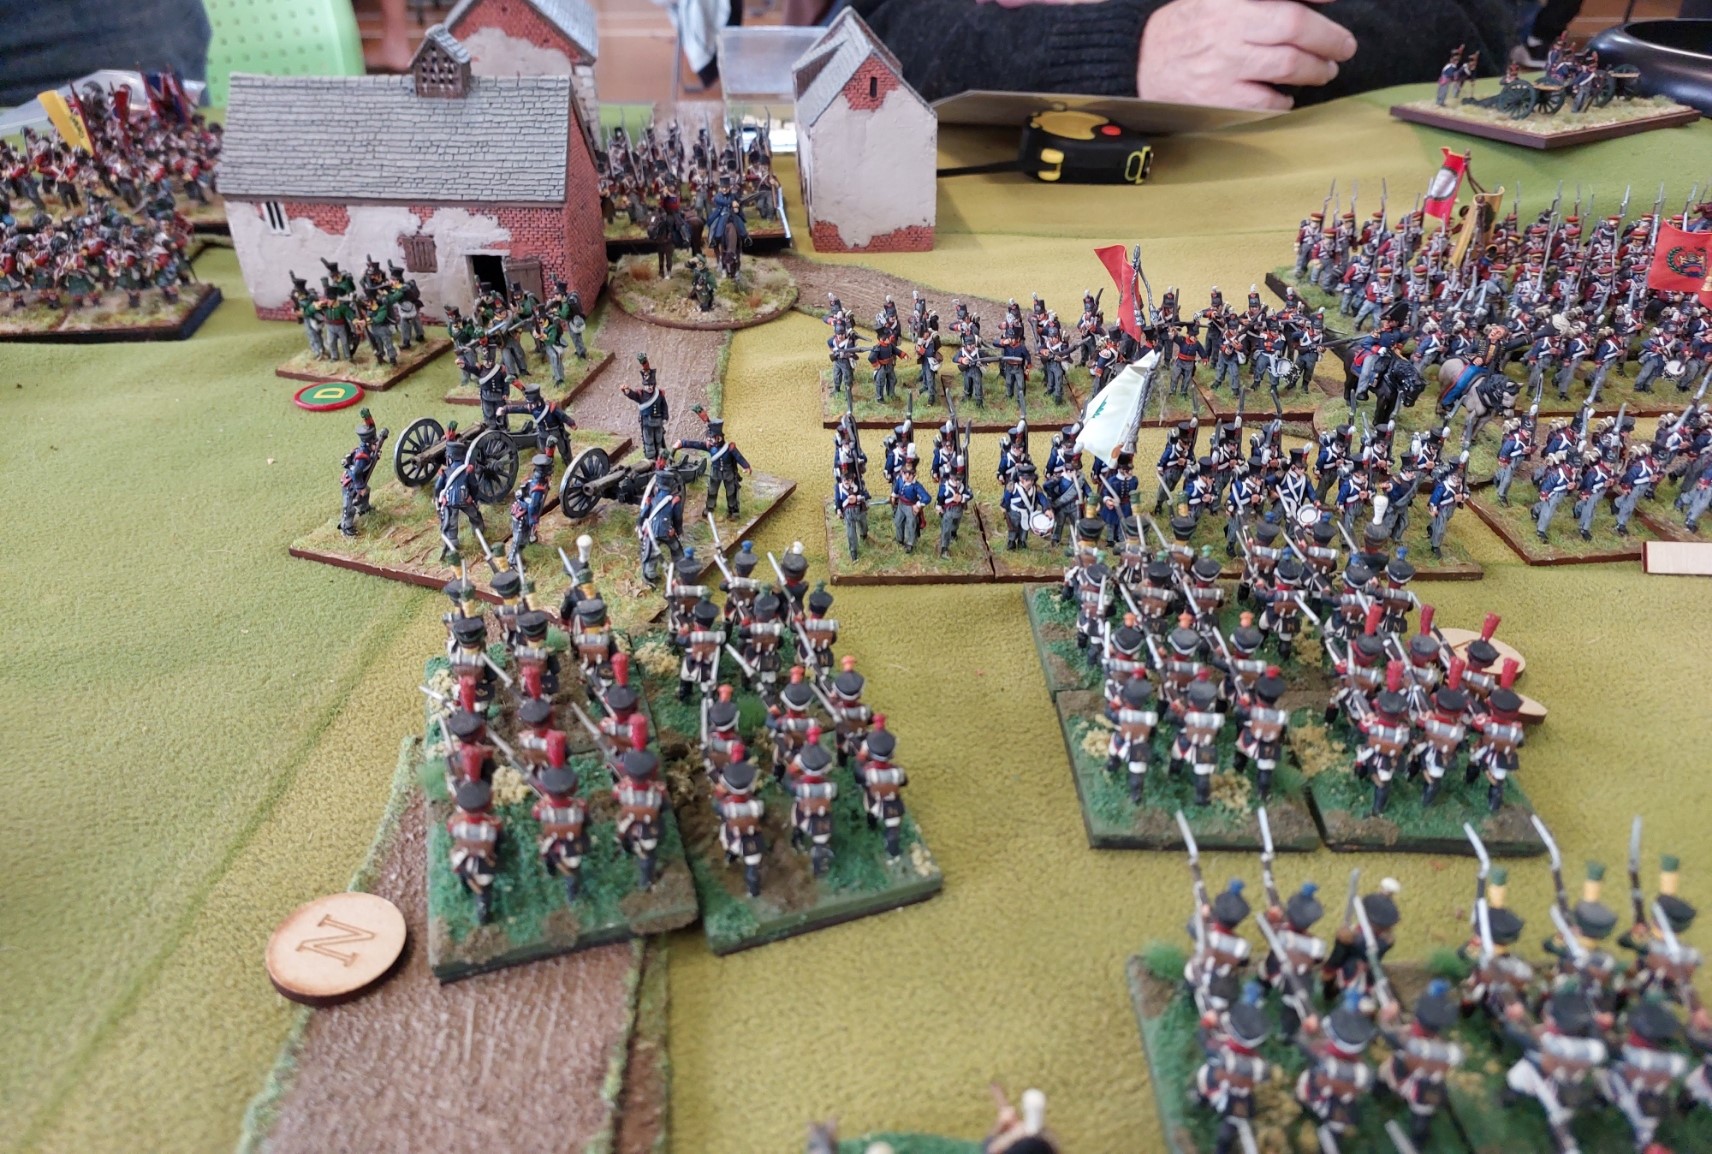
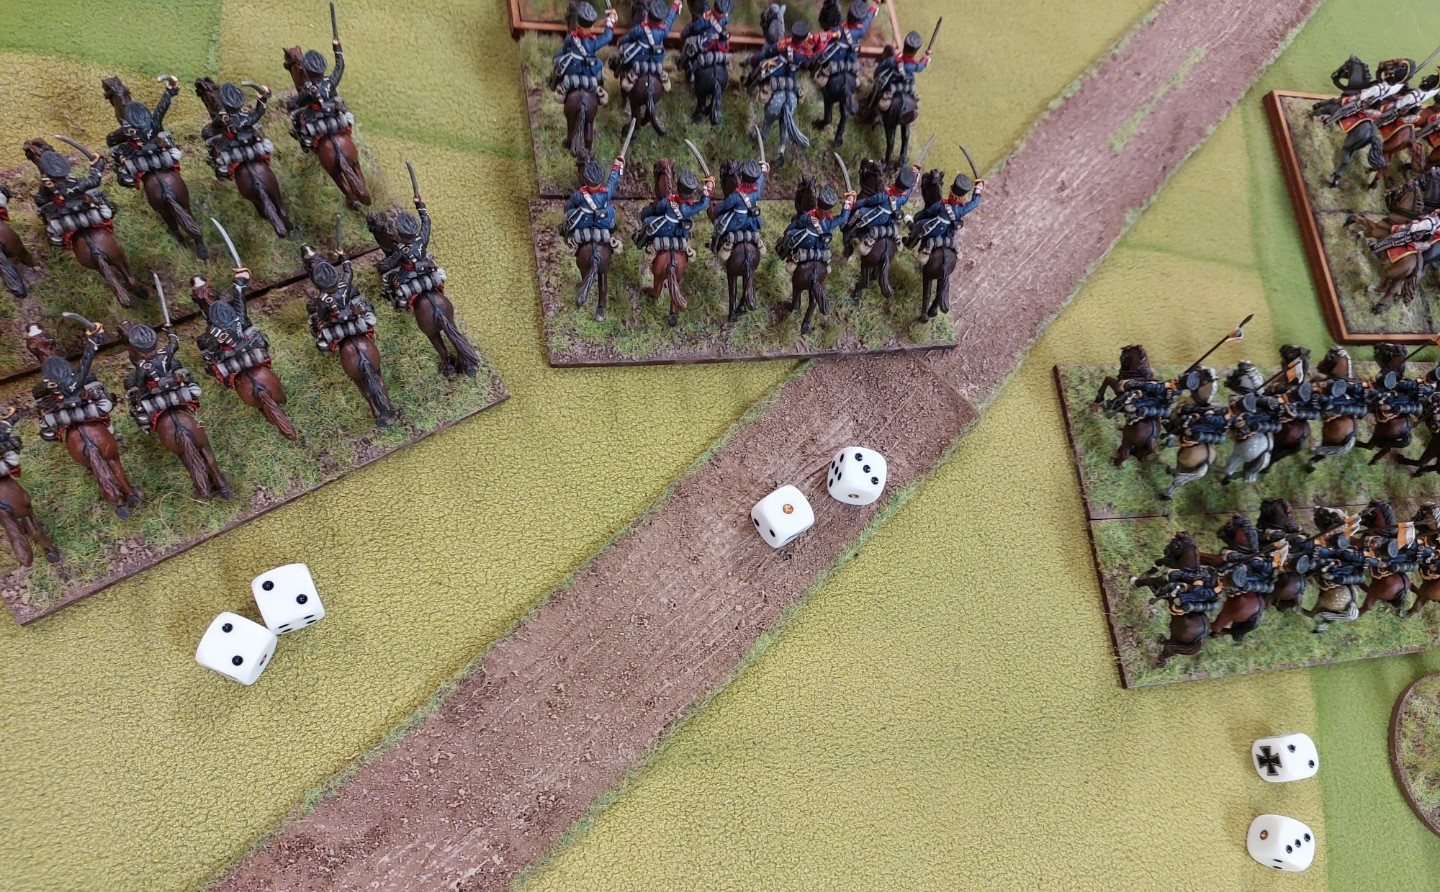
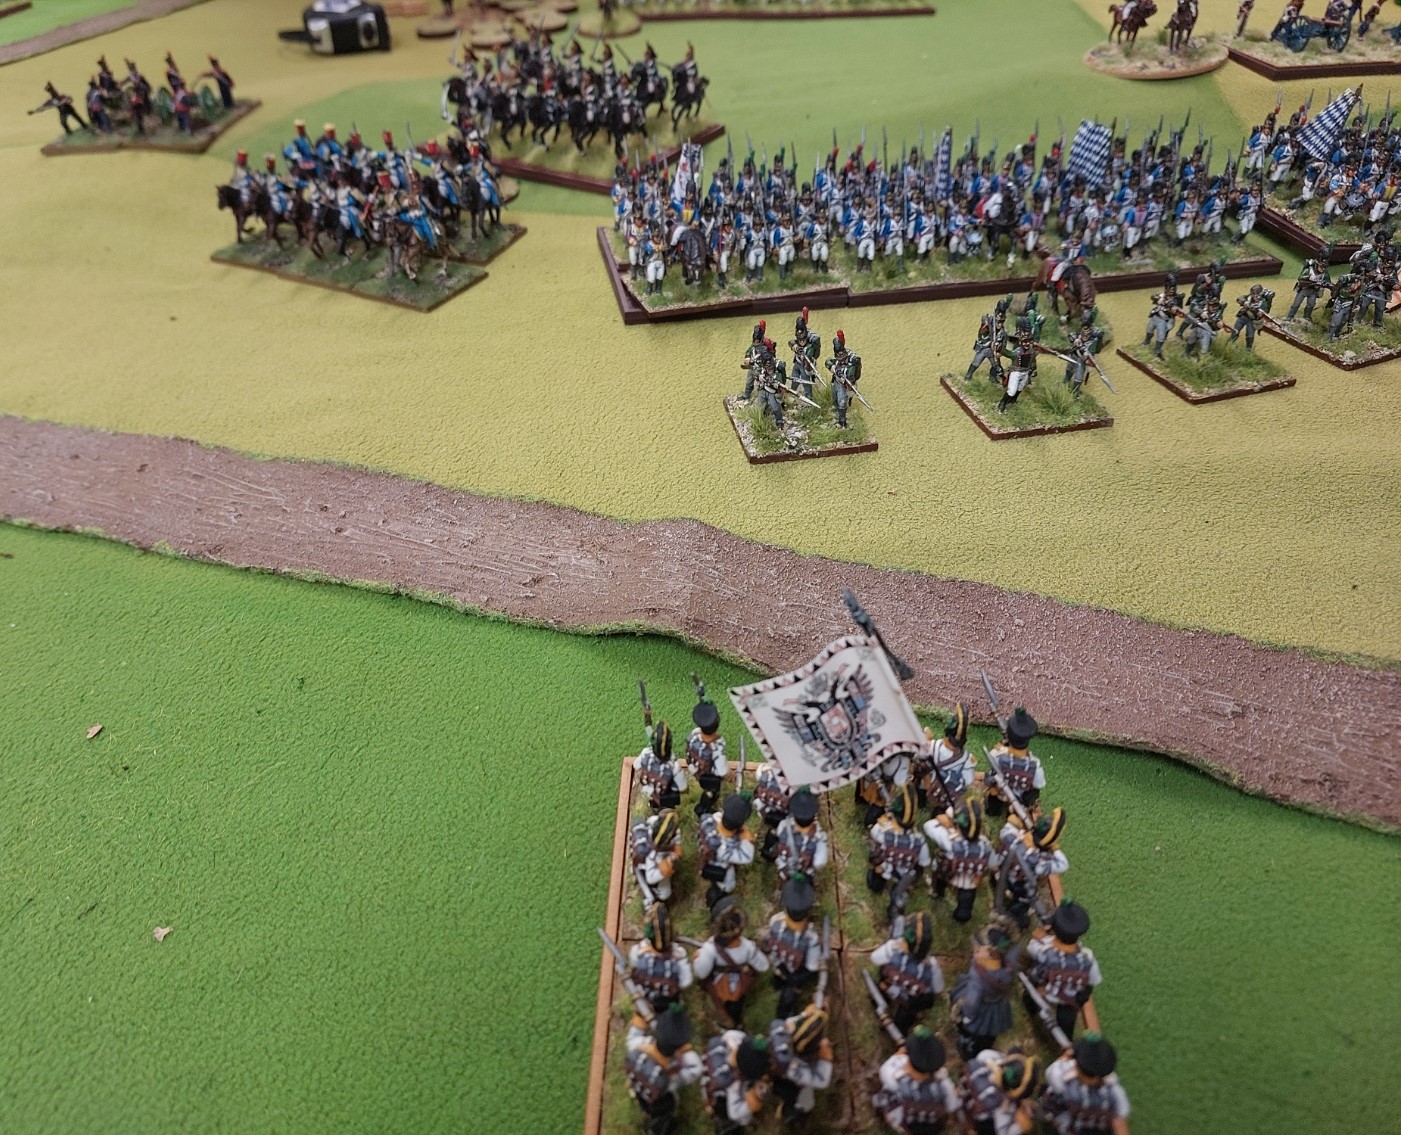
Goldie has taken the central village to the right of the central road and the arm of Graham is moving a brigade into assault the Prussians. Robert is in foreground with Alans Bavarians flanking Graham.

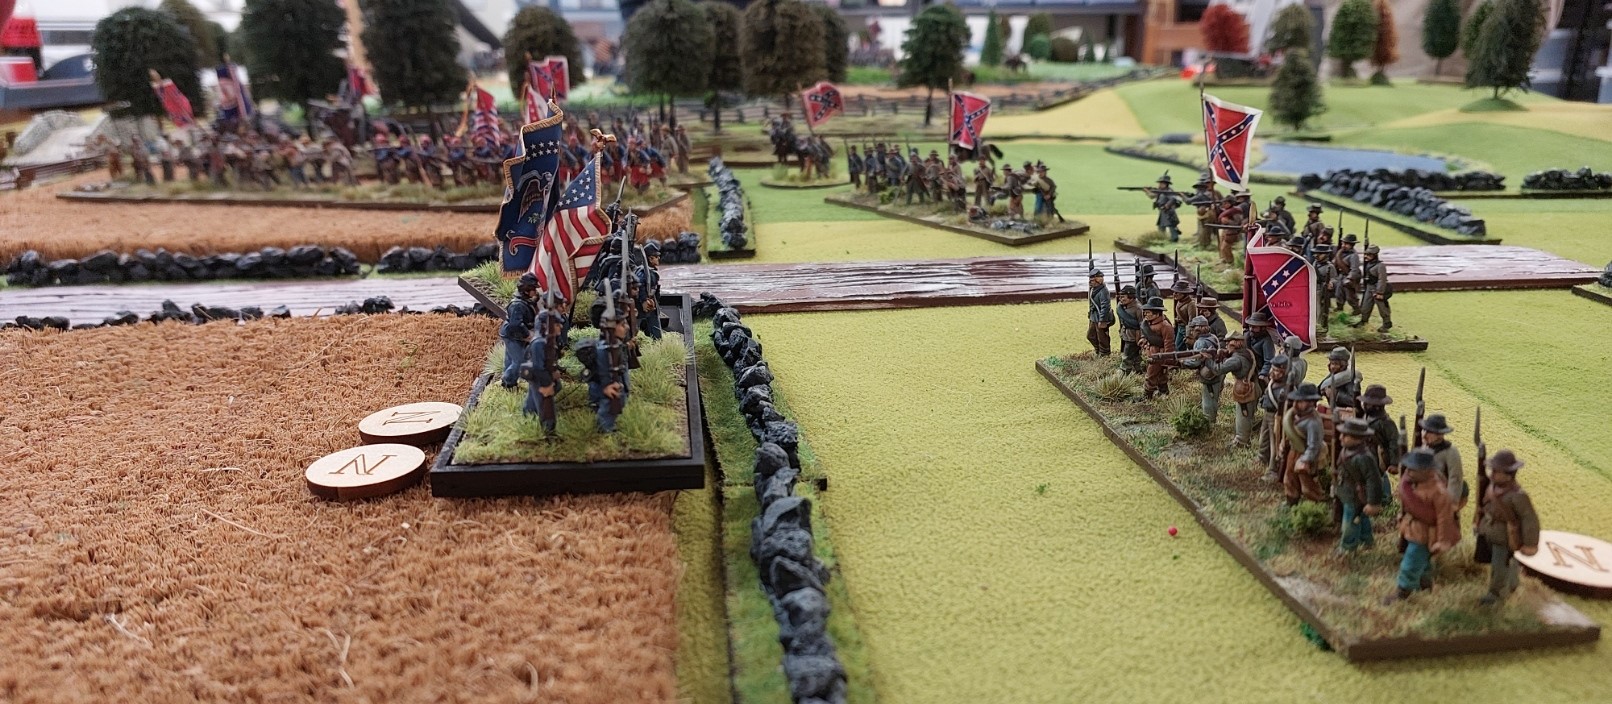
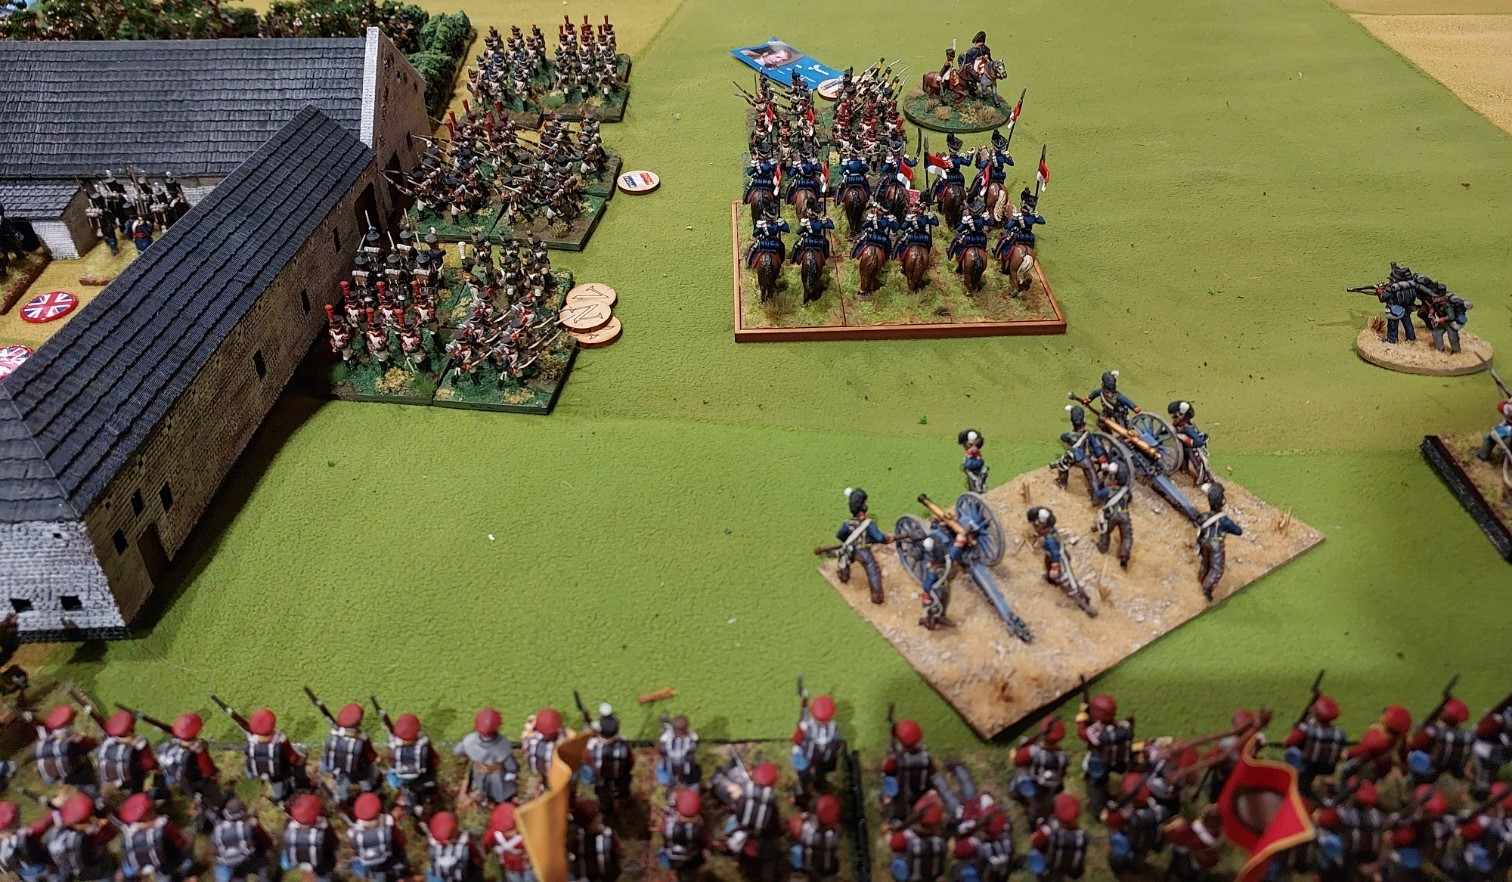
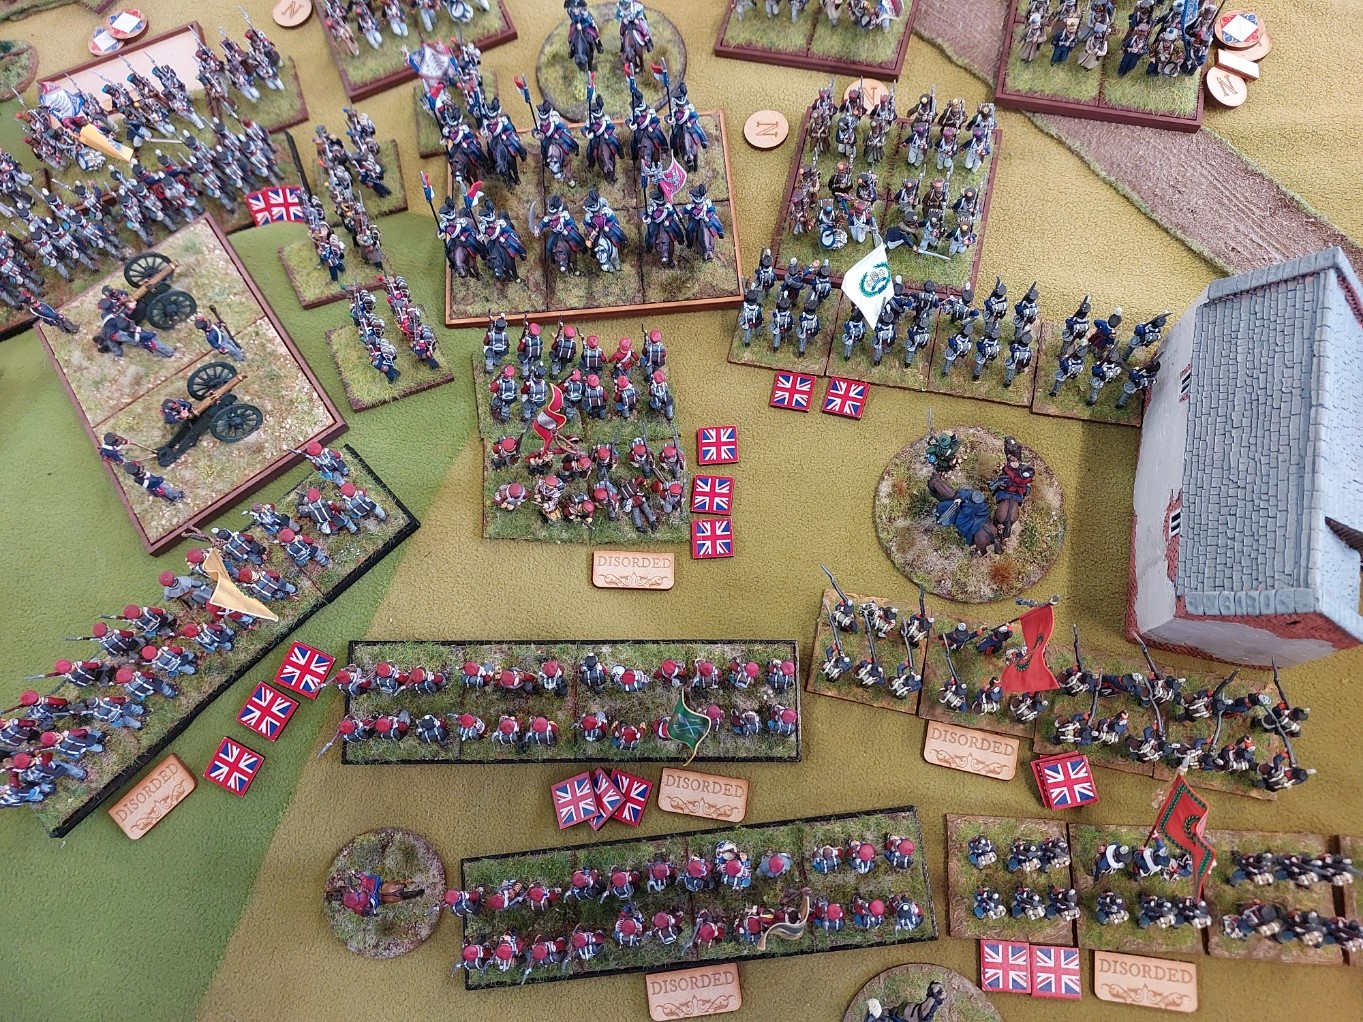
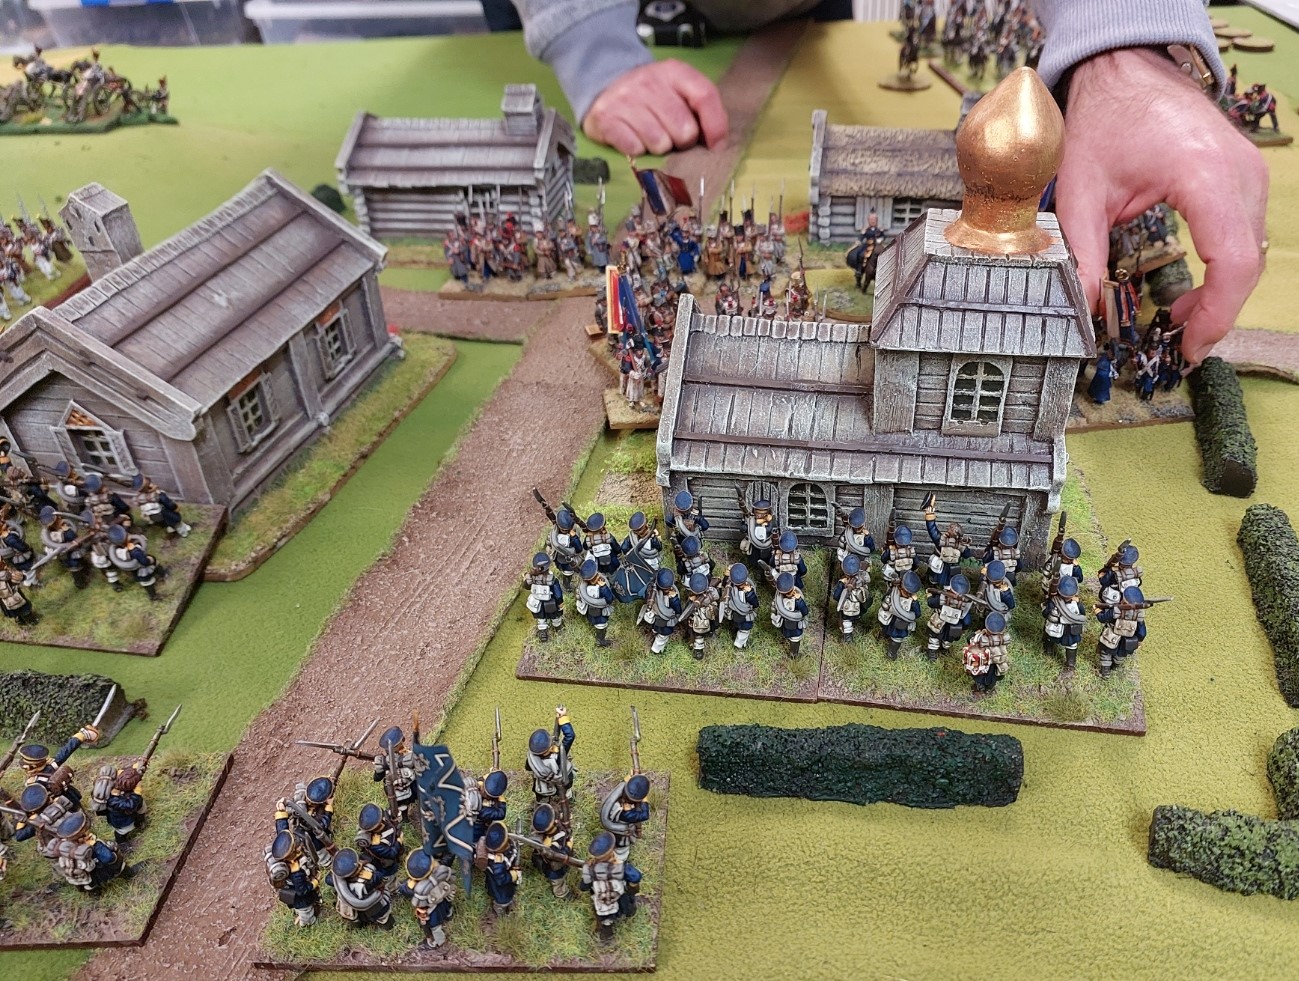
Prussians occupying the village…buildings are Hovels…painted by Hovels http://www.hovelsltd.co.uk/Russian%2025/rusvil.html. It is quite hard to evict a unit in a village unless you can attack multiply sides or you have softened up the defenders with artillery fire at medium range…as Graham found out.
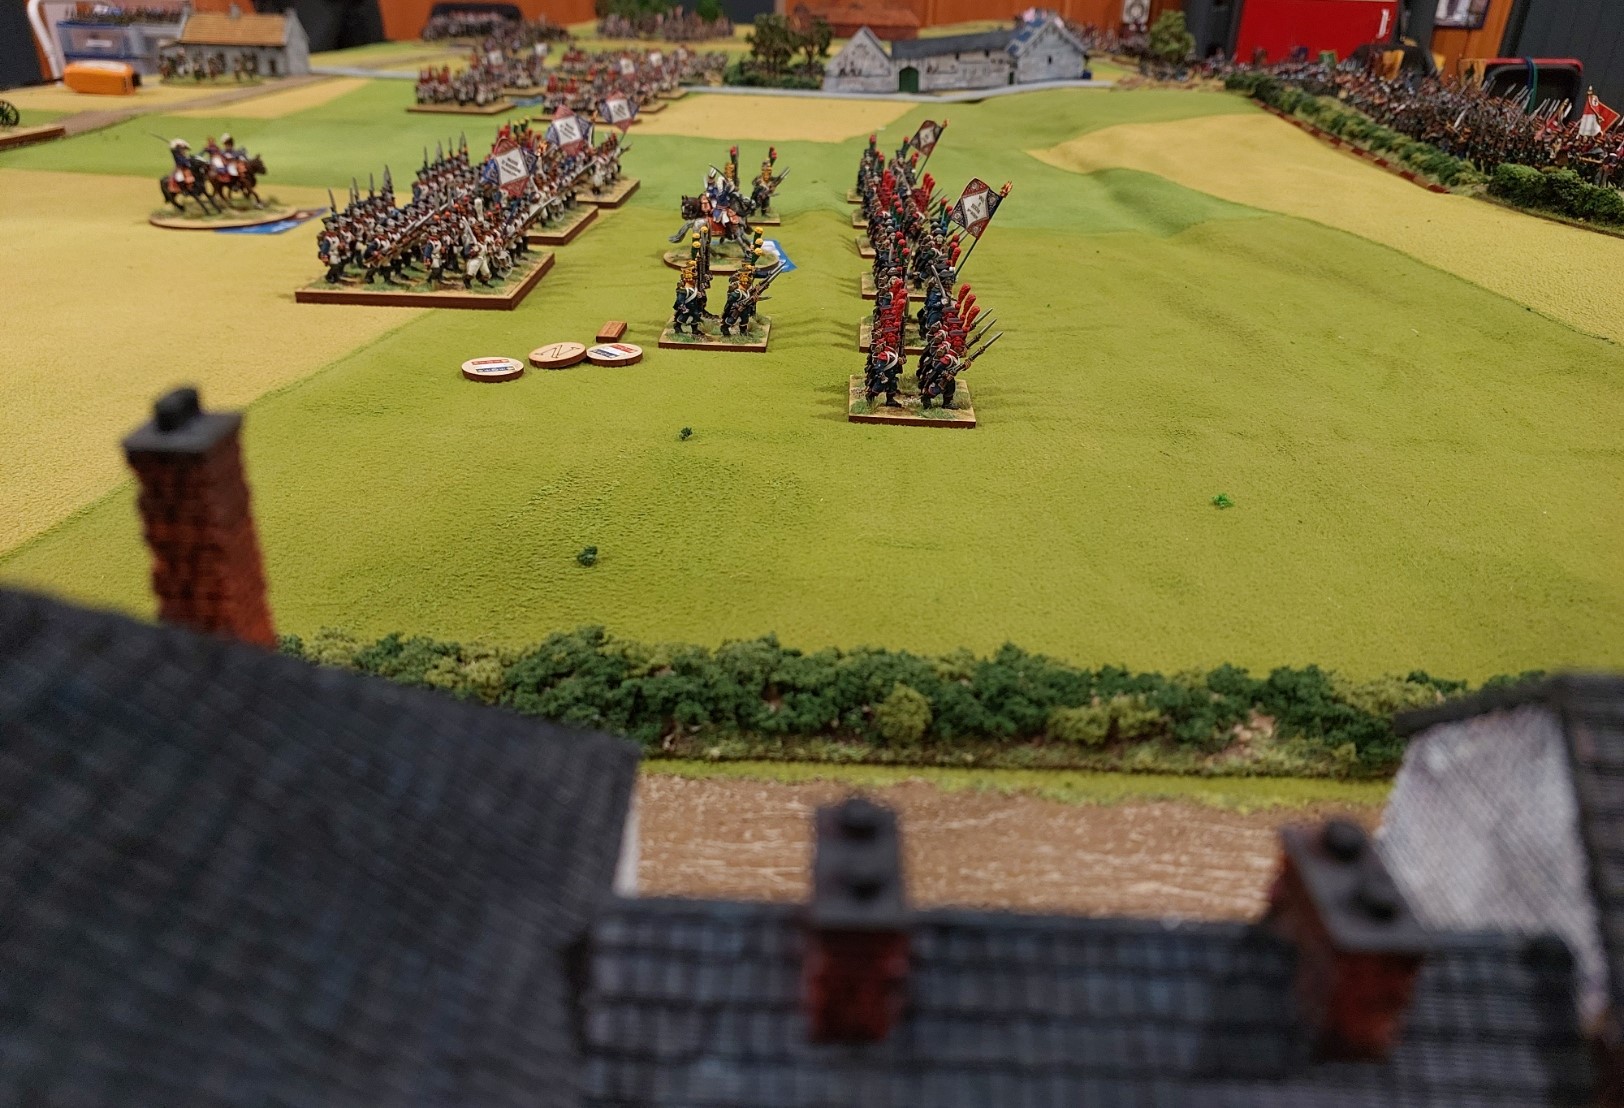
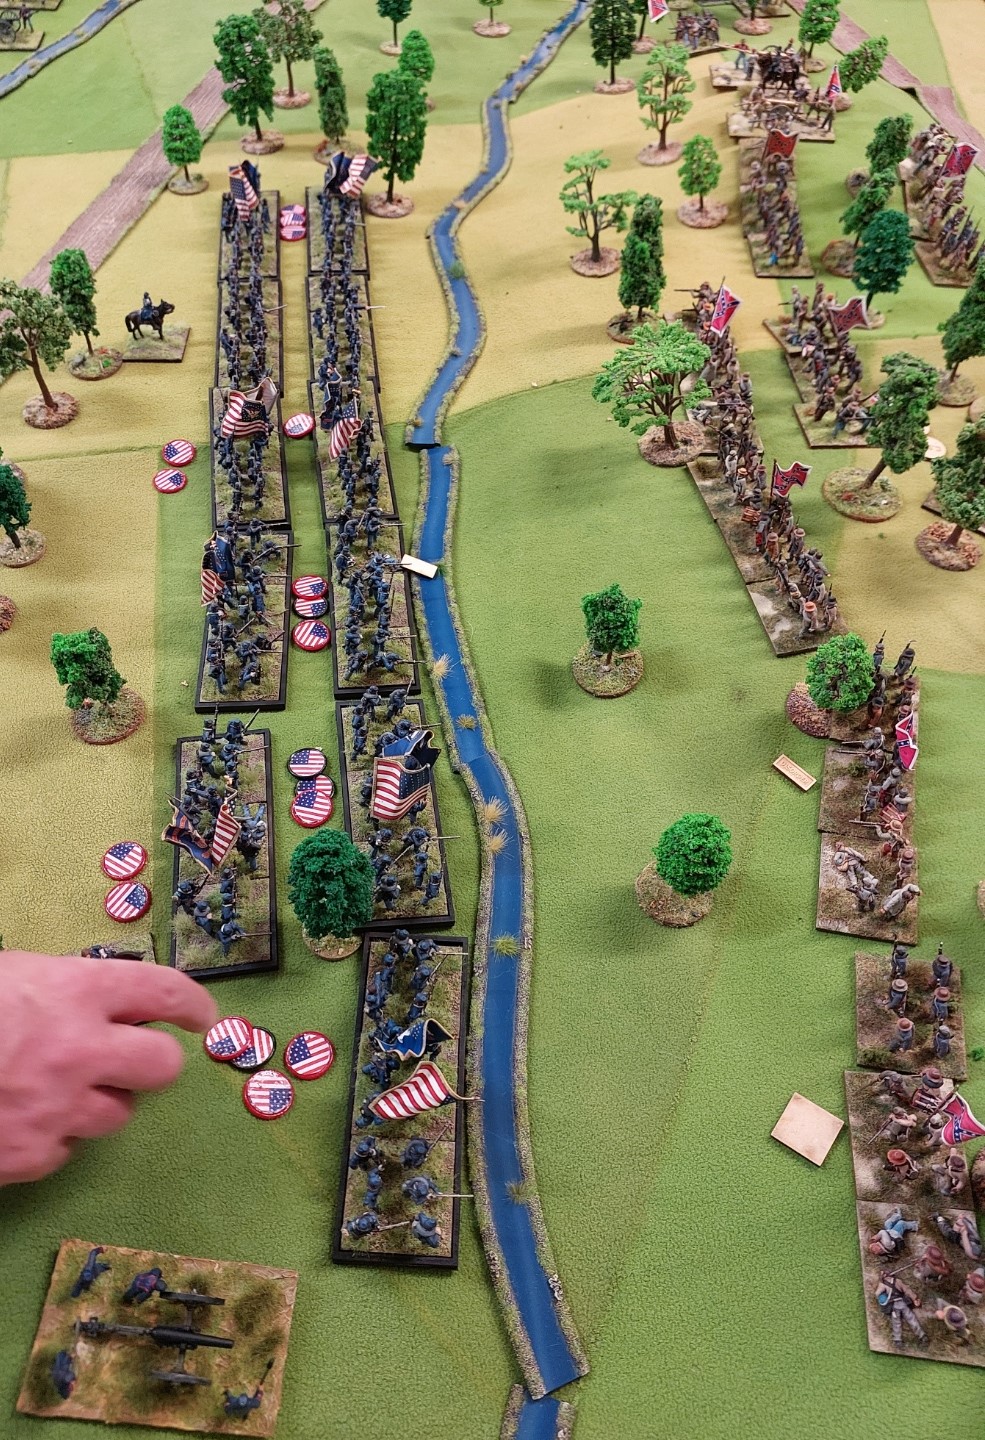
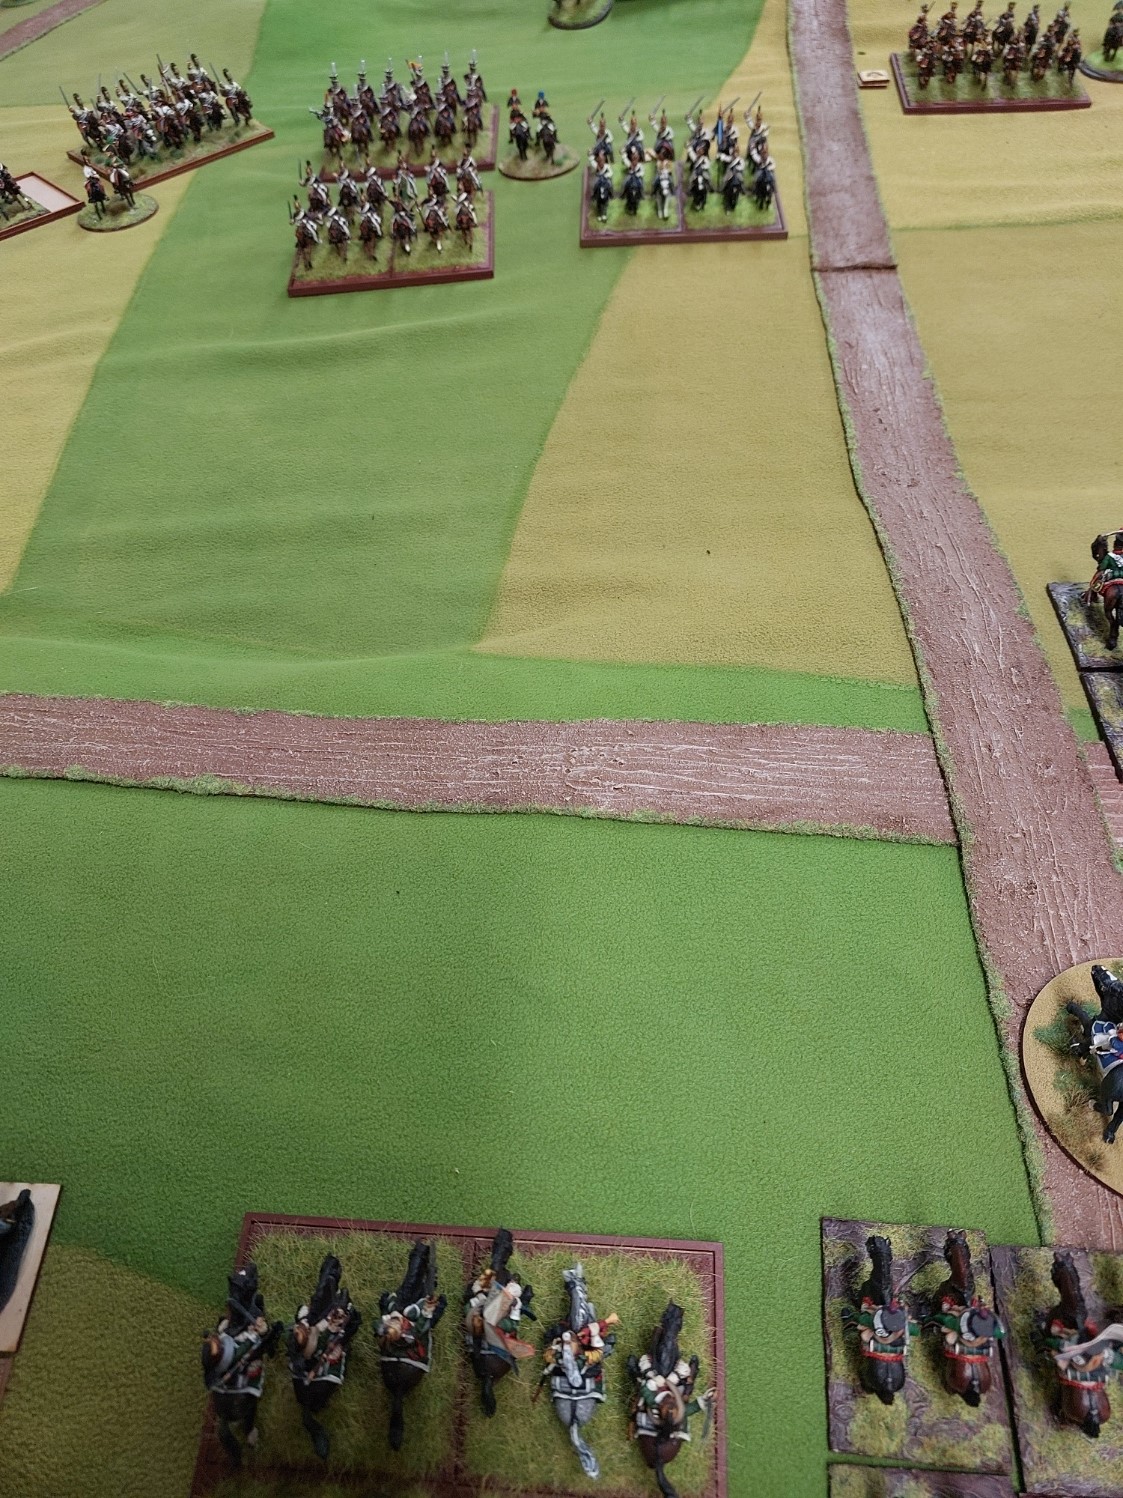
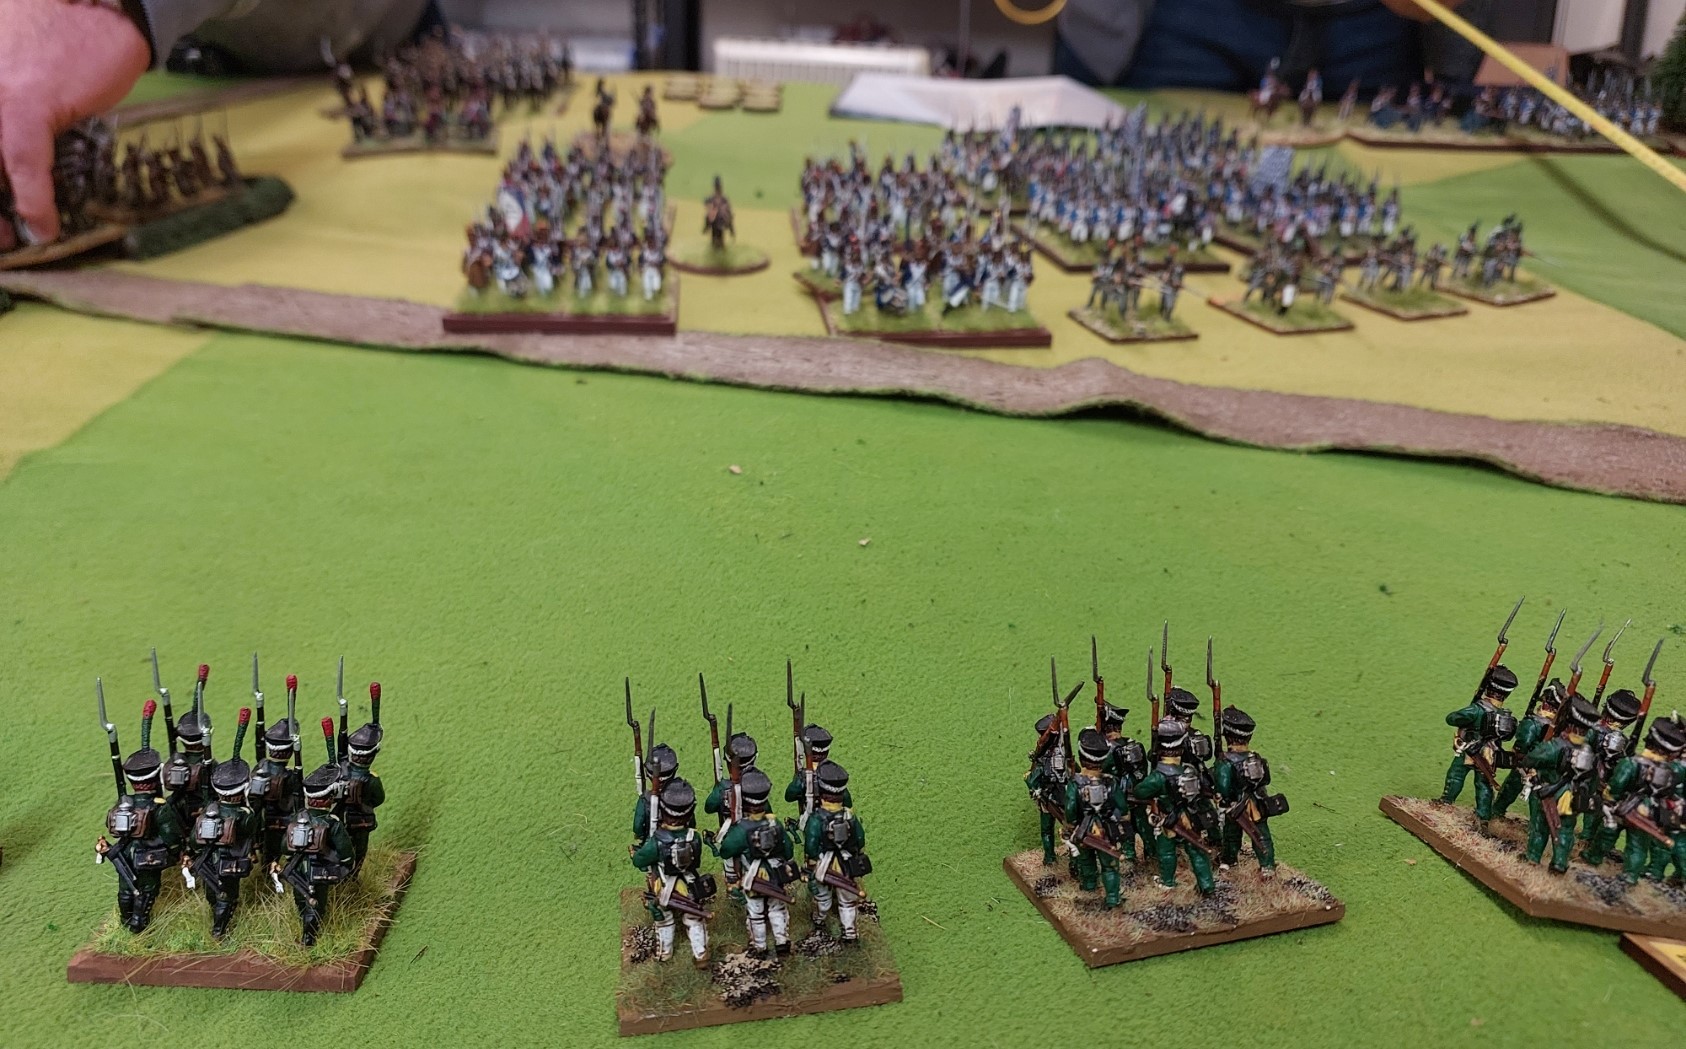
Behind and to the right of the Prussians, Keith has a skirmish line out…. although a base of line troops think they are Jagers(while trousers).
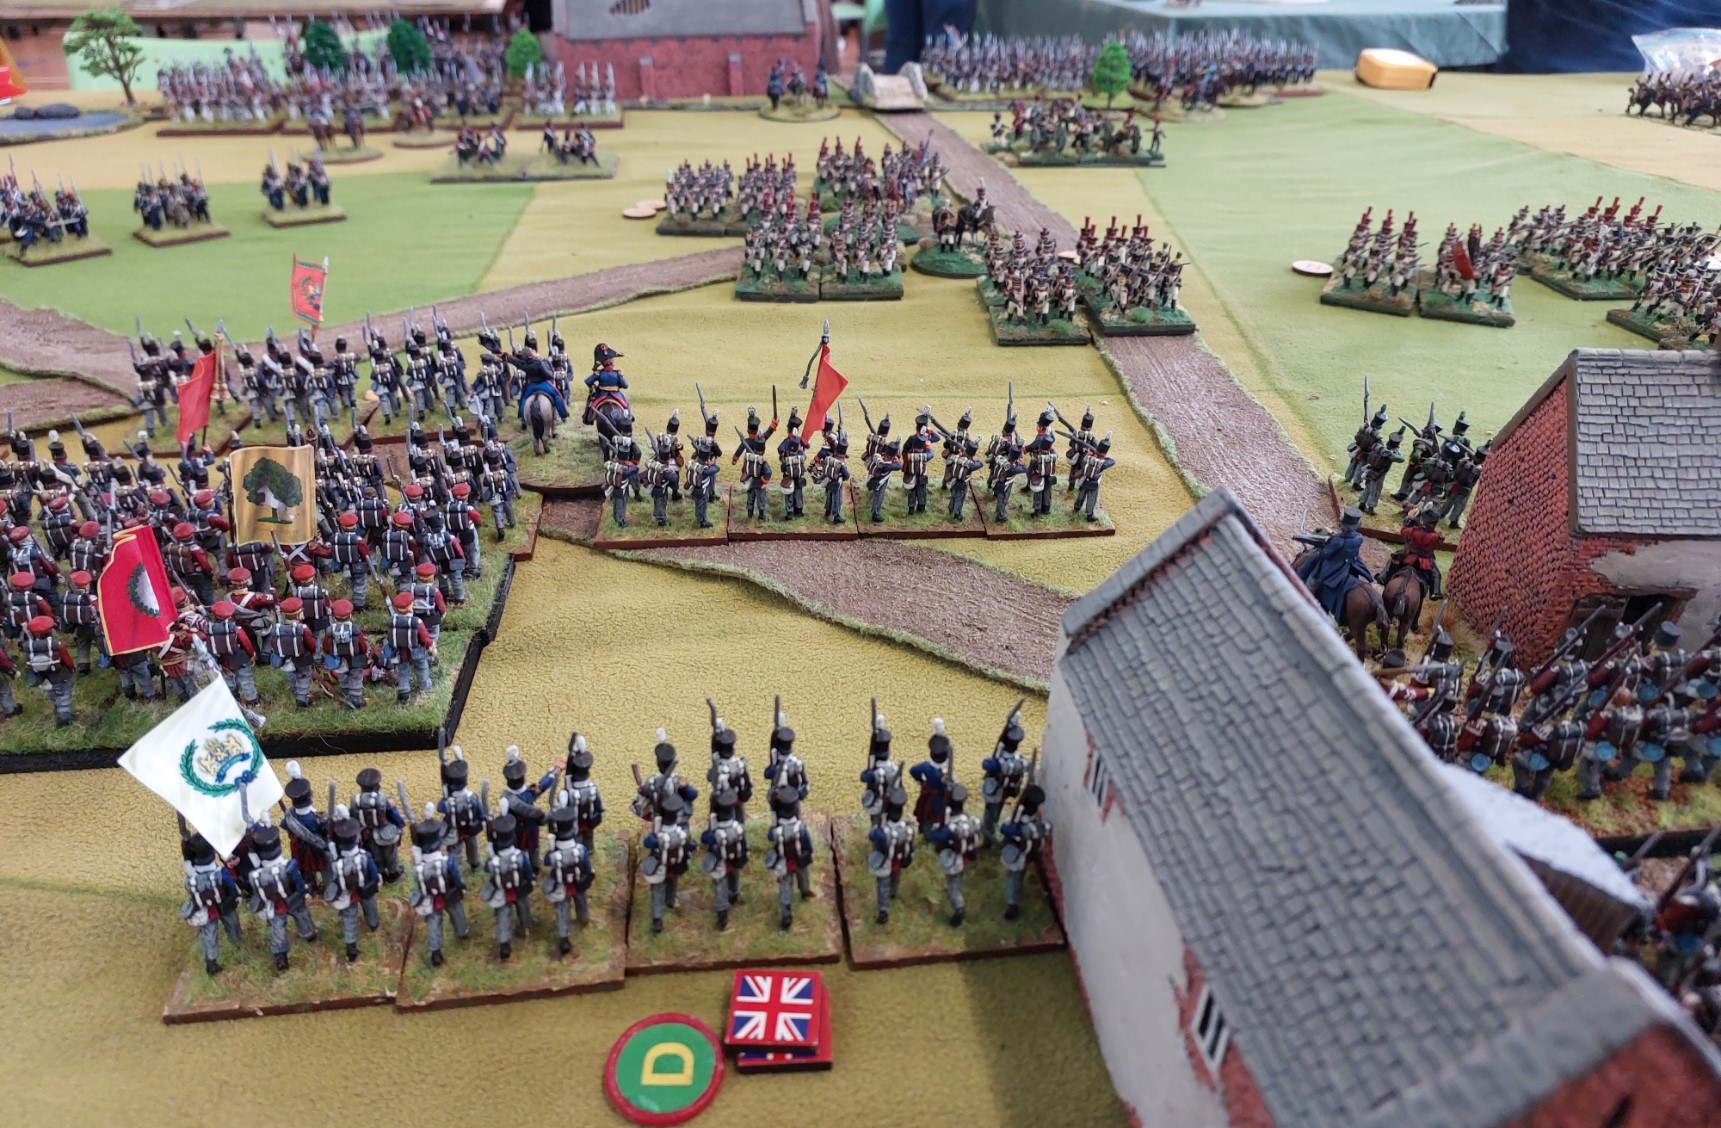
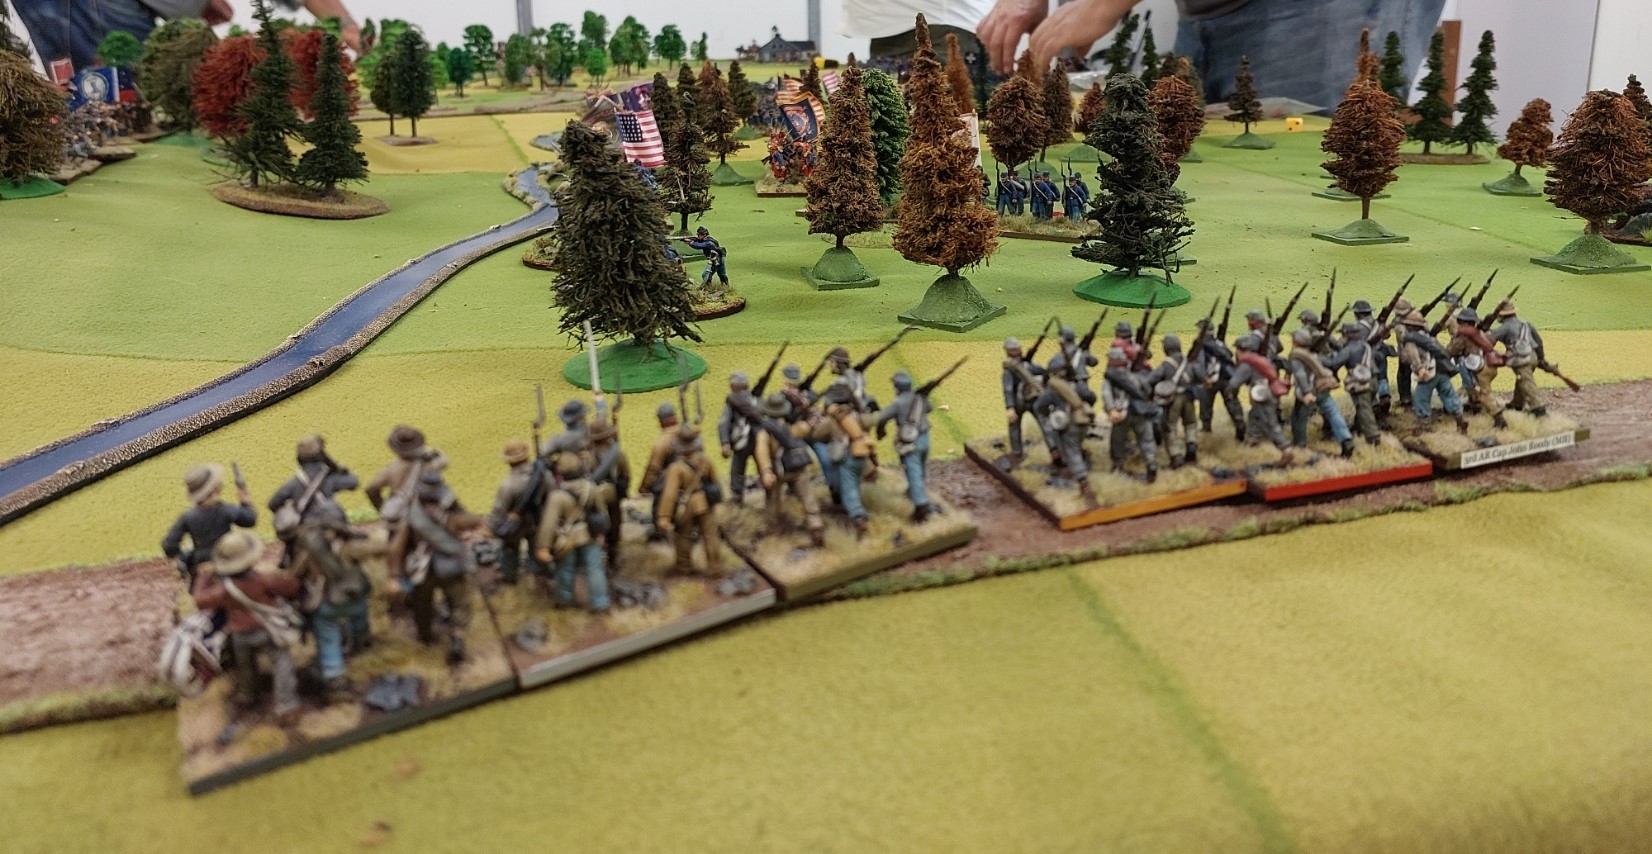
Over on the Austrian flank Stephen has managed to make the game after all…and brought along some of the British he is painting so these replaced some Austrian units, and he played this side.
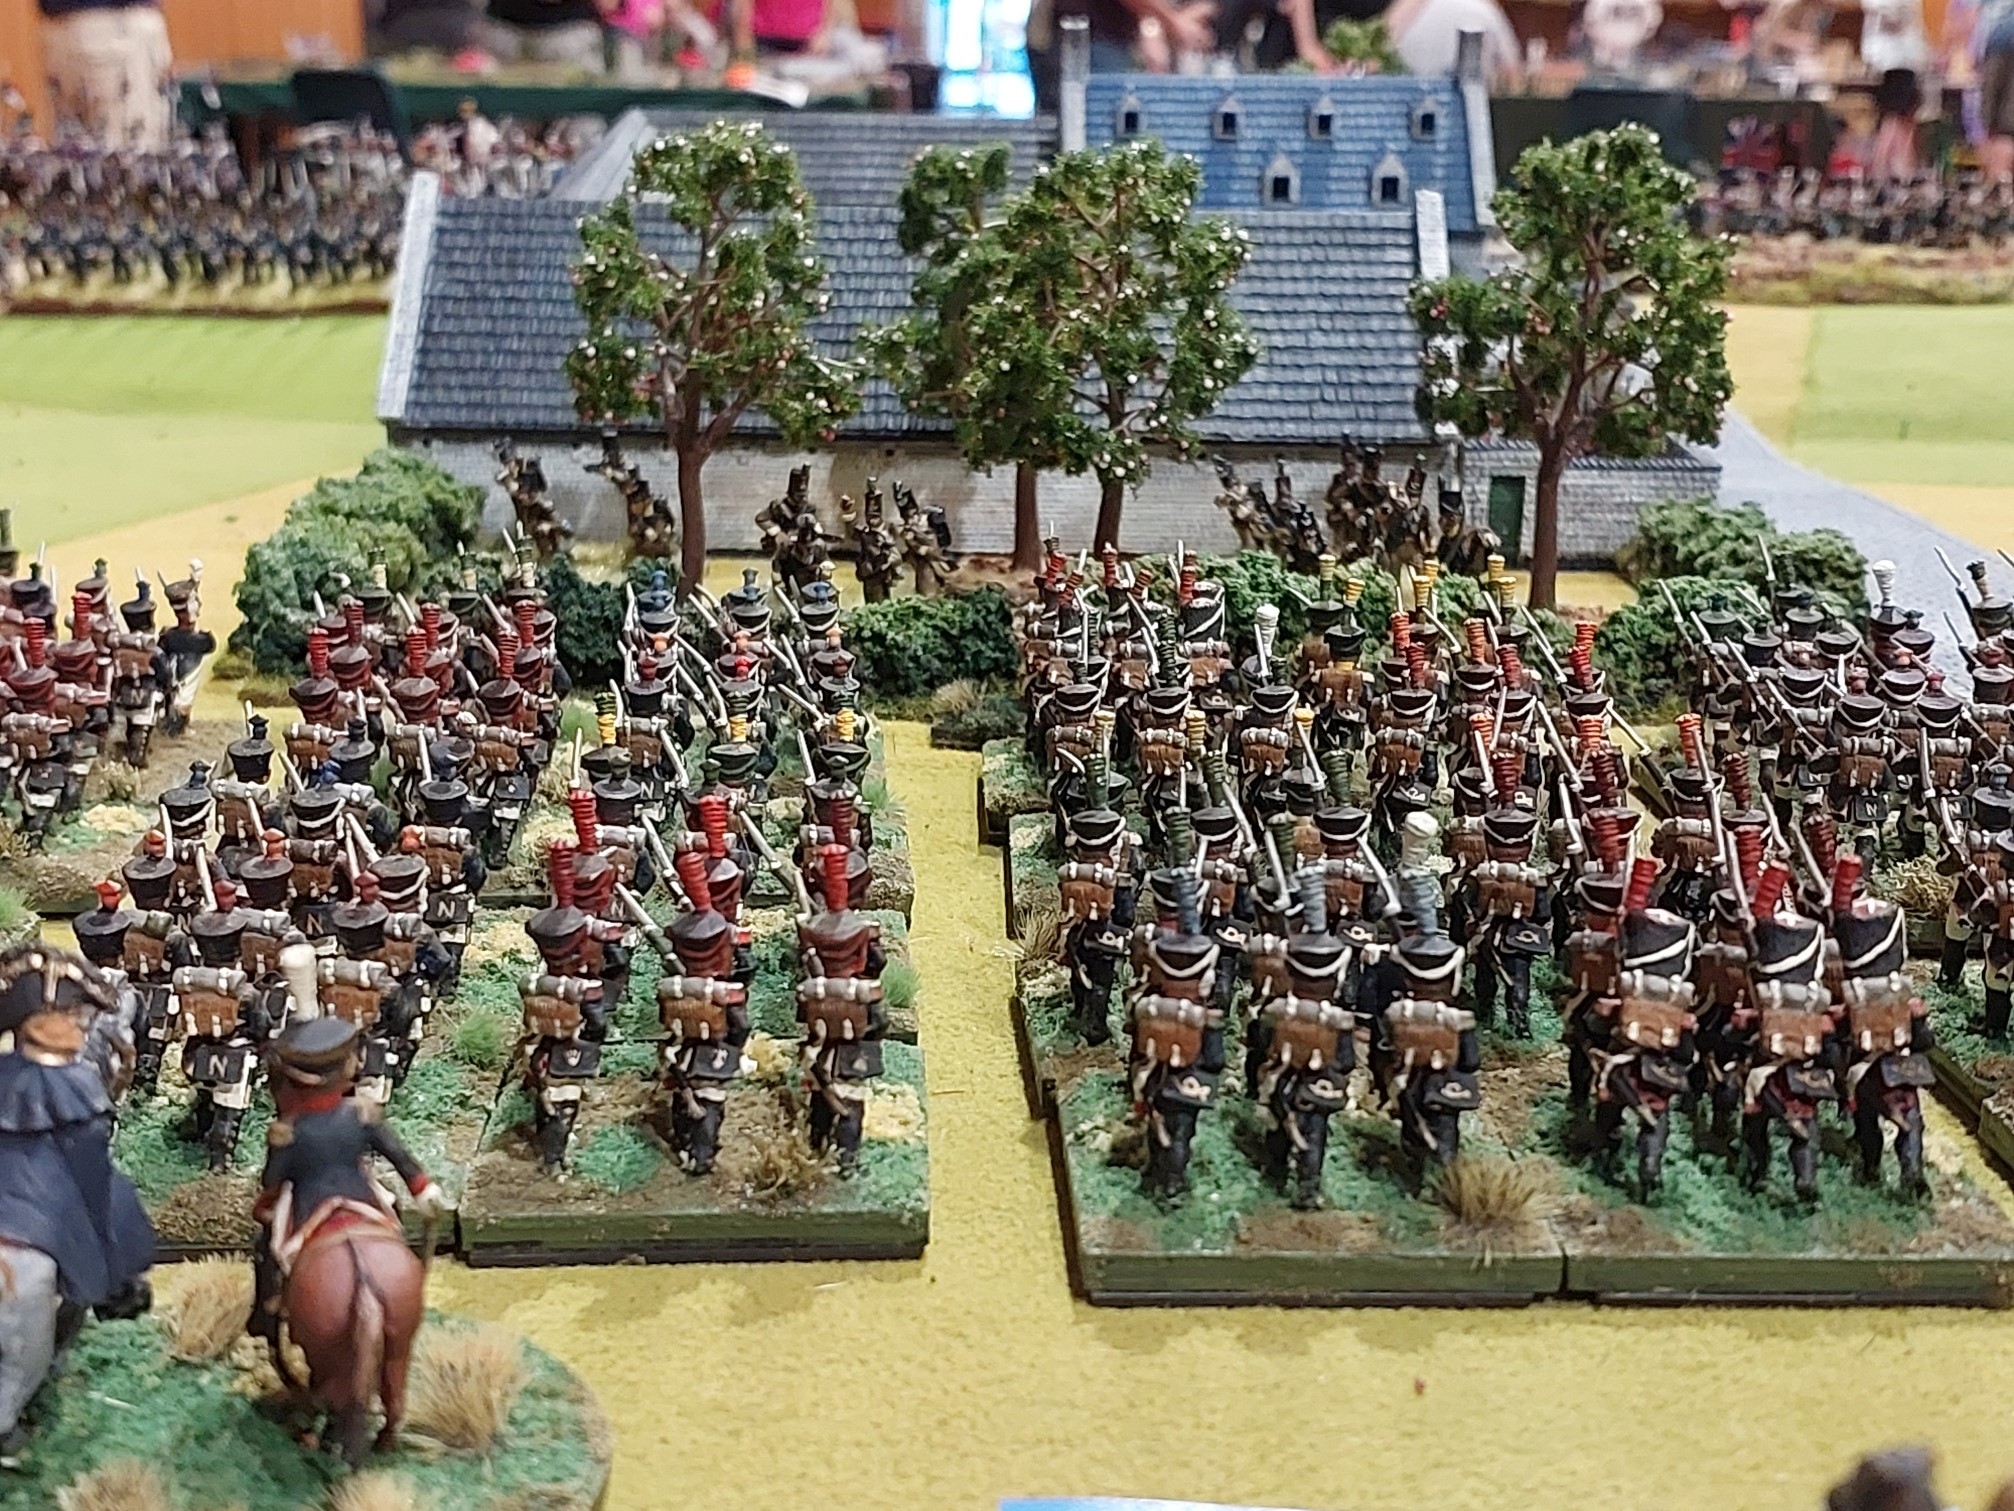
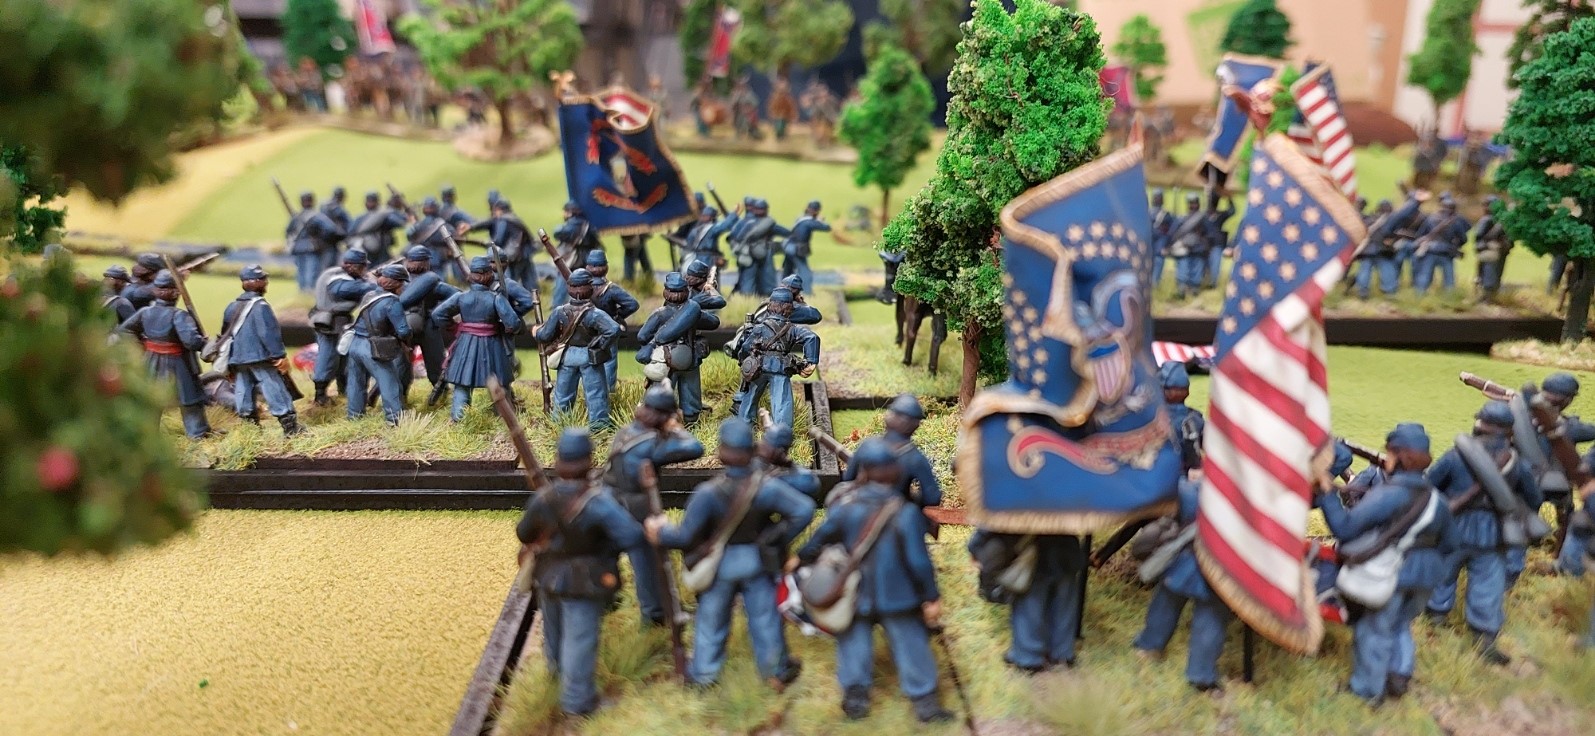
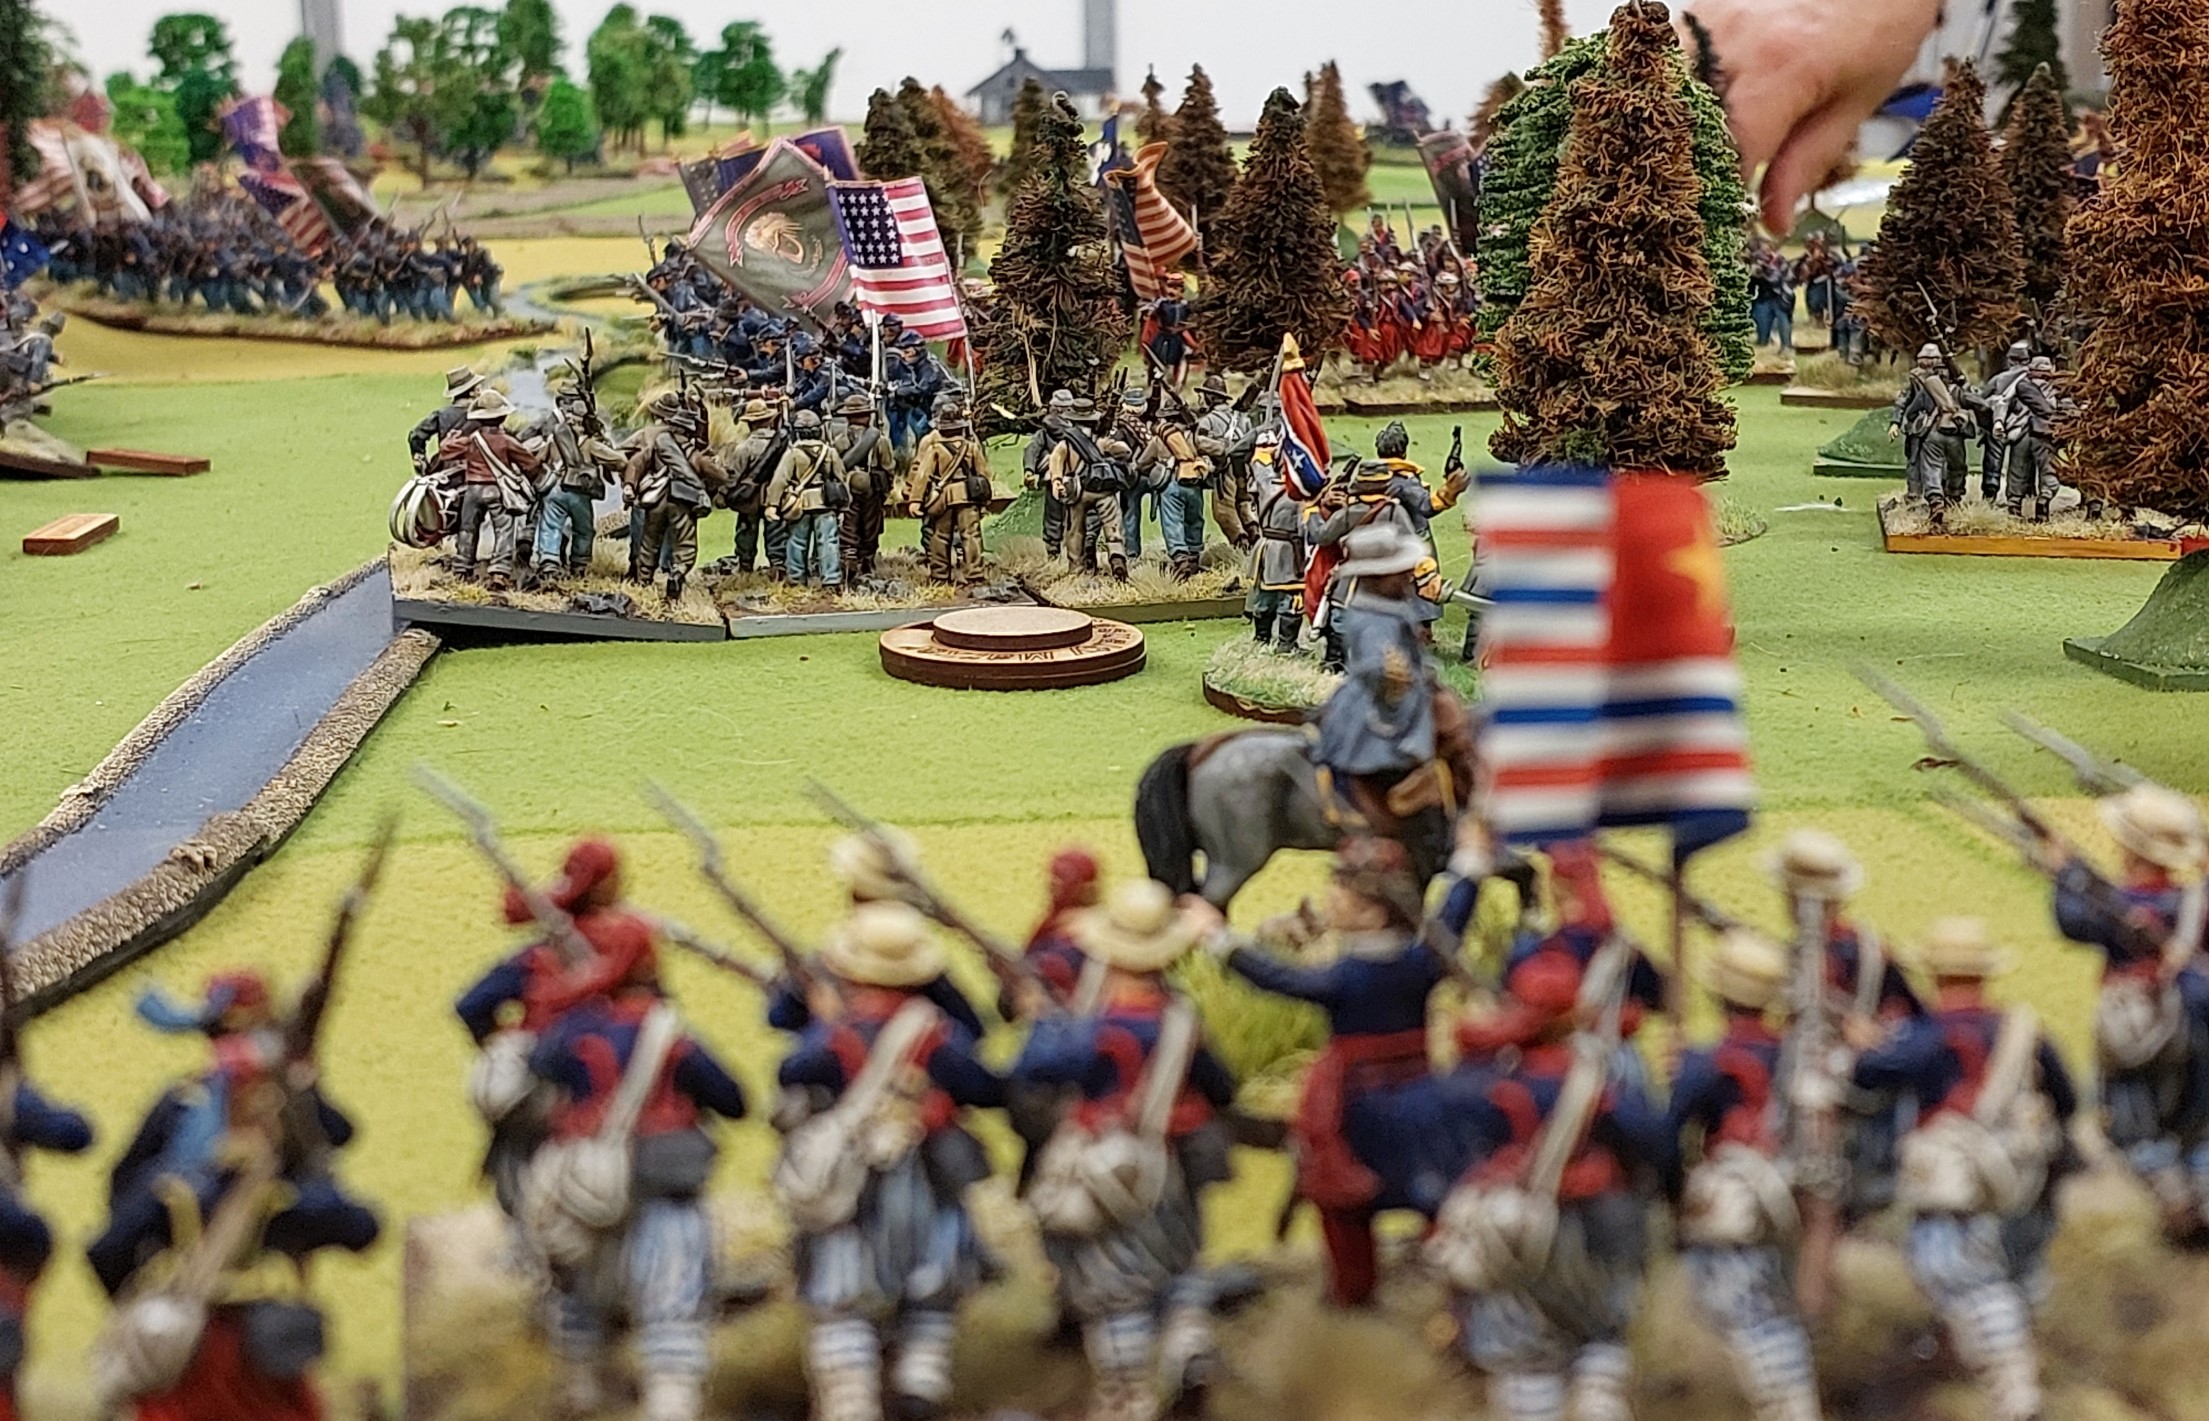
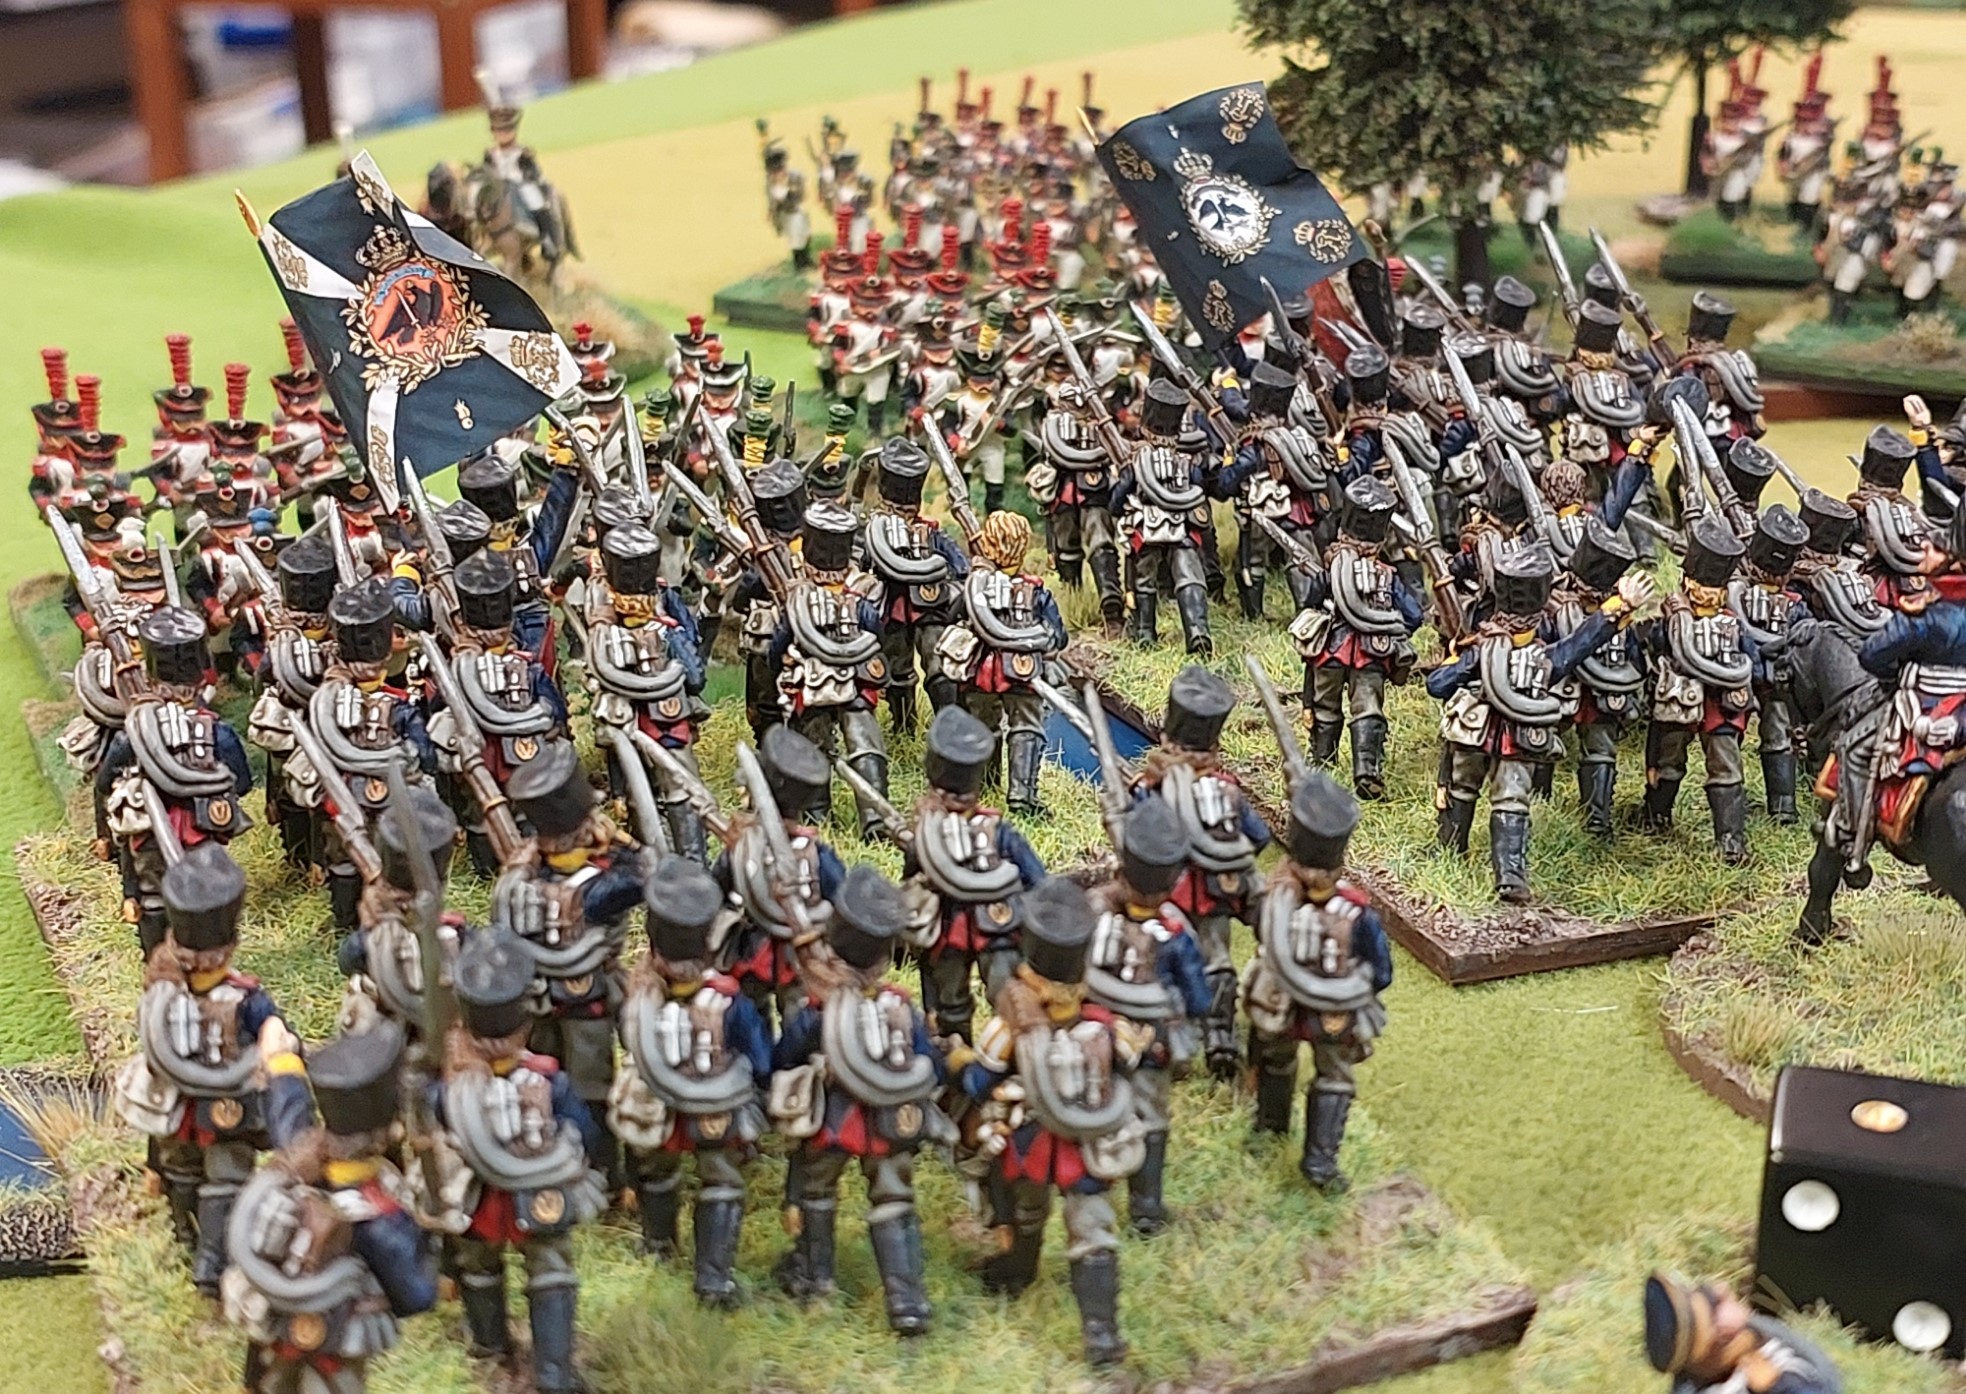
French attack on church.

Alans Bavarians were a wee bit slow to start moving…but are now moving up in support of Grahams central advance.

The Bavarians support comes a wee bit late..Grahams brigade is thrown back.
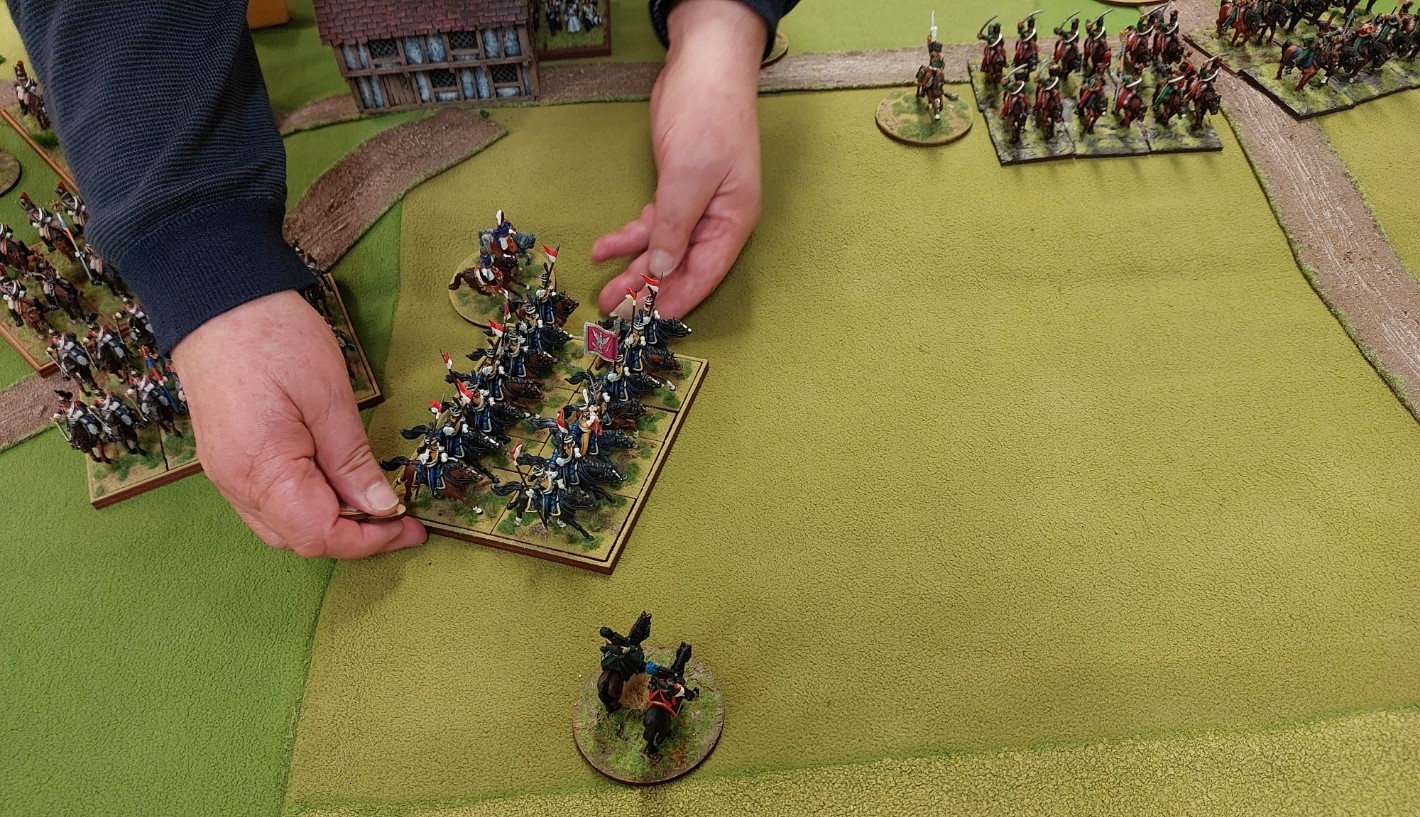
So Graham sends his Dragoons in against Russian Hussars…who have pointy sticks. I swapped a French light cavalry unit with the Dragons to even out the odds…pointy sticks inflict a -1 save in cavalry combat and -2 versus infantry. Dragoons get an additional attack and add +1 to combat resolution.

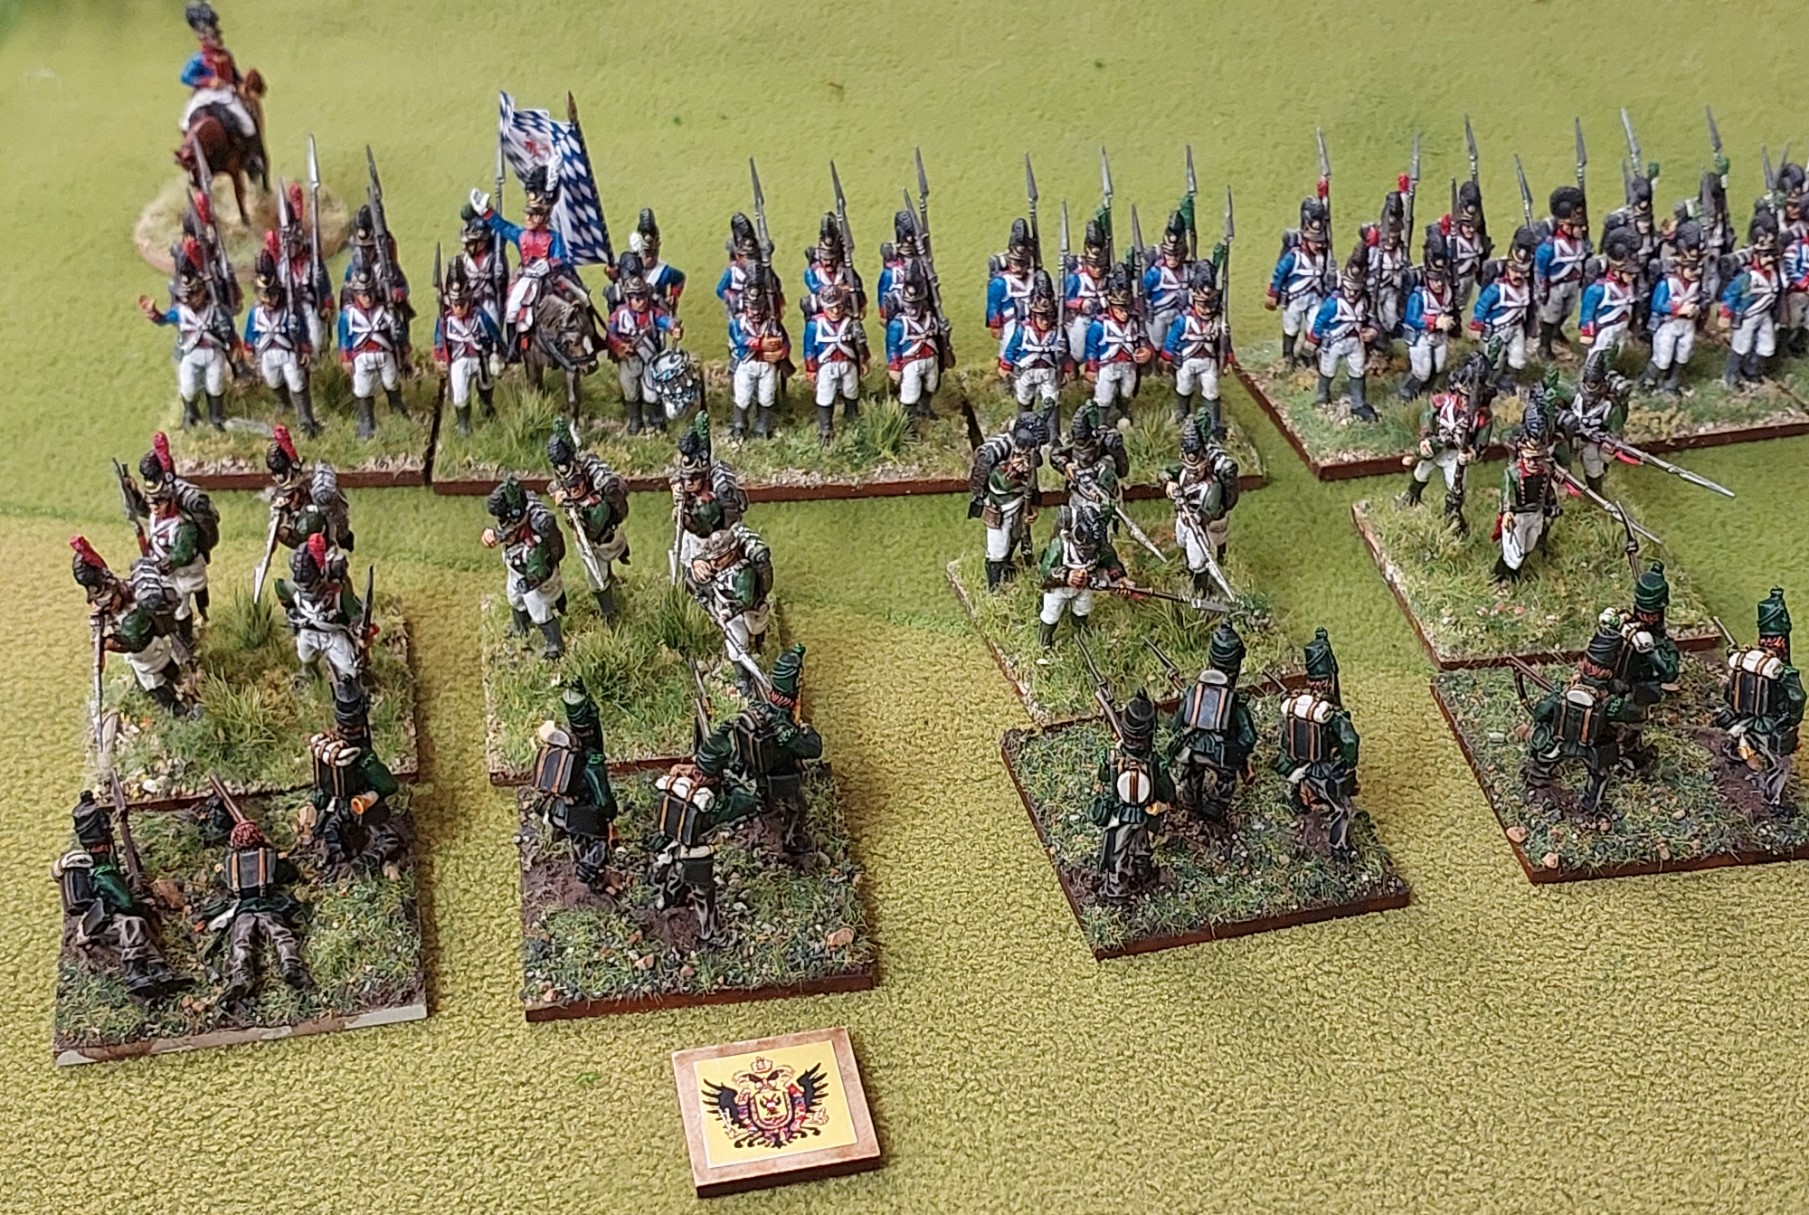
Bavarian line with skirmishers out front advancing.

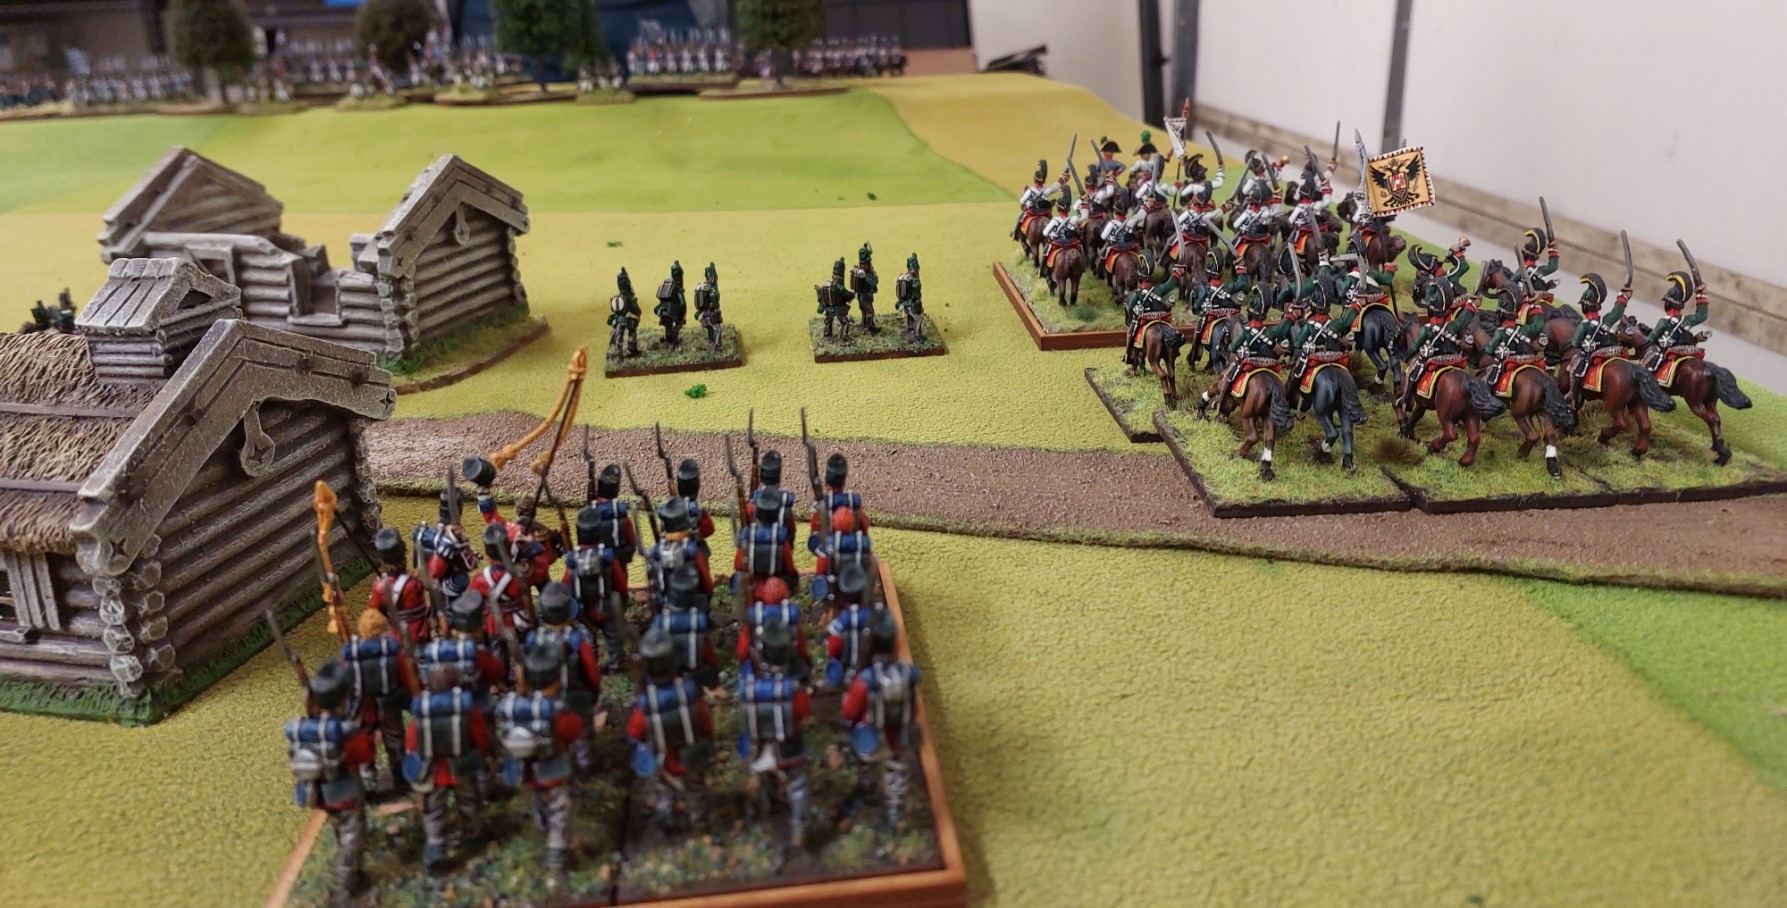
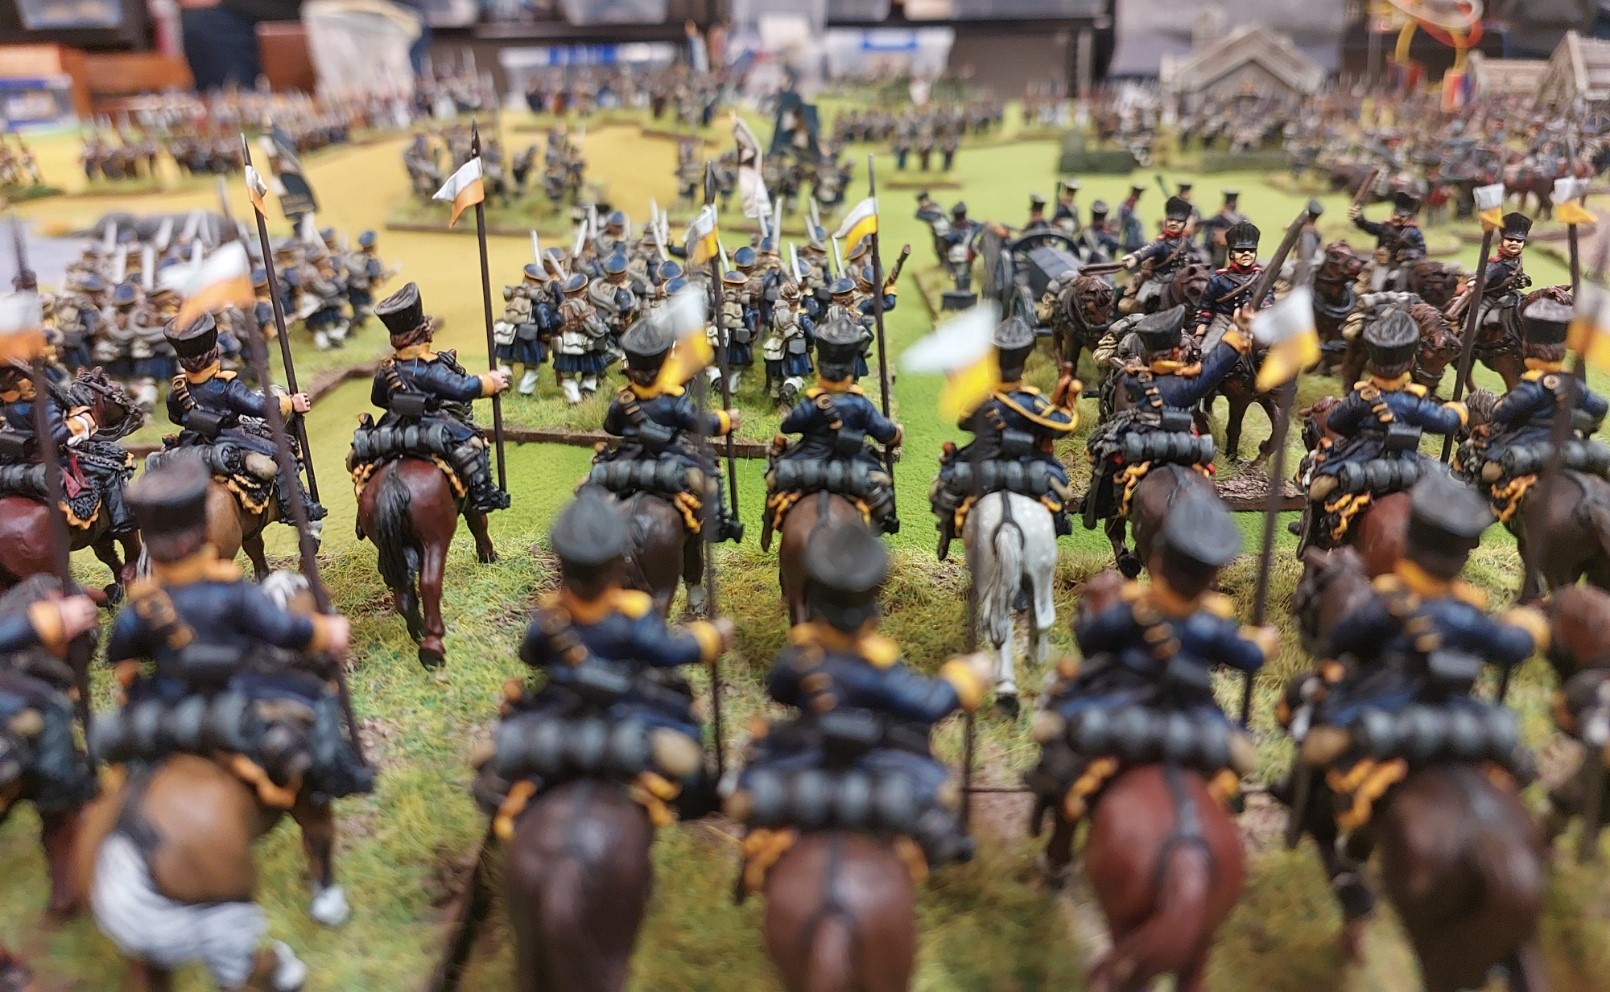
Prussians Landwher cavalry also with pointy sticks………Calpe are such lovely figures. https://www.calpeminiatures.co.uk/
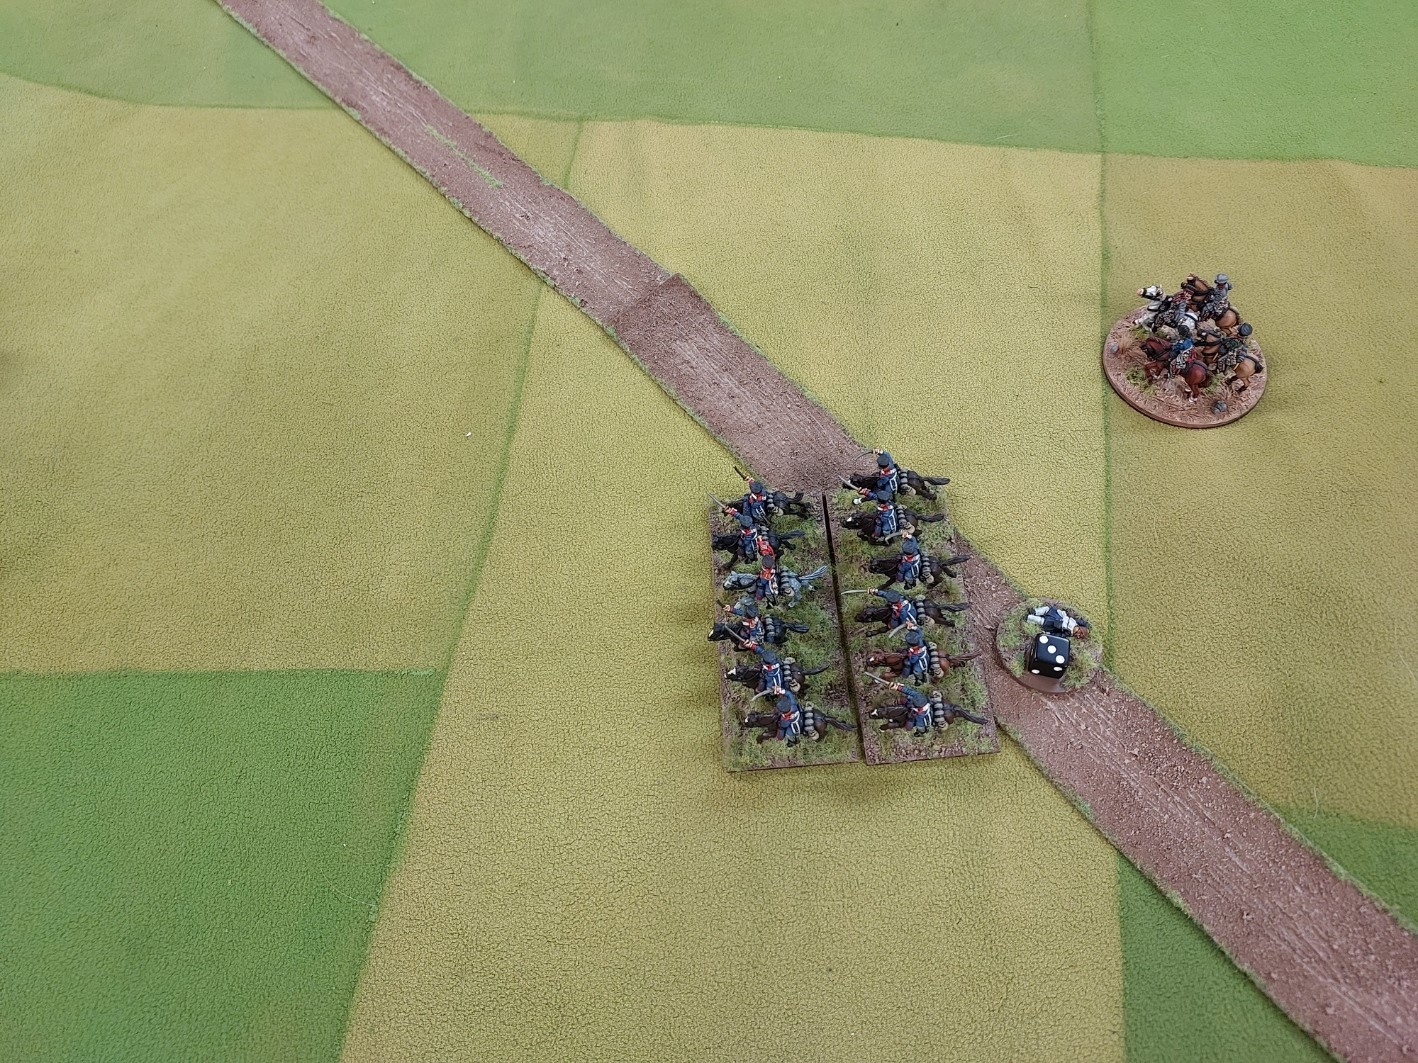
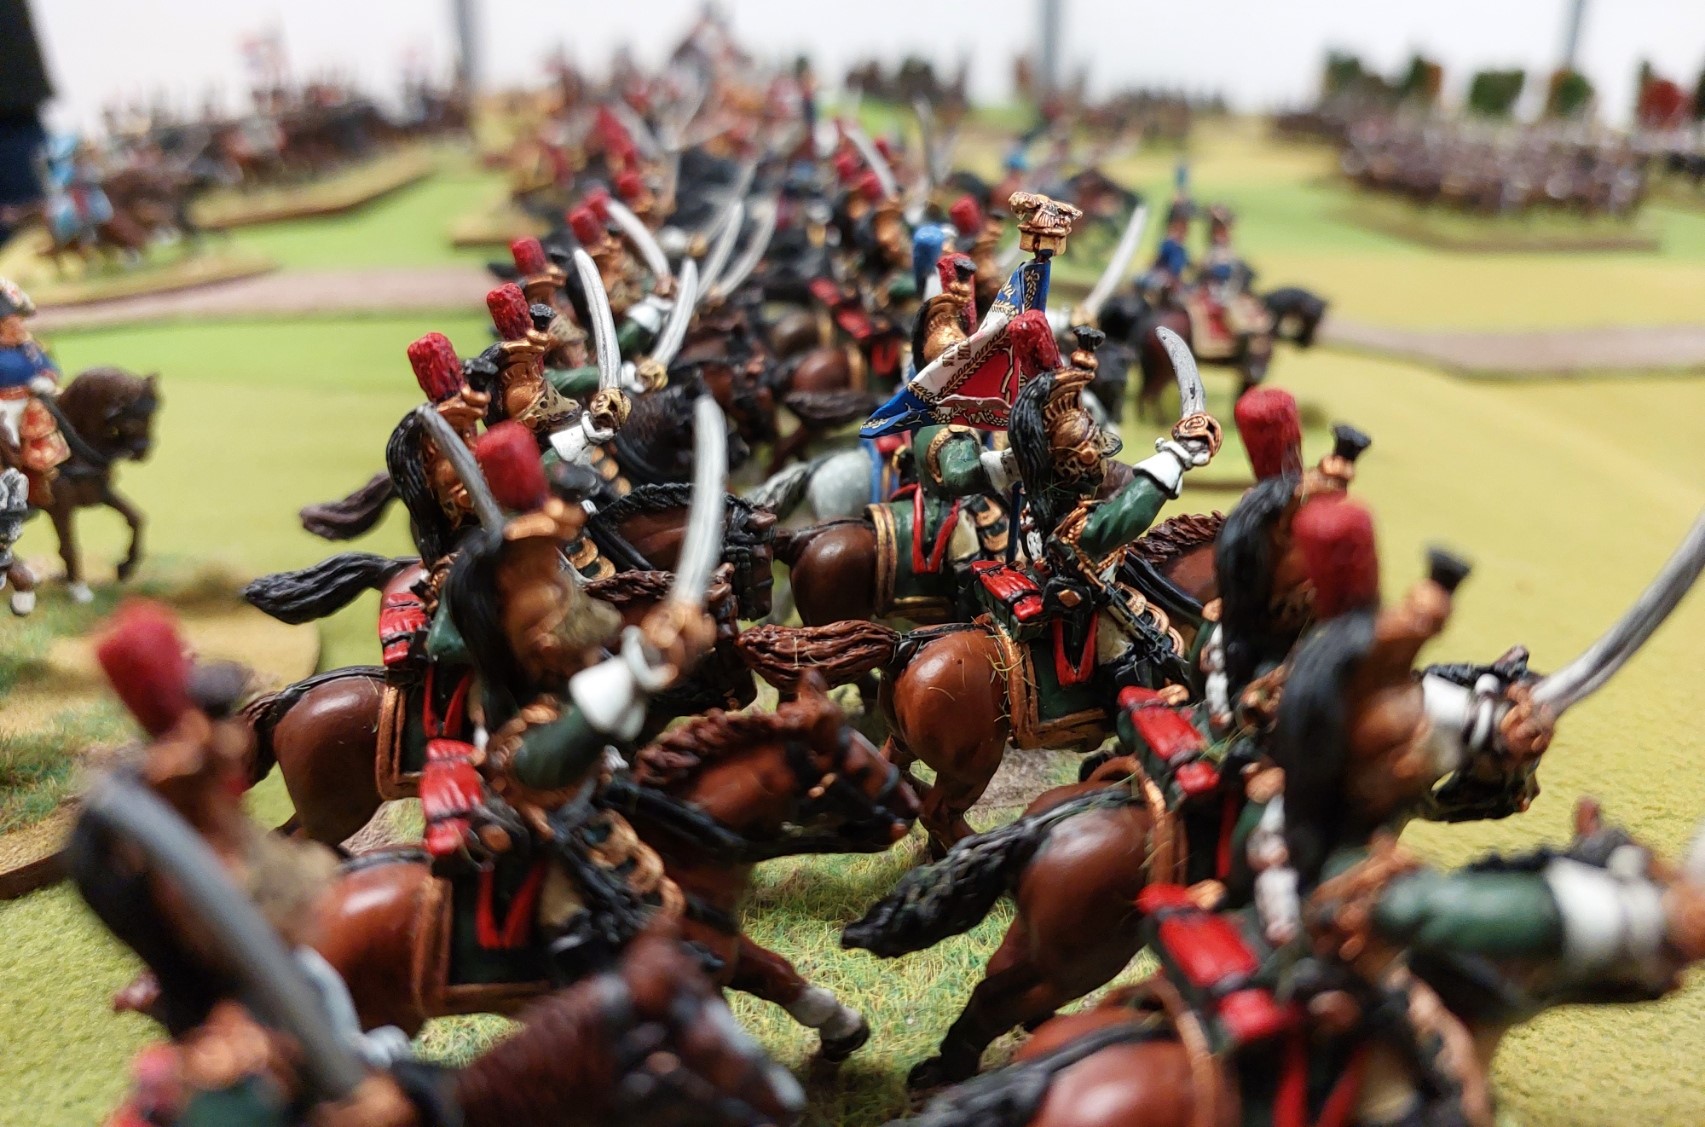
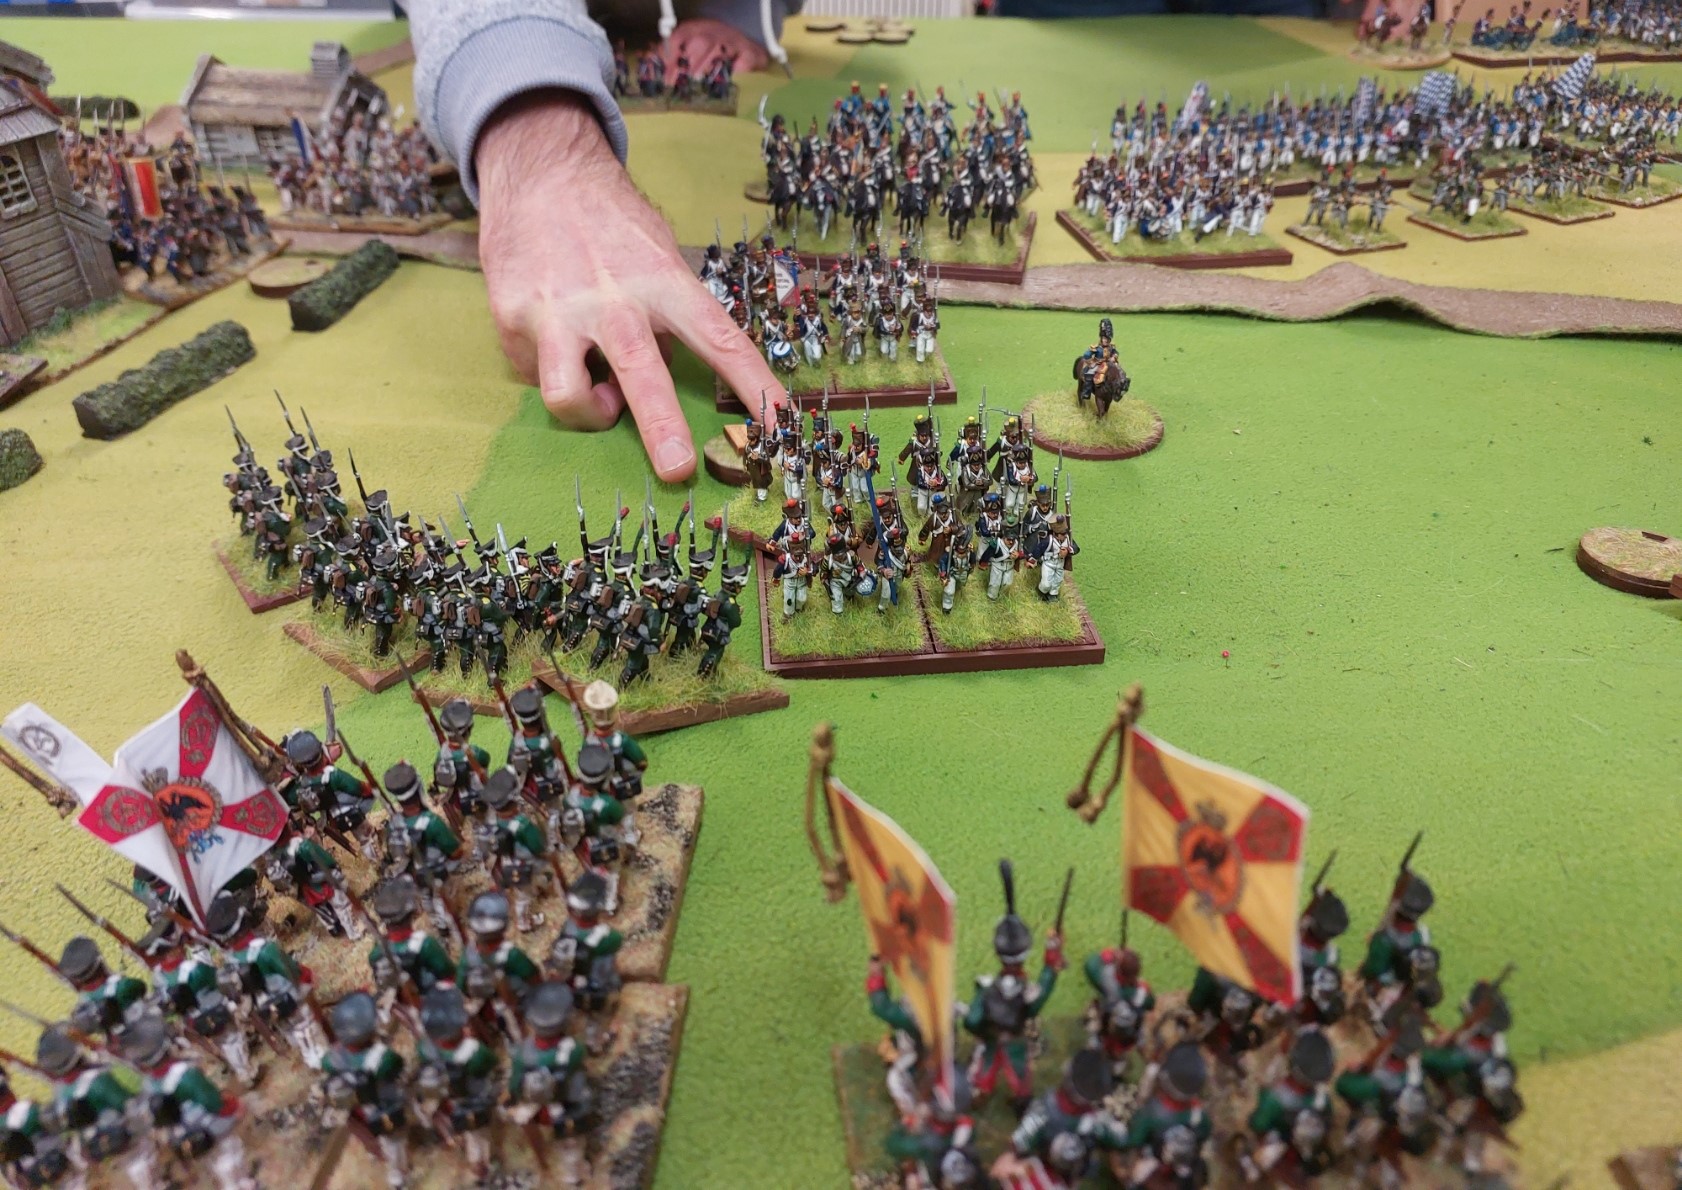
A lone Austrian column!
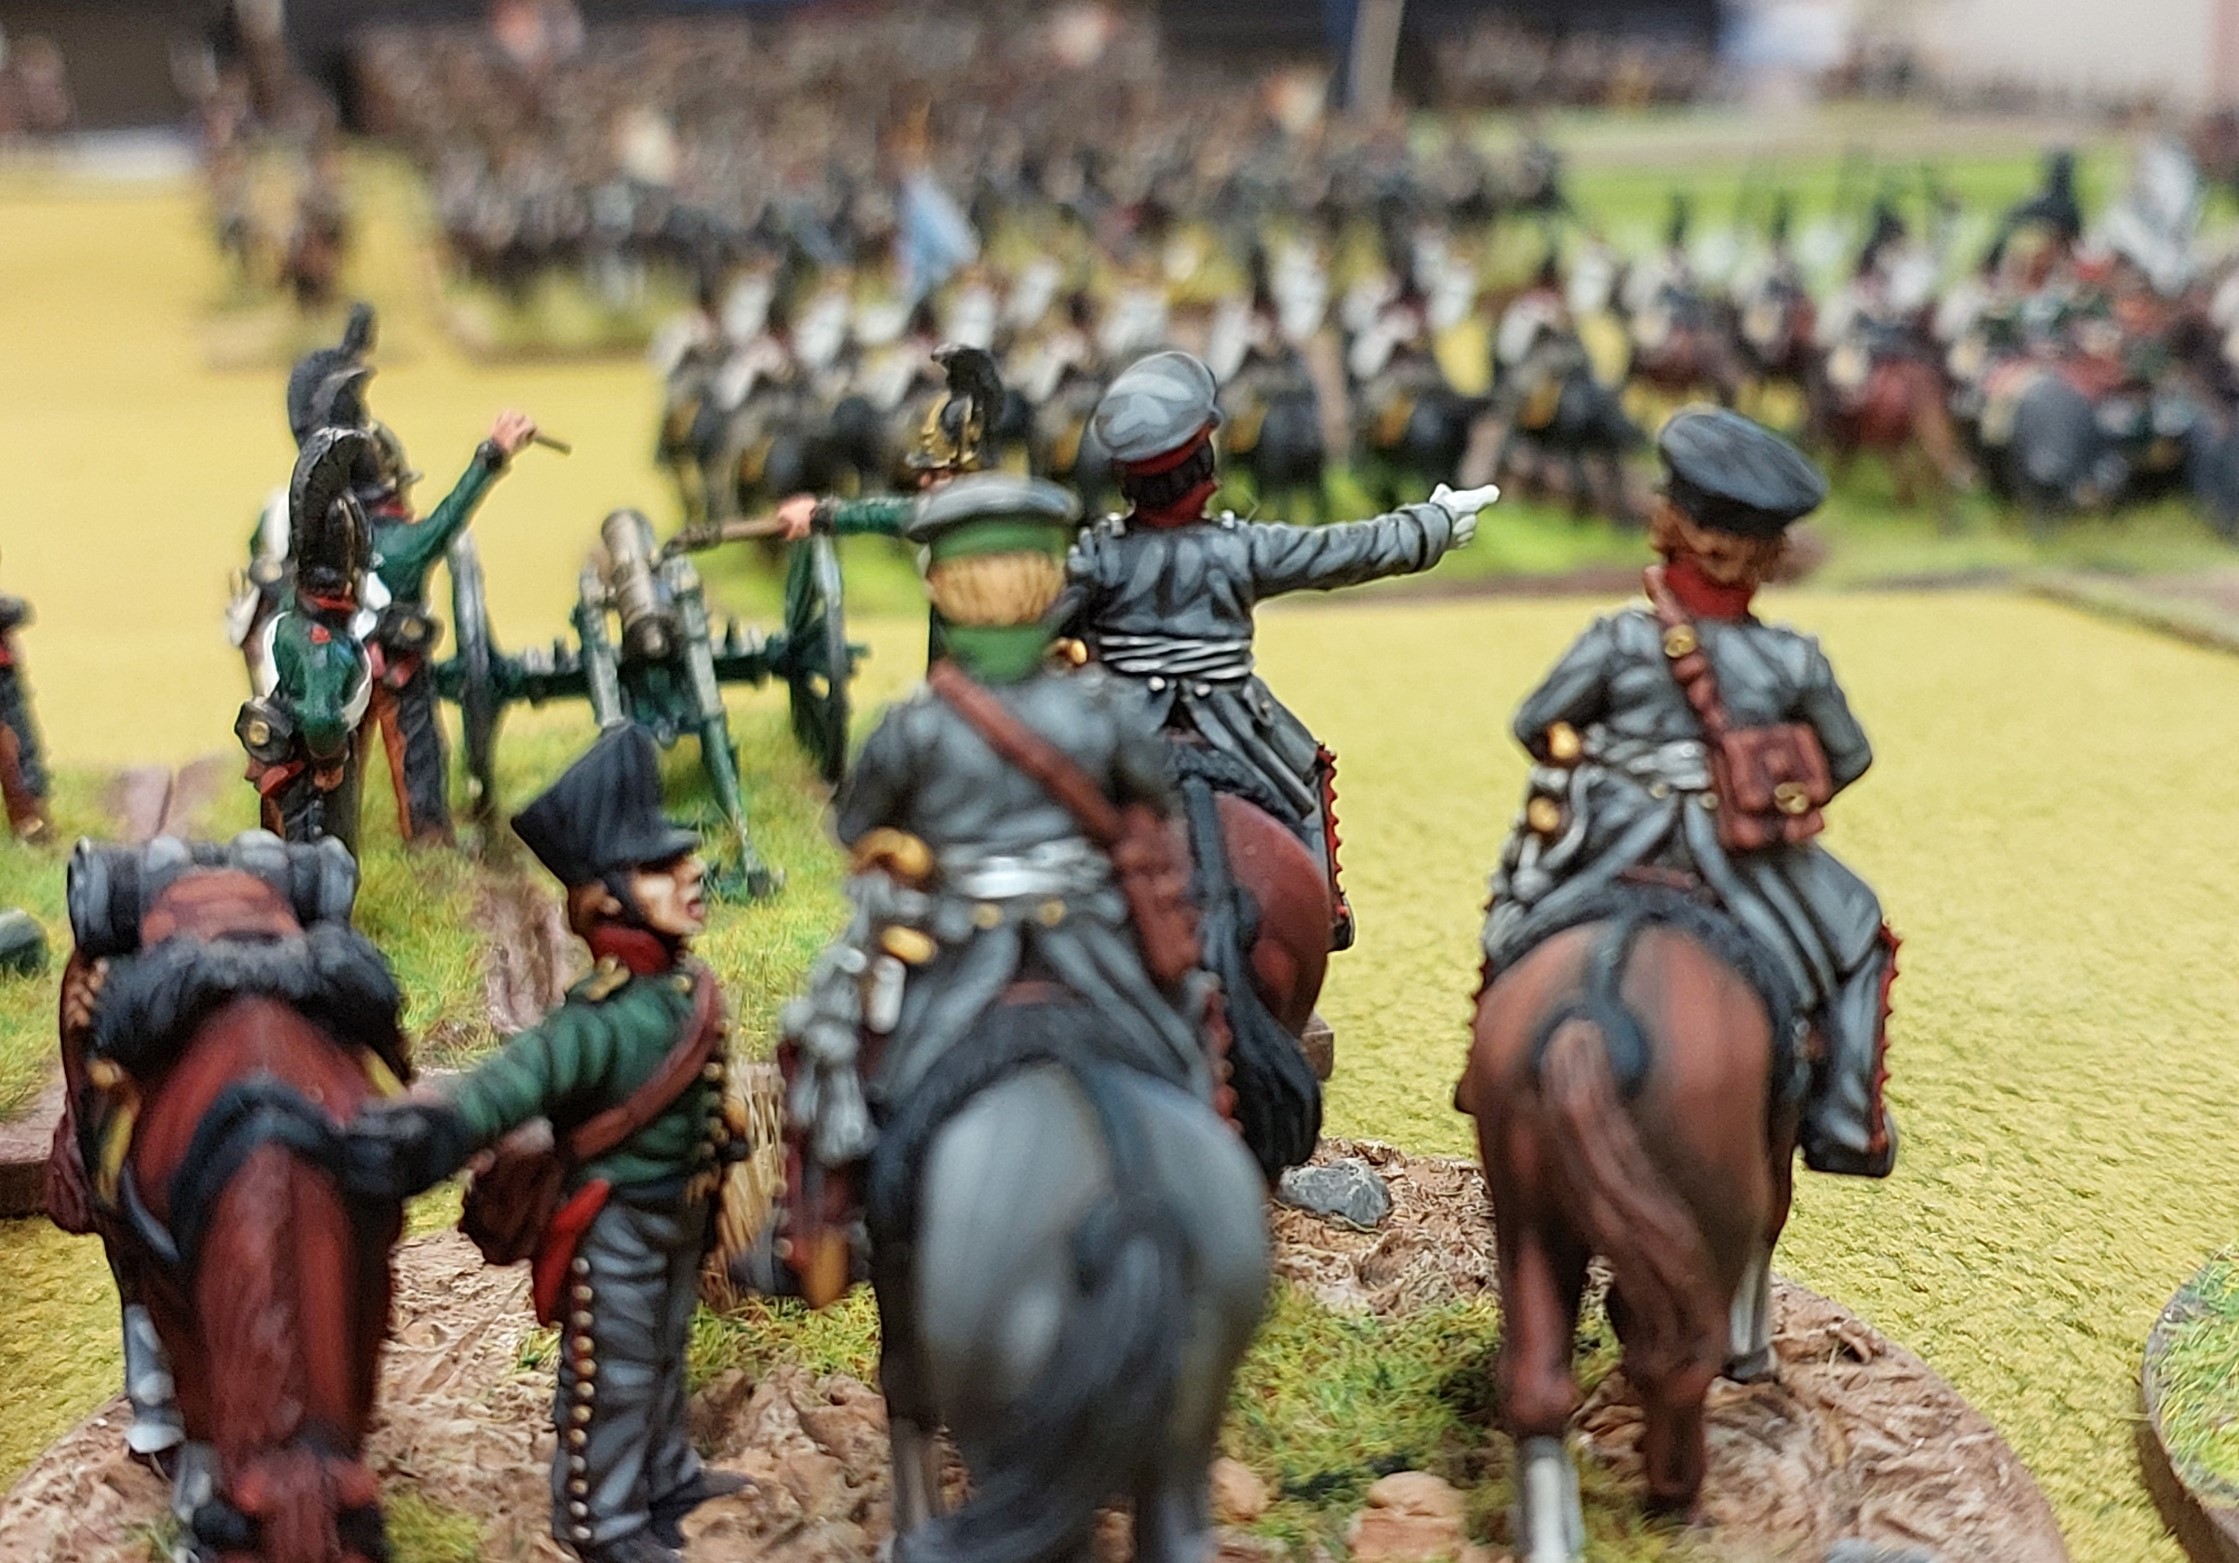
But another Austrian large column has found a target. The Austrians get 8 attacks…hit on 3, save on 3 as are a column. Bavarians get 3 shots as they close in….hit on 3’s and then get 6 attacks in combat. Supporting units assist in the combat resolution stage.

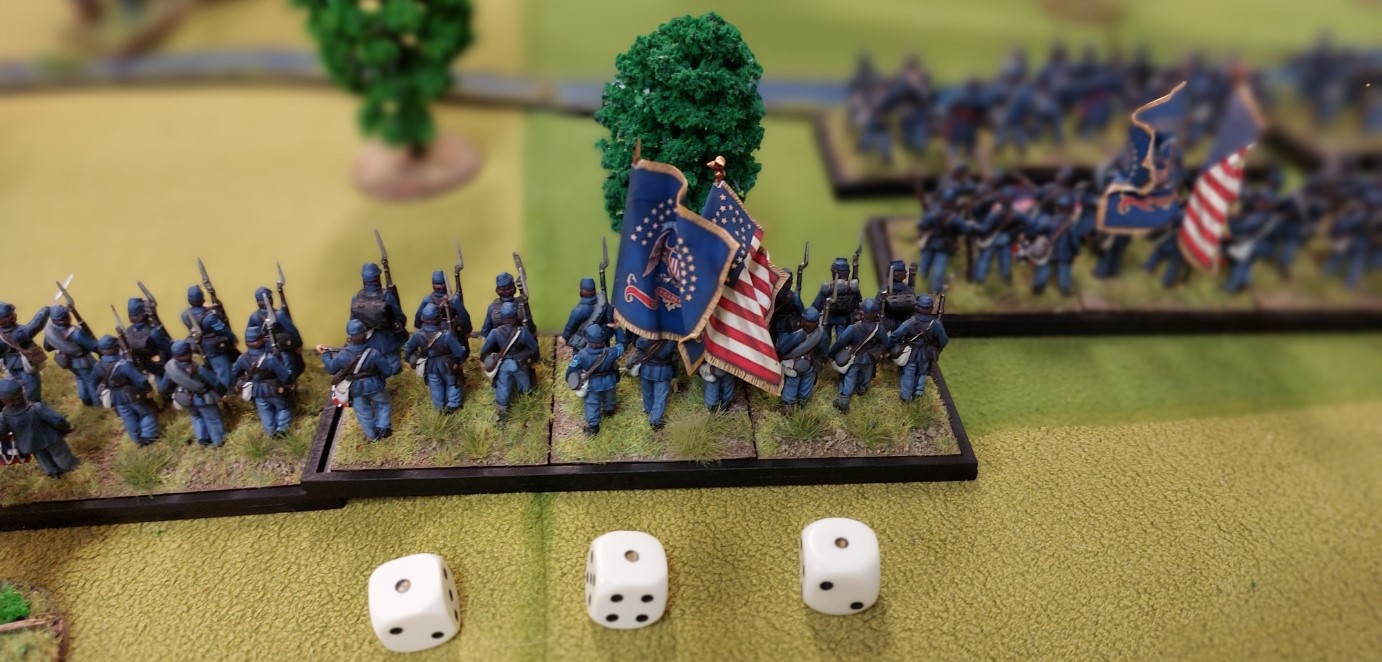
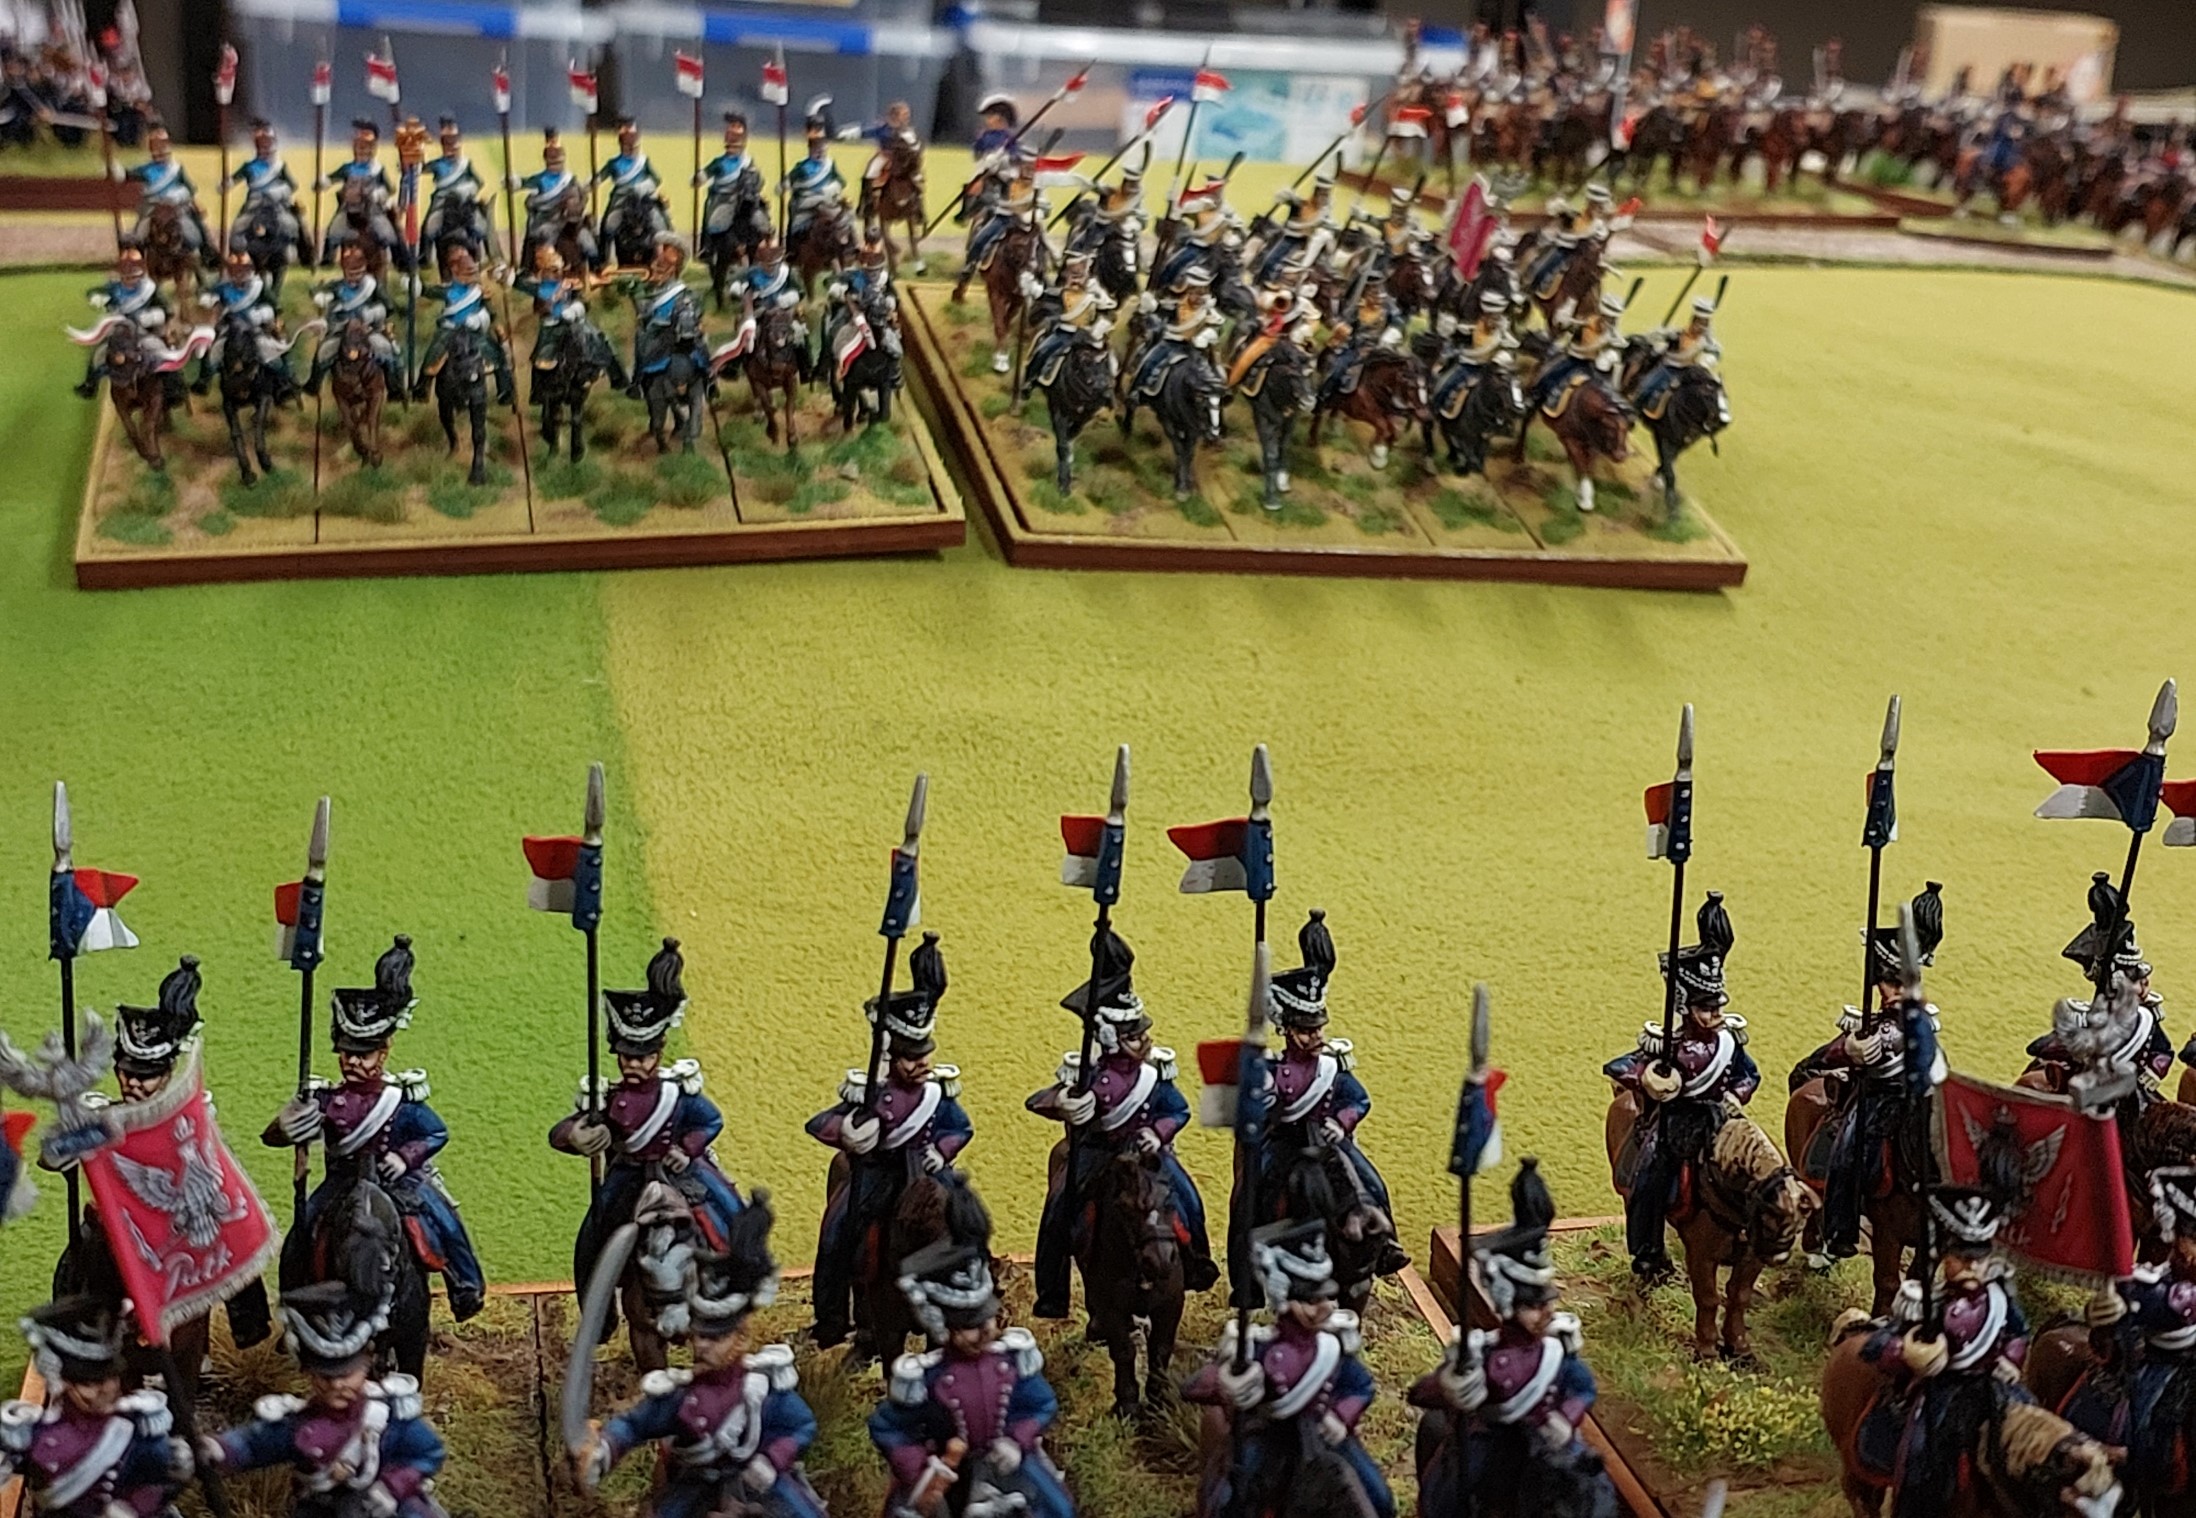
Now below the British skirmishers have charged the Bavarians skirmishers. As both are skirmishing, neither can evade. Skirmishers hit on a 5+, as the British are charging they have +1 for charging, so hit on a 4. Neither side can be supported.
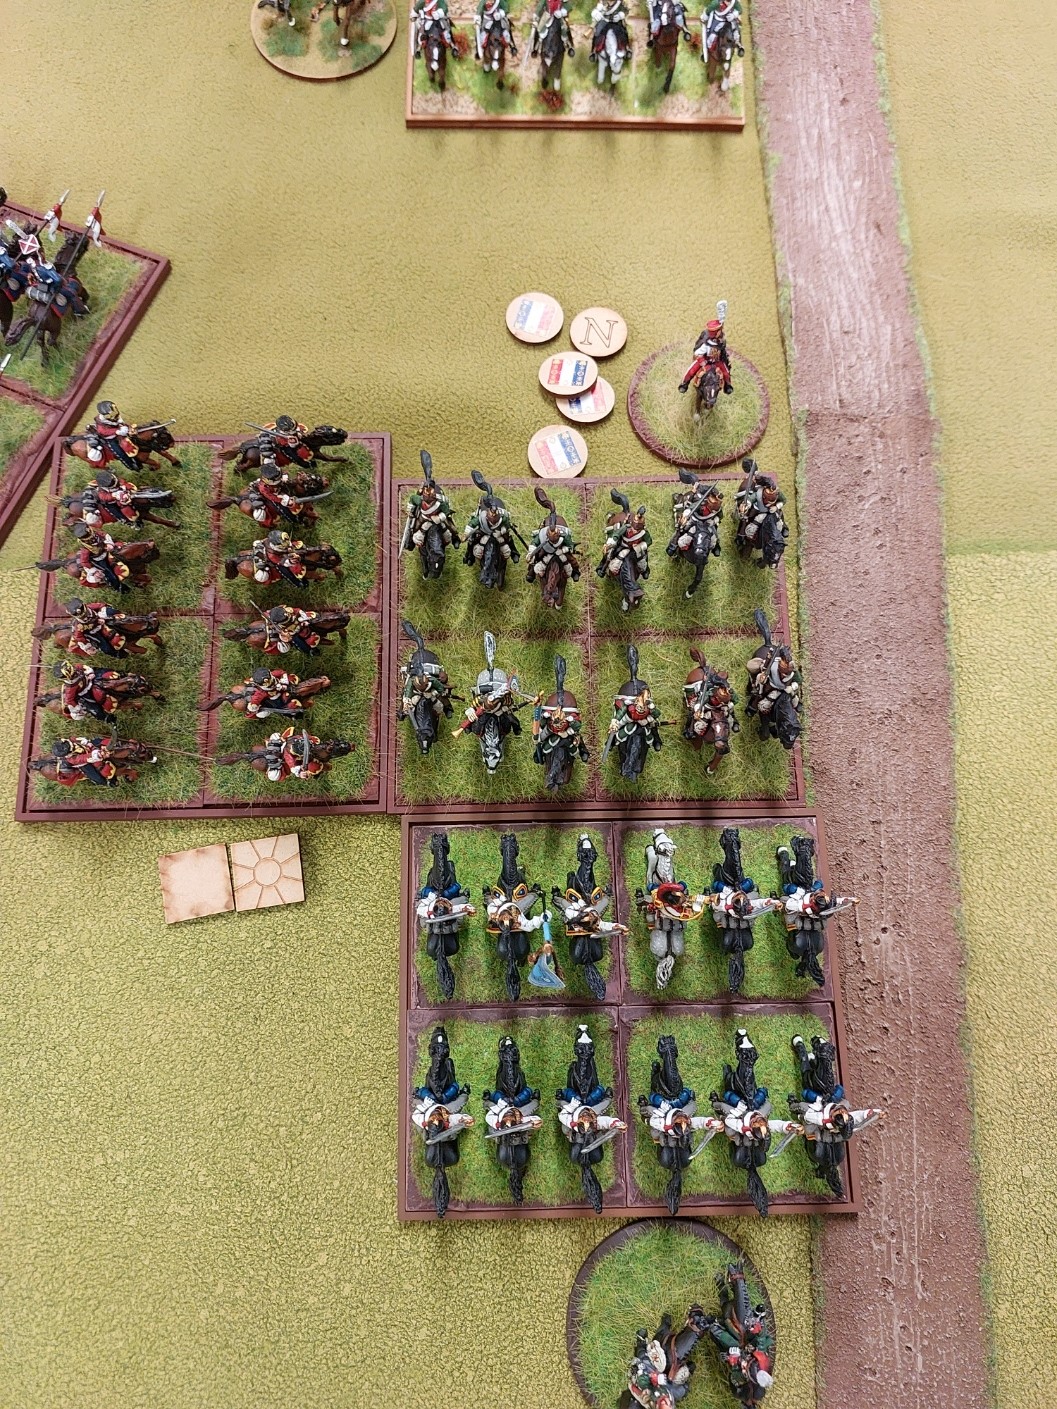
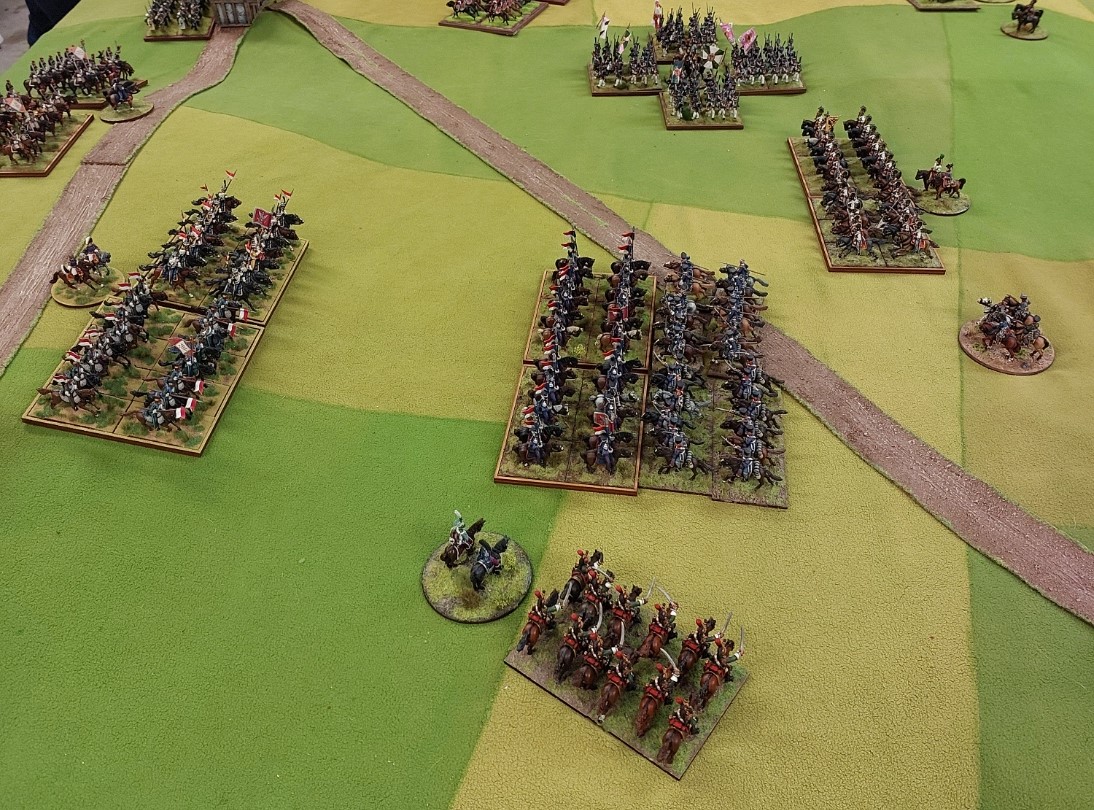
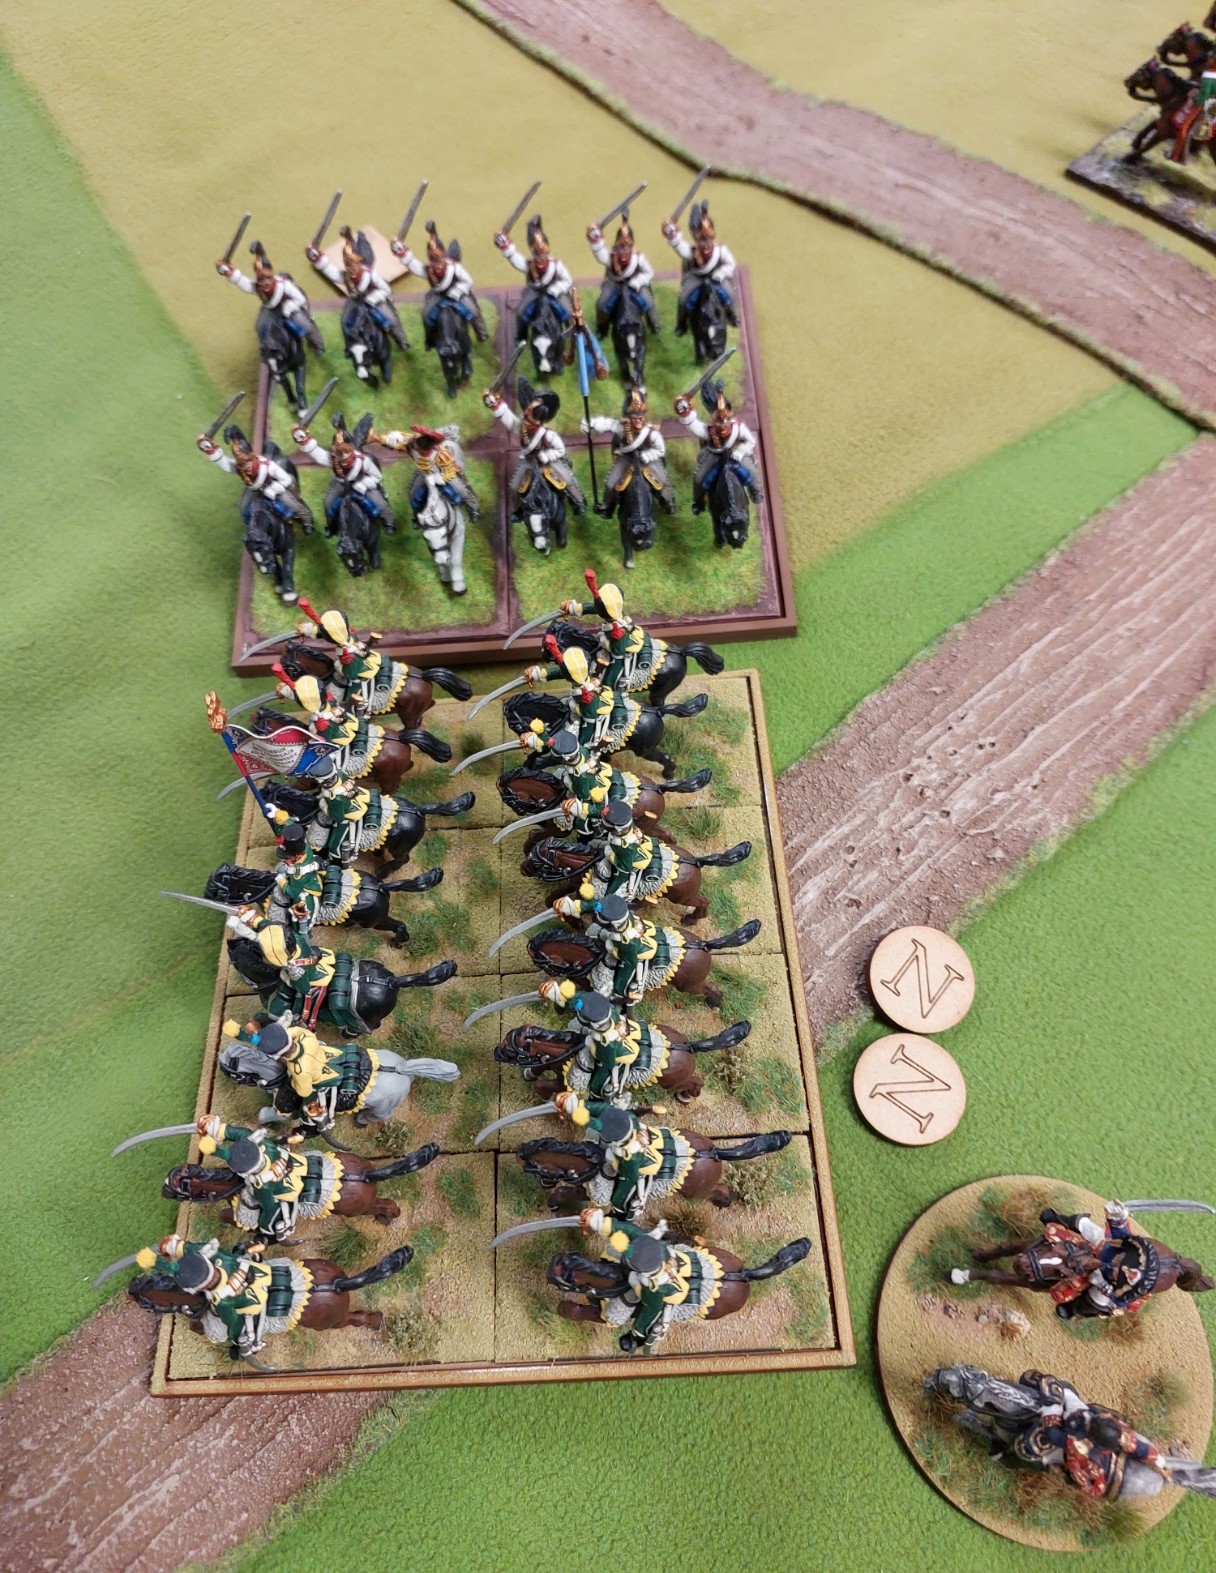
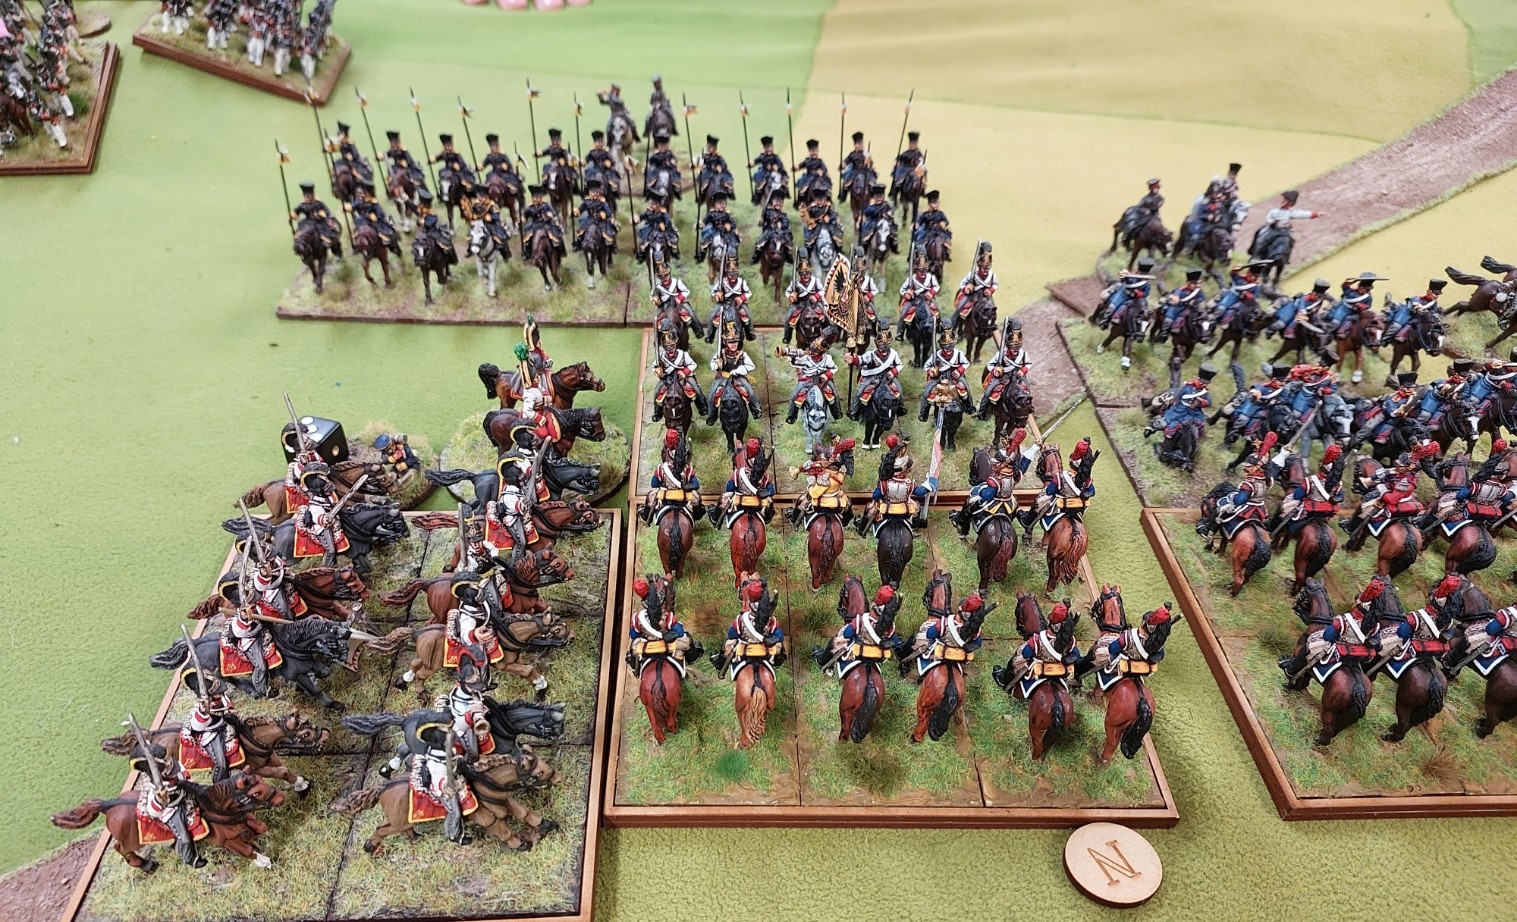
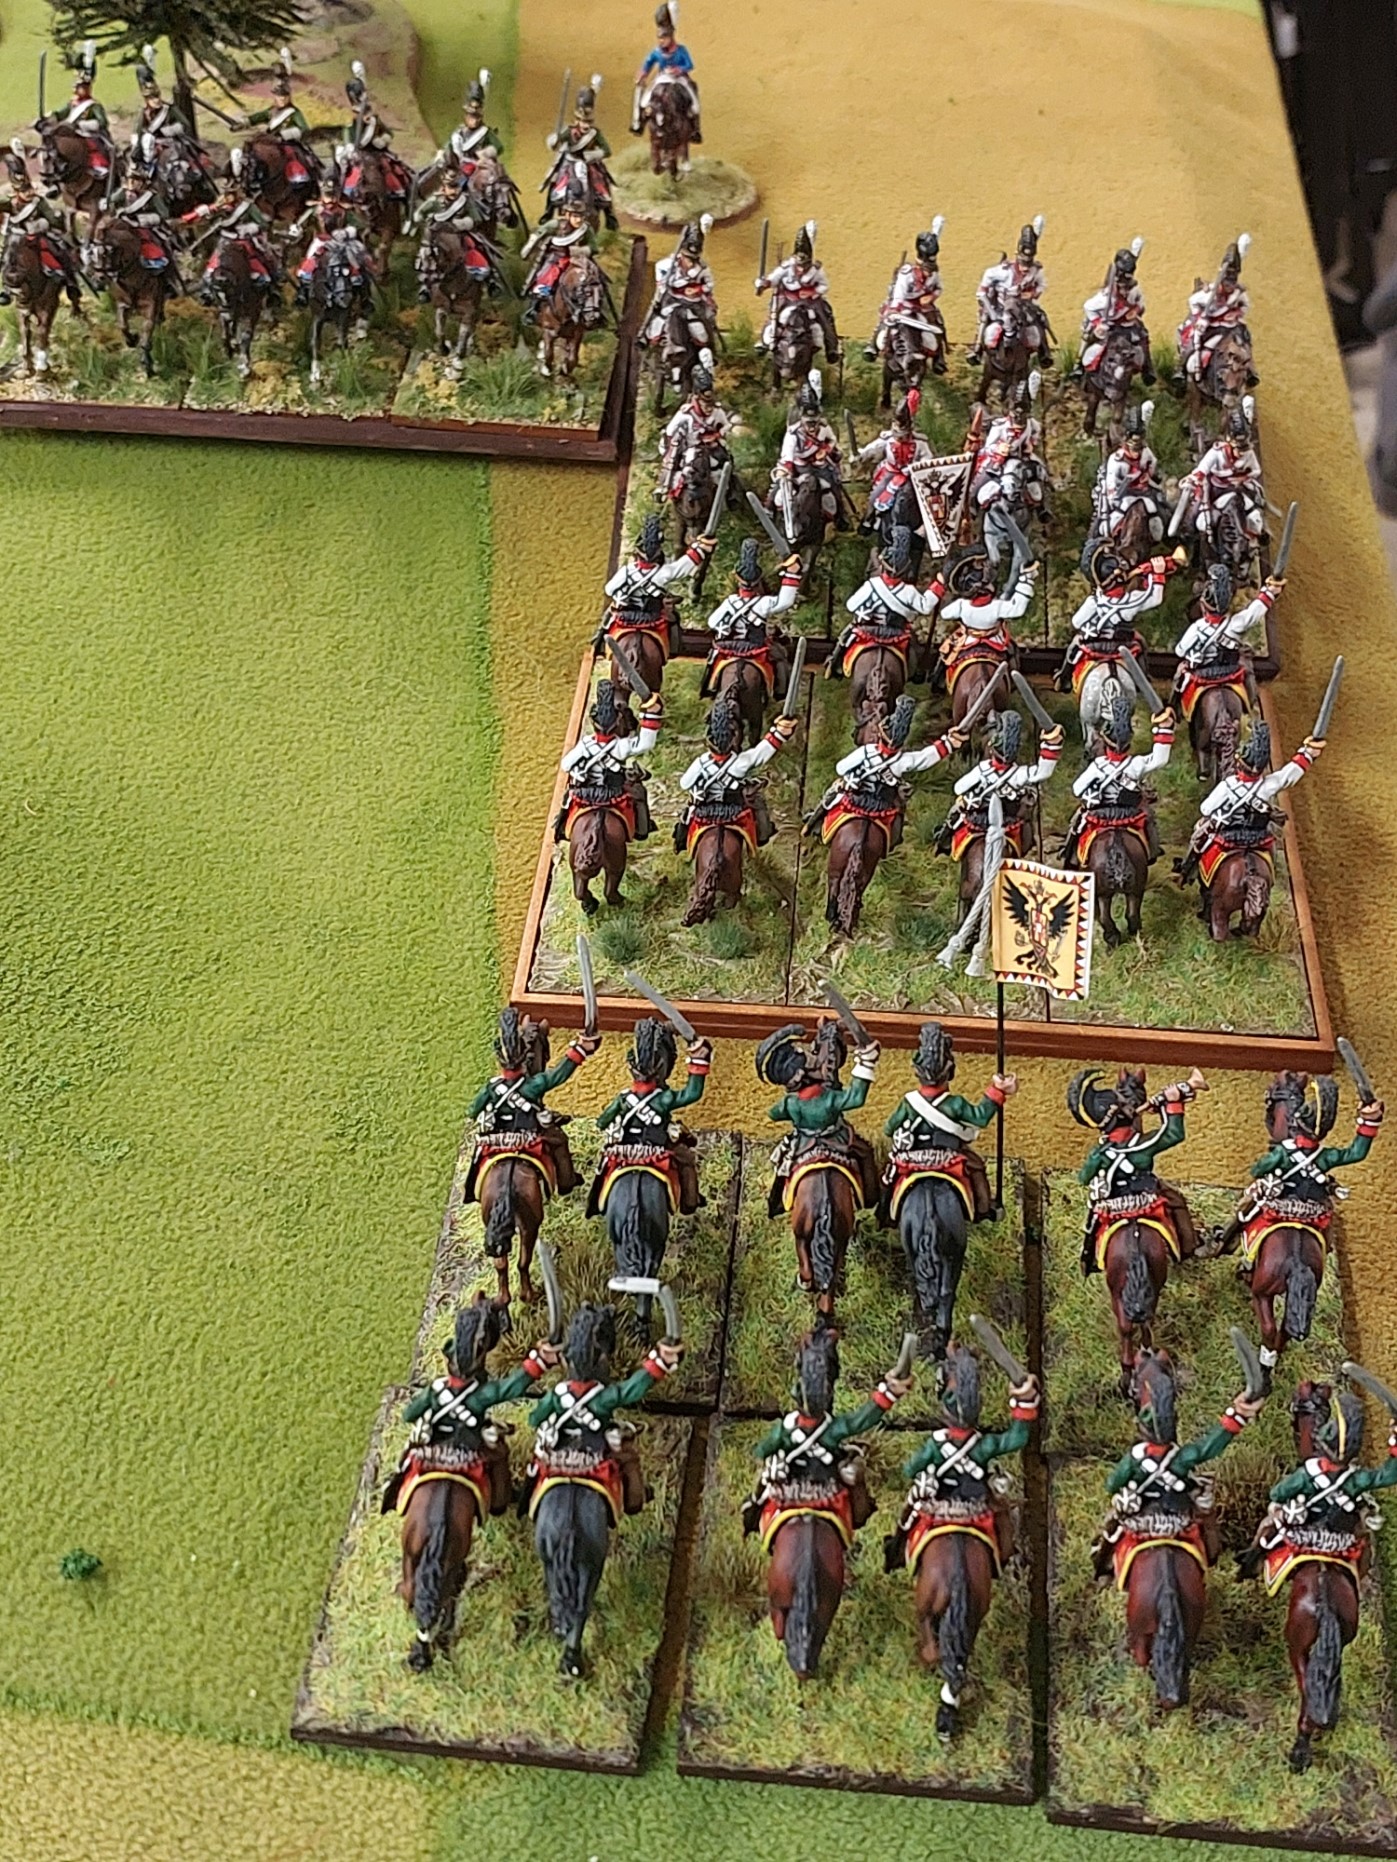
Then the Bavarian and Austrian cavalry charge/countercharge. With light cavalry where numbers are matched, it devolves into a series of attacks ending in mutual extinction. Light cavalry are not Battle Cavalry, unless they have pointy sticks… or are Guard types.
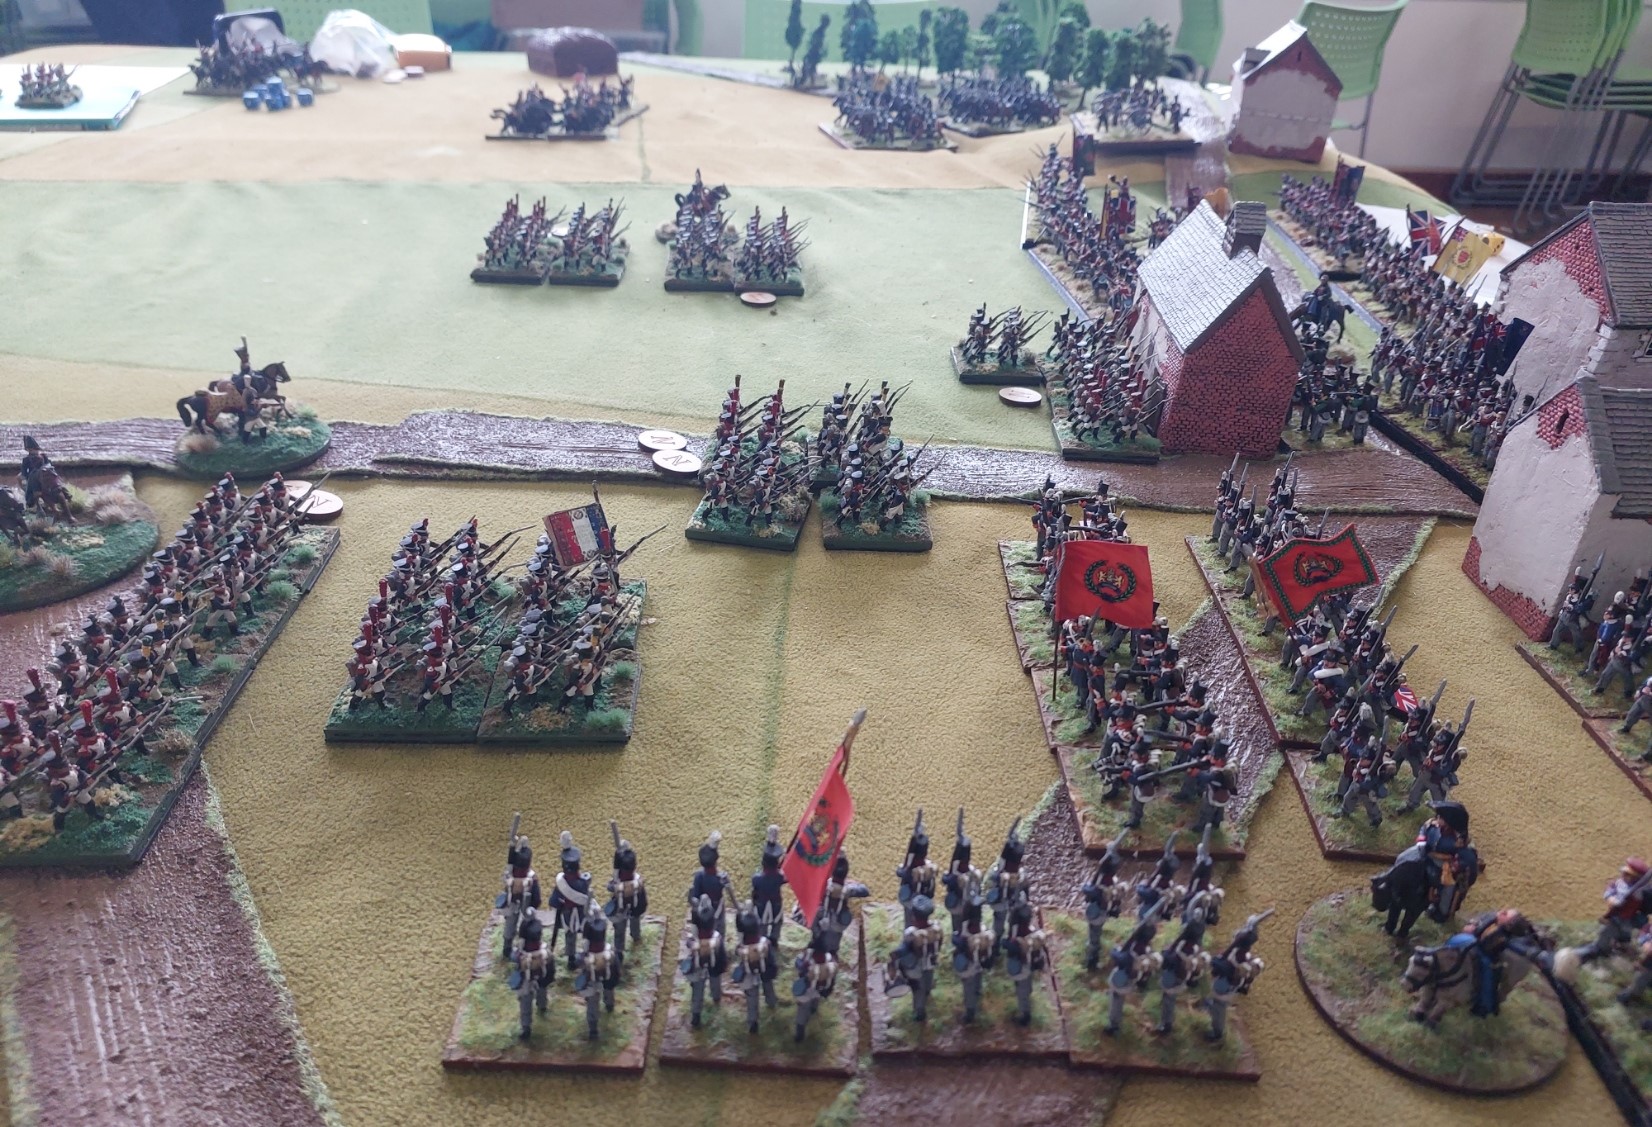
Another attack a turn or so on…..

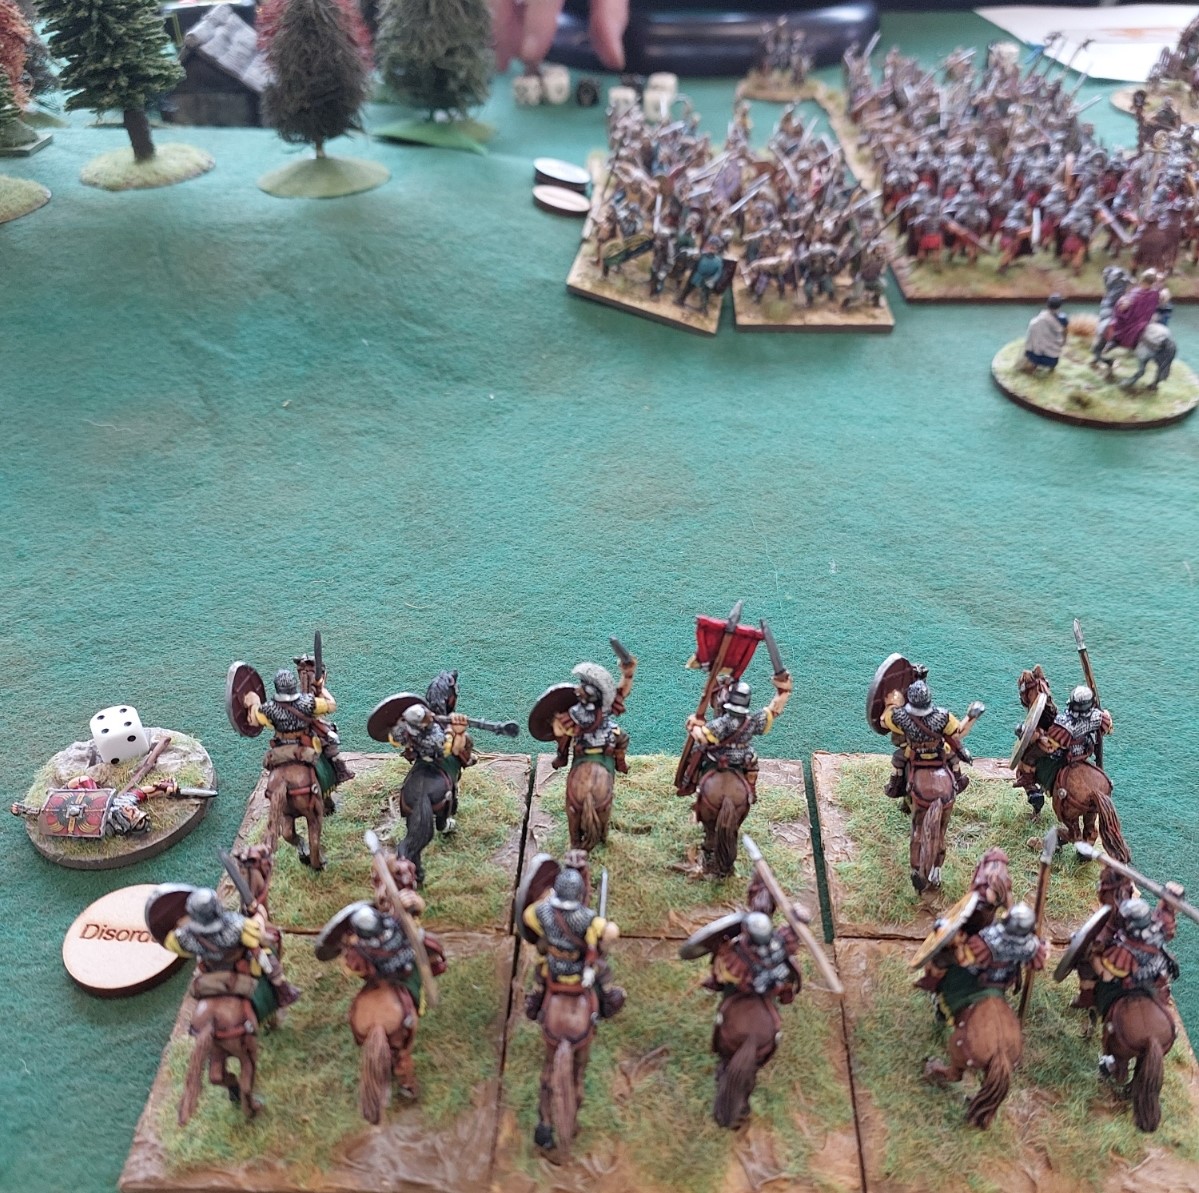
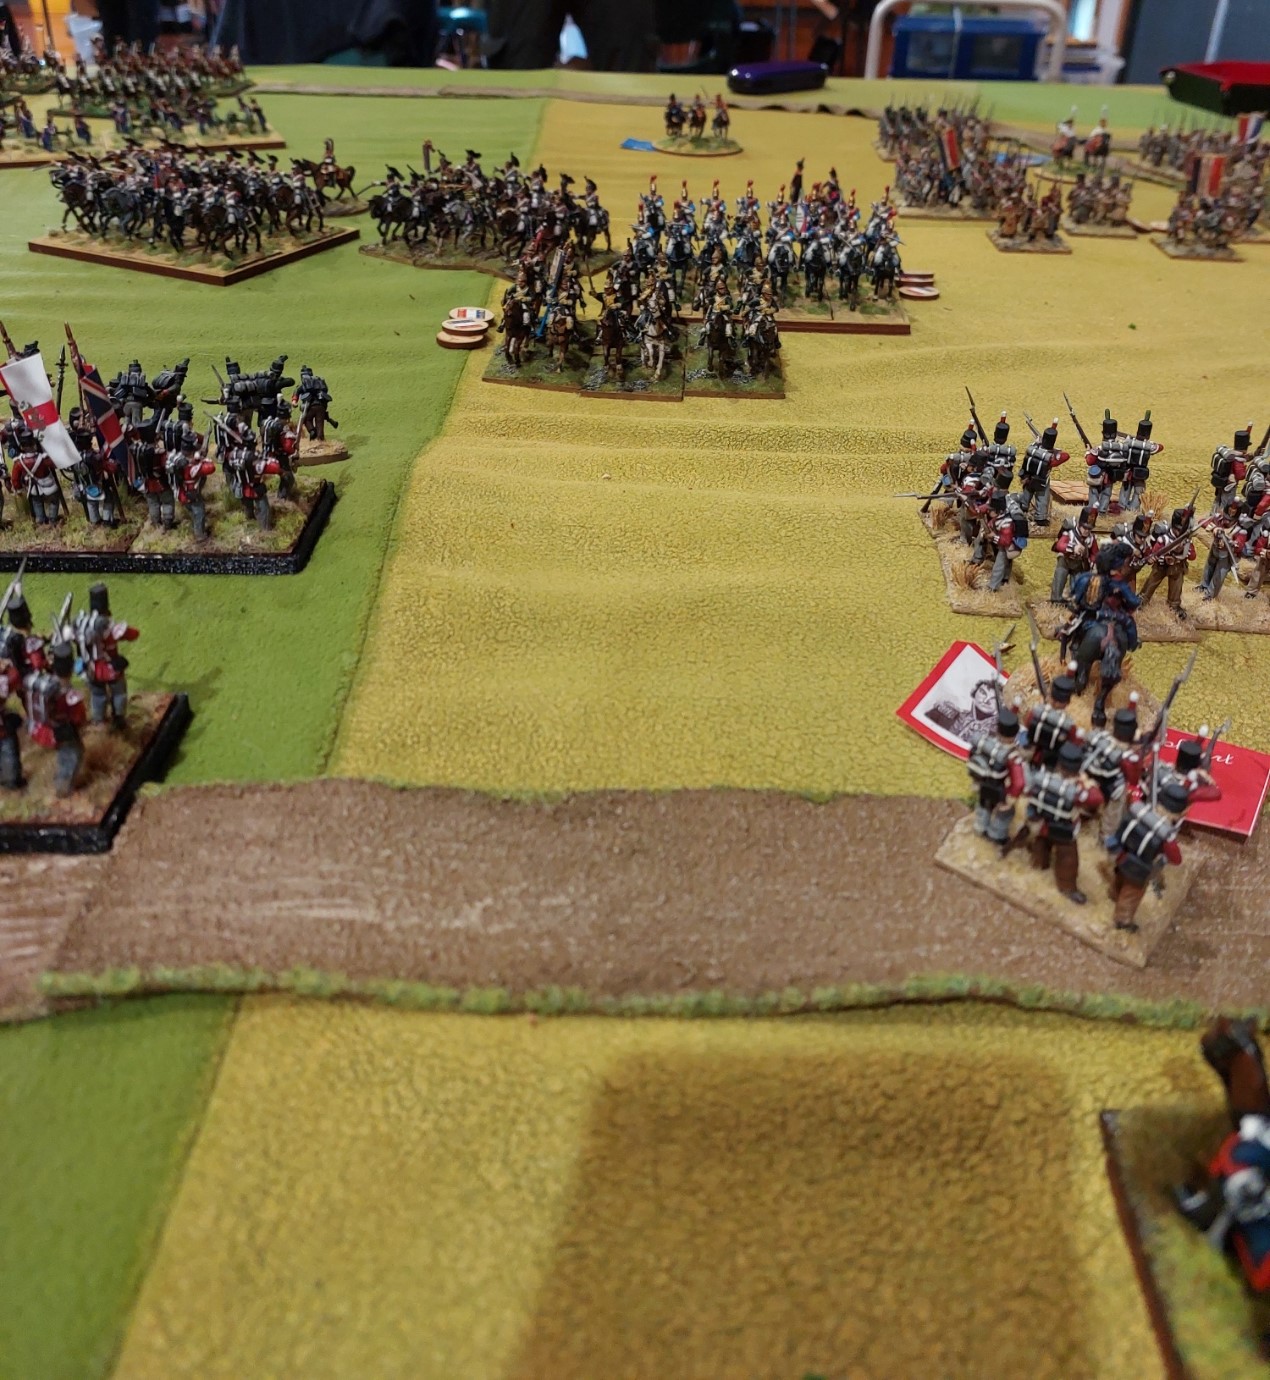
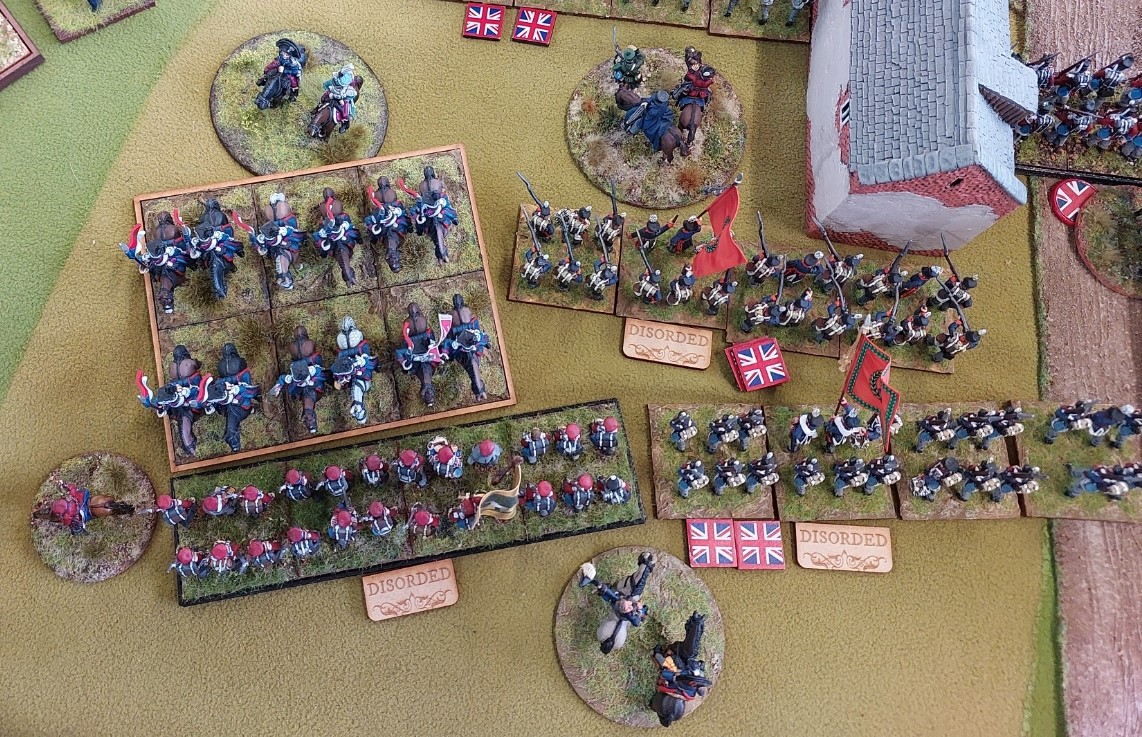
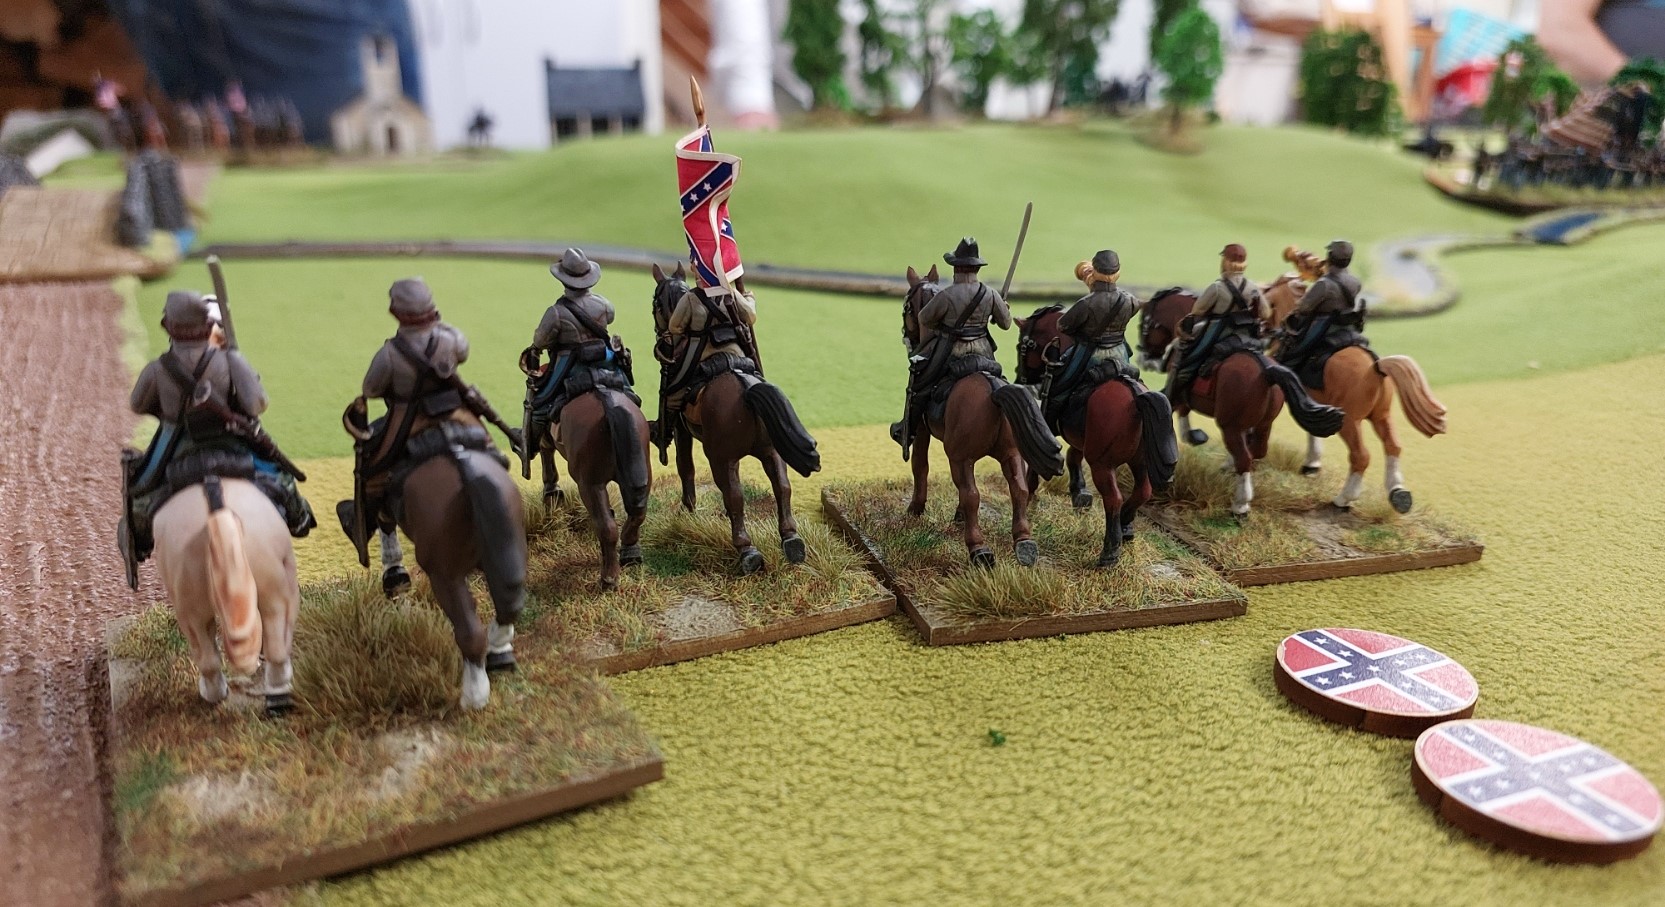
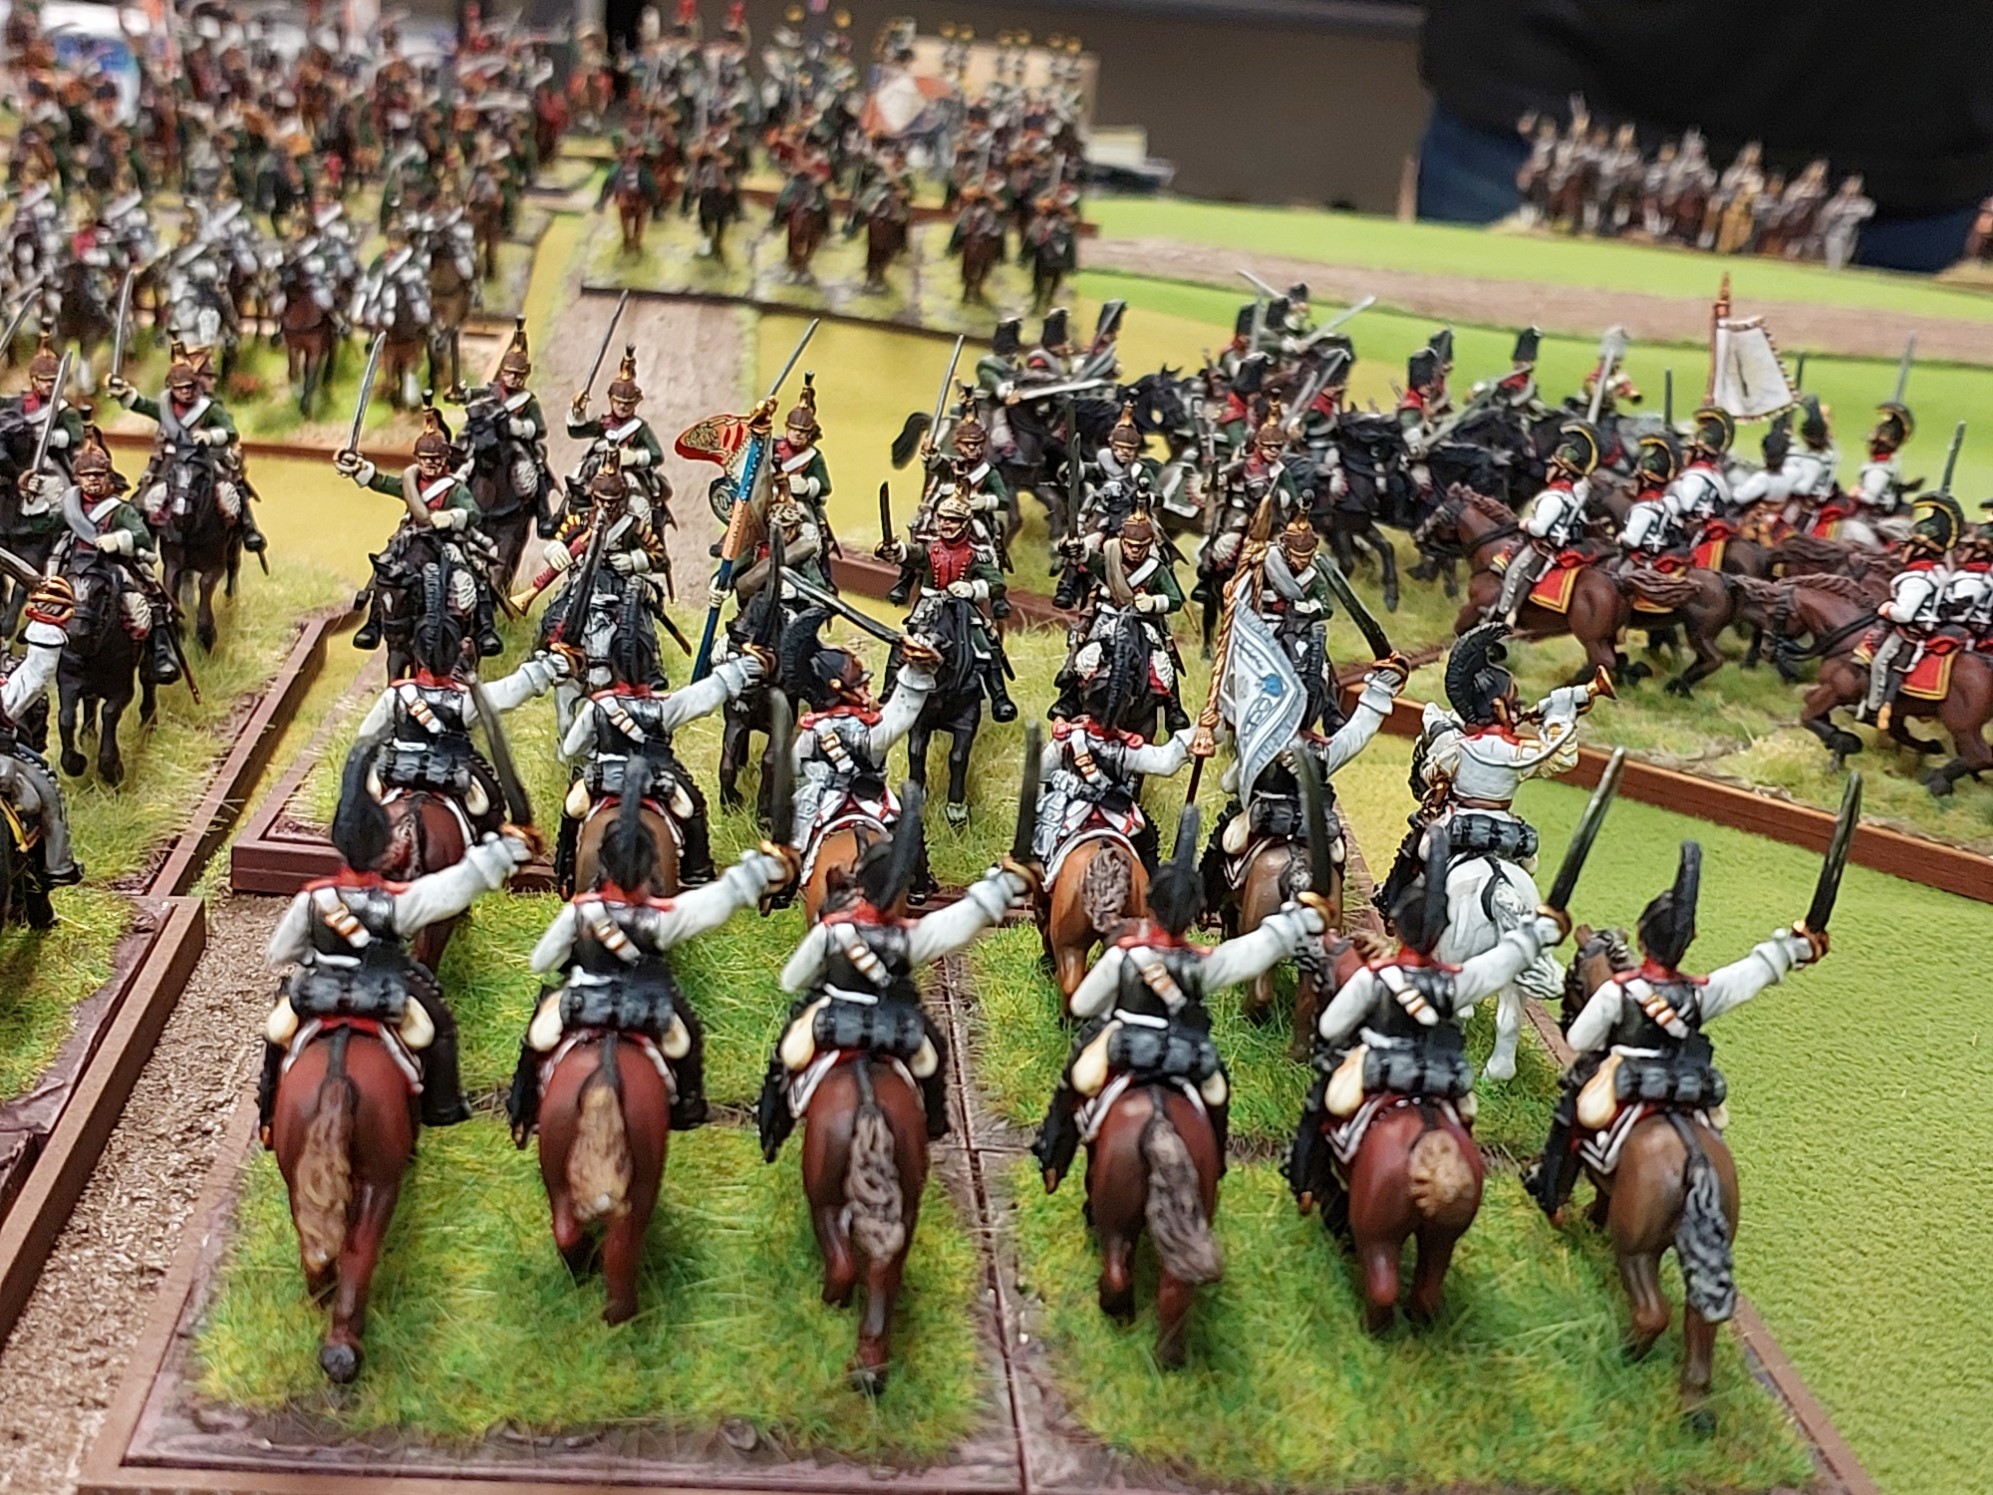
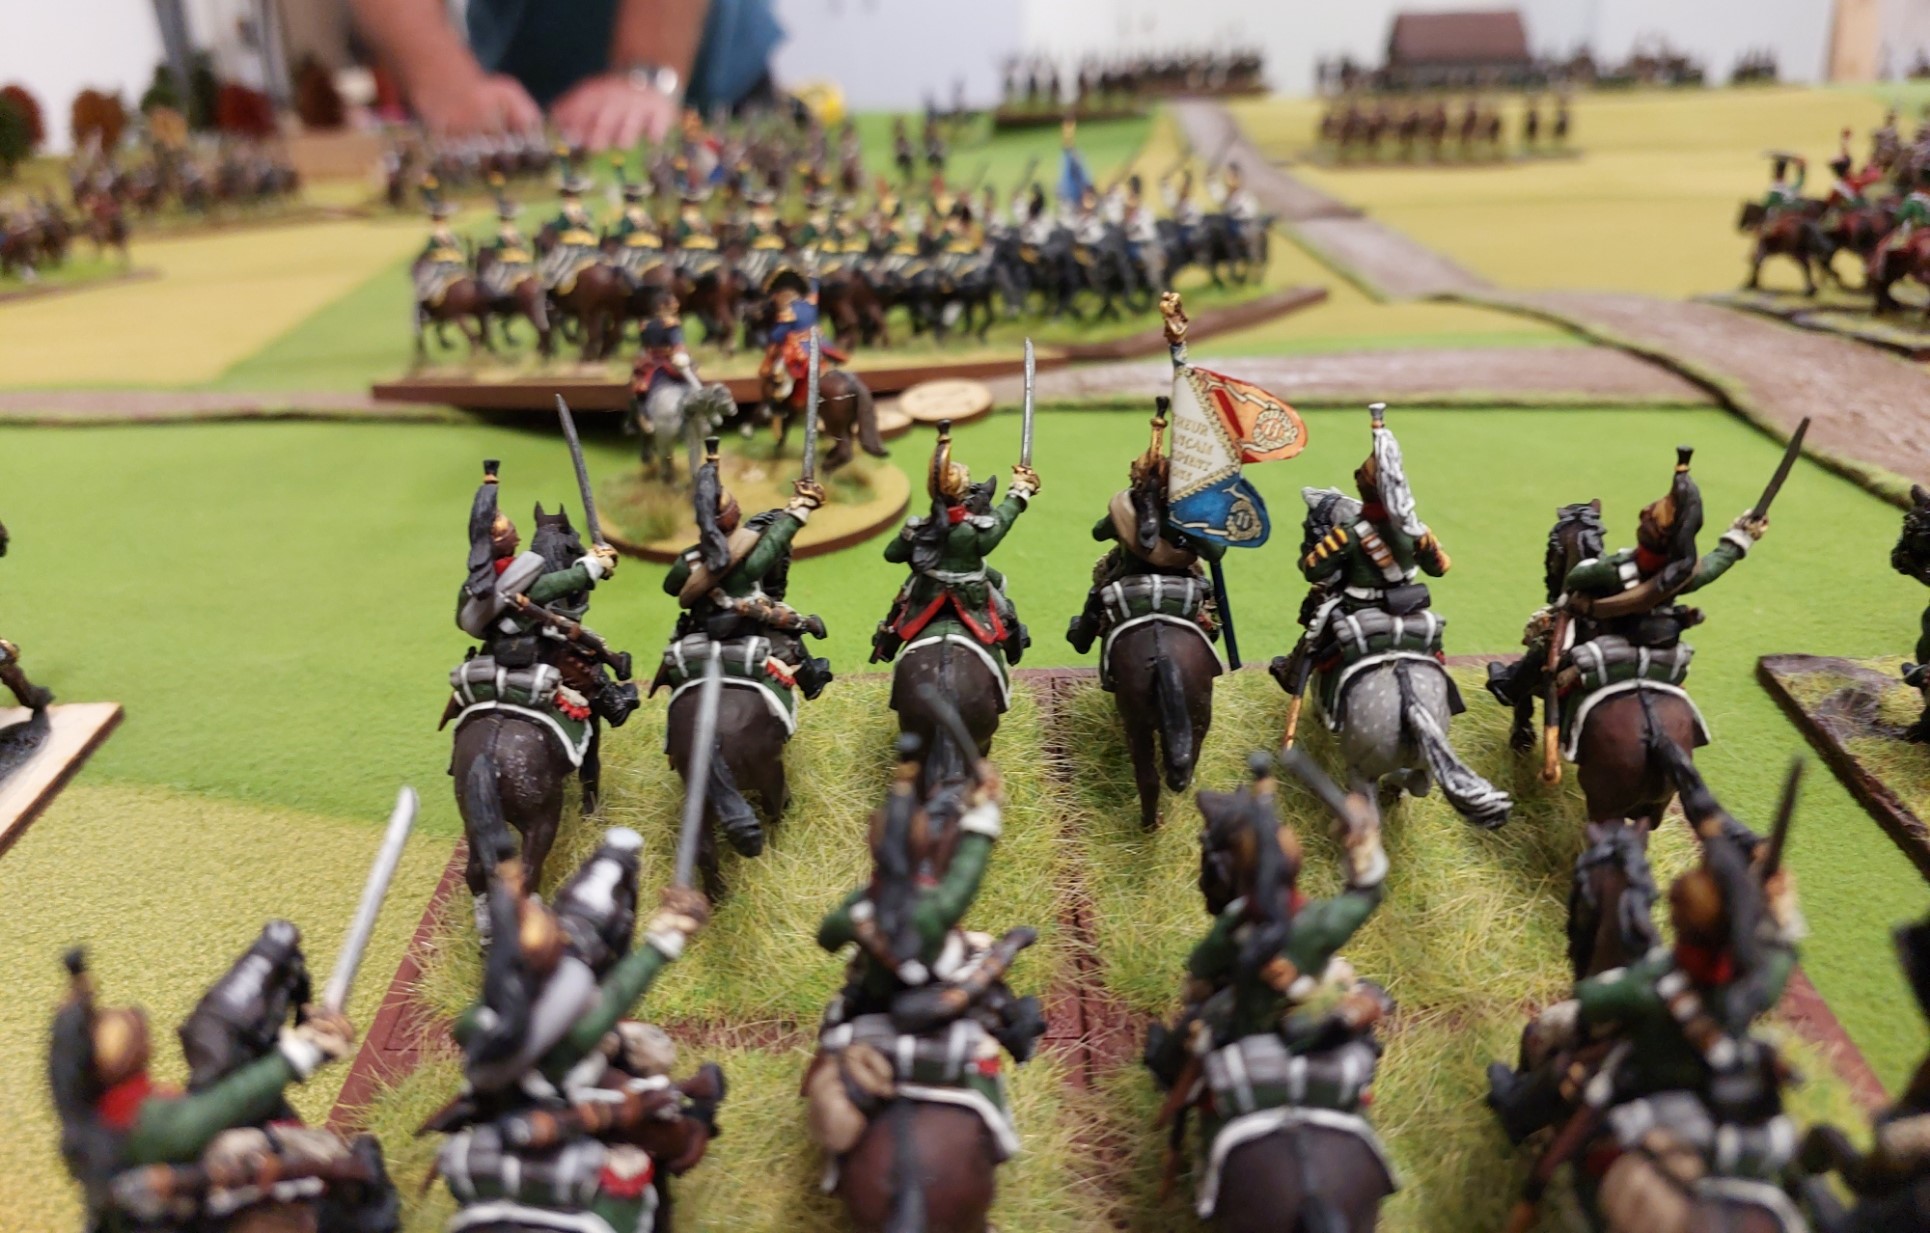
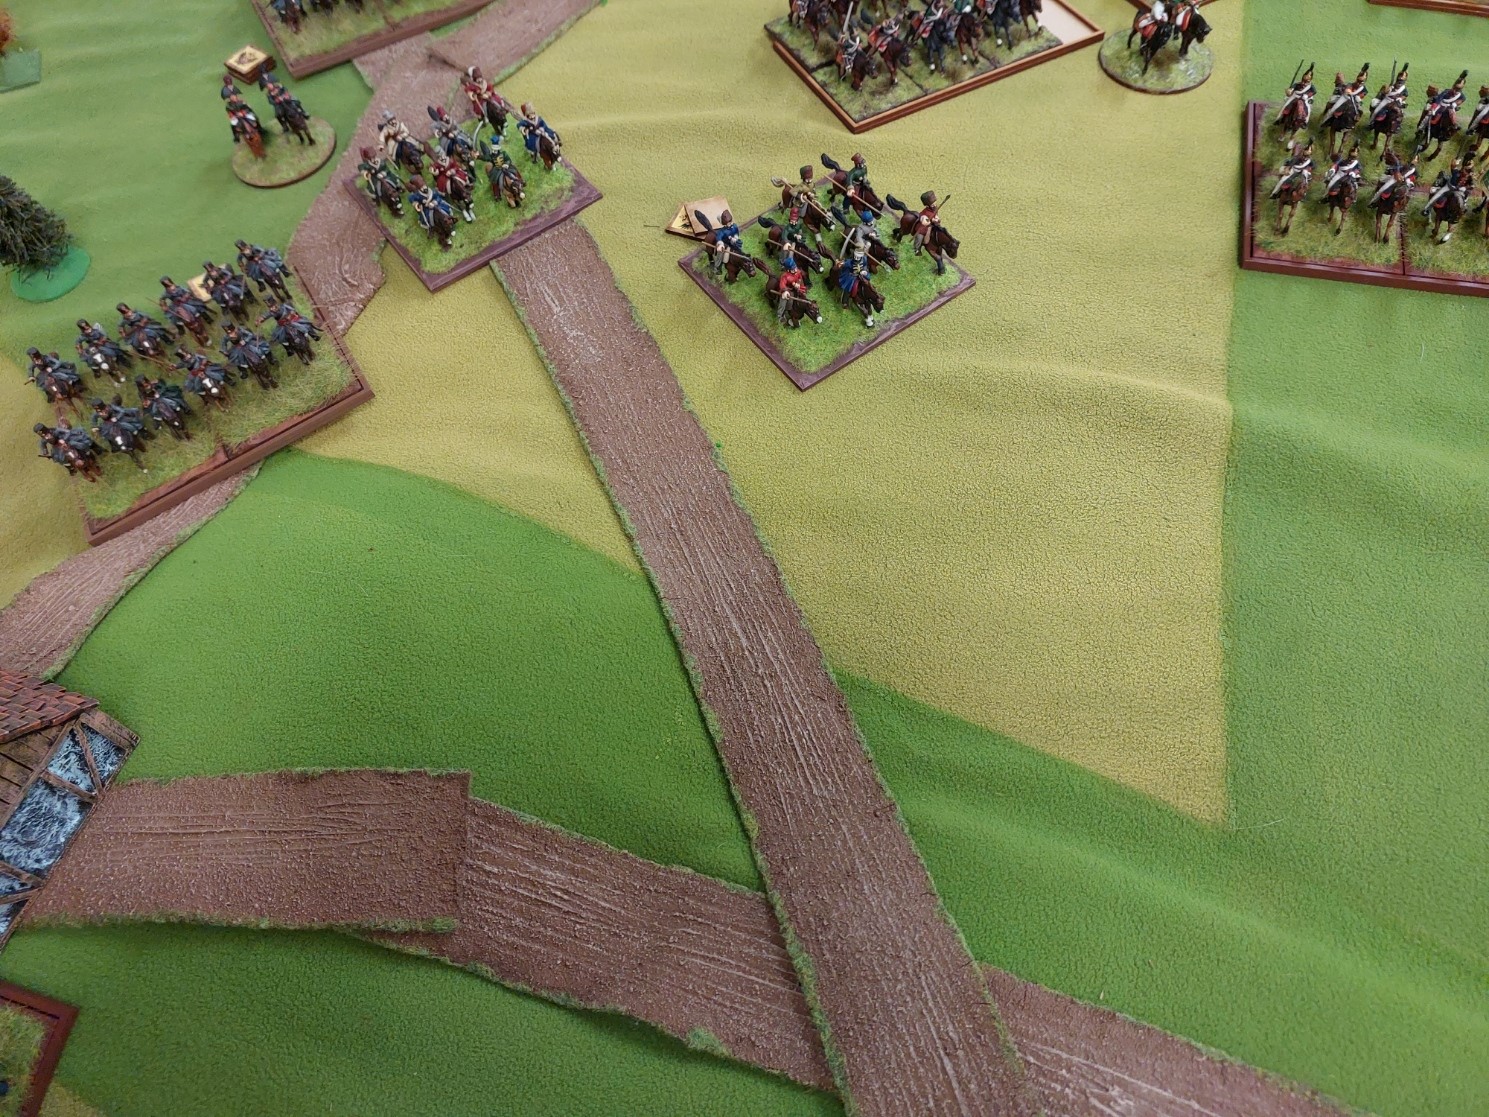
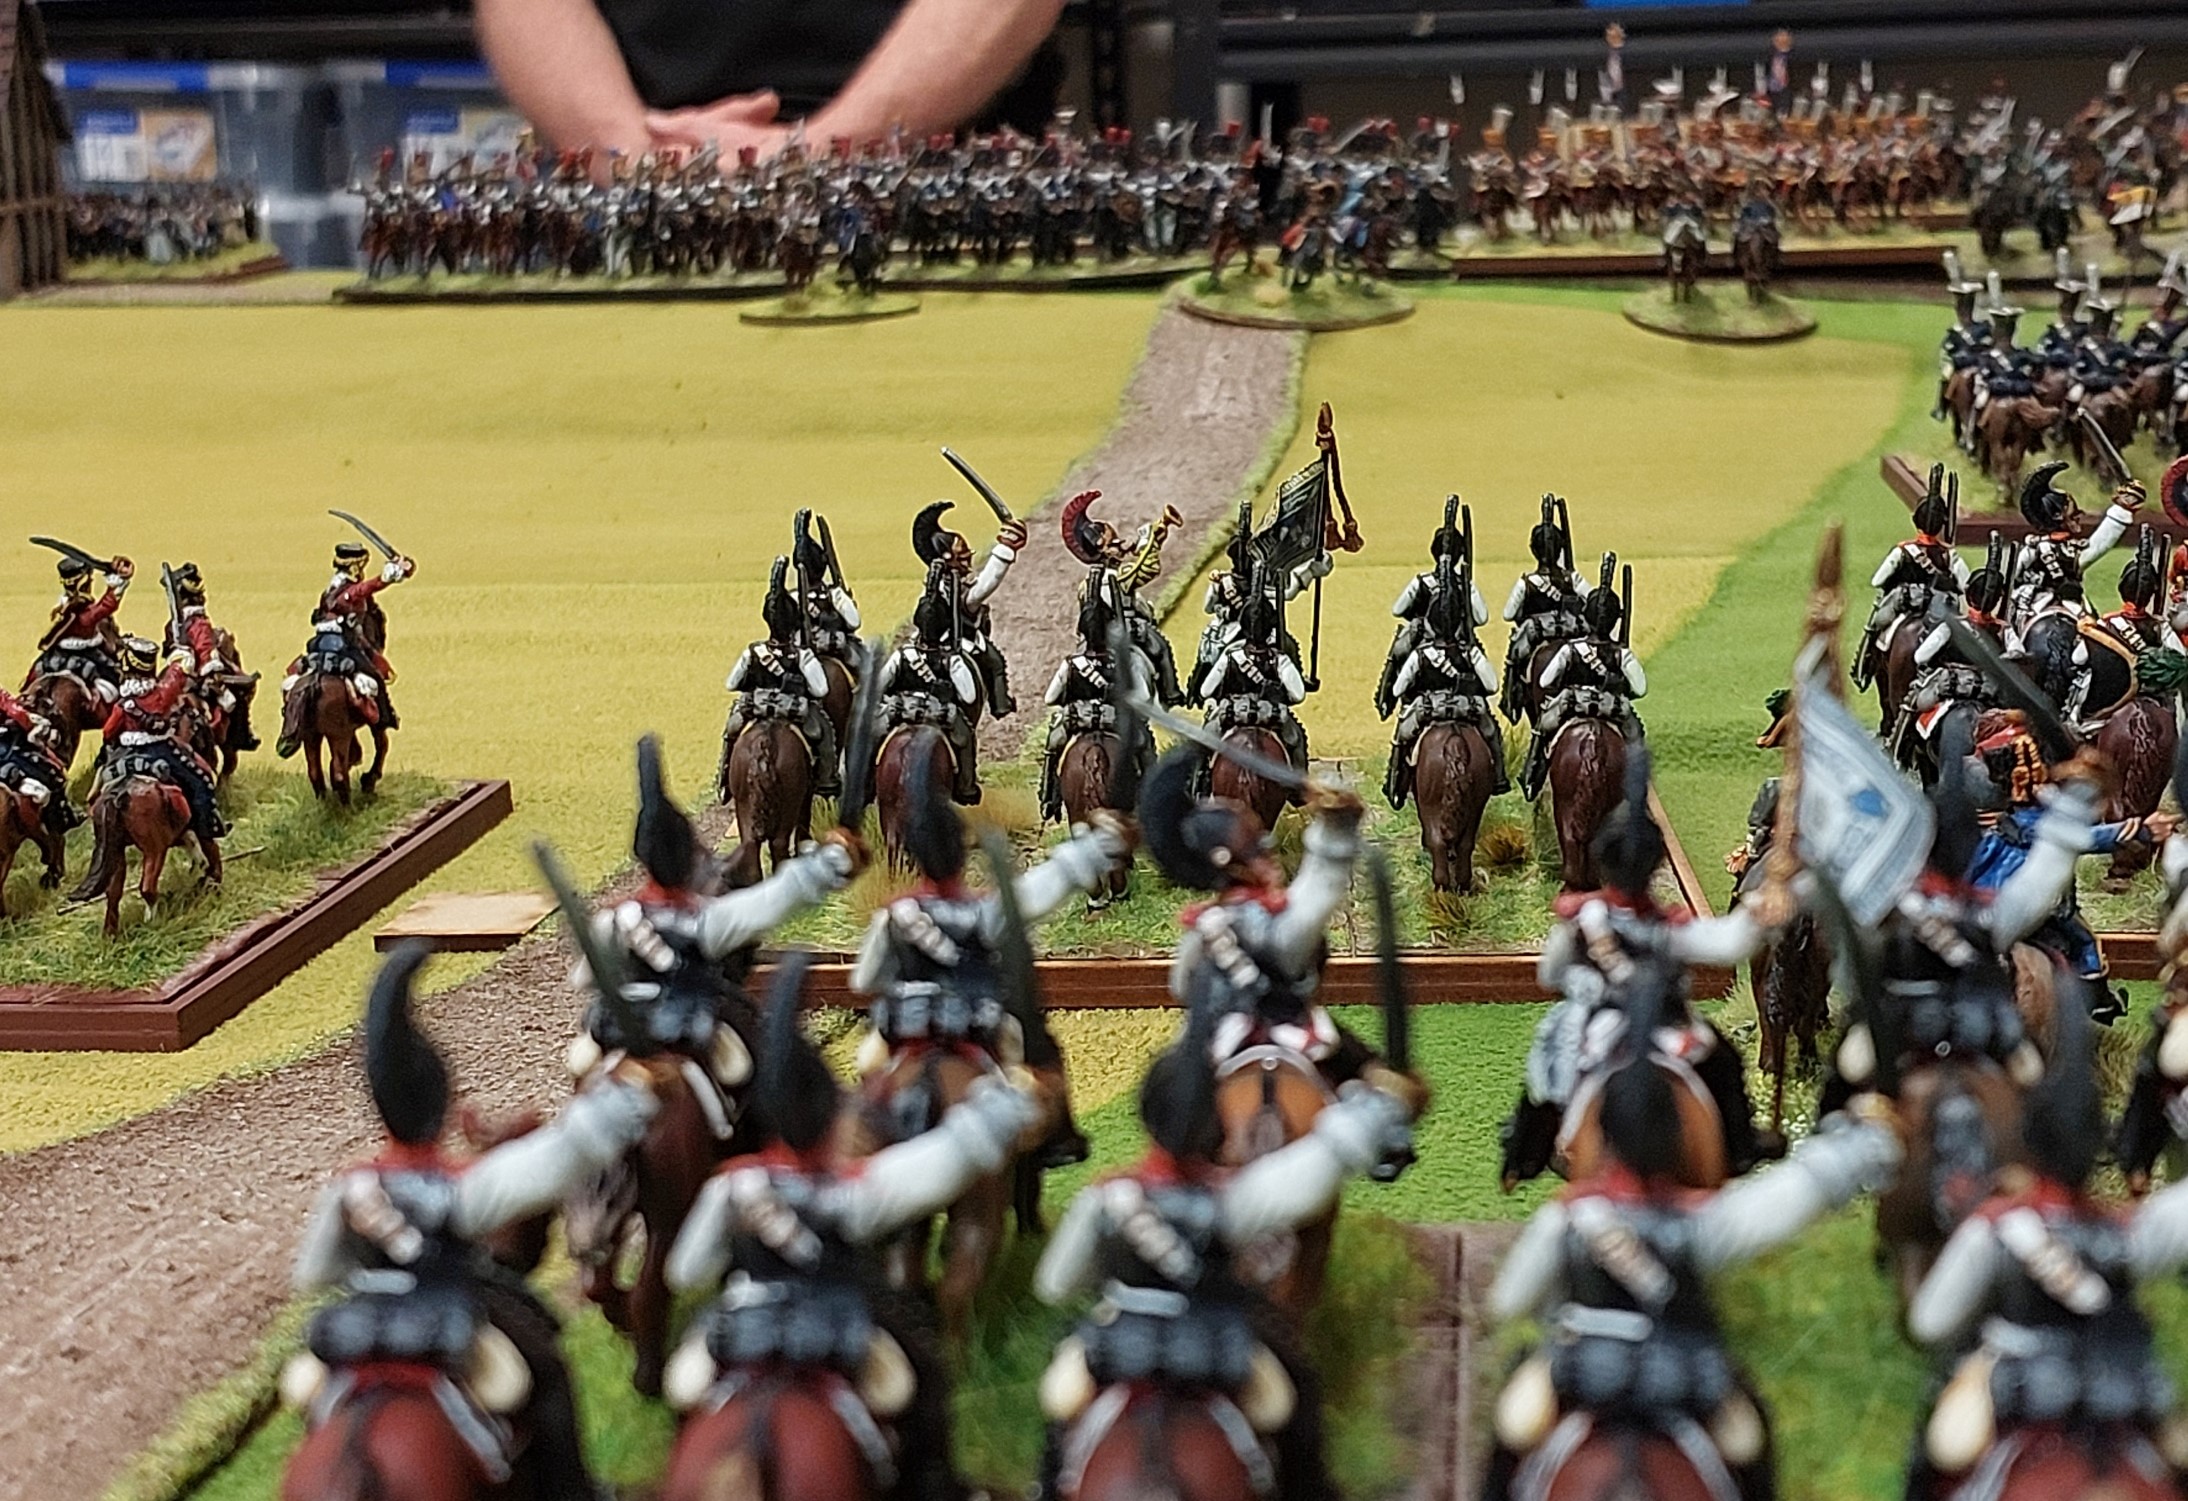
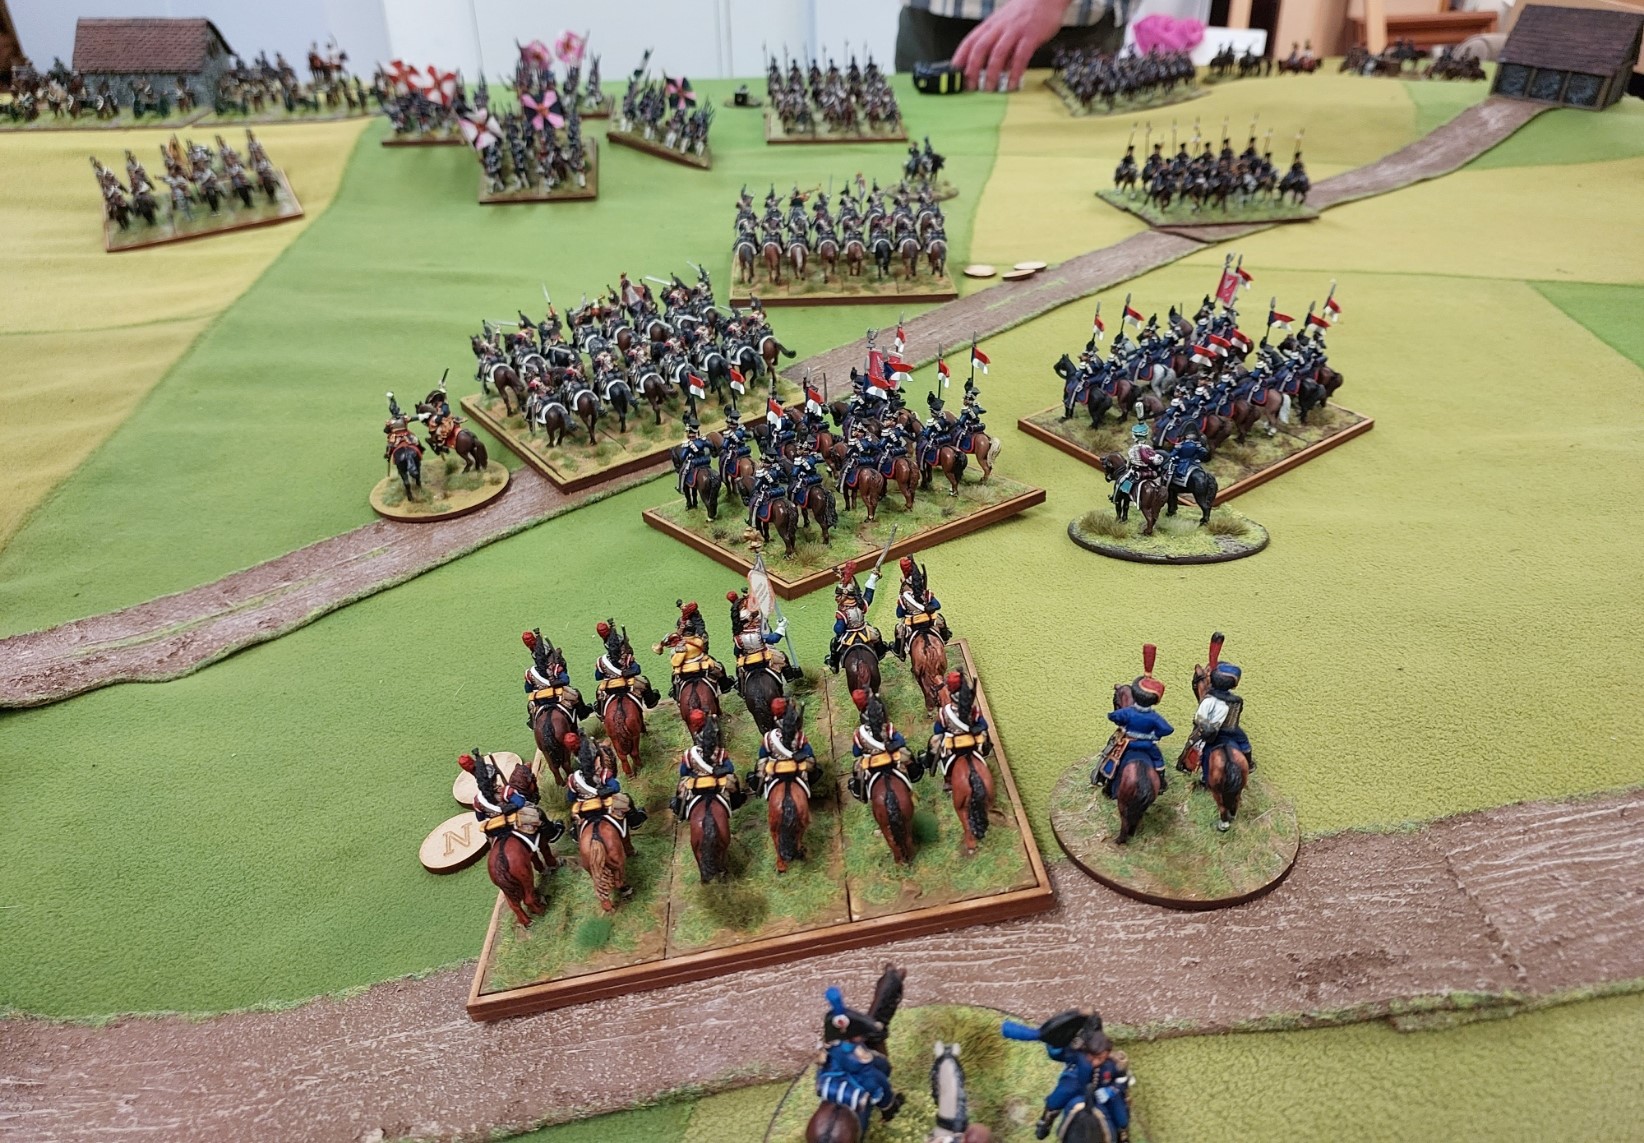
Back in the centre and Graham is still trying to get into the church. But more important in the top left corner is Grahams Hussars getting a charge in on Keiths shaken Uhlans….this was to be decisive for the game.

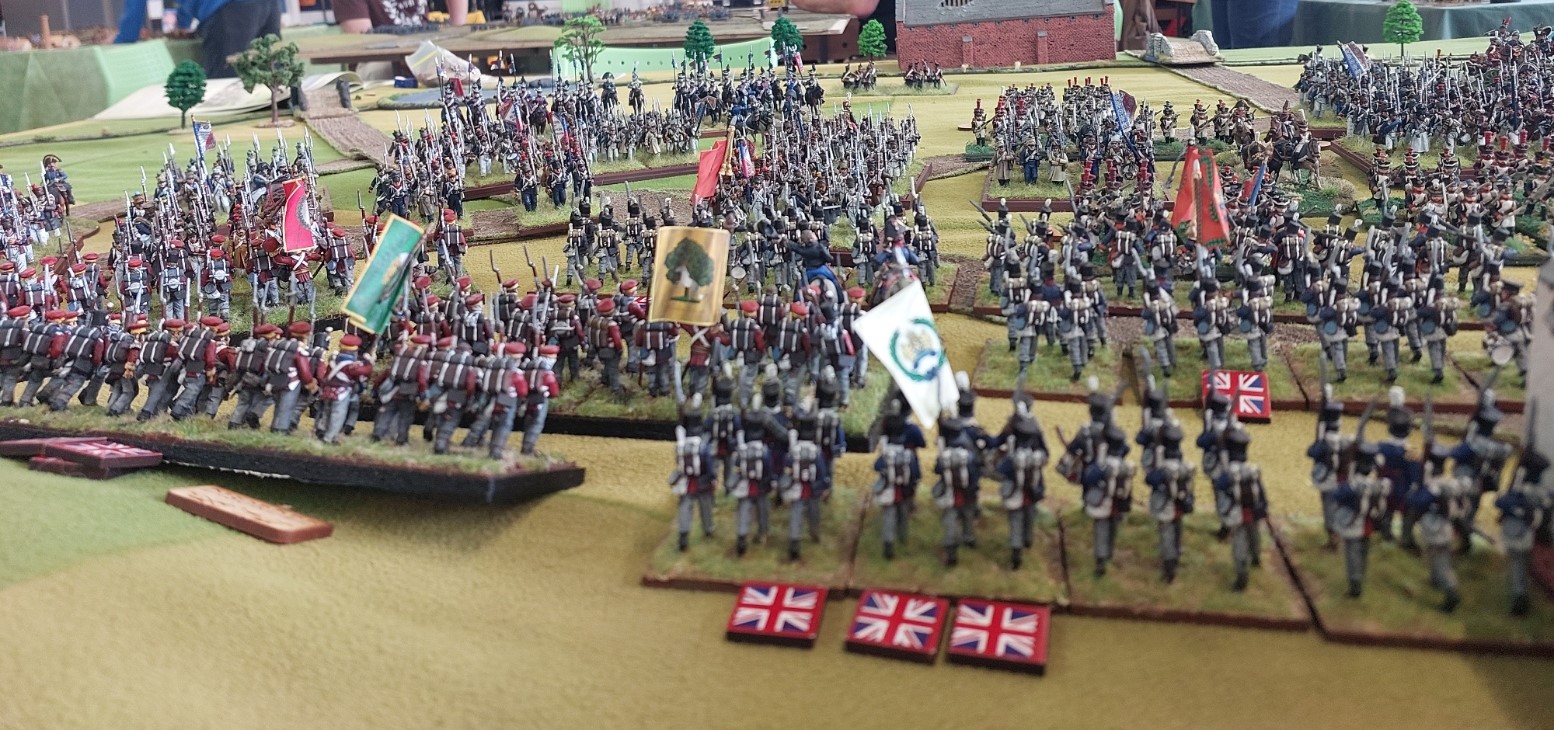
The aftermath of the French Hussar charge…..the shaken Uhlans popped…..surrounding units failed morale tests for friends breaking and popped…the Hussars then swept into the other Uhlan unit…and as its a sweeping advance are caught stationary…….so no pointy sticks bonus….they popped…….surrounding units failed friends breaking rule…..and Keith lost his centre. Graham wasn’t in much better shape!

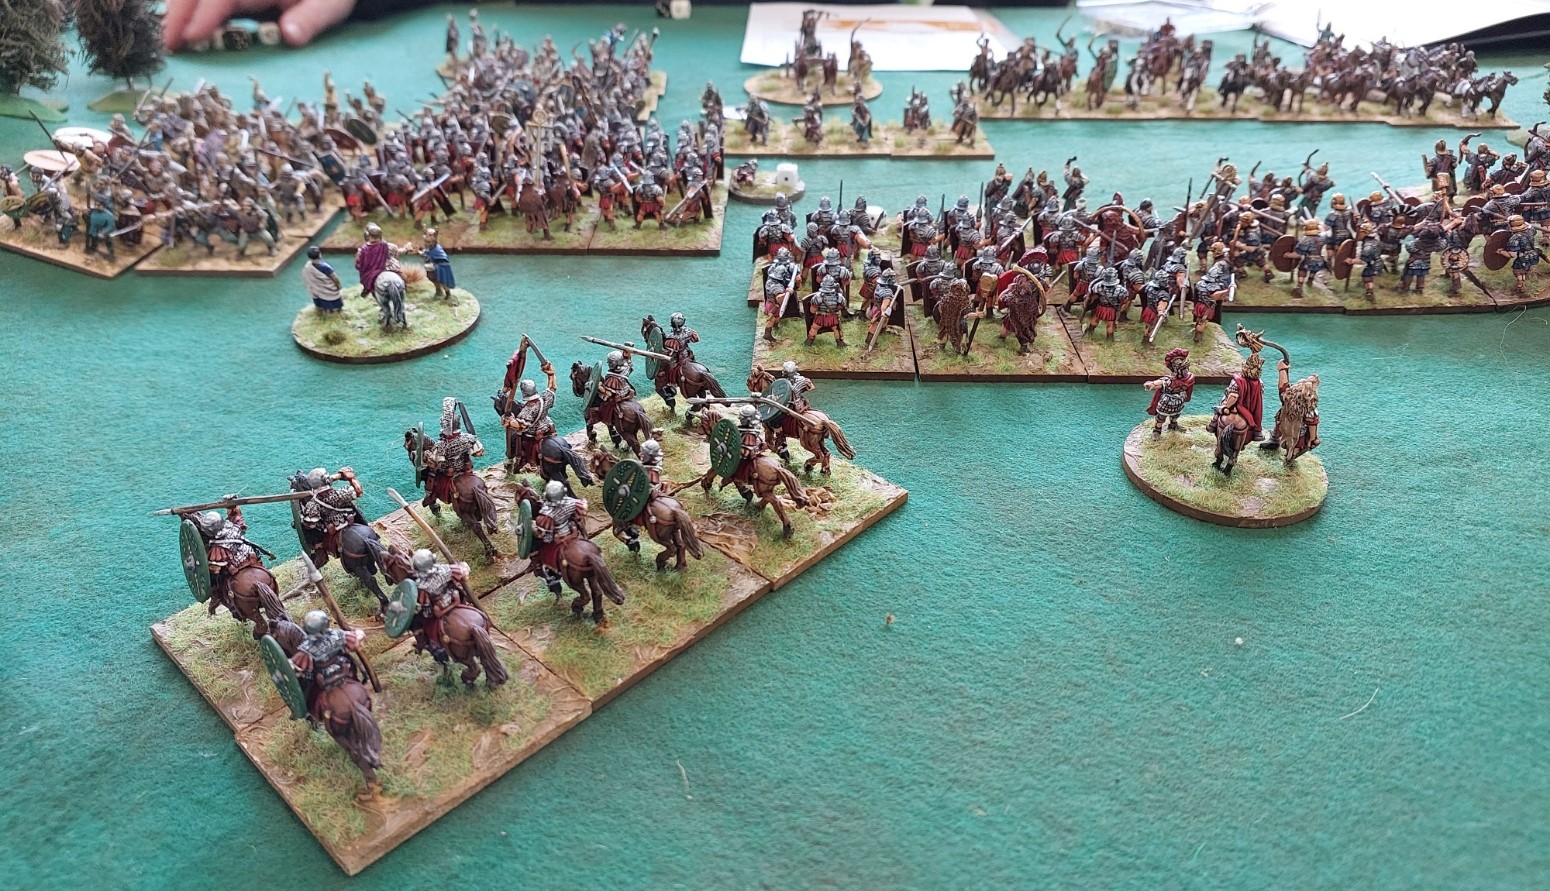
Over on the Allied left flank Goldie sent his Prussian Grenadiers into Roberts columns and loo and behold…the Grenadiers lost…badly….. and popped.
As we see below….they are no where to be seen.

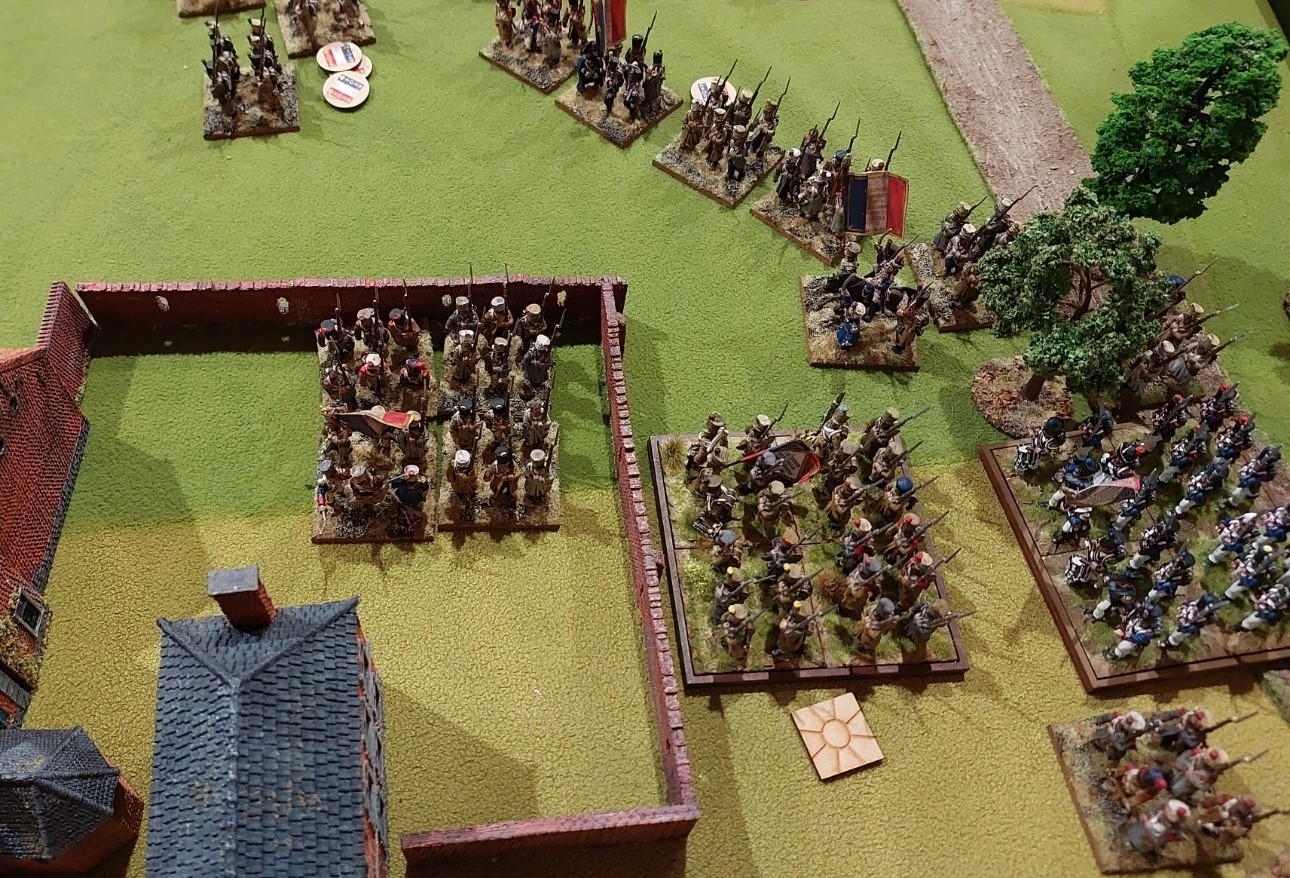
Now at games end…Graham has pulled back from the village….unable to capture it.

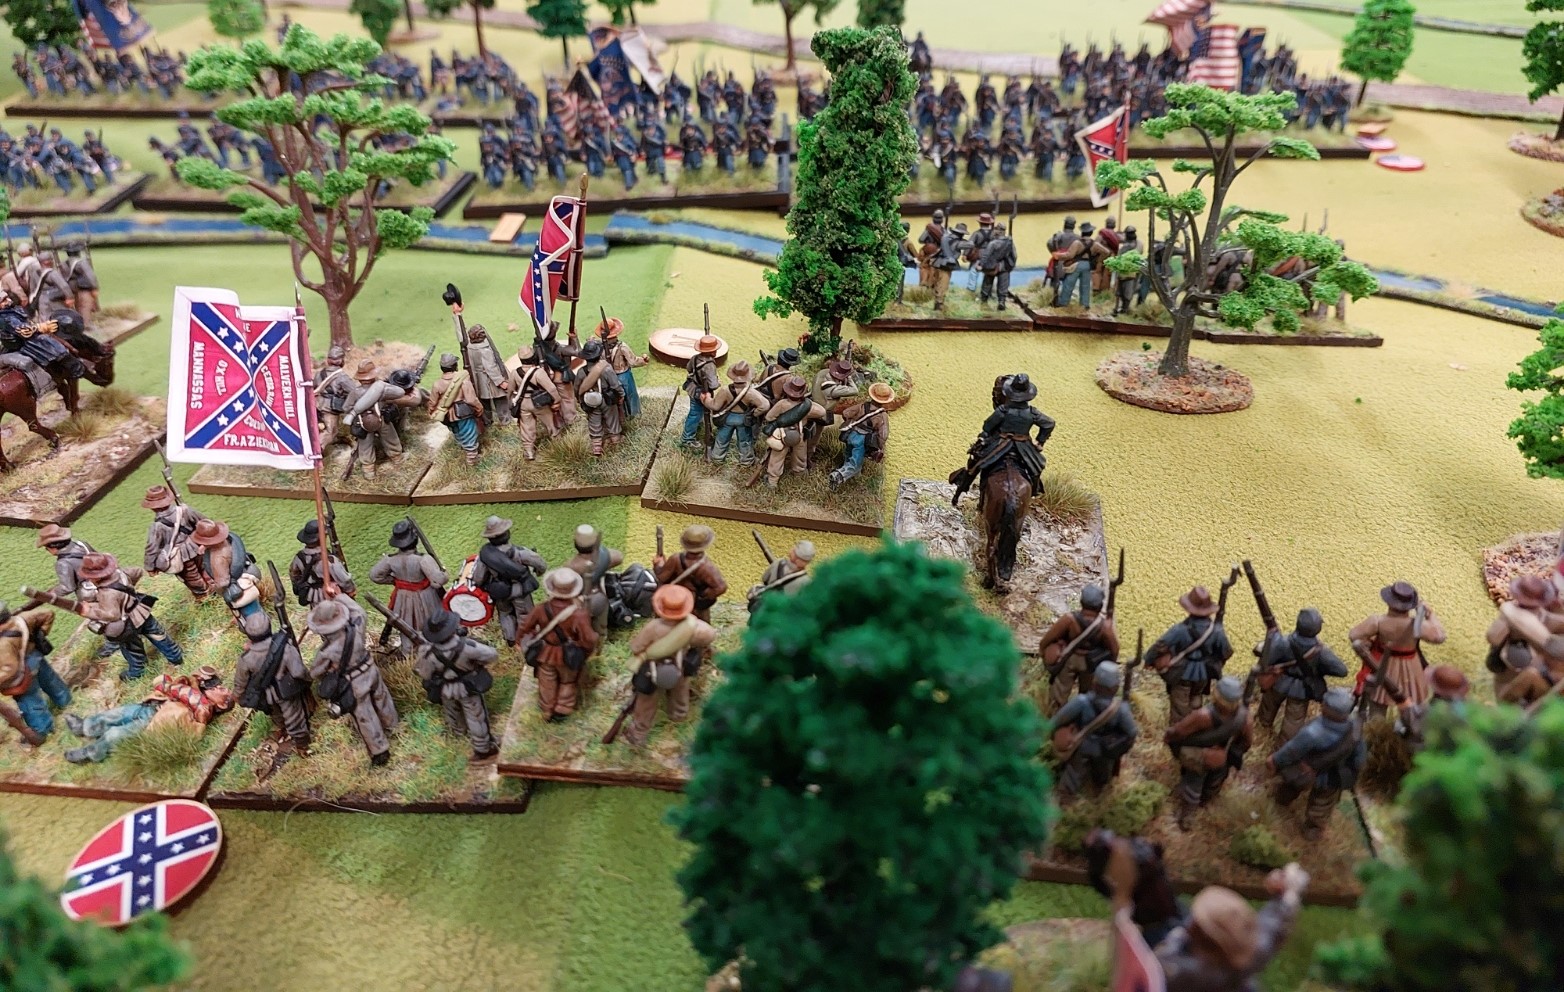
Stephen is still trying to take out the Bavarians with his large Austrian Bttns…but with minimal success.

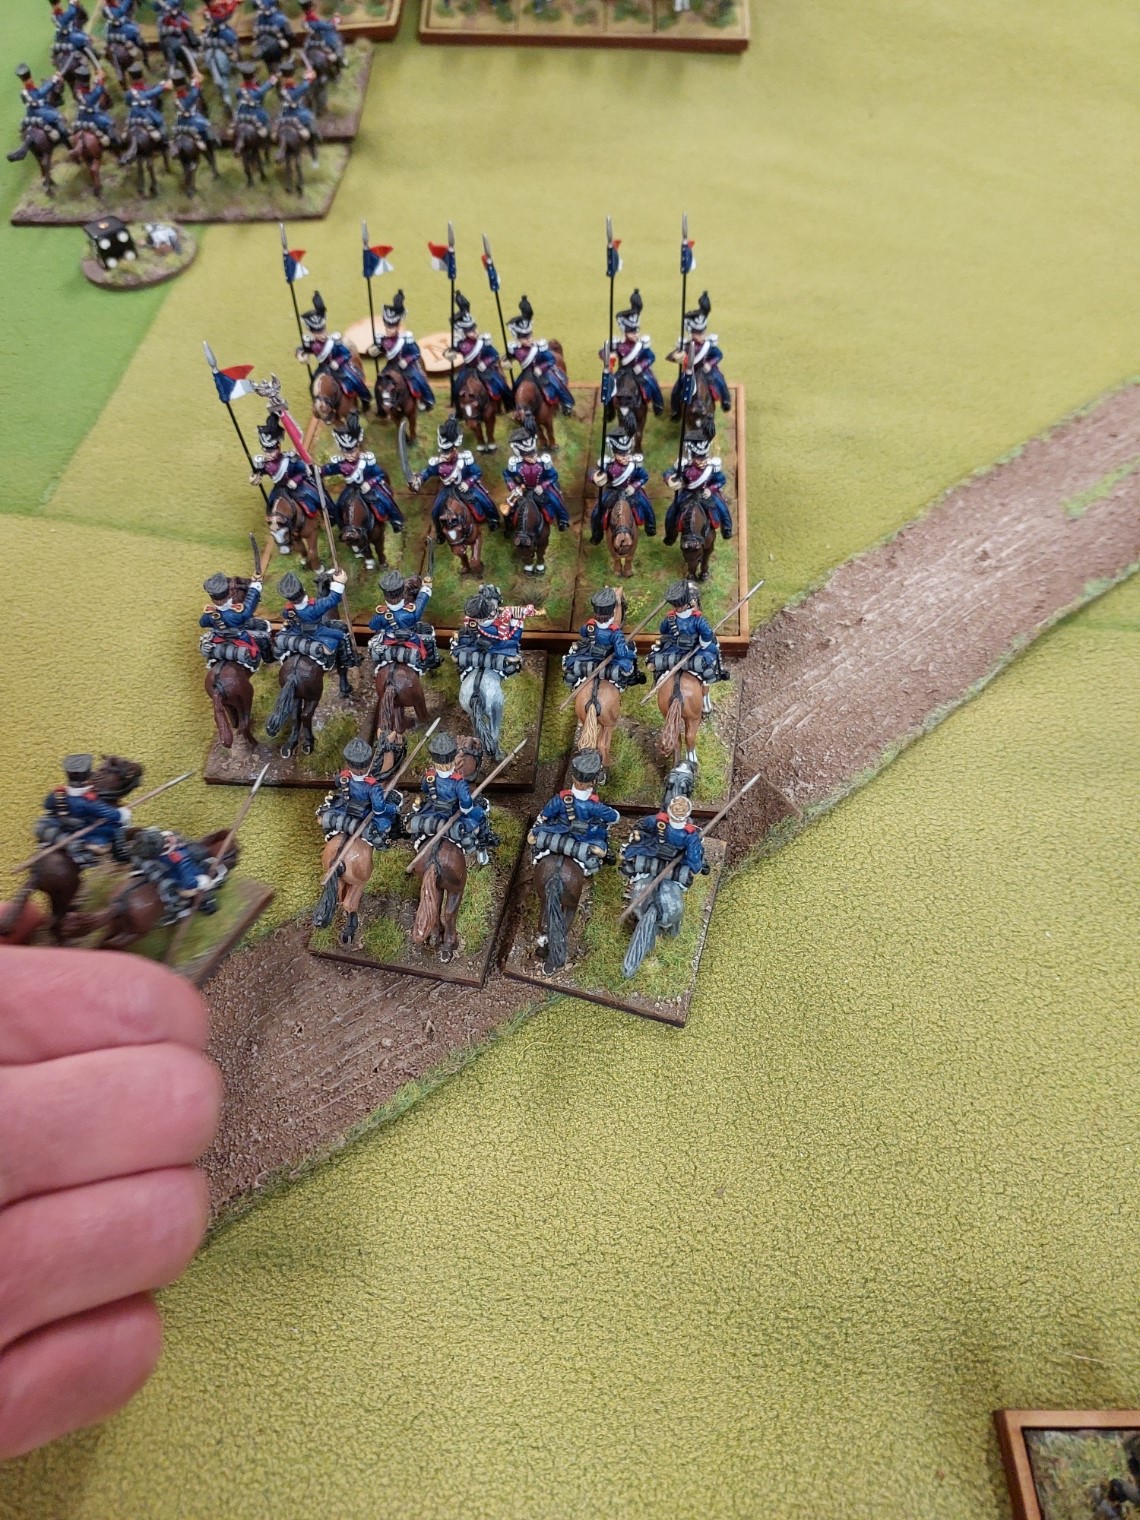
In the final action…….the supporting Bavarian bttn has moved to not have an open flank…..as 2 regts of Prussian Landwher cavalry are facing it…..if they can get in…they should be able to take out the shaken unit in combat…..6 attacks into a shaken flank…hitting on 3s…minus 2 save…..and only 3 attacks back on 6s…..perhaps cause break tests…and perhaps even sweep into the flank of the Bavarian line unit…..lots of perhaps…alas…they failed the order to charge….and that was that…..

There were lots of combats I have not covered….it was a fast moving fun game……in the end the French/Bavarians had a victory. Well down to them.
The Whisky of the week is a ‘Glenfarclas 15 Cask Strength 57.8%’ which a friend shared the opening of with me.

Now…it is rather special, and I could not find an actual review of this very limited release…..needless to say….it was truly wonderful. Below is the review of the standard 43% release……I feel it is like comparing the Dog car I drive(its a Toyota Ractius…bought to drive the 2 Leonbergers around in) to the Bro in laws new Mustang……
At 15 years old, this whisky shows the complex and mature style the Glenfarclas distillery is renowned for – light butterscotch, dried fruit and an big oak and sherry character are mingled with hints of malted barley and a touch of dry peat smoke. The finish is long, with Christmas cake spices lingering on the palate, making for a complex and richly satisfying single malt.
Anyhow……a good great game, and a great whisky.
Until next time, Terry out.