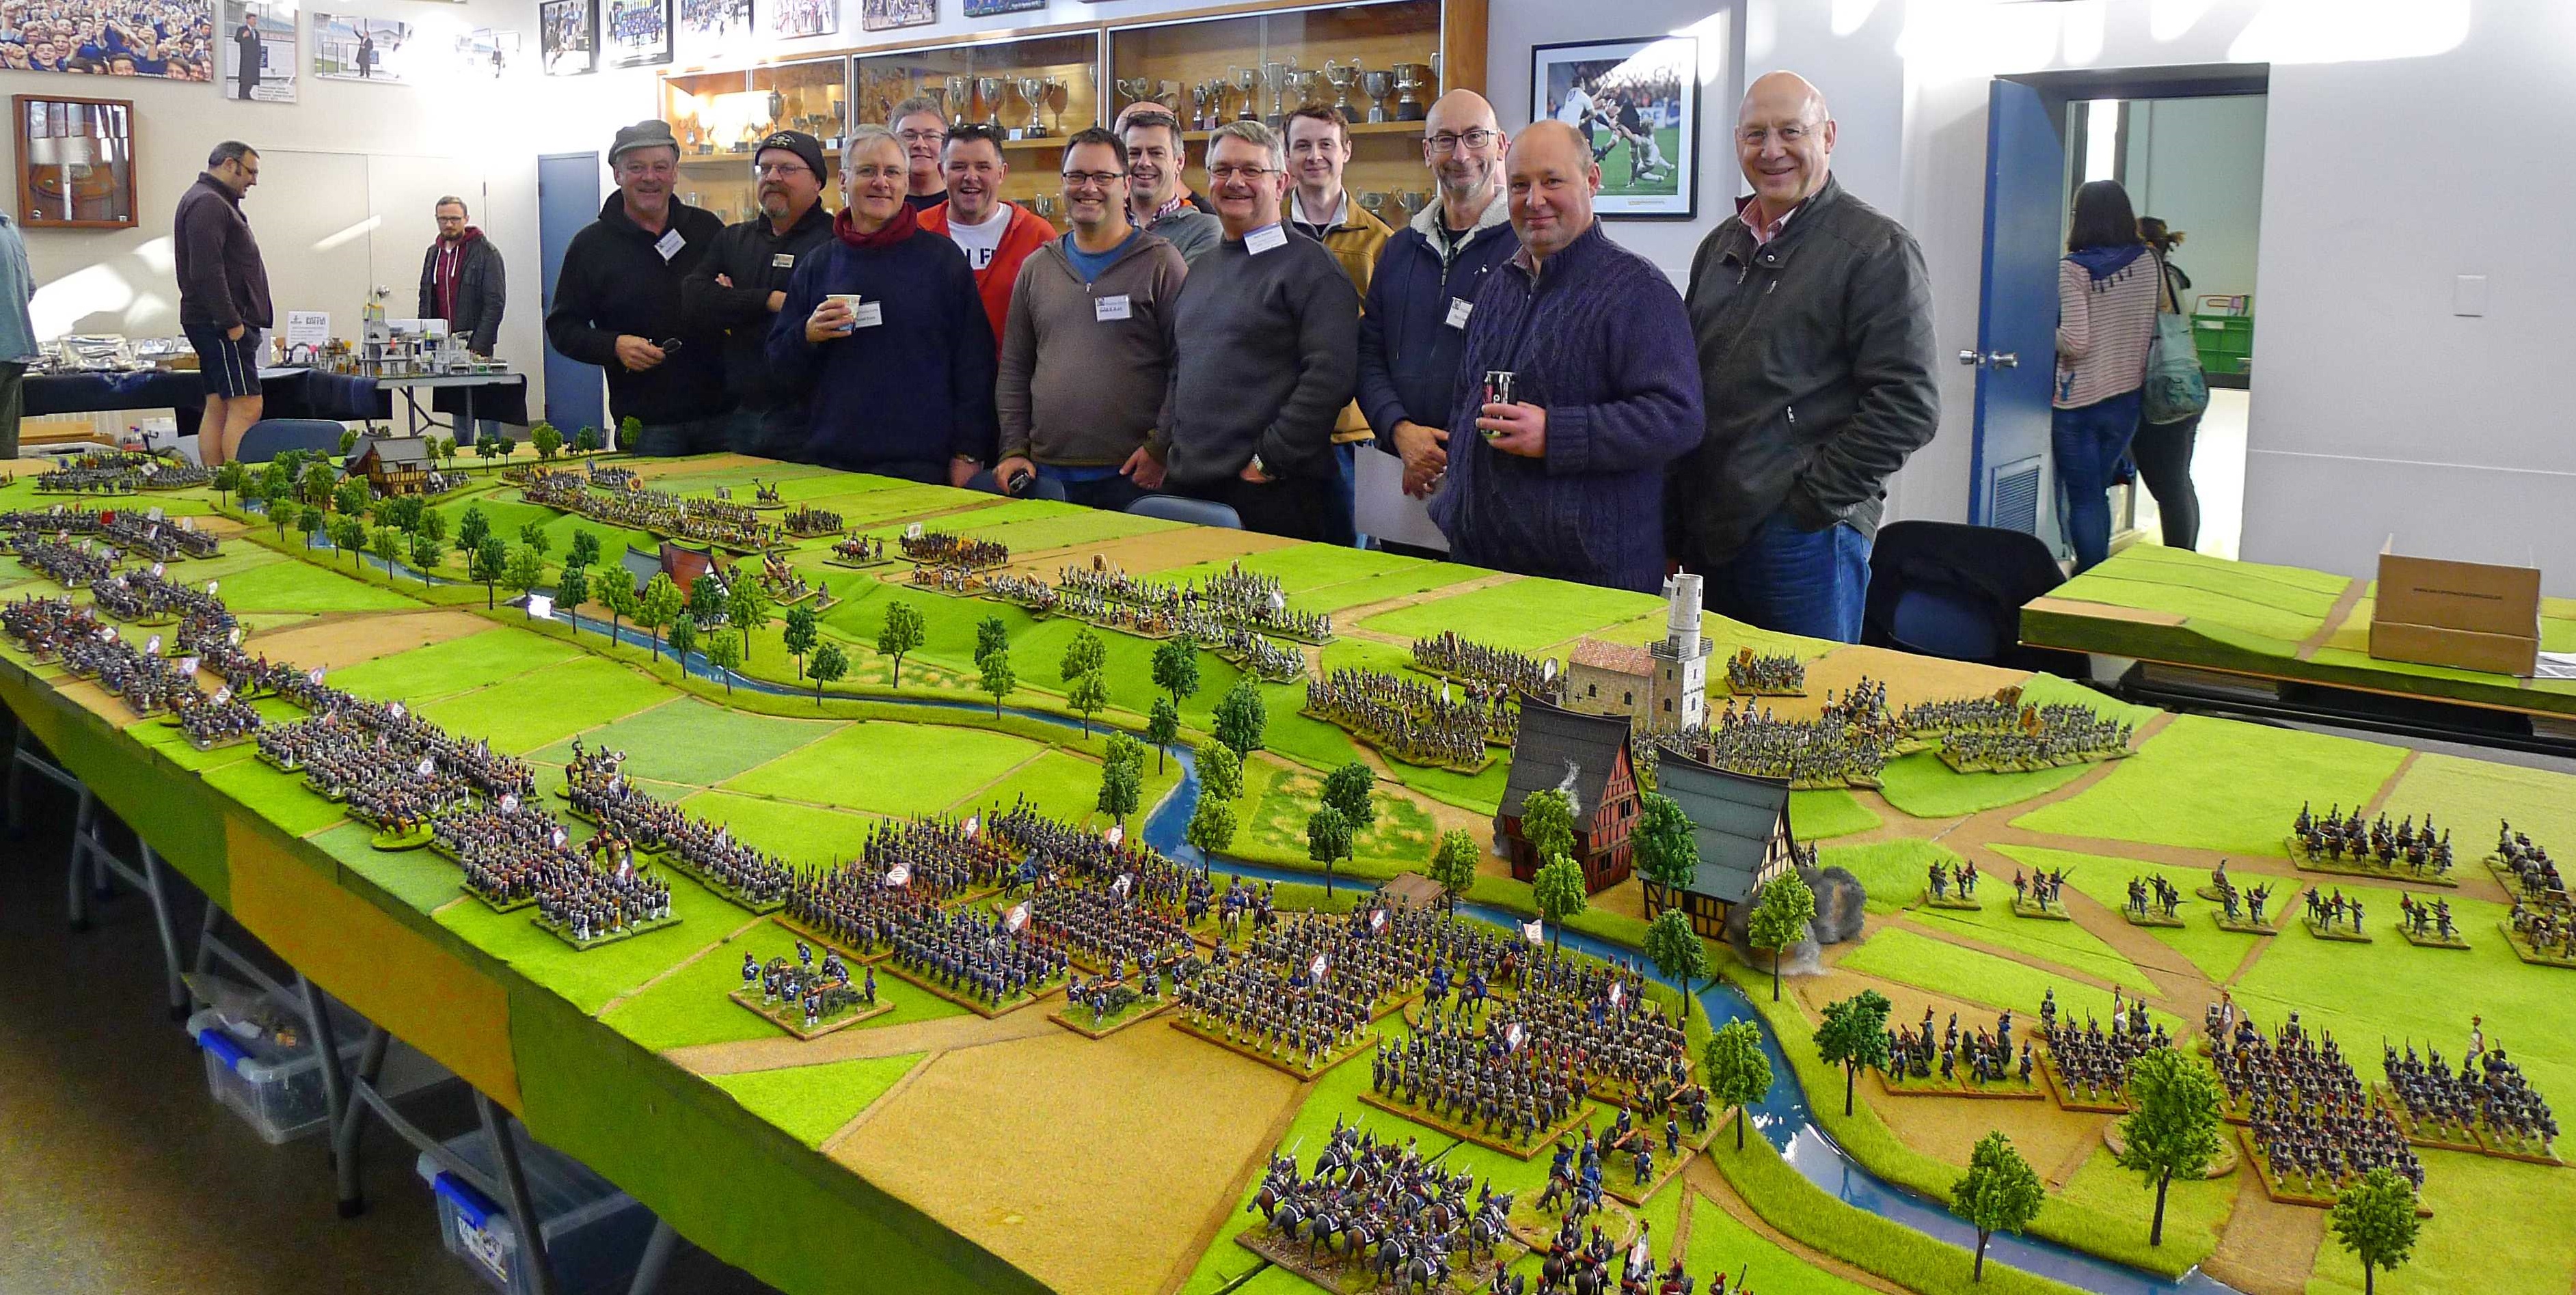
On the weekend of August 5 – 6 2017 the Garage Gamers and friends staged over 2 days a refight of the Battle of Wagram at the Wellington Warlords(our local club) annual convention, Call to Arms. The infinitely insane Mr Paul Weakley made terrain boards for the battlefield(a separate article will follow on them). A month earlier we had staged a practice game on a club day at Warlords all be it on a smaller table as some of the terrain boards were not quite ready as well as some of the Austrian units.
On the French side Russ repised his role as Napoleon with the able assistance of Brian Smaller(Montbrun), Rhys Jones(Davout), Paul Weakley(Oudinot), Alan Hollows(Eugene), John Hutton(Massena) and Graeme Henderson(Marmont). Russ also parceled out commands to various players as the game progressed.
The Austrians were myself(Terry) as Arch DukeCharles(and Bellegarde on sunday)with Steve Thompson(Nordman/Arch Duke John), Paul Goldstone(Rosenberg), Peter Haldezos(Hohenzollern – saturday), Ray Hutchinson(Hohenzollern – sunday), Keith Gates(Bellegarde – saturday), Daniel Jones(Lichtenstein), Brian Trott(Kollowrat) and Mark Conroy(Klenau).
Why Wagram? This battle is one that has always fascinated me as a possible ‘What if?’ scenario.
- What if Archduke John had actually marched to the sound of the guns and arrived hours earlier?
- What if some of Reuss’s corps was committed to the Austrian southern flank?
- What if the Austrian Commanders showed a bit more aggression?
- and the biggie…what would a group of veteran wargamer’s do!
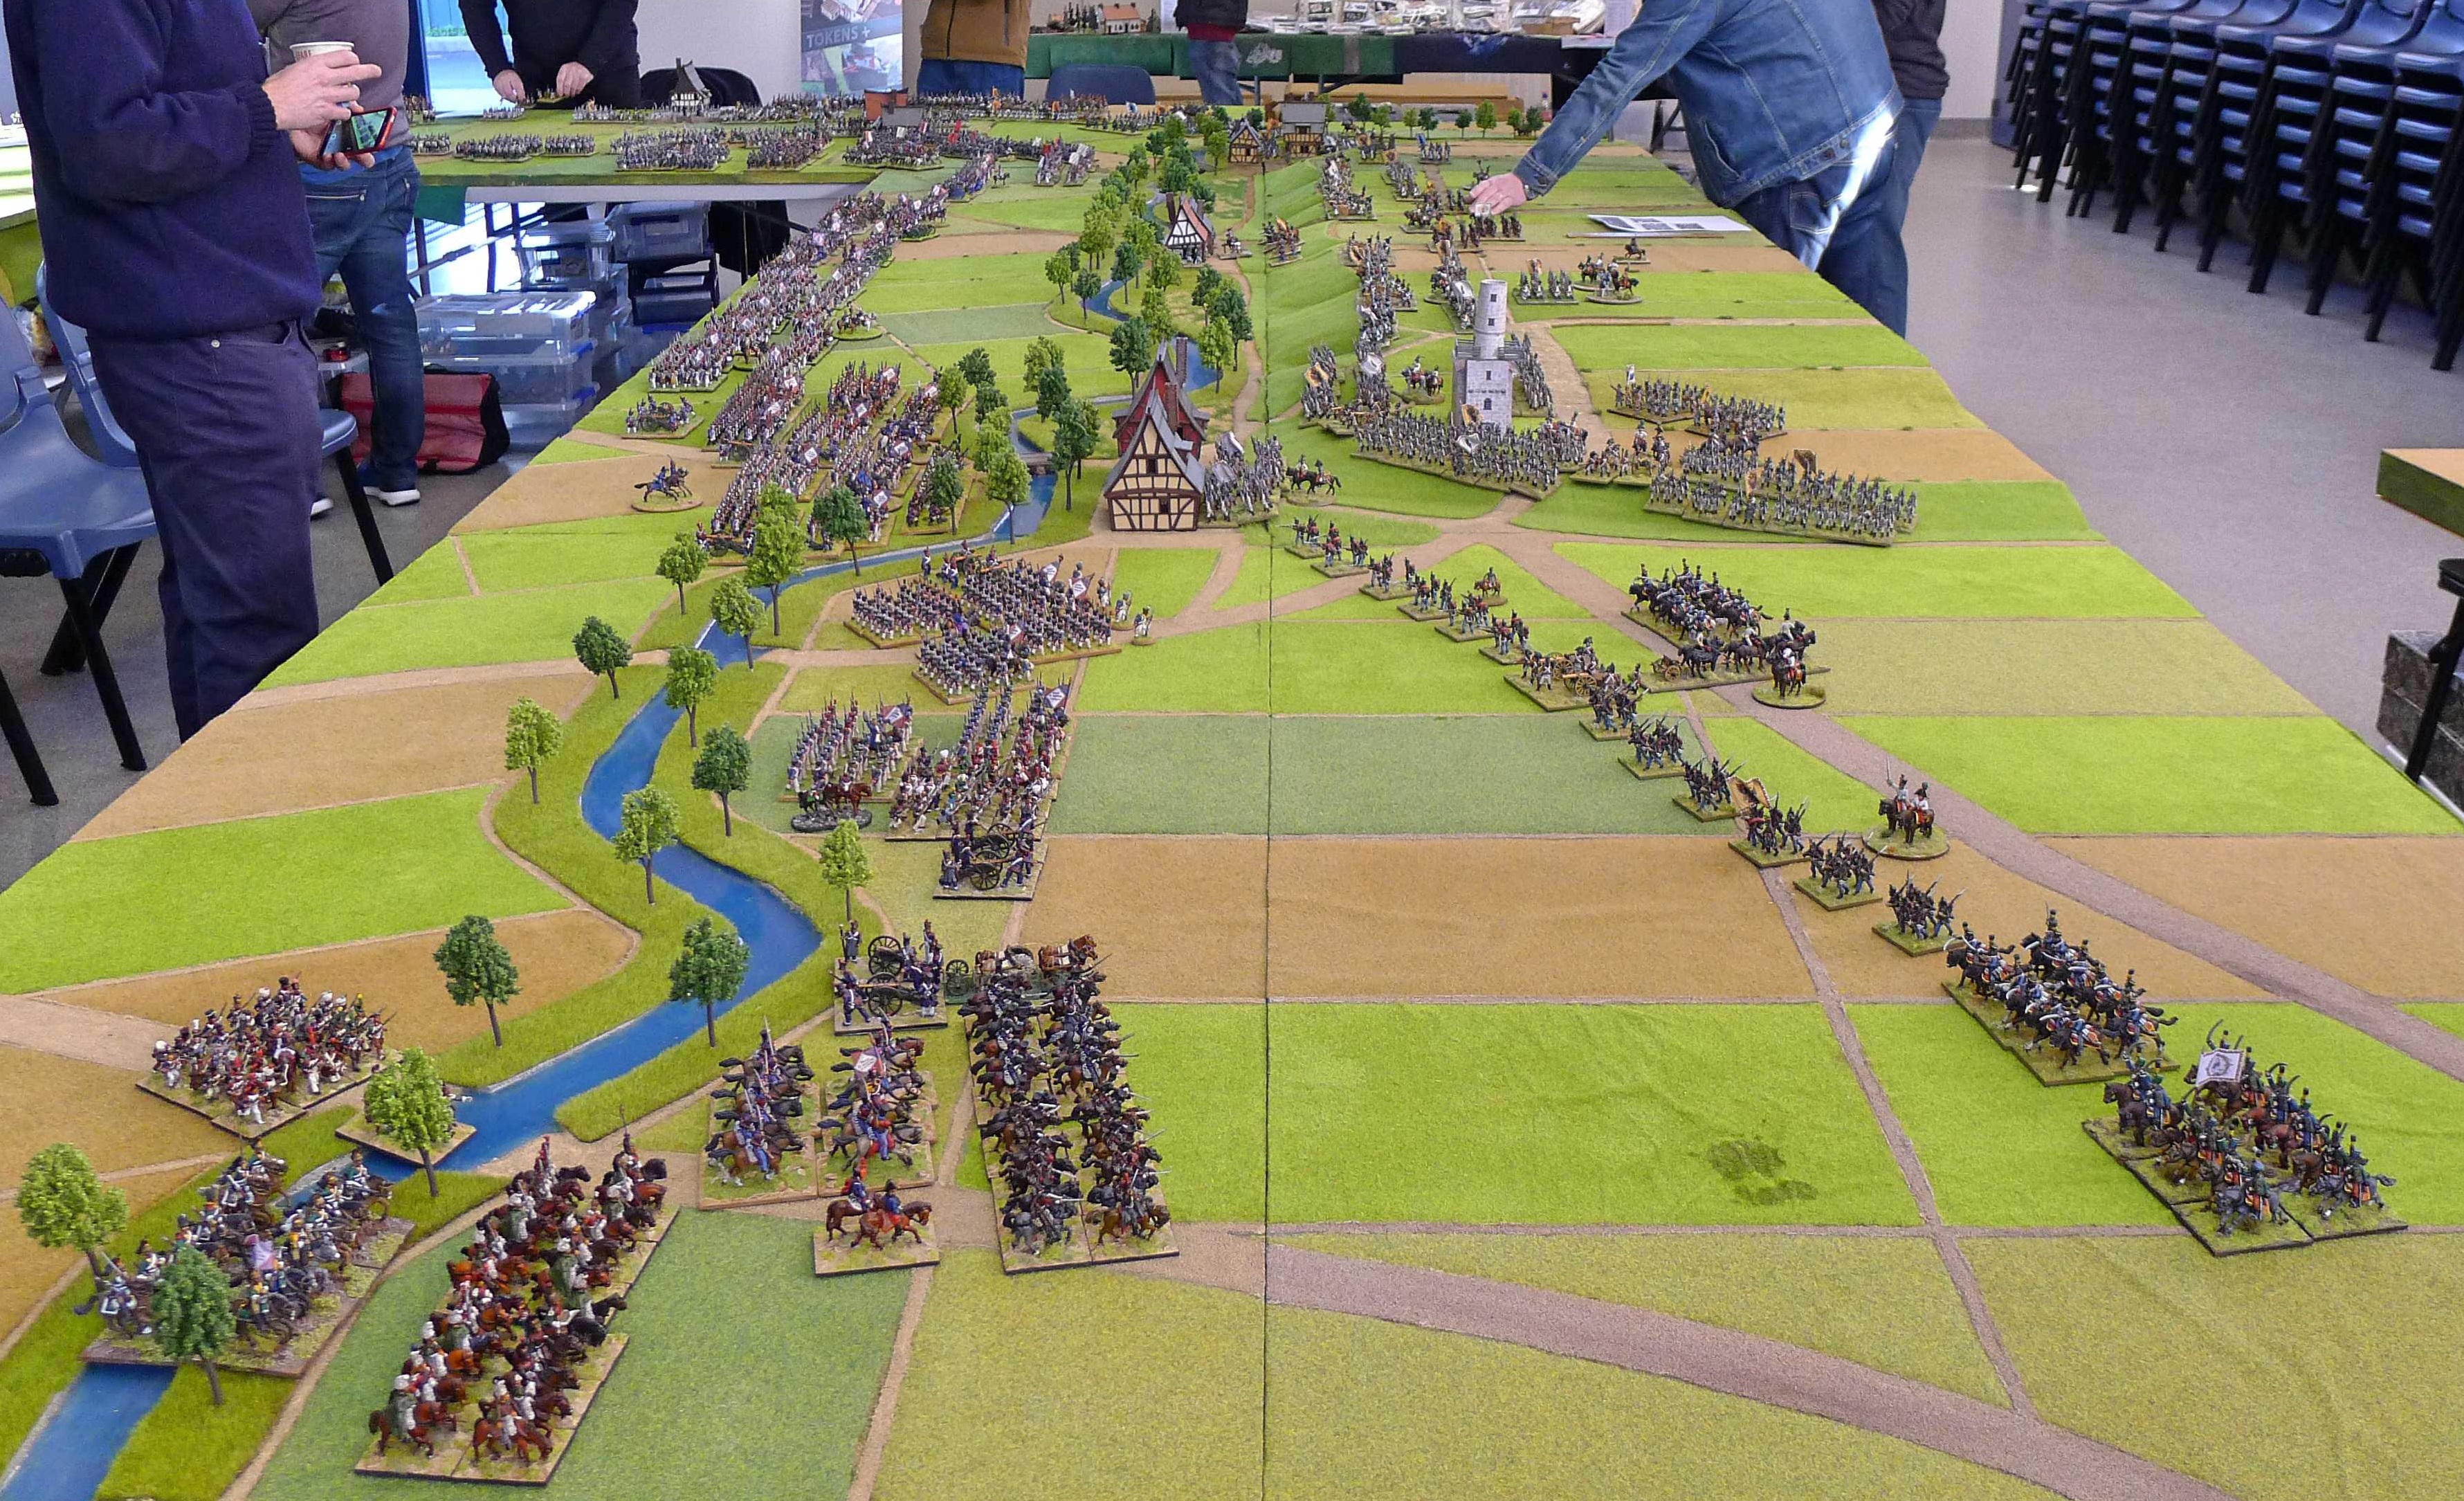
The table played on was 24 foot long on its Northern edge and 6 foot deep. On the western edge it would extend 18 foot and on the south 12 foot so the table looked like an inverted J. Additionally the French reserves would be on a small table separate from the main table, and a small extension was made to allow for the cavalry battle north and west of Markgrafneusiedl.
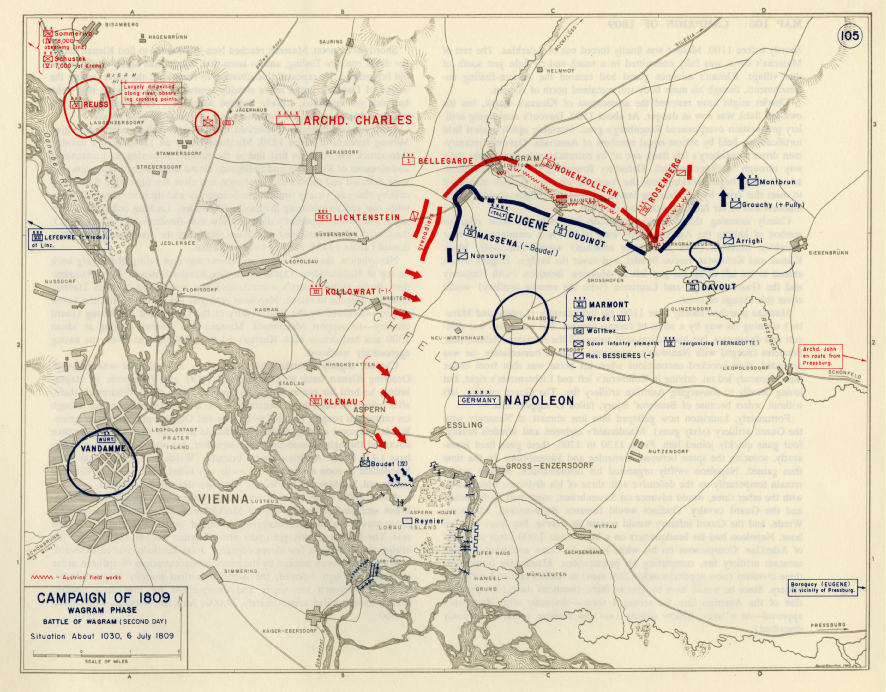
The battle would commence at approximately 10.30am on Day 2.

Battle of Wagram, second day at 10.30am
The armies of both sides had been scaled down to match the space they would cover on the battlefield.
The French commands are as follows:
Napoleon CR10(Russ) – Dorsenne, Curial, Lauriston,Walthier, Nansouty, Von Wrede and Dupas
- Dorsenne CR8 – 2 Old Guard btts
- Curial CR8 – 3 Young Guard bttns
- Lauriston CR9 – 3 Guard foot batteries, 1 Guard Horse battery
- Walthier CR7 – (Guard cavalry) Chasseurs a Cheval, Empress Dragoons, Grenadiers a Cheval and Polish Chevaulegers
- Nansouty CR7 – 2 Carabinier regts, 2 Cuirassier regts, horse battery
- Von Wrede CR8(Bavarians) – 4 bttns, 1 light cavalry,battery
- Dupas CR8 – 2 bttns, 2 Saxon bttns
Davout CR10(Rhys) – Friant, Gudin, Puthod and Arrighi
- Friant CR9 – 5 large bttns, 2 batteries
- Gudin CR8 – 5 large bttns, battery
- Puthod CR8 – 4 unreliable bttns, battery
- Arrighi CR8 – 2 Cuirassier regts
Montbrun CR9(Brian S) – Montbrun, Grouchy and Morand
- Montbrun CR9 – 3 light cavalry, horse battery and large bttn
- Grouchy CR8 – 3 Dragoon regts
- Morand CR9 – 3 large bttns, battery
Oudinot CR8(Paul W) -Tharreau, Frere, Grandjean and Colbert
- Tharreau CR8 – 6 bttns, 2 batteries
- Frere CR8 – 5 bttns, battery
- Grandjean CR8 – 5 Elite bttns, battery
- Colbert CR8 – 2 light cavalry
Eugene(Alan) CR8 – Brousier, McDonald, Grenier, Durutte, Pachtod and Sahuc
- Brousier CR8 – 3 bttns
- McDonald CR8 – 4 bttns, battery
- Grenier CR8 – 4 bttns, battery
- Durutte CR8 – 4 bttns, battery
- Pachtod CR8 – 3 bttns, battery
- Sahuc CR8 – 2 light cavalry
Massena(John) CR9 – St Cyr, Molitor, Boudet, Legrand, Lasalle and St Sulpice
- St Cyr CR9 – 3 large bttns*, 2 Hessian Bttns, battery. *2 started on 3 wounds
- Molitor CR8 – 4 bttns, battery
- Boudet CR8 – 3 bttns
- Legrand CR8 – 2 bttns ,2 Baden bttns, battery
- Lasalle CR9 – 3 light cavalry, horse battery
- St Sulpice CR8 – 2 Cuirassiers
Marmont(Graeme) CR8 – Claperede and Clauzel
- Claperede CR8 – 3 bttns
- Clauzel CR8 – 3 bttns
There were special rules for the troops directly under Napoleons command on the reserve table. On turn 1 Russ could order 2 commands onto the main table. There after each odd turn Russ could order another and towards end of game the remaining 2 were ordered on. On the the second turn after the order, ie order on turn 1 on turn 3 command arrives on main table. Russ could chose to command the command himself, or hand command over to one of his players.
Both Walthier and Nansouty put in petulant performances on the day after Besseries was wounded so they are reduced to CR7 with a -1 on charge orders.
The Austrian commands were as follows:
Arch Duke Charles CR8 and Arch Duke LudwigCR8(Terry)
Nordman CR8(Steve) – Vecsey, von Frelich and Nostitz
- Vecsey(CR8) -bttn Grenz, regt light cav and cav battery
- von Frelich(CR8) – bttn Jager, 2 regt light cav
- Nostitz(CR8) – regt Dragoons, 2 regt light cav
Rosenberg CR8(Paul G) – Hohenlohe, Rohan and Radetzky
- Hohenlohe CR7 – 4 large bttns, bttn landwehr and battery
- Rohan CR7 – 2 large bttns, 2 elite bttns, 2 bttns landwehr and 2 batteries
- Radetzky CR9 – 2 bttns, bttn landwehr , 1 light cavalry and battery
Hohenzollern CR7(Pete on saturday and Ray on sunday) – Brady, Ulm and Siegenthal
- Brady CR8 – 5 large bttns, 2 landwehr and 2 batteries
- Ulm CR7 – 5 large bttns, 2 landwher and 2 batteries
- Siegenthal CR8 – bttn Jager, bttn landwher and light cav
Bellegarde CR7(Keith on saturday and Terry on sunday) – Fresnel and Dedovich
- Fresnel CR7 – 4 large bttns, Jager bttn, regt light cavalry, 2 batteries
- Dedovich CR8 – 5 large bttns, 2 batteries
Kolowrat CR7(Brian T) – St Julian and Vukassovich
- St Julian CR7 – 3 large bttns, 1 bttn and 2 batteries
- Vukassovich Cr8 – 2 large bttns, Jager bttn, landwher bttn, regt Uhlans and 2 batteries
Klenau CR8(Mark) – Hohenfeld, Kottulinsky and Vincent
- Hohenfeld CR7 – 2 bttns, Landwehr bttn , battery
- Kottulinsky CR7 – 2 large bttns, 2 bttns, Landweht bttn, battery
- Vincent CR7 – Grenz bttn, Landwehr bttn, 2 light cavalry, cav battery
Leichtenstein CR8(Daniel) – Schwarzenberg, Hessen Homburg, D’Aspre and Prochaska
- Schwarzenberg CR8 – regt Dragoons, 2 regts light cavalry
- Hessen-Homburg CR7 – 3 regts Cuirassiers, cav battery
- D’Aspre CR8 – 4 regts Grenadiers, battery
- Prochaska CR8 – 4 regts Grenadiers, battery
From V Corps – Weissenwolf CR8 -3 bttns, Grenz Bttn, Landwehr bttn, regt Uhlans and battery
Archduke John CR7(Steve) – Jellacic, Frimont and Collerodo
- Jellacic CR7 – 2 bttns, Grenz bttn, battery
- Frimont CR8 – Grenz bttn, regt Dragoons, regt light cavalry
- Colloredo CR7 – Grenadier bttn, 2 bttns, Grenz bttn and regt light cavalry
The Austrians had a special rule a special rule for ‘Follow Me’ orders. To represent commanders grabbing units and rushing them around the battlefield in support or to combat, they get a +1 on any ‘Follow me’ order. In addition Archdukes Charles and Ludwig can do a ‘Follow me’ order on any 2 units within 12 inches with a +2 modifier. These units can only move and cannot end the move in combat. The standard +1 for an order into combat still applies.
The Austrians had 2 off table forces which would hopefully arrive on day 2. Weissenwolf from V Corps would approach from the west and Arch John and the Army of Italy would approach from the east.
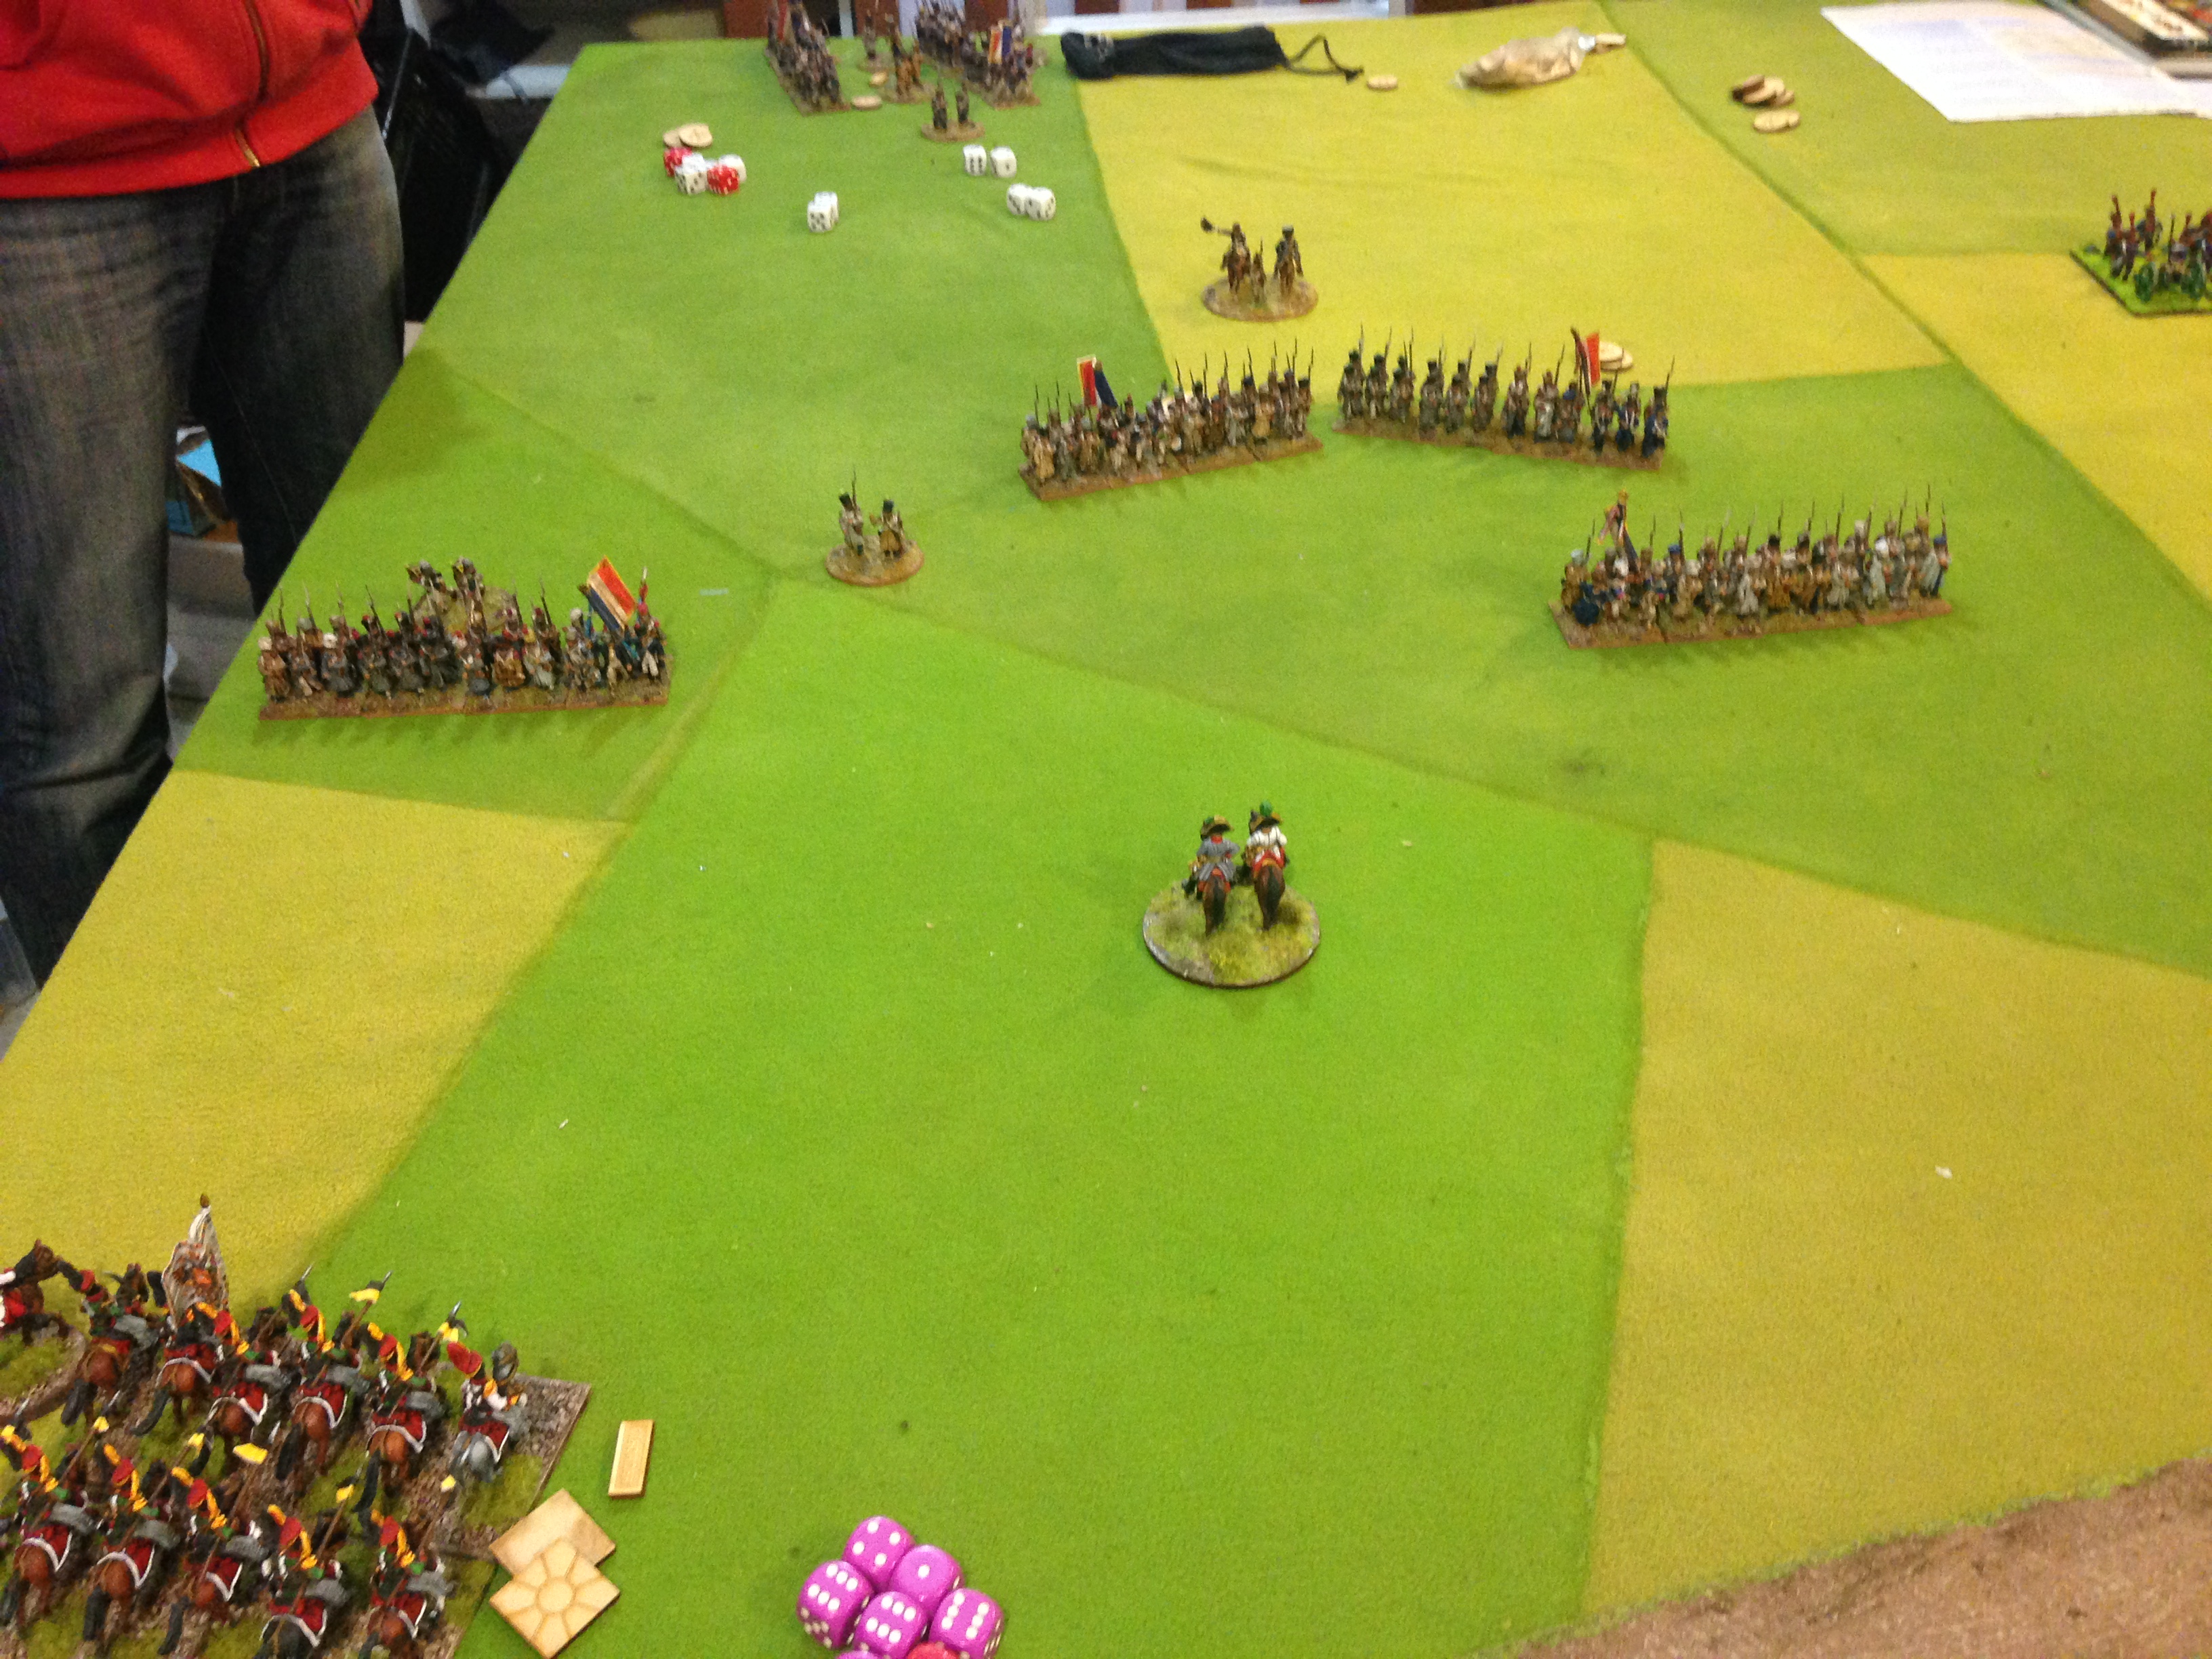
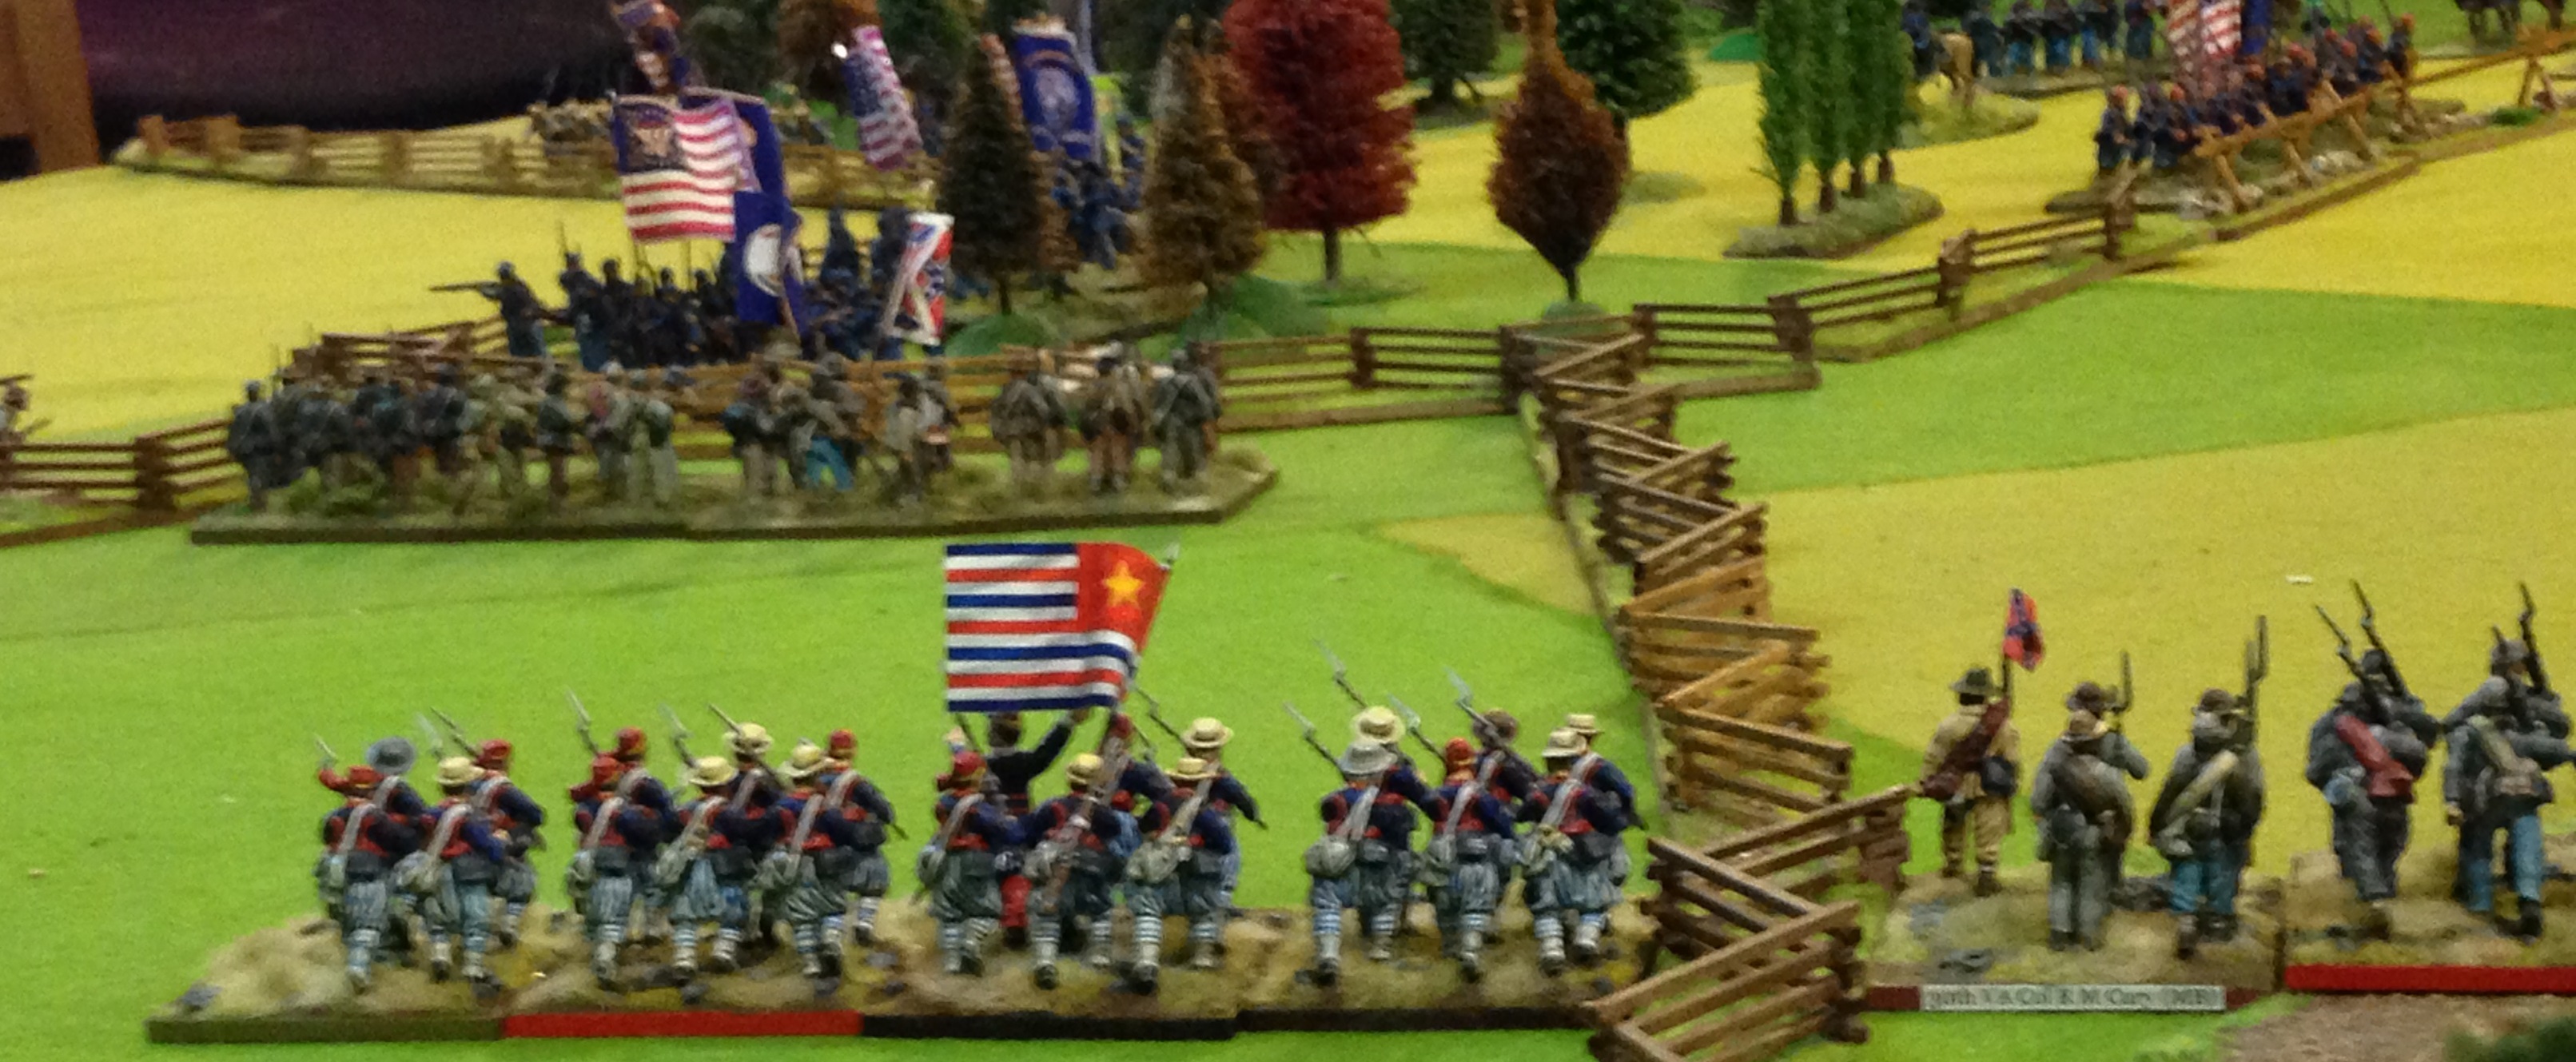
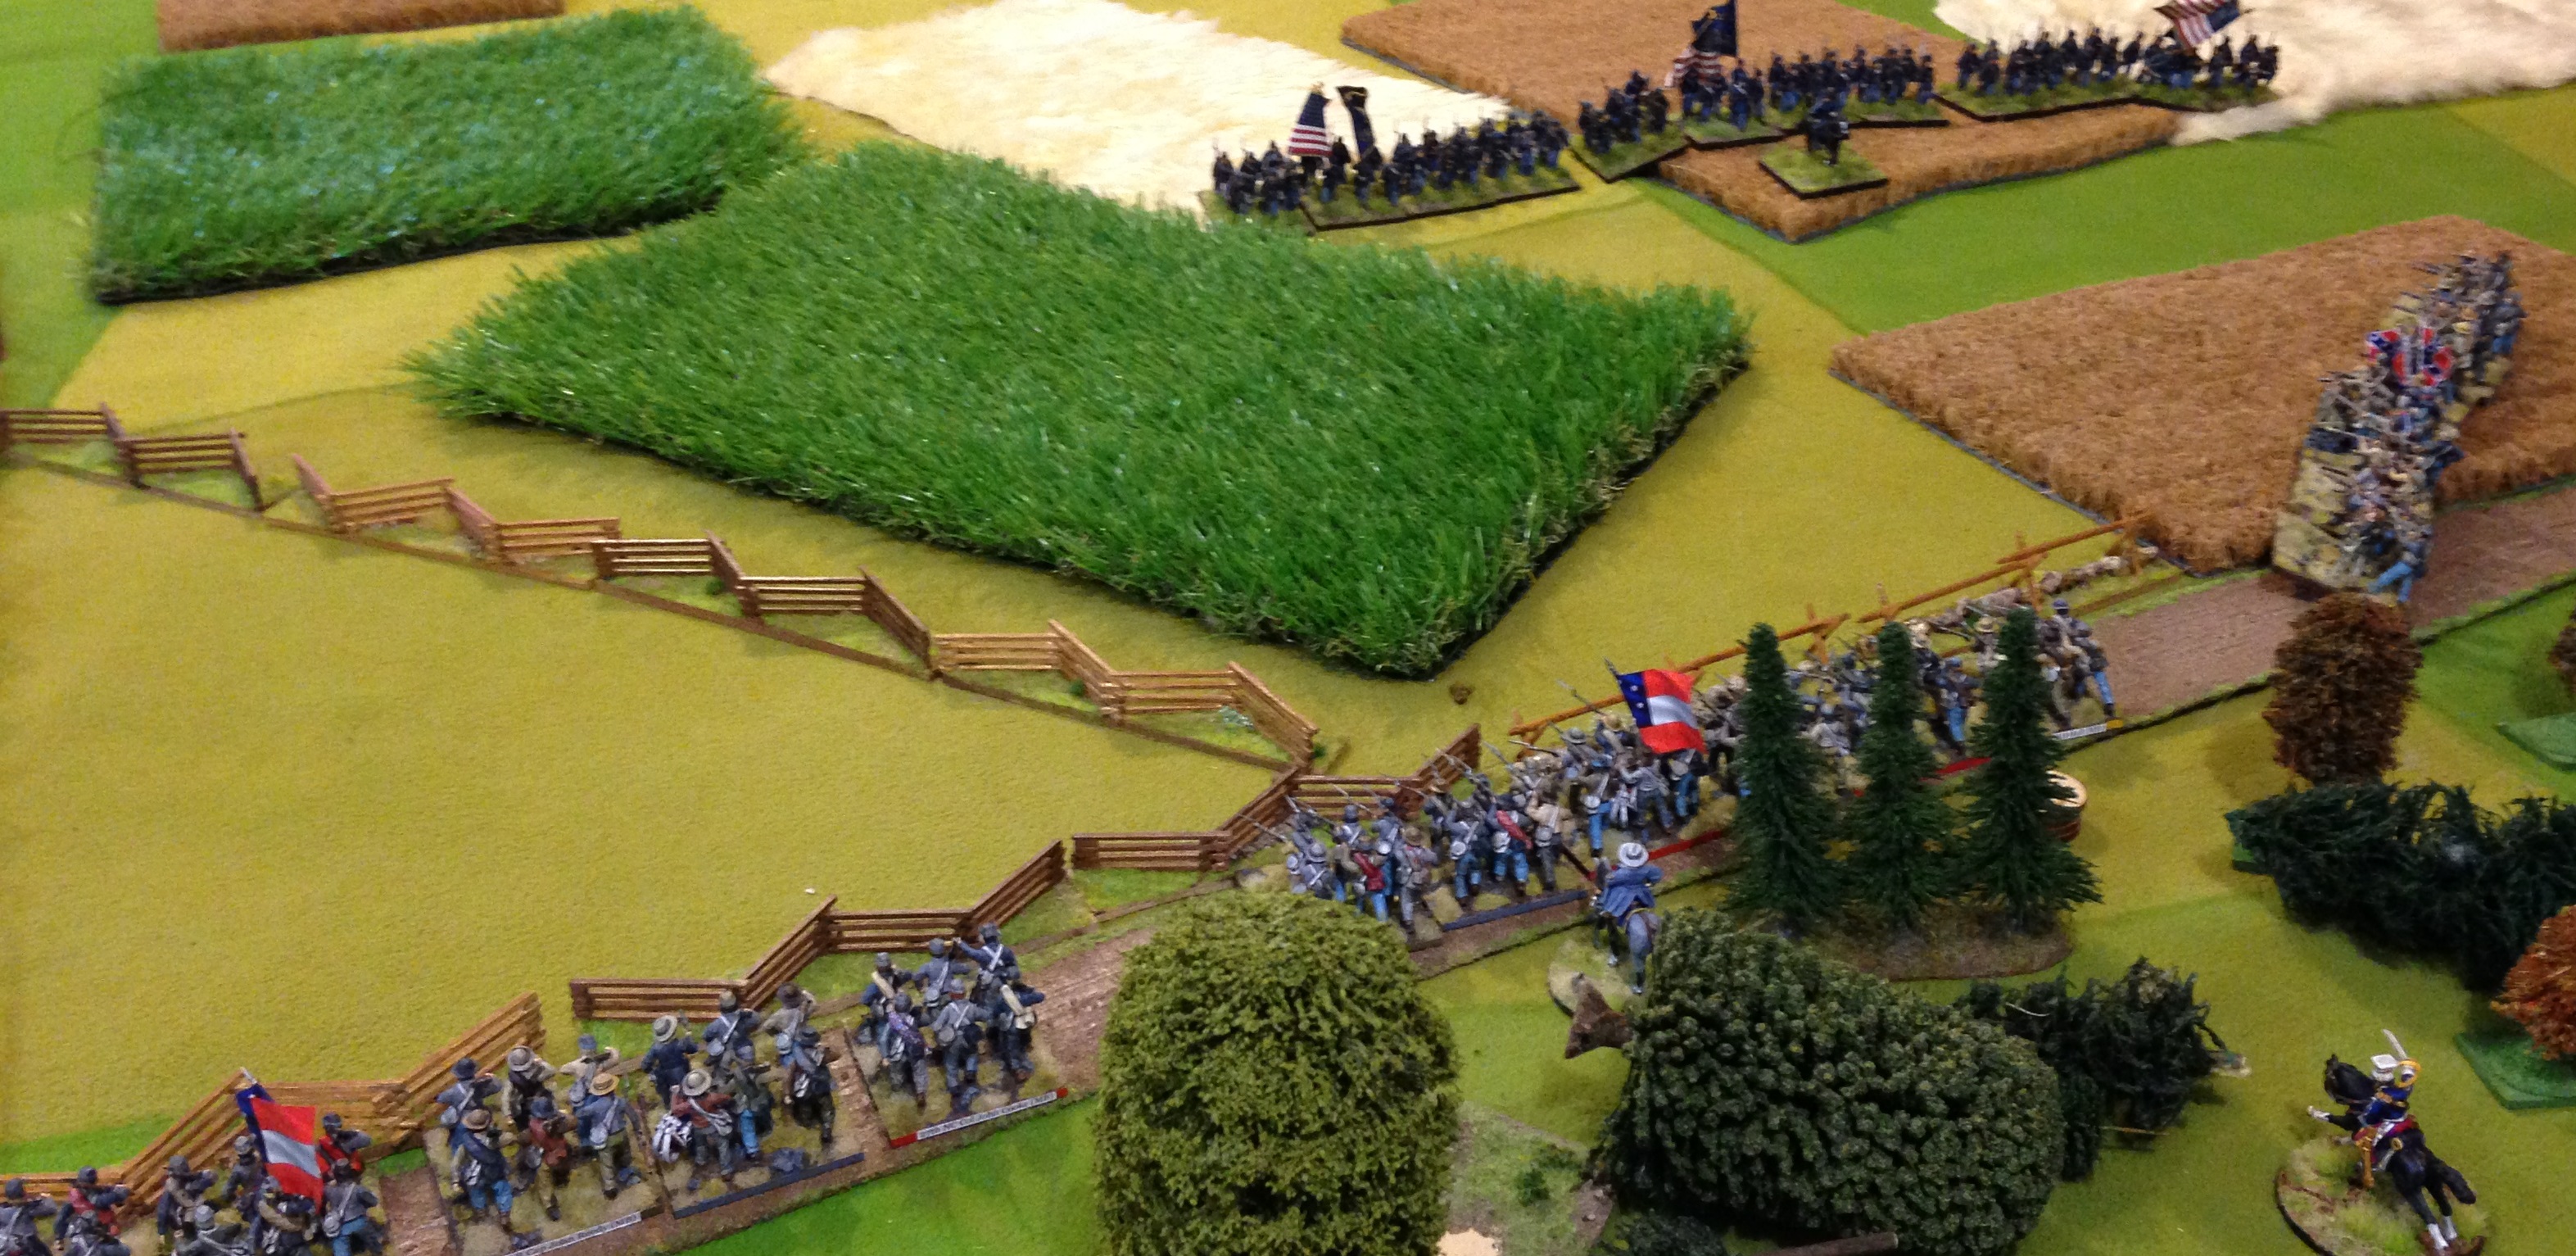
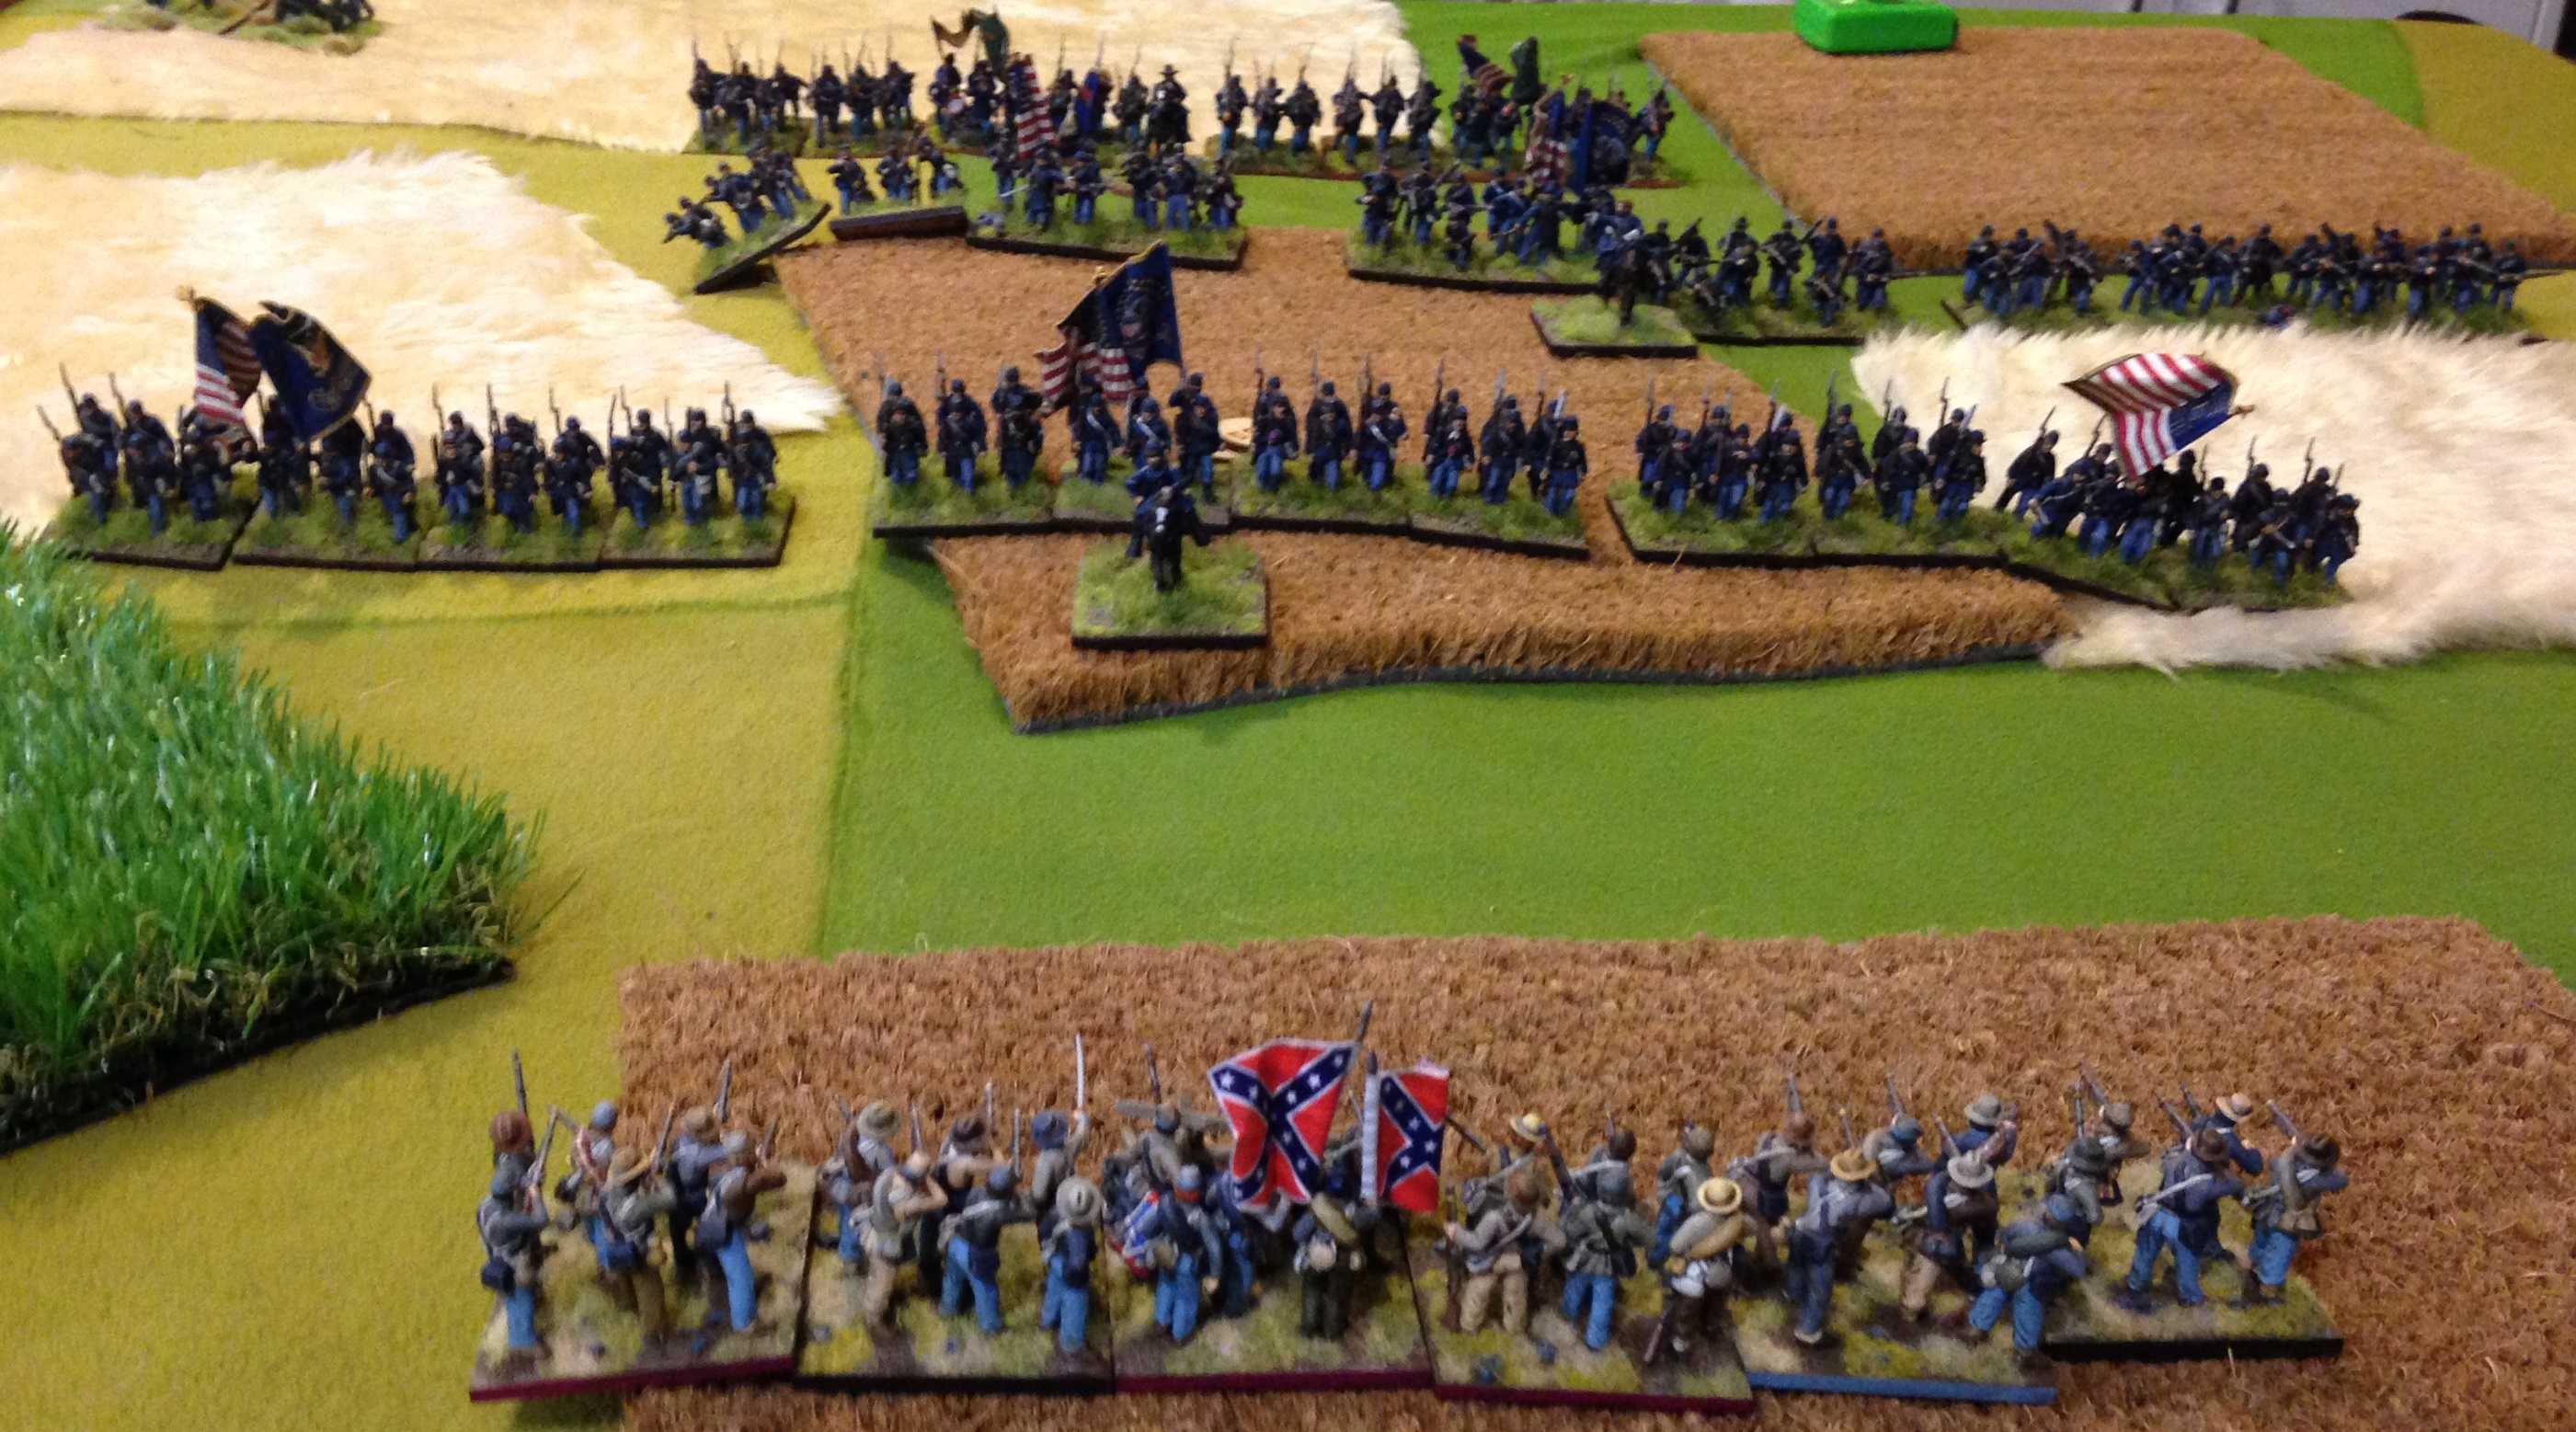
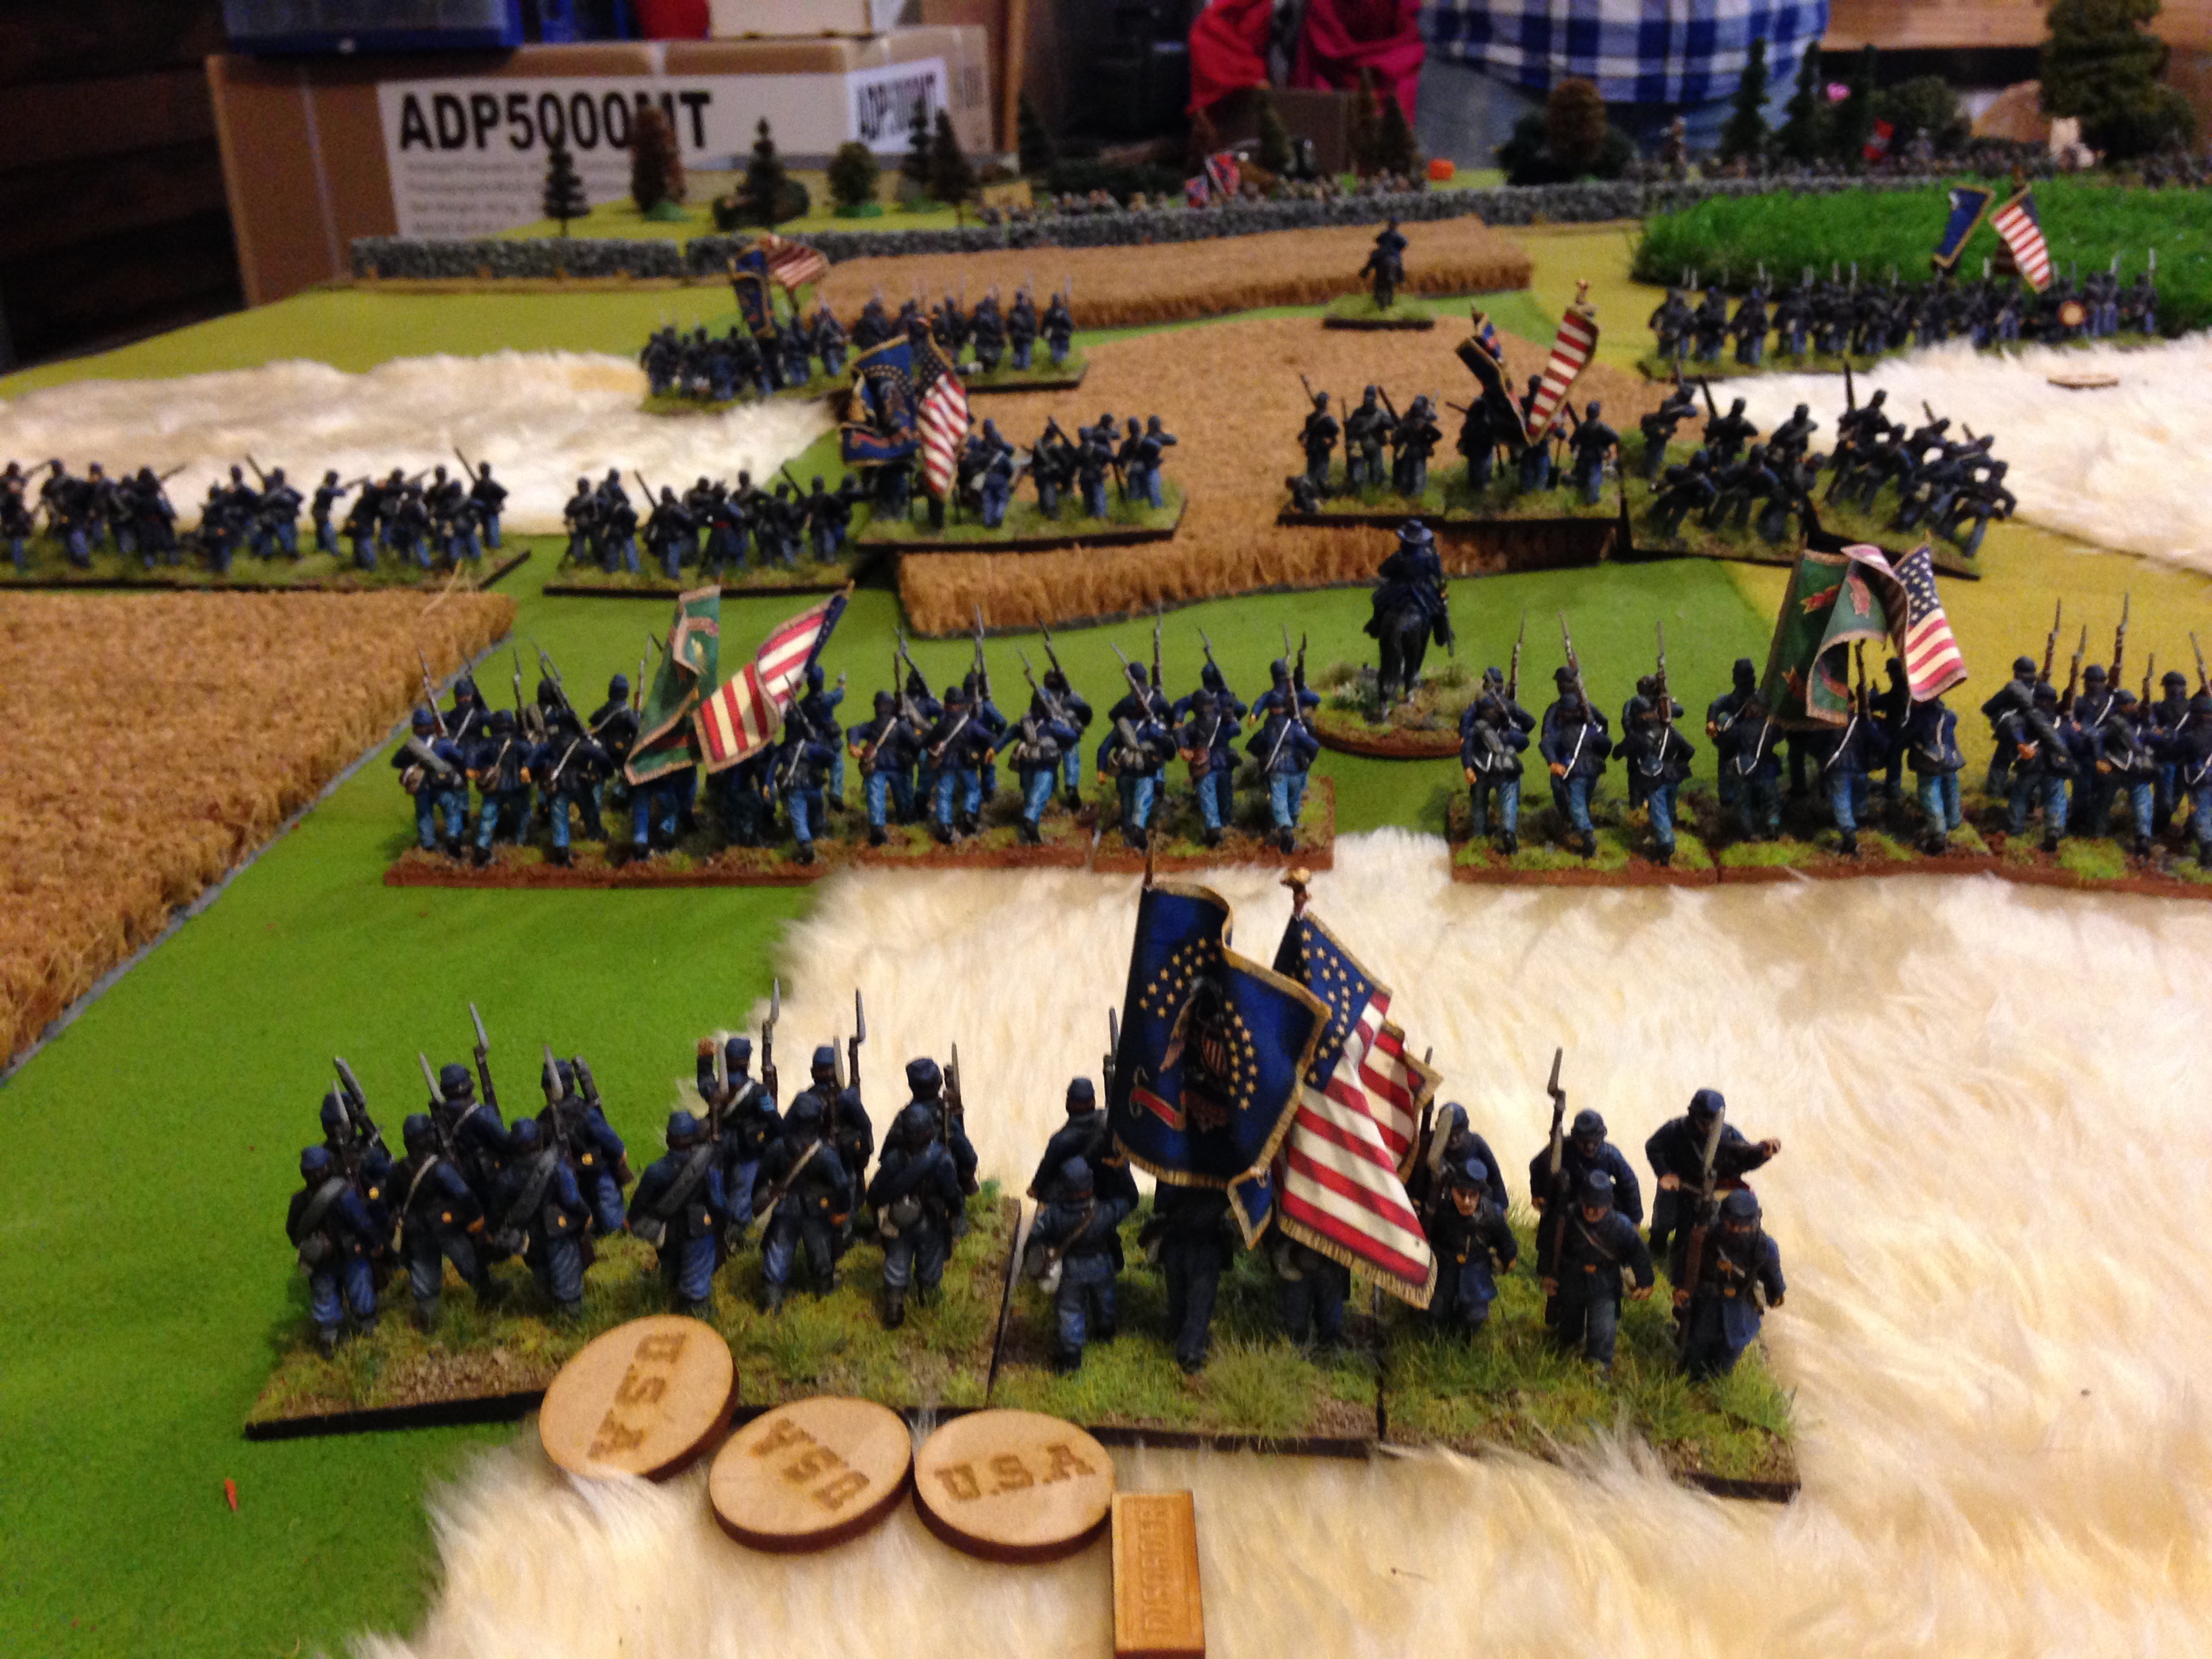
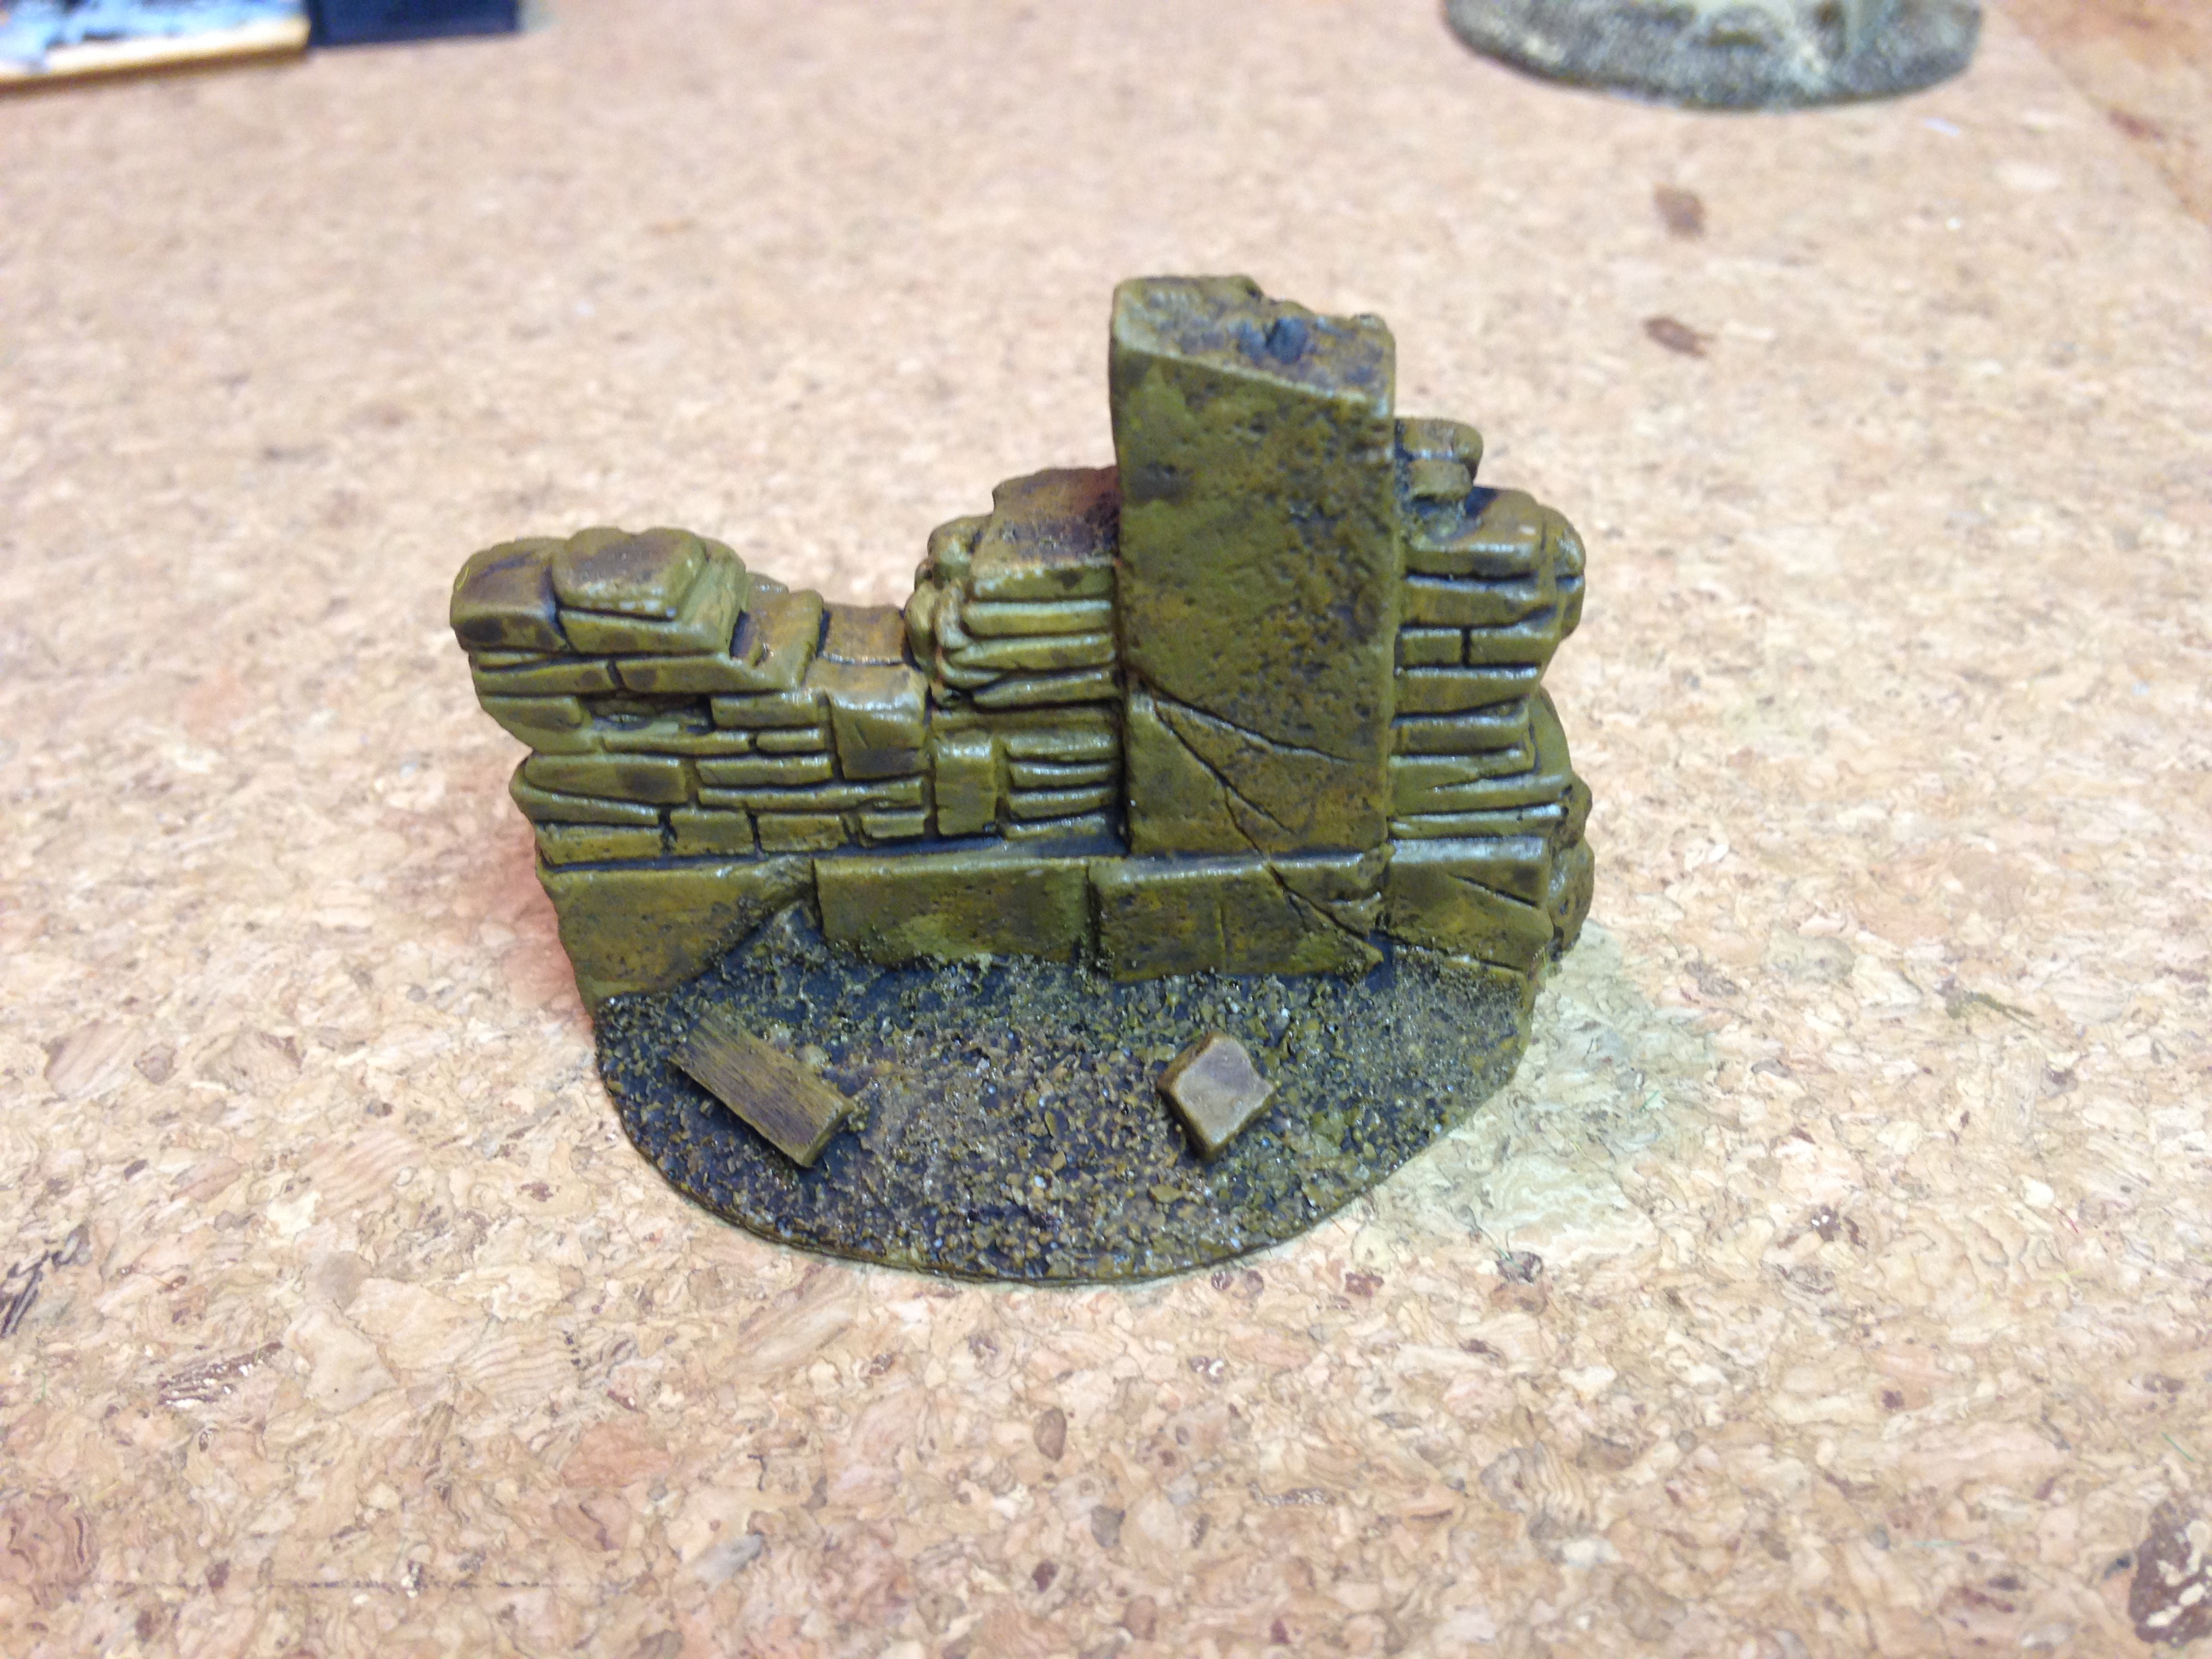
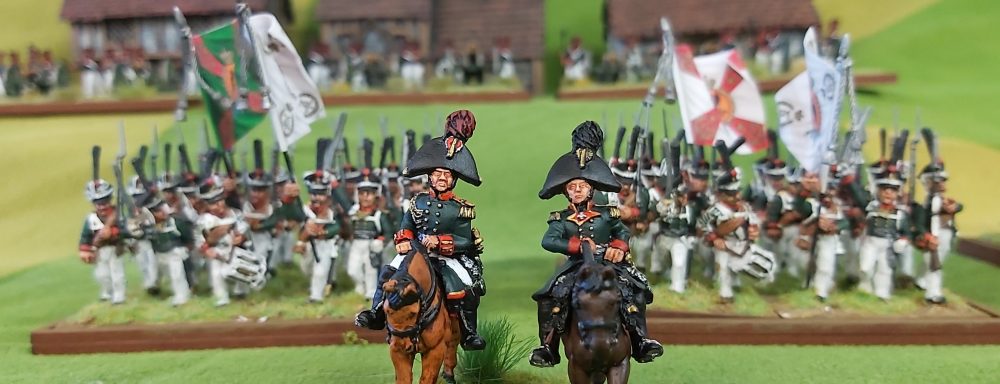
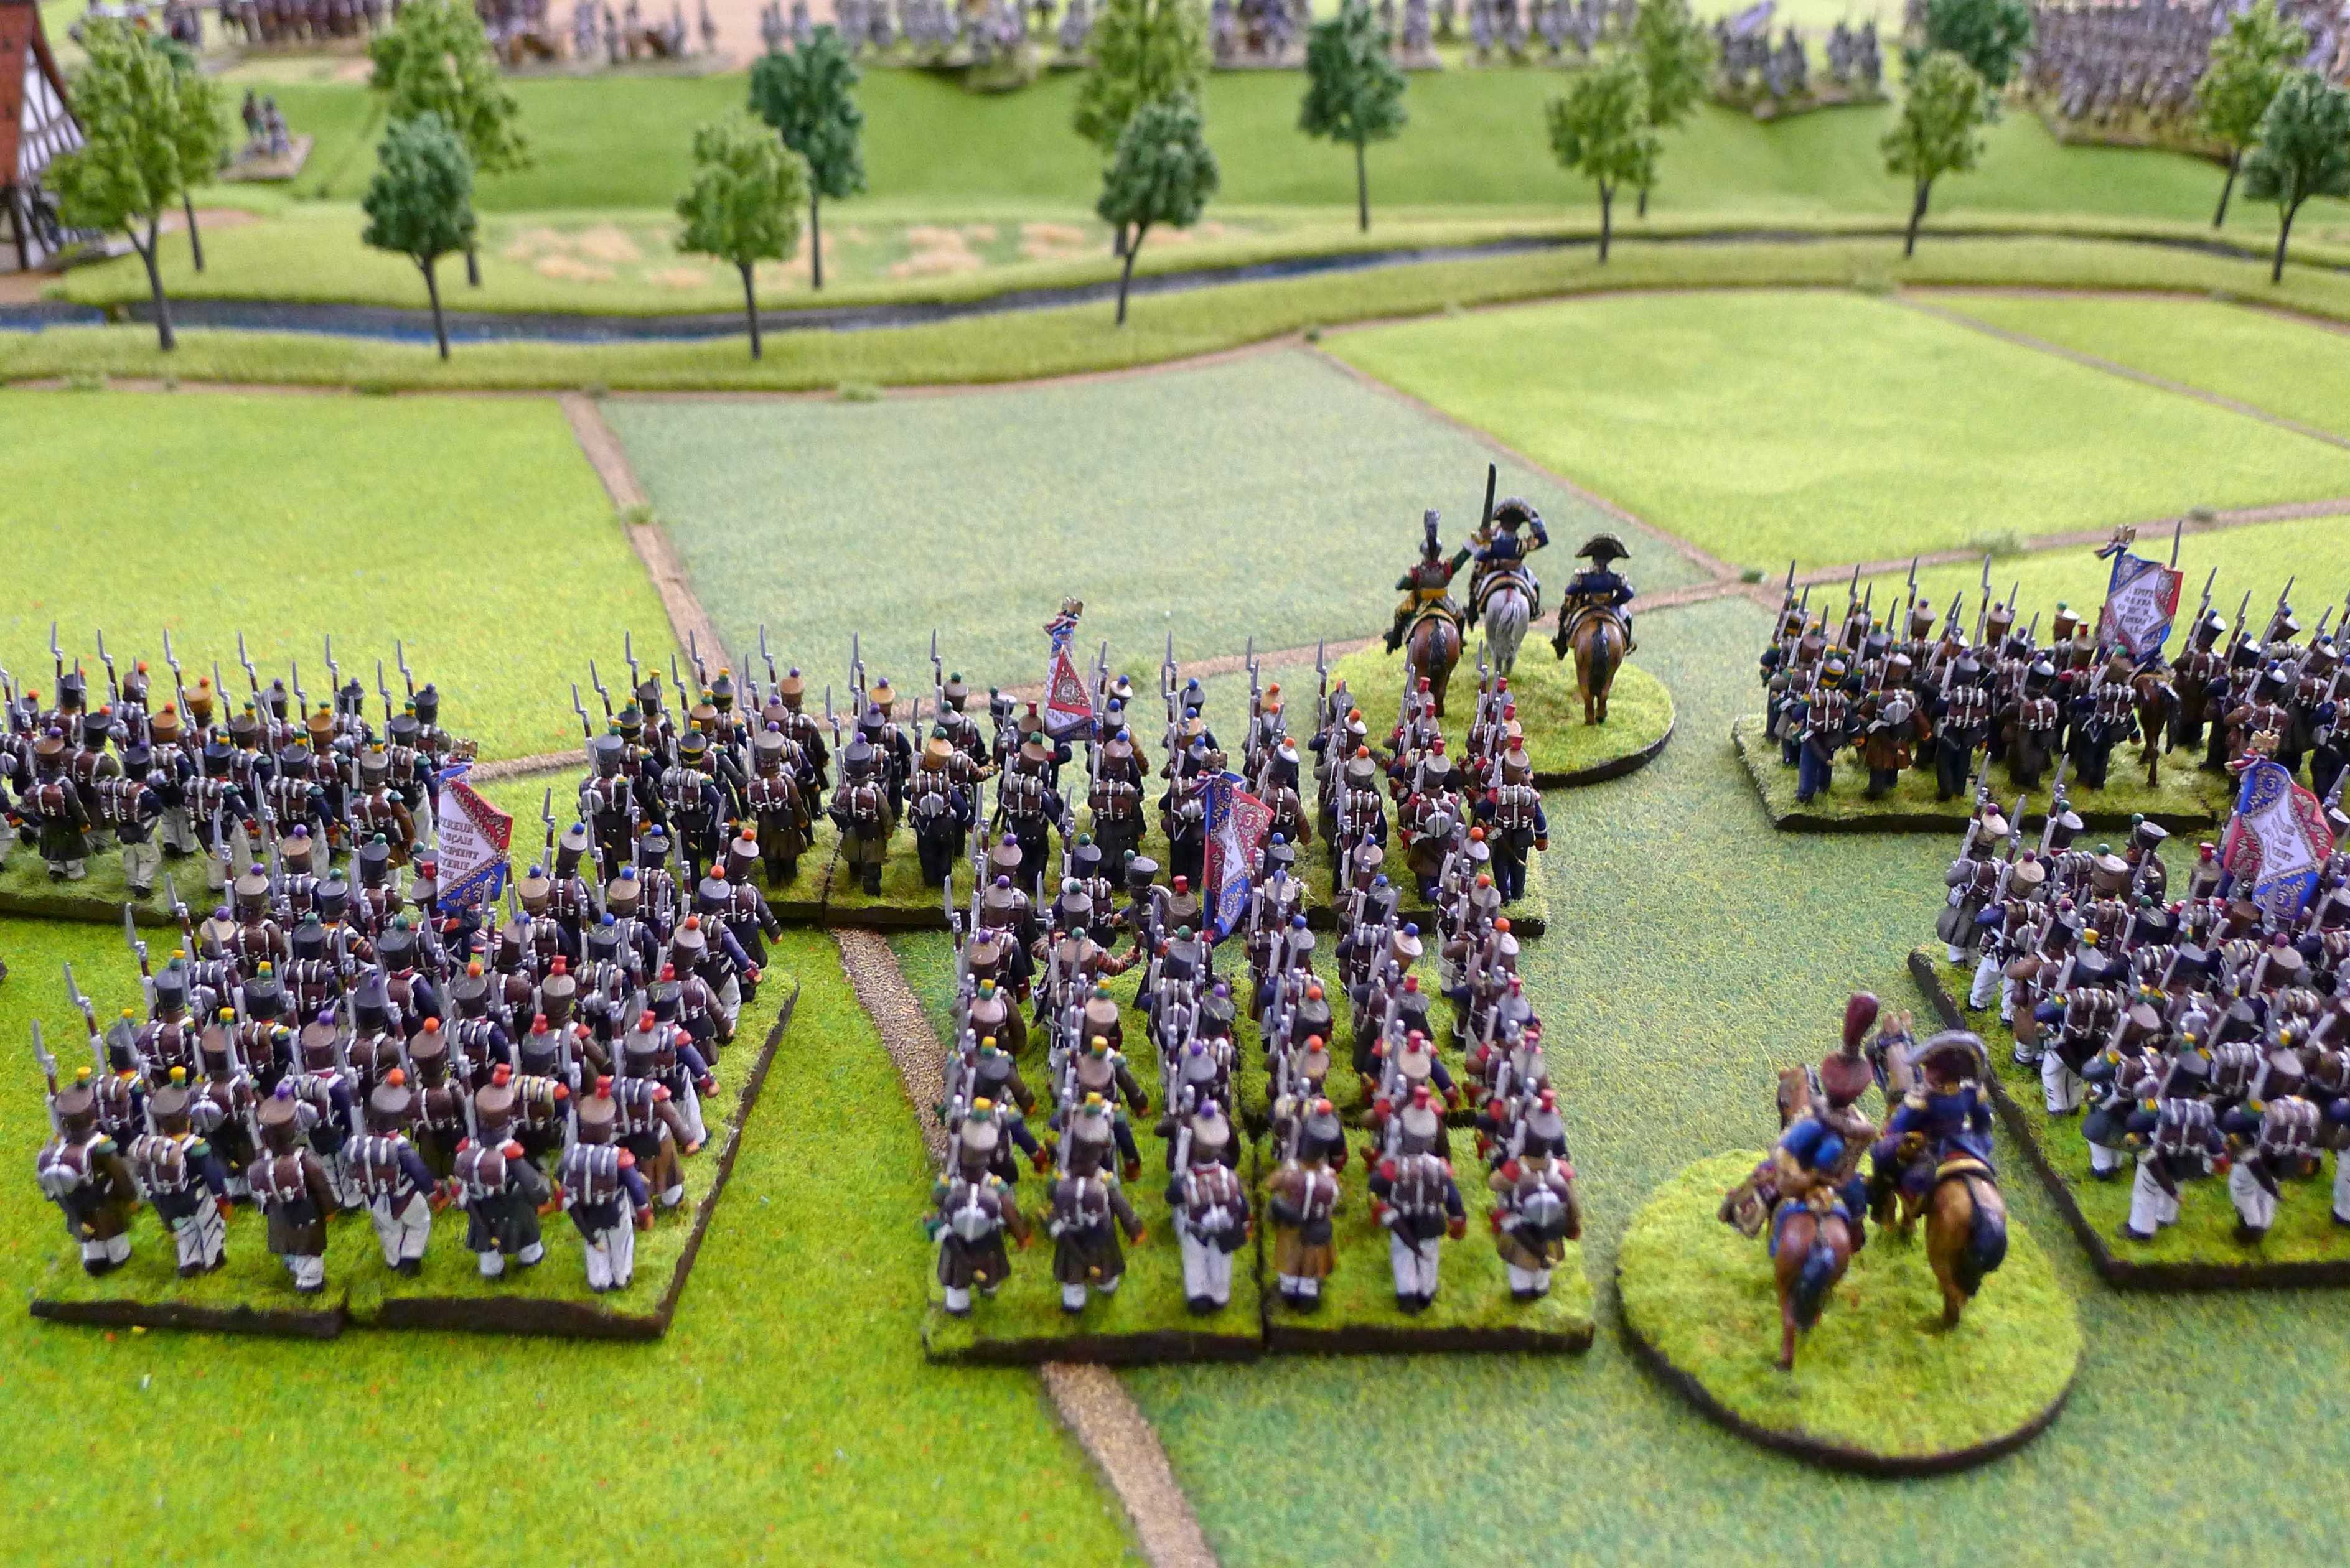
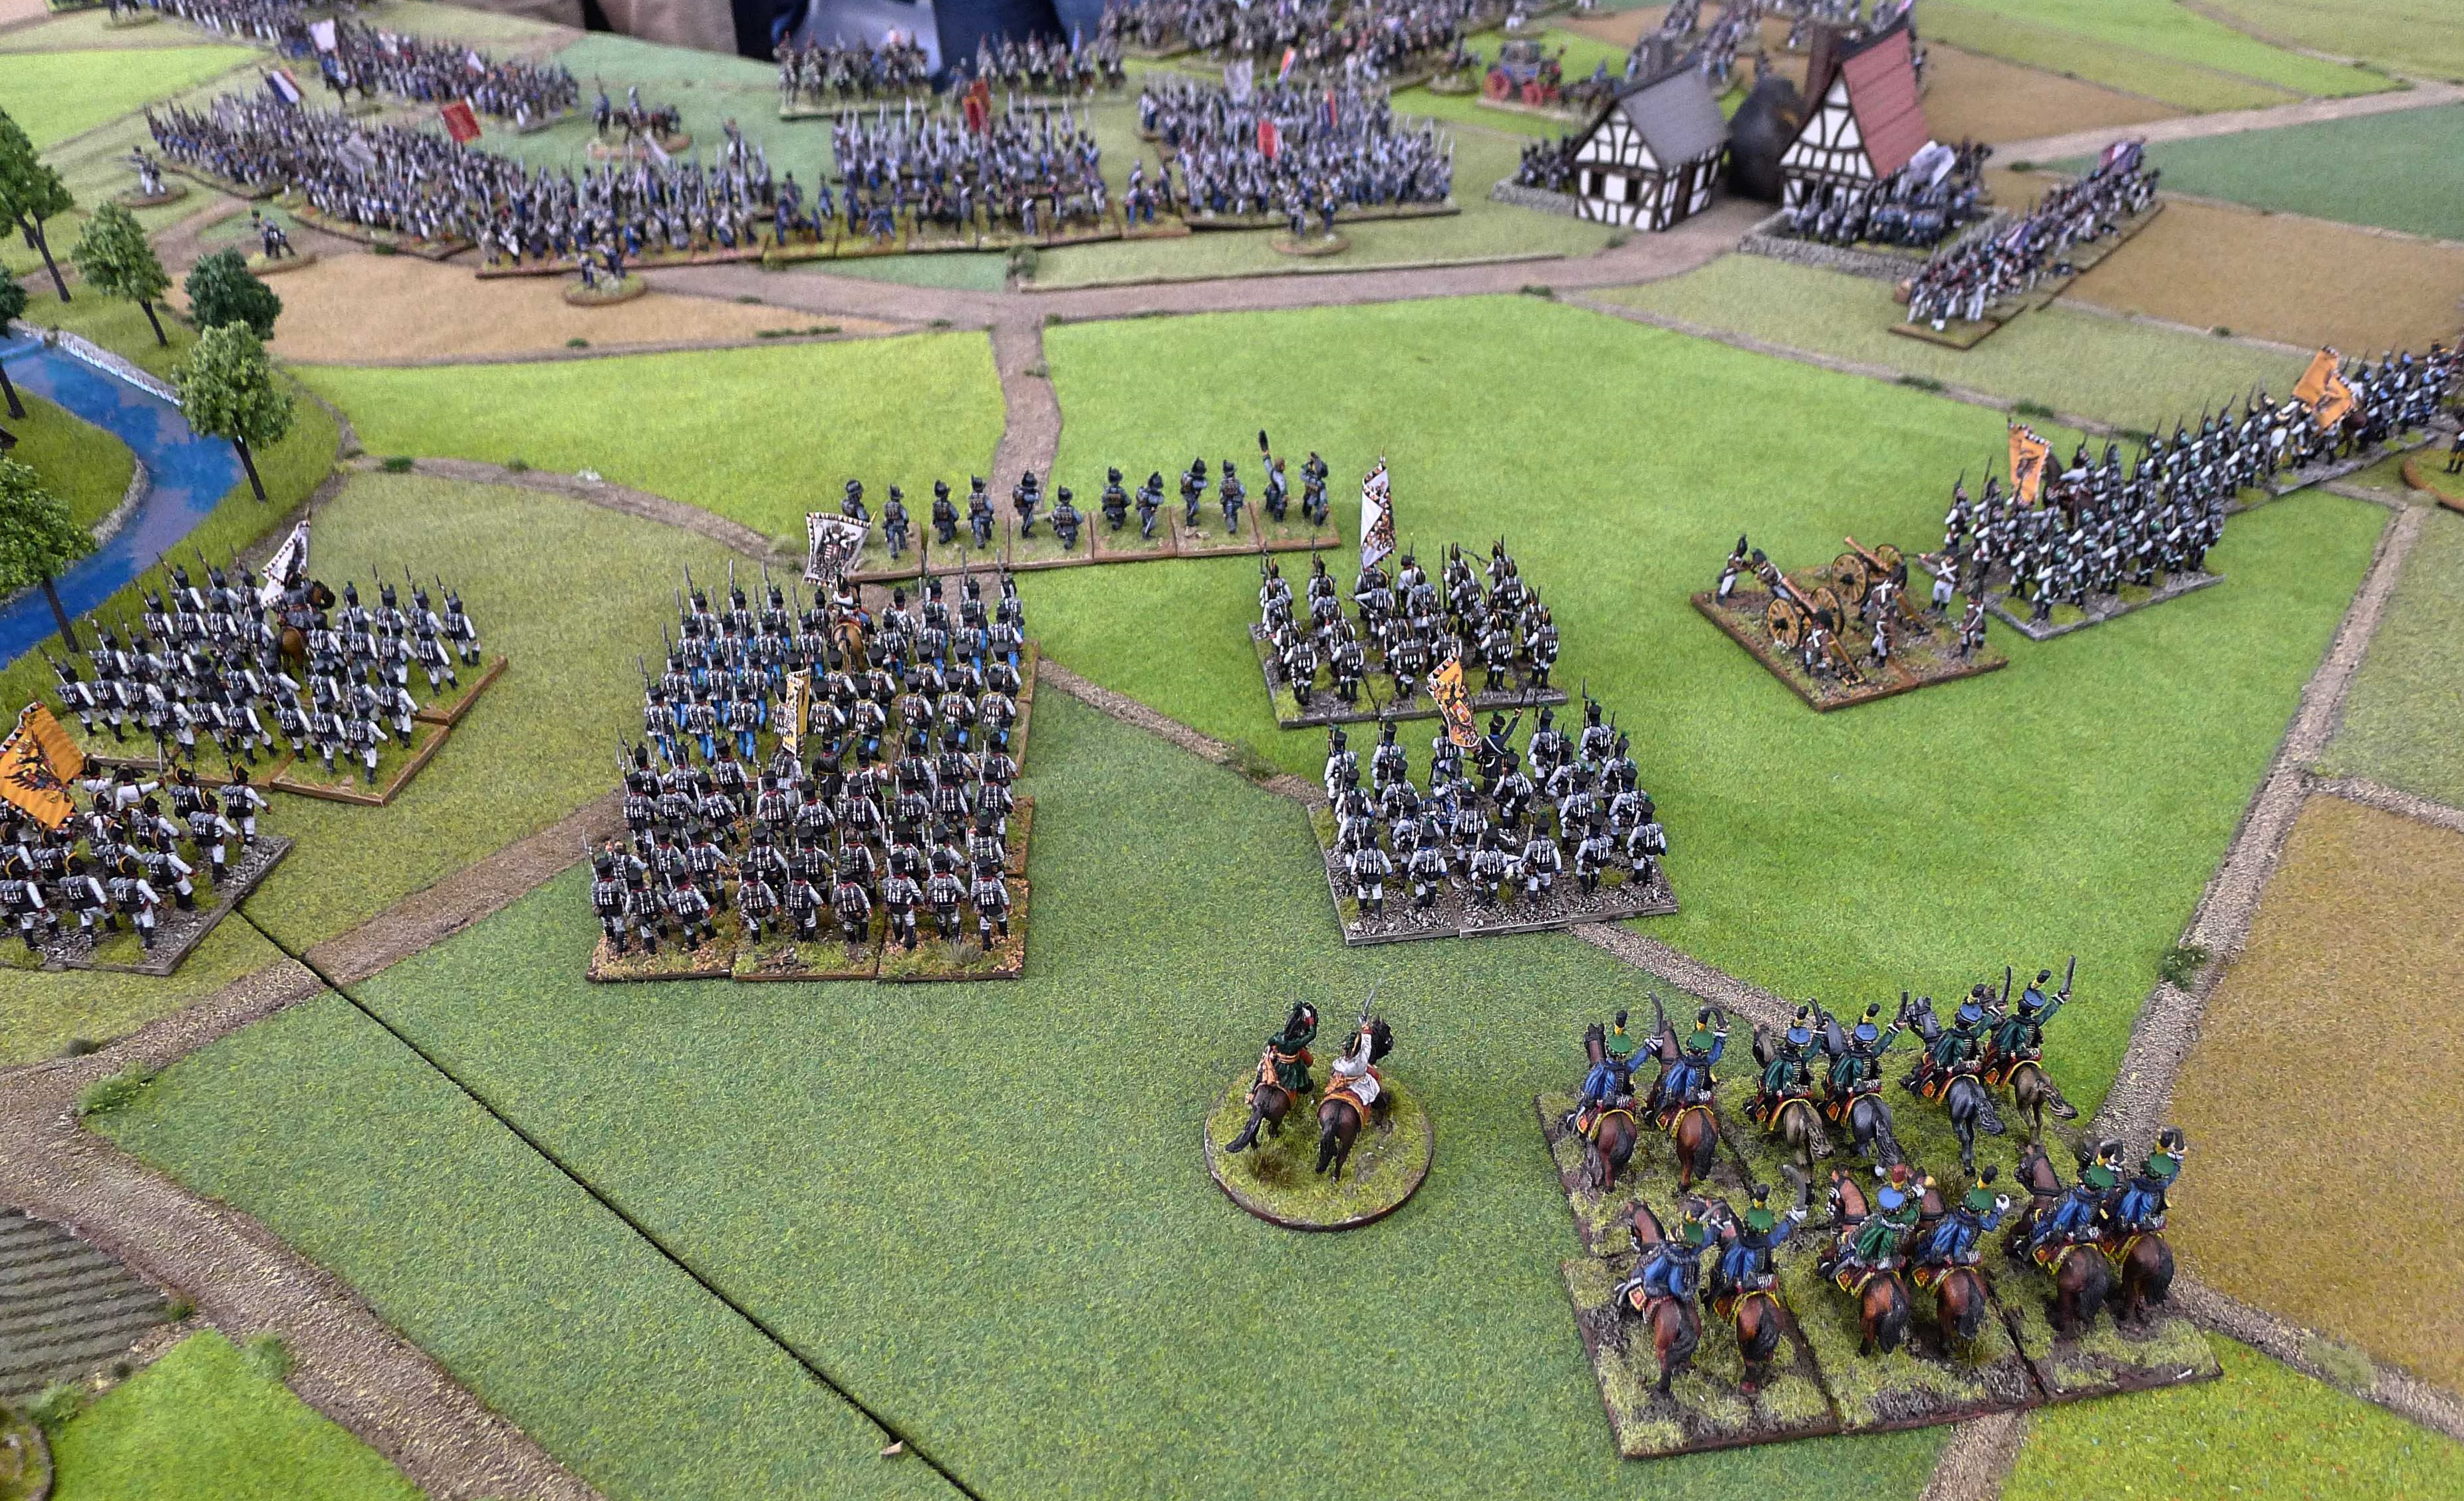
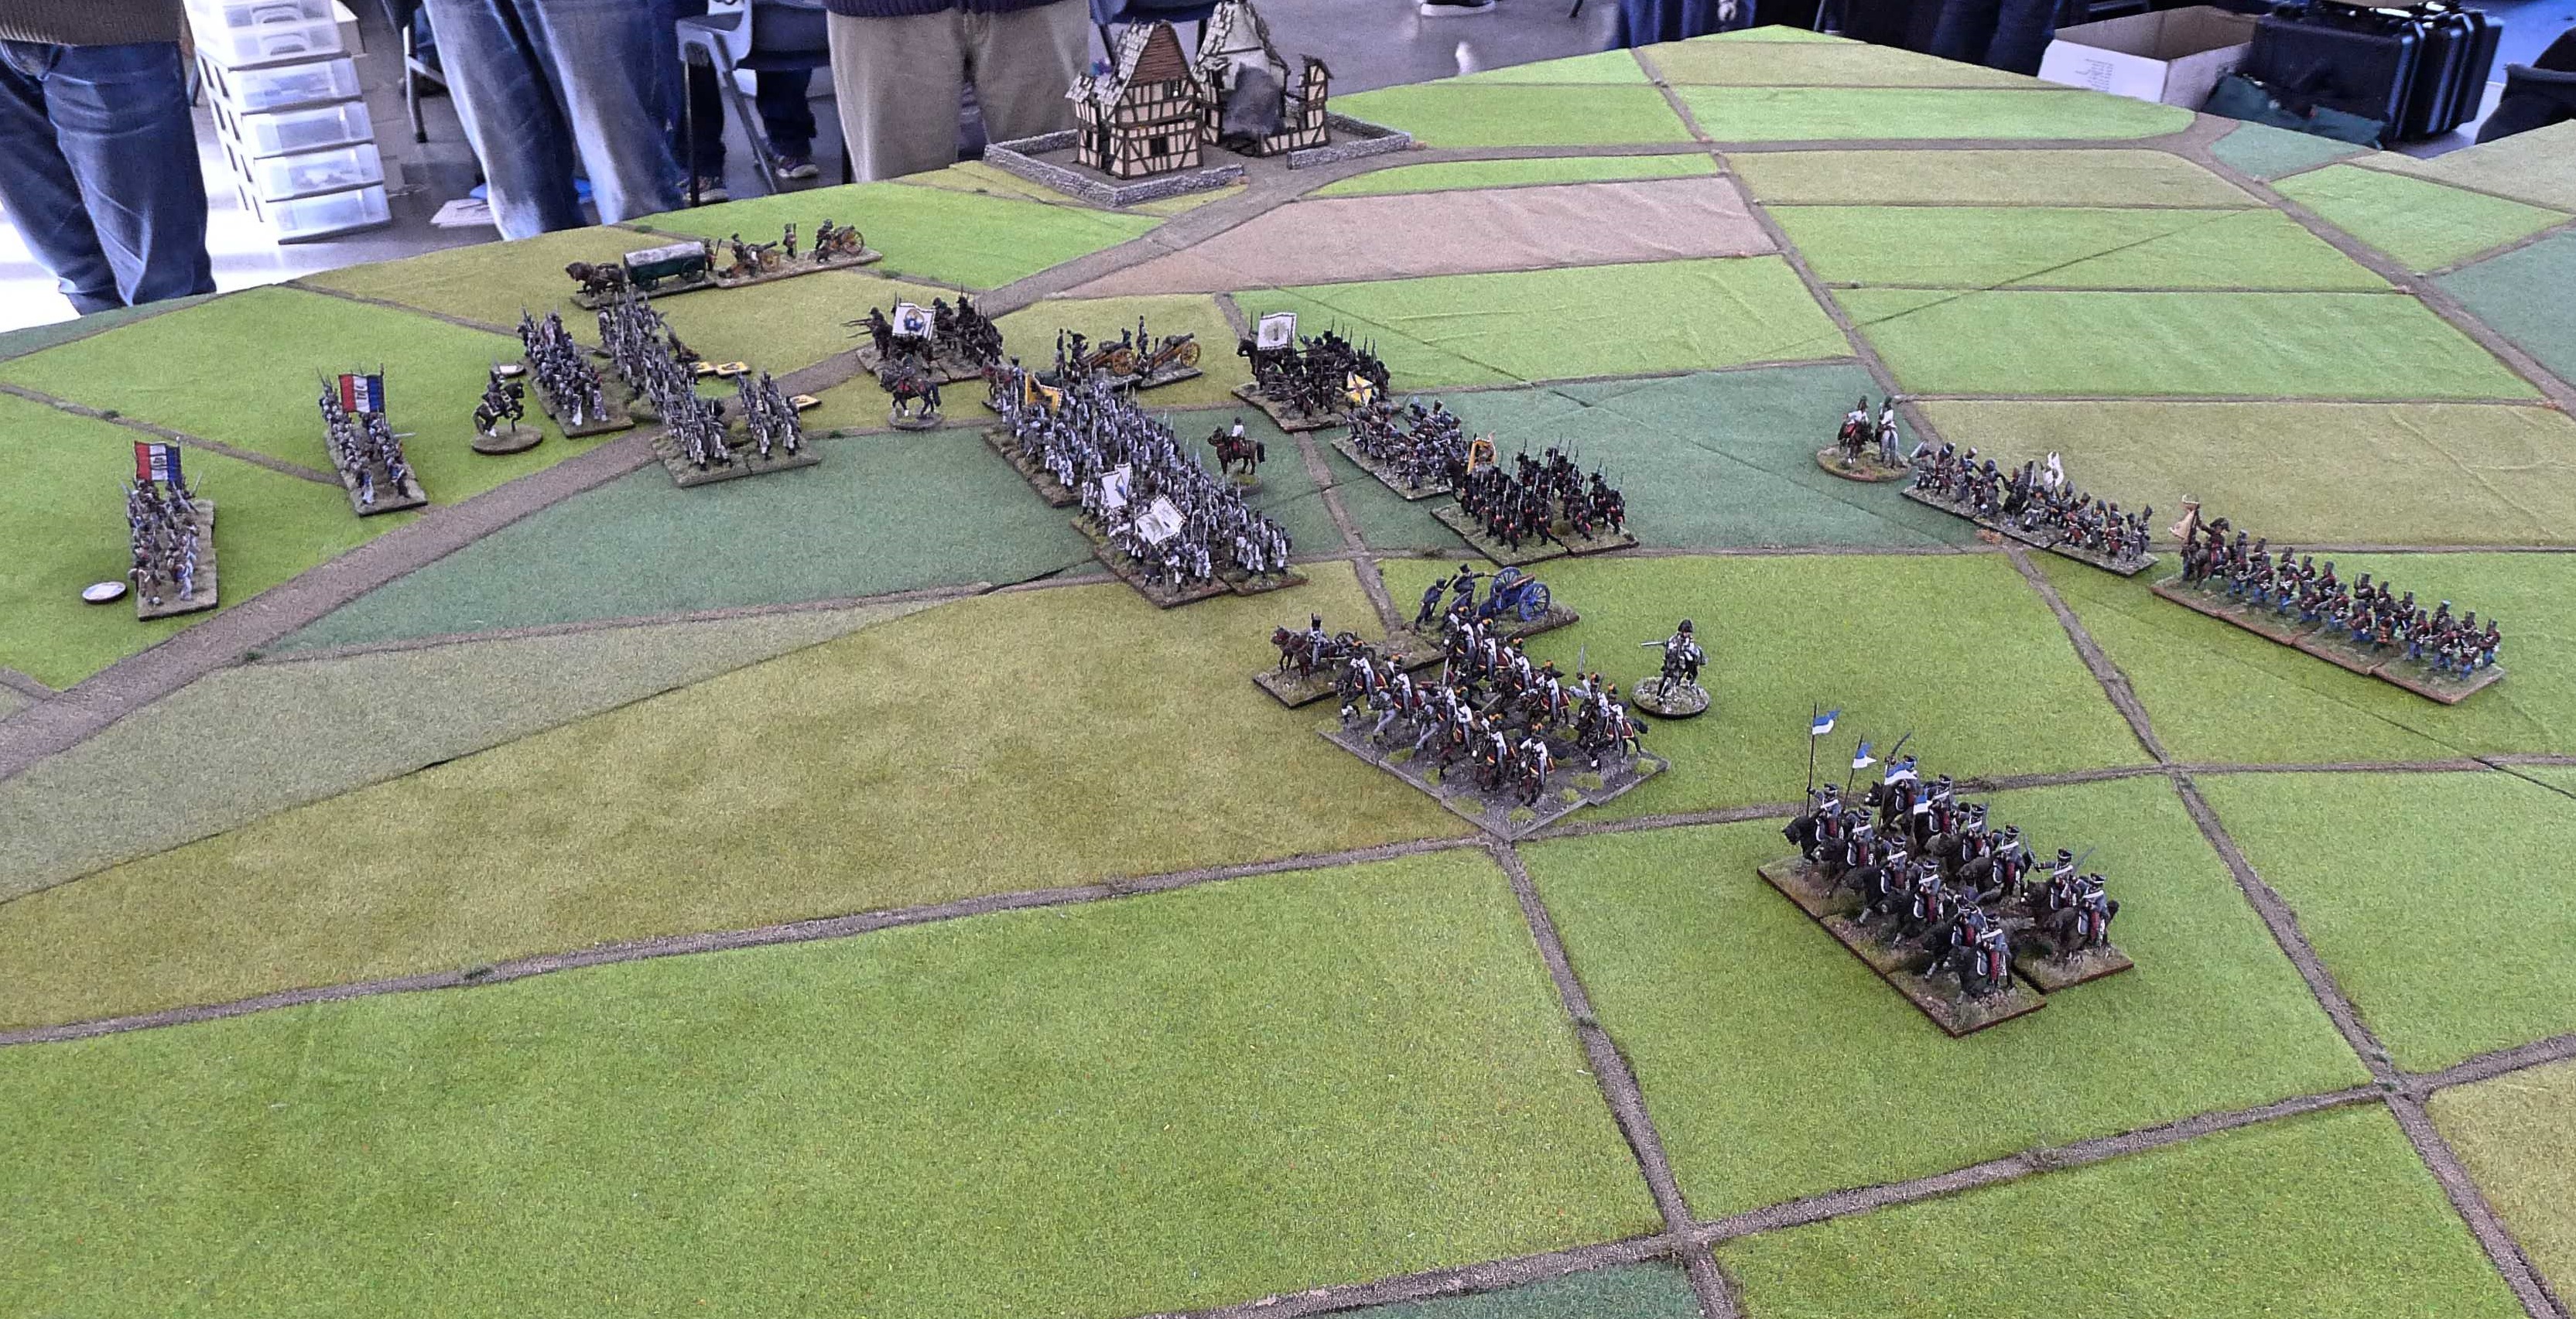
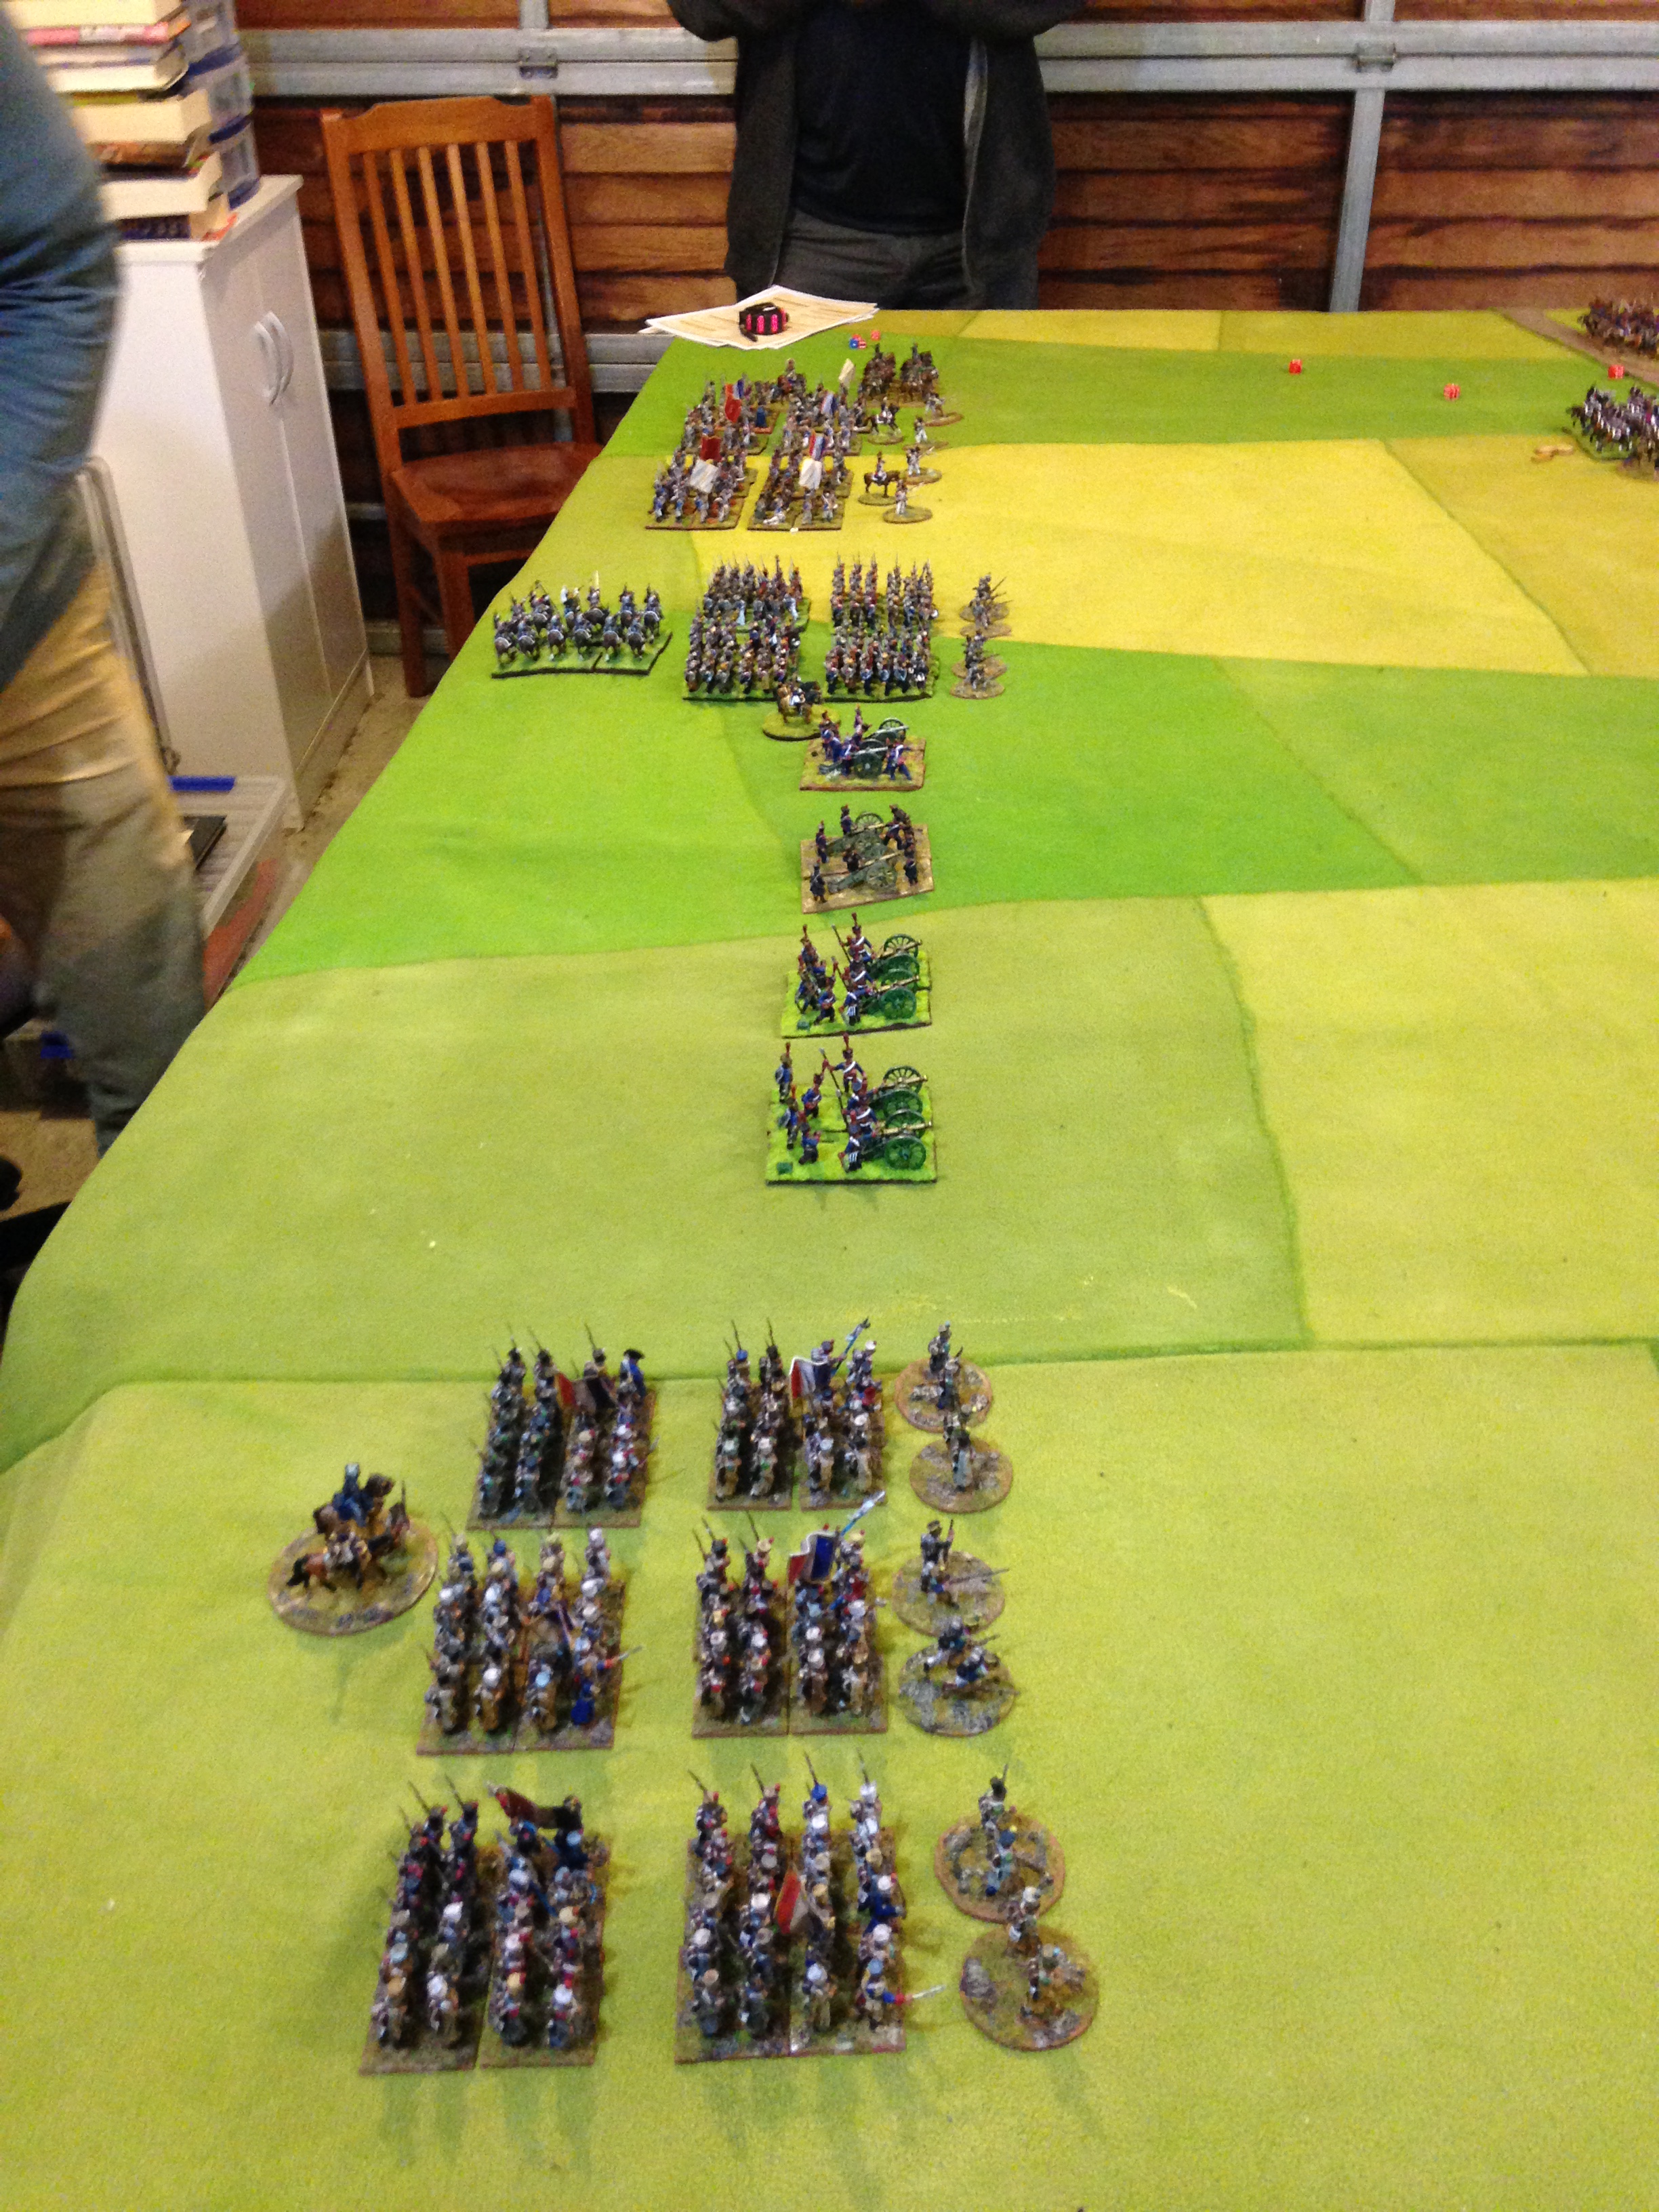
Below are some pictures of the set up at the start of turn 1.

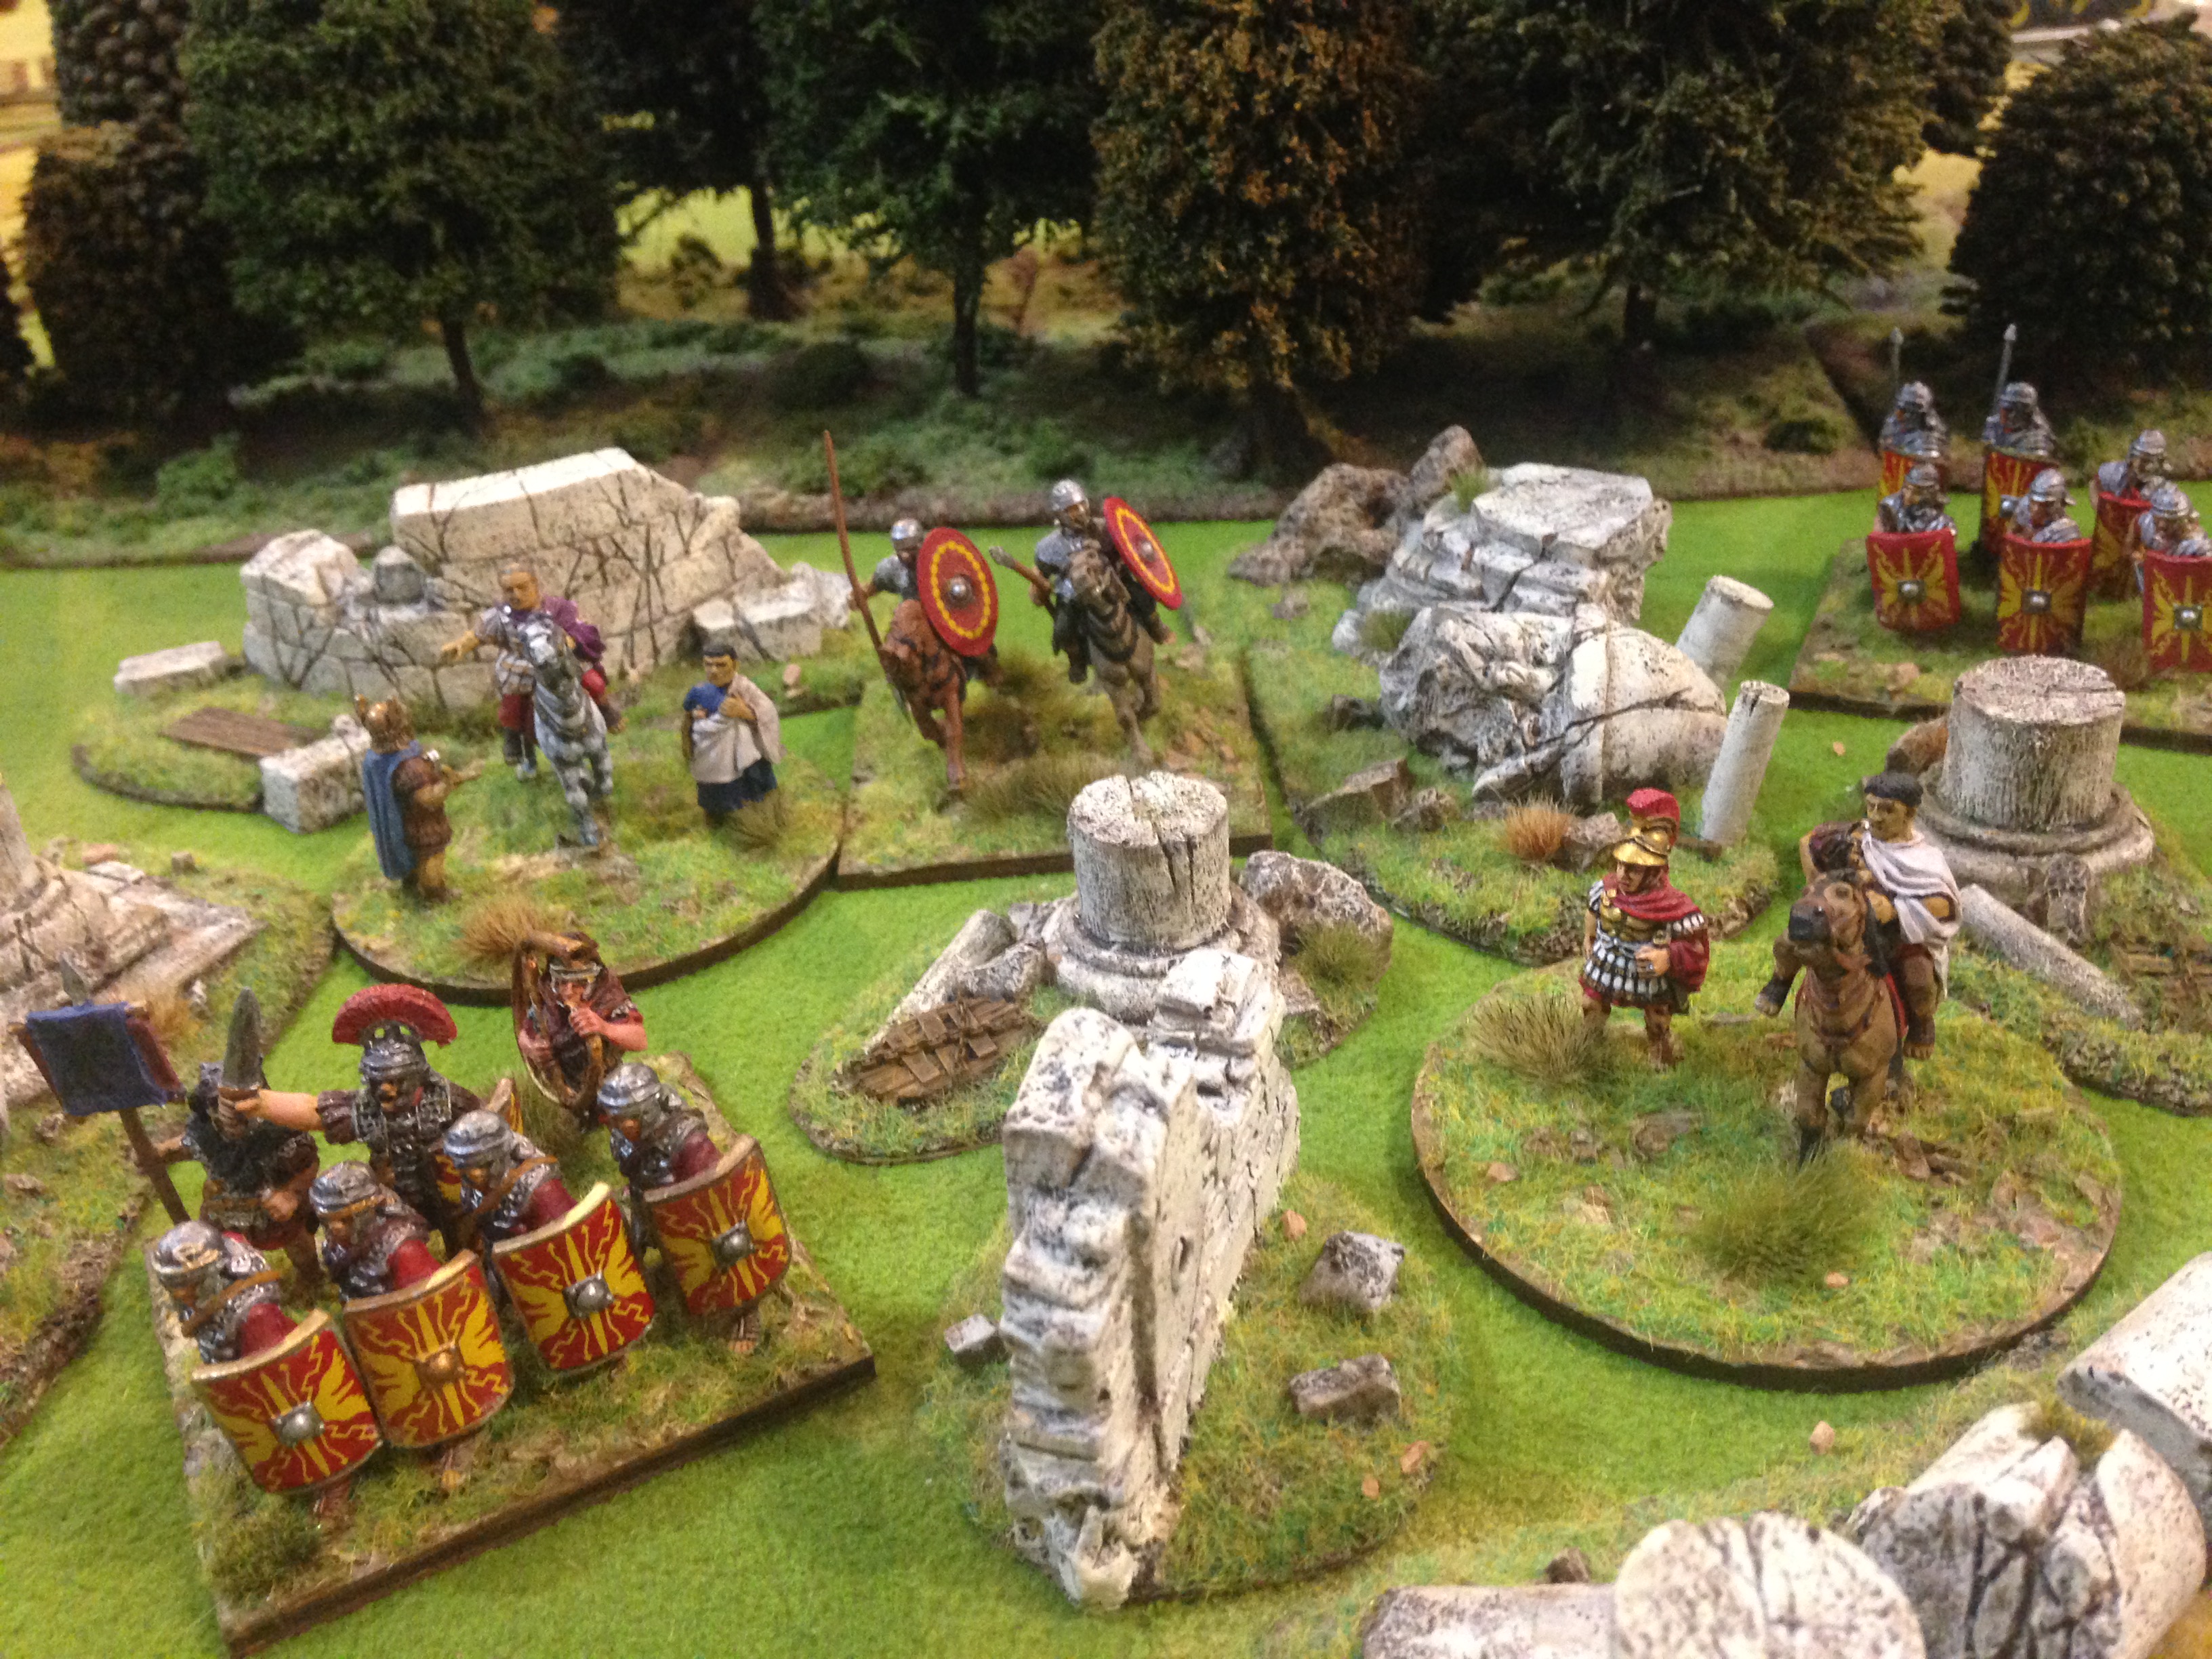
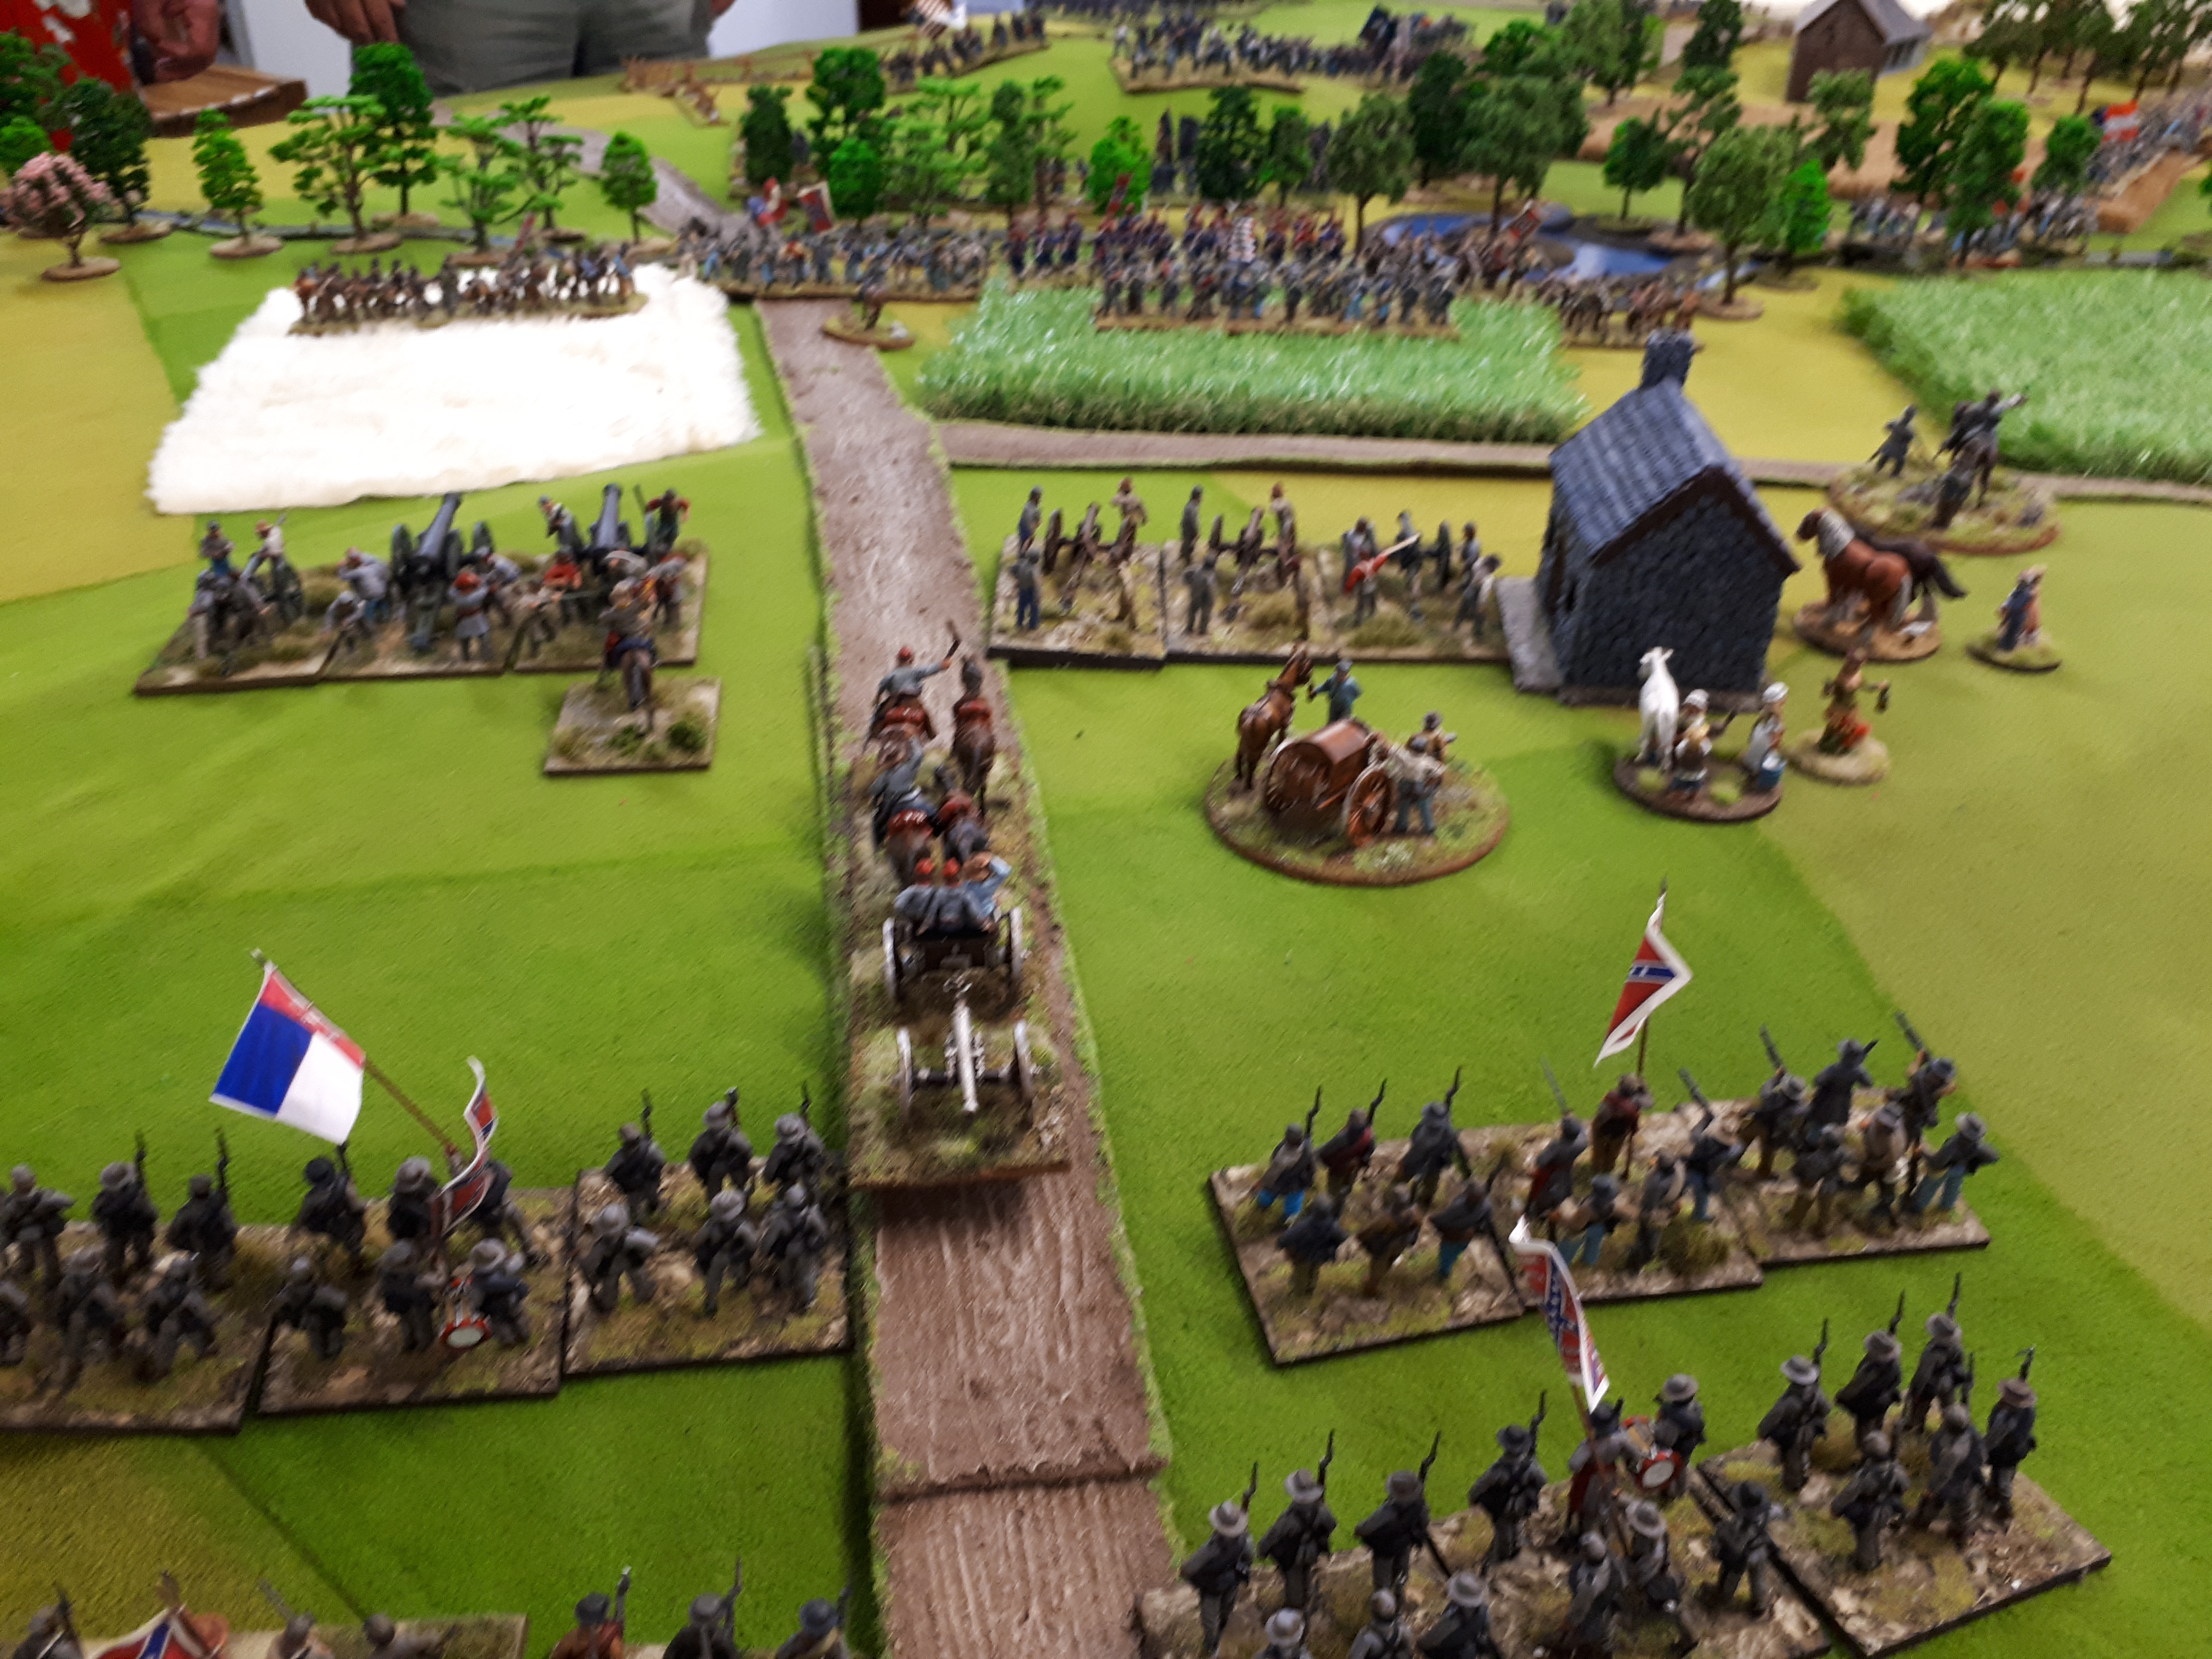
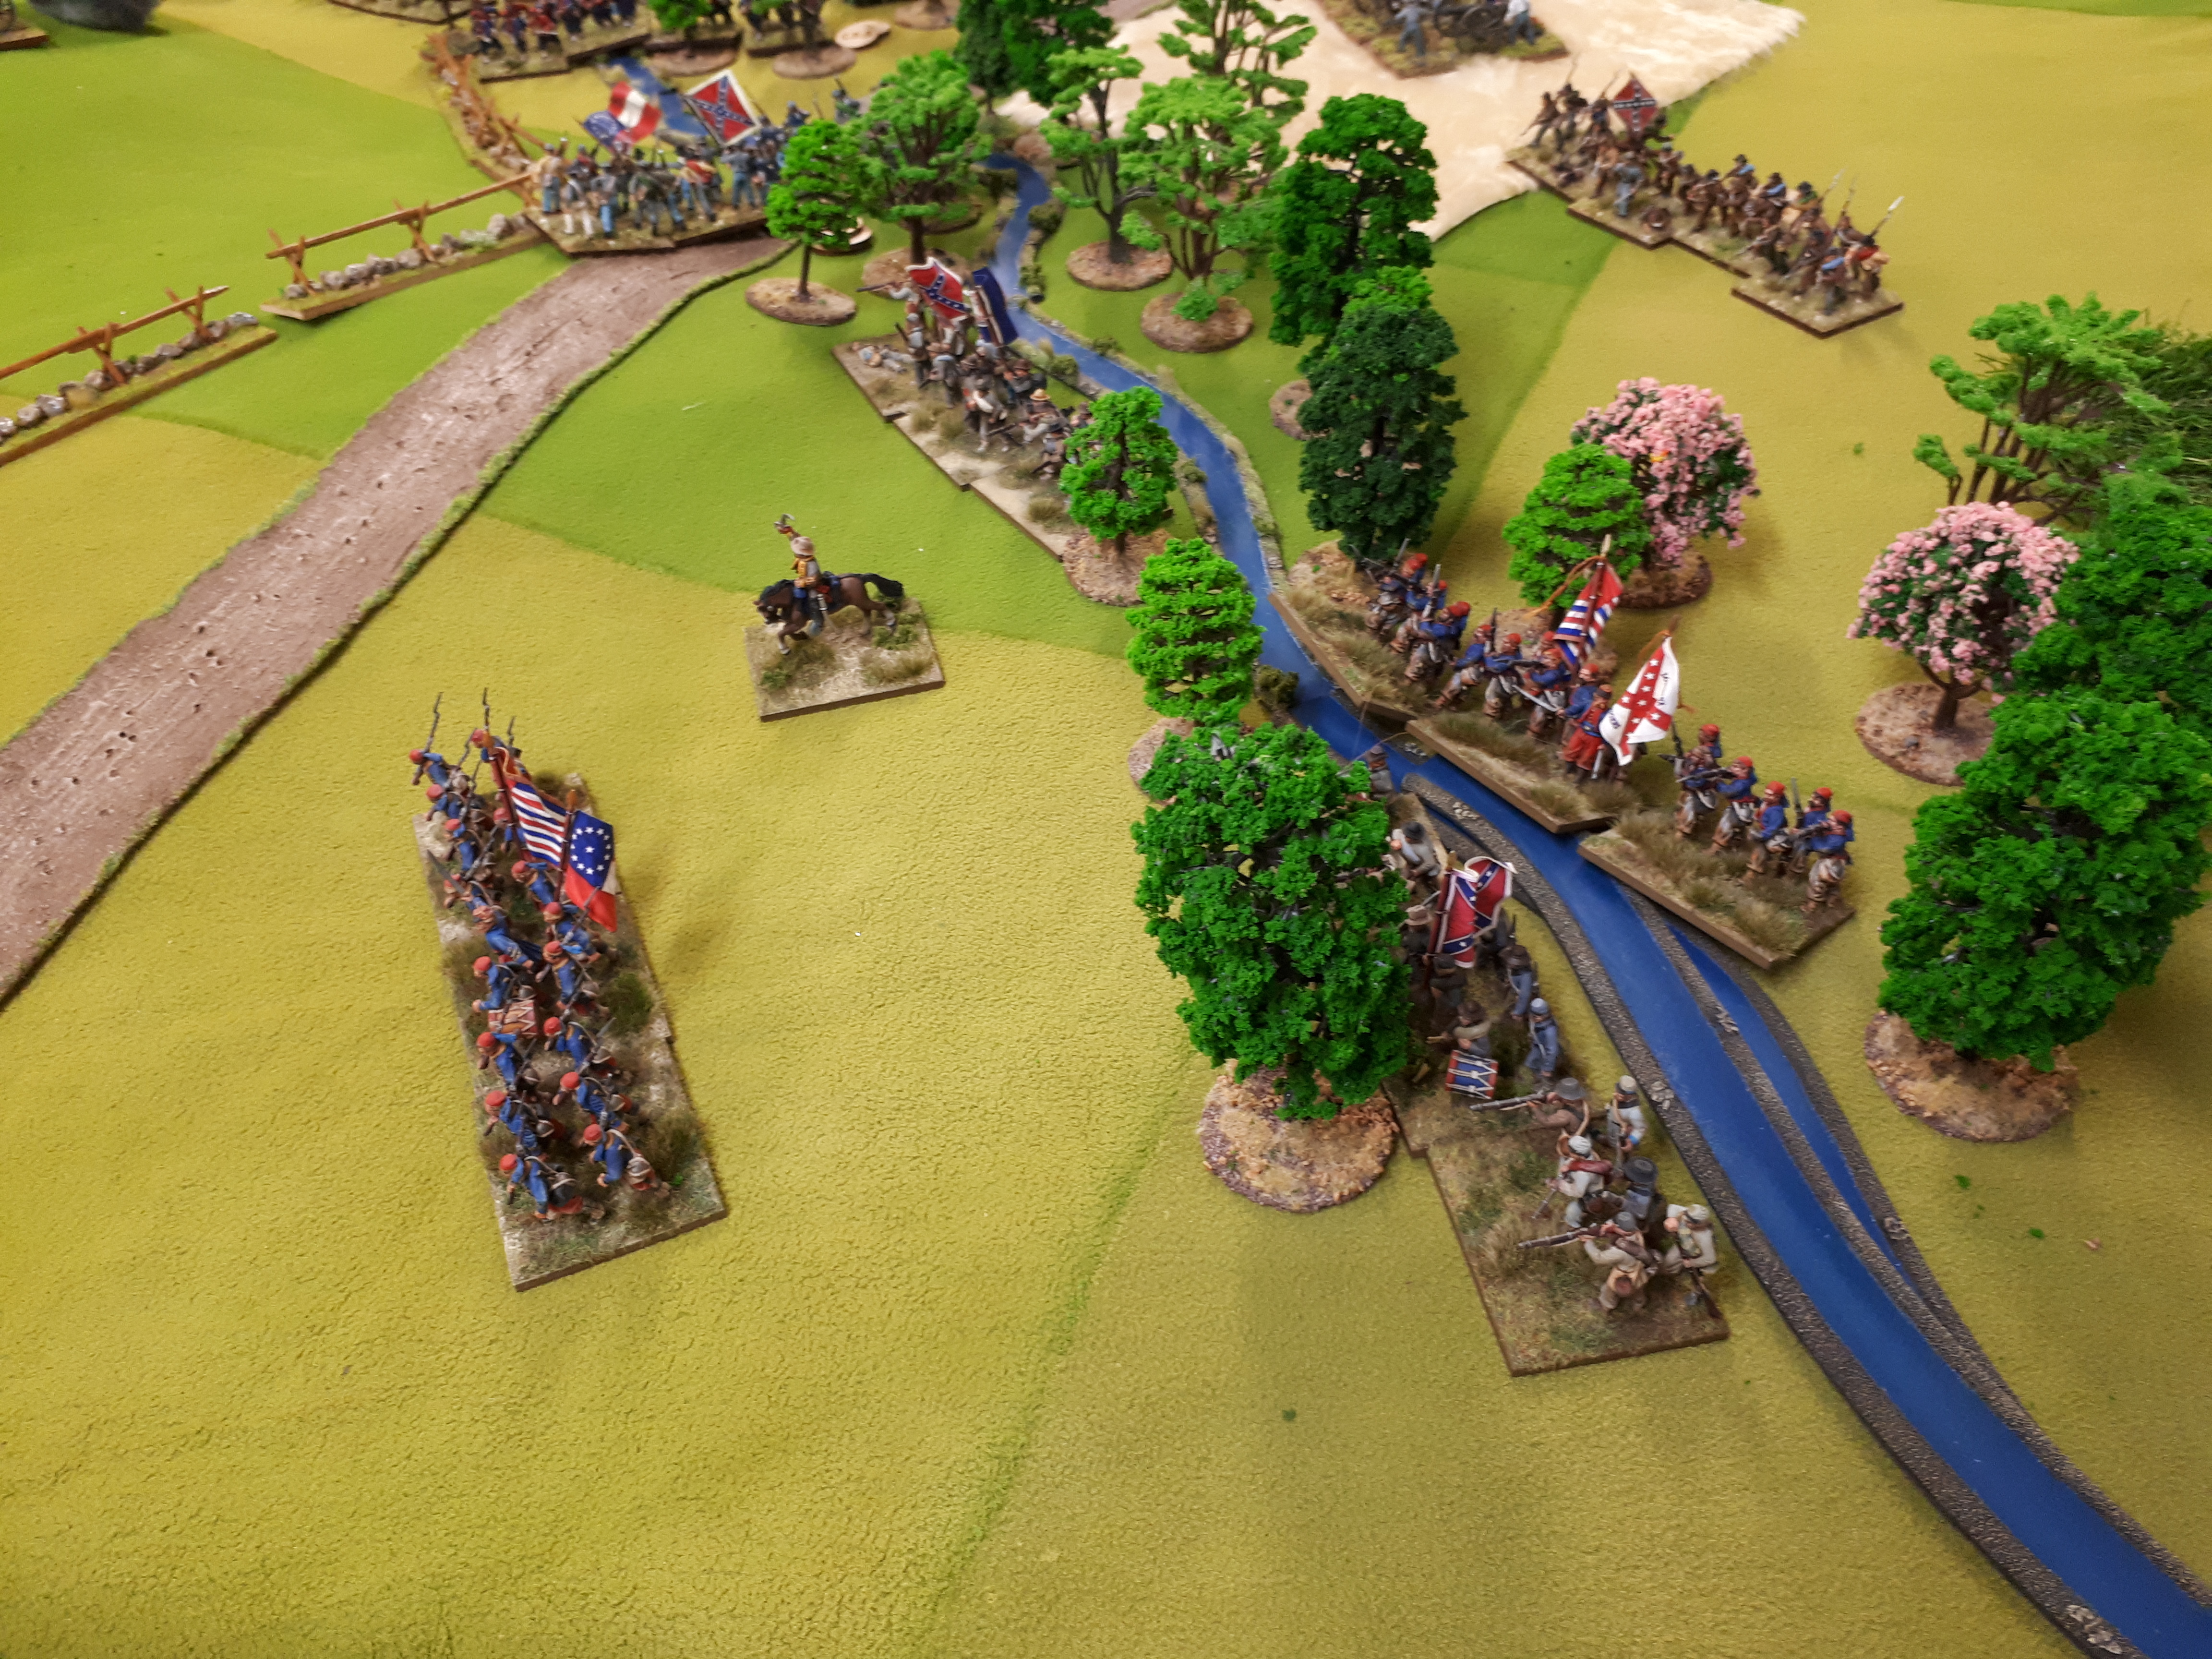
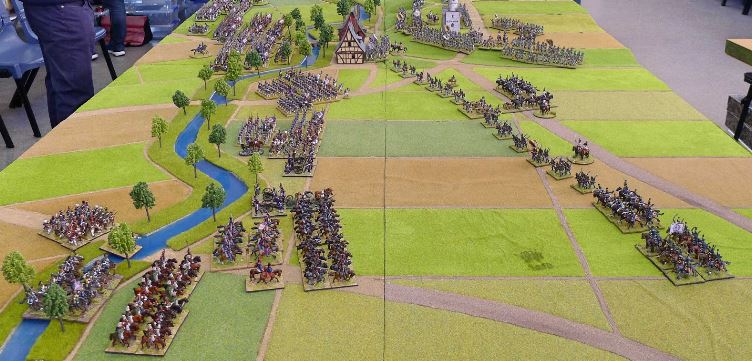
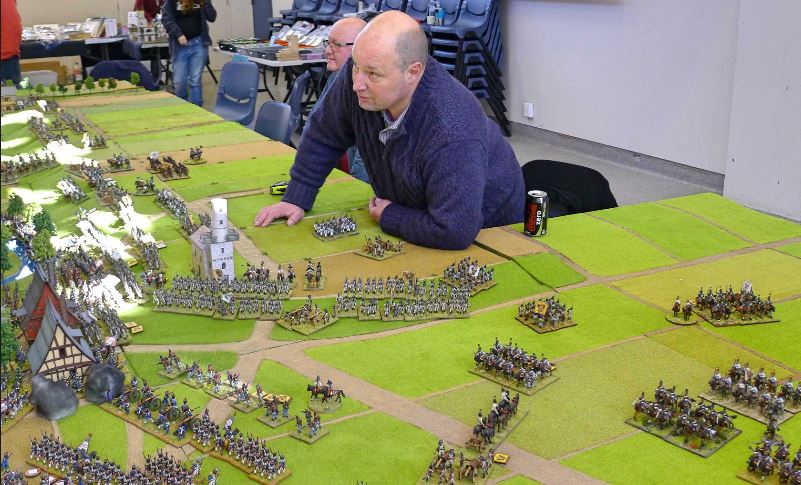
French right flank with commands of Montbrun, Grouchy and Morand facing Austrians of Nordman.

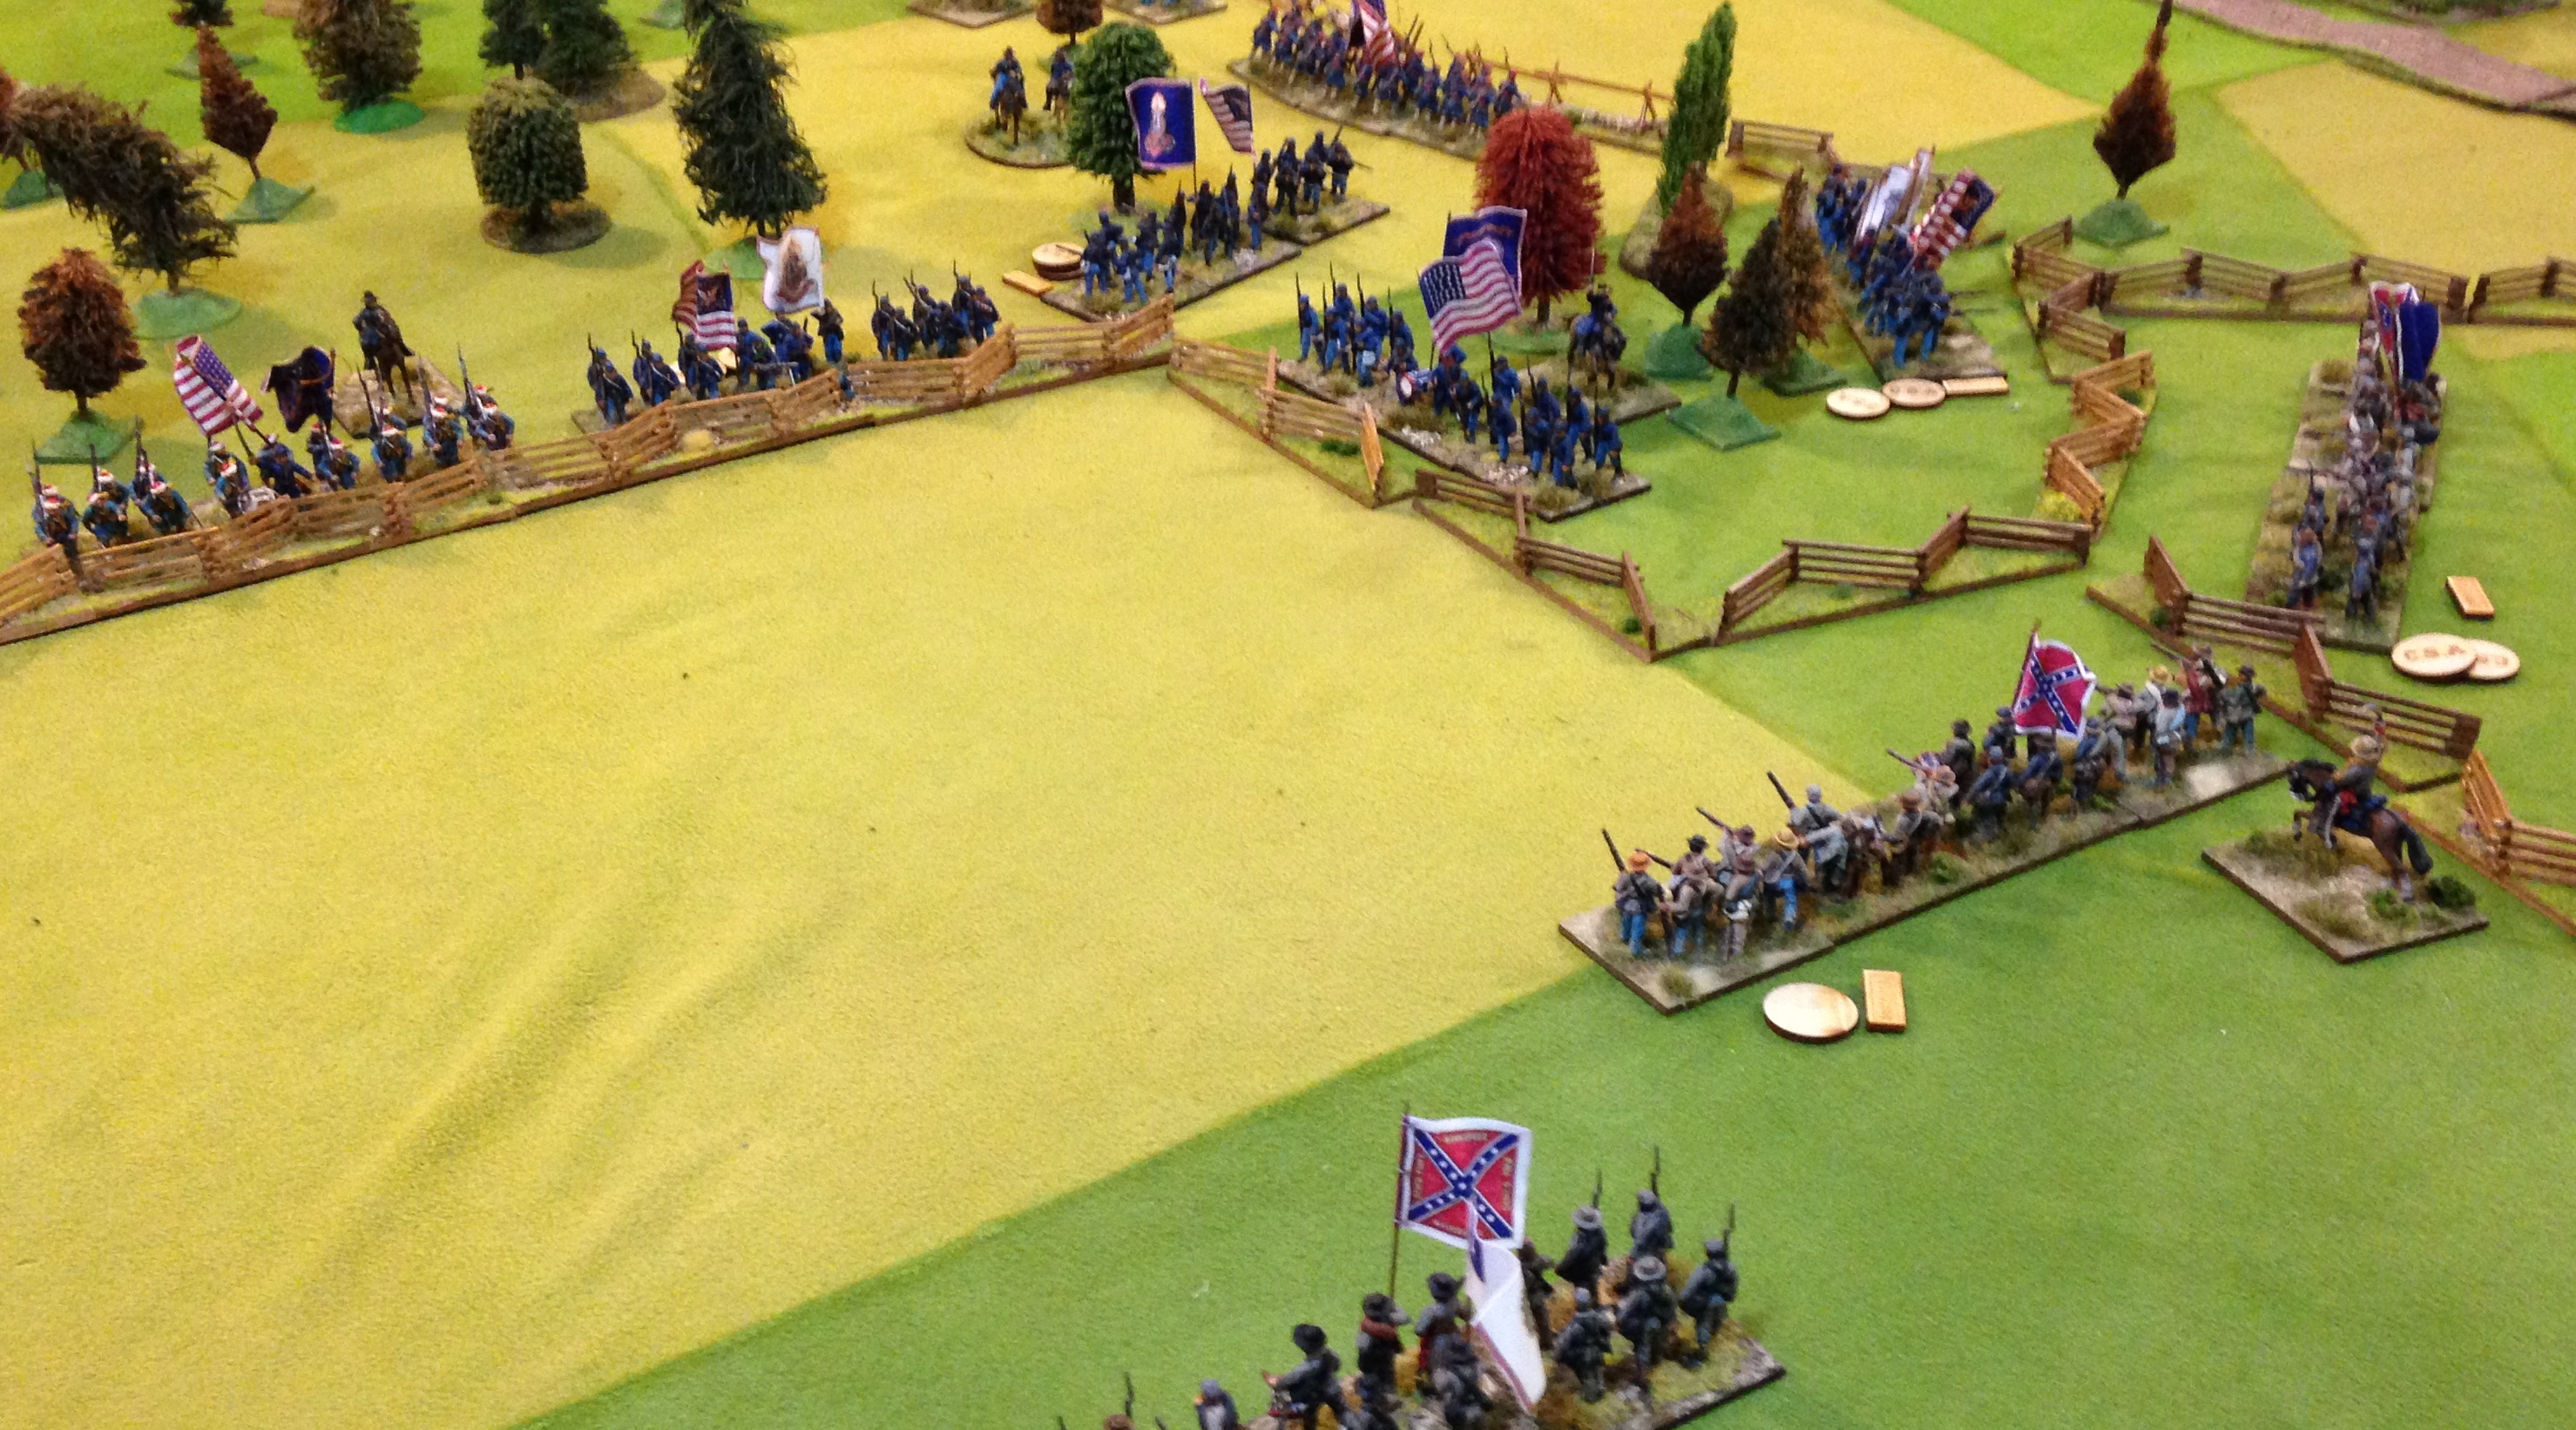
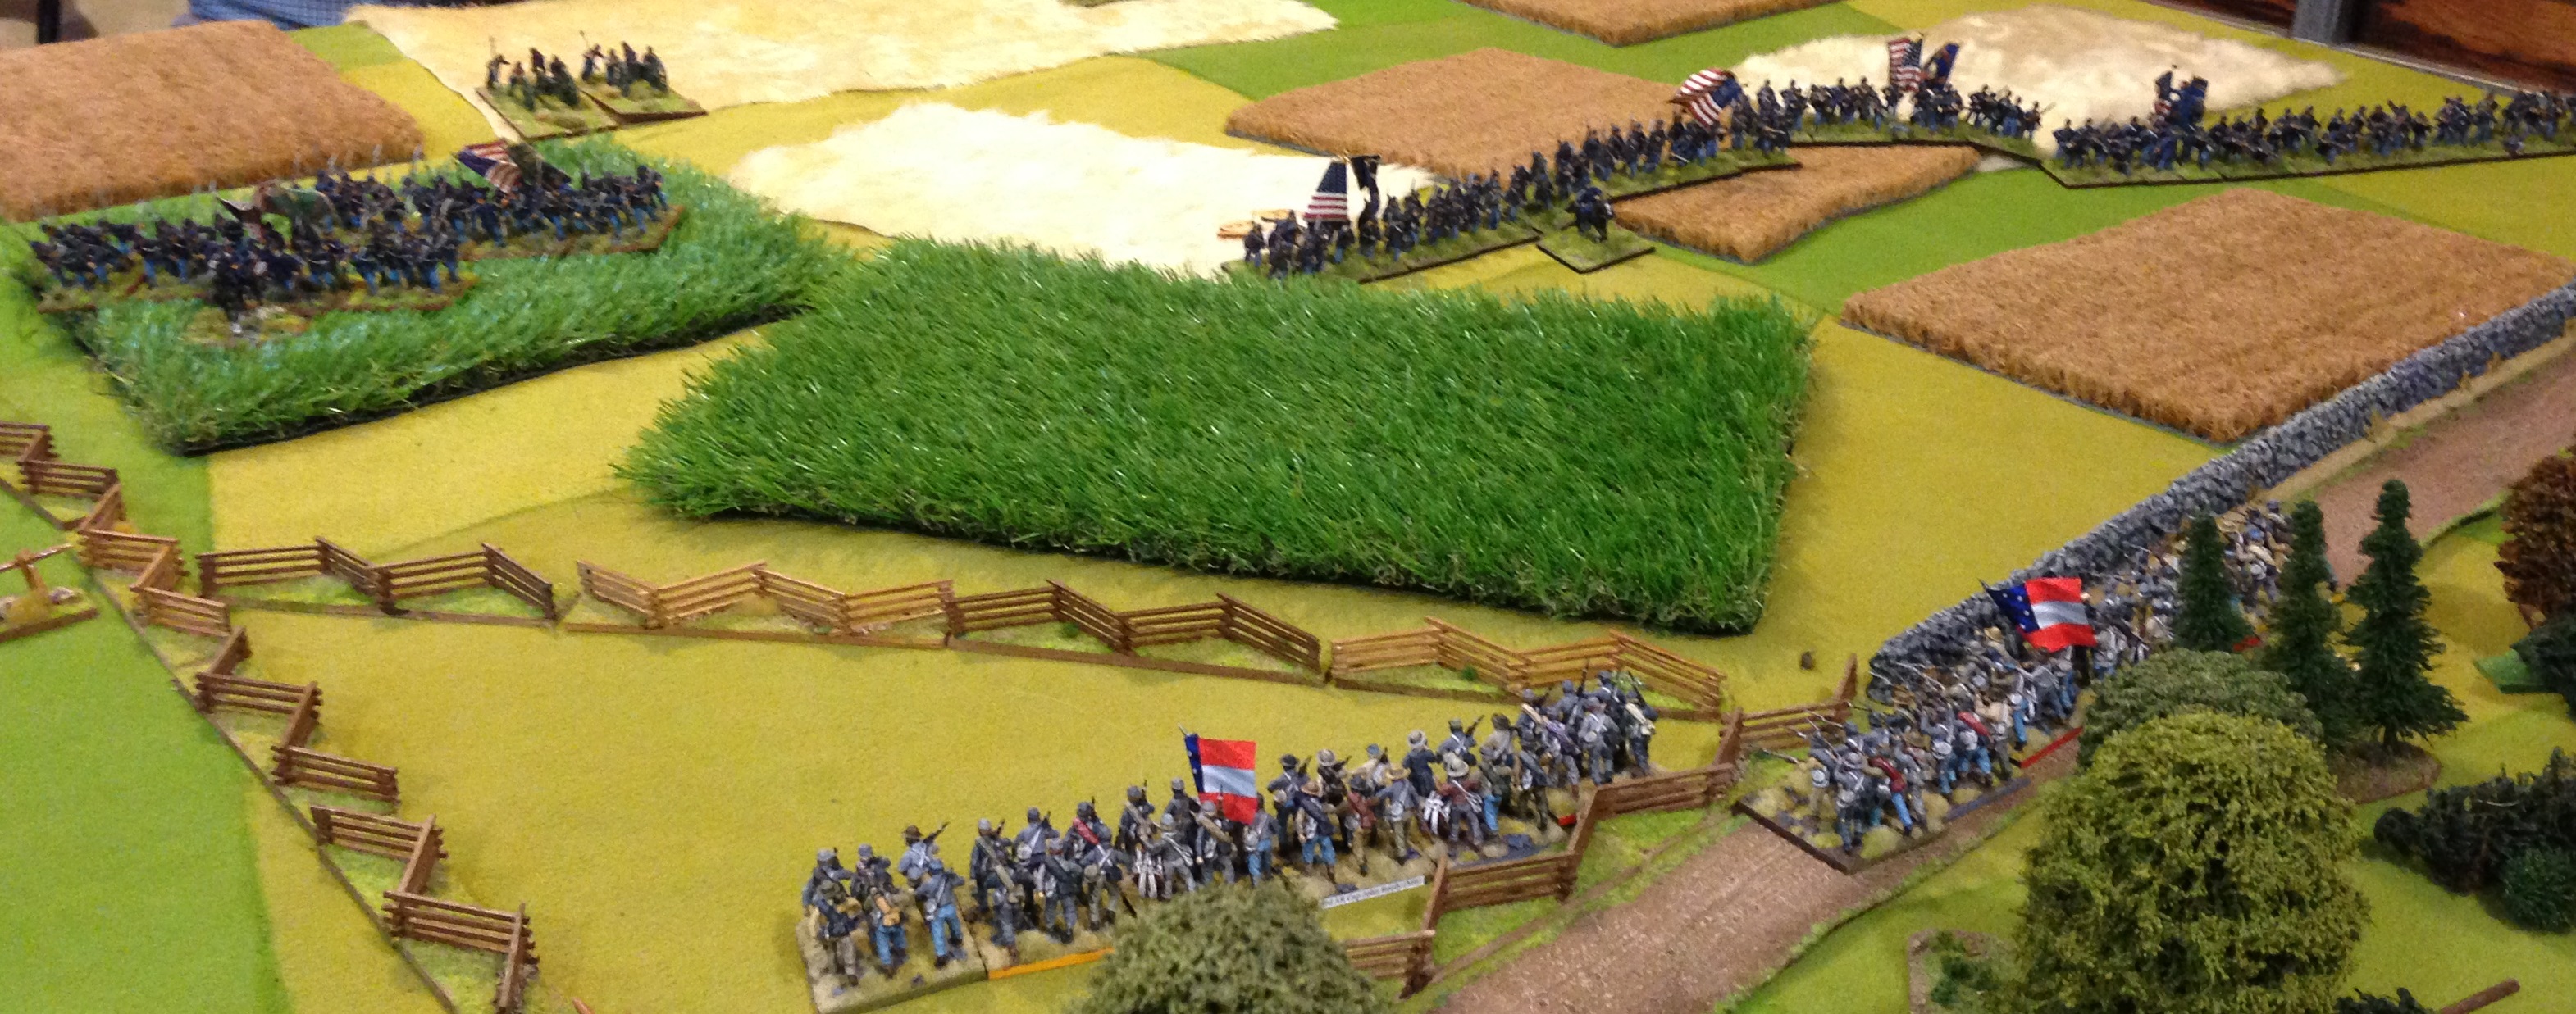
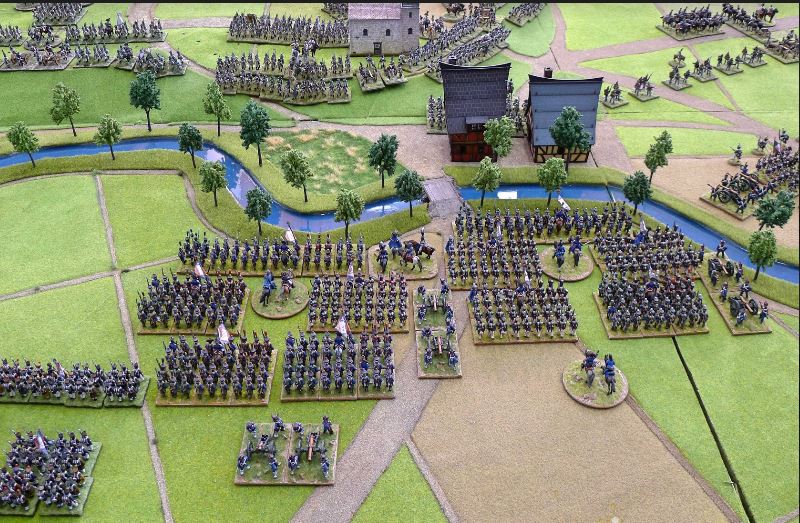
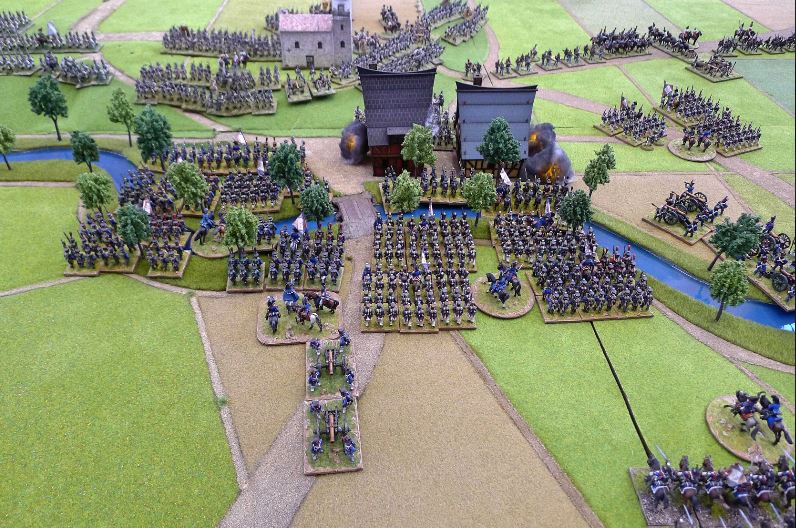
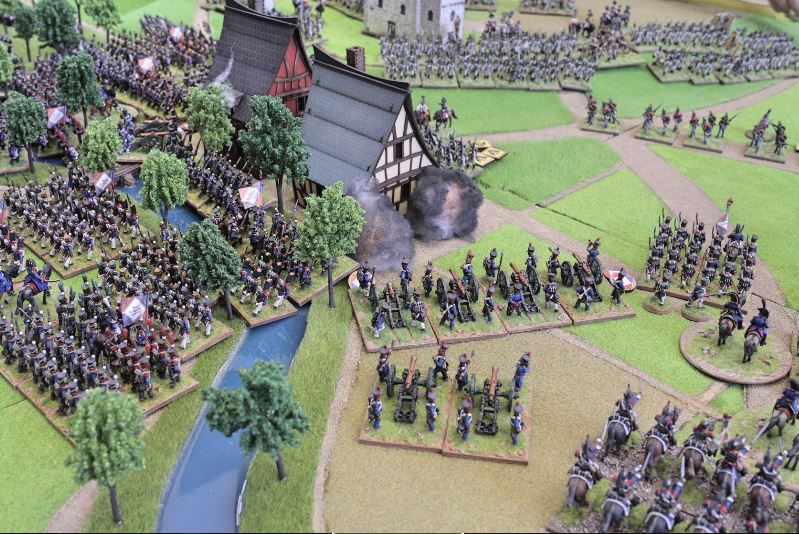
Village of Deutsch-Wagram on western edge of Russbach Heights looking to Aderklaa . French across stream are Eugene and Massena , Austrians Bellegarde and Lichtenstein.

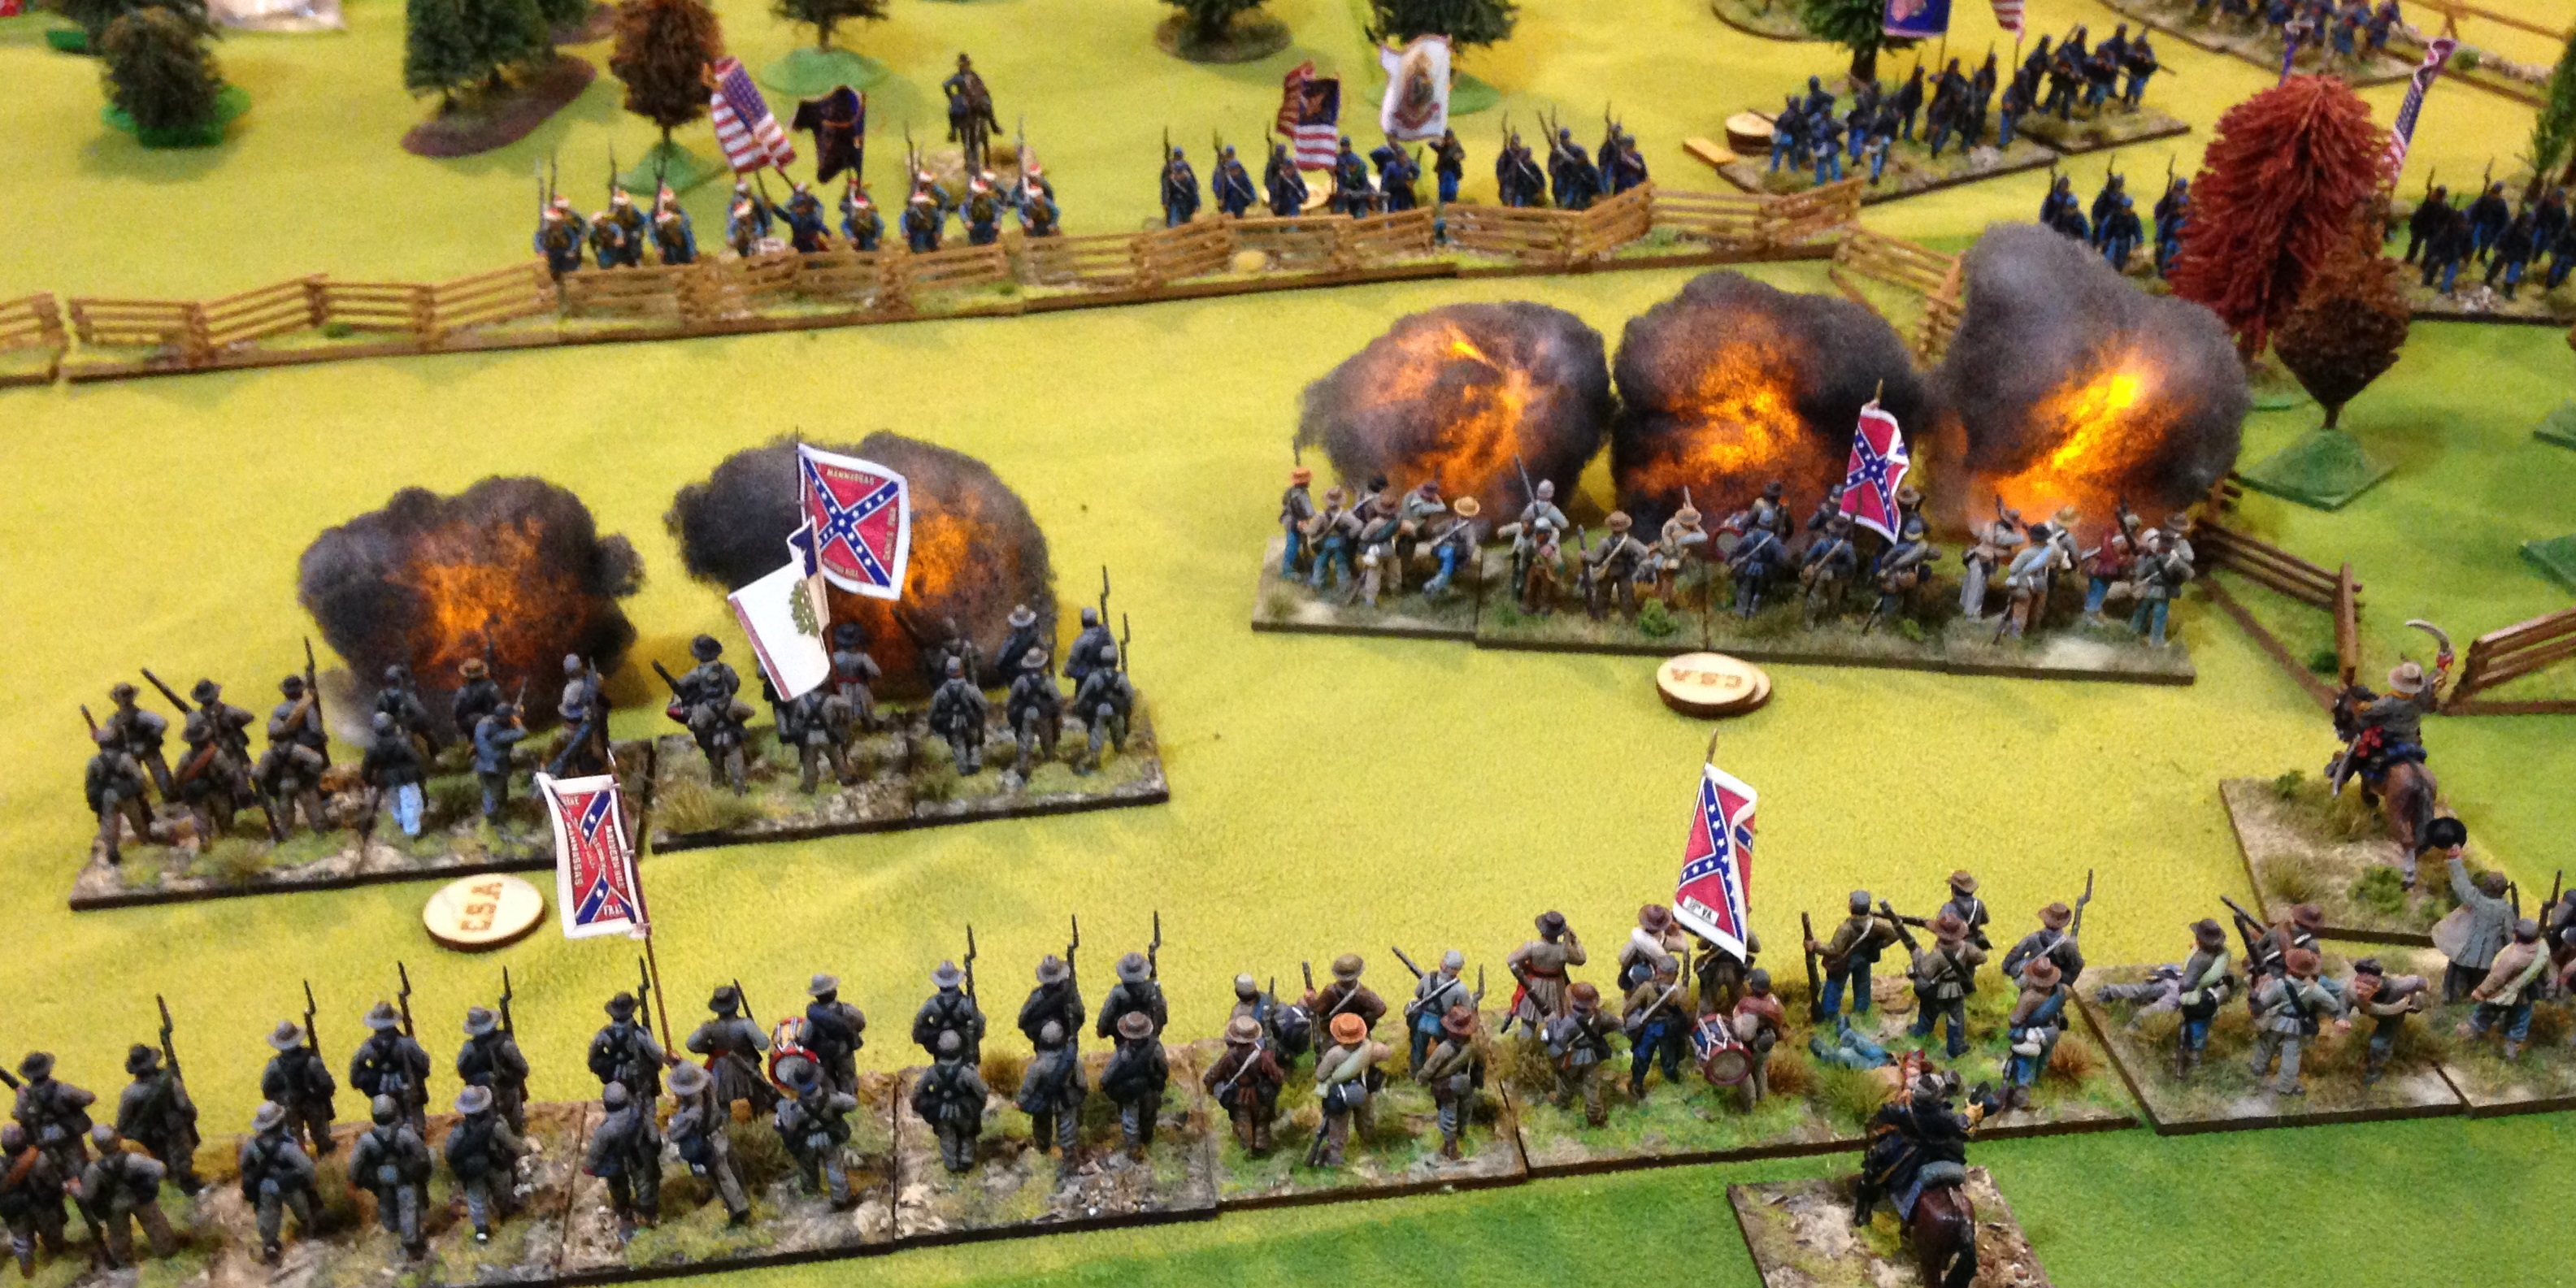
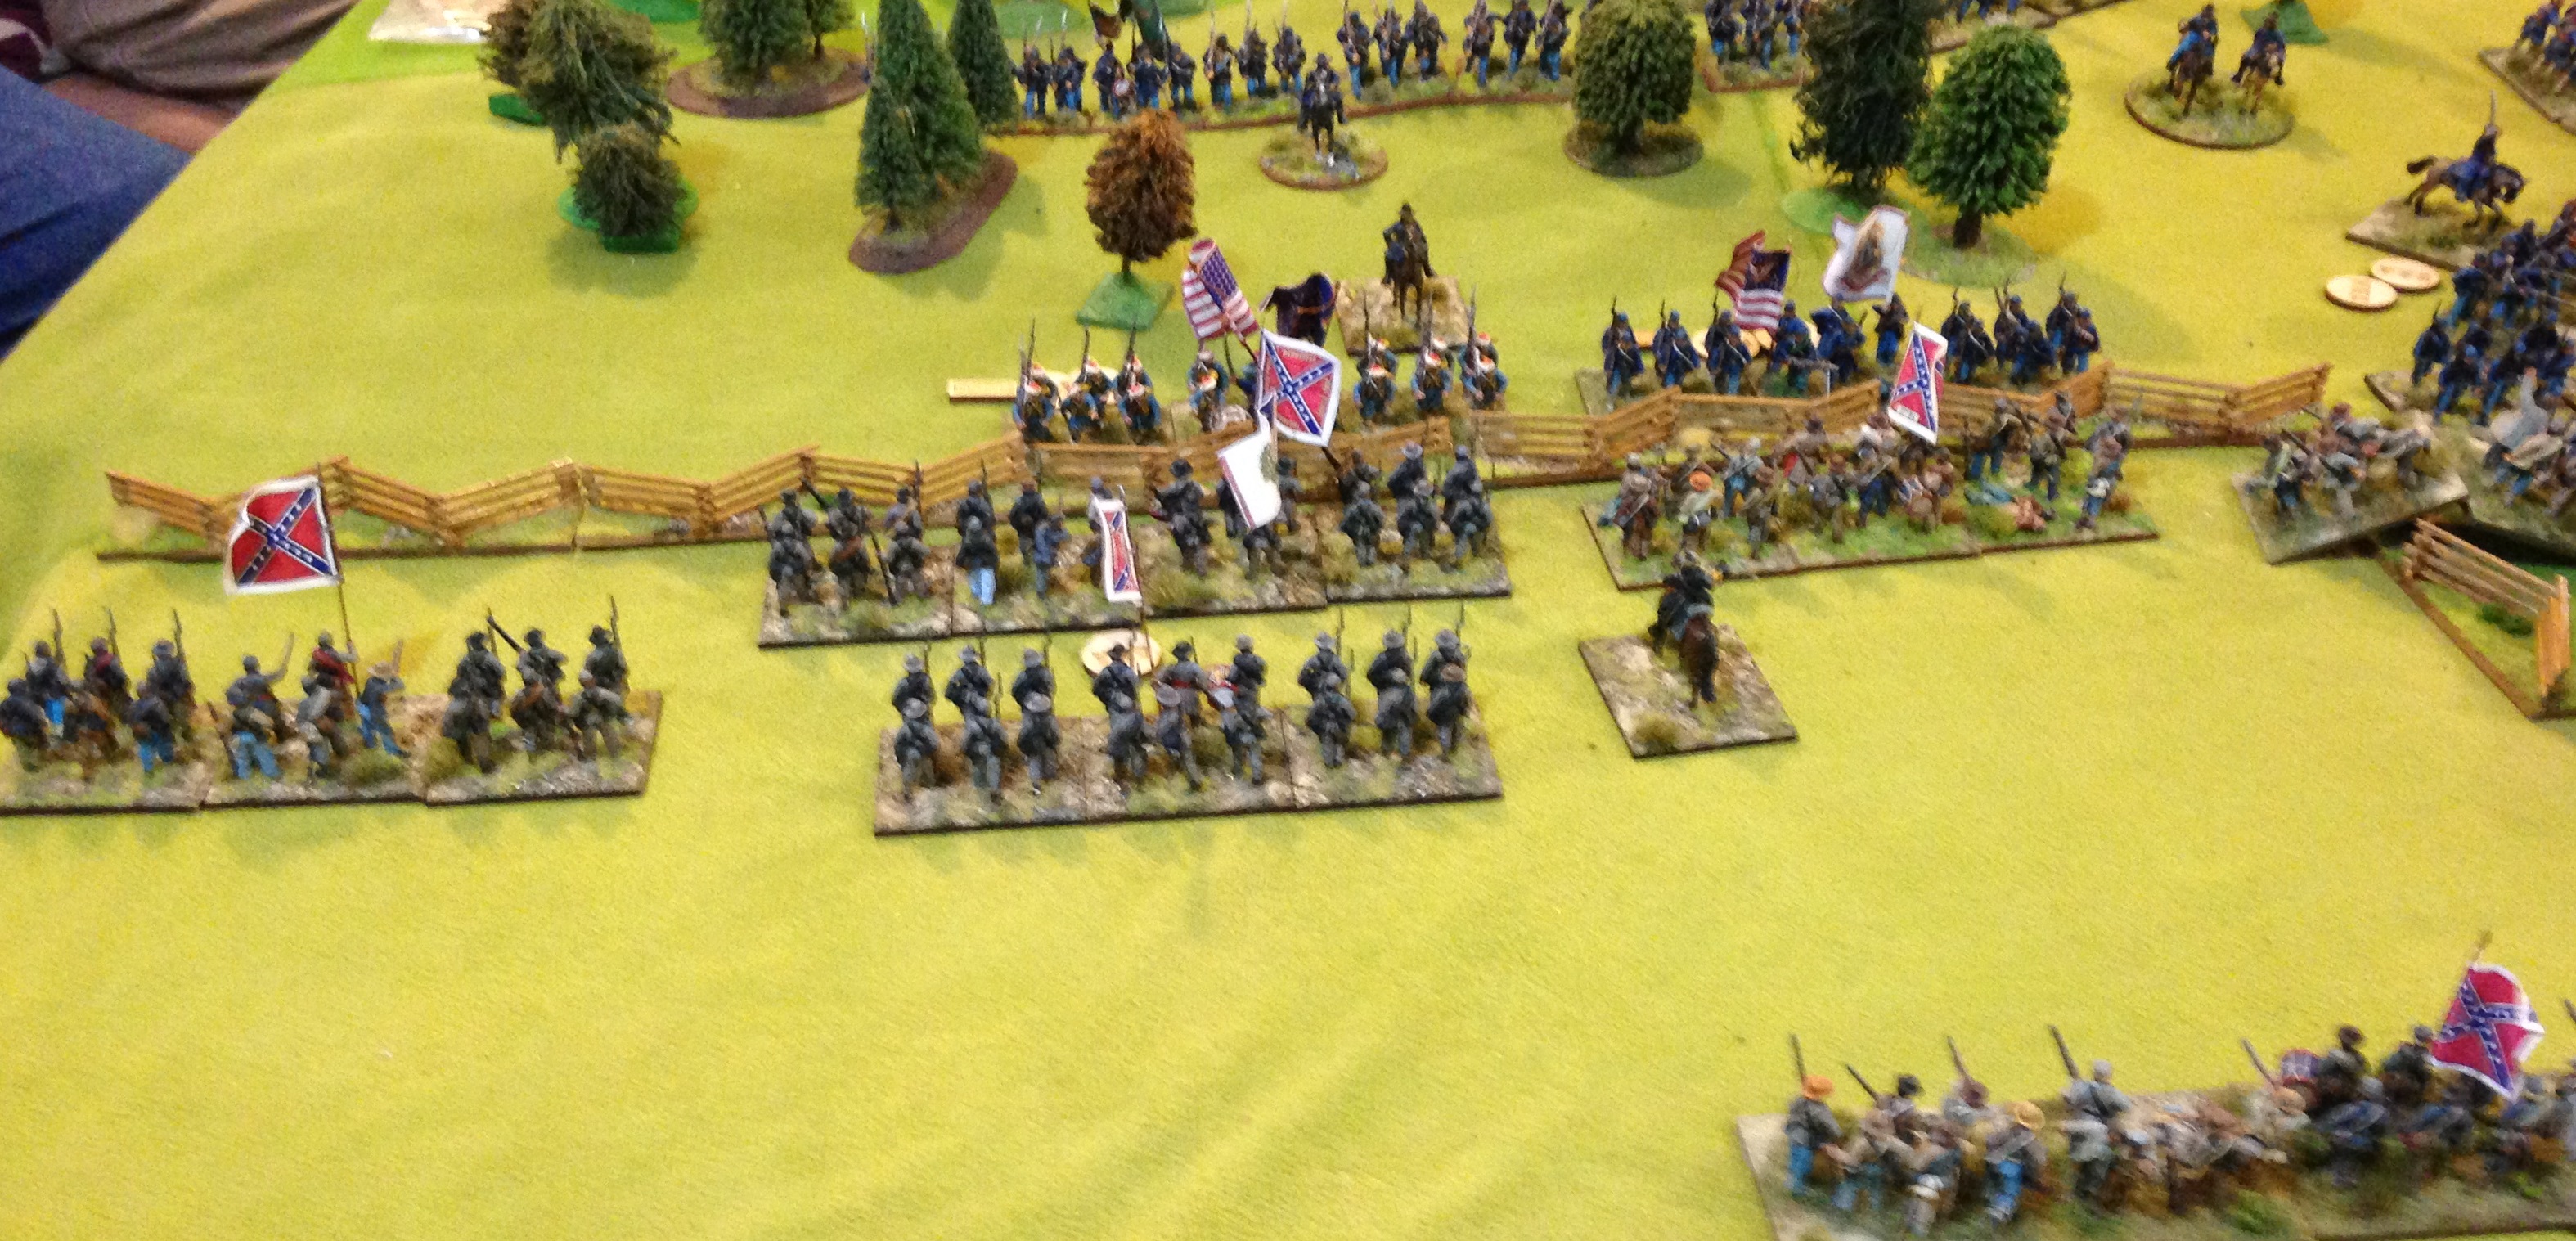
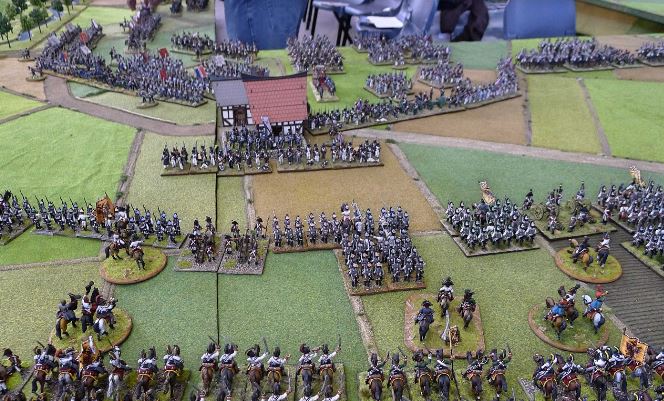
The combatants in the background! Table shows how great the Russbach Heights looked. French from right to left are Davout, Oudinot and Eugene in distance. Austrians are Nordman, Rosenberg, Hohenzollern and Bellegarde in distance.

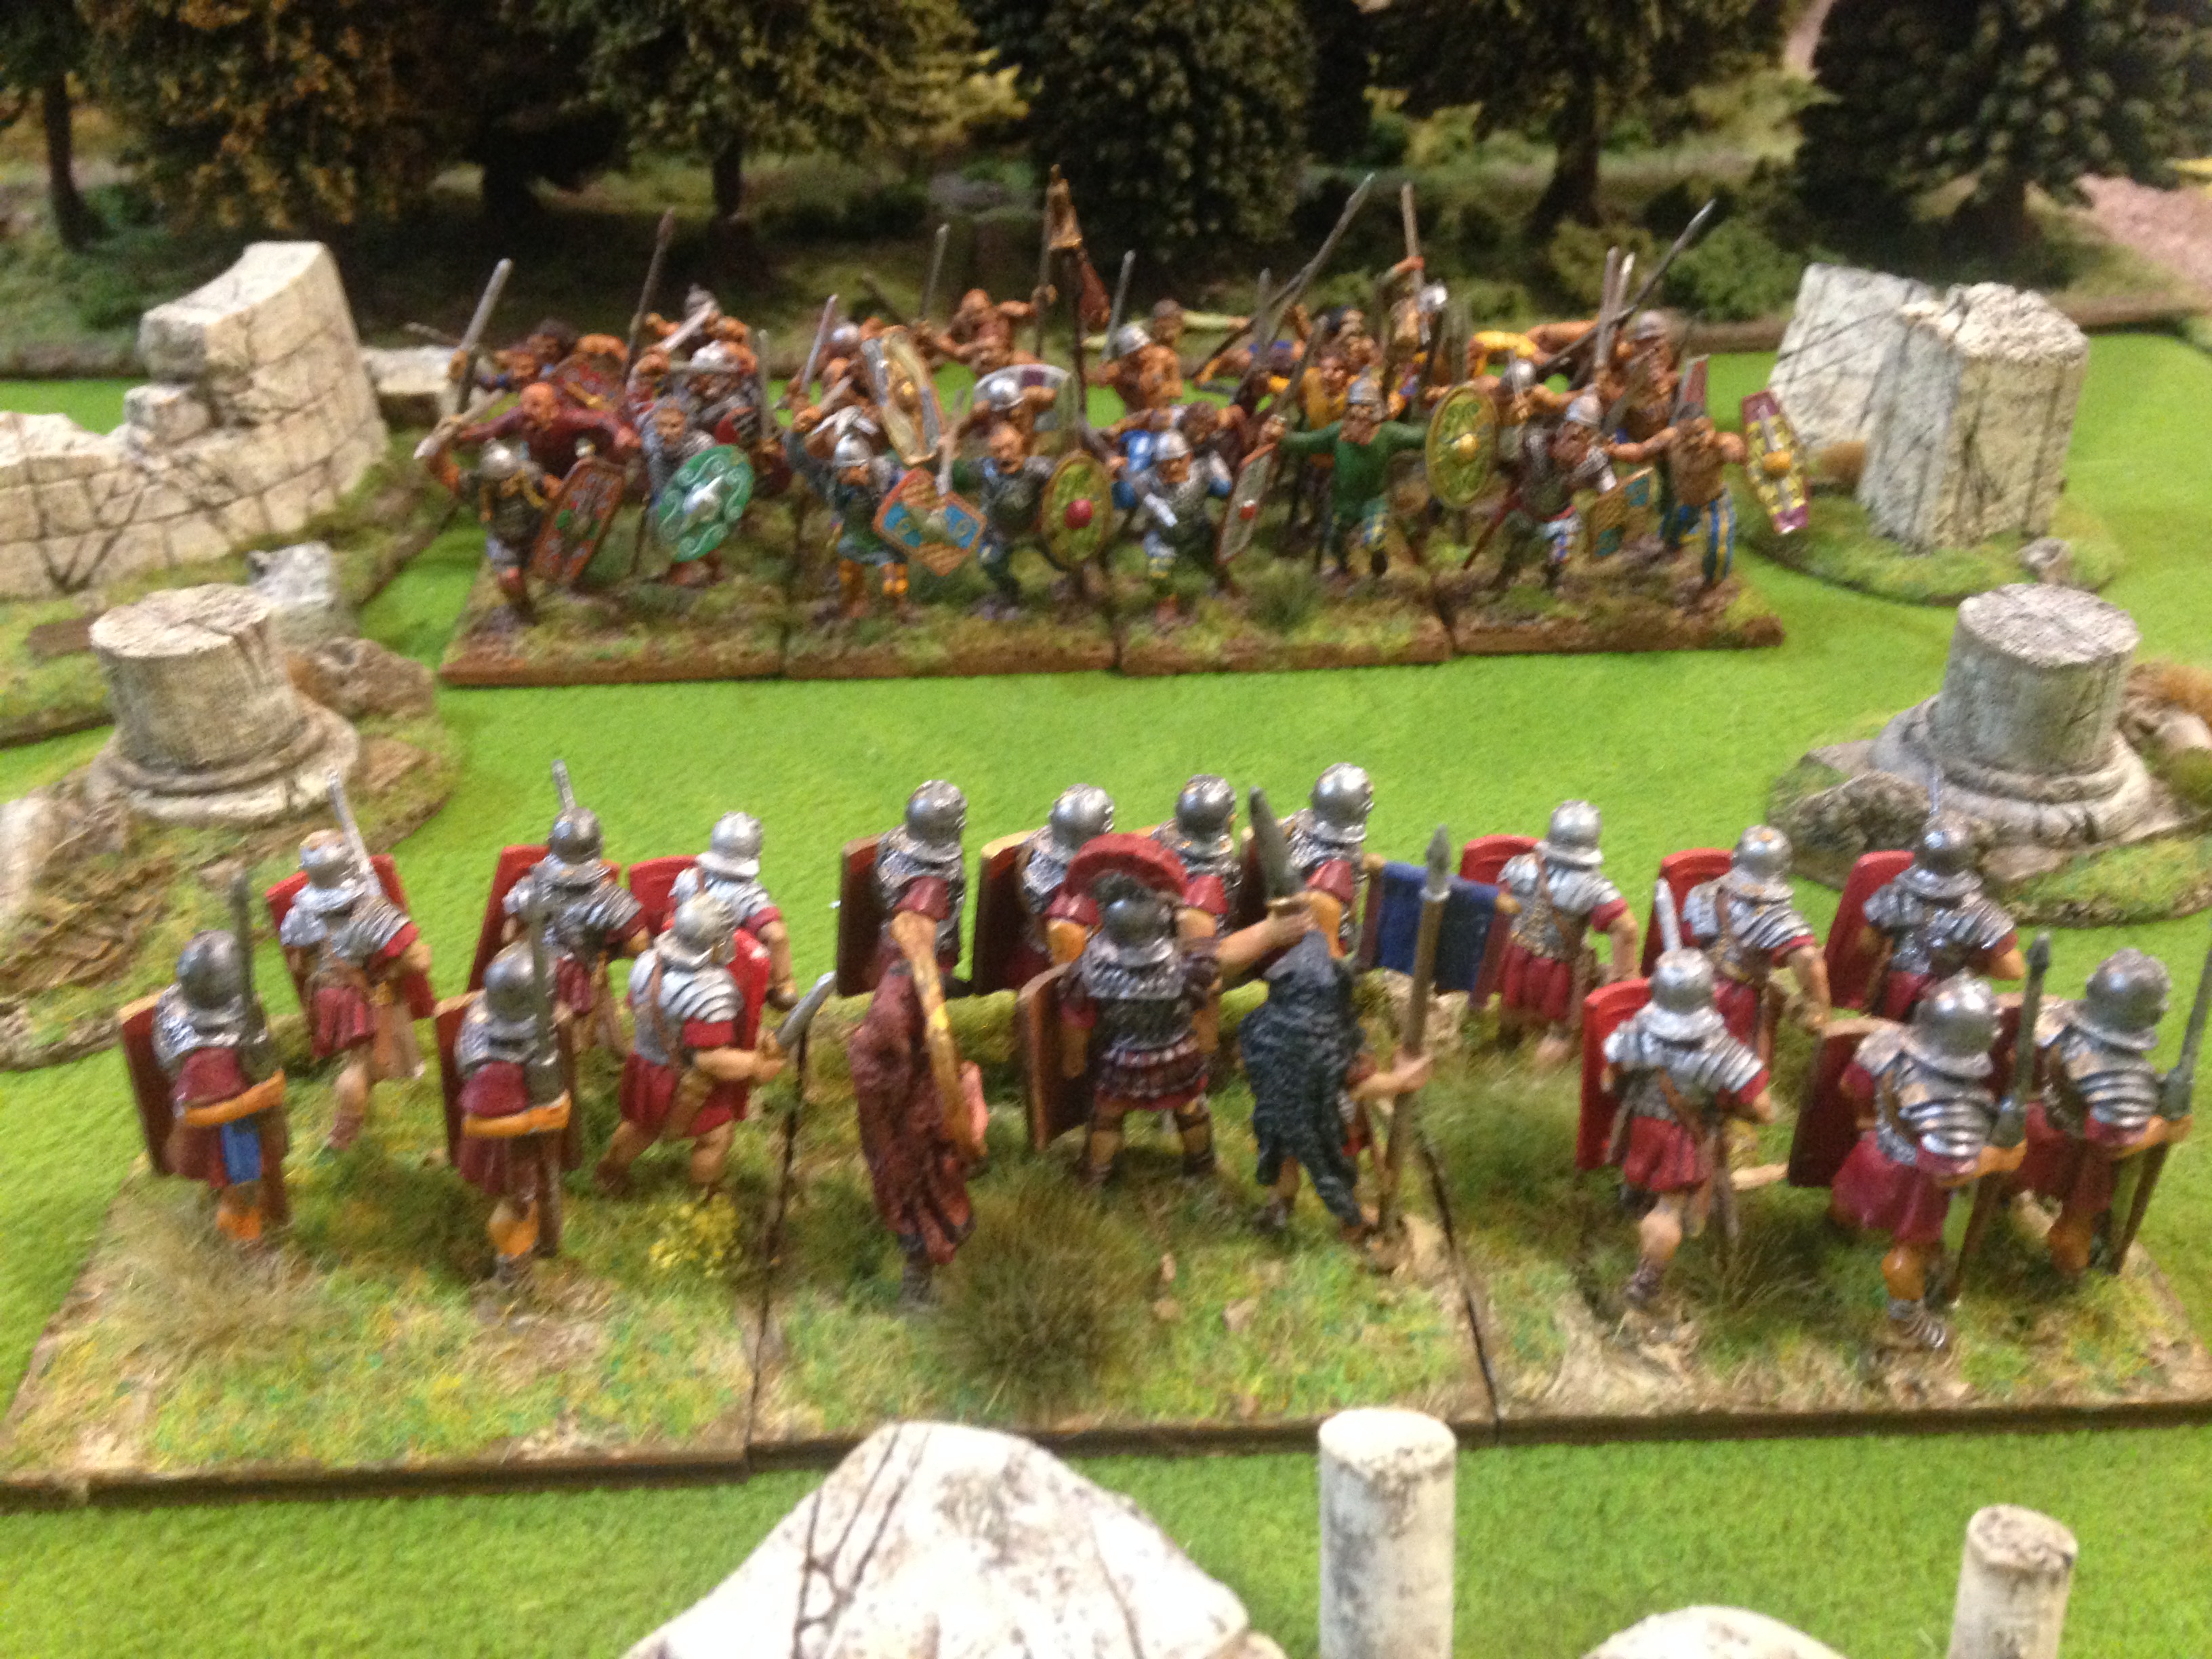
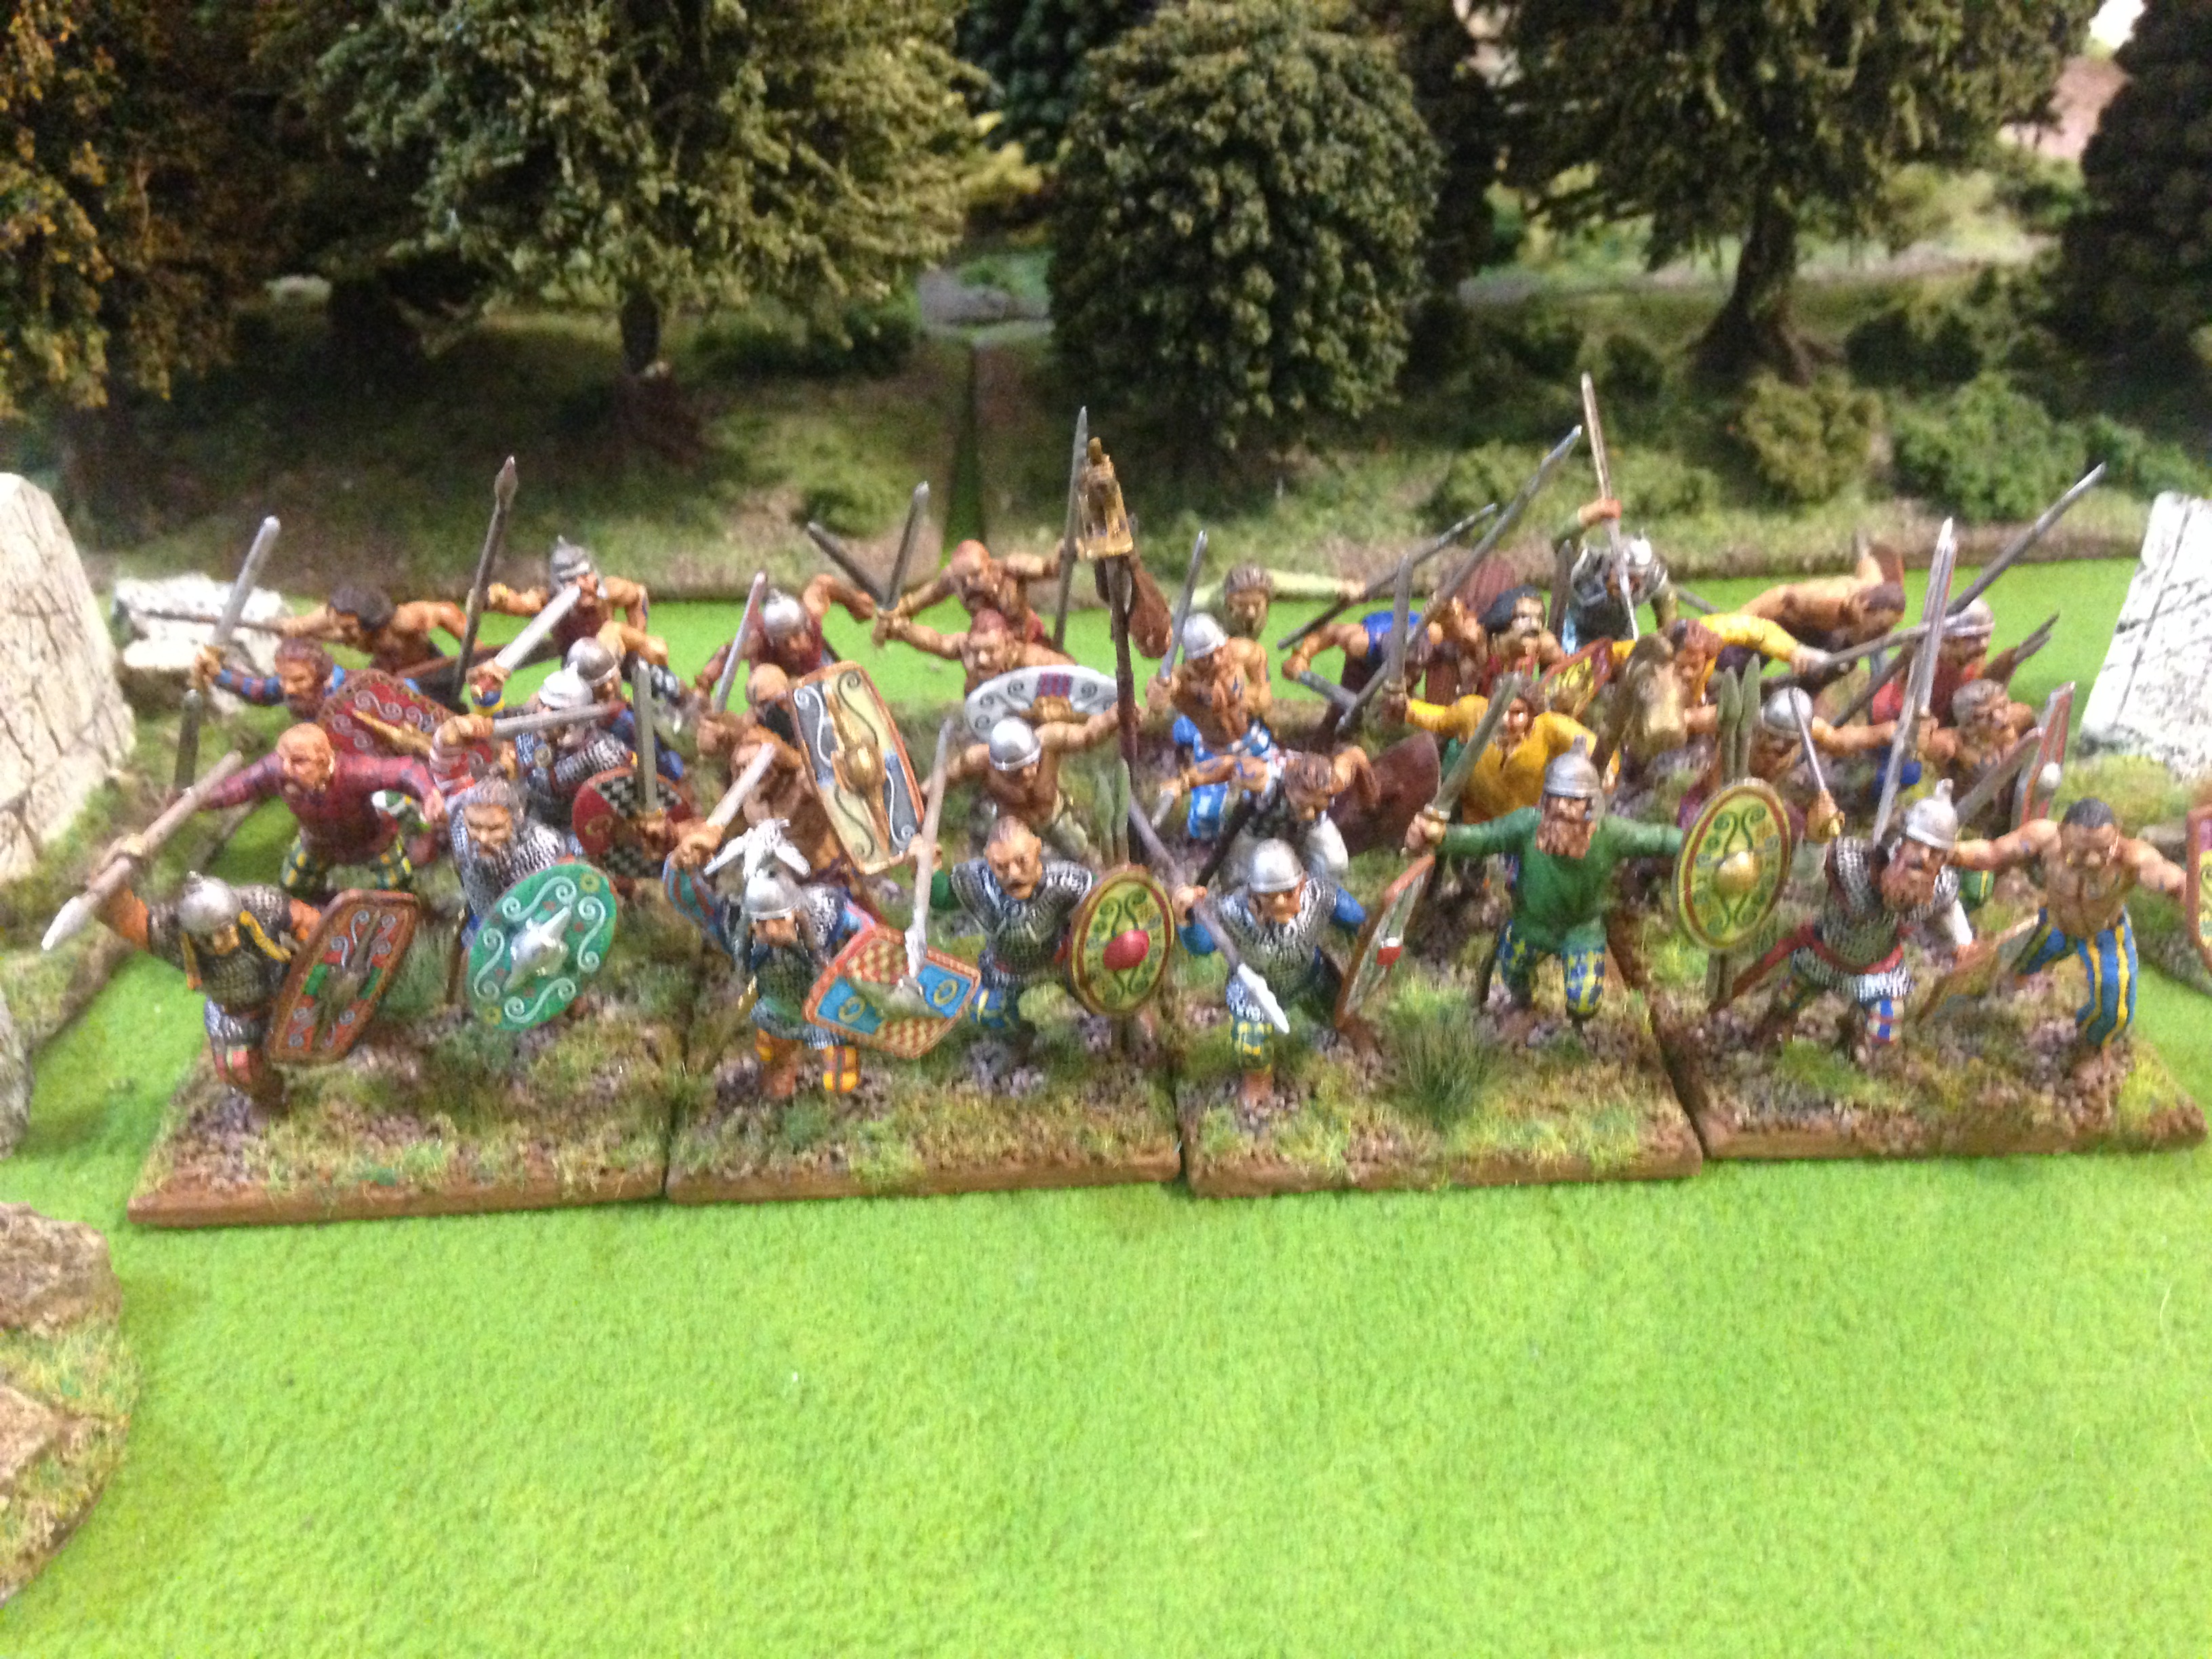
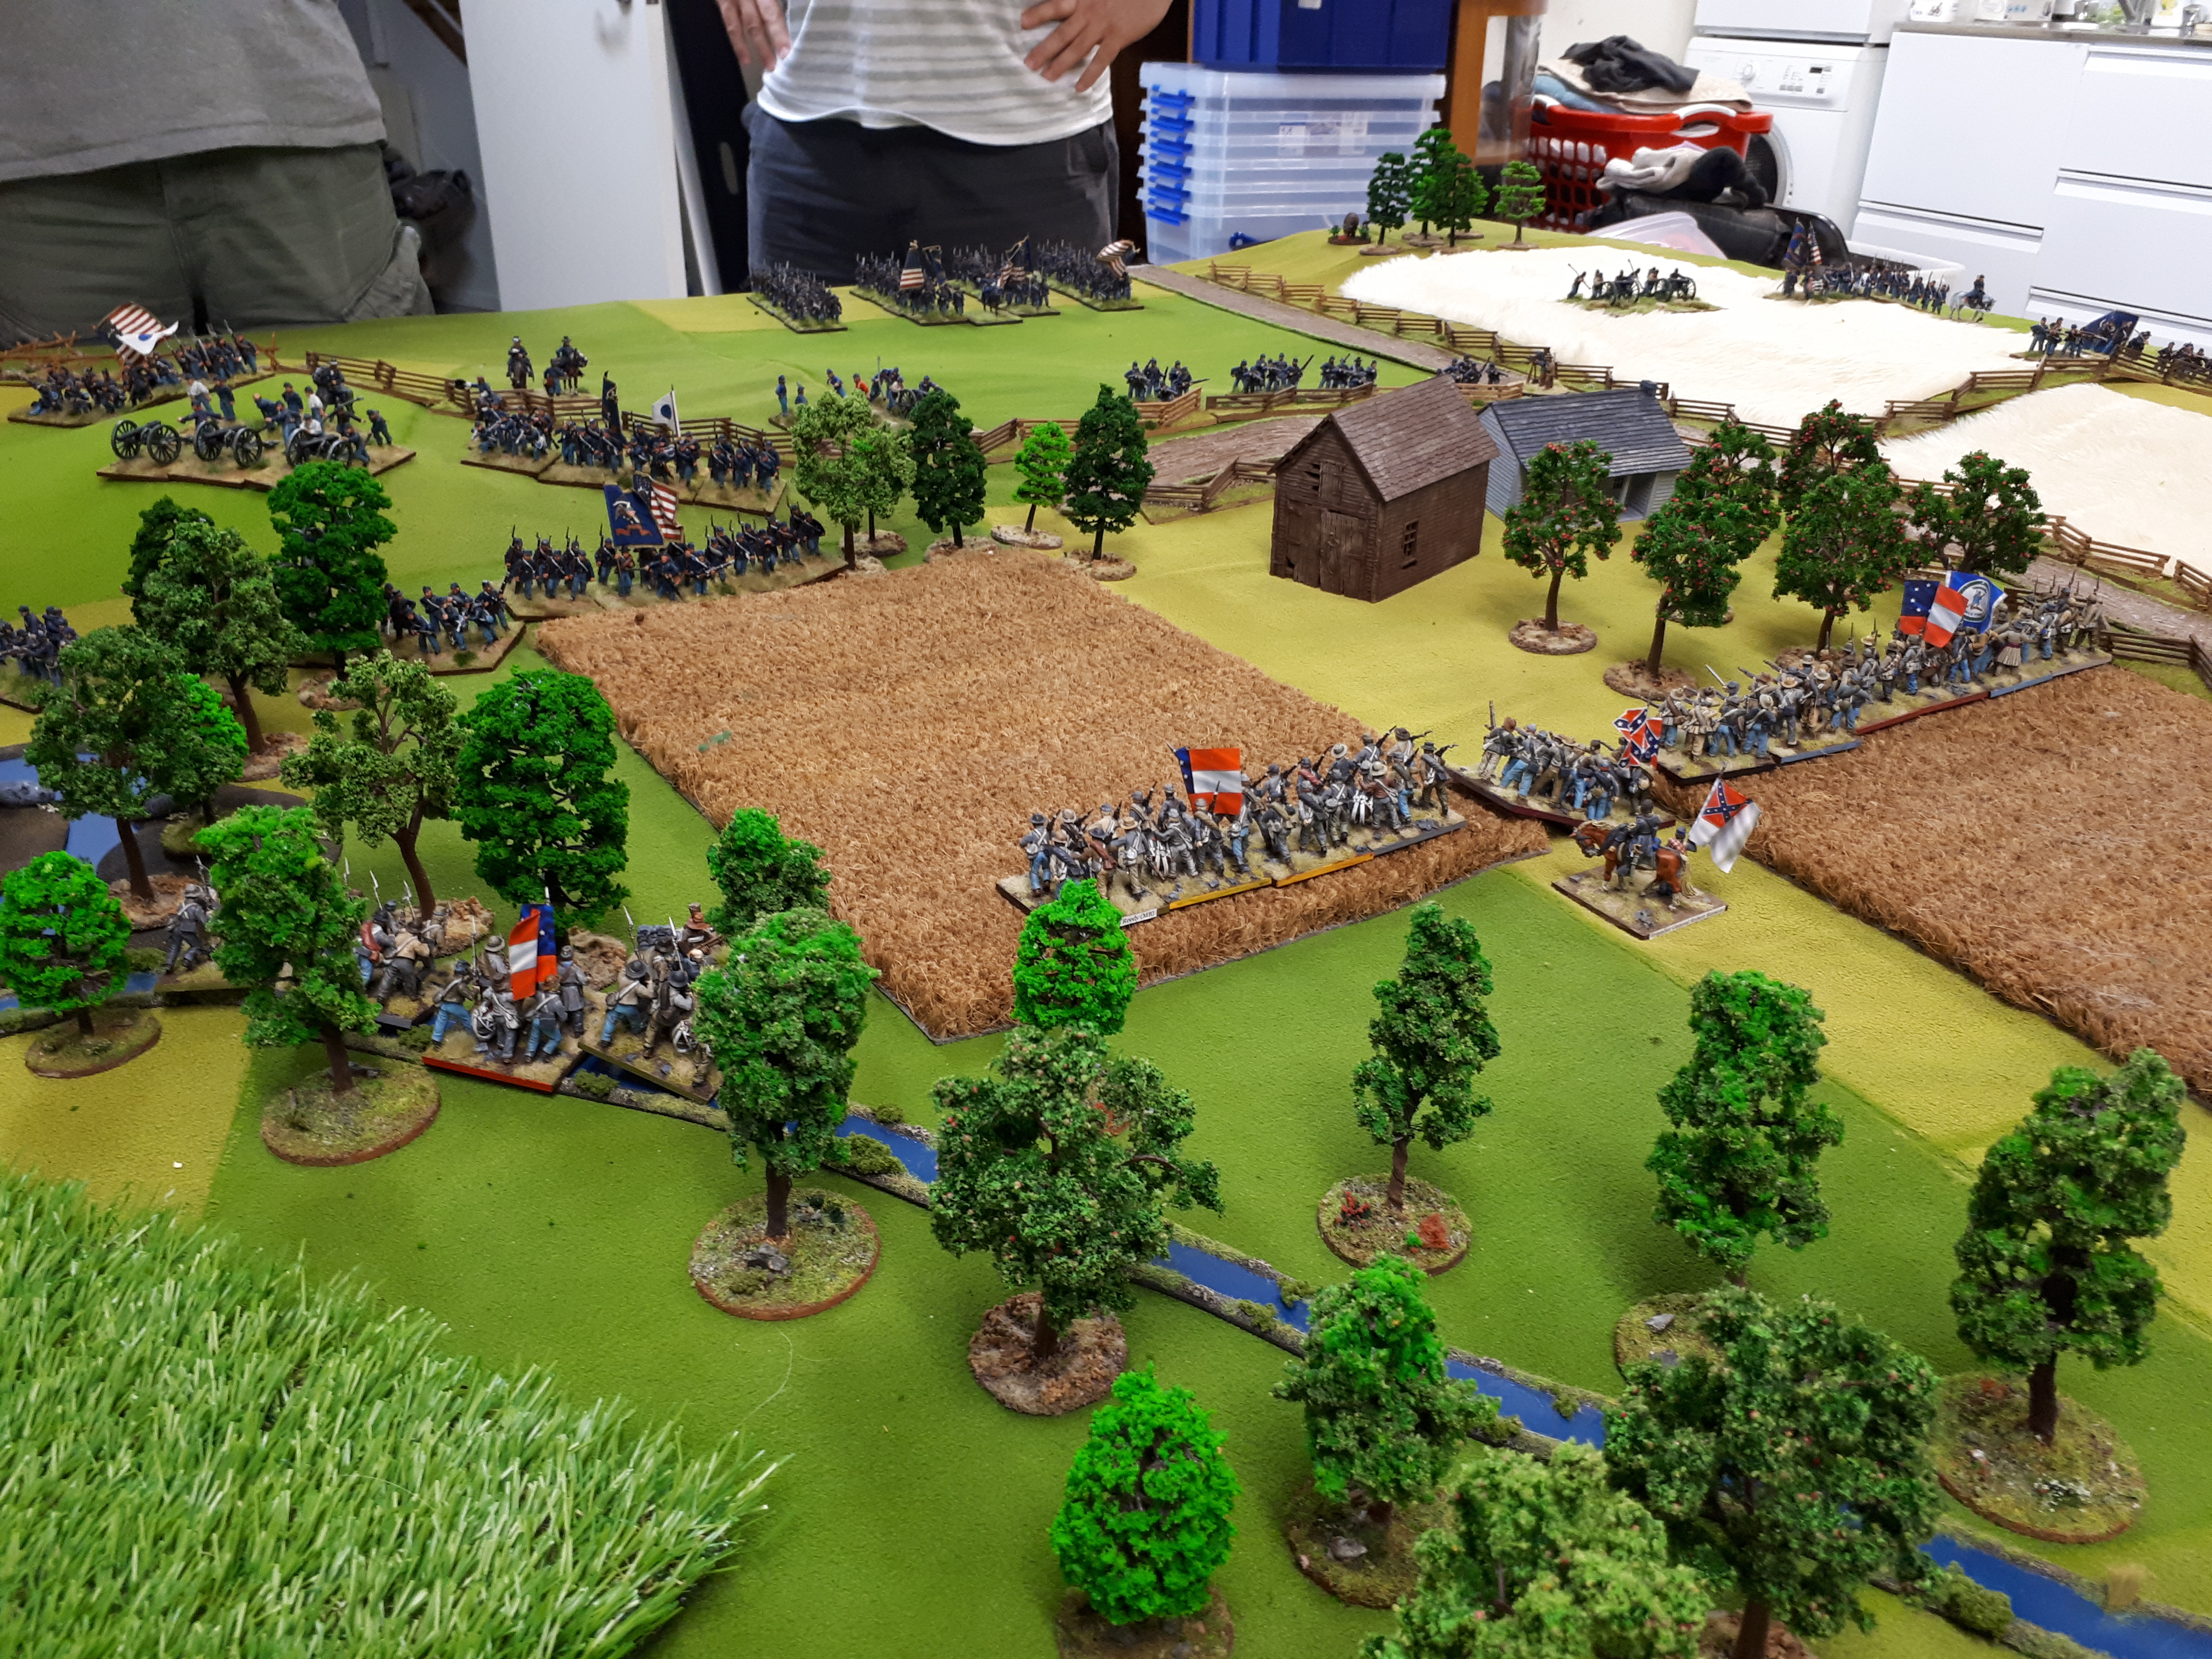
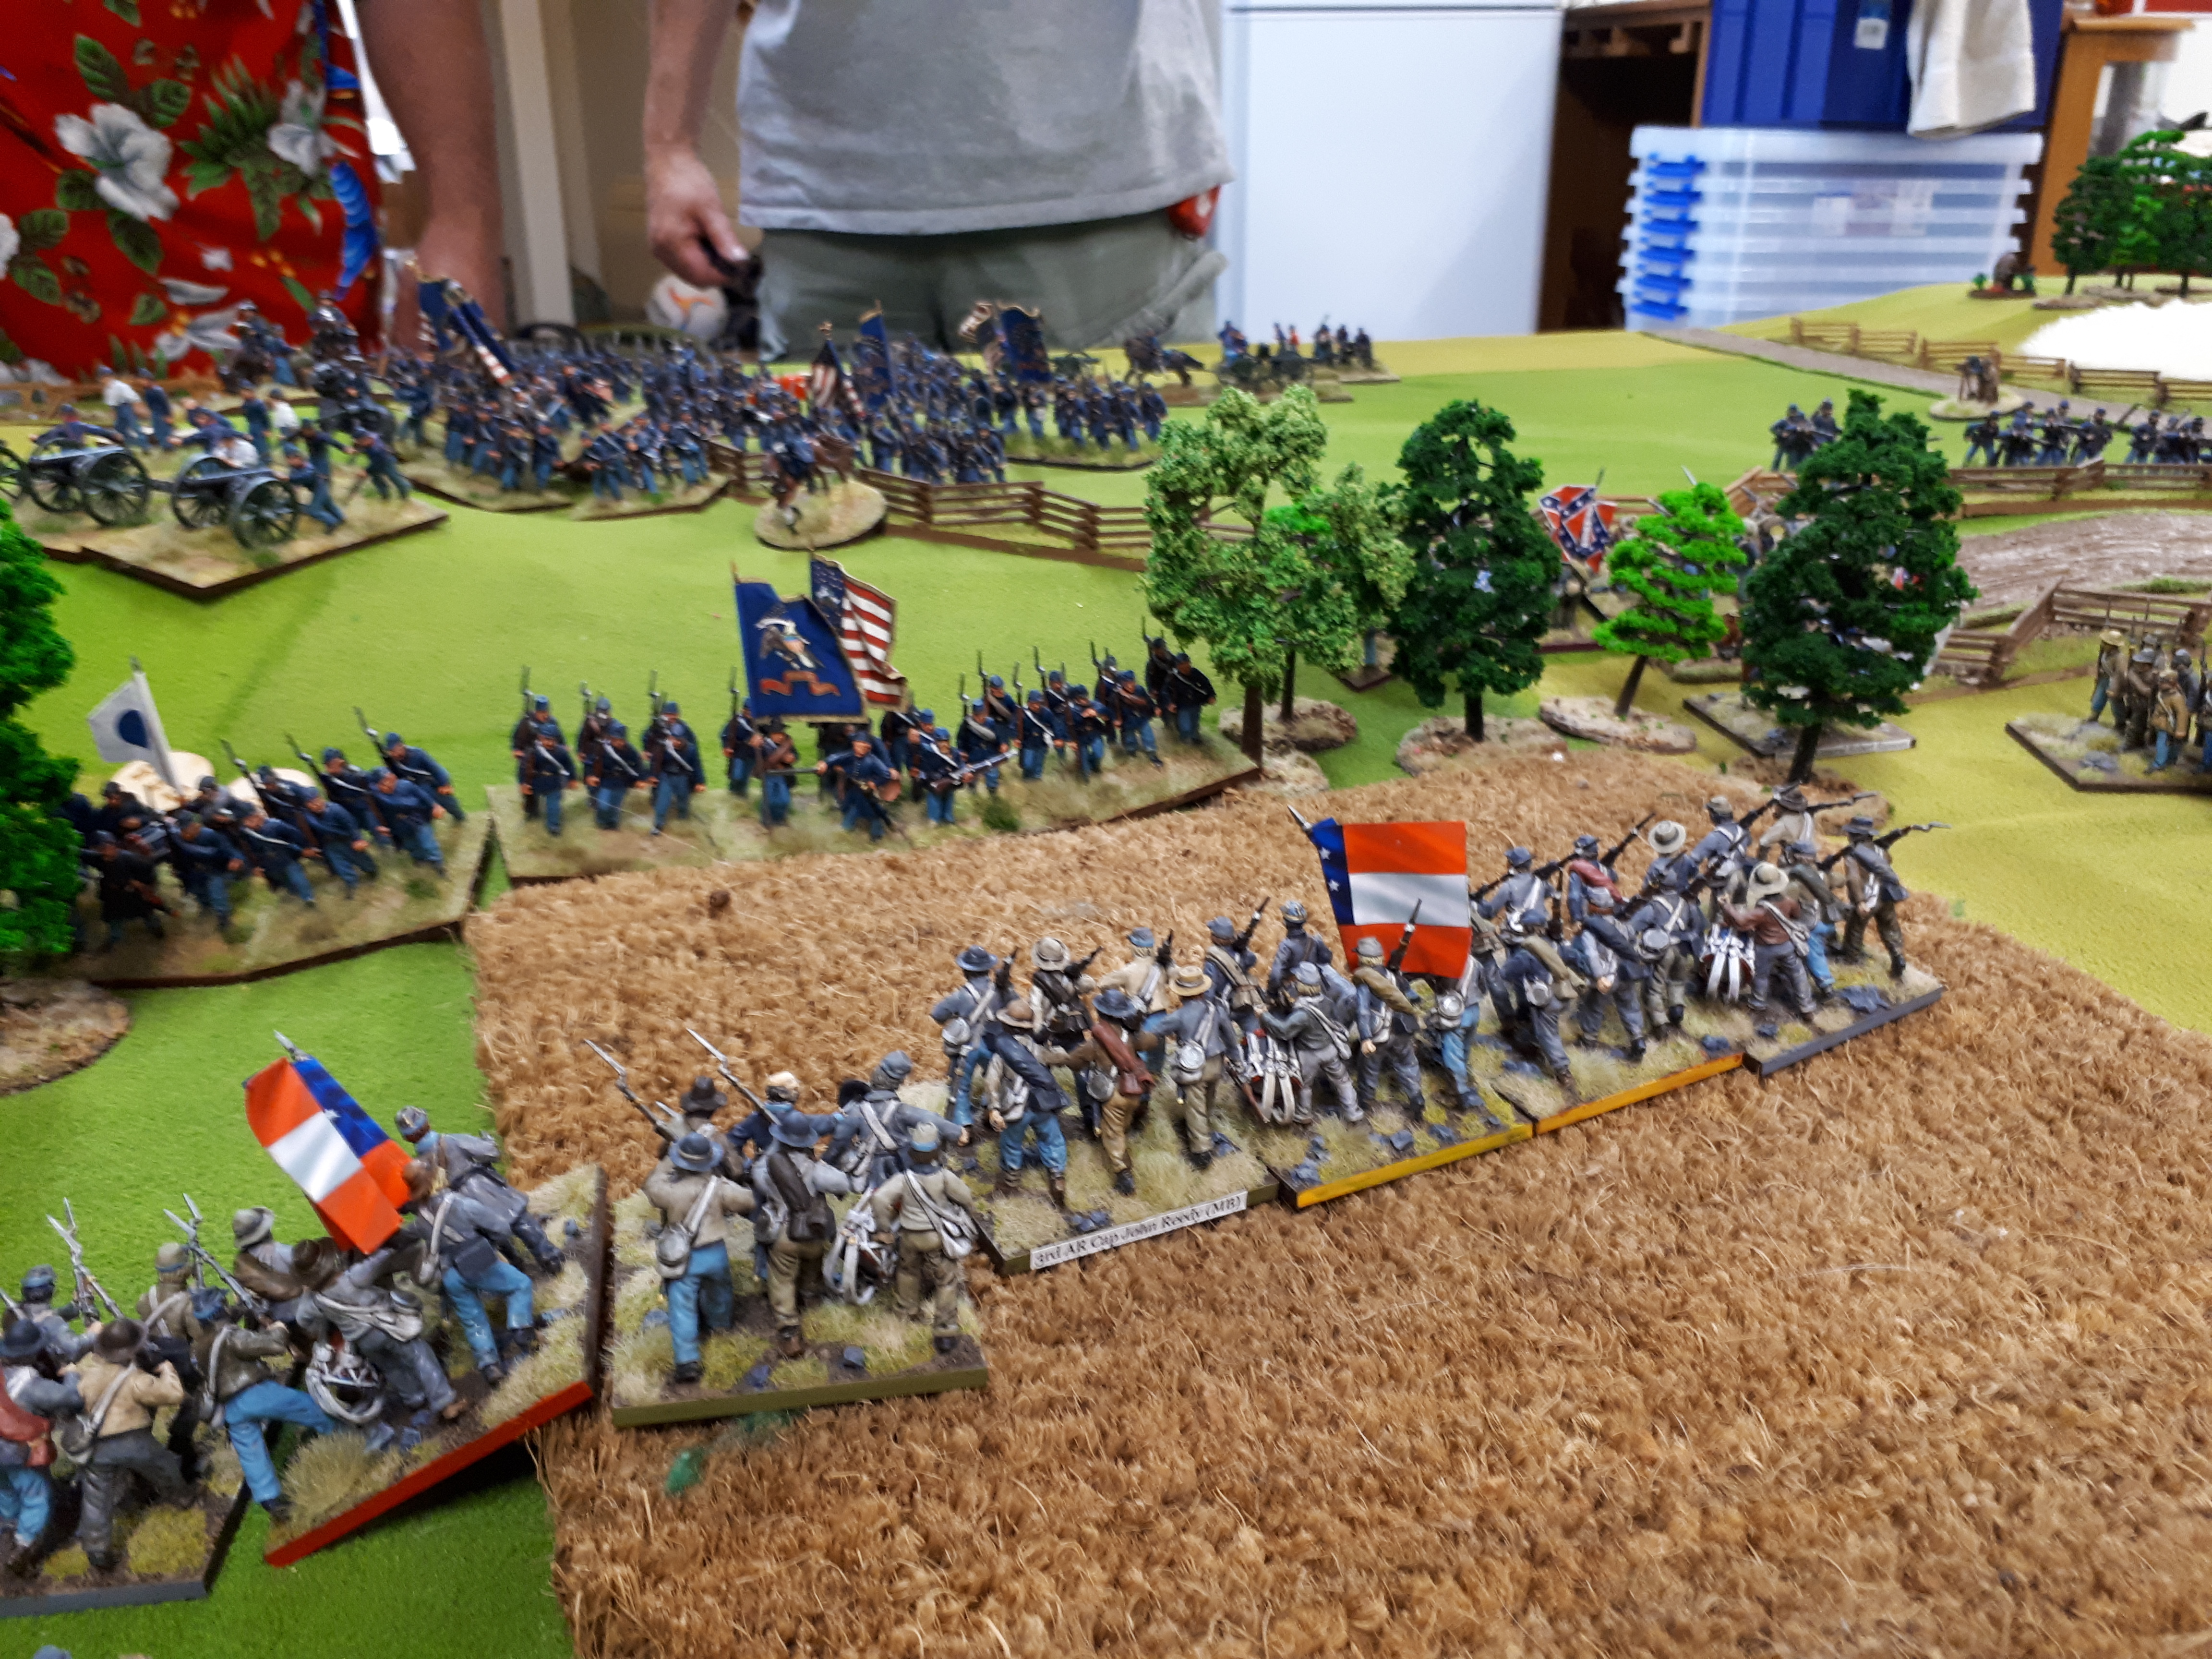
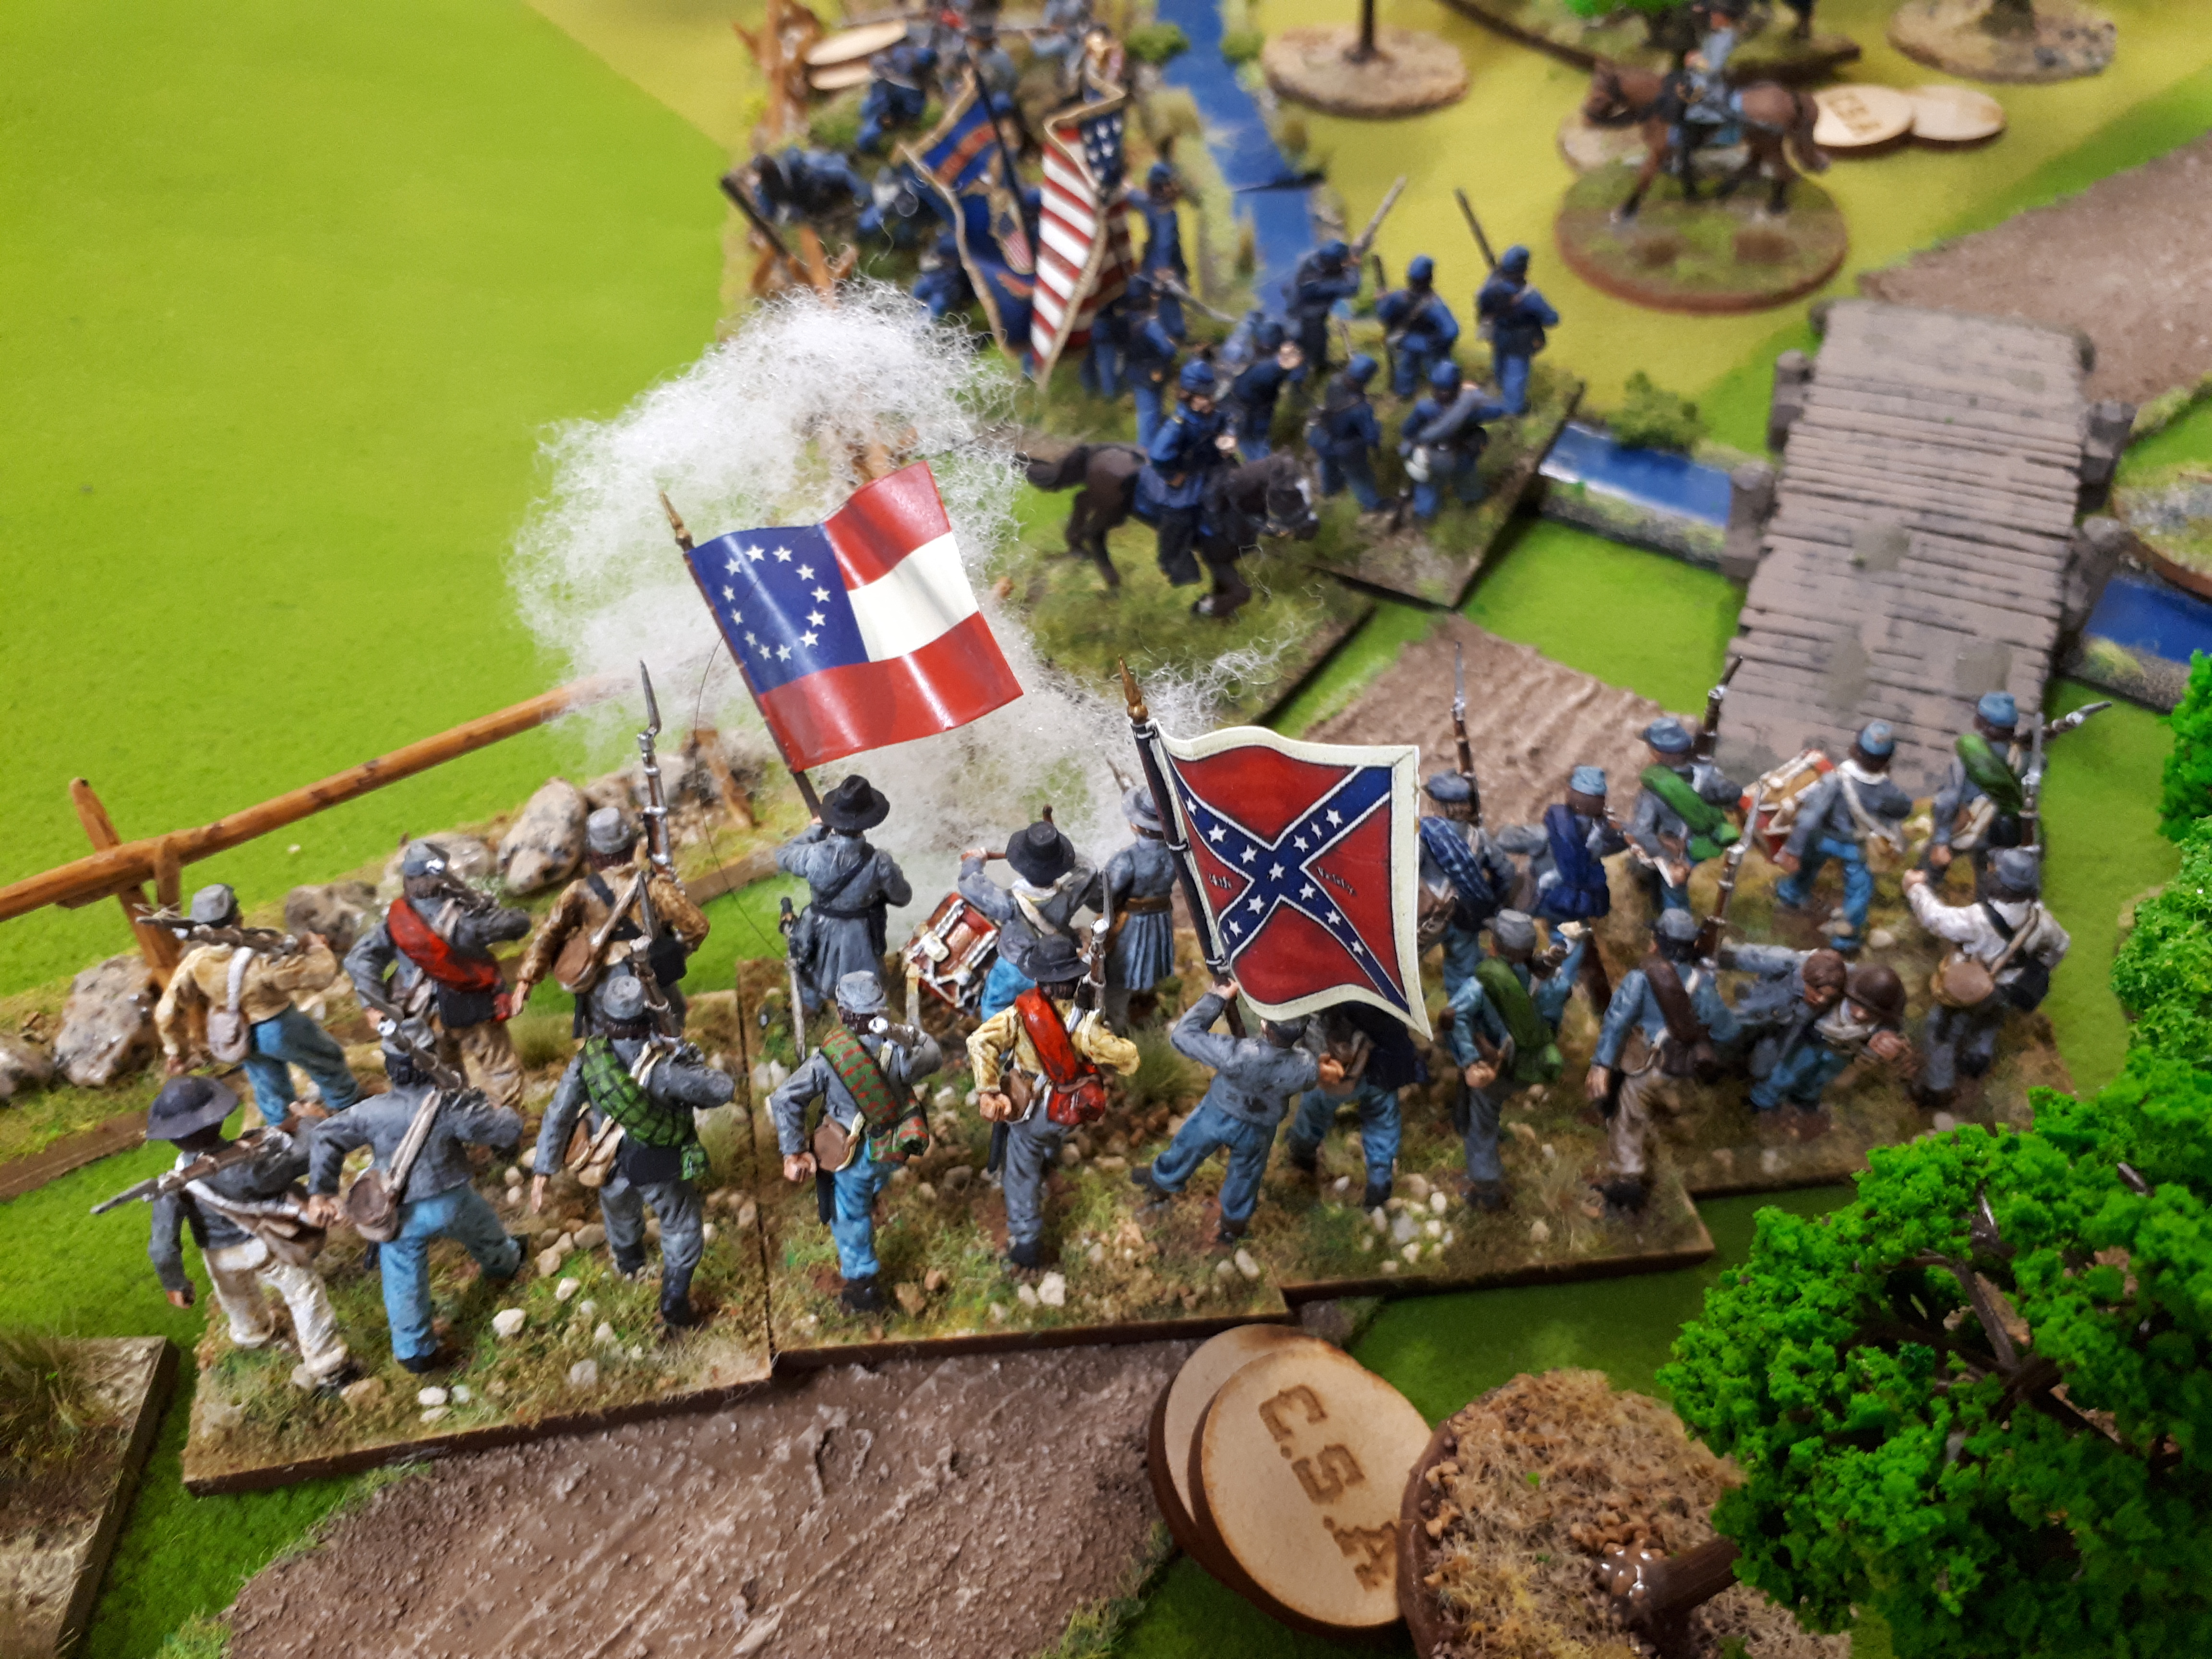
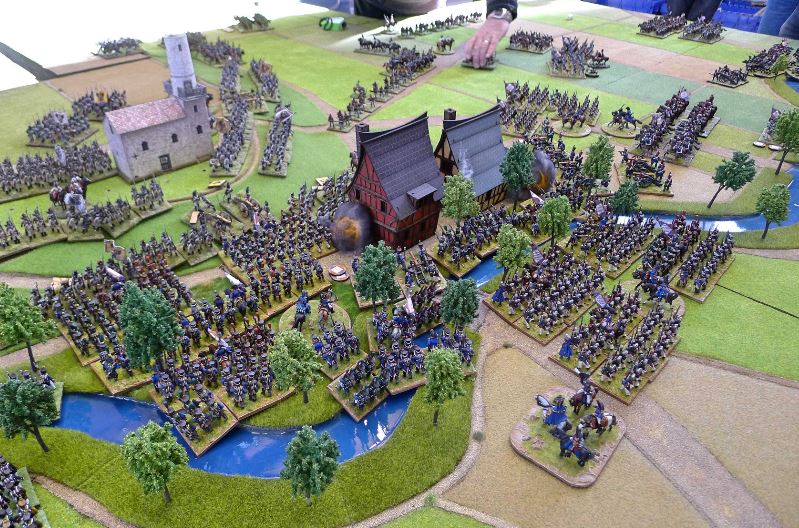
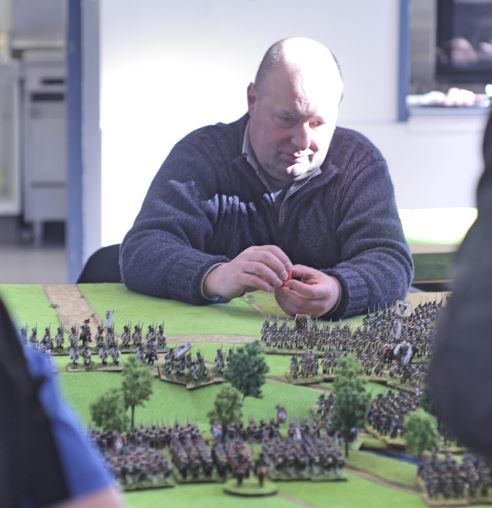
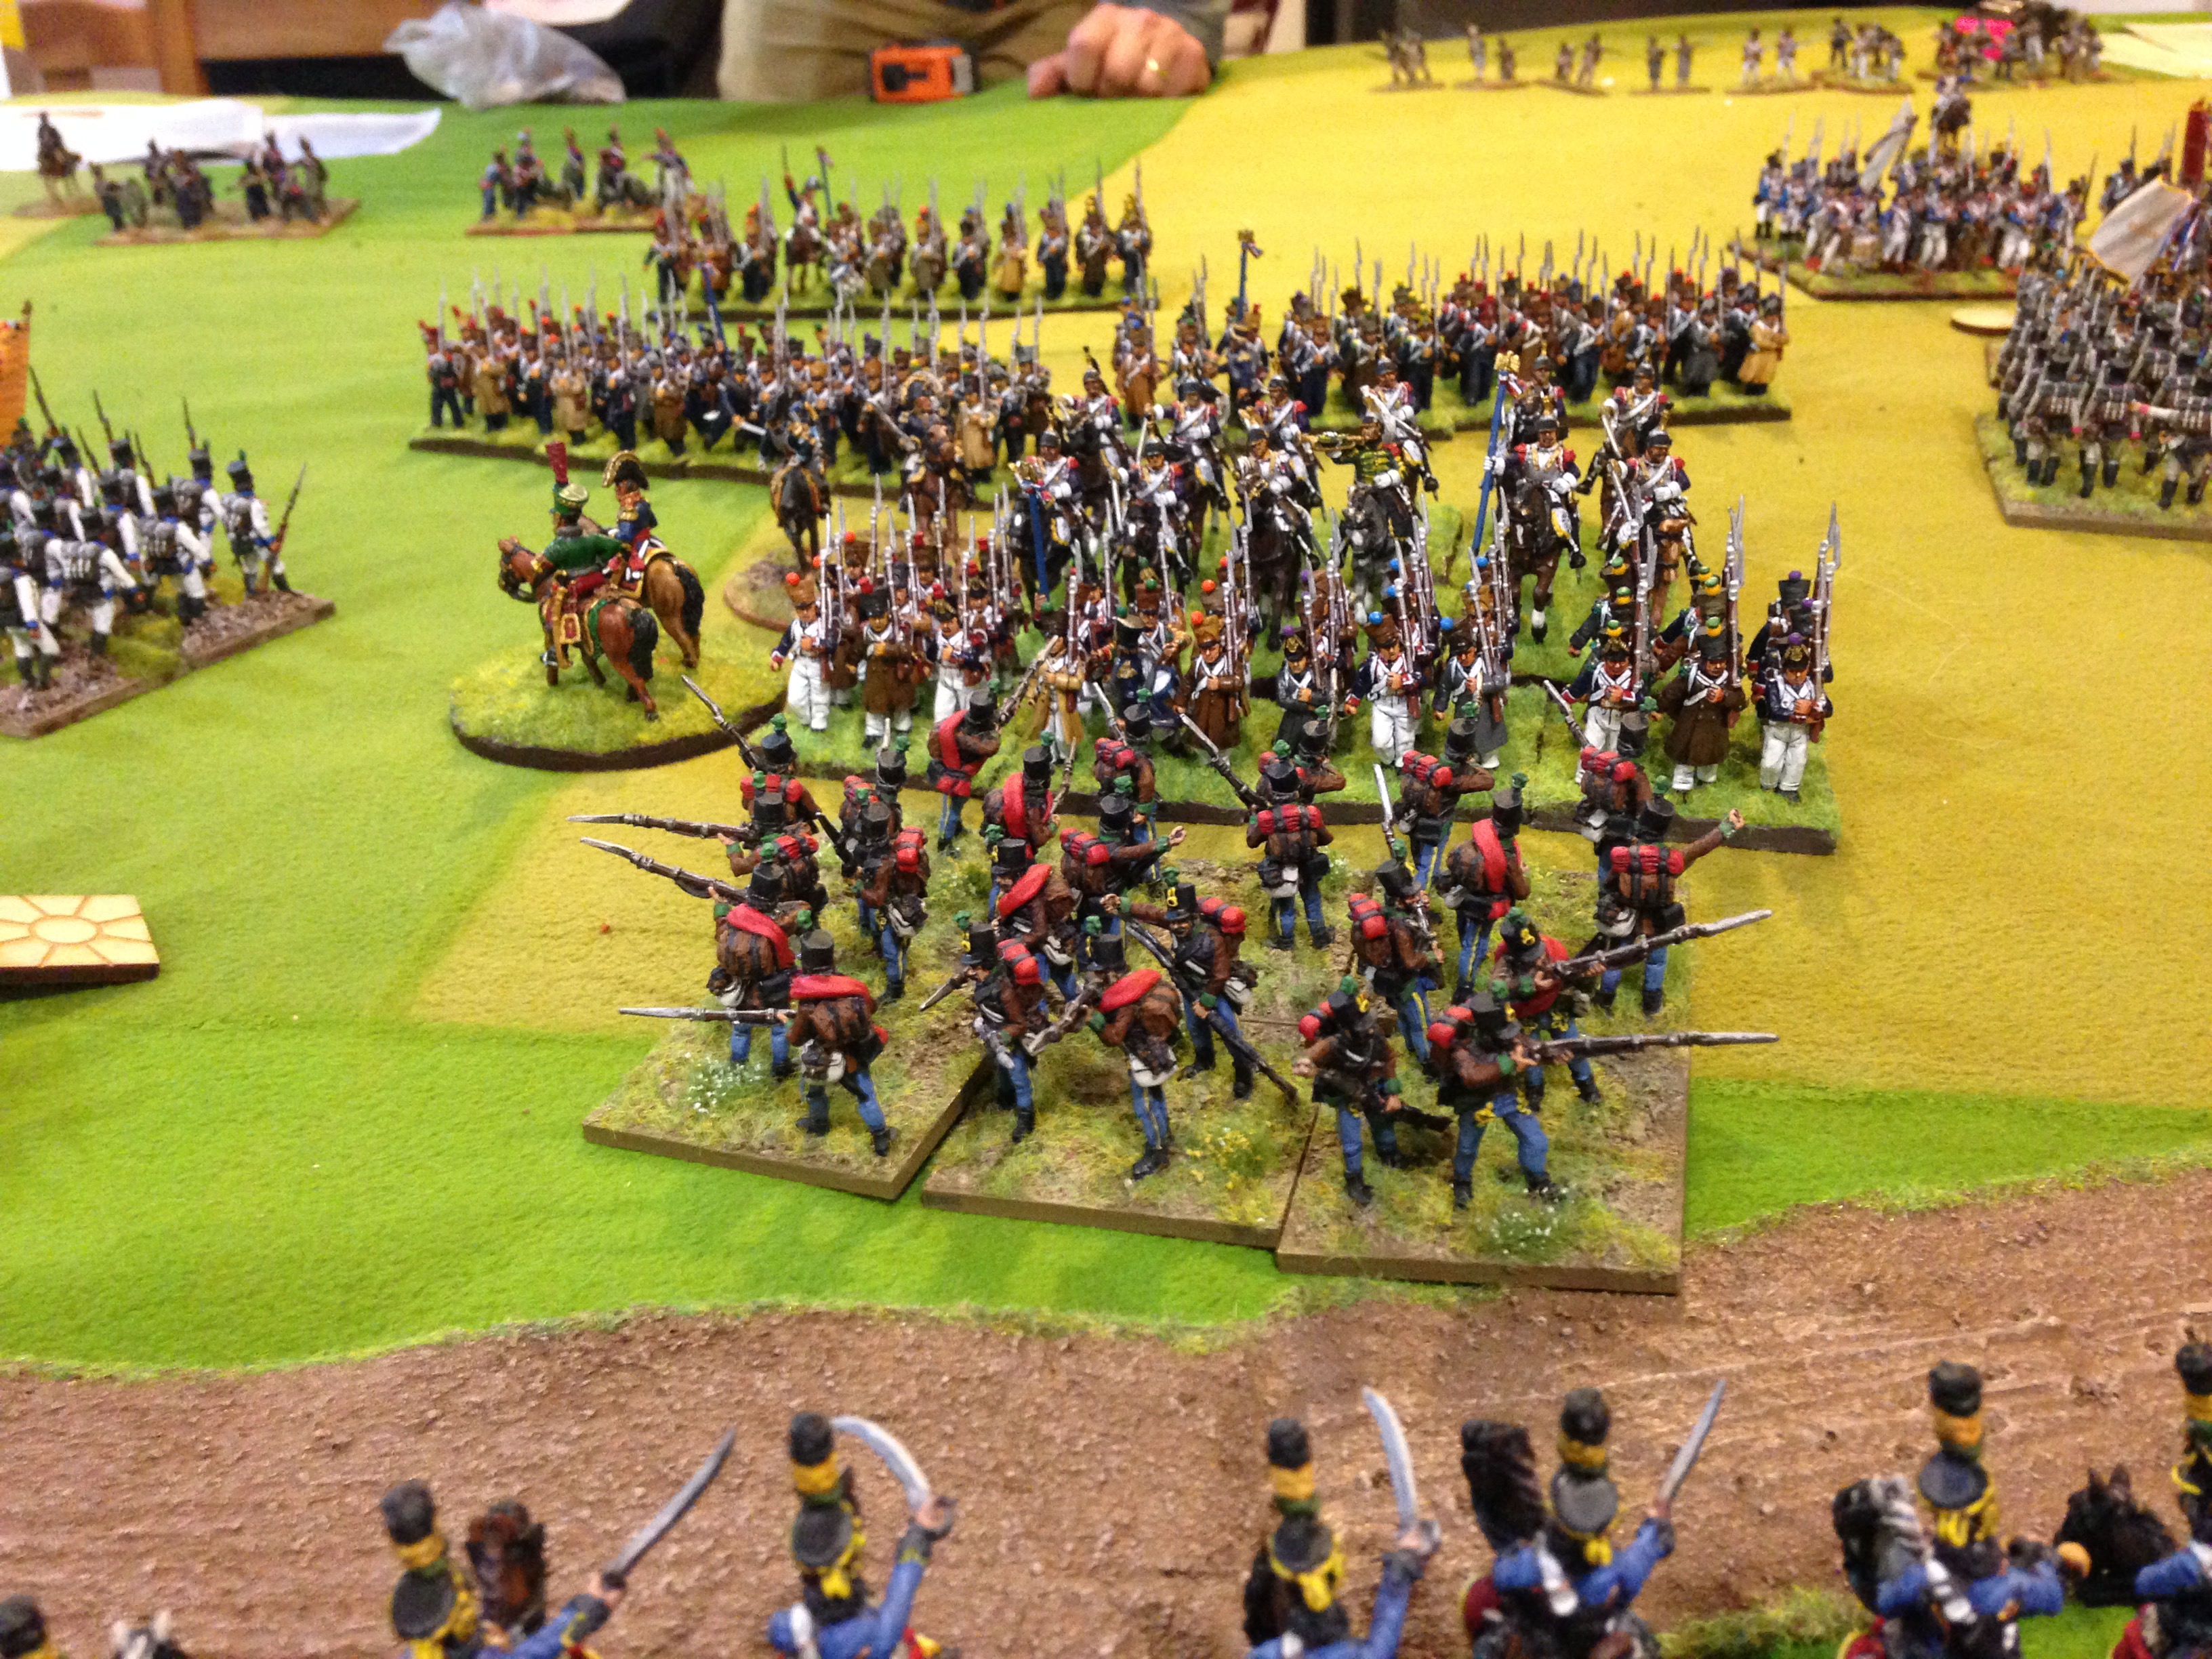
The force in centre around Aderklaa. Massena holds it but St Cyr has pushed to far and Liechtenstein is about to punish them.

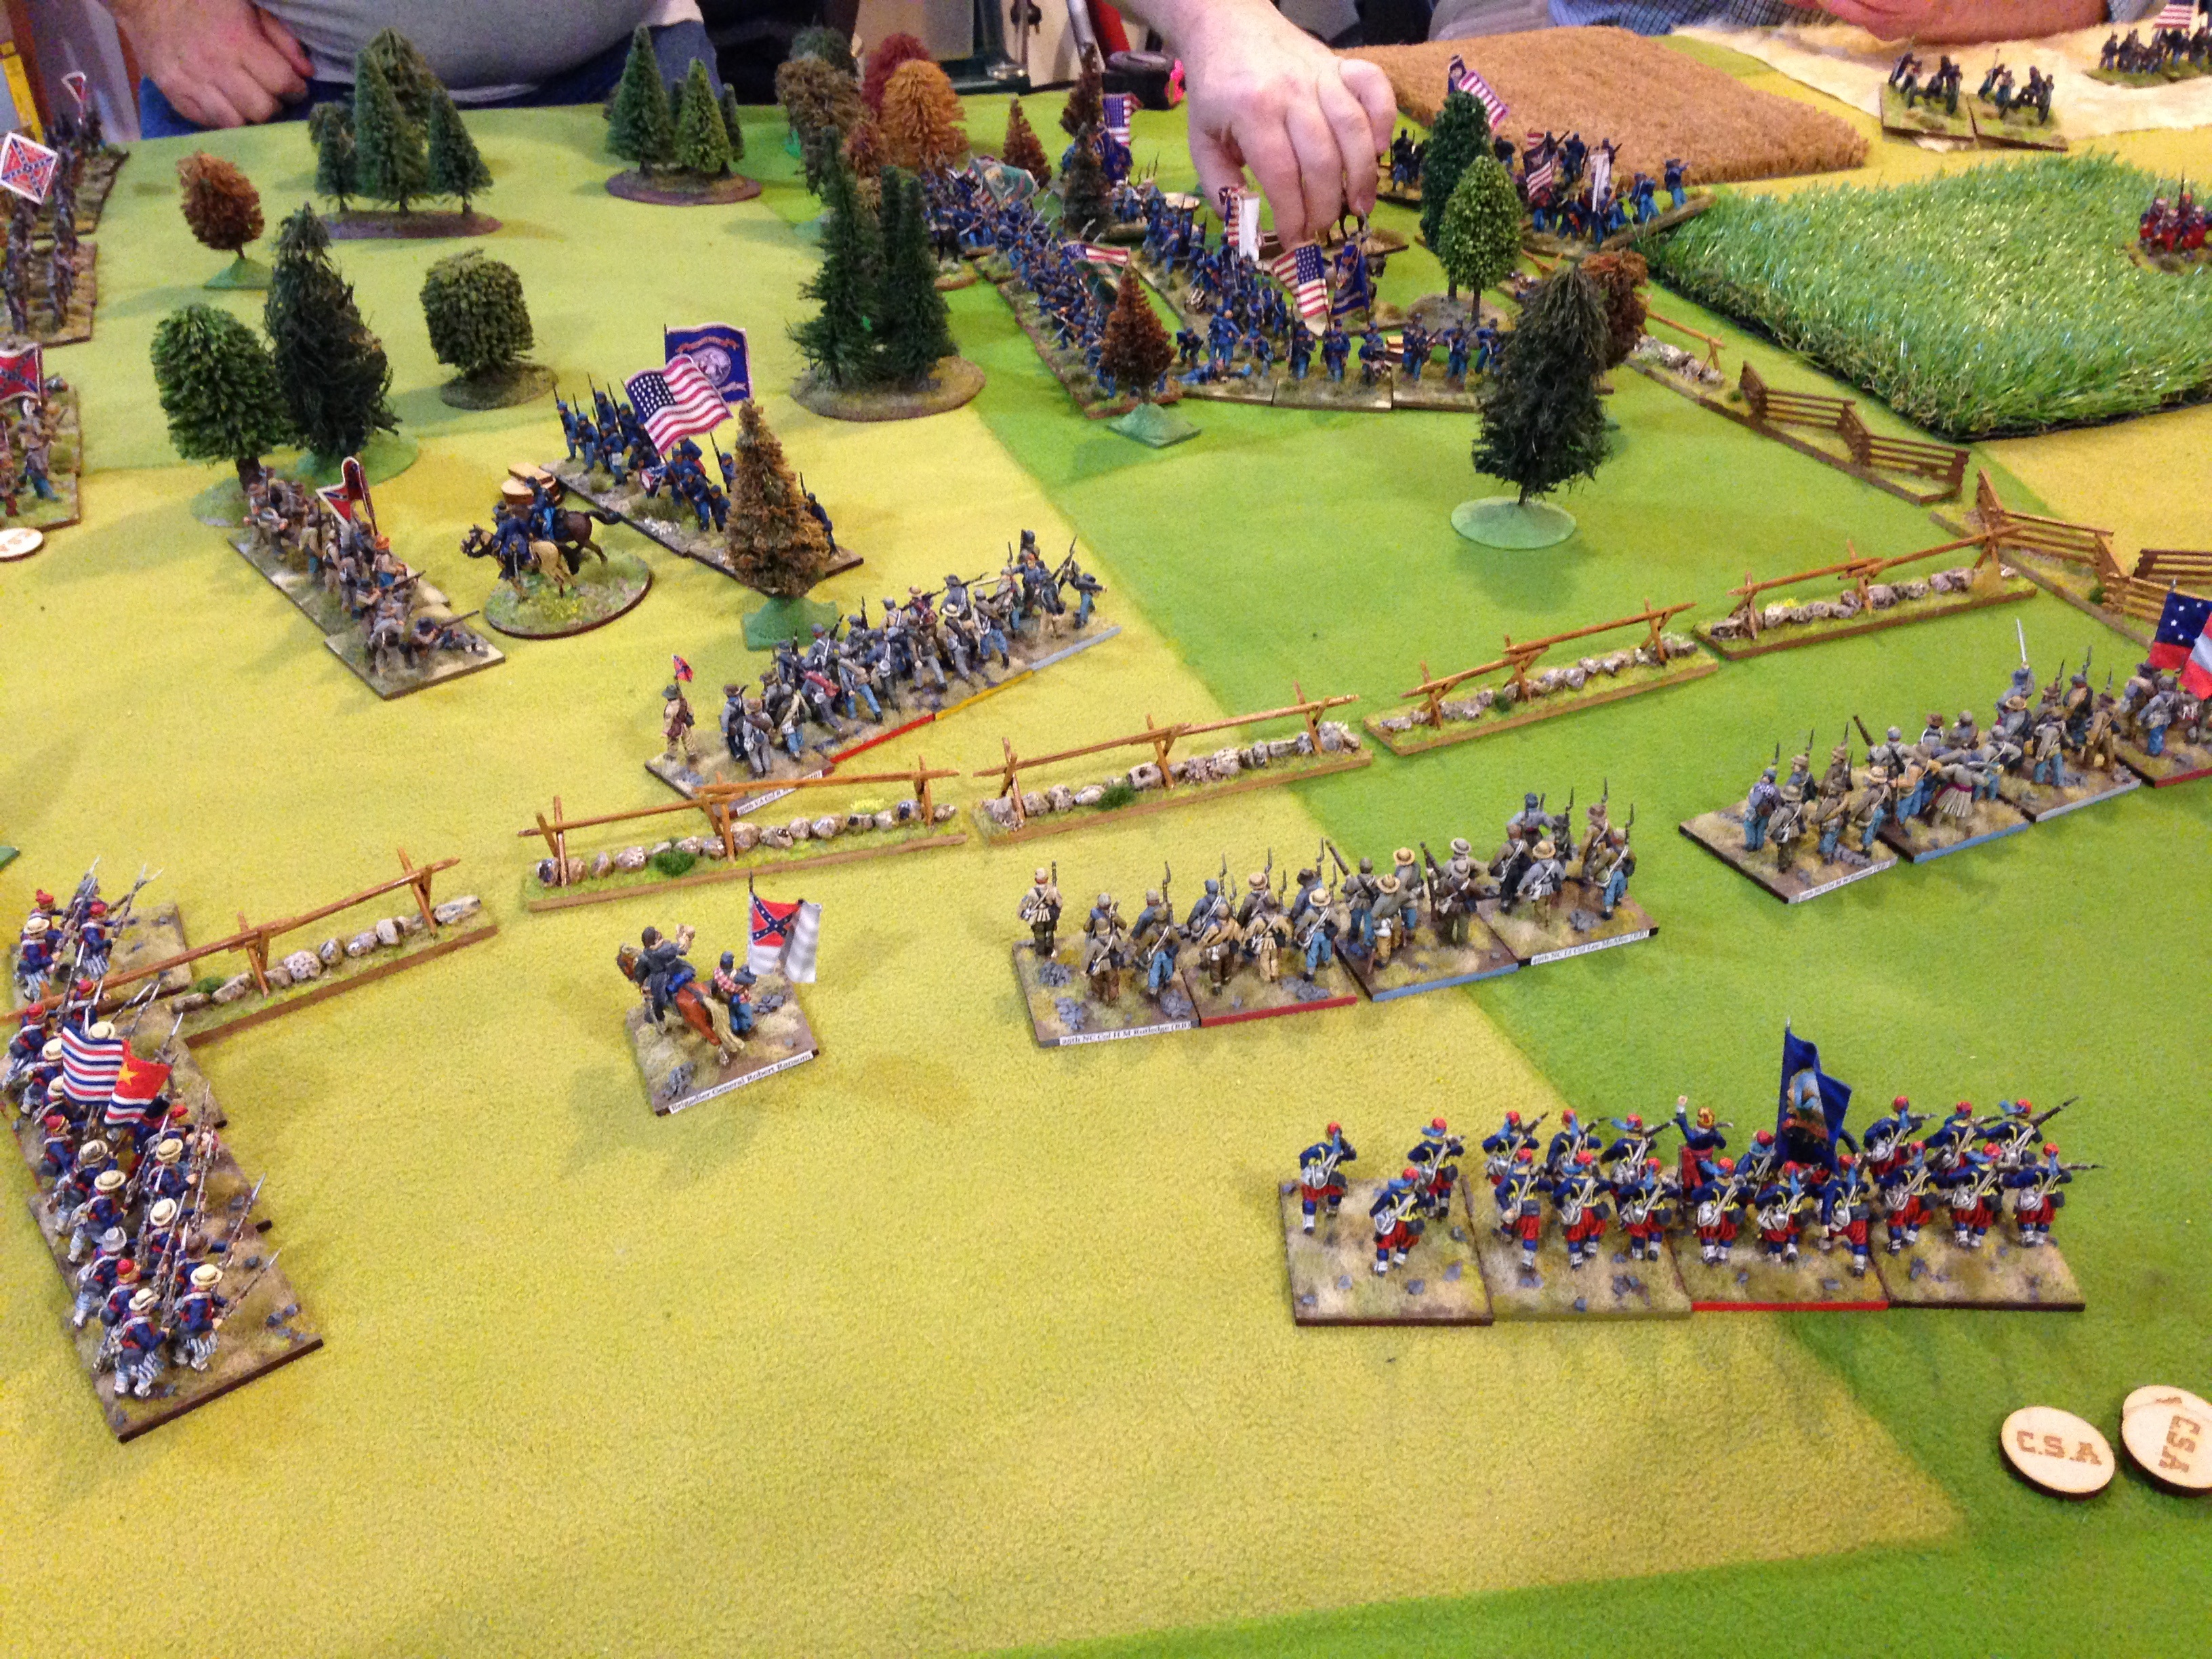
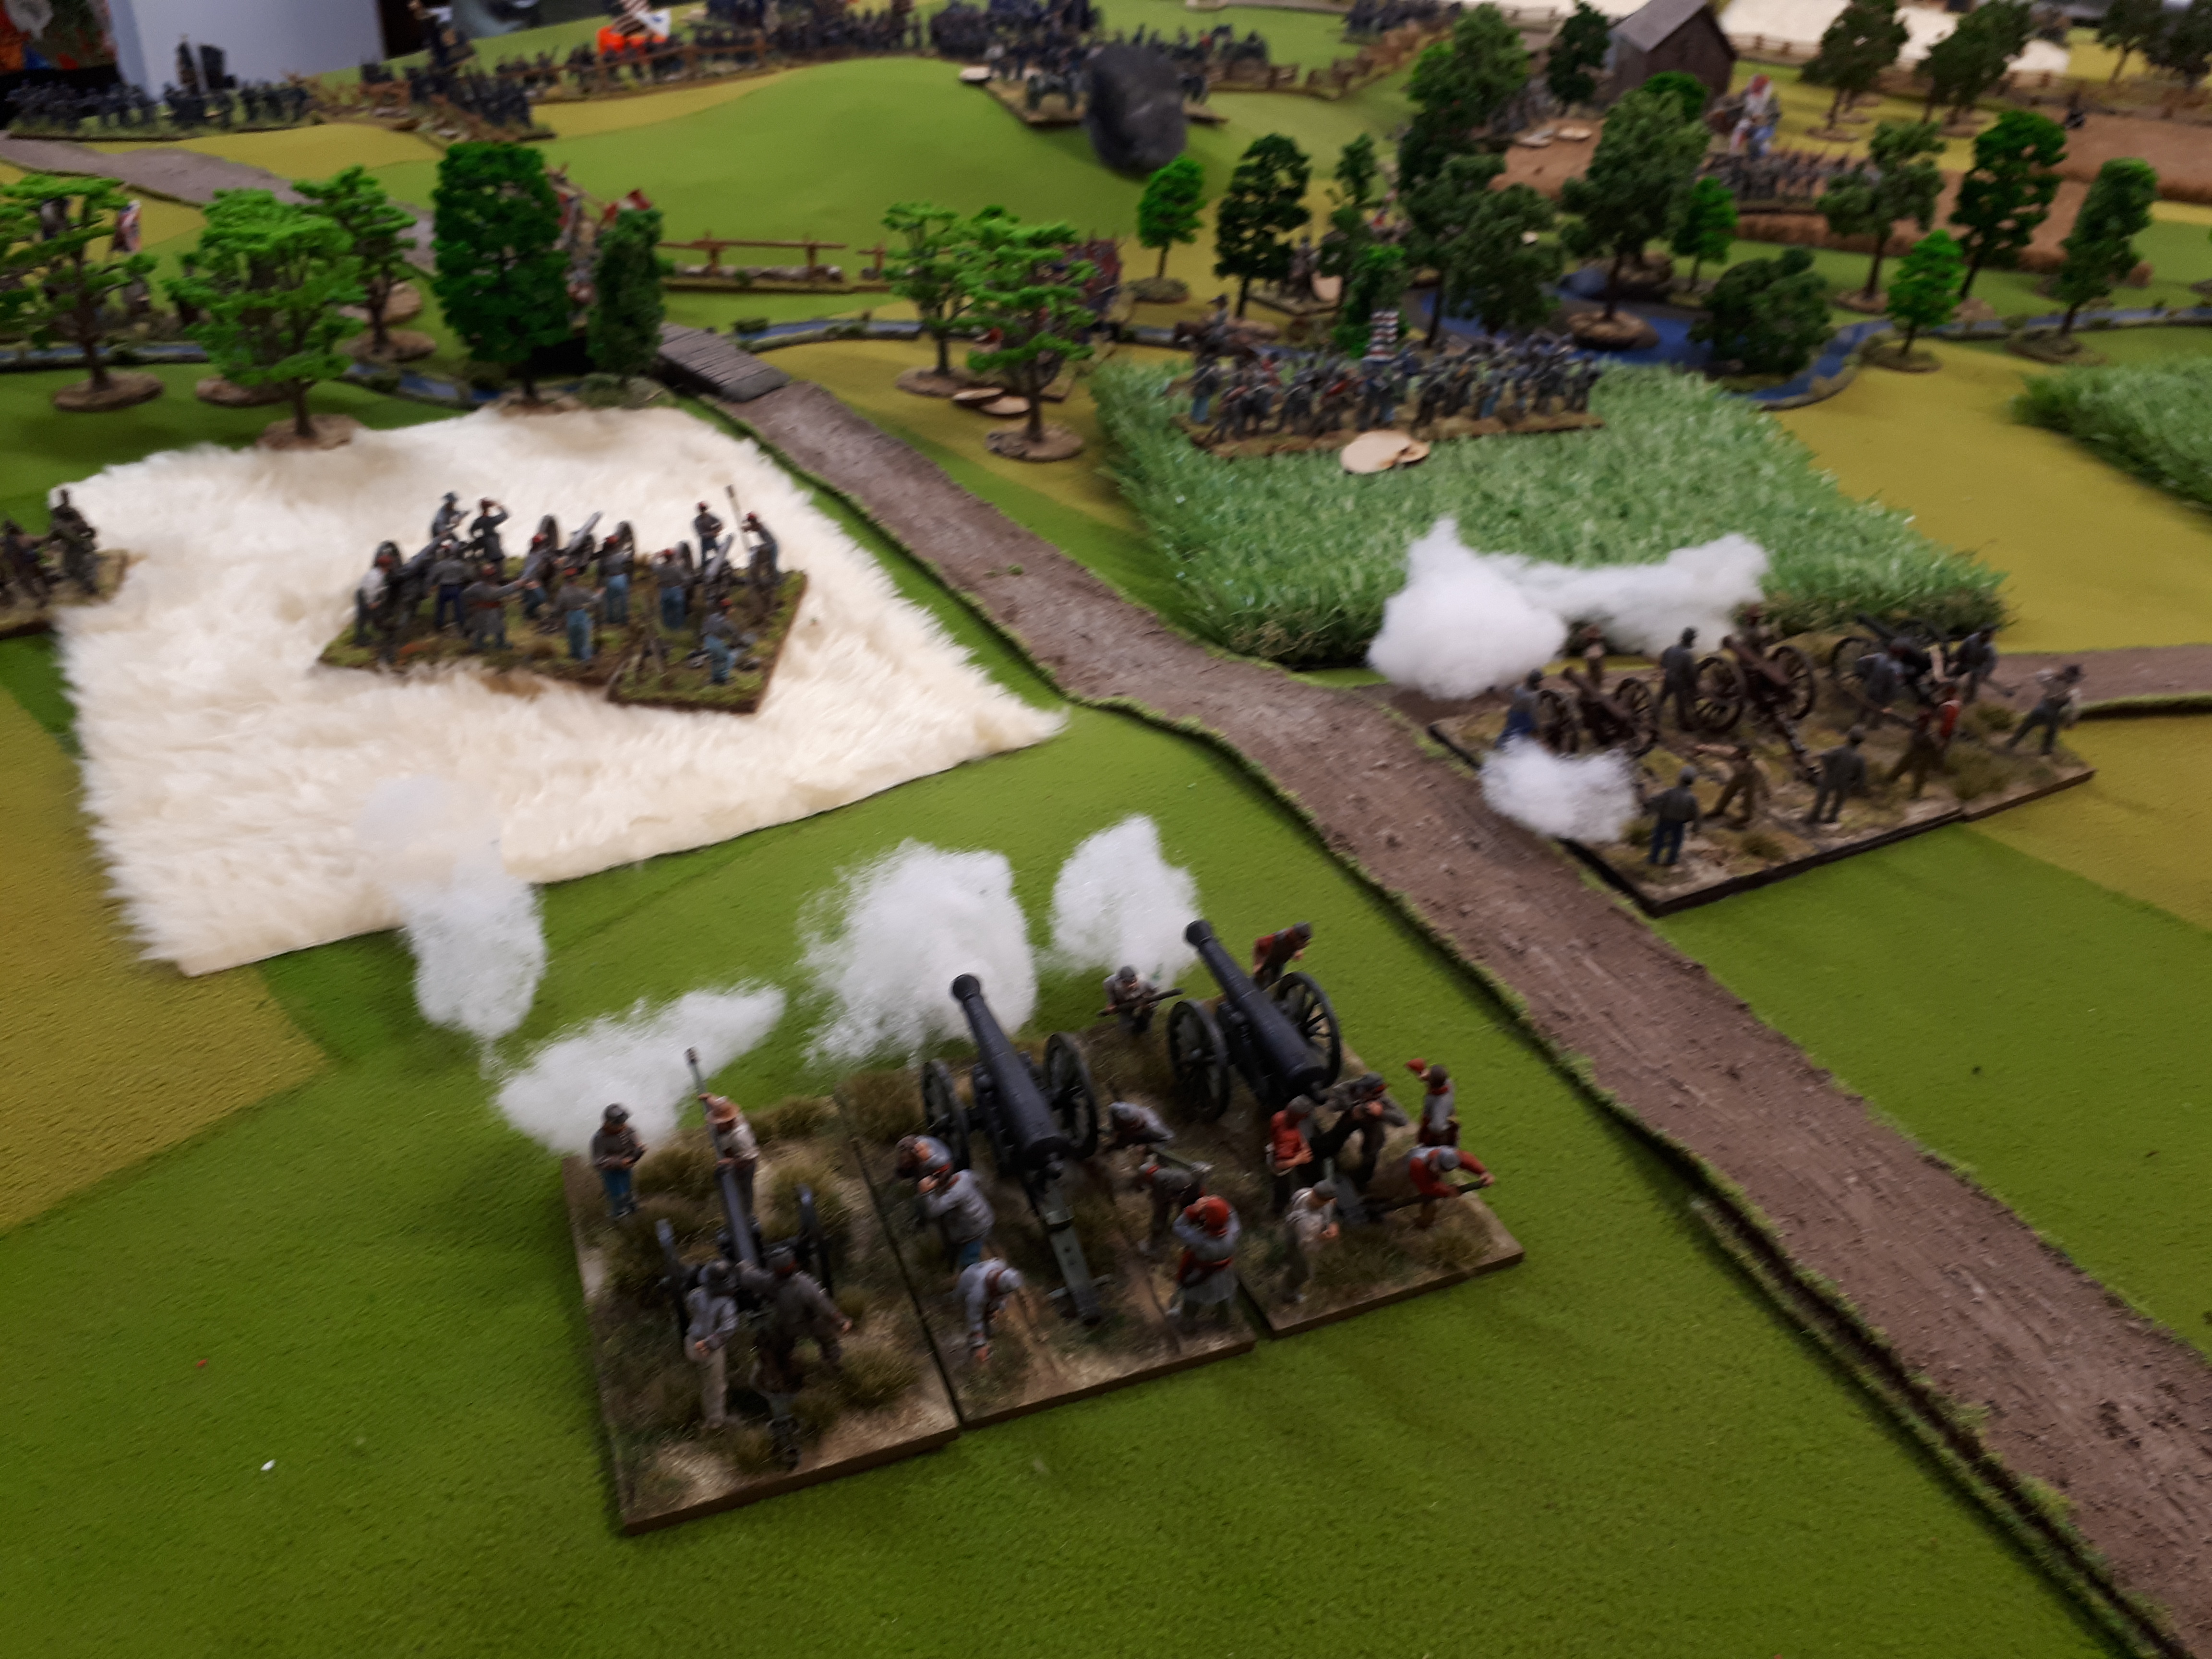
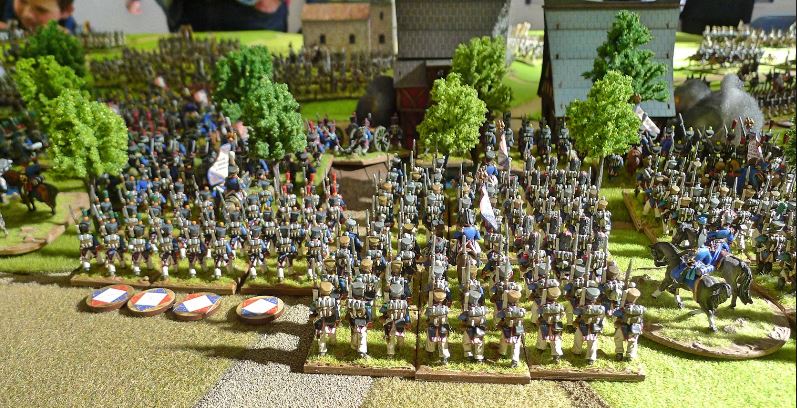
Oudinot facing the Russbach Heights with Hohenzollern awaiting him on the ridge line.

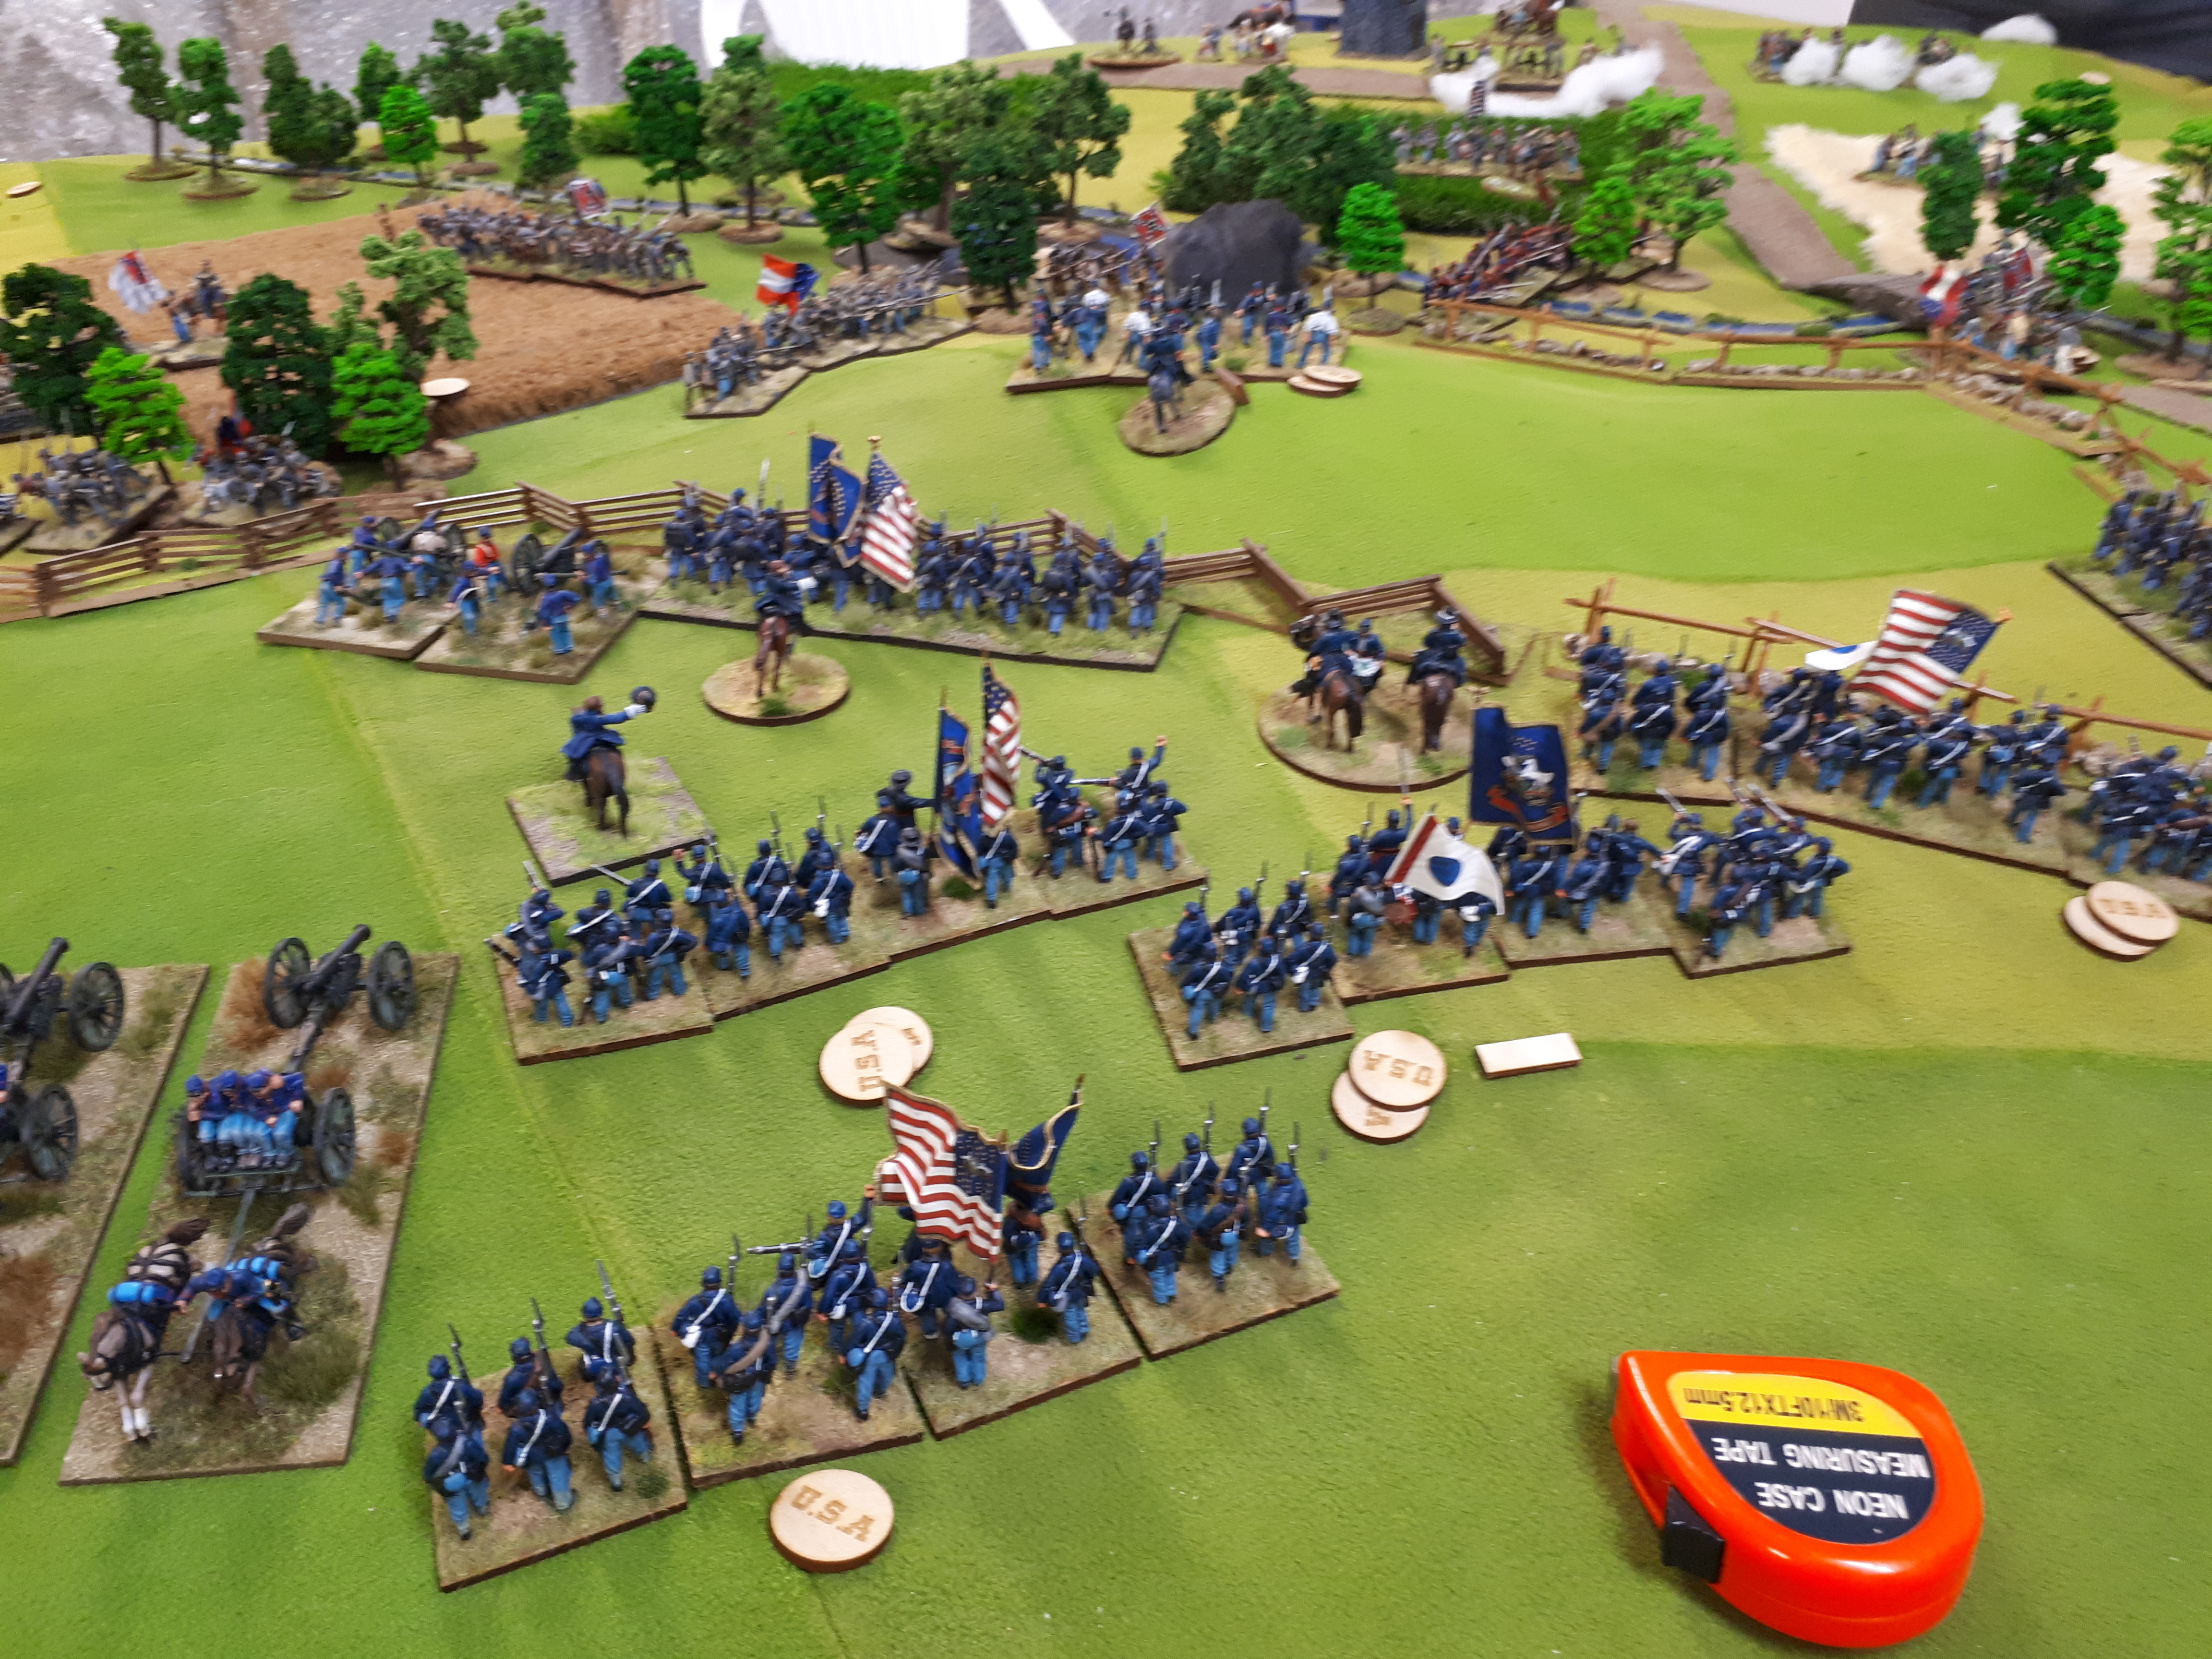
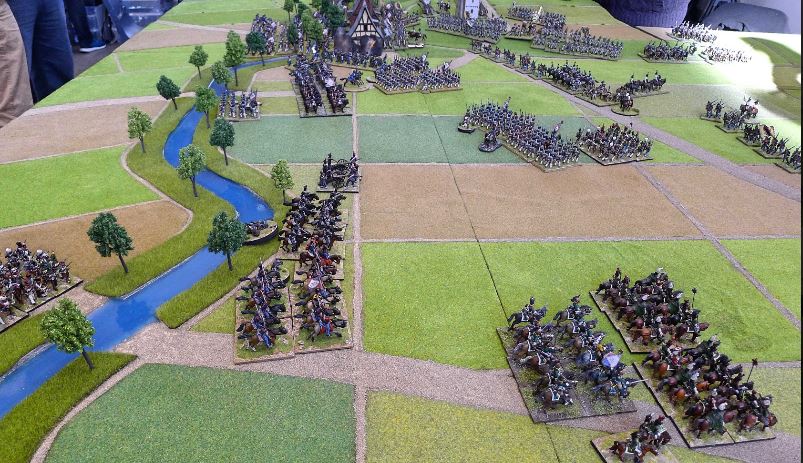
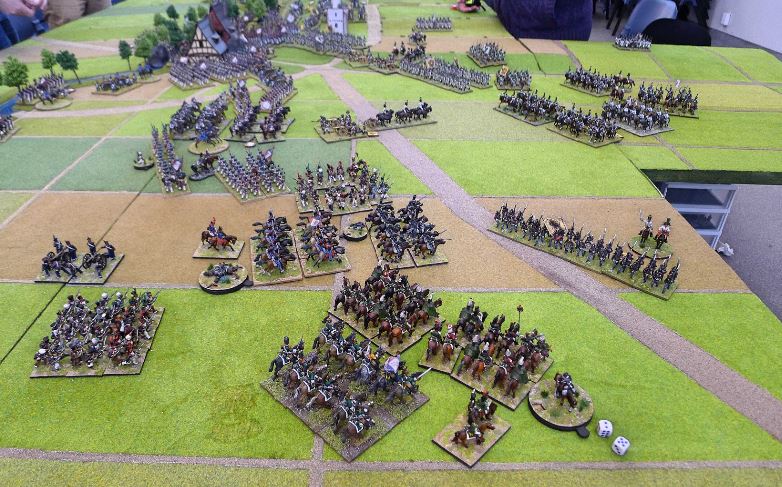
View from Rosenberg’s command post at the French hordes approaching!

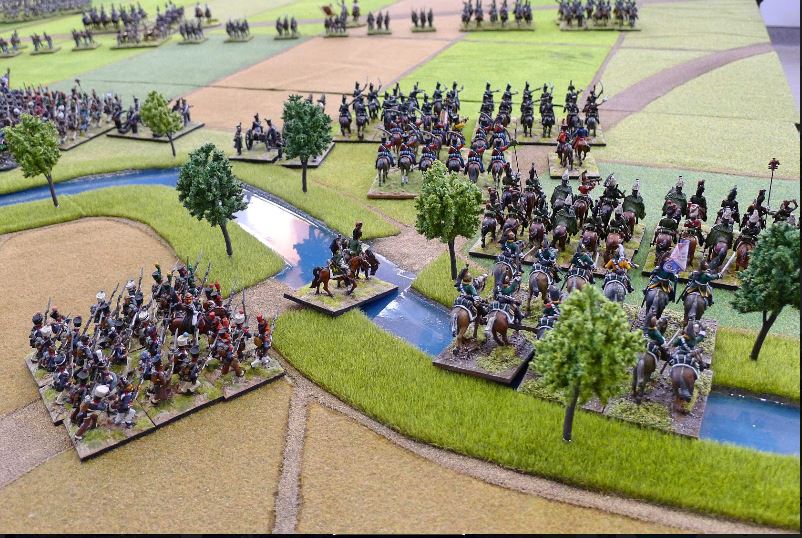
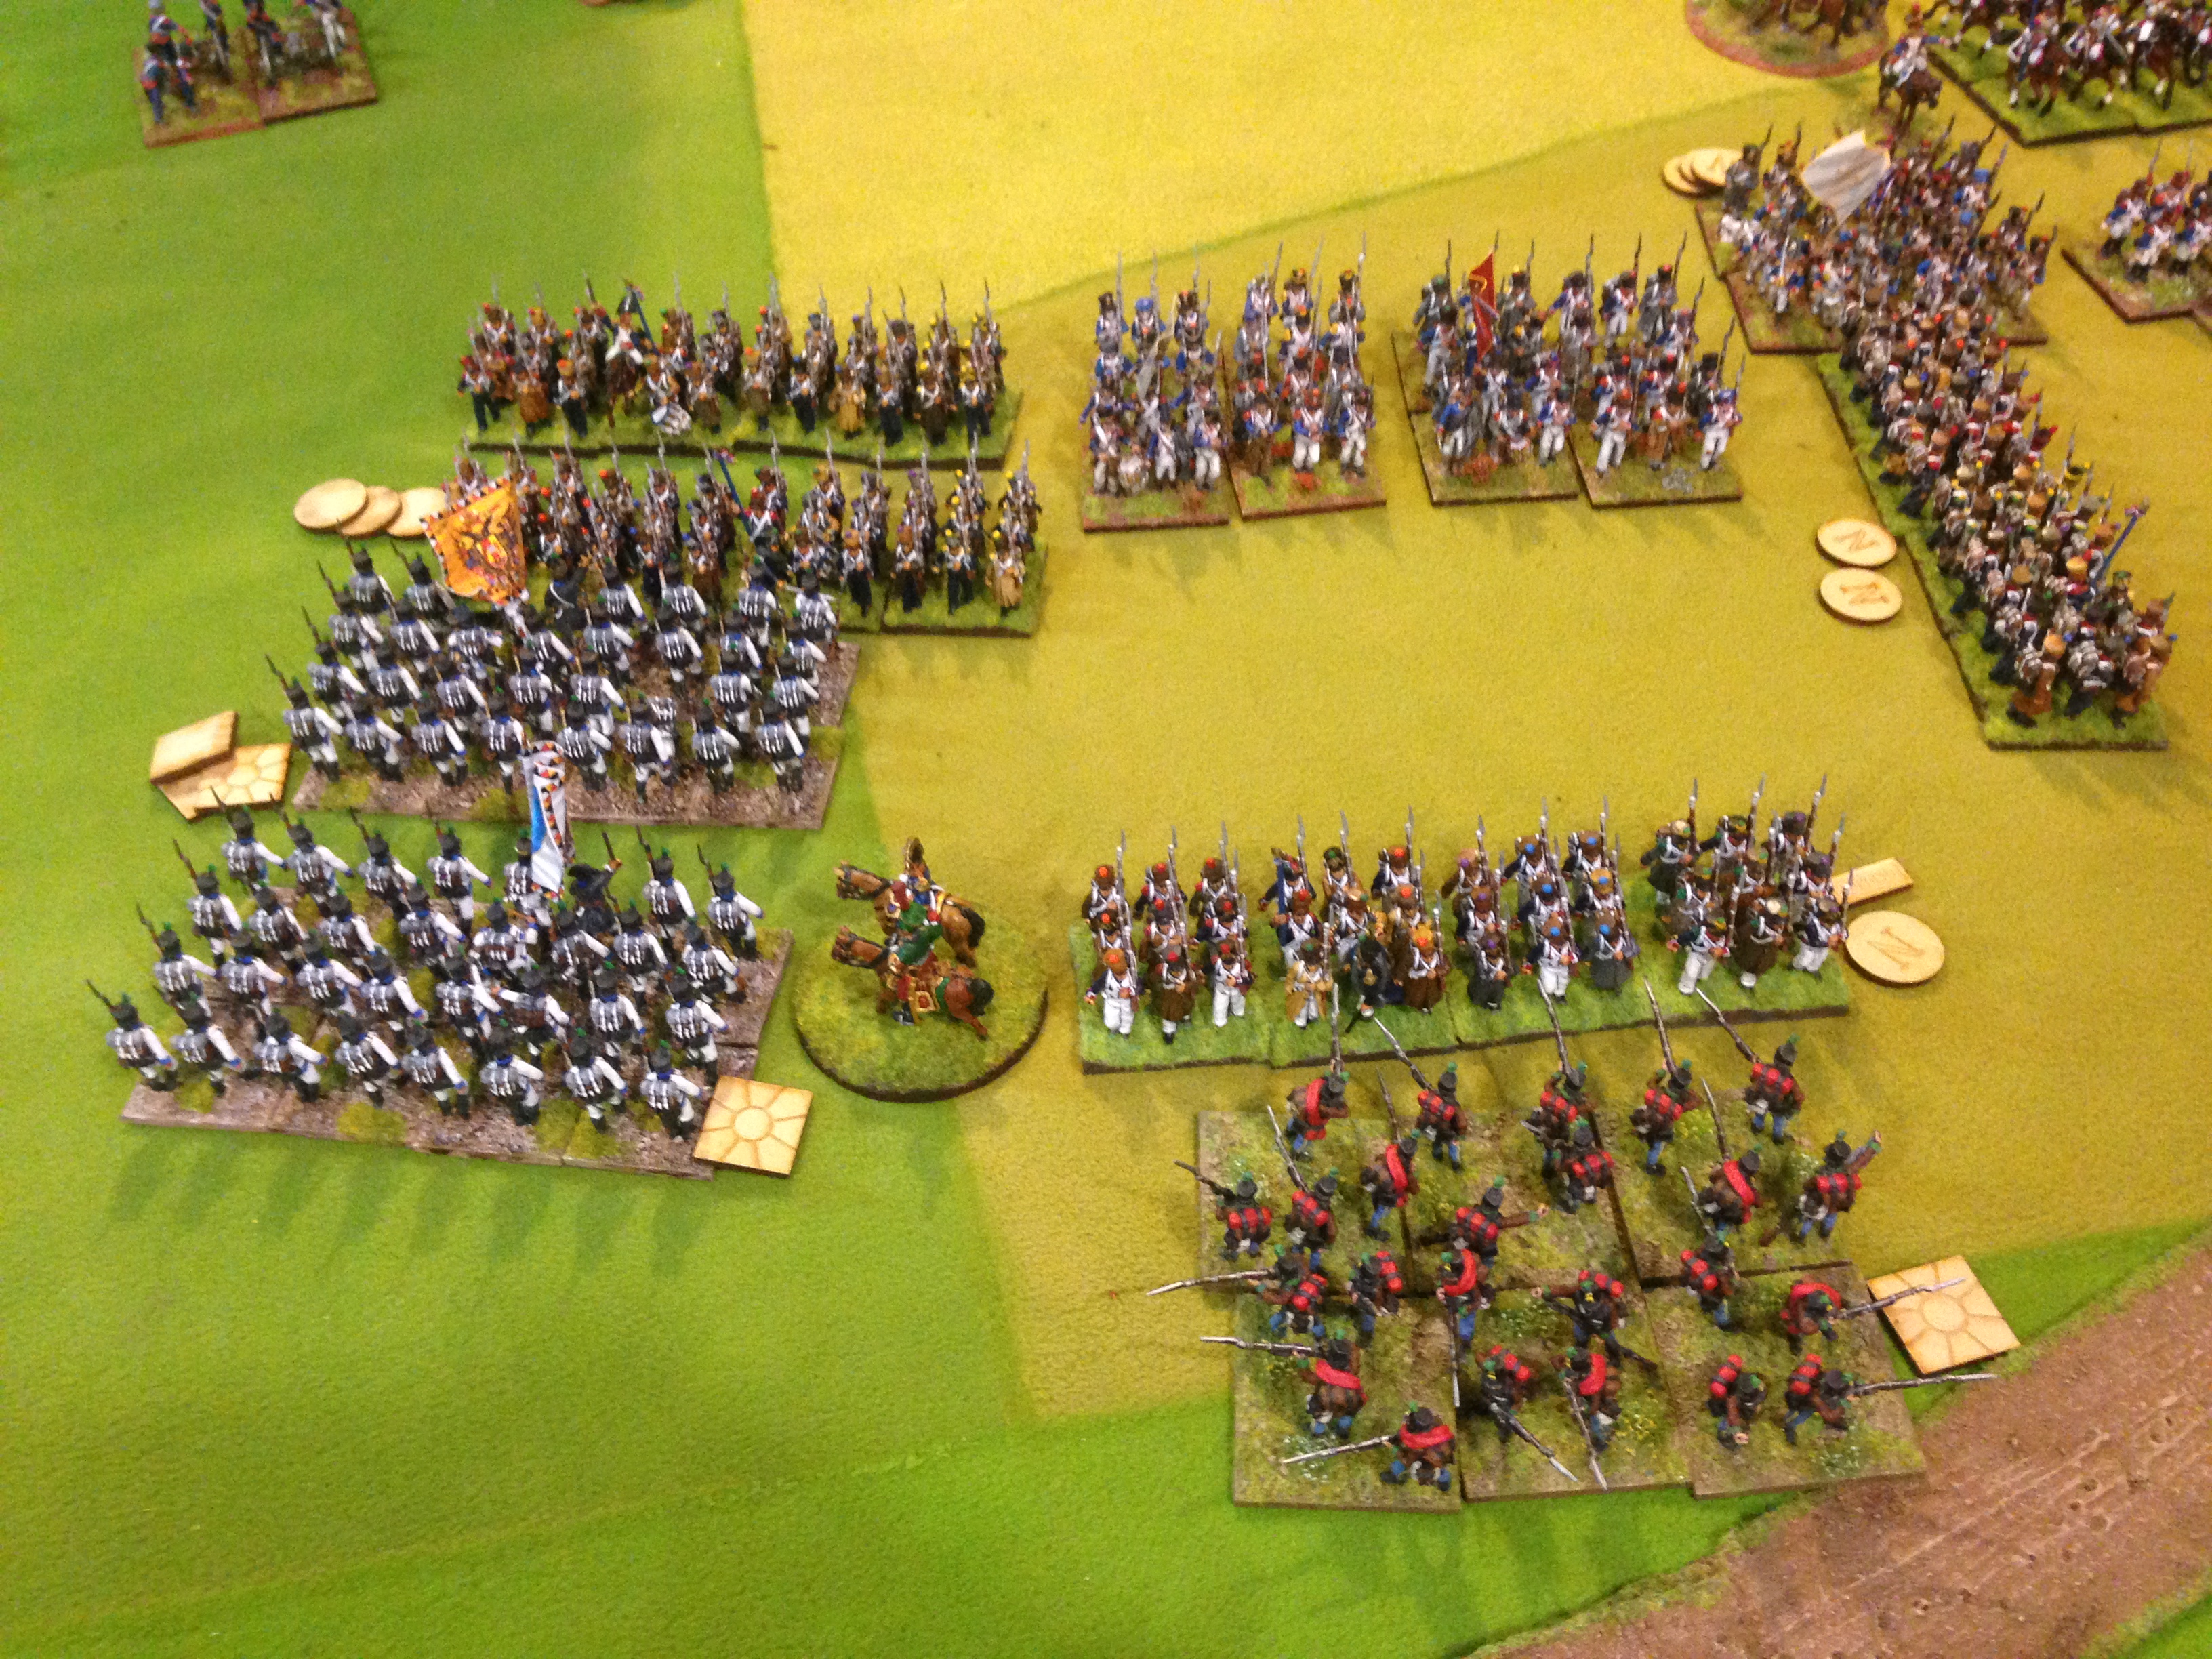
Kolowrat’s corps opposite southern part of Massena’s corps.

Massena and Eugene massed opposite Bellegarde around Aderklaa.

The French right flank juggernaut that is Davout’s corps along with Oudinot opposite Rosenberg defending the lowest point of the escarpment of the Russbach Heights.

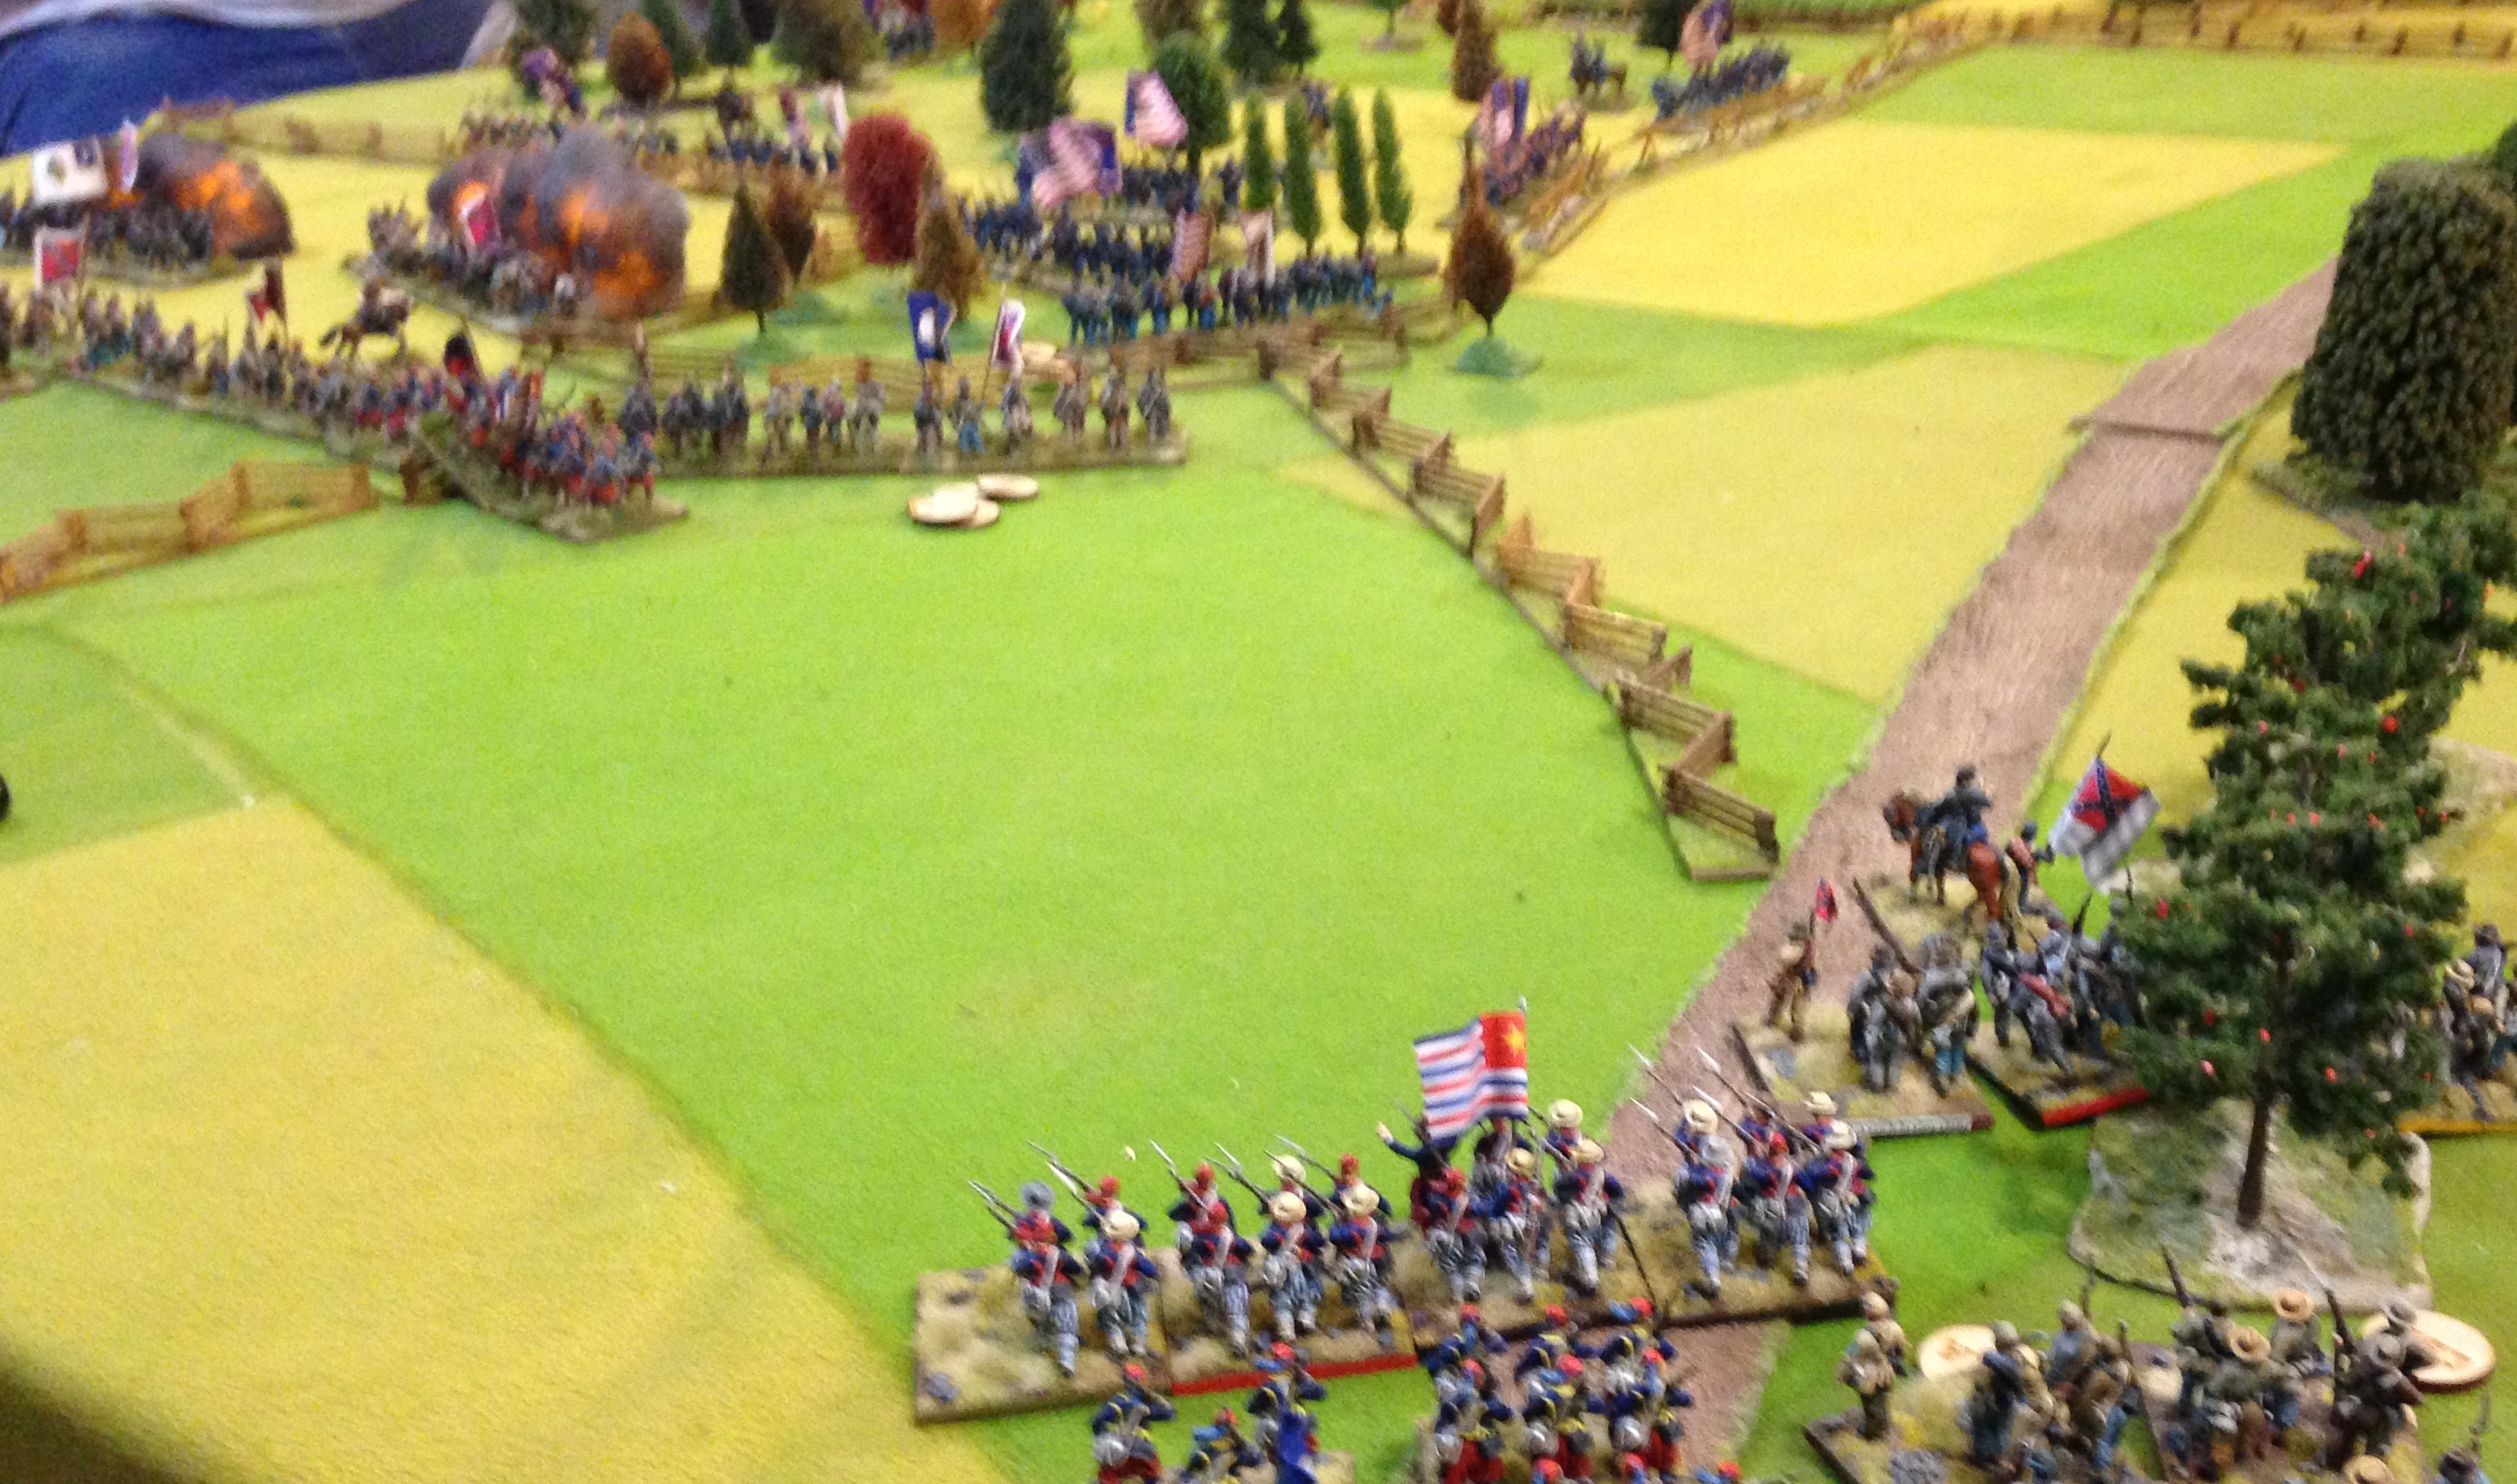
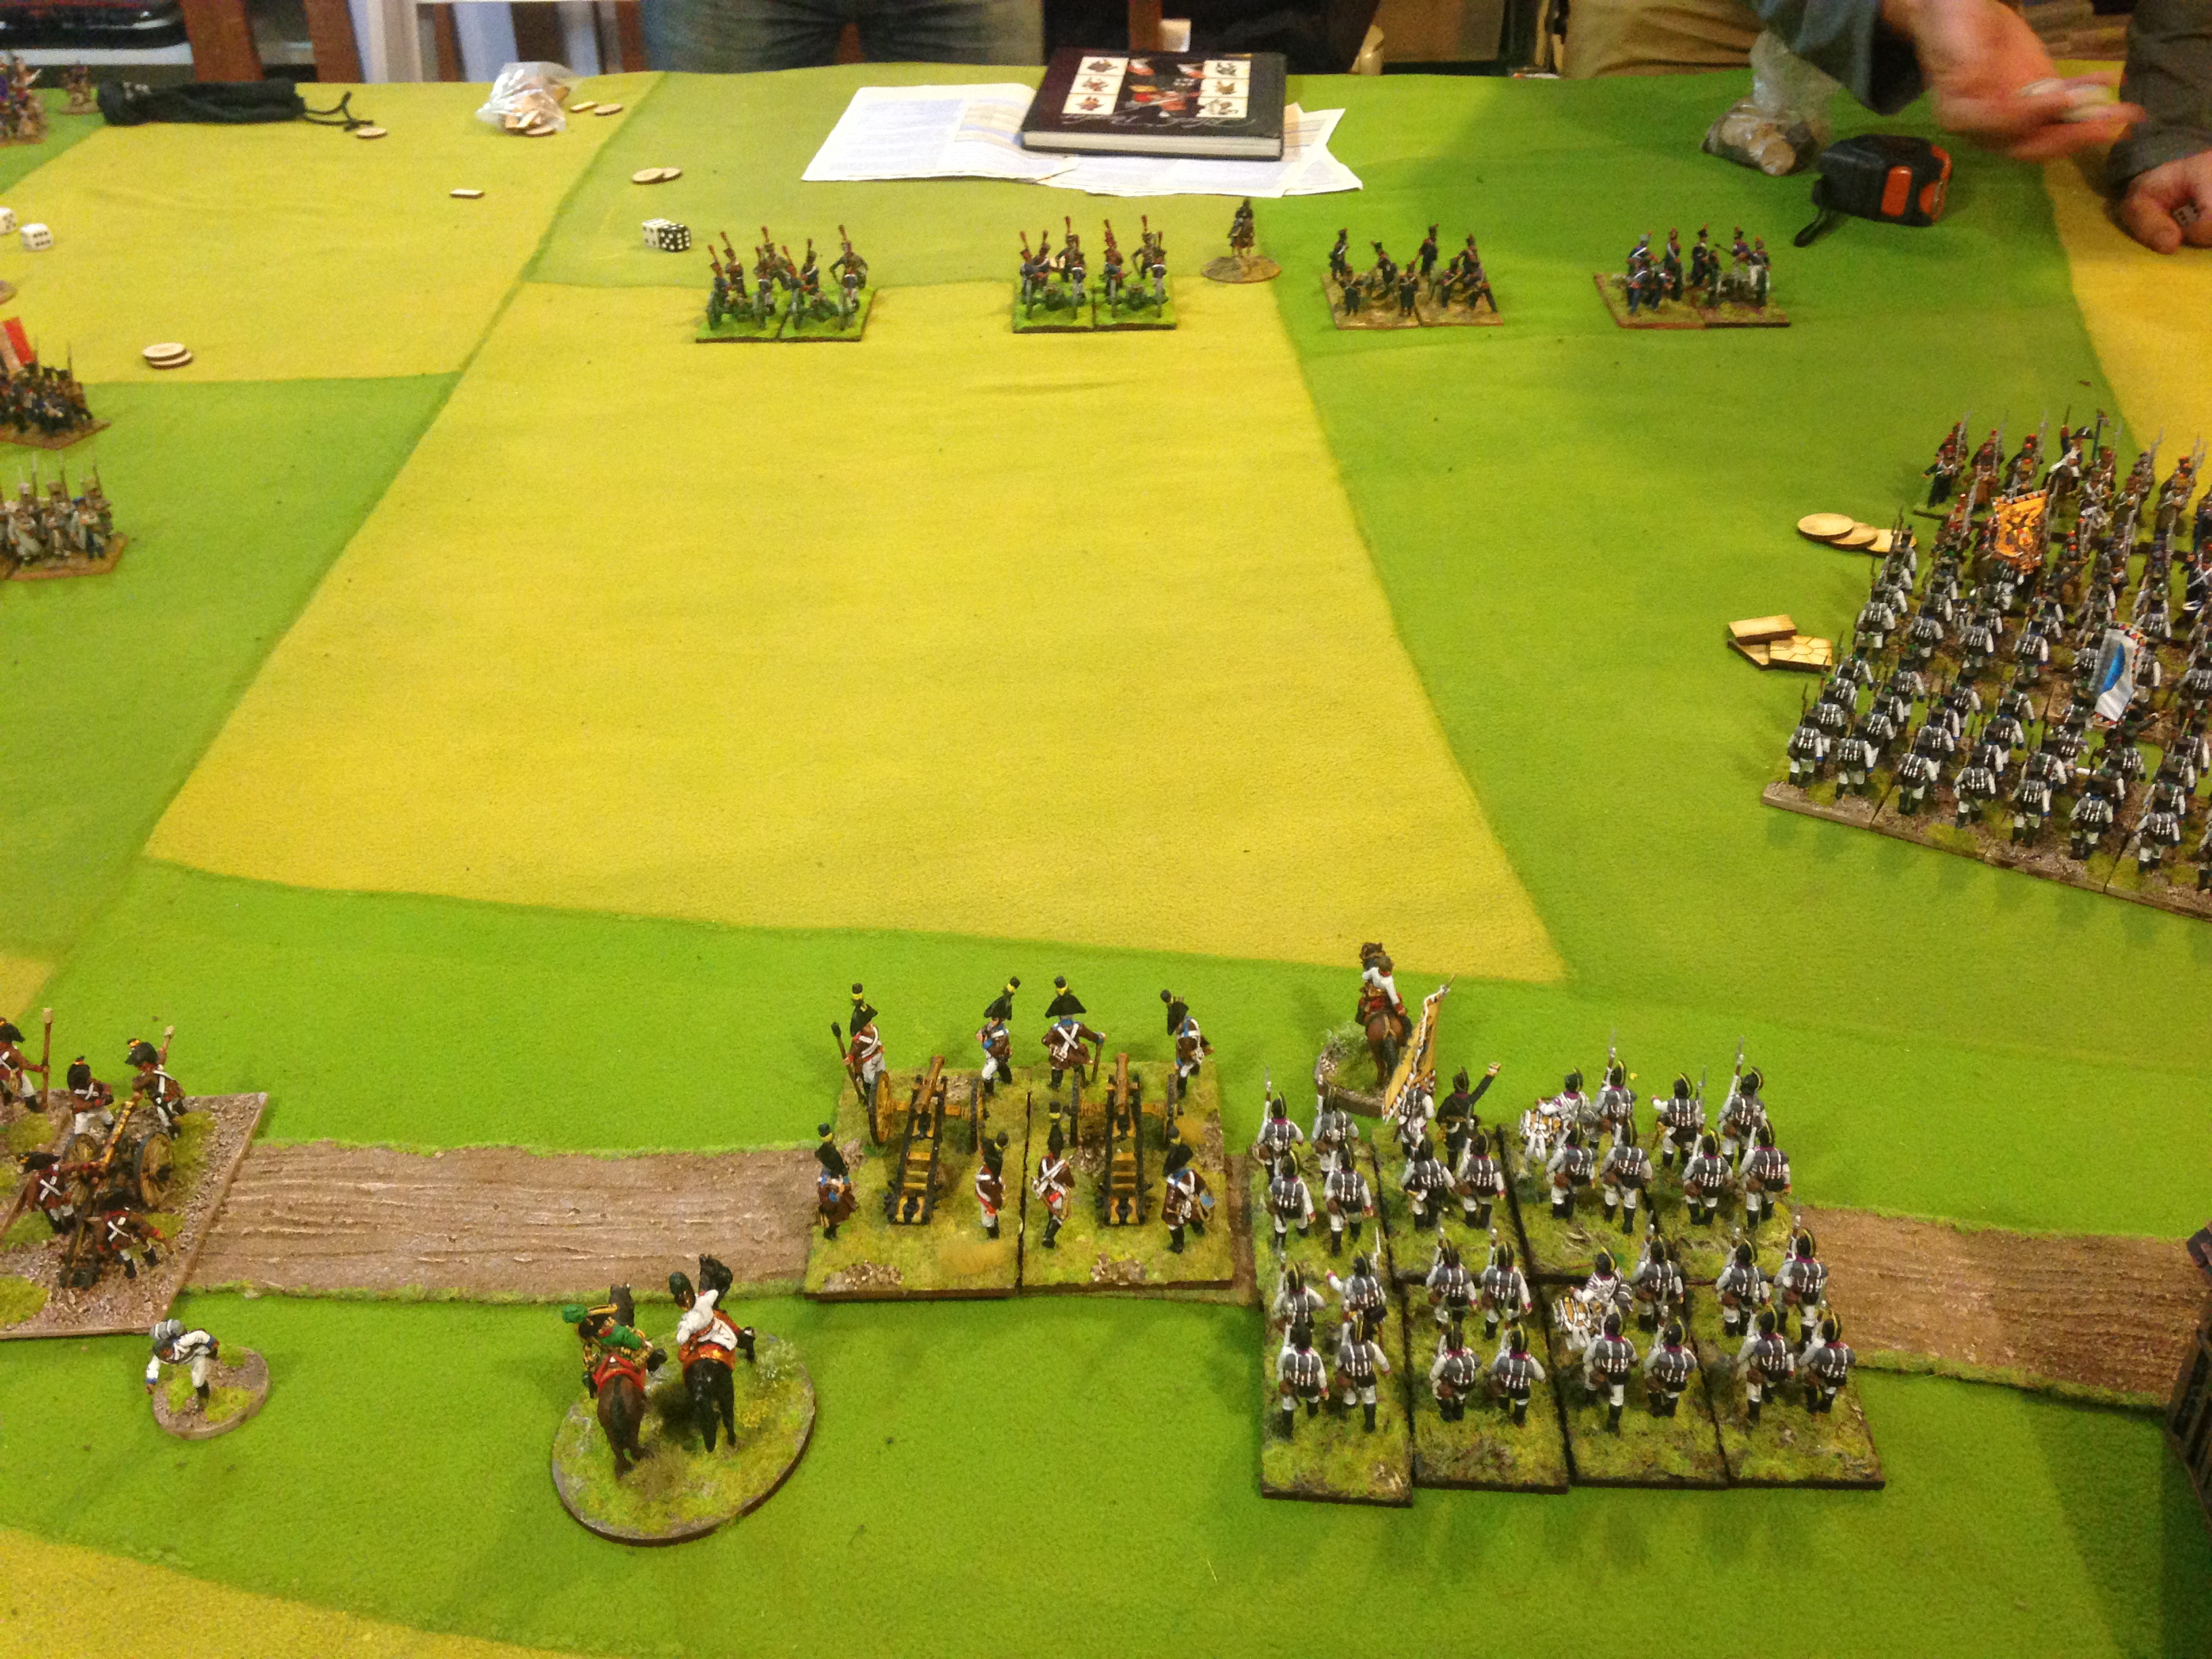
Klenau on the southern flank rushing for Boudet’s small isolated division of Massena’s corps. This flank had wide open spaces.
Here ends part 1 of the battle as the players are poised for turn 1.
Part 2 to follow.


 It seemed such a good idea, a second follow me was made!
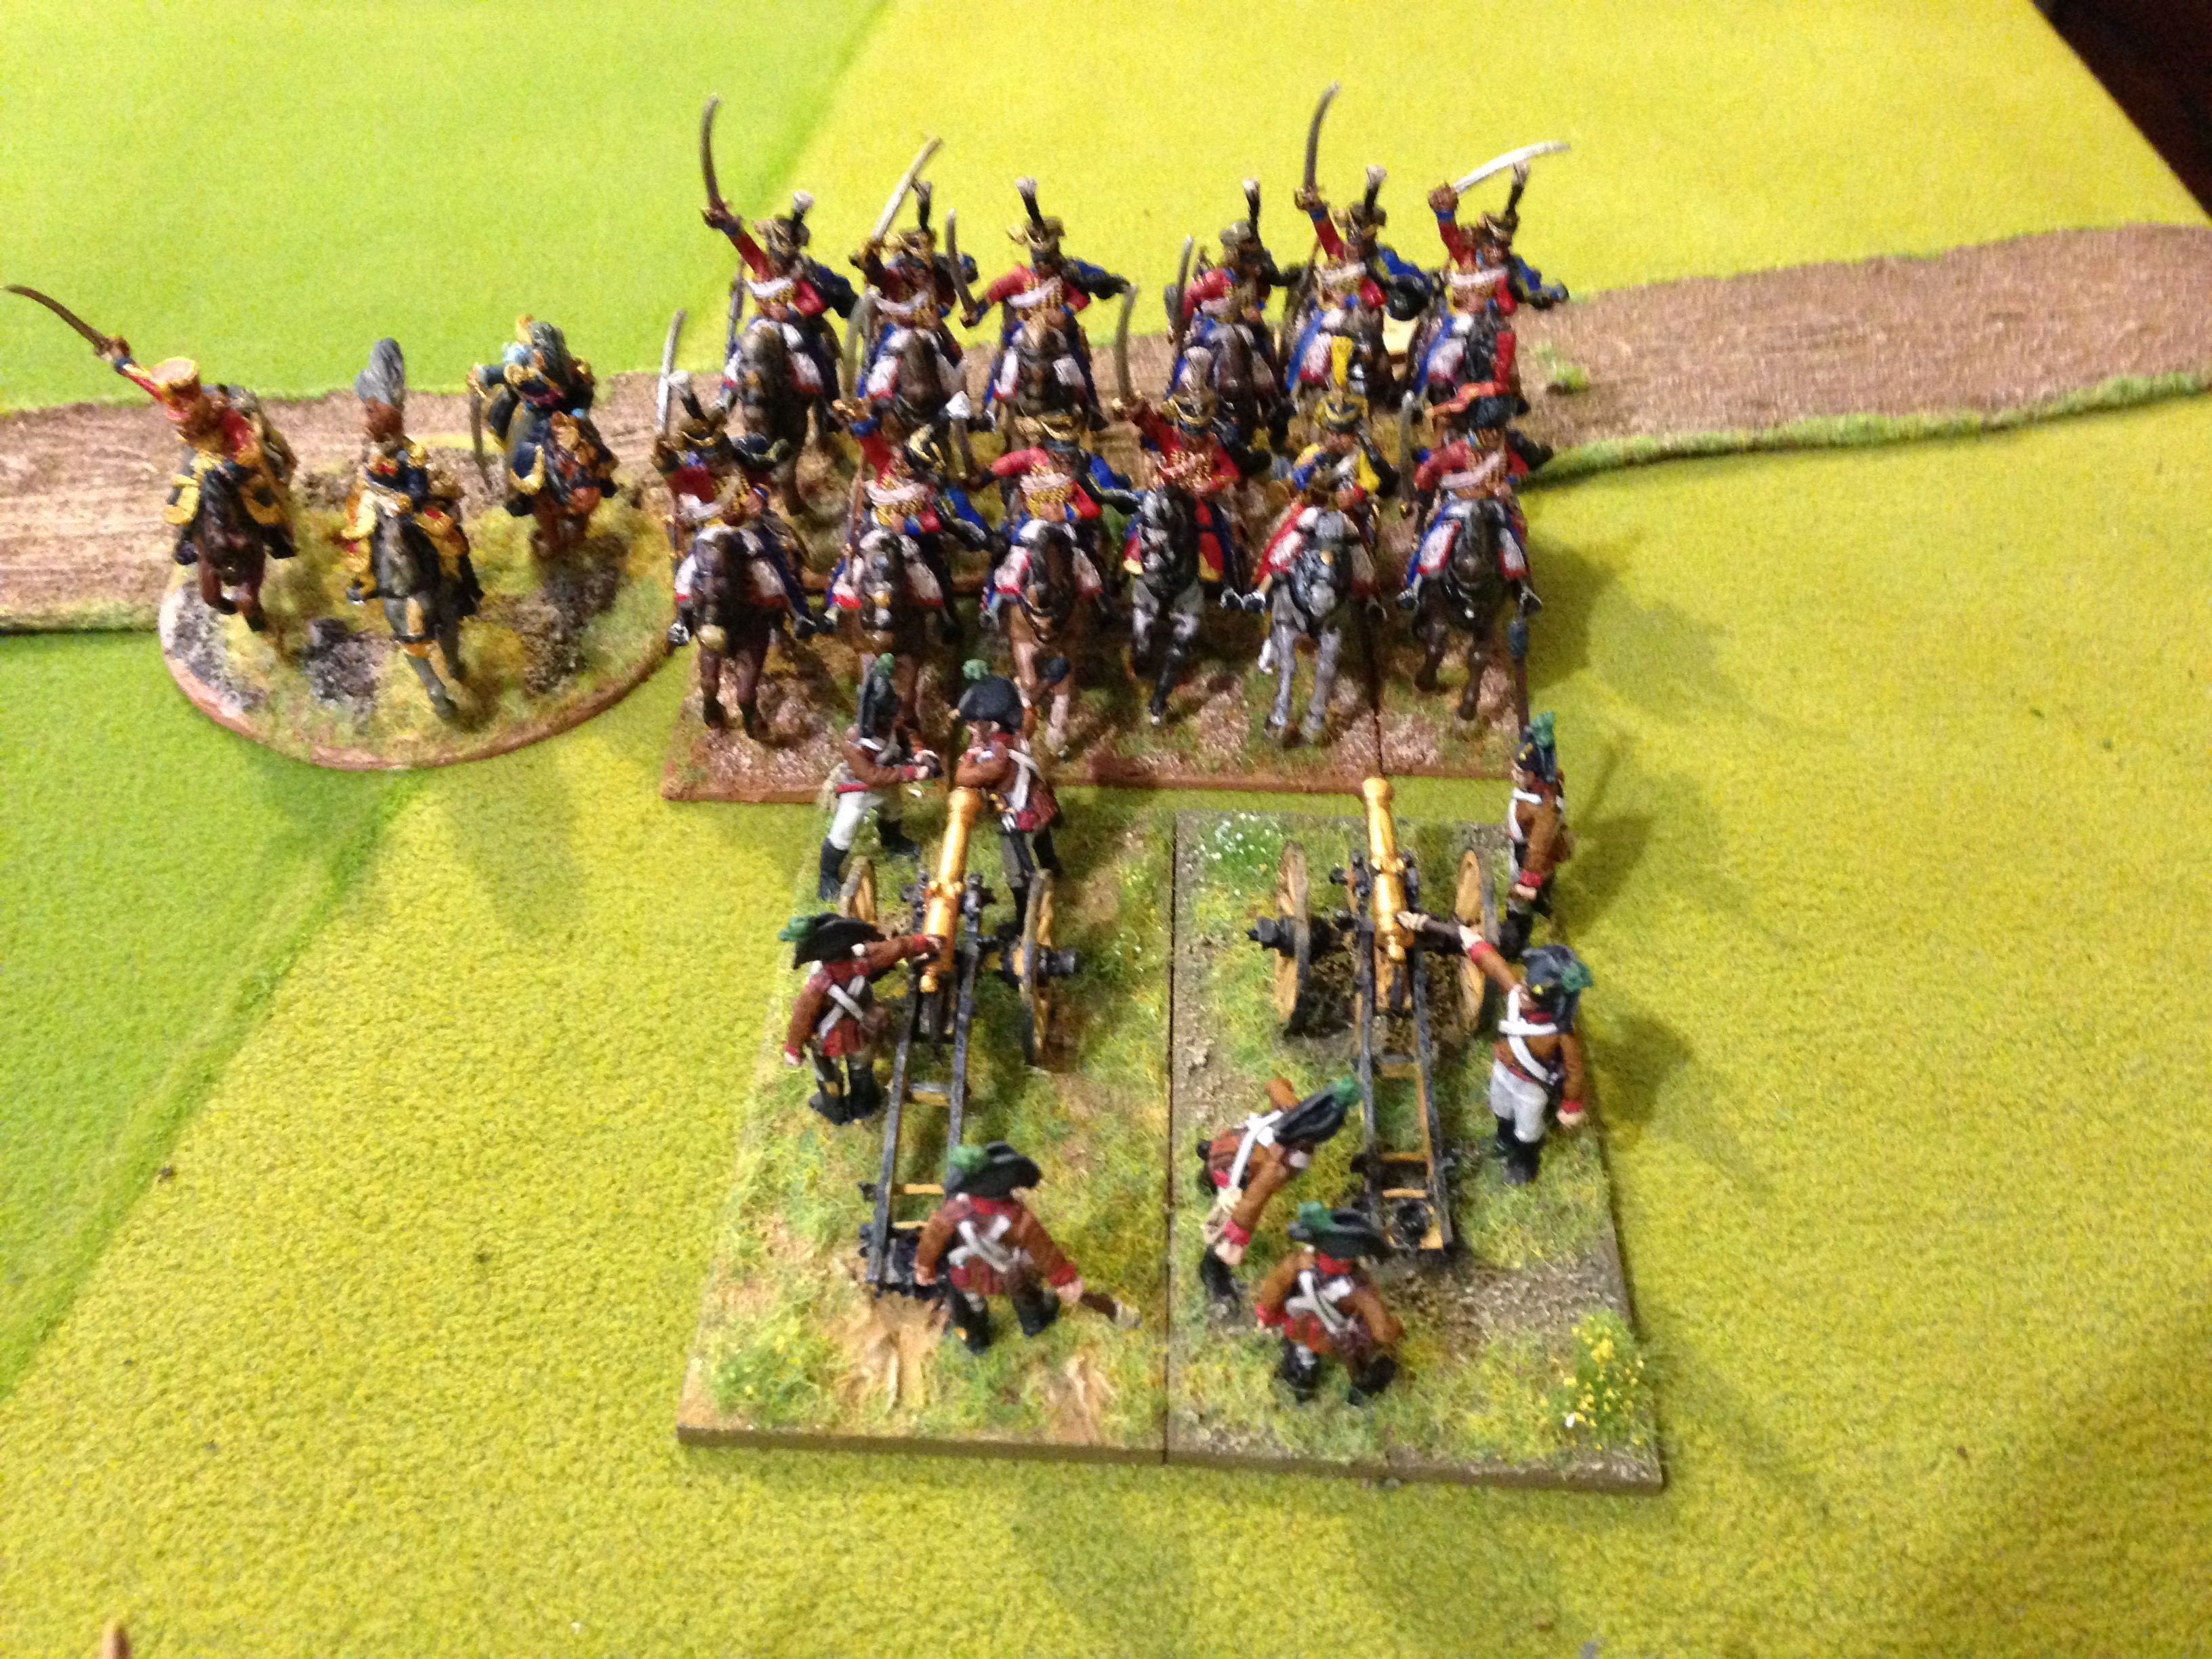

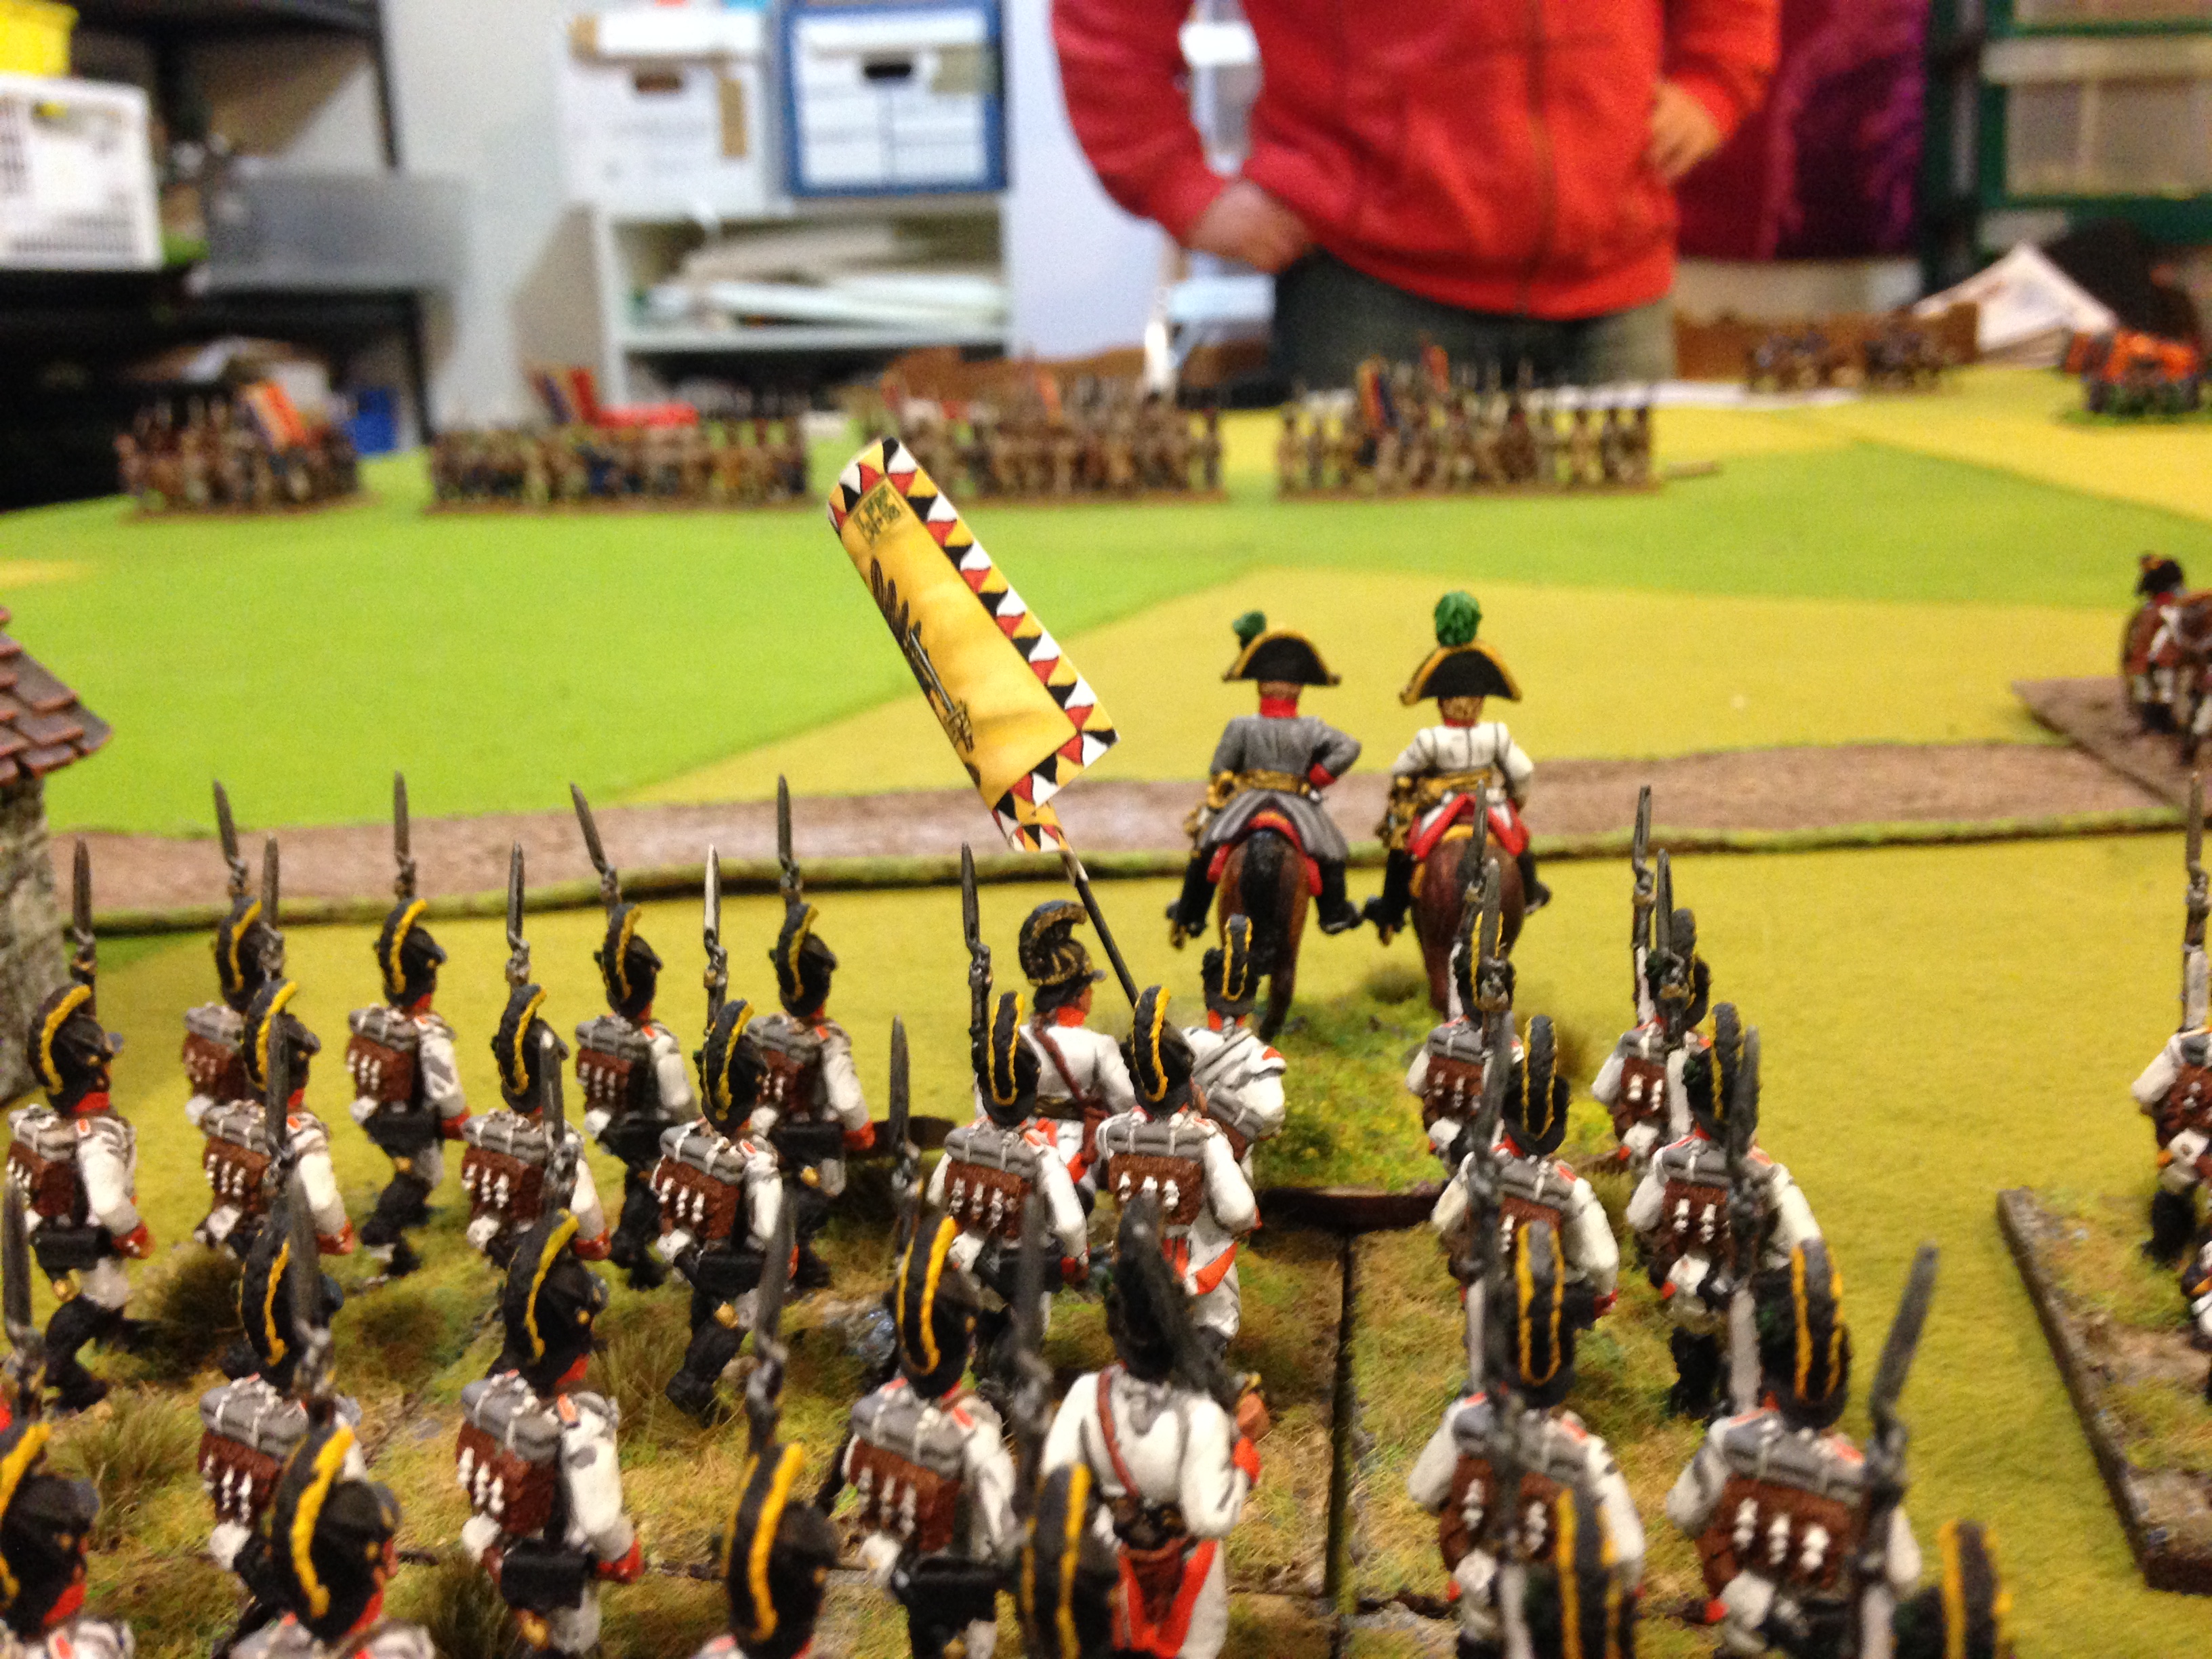


 To the north the Austrian Uhlans are still refusing to move, and there is no one else left!