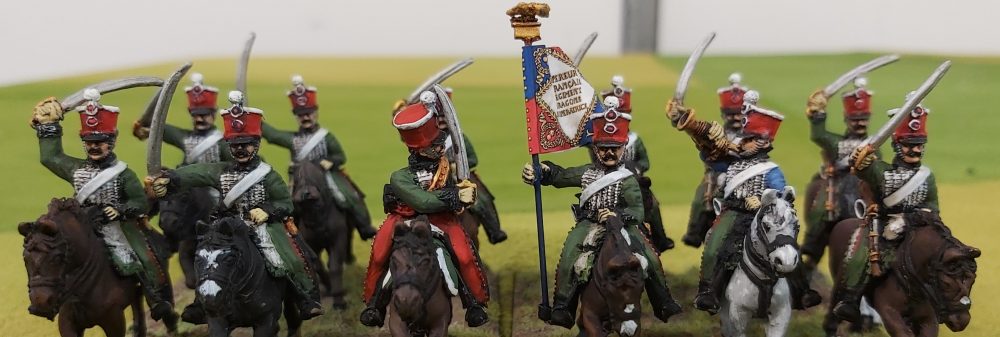
So Saturday 18th November 2023 was the annual convention of one of the wargames Clubs here in Wellington NZ, the Warlords. We had been asked if we wanted to put one of our demo games on so we agreed and decided as we were on an ACW kick to play Antietam. I asked Alan seeing he works on a fancy graphics Mac to design a poster which is below. Its pretty cool.

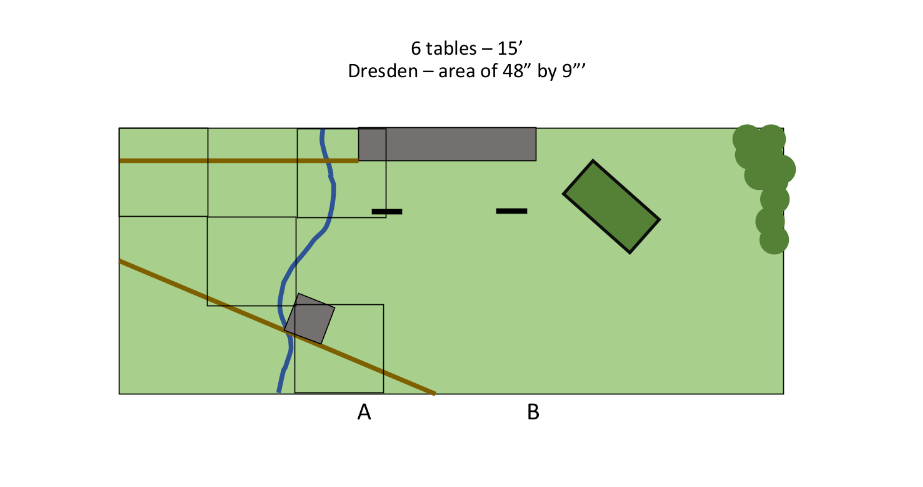
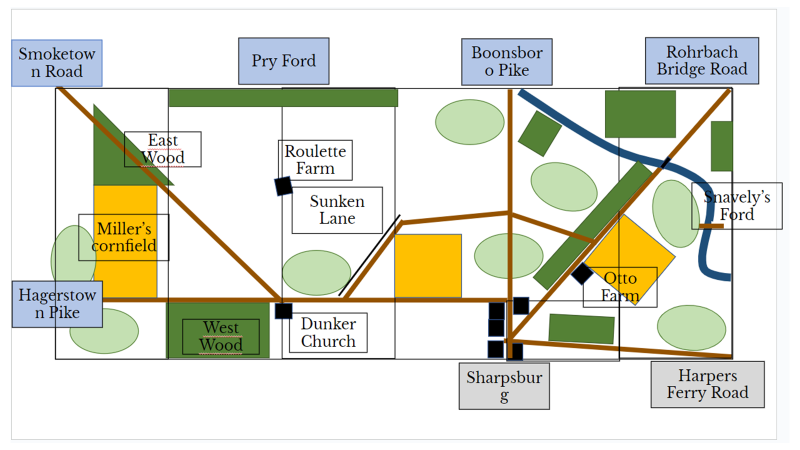
Now as Goldie enjoys writing up scenarios and preparing Orbats etc, he designed the game.(Goldie and I as usual then debated it for several weeks) The game map is below. The table was 16 foot long and 6 foot wide. The Confederates would set up first and then the Union would march on(having written up orders of arrival). The entry points for the Union were the Hagerstown Pike, Smoketown Pike, Pry Ford, Boonsboro Pike and Rohrbach Rd. The Antietam Stream was only passable on the bridge on the Rohrbach Bridge Rd and at the Snavely Ford.
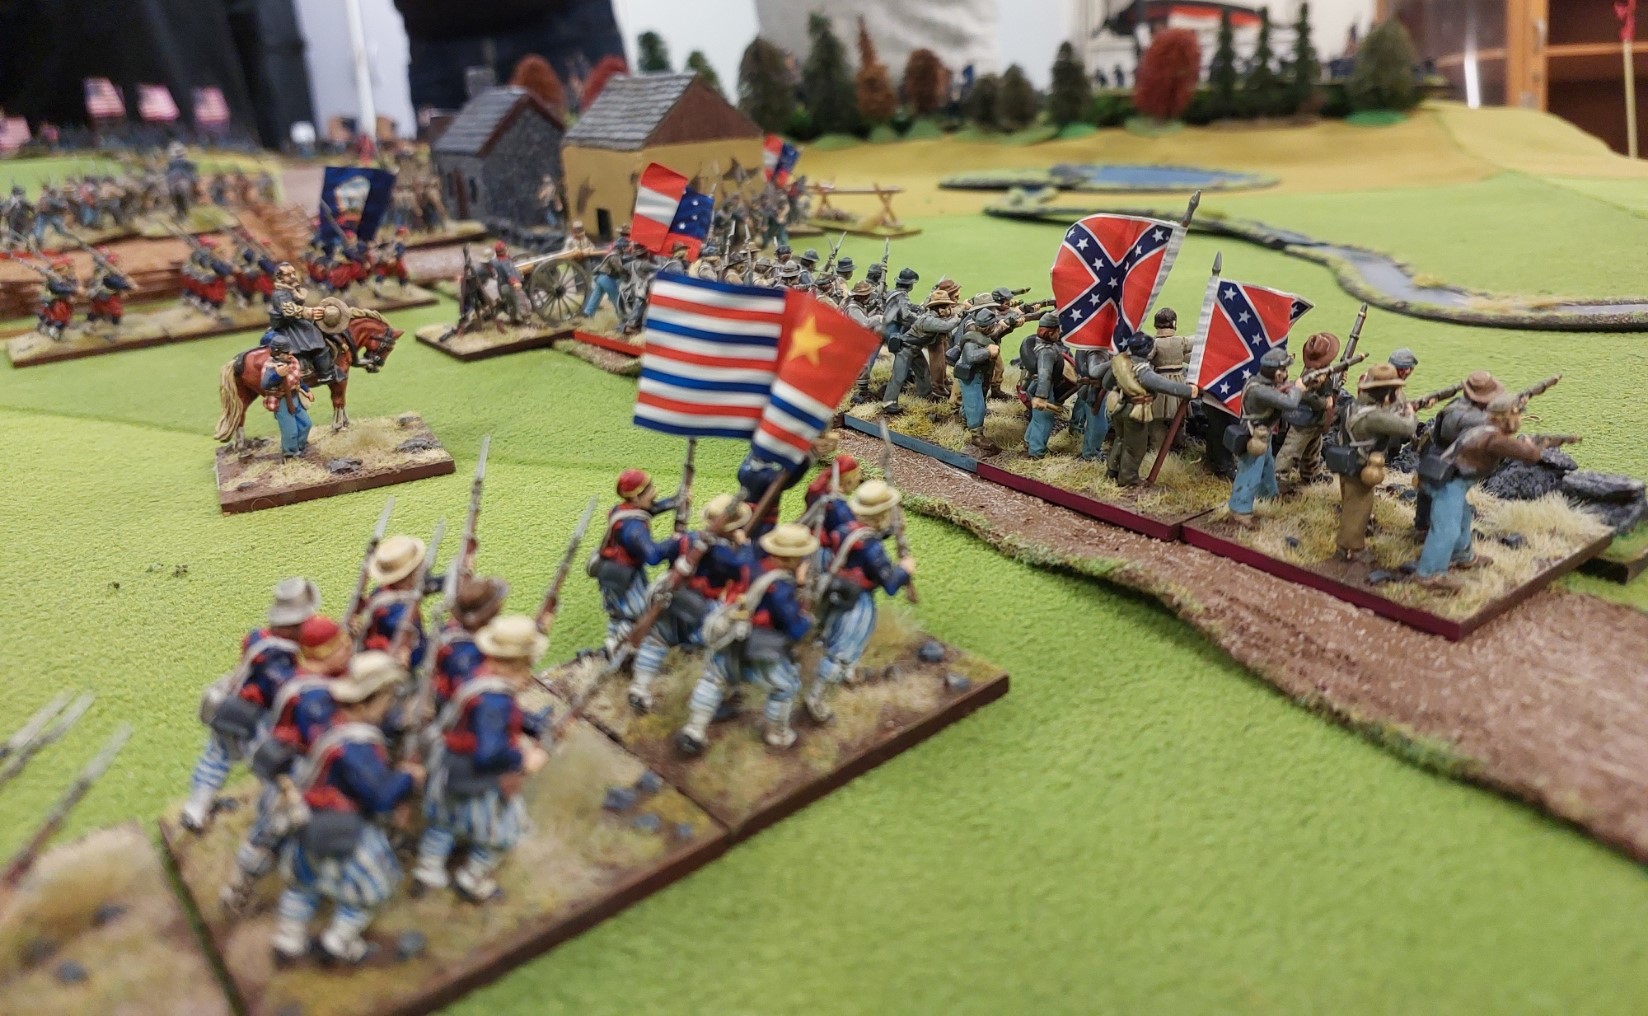
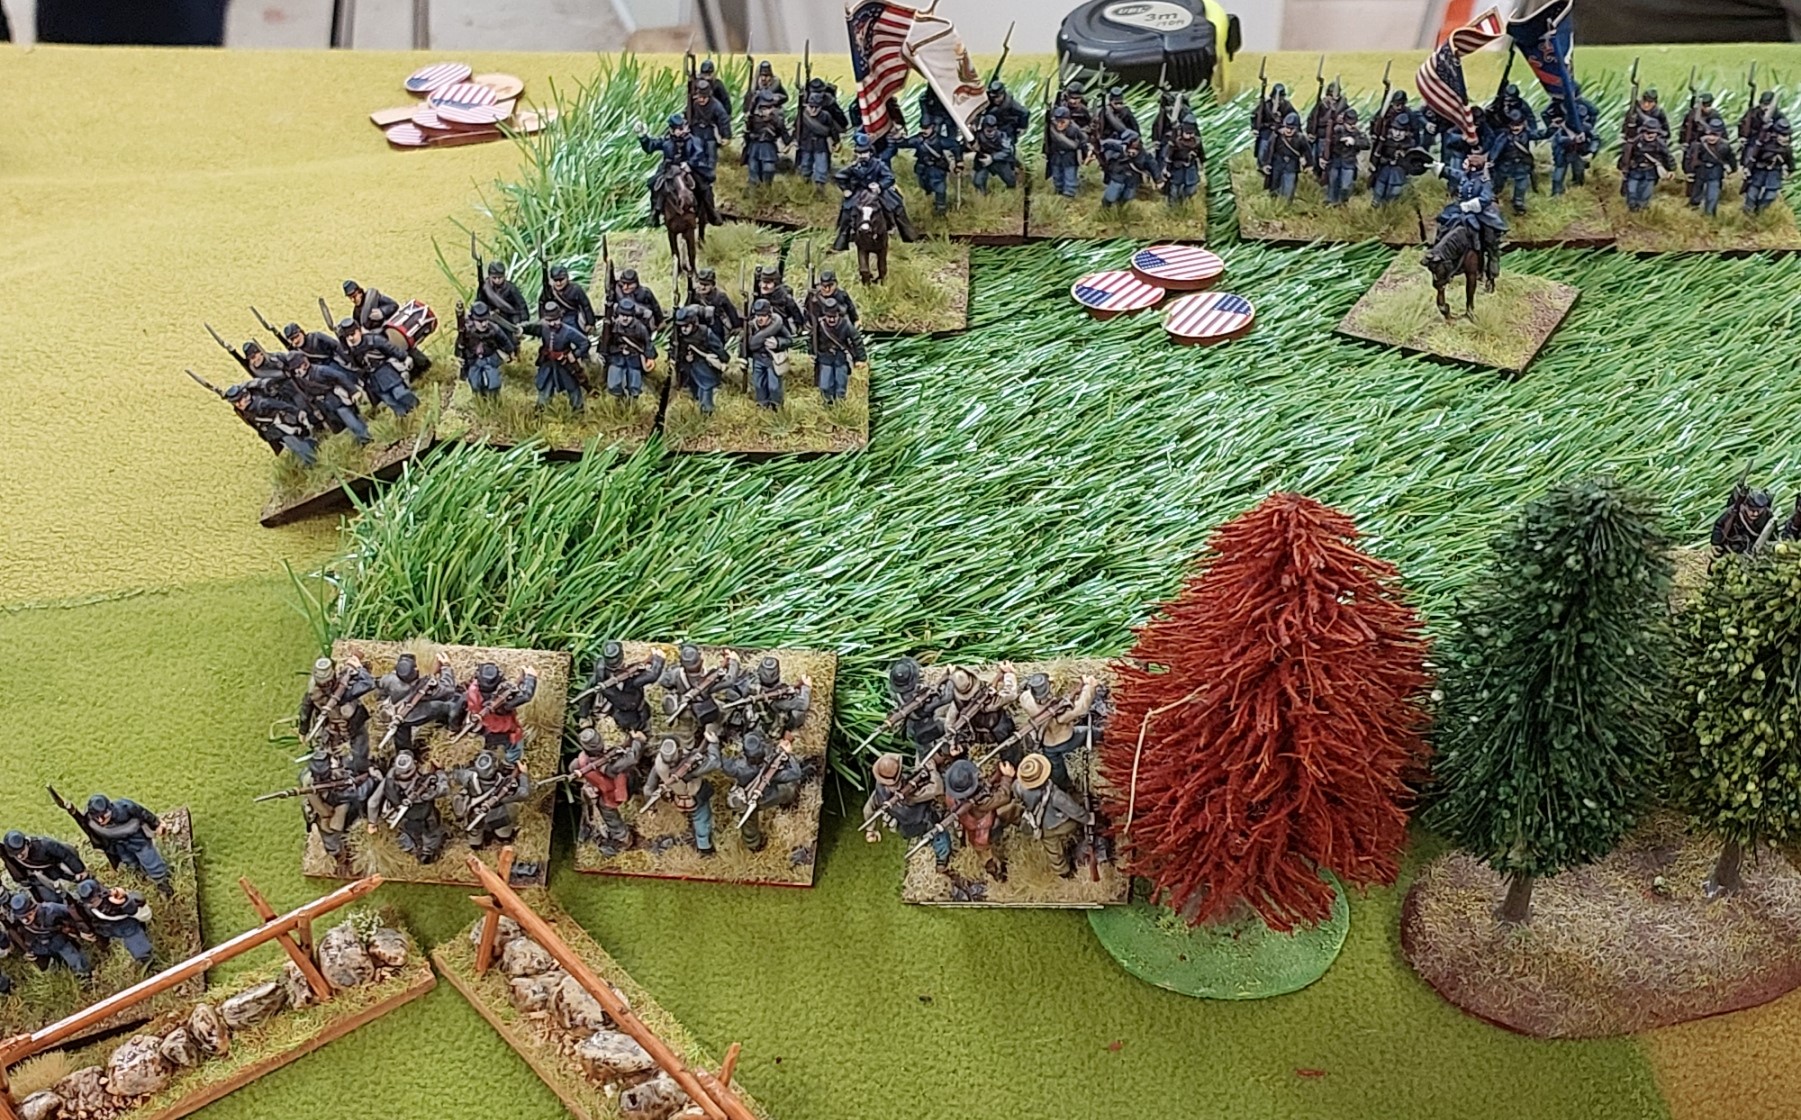
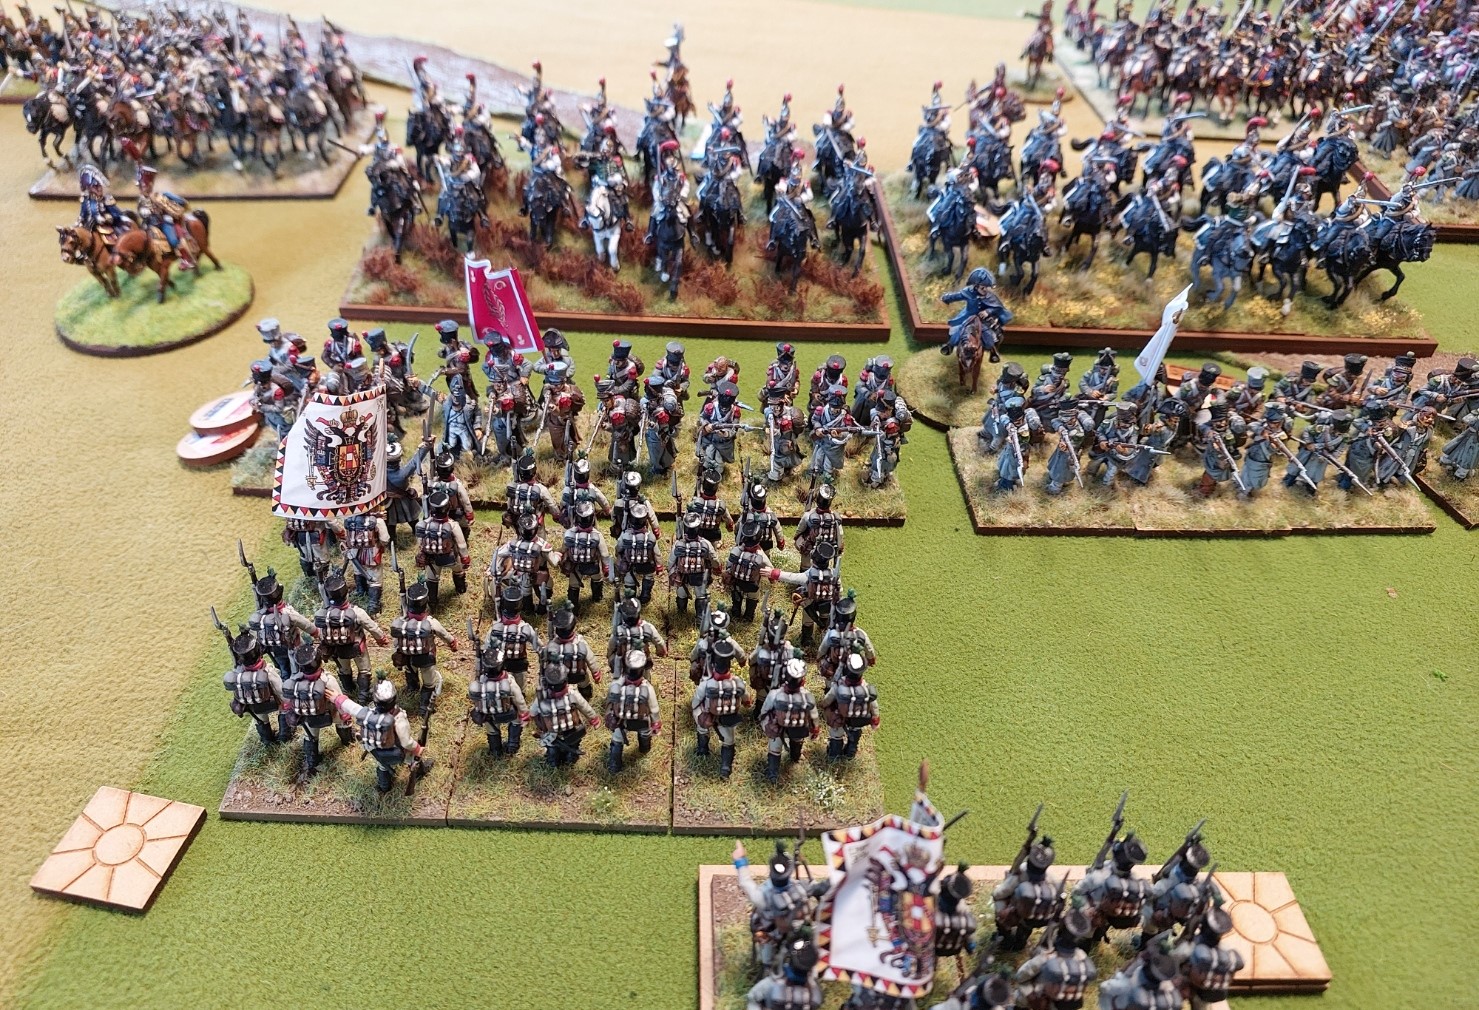
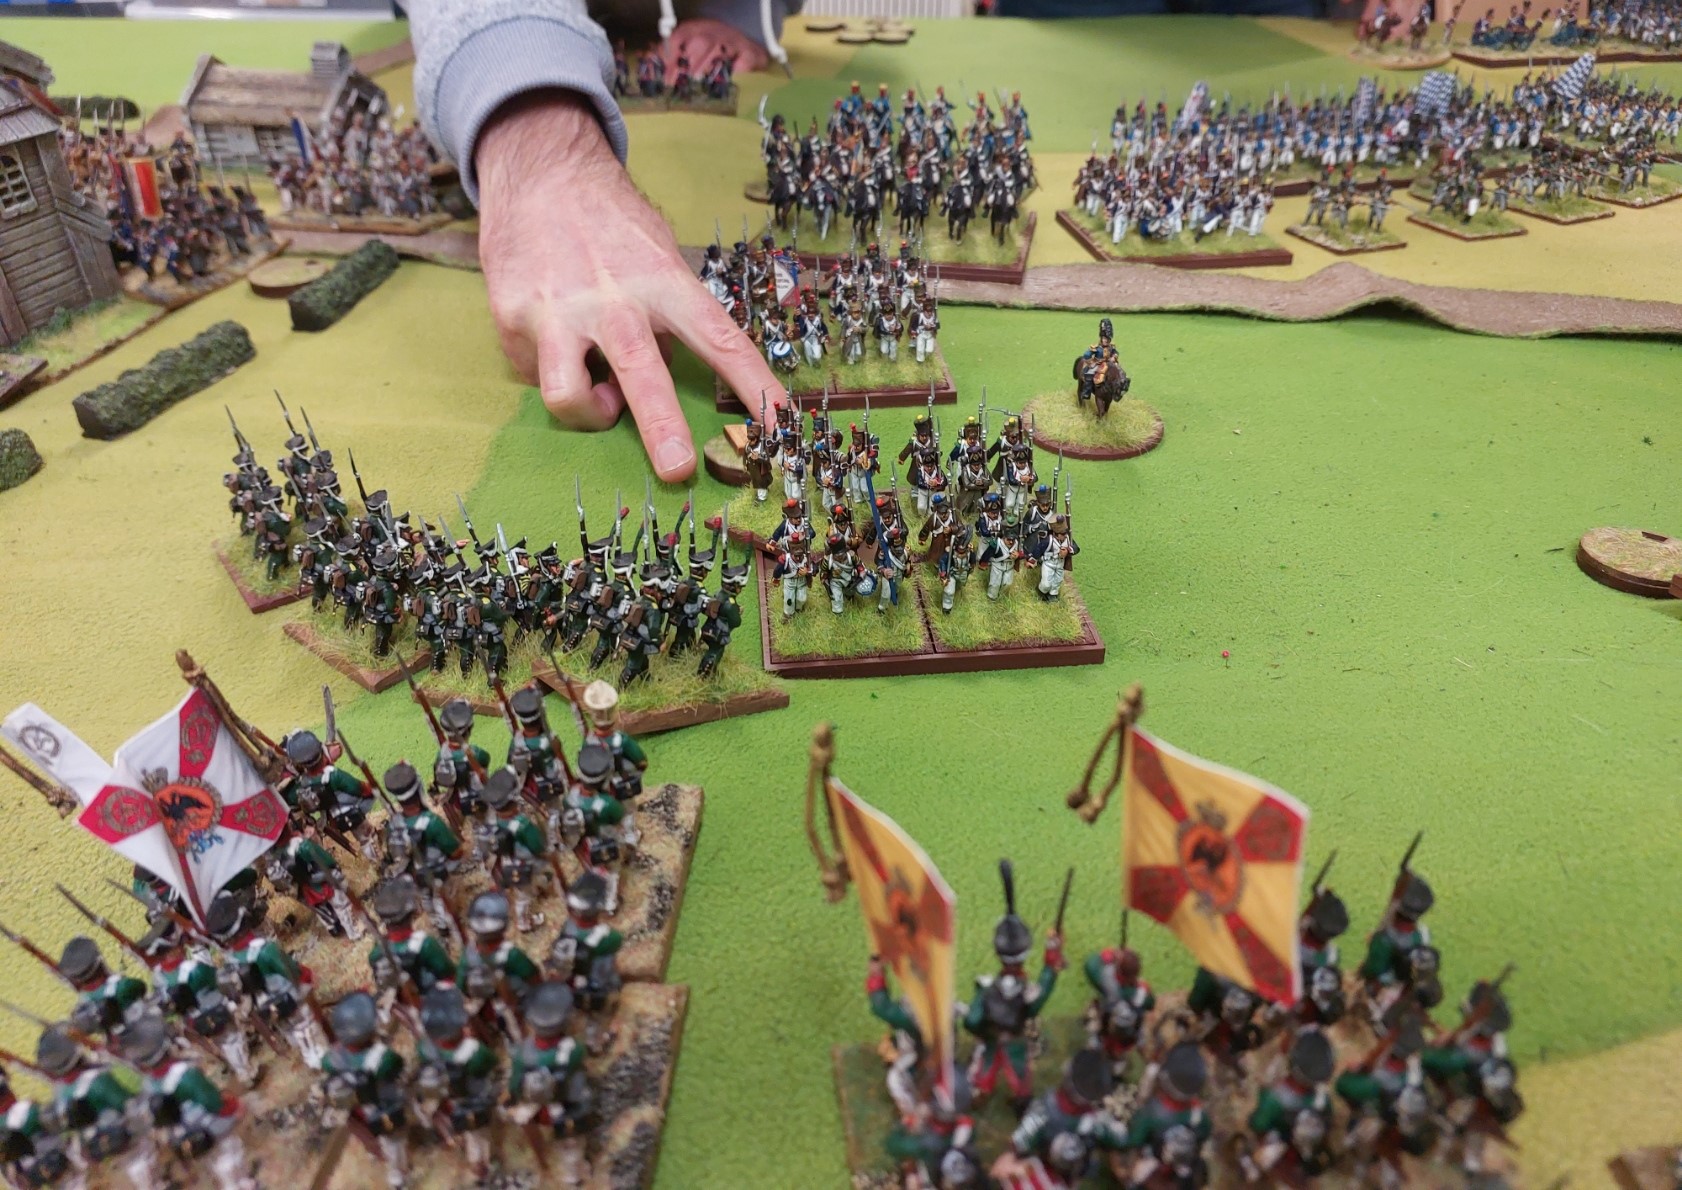
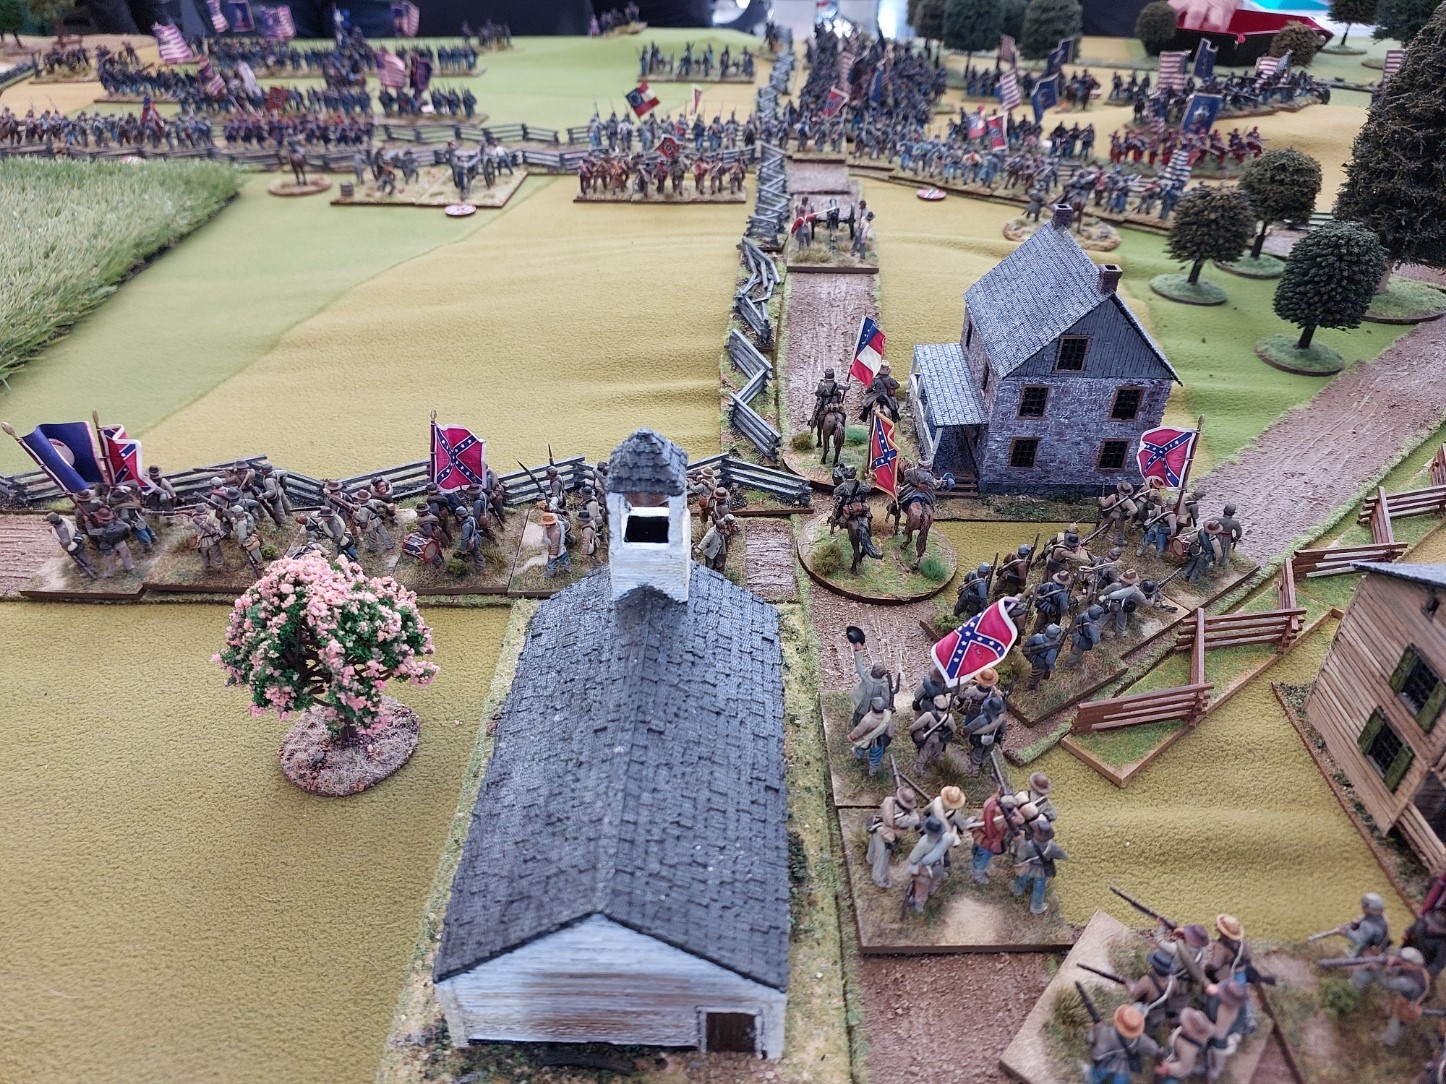
The Confederates set up from the edge of the West Wood, the hill in front of the Dunker Church, along the sunken road , then along the Bridge Rd to the bridge and then on the southern side of the stream.
There were 5 players aside with the Union being Goldie, Robert, Brian, SteveT and Keith. The Confederates were Terry(me!), Mike, Alan, Sheridan and StephenC. Scenario rules allowed both sides to not follow a historical set up.
The Union force was 56 regts, 5 small cavalry regts and 17 batteries. The batteries were assigned to Divisions.
The Confederate force was 42 regts, 2 small cavalry regts and 11 batteries. The batteries were in 5 bttns of 2 batteries and a horse artillery battery assigned to JEB Stuart.
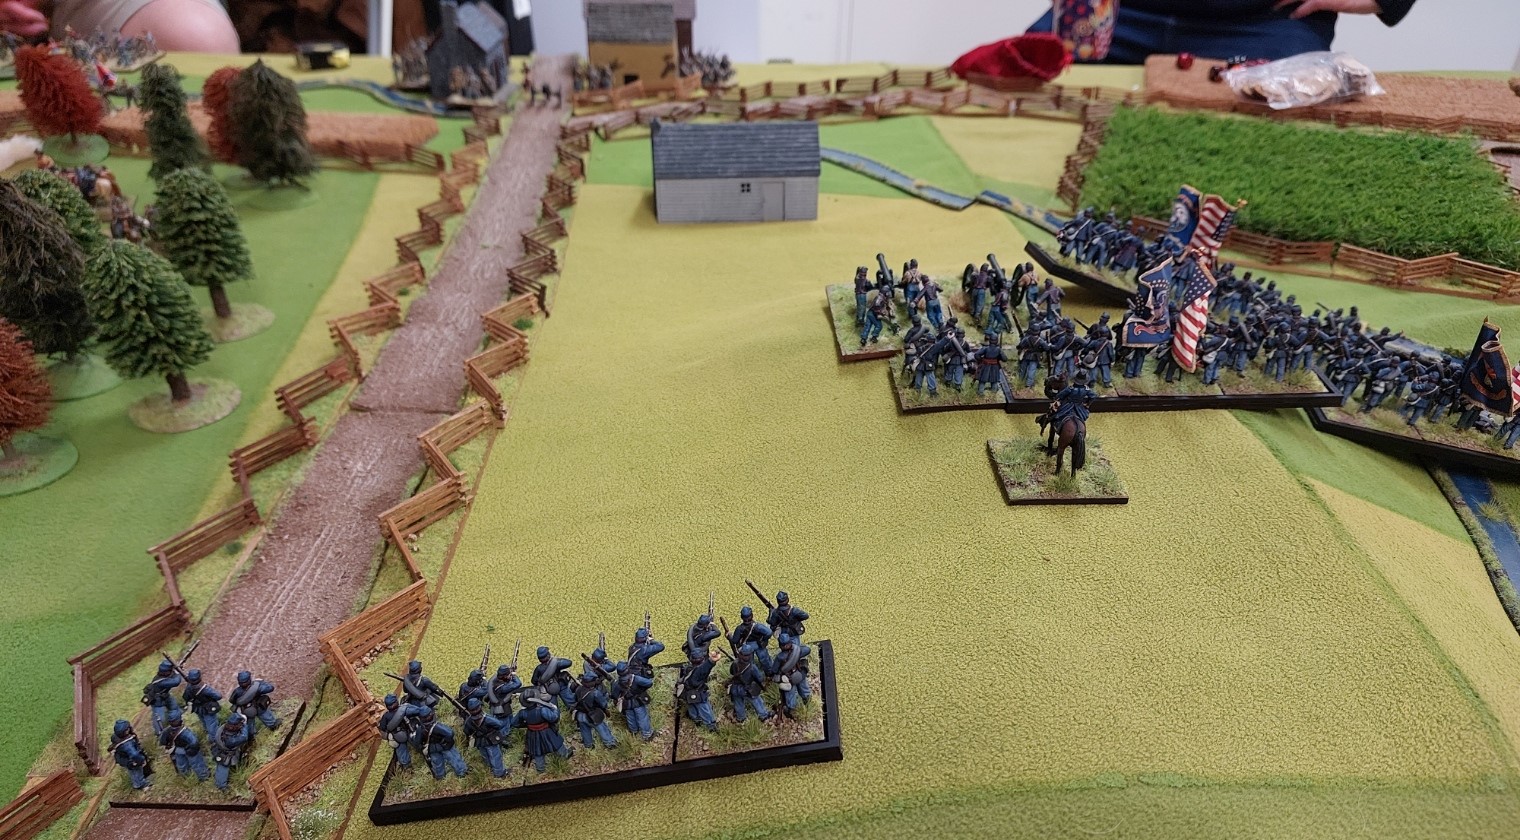
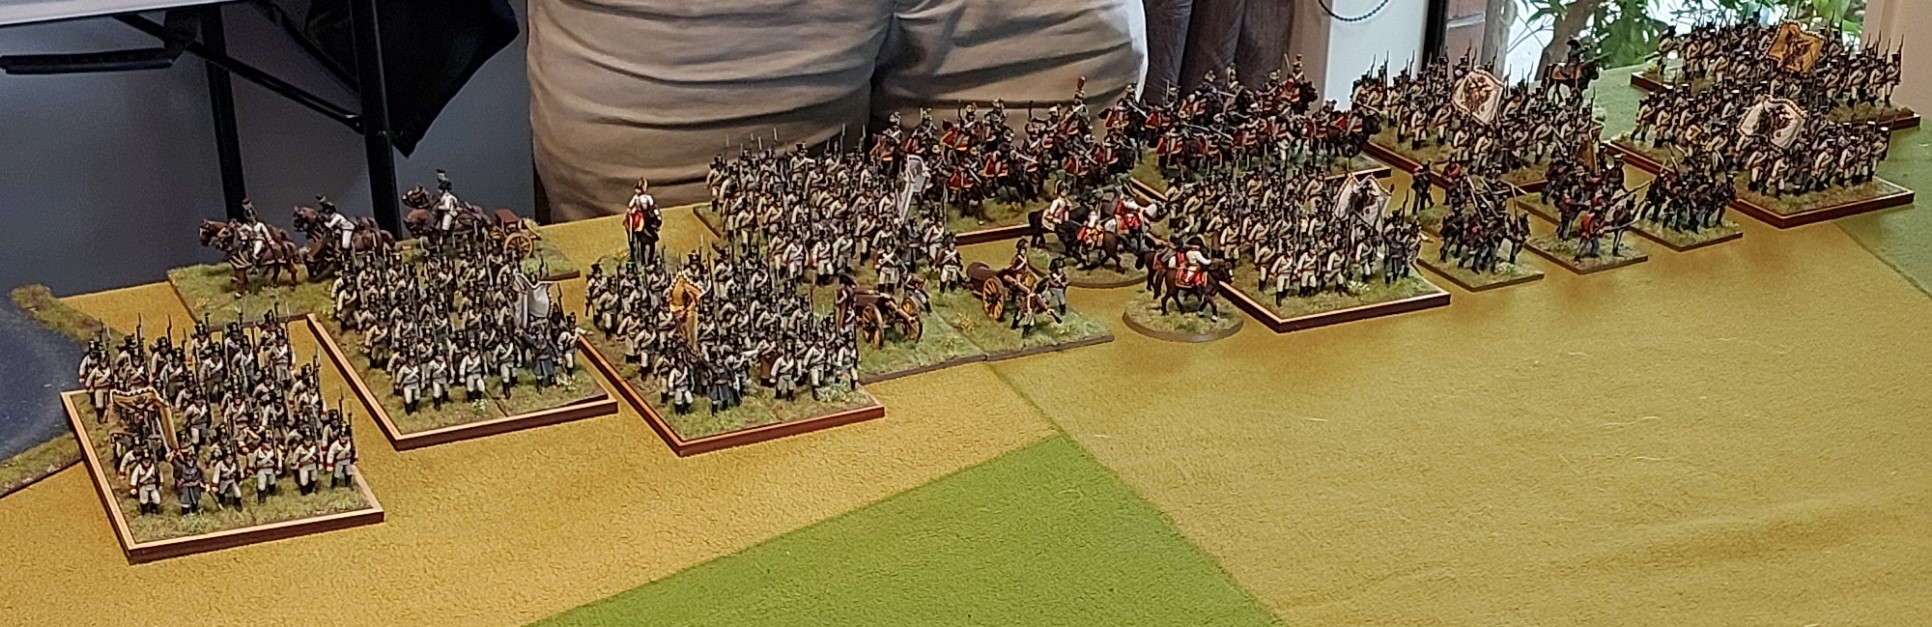
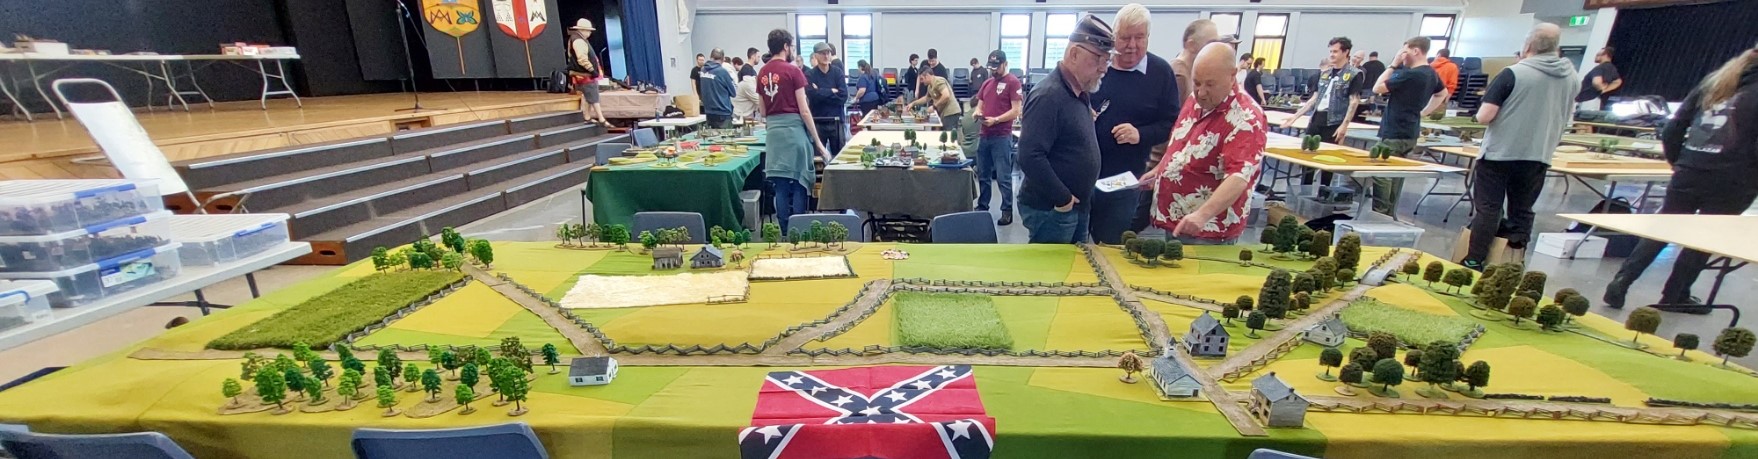
The table set up before troop deployment is below. Brian., Robert and Goldie are in picture.
Mike played on the Confederate side as he is the descendent of a British Army Officer who served on the Staff of Henry Heth. He commanded the right flank. Alan commanded the forces to the front of Sharpsburg and the first section of the sunken road.
Sheridan commanded the rest of the sunken road and the area to the Dunker Church.

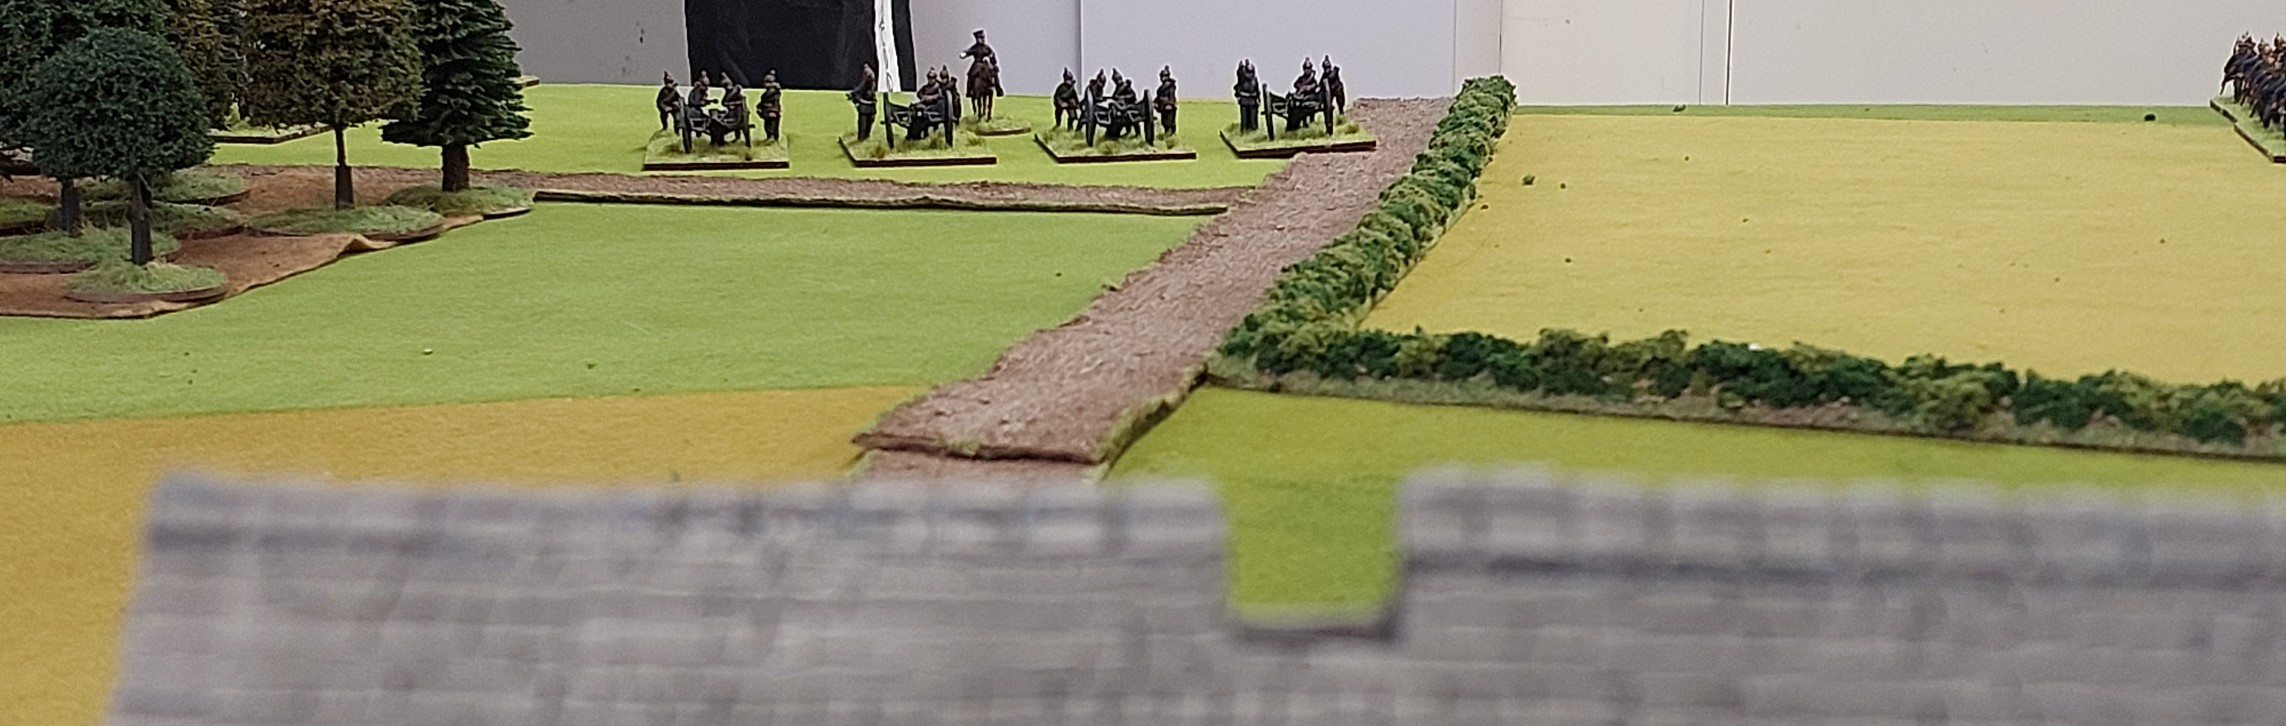
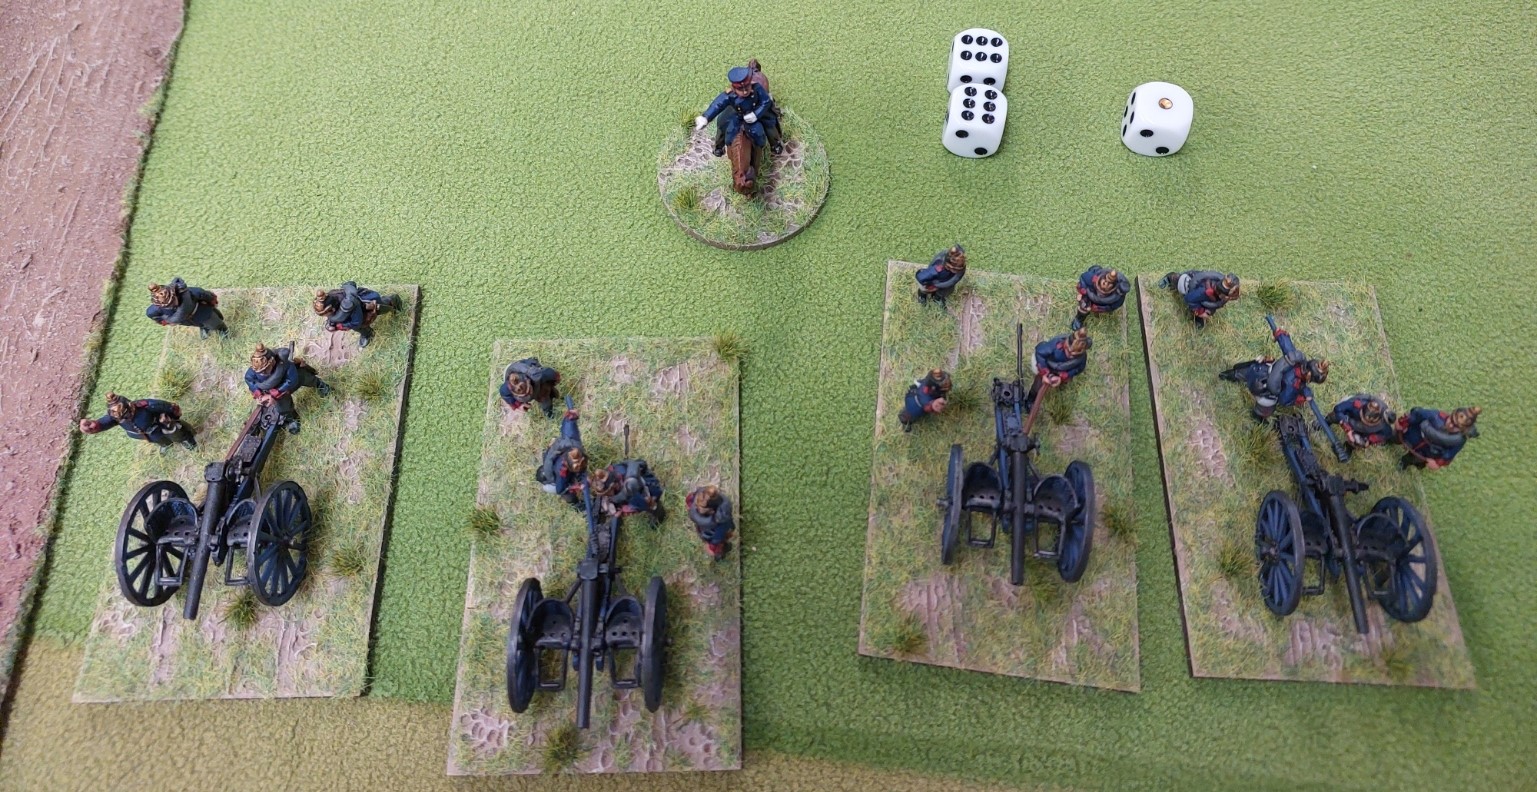
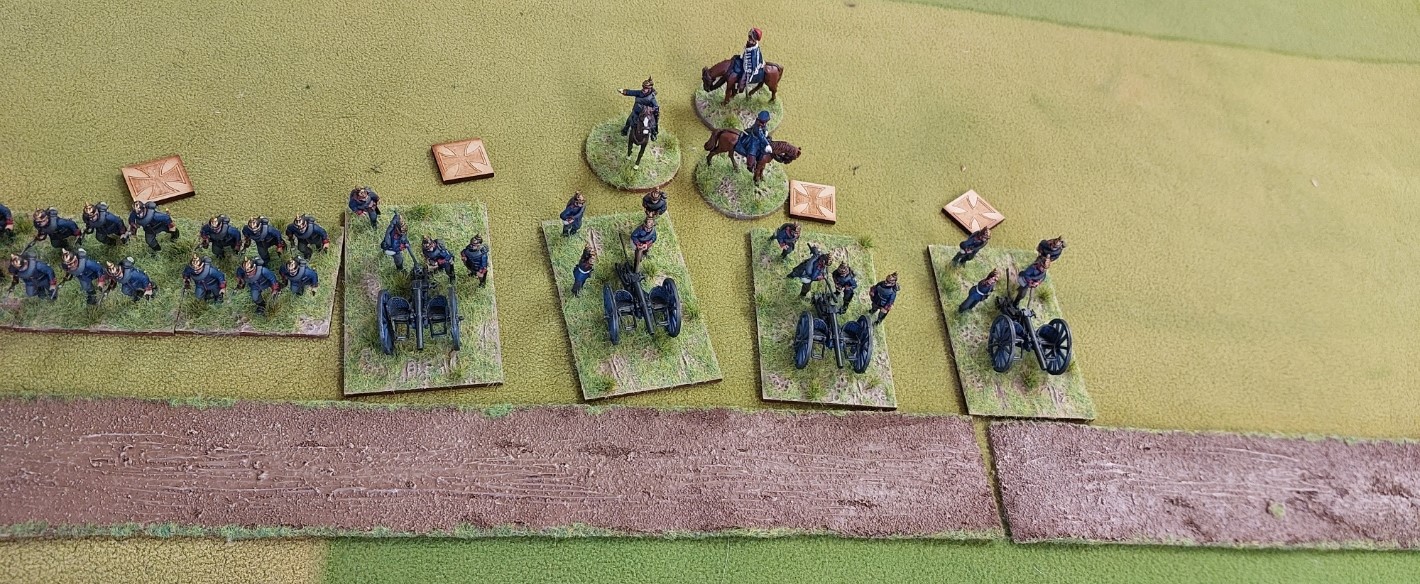
2 bttns of rifled guns on the hill. The Union artillery were all rifled with a range of 30 inches, the Confederates were meant to be 24 inch only(100% 6pounders apparently) but I nagged Goldie so much on this he relented and we were allowed 2 bttns of 30inch guns.

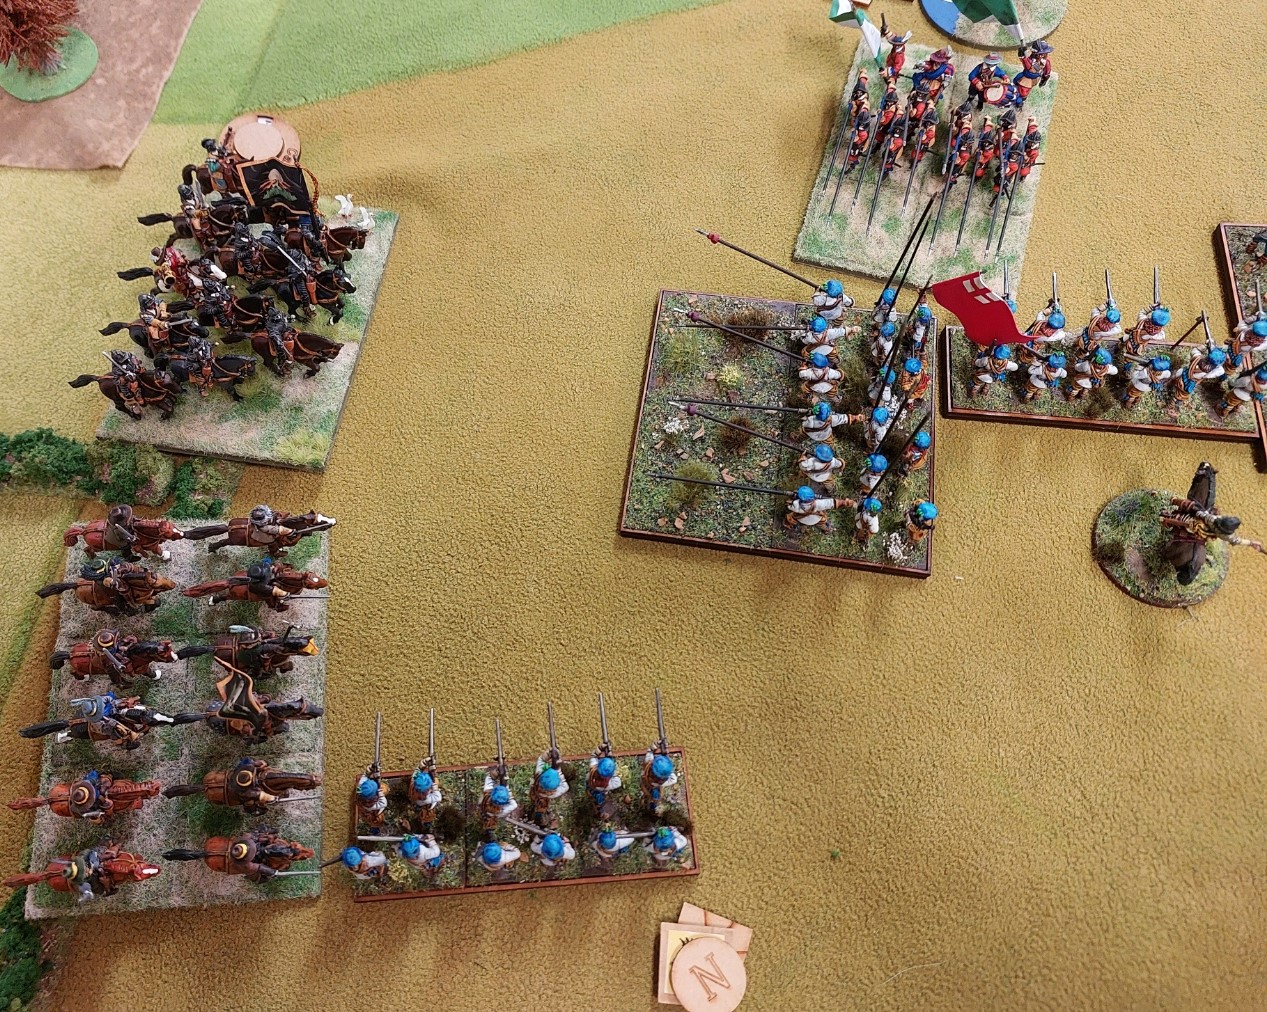
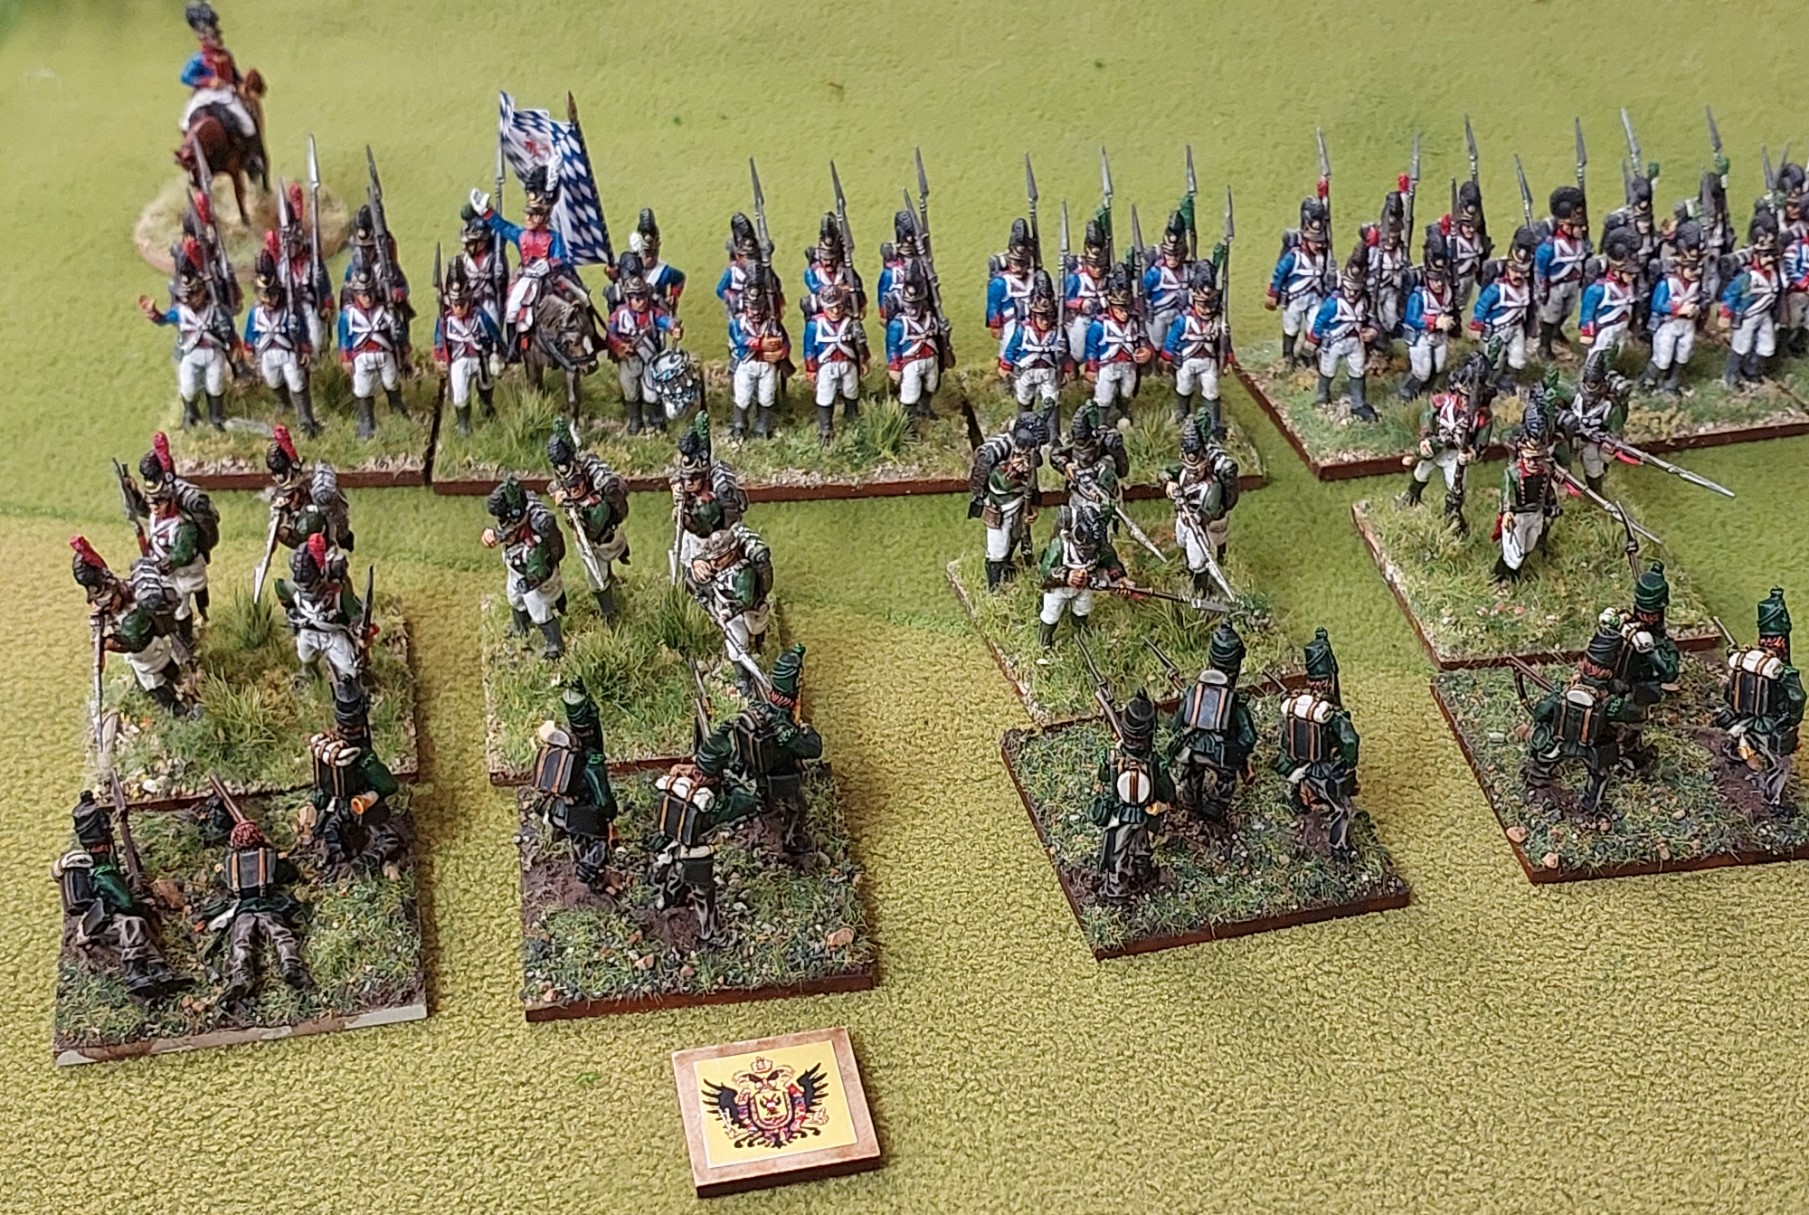
StephenC had the Confederate right flank on the Hagerstown/West Wood with our 2 largest brigades and a bttn of guns.

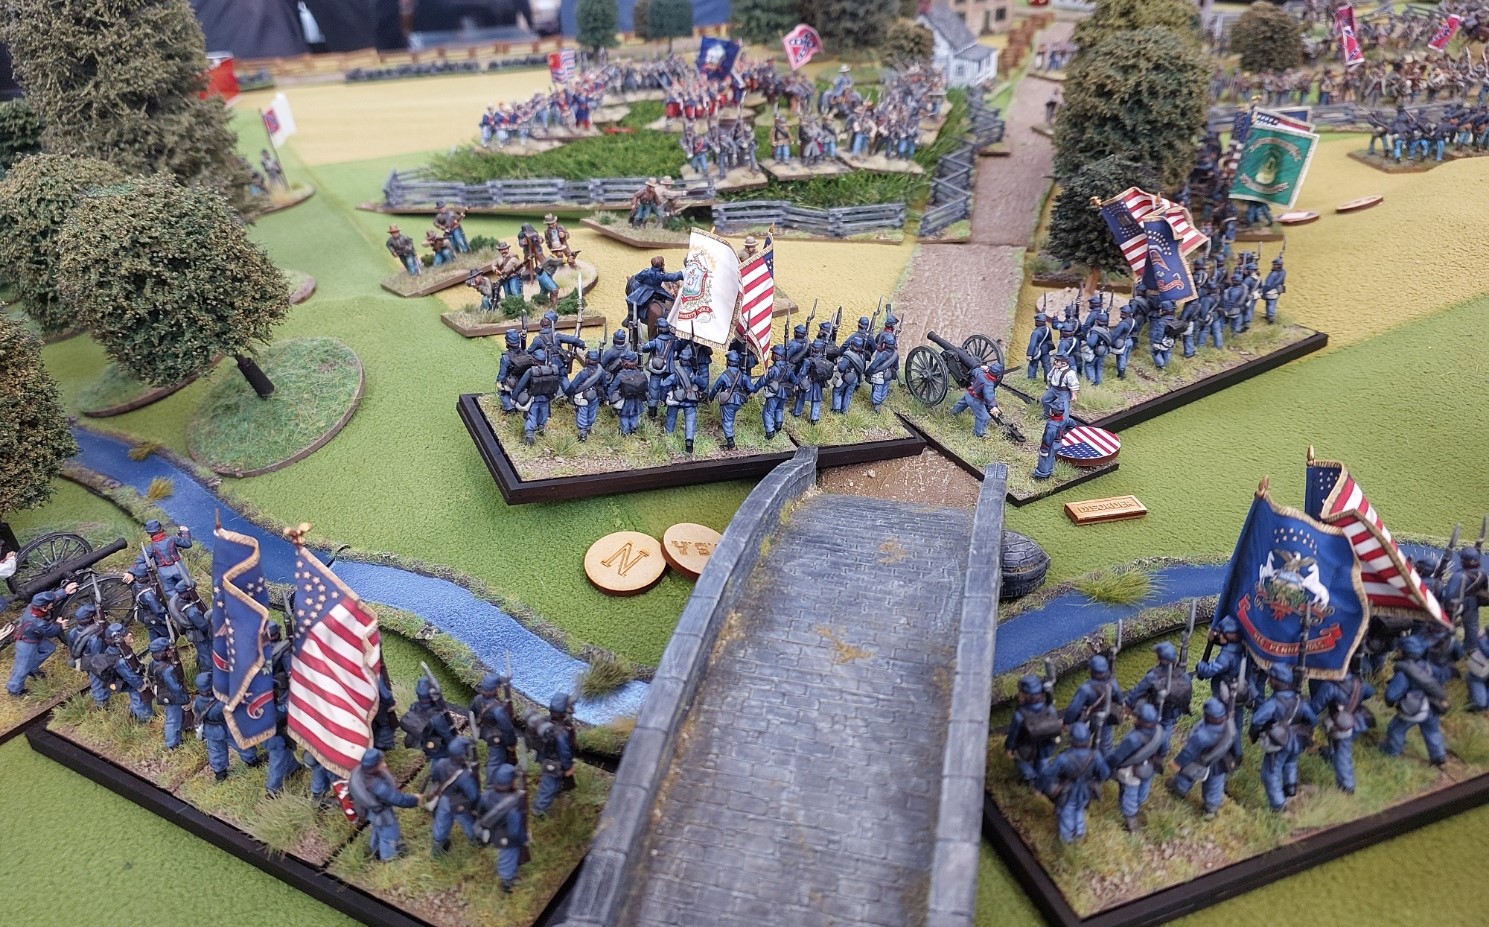
Turn 1 and on the Bridge Rd, one of Goldie batteries got his order wrong and decided to charge at the bridge(a Blunder which is roll 2 dice…get a 12, roll another dice…get a 6…roll another dice, and he rolled a 4 which means you charged 24 inches down the road) Personally I though it was a splendid start to a game. A limbered gun in front of 2 of our batteries…and if we moved a regt to the bridge edge…get another 3 shots at it…..one lost battery coming up!

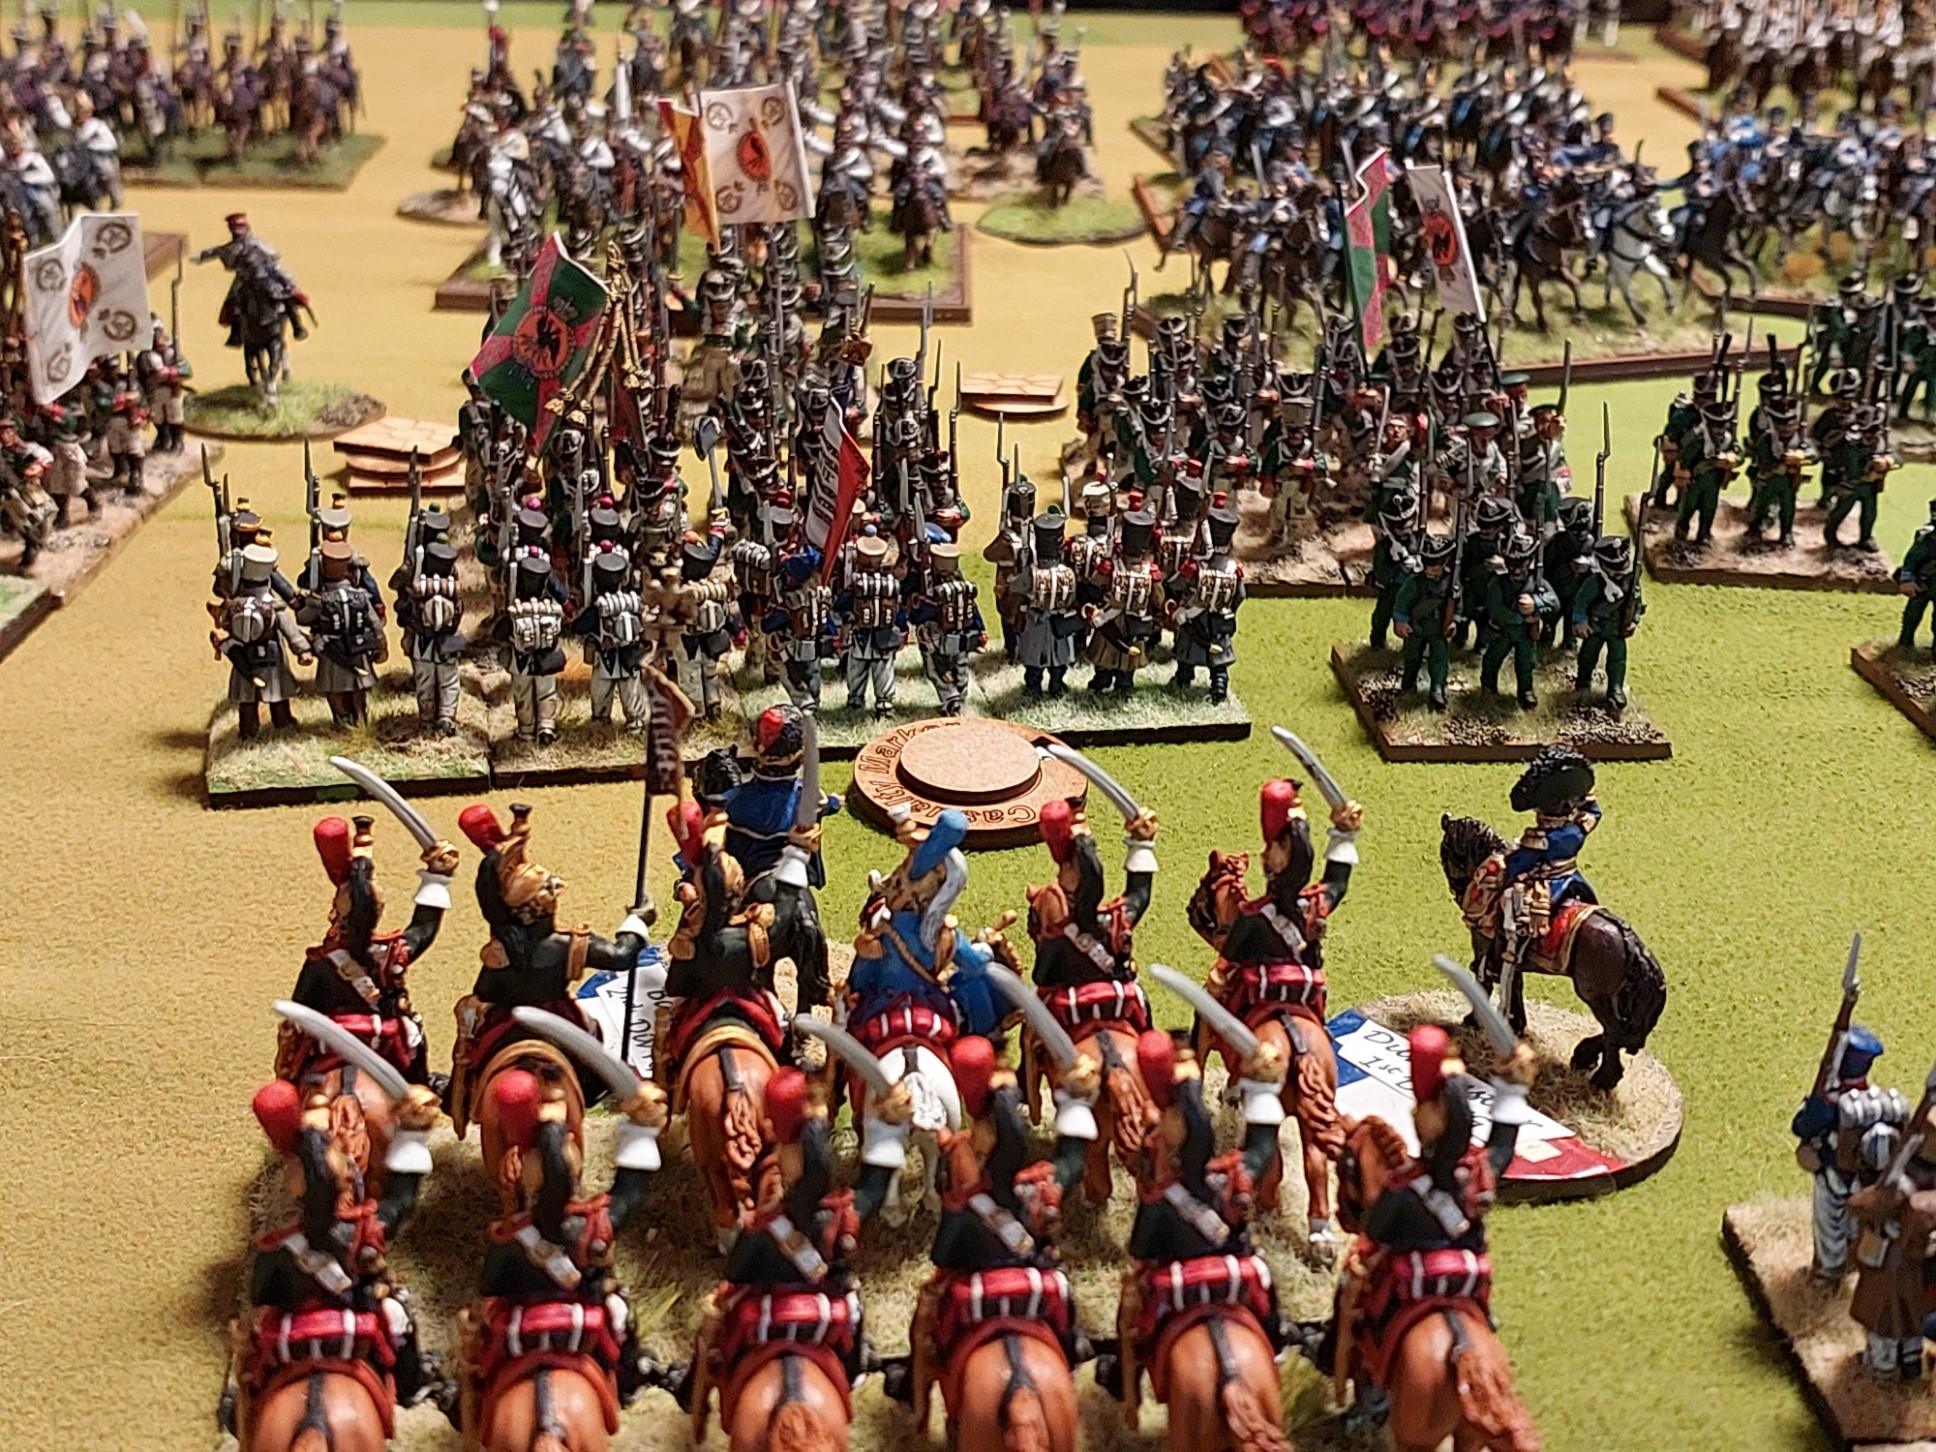
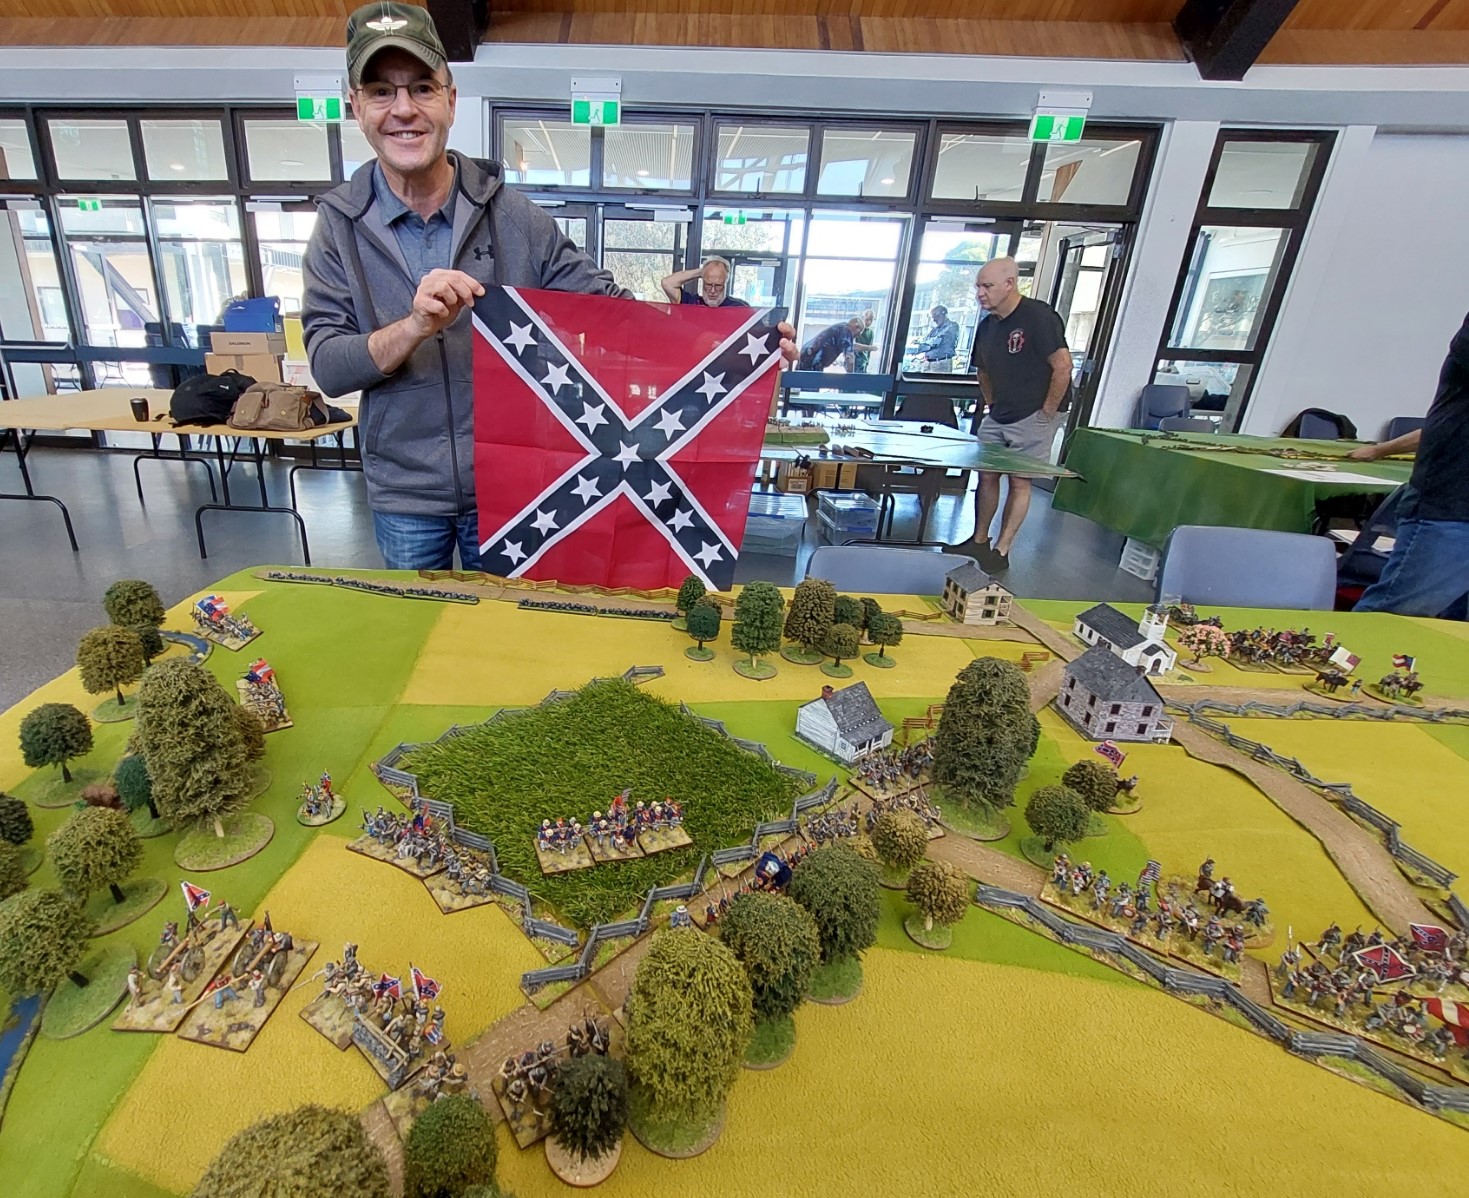
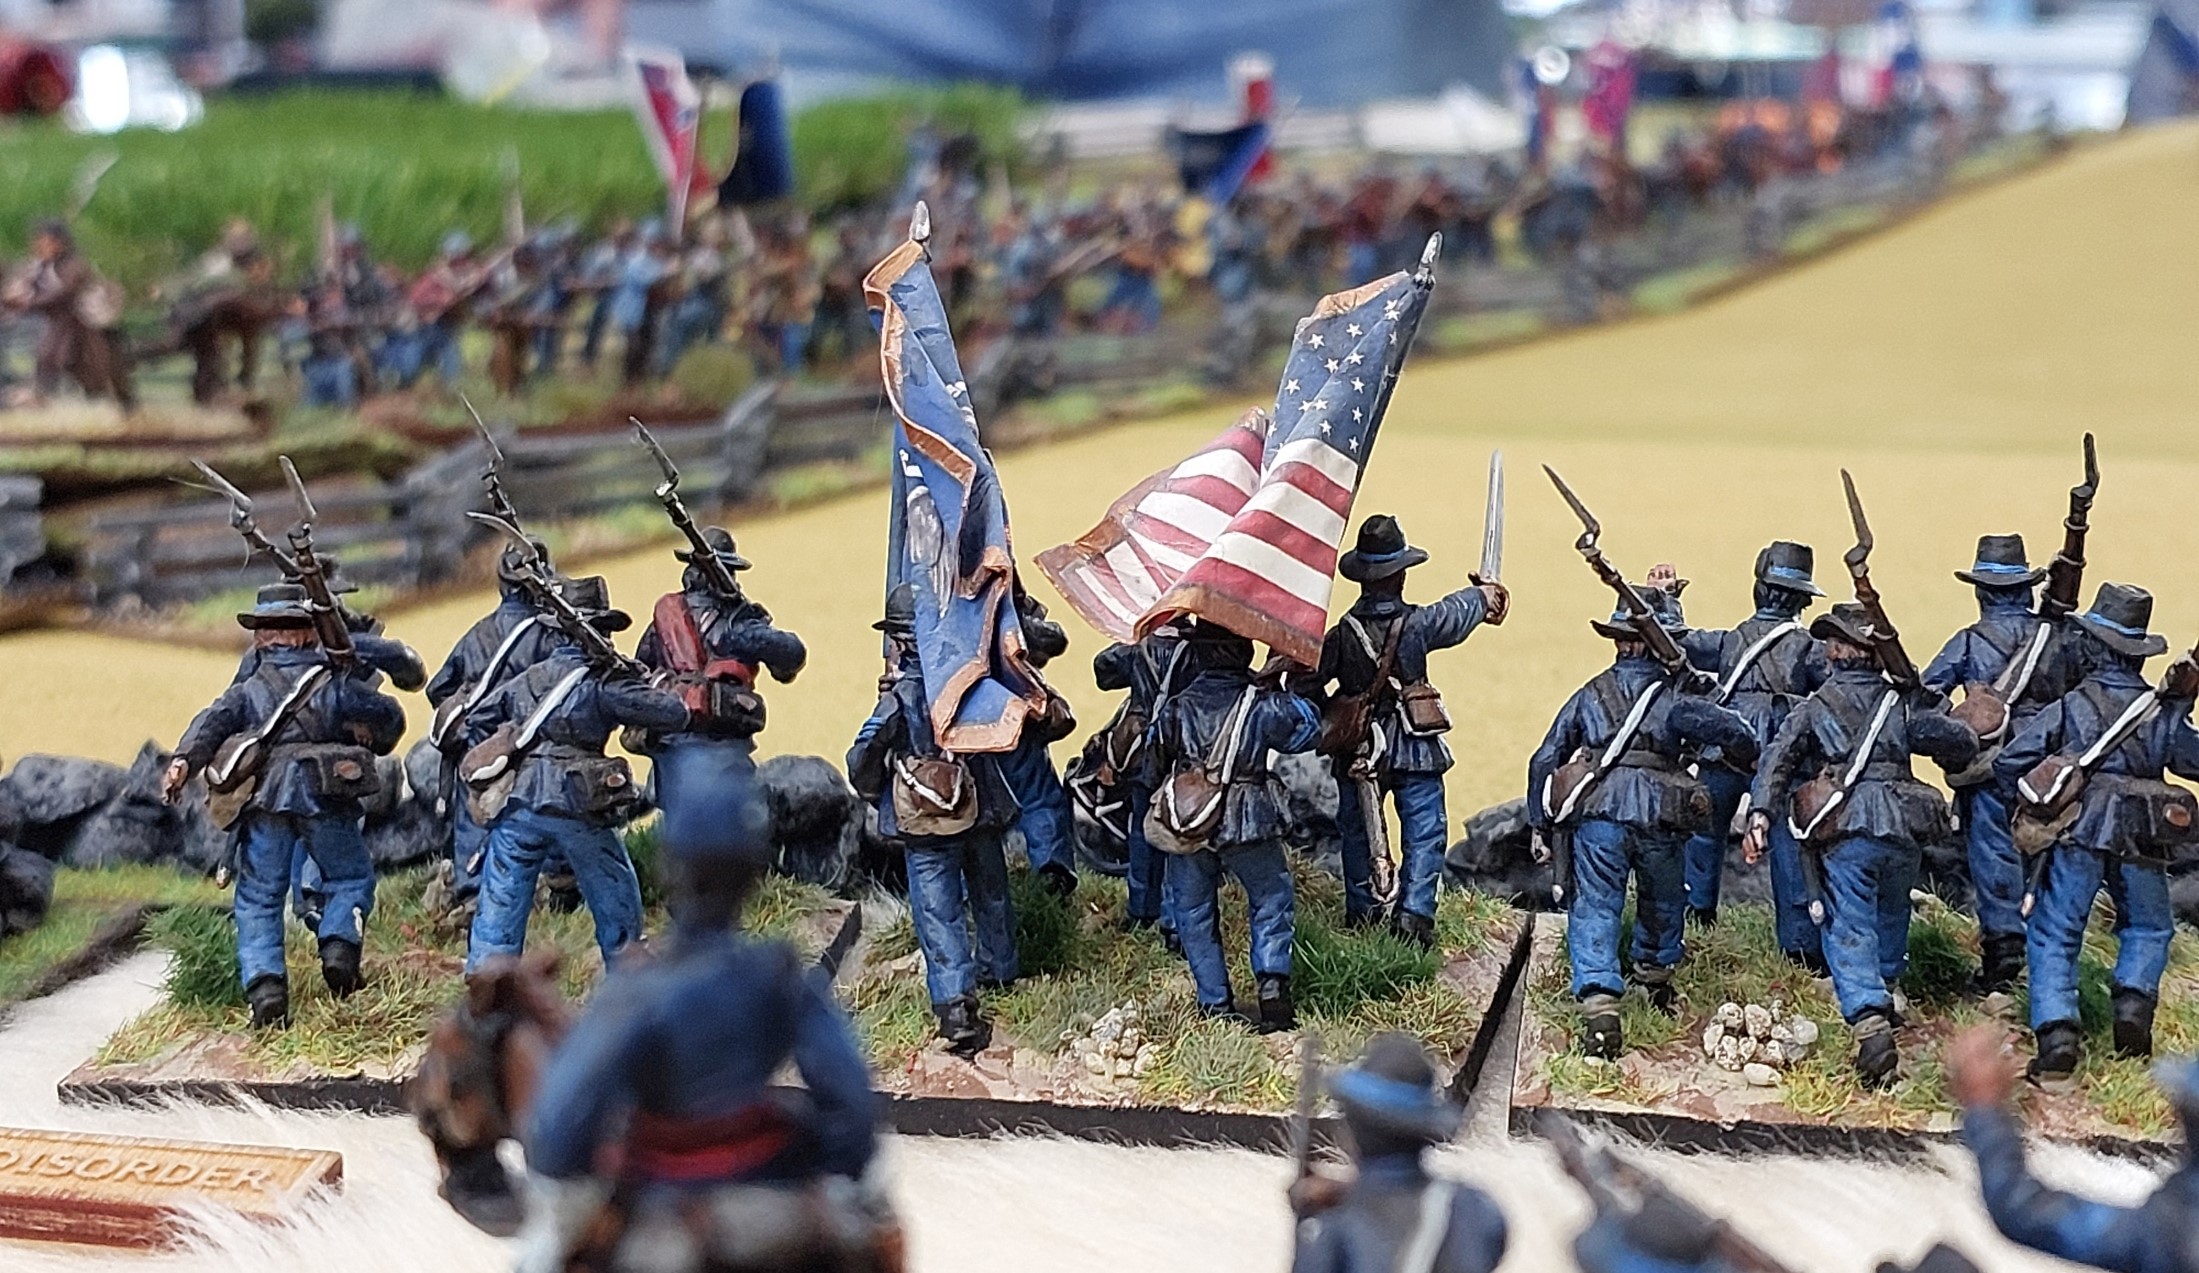
The local media were so impressed, a cease fire was called while they took some photos.

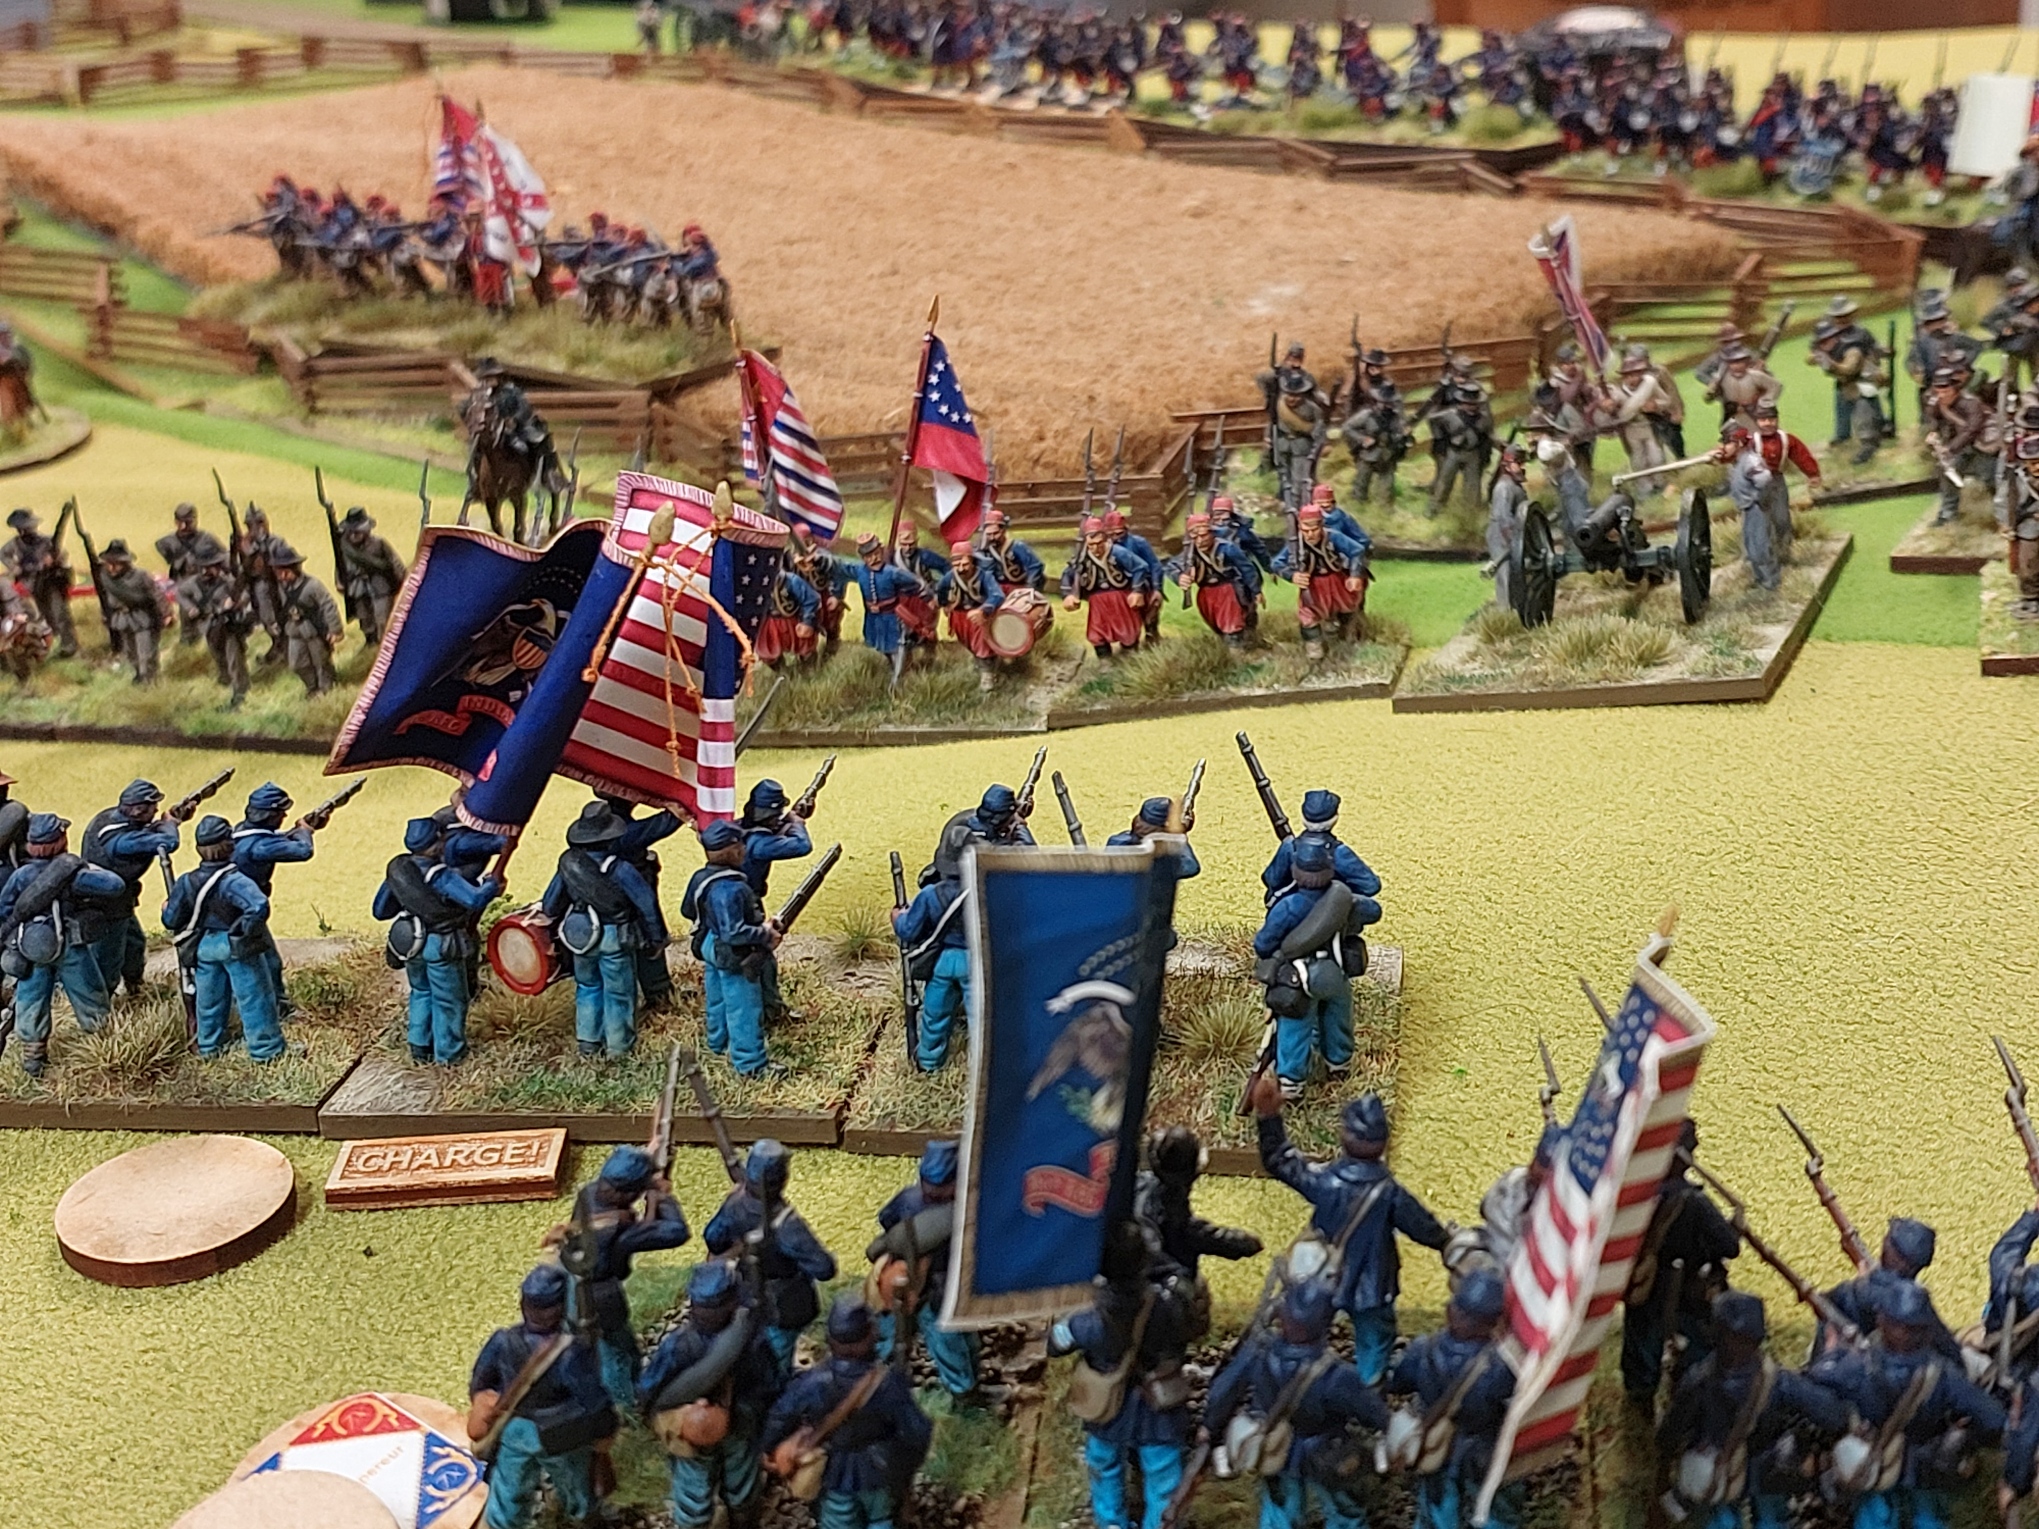
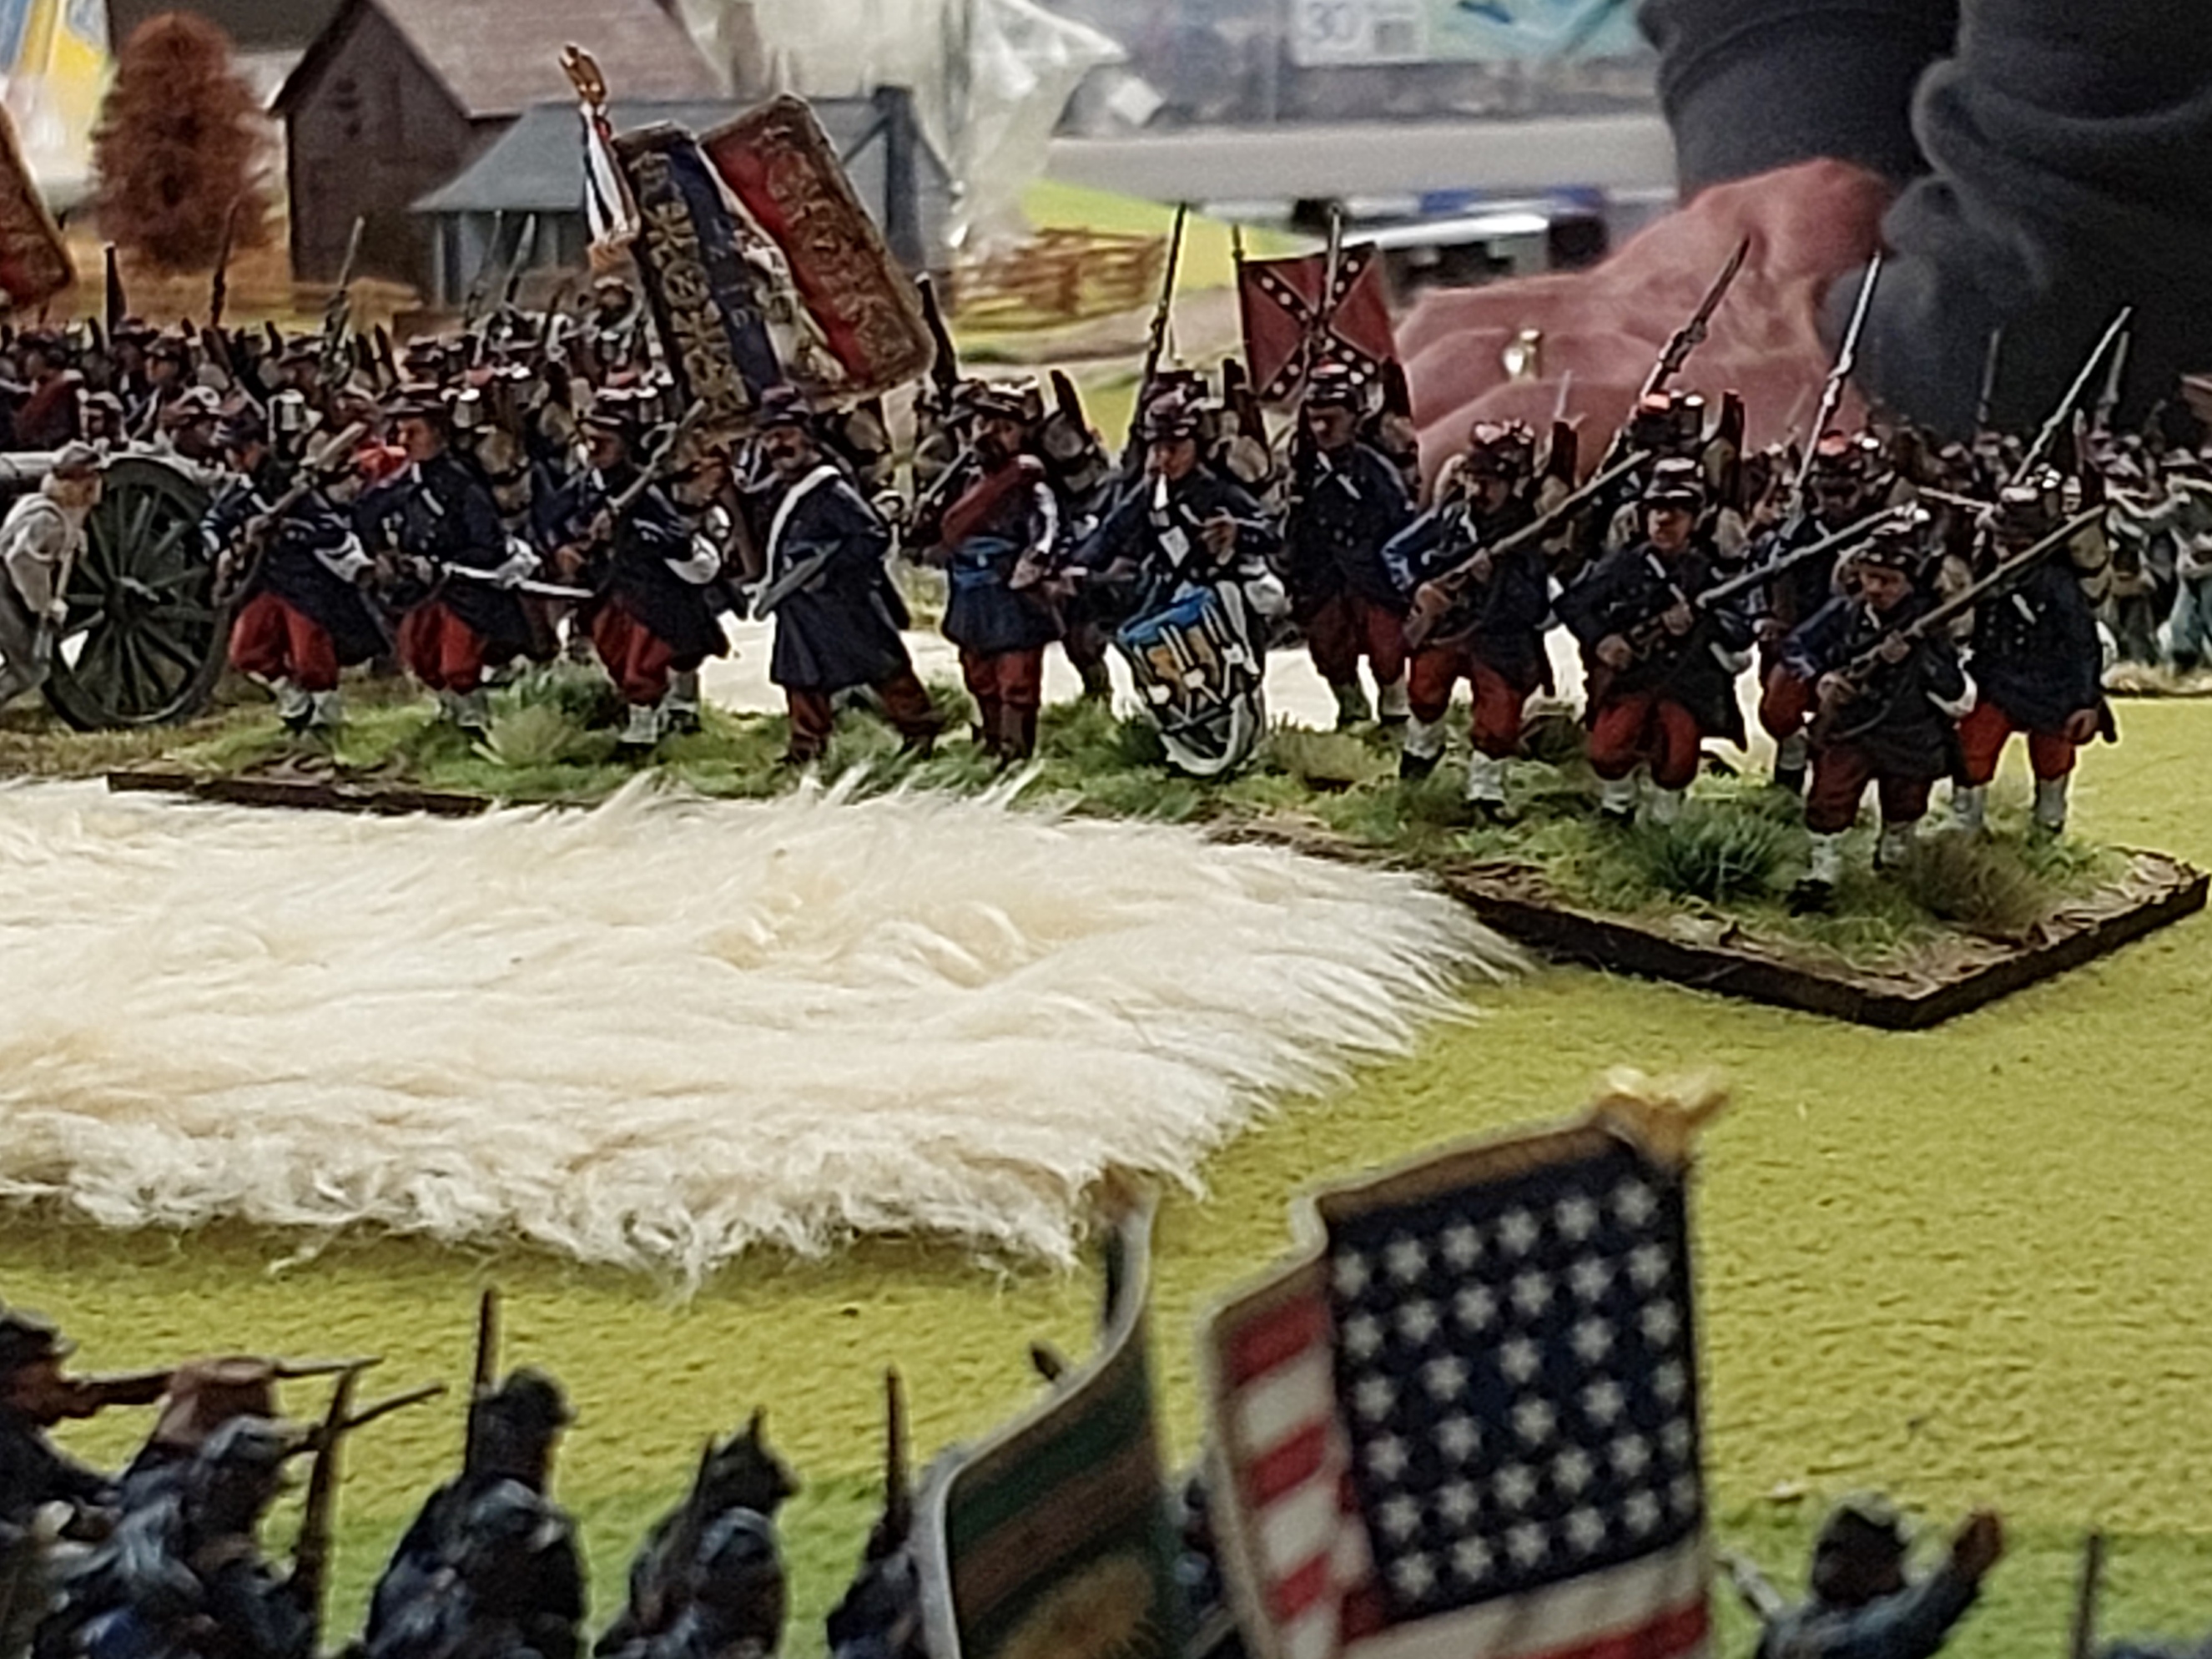
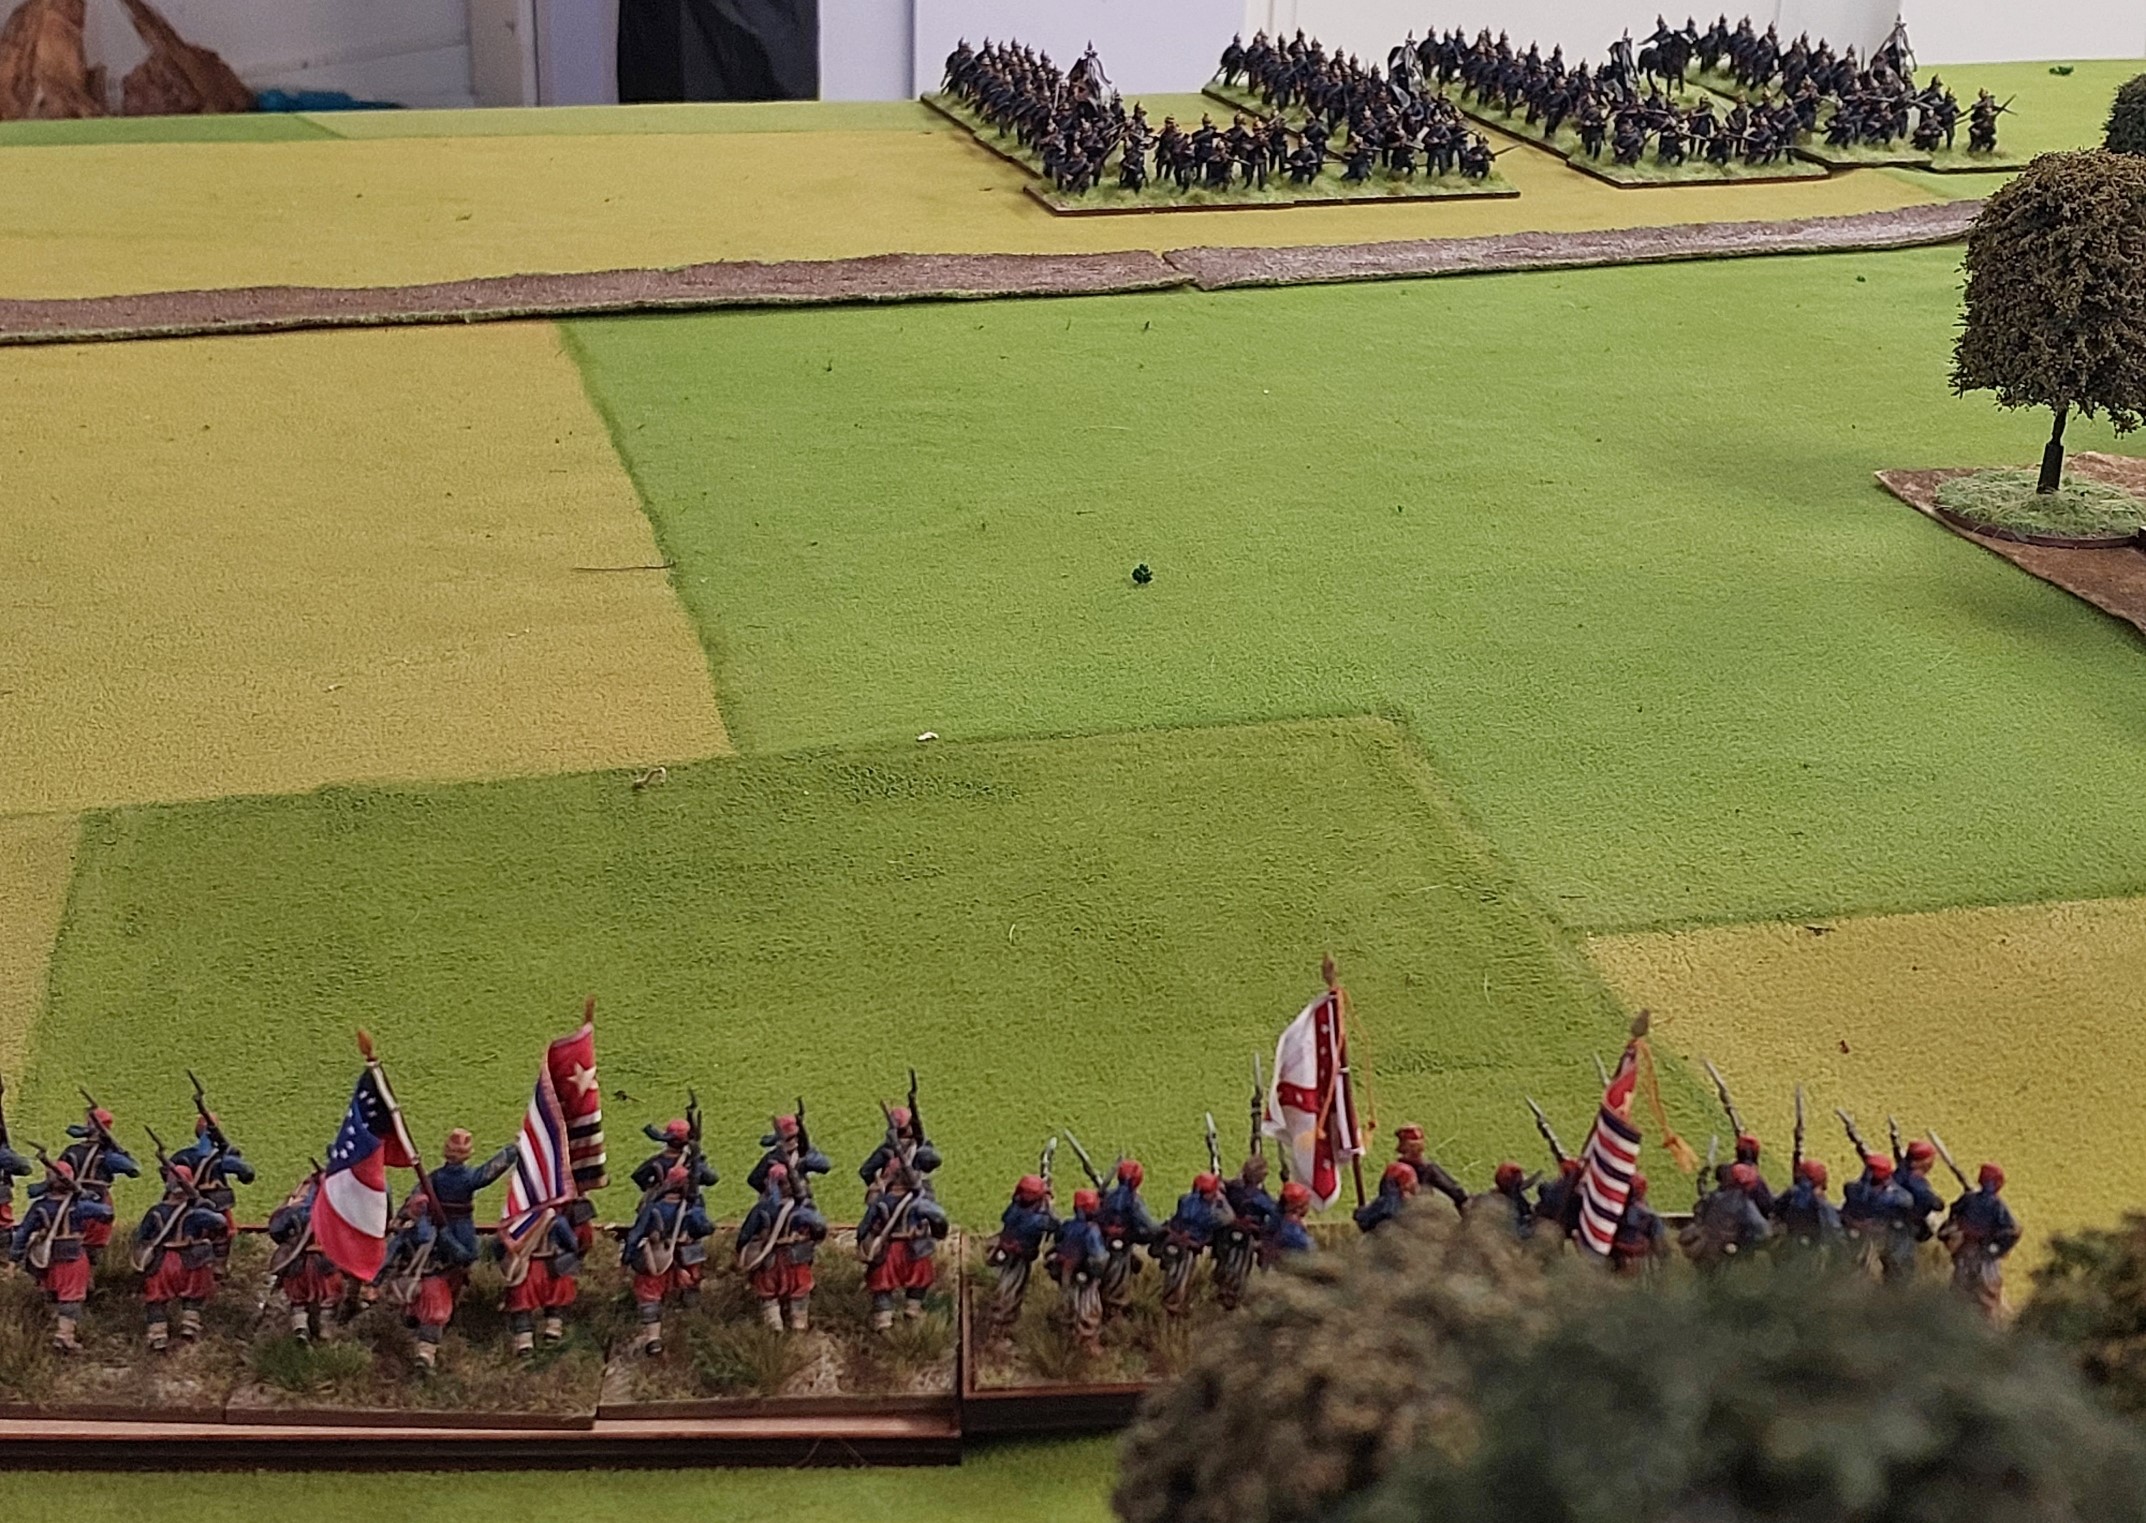
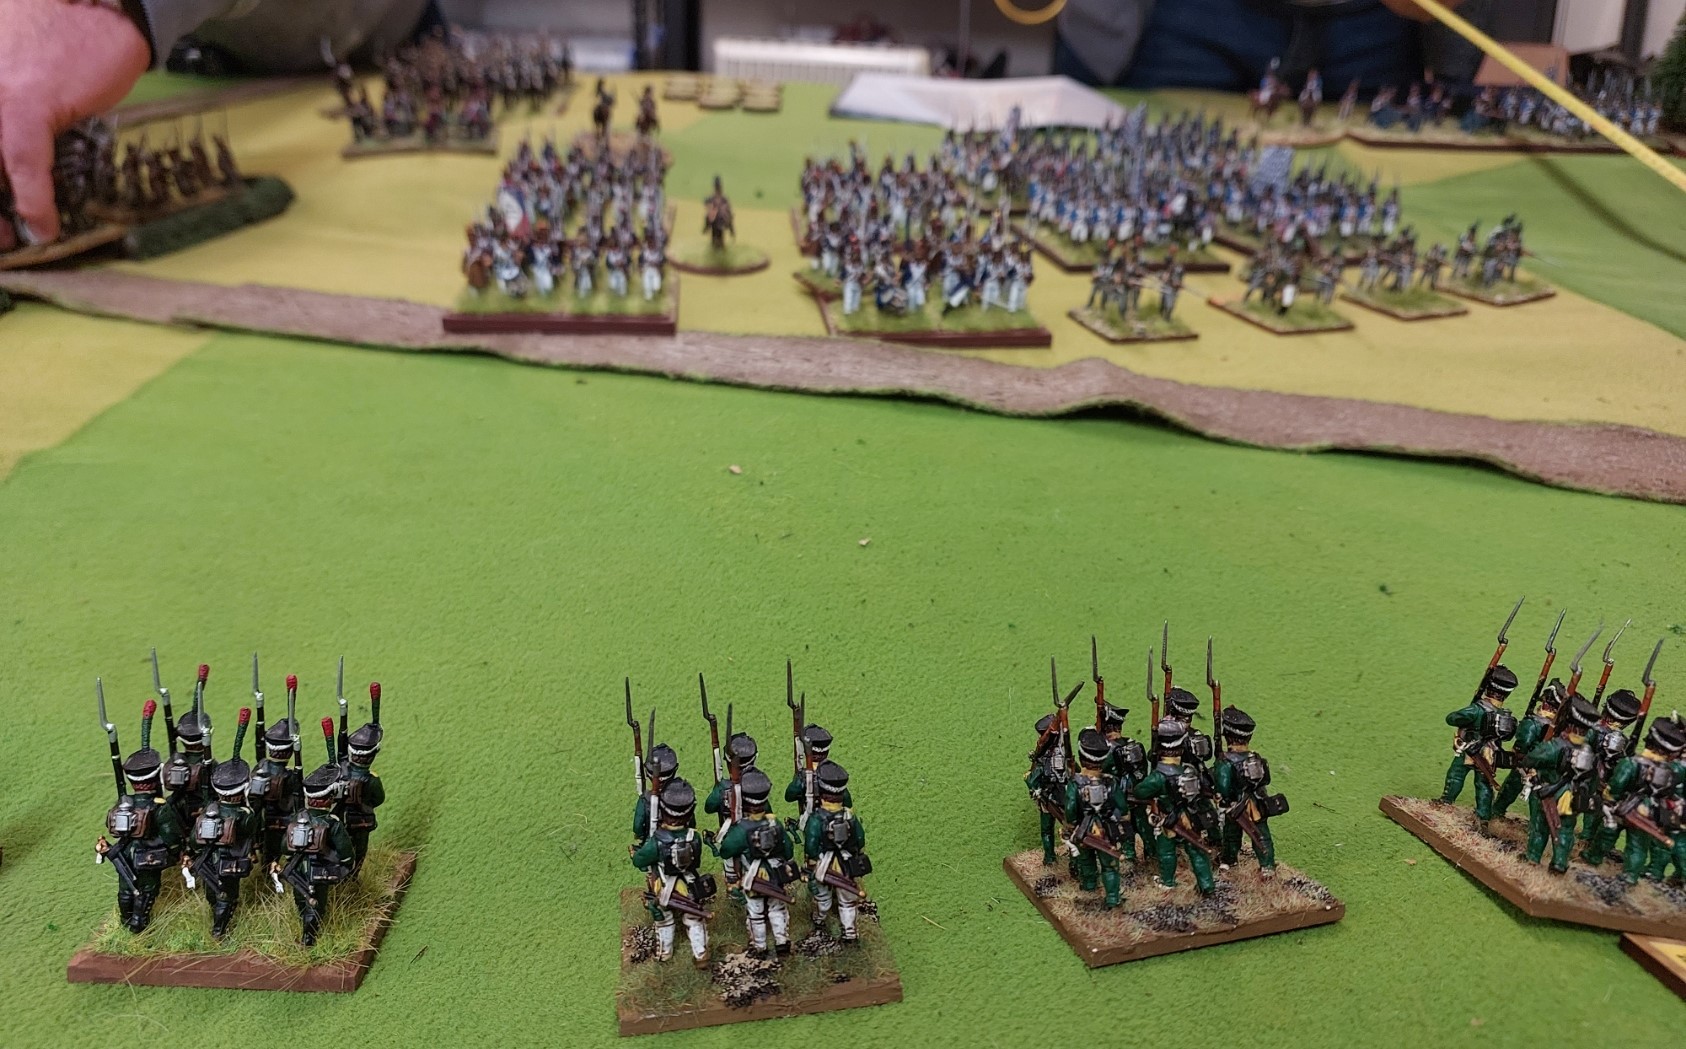
Union troops pouring down the Boonsboro Pike….an impressive sight.
Brian managed to get most of his troops across the Pry Ford.

The Union guns while attached to brigades could not be ordered as part of the brigade move but must be ordered individually. Infantry fire had been reduced to 12inches for everyone except the Irish Brigade who were still using Smoothbores. They do get an extra shot at close range.

Now over on the Confederate left flank several turns have gone by. Robert had a Union battery blunder and ride into the cornfield all by its self. Then he had failed move orders for brigades moving on so StephenC decided to move out from his position and attack them. Sadly his scouts failed to report the approaching Union Force of George Greene who some fool had rated as a Command 9 for the battle!(Okay..it was me). What a juicy target.

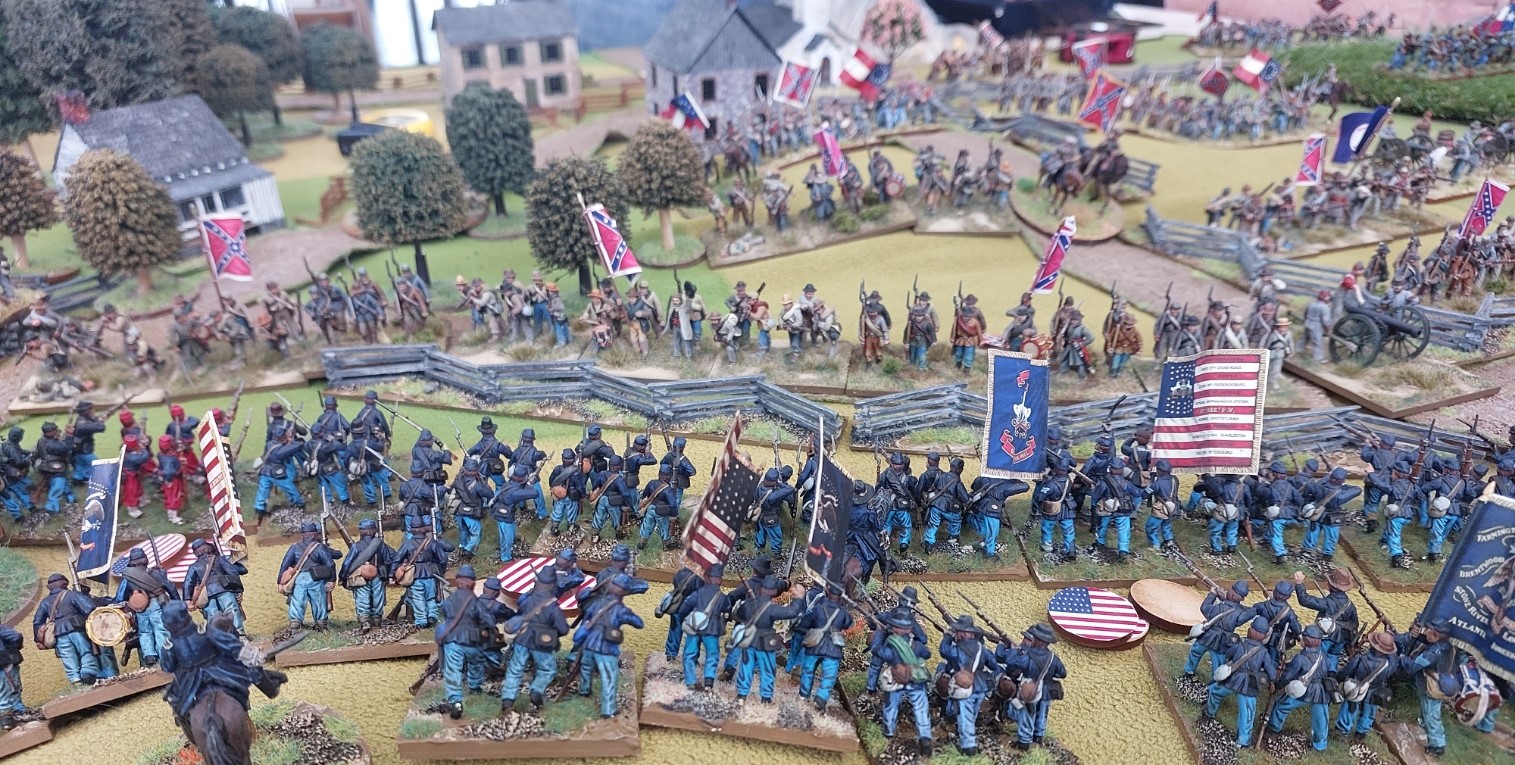
Keith’s forces stream towards Sharpsburg. Thankfully they were facing the Stonewall brigade!!
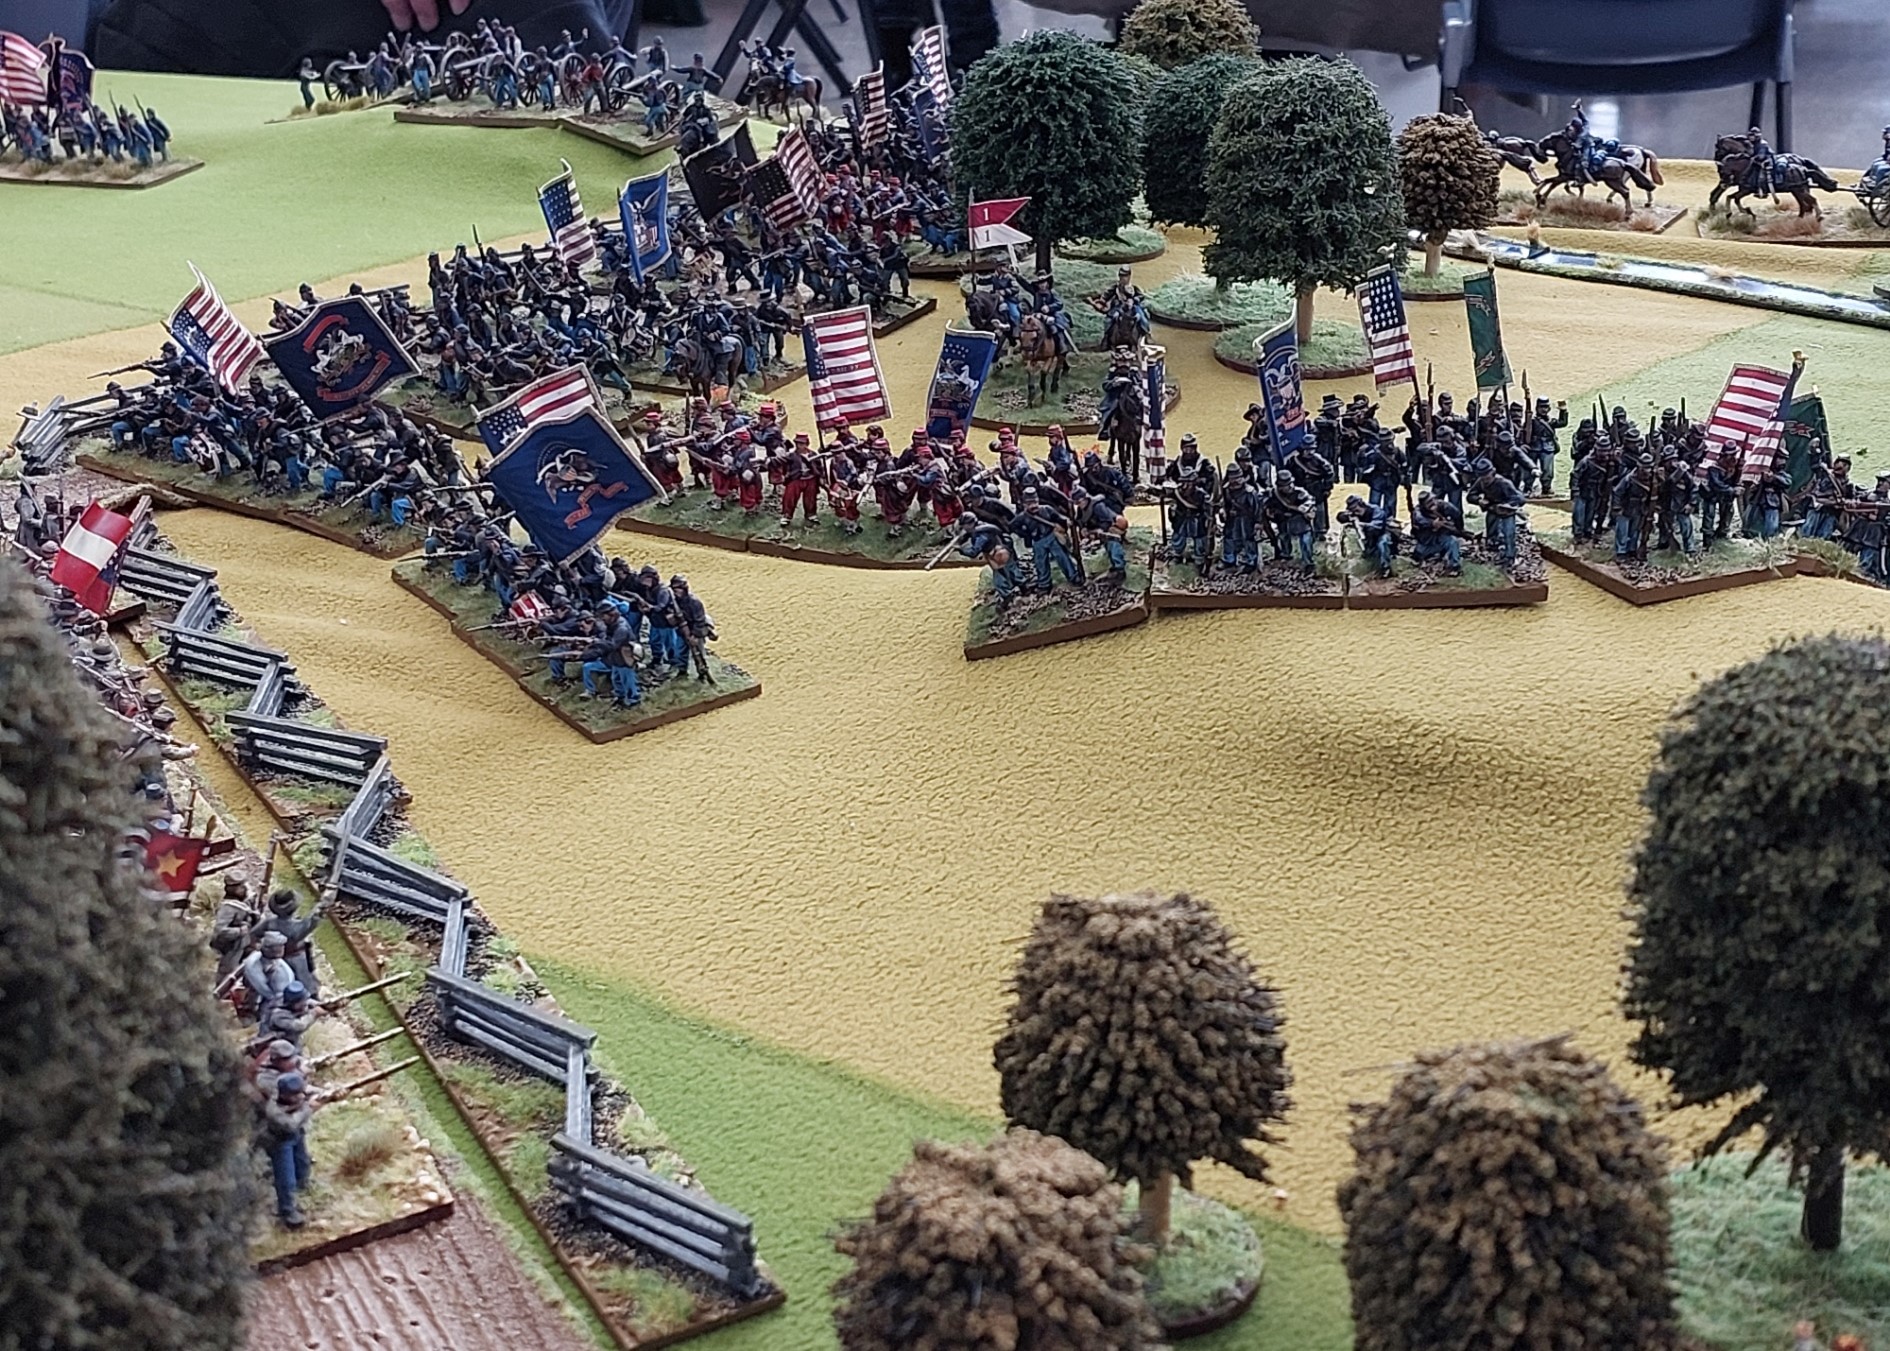
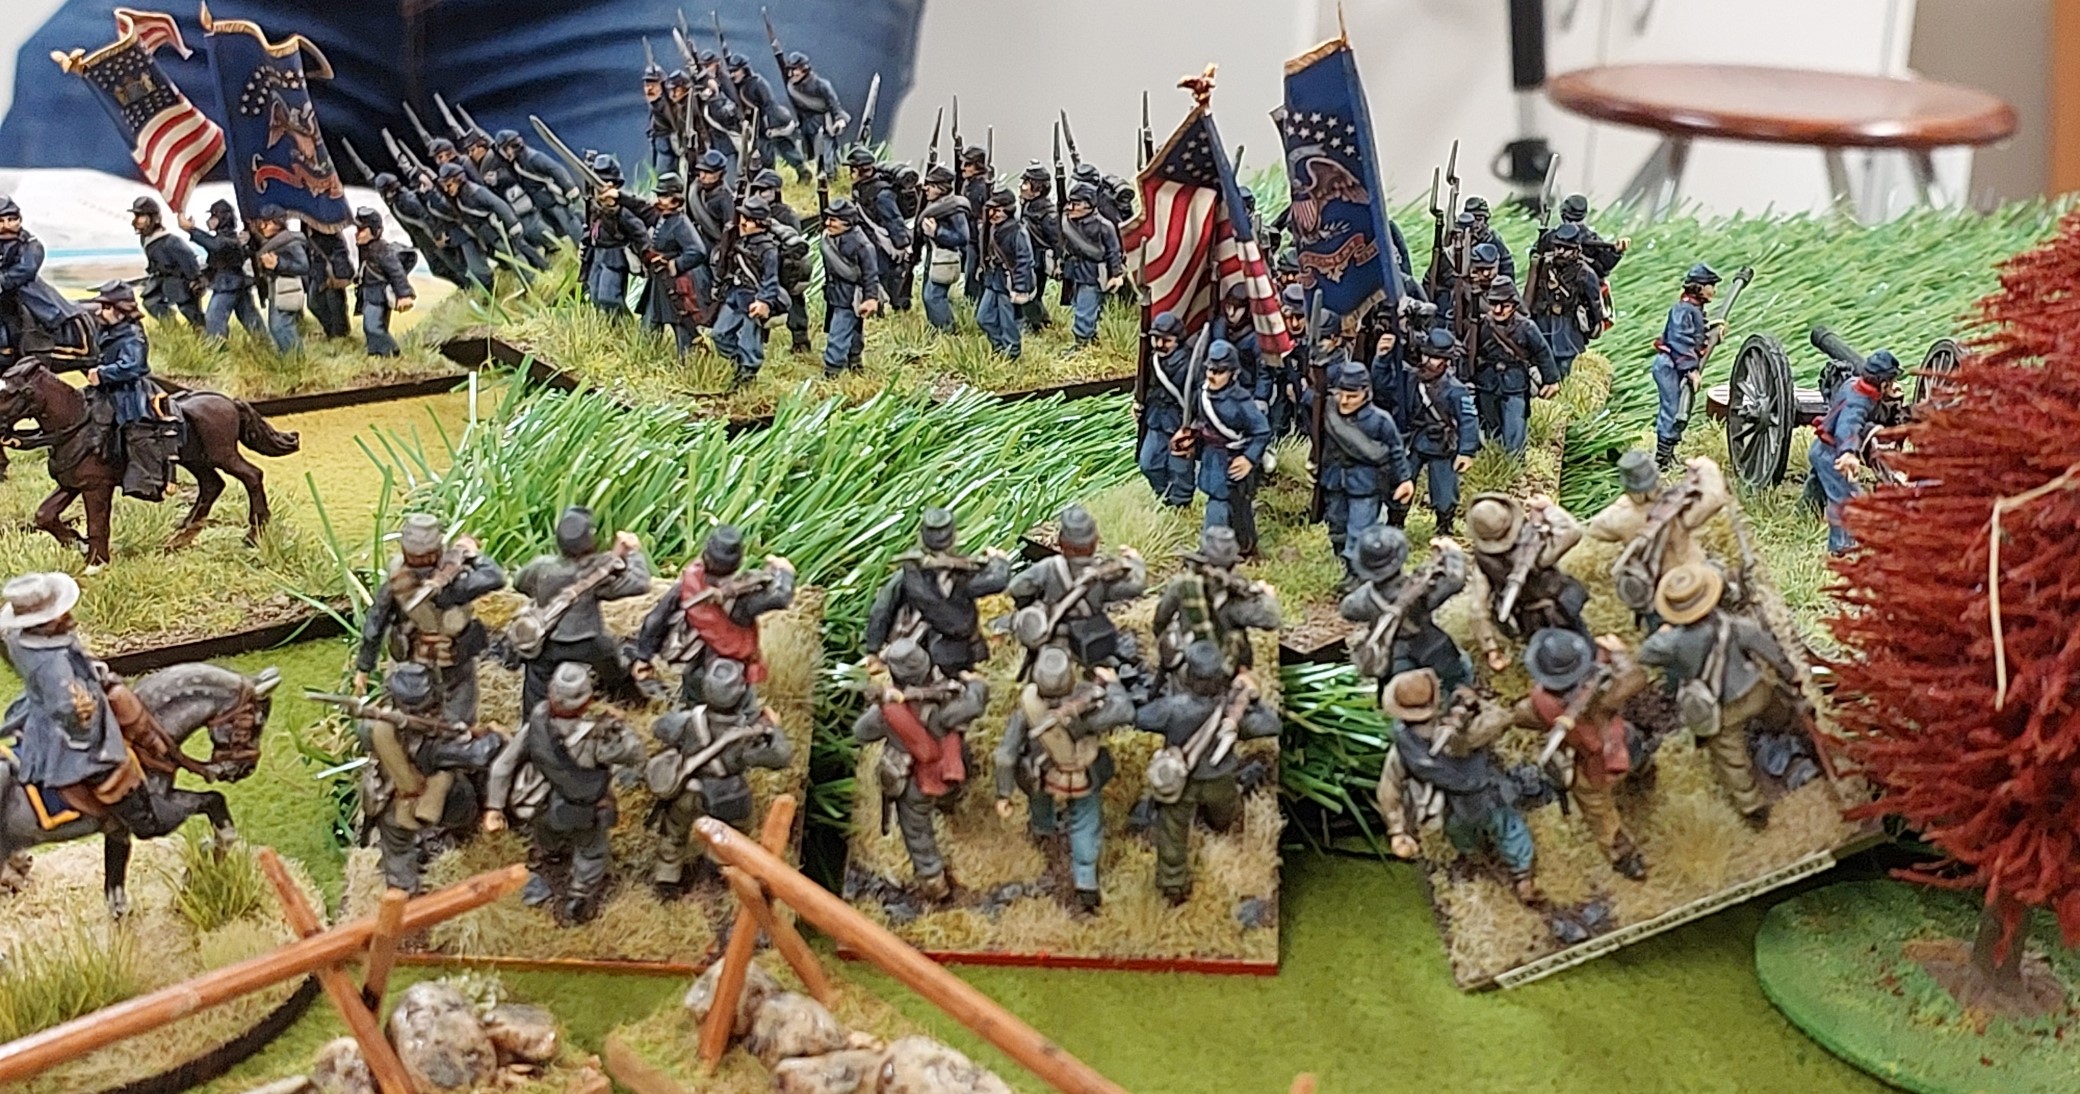
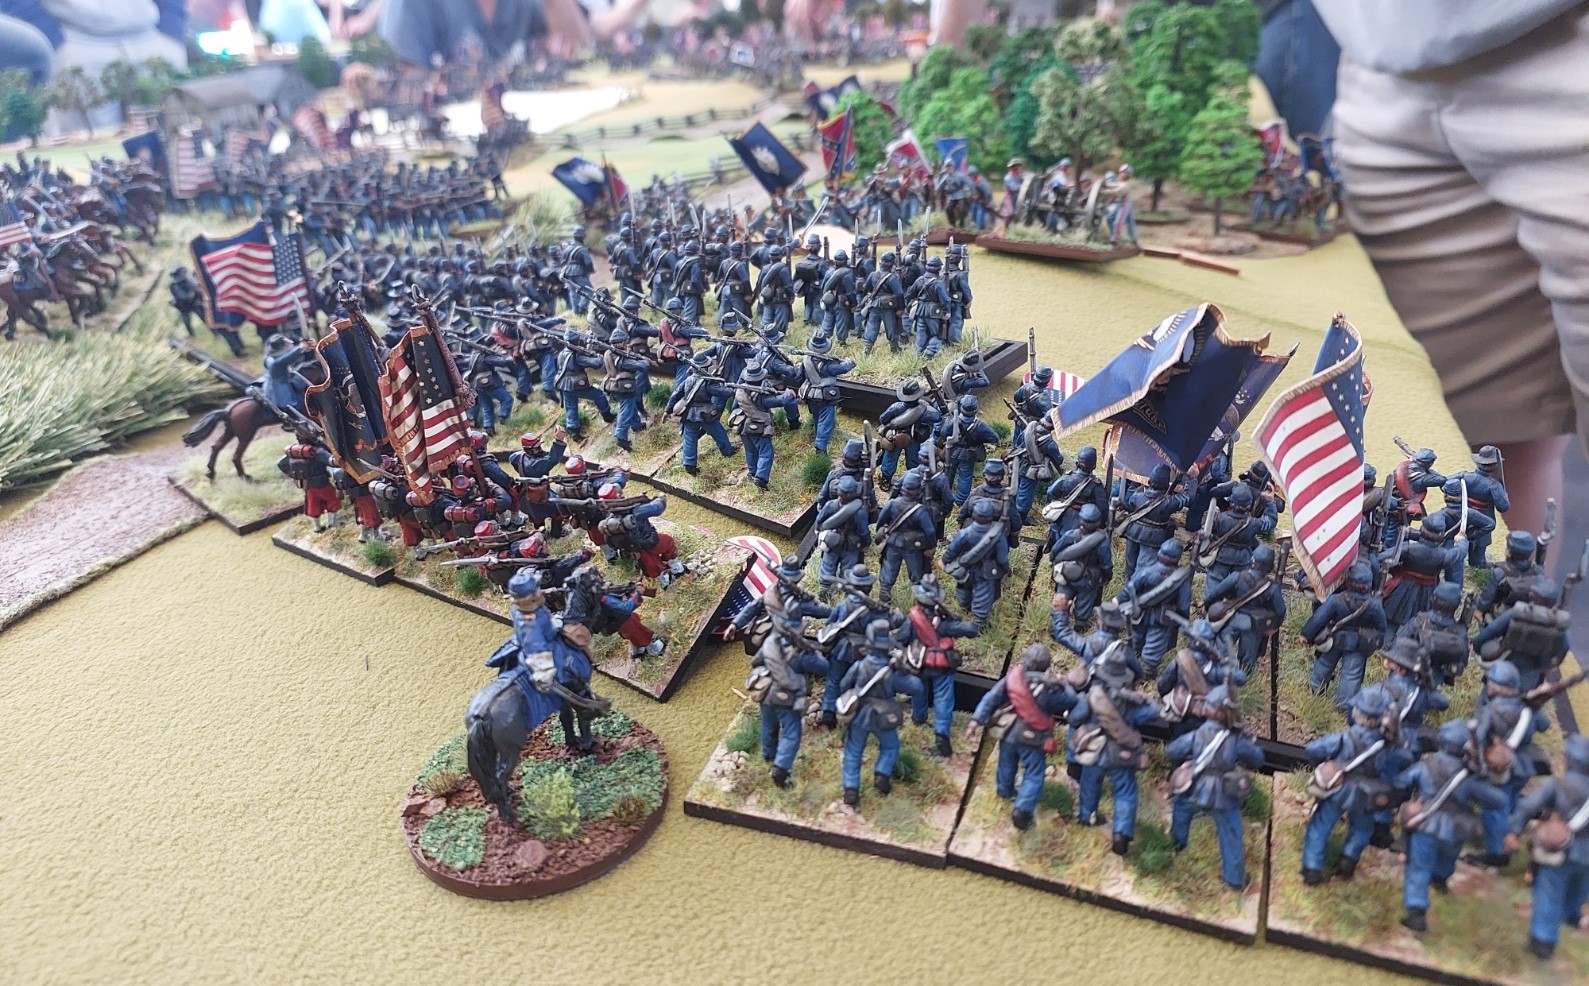
Union troops queuing up the attack with a massed battery forming up to support them.
OMG! Another Union battery decided to blunder and charge!

Sadly the first Charging Artillery battery survived the inept shooting that went their way. I suspect no one could actually believe what they saw. Goldie has moved up supporting infantry and yet another battery.

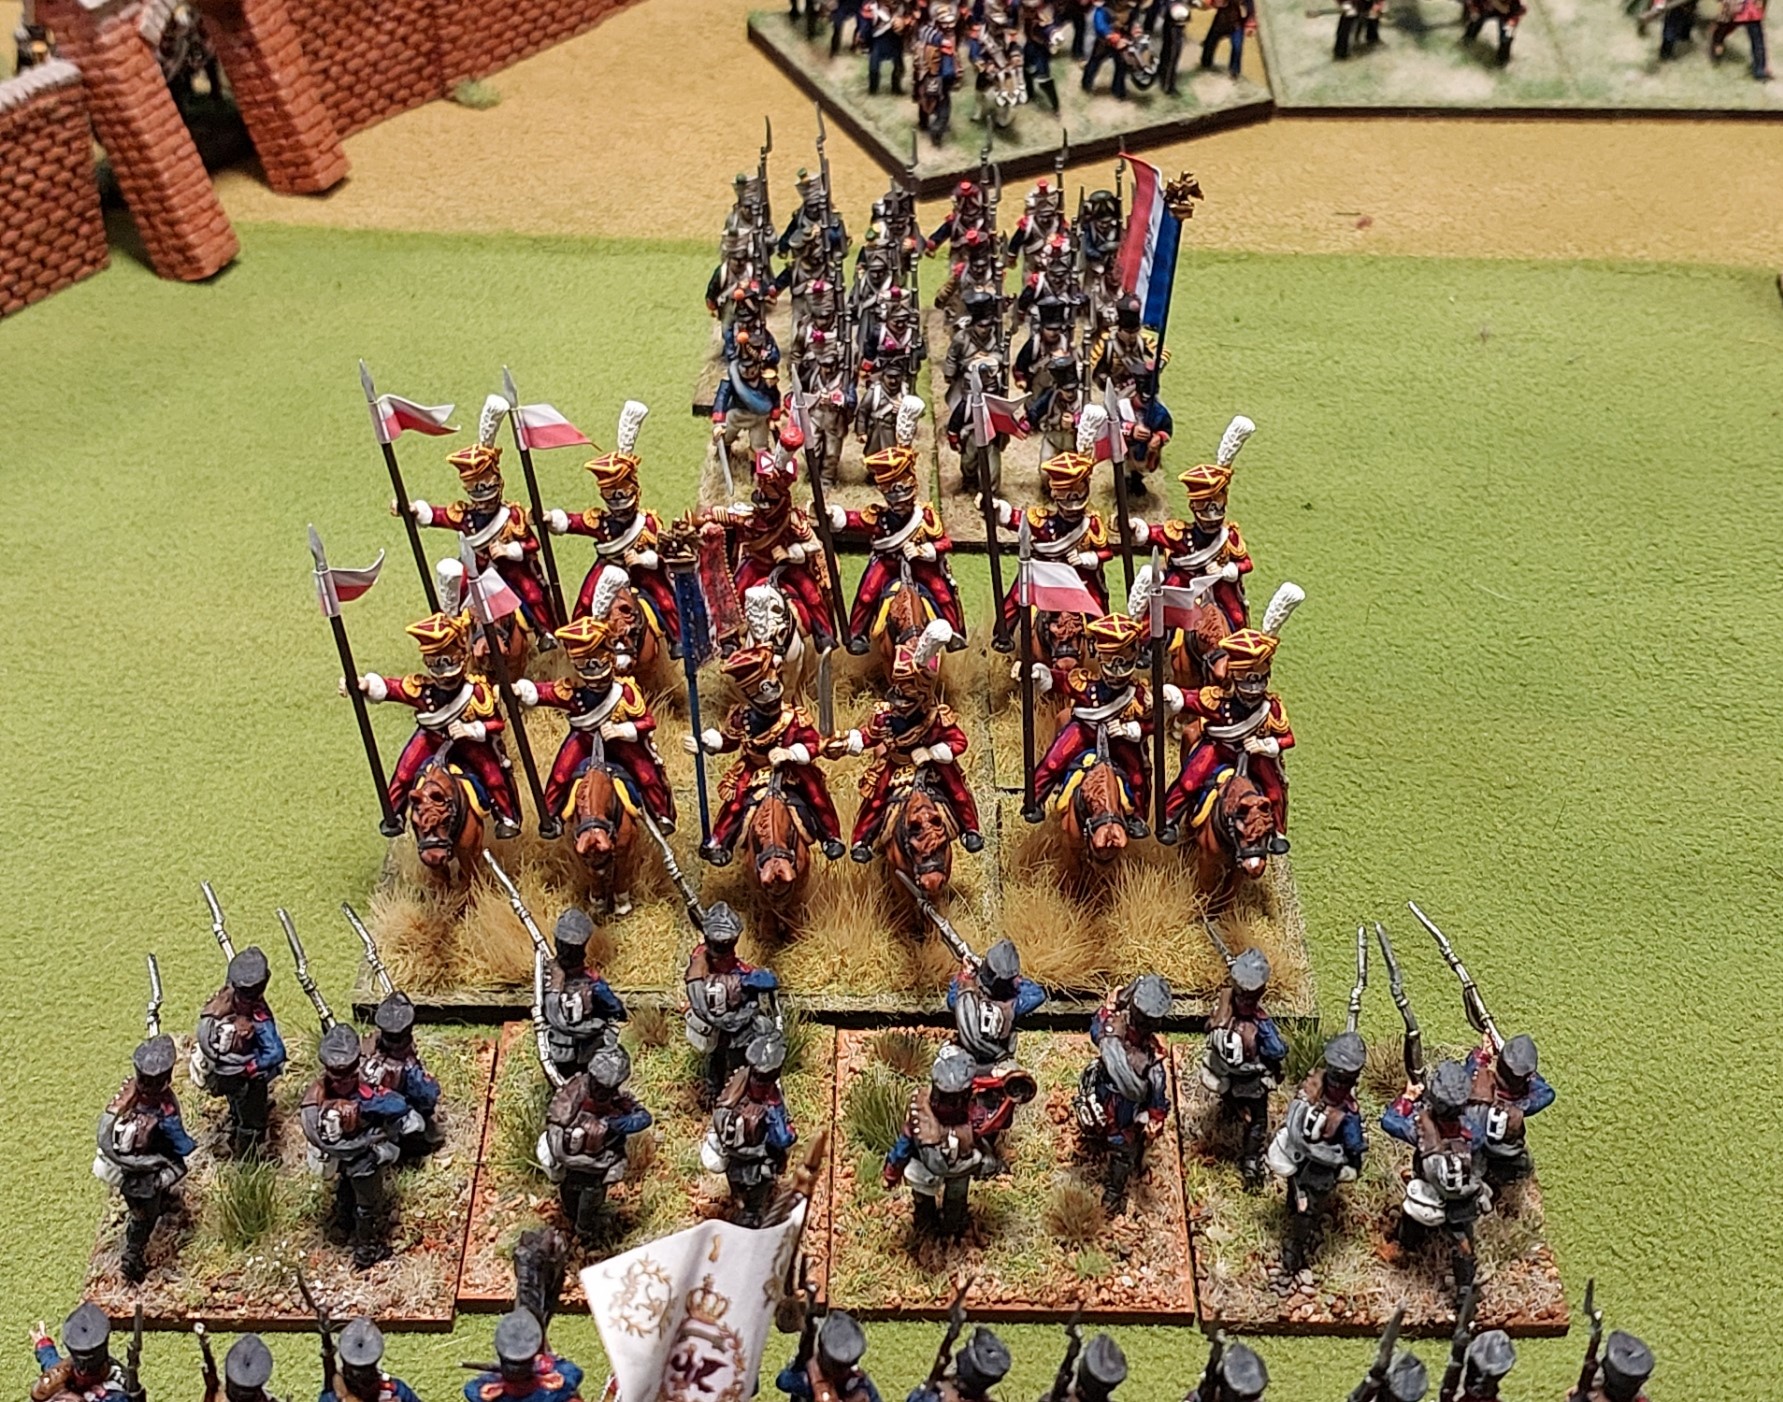
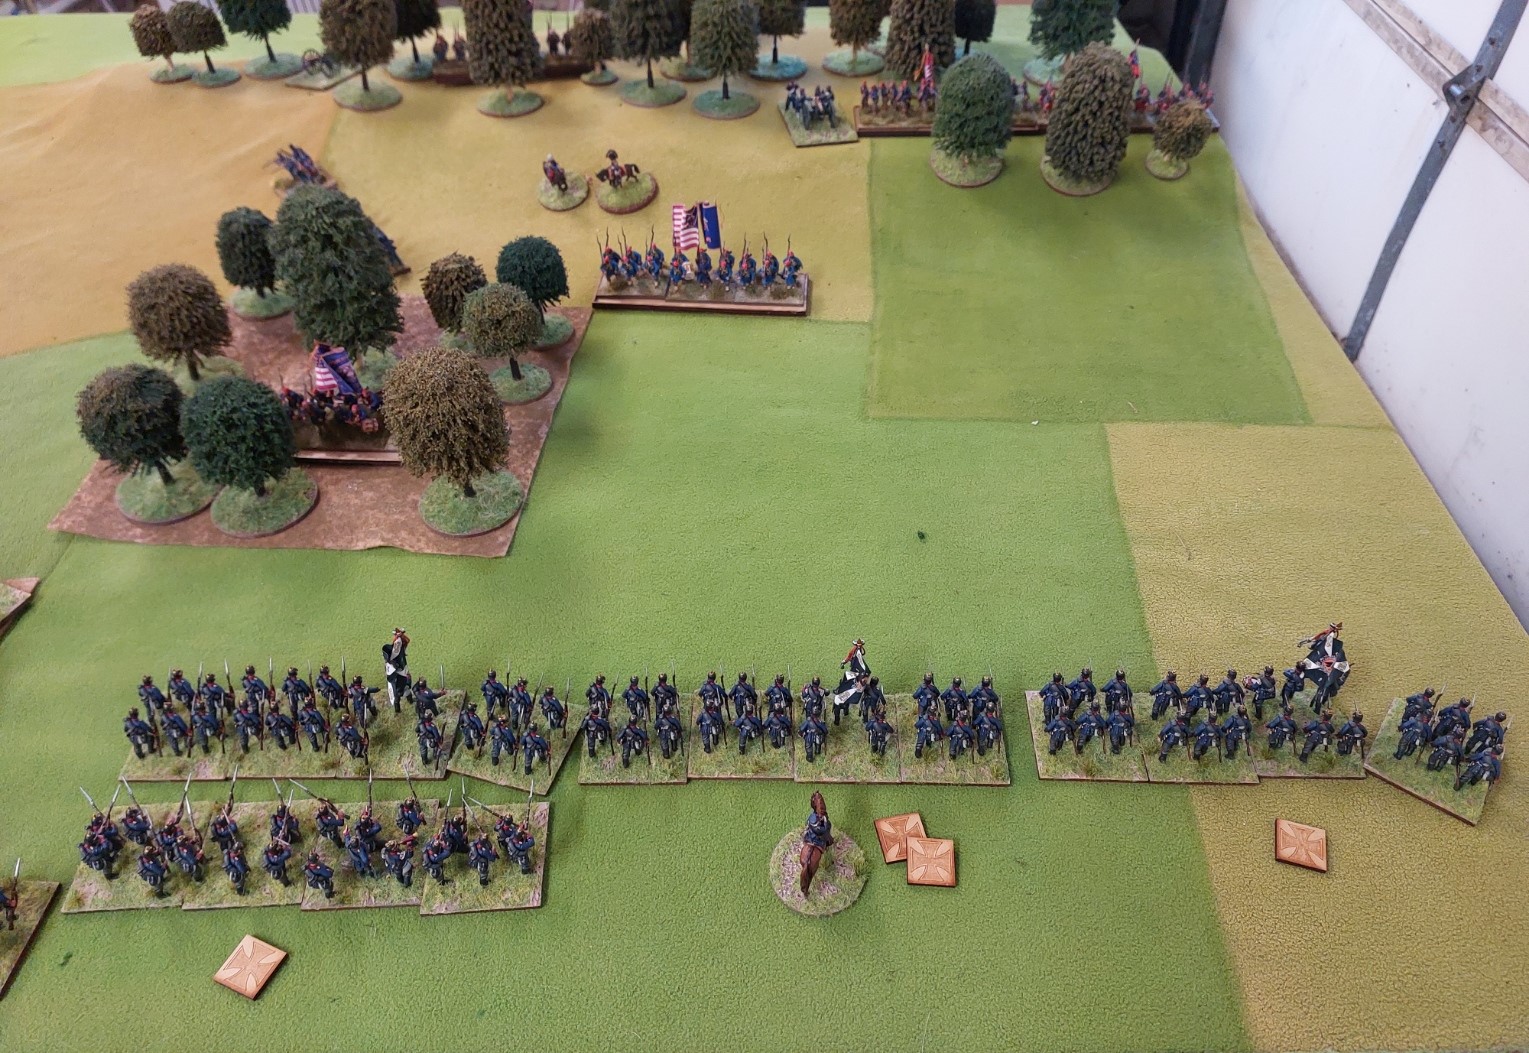
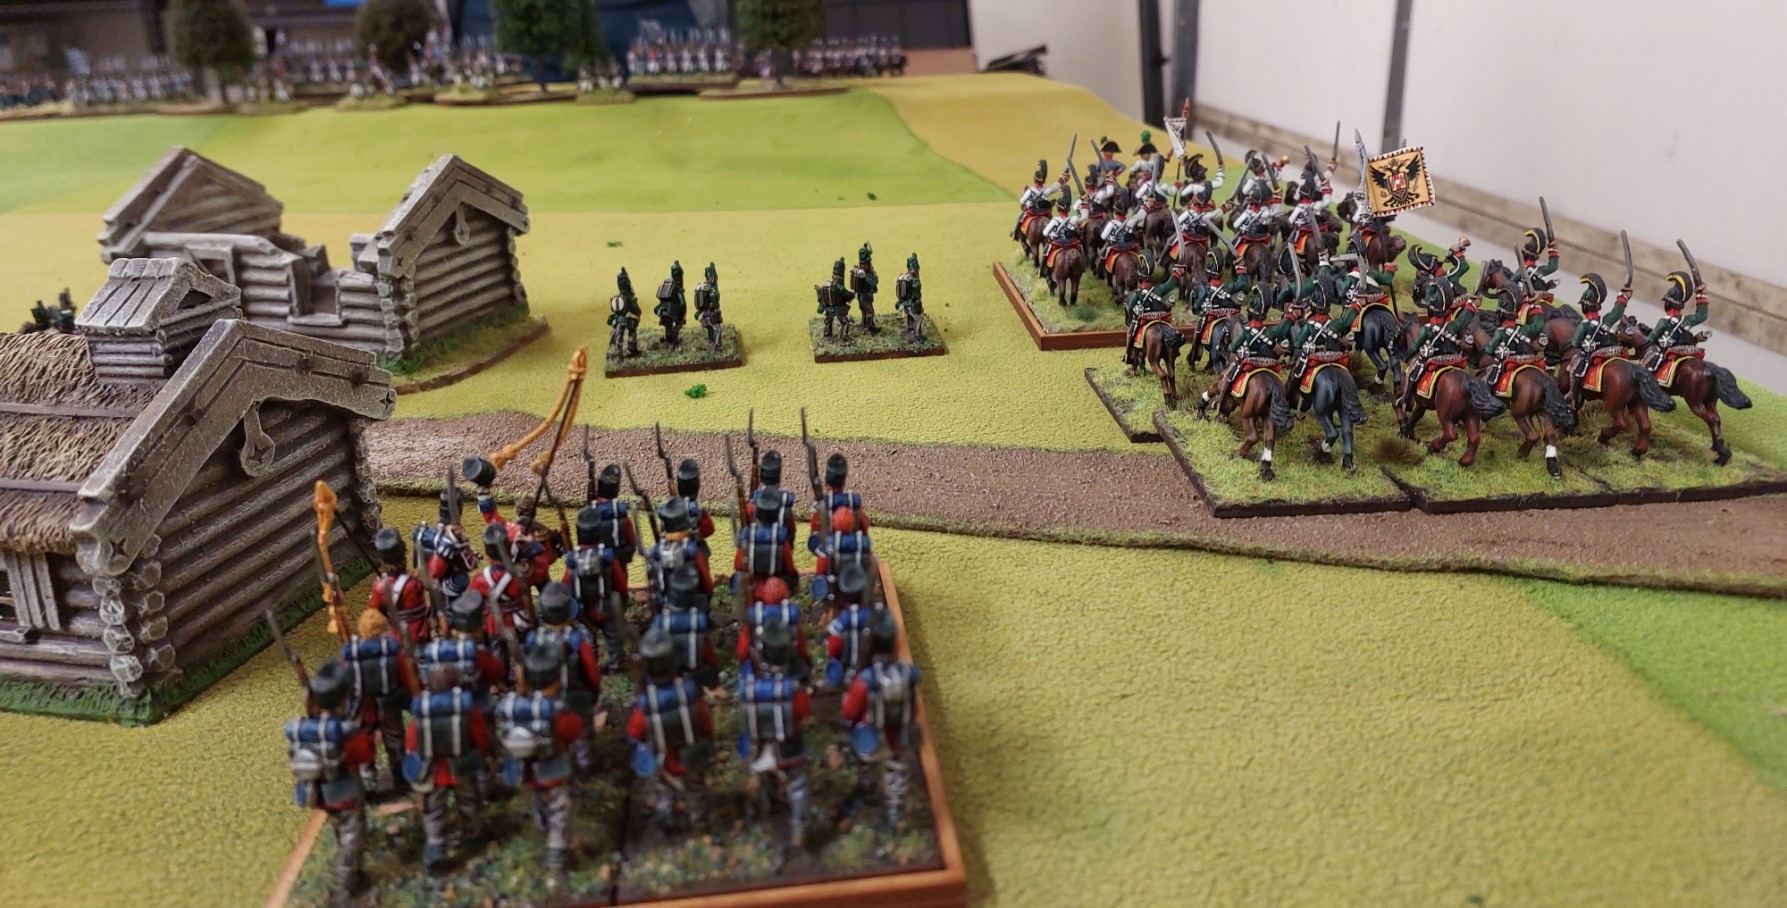
Stonewall brigade are a thin gray line defending the way to Sharpsburg. Stuart has sent his artillery battery to assist.
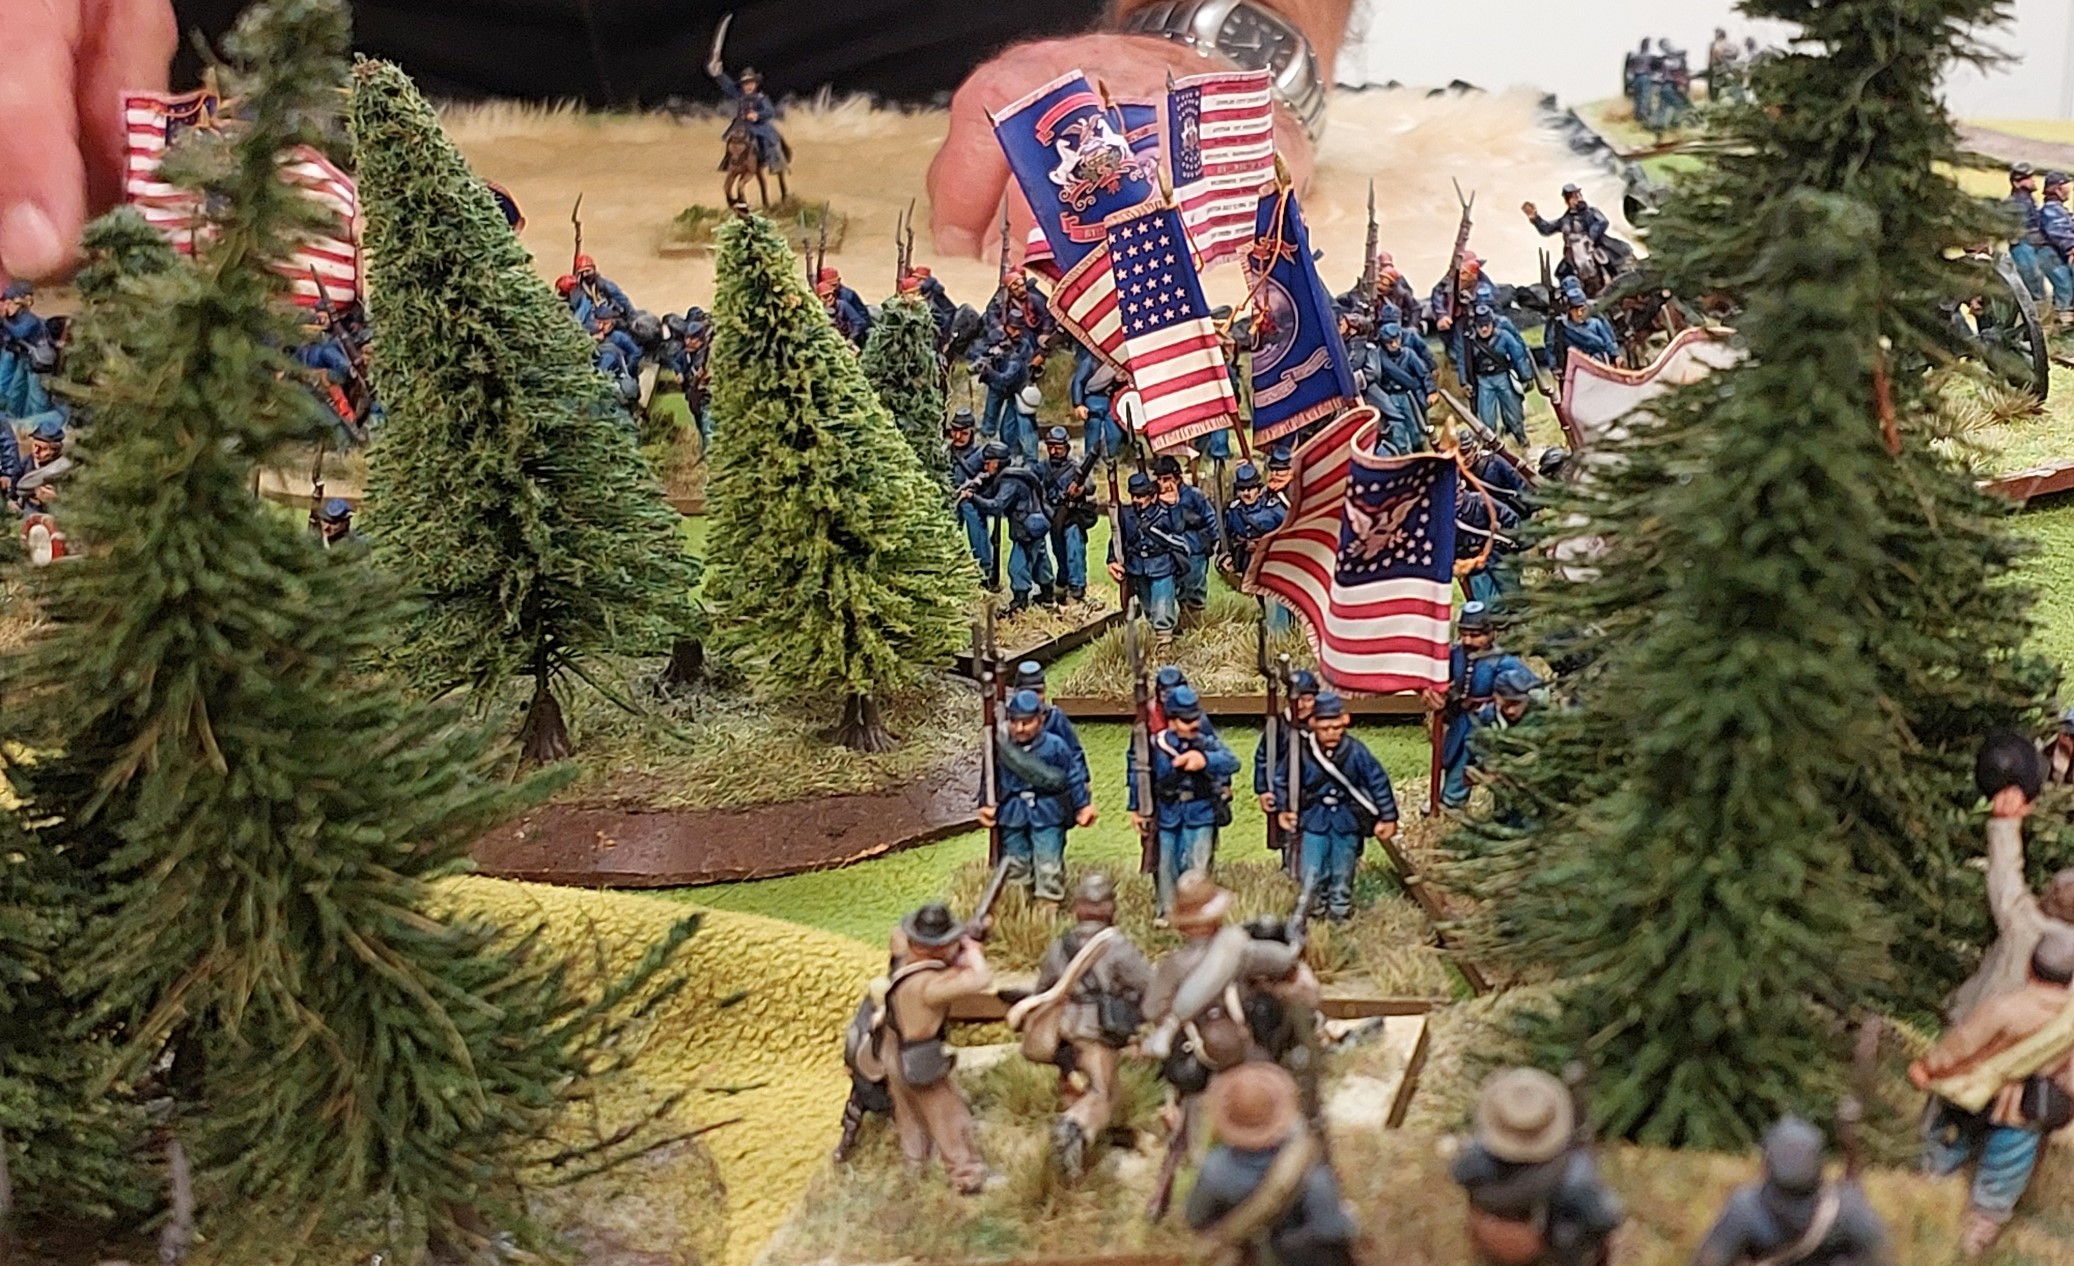
Union 3rd Corps arrives!(Okay..Okay…they weren’t there…but my Command bases are for Gettysburg!!)

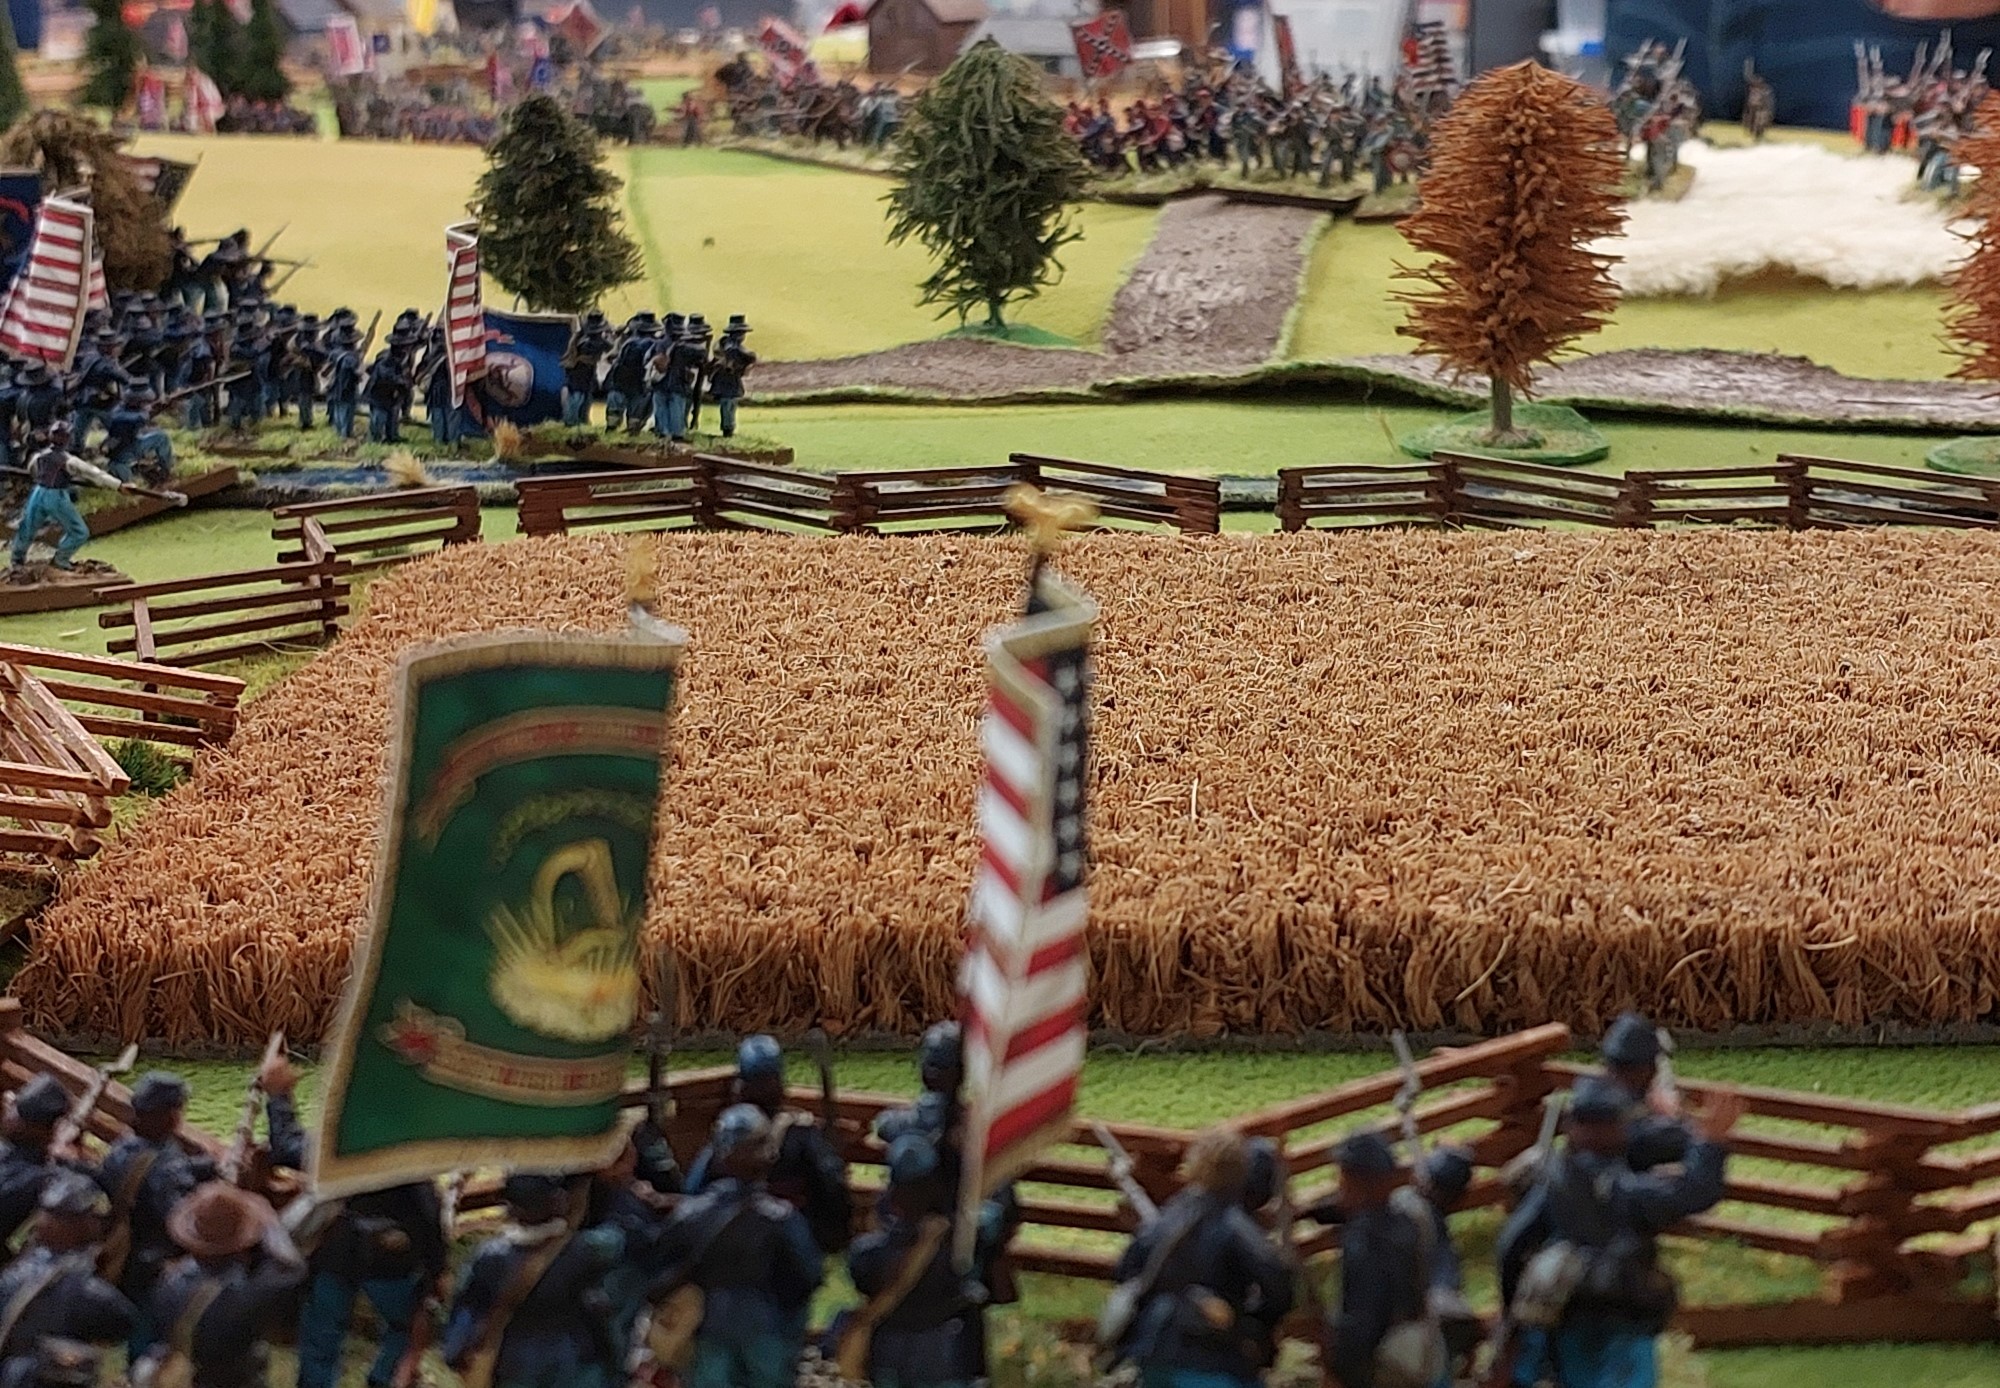
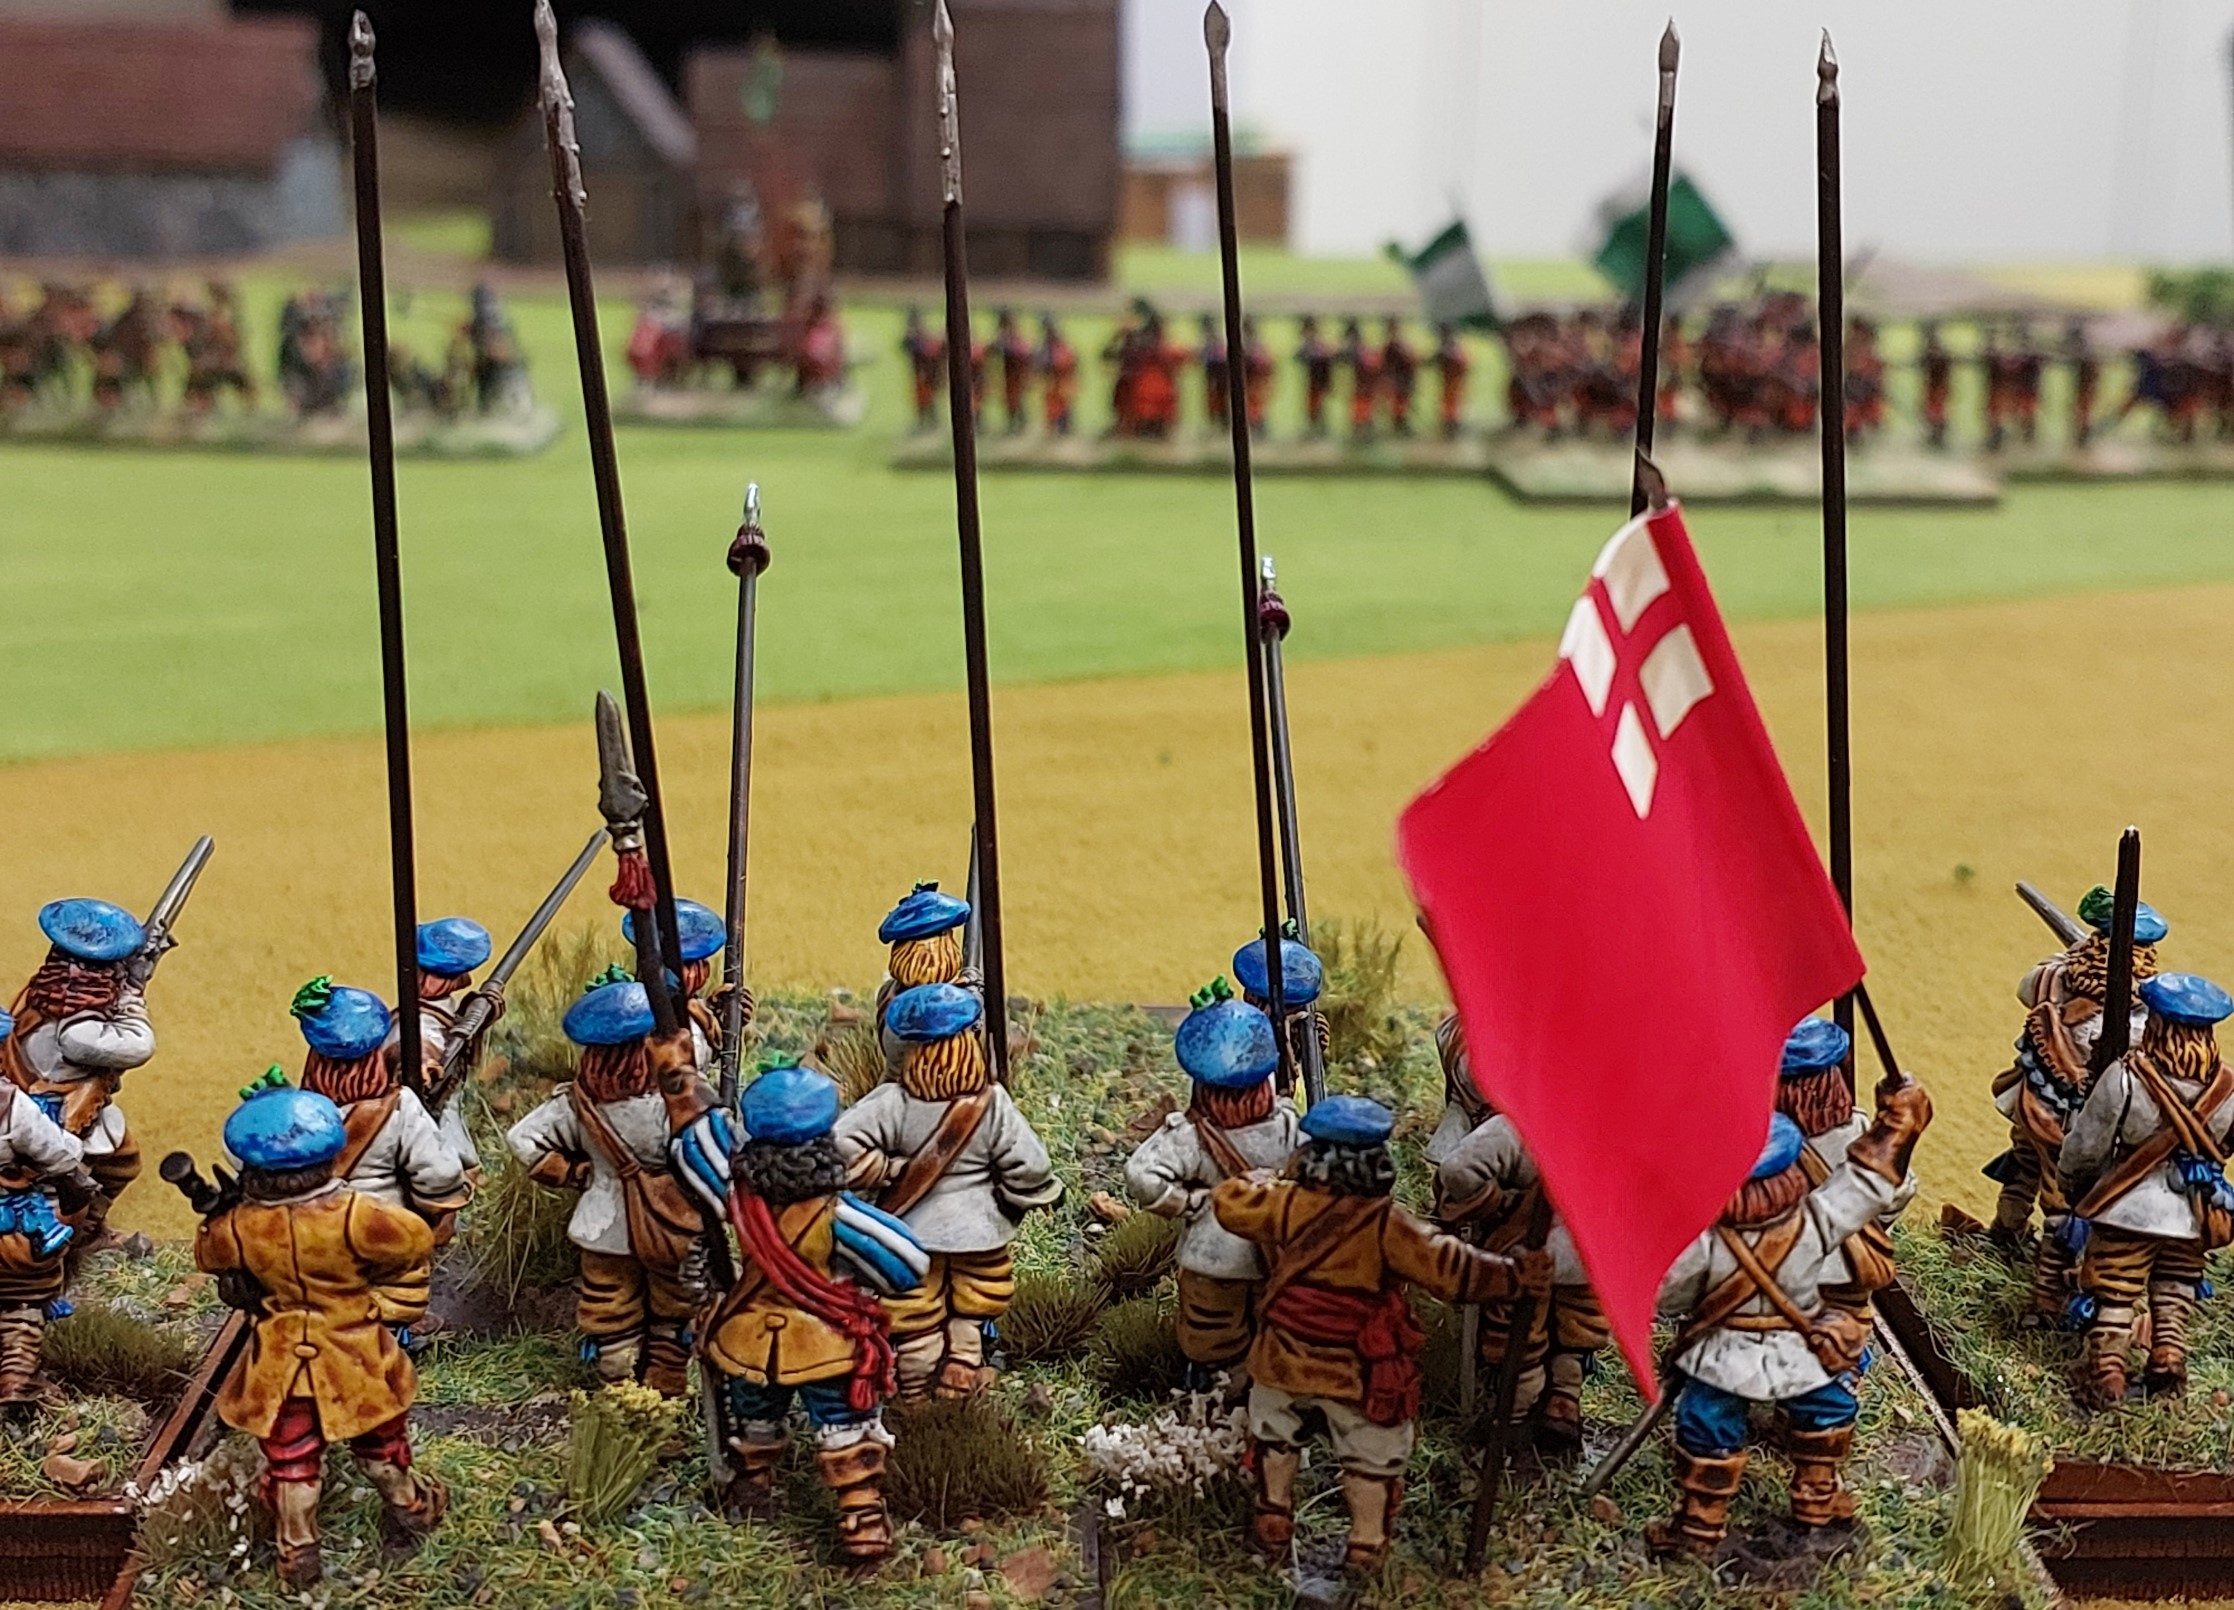
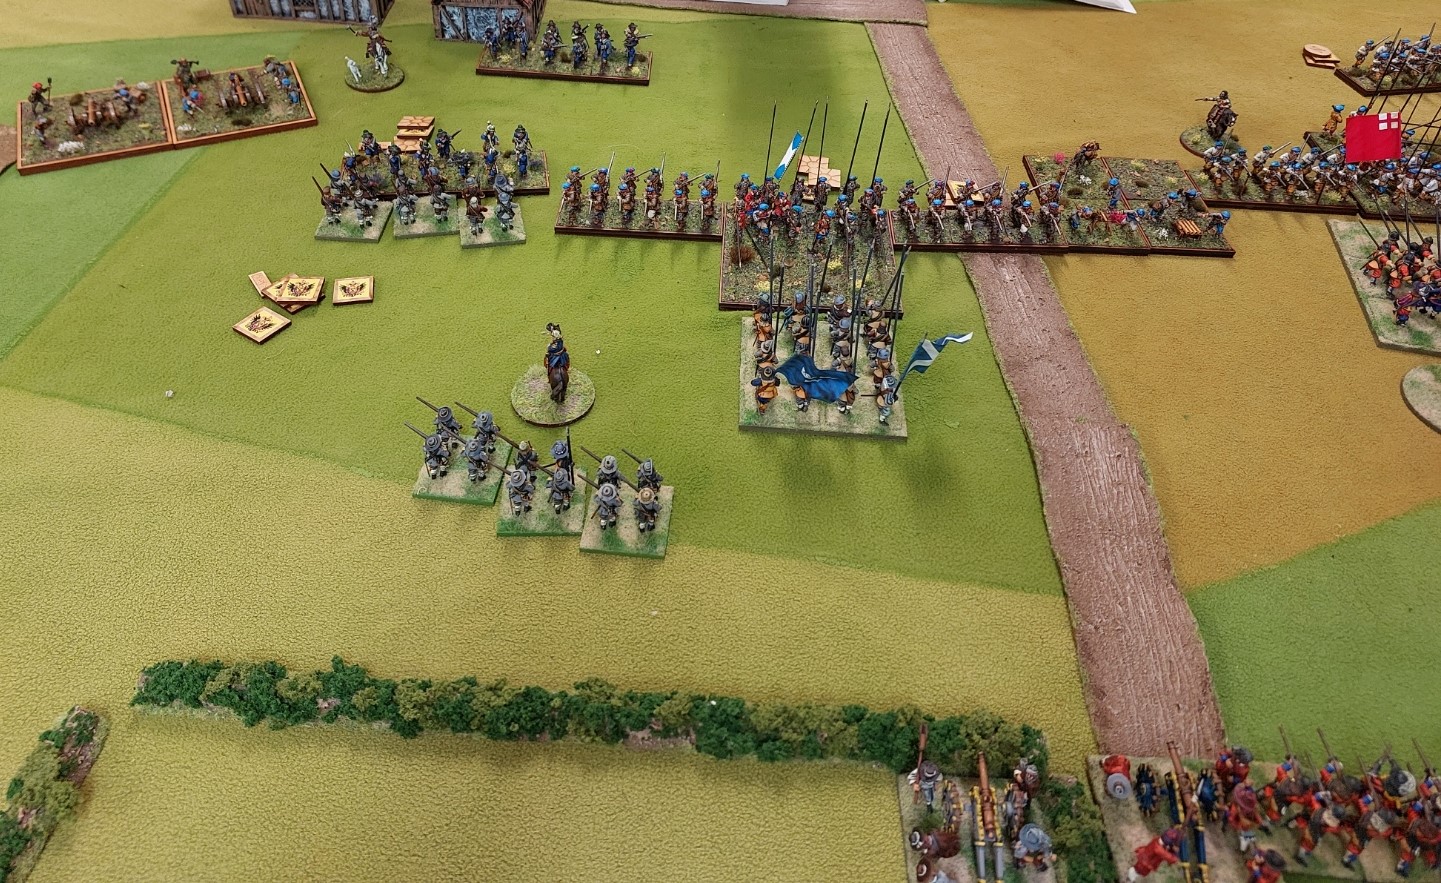
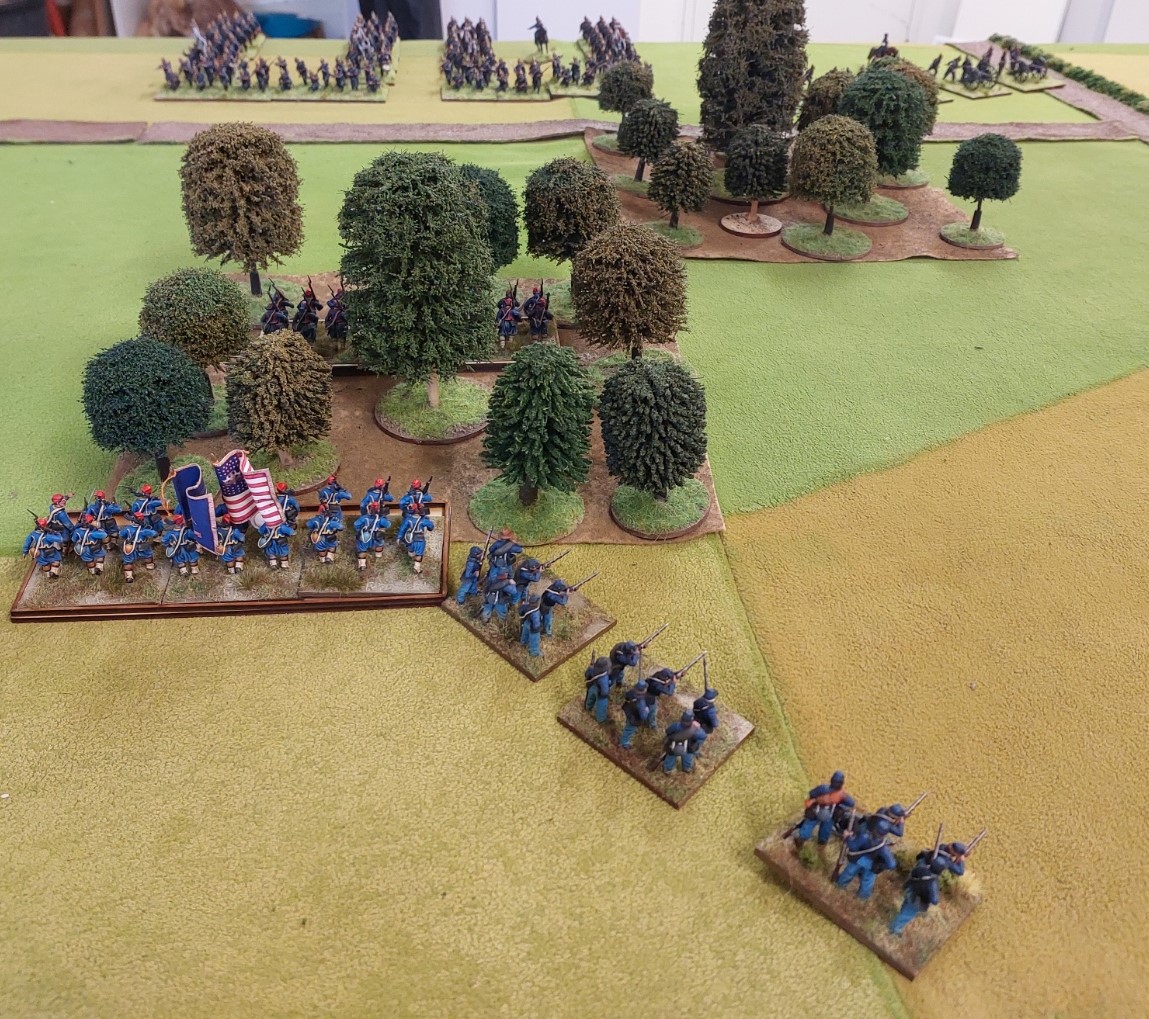
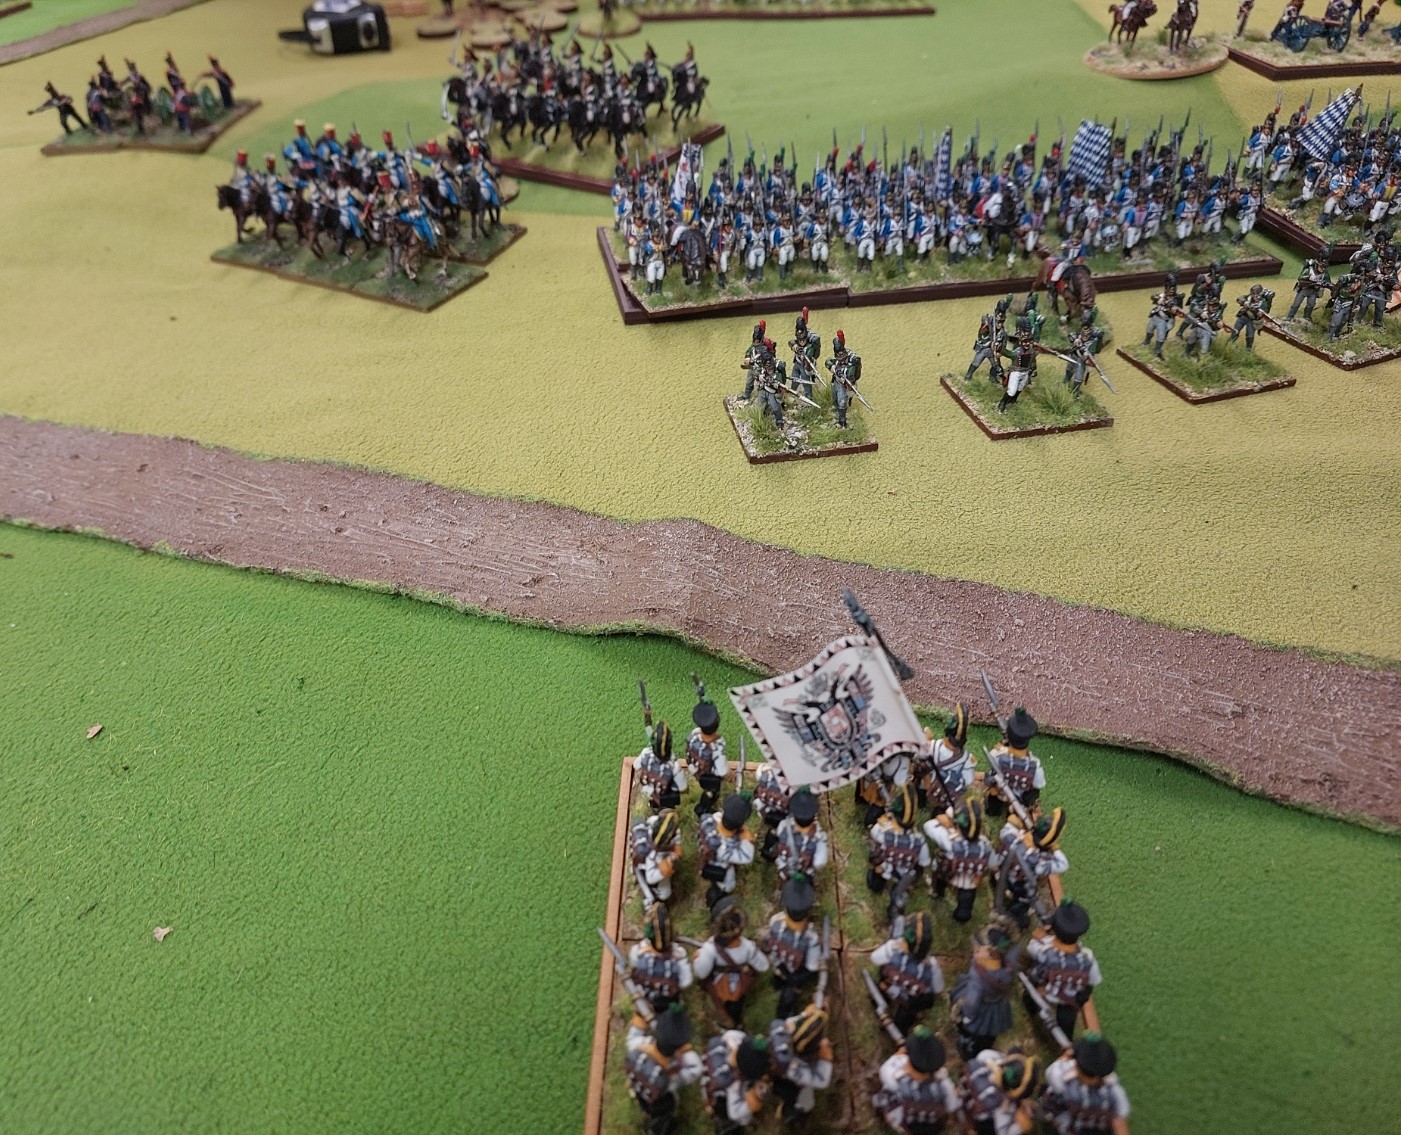
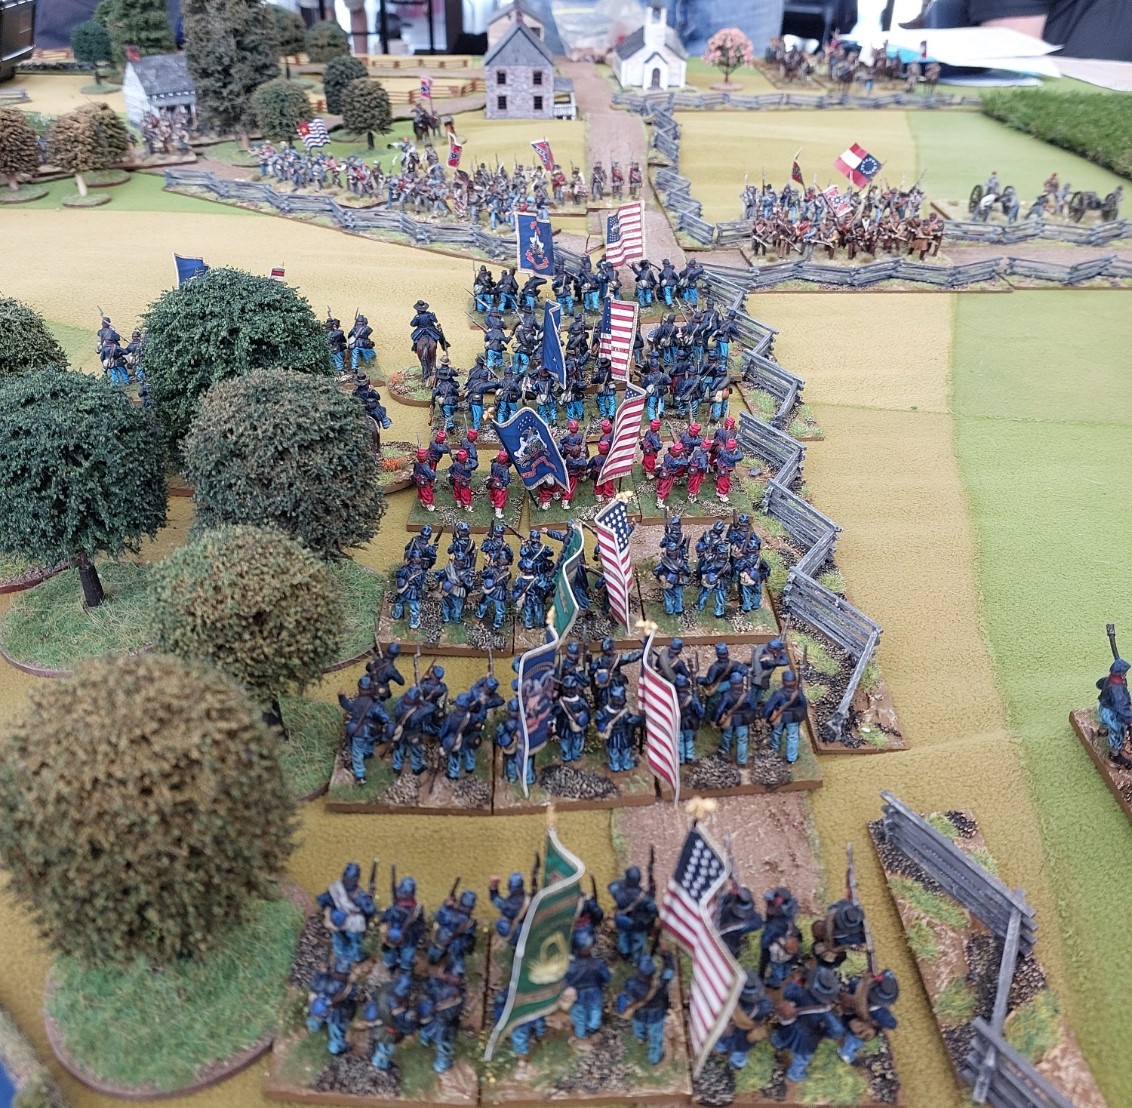
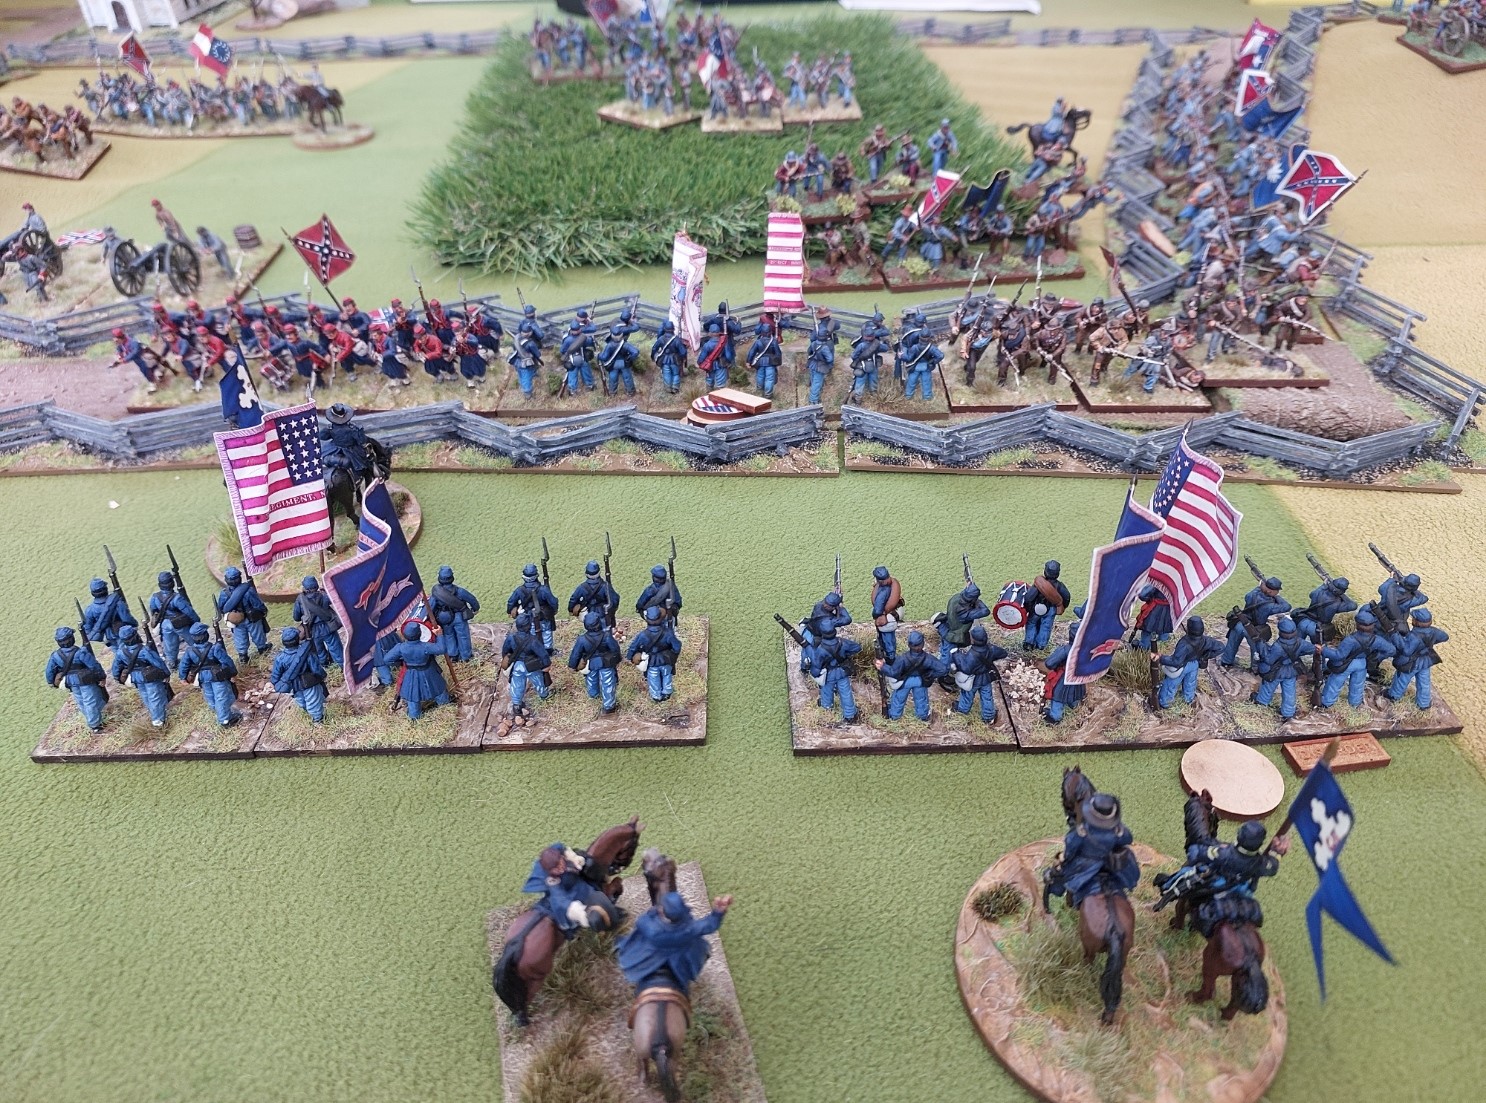
Brian’s troops facing off the sunken road…I do like the way he does his flags. Will need to pop up to Whanganui and get a lesson.
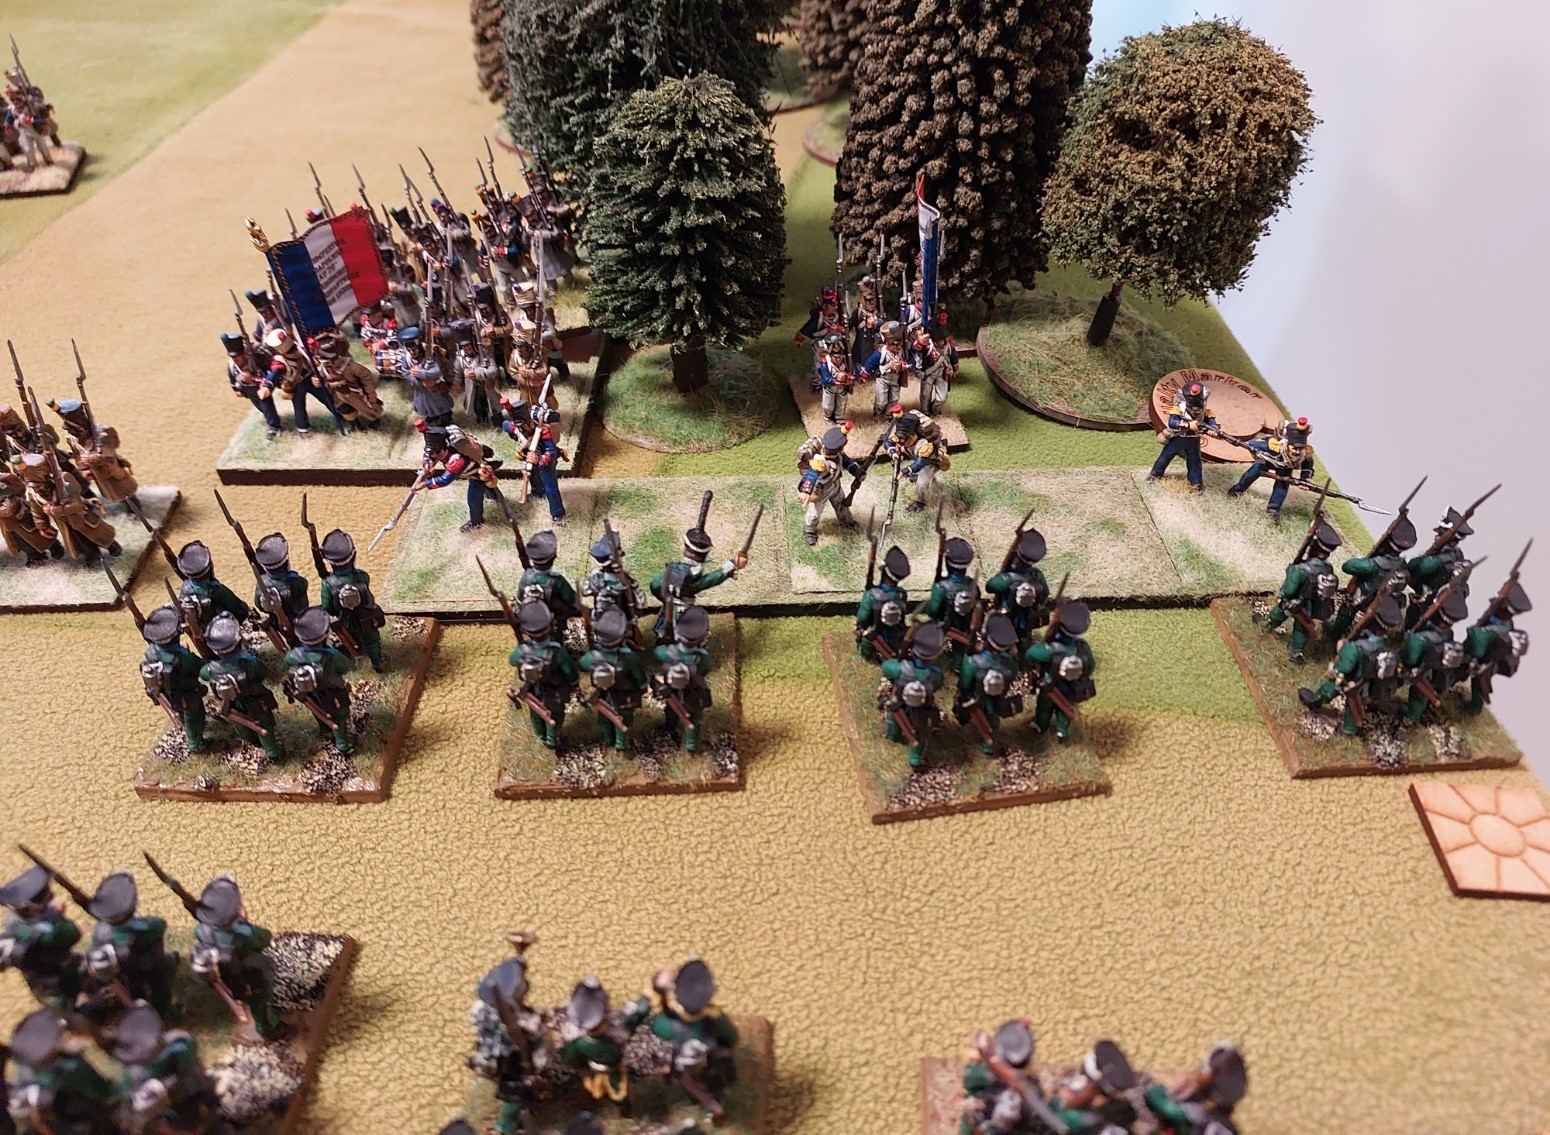
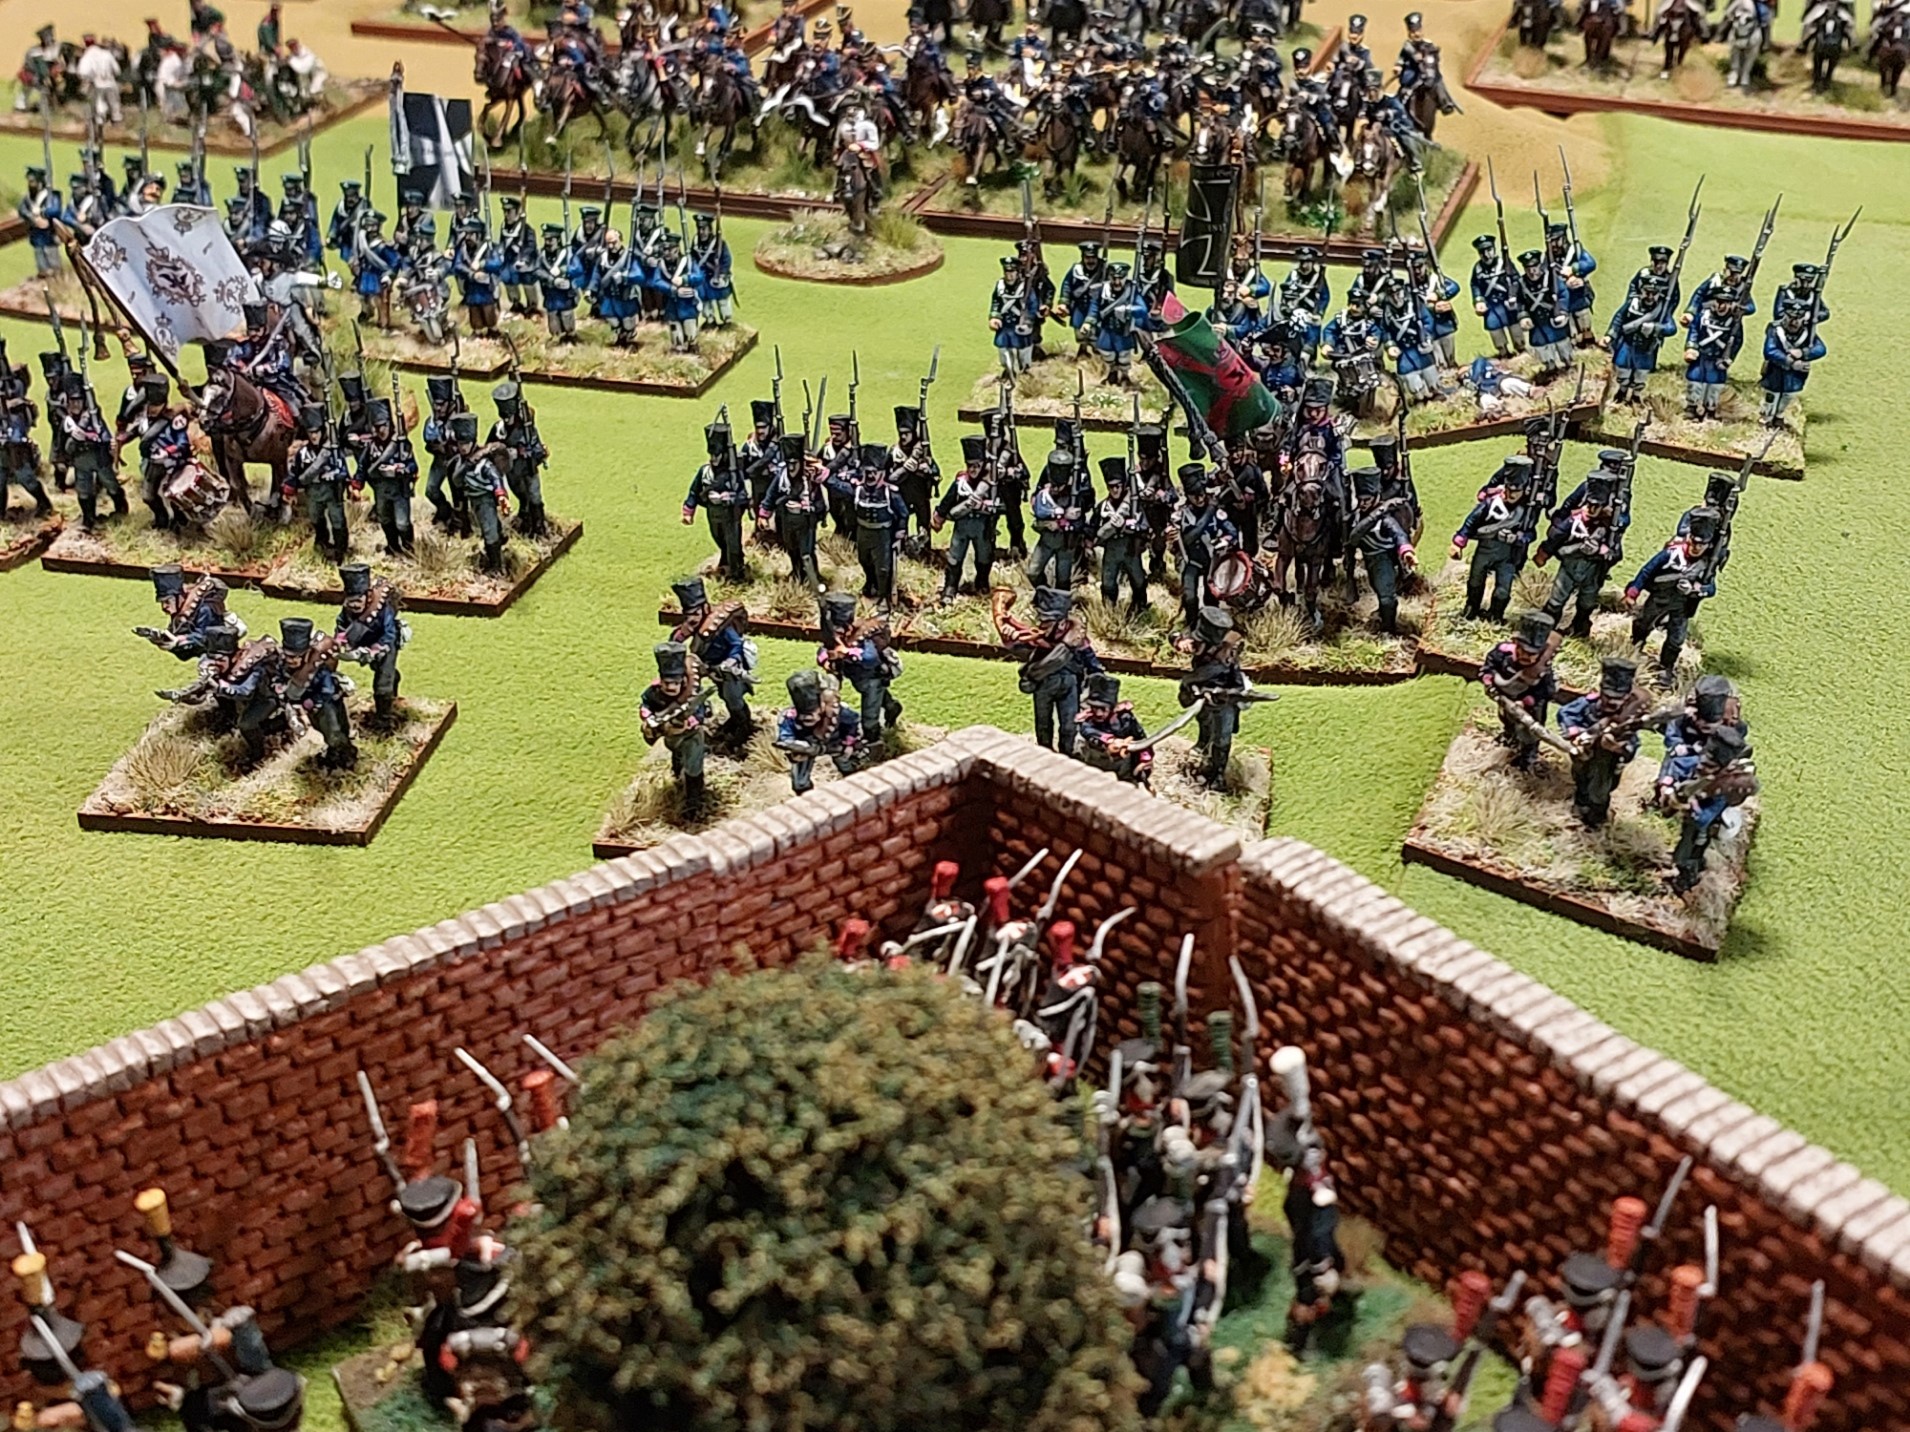
Union troops moving through the cornfield.

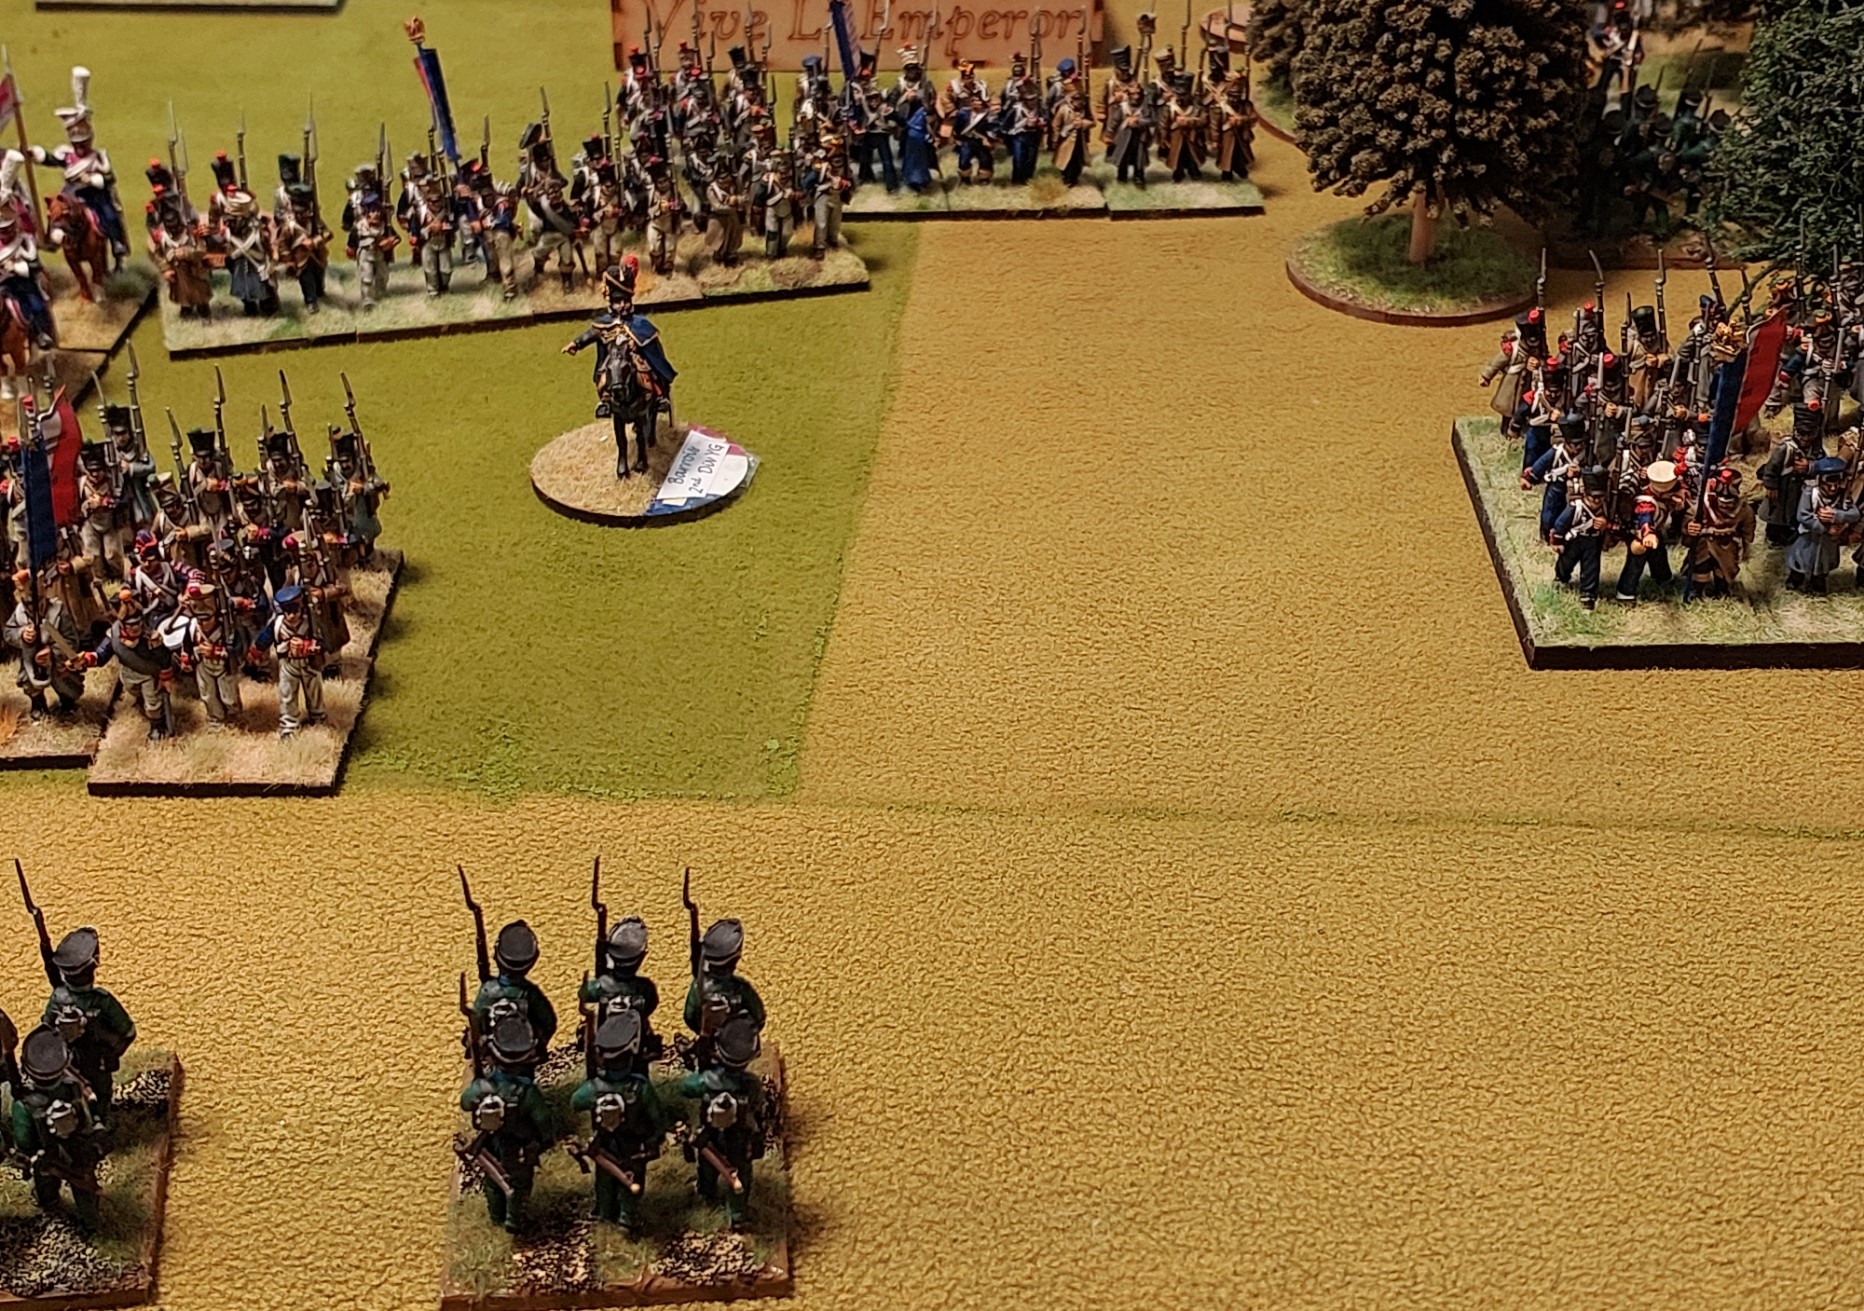
At last…..my troops arrive! This is A P Hills command moving through Sharpsburg….with Lee himself helping with dice re rolls to get them up the road.
Union right where the diminished Confederate force is in hold out mode.
On the Confederate right Mike lost his artillery bttn early on and has been forced back from the bridge. On the hill my dismounted cavalry are attempting to take out the battery that has been causing all the casualties. I felt it was a worthy sacrifice. They failed.

The battle at Snavely Ford played out all game. Mike had reinforced the initial 2 regts here with the 2 who had been defending the bridge(one actually blundered and headed over their by its self). Both forces and taking heavy casualties.

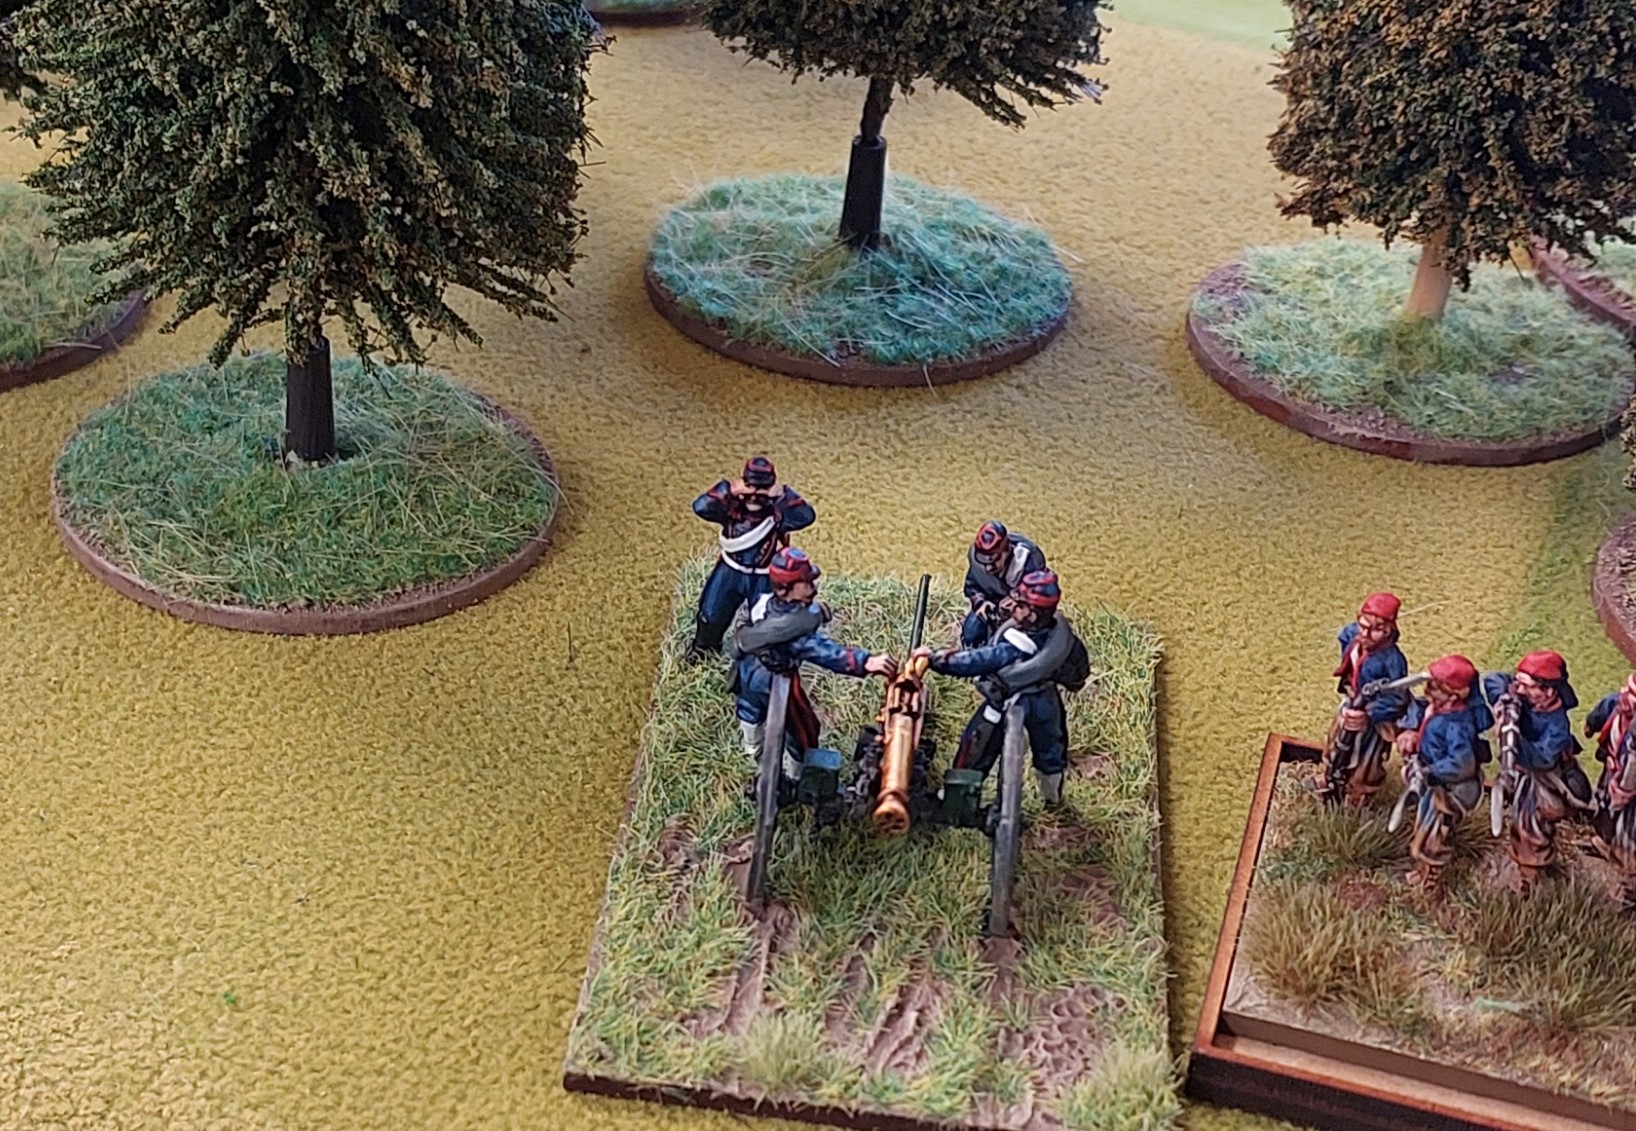
Having failed to take out the artillery my foot cavalry stayed to allow Mikes brigade time to defend the field behind. Goldie has more troops over the bridge and Keith has moved troops up to the trees lining the road.
On the union right Roberts tardy troops have finally arrived and are advancing up the Smoketown Dd.

The other side of the Smoketown Rd as Robert and Goldies troops tighten the noose on the Confederate force.

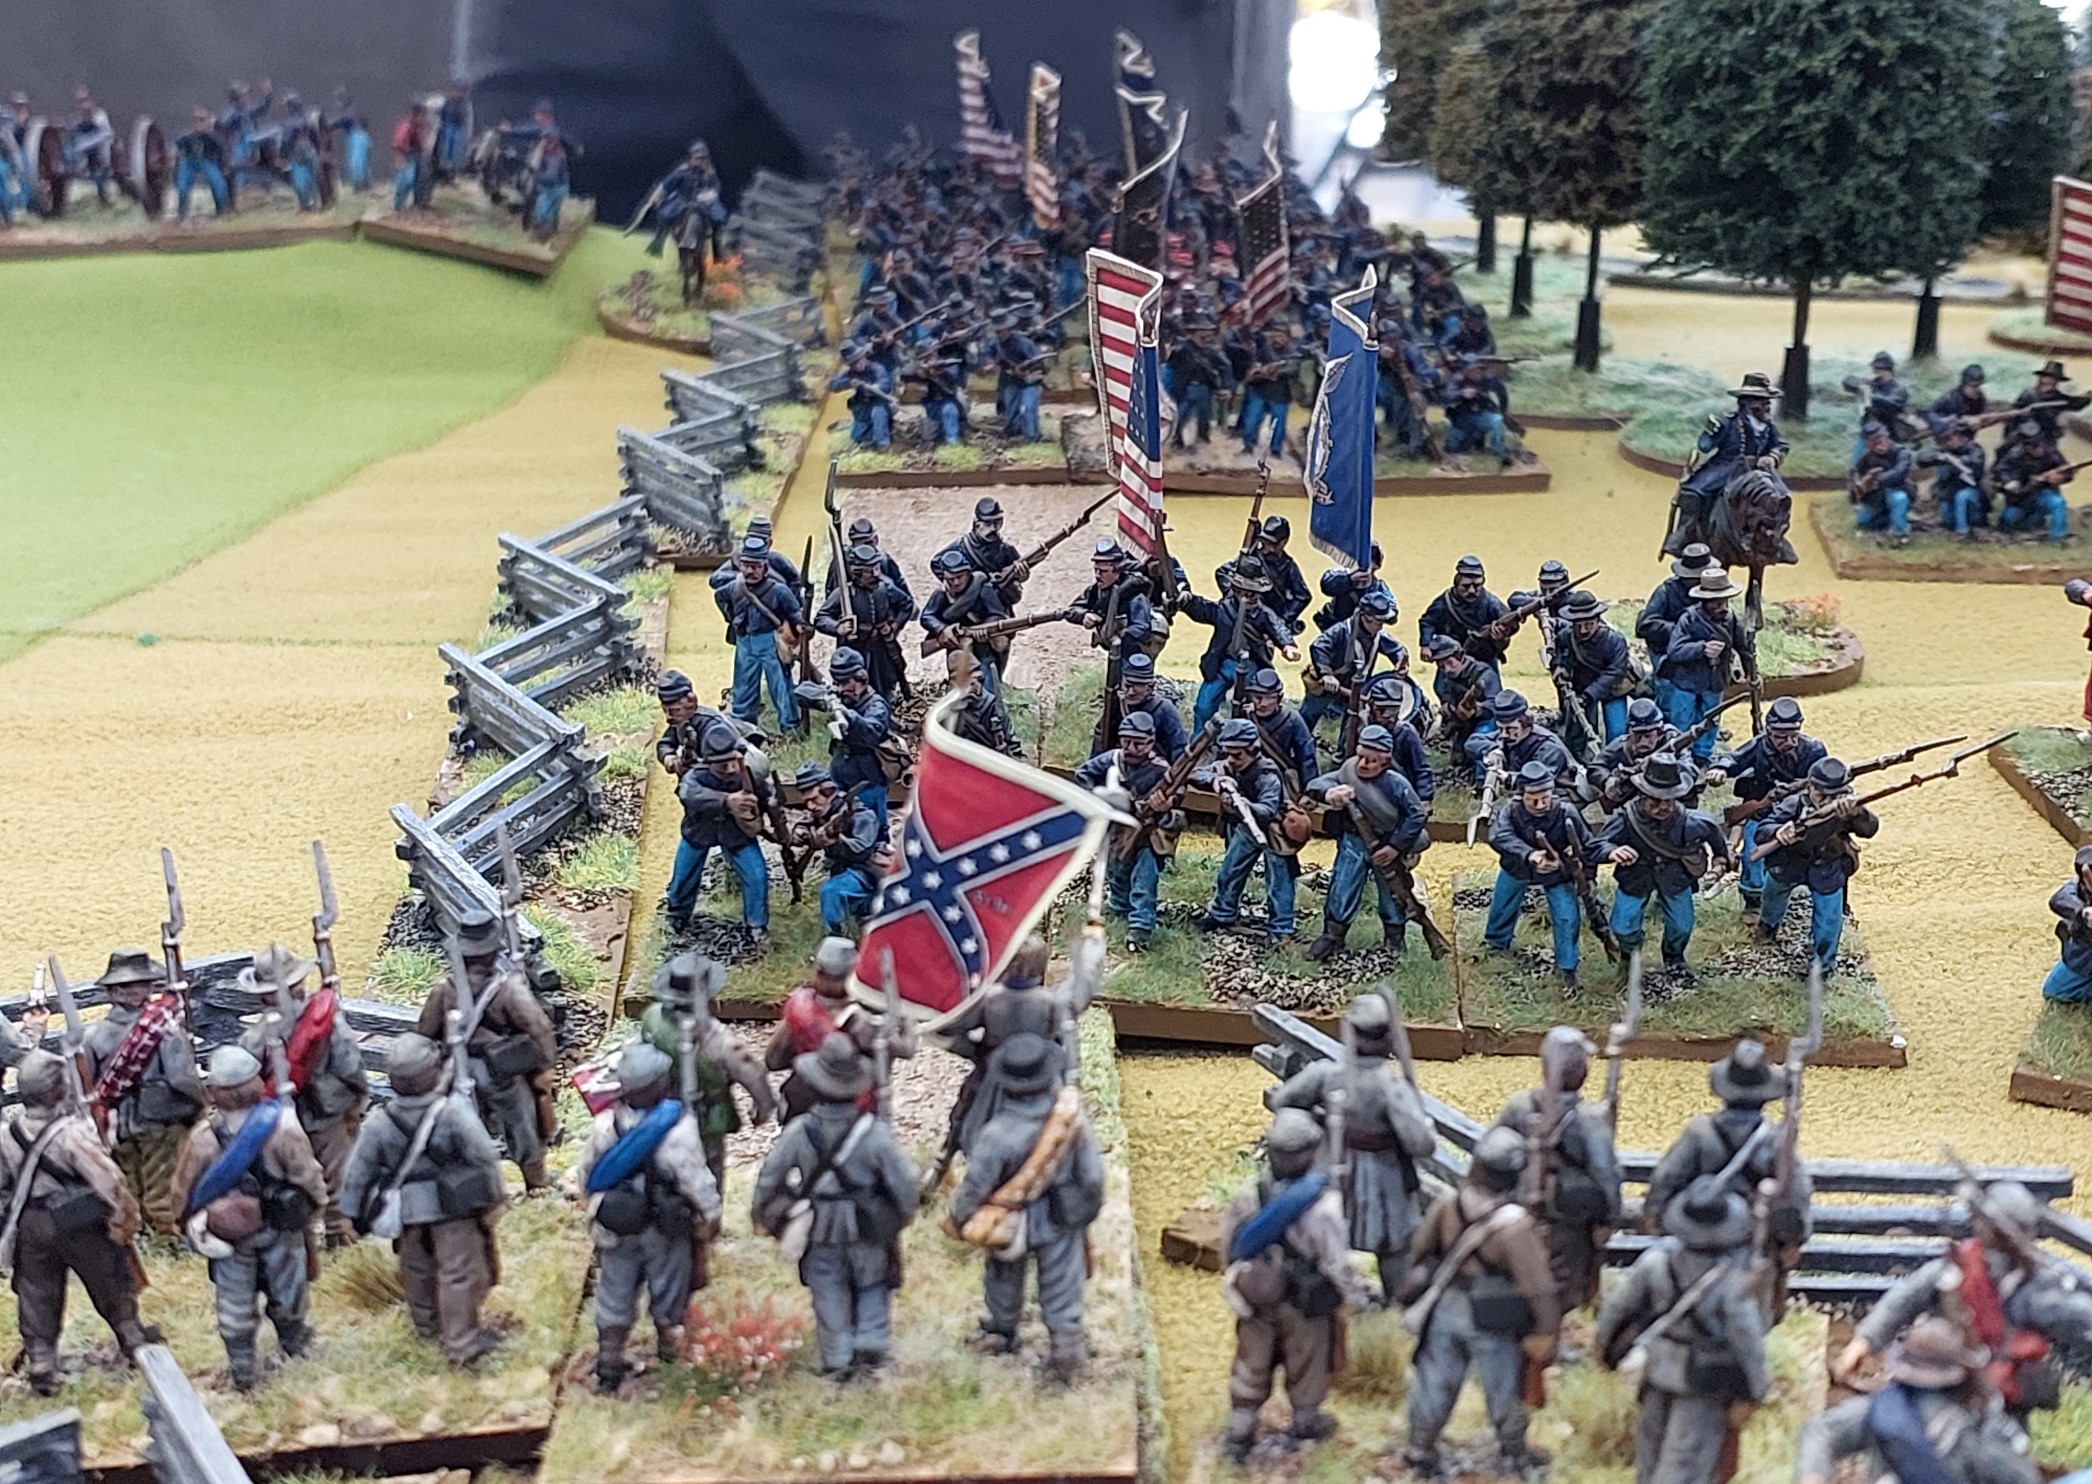
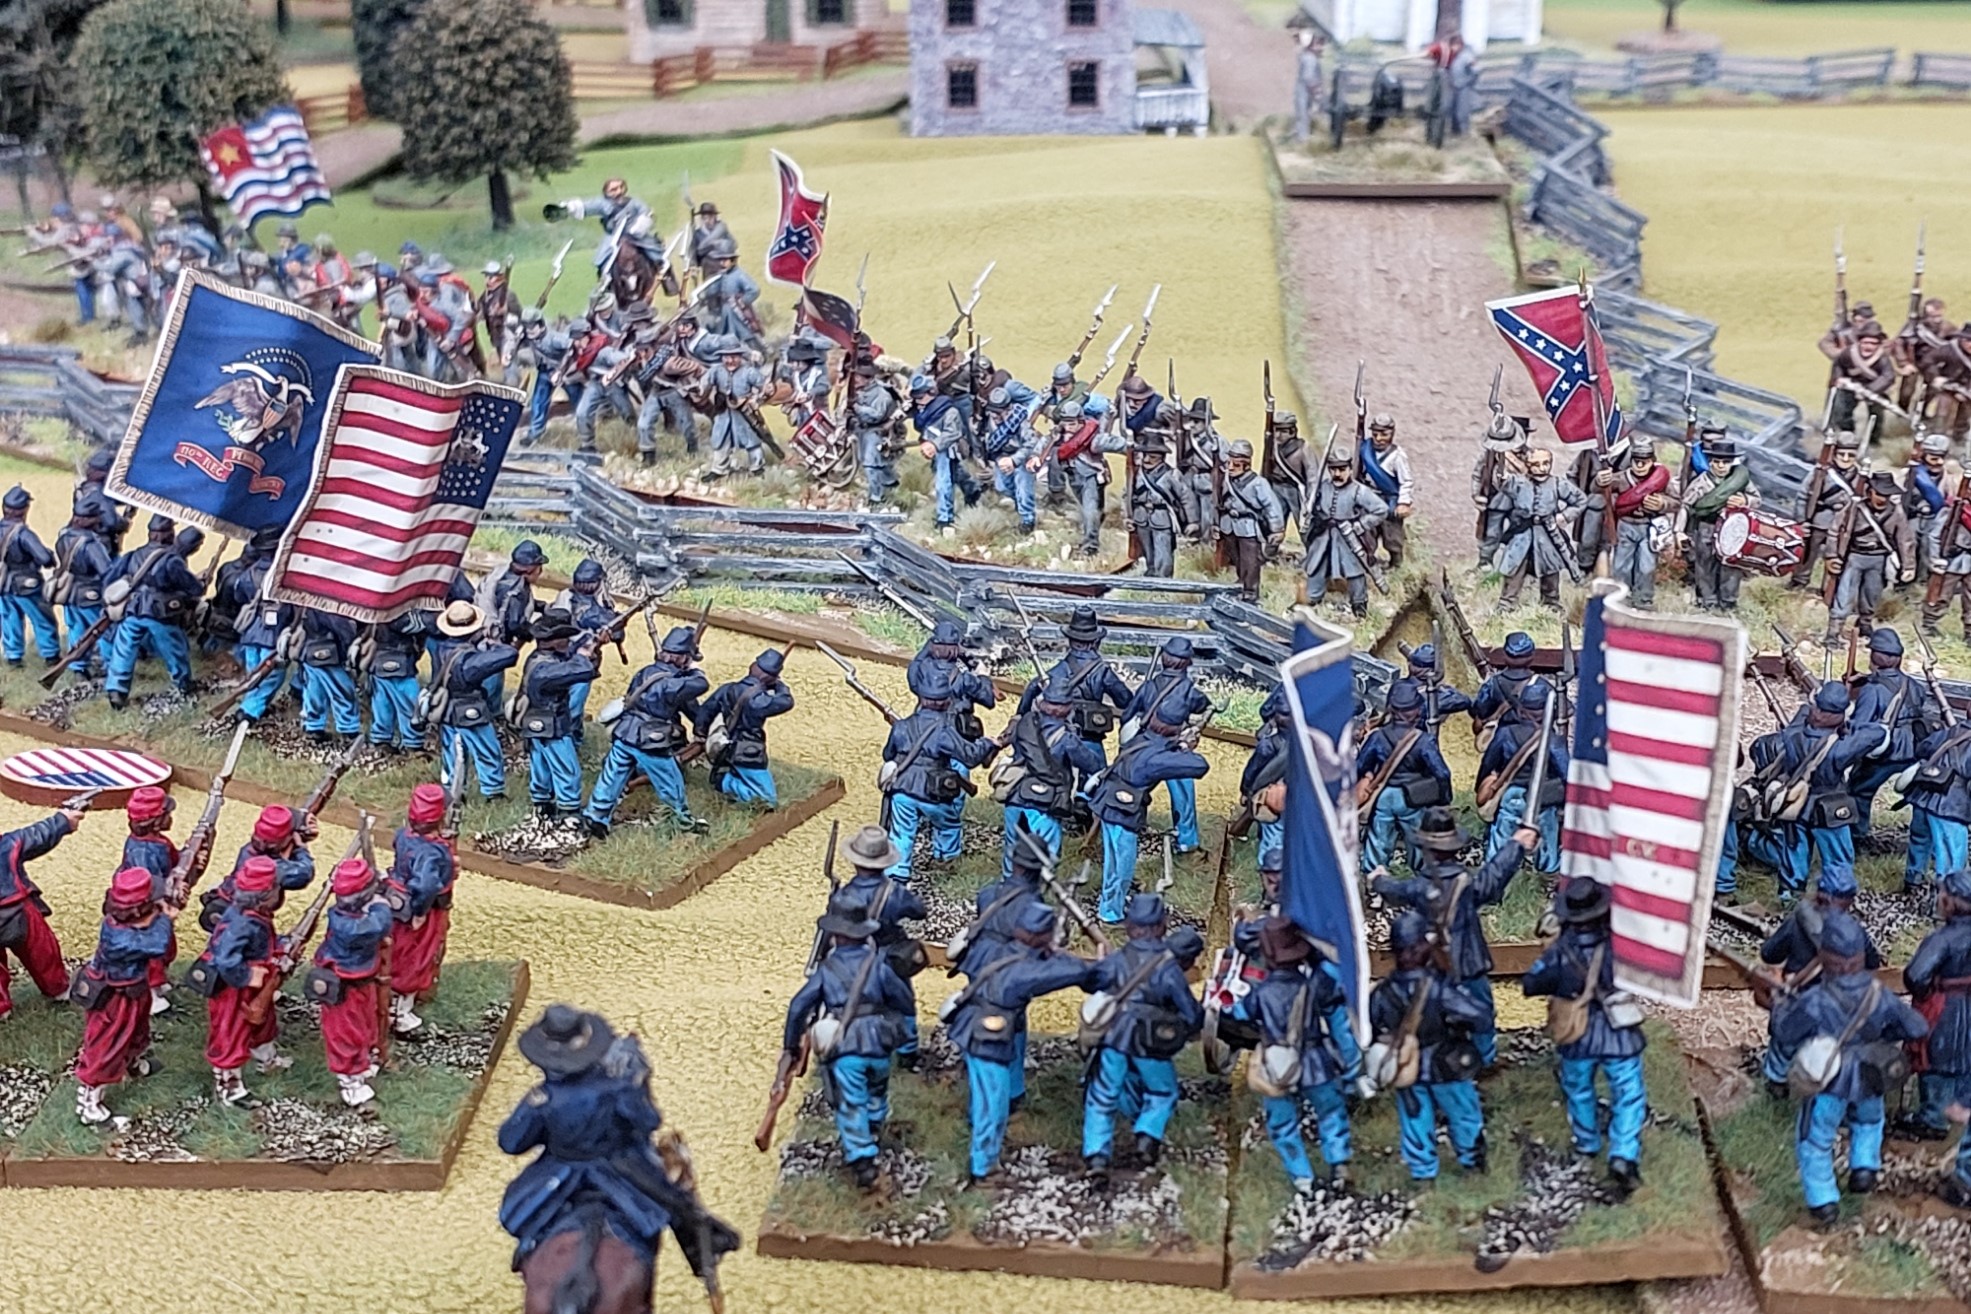
Yet another Blunder…this time a good one!(If you are Union that is) Getting infantry to attack other infantry frontally is not easy, unless of course you do as SteveT did…blunder and the result is a charge. So 3 regts went in. One succeeded in winning the combat…the Confederate die rolls for shooting had been appalling all game on this road fence.
Having arrived A P Hill prepares to replace Alans 2 damaged brigades in the front line

Mission achieved. Alan withdrew back through my line on initiative moves, which now allowed my units to step forward, still under initiative moves and take up their positions. Alan could now start to rally casualties back with Lees Command 9 rating helping him out.

A bit further along and the Confederates are retiring. The massed Union guns at medium range were dishing out to much damage. The target priority rules meant out guns could not take counter battery action but had to shoot at the nearest formed unit. I have discussed this with Goldie already and we will change that.

Over by the bridge Goldies troops advancing, Mikes Confederates in the field are retiring.

On the Sharpsburg Rd Keith is still pressing and with the massed batteries destroying anything on the Sunken Road a general retirement has been ordered.
Over on the Confederate left…..well their really isn’t one now…so Sheridan’s force will join A P Hills and act as rearguard and the Confederates retire.

A Union Victory.
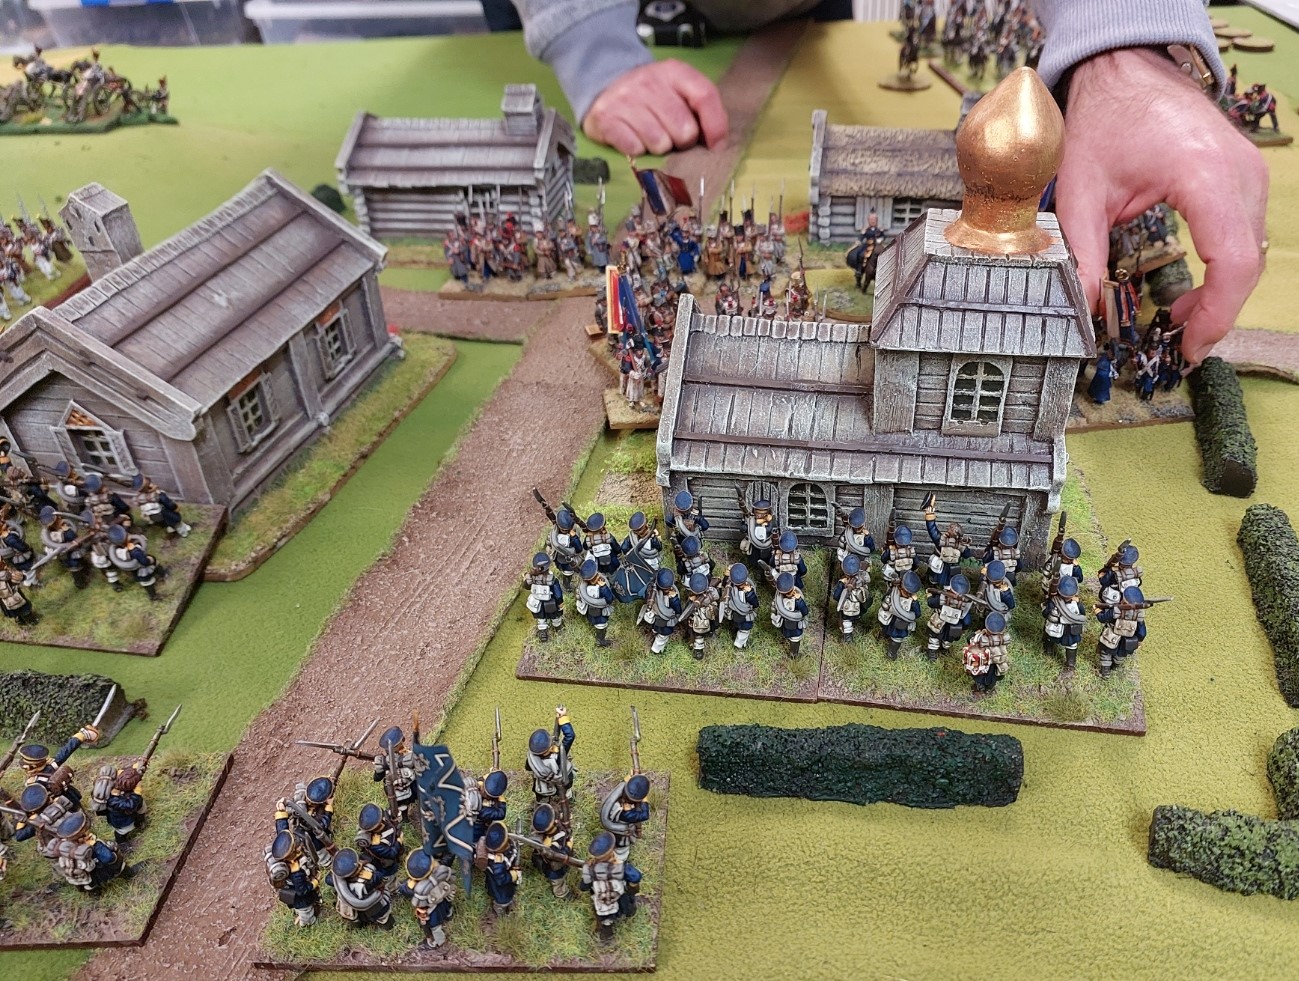
I thought the game played quite well. It is a rather attractive period to game with the differing uniforms, flags etc plus the terrain was certainly attractive.. We had 2 practice games before the main event to work on the shooting changes Goldie wanted to use which helped with the flow of the game. We need to look at the rules around the artillery so far as being able to target them and also the scenario restrictions. I had argued for the batteries facing the Sunken Road to be restricted to long range fire( from my reading of the battle seemed appropriate) as was concerned about the mass firepower if they moved to medium or close range.
The next Convention is in April where will look to run a Gettysburg game. Just need to paint a few more Confederate Units!
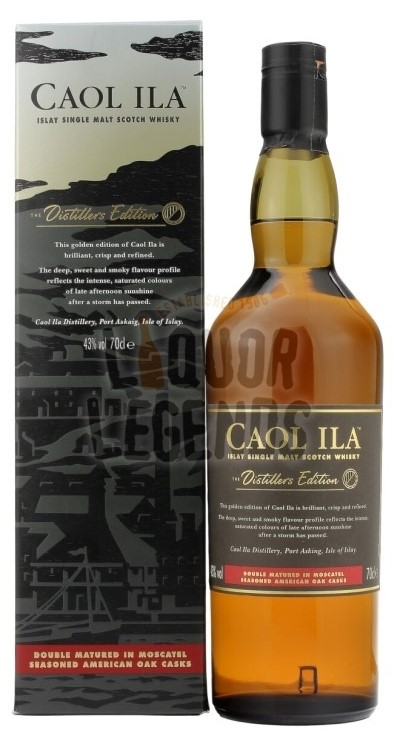
This weeks Whisky of The Week s the Glenrothes 18.
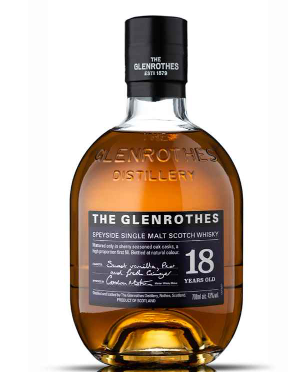
When friend Weakley came back home in August he bought me one of these for my birthday.
Tasting notes are below.
Nose Decadent vanilla and orange, with hints of cherry and almond developing.
Palate Still packing plenty of dried fruit notes, alongside crisp pear and a spicy touch of stem ginger.
Finish Lasting sweetness of vanilla and pear, with peppery flourishes.
My comment would be its a mighty fine whisky and one I selfishly prefer not to share!!
Until next time…Terry out.