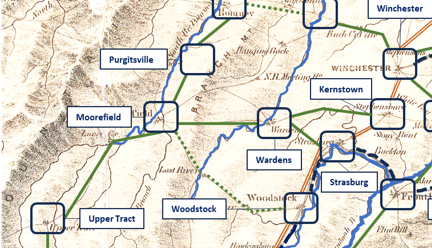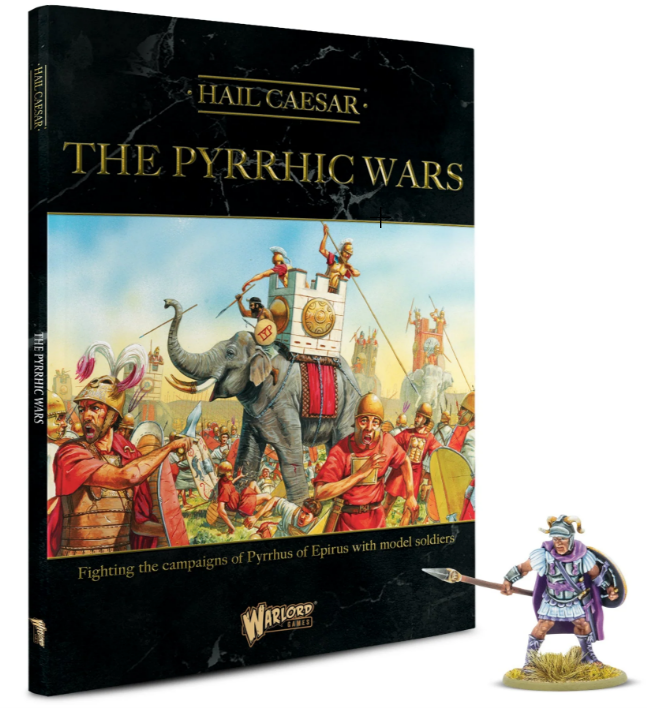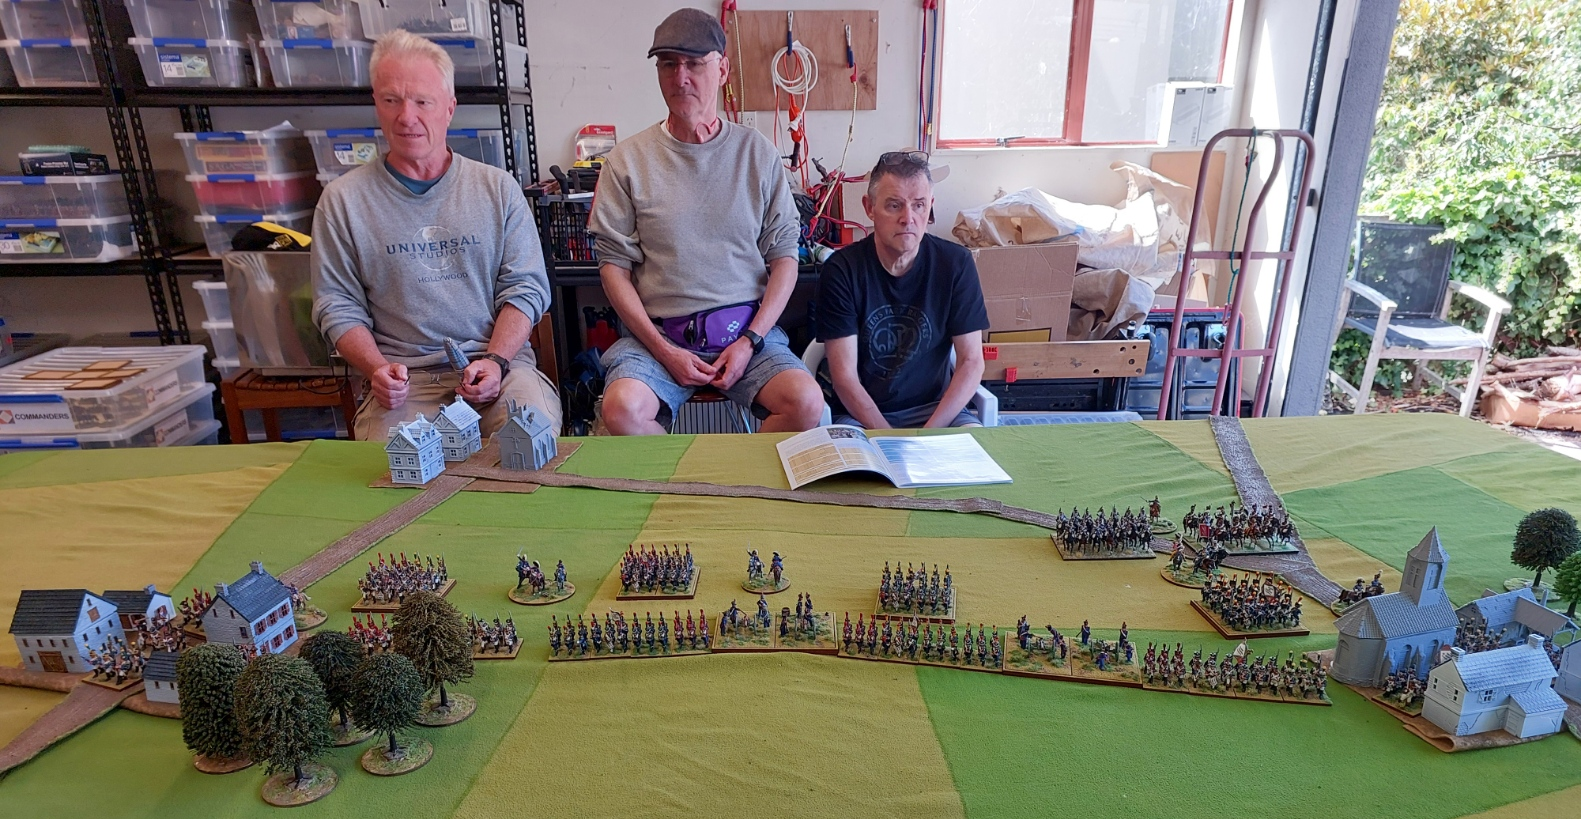
As we are planning a Hail Caesar campaign next year based on the ‘Pyrrhic Wars’ period we had a wee taster game to have a play with the rules as ‘Ancients’ has not been a major play period for us(am ignoring those who play DBMM).
So I had 6 players around yesterday for a practice.
Armies in use were:
- Carthaginian(Alan)
- Macedonian Successor(Keith)
- Ptolemaic(Russ)
- Alexandrian Macedonian(Rob)
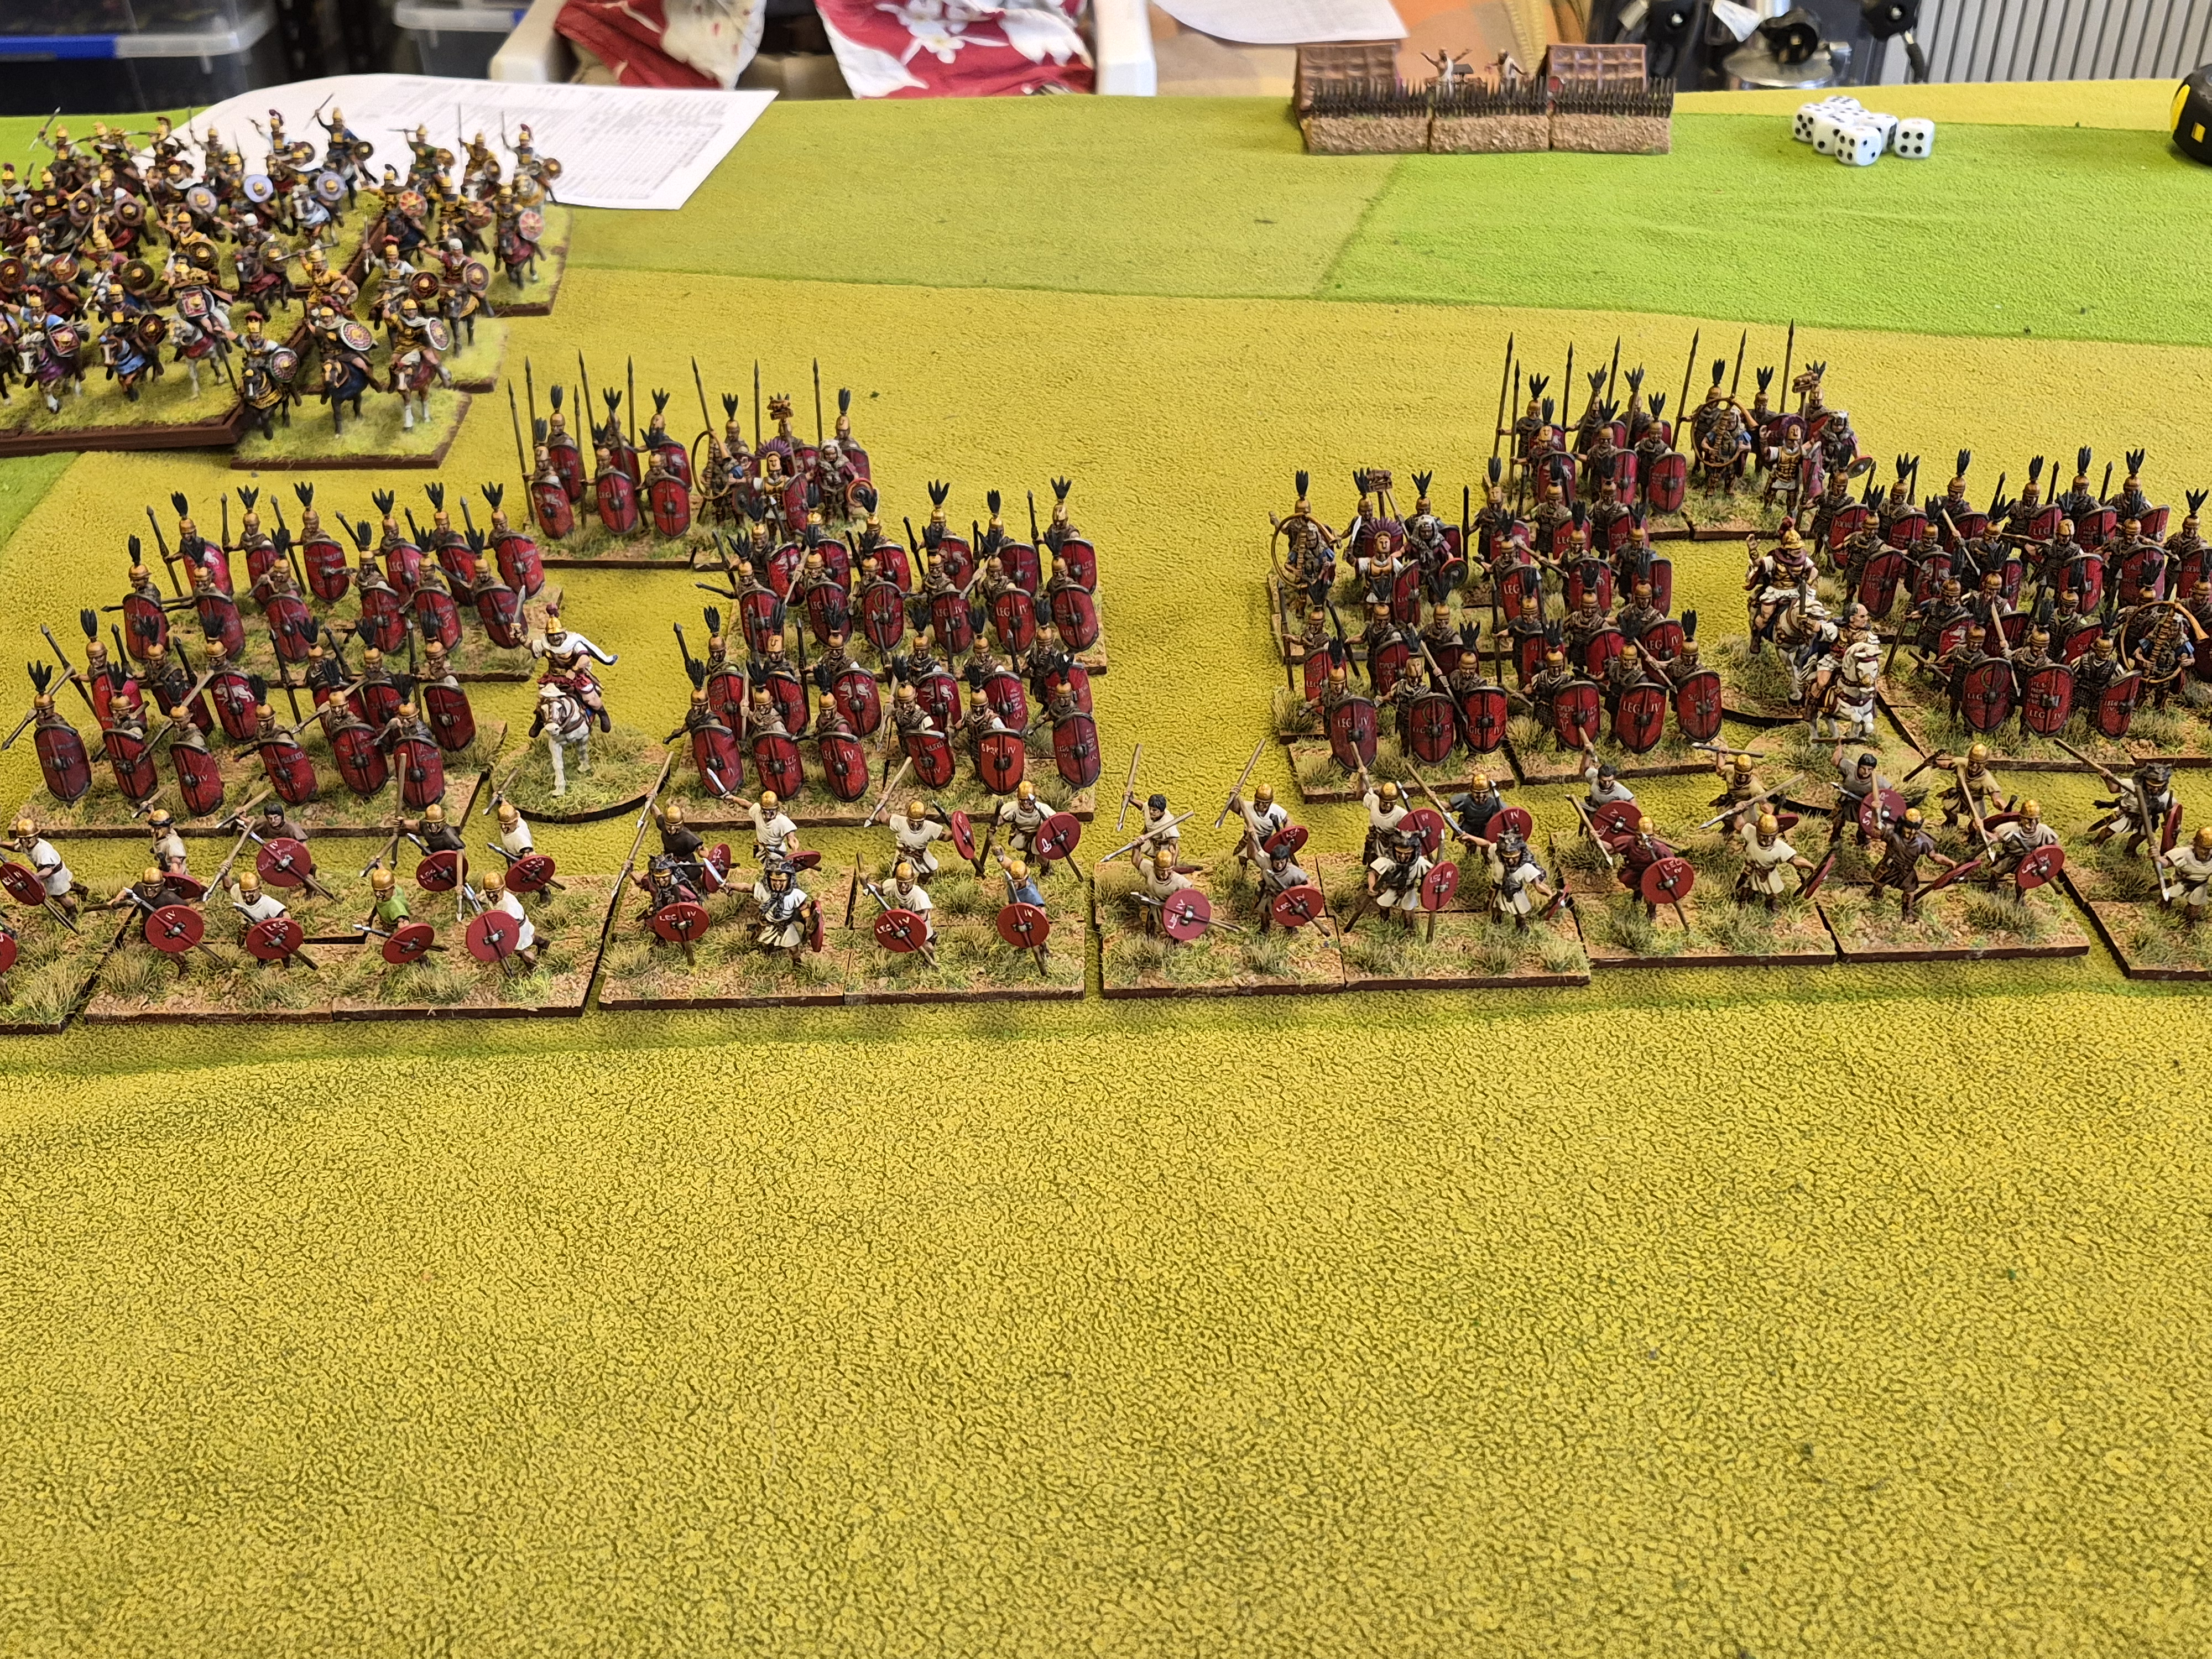
- Republican Rome(Goldie)
- Early Imperial Rome(Robert)
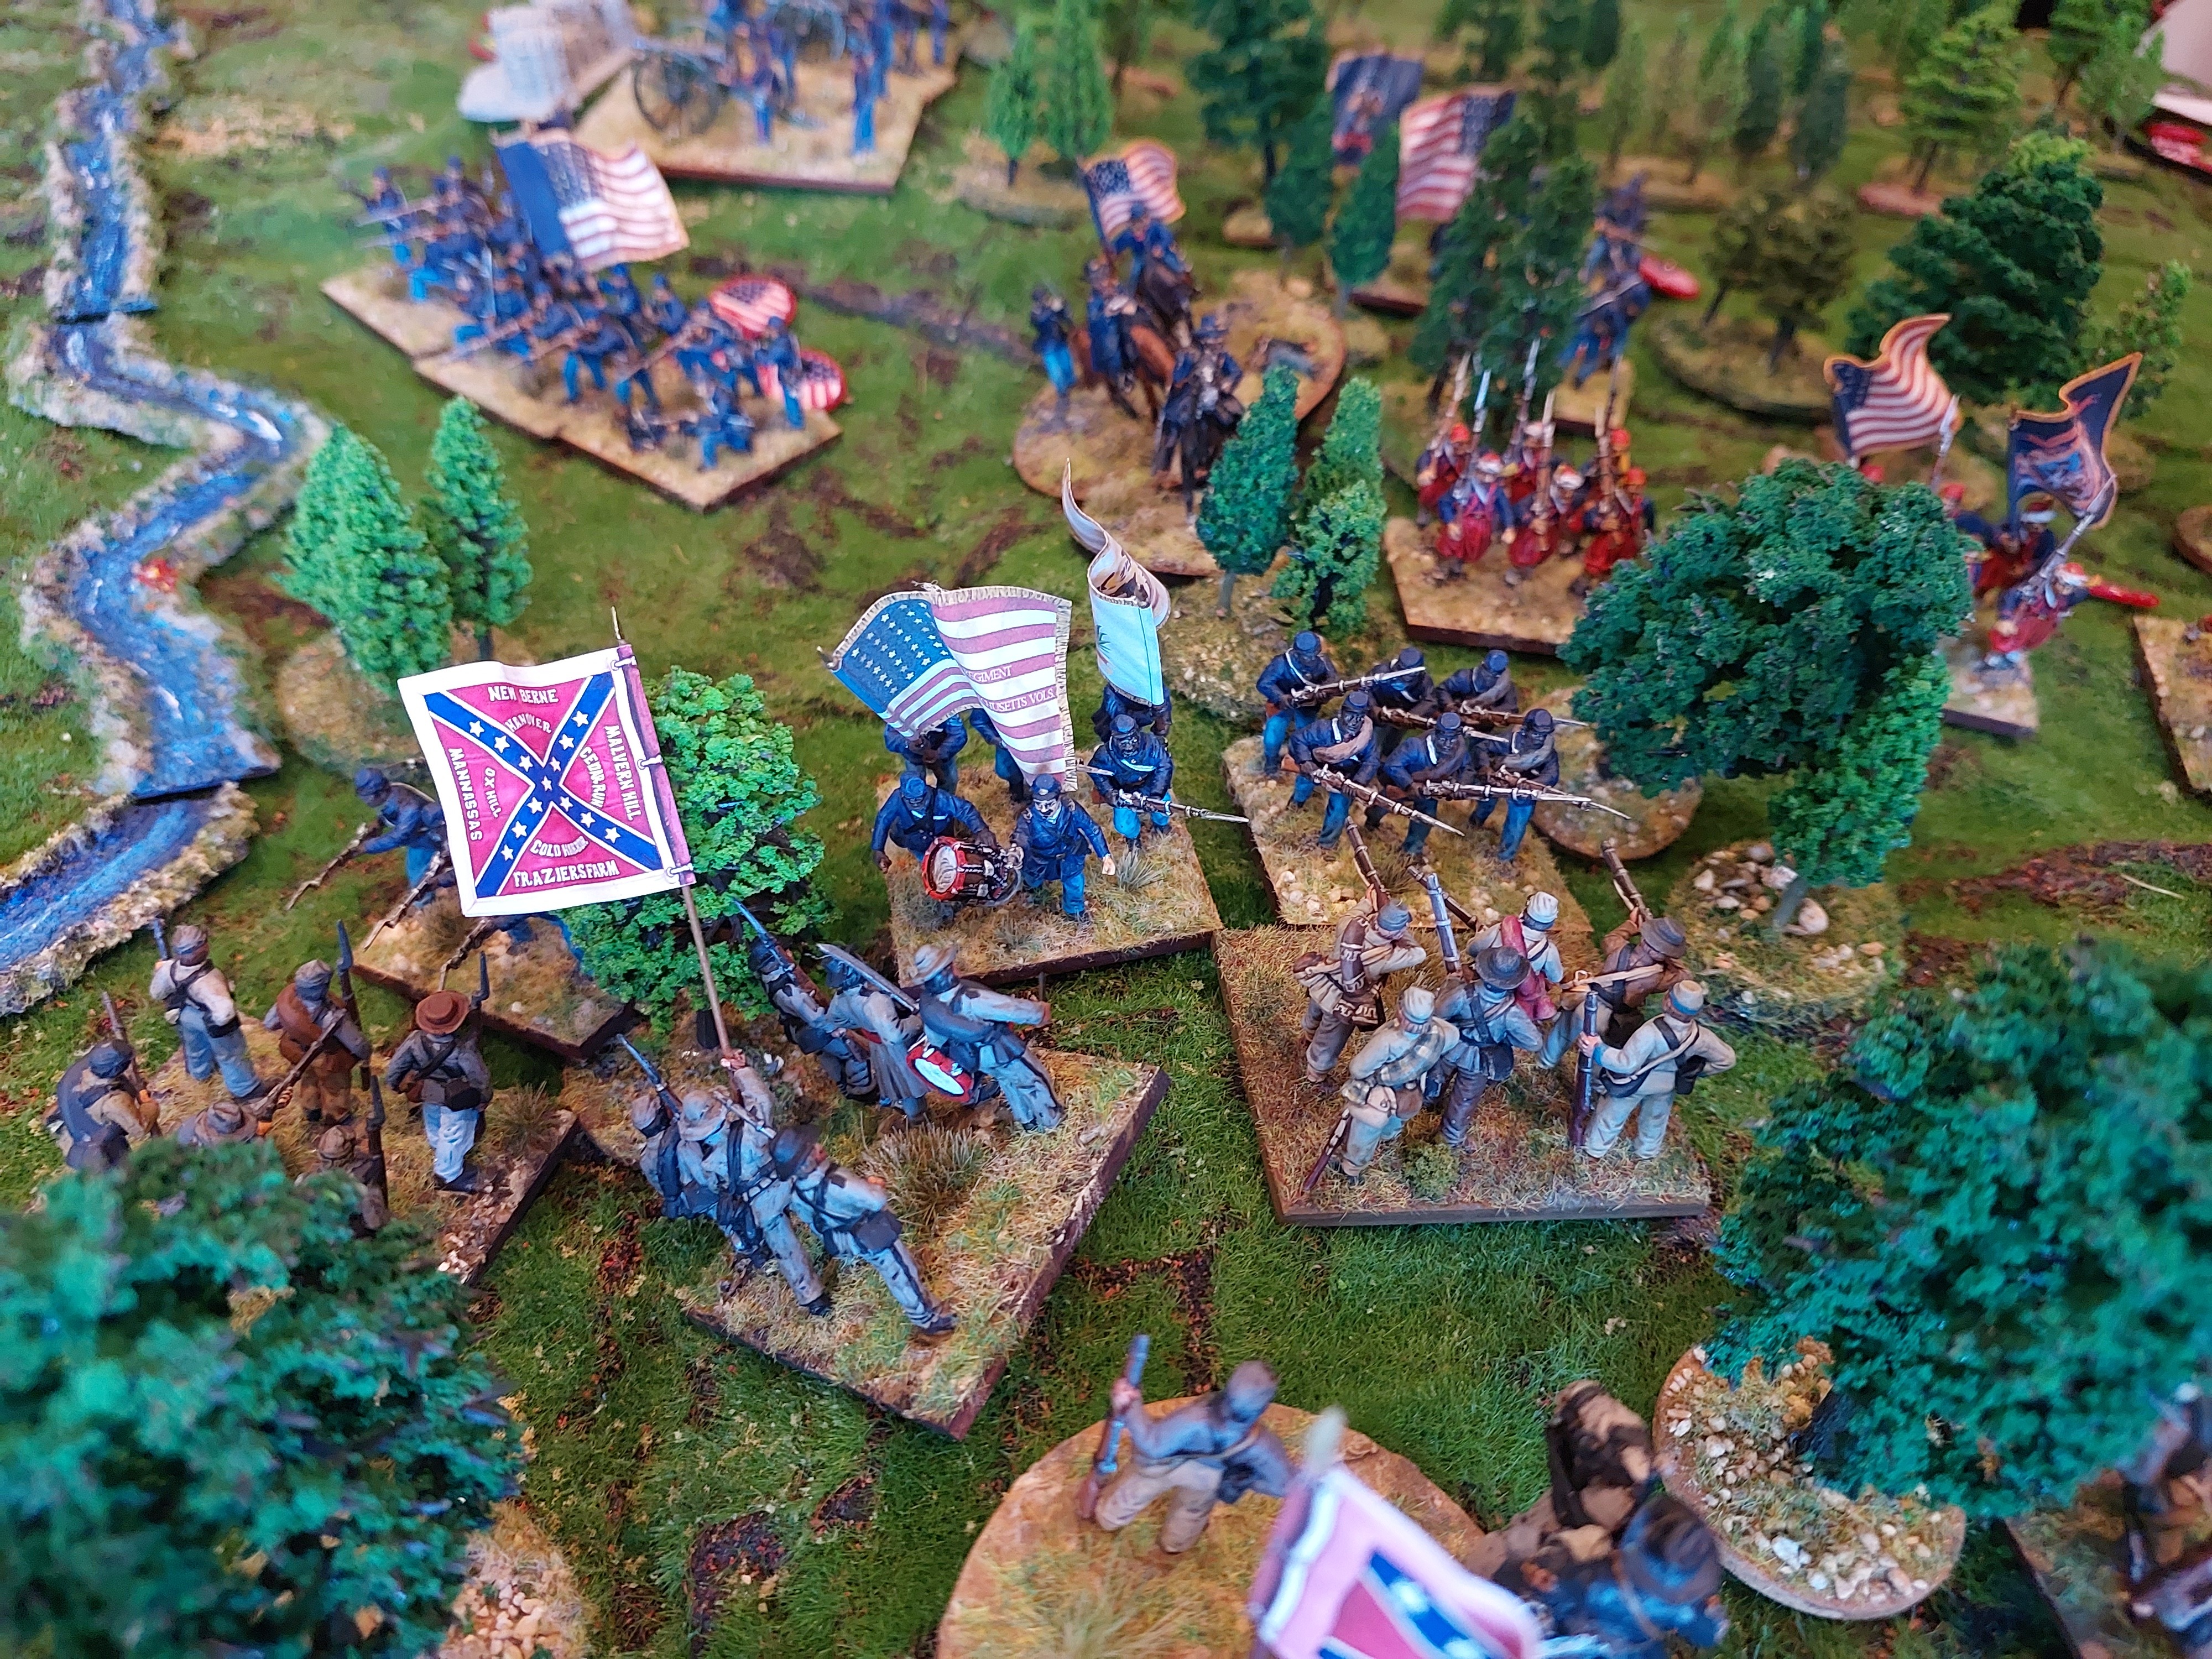
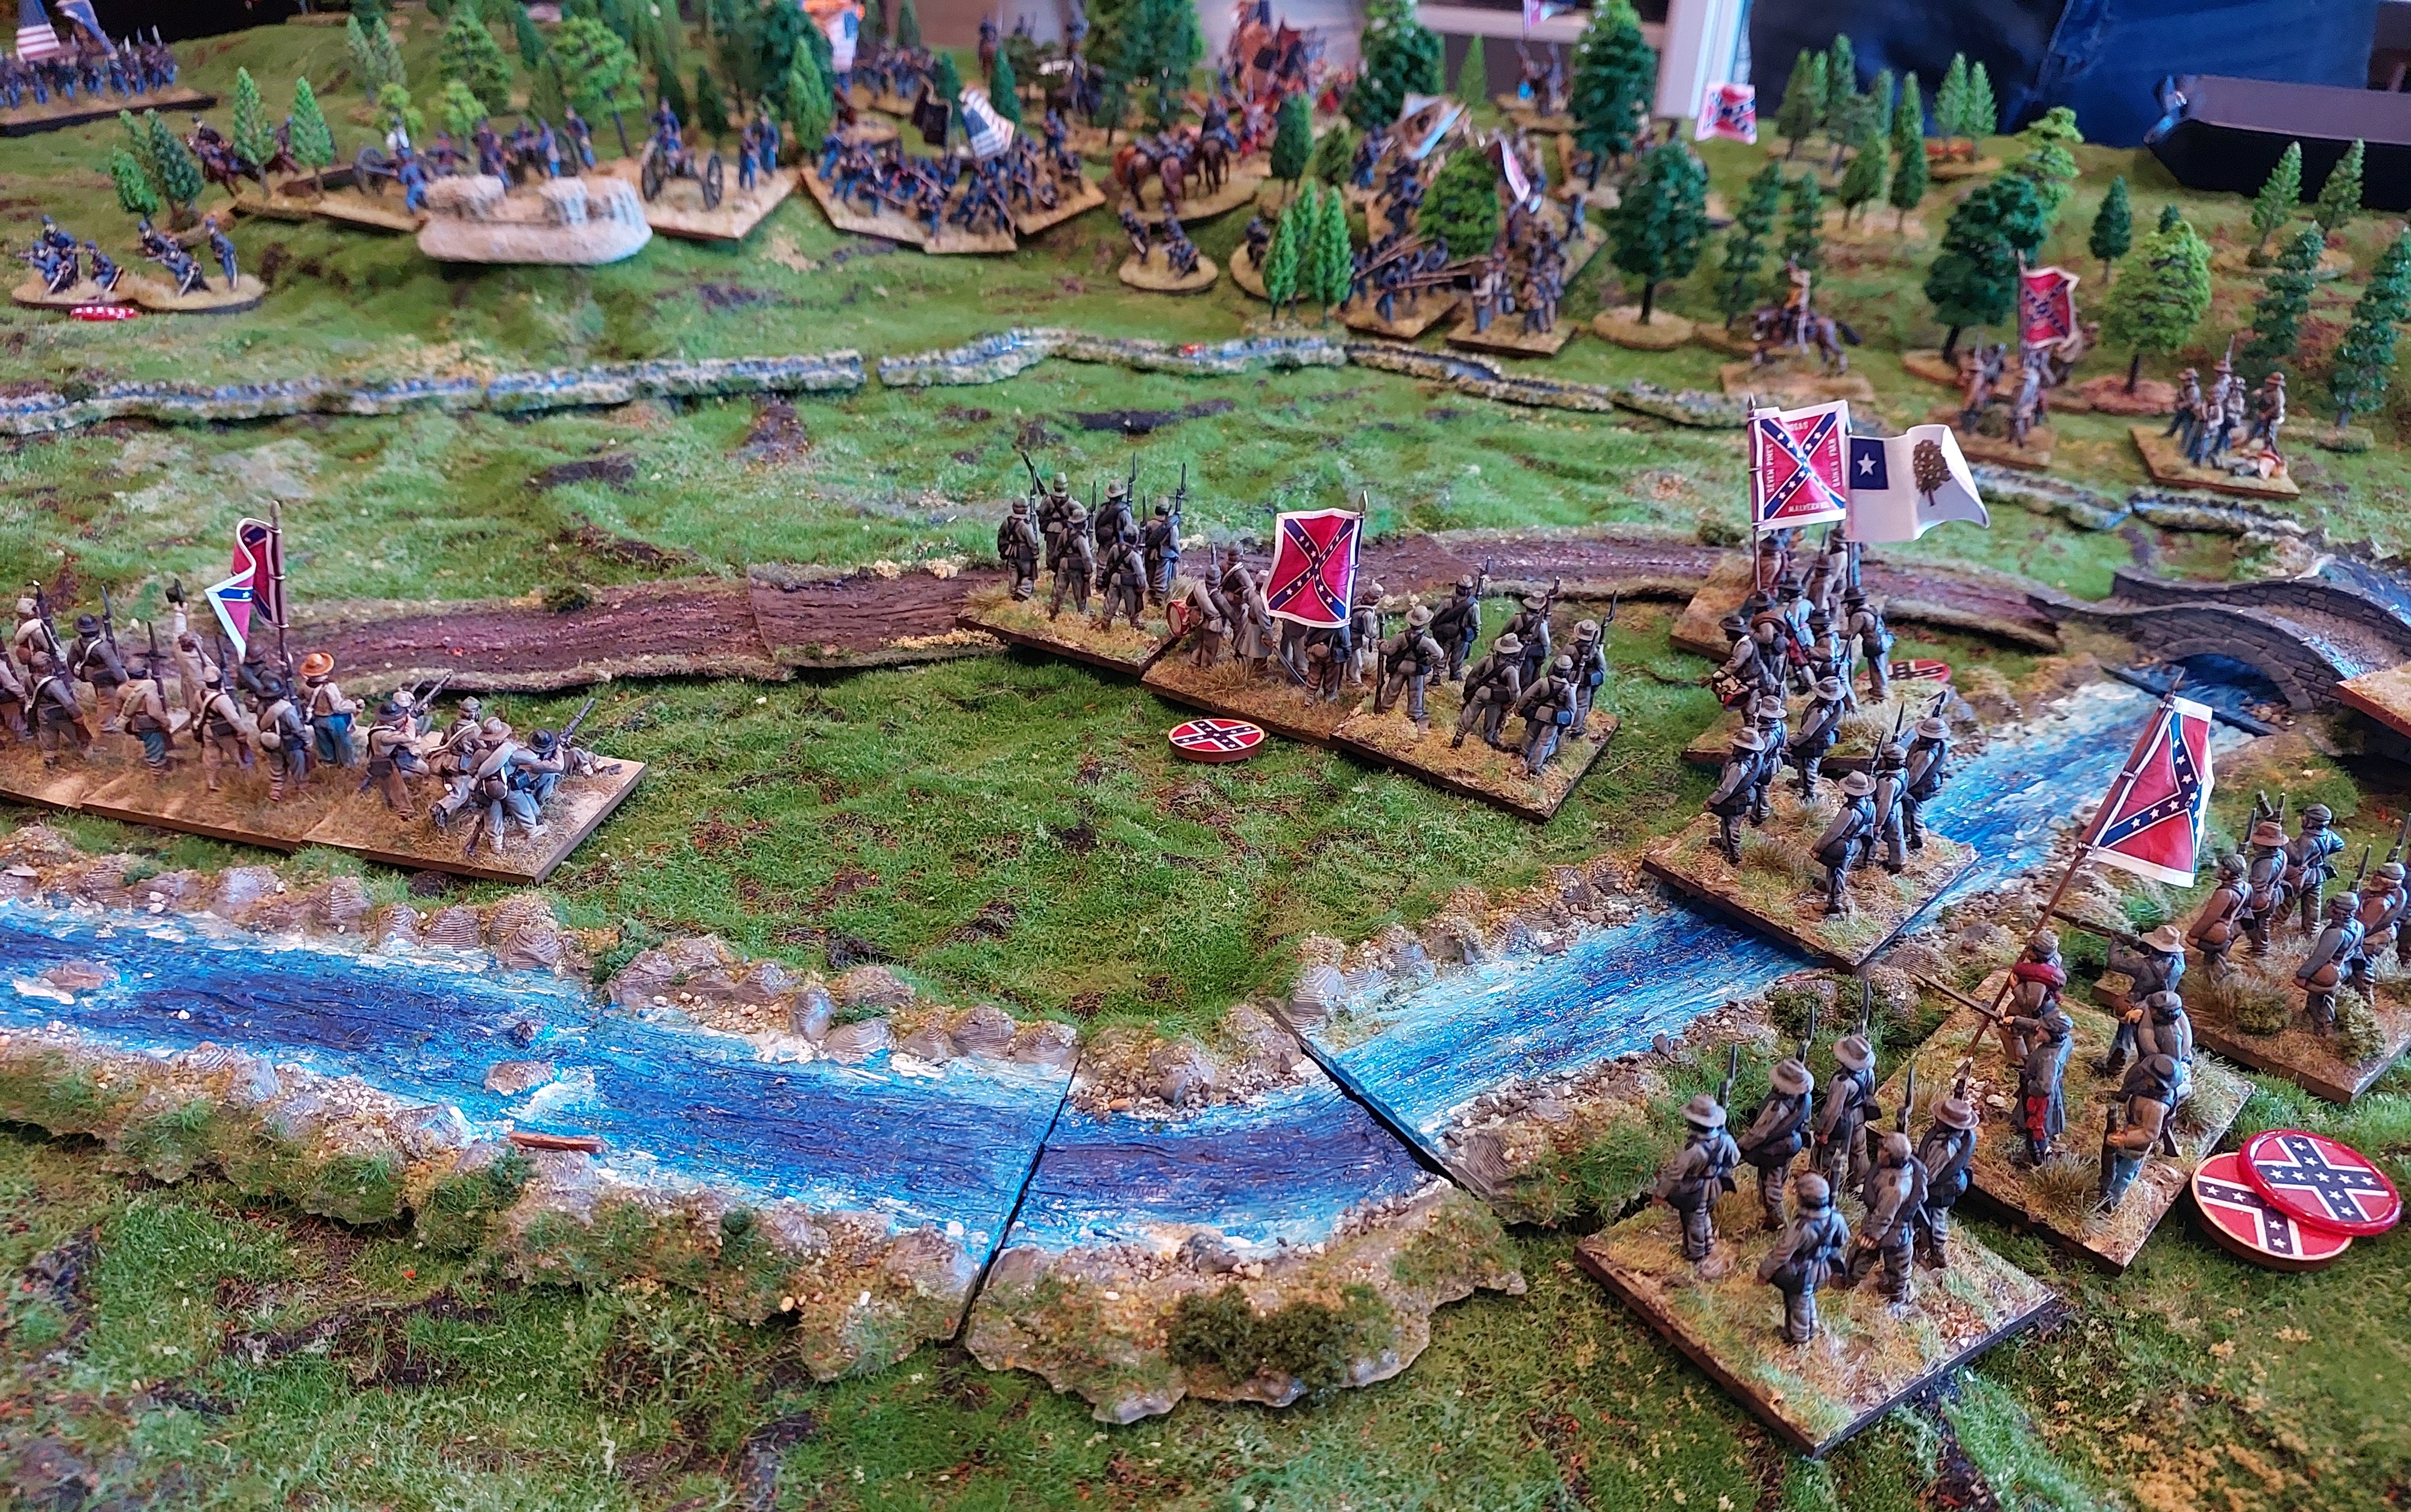
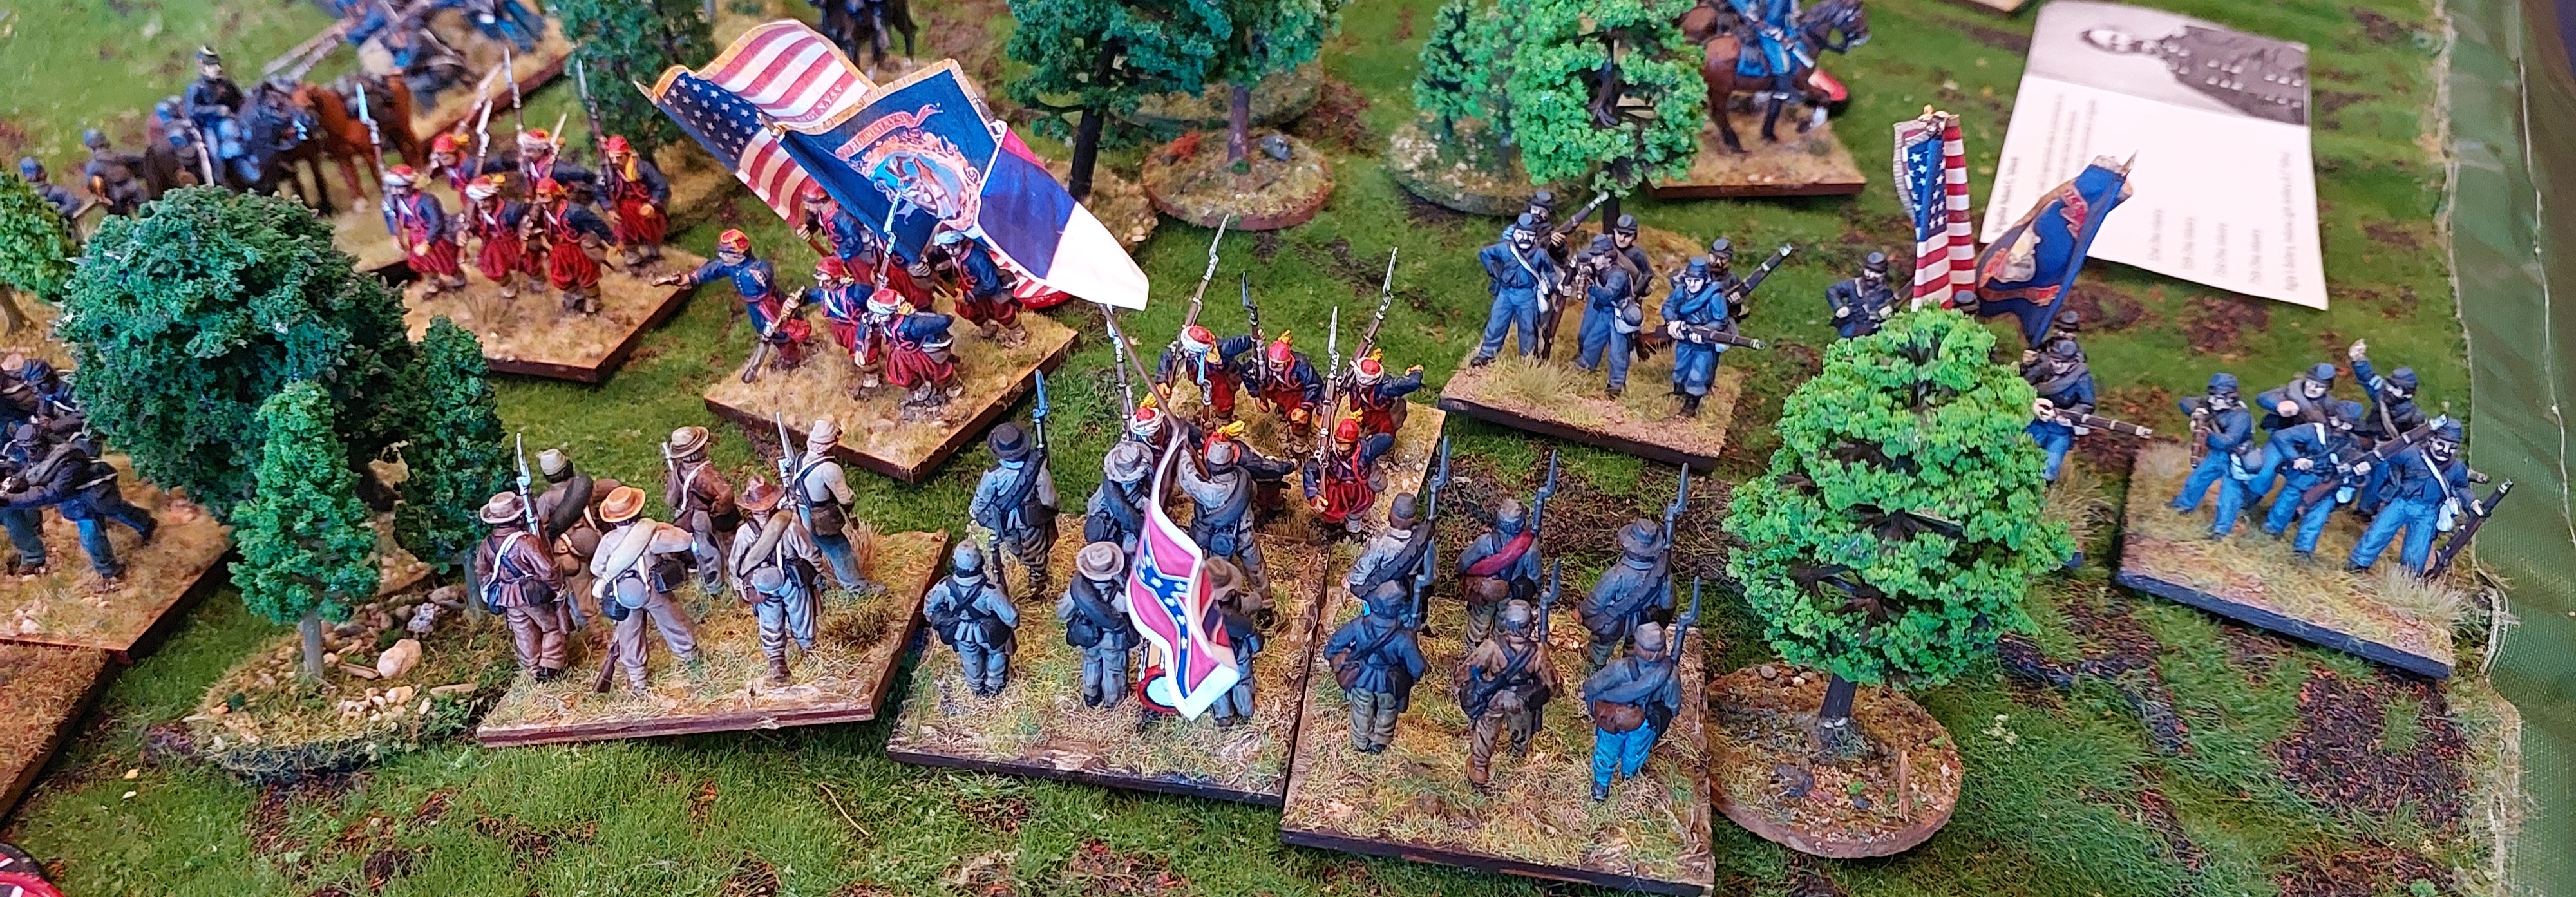
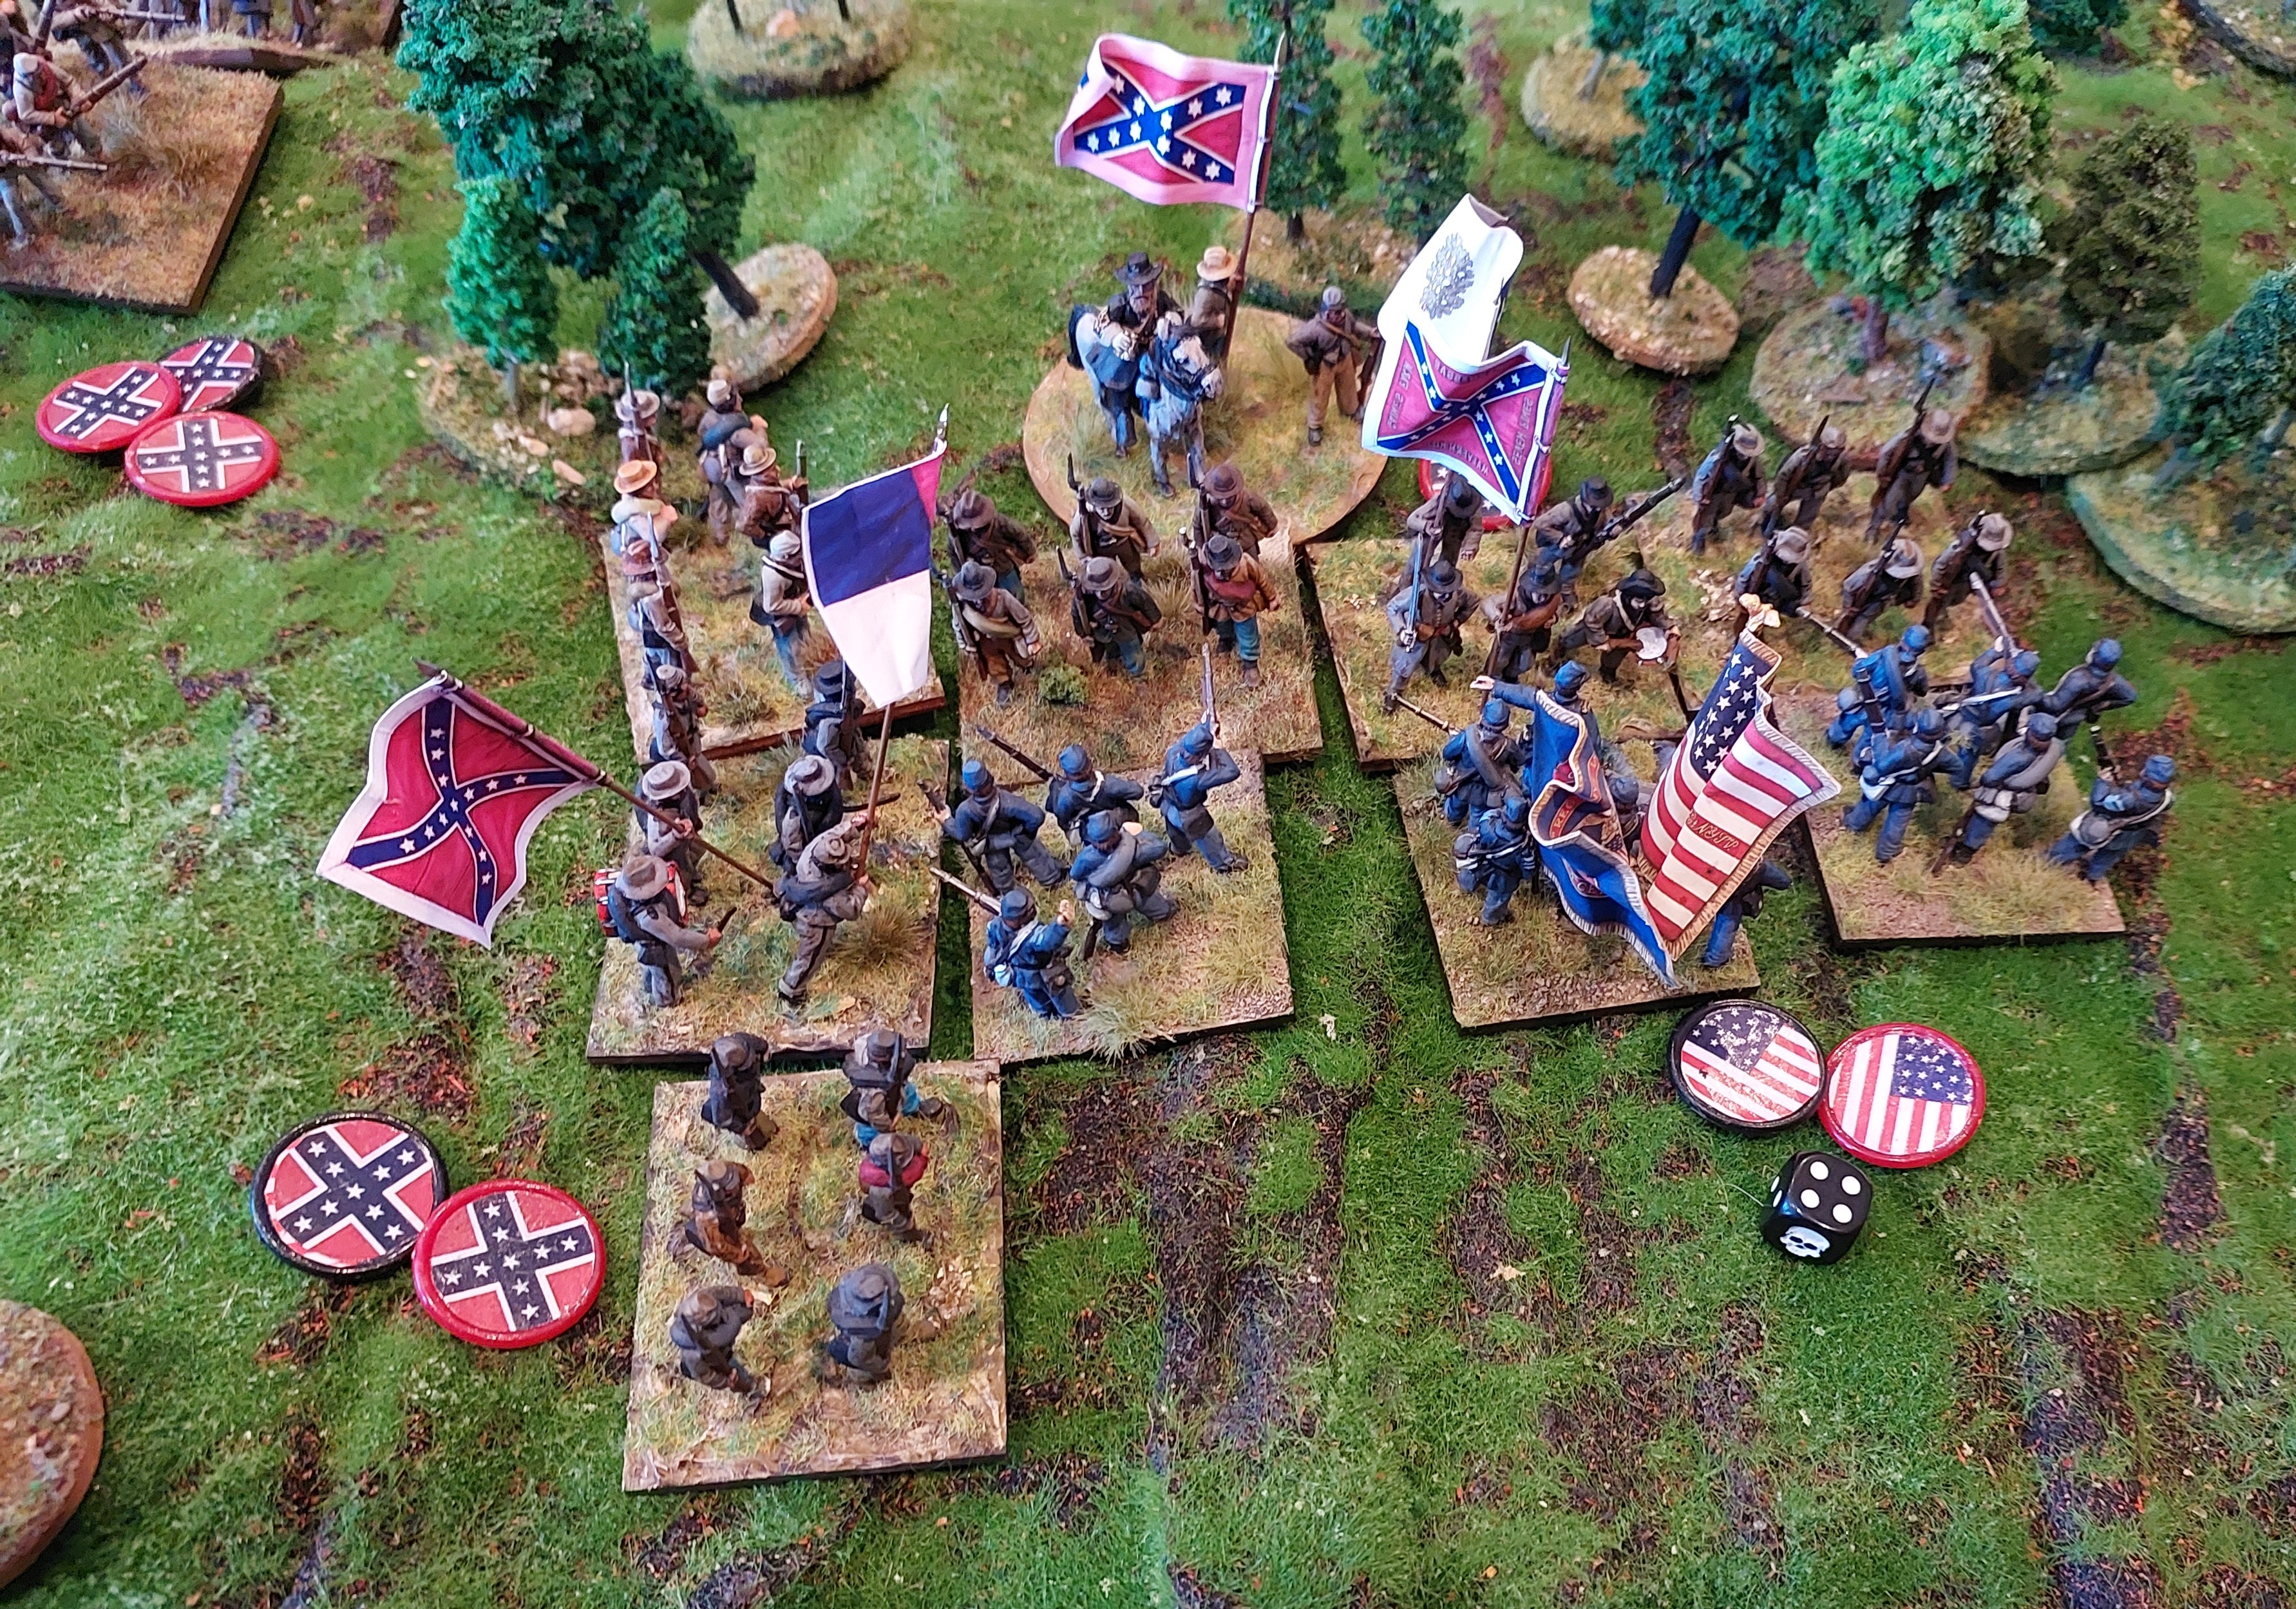
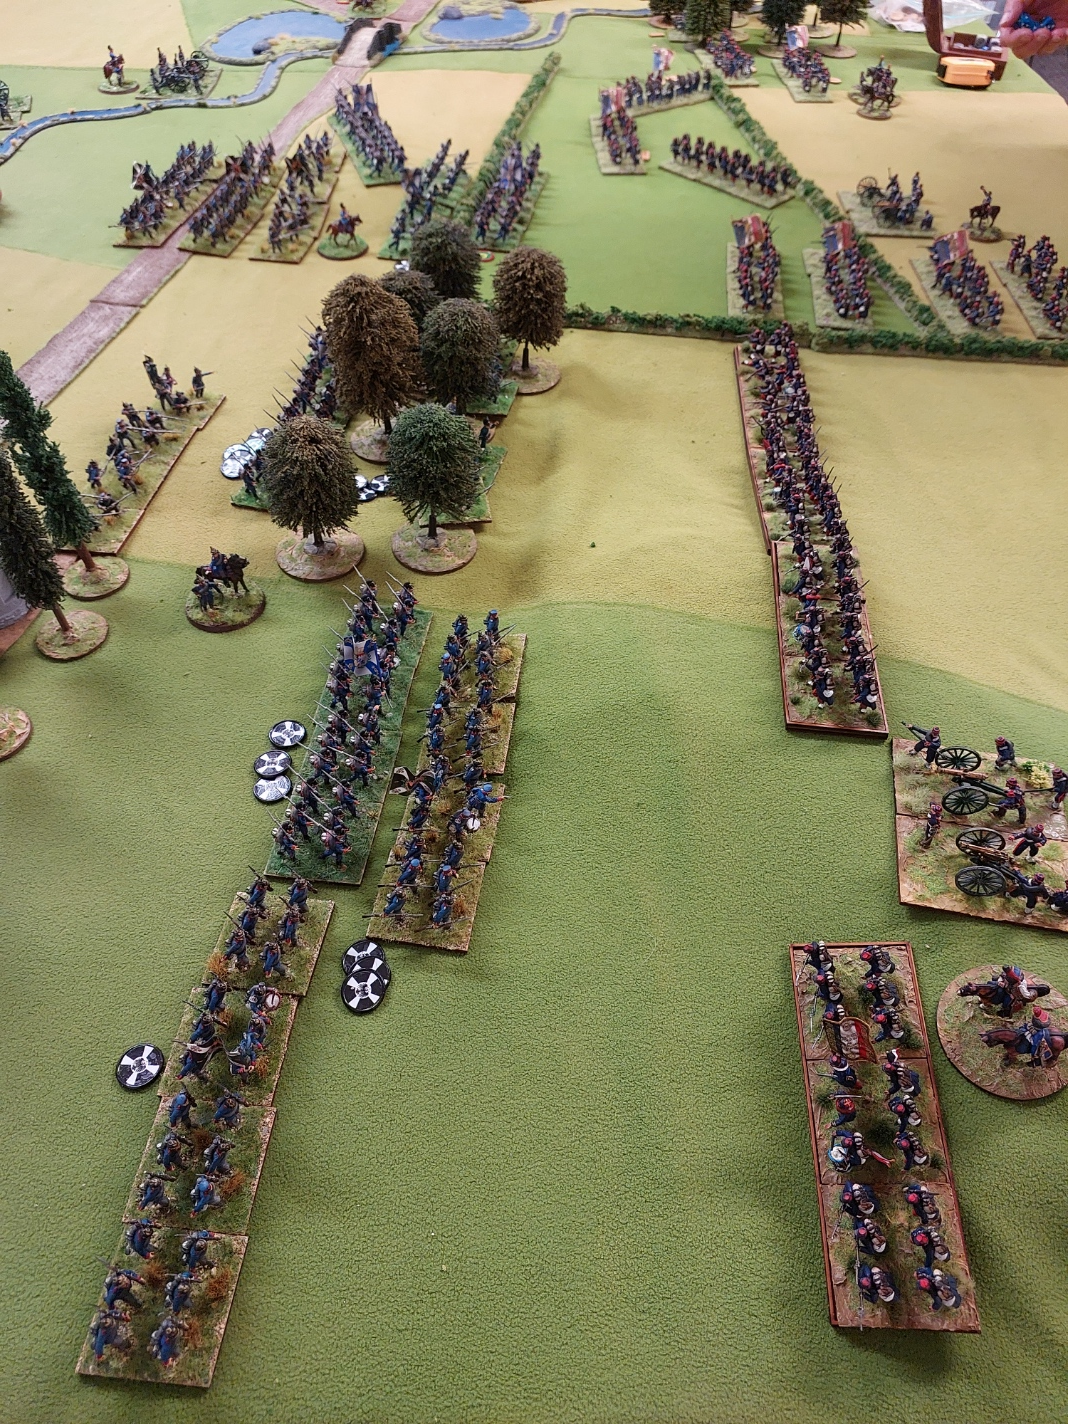
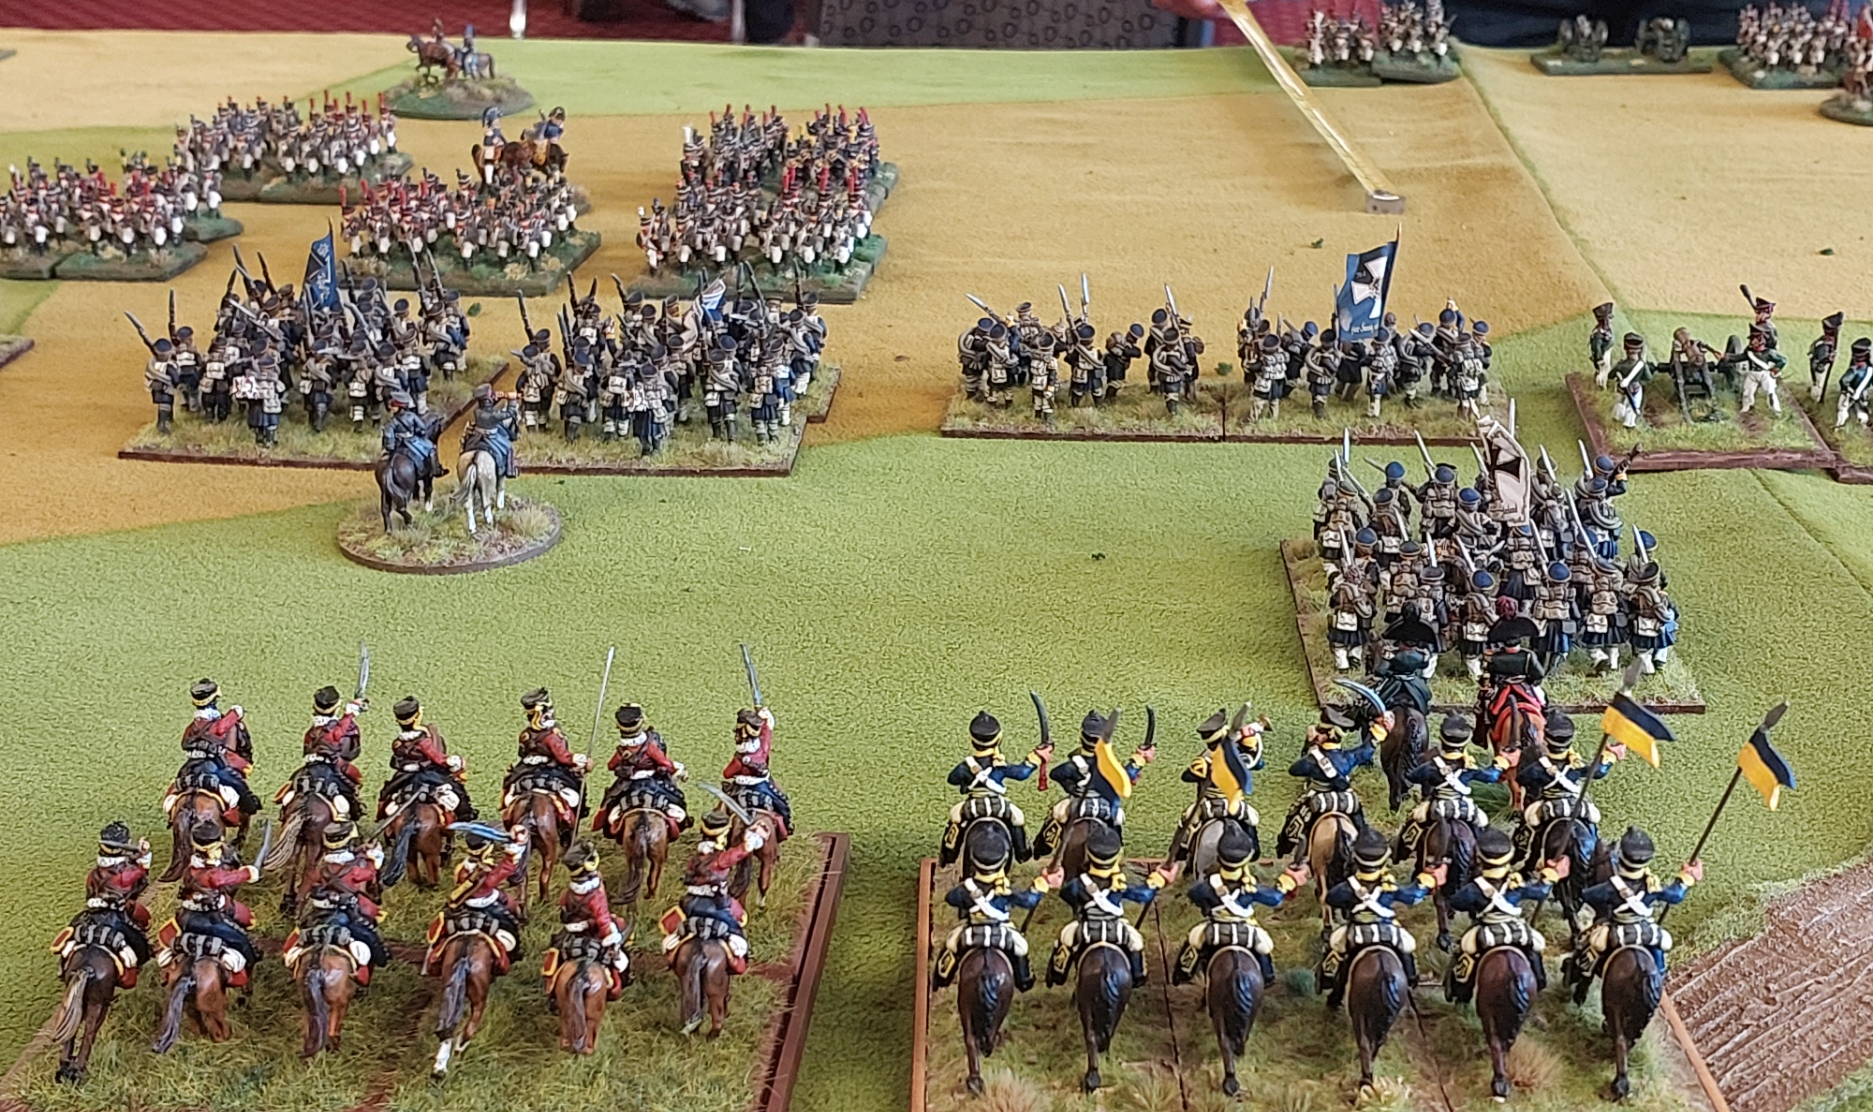
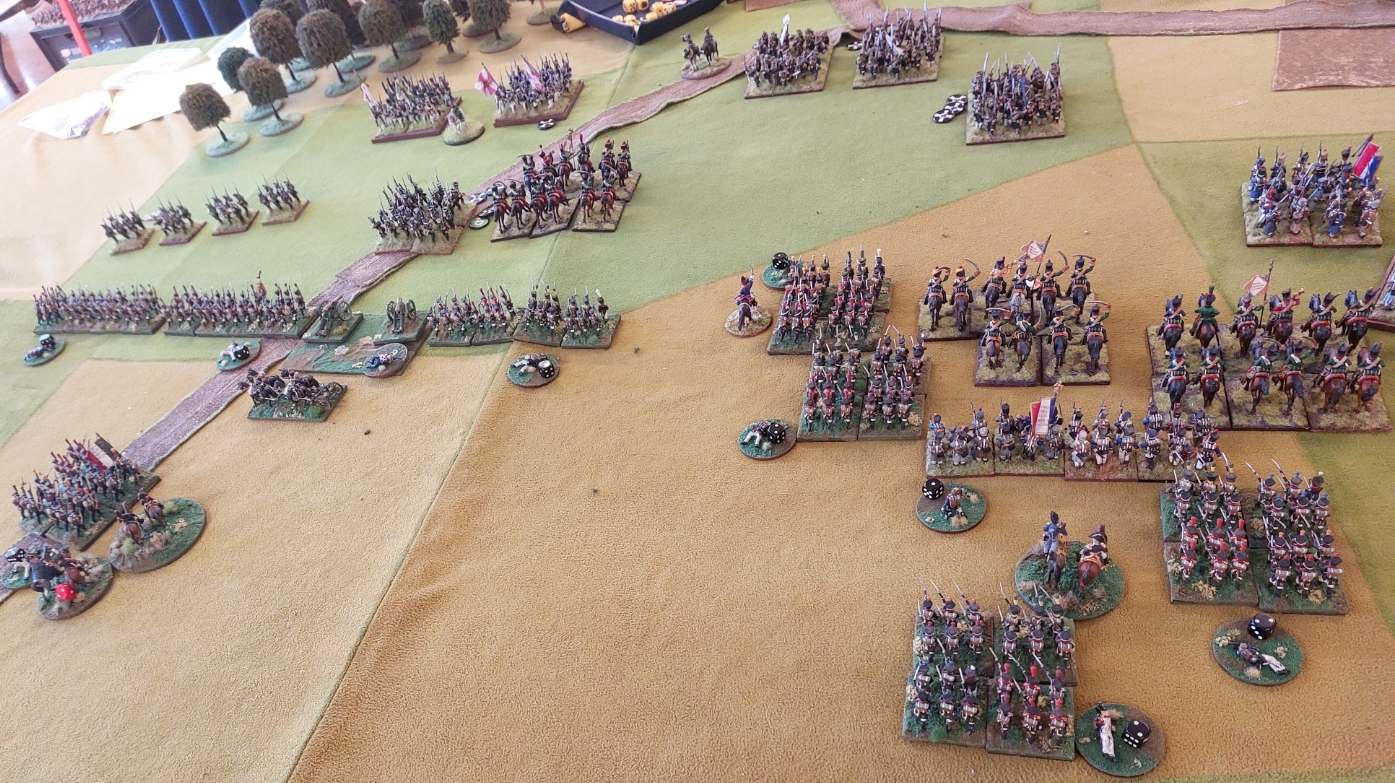
The 2 sides were Alan/Keith/Russ v Robert/Goldie/Rob.
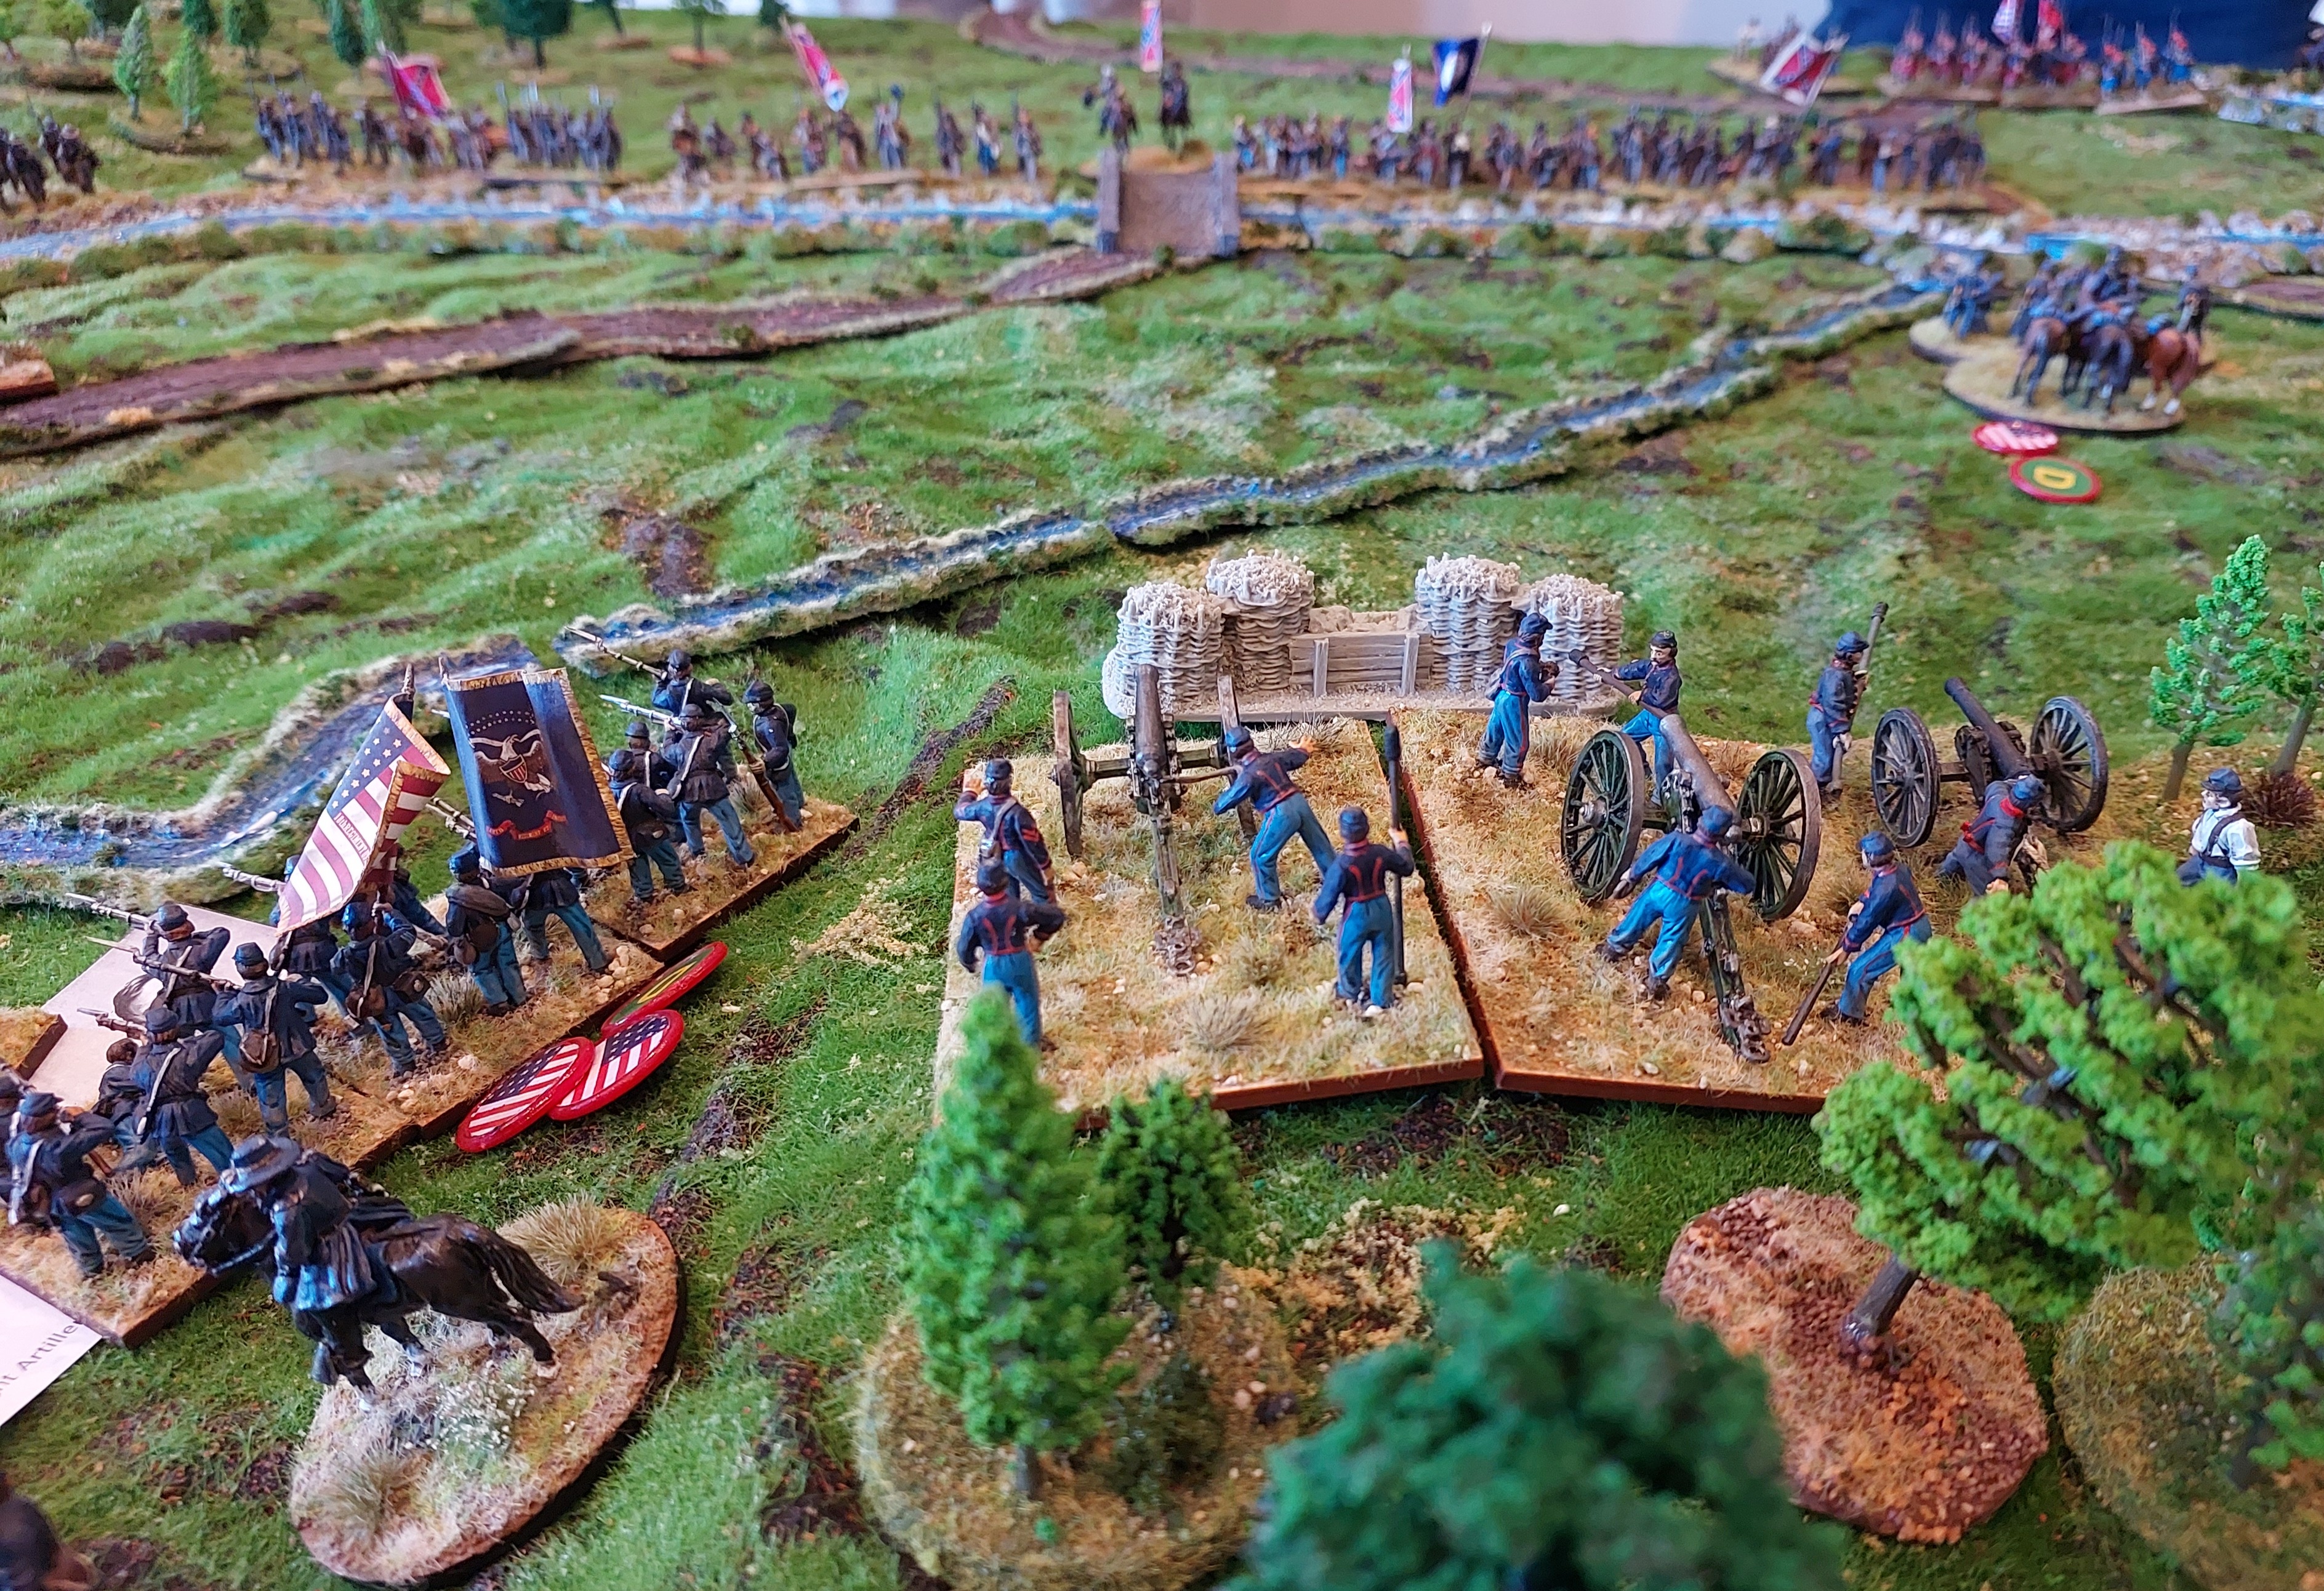
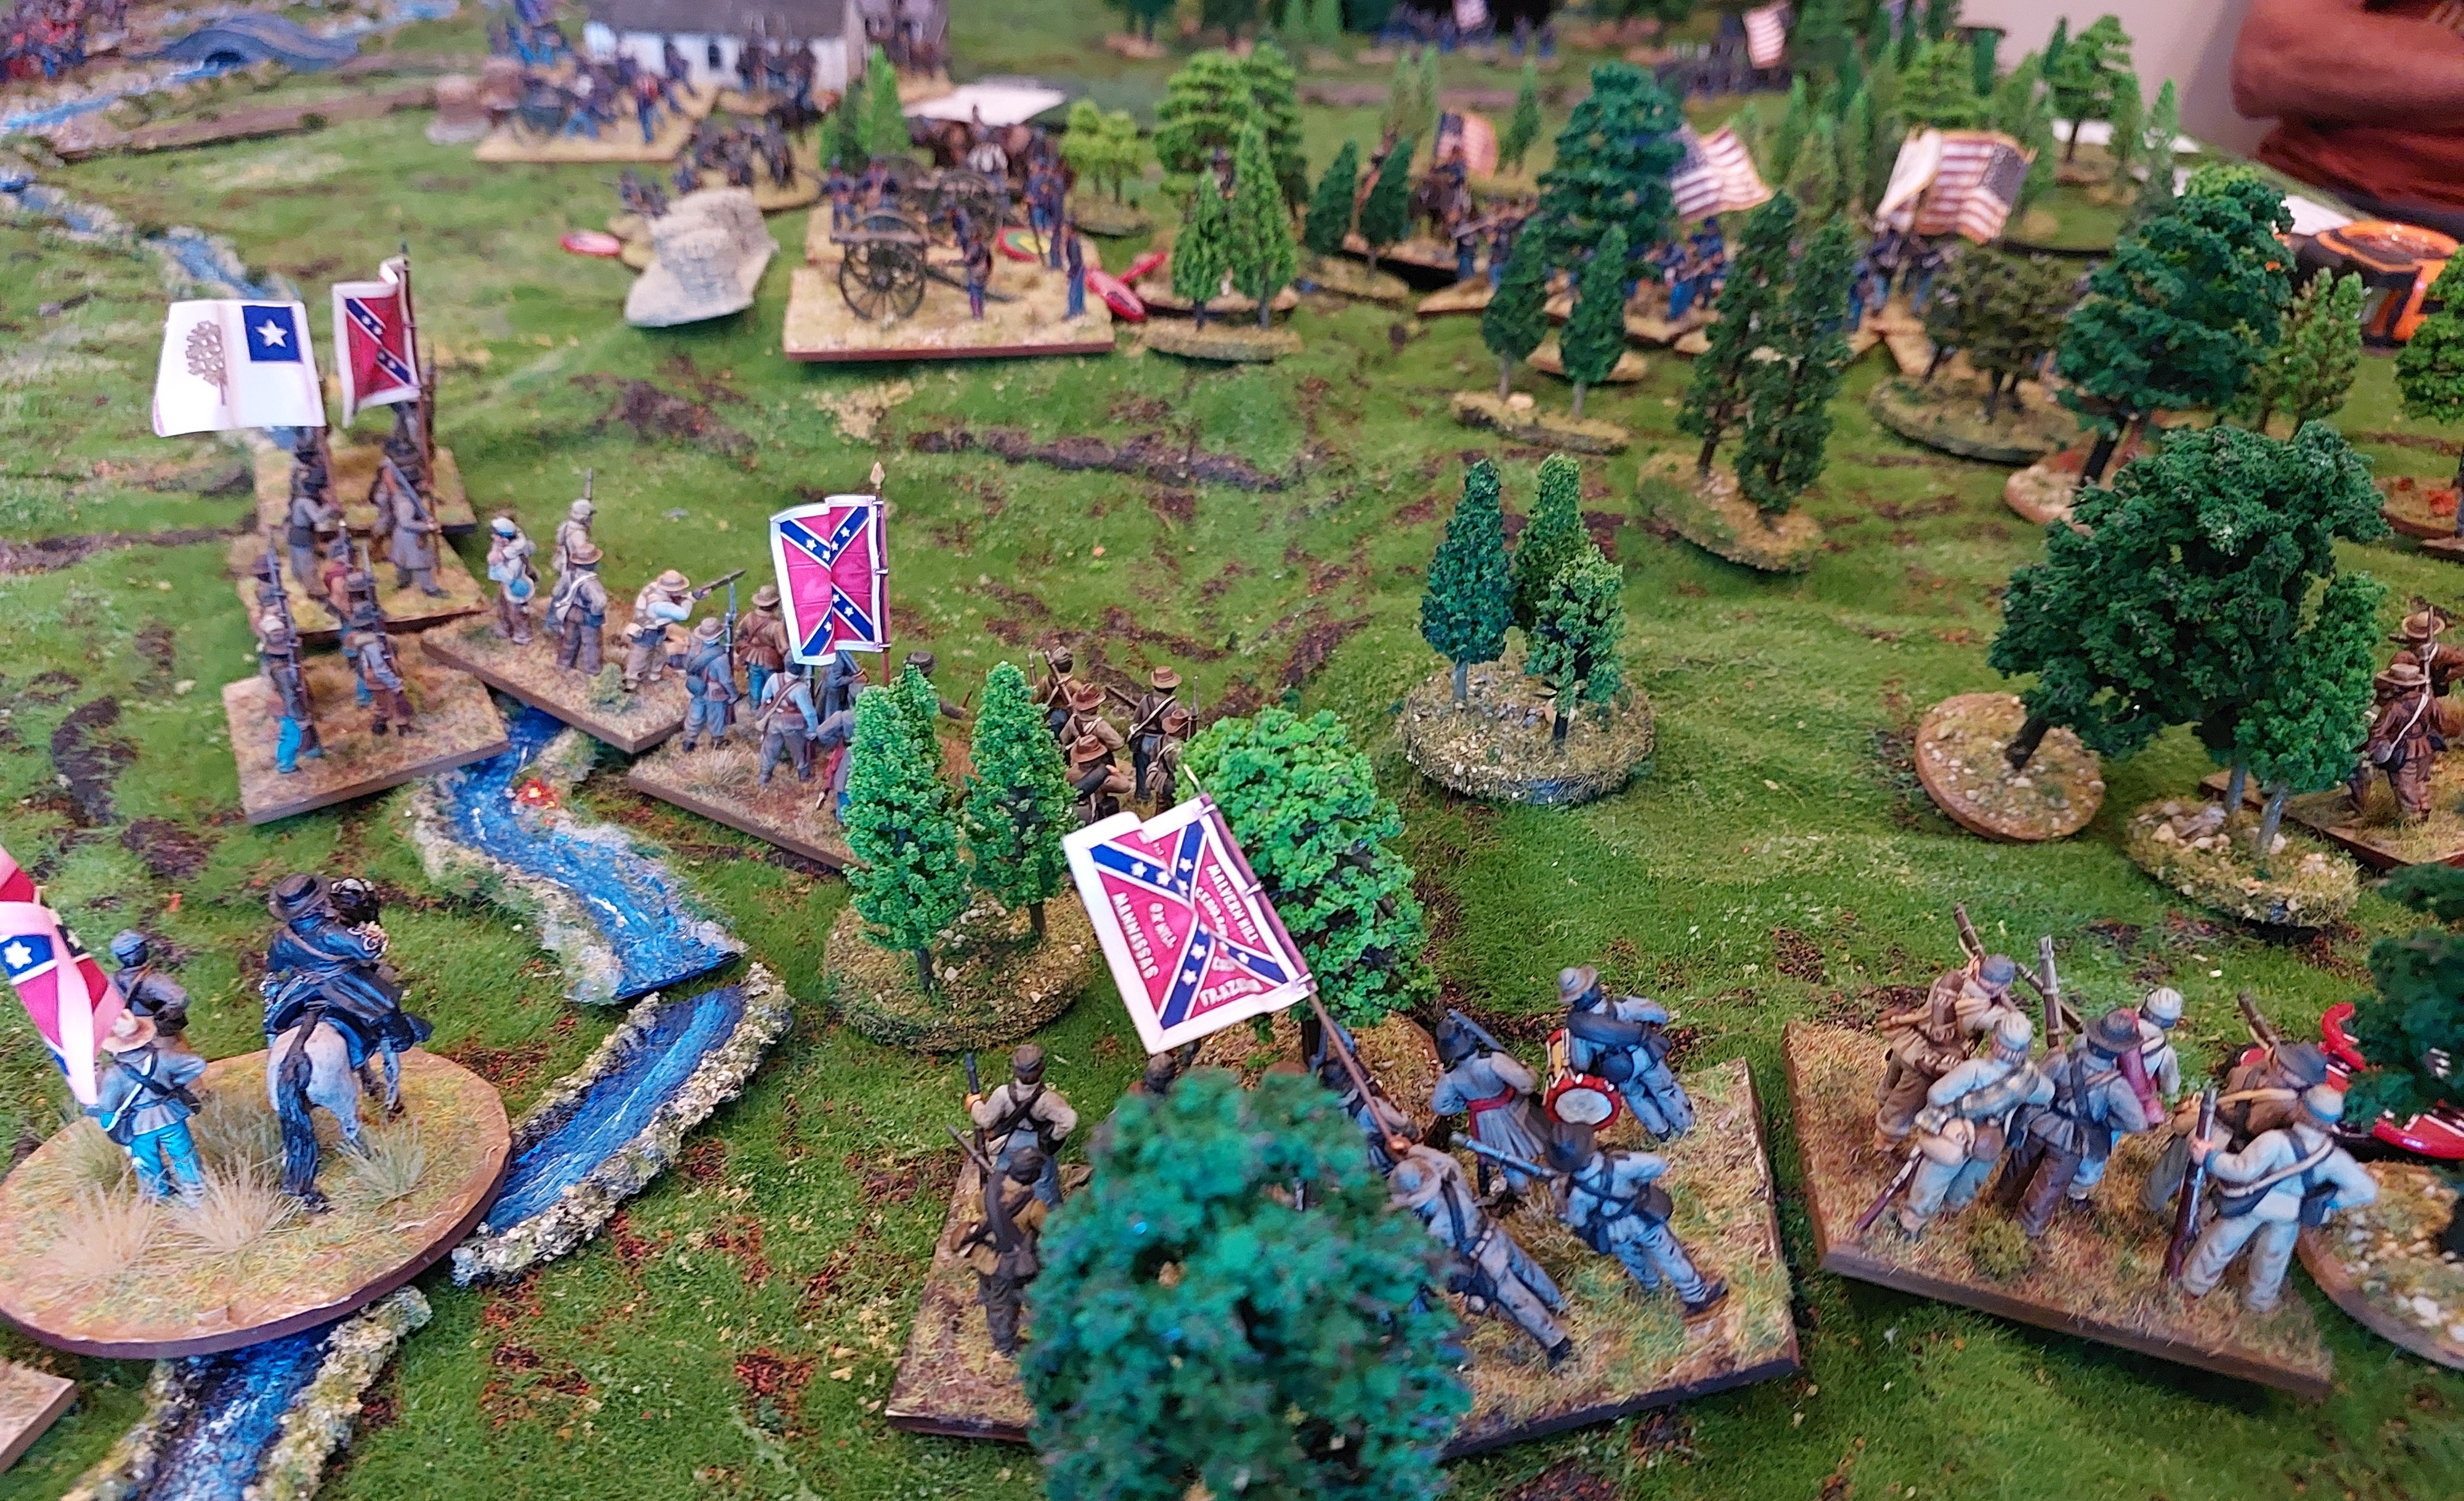
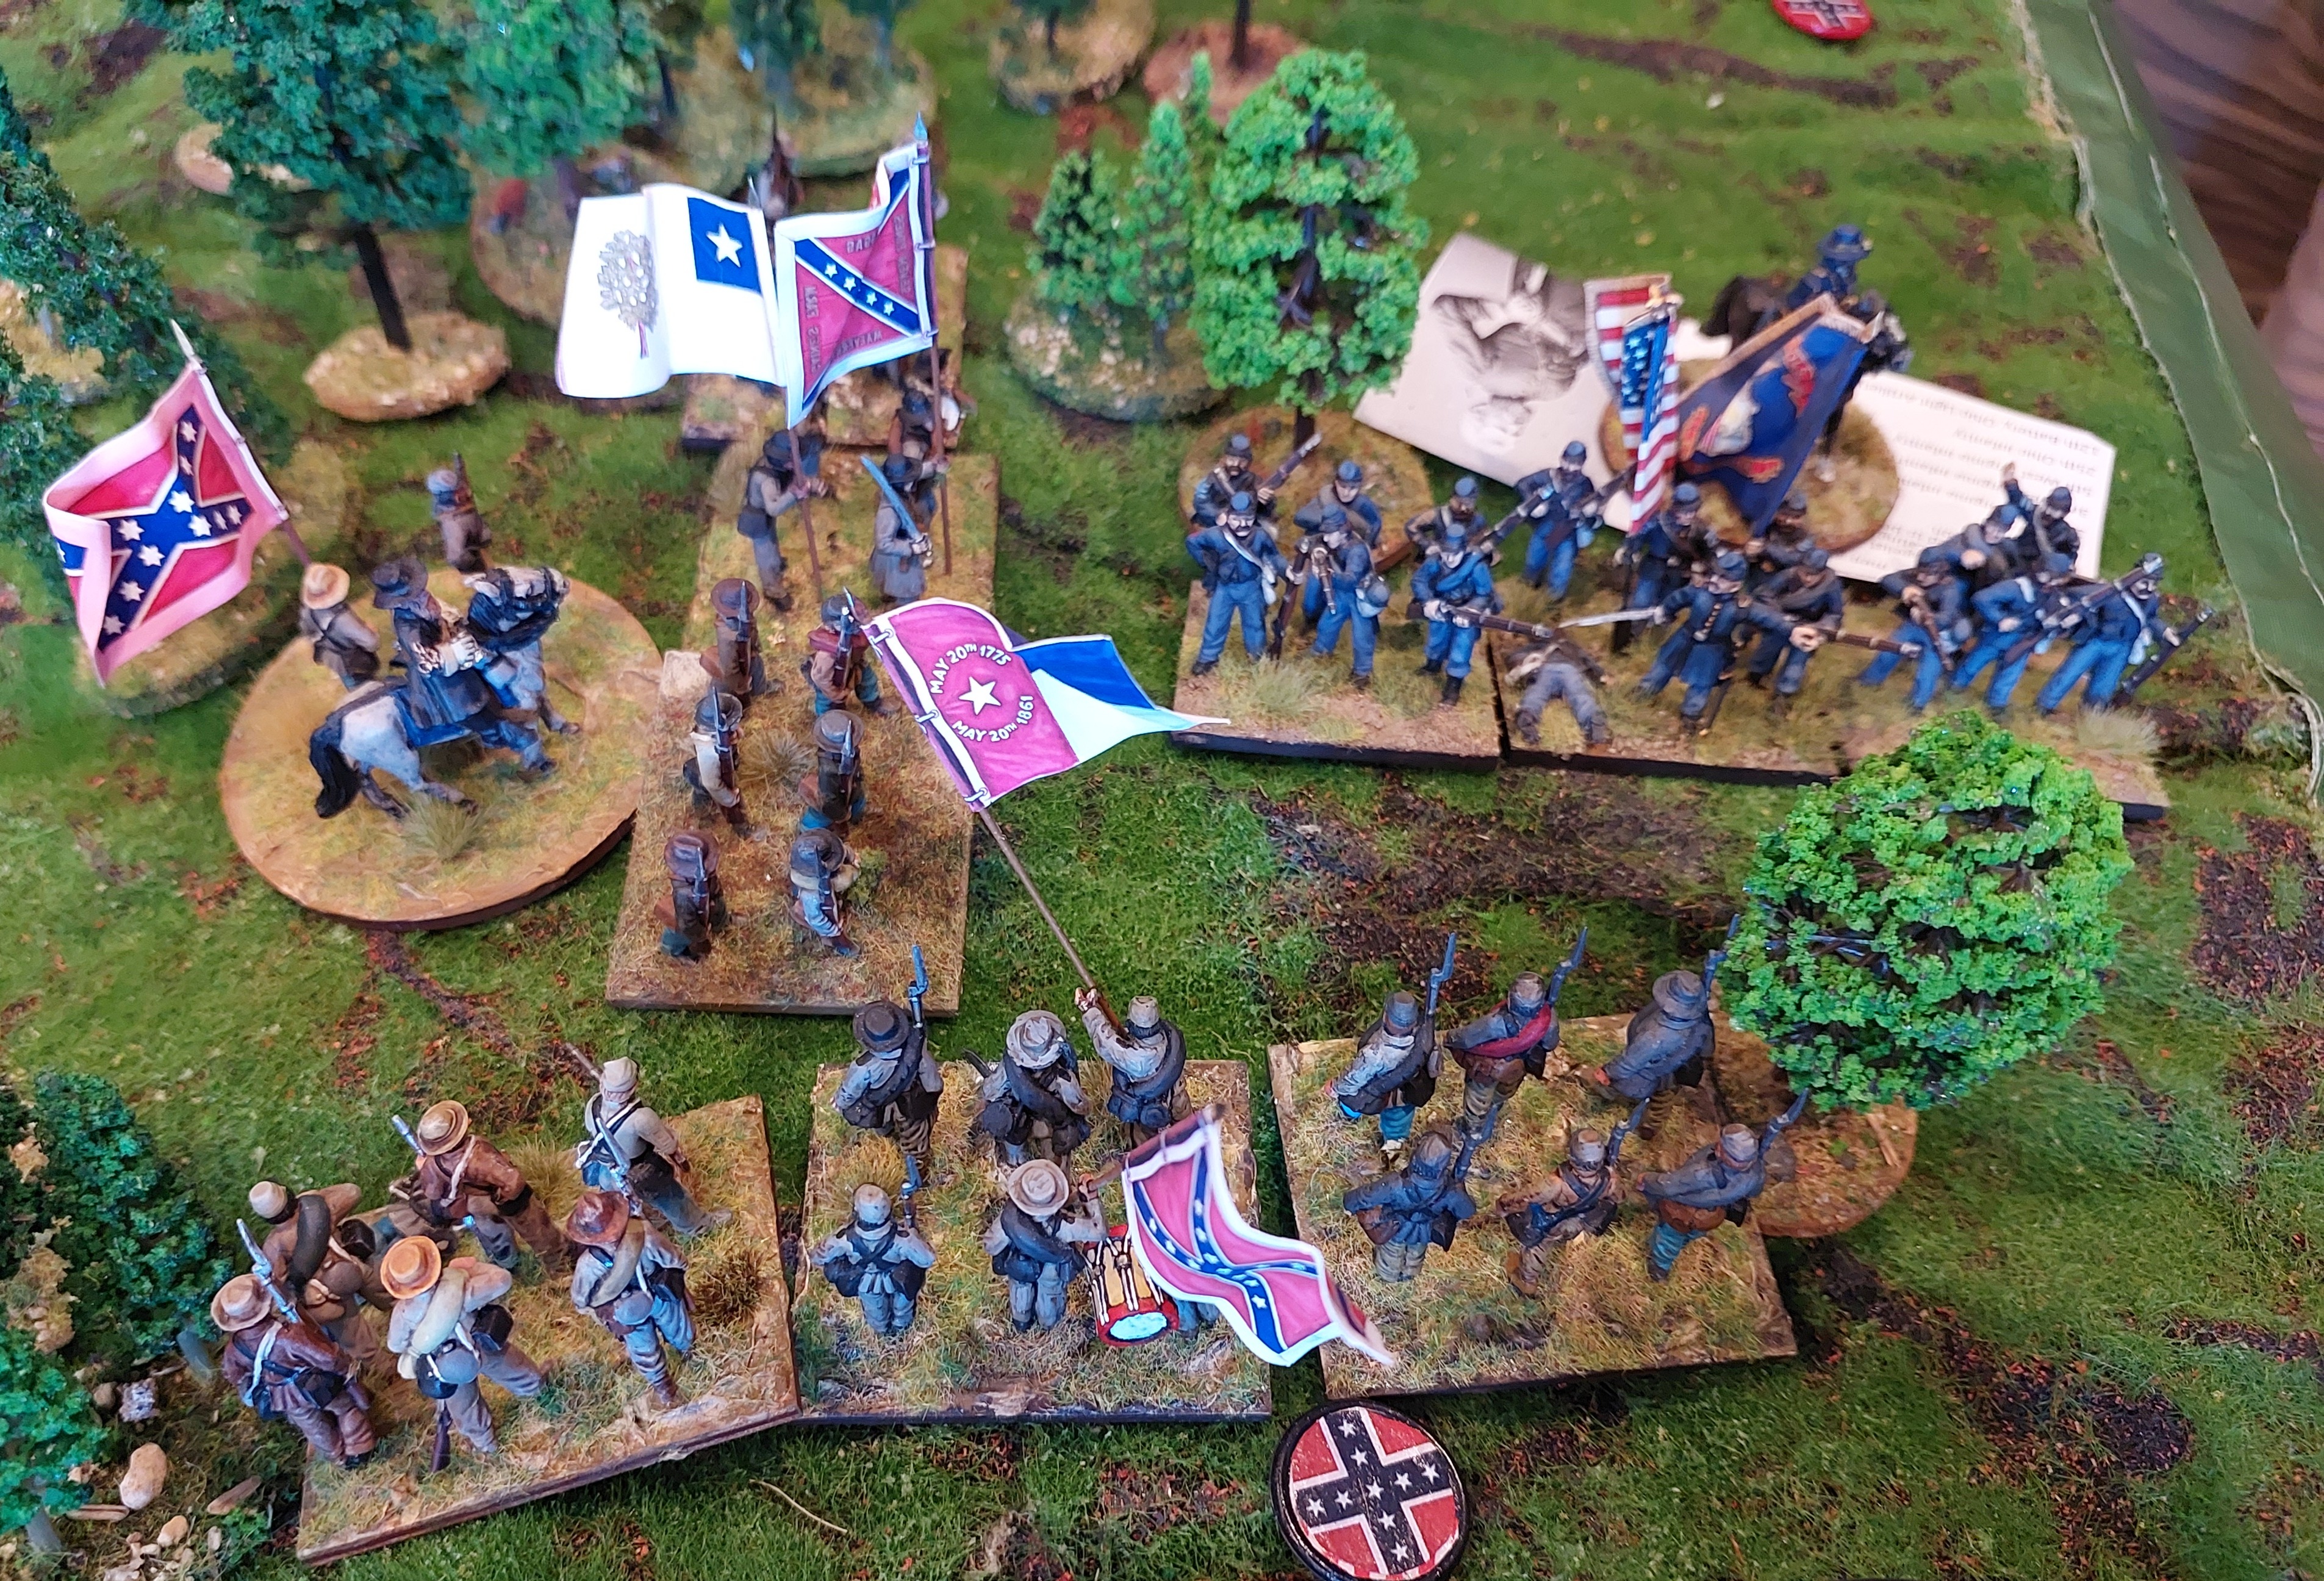
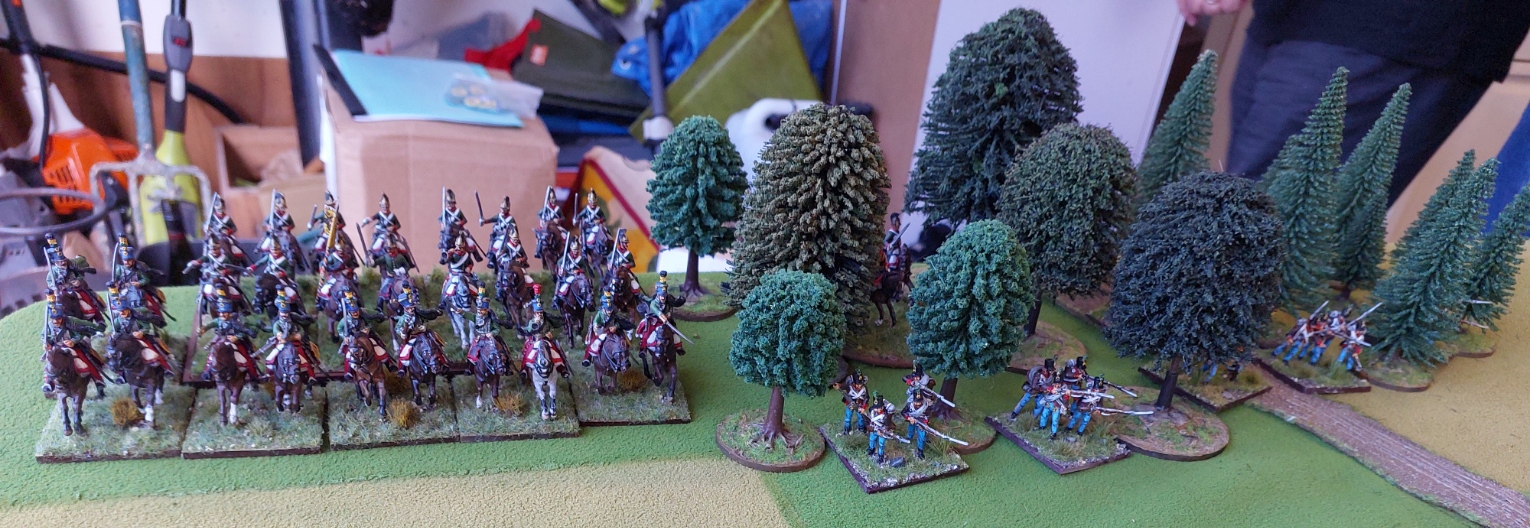
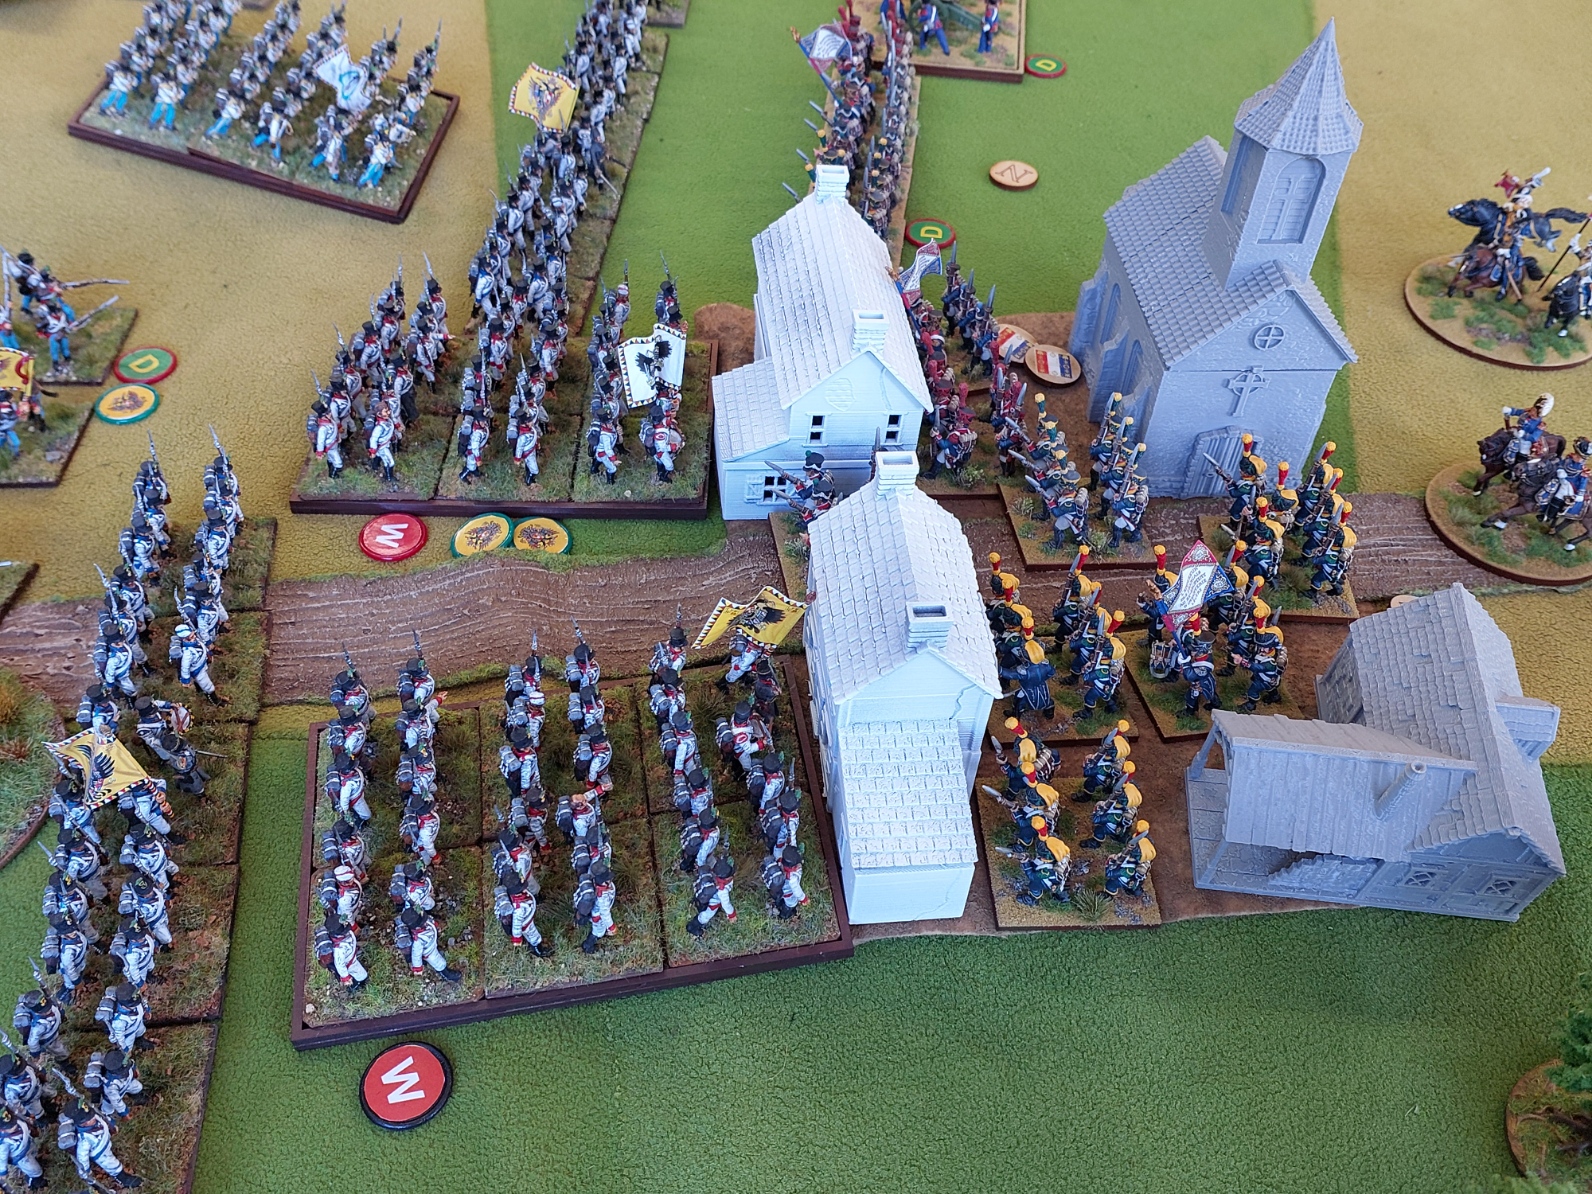
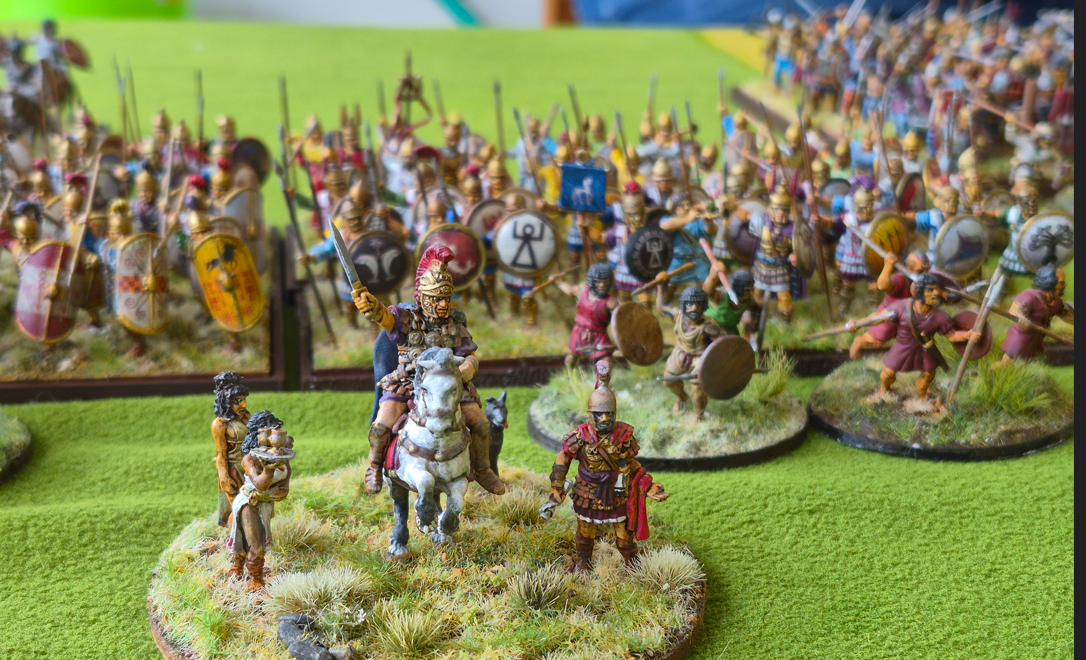
Below is Alans Carthaginians.
Keith’s Macedonians….they blundered their first order and decided to retire…..
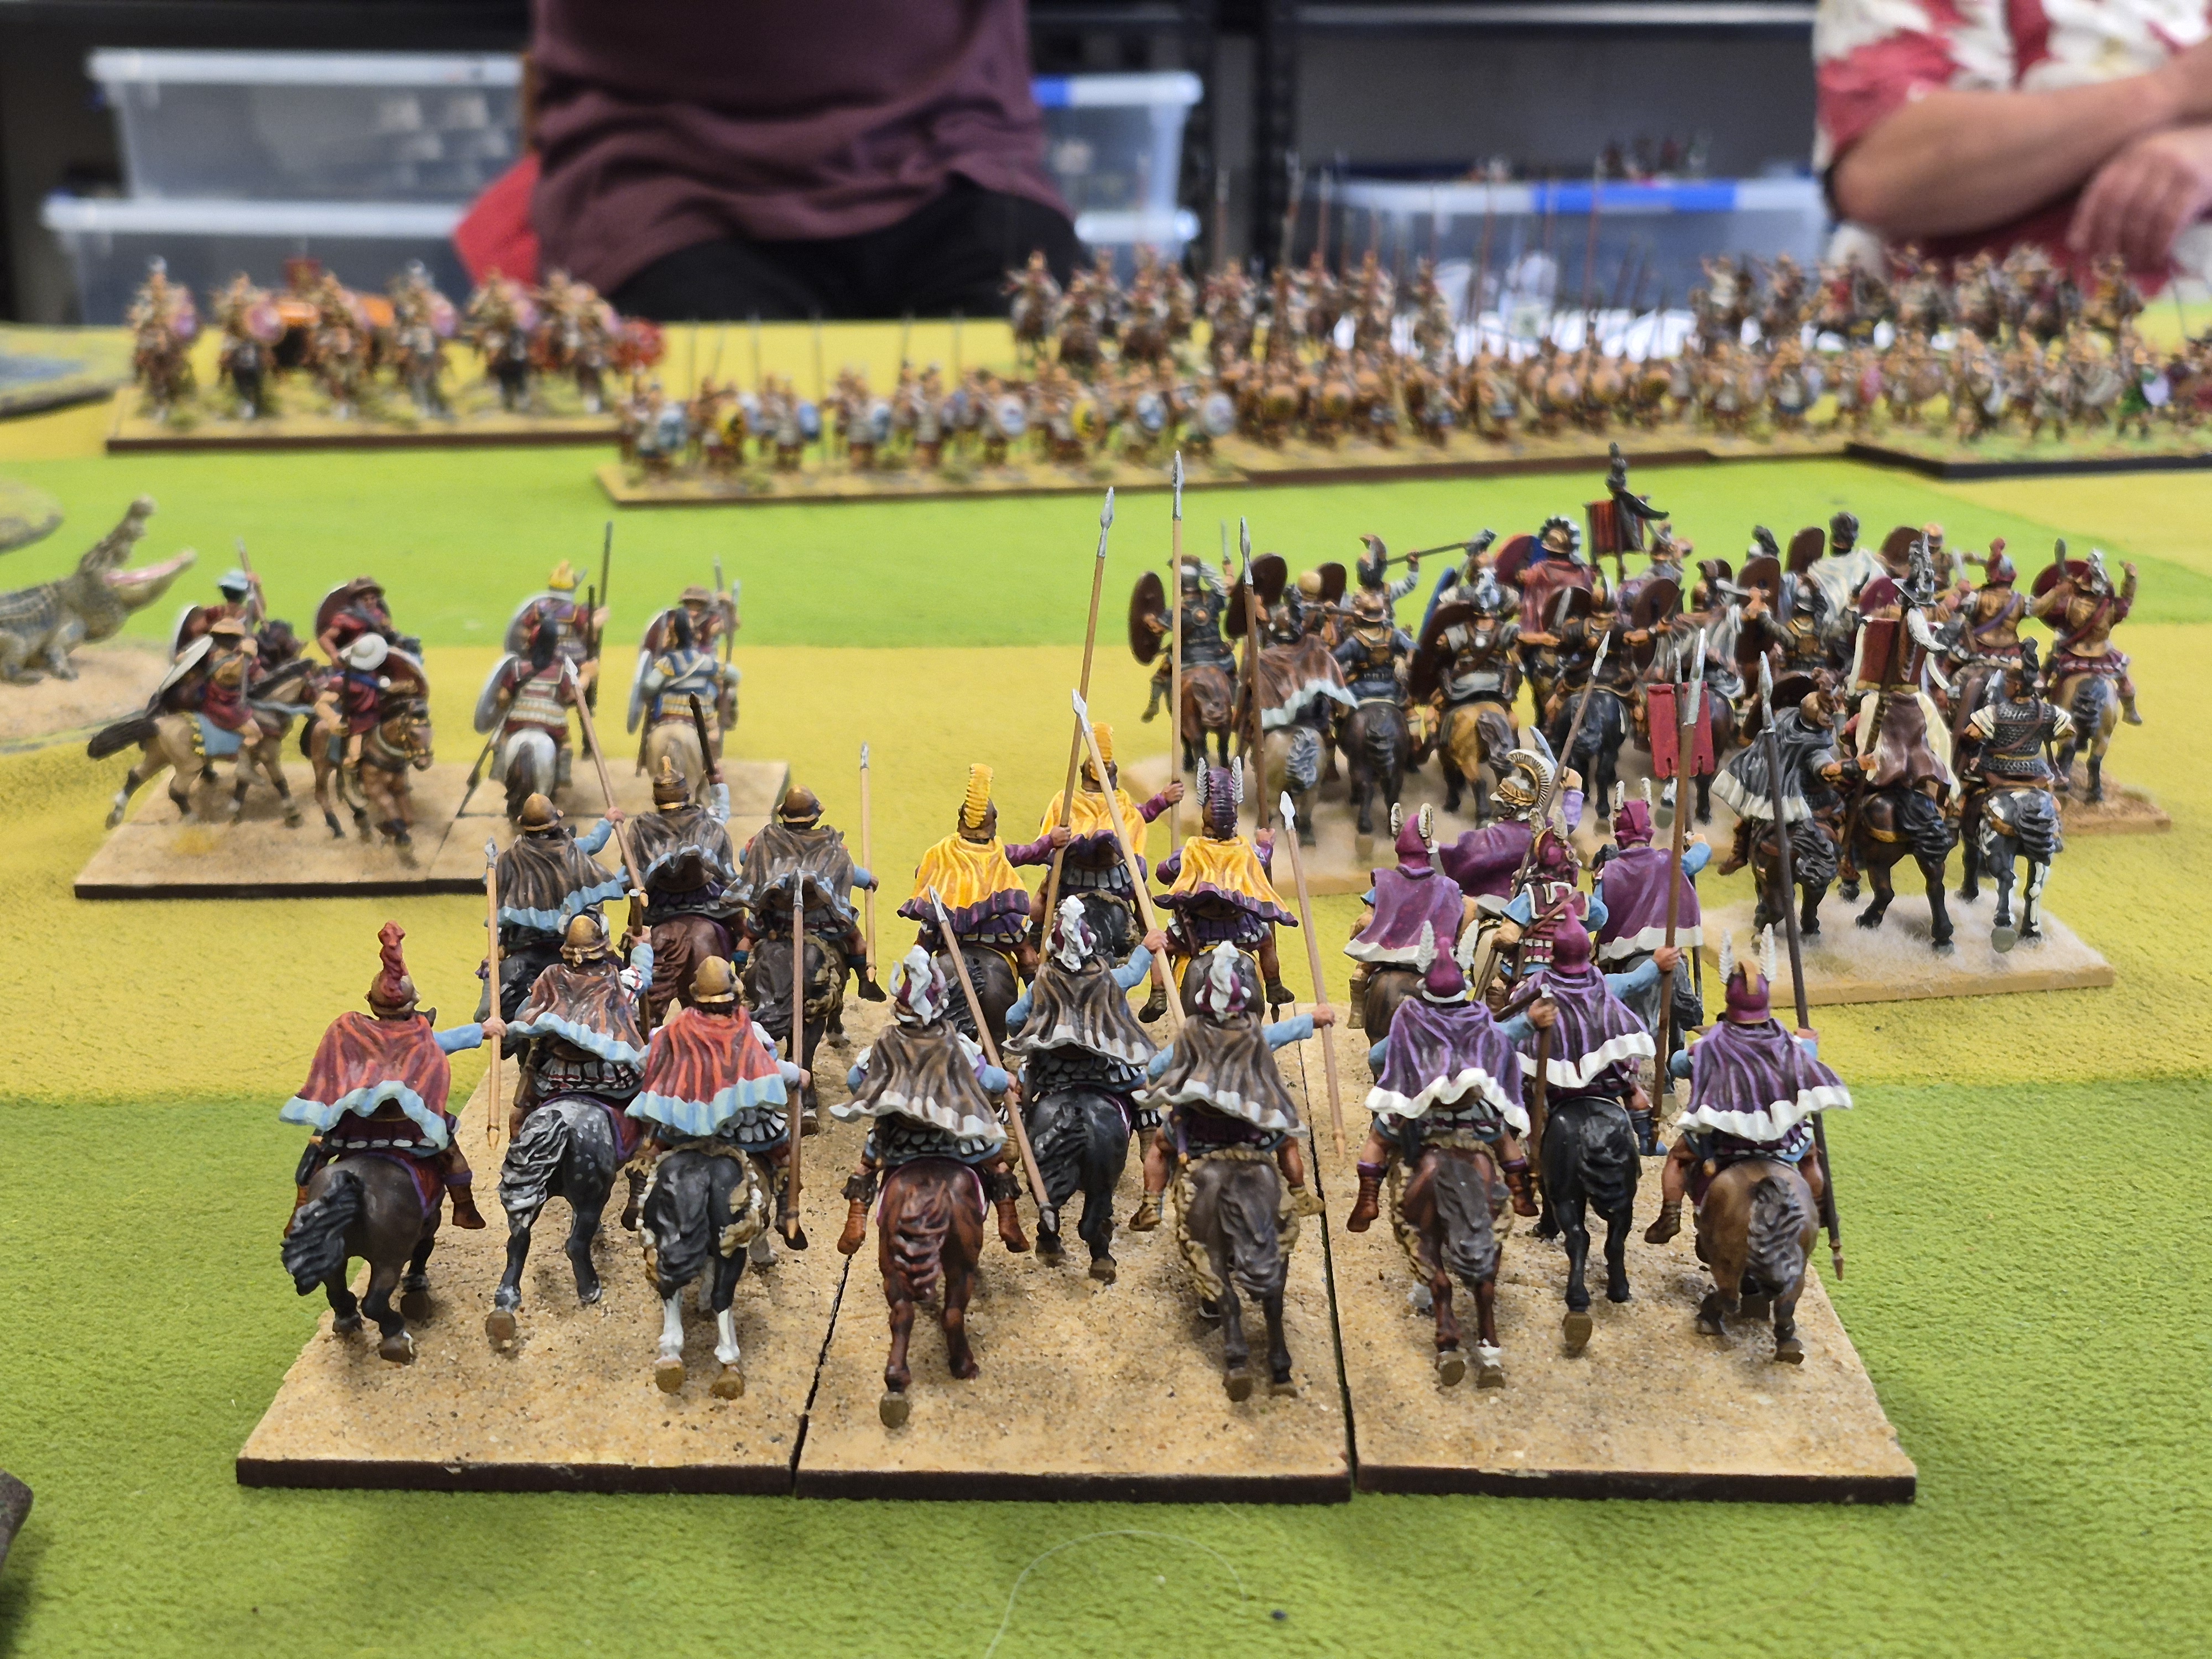
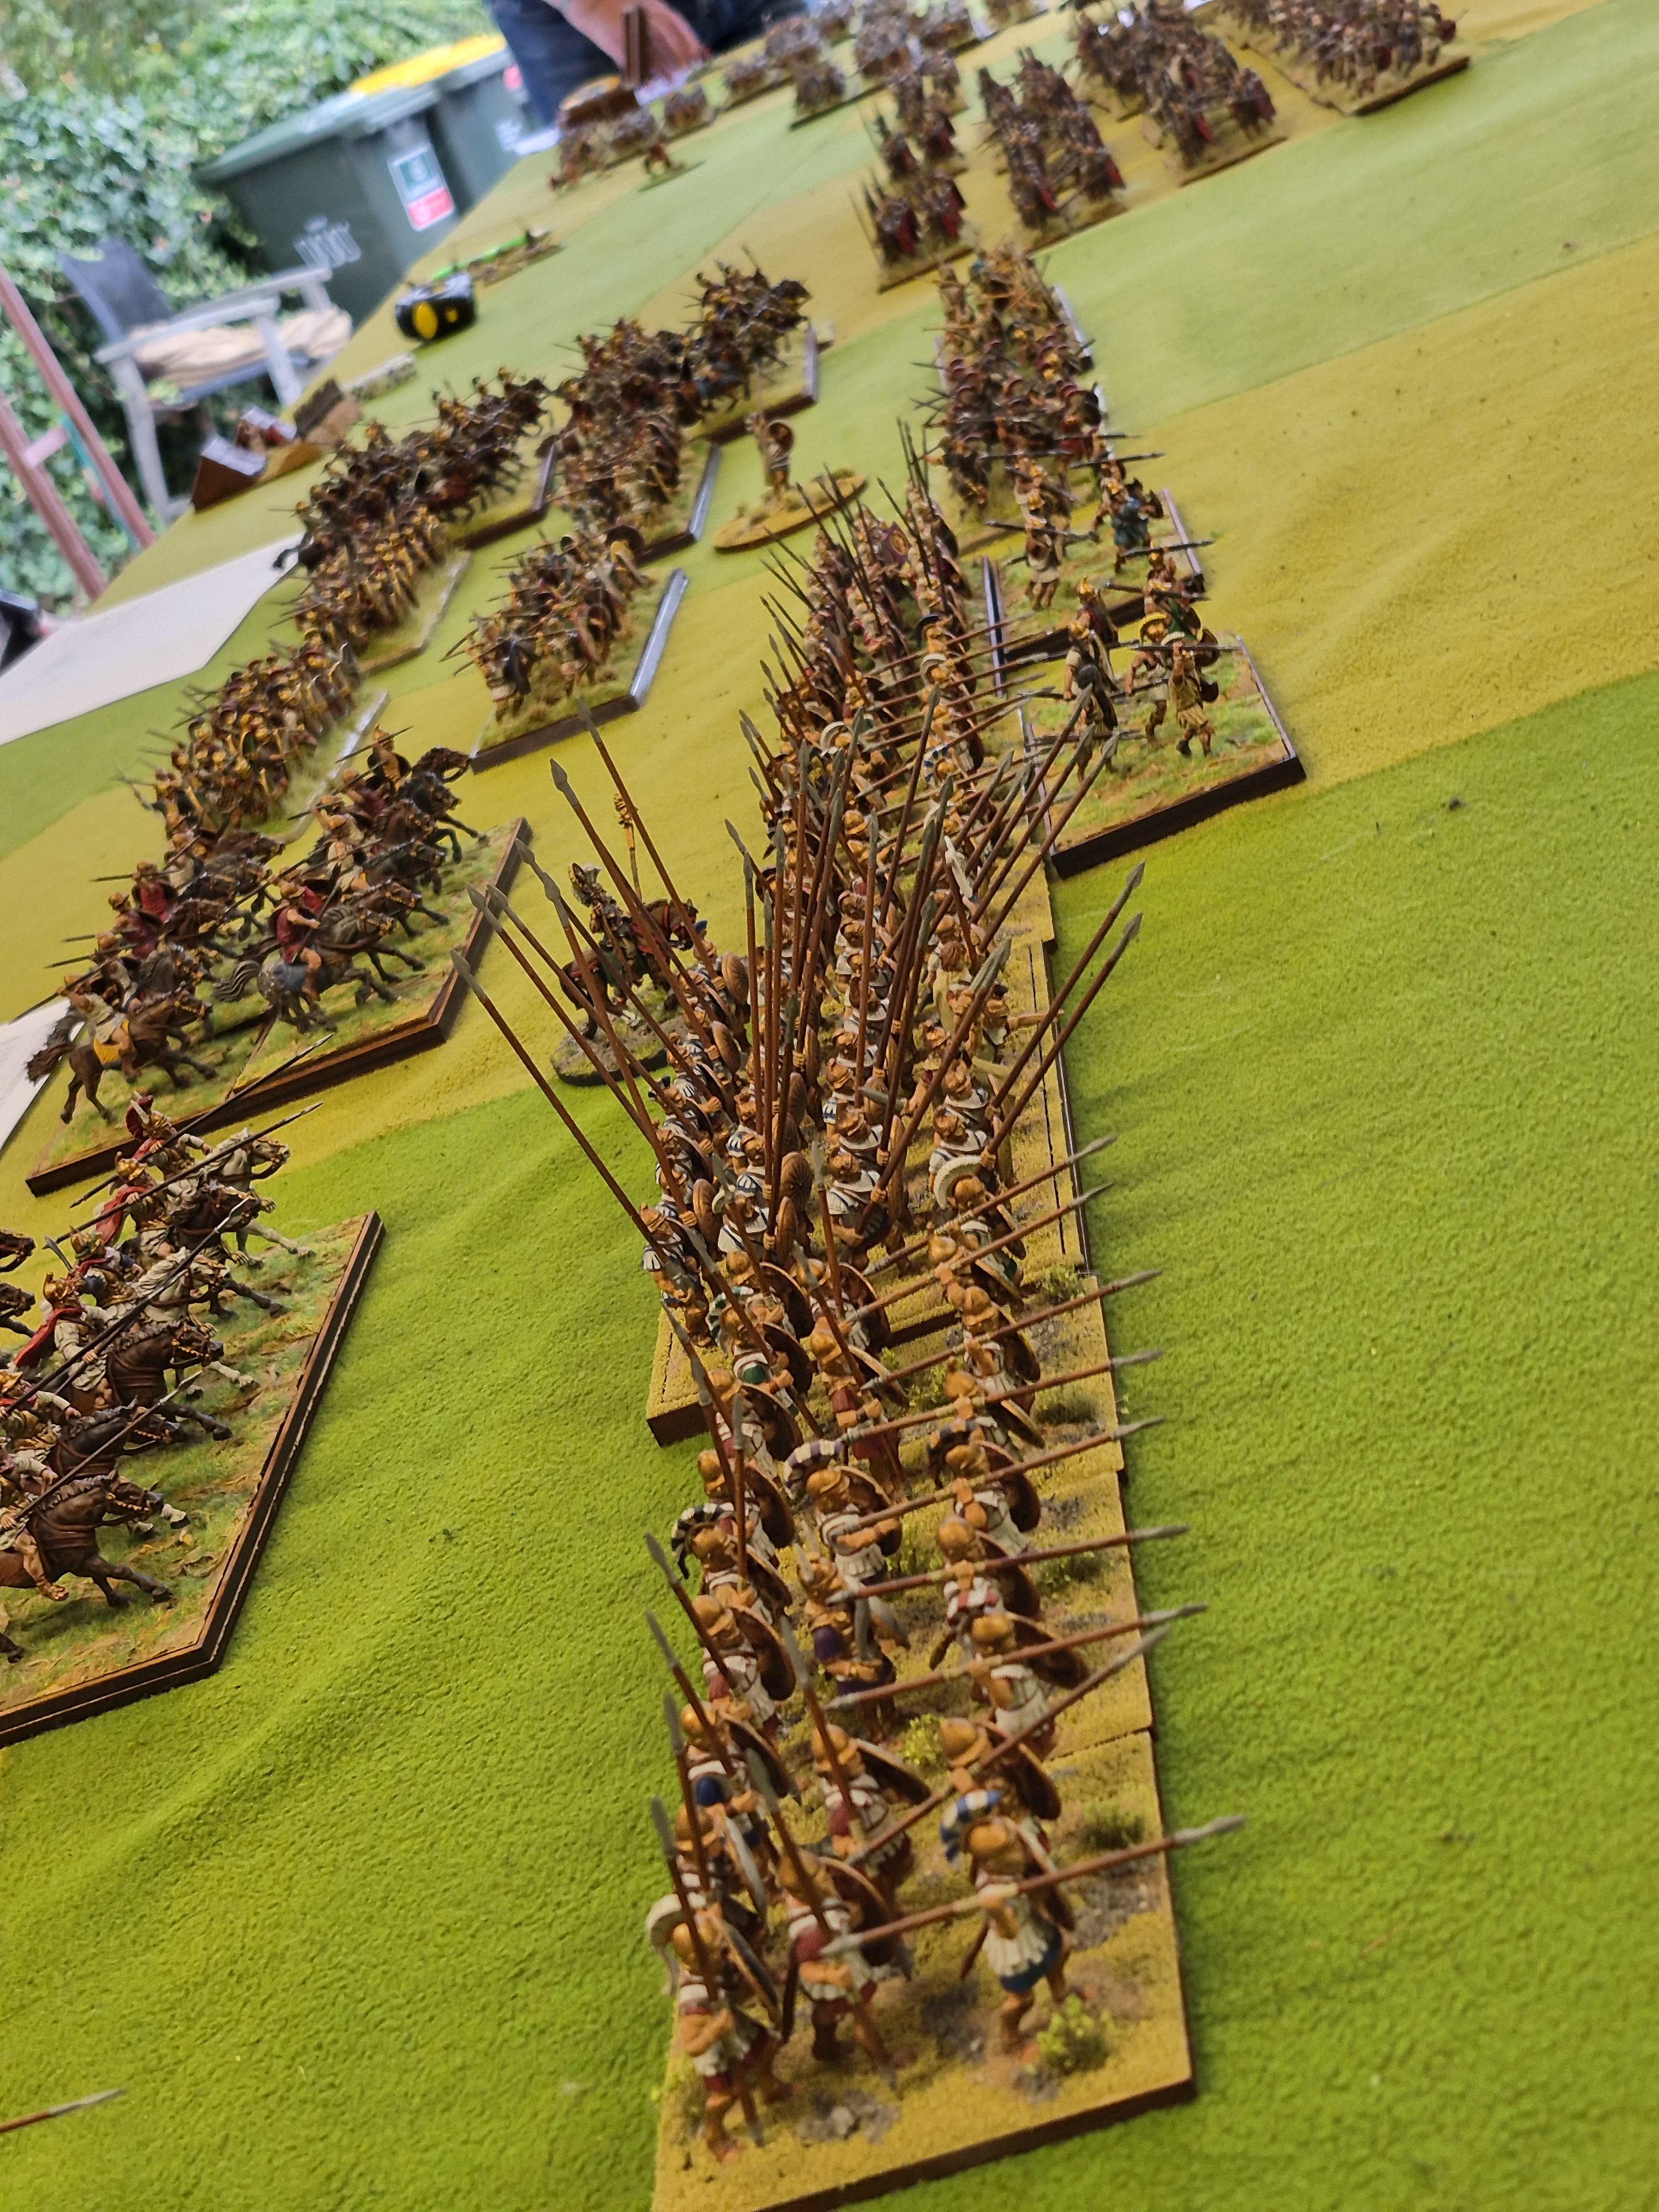
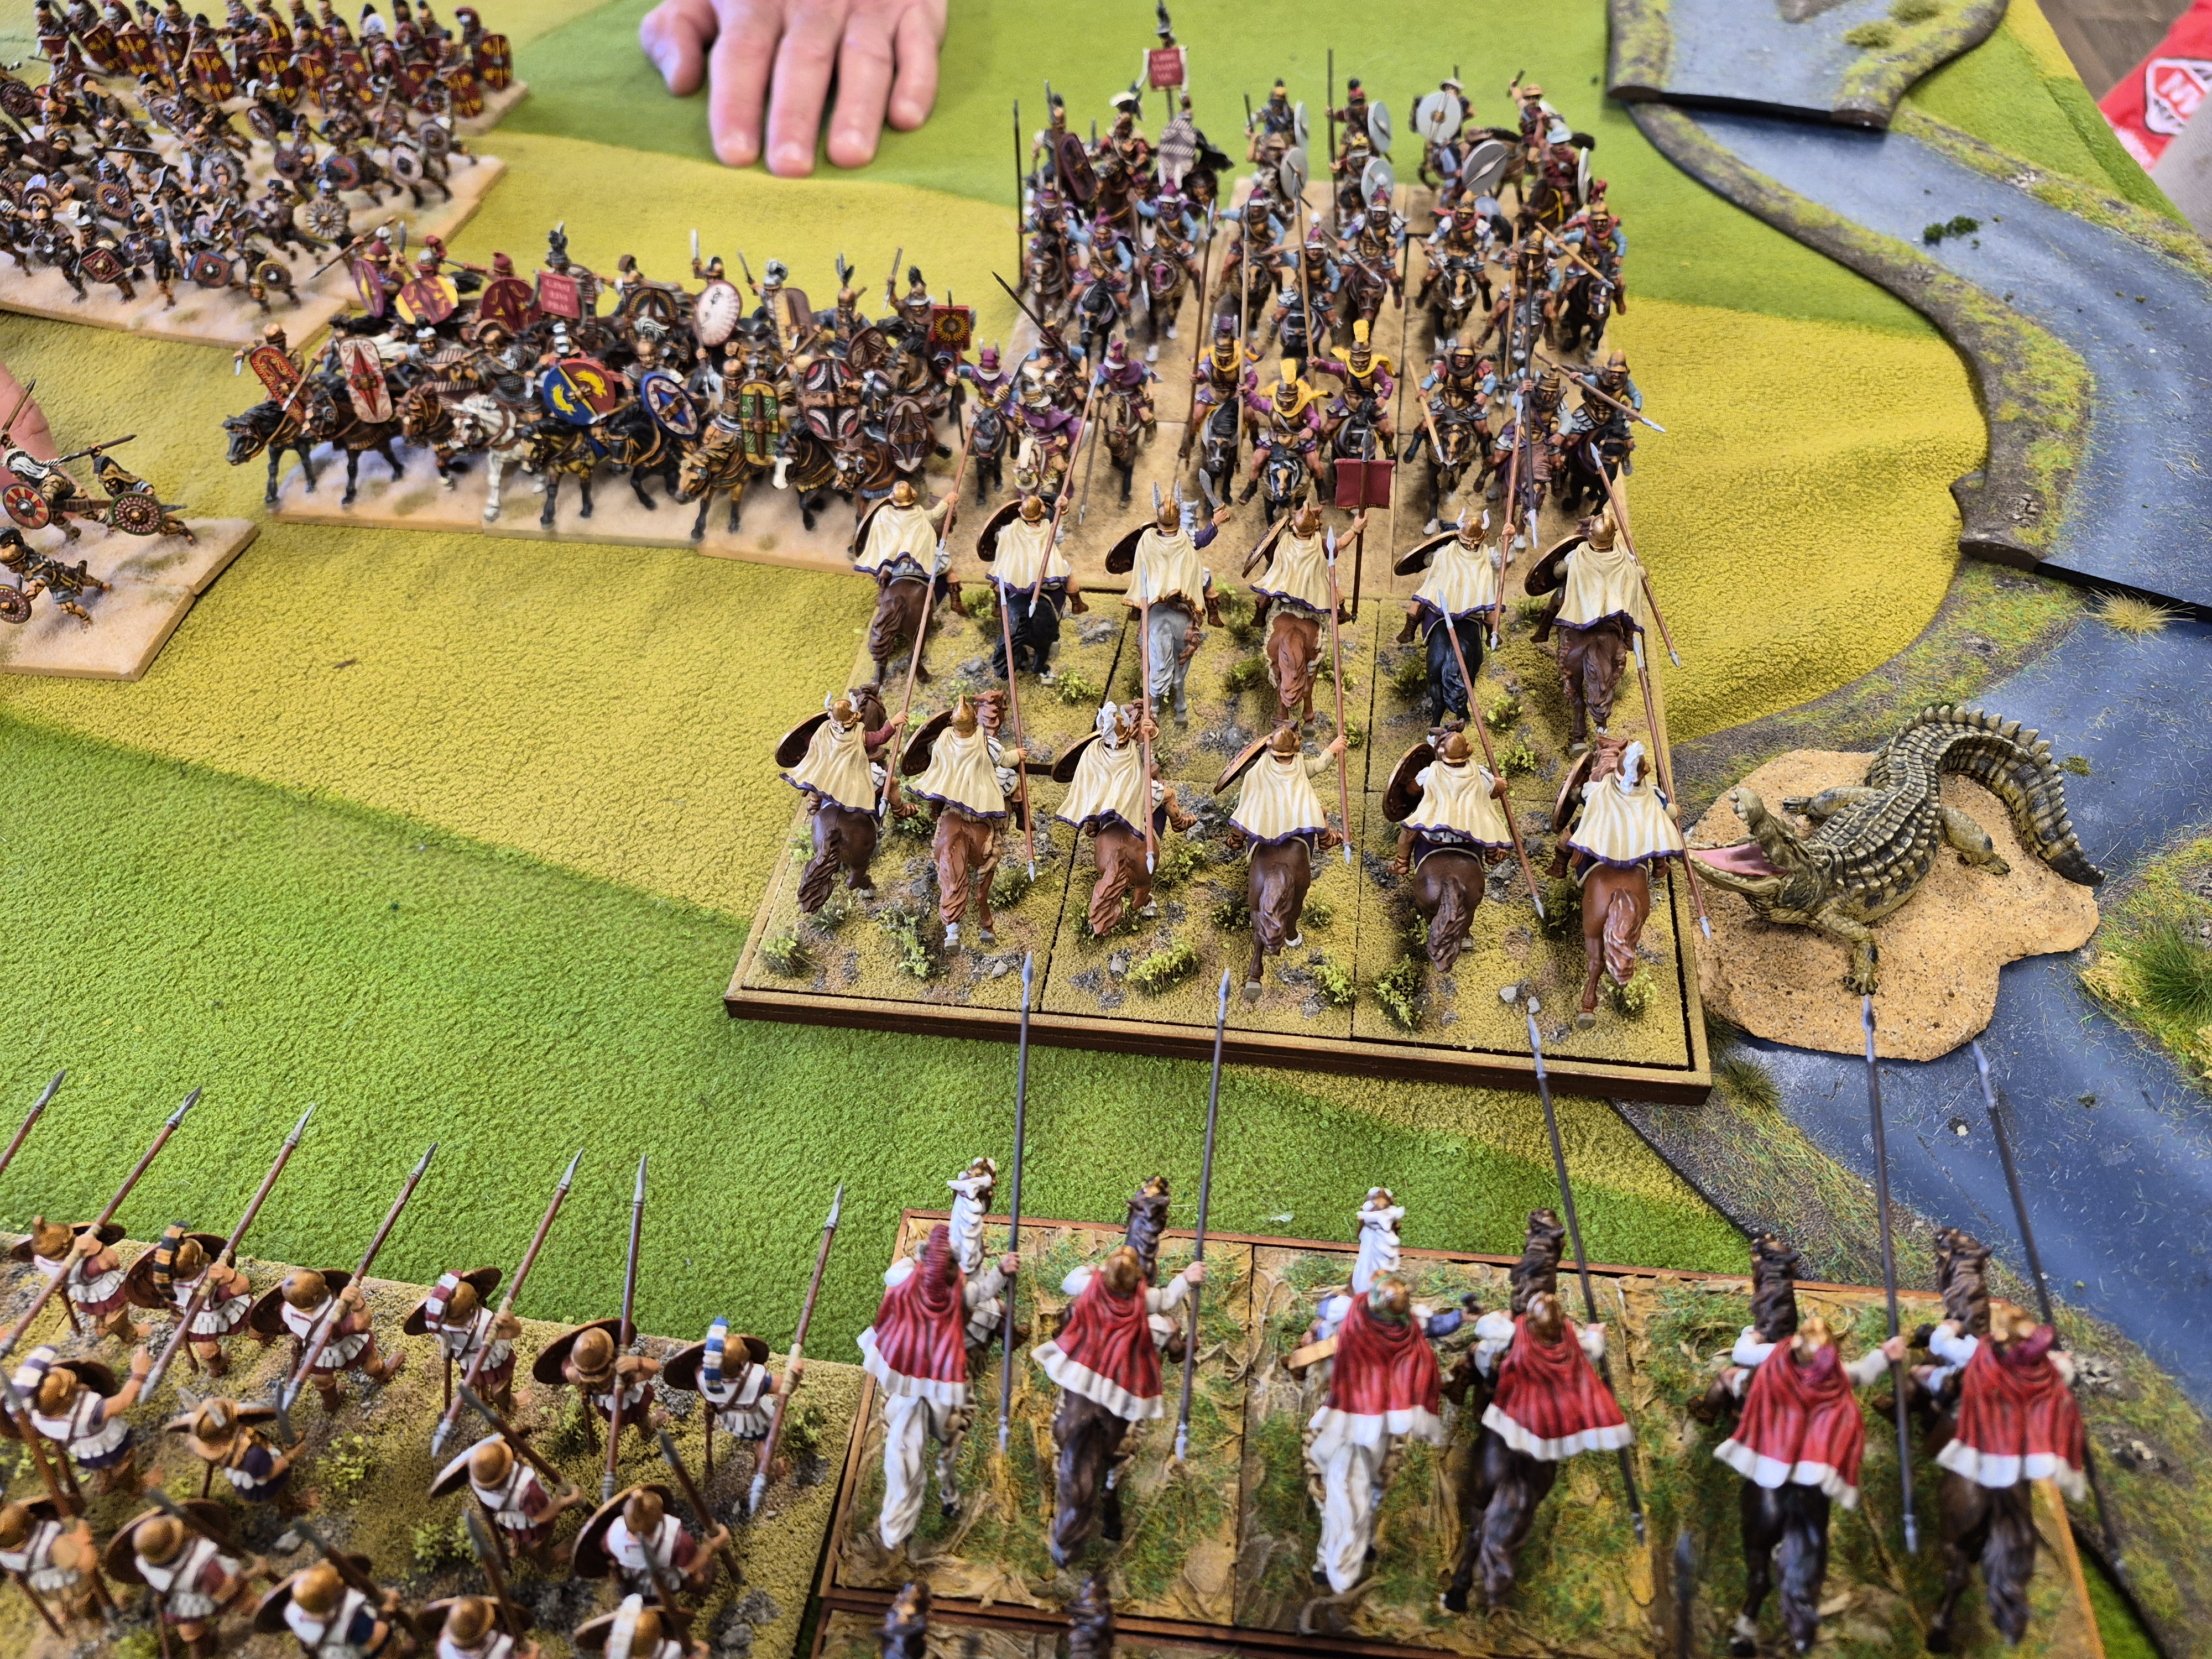
Russ’s Ptolemaic’s with pet crocodile awaiting Rob.
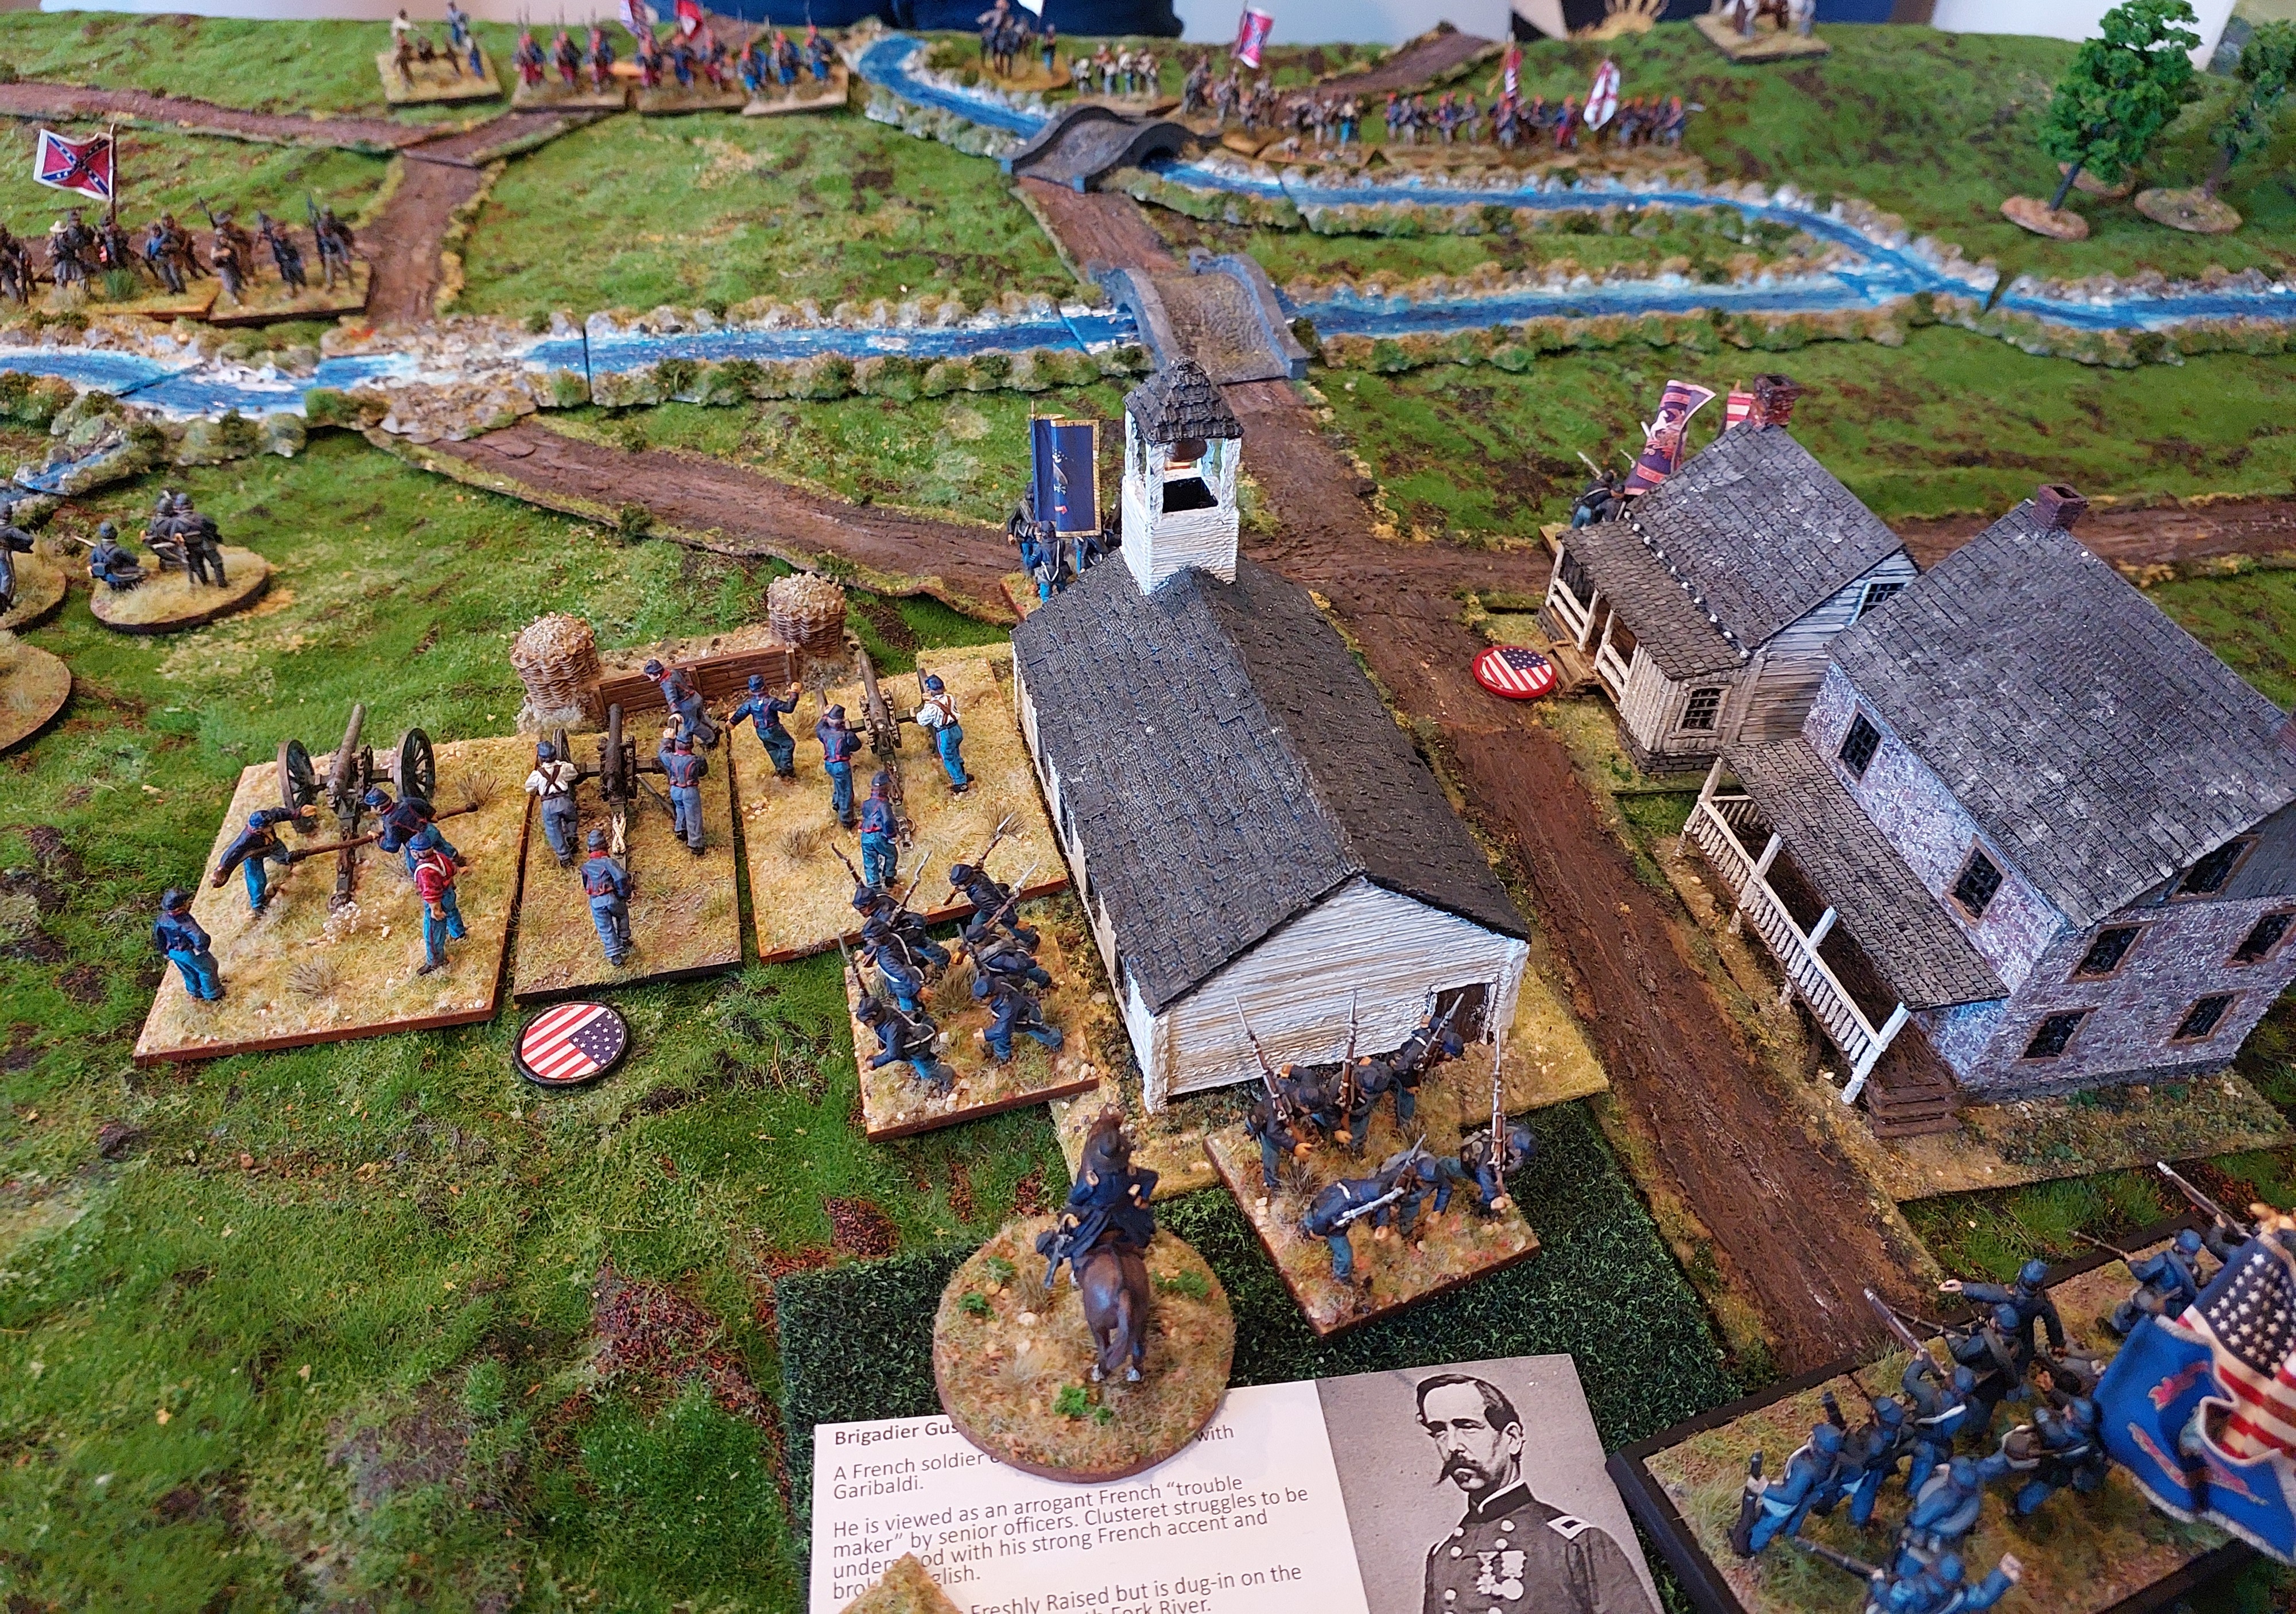
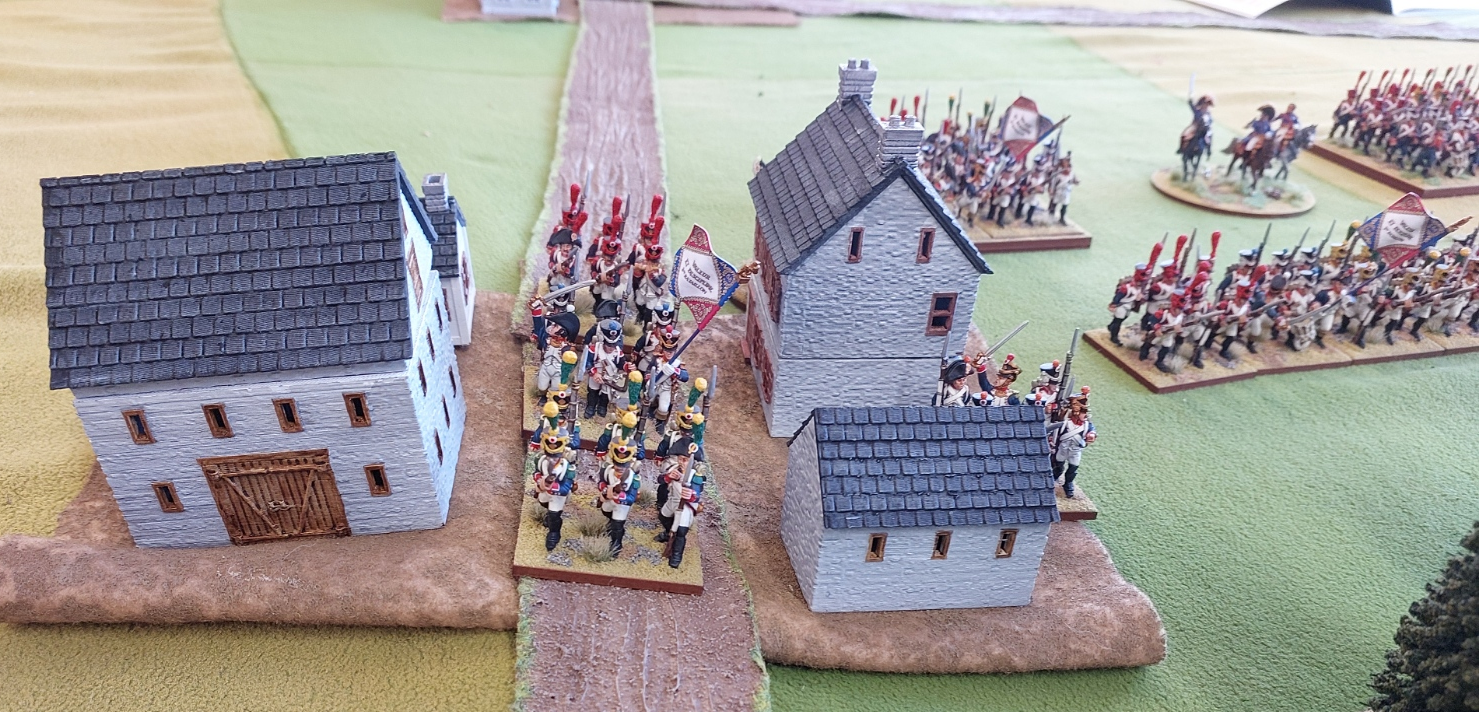
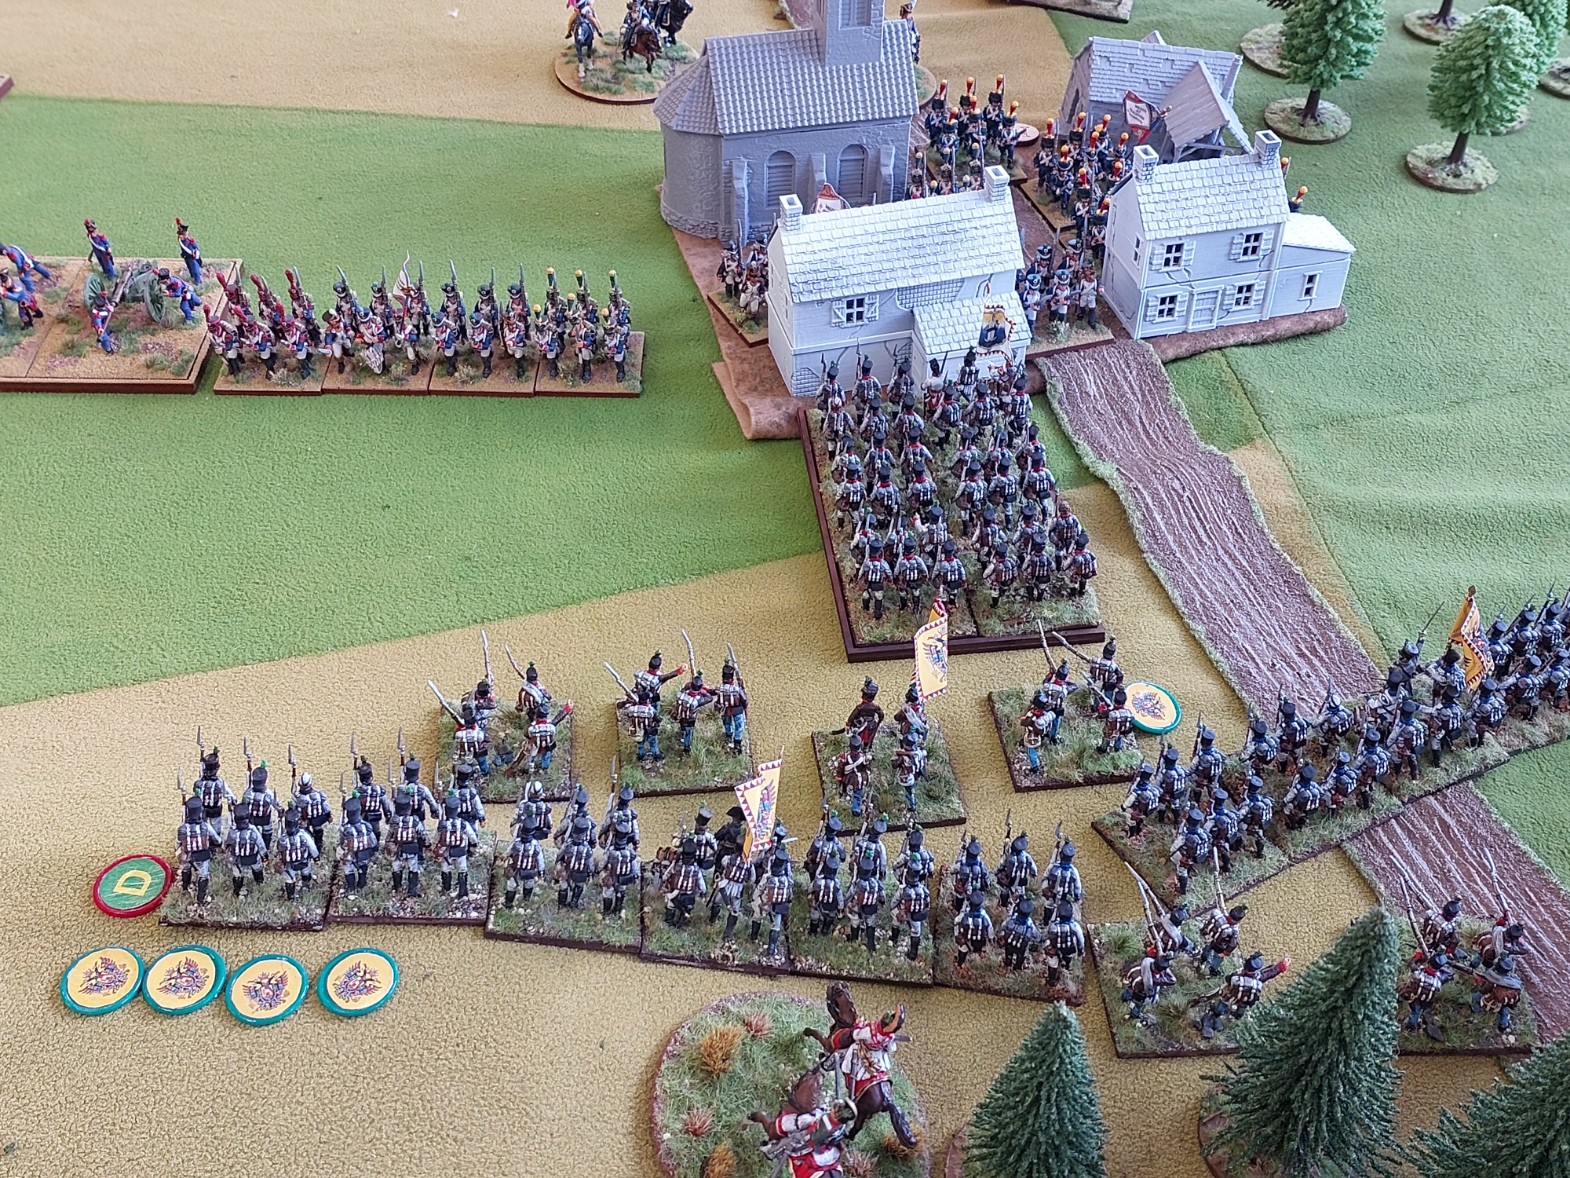
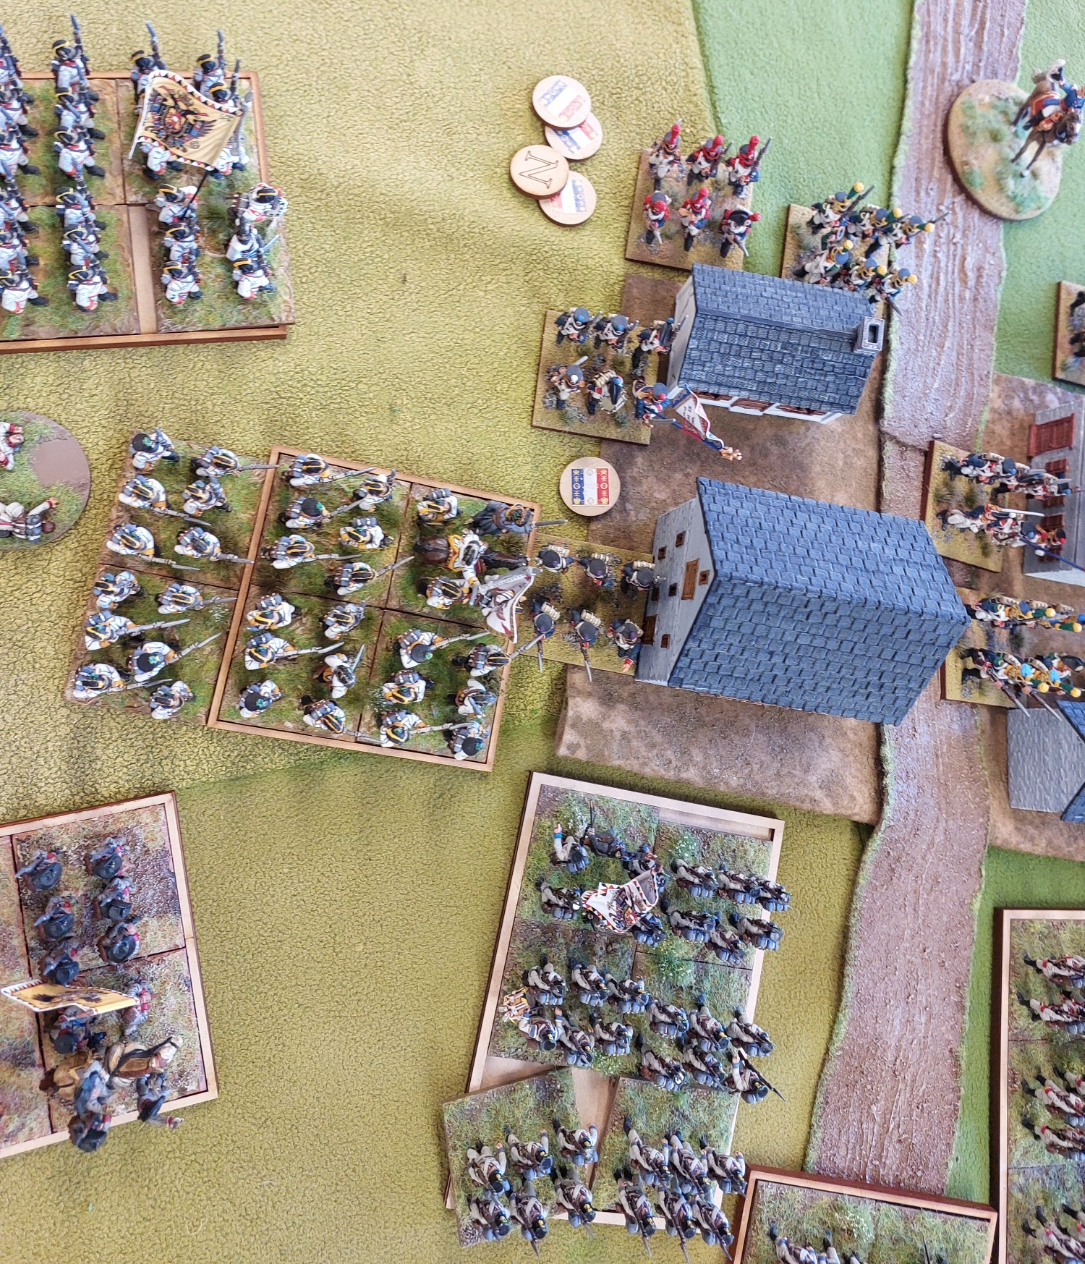
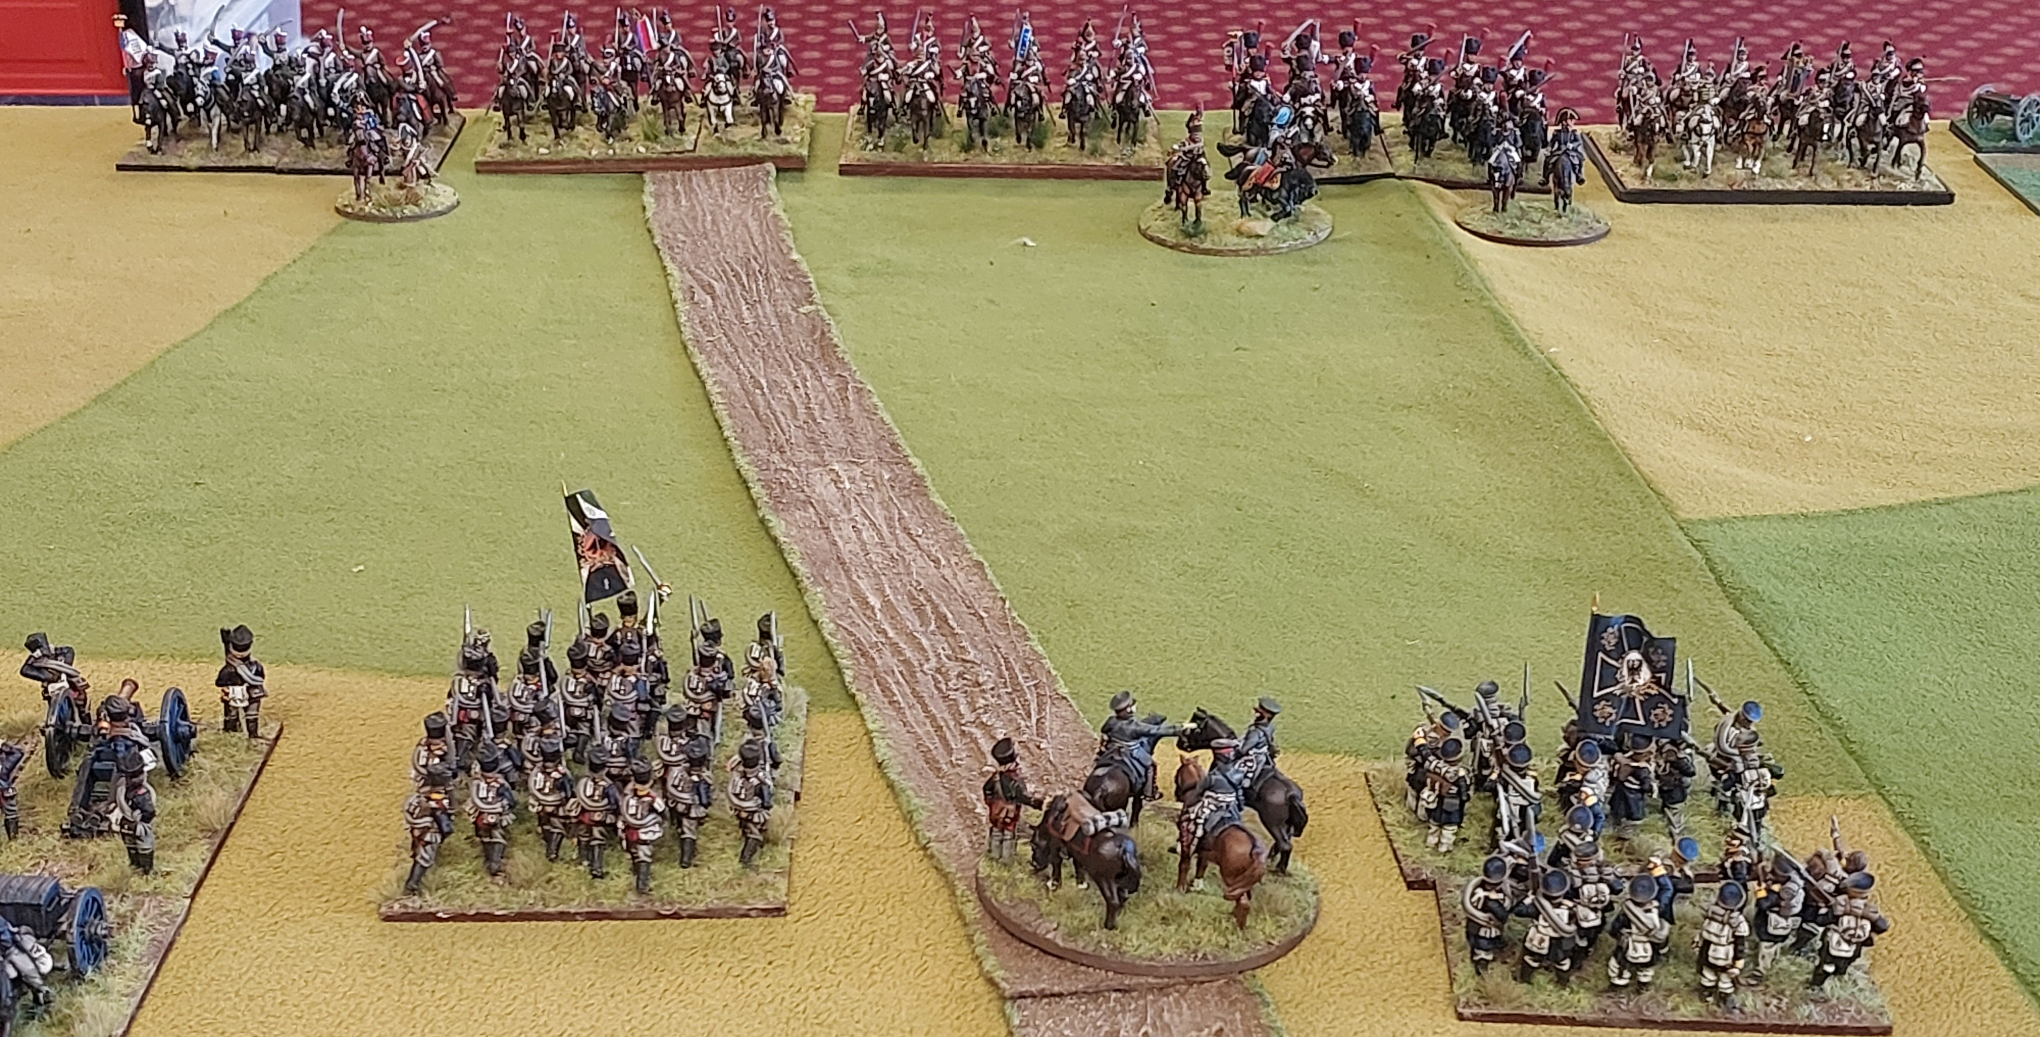
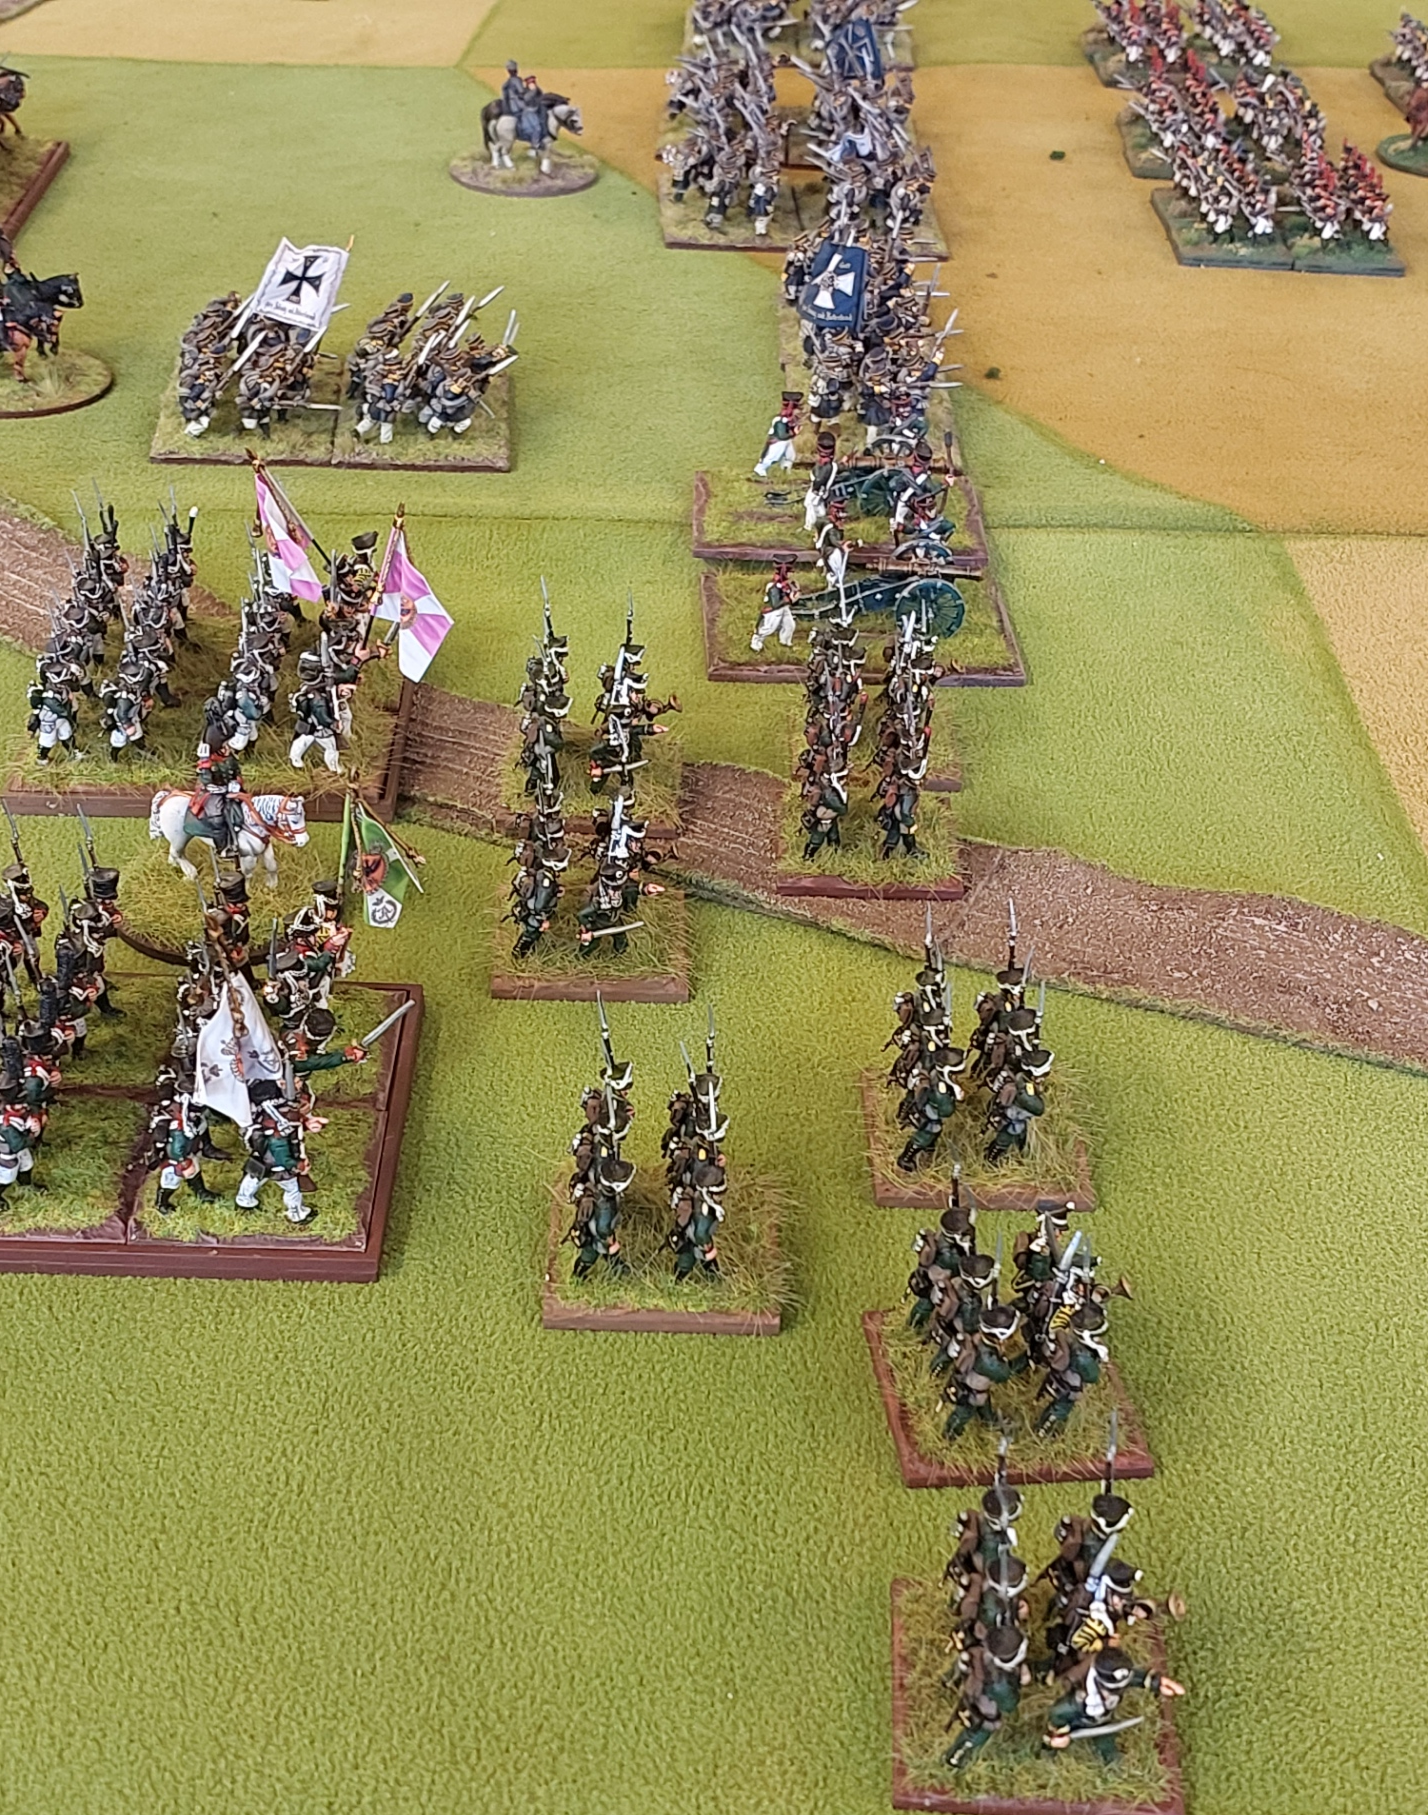
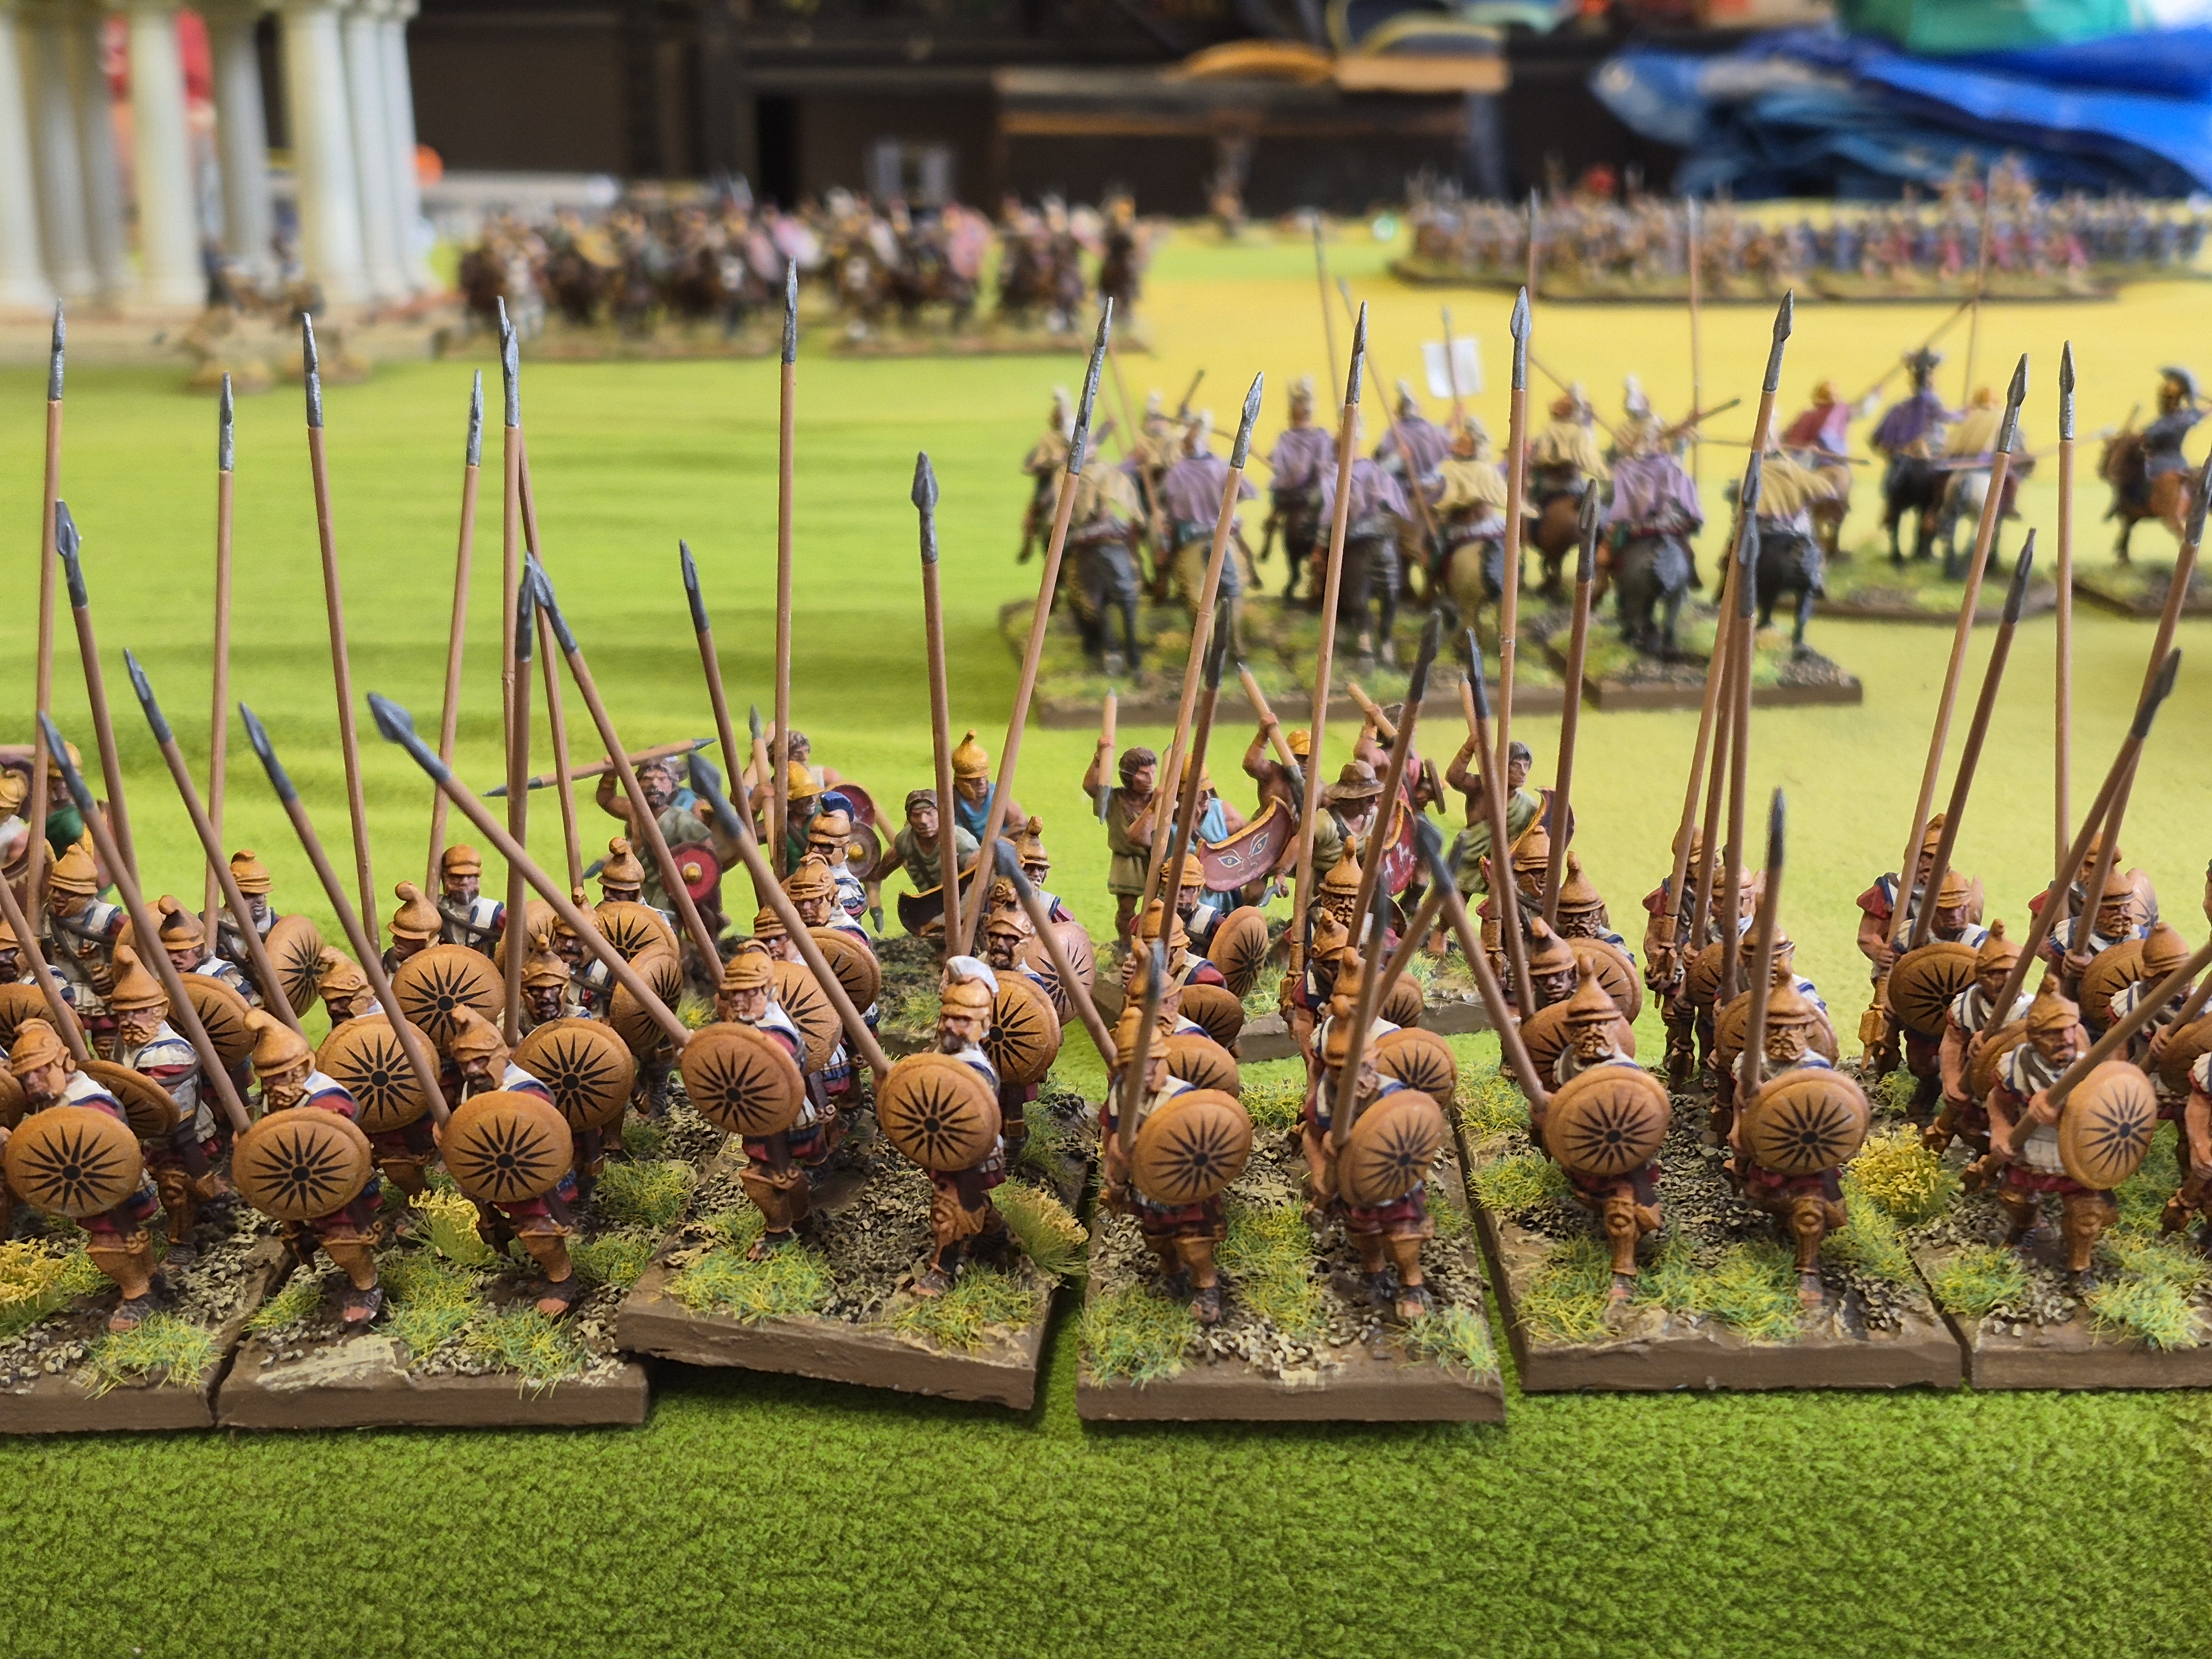
Robs force was a cobbled together from differing collections….Macedonians/Hoplites and Spanish.
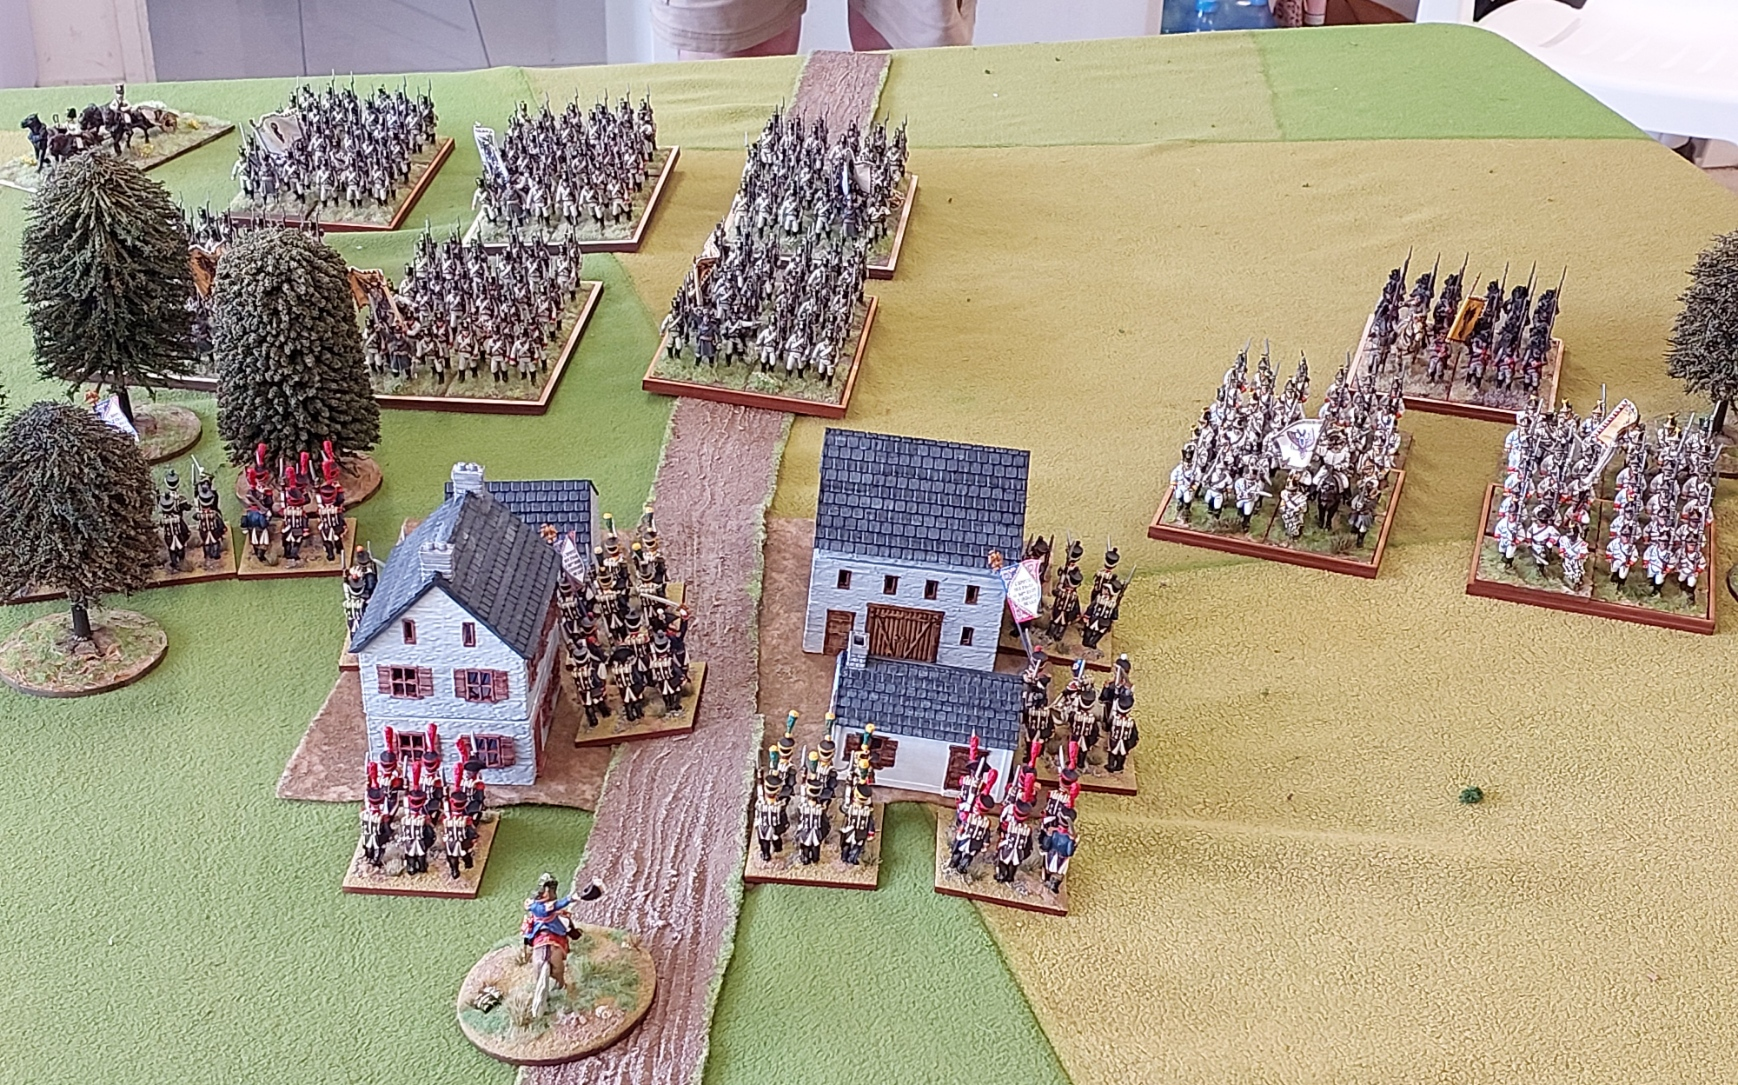
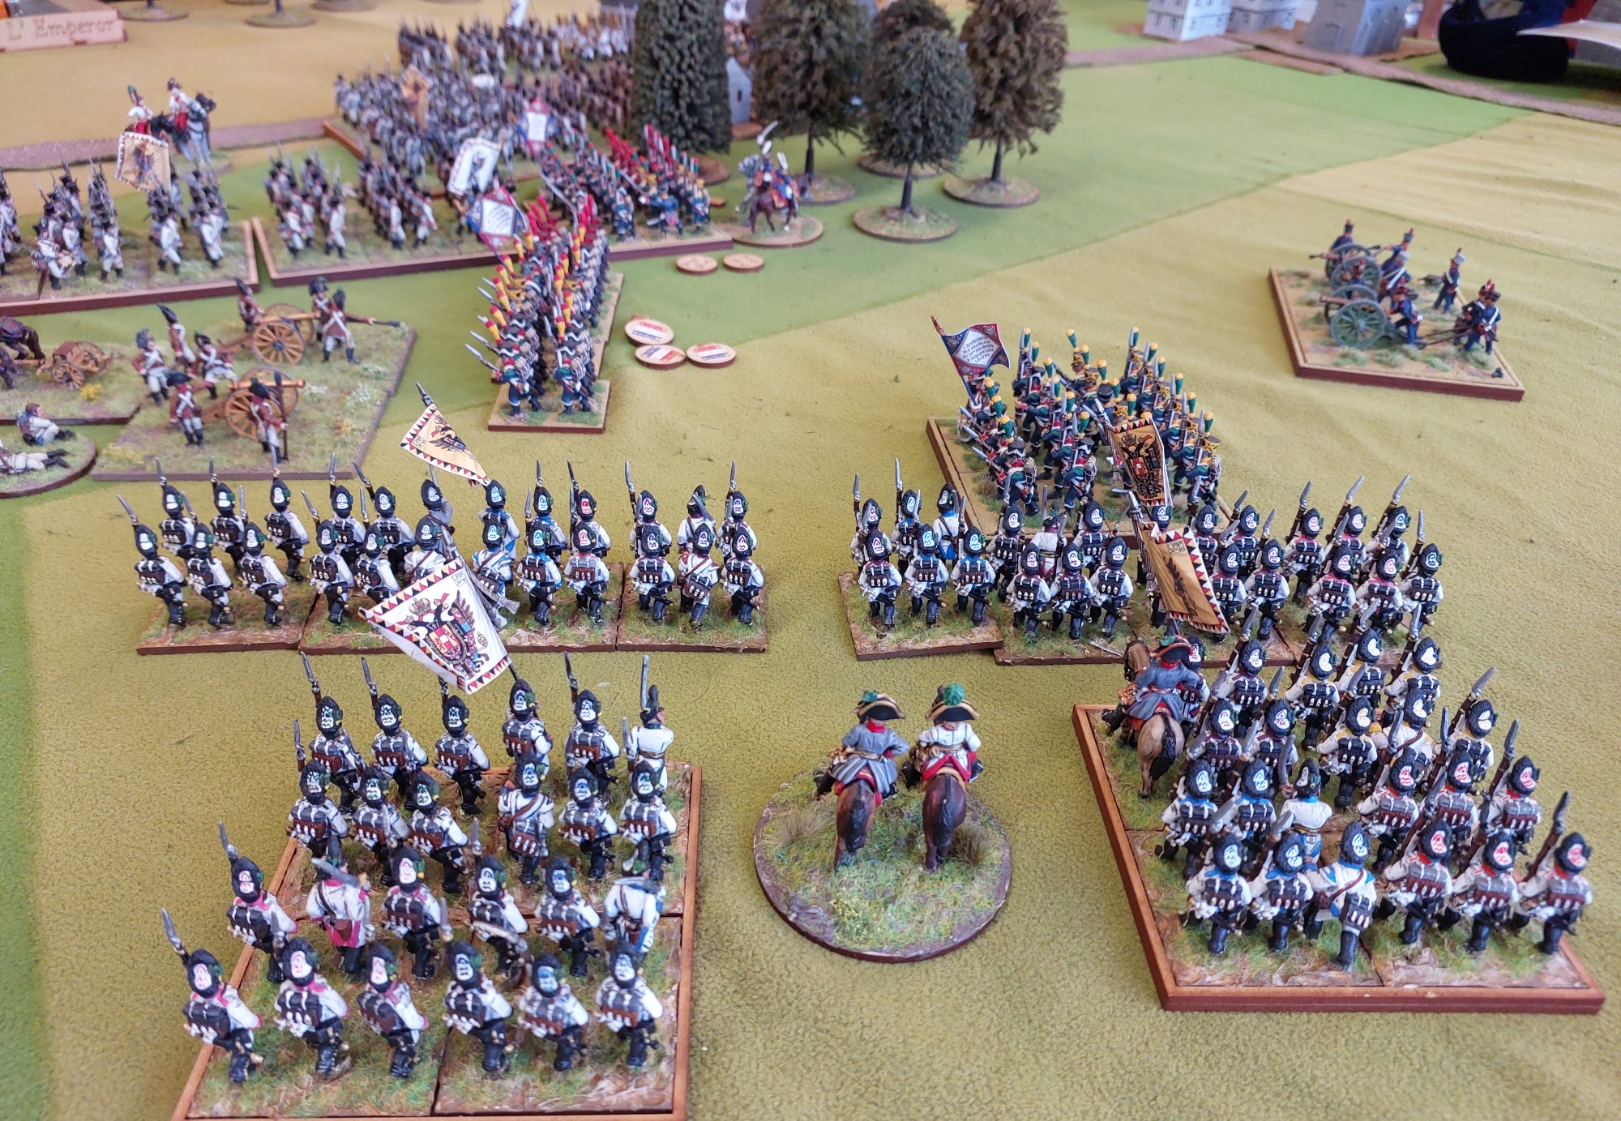
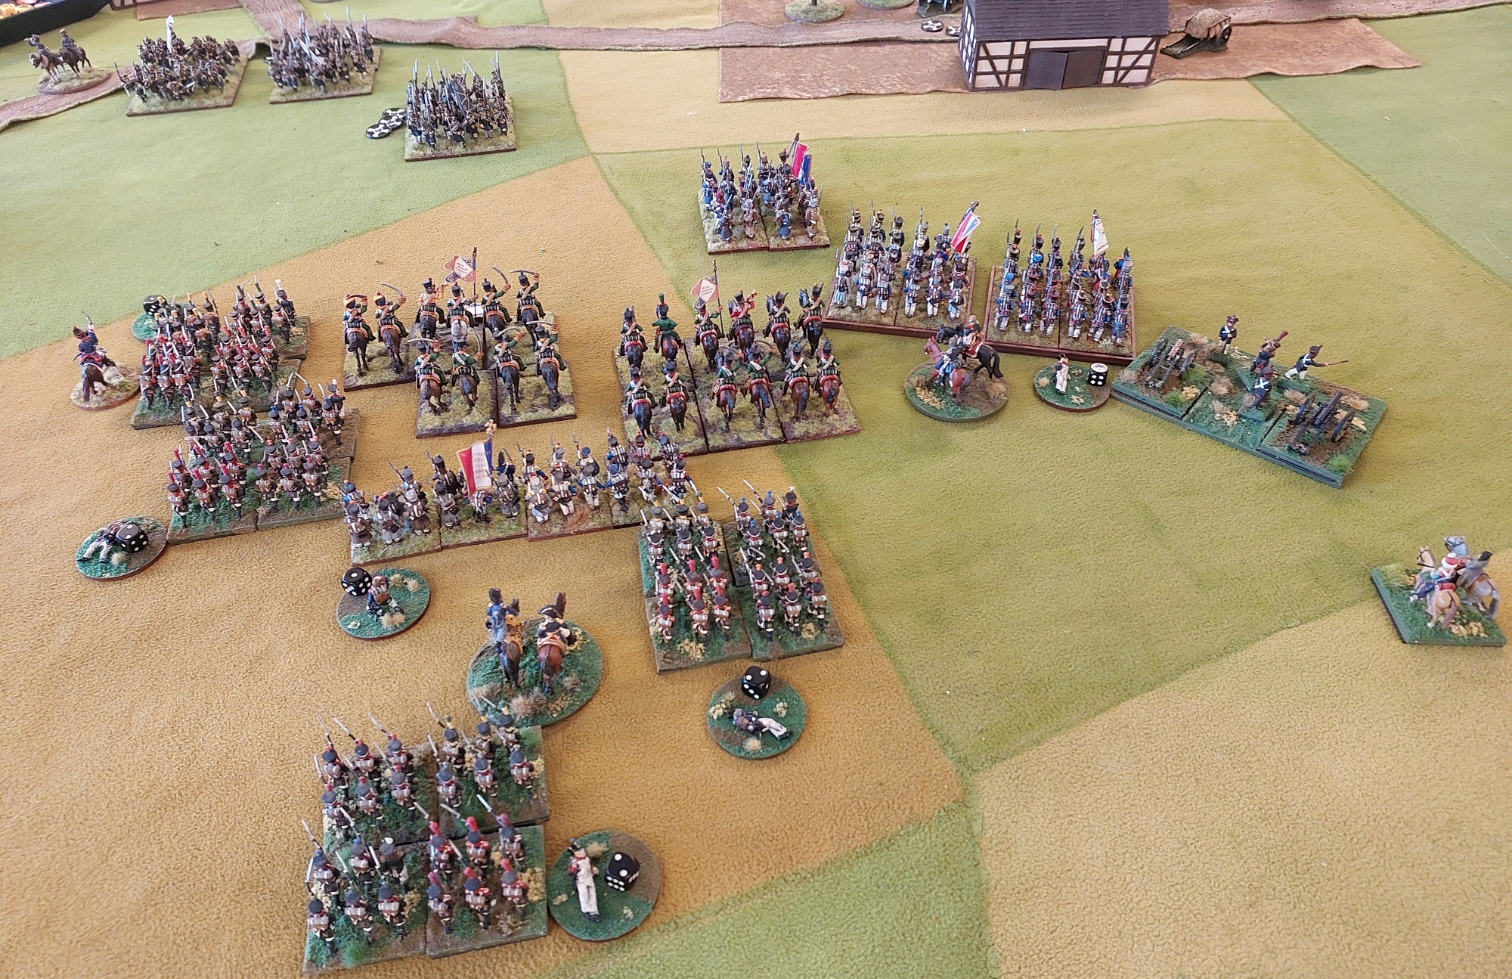
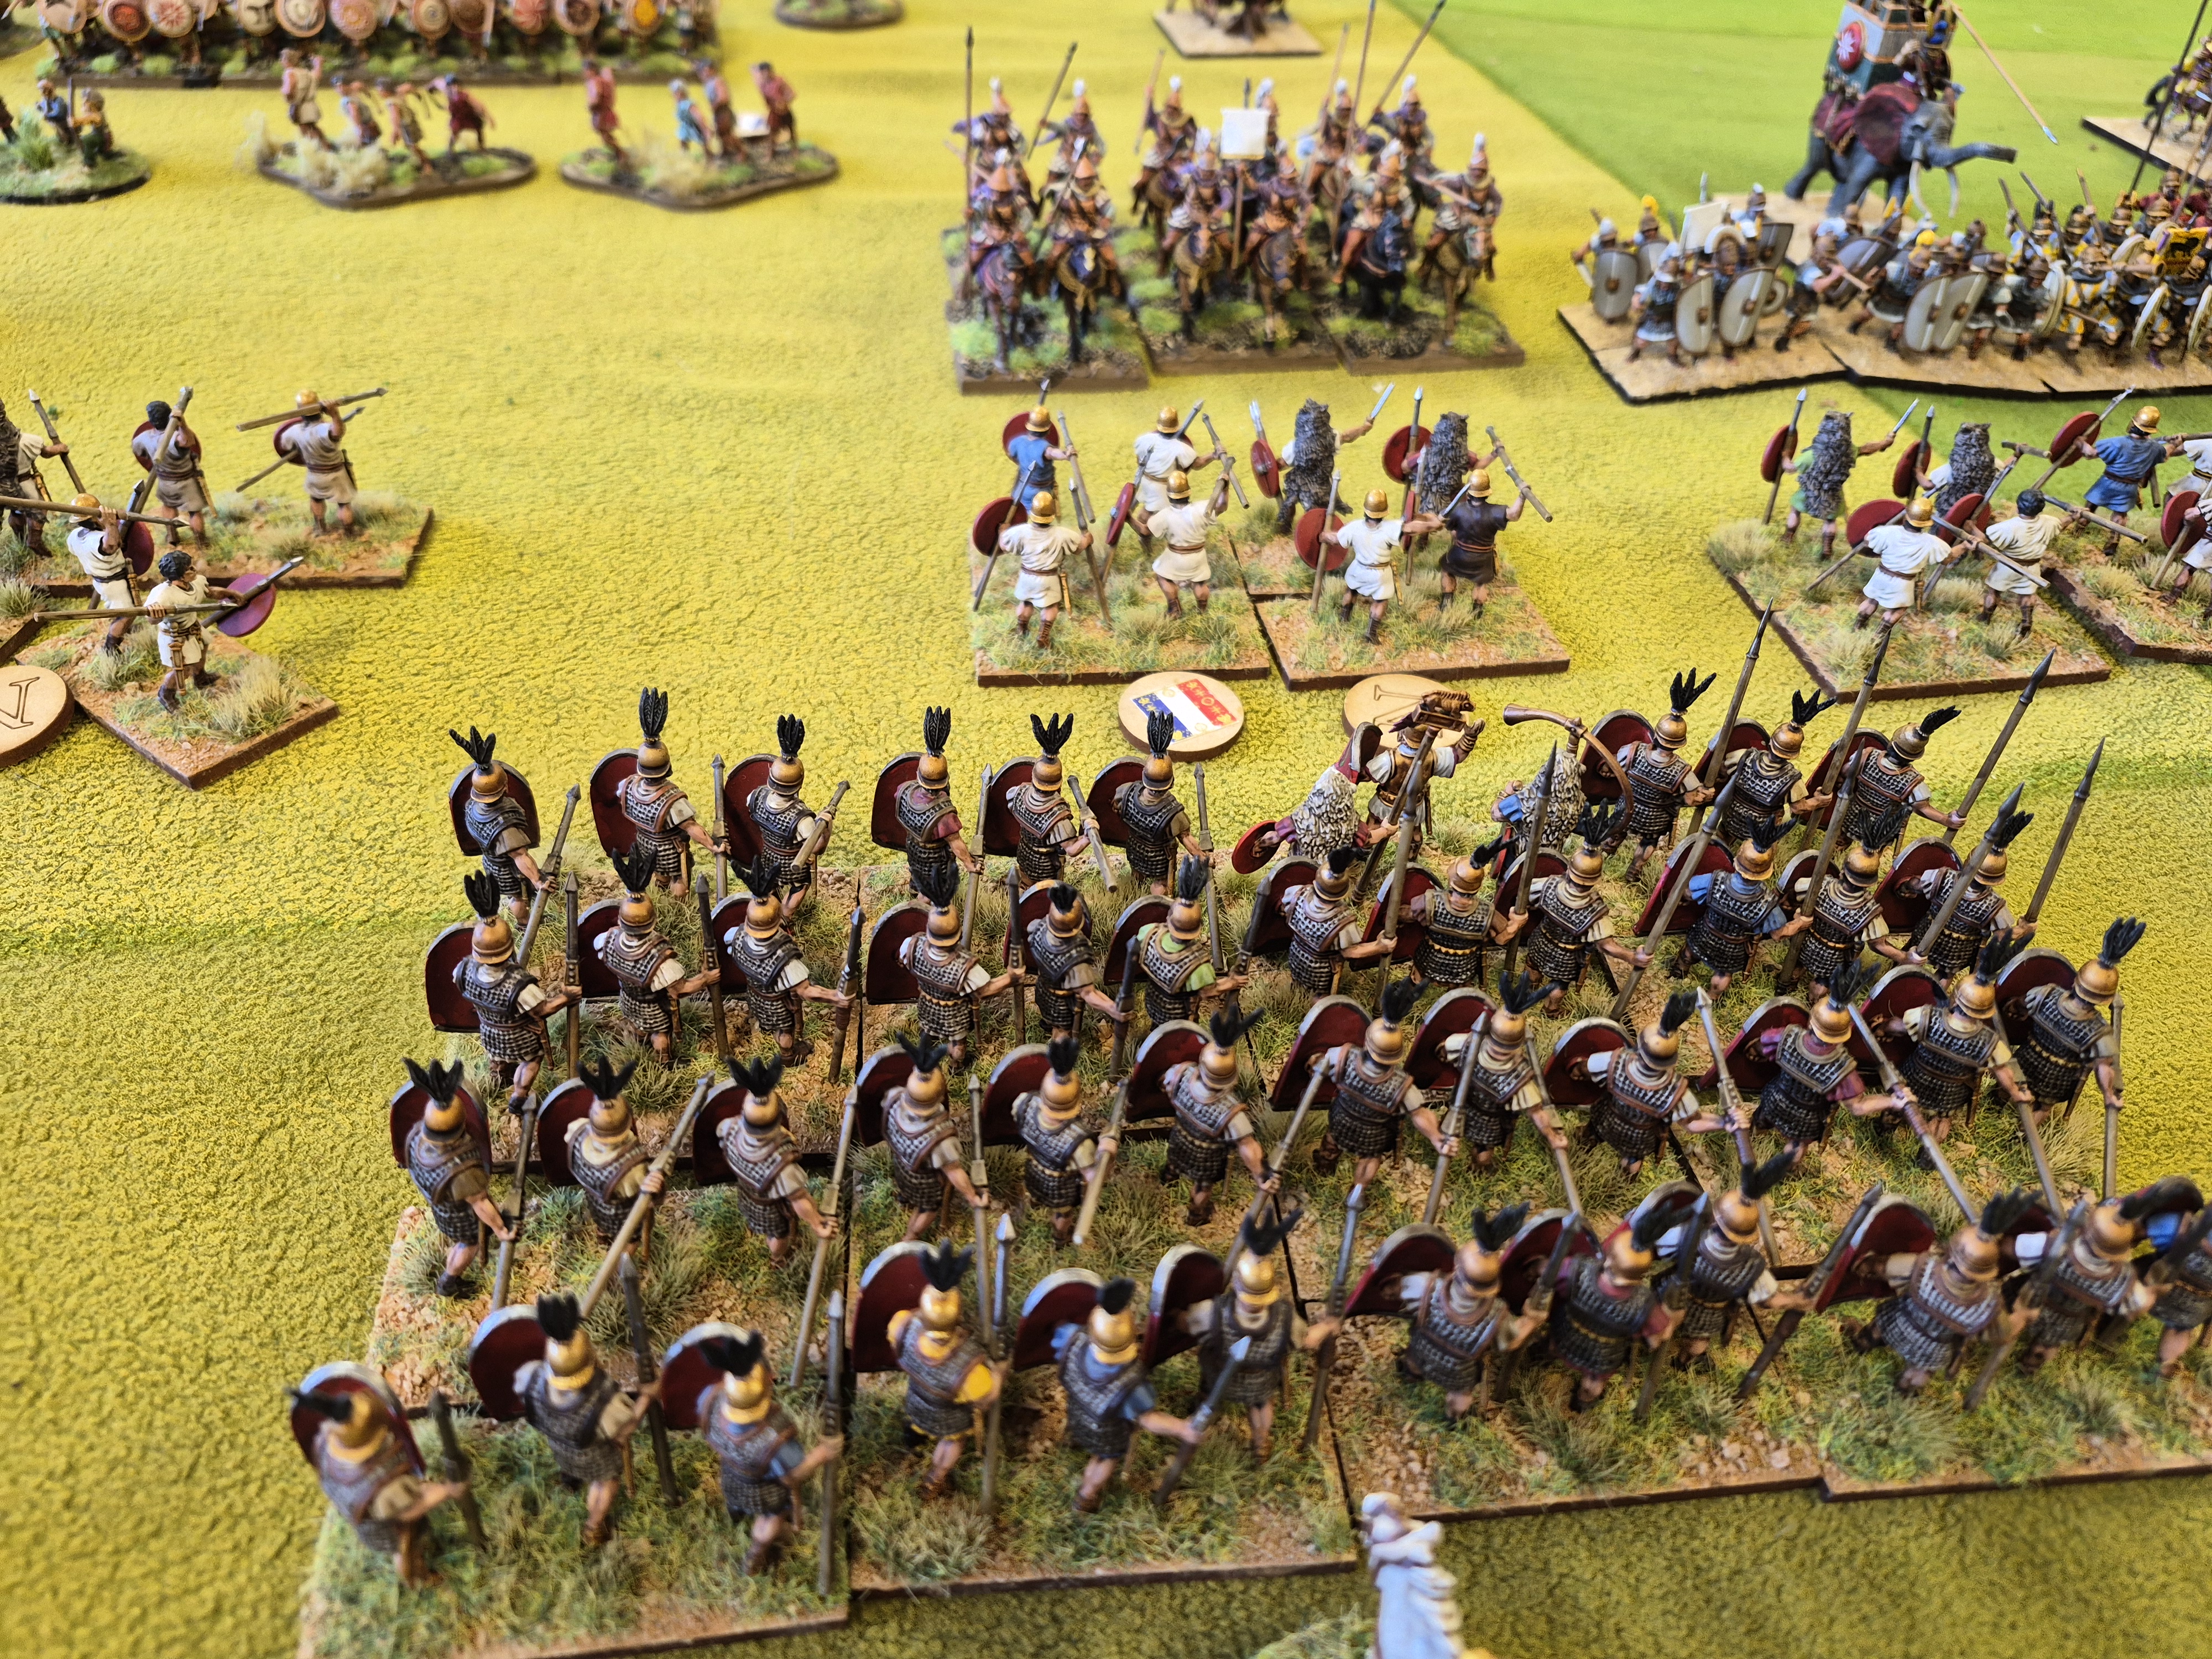
Goldies Republicans.
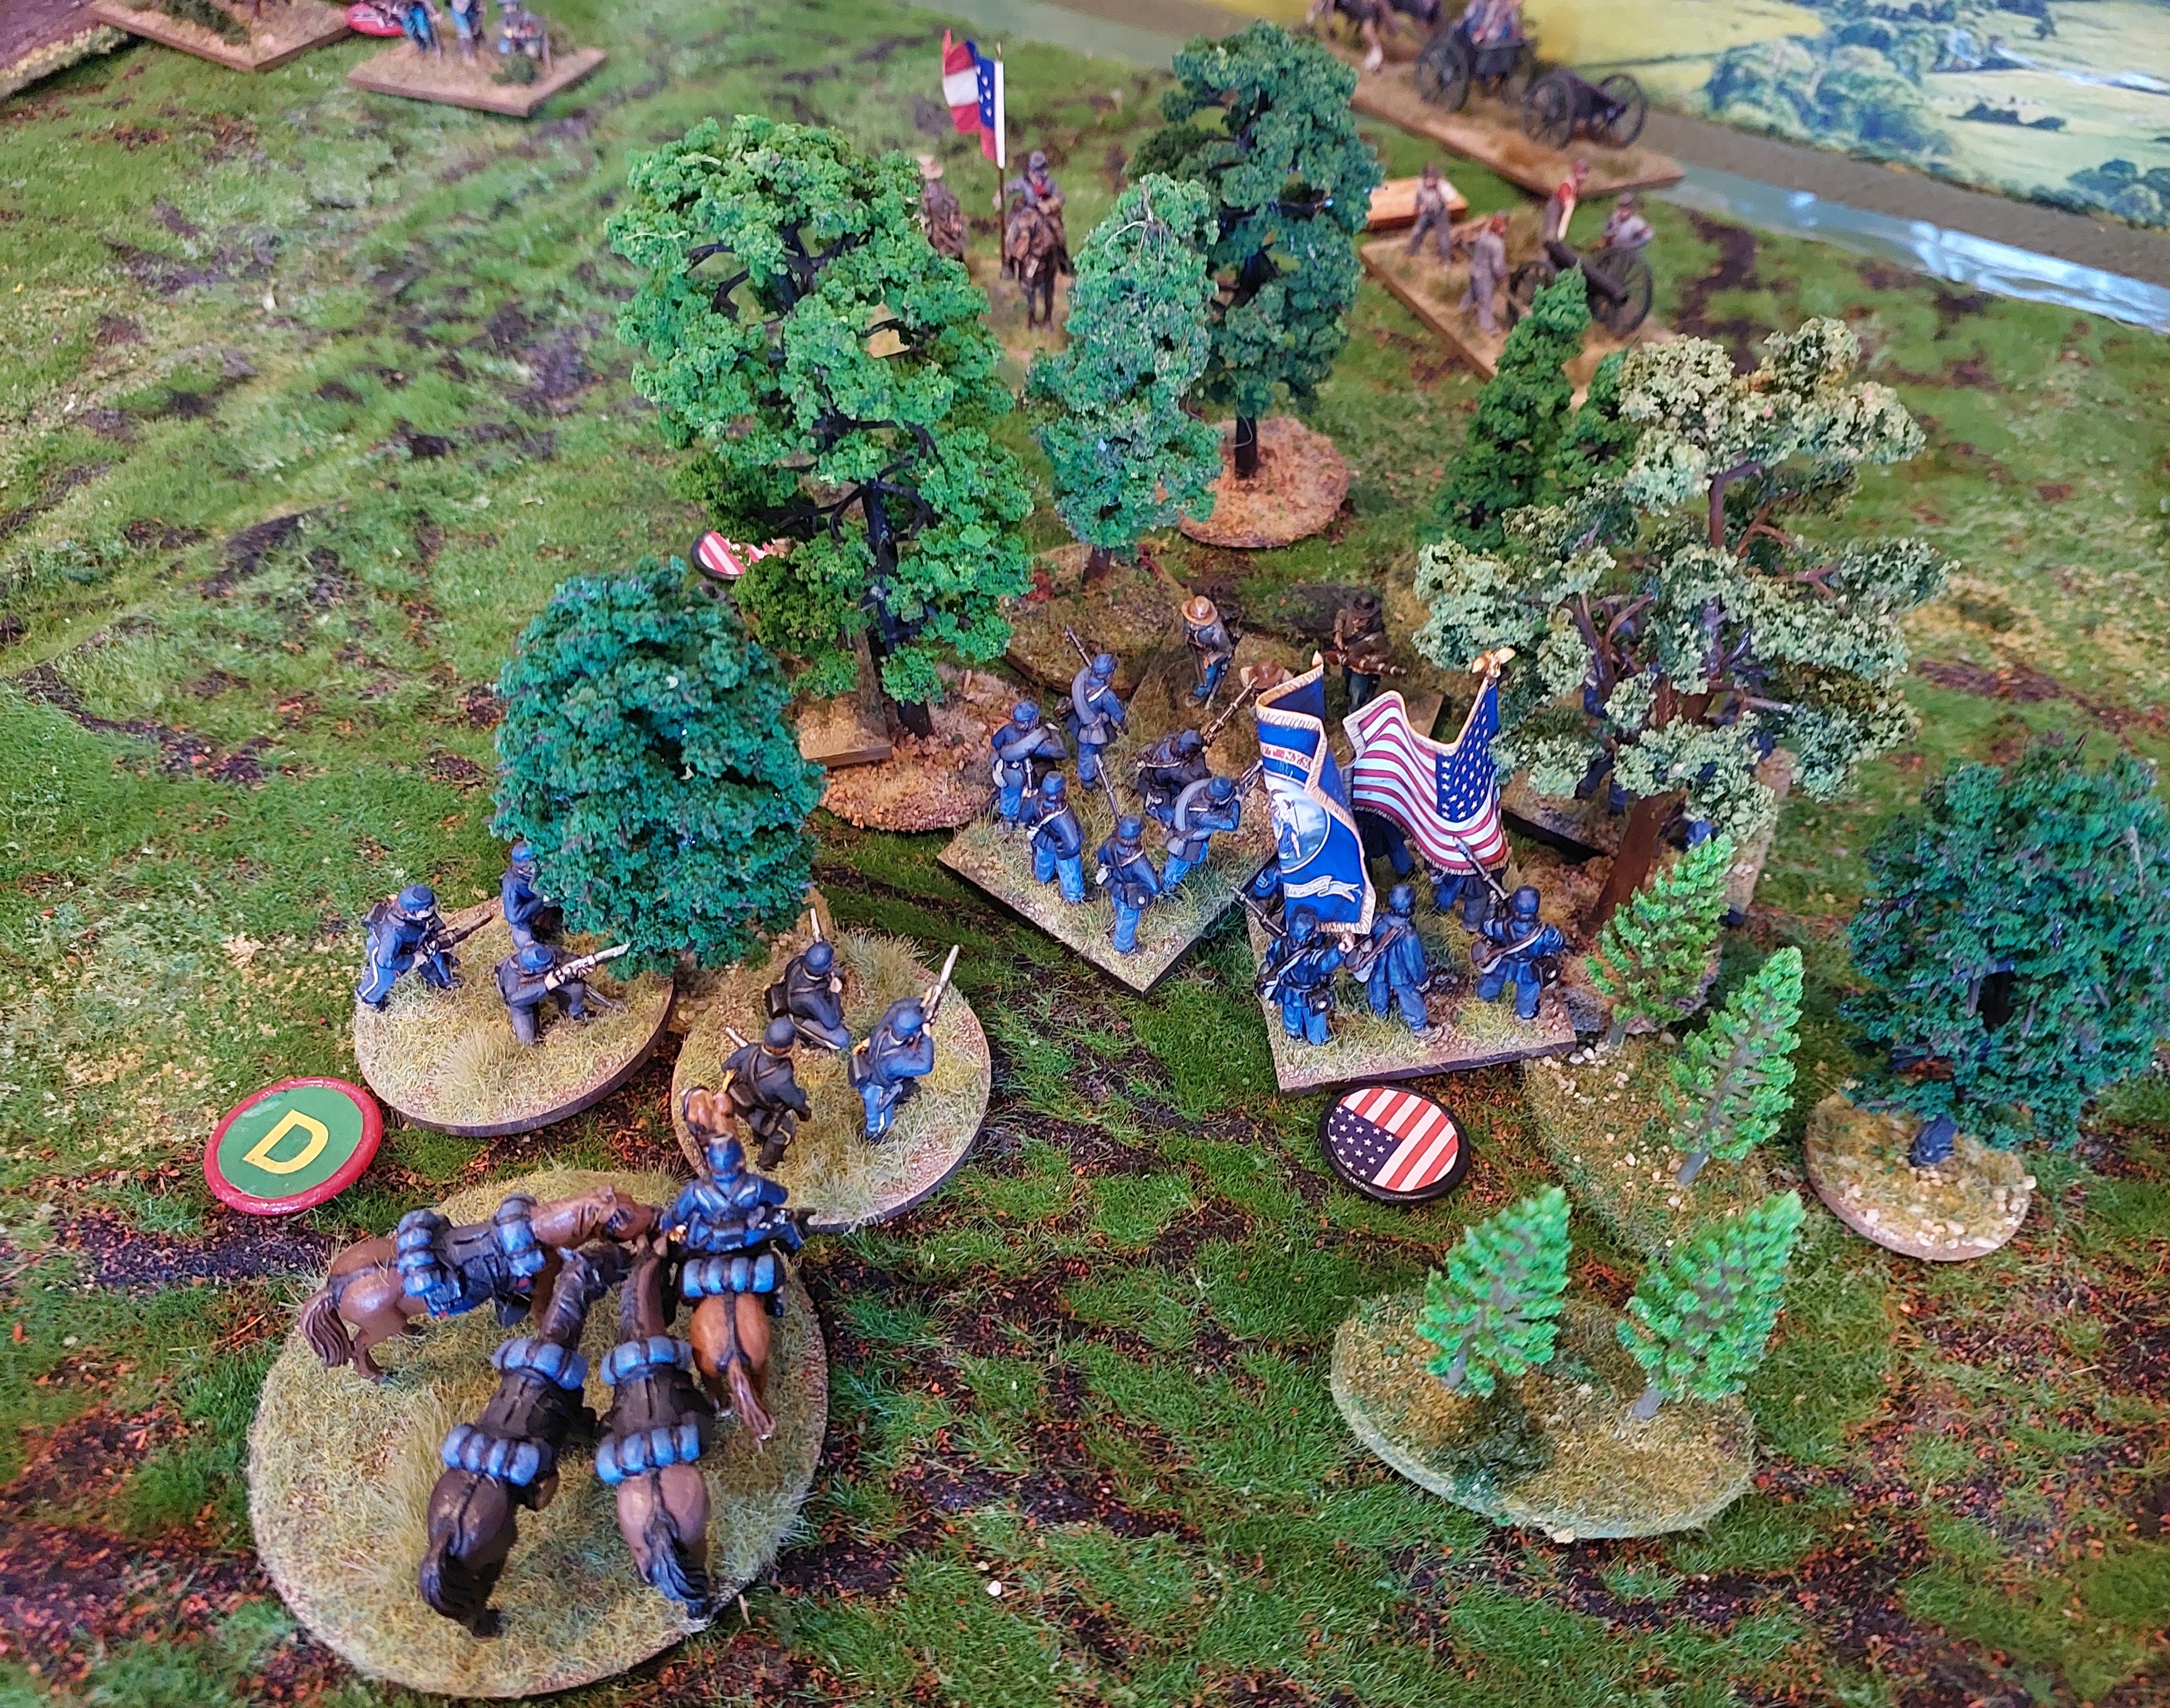
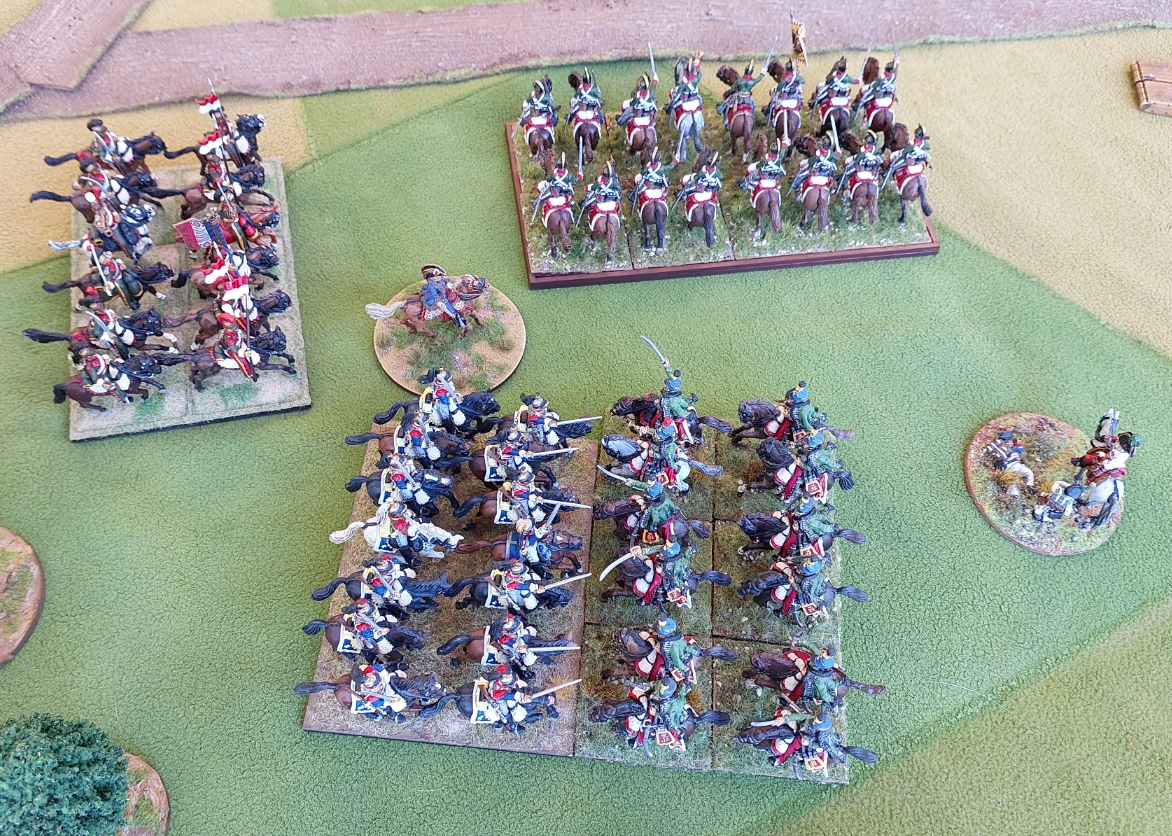
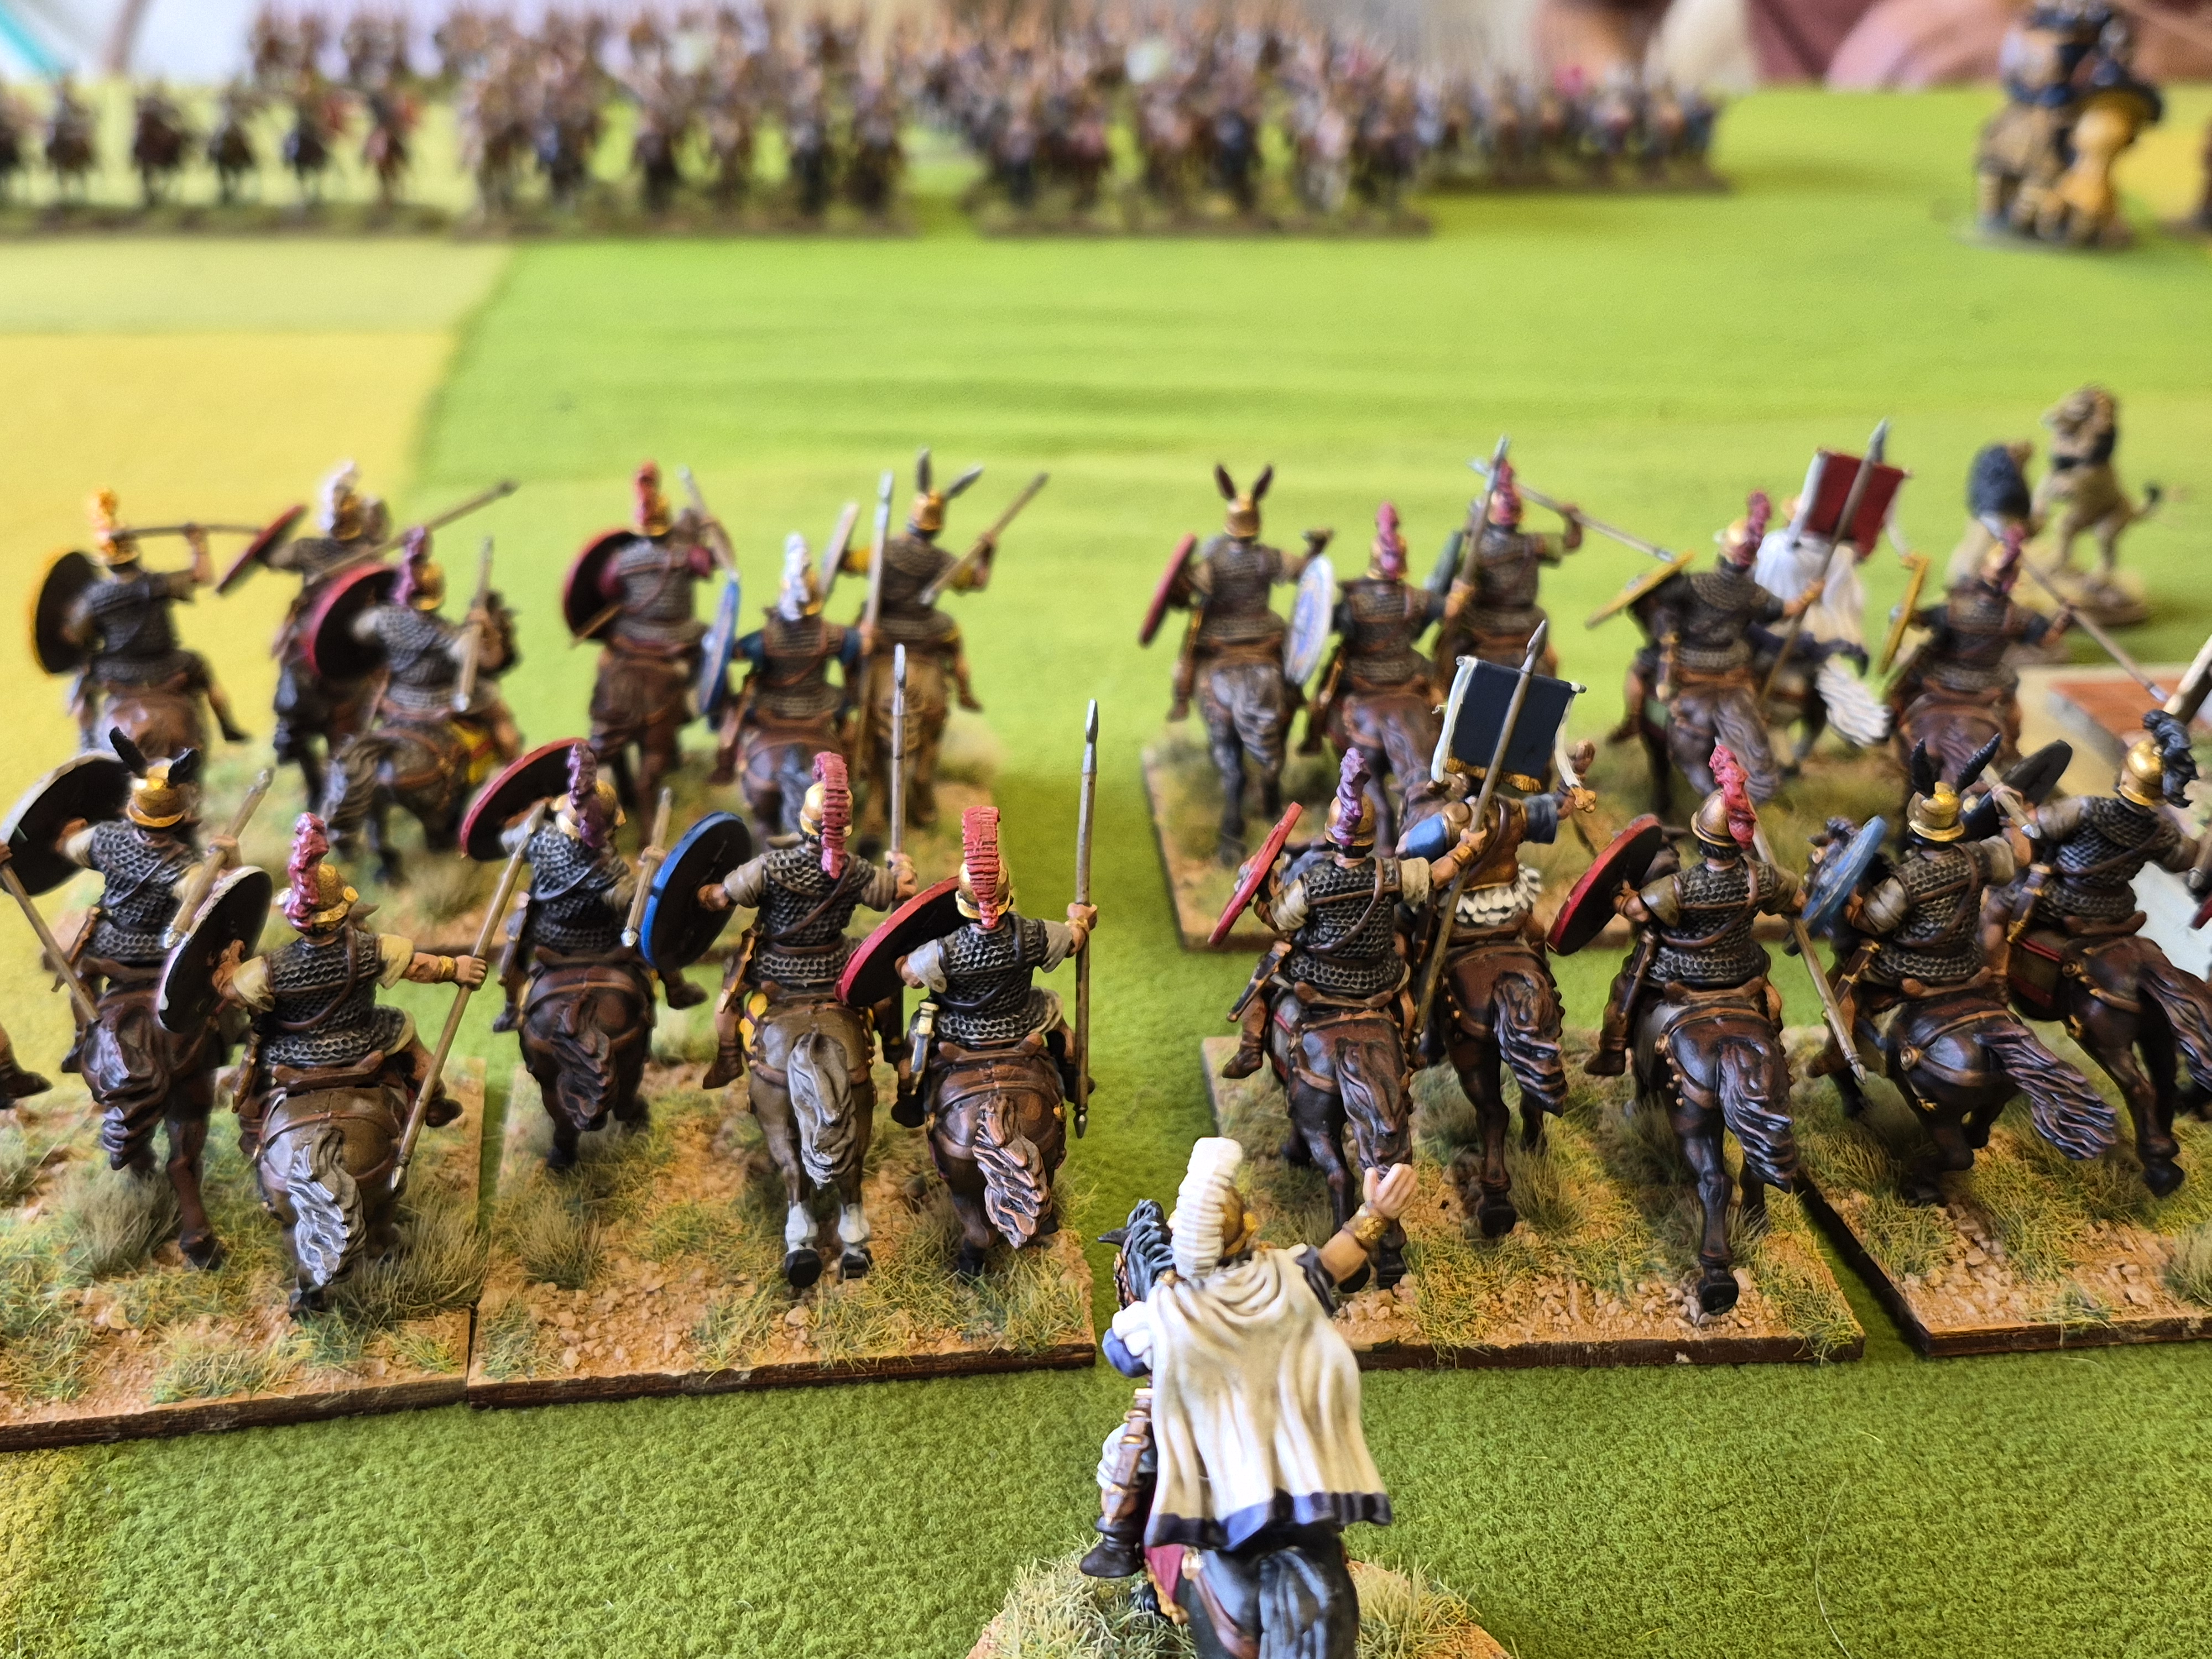
Republican cavalry.
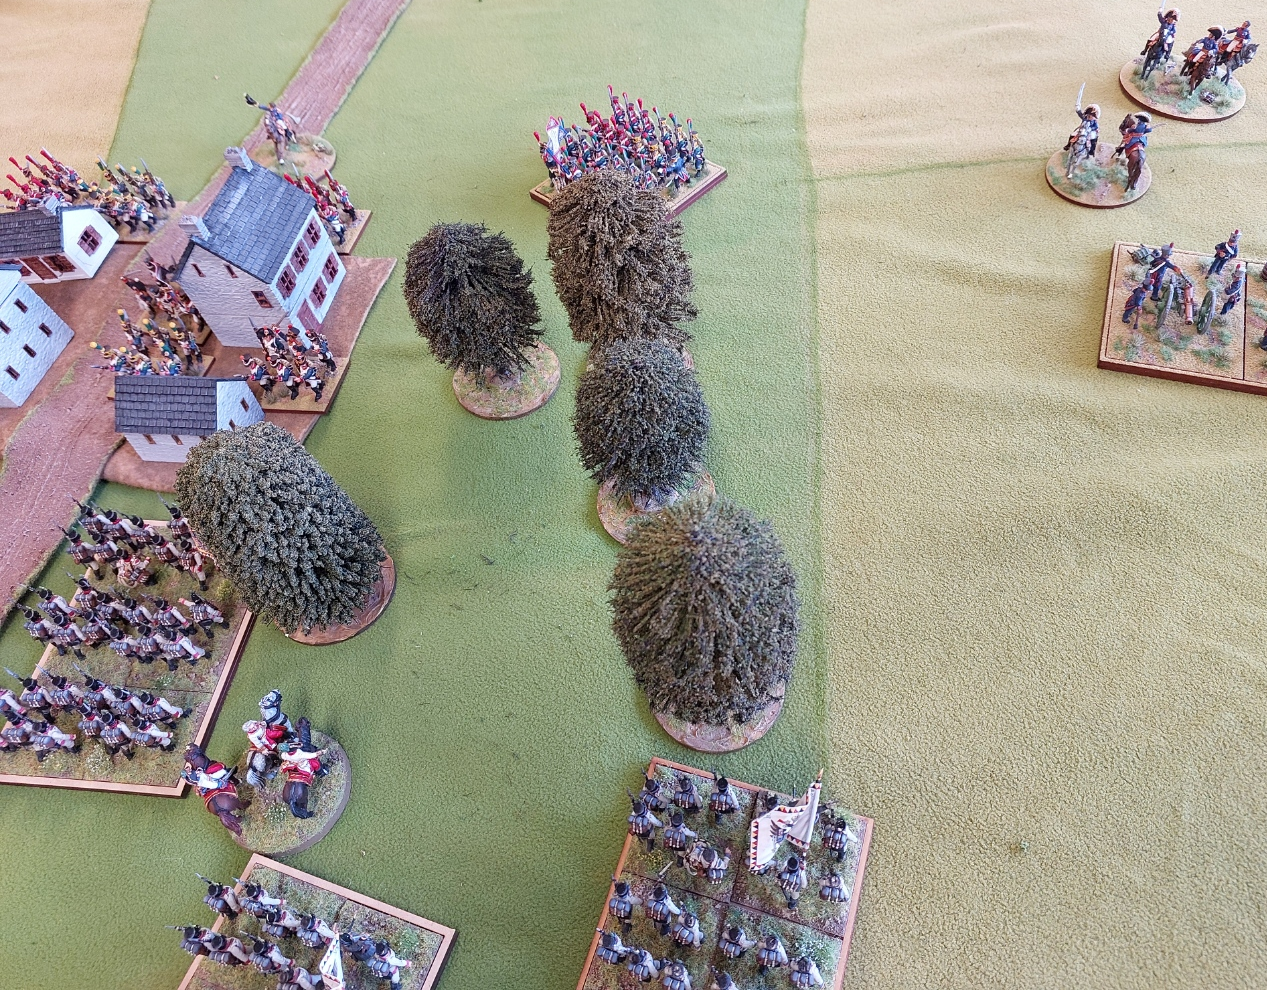
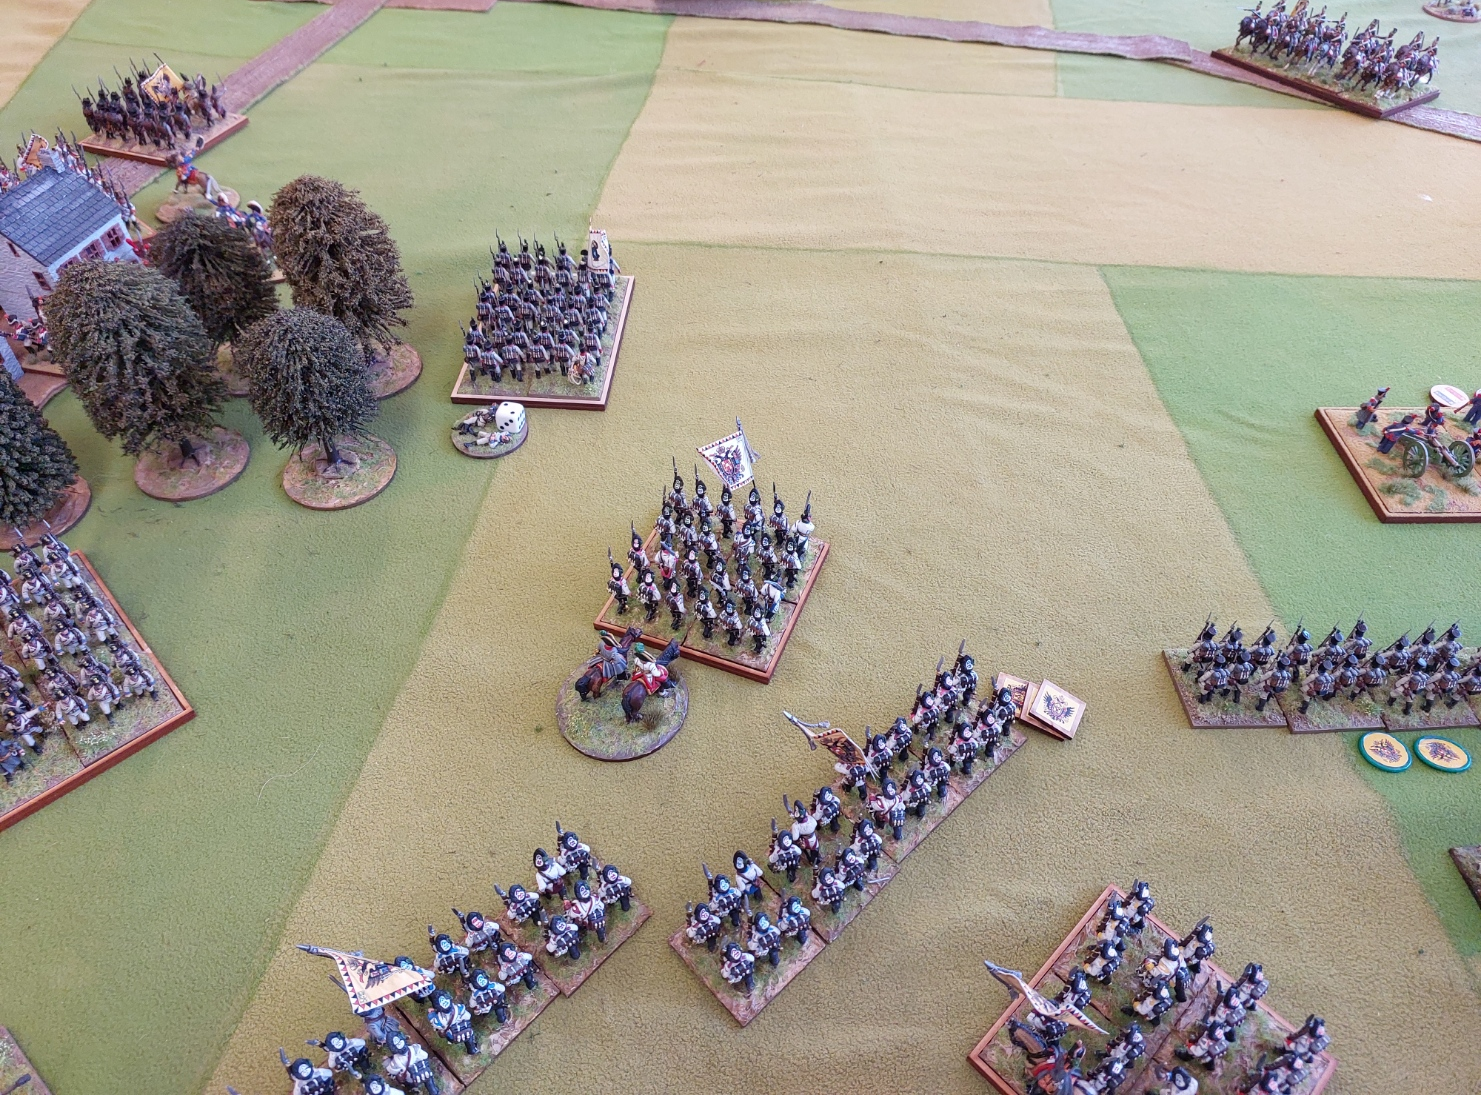
Rob’s Phalanx awaiting Russ advance.
Russ had his escape planned early.
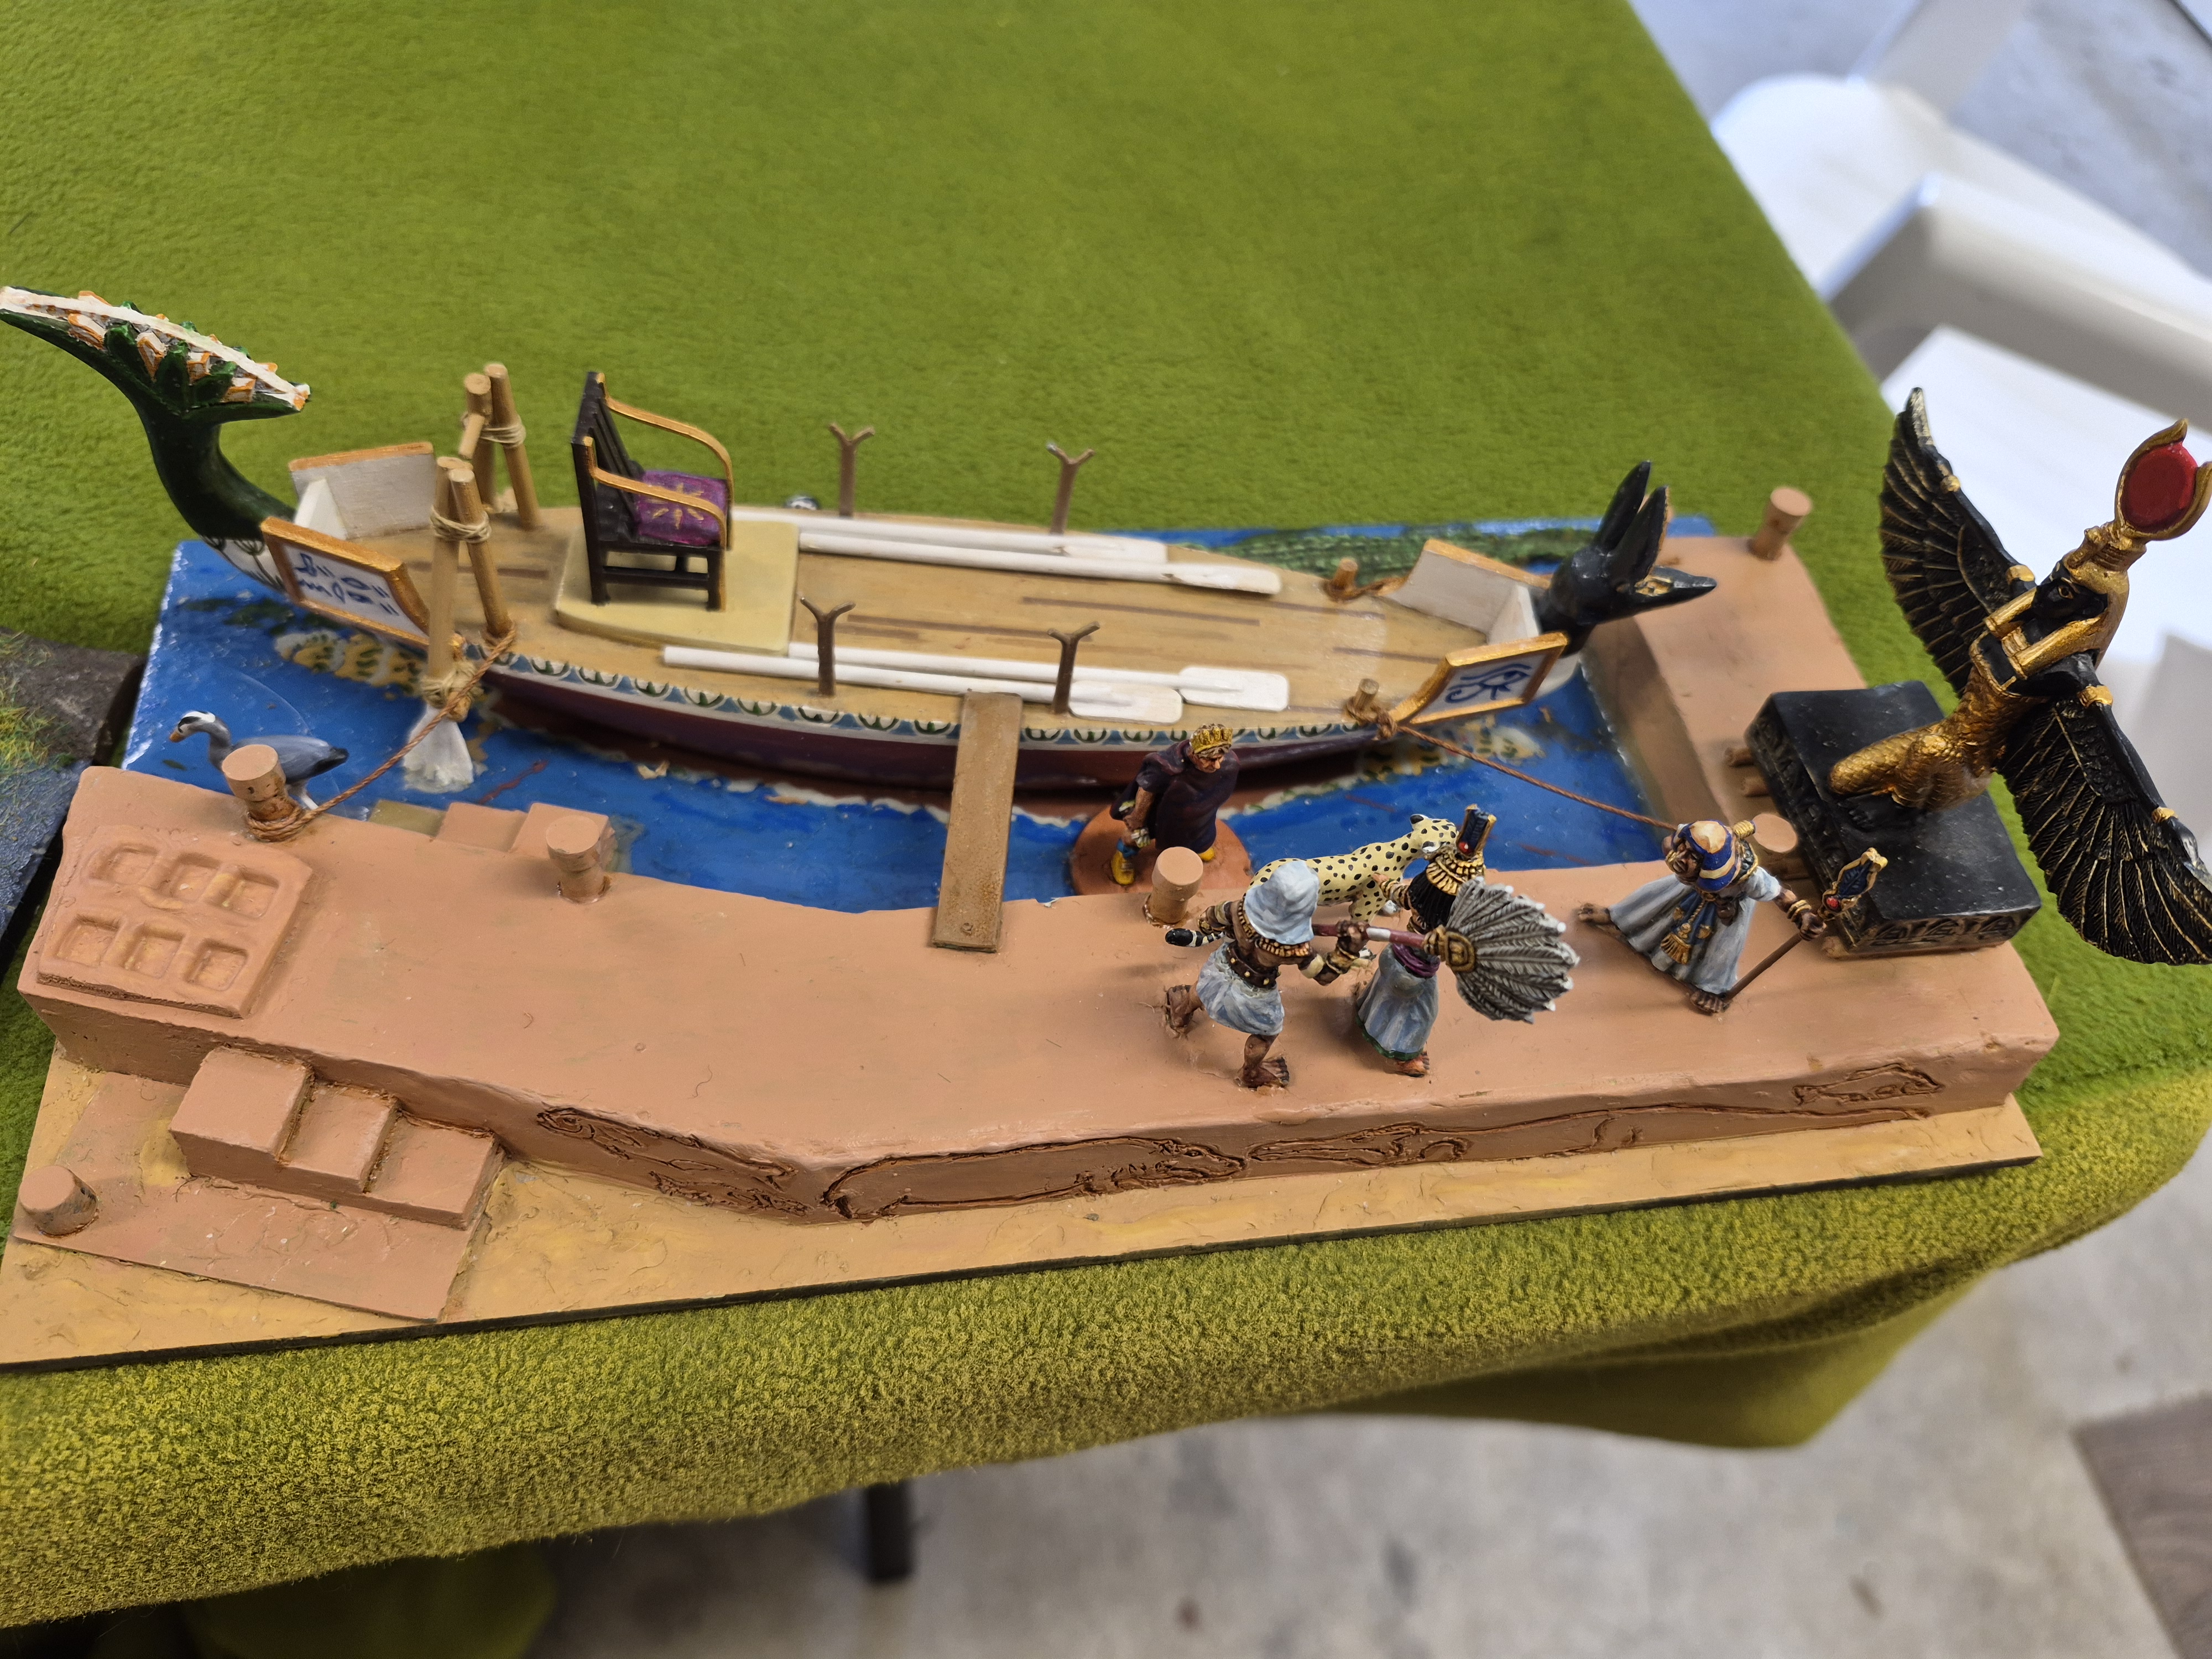
Lovely painted Victrix figures…the crocodile is positioning for a flank attack.
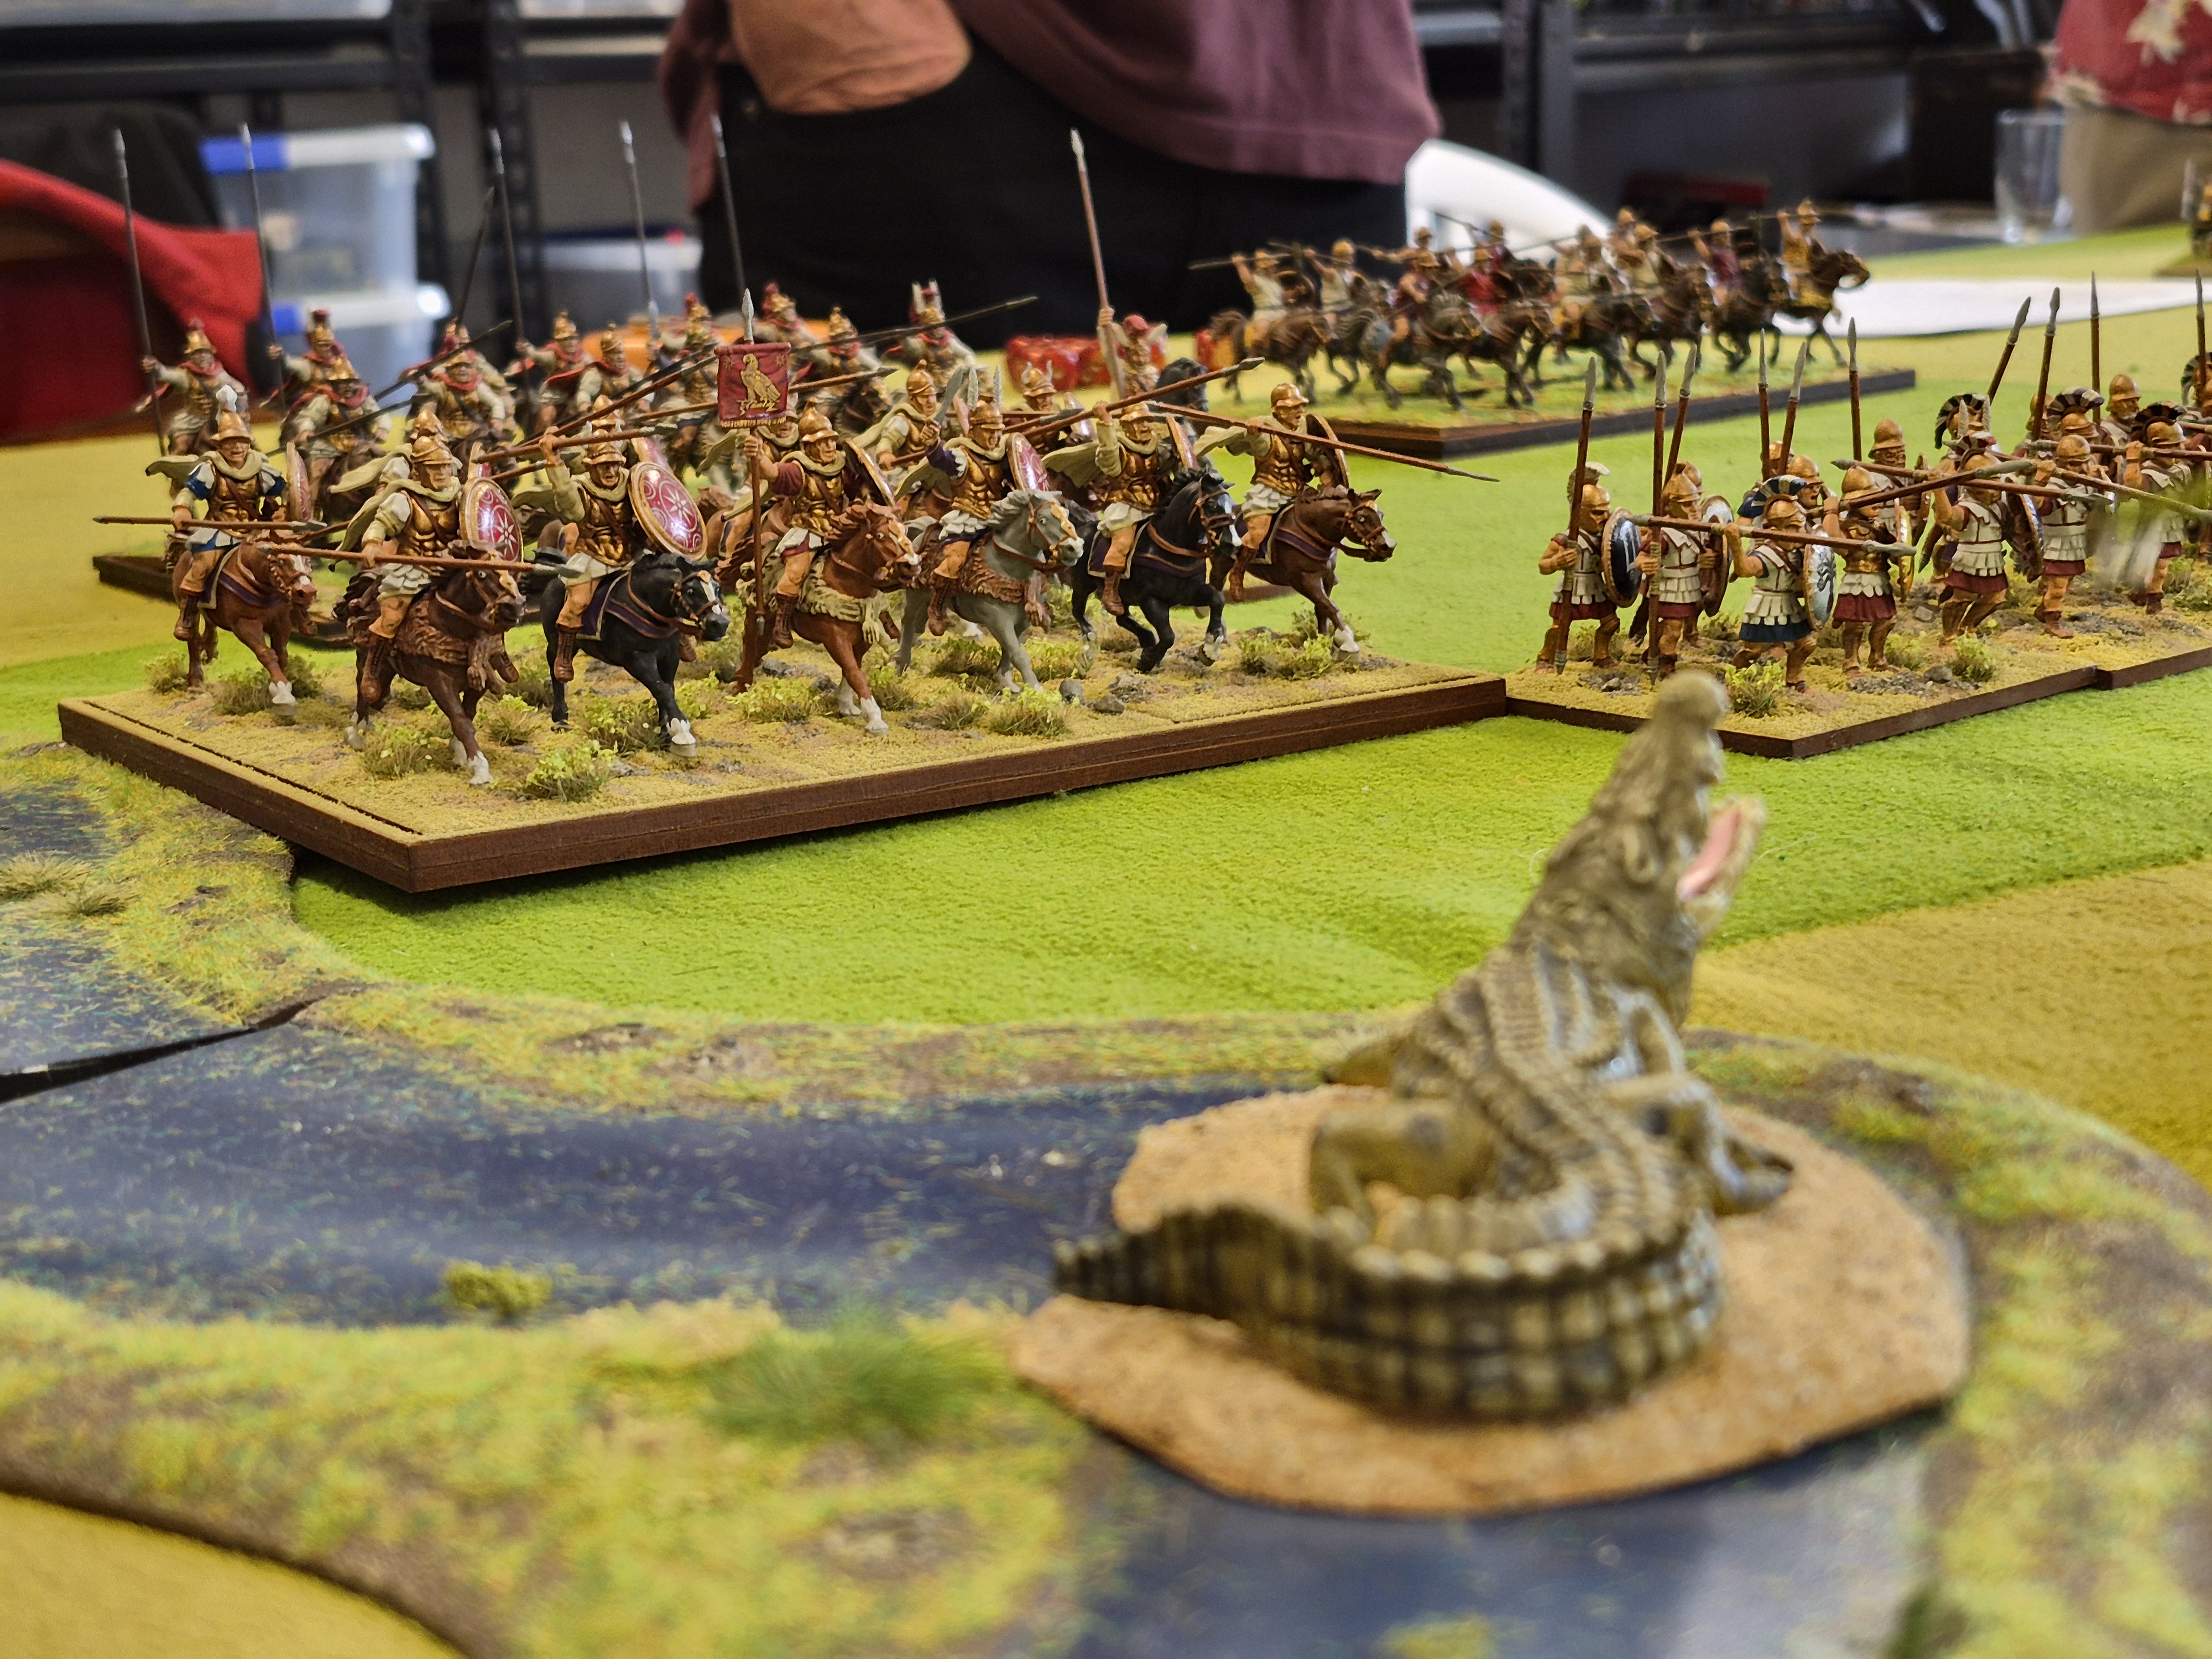
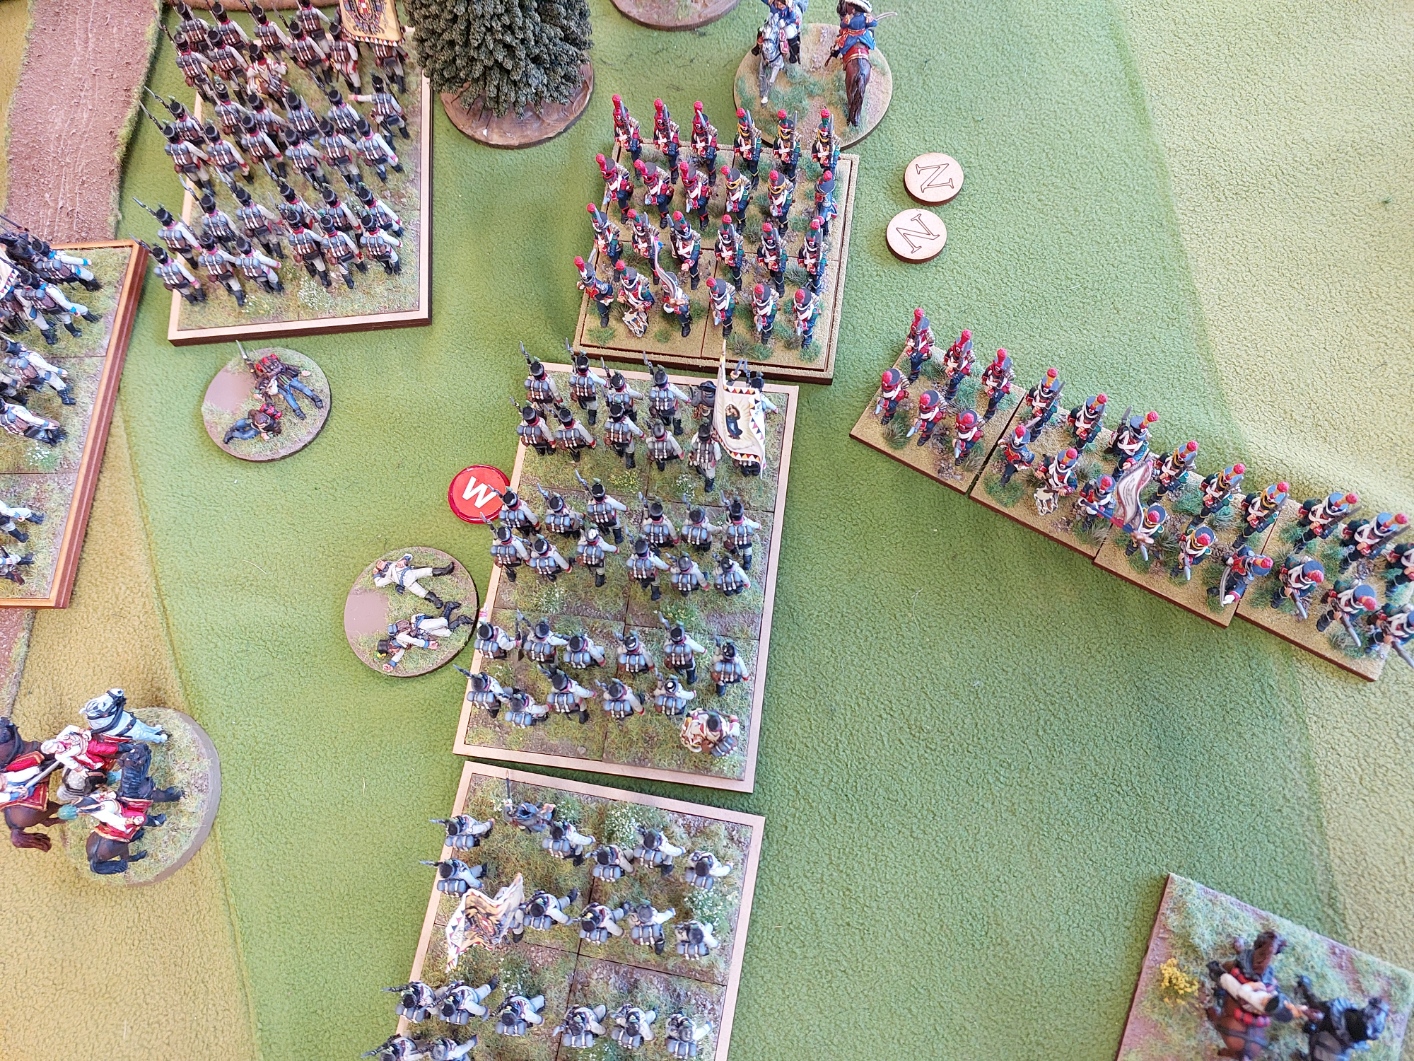
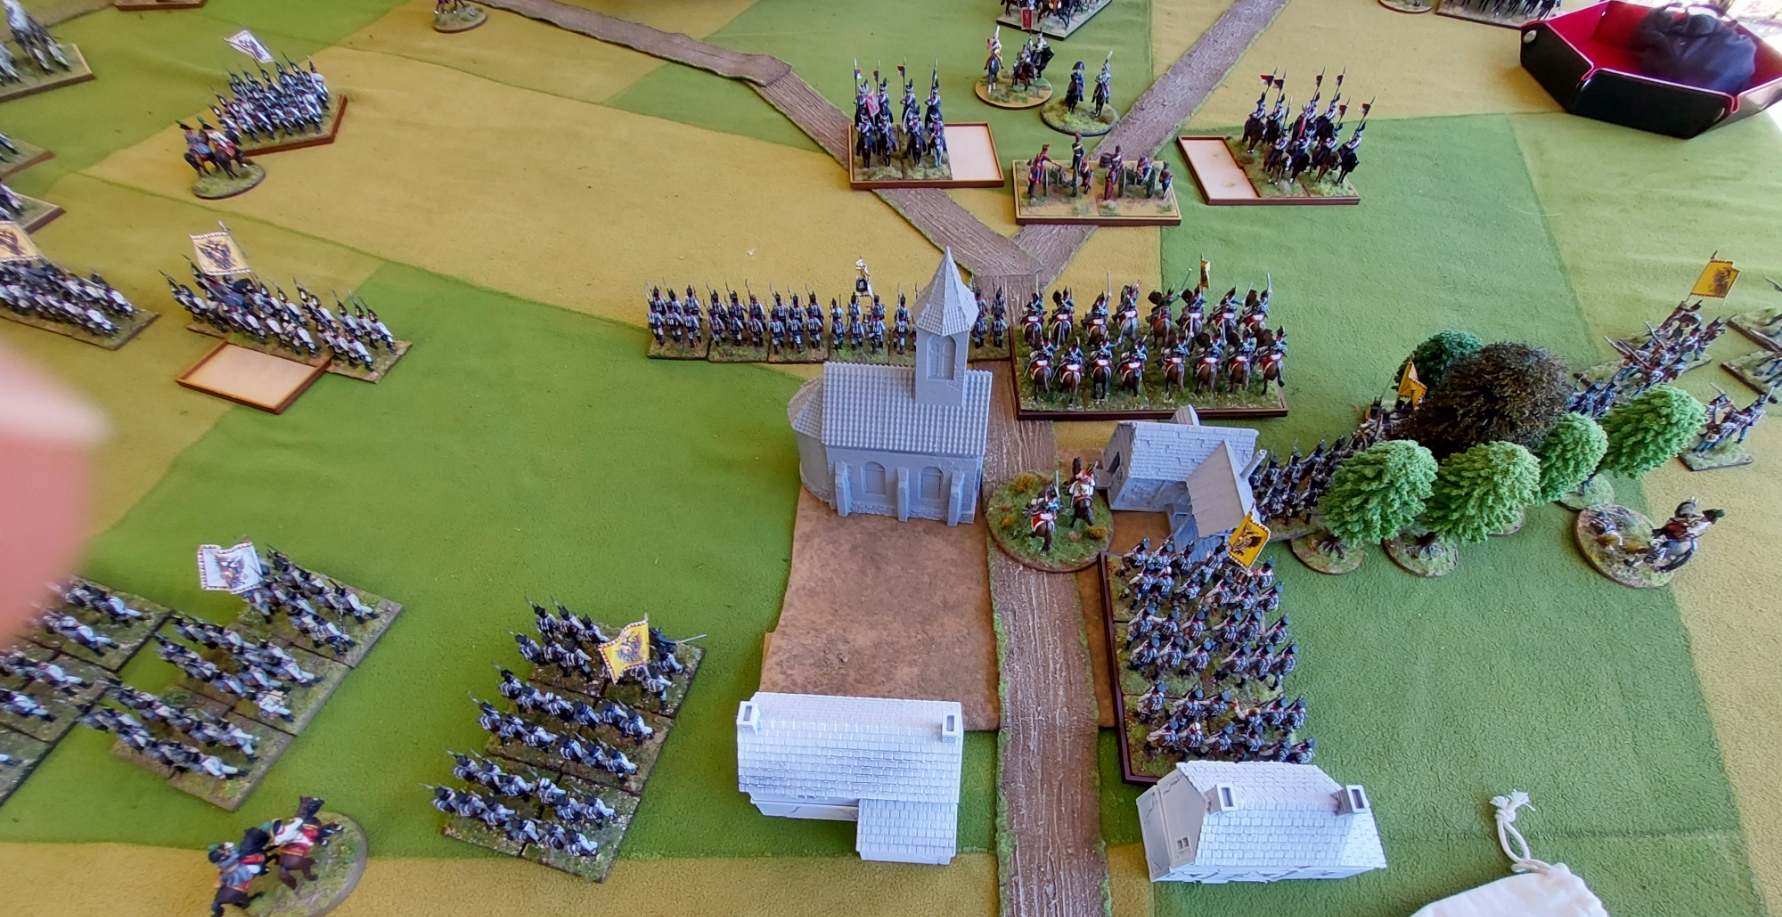
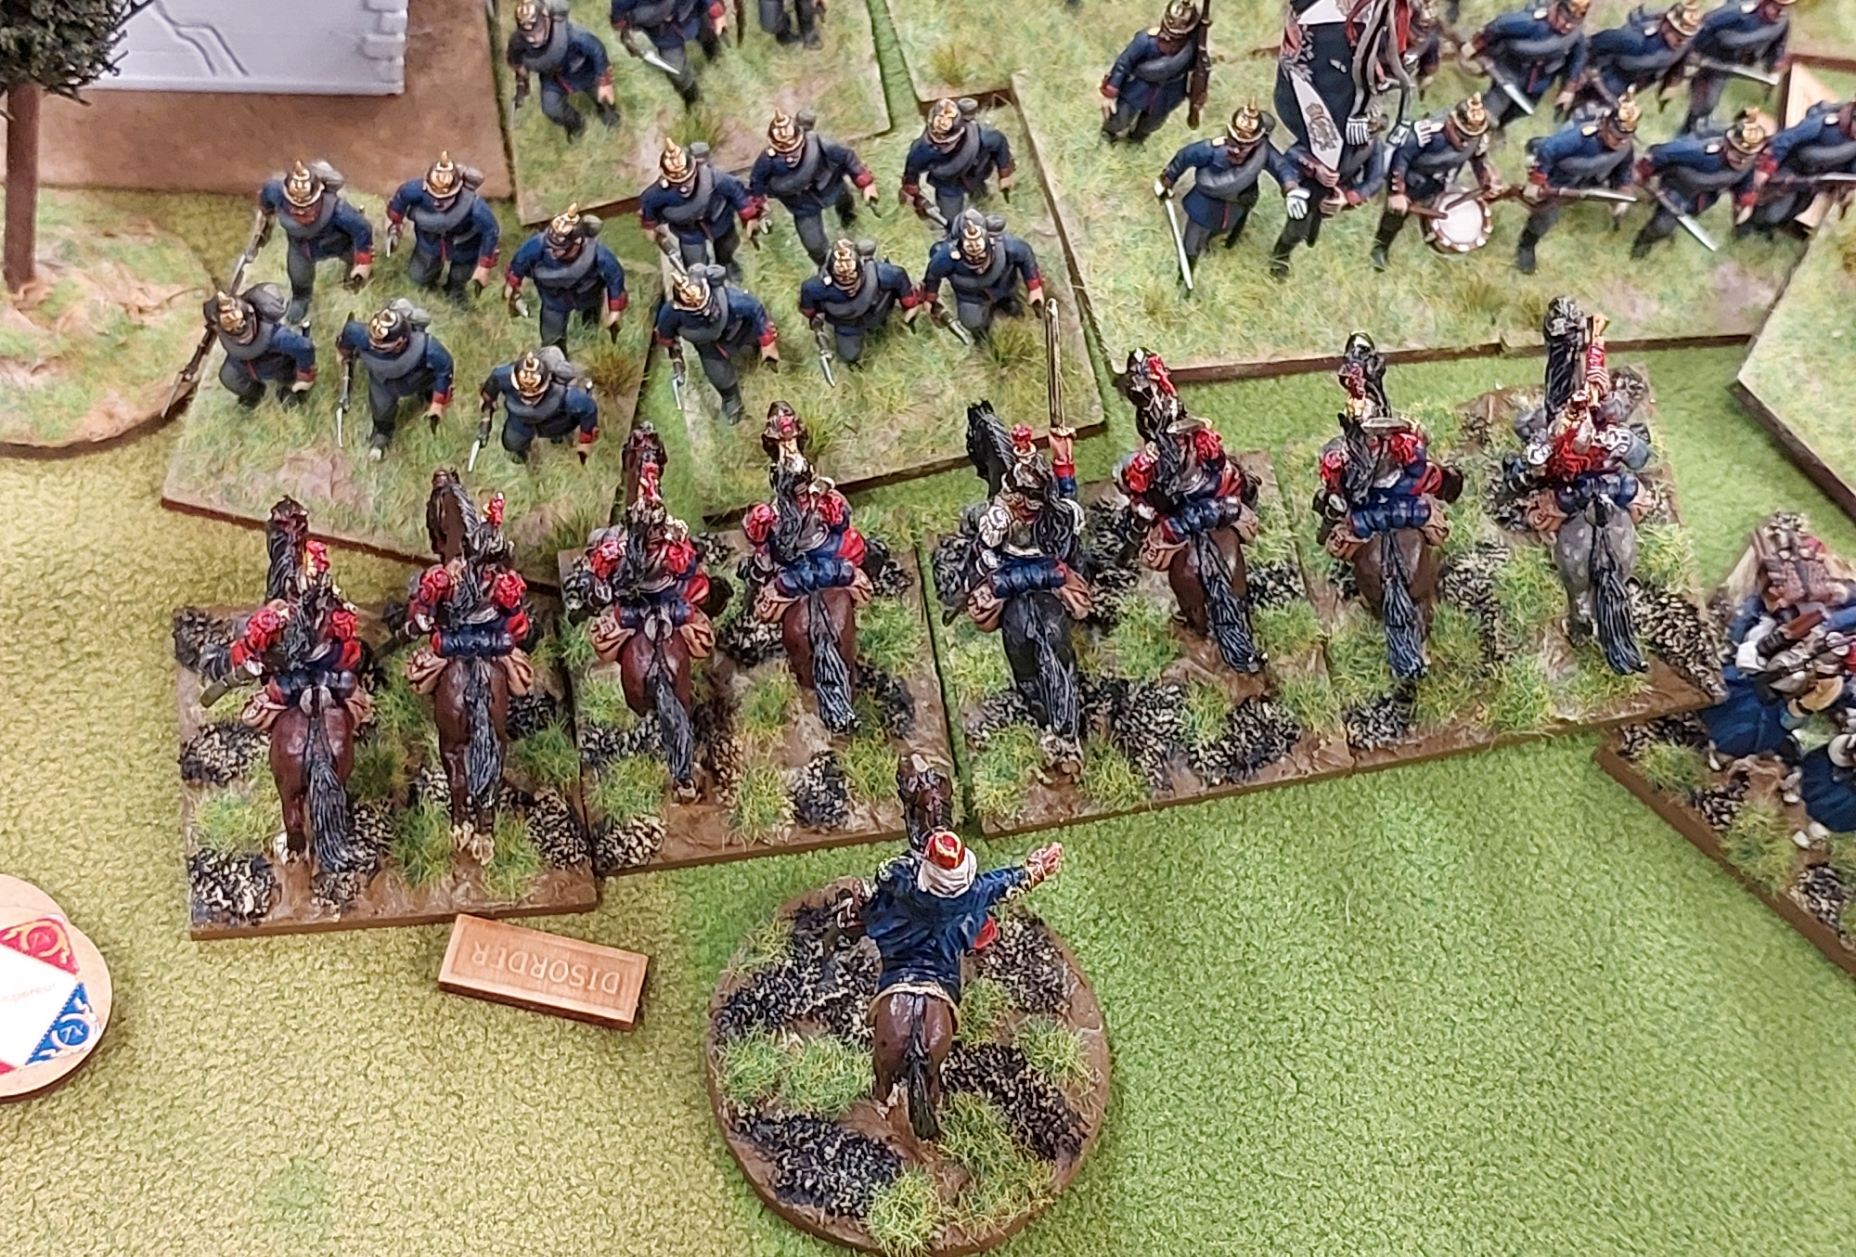
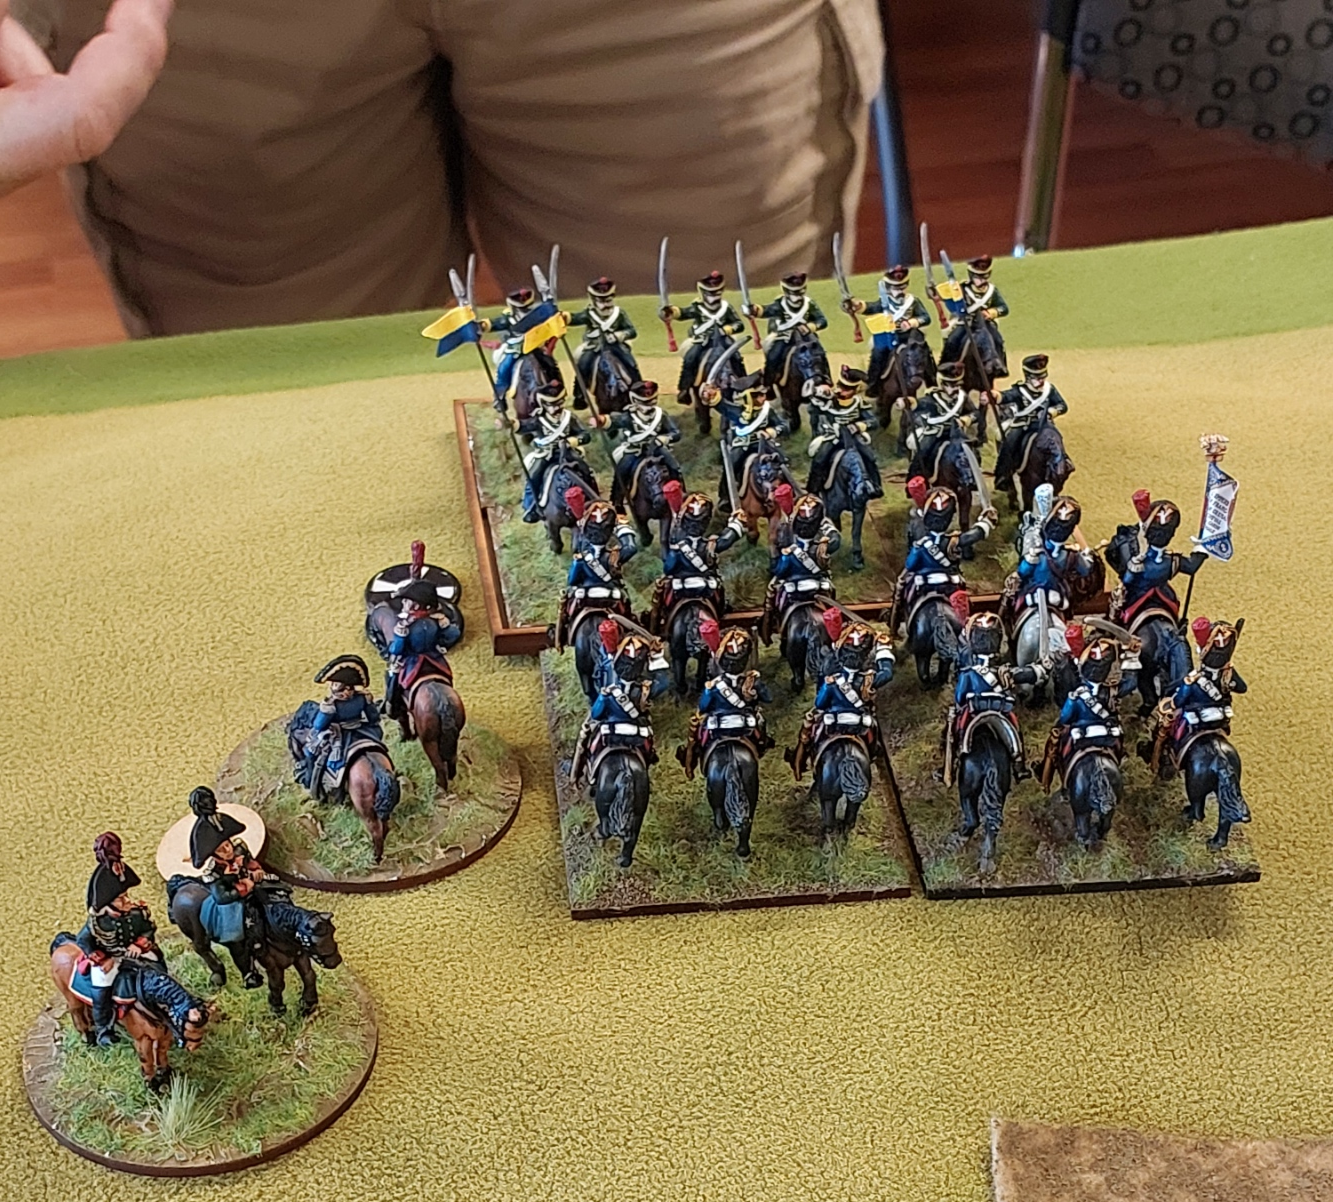
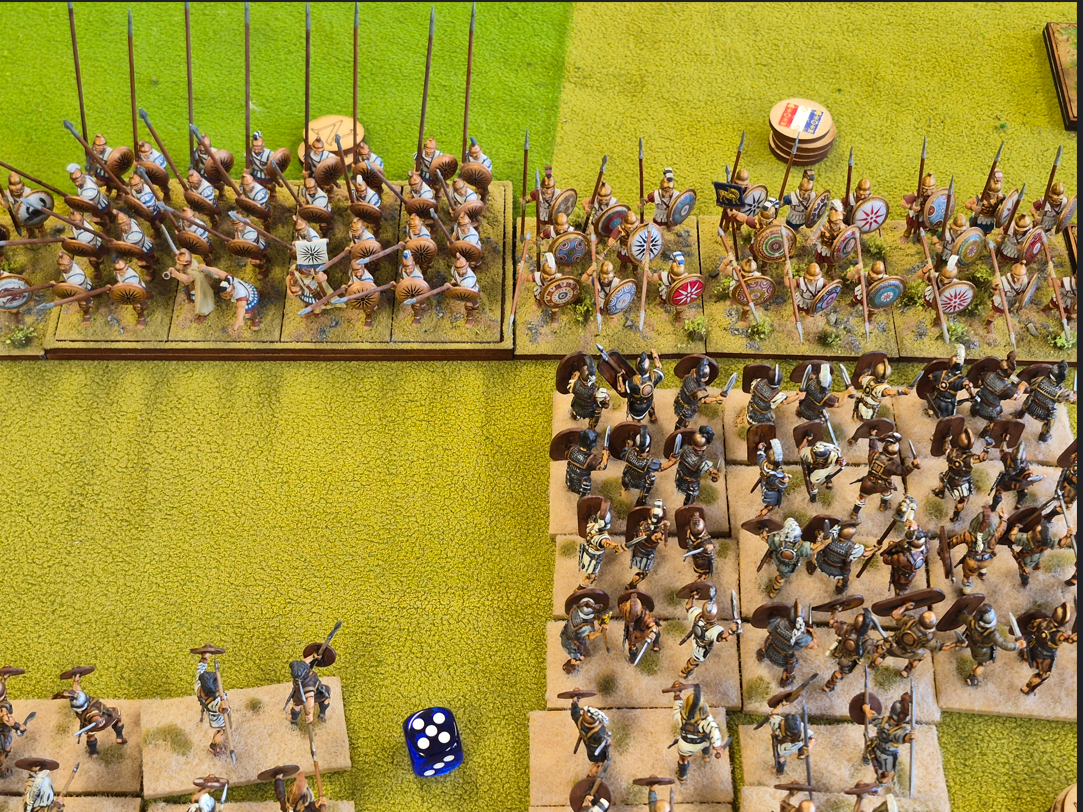
Keith sends cavalry in against skirmishers who took the charge….they popped….
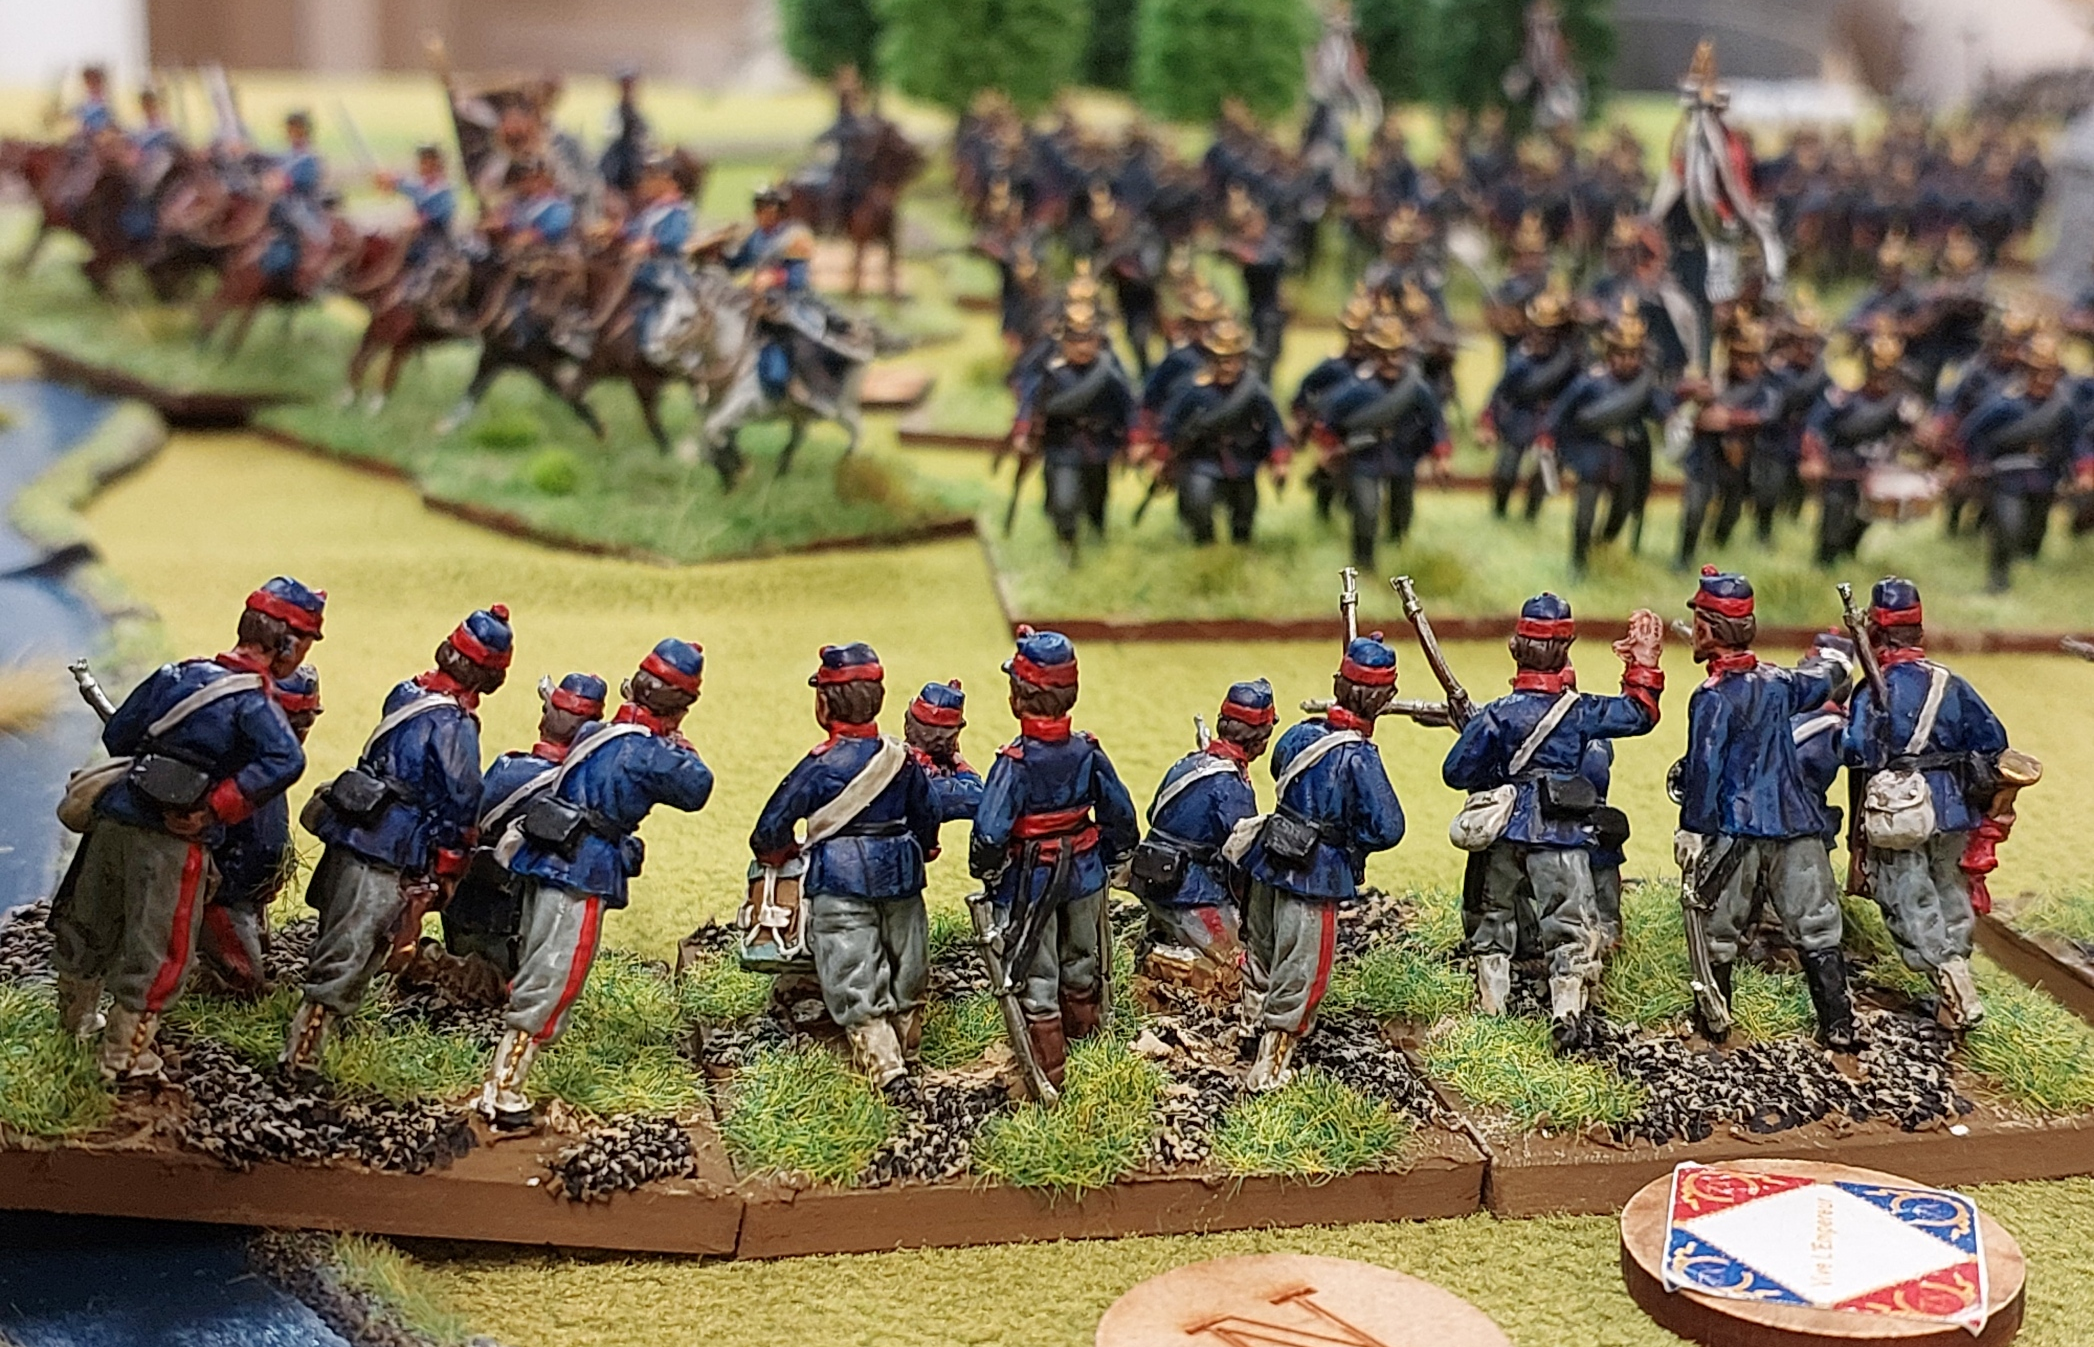
then the cavalry continued into the Hastati’s….our first encounter with them…..their special rules on swapping units in battle is….annoying.
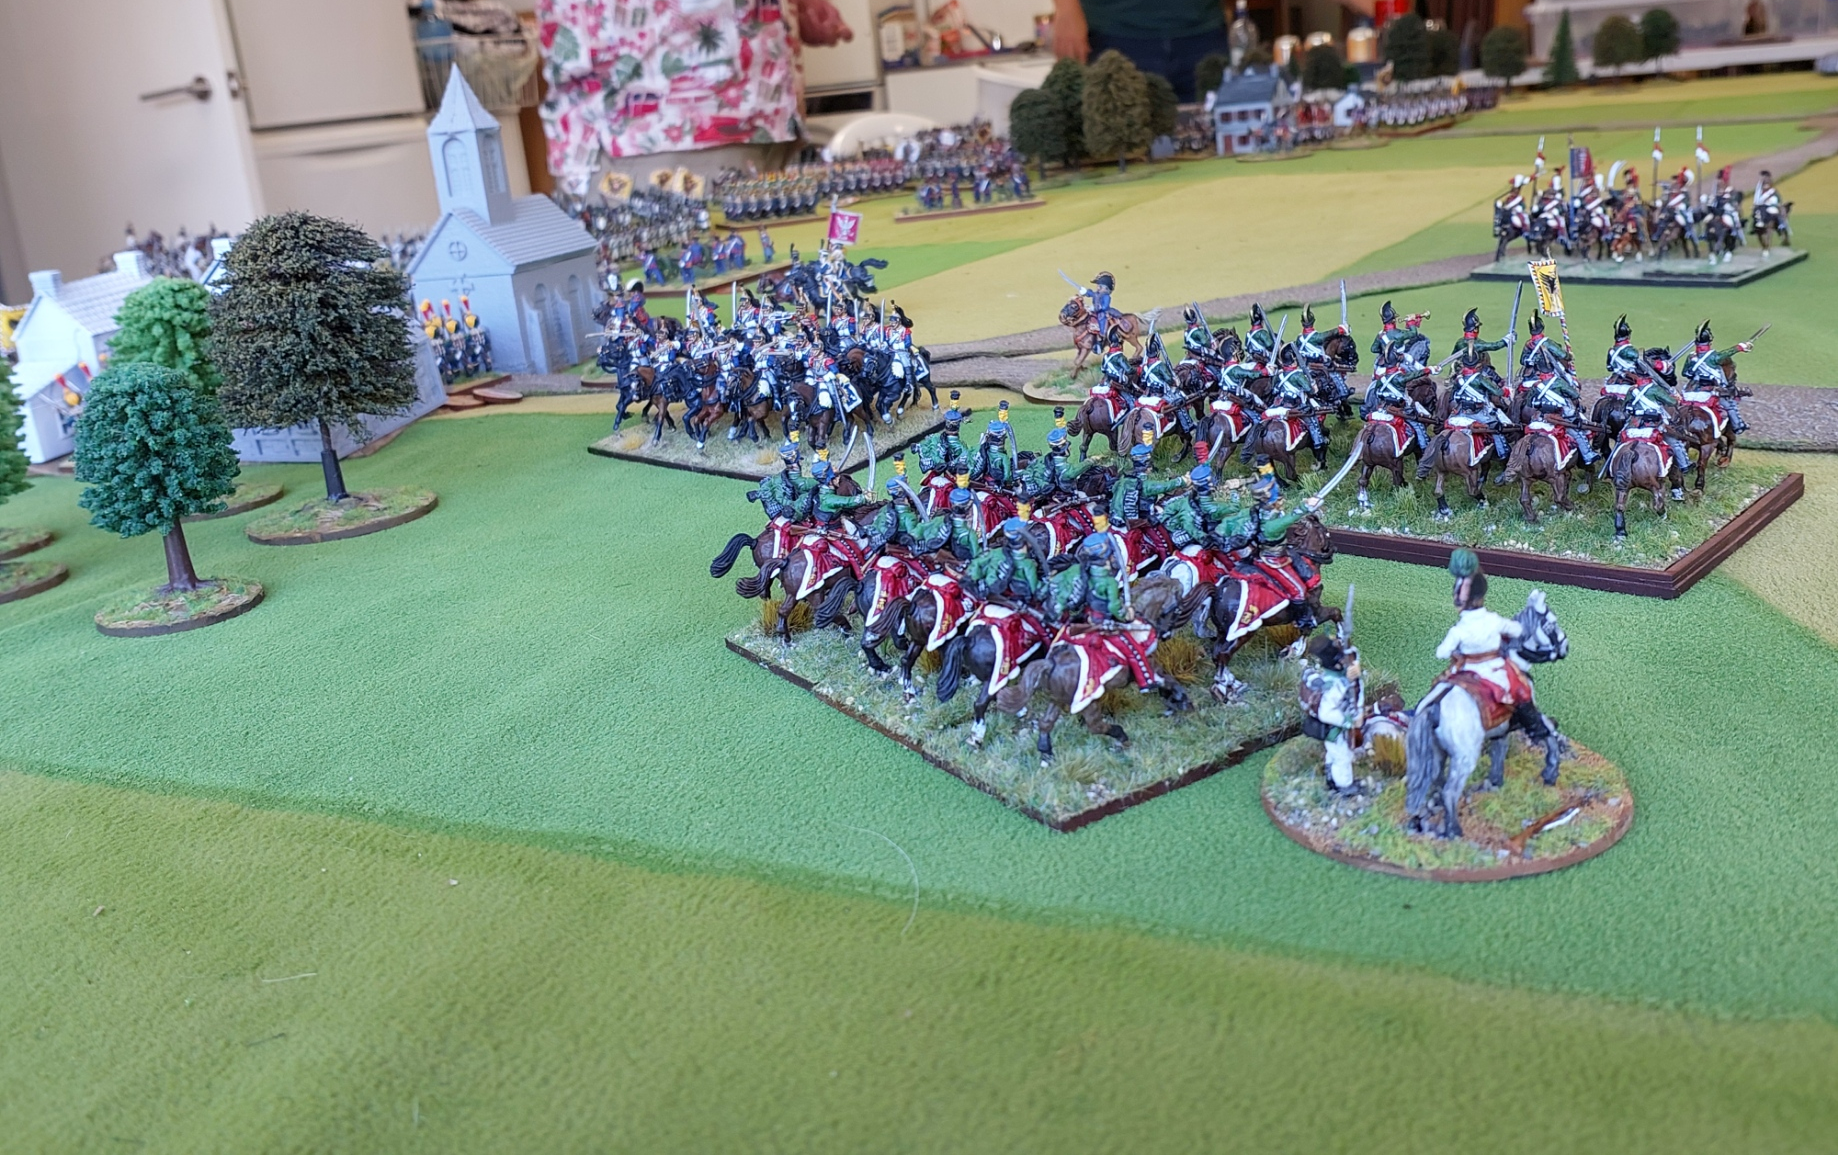
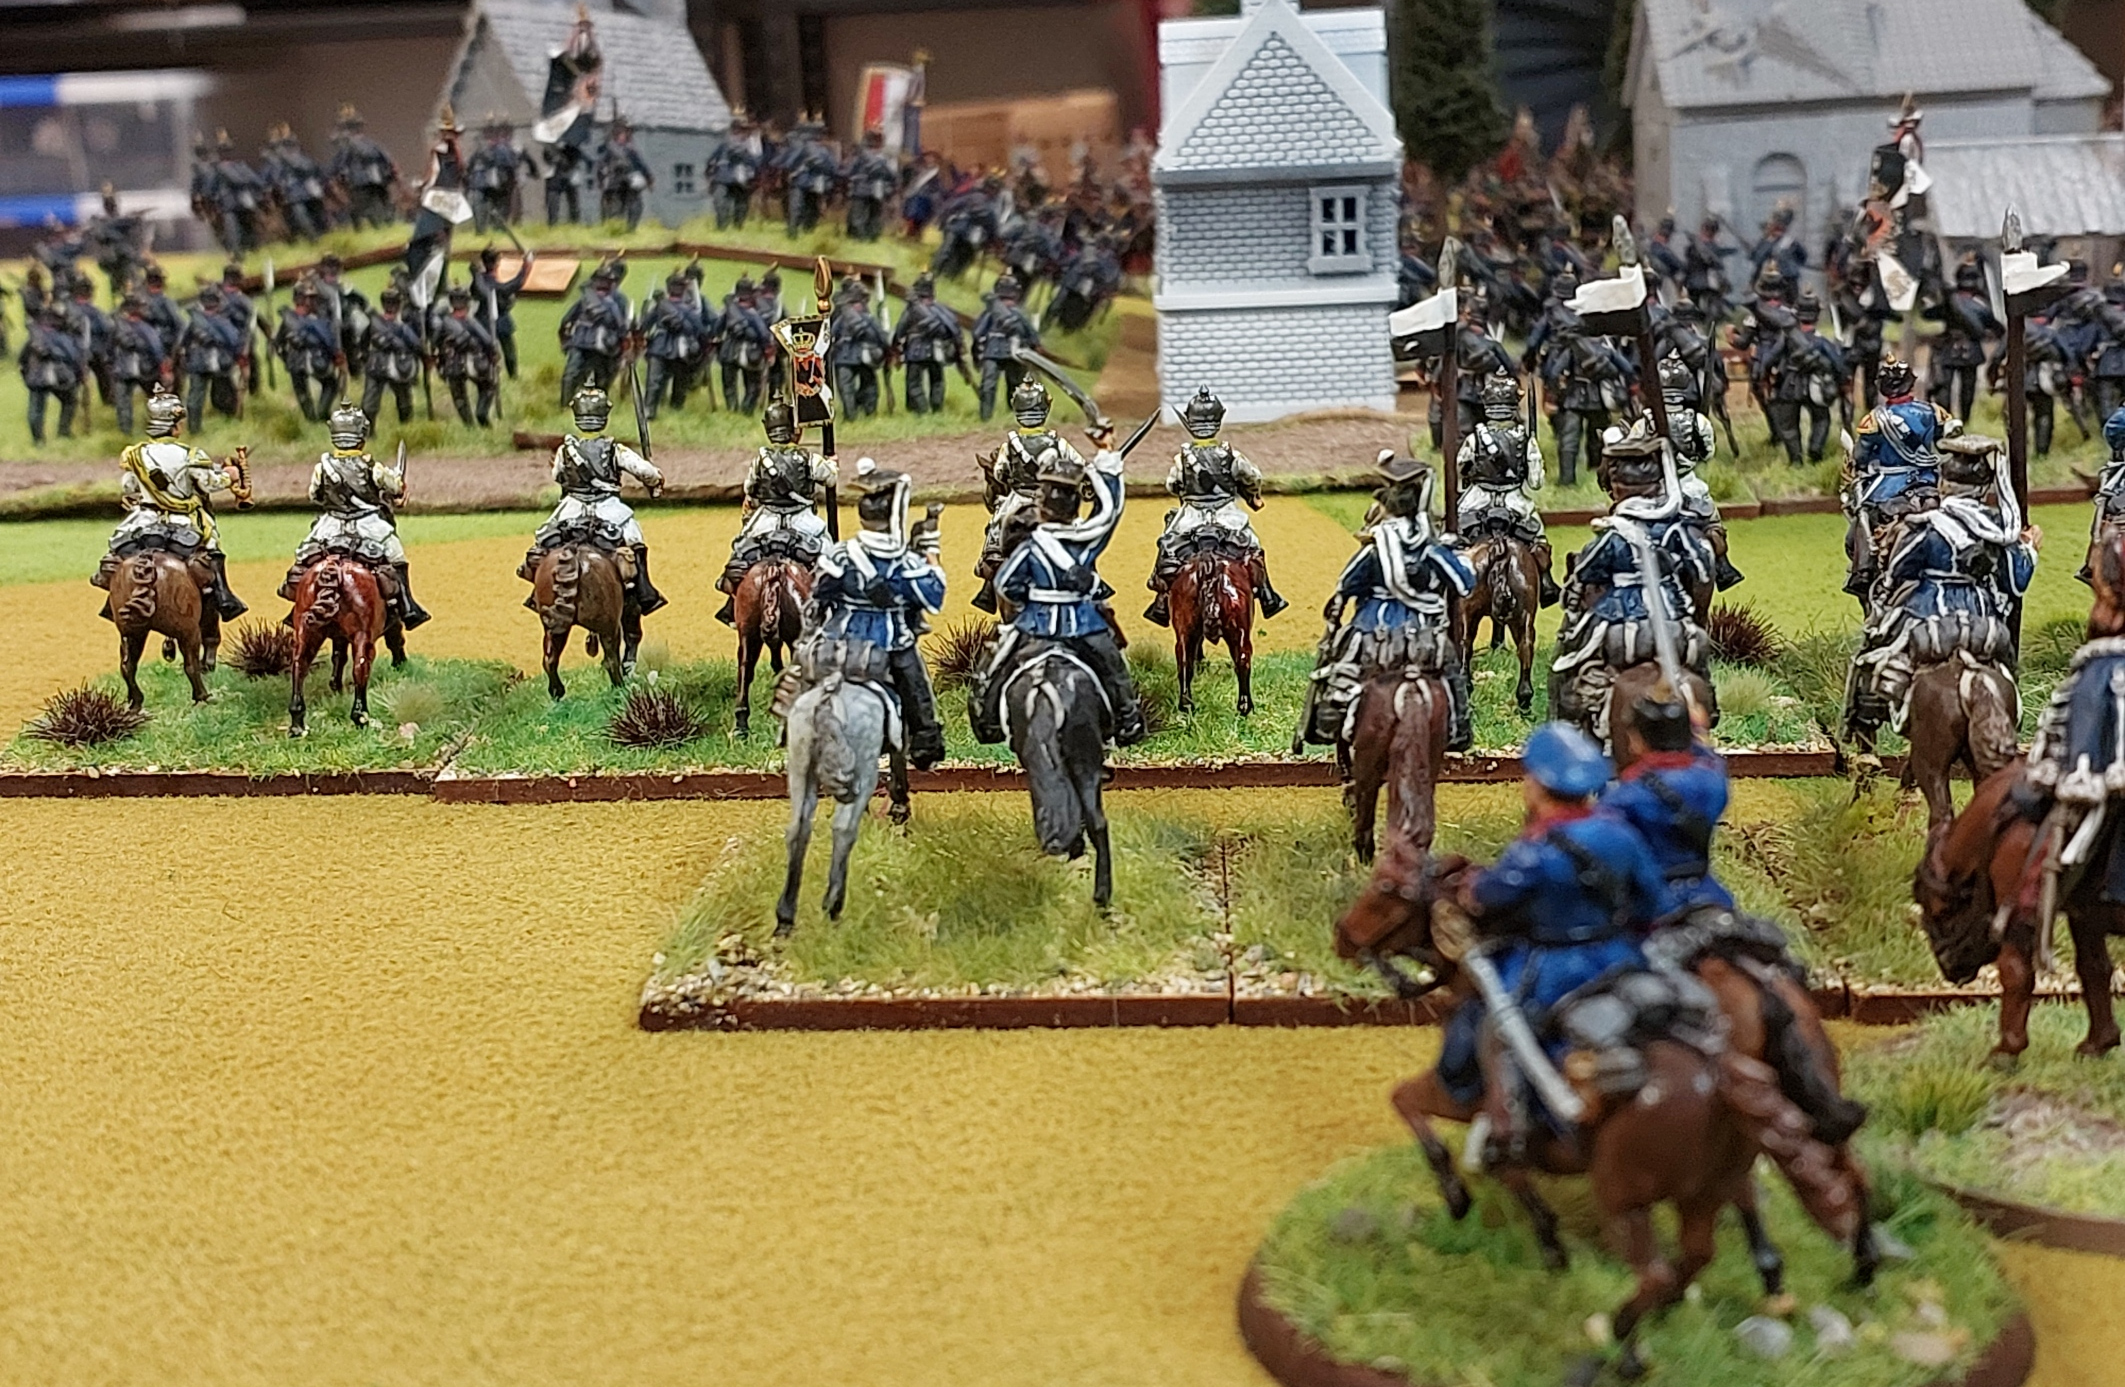
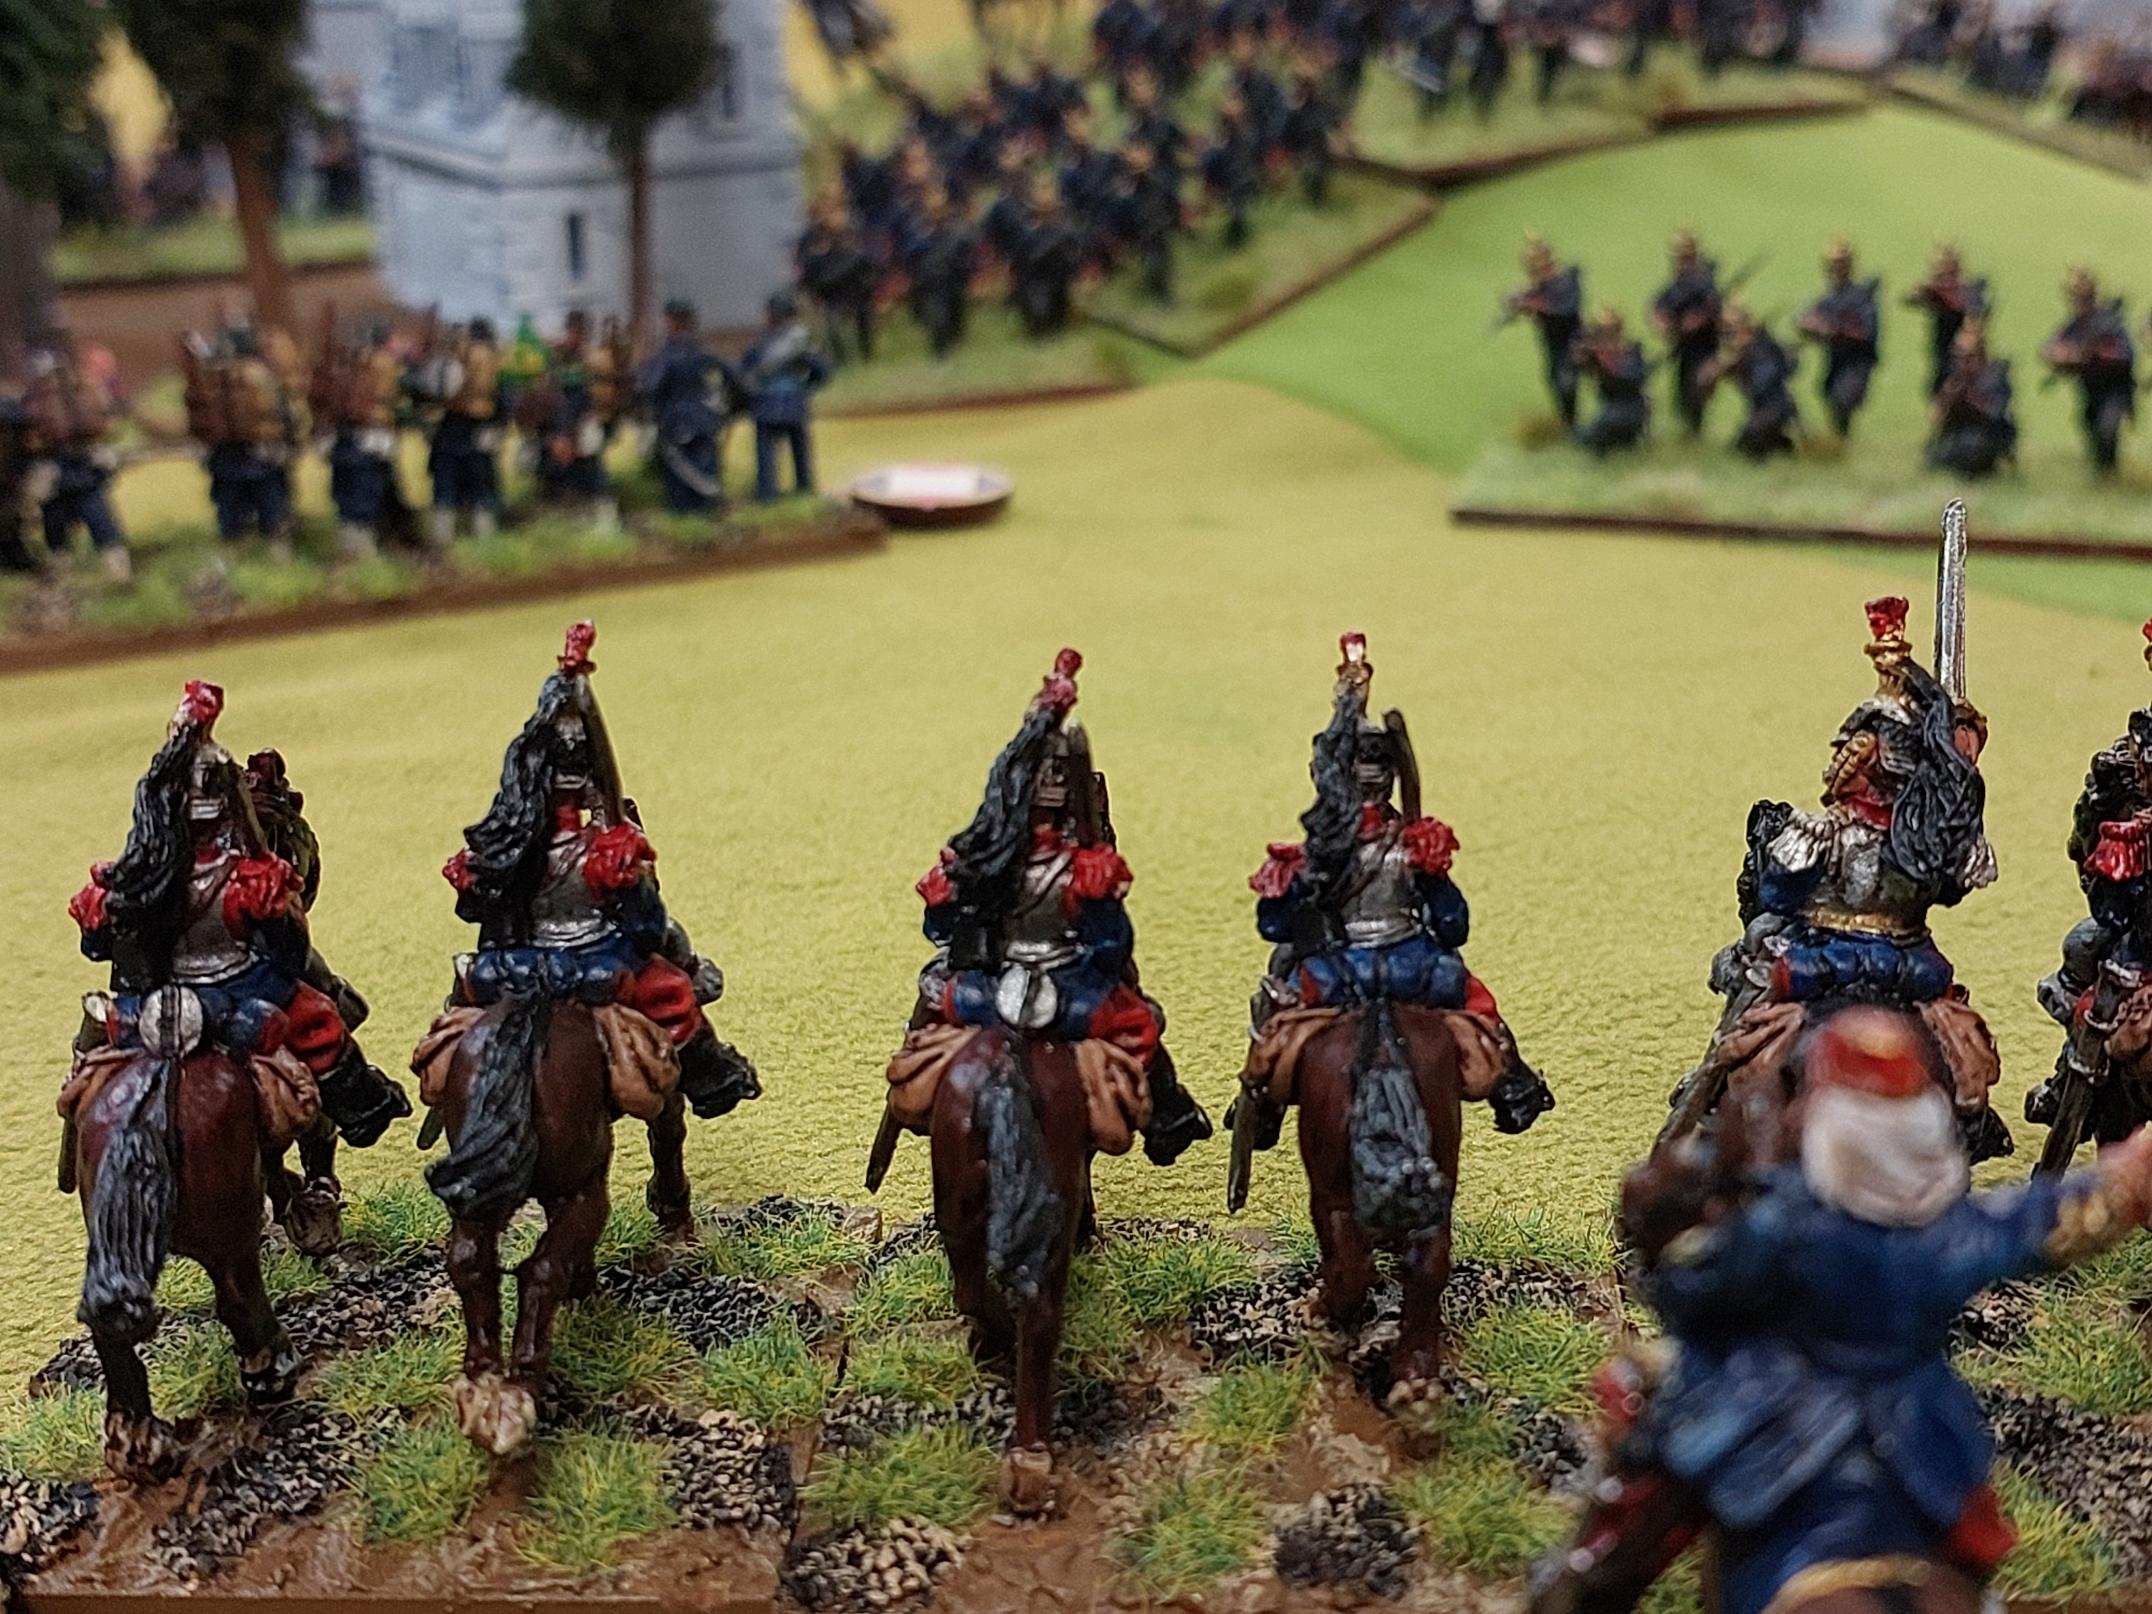
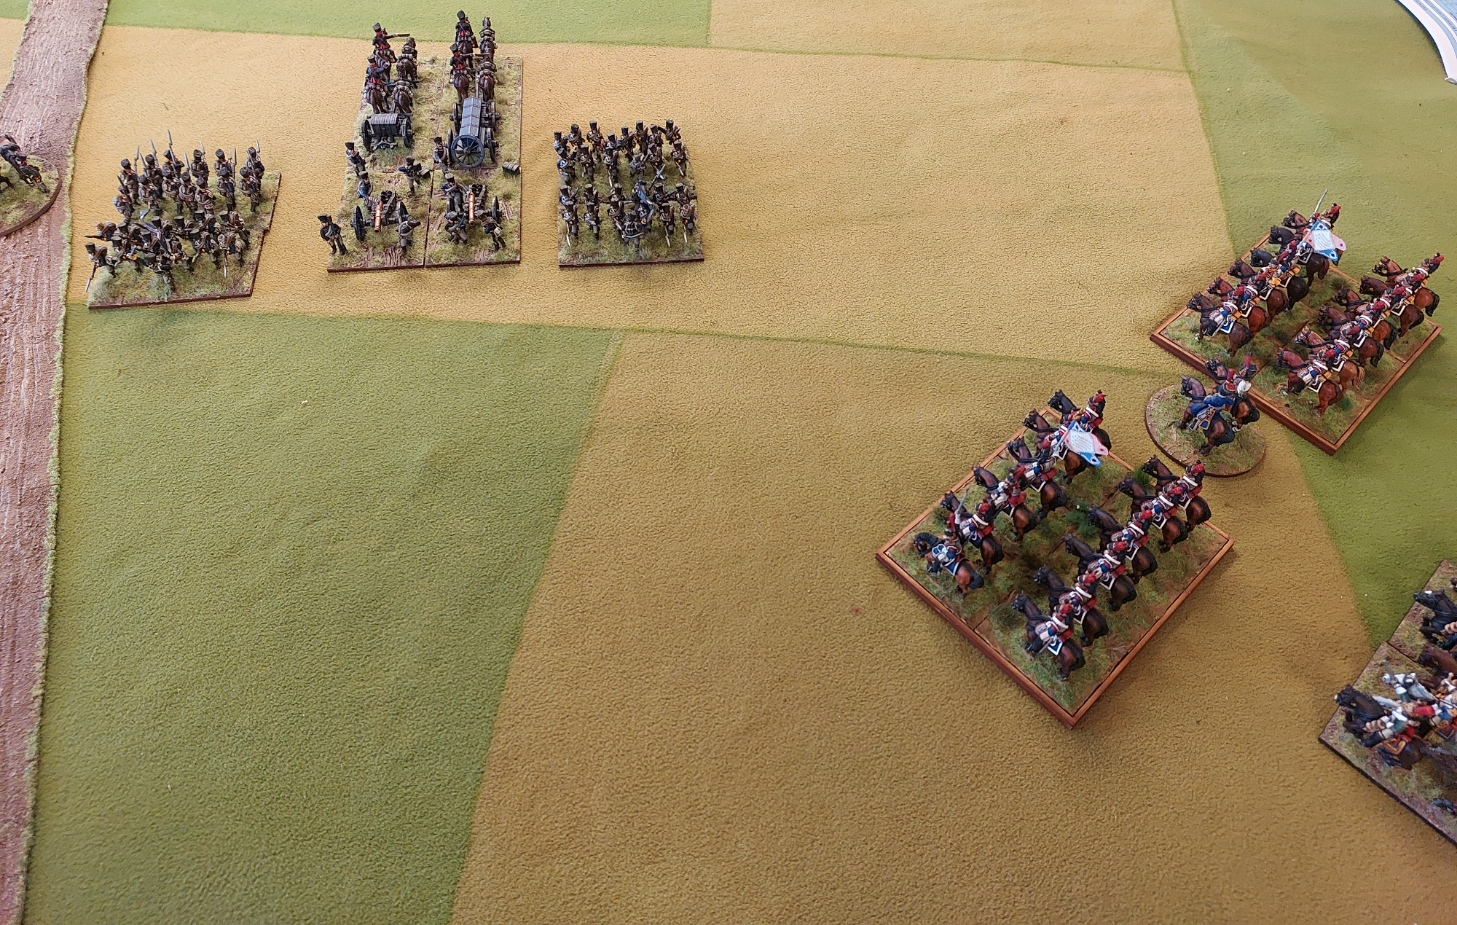
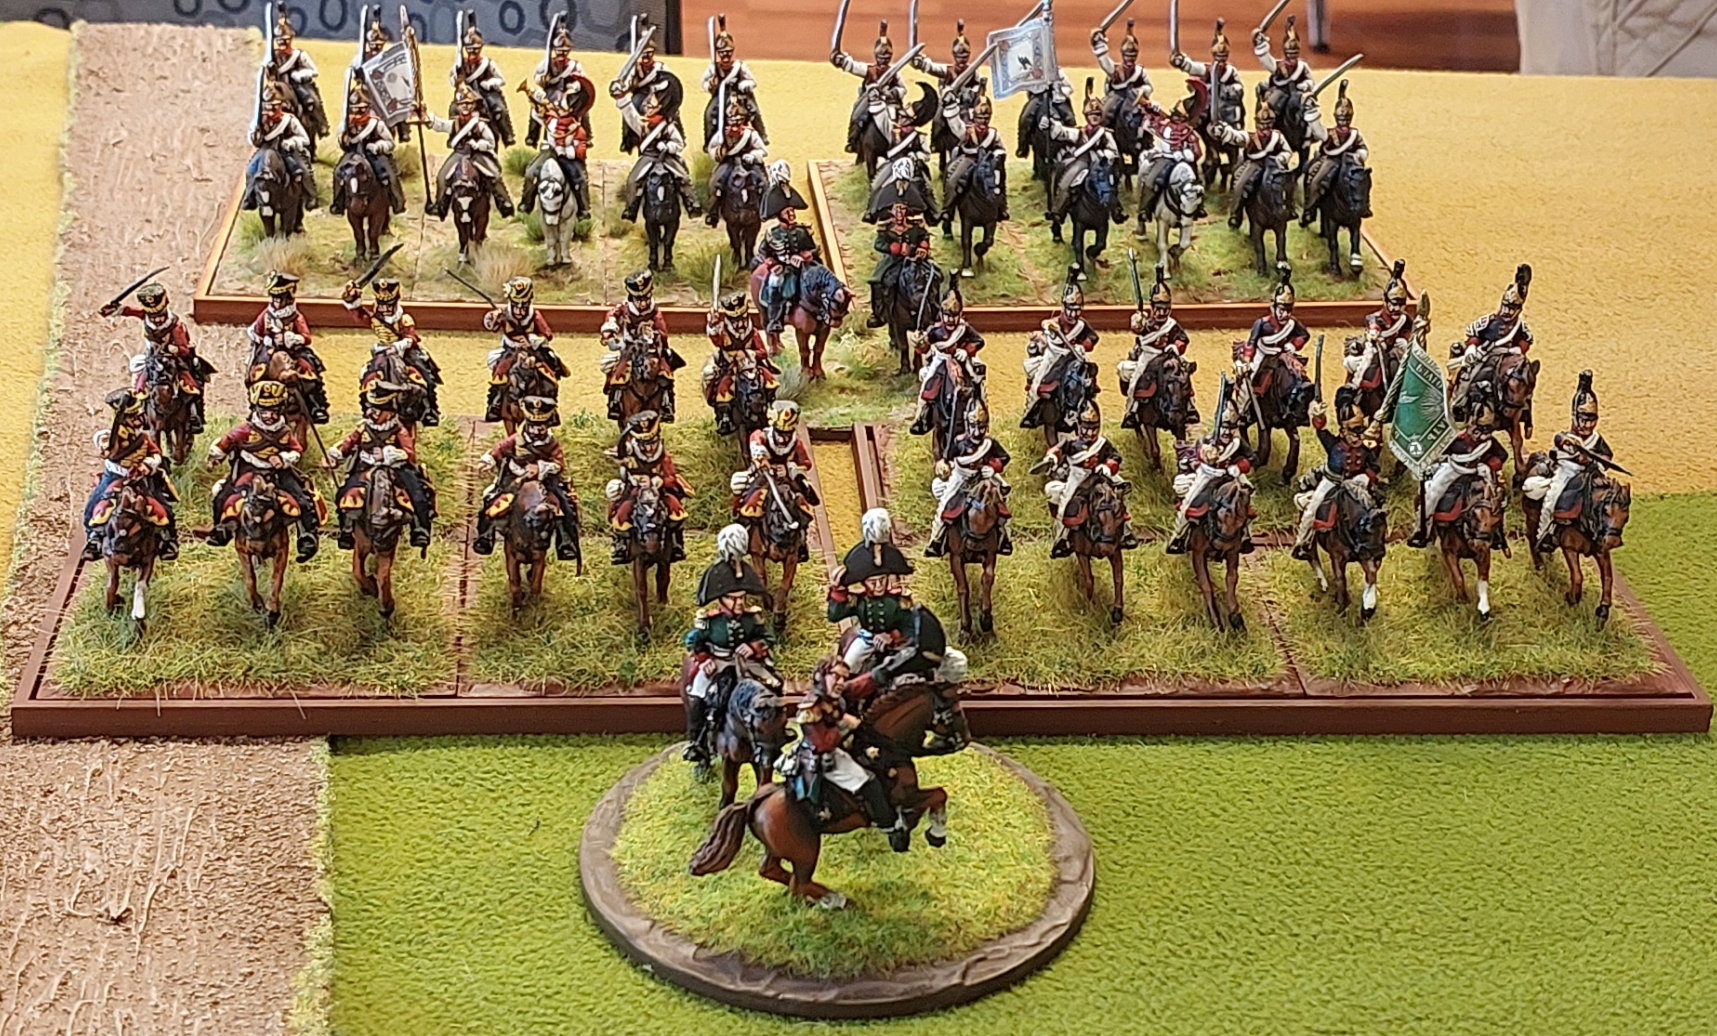
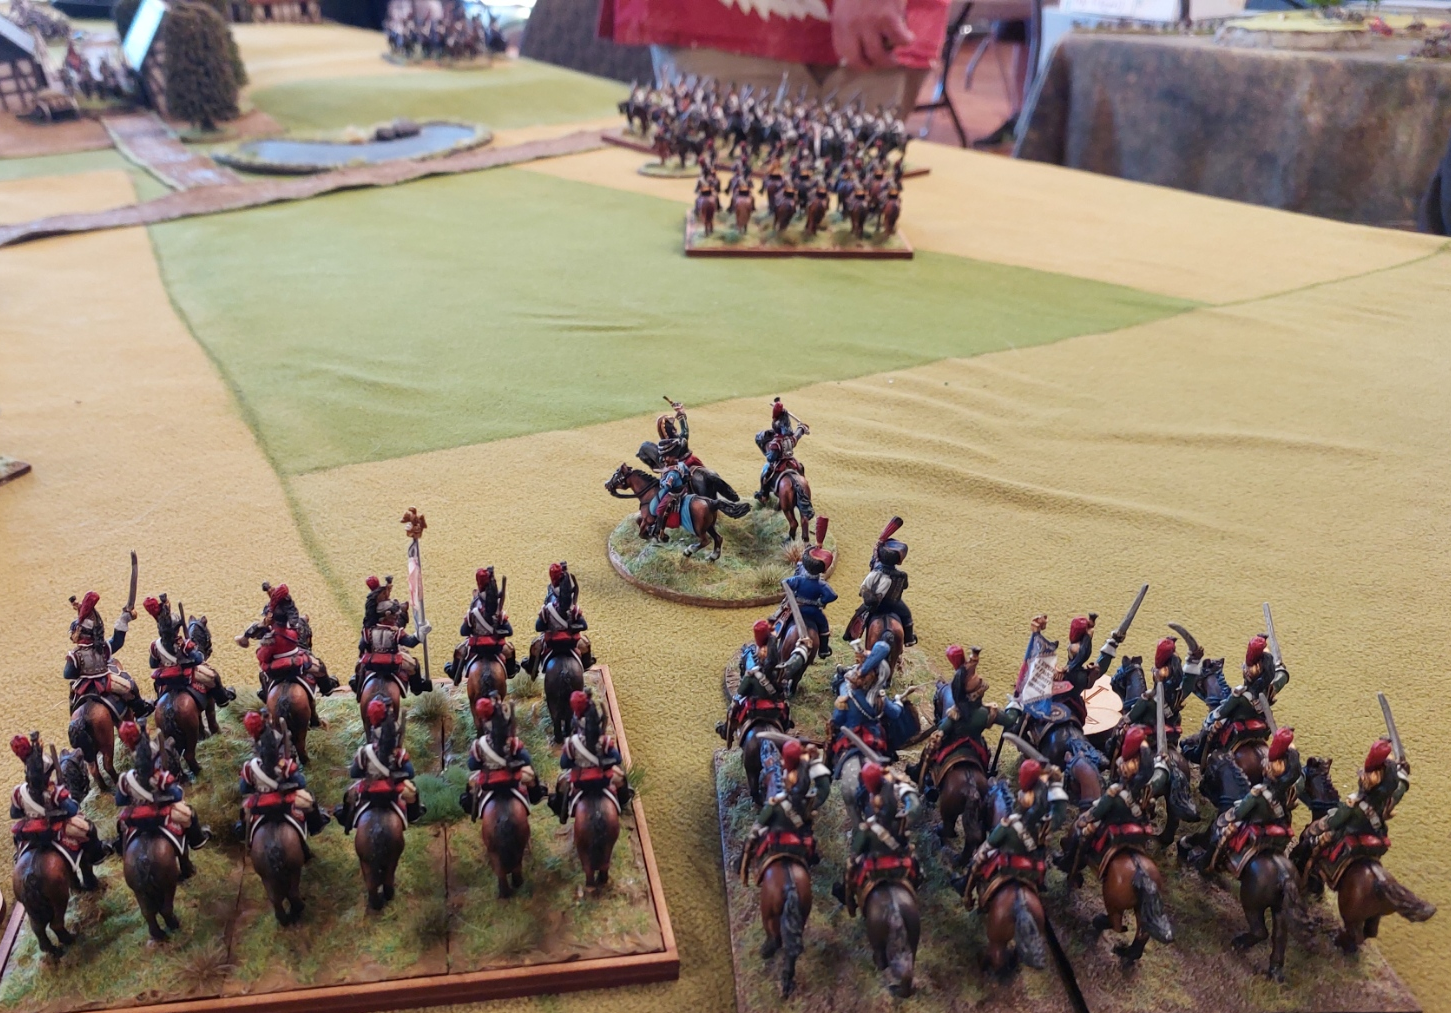
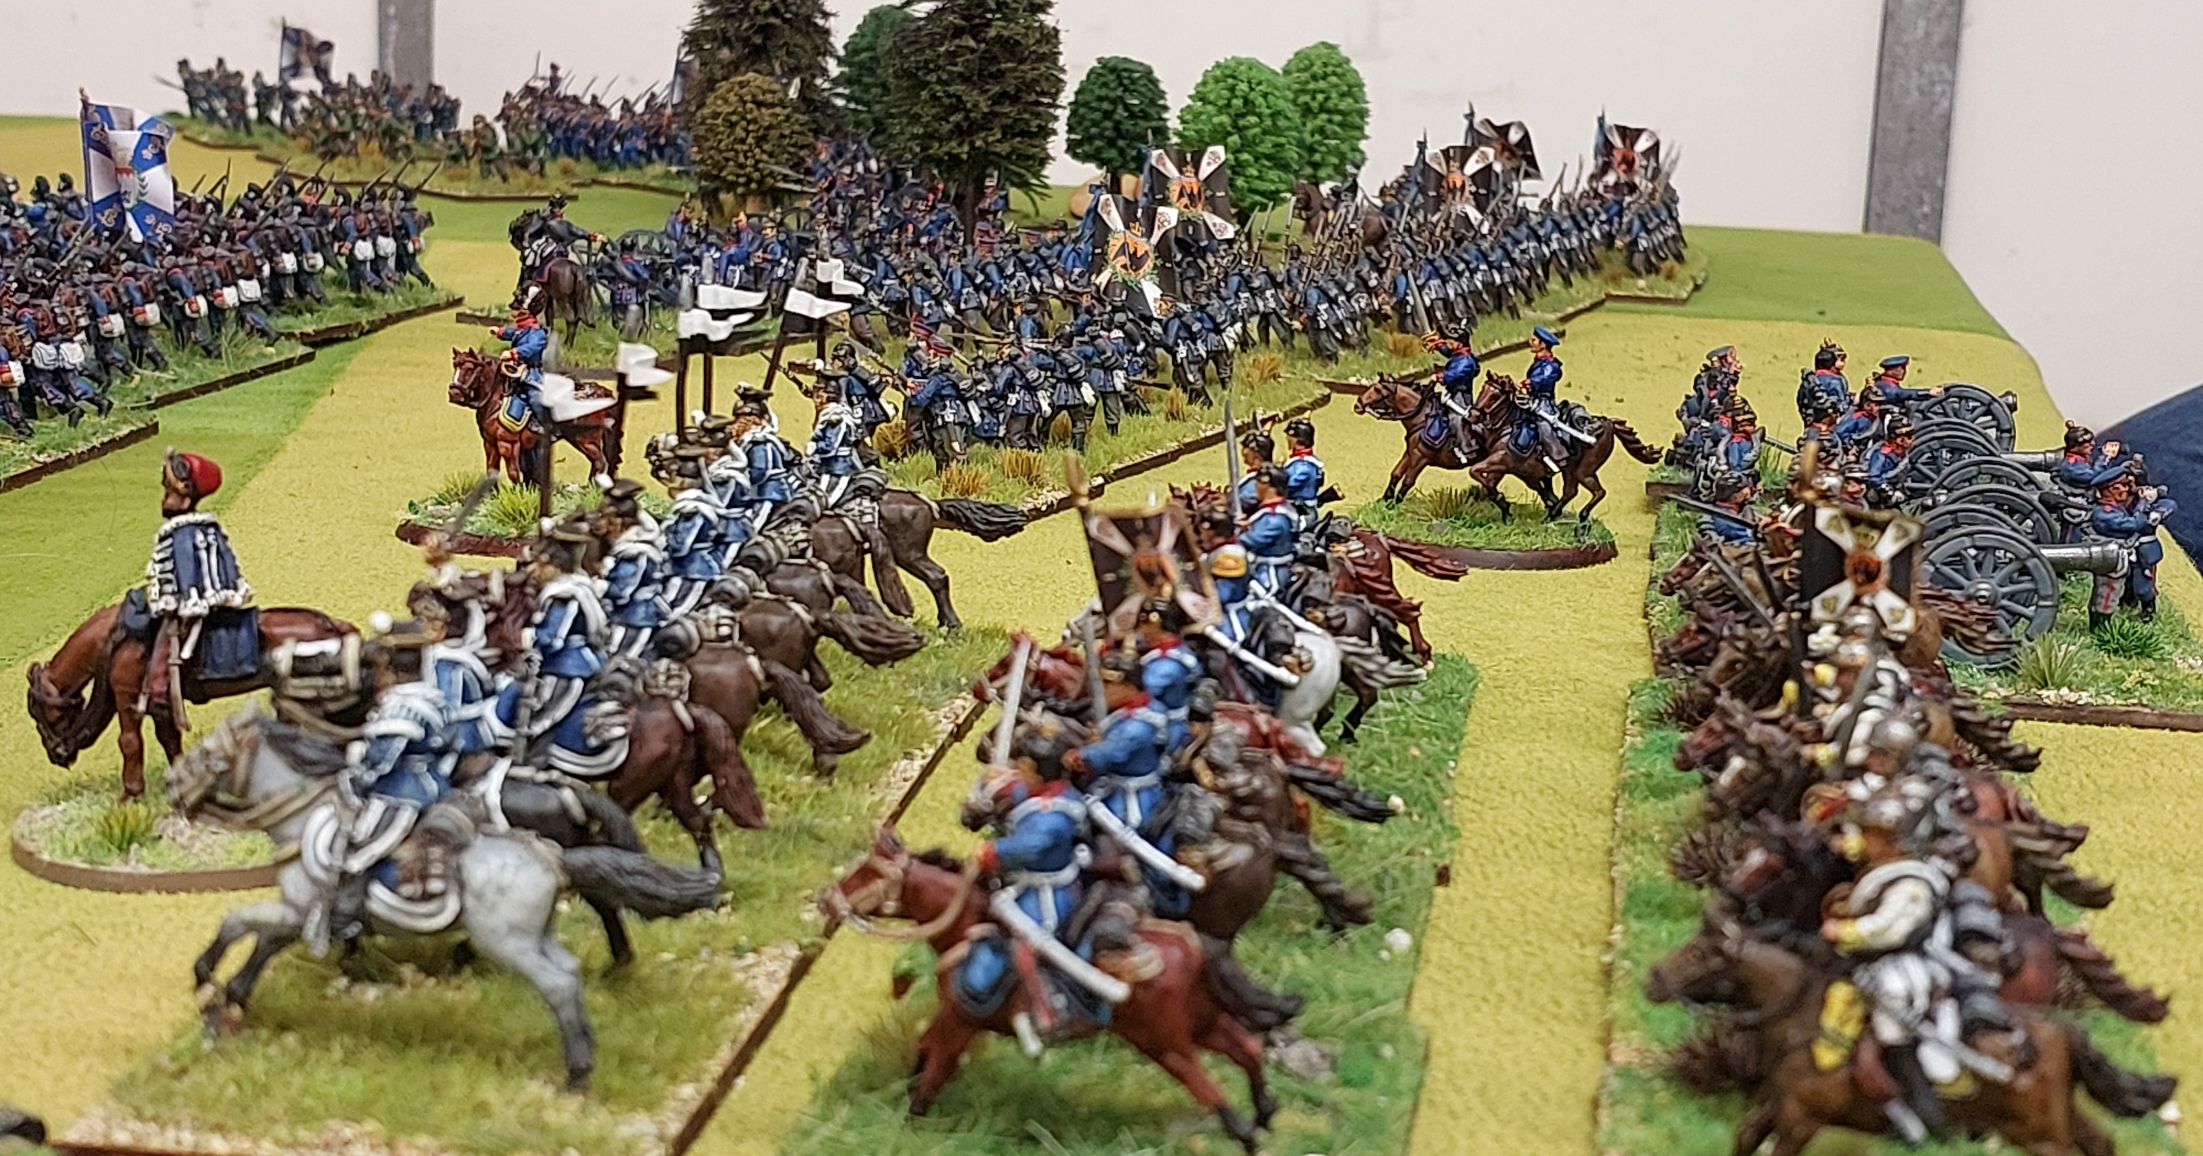
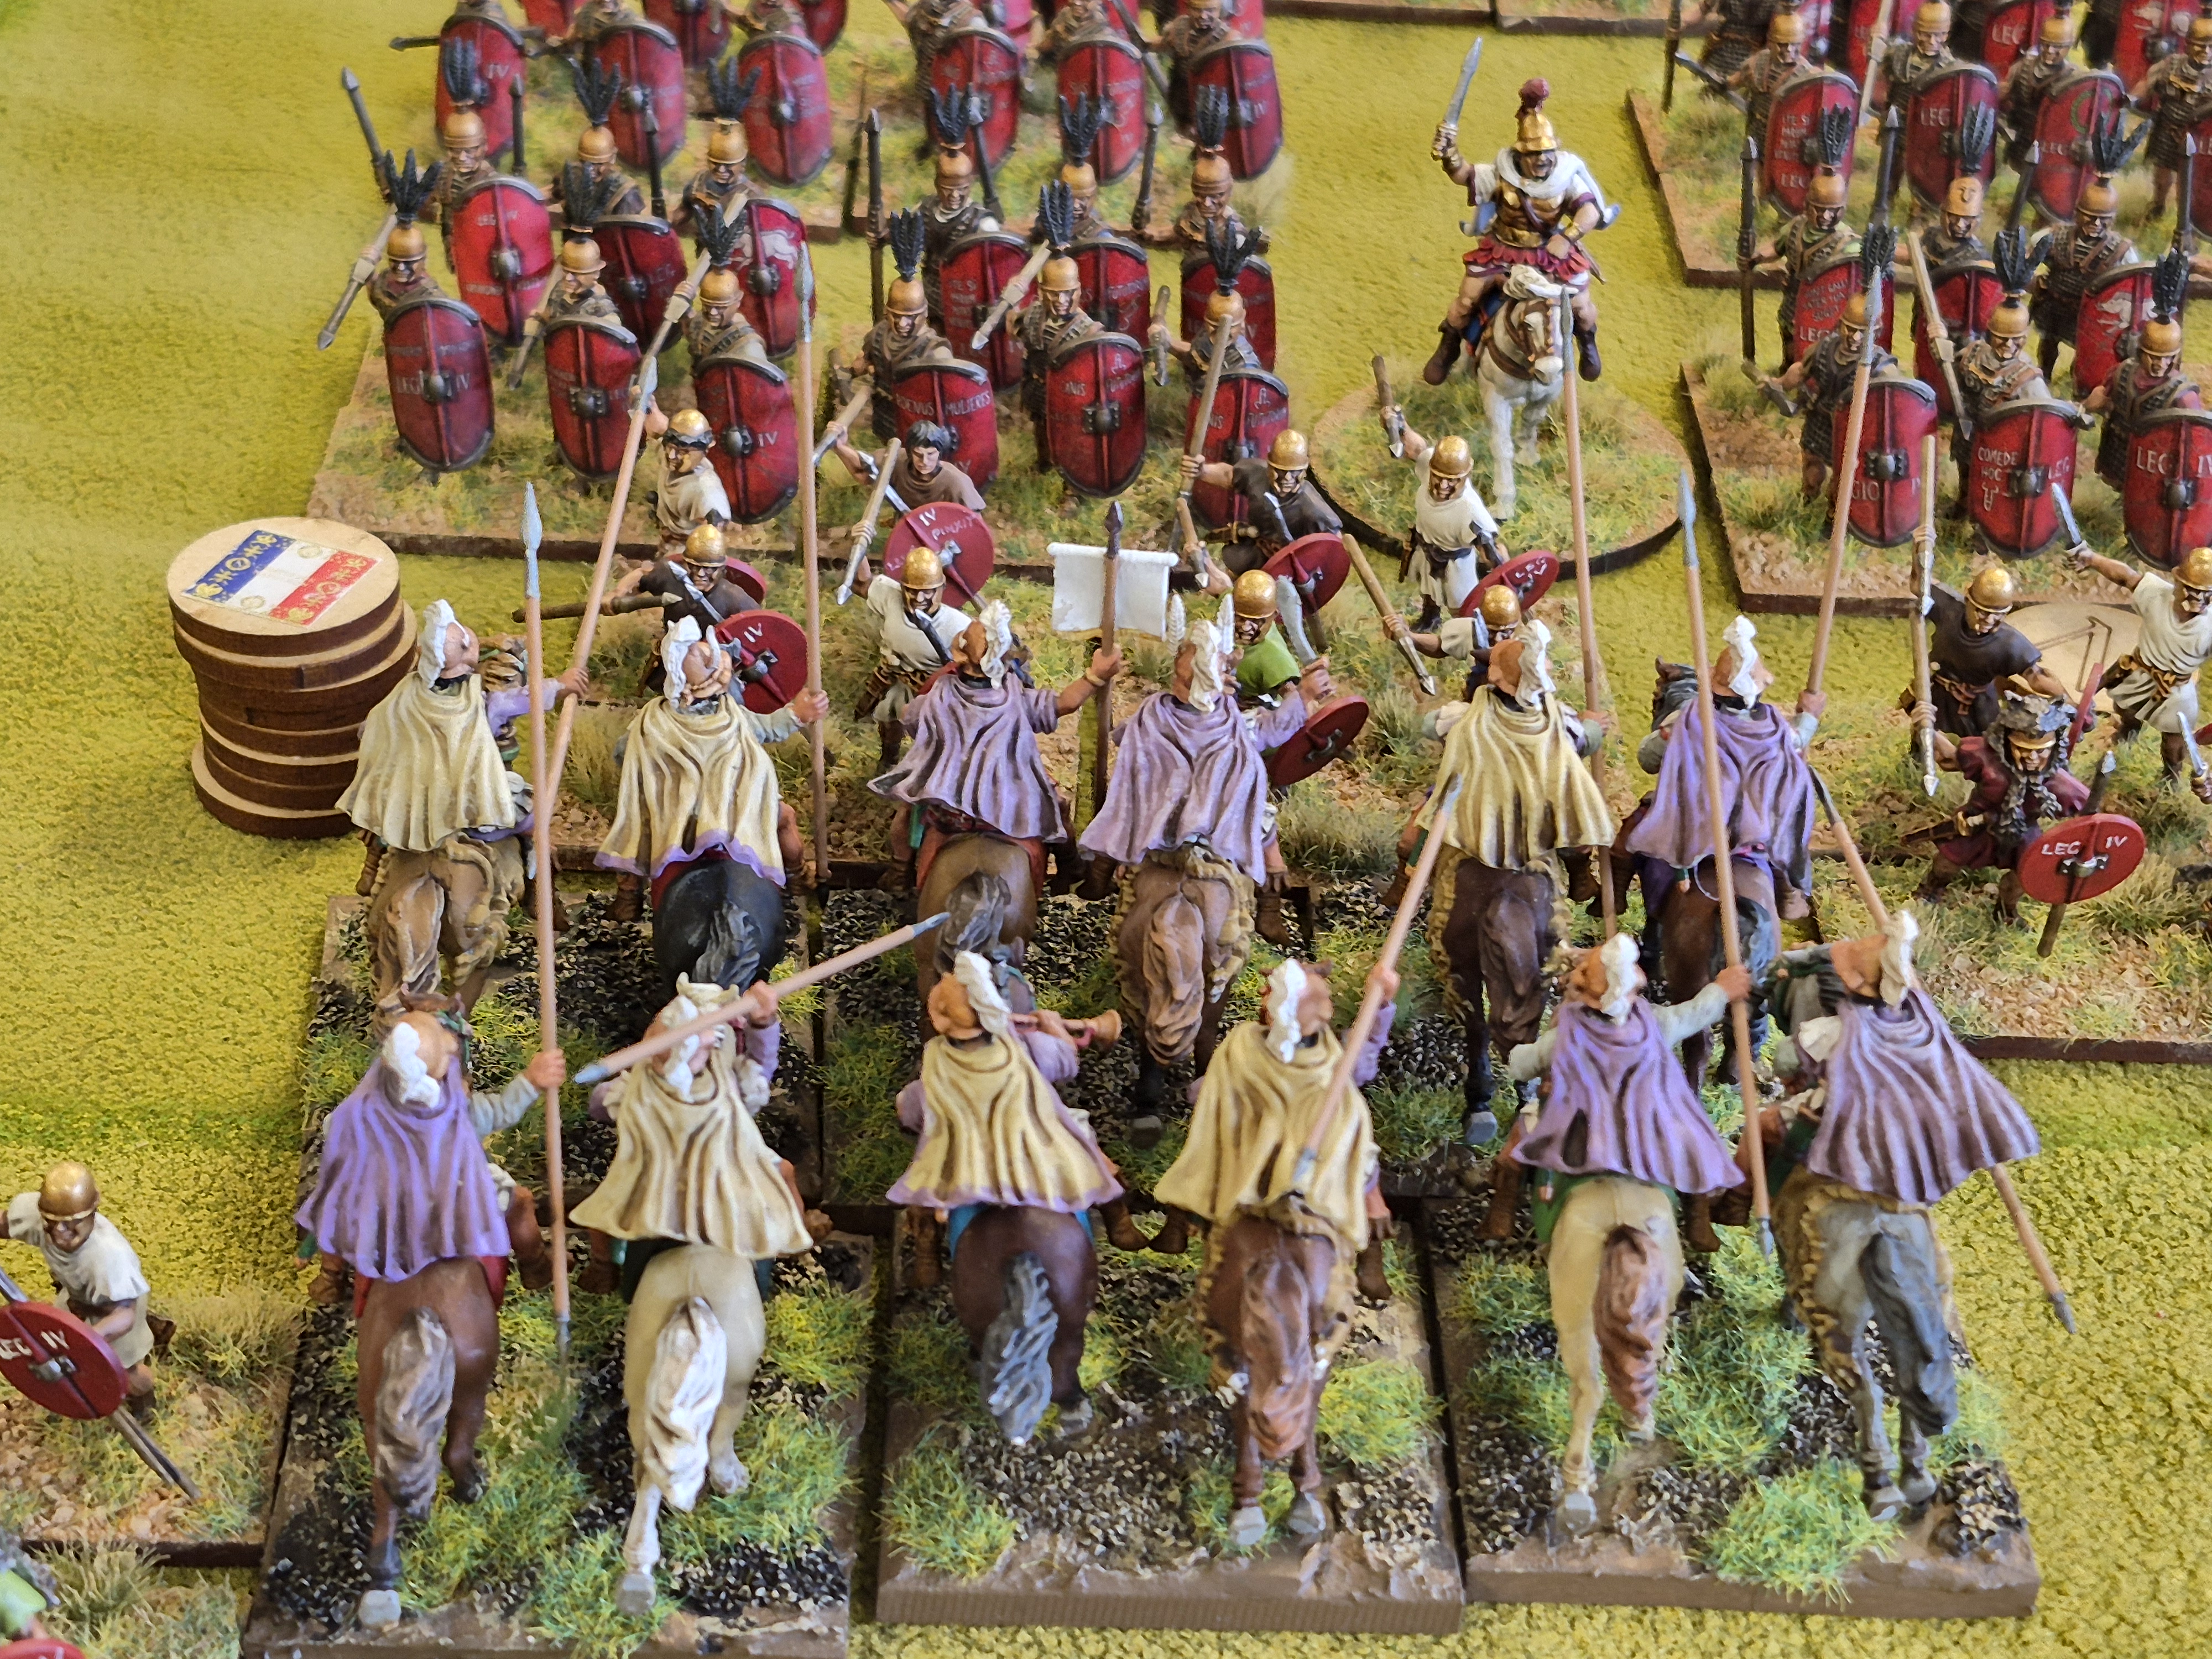
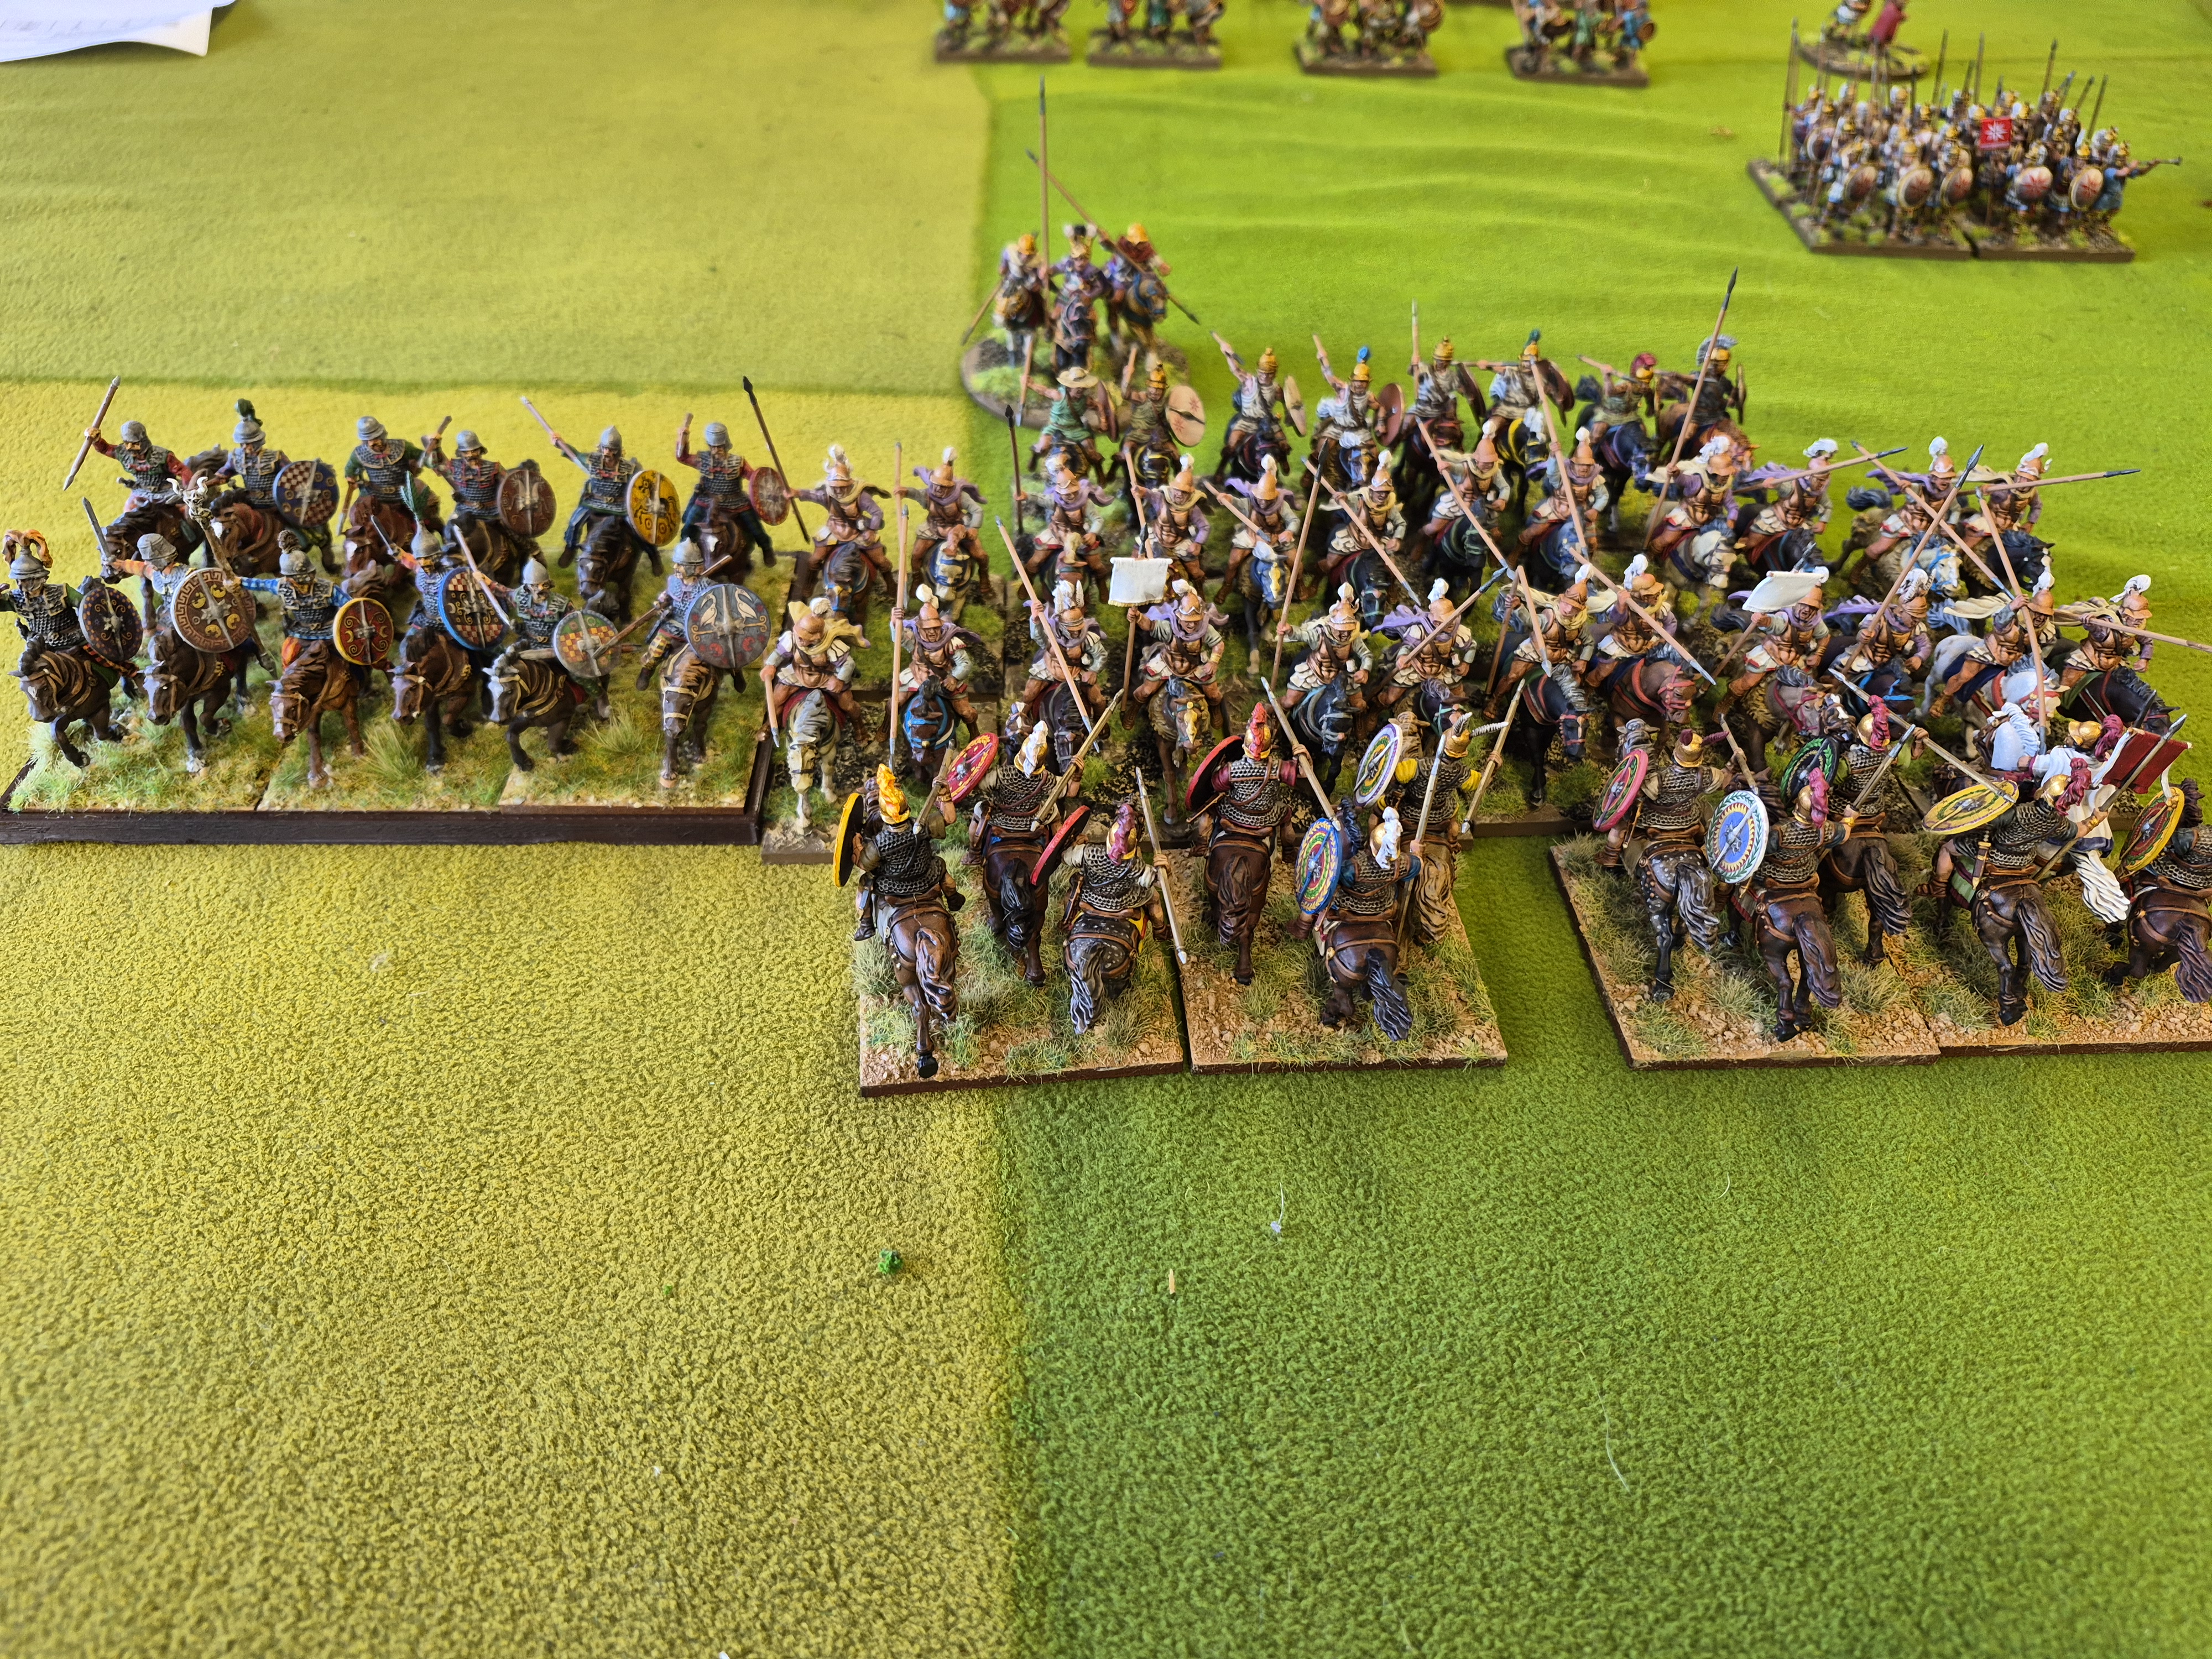
Cavalry on flanks doing what cavalry on flanks do…..sorting out who is the best.
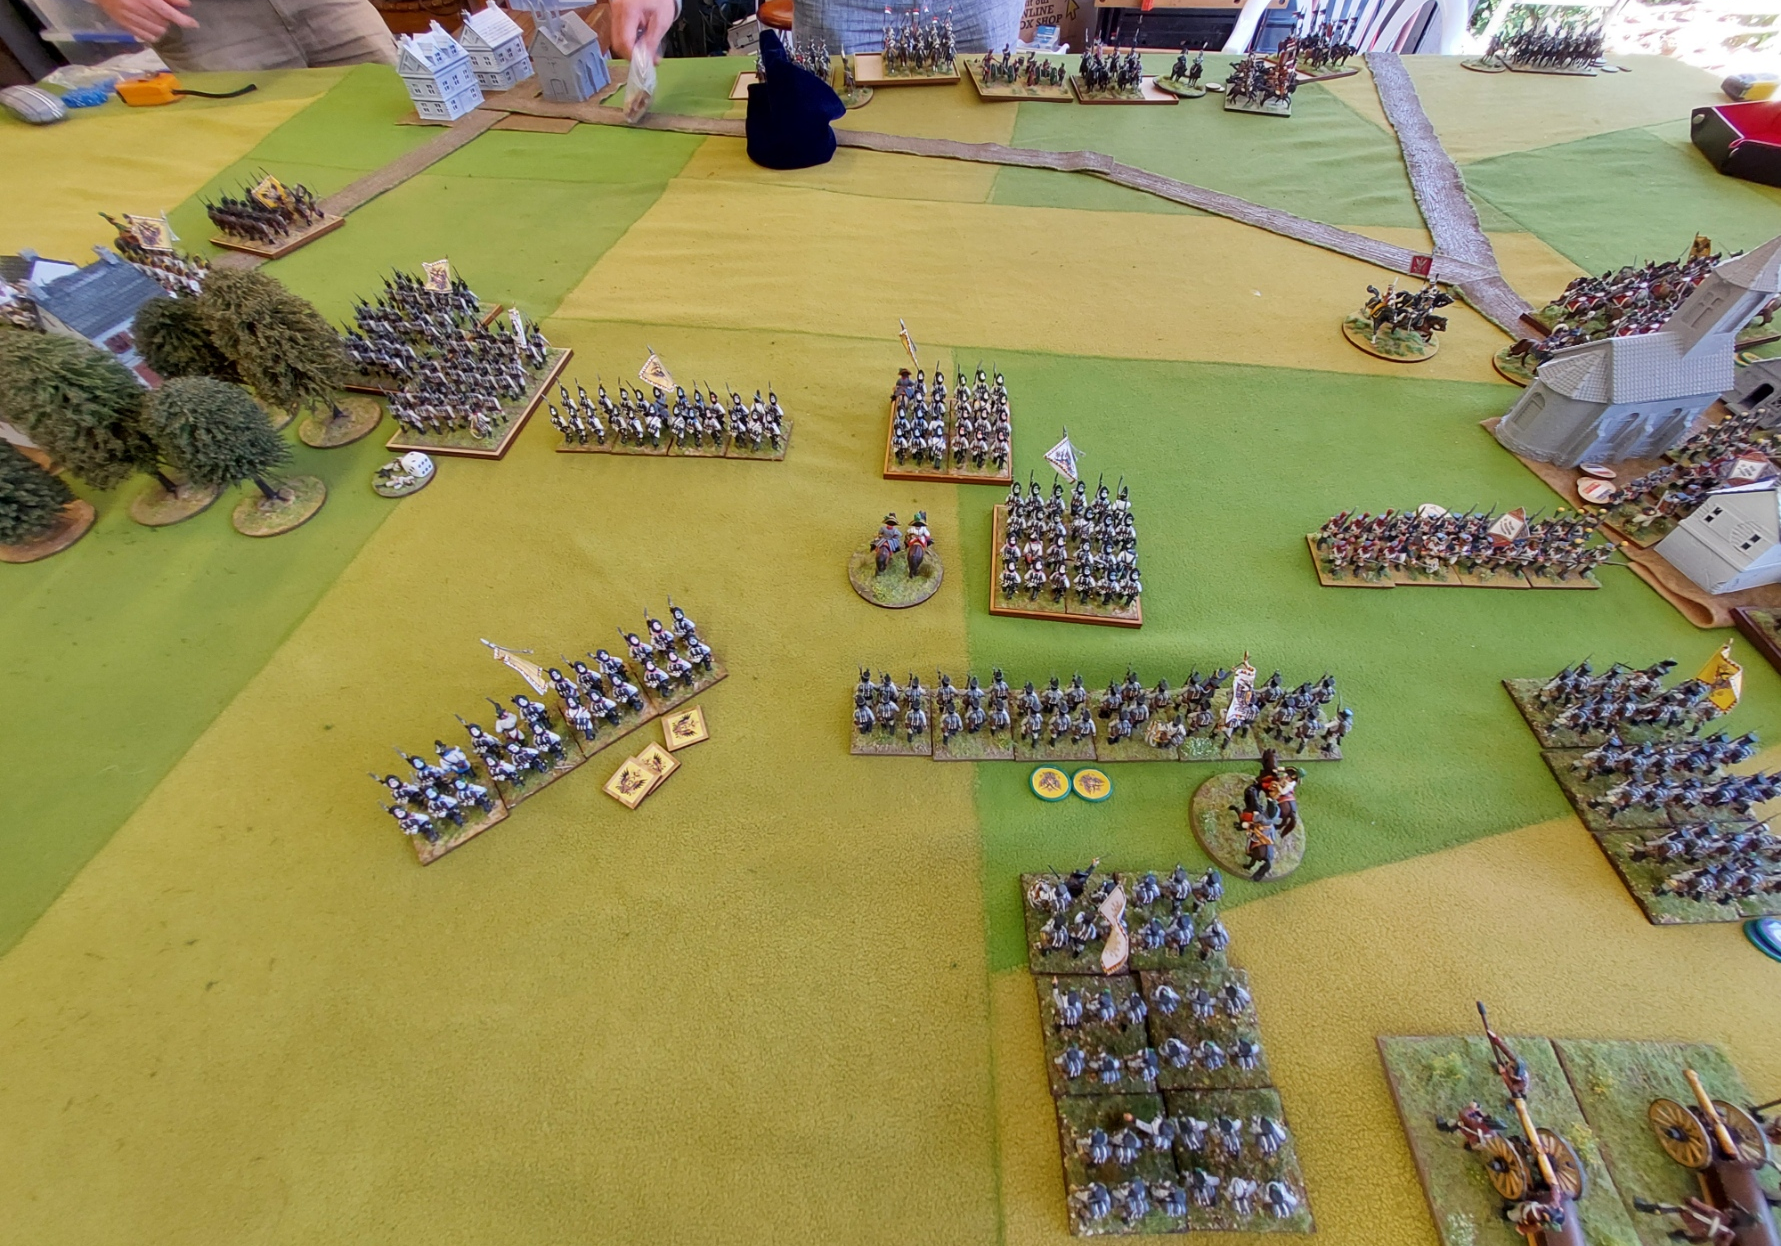
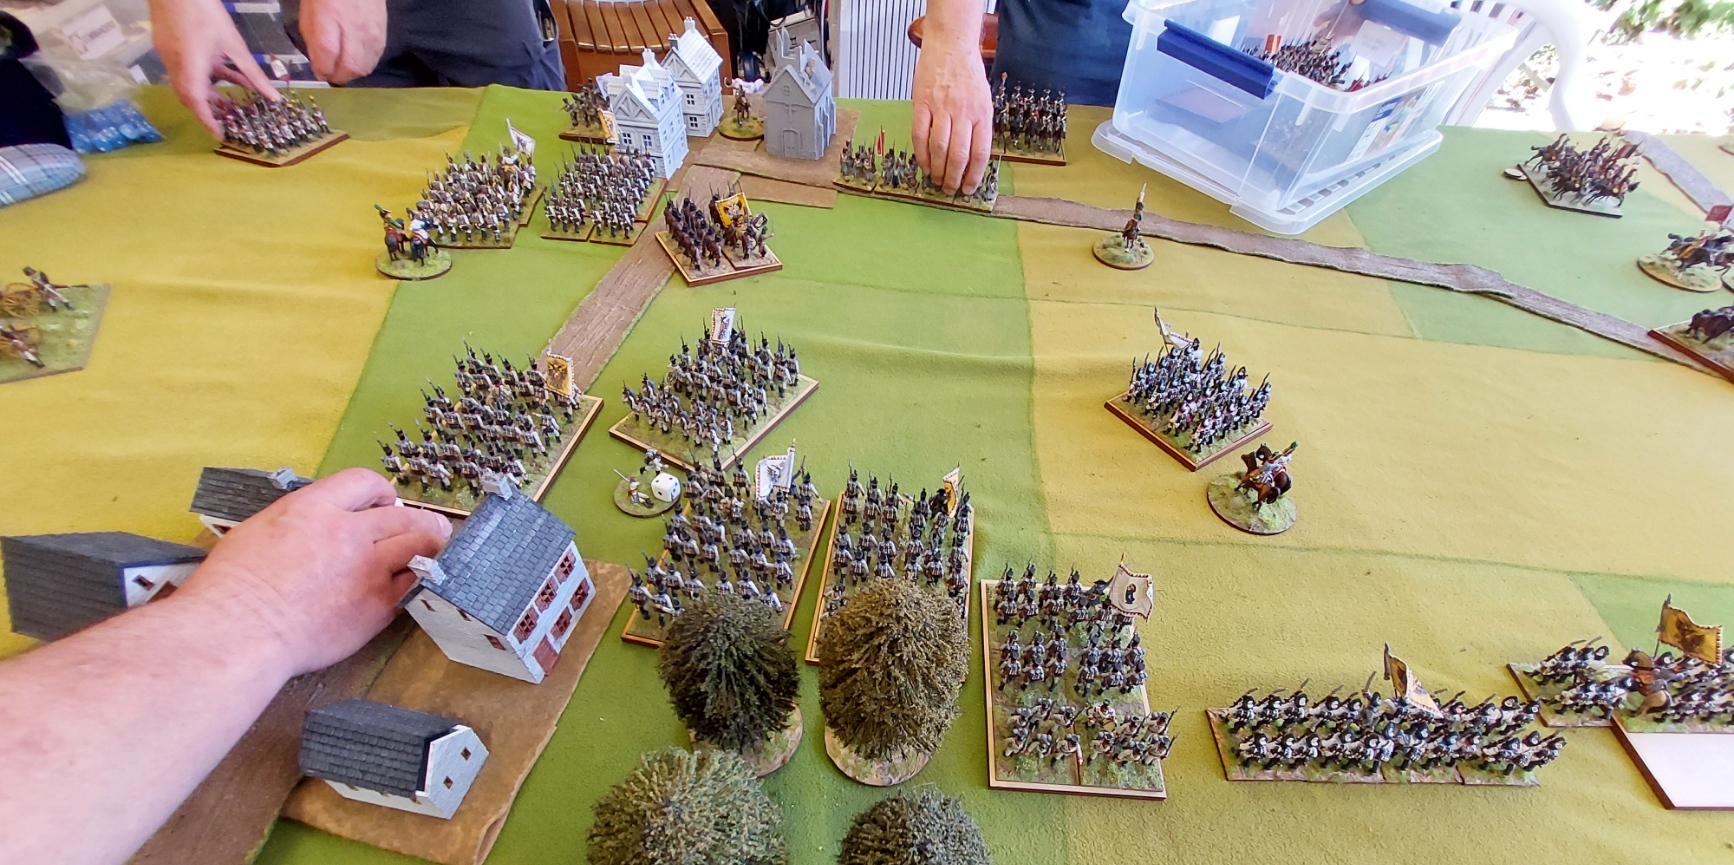
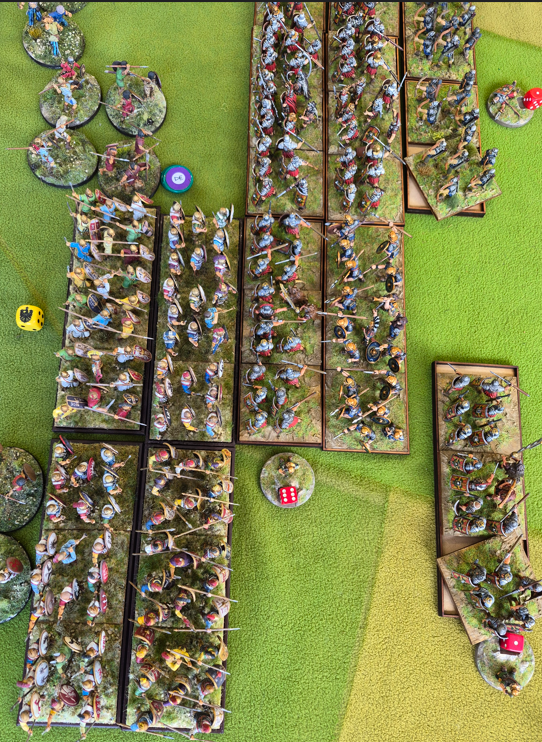
Goldie formed a Roman blob…oh for a mortar.
Combined Carthaginians and Macedonian cavalry take on Republican Roman cavalry.
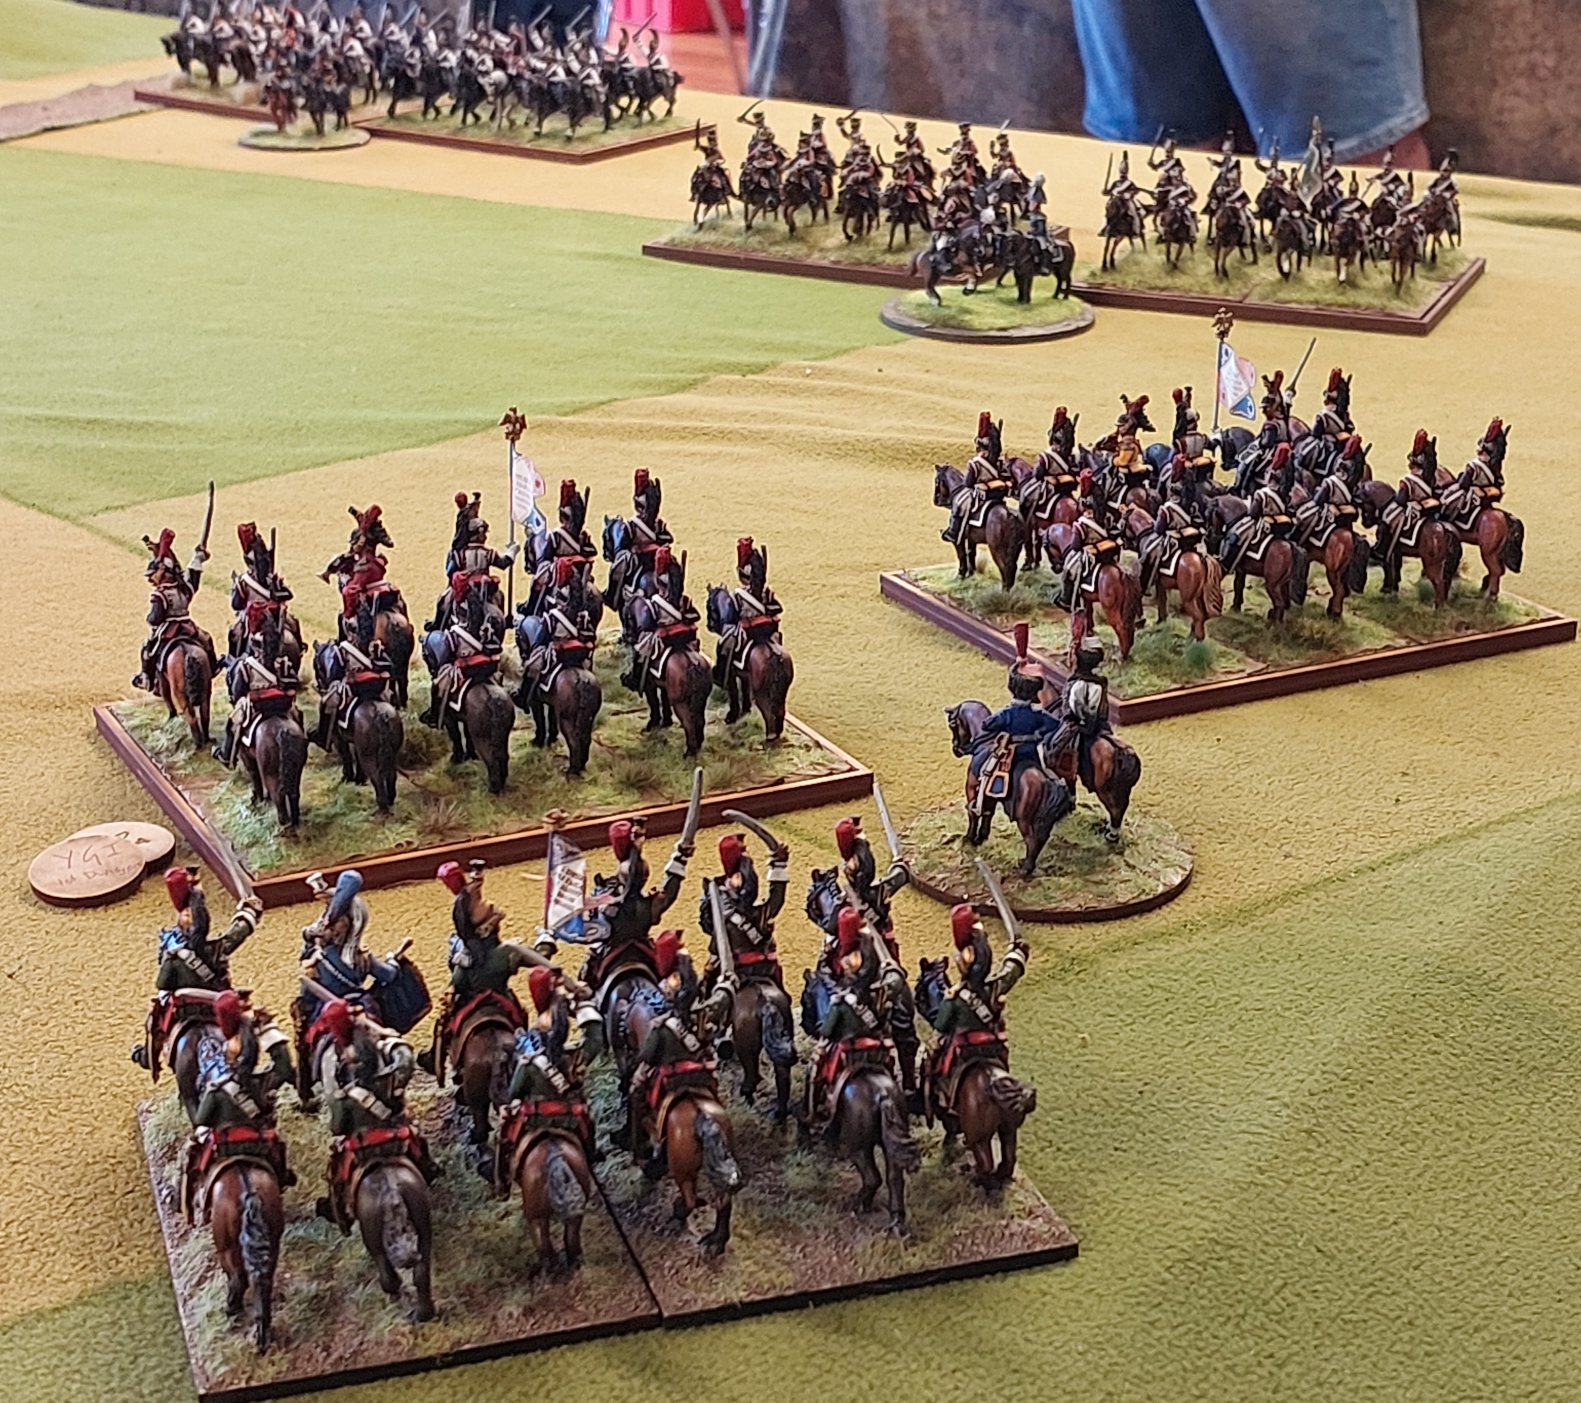
Moorish light cavalry v Imperial Romans on flank..exactly as it should be!
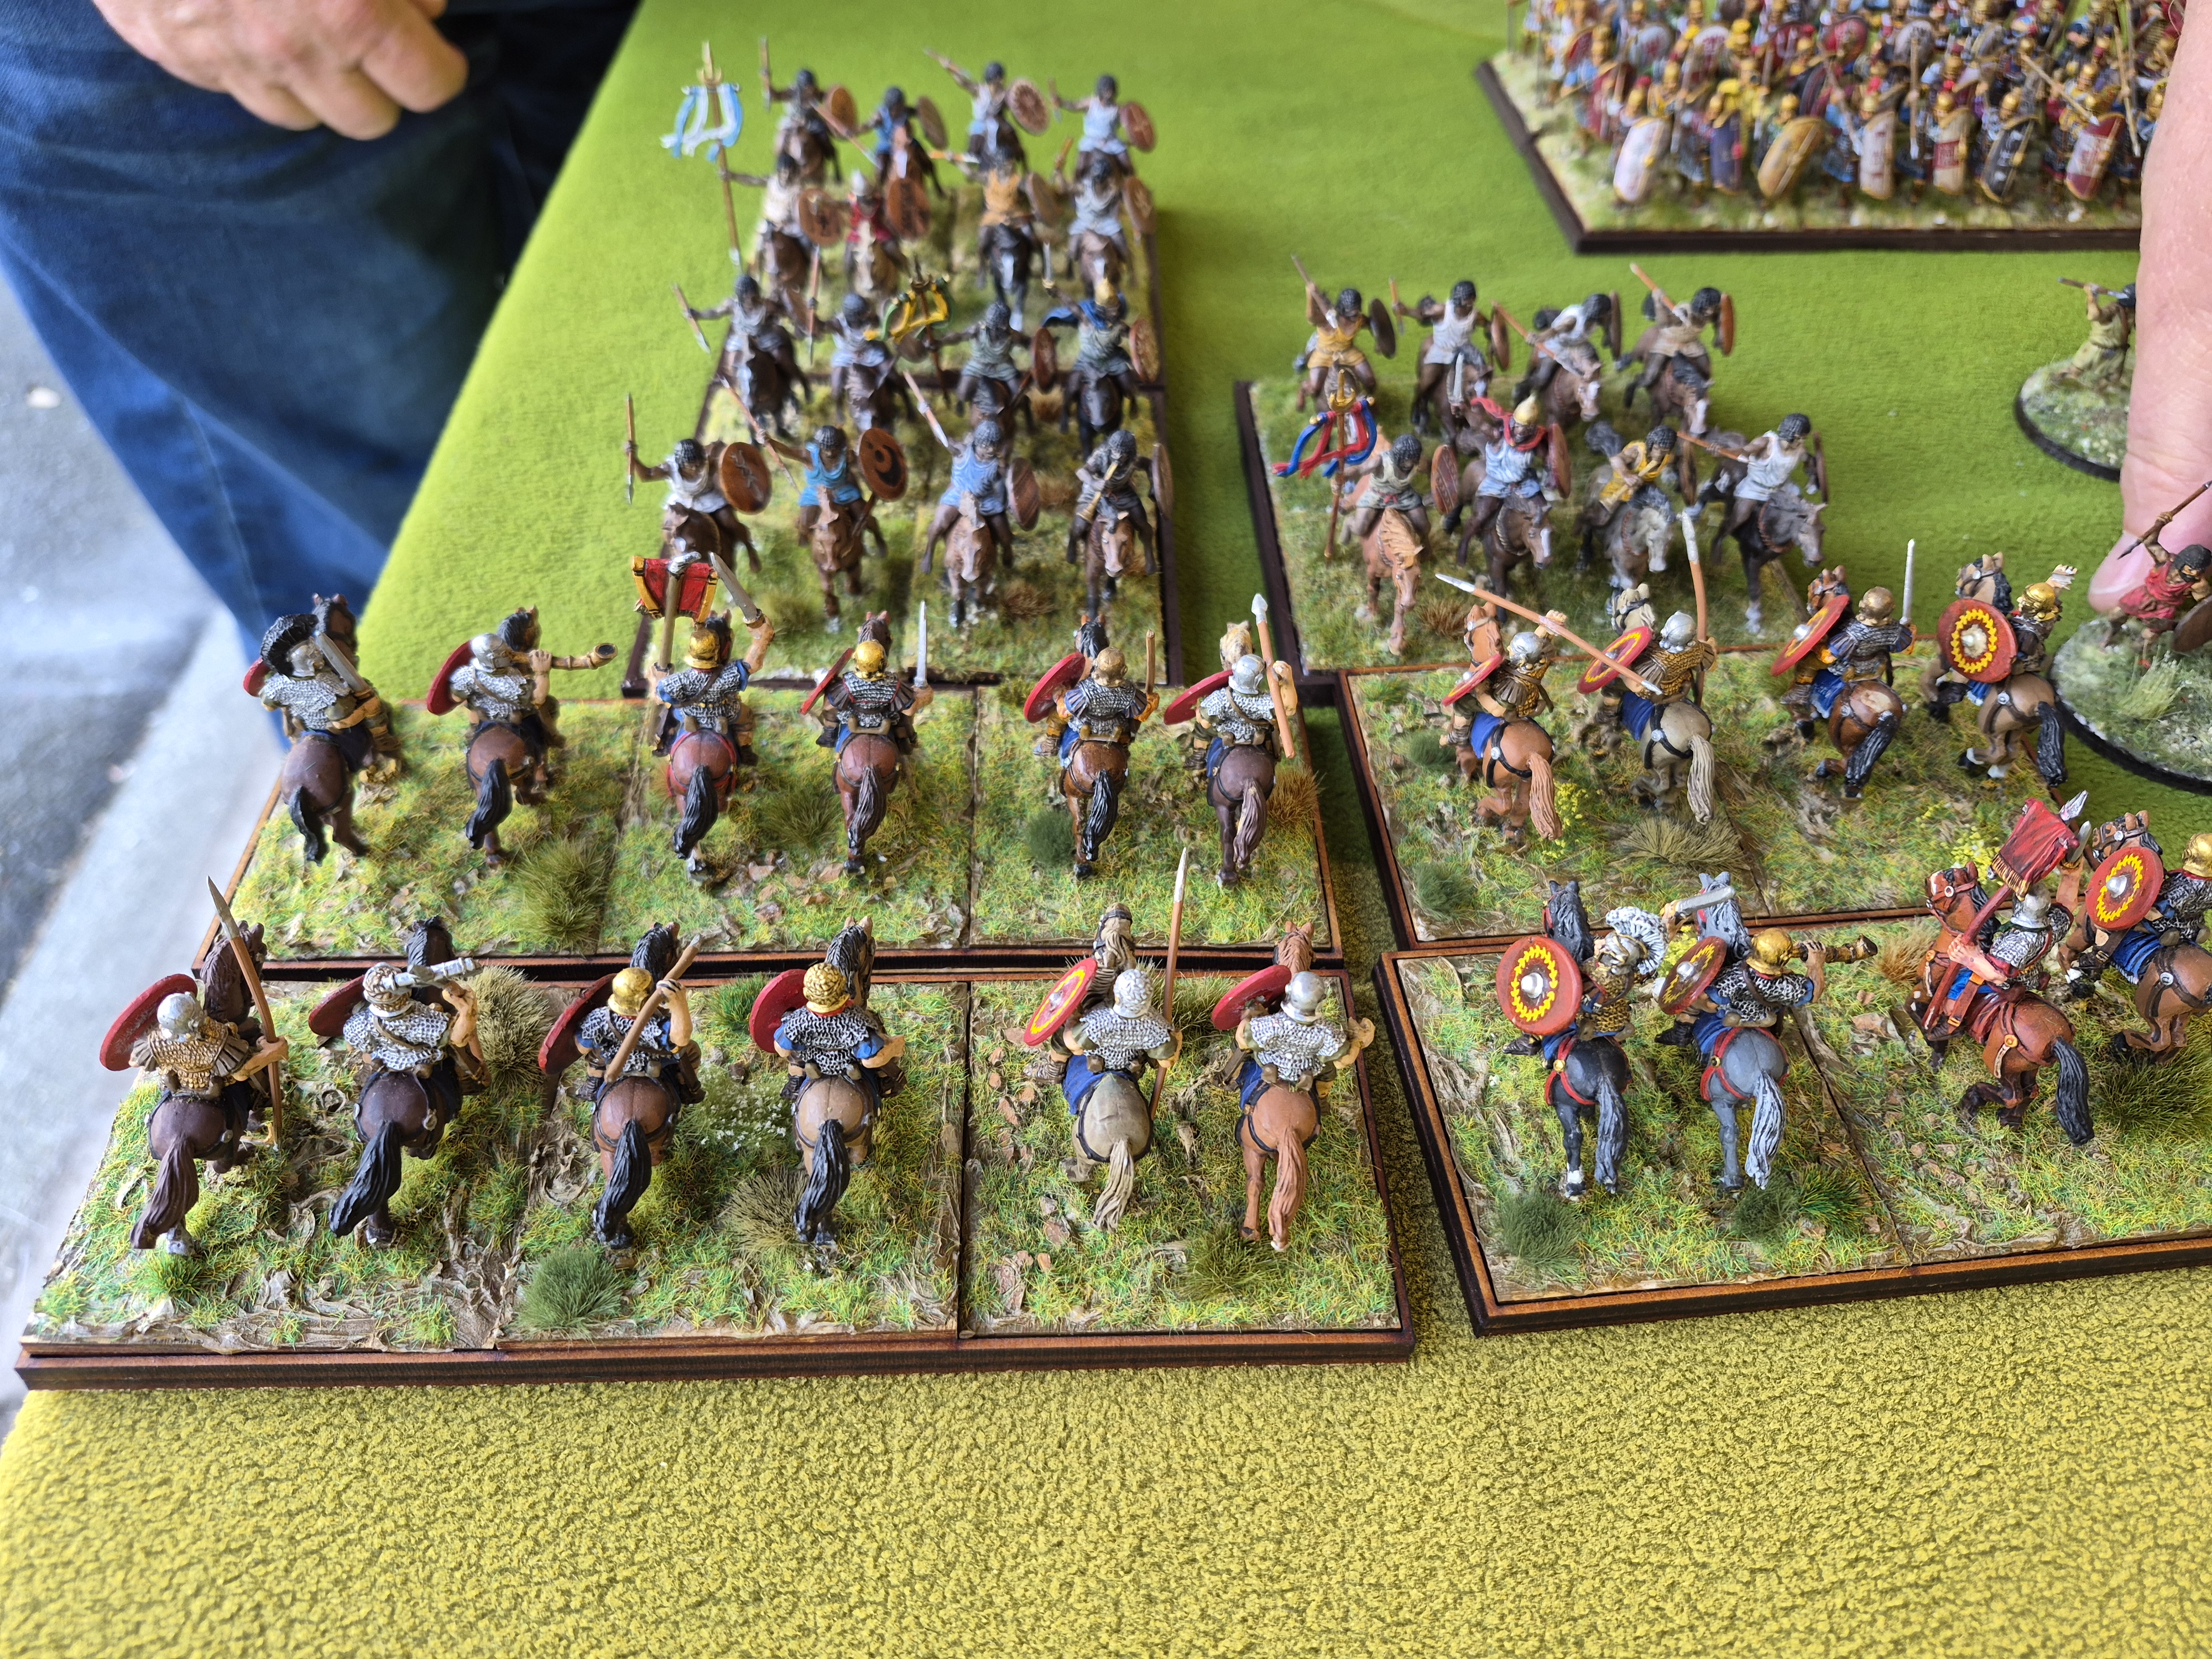
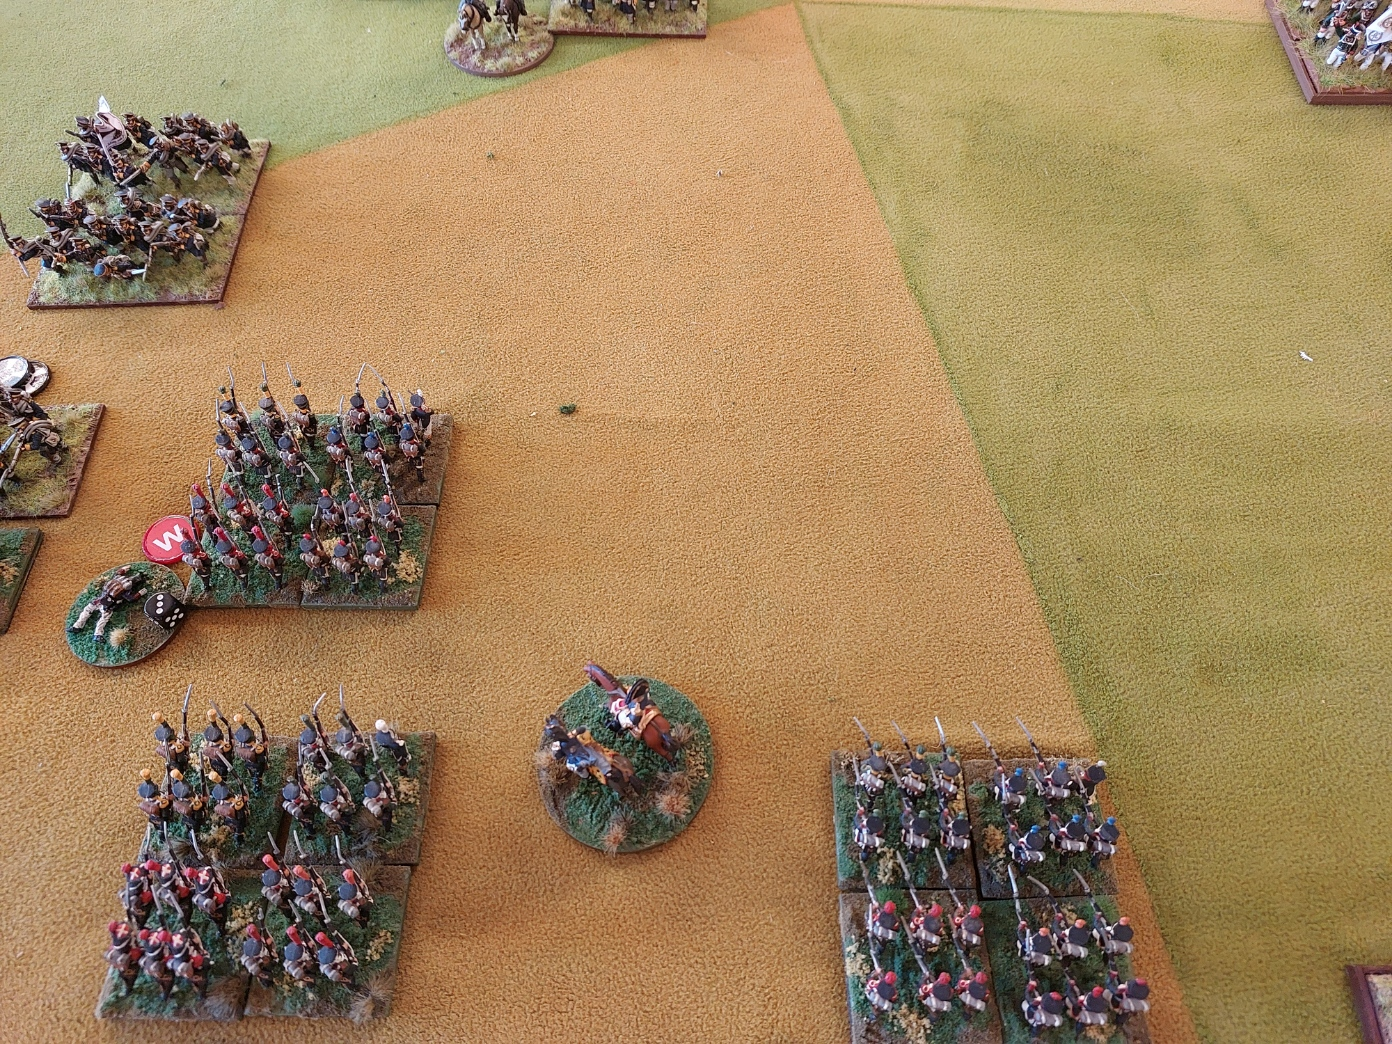
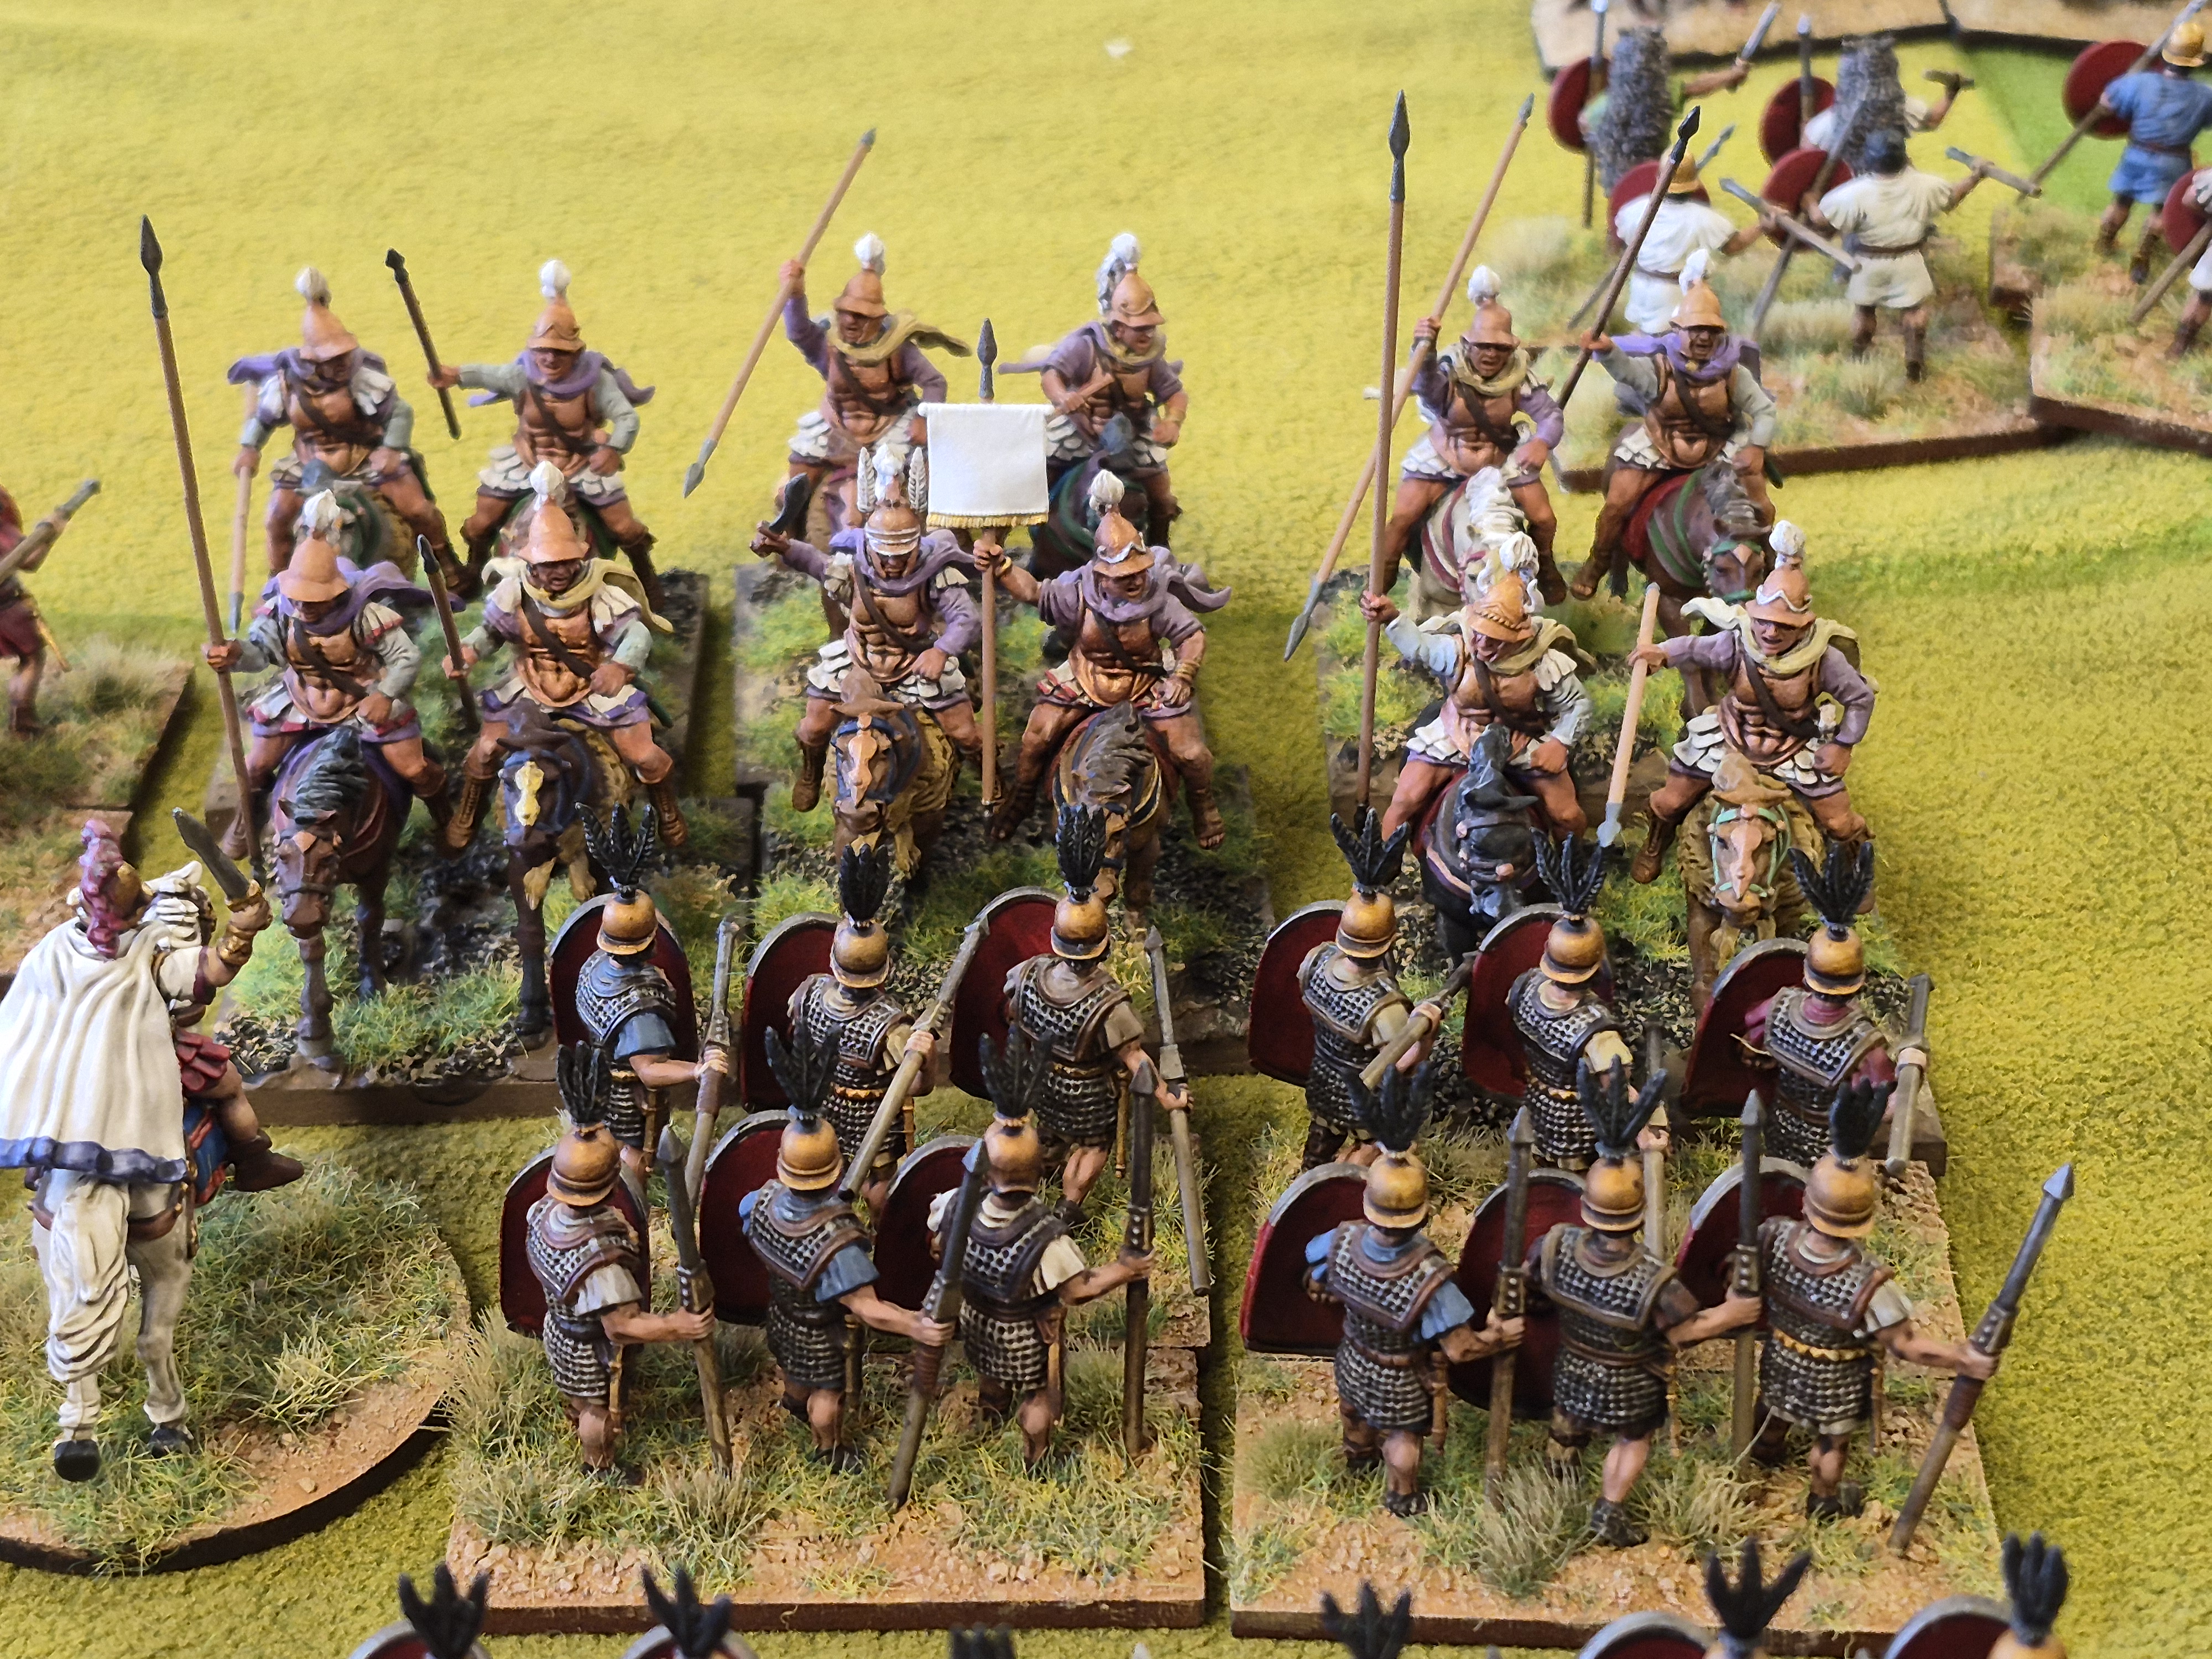
The cavalry fights were … interesting…..
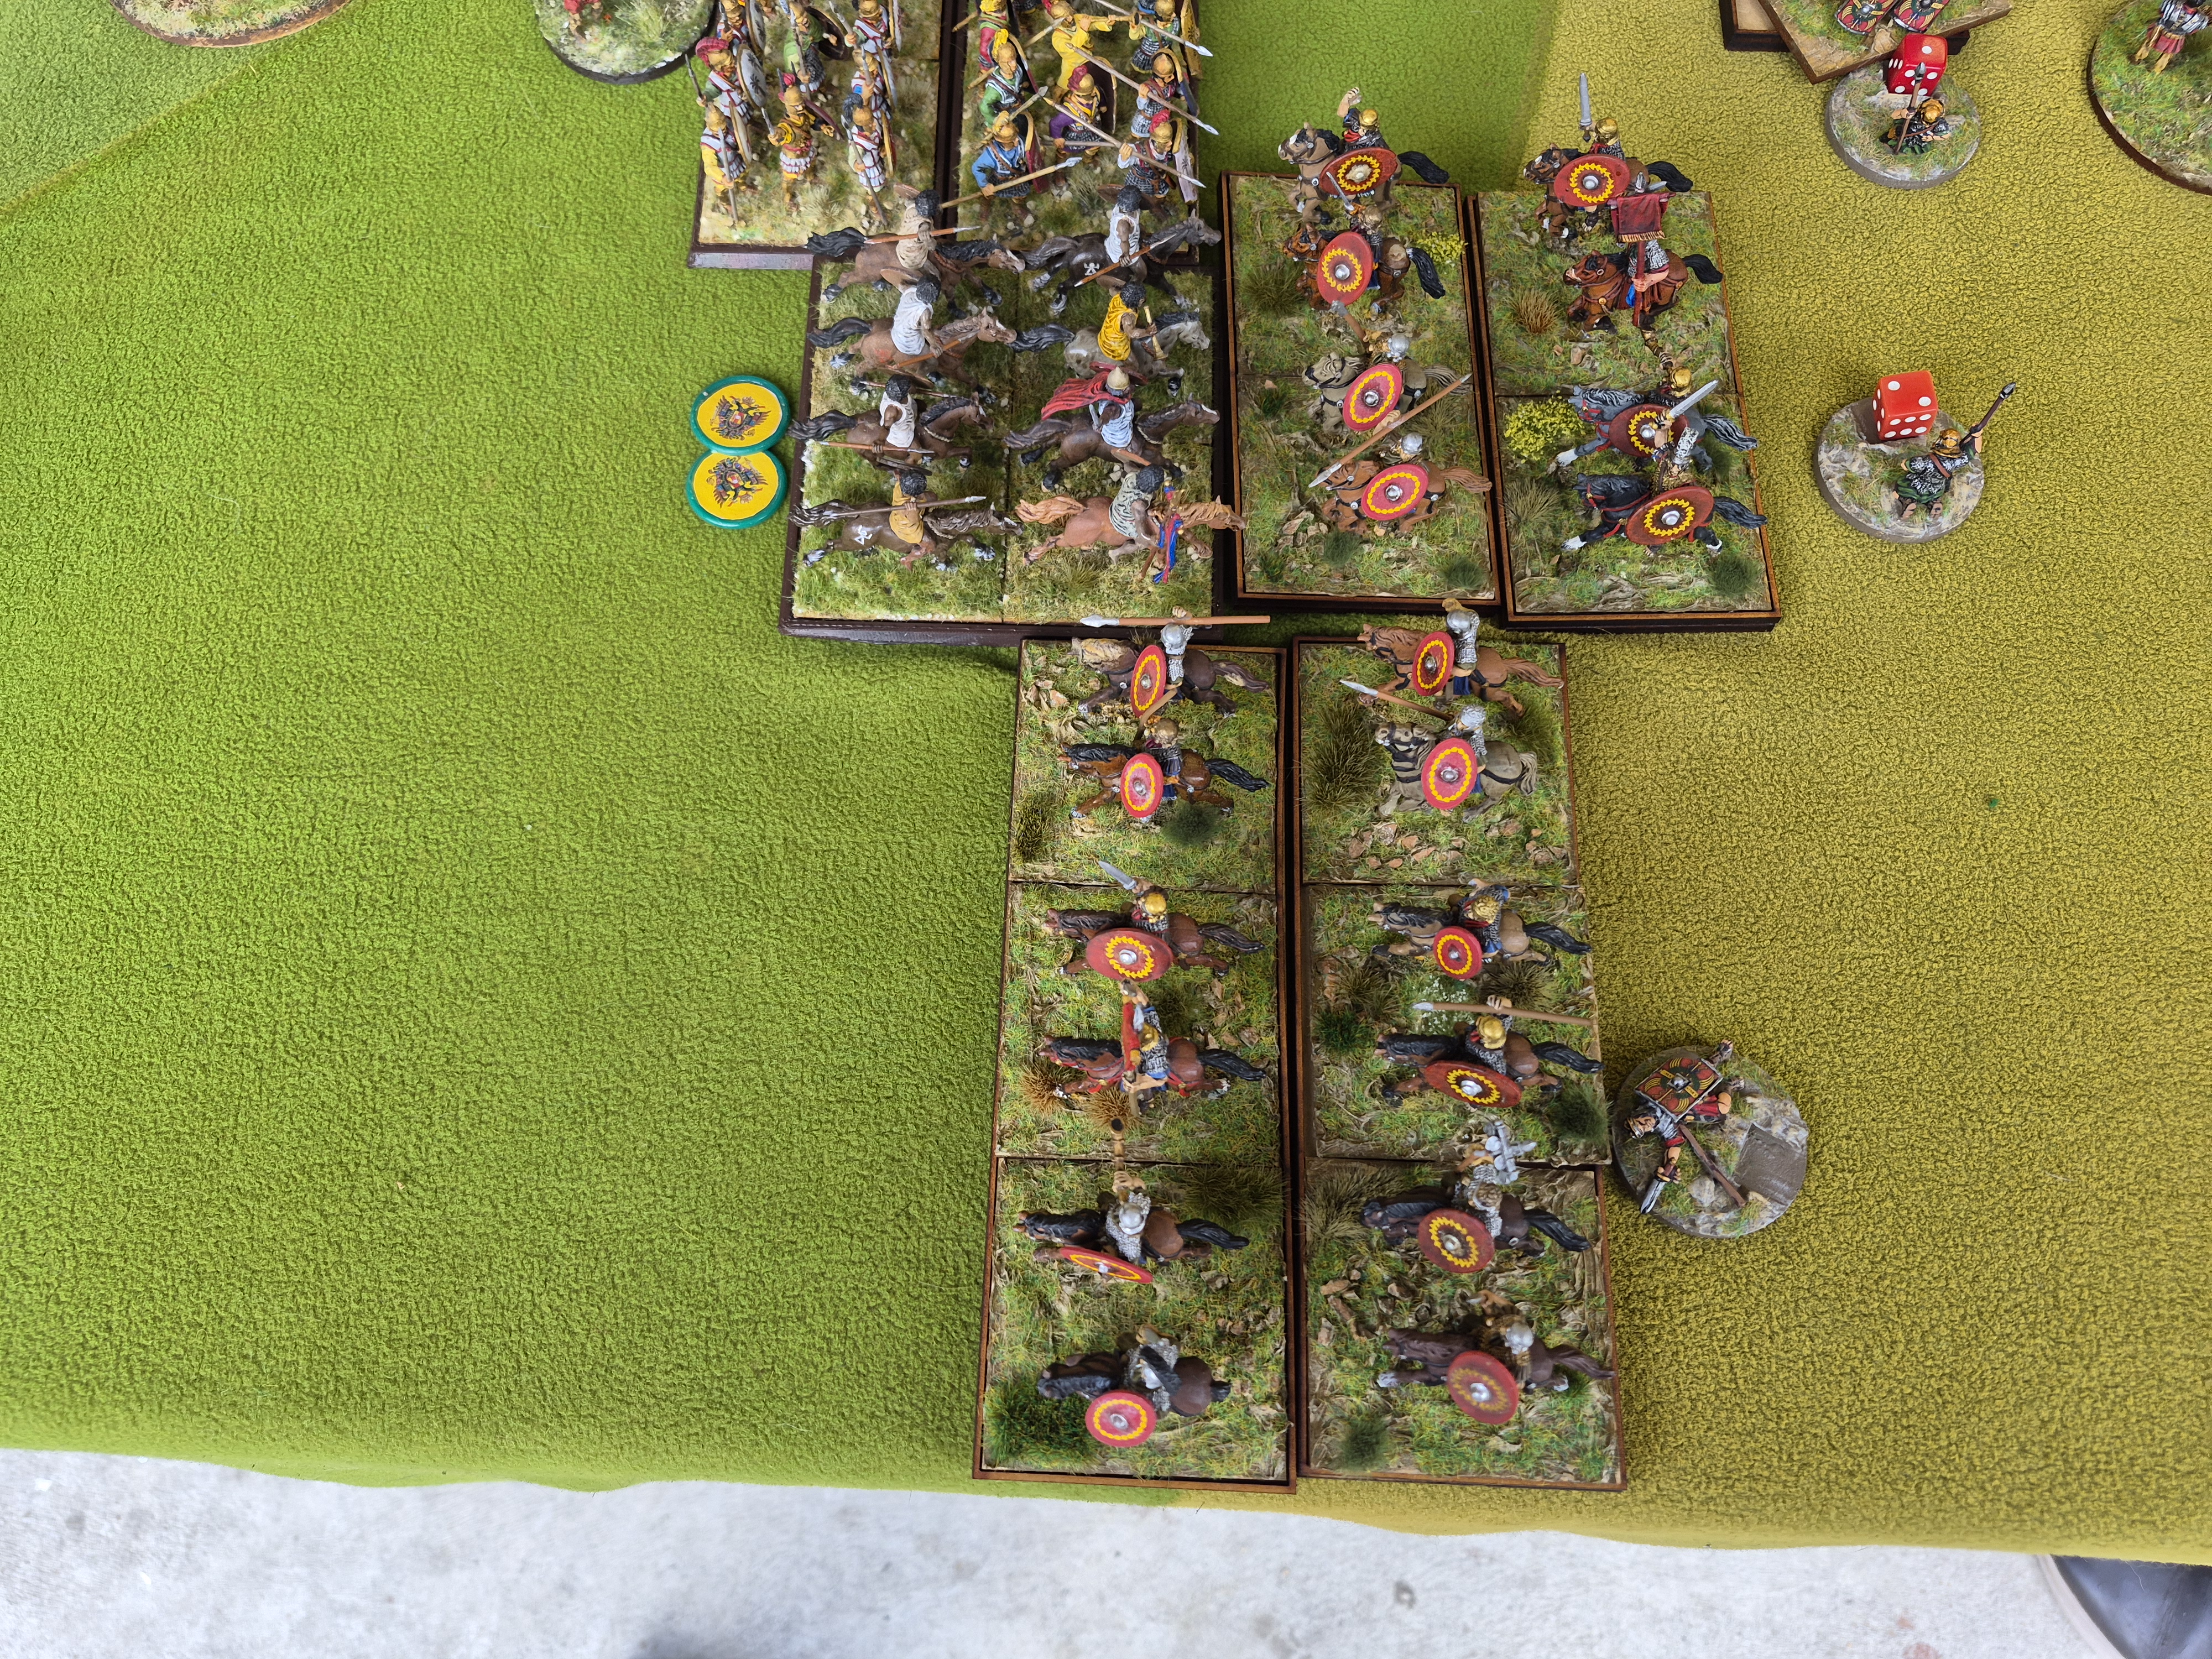
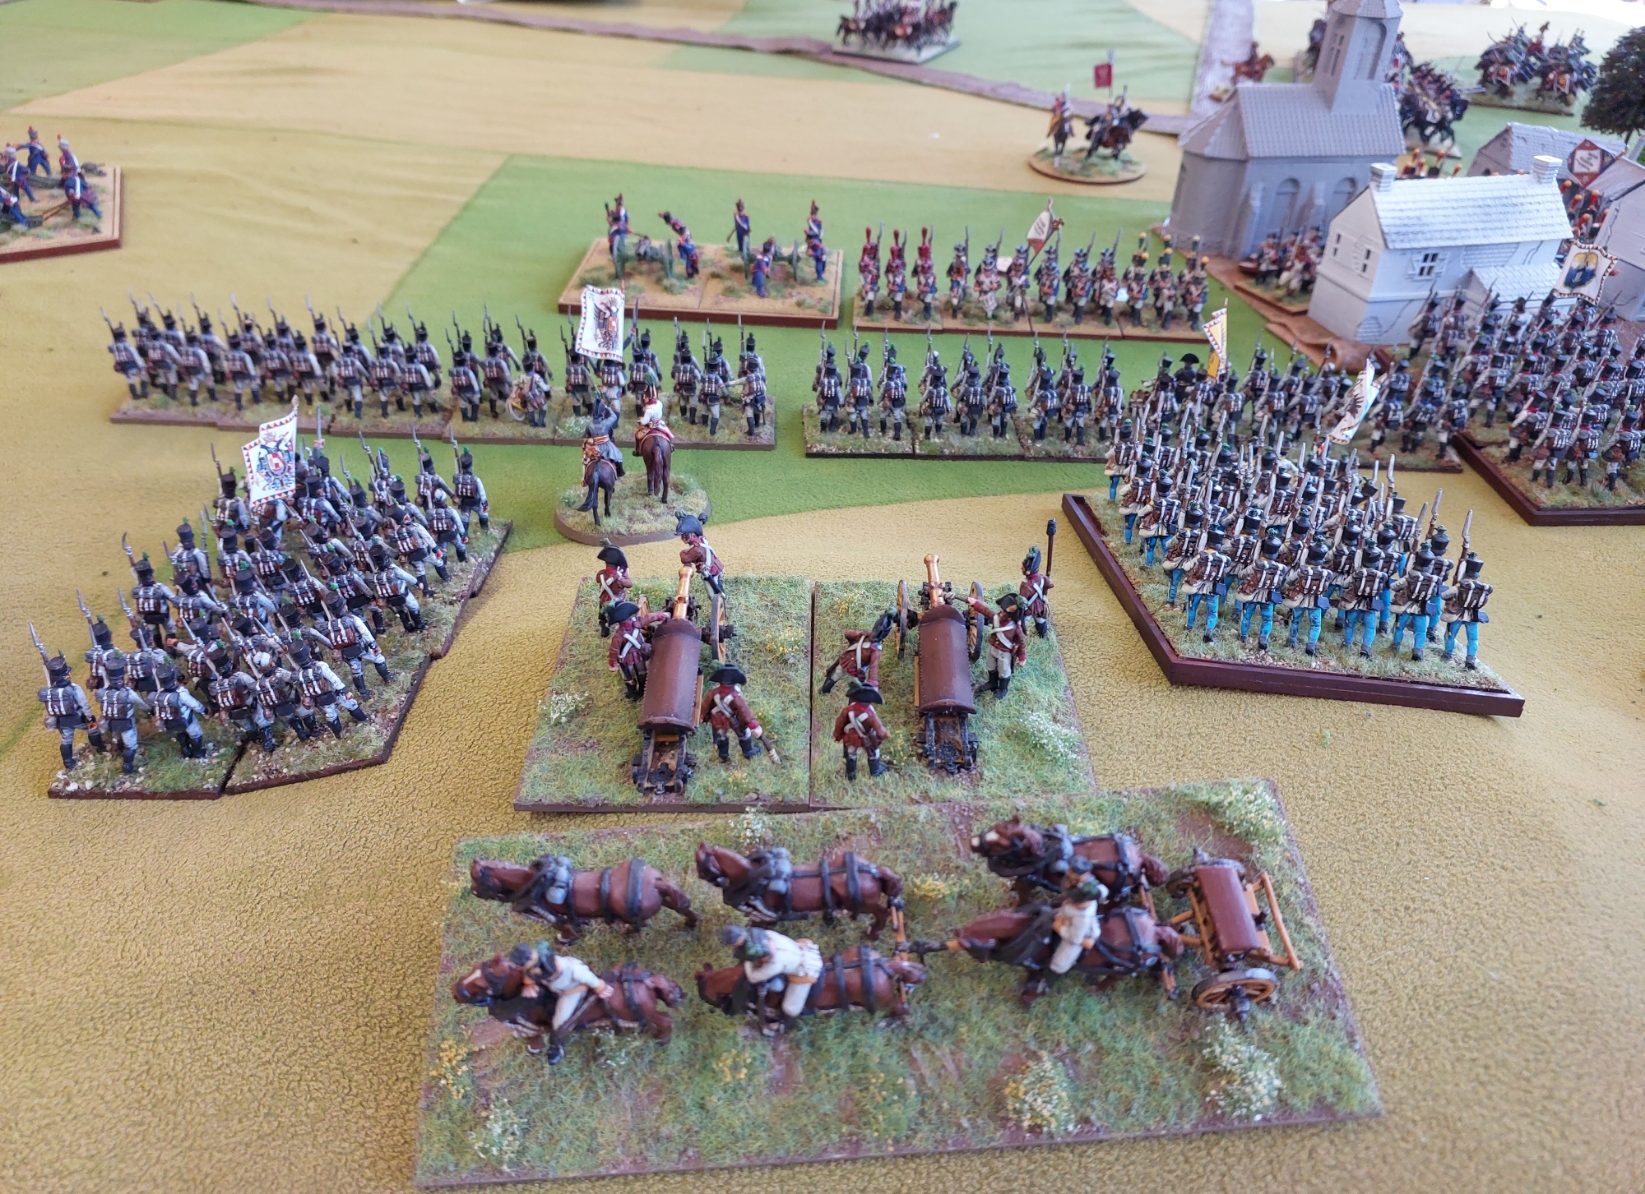
Yet more cavalry combats with a Roman Division also moving up.
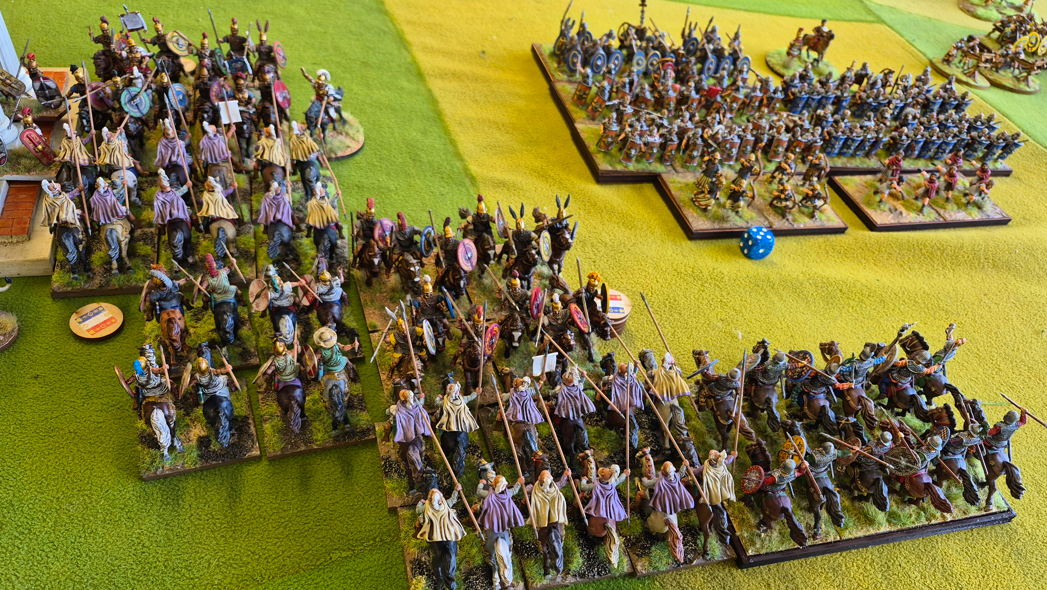
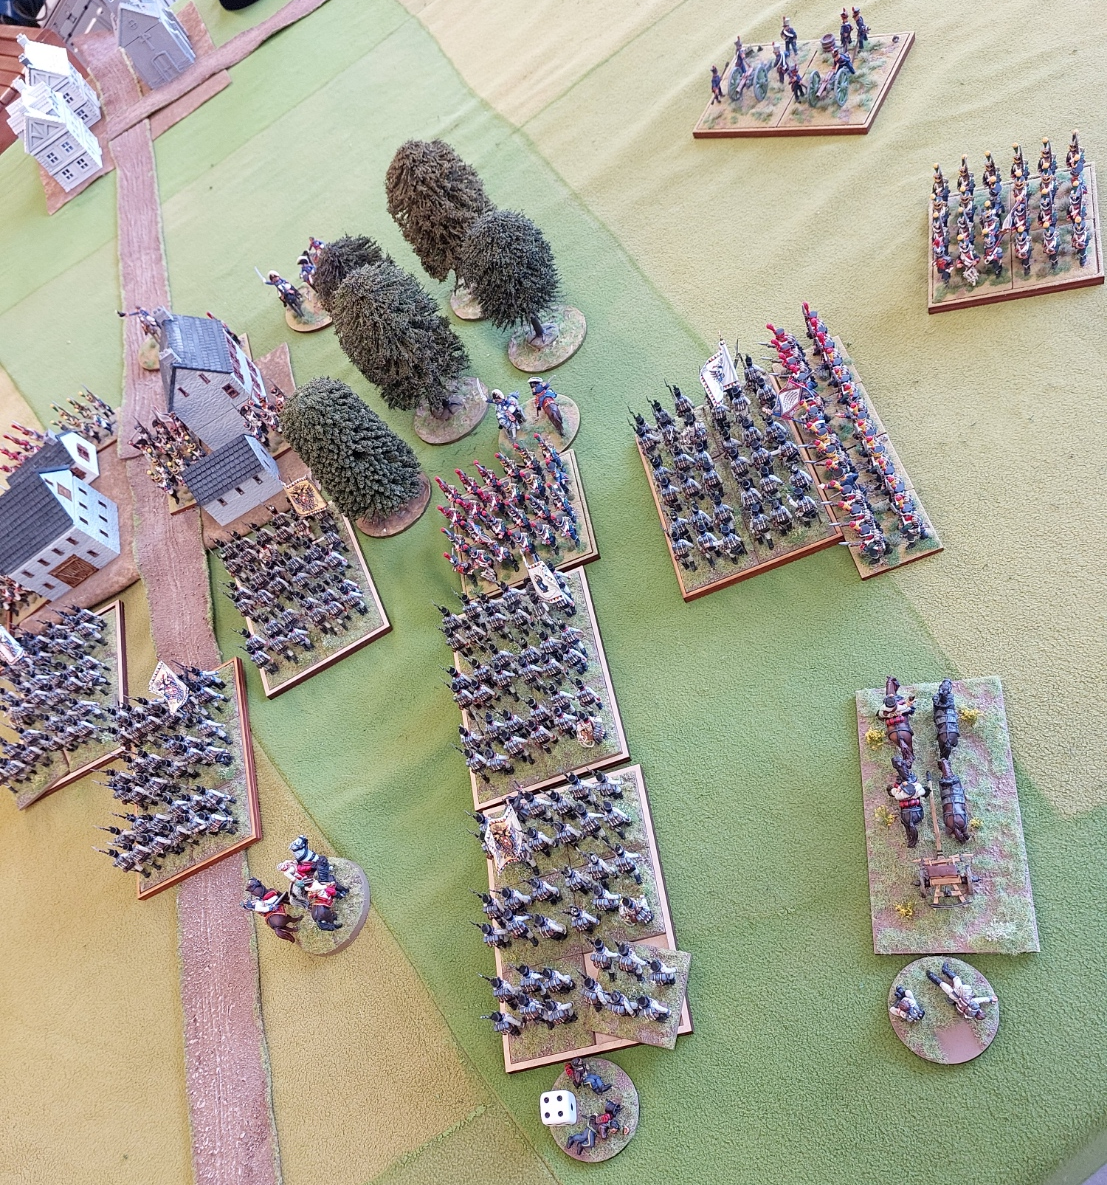
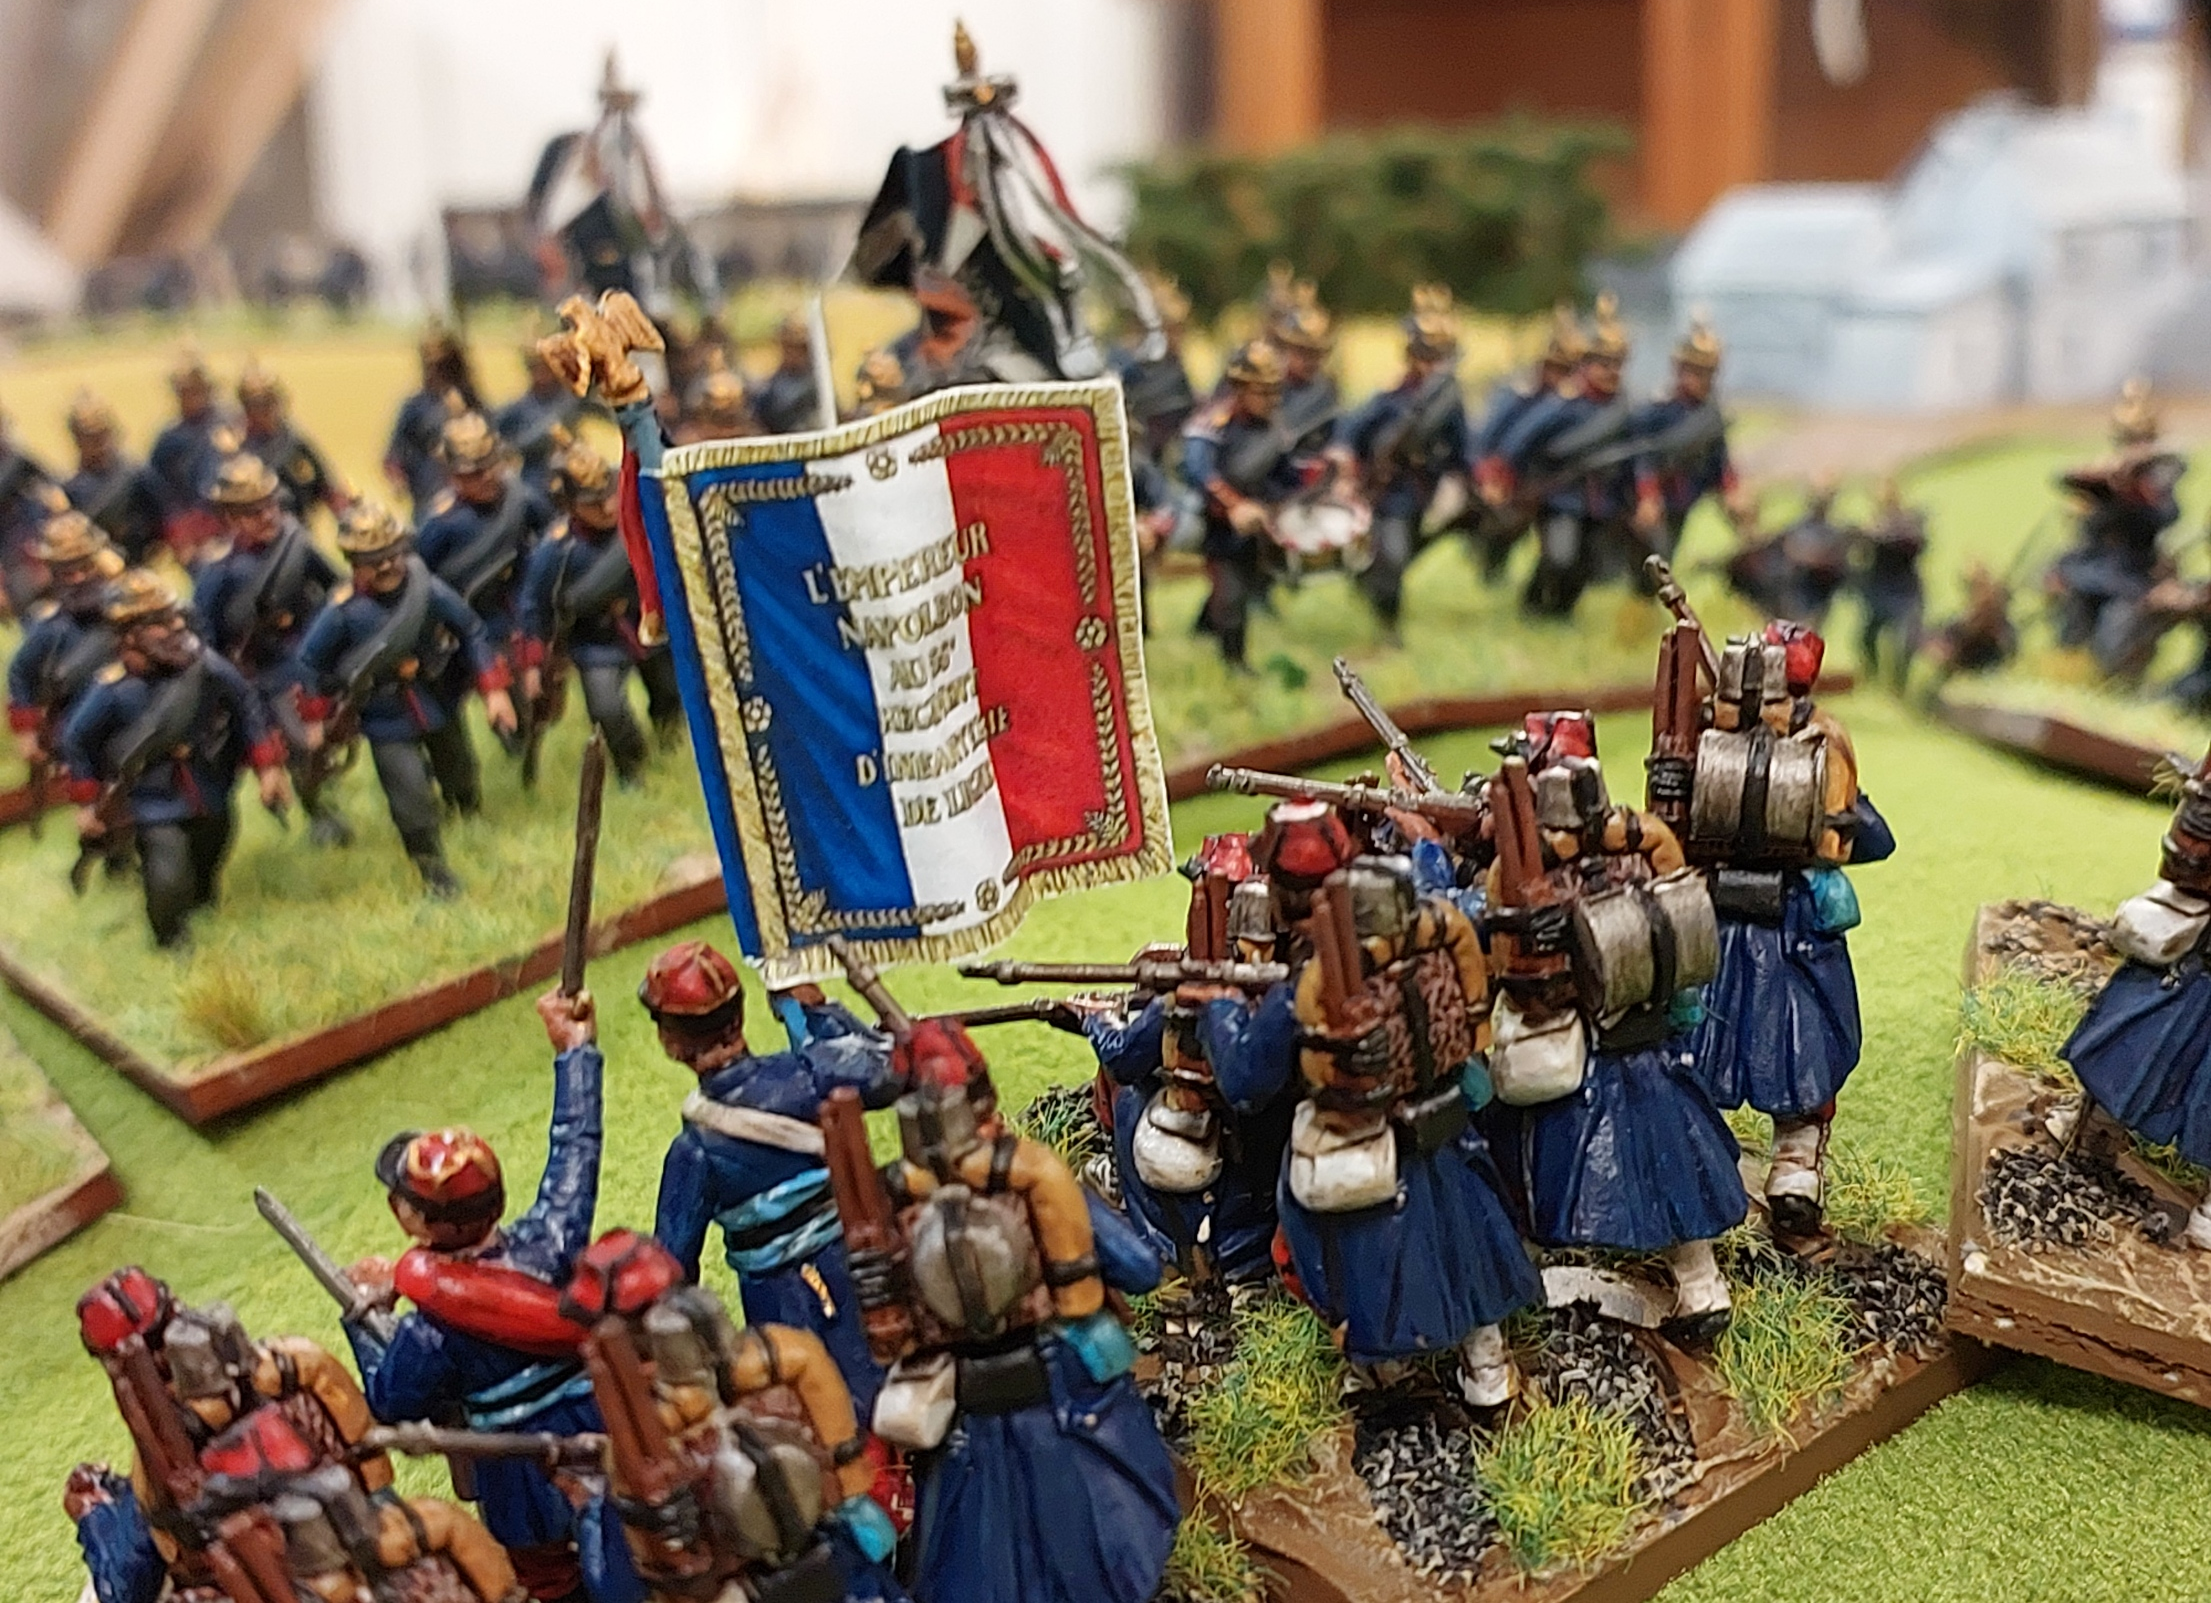
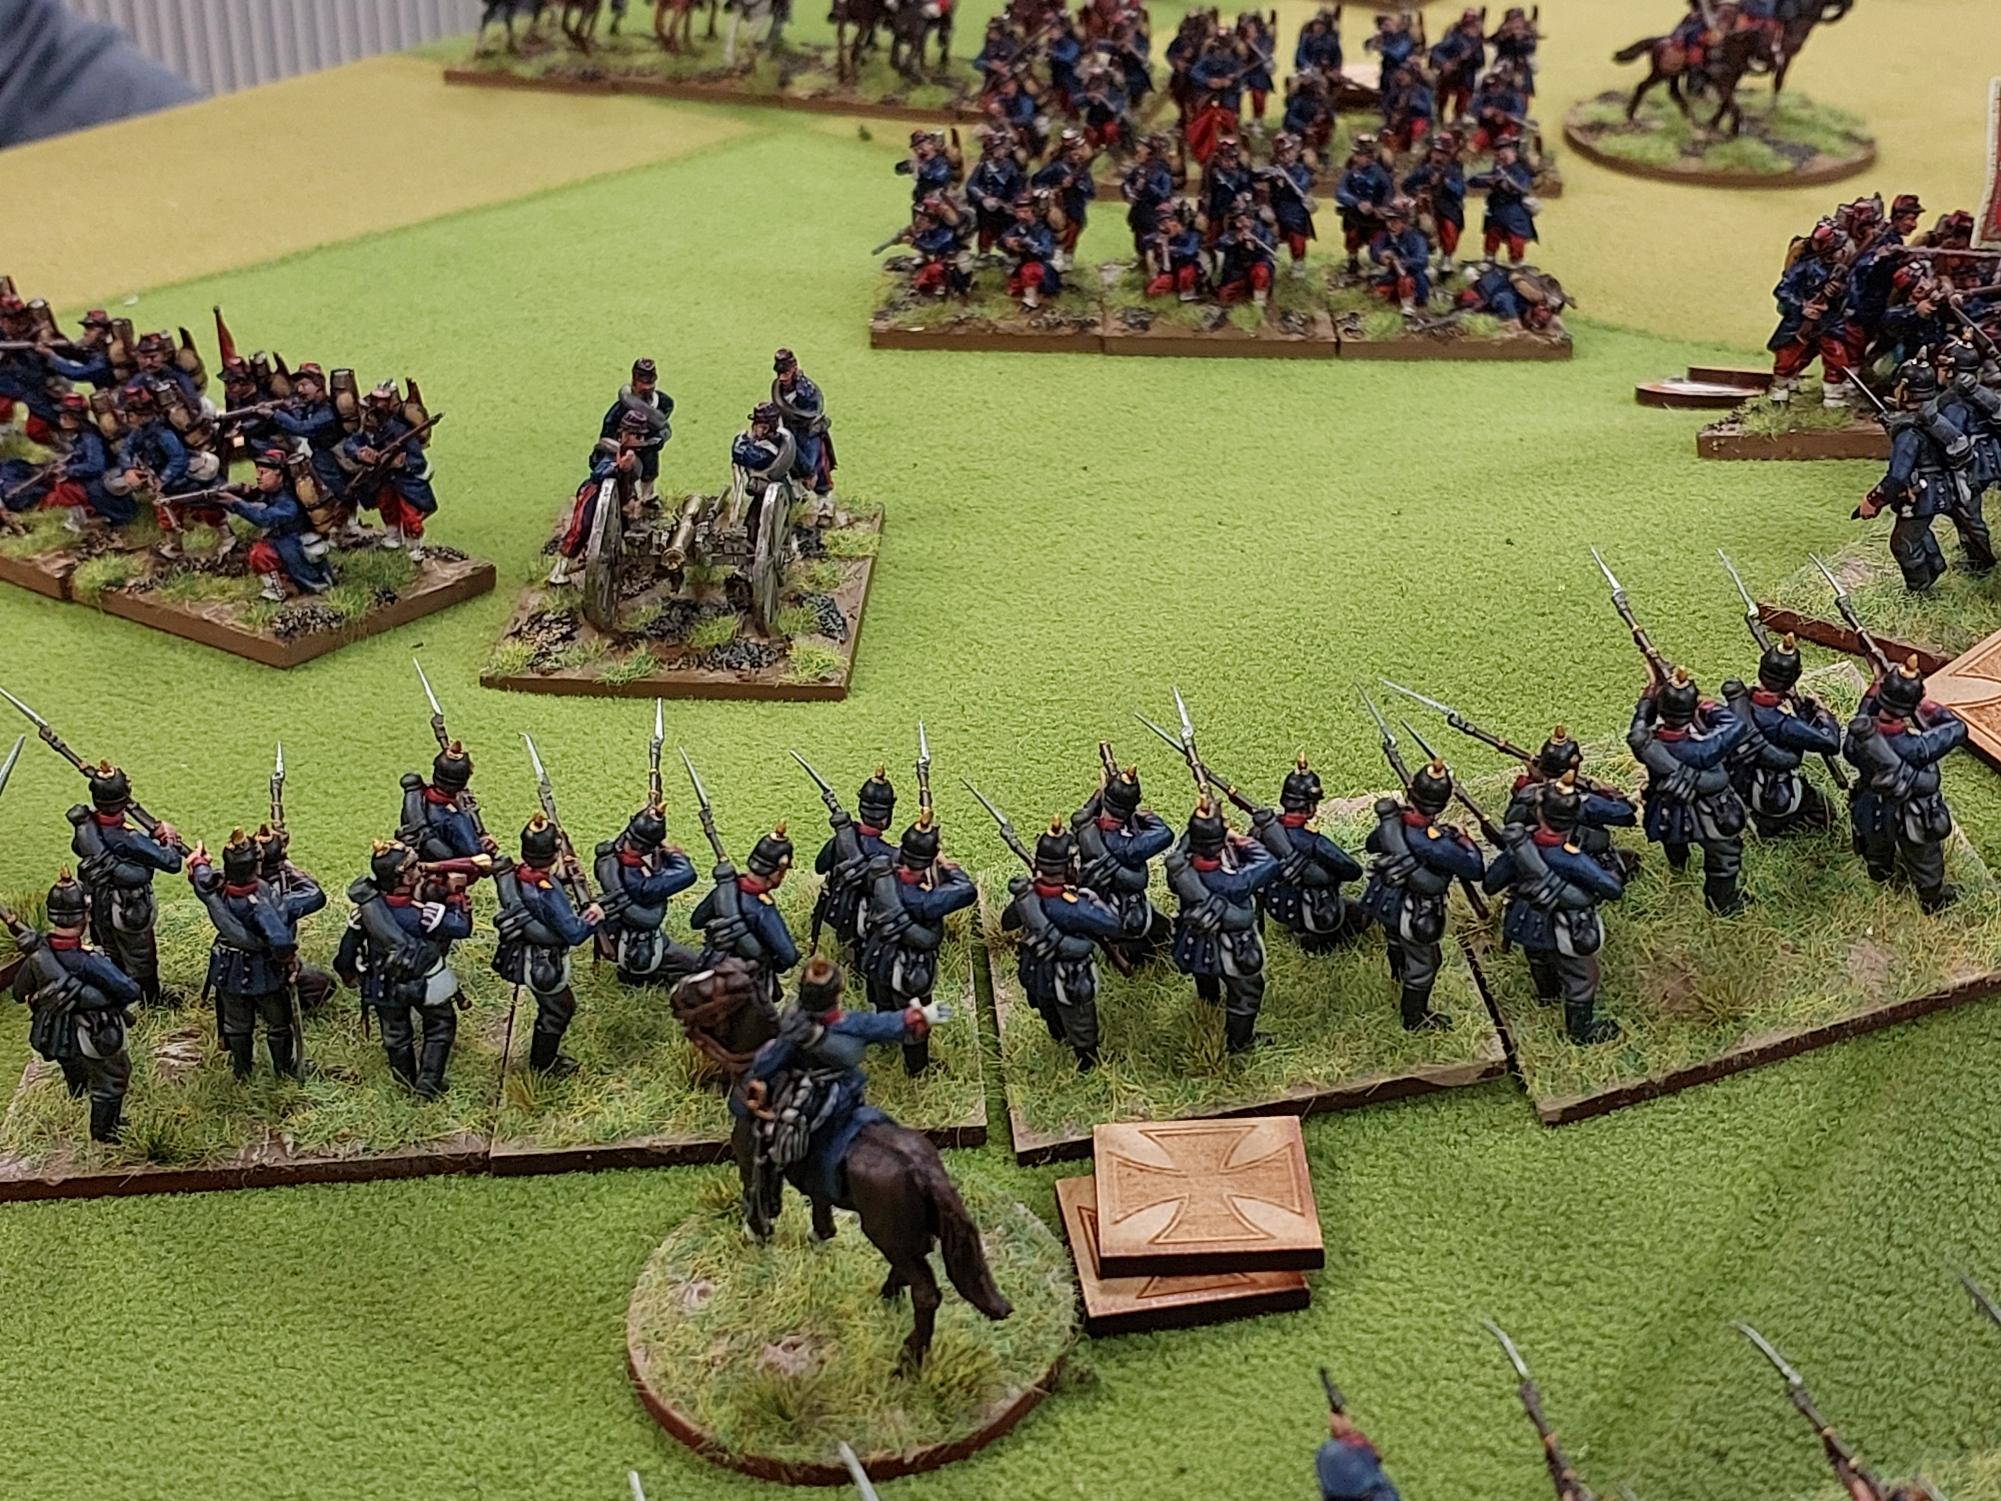
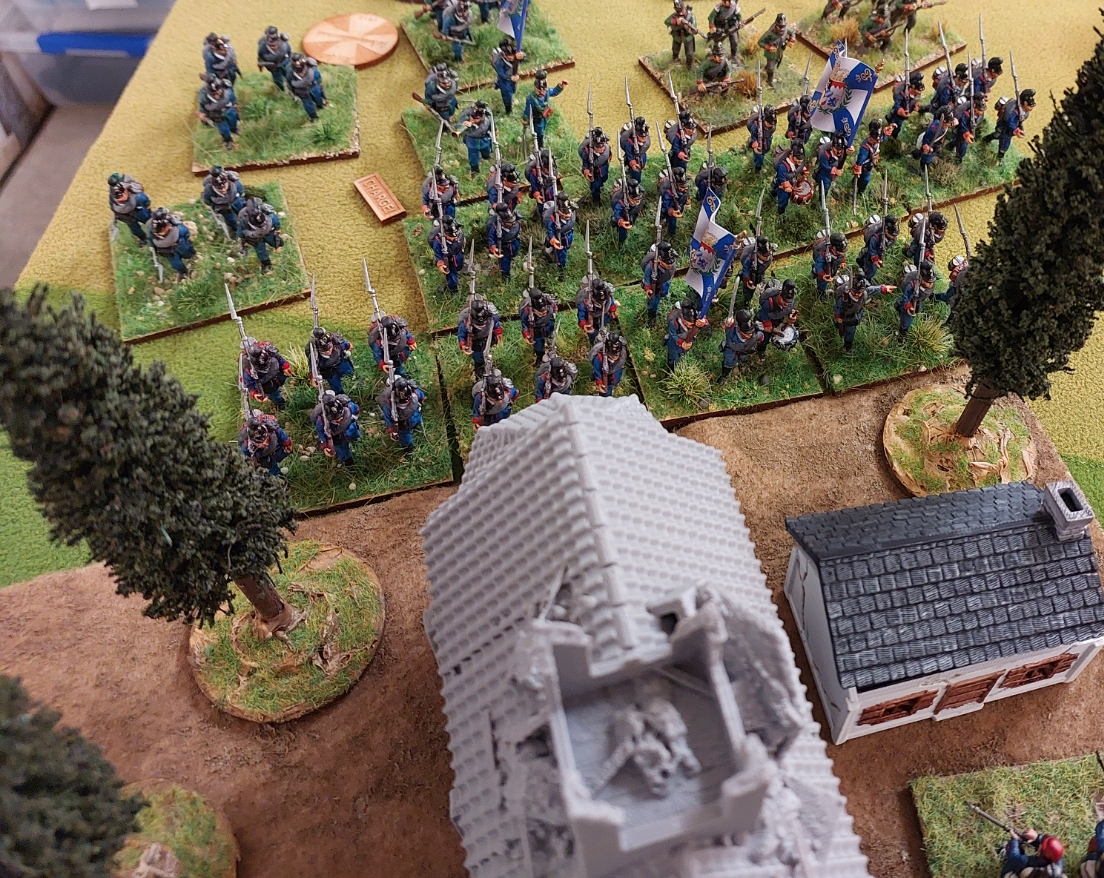
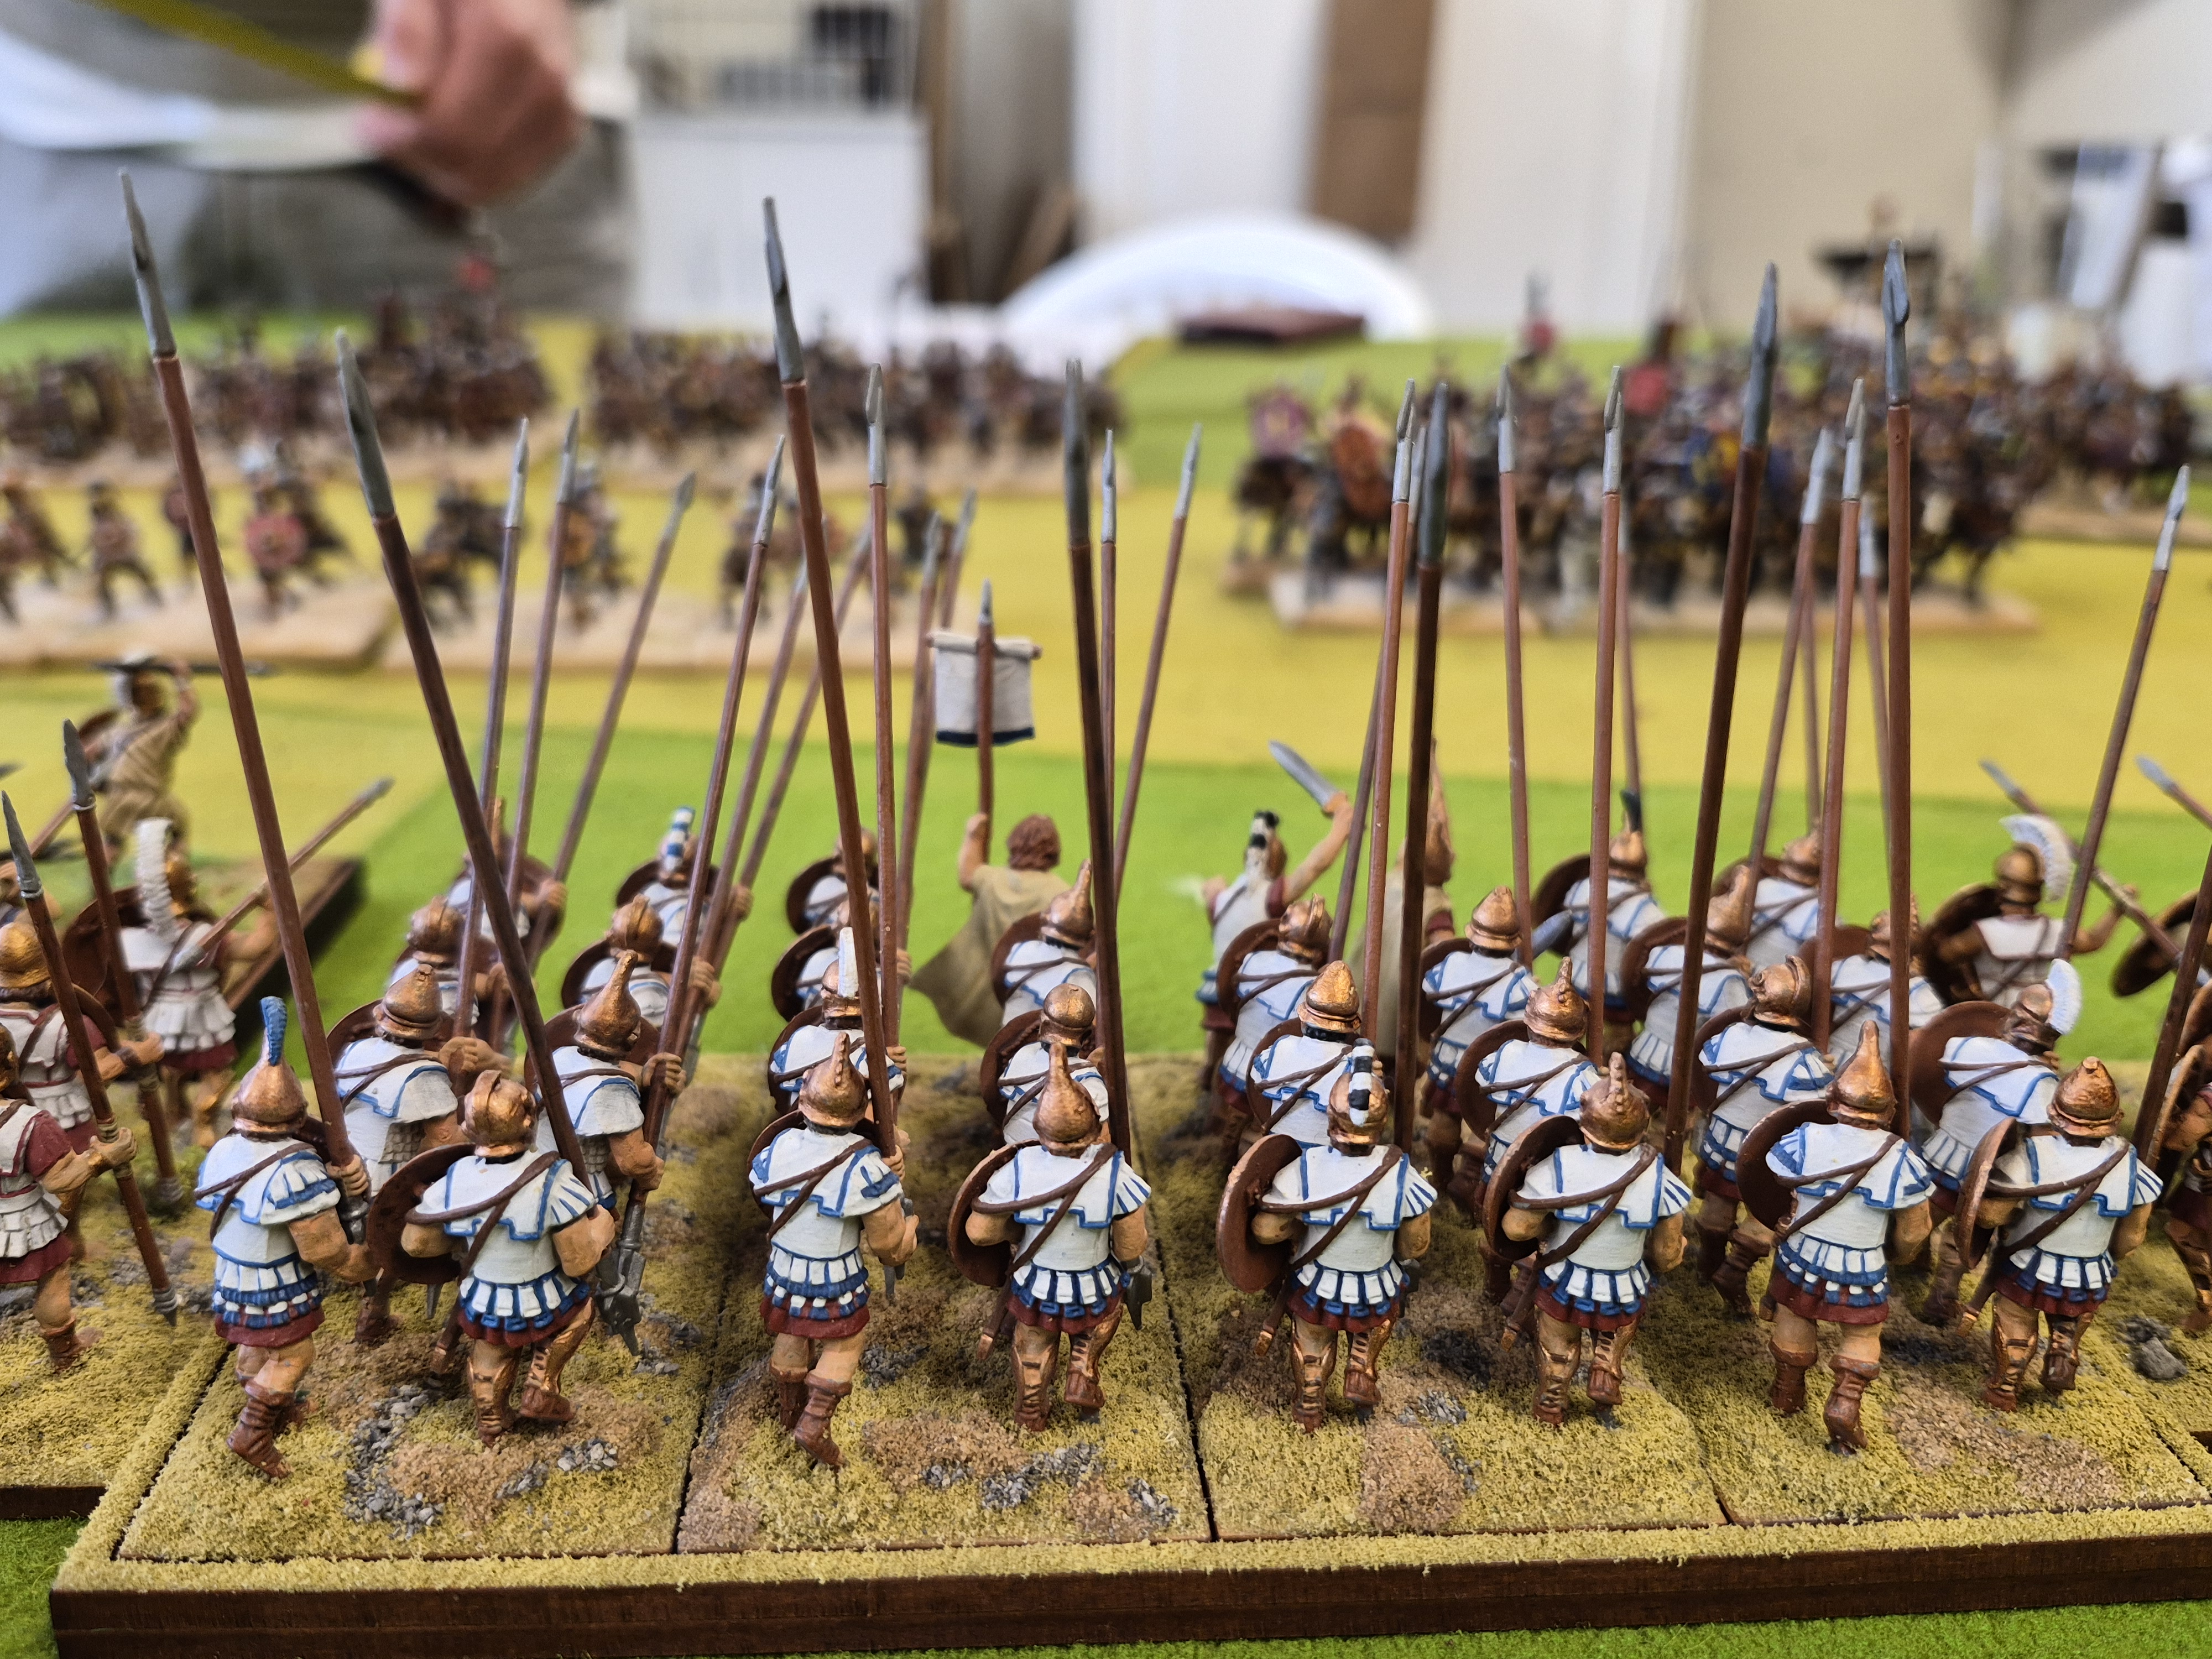
The infantry battles were fights of attrition……the differing troops types made it interesting as players try and maximize supports.
We played the Hoplites as Pikes….they were grinding down the Ptolemaic’s by the end.
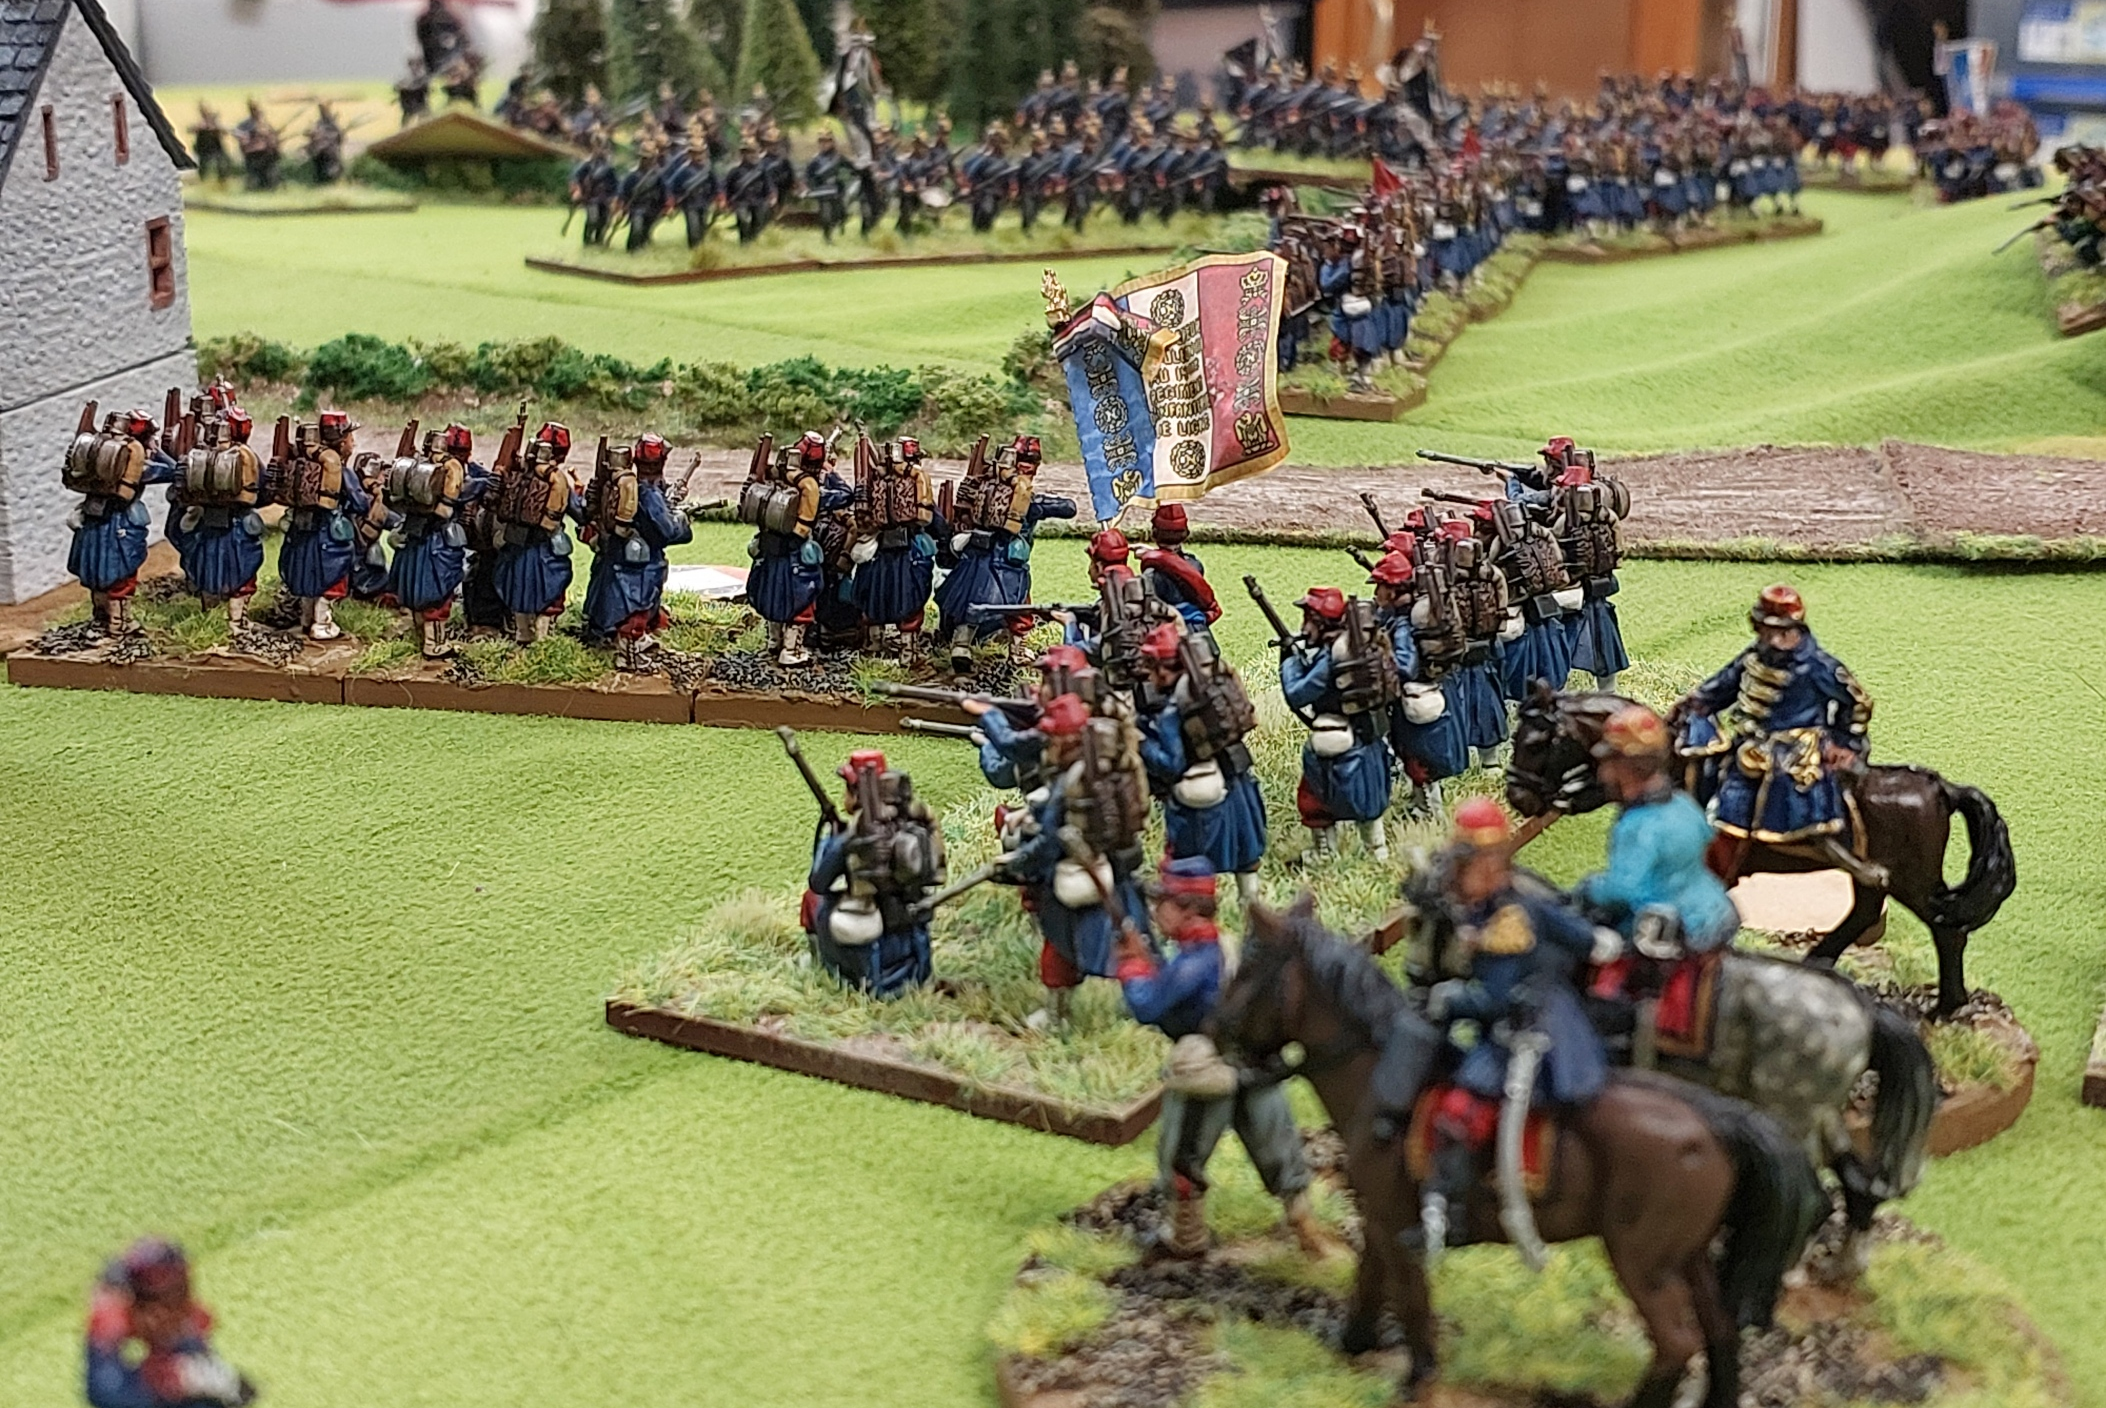
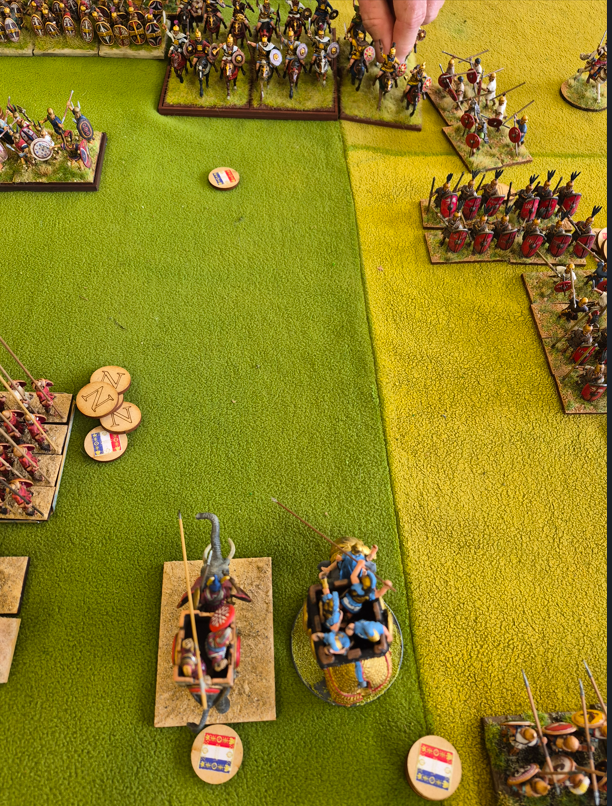
Fun… Russ left early to go watch a Rugby Game at the Stadium…..so I played a couple of turns at end….positioned the Elephants to charge flank of Romans….but before had chance to launch them..Rob finally got the Spanish cavalry to move…and they smashed a light infantry unit and carried on into the flank of the Elephants…who are allowed to turn and face them…cavalry don’t like fighting Elephants…they lost and we both retired!
And they was the end…..the Cathaginians were going okay… Keith’s Hoplites discovered Republican Roman infantry are tricky…his cavalry had a lot of fun though….and the Ptolemaic’s were in deep…deep trouble….on the other side….Rob was punching through the Ptolemaic’s now that his Spanish infantry has decided to move up…..and Robert was going okay against the Cathaginians…lots of shooting…combats…..
So lessons were learned…..was good as a rule refresher and now we can start having more regular games to get the hang of the game. I used the Army Builder from Lone Wolf to generate Army Lists.
That’s all for now…Terry out.