Continuing right along.
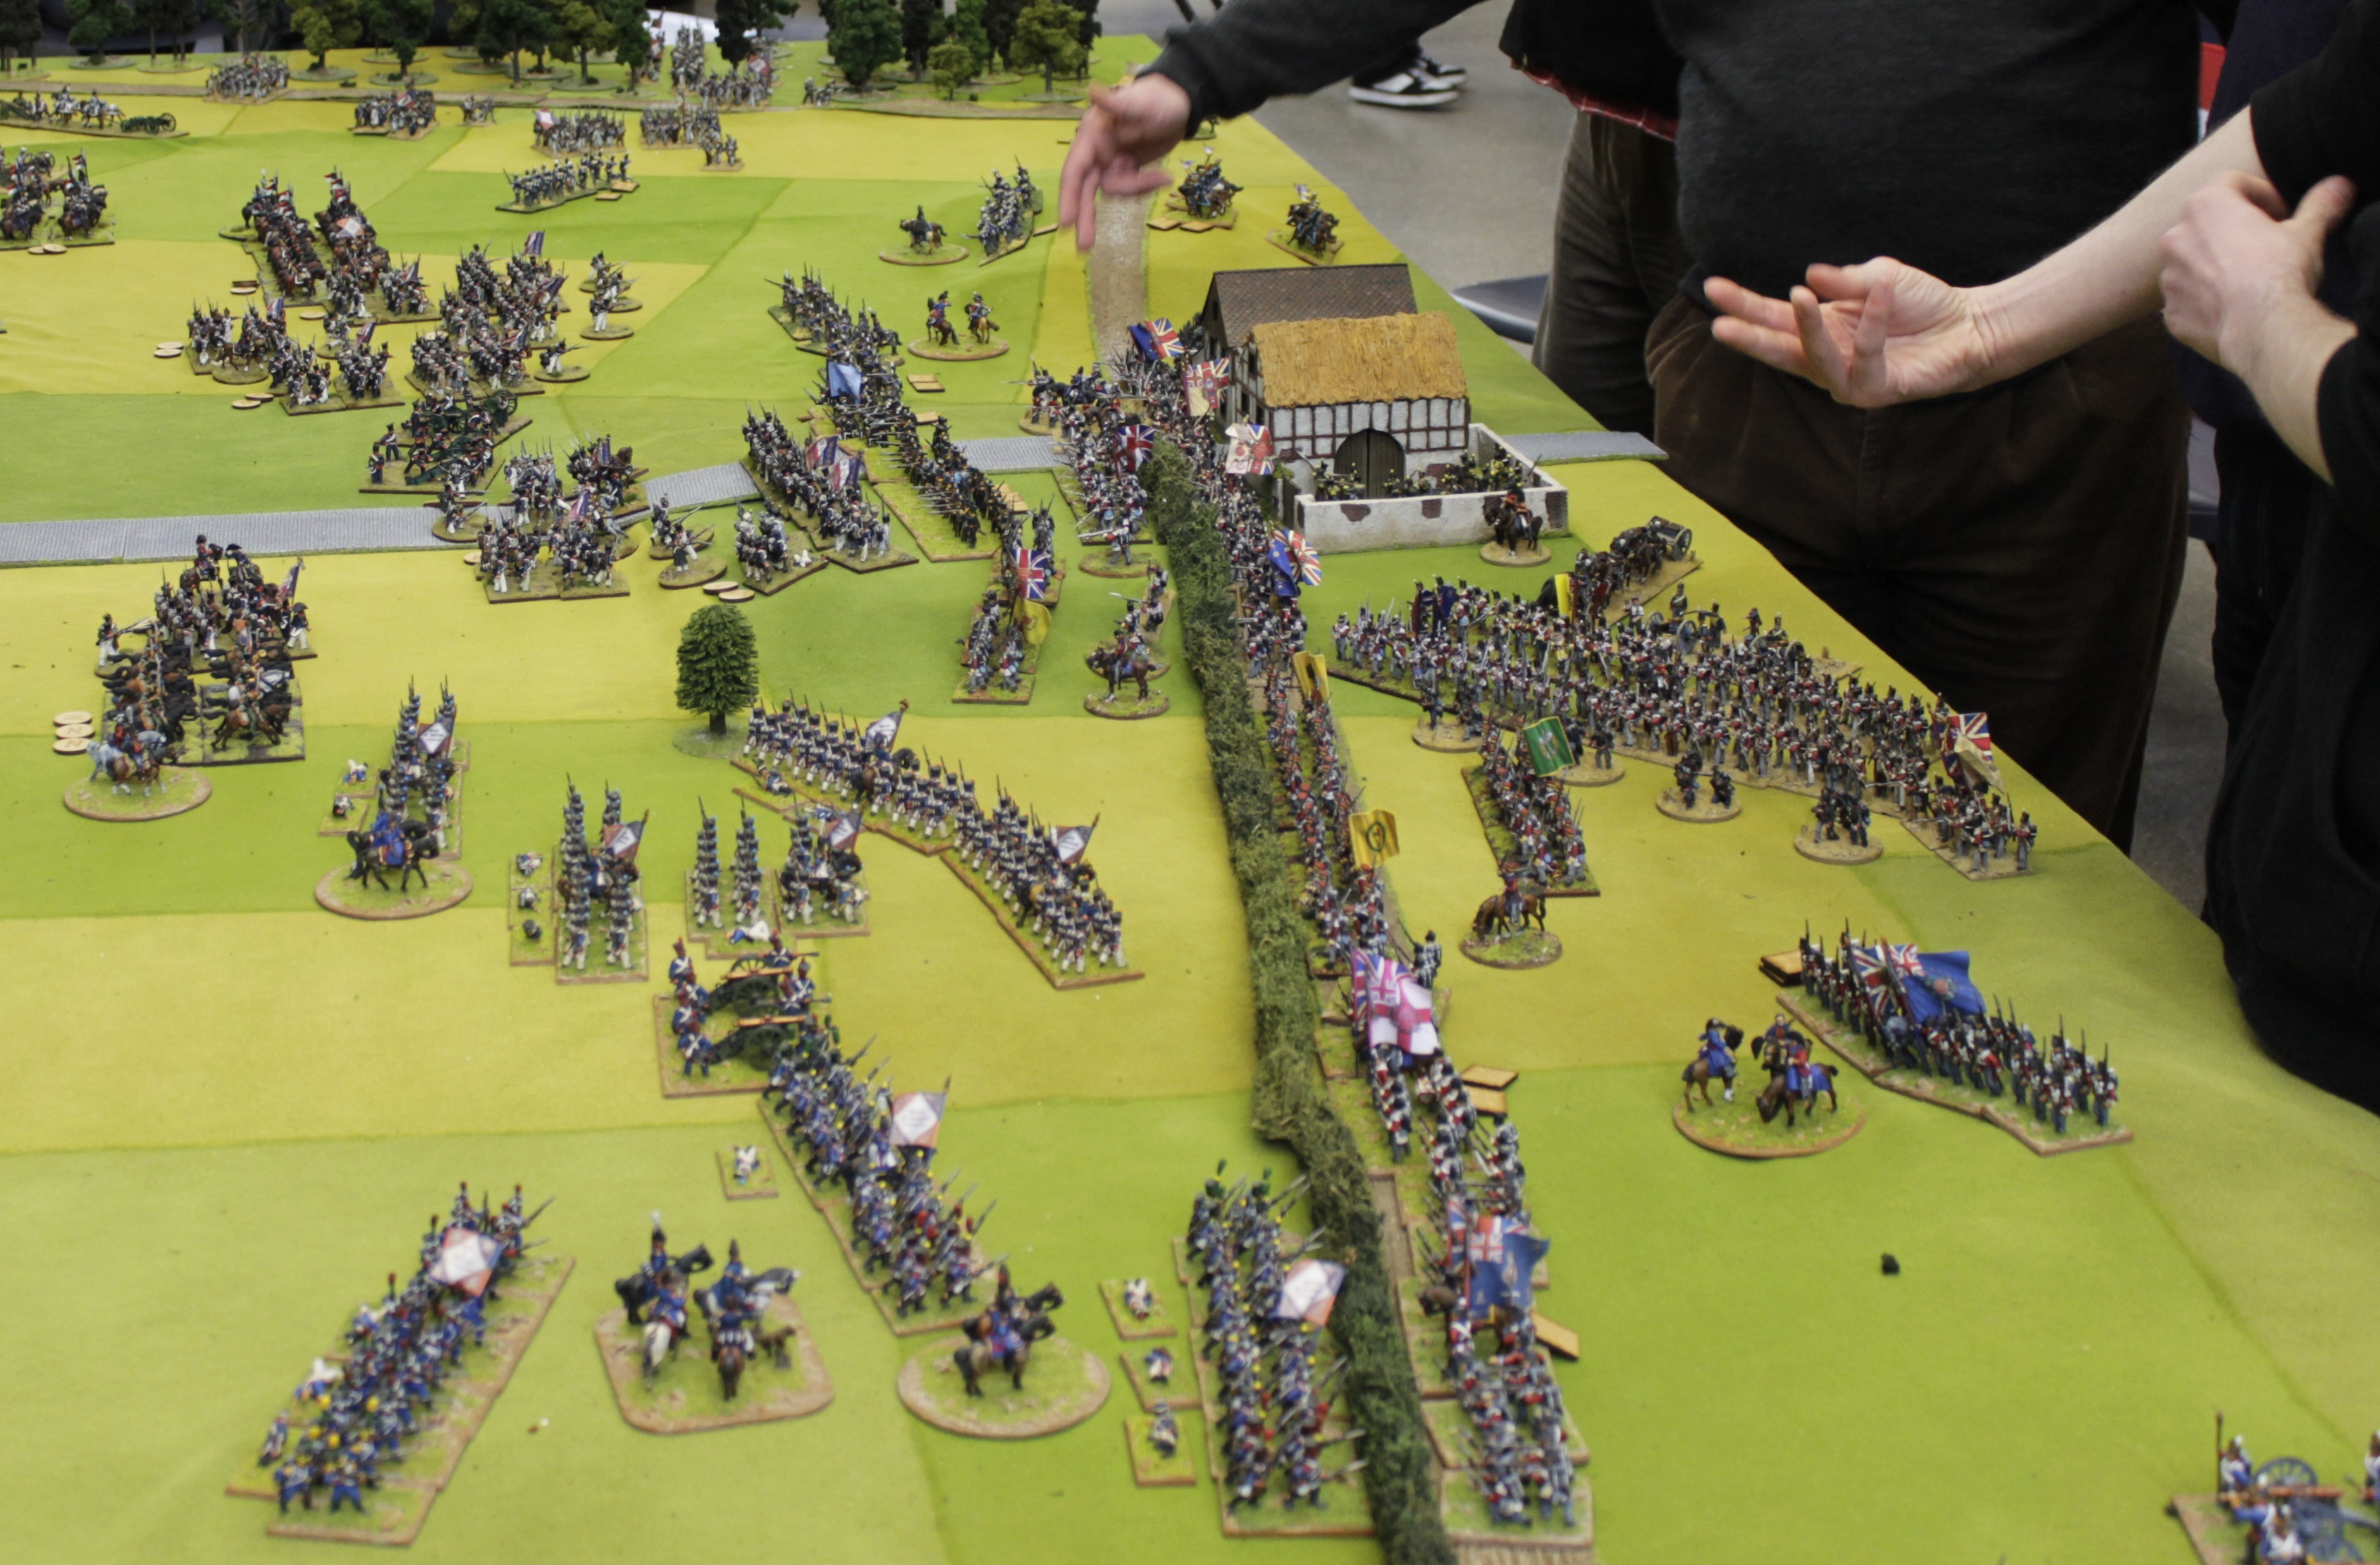
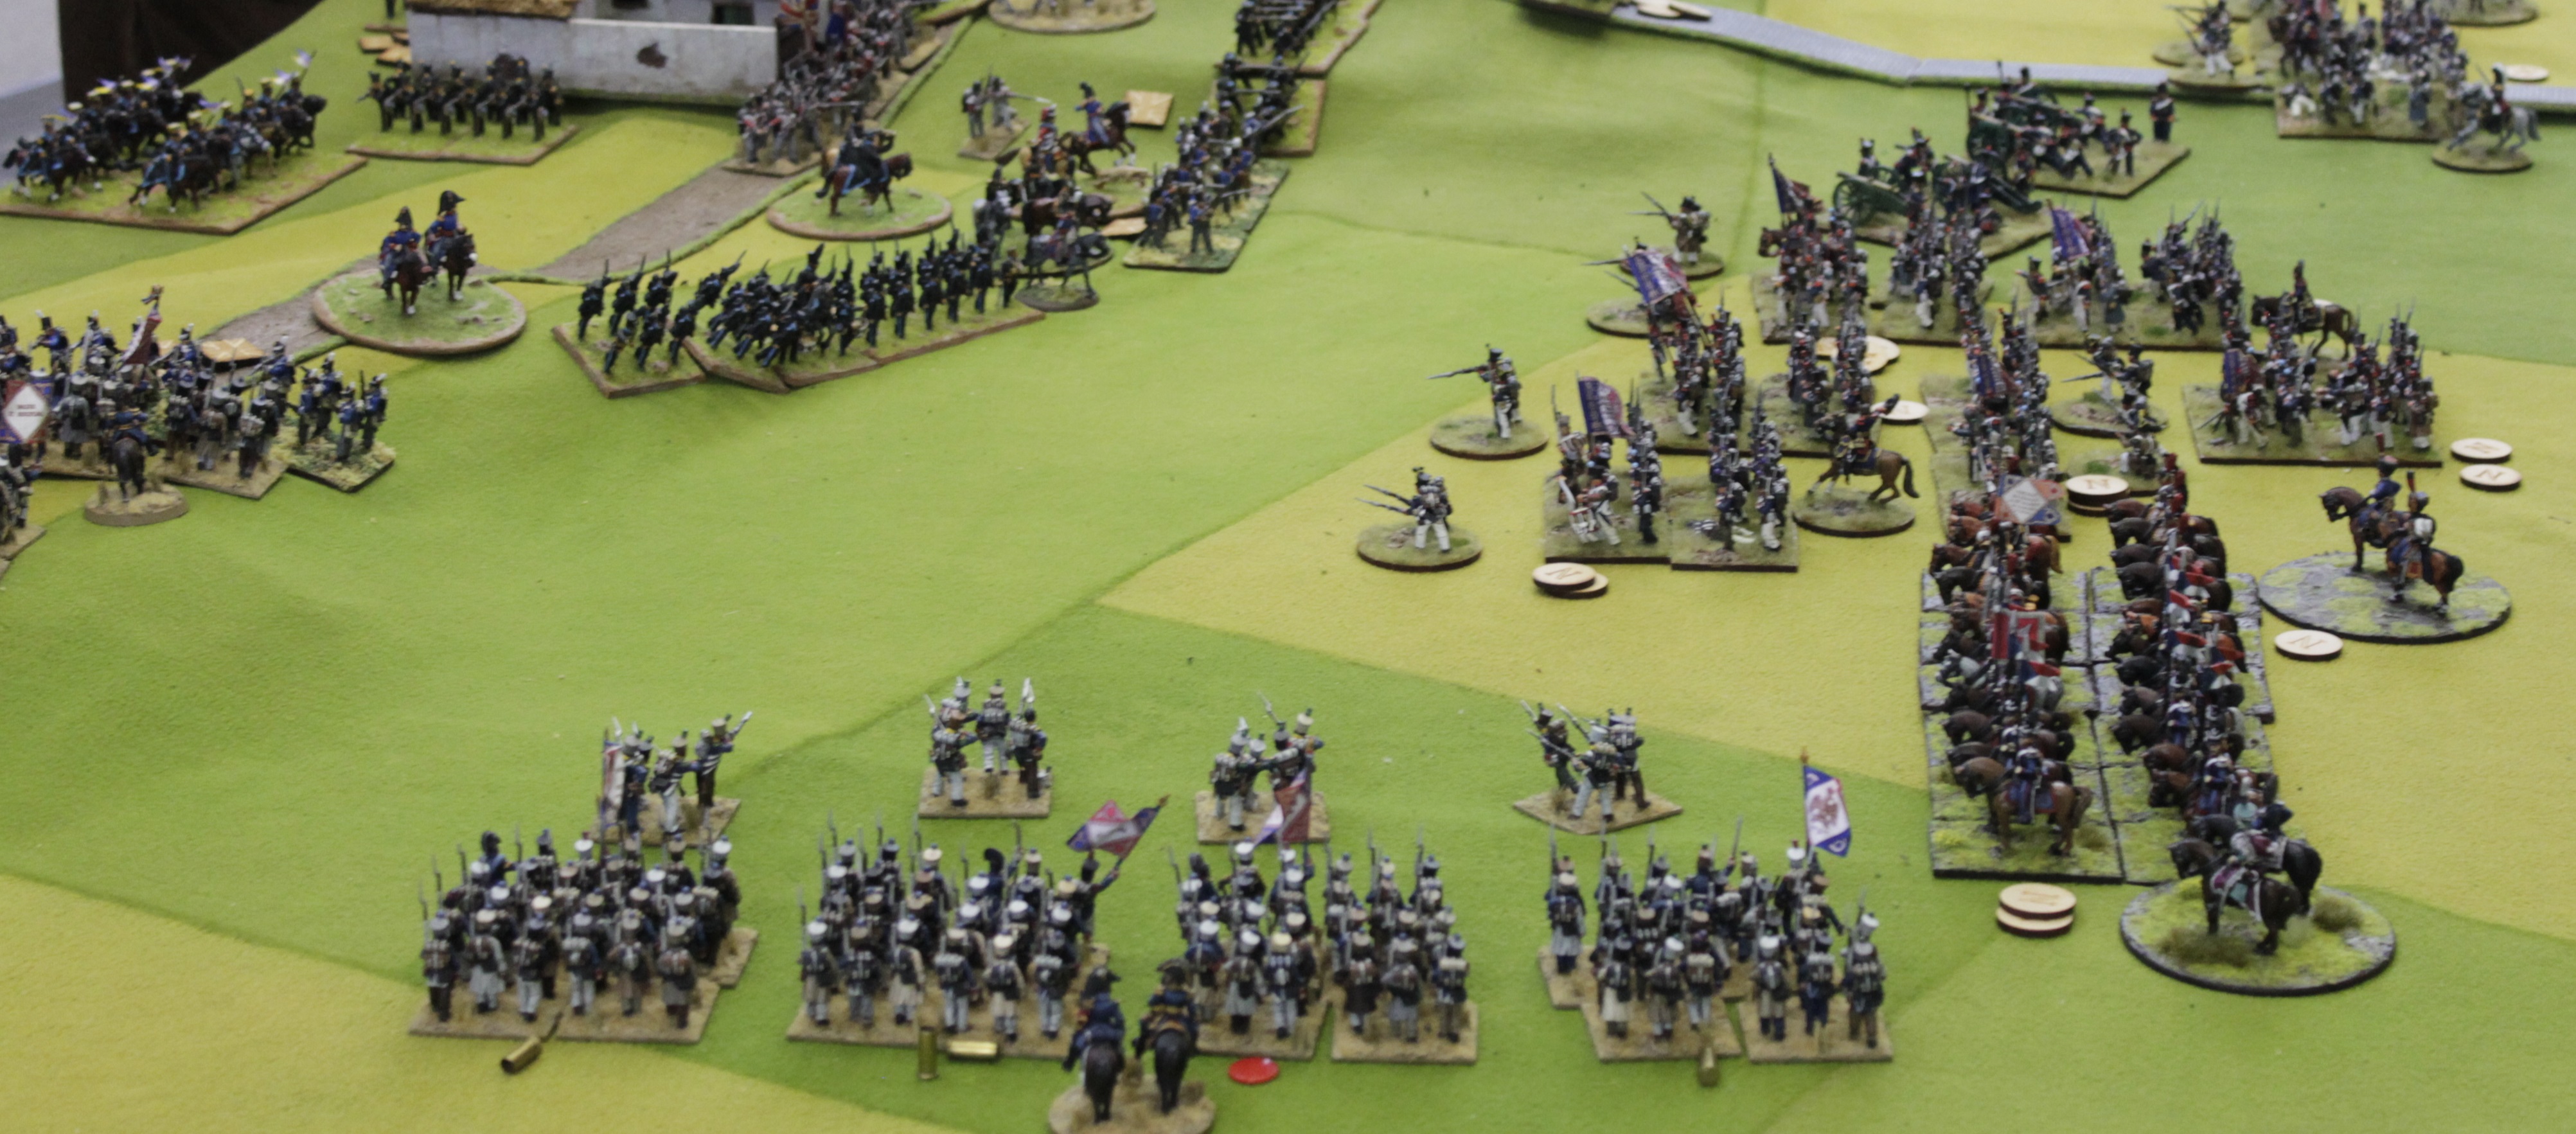
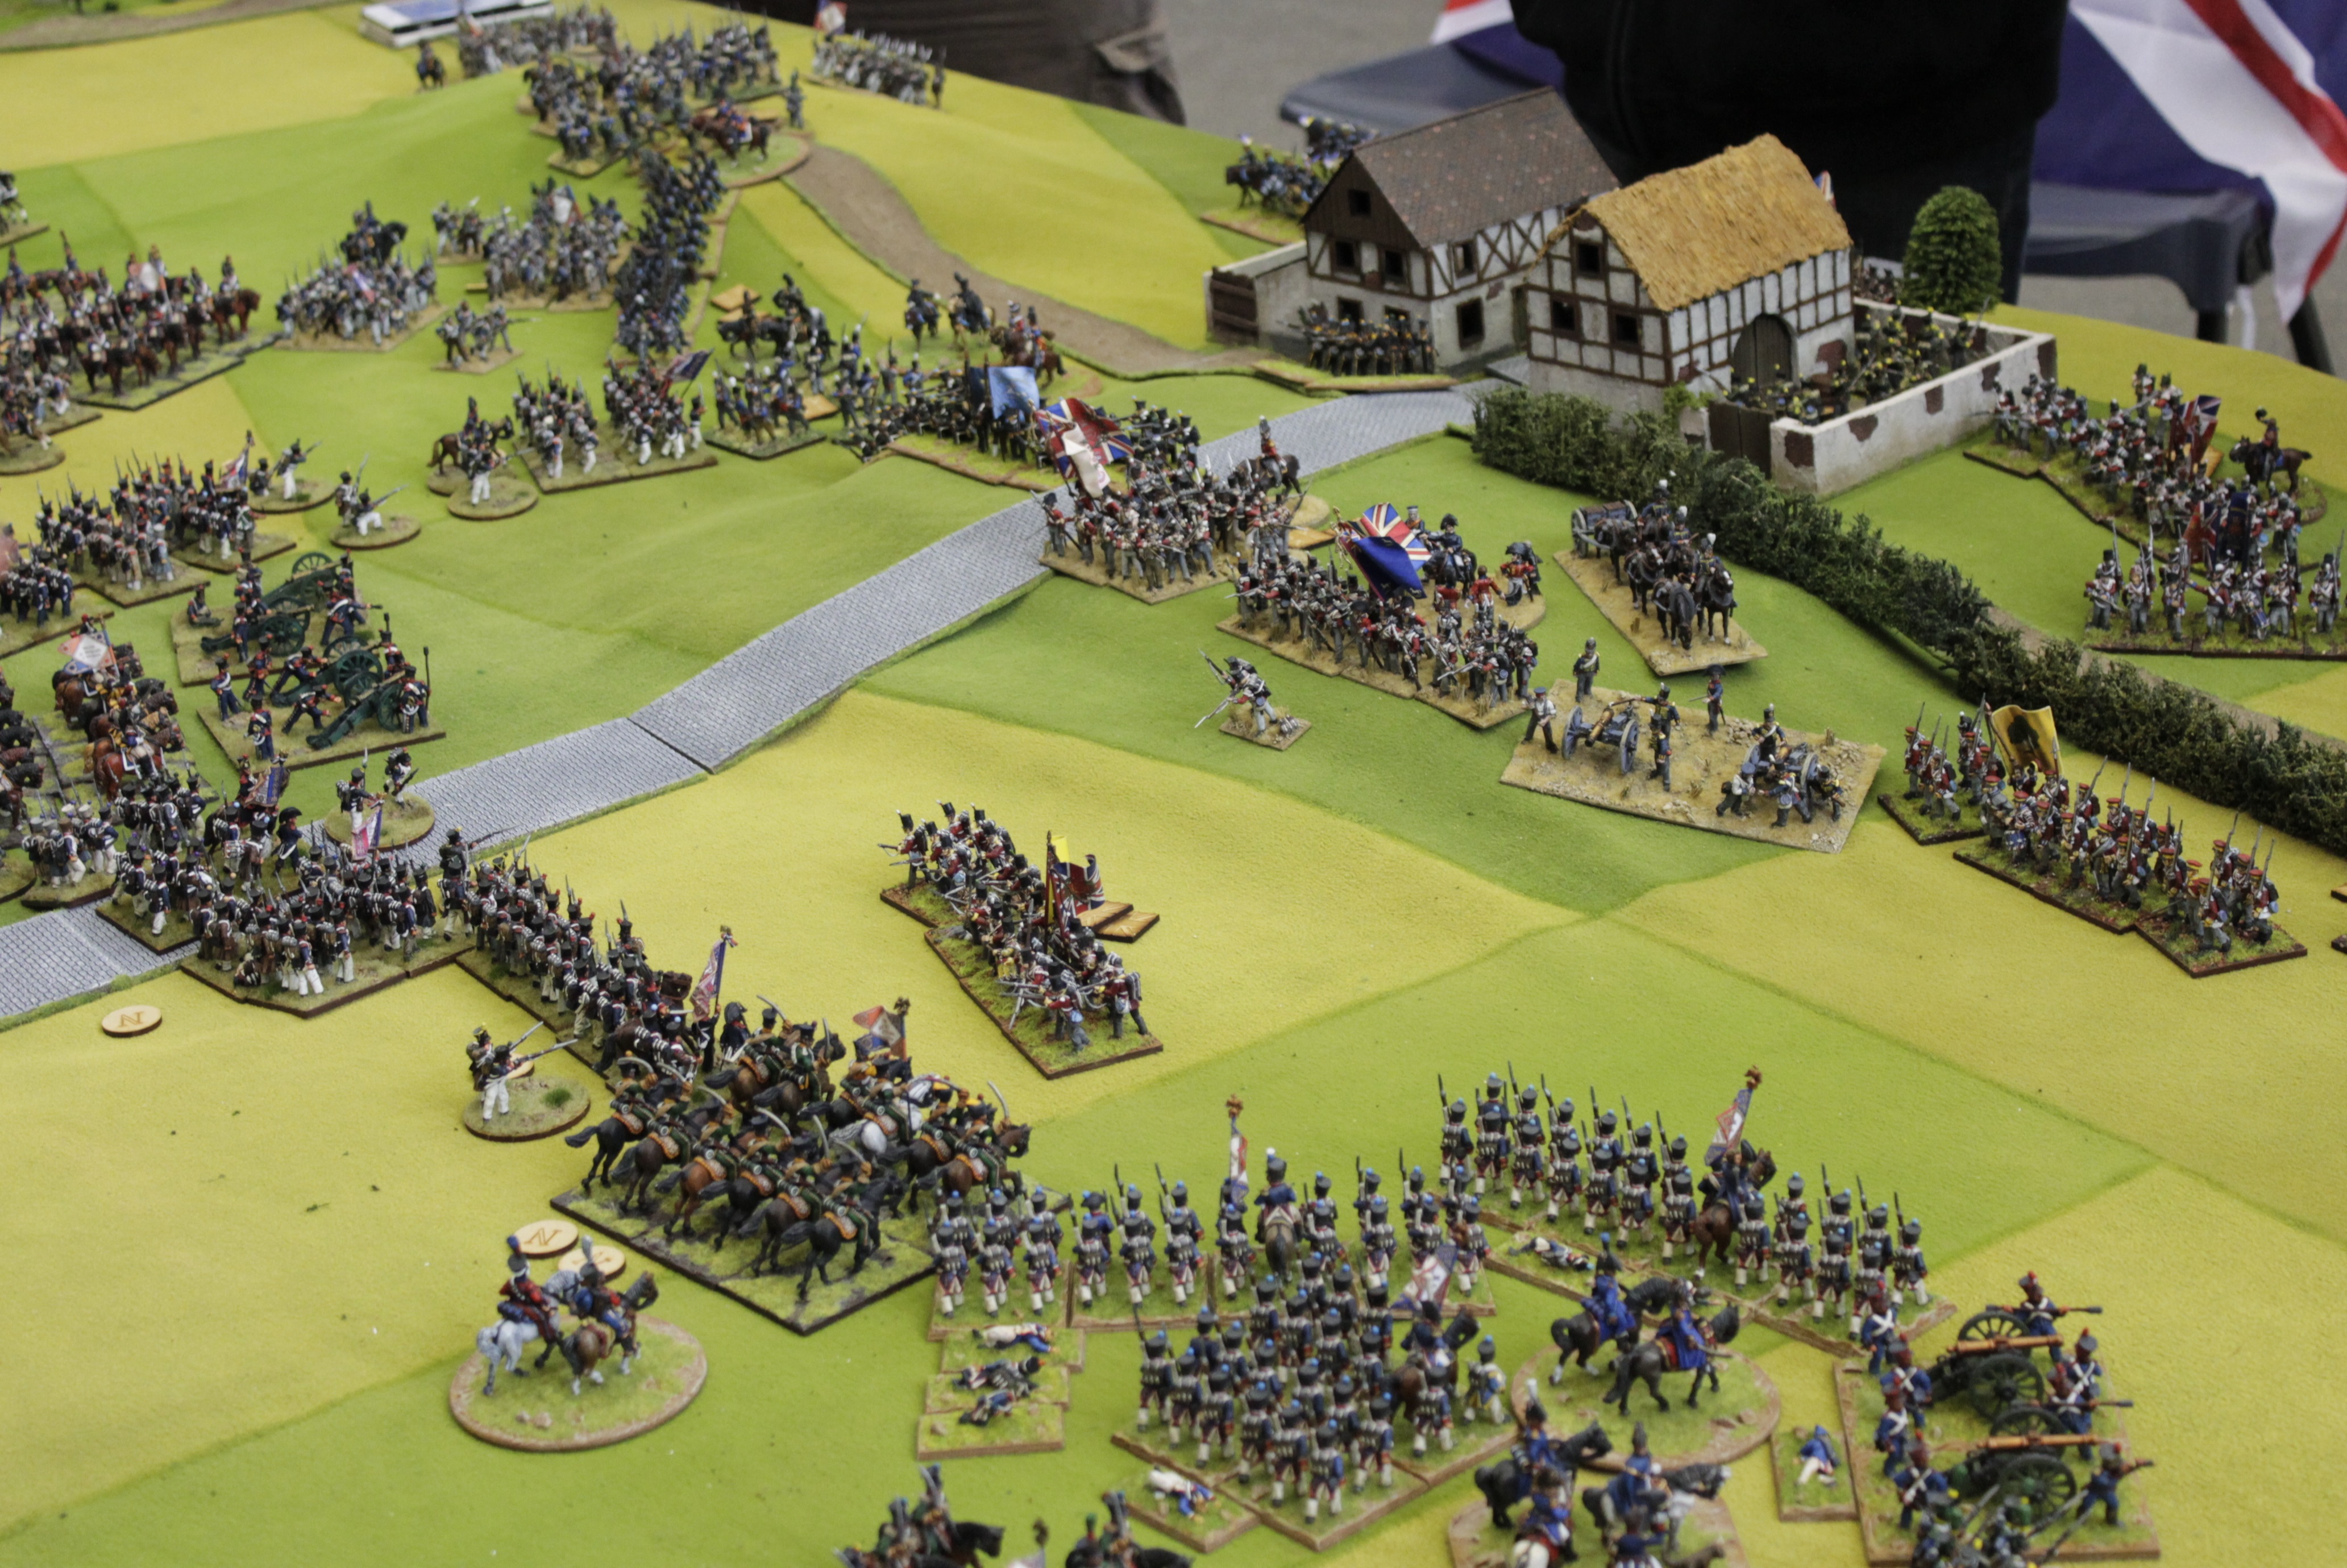
The Allies have bought there reserves on strongly on their left flank whilst the French left is also their stronger point of attack. The Allied right is disintegrating under combined infantry and cavalry assault leaving Jerome’s Division with a clear run for the crossroads. In the centre strong Allied firepower is keeping the French at arms length and on the Allied left they are taking the fight aggressively to Bachelu’s Division.
Foys French Division in the centre where the Allied lines were disordering the attacking columns and stopping them getting into melee. Both sides were taking shooting casualties and withdrawing units from the front line to restore stamina where possible.

On the Allied left the wee jocks have fallen back and hopefully Rhys can recover some stamina before the next wave comes over the hedge(Rhys was having a REAL bad day at recovering stamina!!)
Von Altens Division takes the field!
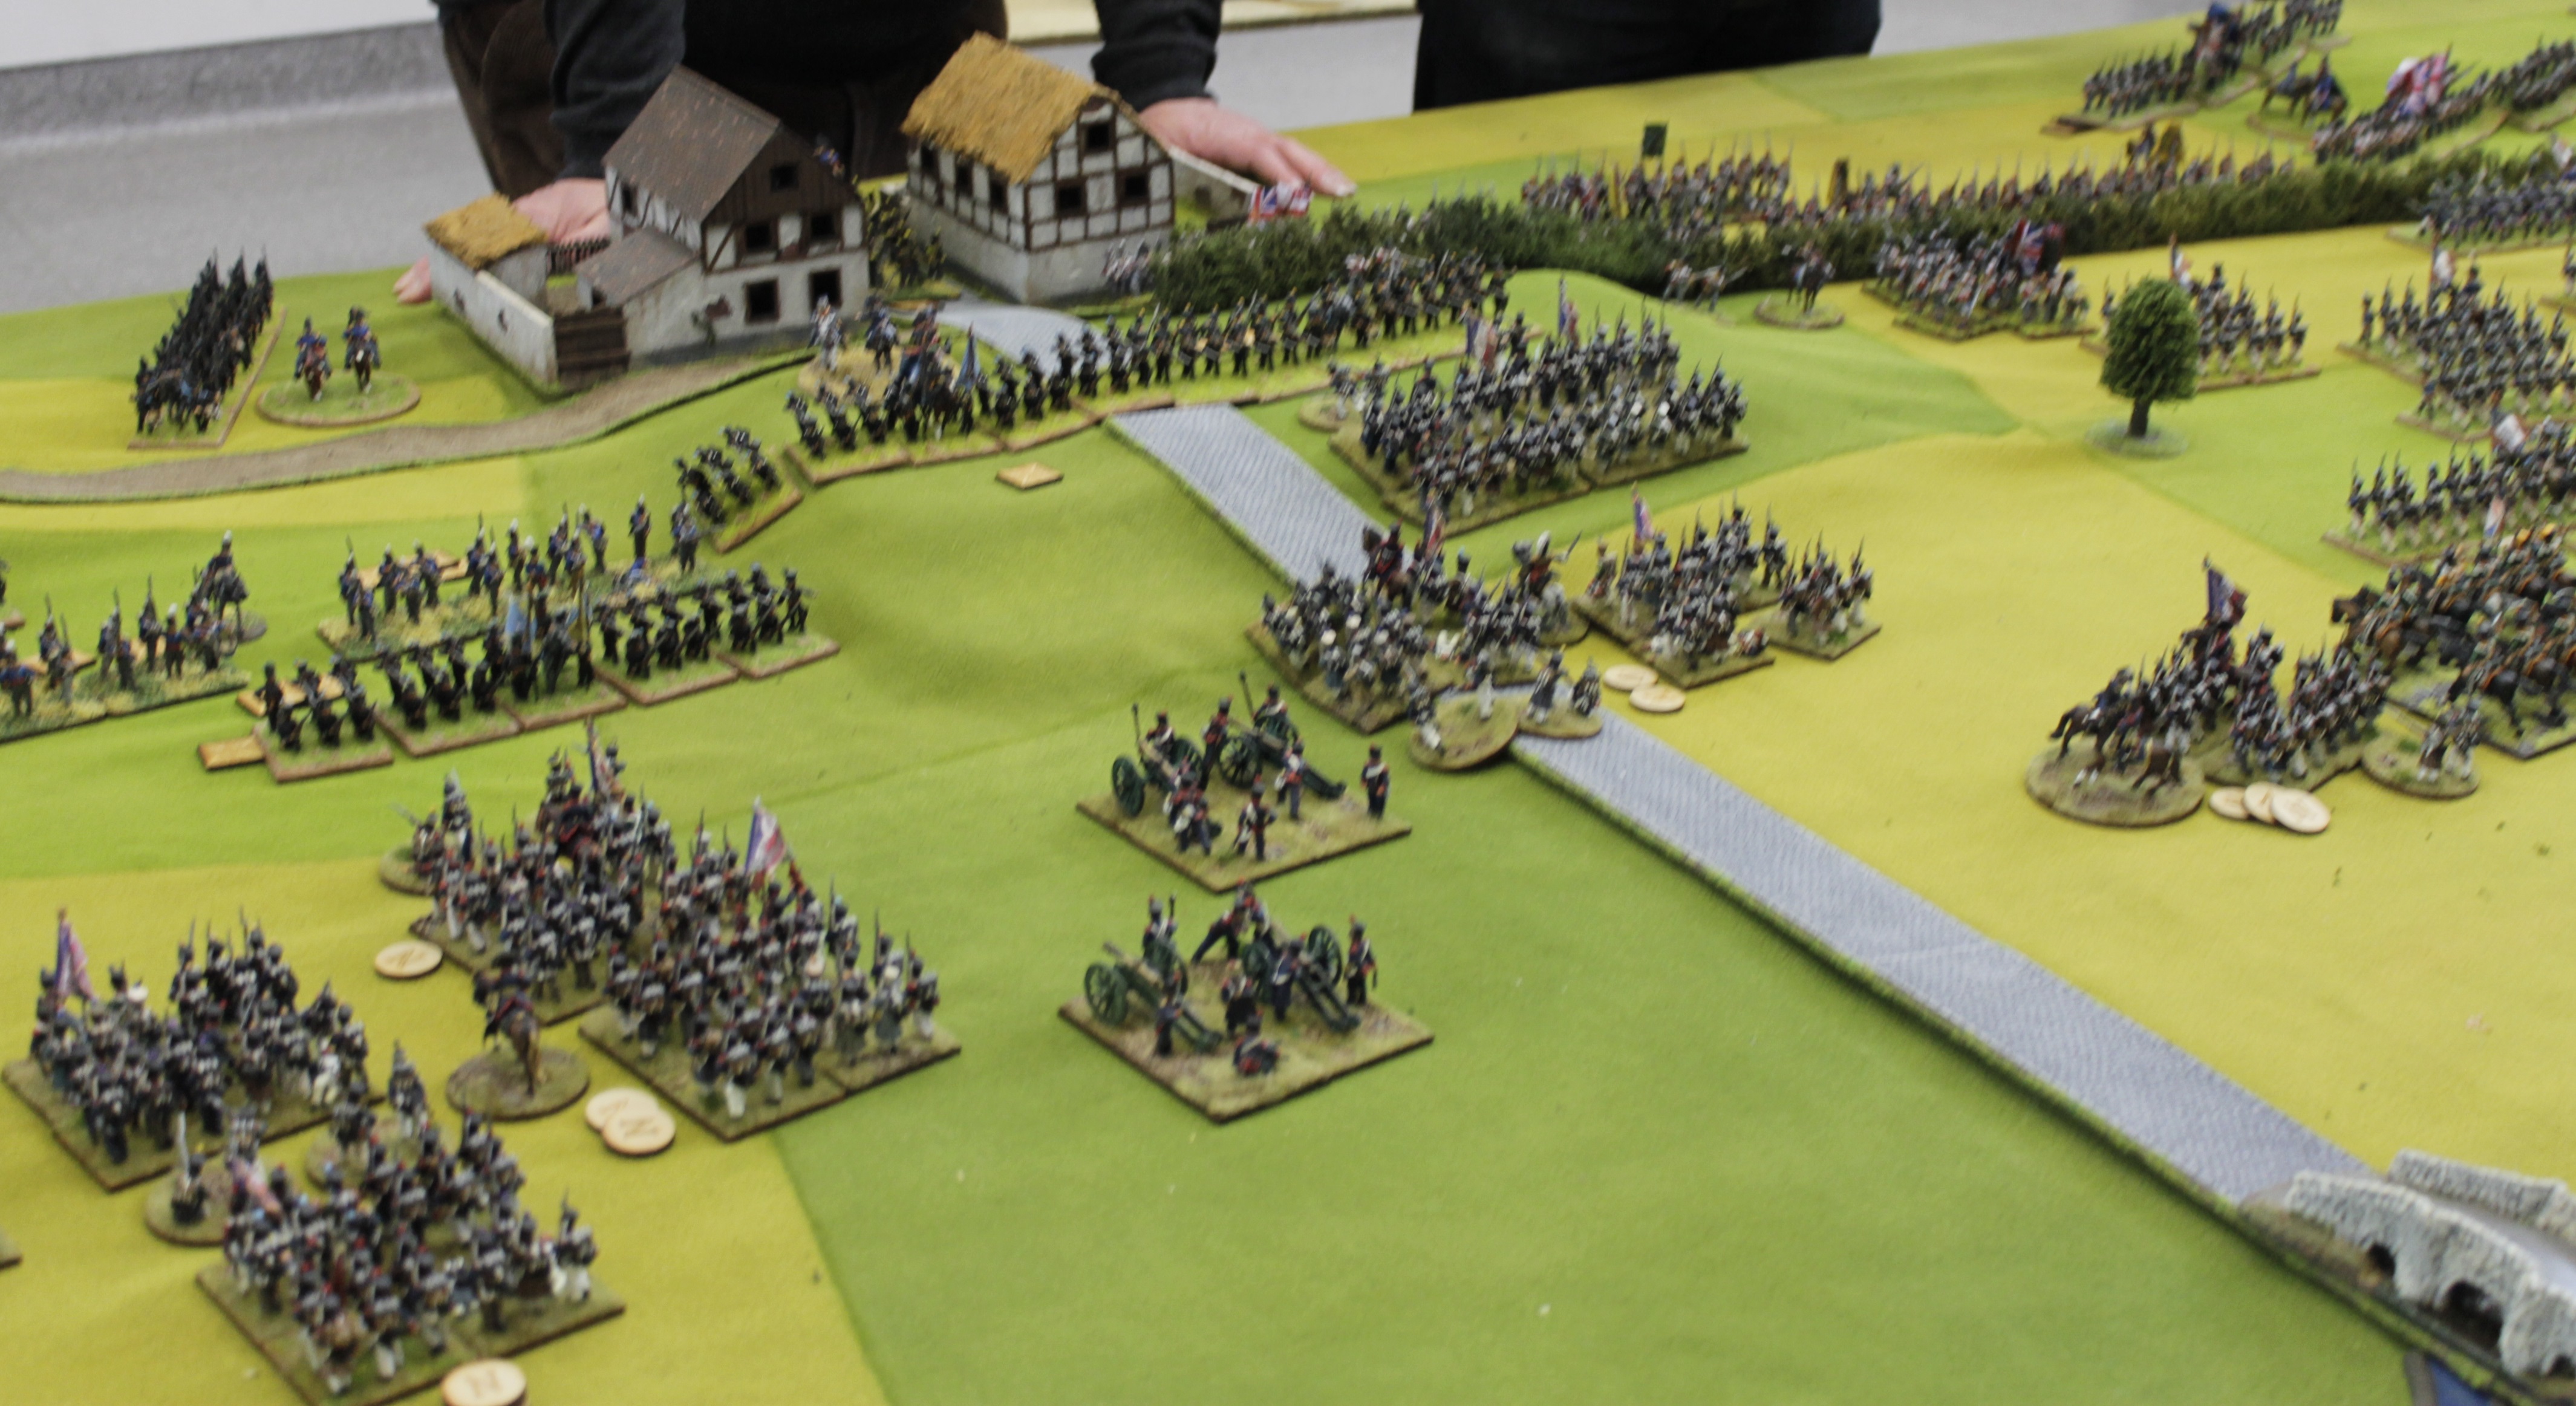
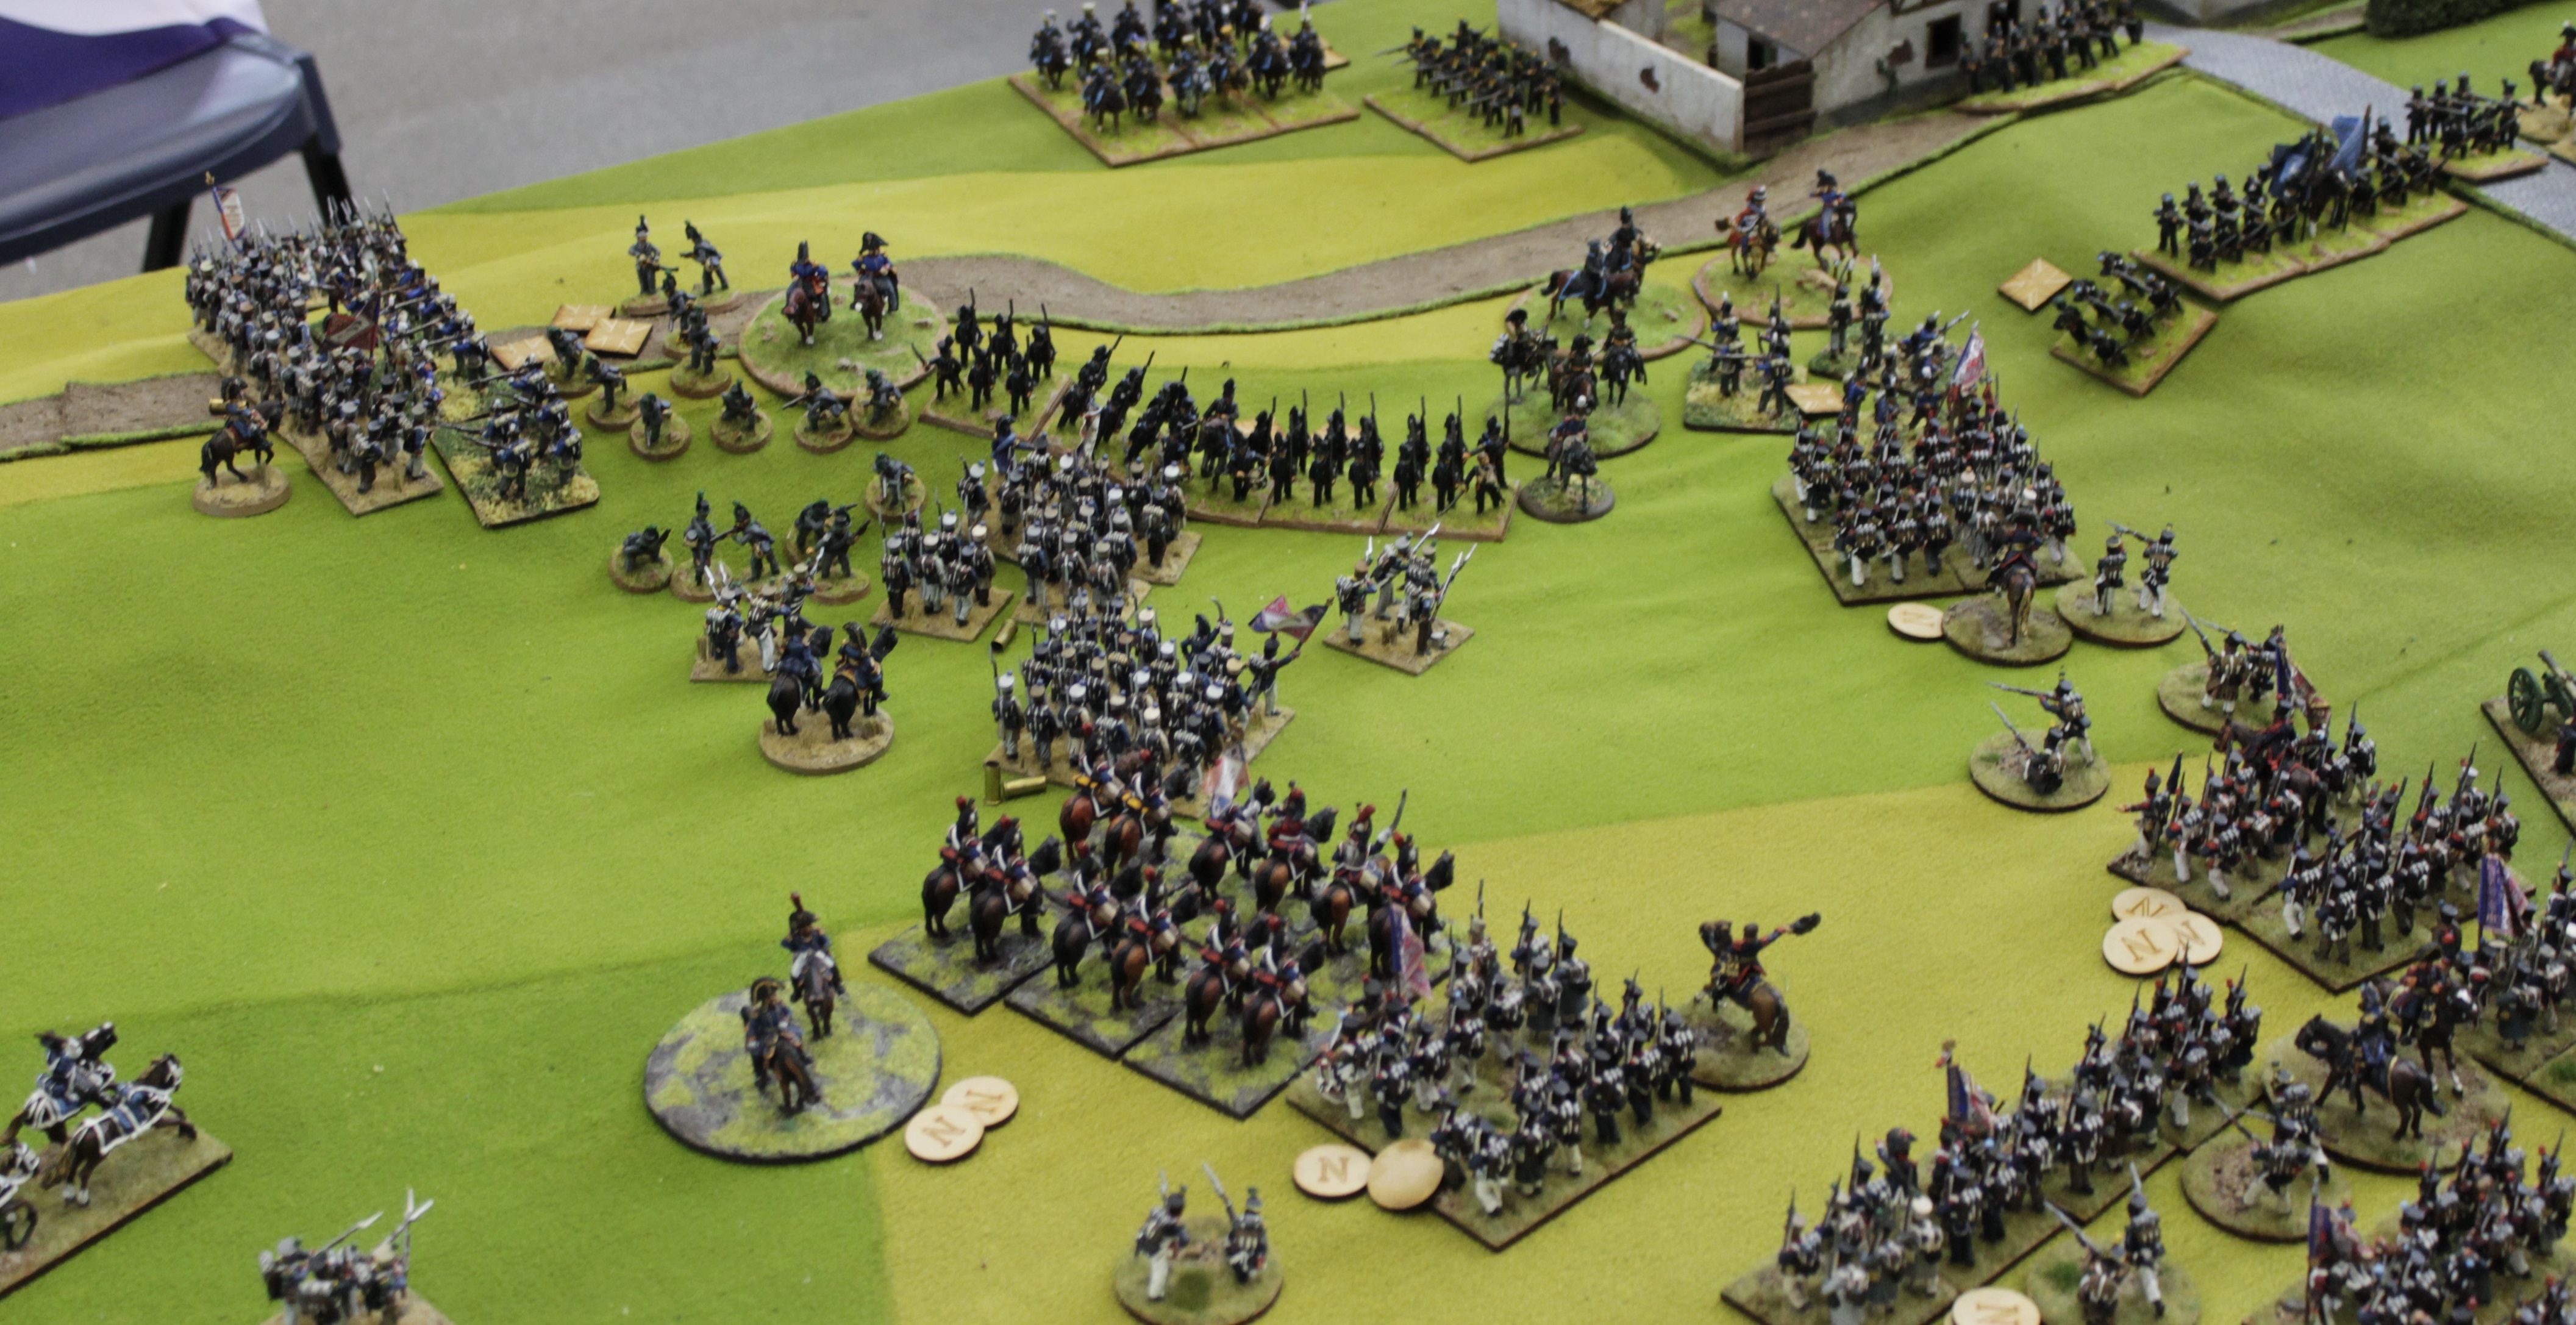
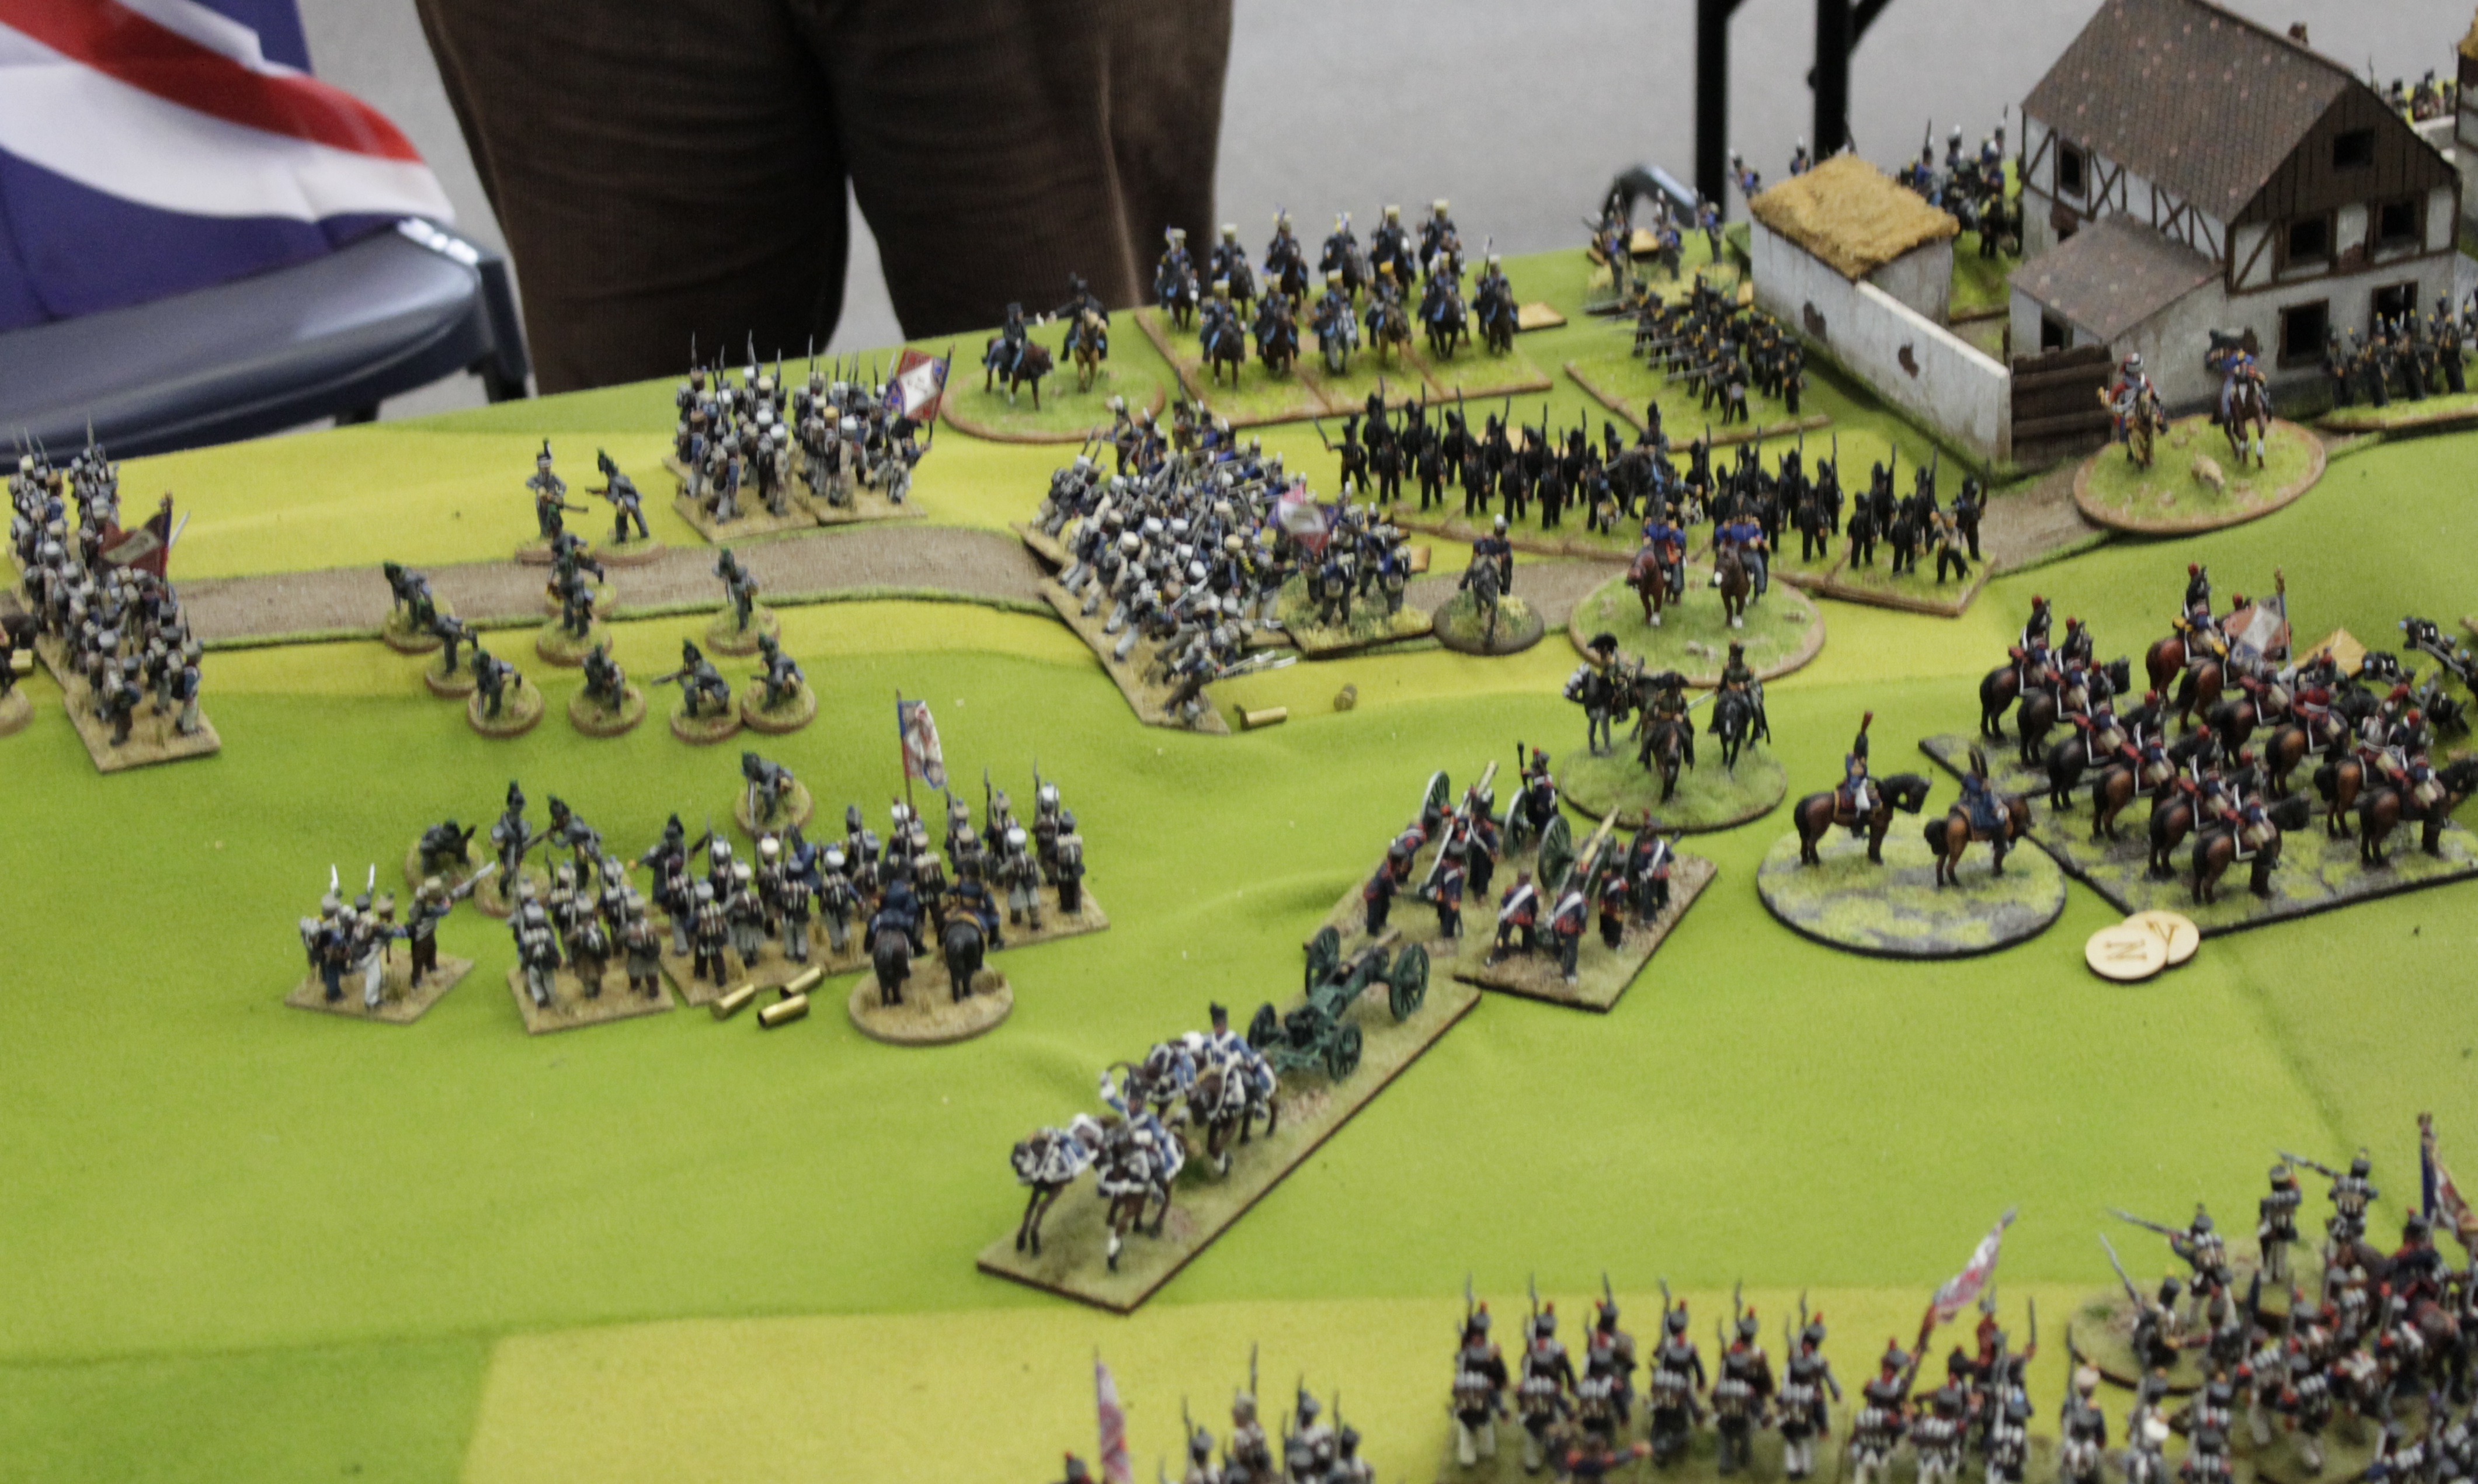
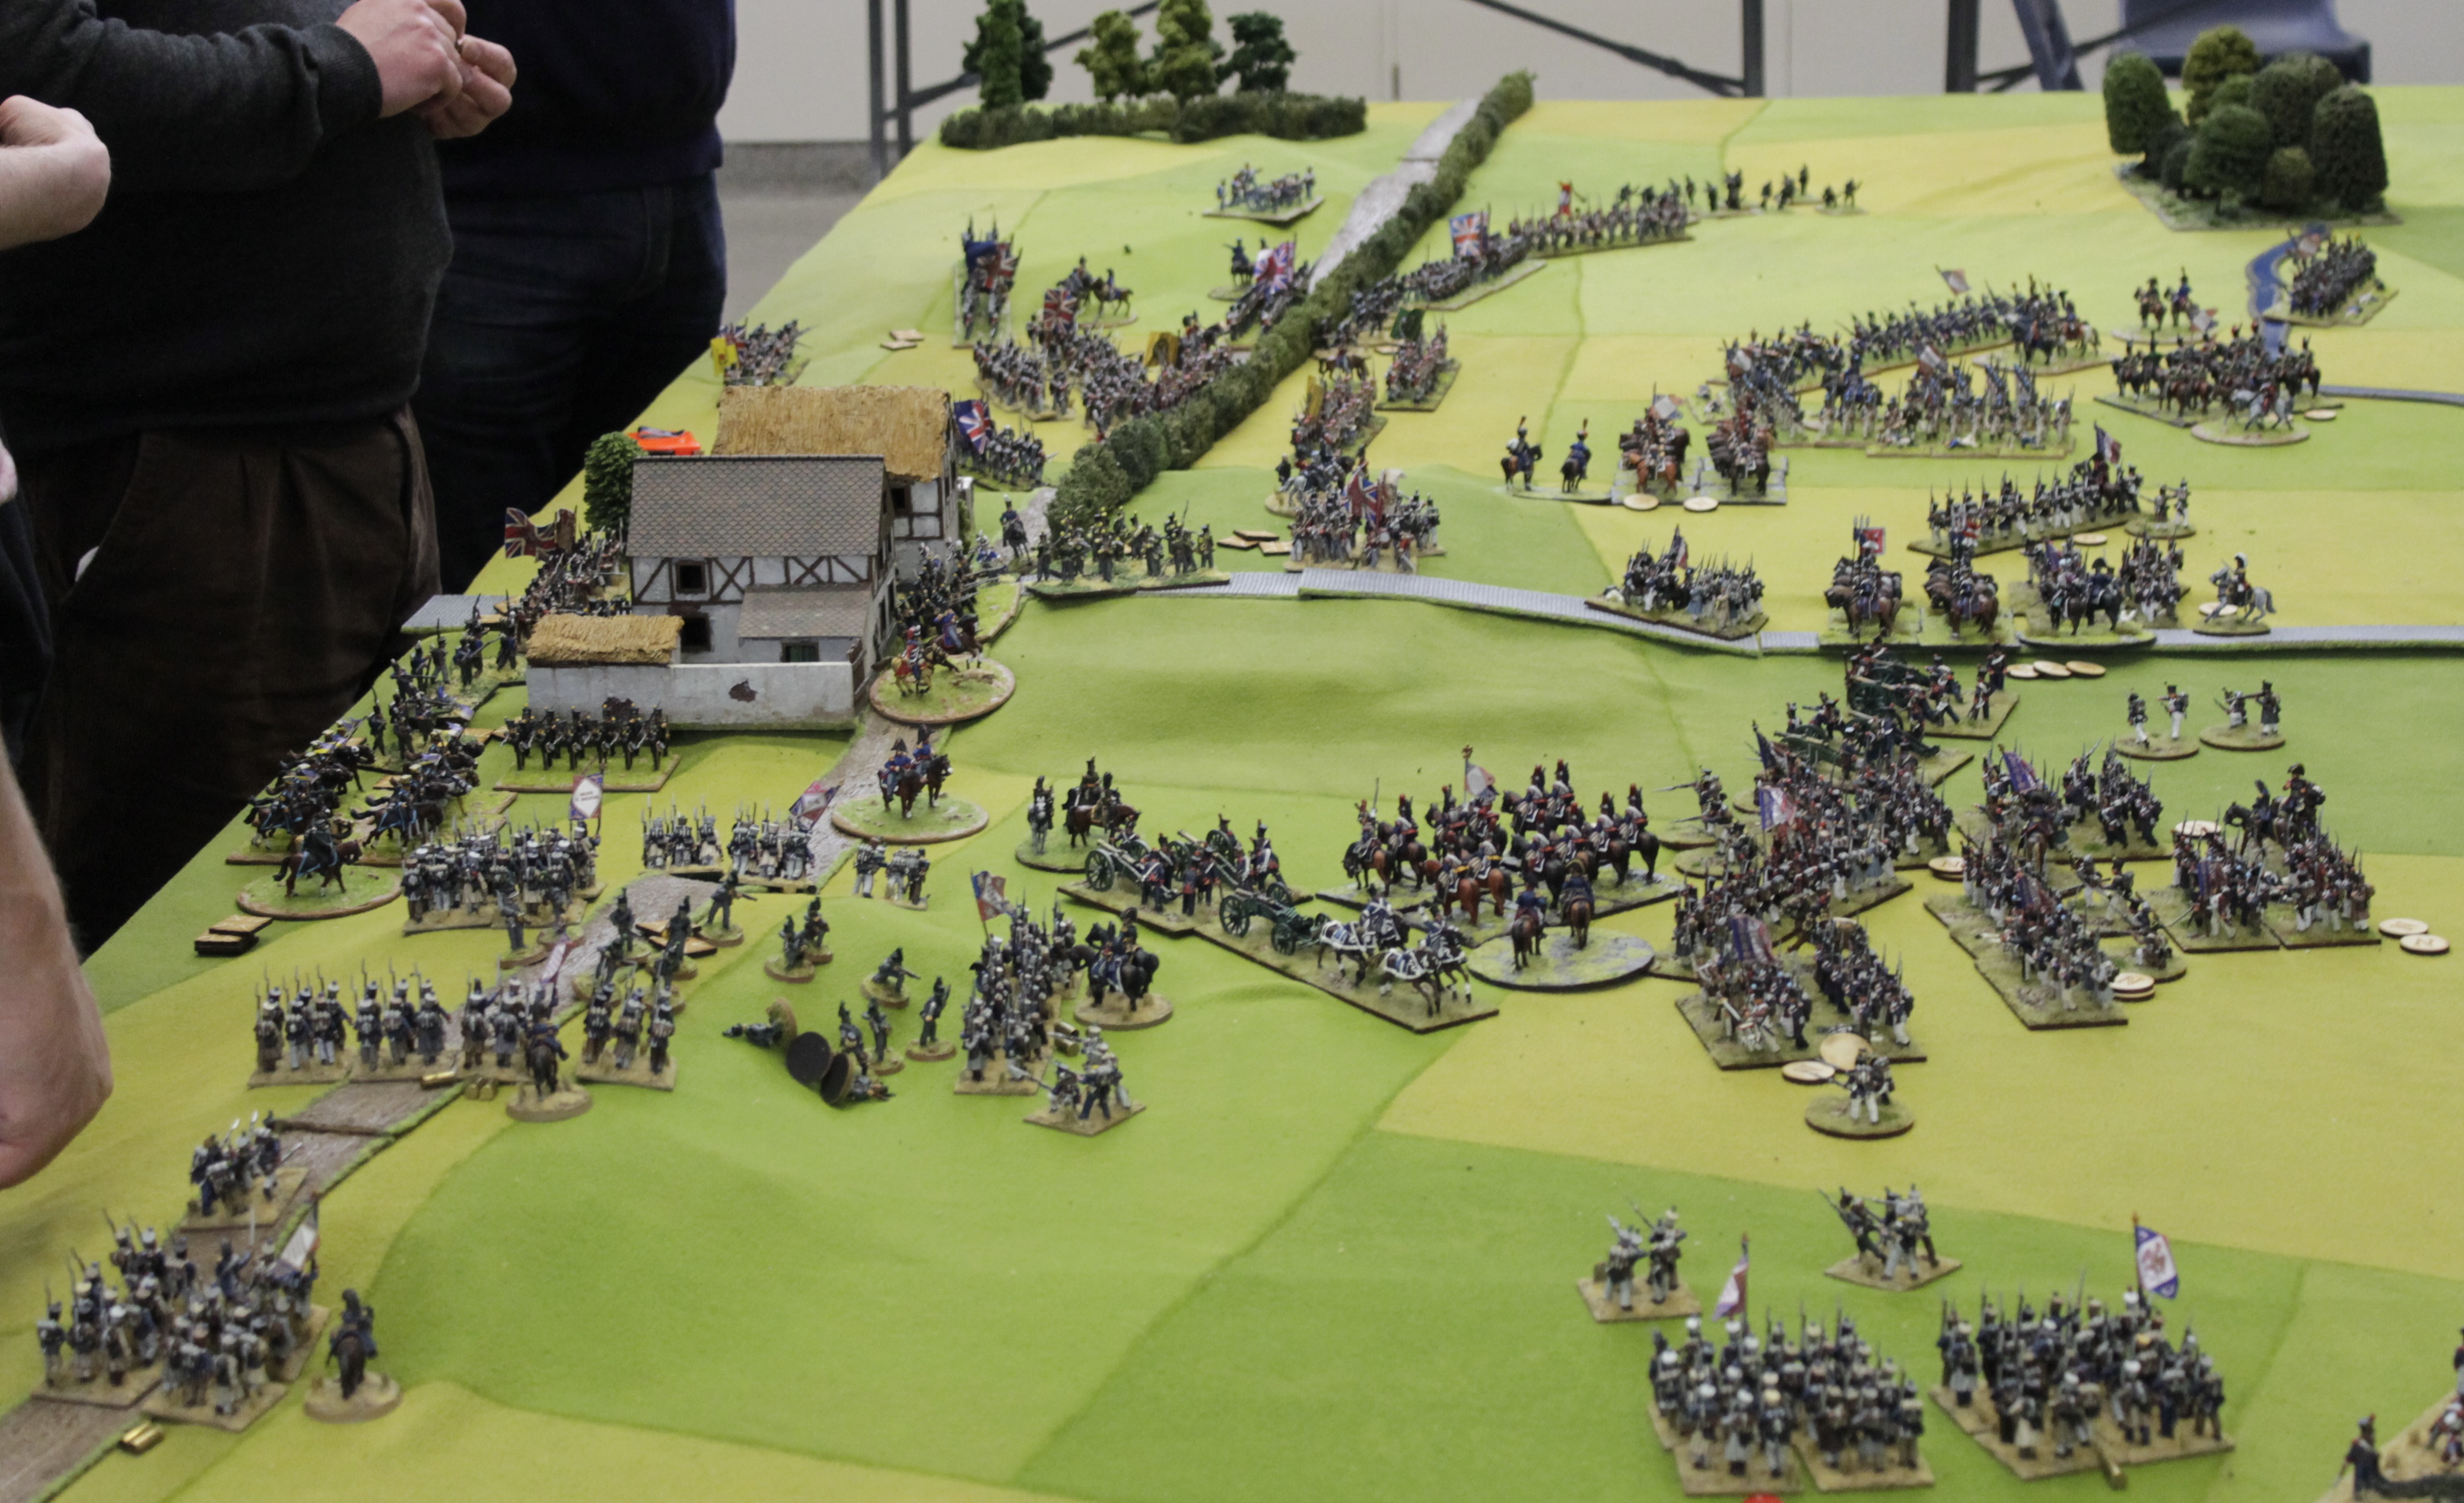
View from the crossroads back down the road to the Farm. French columns are coming into view!
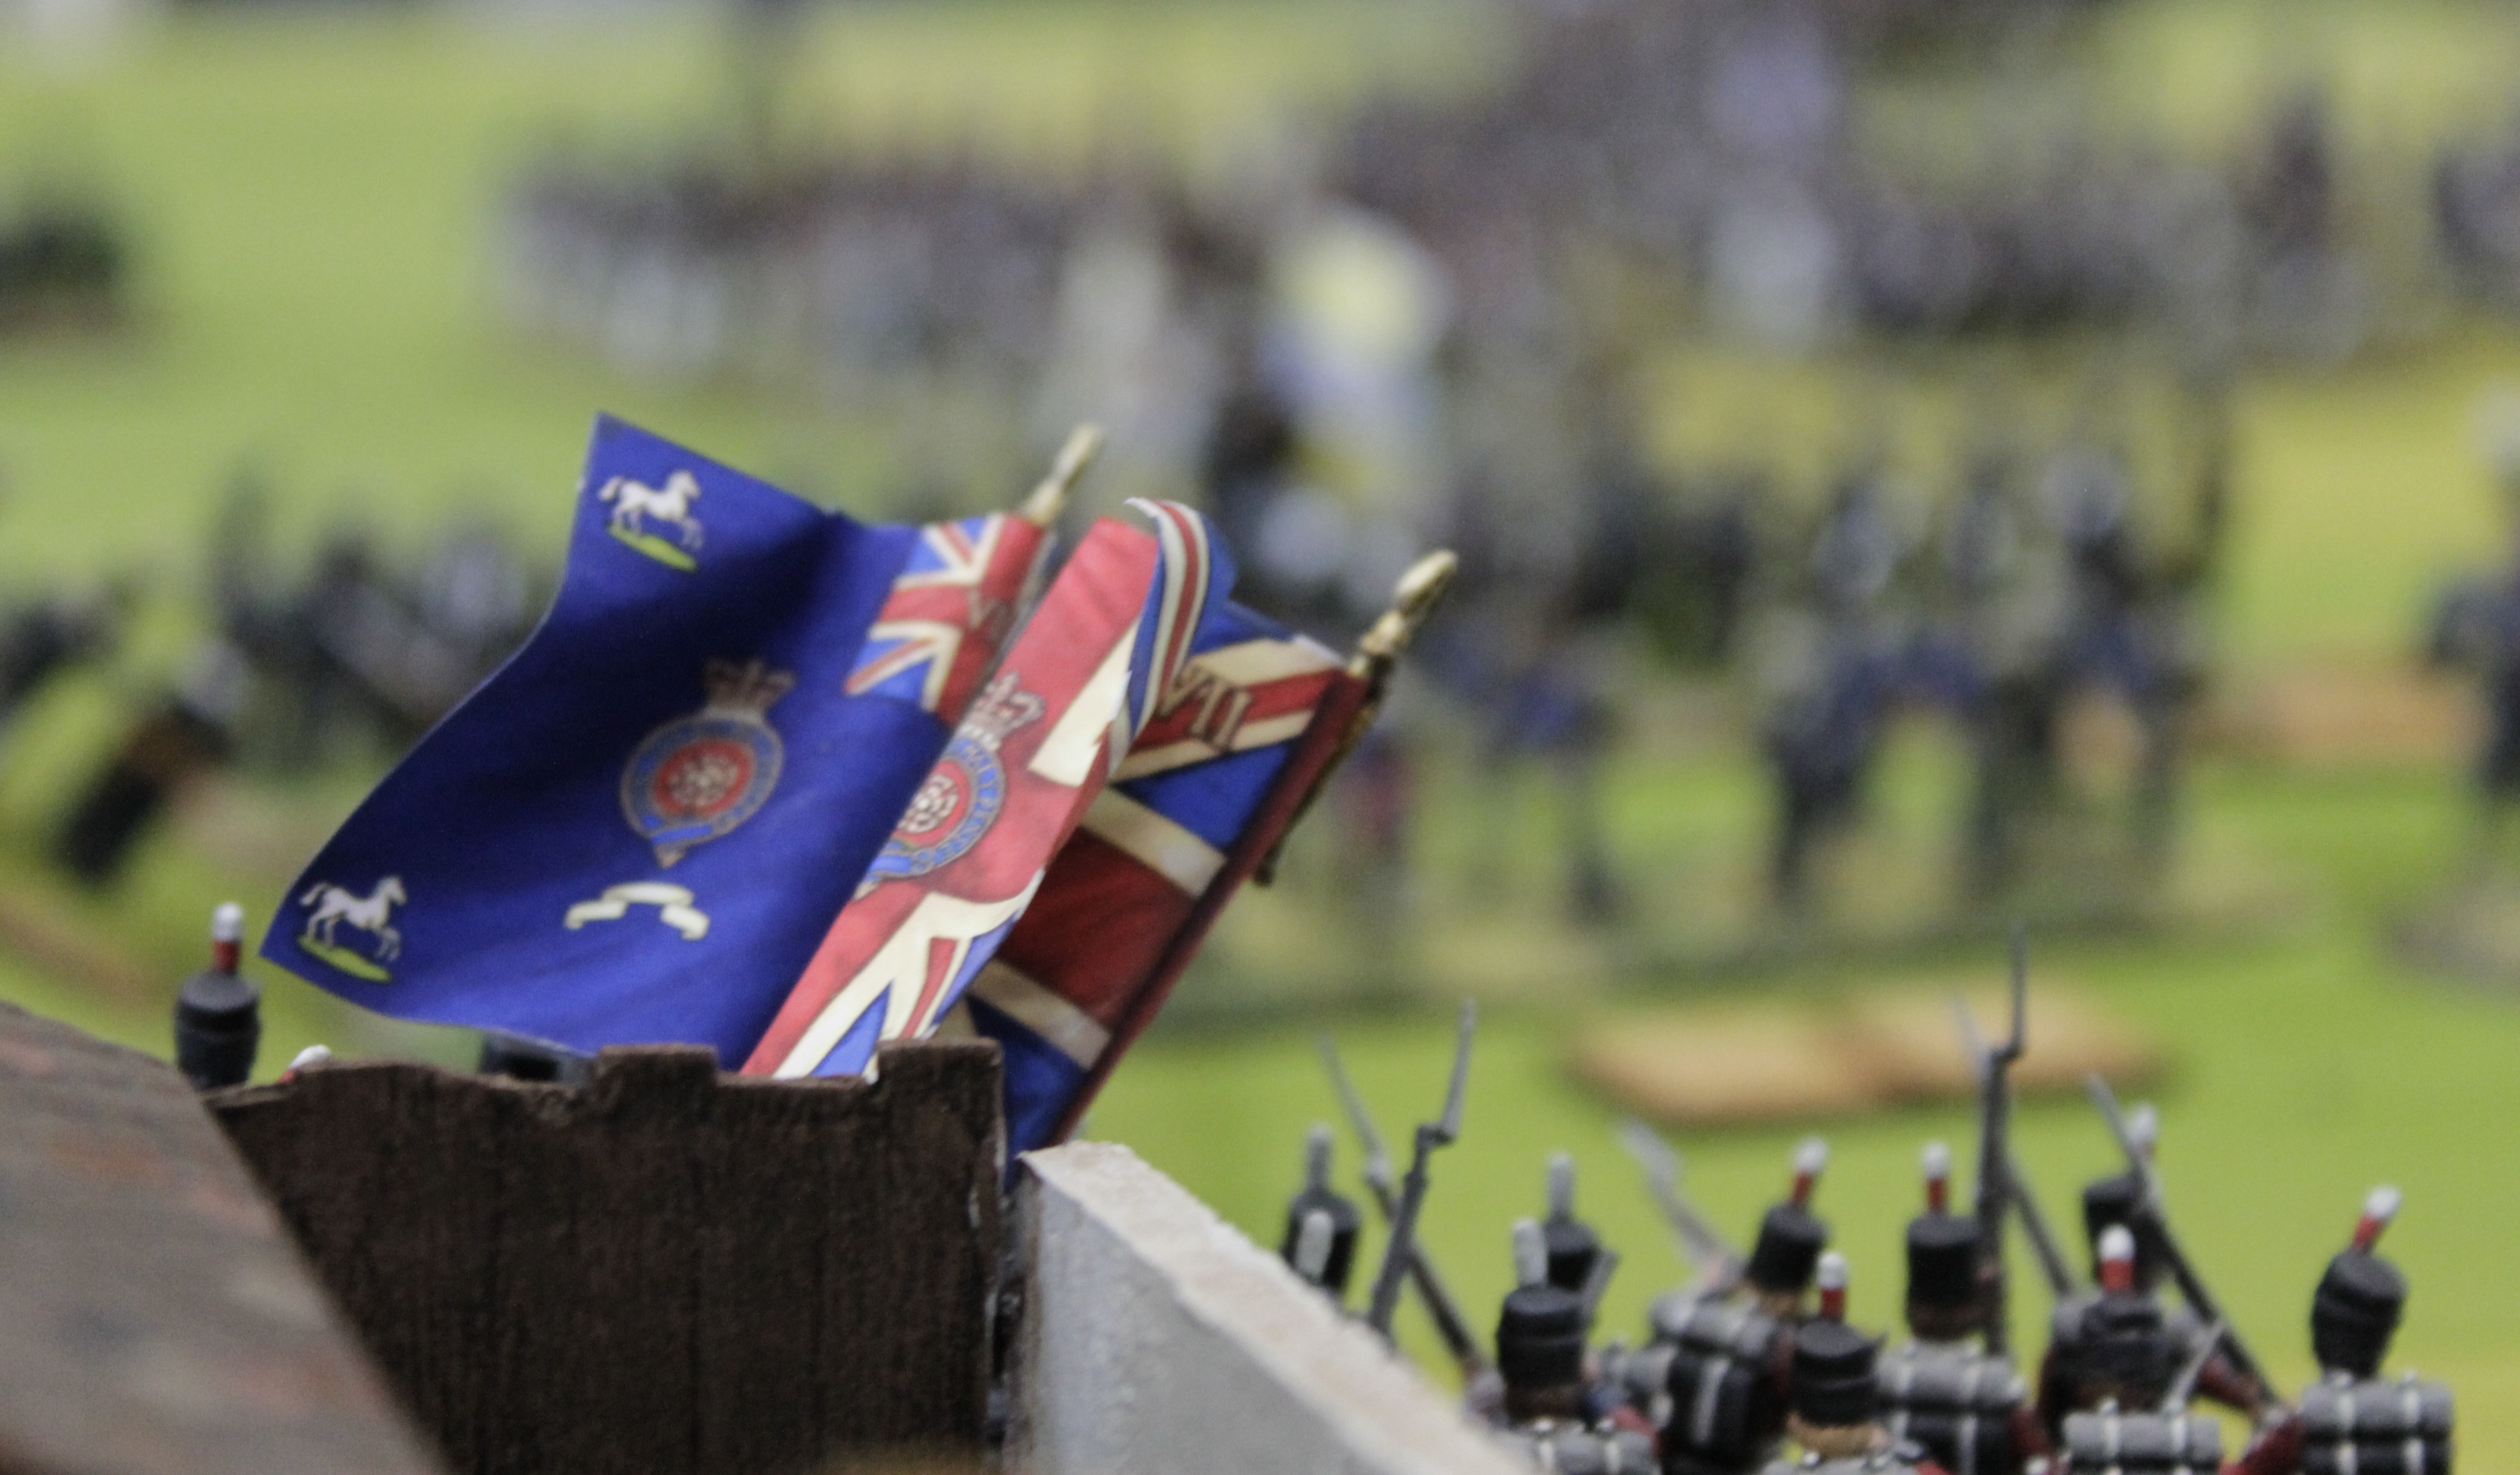
The view from village of Jerome’s Division appearing out of the haze
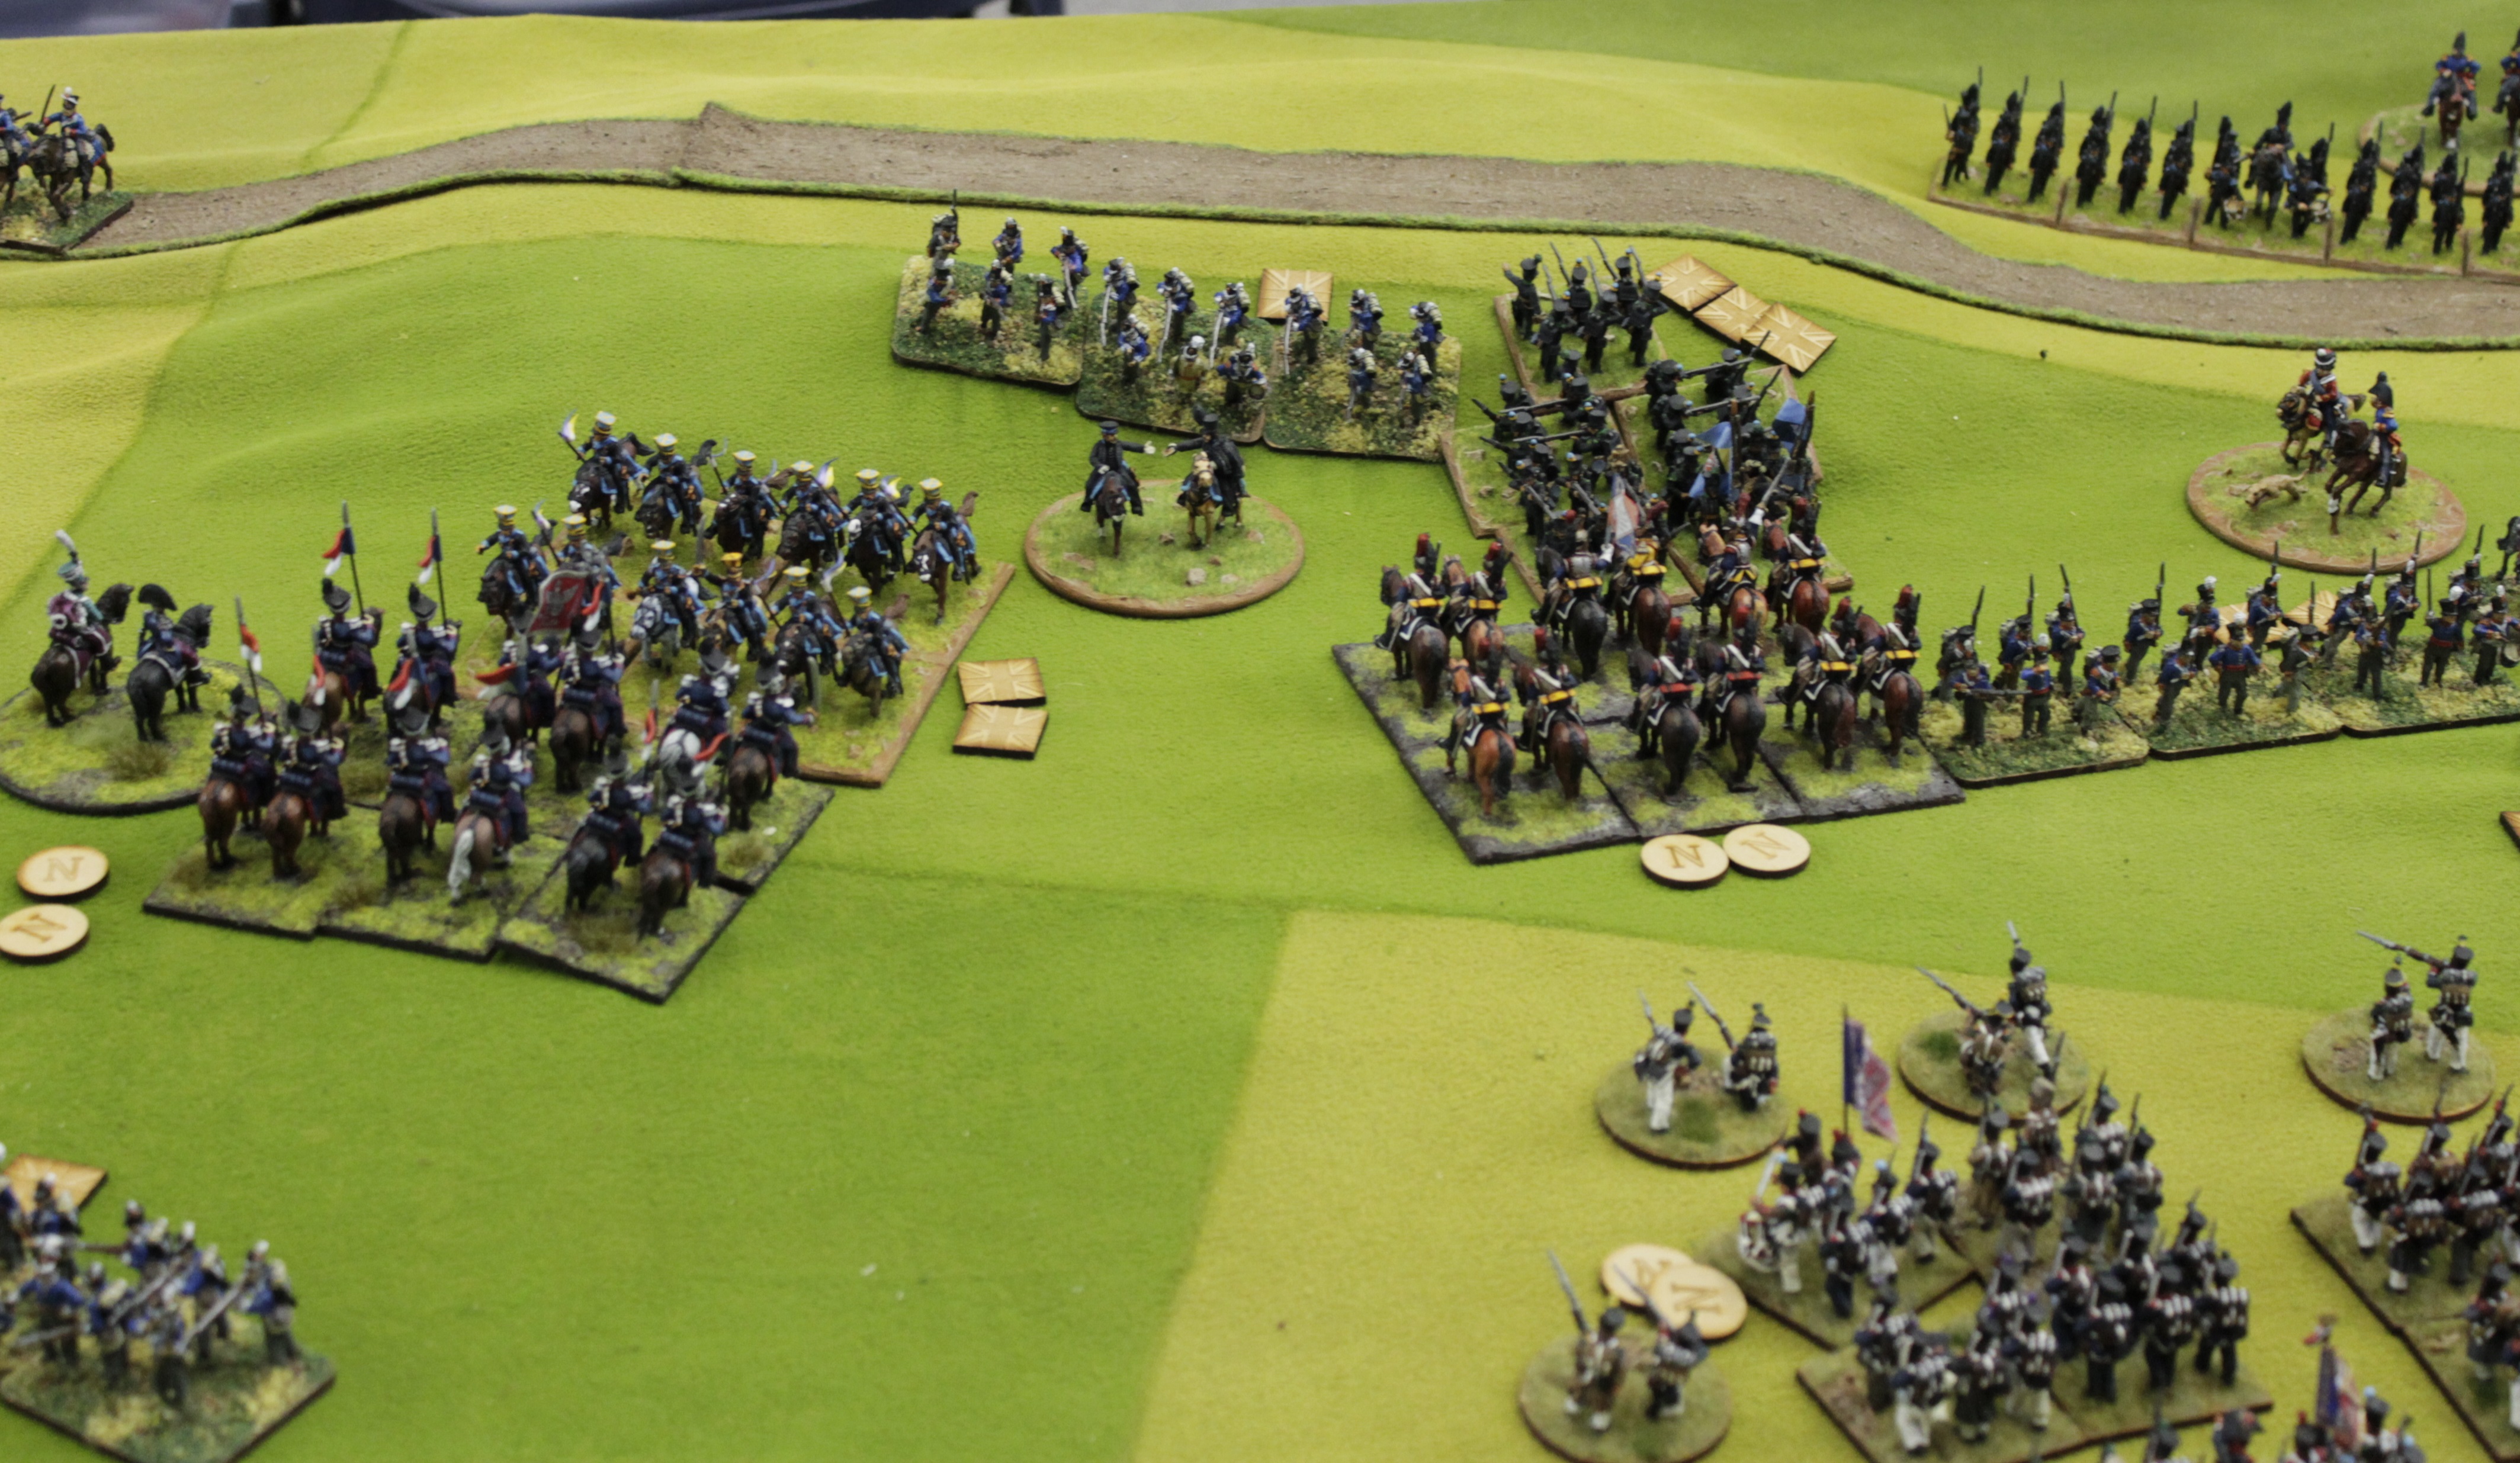
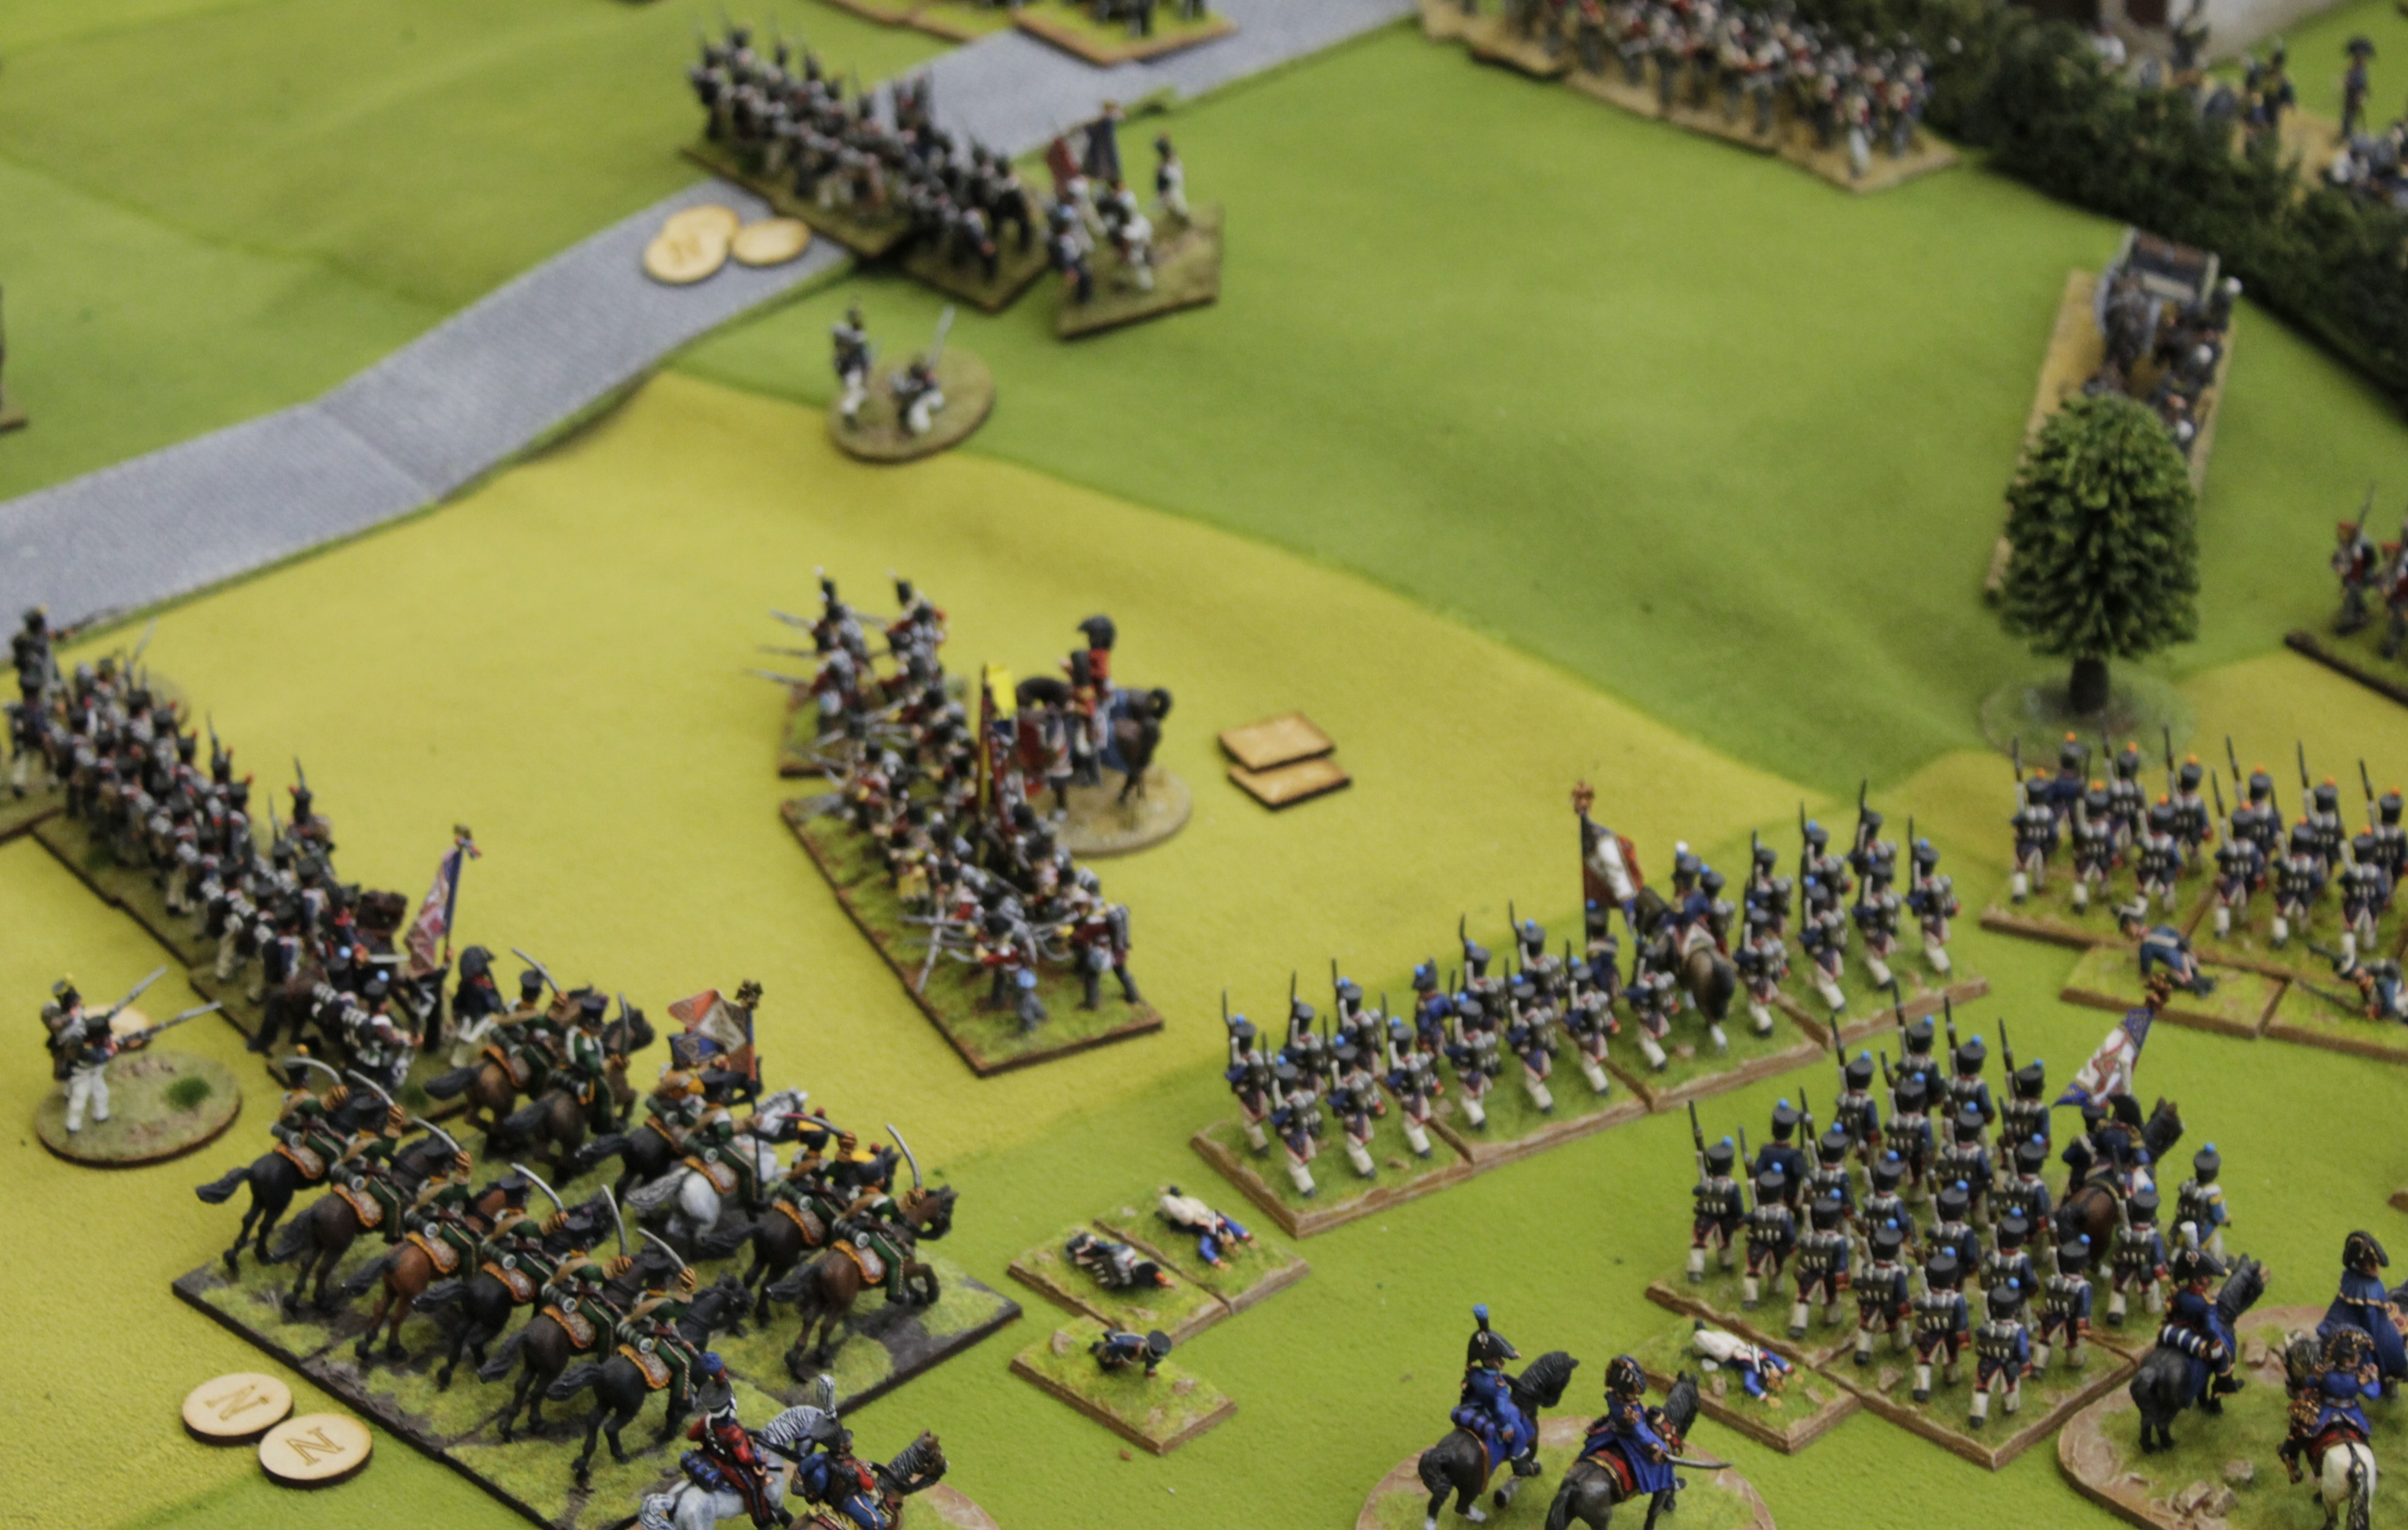
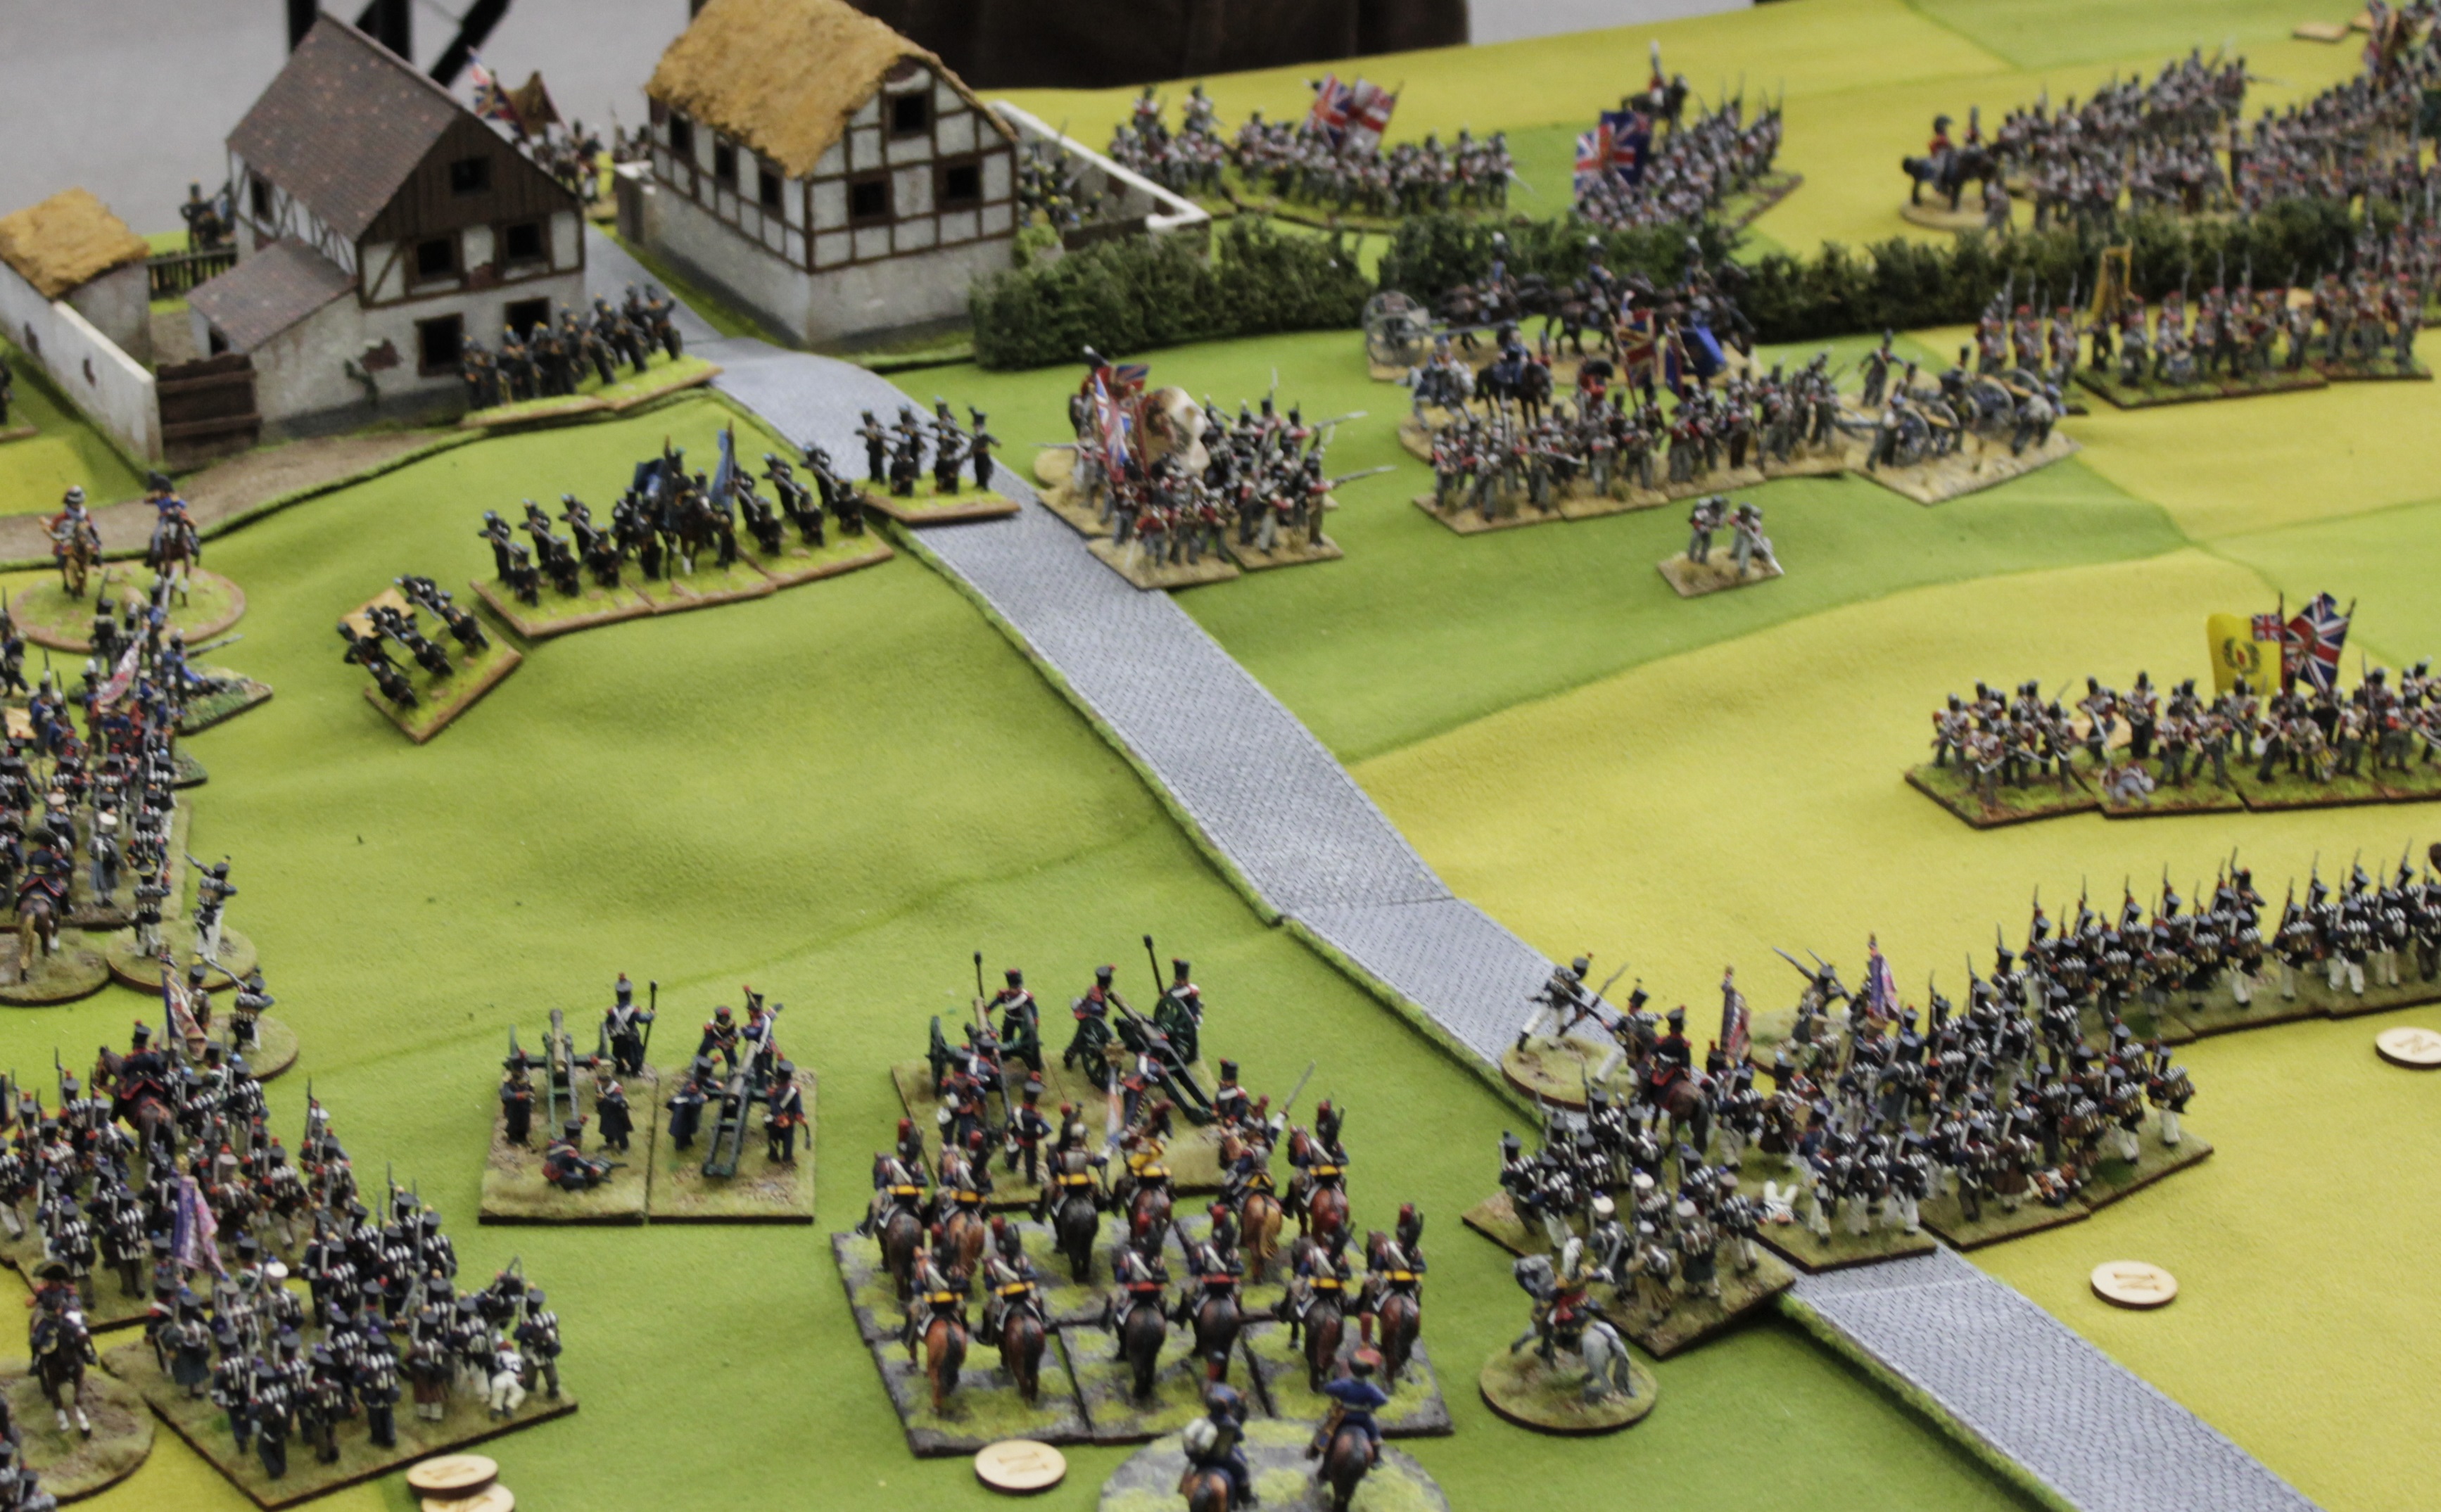
2 shaken Allied units within charge range of my cavalry results in 2 charges. Lancers into the shaken small Uhlan unit and Cuirassiers into the shaken Brunswick line who form square but being shaken I am still able to continue the charge. The Uhlans survive and fall back and my lancers incur another casualty so are now also shaken so they retire. The cuirassiers destroy the shaken square but incur a casualty so are also now shaken and rally back. Right corner can be seen disordered French column, an affliction for this brigade which slowed their advance.
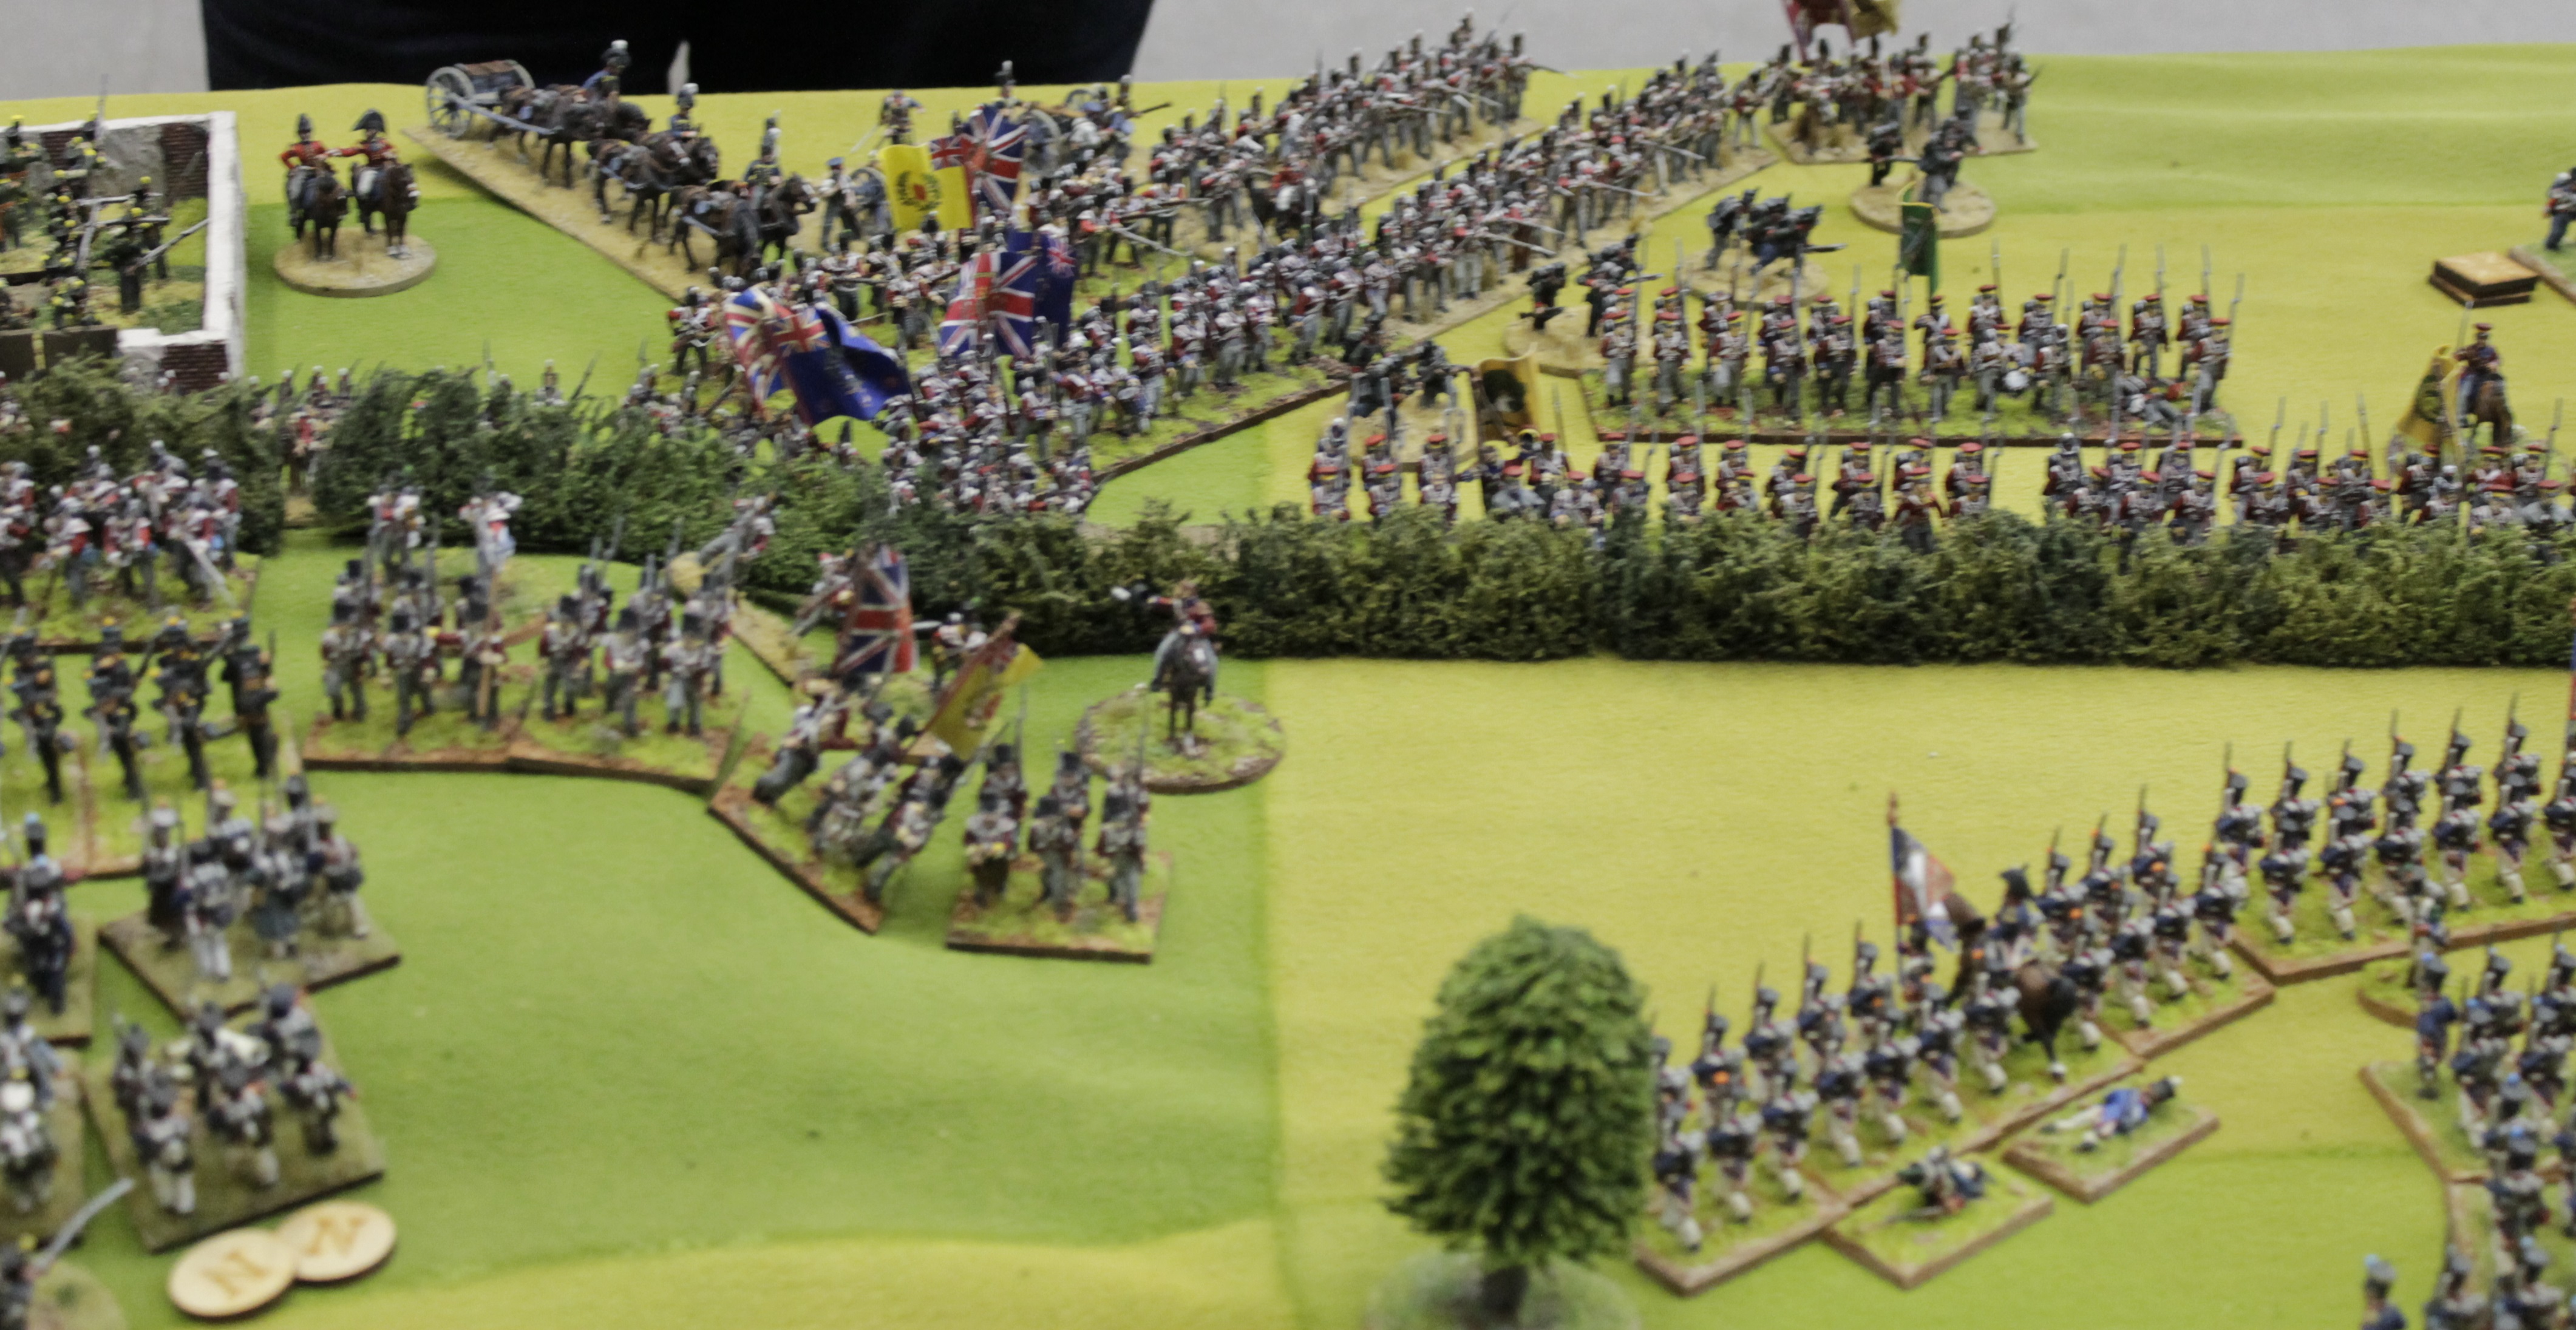
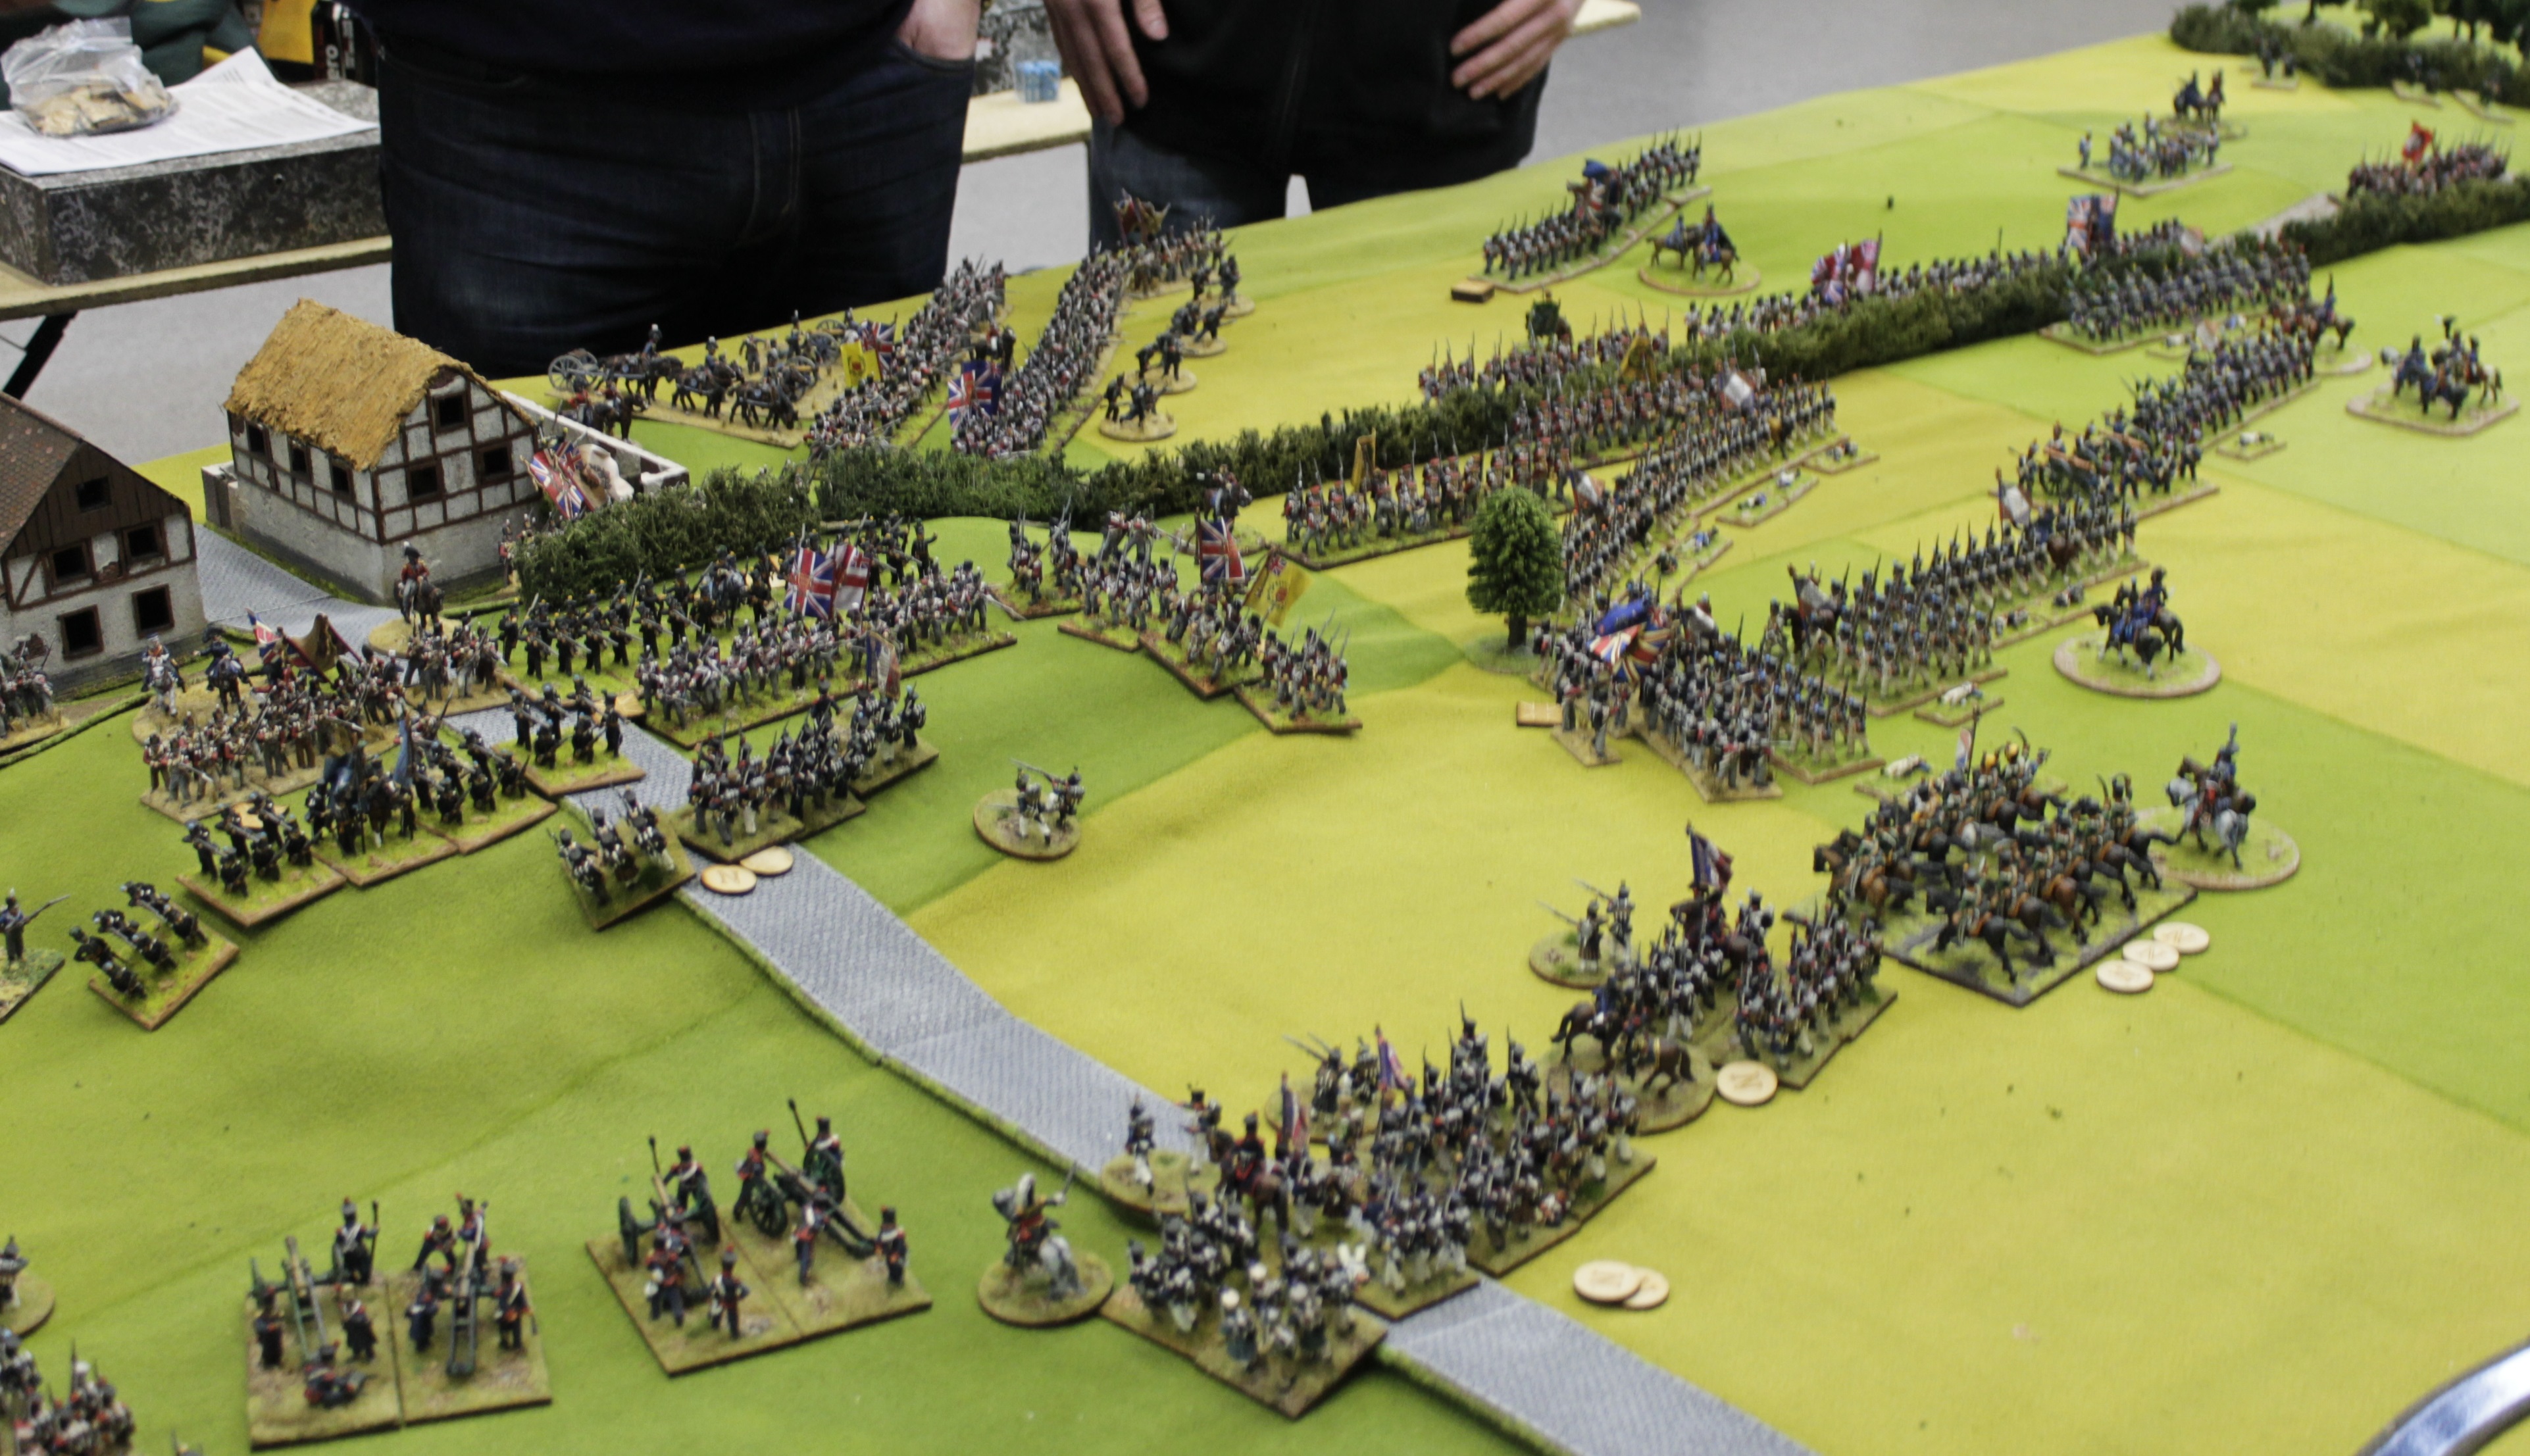
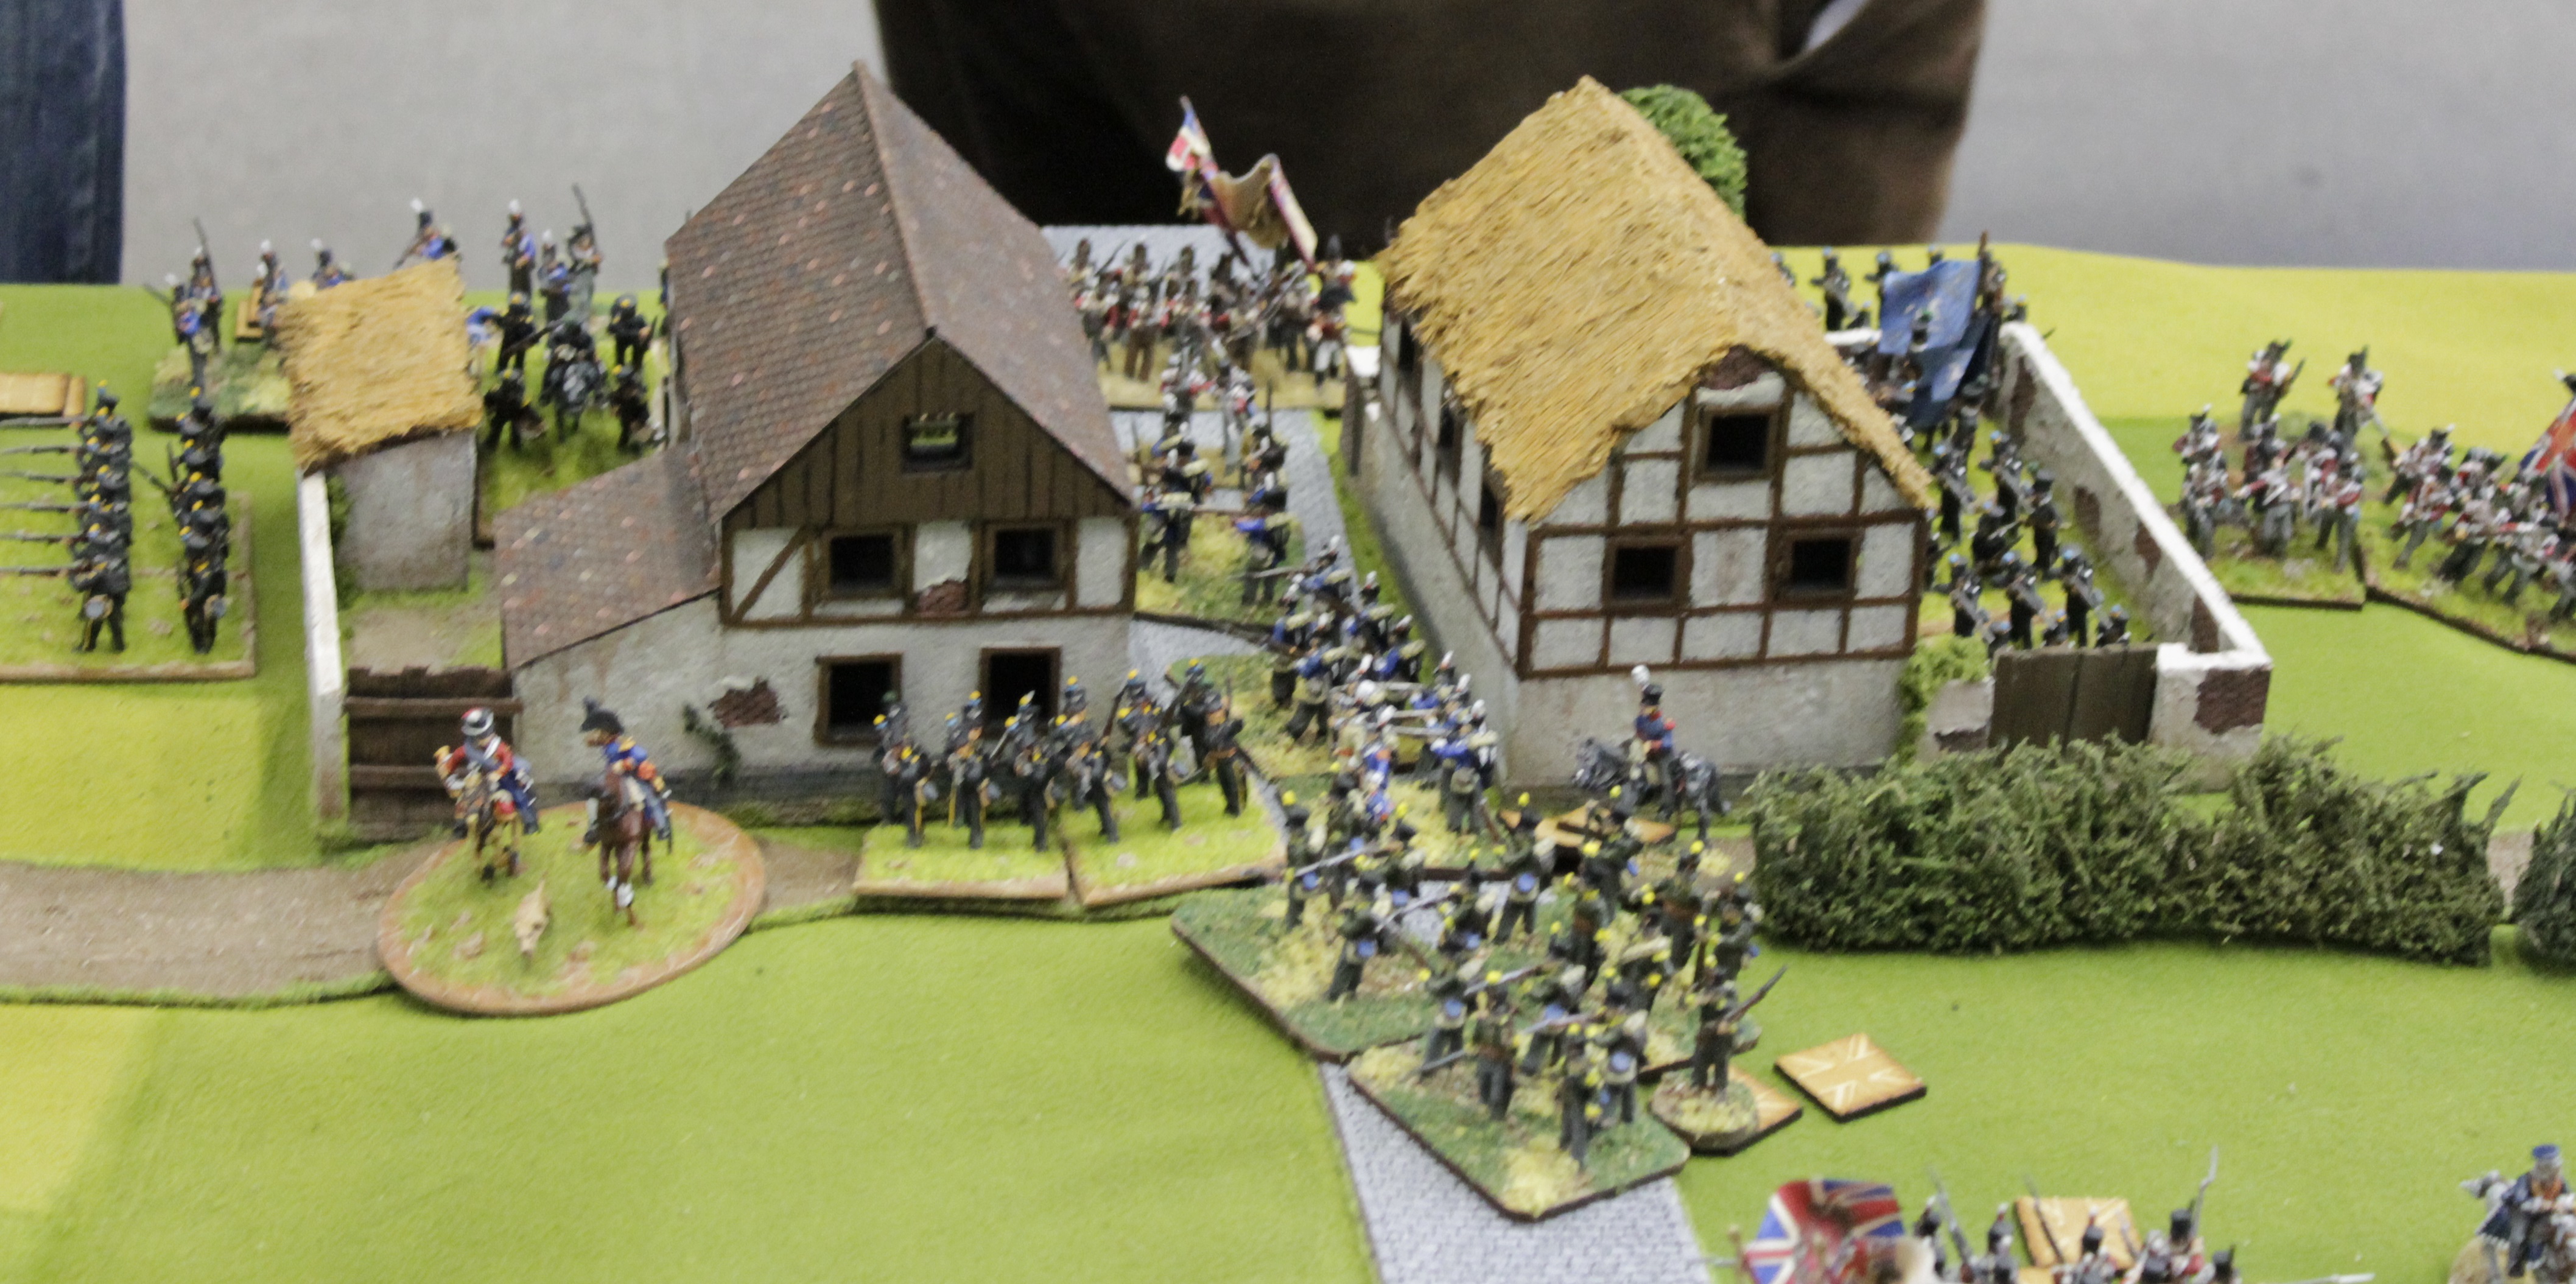
British reinforcements advance to front of village and threaten disordered French column and Rhys alters his lines to counter threat.
Looking down table in left foreground Marks 8 Bttns have virtually open spaces in front of them. My Lancers and Cuirassiers are rallying. In front of Keiths brigades the Allies have added another line of British infantry and Brunswick has bought on 2 small Jager/AvantGarde Bttns to the right of the village. Rhys position is under mounting pressure from the Allies!
The Allied Command develop new hand semaphore system
French column on hill is destroyed by fire from flanking Allied line. More Allied units have advanced and while one has an open flank to French Hussars, the Hussars are shaken so cannot charge them.
You would think this British unit is doomed but alas no, a case of lots of powder and no shot. The French artillery commanders will have some company.
Jerome attacks from the French left!
and a 2nd brigade lines up the Allied lines
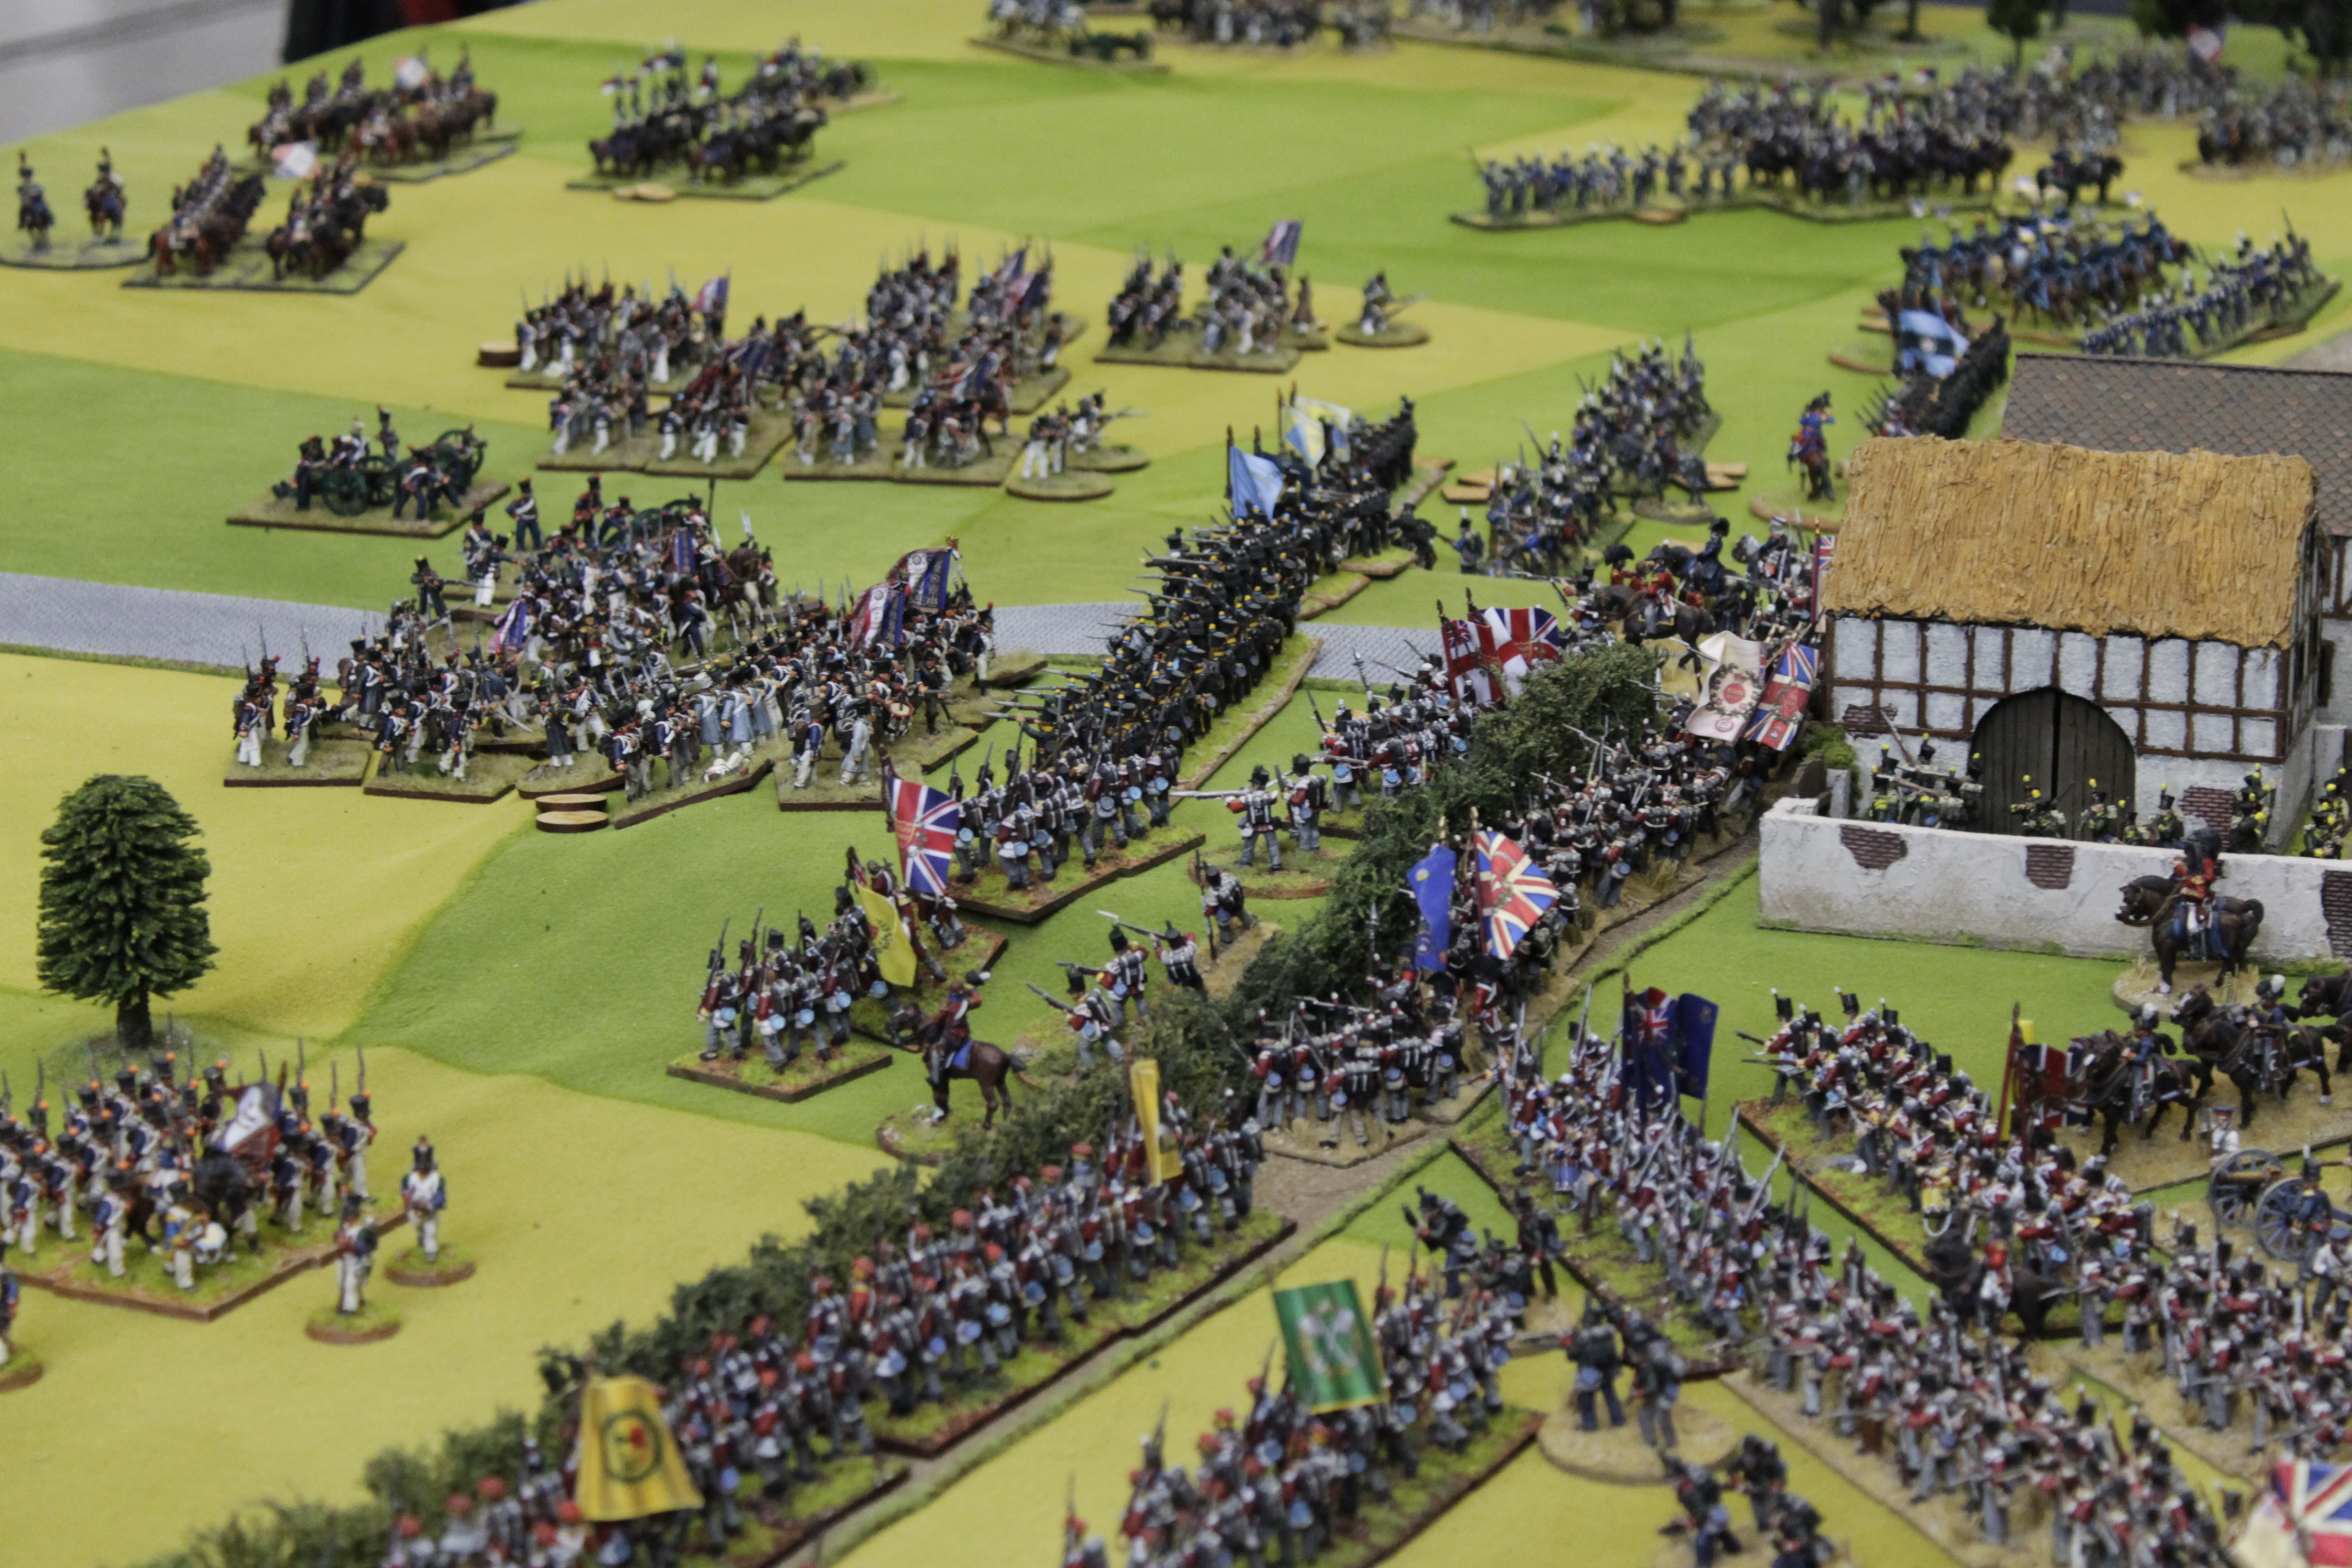
French attack! From left to right we have ongoing melee on the road, Mark gets a column with a support into Brunswick line. The Cuirassier regt in centre had charged a Dutch line which responded by forming square. Keith then launched a charge with a column into it. He was not able to get any supports up to assist it though. The Dutch unit on the road and the Brunswickers lose combat and retire. The square is destroyed.
Over in the centre another French unit has been destroyed on the hill and Paul / Pete and Daniel are throwing everything at Rhys to try and destroy the French right wing. Can the French left get the job done while Rhys holds off so many Allied units!
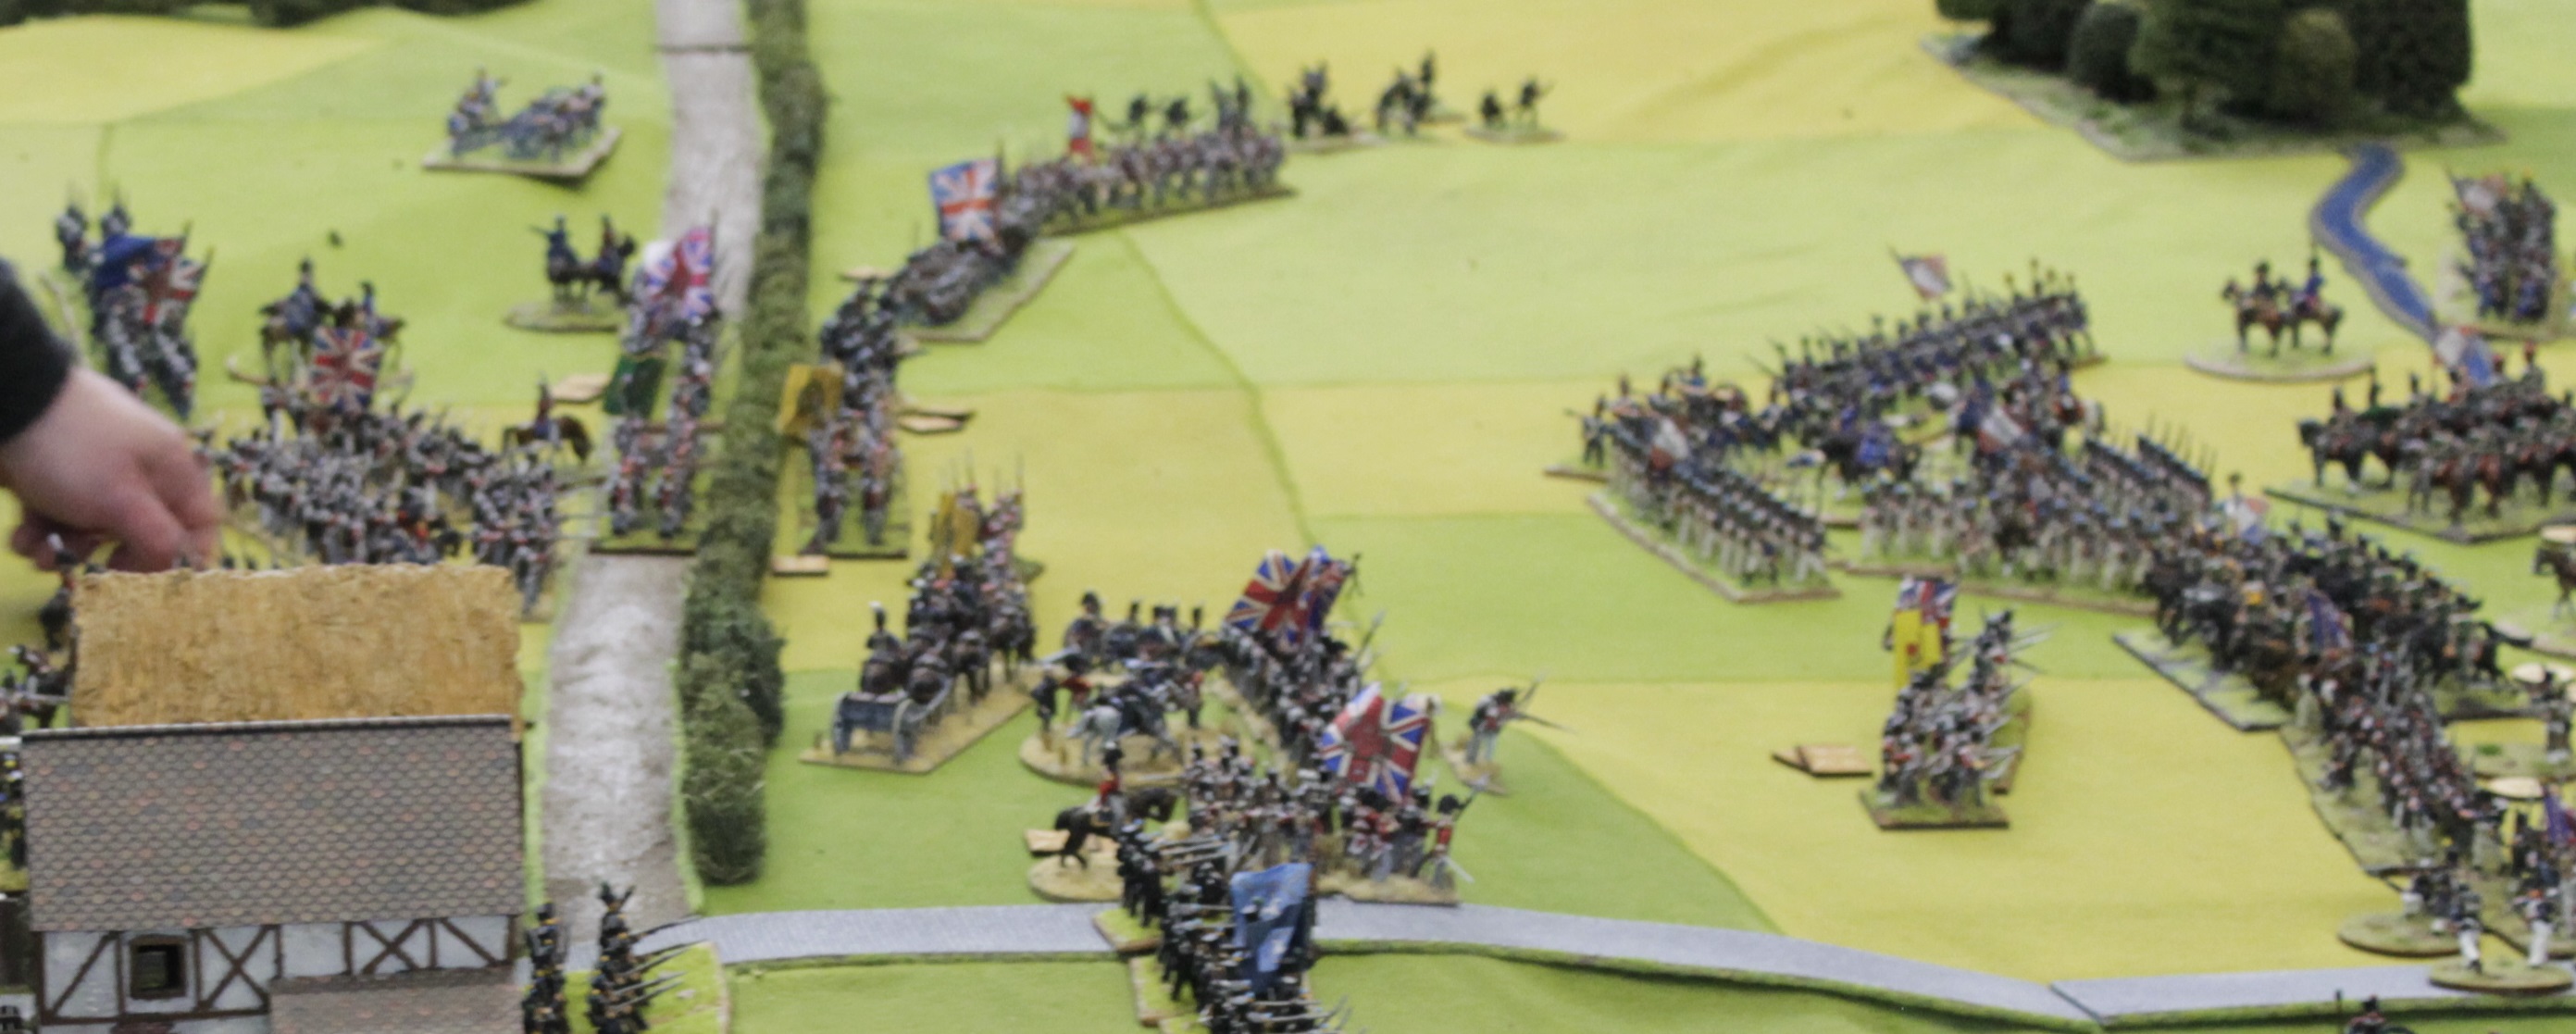
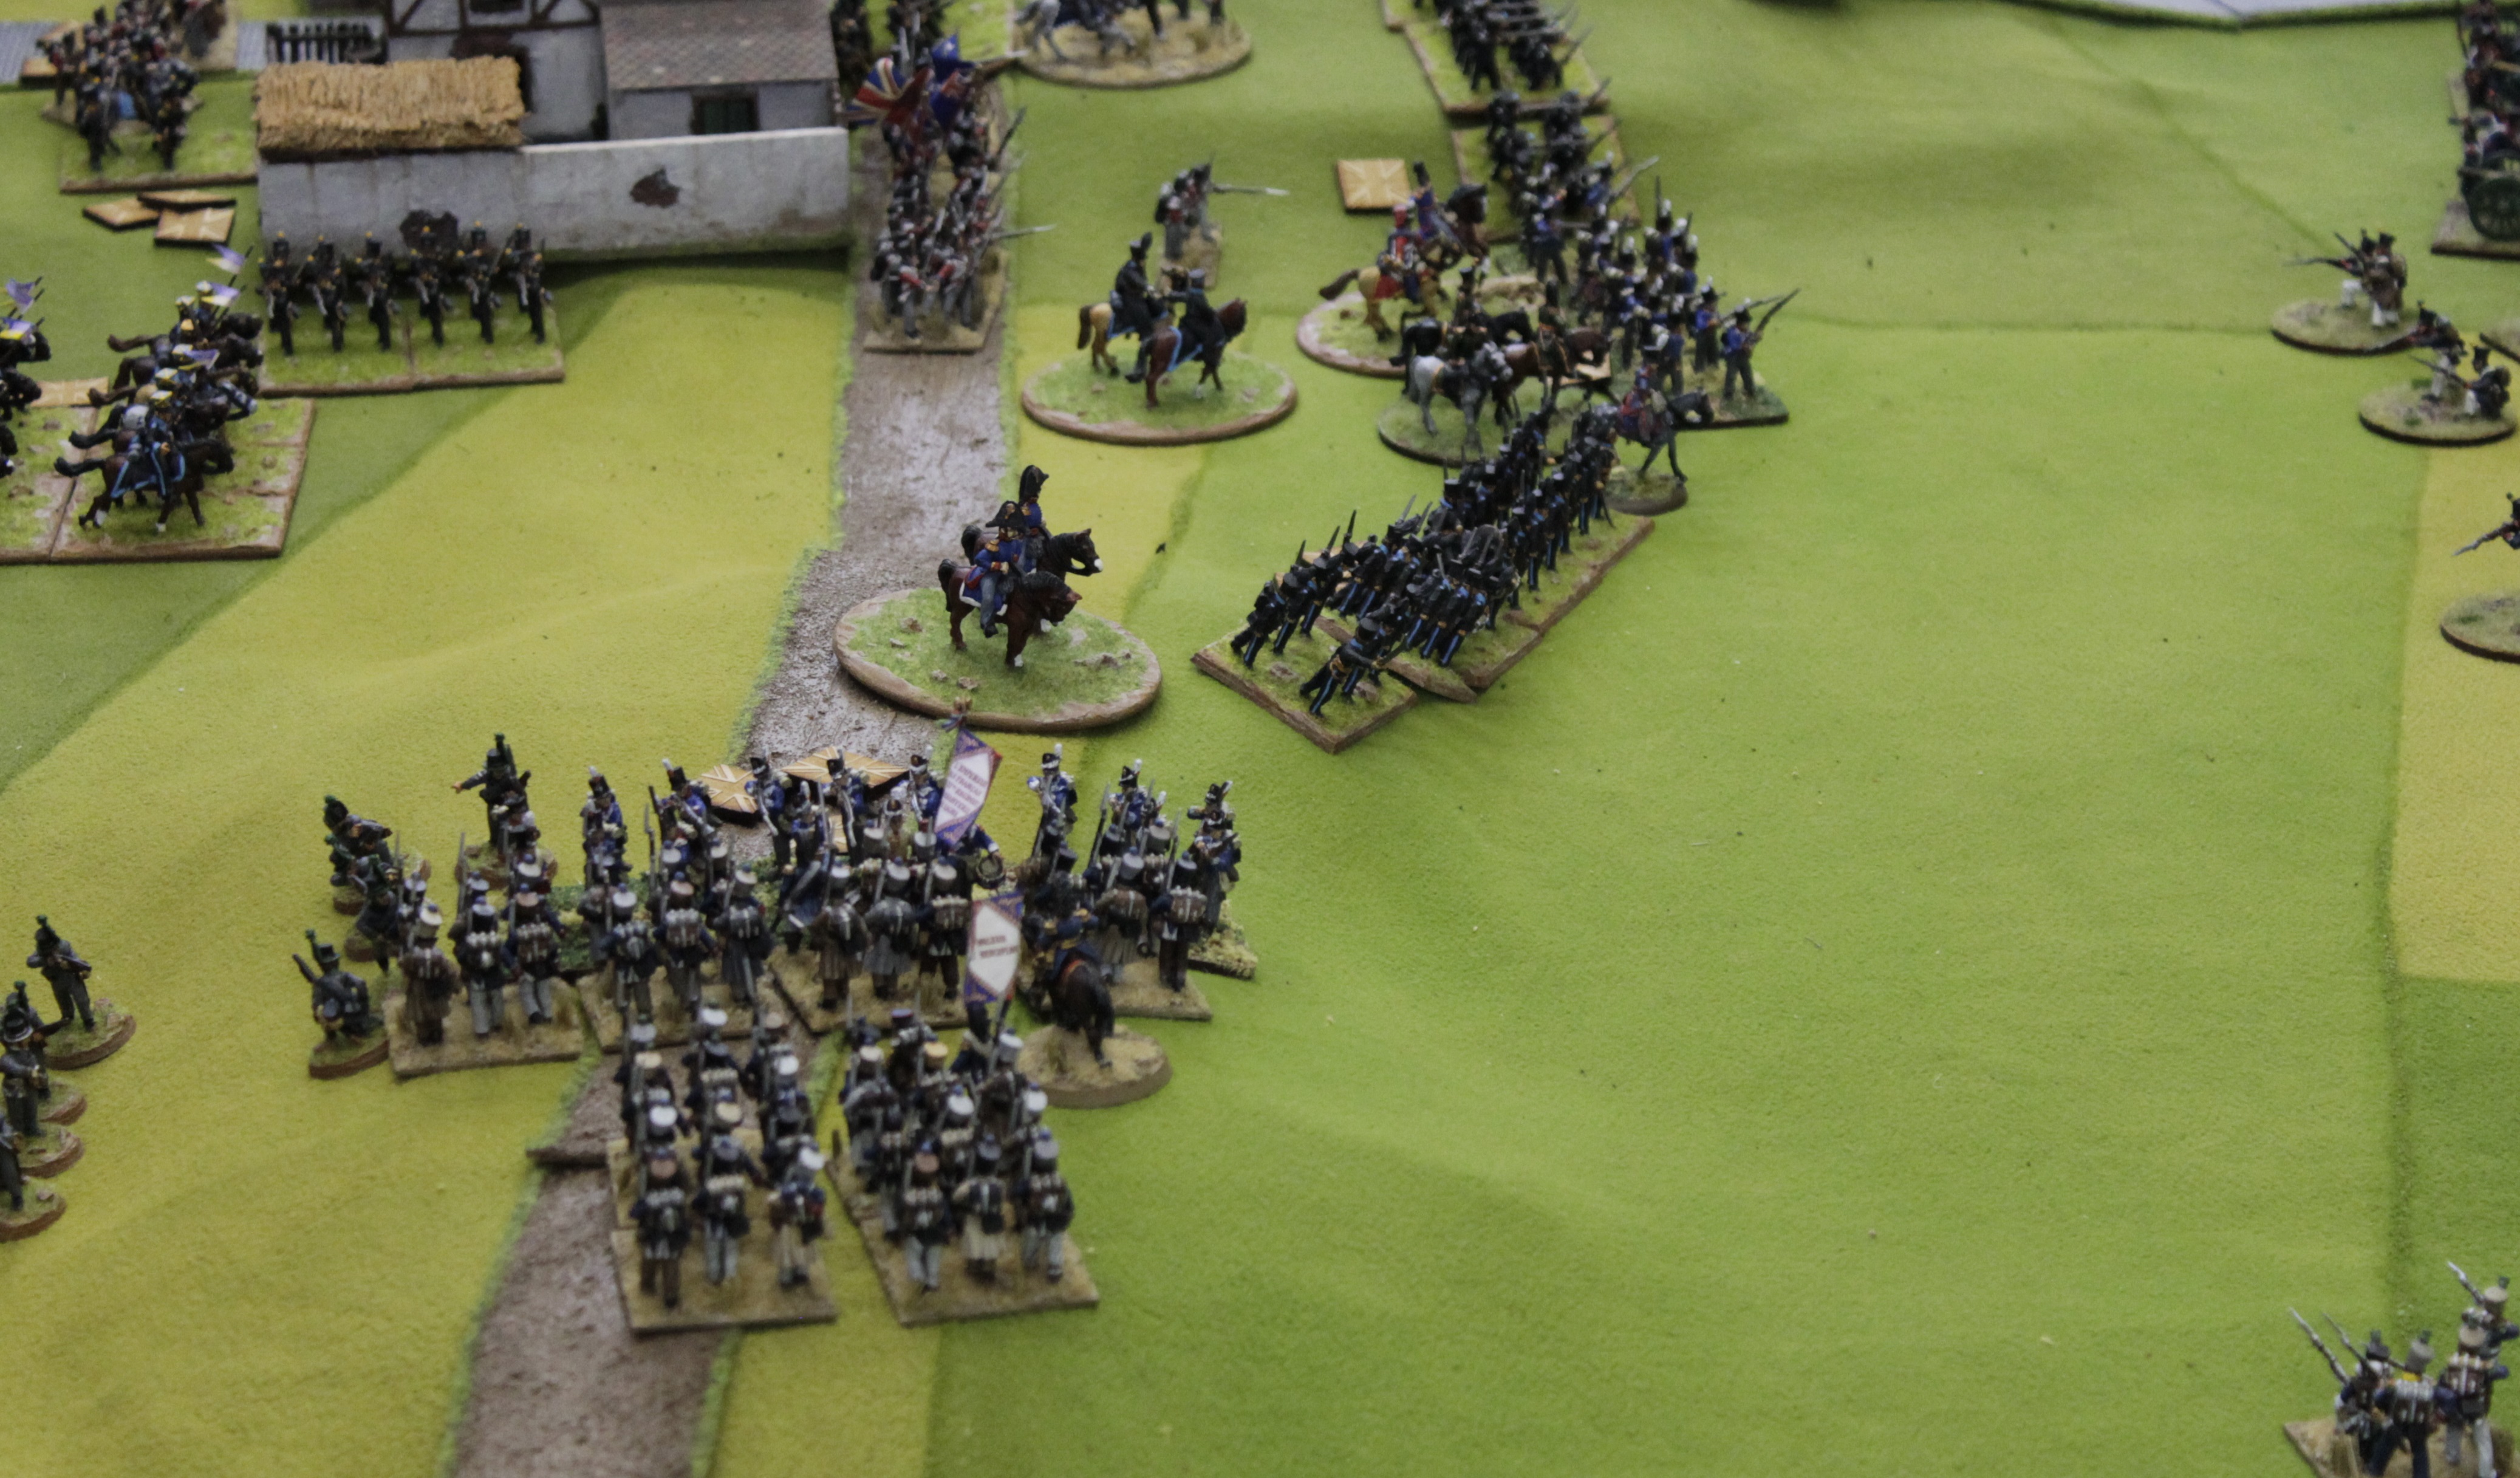
An apology here for the long range shot of the Allied left , camera (ok…operator) issue with the shots took from other end of table. Anyhow as can be seen Rhys has been influenced by the Dwarf players in the Warhammer Final Fling tournie and is ‘Castling Up’! The Allies can be seen positioned to try and get around Rhys flank although Rhys still has some cavalry unlike the Allies.
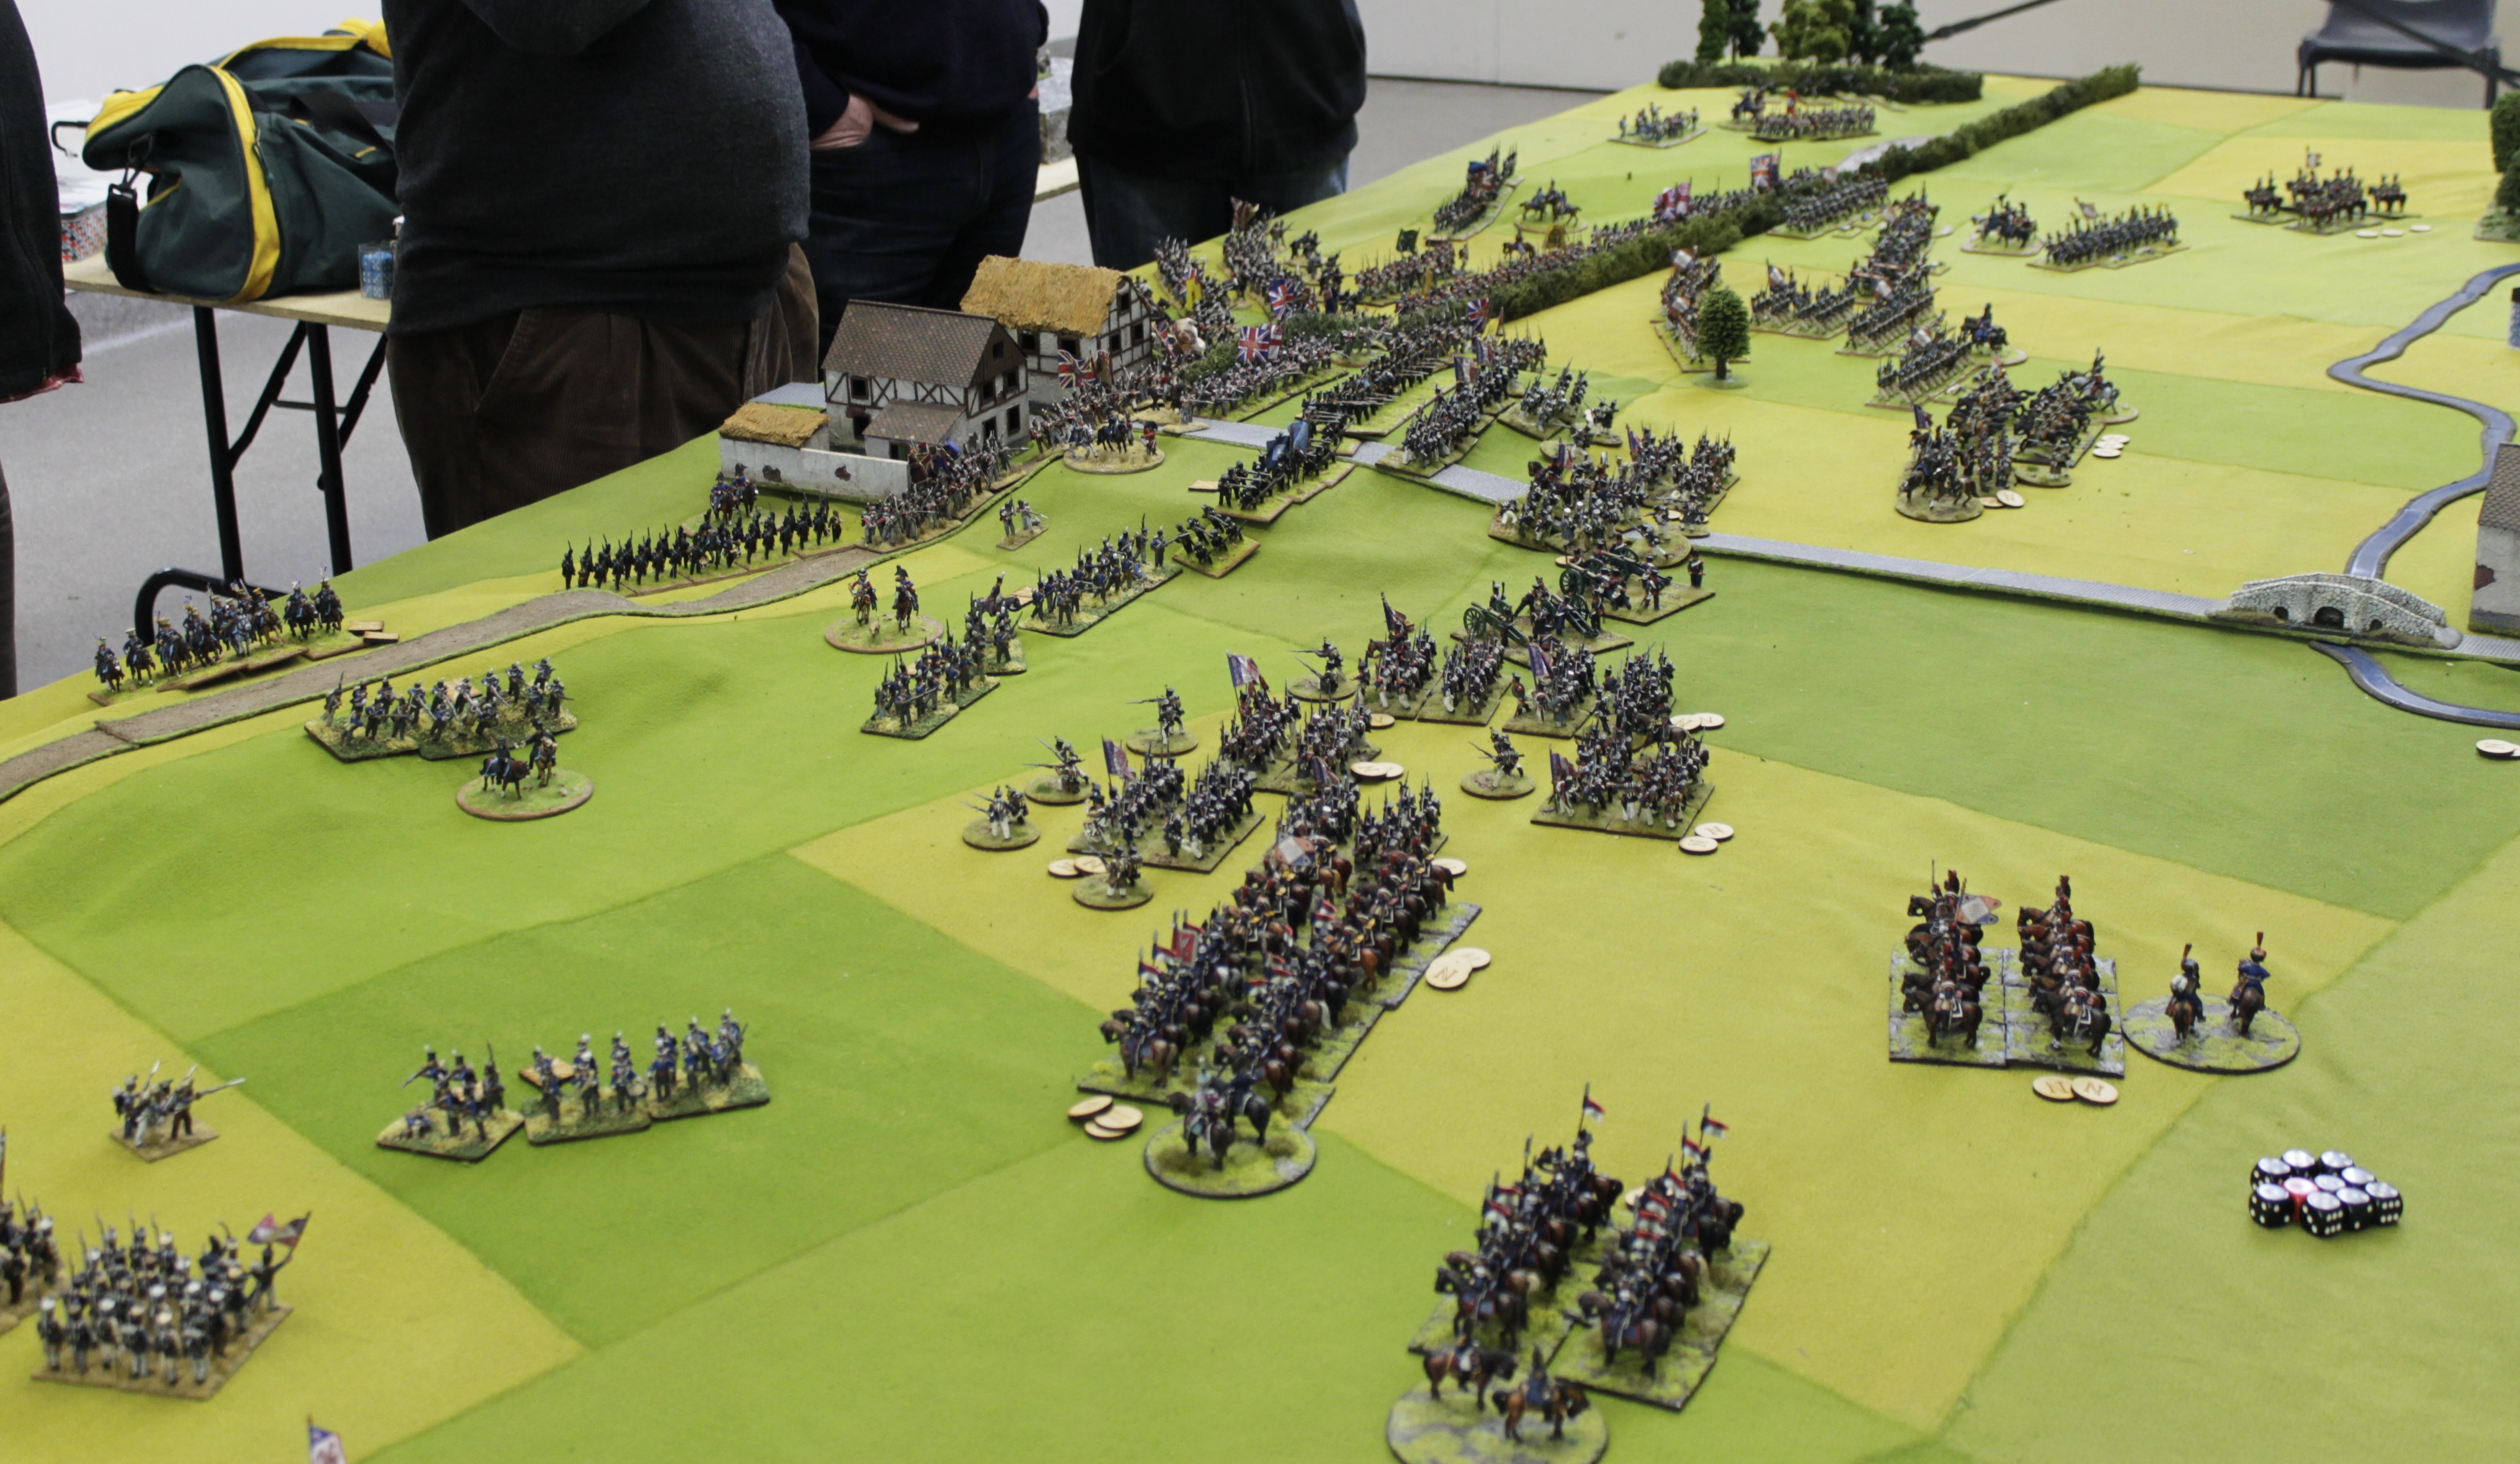
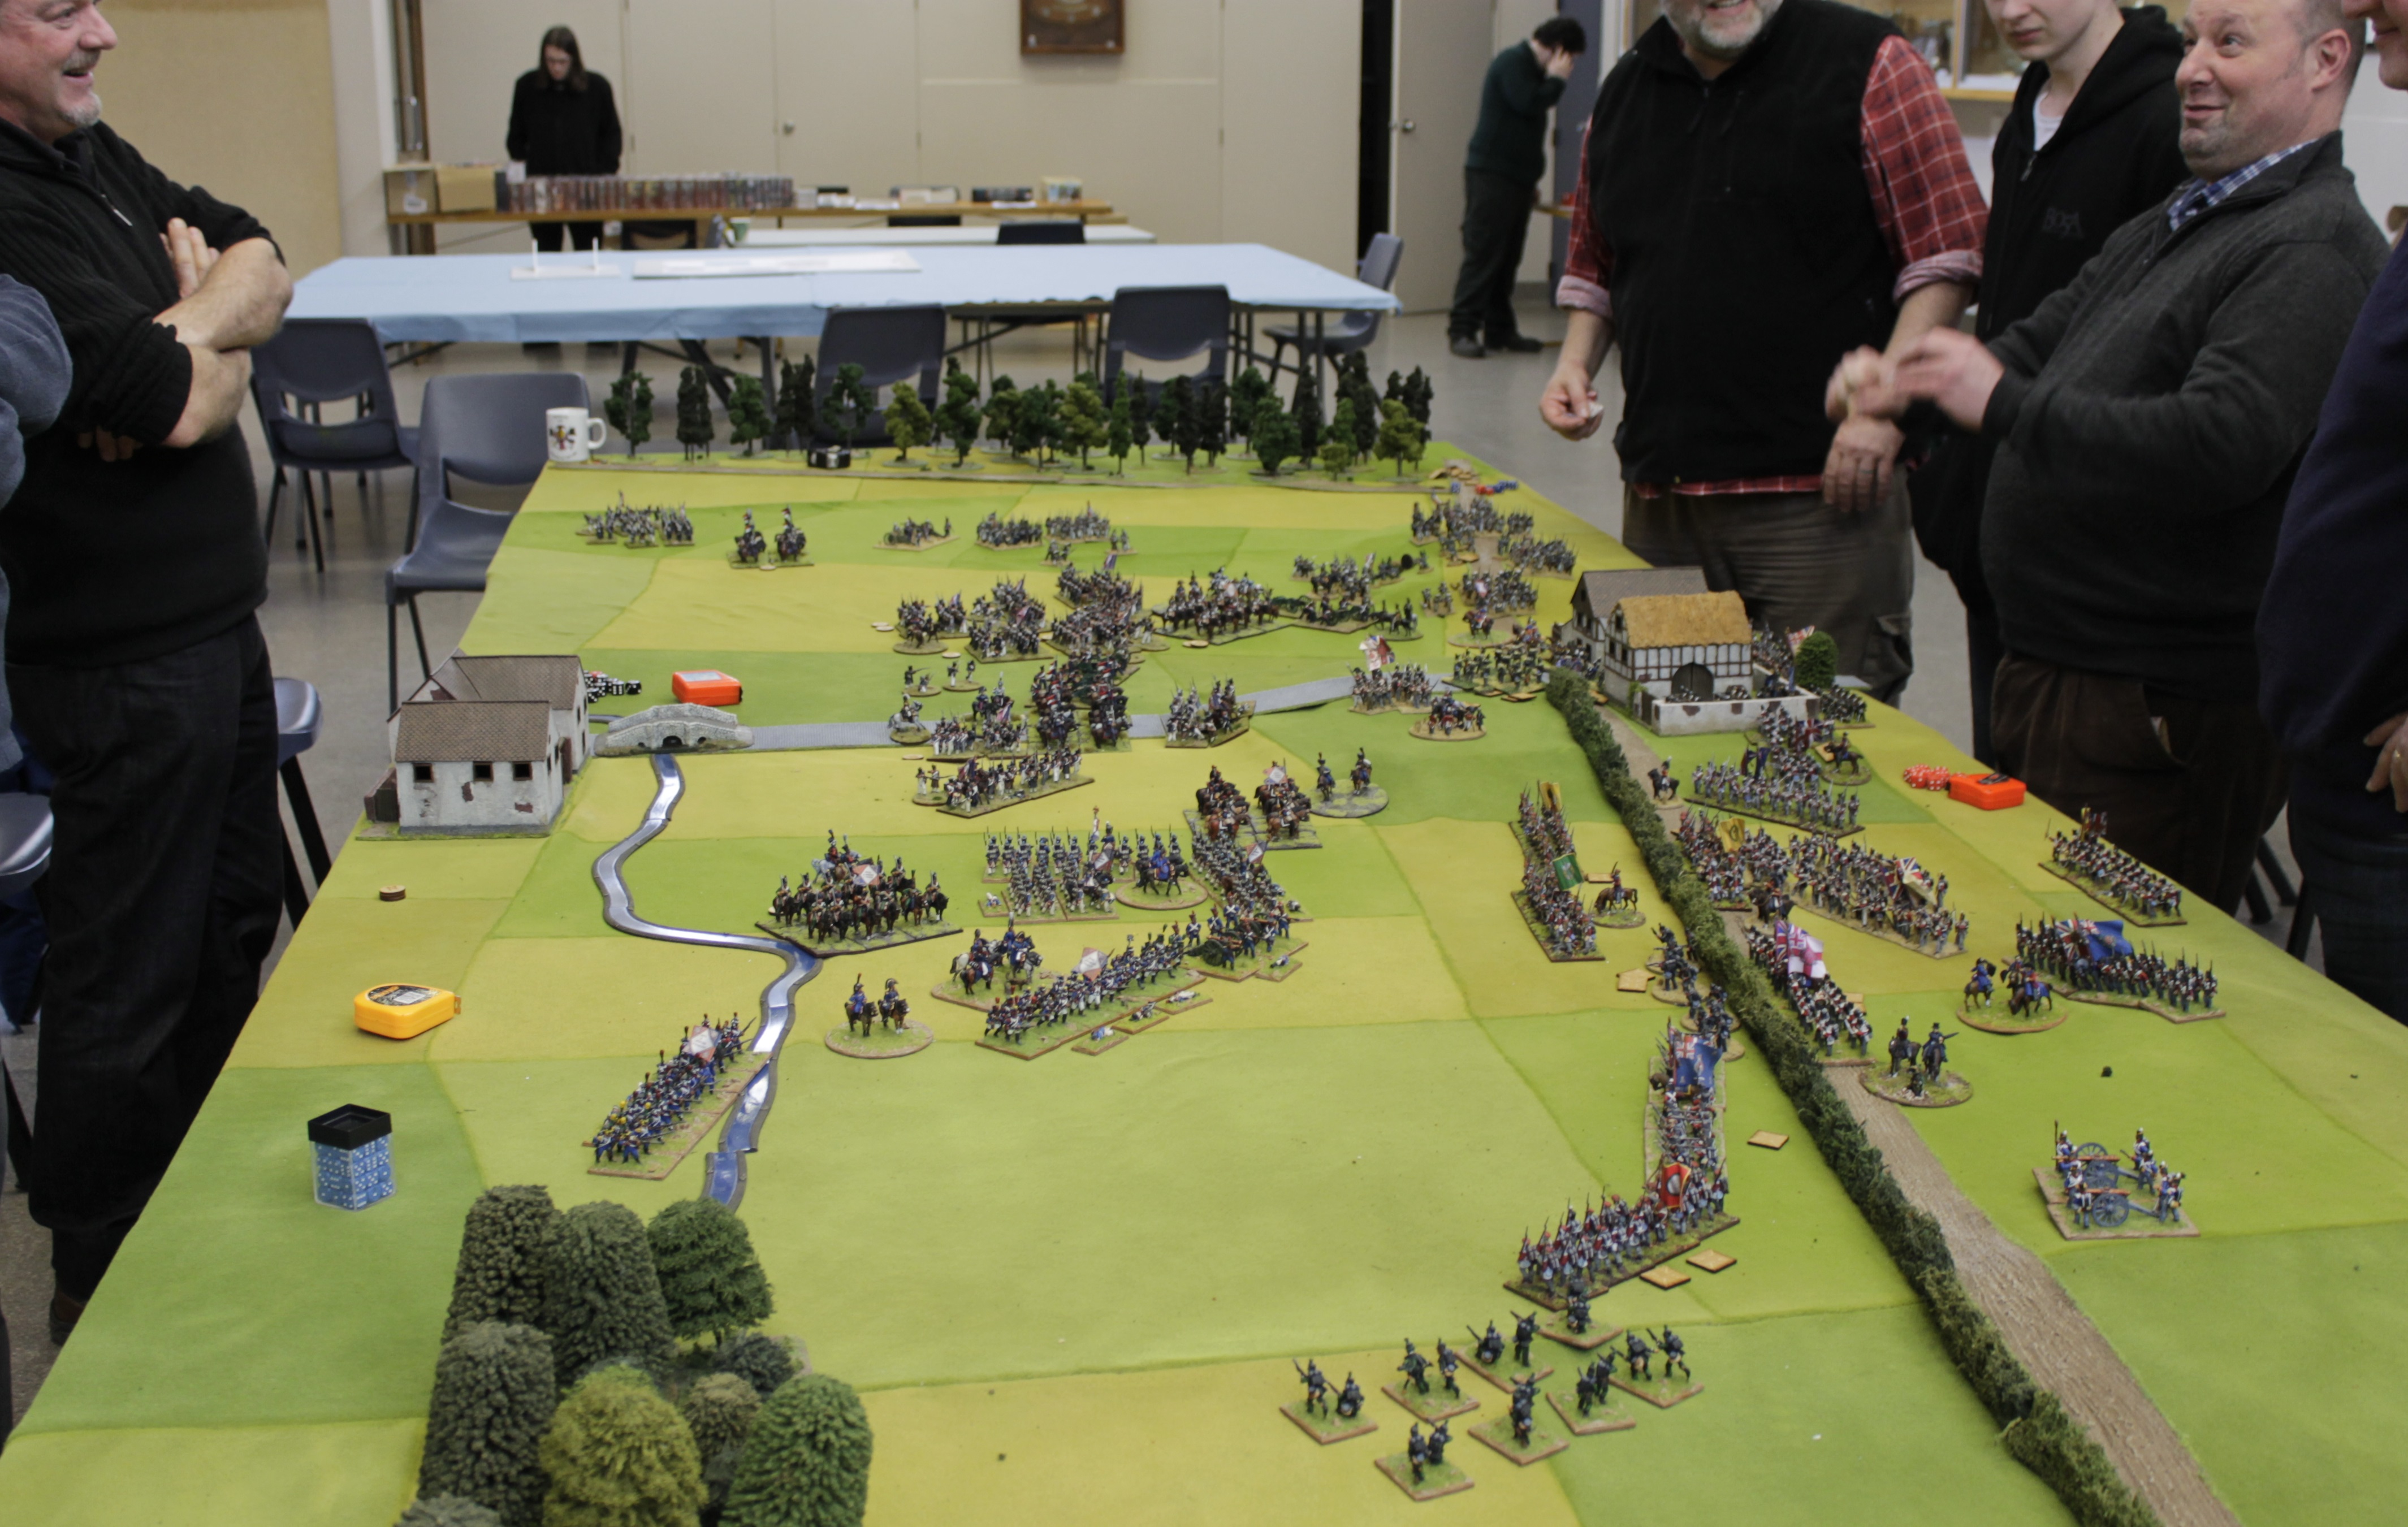
A shot back down the table from Rhys ‘Castle’.
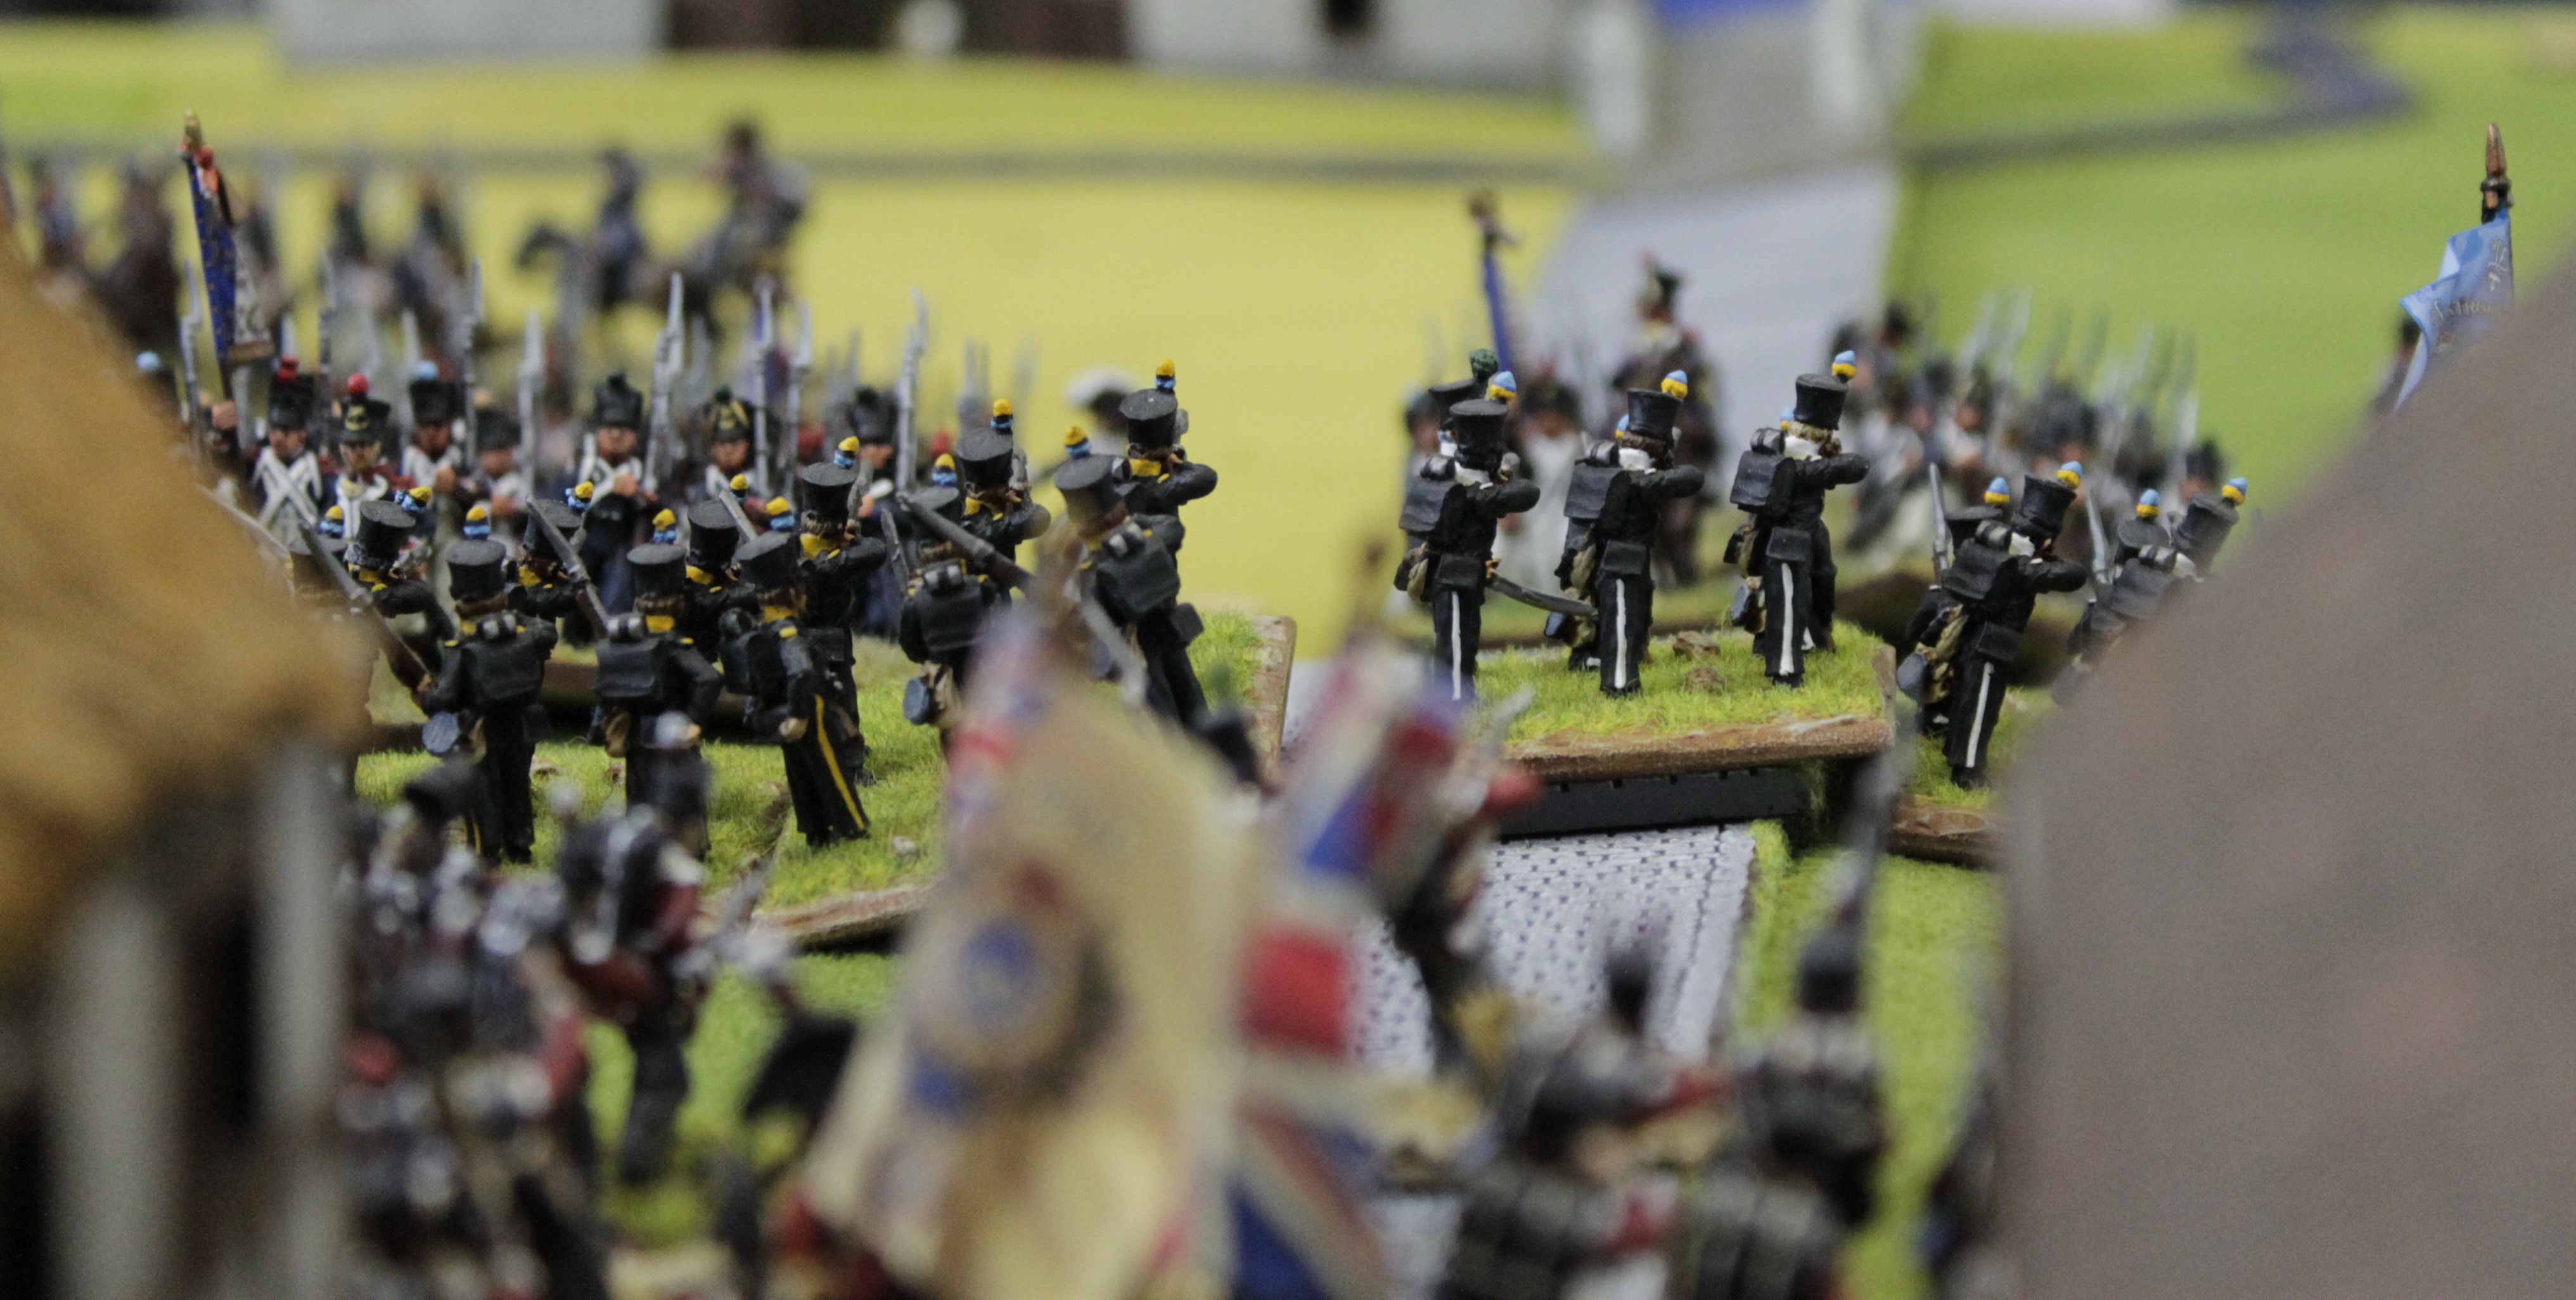
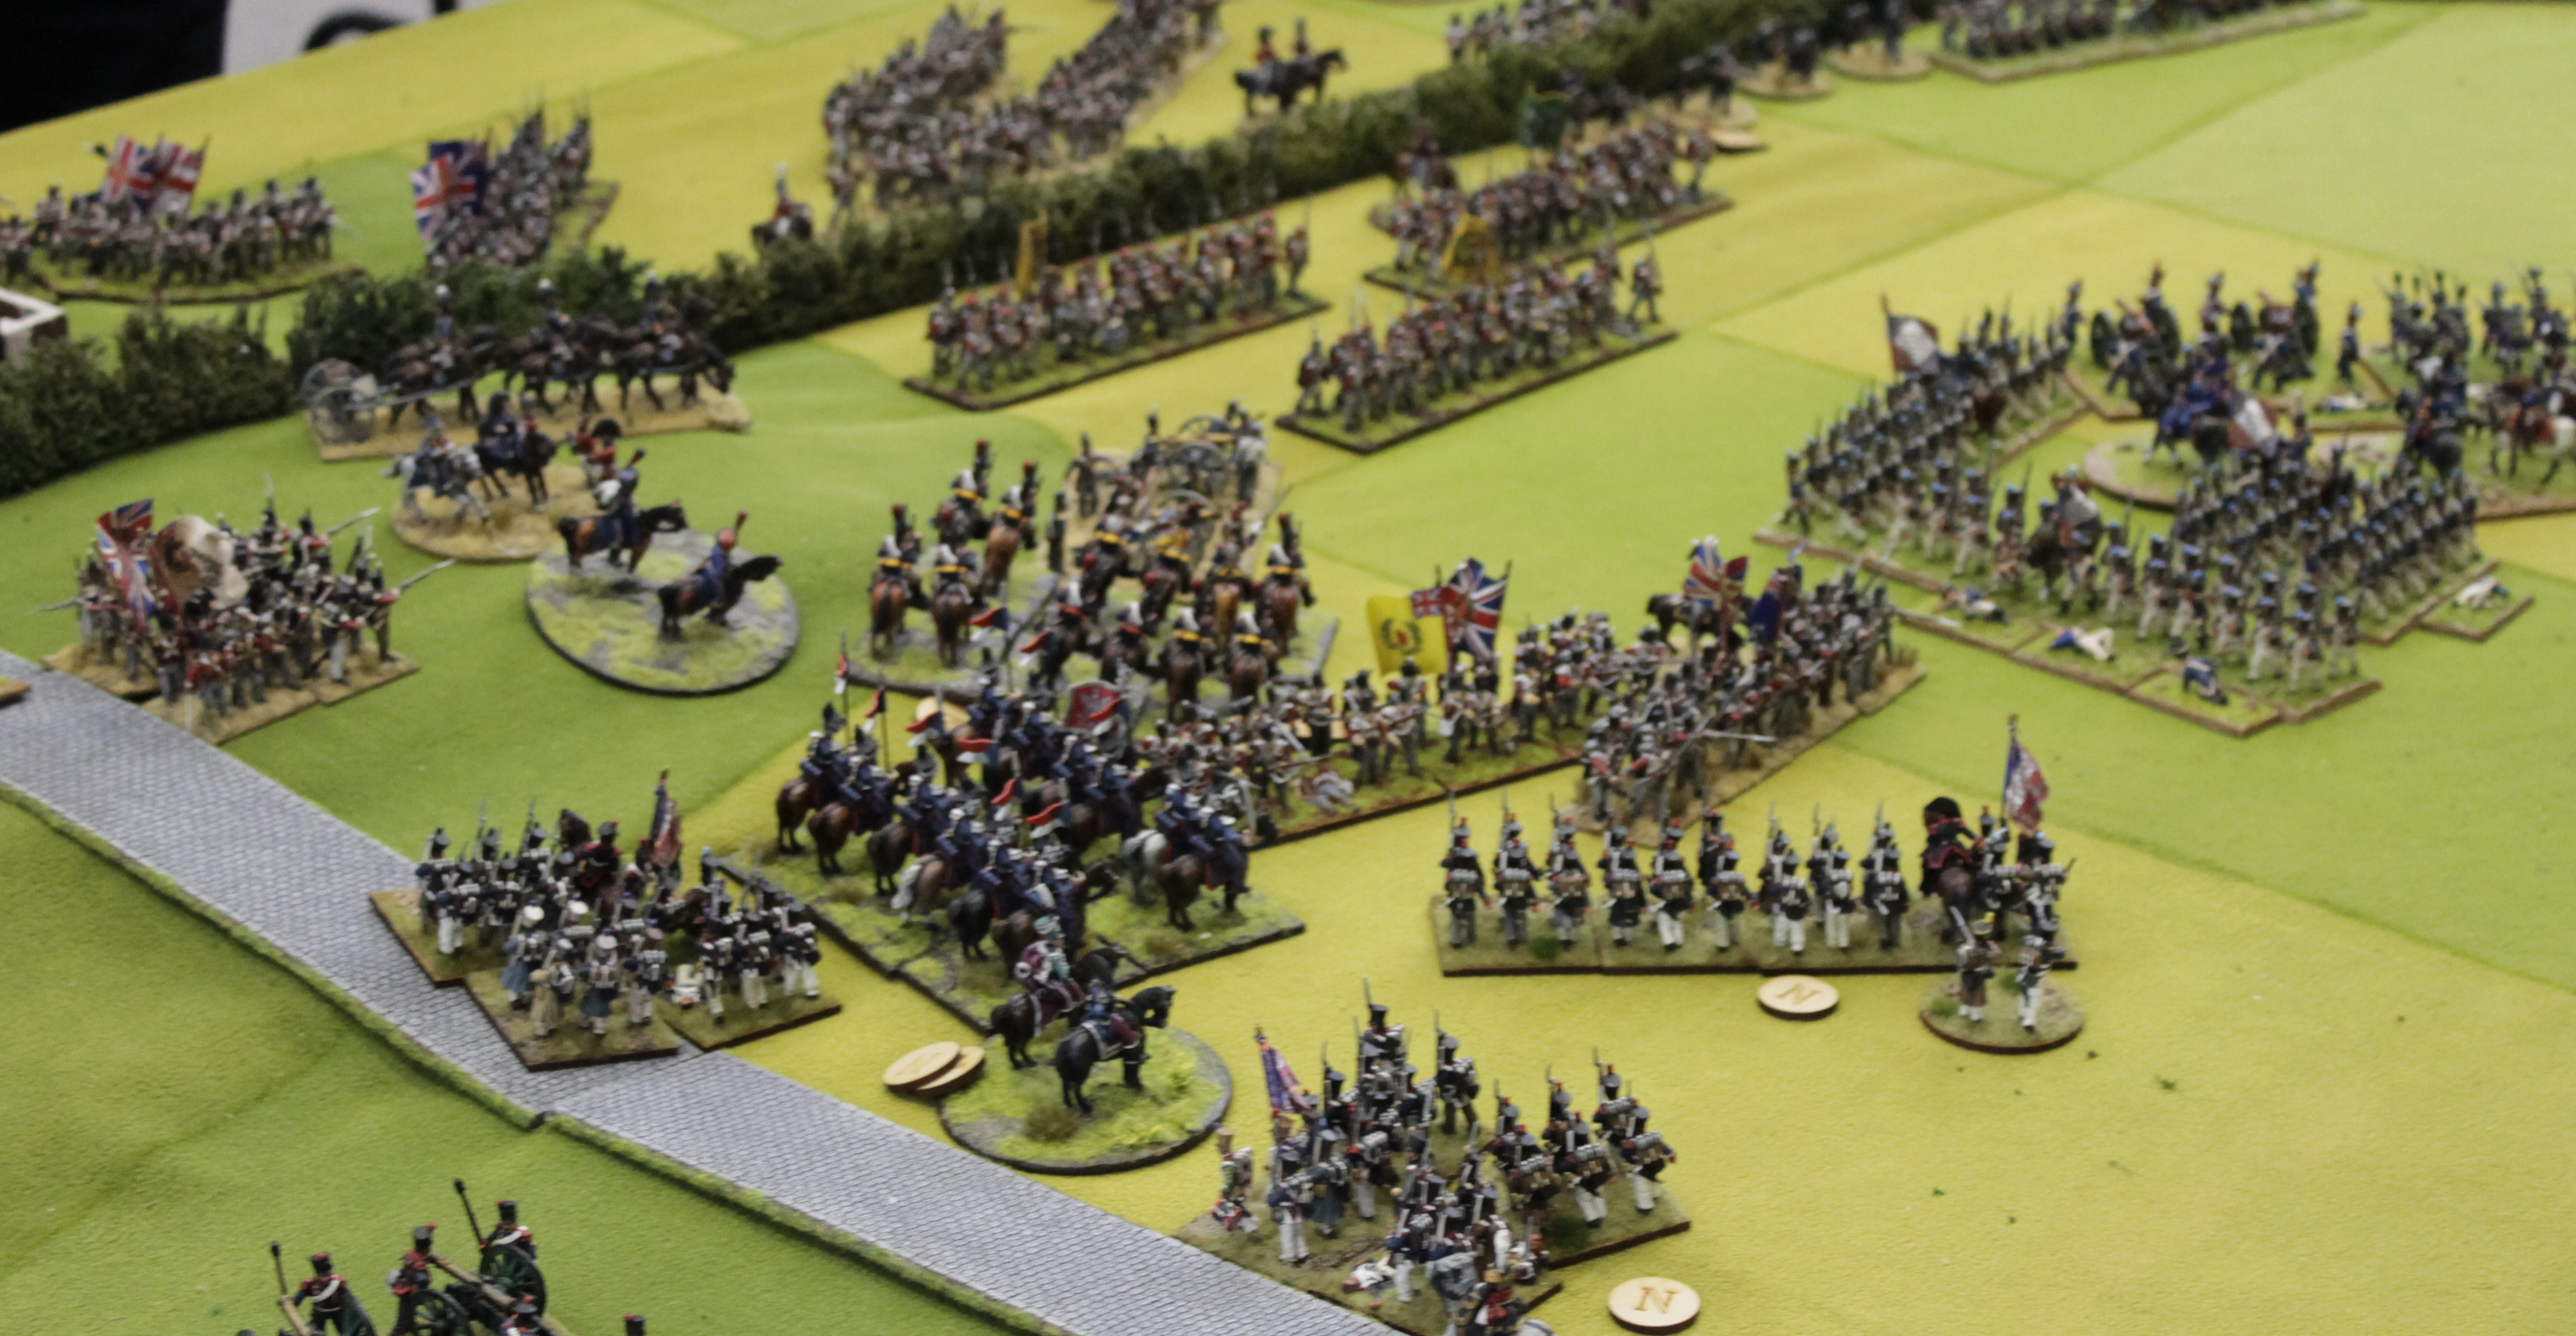
The French left closes in on Quatre Bras. Brunswick AvanteGarde skirmishing with French coming from 2 sides and behind them melee between French and Dutch. The Uhlans are shaken and cannot intervene, the Brunswickers are under cannon firefrom the horse battery and the Cuirassiers have gotten a flank charge off on another Brunswick unit.
It was the last turn and I had been admiring the open flanks of some of Paul and Pete’s units so if I got successful ‘Follow Me!’ orders off it could be fun. So I tried and both went off. Cuirassiers into flank of a battery and Lancers into flank of British line(Albuera, my hearts on fire, Albuera!). The combat destroys both contacted units and the sweeping advances take out 2 more.
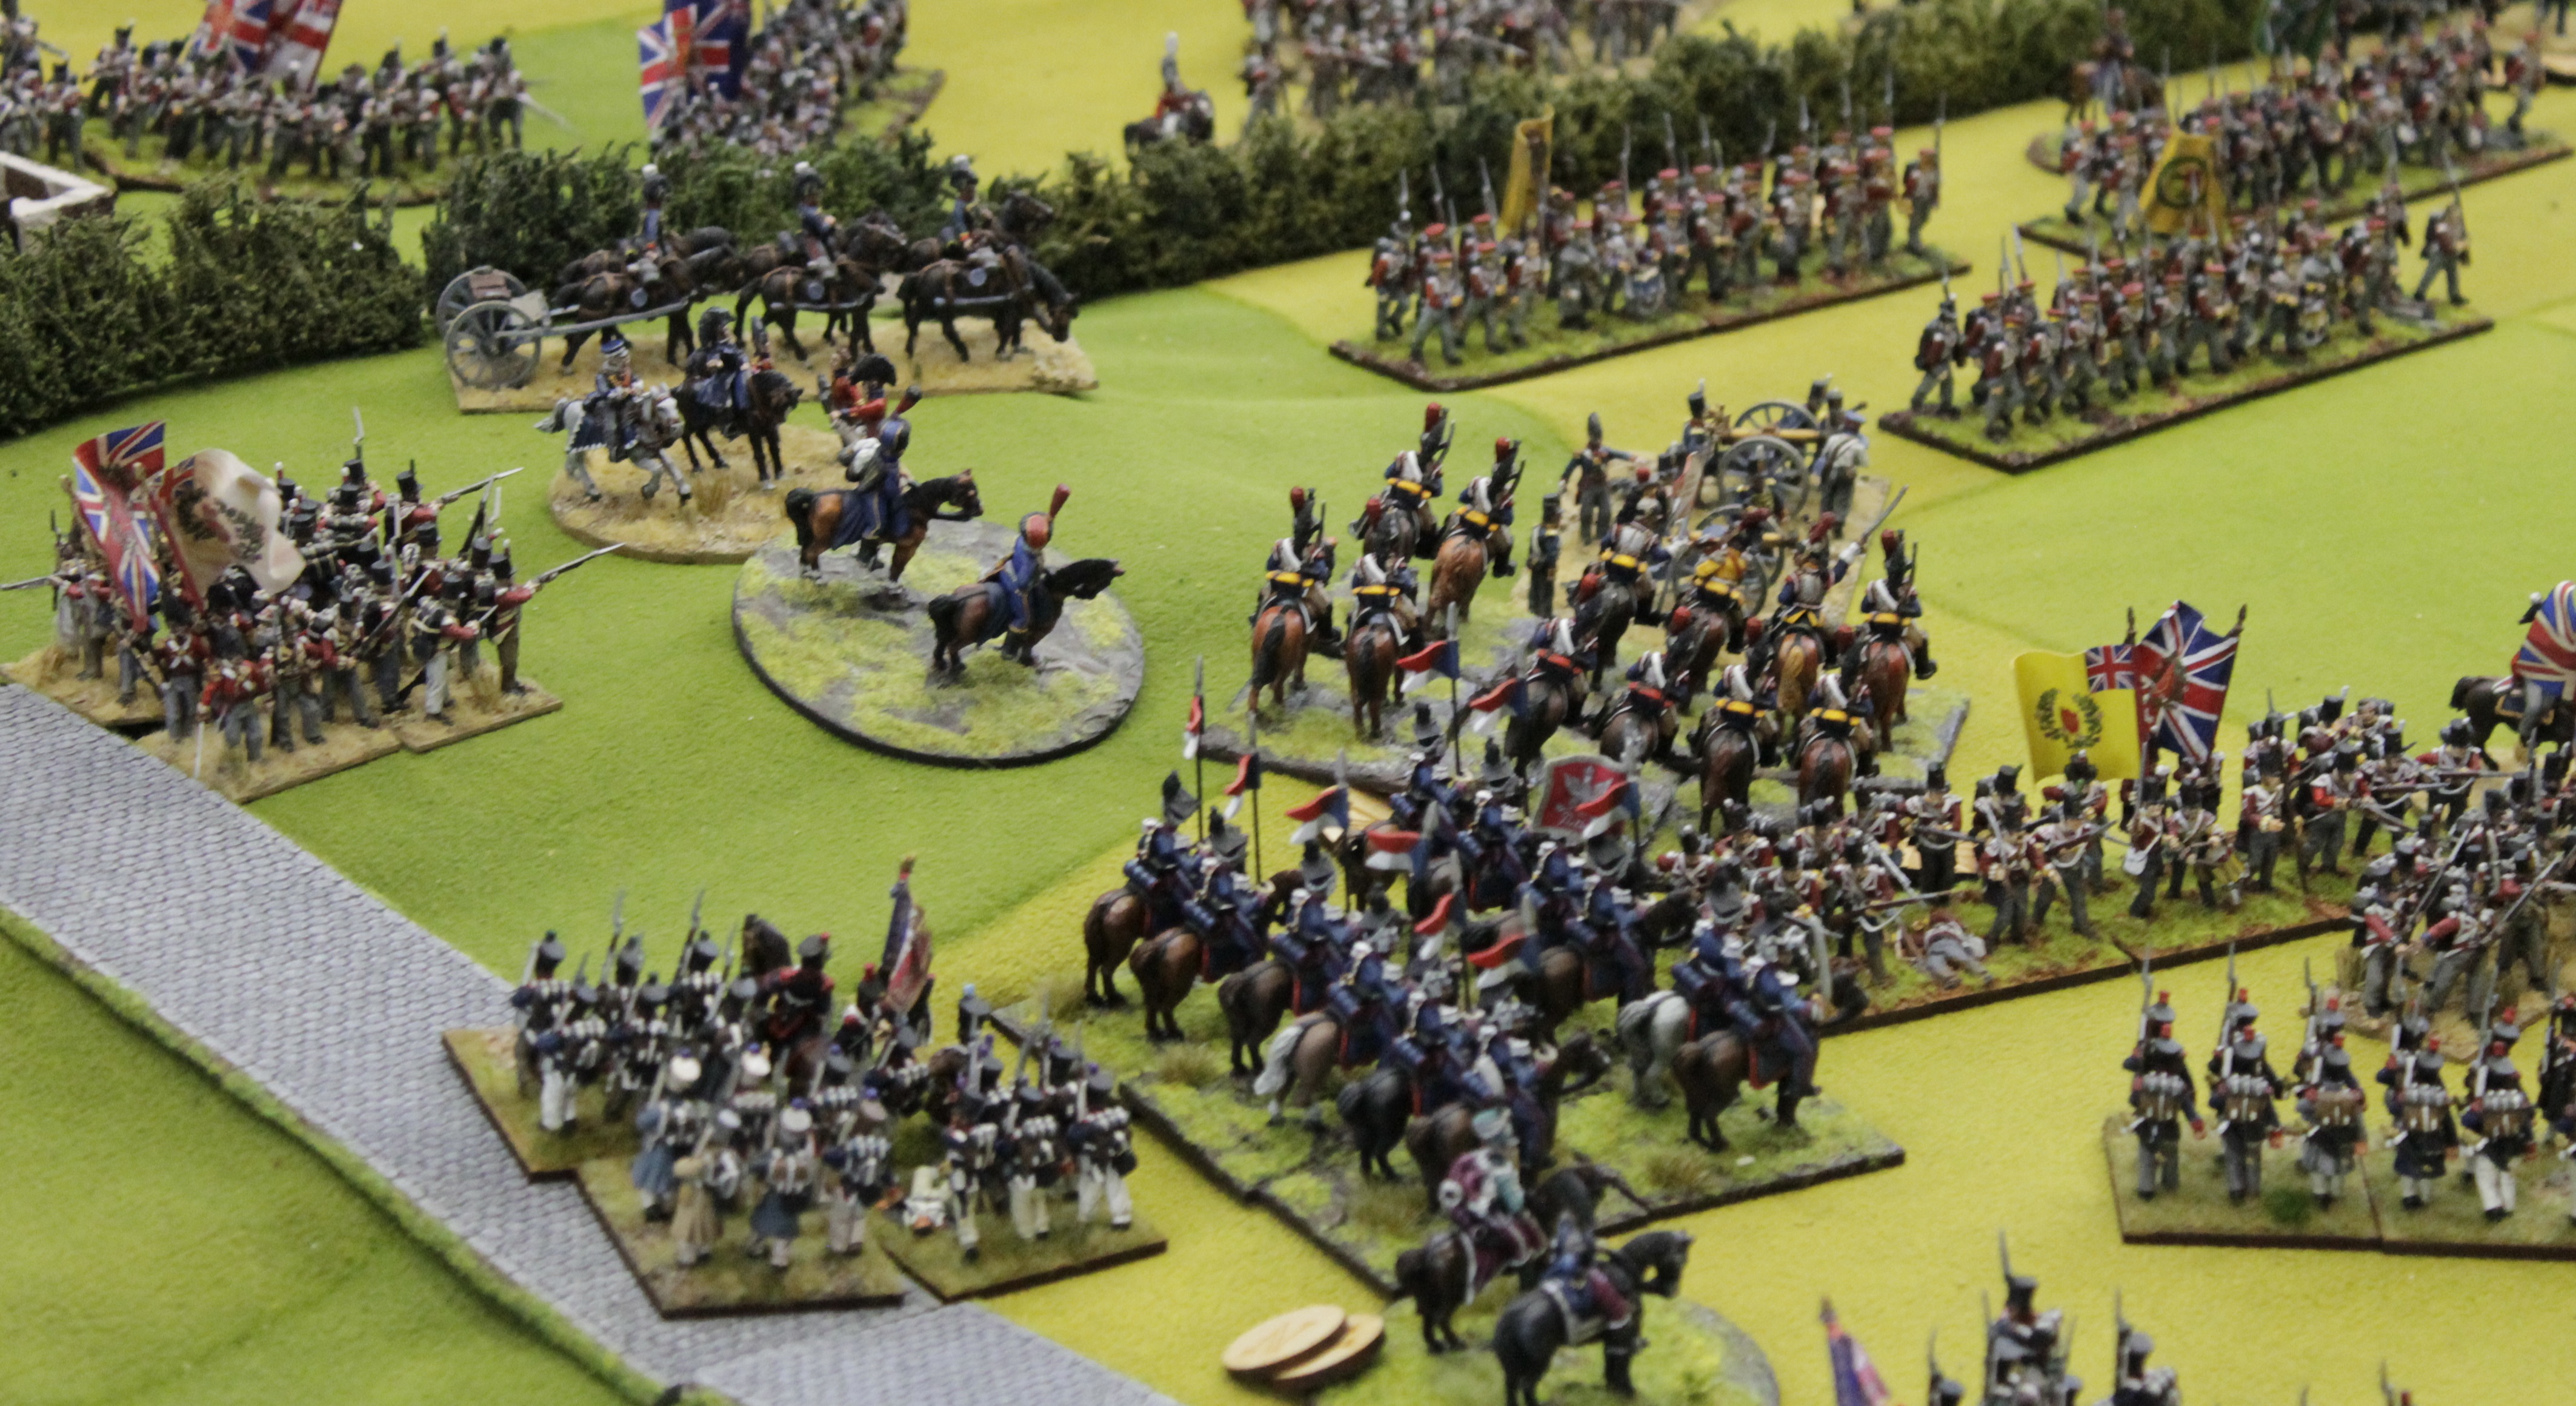
And a close up!
A final shot down the table at the end of the last French turn. The Allies then had there turn but I neglected to take any photos. The Allies attempted to cause more damage on the French units on the French left but a thunderstorm must have arrived as a lot of damp powder shooting occurred and no units were shaken or destroyed! Hurrah!!
And here is Quatre Bras in Allied hands still, so the French don’t get an automatic victory! All be it the defenders are a fairly shaken up bunch. The count back on Victory Points gave Victory to the French 44 v 26 Yeehaa!!
And one final picture from the game. Note Pauls expression! I asked the ladz to give me caption to accompany it…there were some rather witty ones but I have decided to let Paul have the final say. ‘I had just lost five battalions to Terry’s rampaging cavalry. So I was deciding whether to scream or cry’.
So that was our saturday spent at Call to Arms. There at 8am, turn 1 commenced at 8:47am and we were all packed up and I was driving off by 5pm.
I think it was a good game and the ladz seemed to have fun. I think as a group we have played enough games using Black Powder that the rule book is rarely opened and games tend to be played in the right friendly spirit. The scenario was fairly well balanced and you can look back at some stages and think ‘hmmm…now if that had worked or if I had done that’ perhaps the Allies would have won.
I chose to just have 2 small cavalry brigades so I could take pictures but alas I seem to have missed a few on the other flank so will get Pete(Von Peter) to send me some and will add them in. And of course I do like using cavalry although Paul is threatening to never let me use any again. He is a bad man.
The next 2 Garage Games are ACW ones so will be postings on those and then in September some of us are journeying up the coast to Mark Conroys country estate as he is hosting NapCon(Napoleonic Convention) where saturdays game is Ligny and sunday is a cut down Waterloo. Speaking of Waterloo I have a mountain of pictures from various ladz to wade through then I will do a batrep based on the diary of the characters I played, namely Prince of Orange and Uxbridge.
Until next time
Terry
and will sign off with a cute picture that was on my daughters camera


It was a good game.
I kept forgetting to use Steady Line special rule.
The best Allied units of the game were Landwehr or Militia – mmmmmm
LikeLike
Agreed the game was played in a good spirit and everyone appeared to have fun.
To protect the honour of my Hanoverian militia who fought like lions all day showing the British around them how it should be done … the final gallop across the battlefield by the Cuirassiers did not destroy the Hanoverian militia (one of the 2 yellow flagged units) that they flanked in their sweeping advance. From memory the cavalry bounced and you can see the yellow flagged battalion behind the hedge line in a consequent photo. Real lions those militia. 😀
The much vaunted British first fire was a disappointment to say the least. And Rhys’s ability to pass break tests was a master class. I was a lucky Allied commander to be posted on the left.
Salute
von Peter himself
LikeLike
Pingback: Call to Arms 2015 part the second … and some sadness | von Peter himself