The Wellington Warlords is the Wargaming Club based in Central Wellington and in August each year they host a 2 day convention called ‘Call to Arms’. I have attended most of them since around 2000 and apart from 2 years running a Warhammer Ancient Battles competition these have been playing Demonstration games of either 7 Years War, ACW, Ancients using Piquet rules or Napoleonics(Black Powder). Last year we gamed the Southern sector of Leipzig 1813 and this year following on from the success of the Waterloo weekend, we presented Quatre Bras.
The rule set was our set of choice being ‘Black Powder’ with the scenario being taken from the Supplement ‘Albion Triumphant’. The table was 16 x 6 foot and we kept the hedge lines and trees to a minimum to aid easier play.
The players would be Paul, Pete, Daniel and Grant on the Allied side and Rhys, Keith, Mark and Moi(Terry) on the French side. The only change to the scenario was that all Command ratings would be 8 except for Wellington(9) and Orange who would be 7 with the special rule of any failed role would be re rolled and a second fail was a blunder.
For the Allies Paul was Wellington/Orange and also commanded Vinke(4 Hanoverian Landwher and 1 battery) and Von Alten’s forces(Halket and Kielmansegge’s brigades of 3 KGL Bttns each and 1 battery). Grant was Bylandt(5 Dutch/Belgian Bttns and a horse battery), Van Merlin( Dutch Hussars and a small Belgian light Dragoon) and Von Godecke(5 Nassau Bttns). Pete was Best(4 Hanoverian Landwher) and Pack(2 British and 2 Highland Bttns). Daniel was Brunswick(4 Bttns with 1 large Hussar and a small Uhlan Regt and later a small Jager and Avante Garde) and Kempt( 1 Bttn rifles and 3 British line plus a battery).
For the French Terry was Ney, Reille(12 pdr battery) ,Pirie and 2 of the cavalry brigades, Walthiez(2 Lancer and horse battery) and Kellerman(2 Cuirassier). Rhys was Bachelu(brigade of 4 Bttns and brigade of 5 Bttns and 1 battery) and also Huber( 2 Chasseur a Cheval Regts). Keith was Foy(brigade of 5 Bttns and brigade of 6 Bttns and 1 battery) and Mark was Jerome Bonaparte(2 brigades of 4 Btts each and a battery). Mark and Keith would both be arriving late so I started out commanding their forces. Mark arrived during Turn 2 and Keith shortly there after.
The game would be 8 turns and victory points were:
- 6 points for holding the crossroads
- 2 points per destroyed enemy unit
- 1 point for shaken enemy unit
The French win outright if they take and hold the crossroads for 2 turns, this means 2 units within 4 inches of the crossroads and no Allied units closer.
The French get to move first.
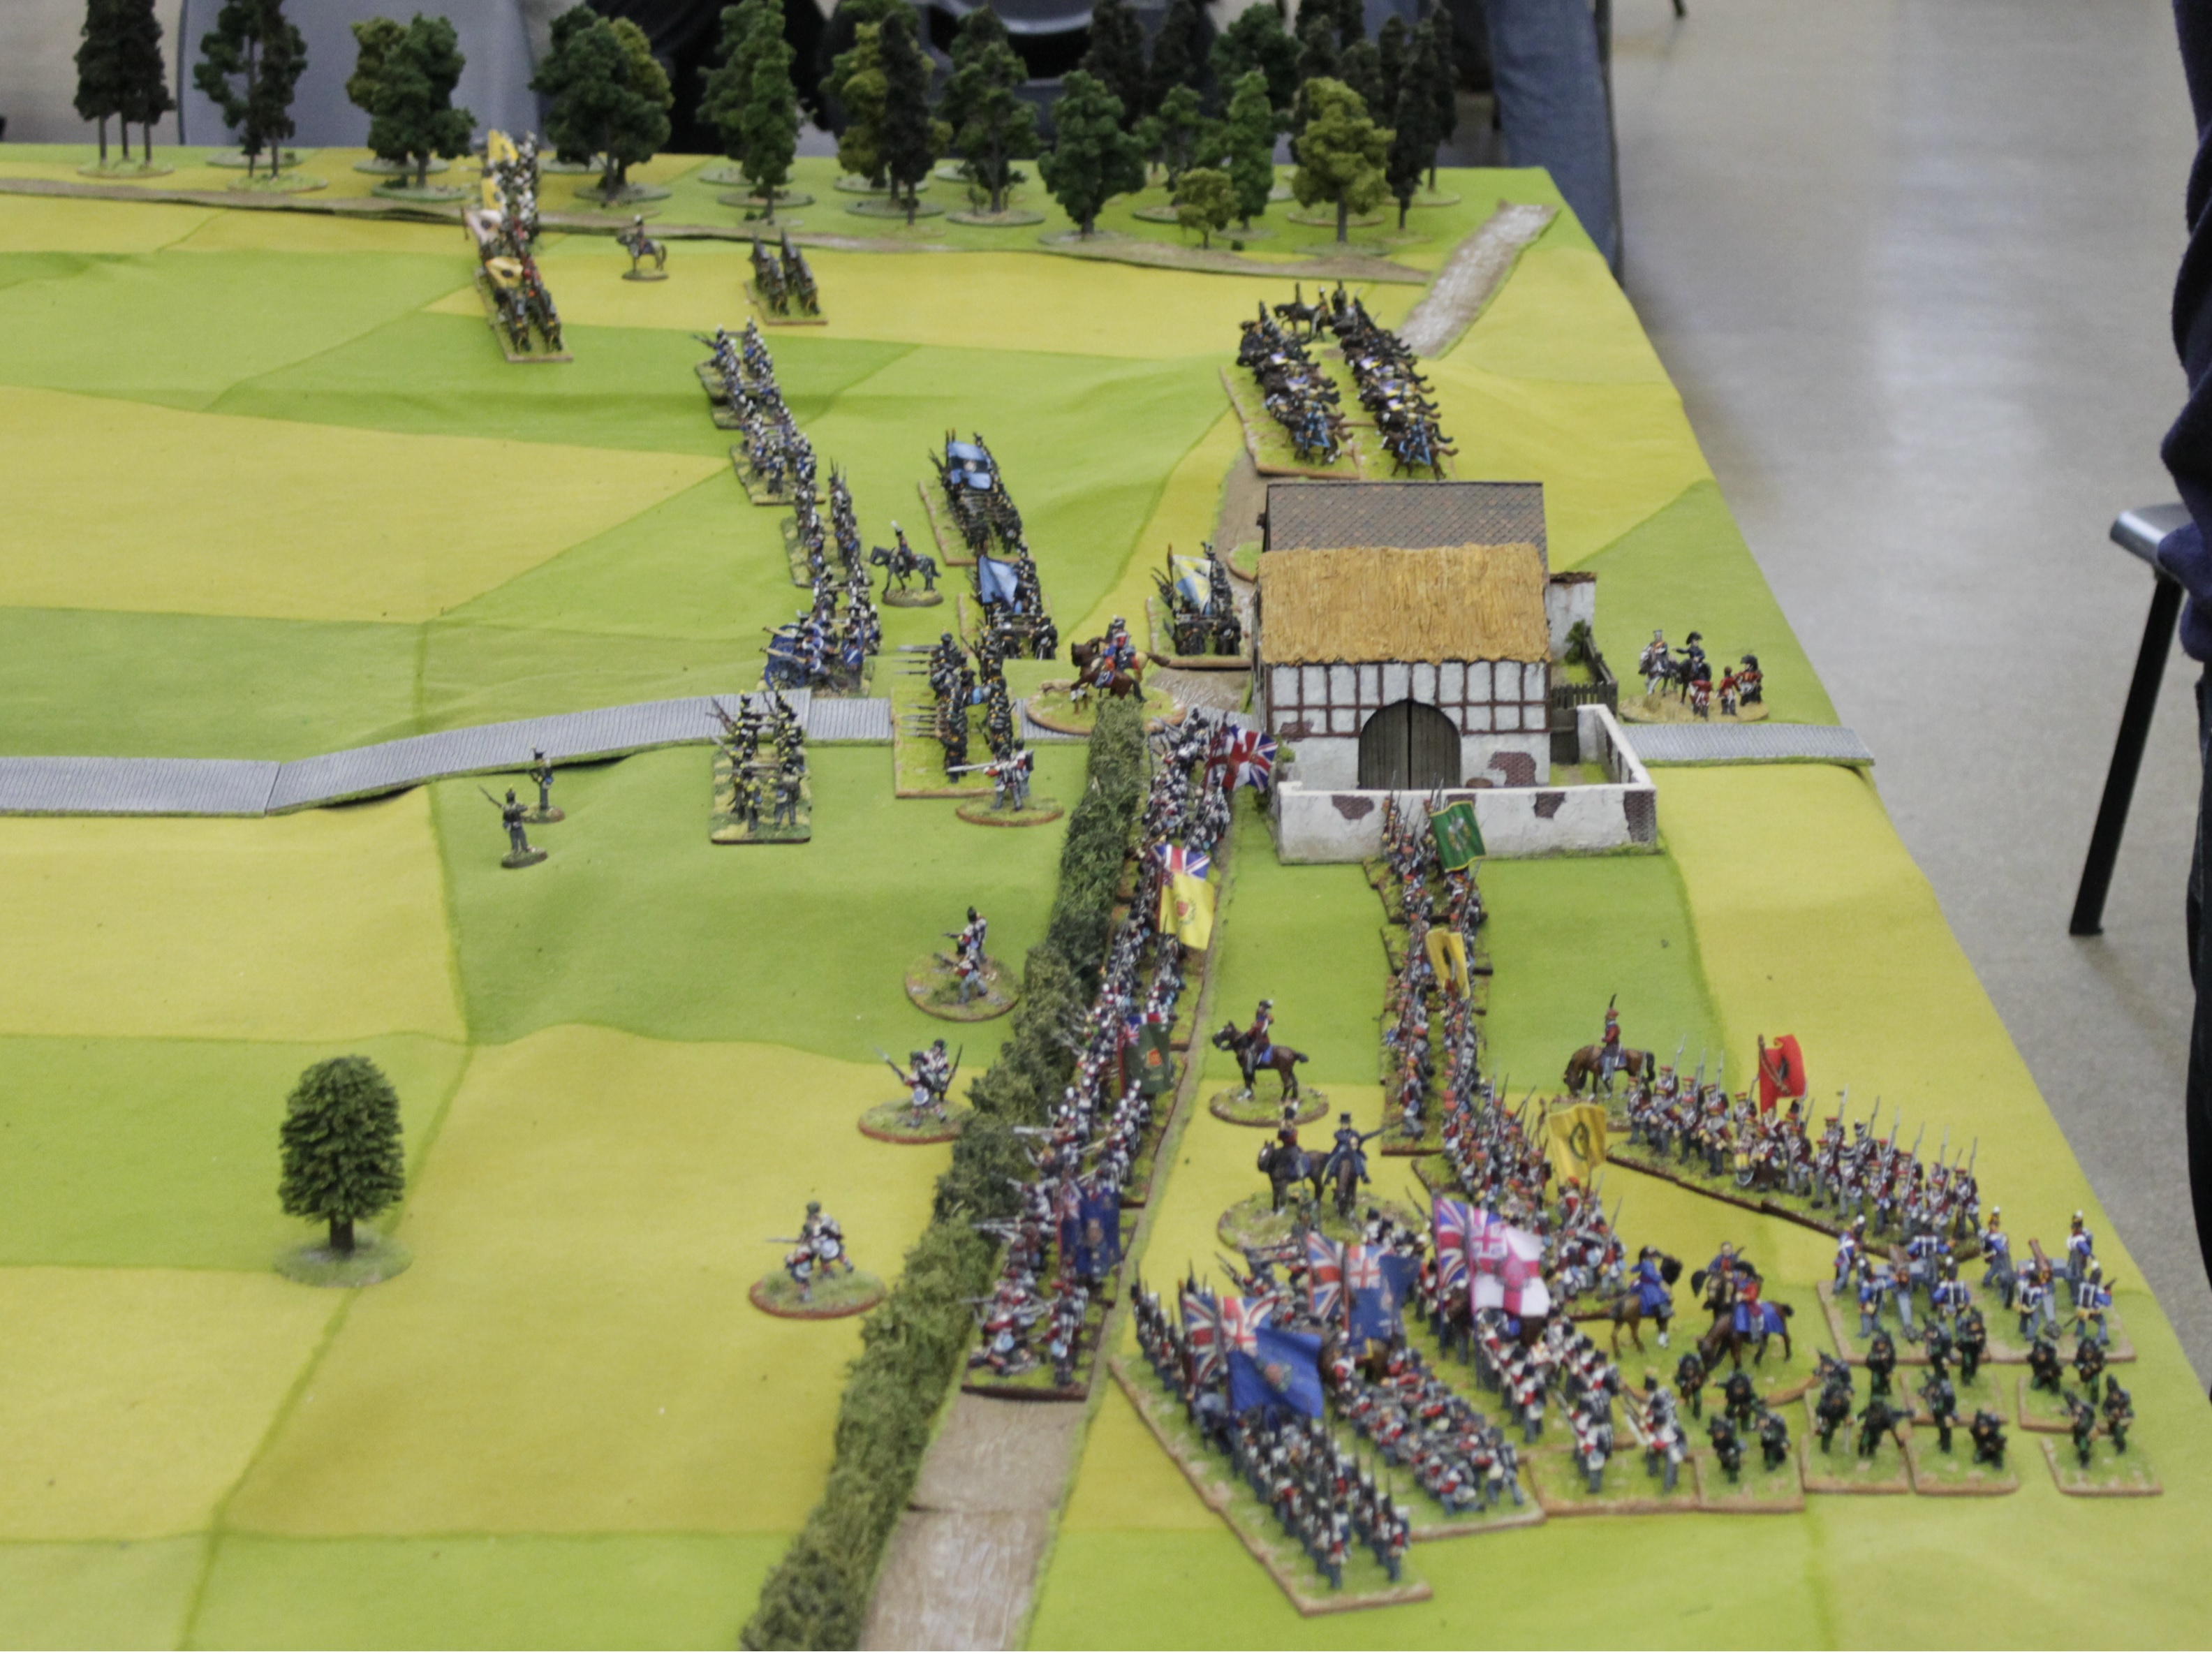
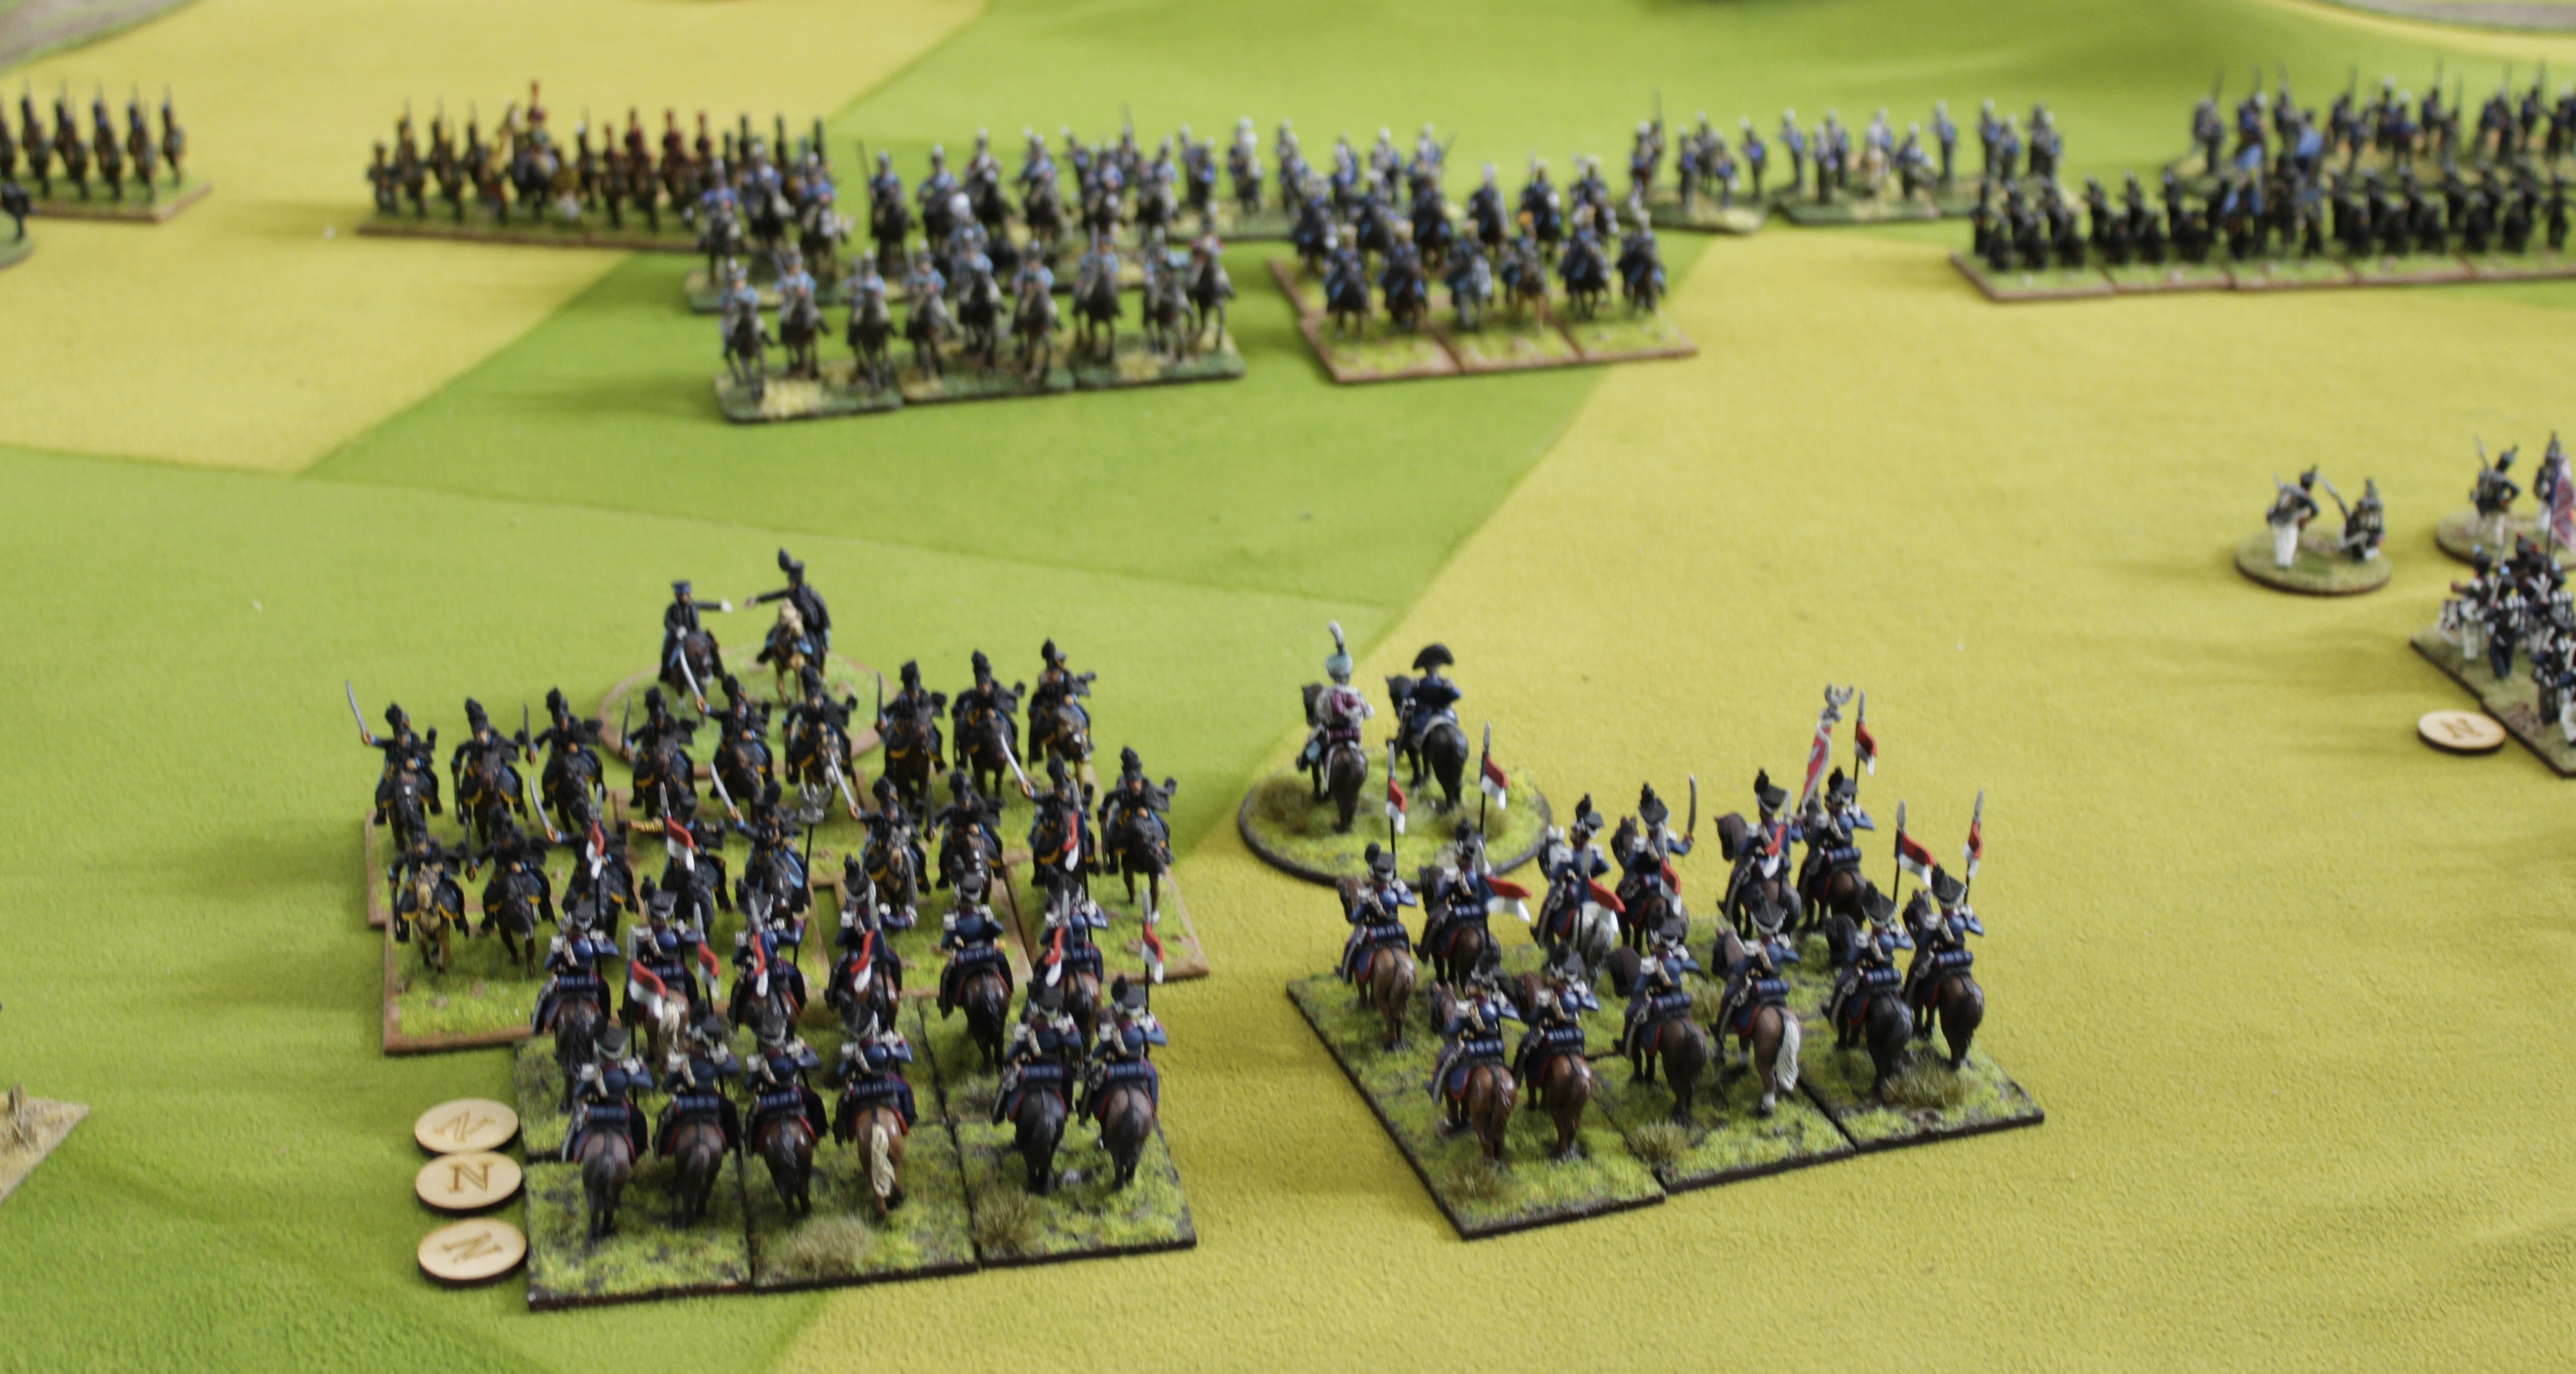
Grant sets up with his Nassau brigade closest to the table side extending from wood out with the Dutch brigade and the battery then extending to the village/crossroads.
Turn 1 and the French Divisions of Rhys and Keith march on. Rhys to the right of the Germioncourt Farm and Keith in front of and to the left. Mark and Keith would both be late arriving so initially I commanded their divisions. I gave Rhys the Chasseur brigade to command and I commanded my Polish lancers(as French!).

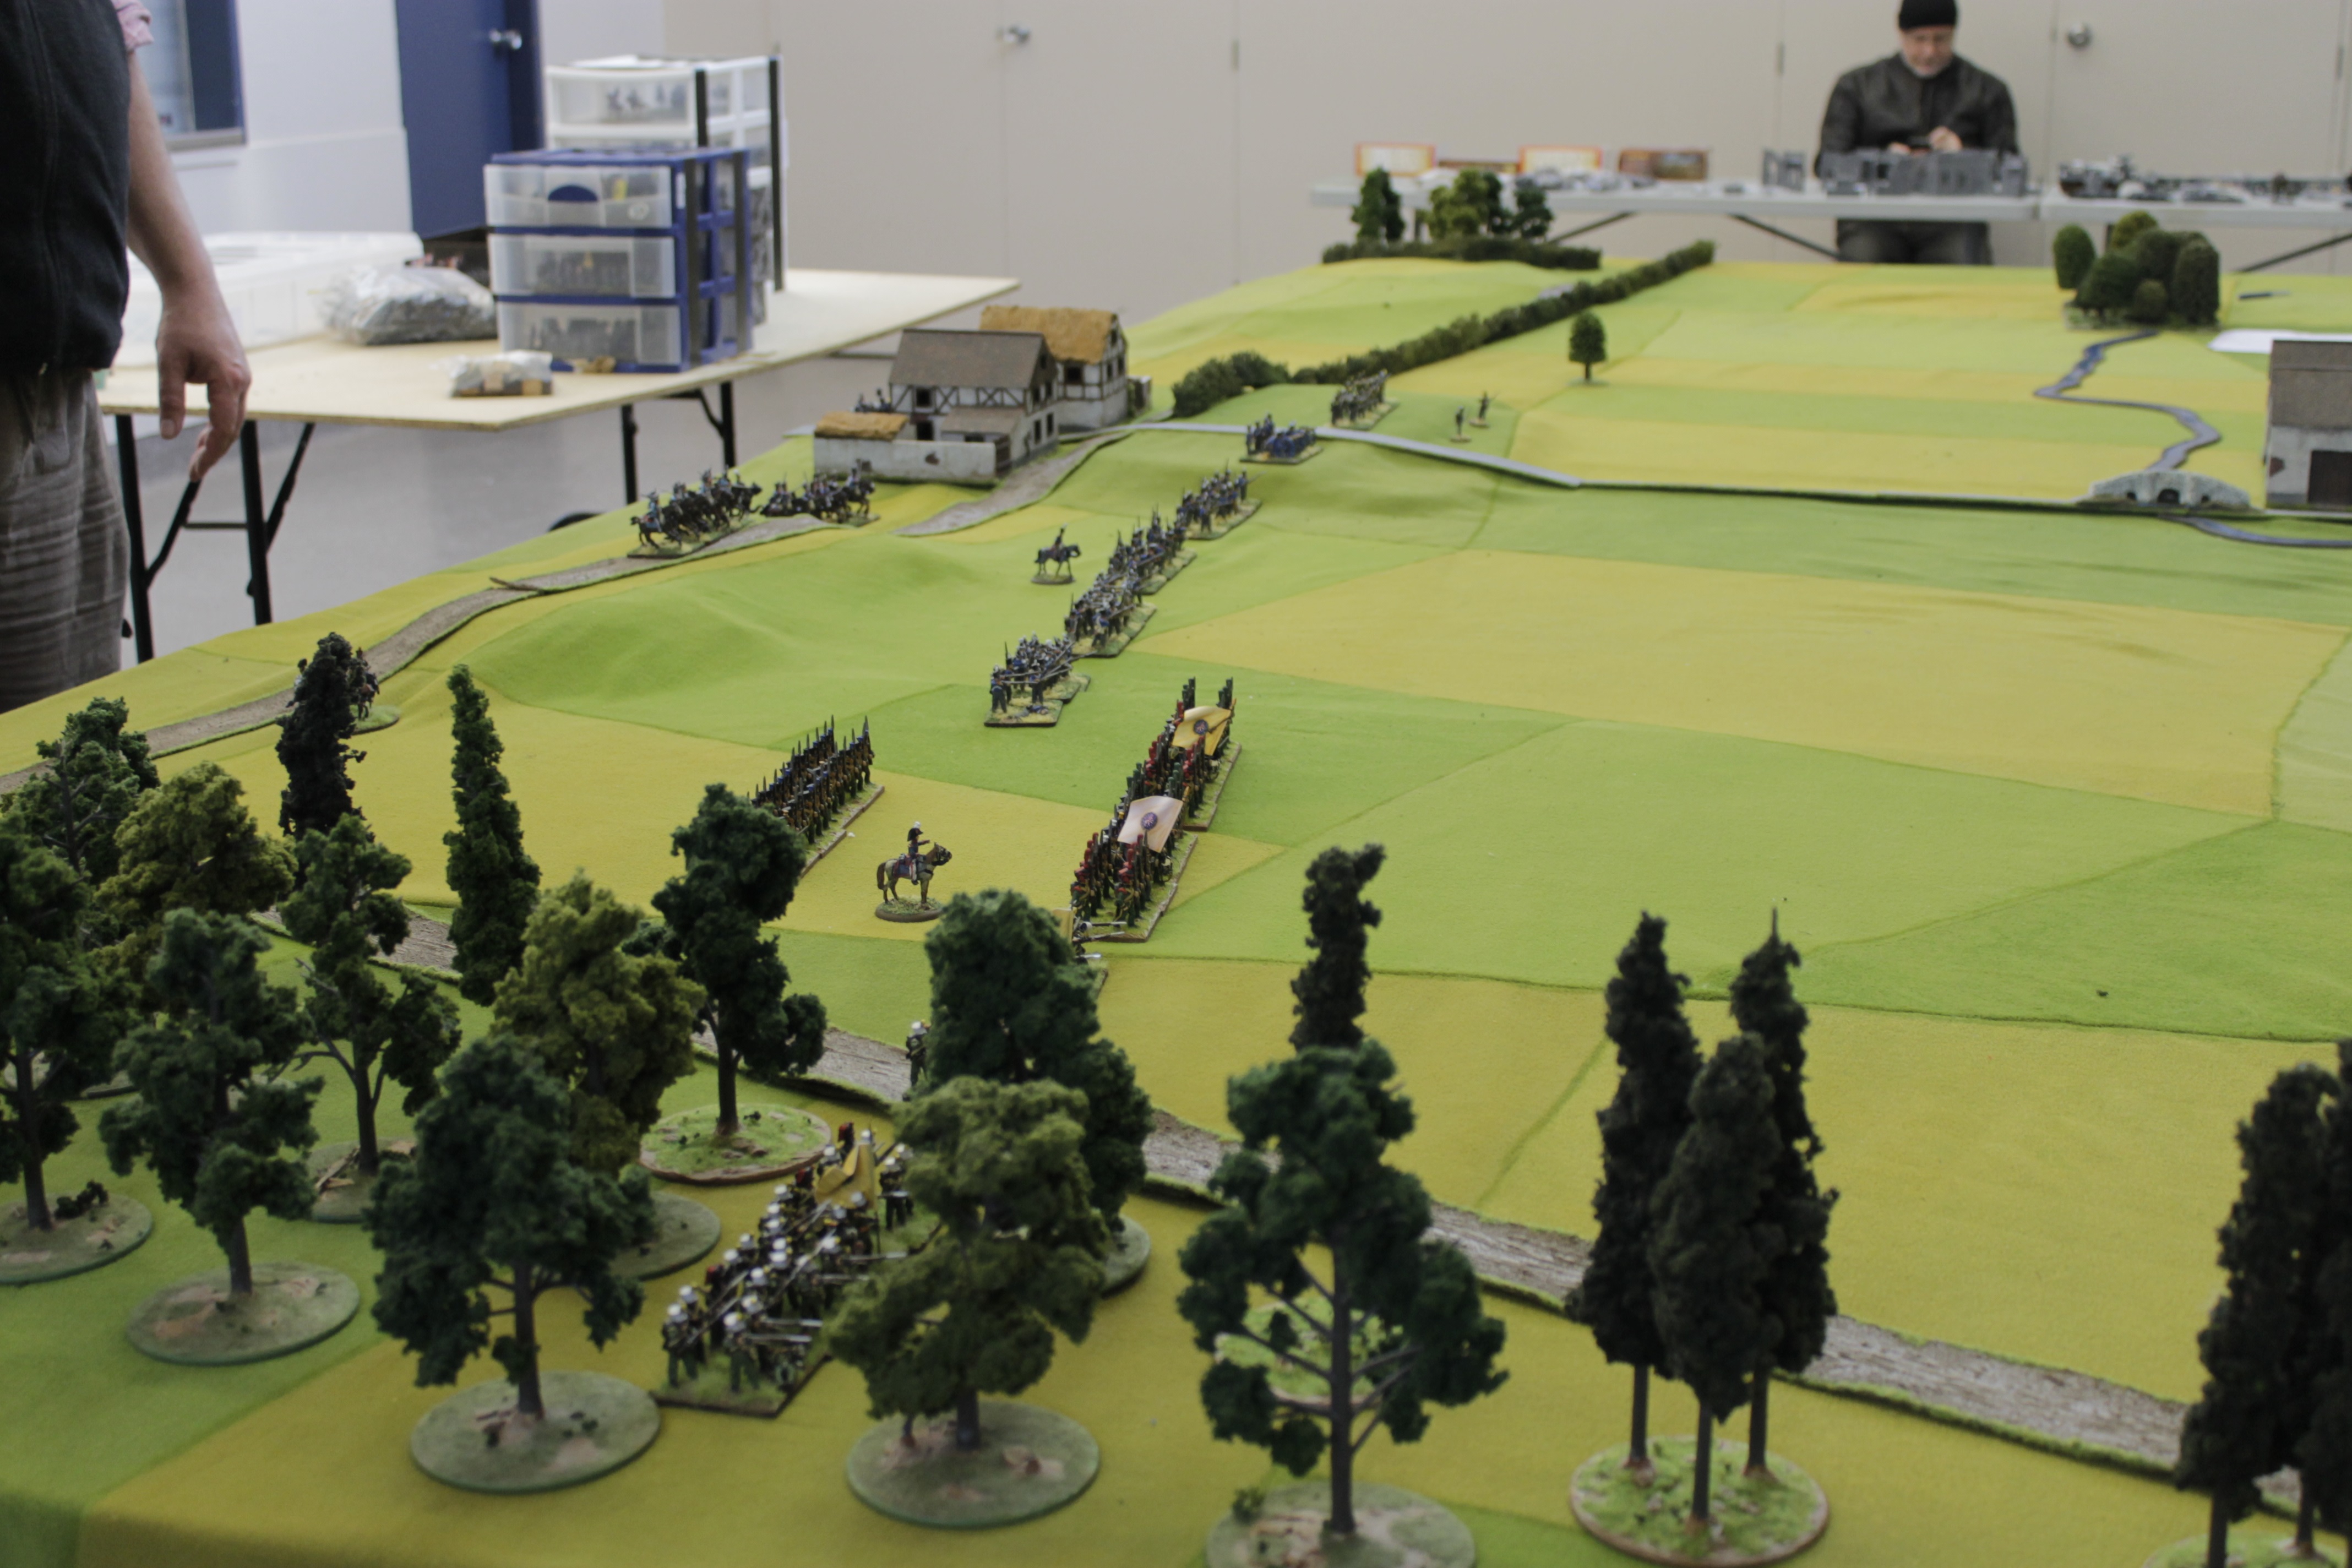
View from Quatre Bras down road to Farm and Foy.
View from behind Dutch to French left where Wathiez Lancers guard flank.
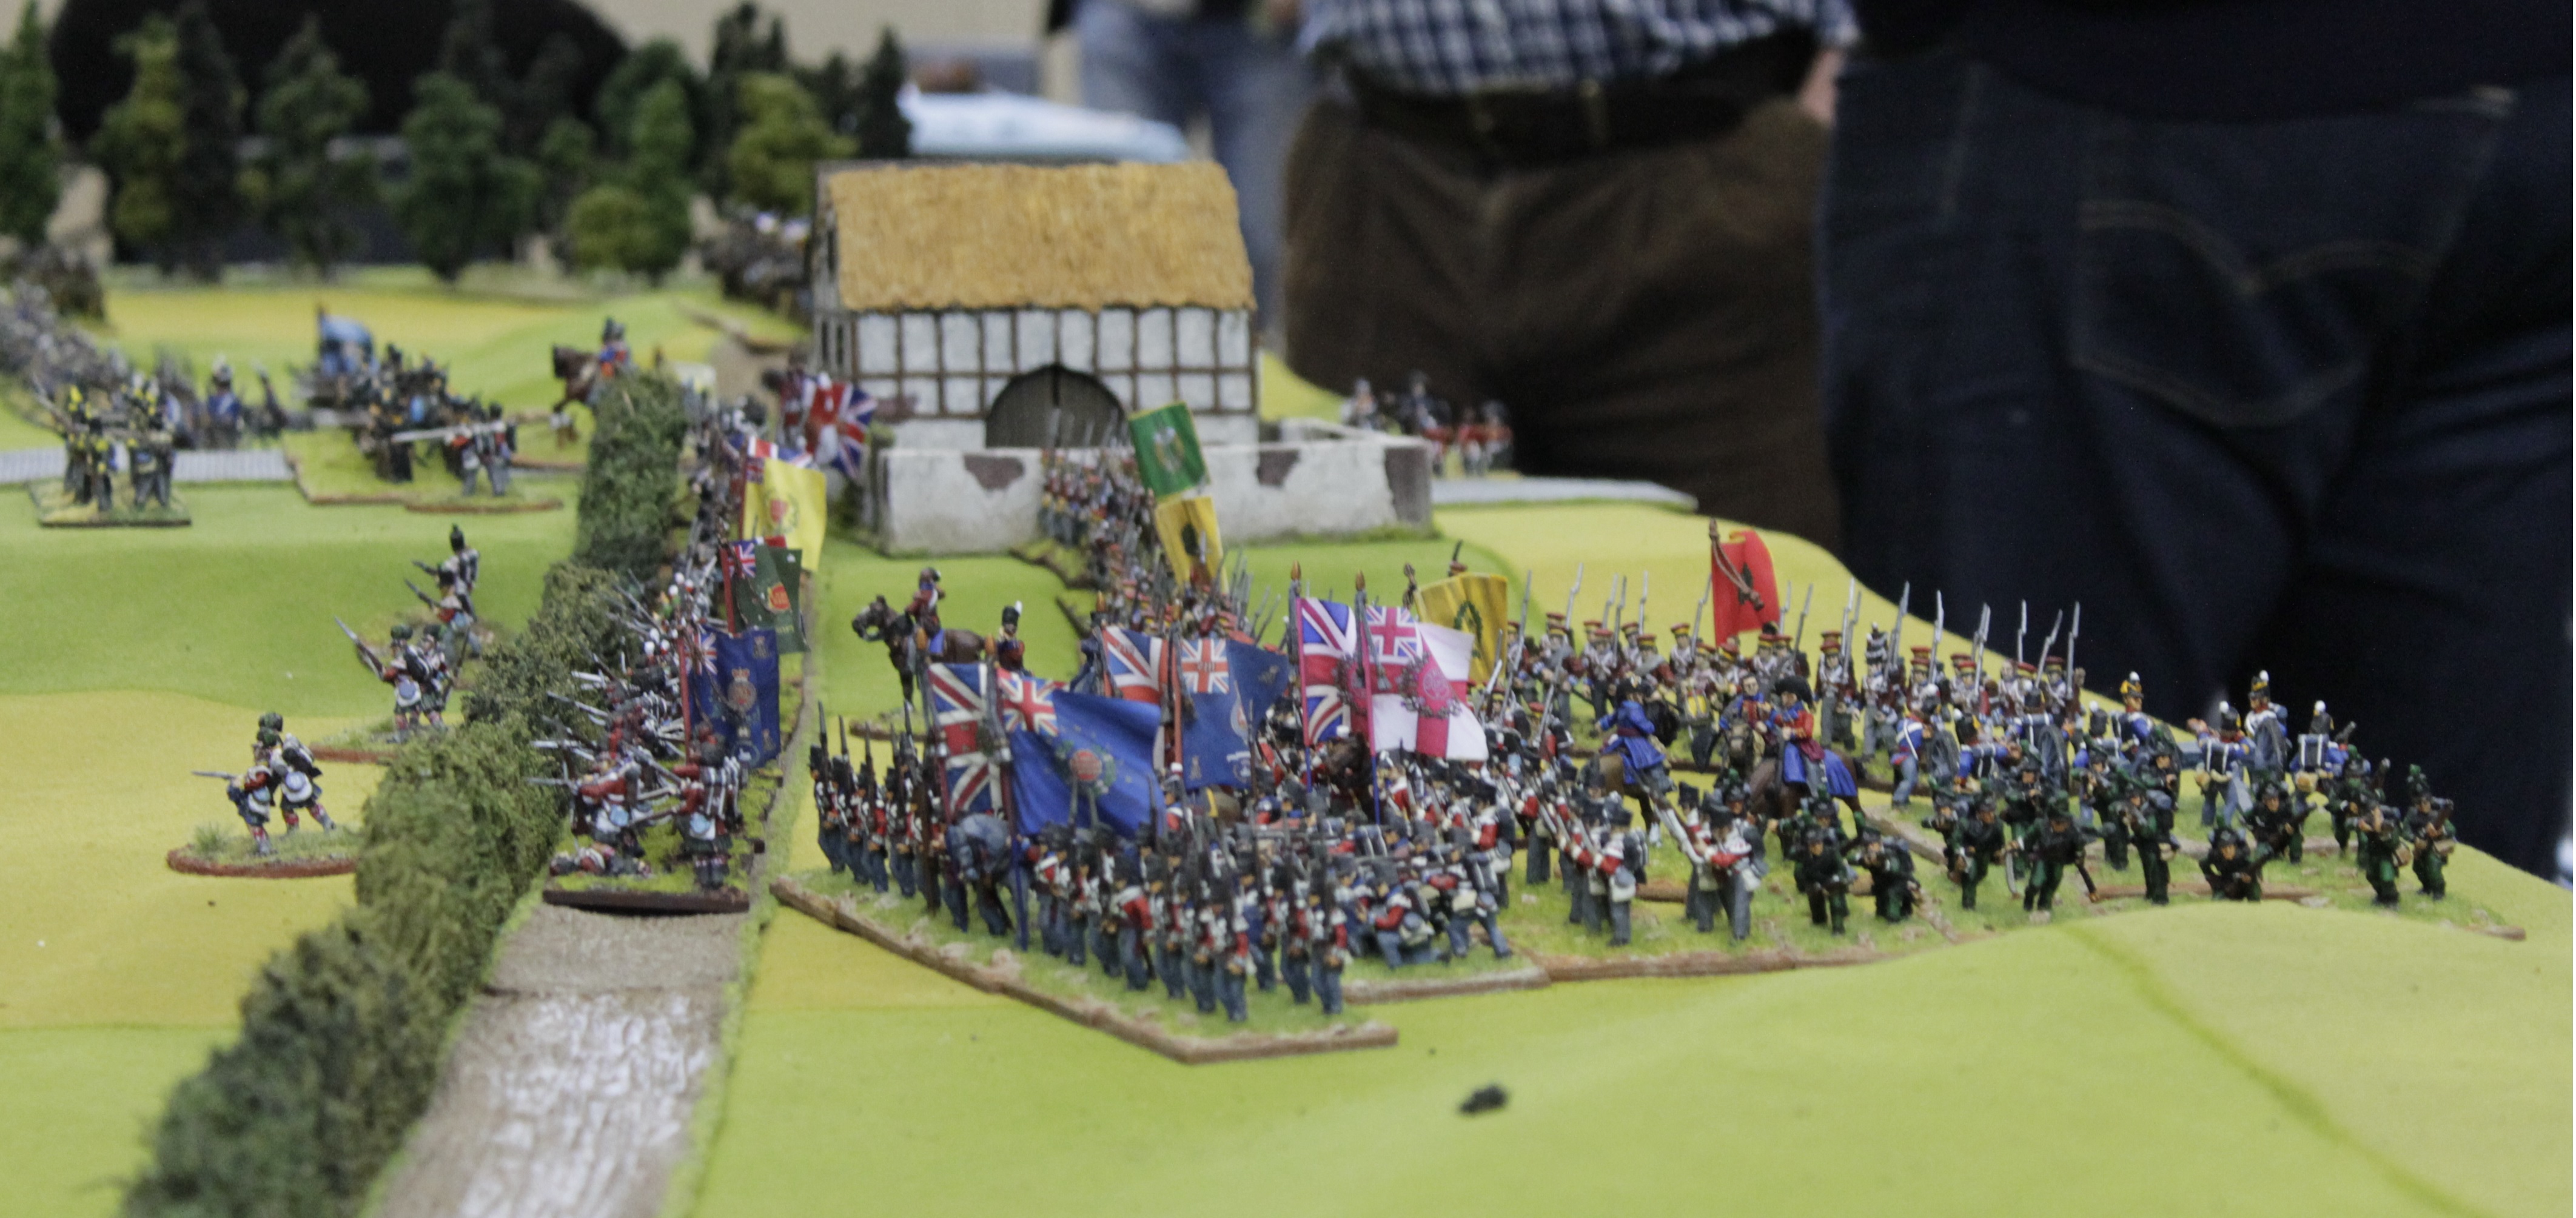
Picton’s Division of Kempt/Pack/Best and Vinke march on to the left of Quatre Bras!
Allied lines
Brunswicker’s move up in support of Dutch around village.

Turn 2 and Jerome marches on in position on the extreme French left.
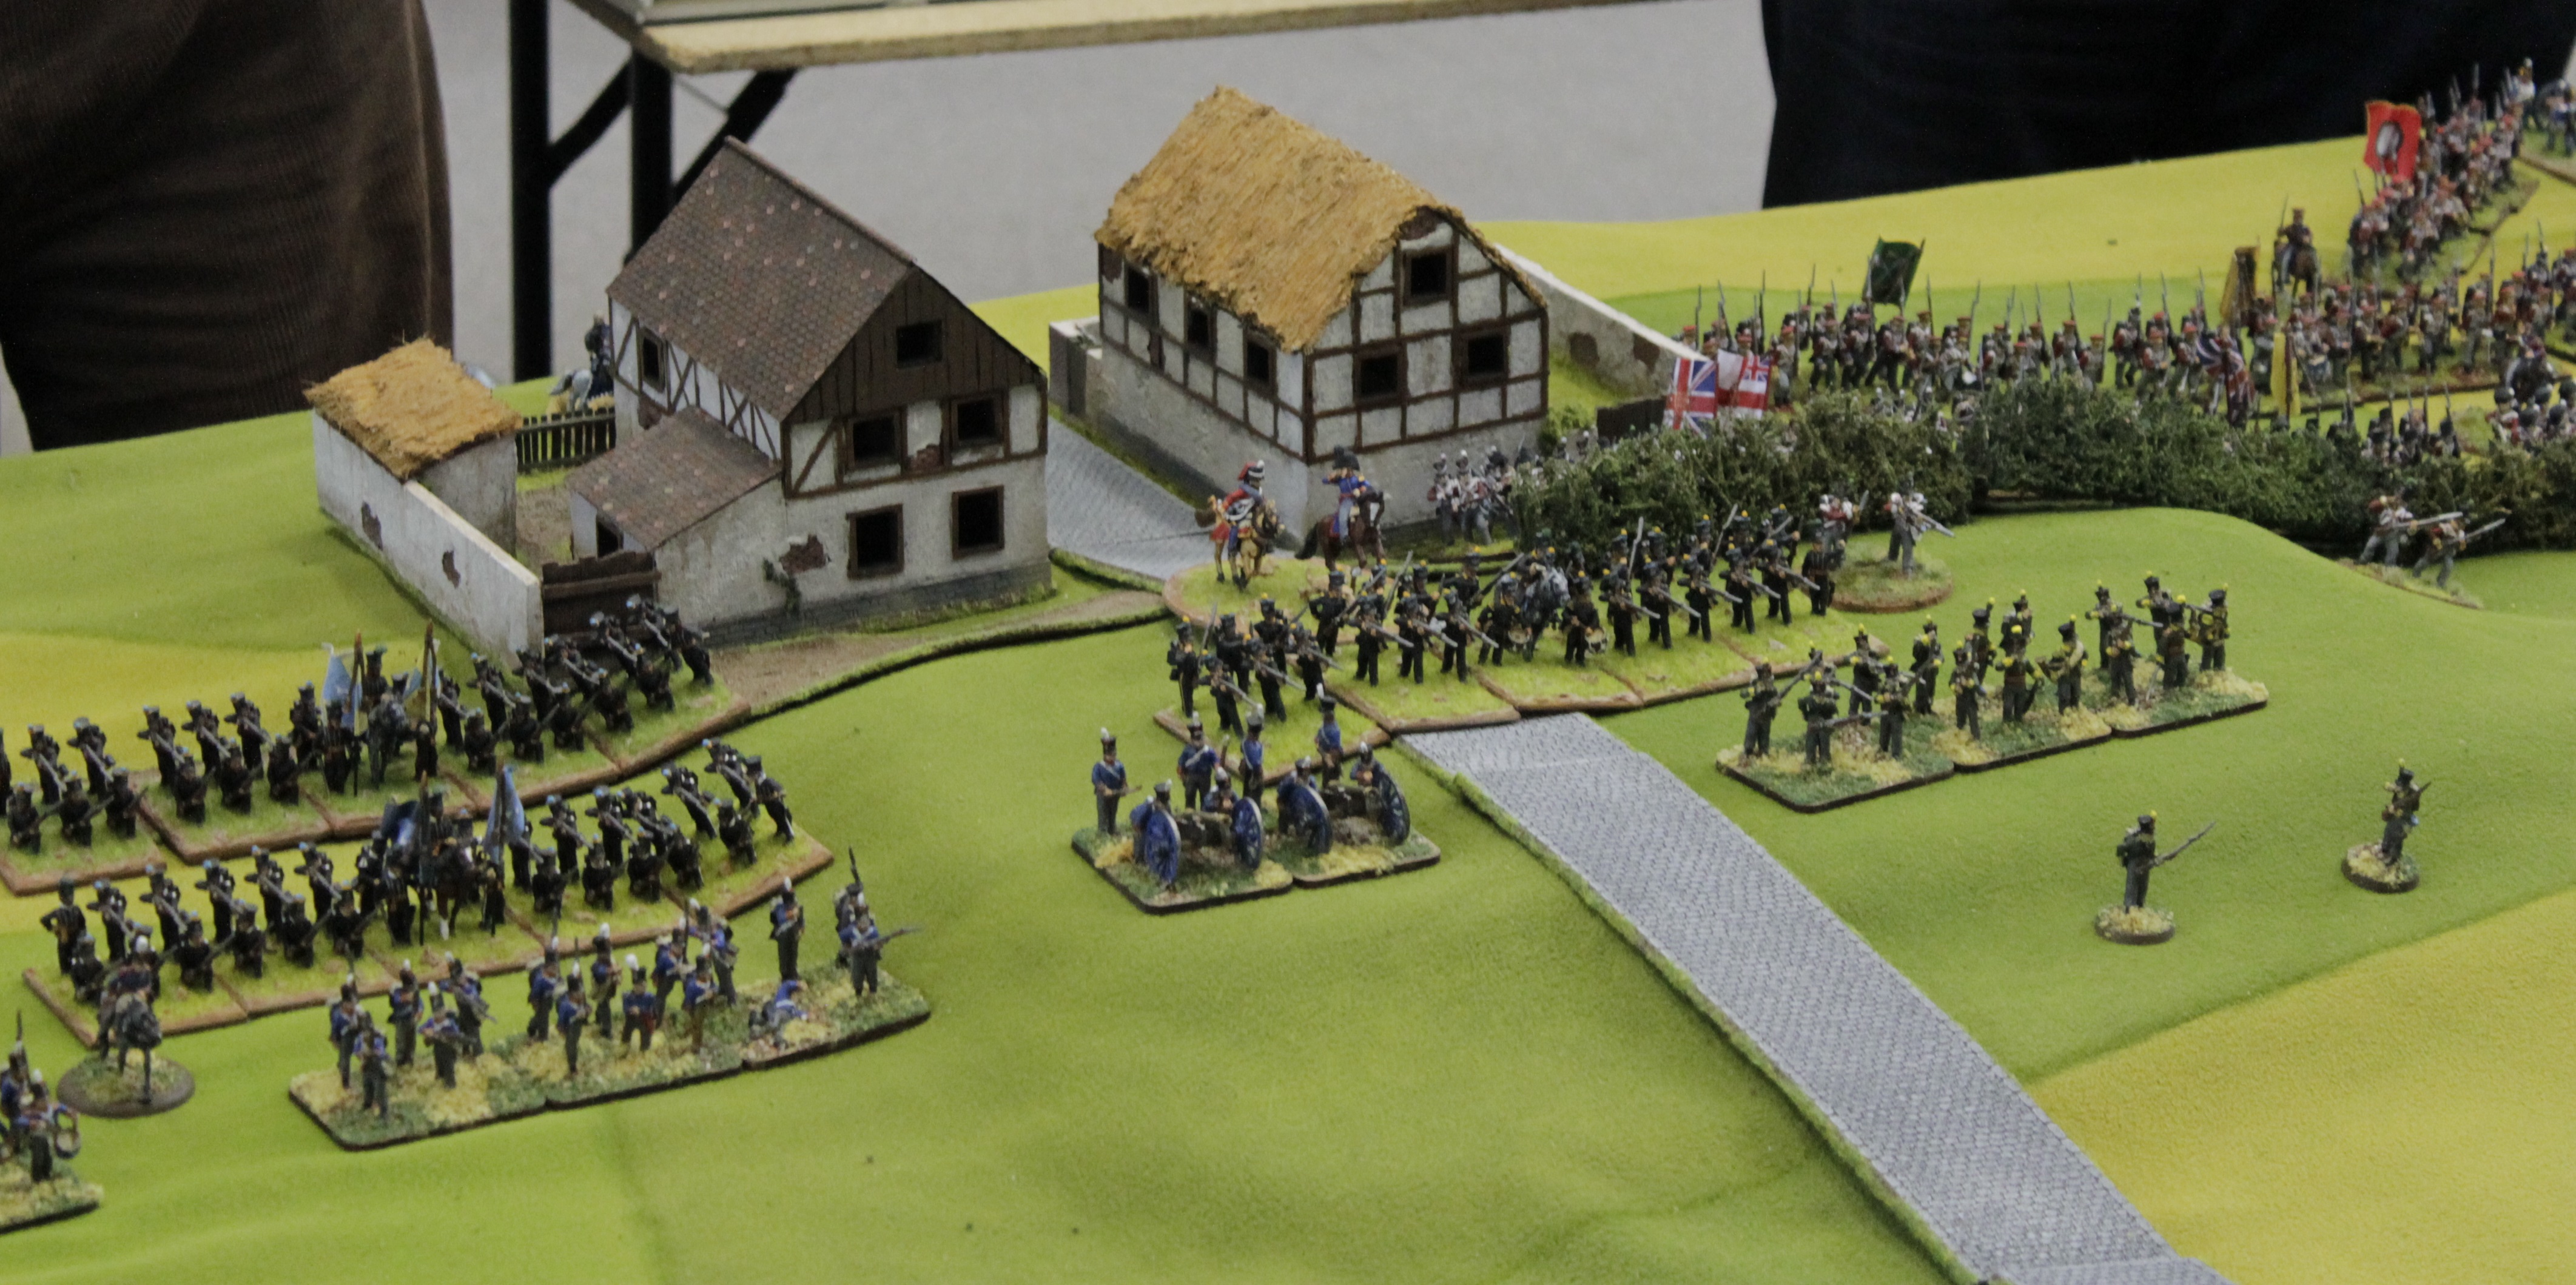
French right where Rhys has Chasseurs between his and Keith’s Divisions

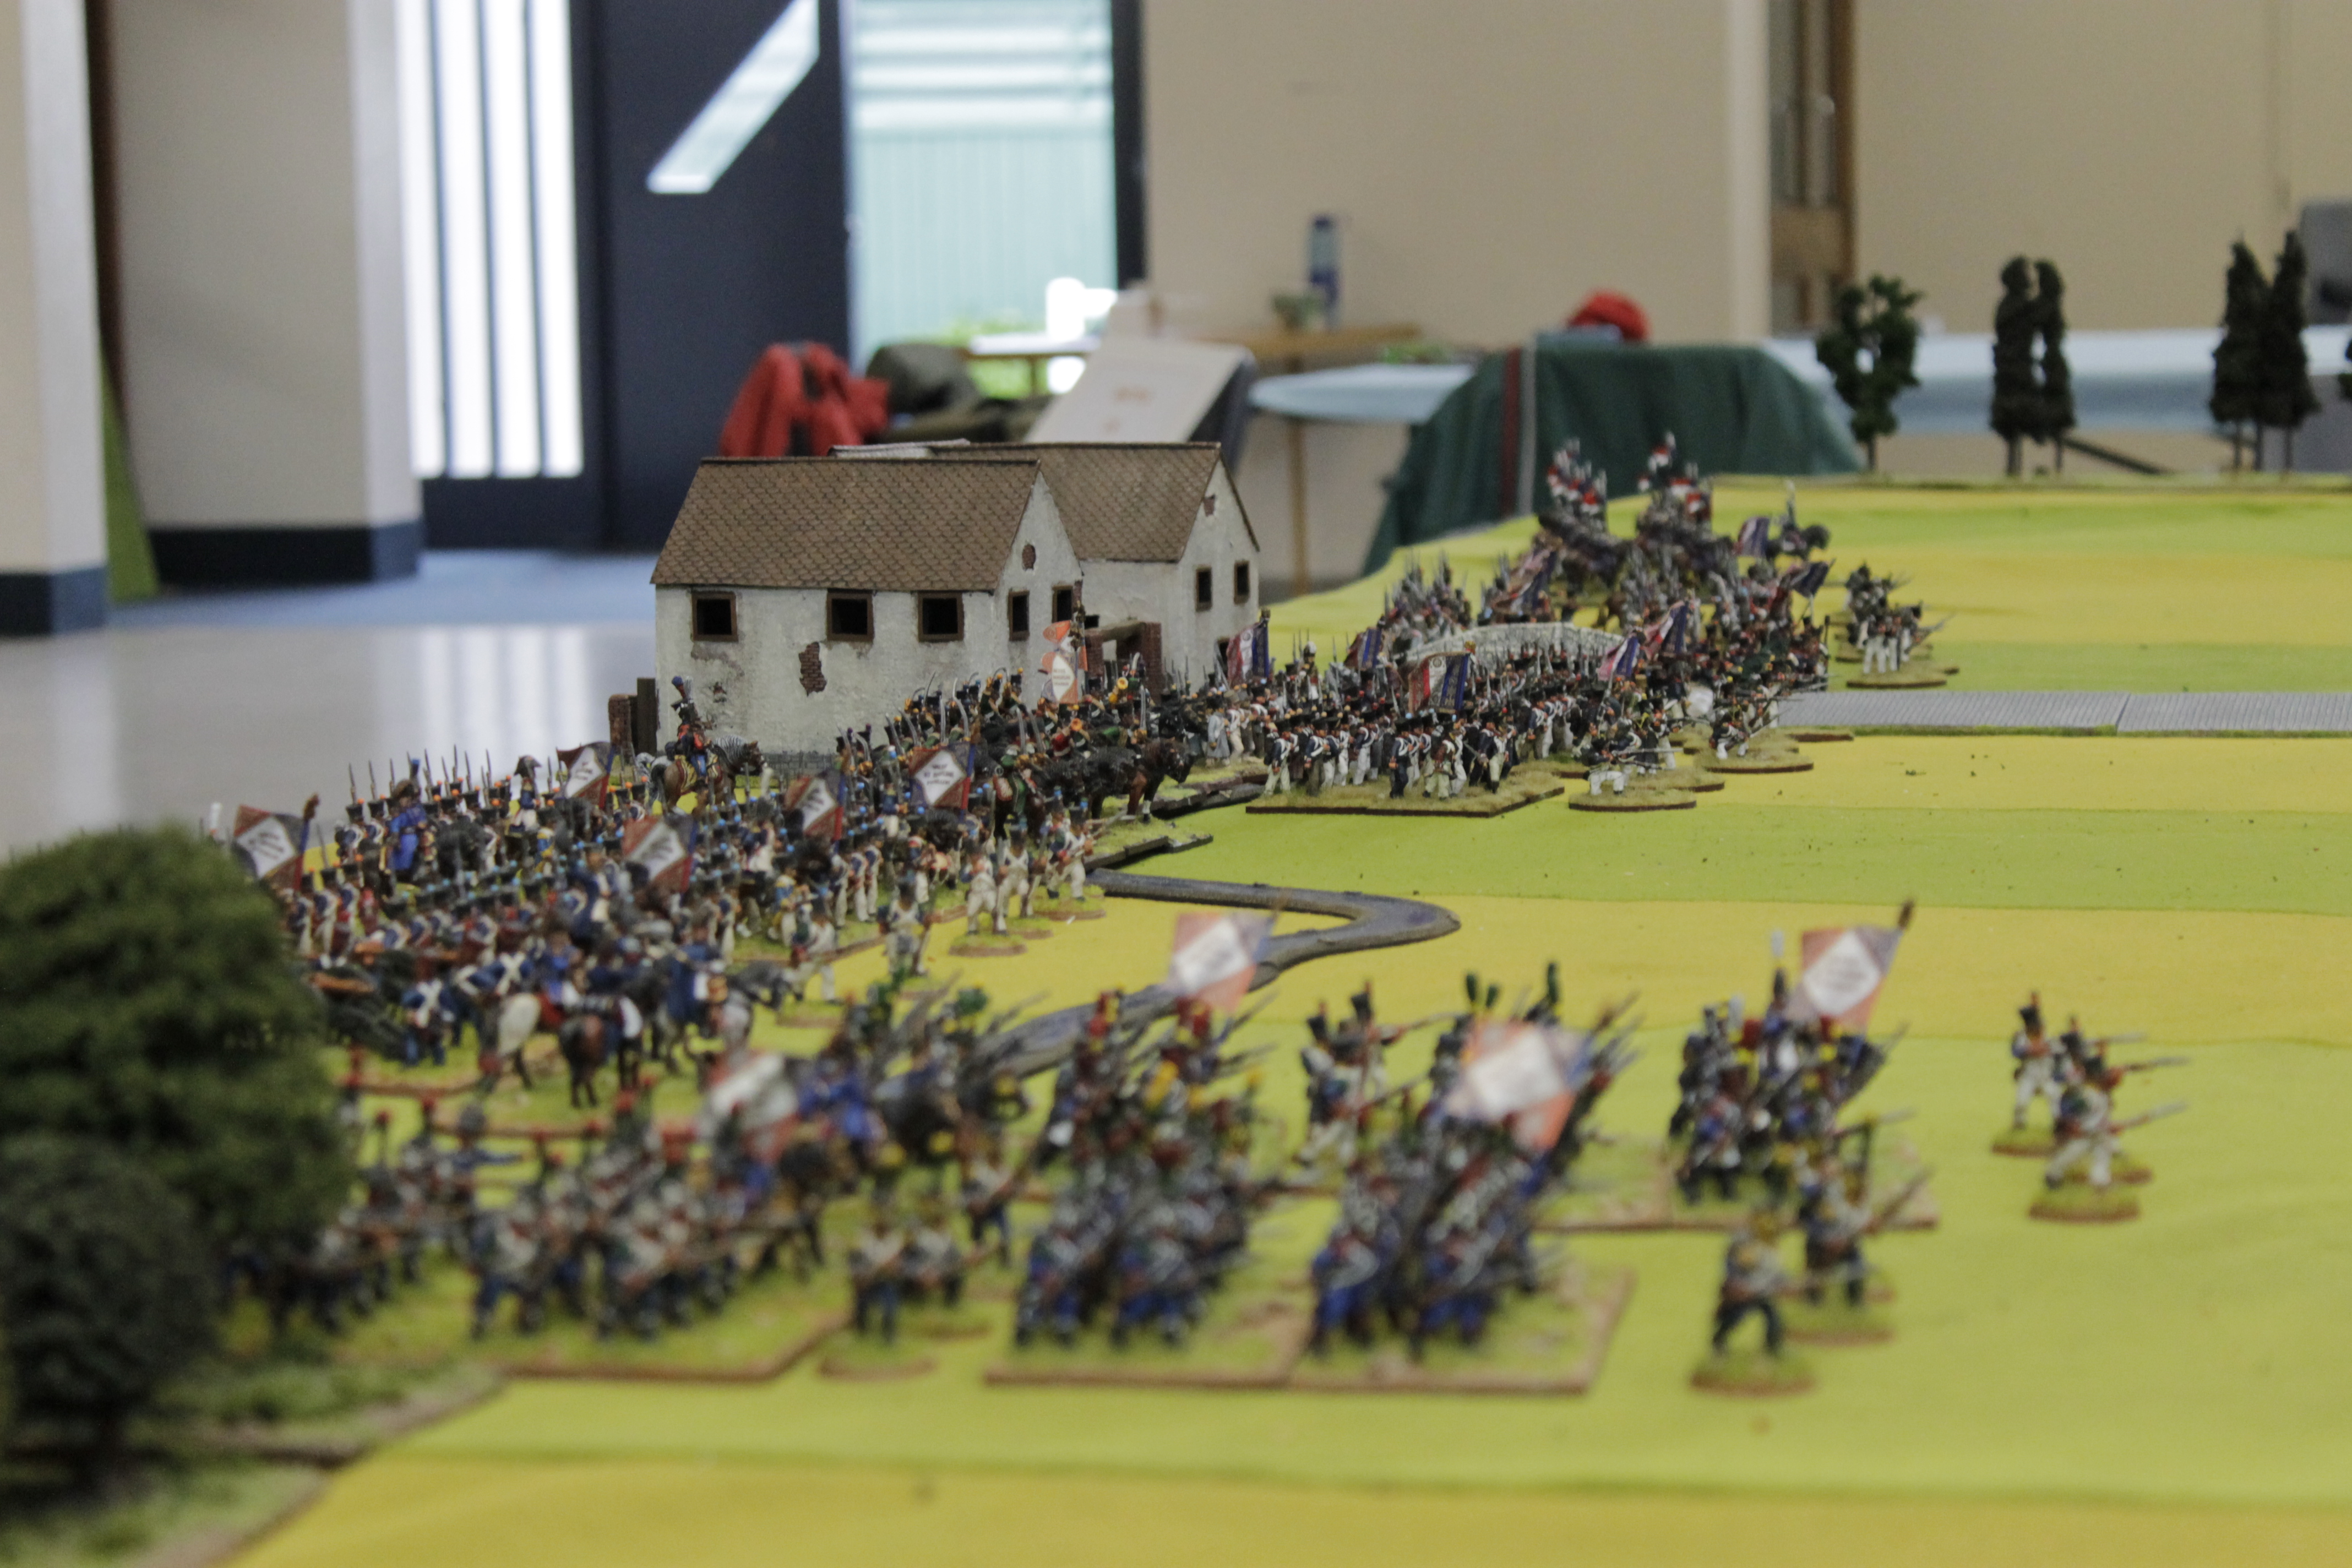
Black Powder can get you into action quickly! Rhys has a brigade in bottom right of picture crossing hedge line to get into Allied flank. In the centre a Hussar unit has charged a Dutch unit on hill, which has formed square, so the Hussars retire and then a French column of Keith’s charges it! On the French left the Lancers have charged a Nassau unit which has formed square so they have retired back to 12 inches distance. On the Allied side Van Merlins cavalry have marched on to the Allied right flank.

Turn 3 and Rhys has Allied units moving to him. There are Rifles on his flank. In centre the Dutch square lost the combat and retired to village. The French column also retired.

French lancer unit was within 12 inches of Nassau foot unit so is able to charge and they cannot form square. It will and does hurt, unit is destroyed. However the lancers are shaken by the combat(that means they have taken 3 wounds and with a stamina of 3 they are now shaken) which means they cannot do a sweeping advance forward into their frontal arch but instead retire back 18 inches.

On the French right Rhys moves his 2nd brigade up to pull more Allies away from the village whilst a Chasseur a Cheval unit heads for the flank.
Daniel takes advantage of my lancers being shaken and does a ‘Follow Me’ order with his large unit of Brunswick Hussars. The ‘Follow Me’ order requires a commander to attach to a unit and roll to equal or get less than his command rating. If you manage this then the unit has a triple move to accomplish what ever you want within that restriction. So in this case the Hussars charged my shaken lancers and as they were shaken they could not counter charge. The effect being in combat I hit on 4’s and not 3’s and Daniel then does not get a -1 on his saving throws from being charged by lancers. Its not looking good for me!

So Daniel has 9 attacks hitting on 3’s and I save on 4’s. I have 7 attacks hitting on 5’s and Daniel saves on 4’s. We do 1 wound each, I have 2 supports and Daniel has none. I win…yes I won campers. Daniel rolls for the break test on the 2 blue dice which come up with a 2 and 1. That adds up to 3, and the unit and General are destroyed. I was almost embarrassed ……….almost!
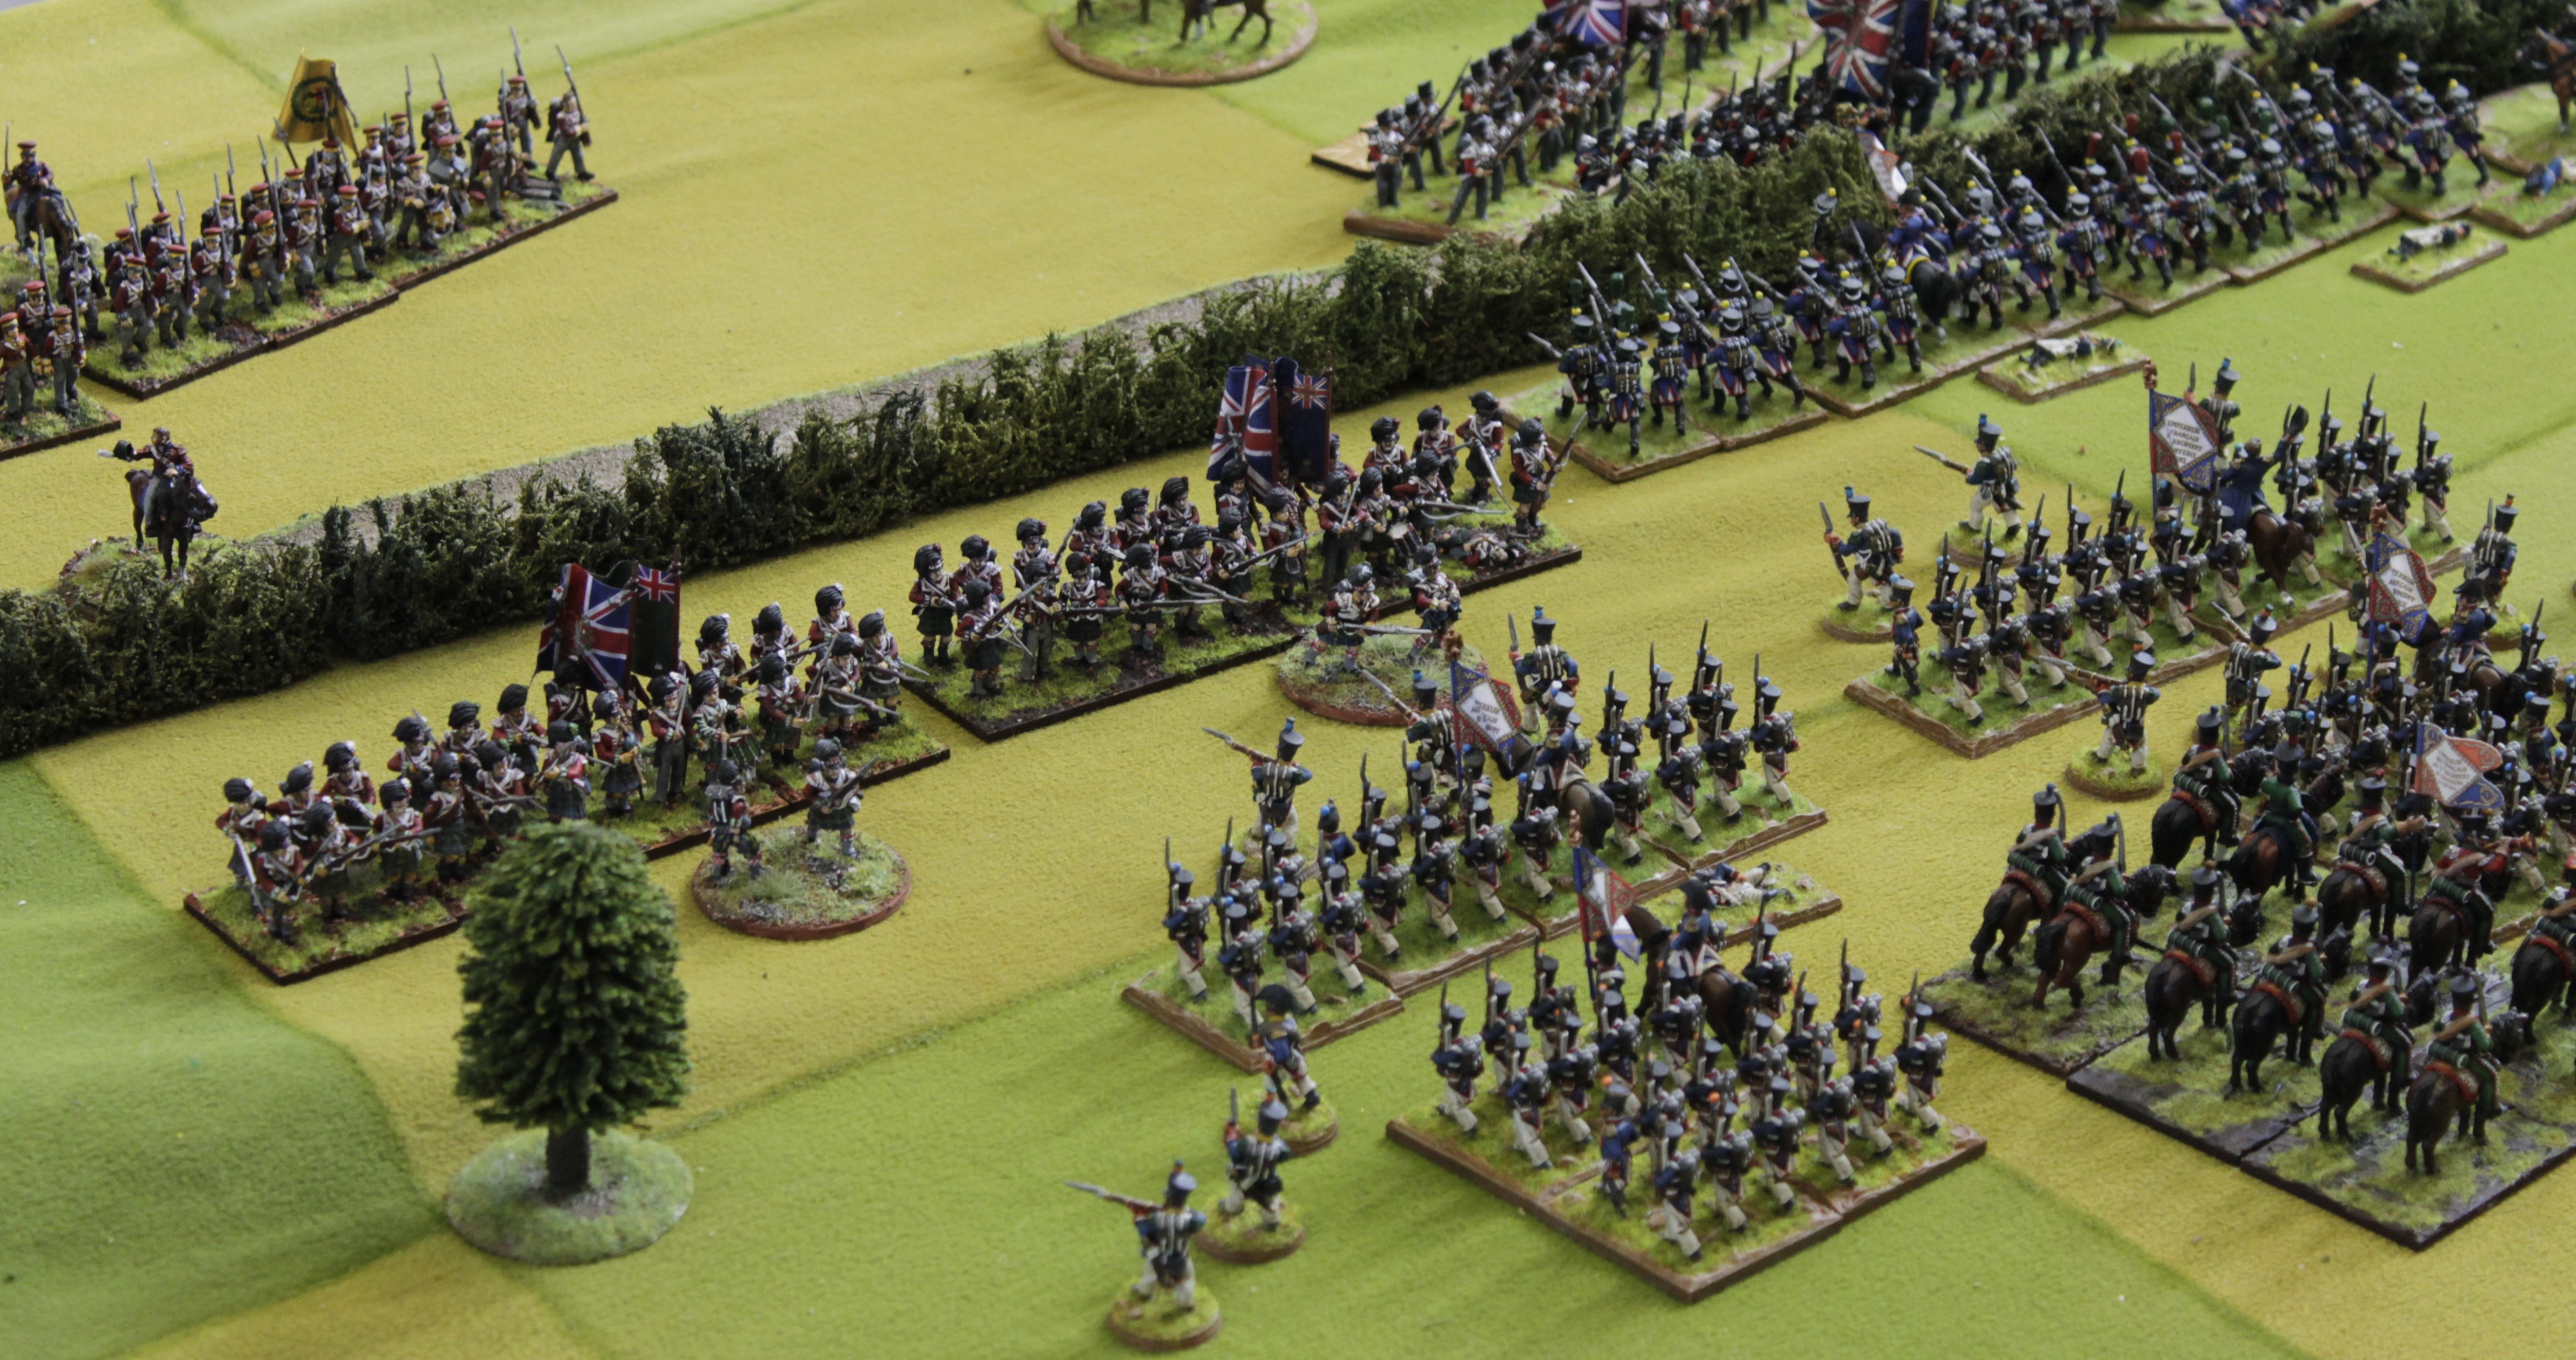
On French right Rhys’s 2nd brigade had a rude shock when 2 Bttns of wee Jocks jumped over the hedge and came towards him! What was Pete up to!!

On Allied extreme left a successful ‘Follow me’ order and Rhys’s flank attack looks like stalling with a Bttn in his flank and a battery also looking to help out and the rifles that blundered off table are coming back!
And a close up. ‘Ouch’ is probably not doing justice to the fate about to befall the 2 French Bttns here.

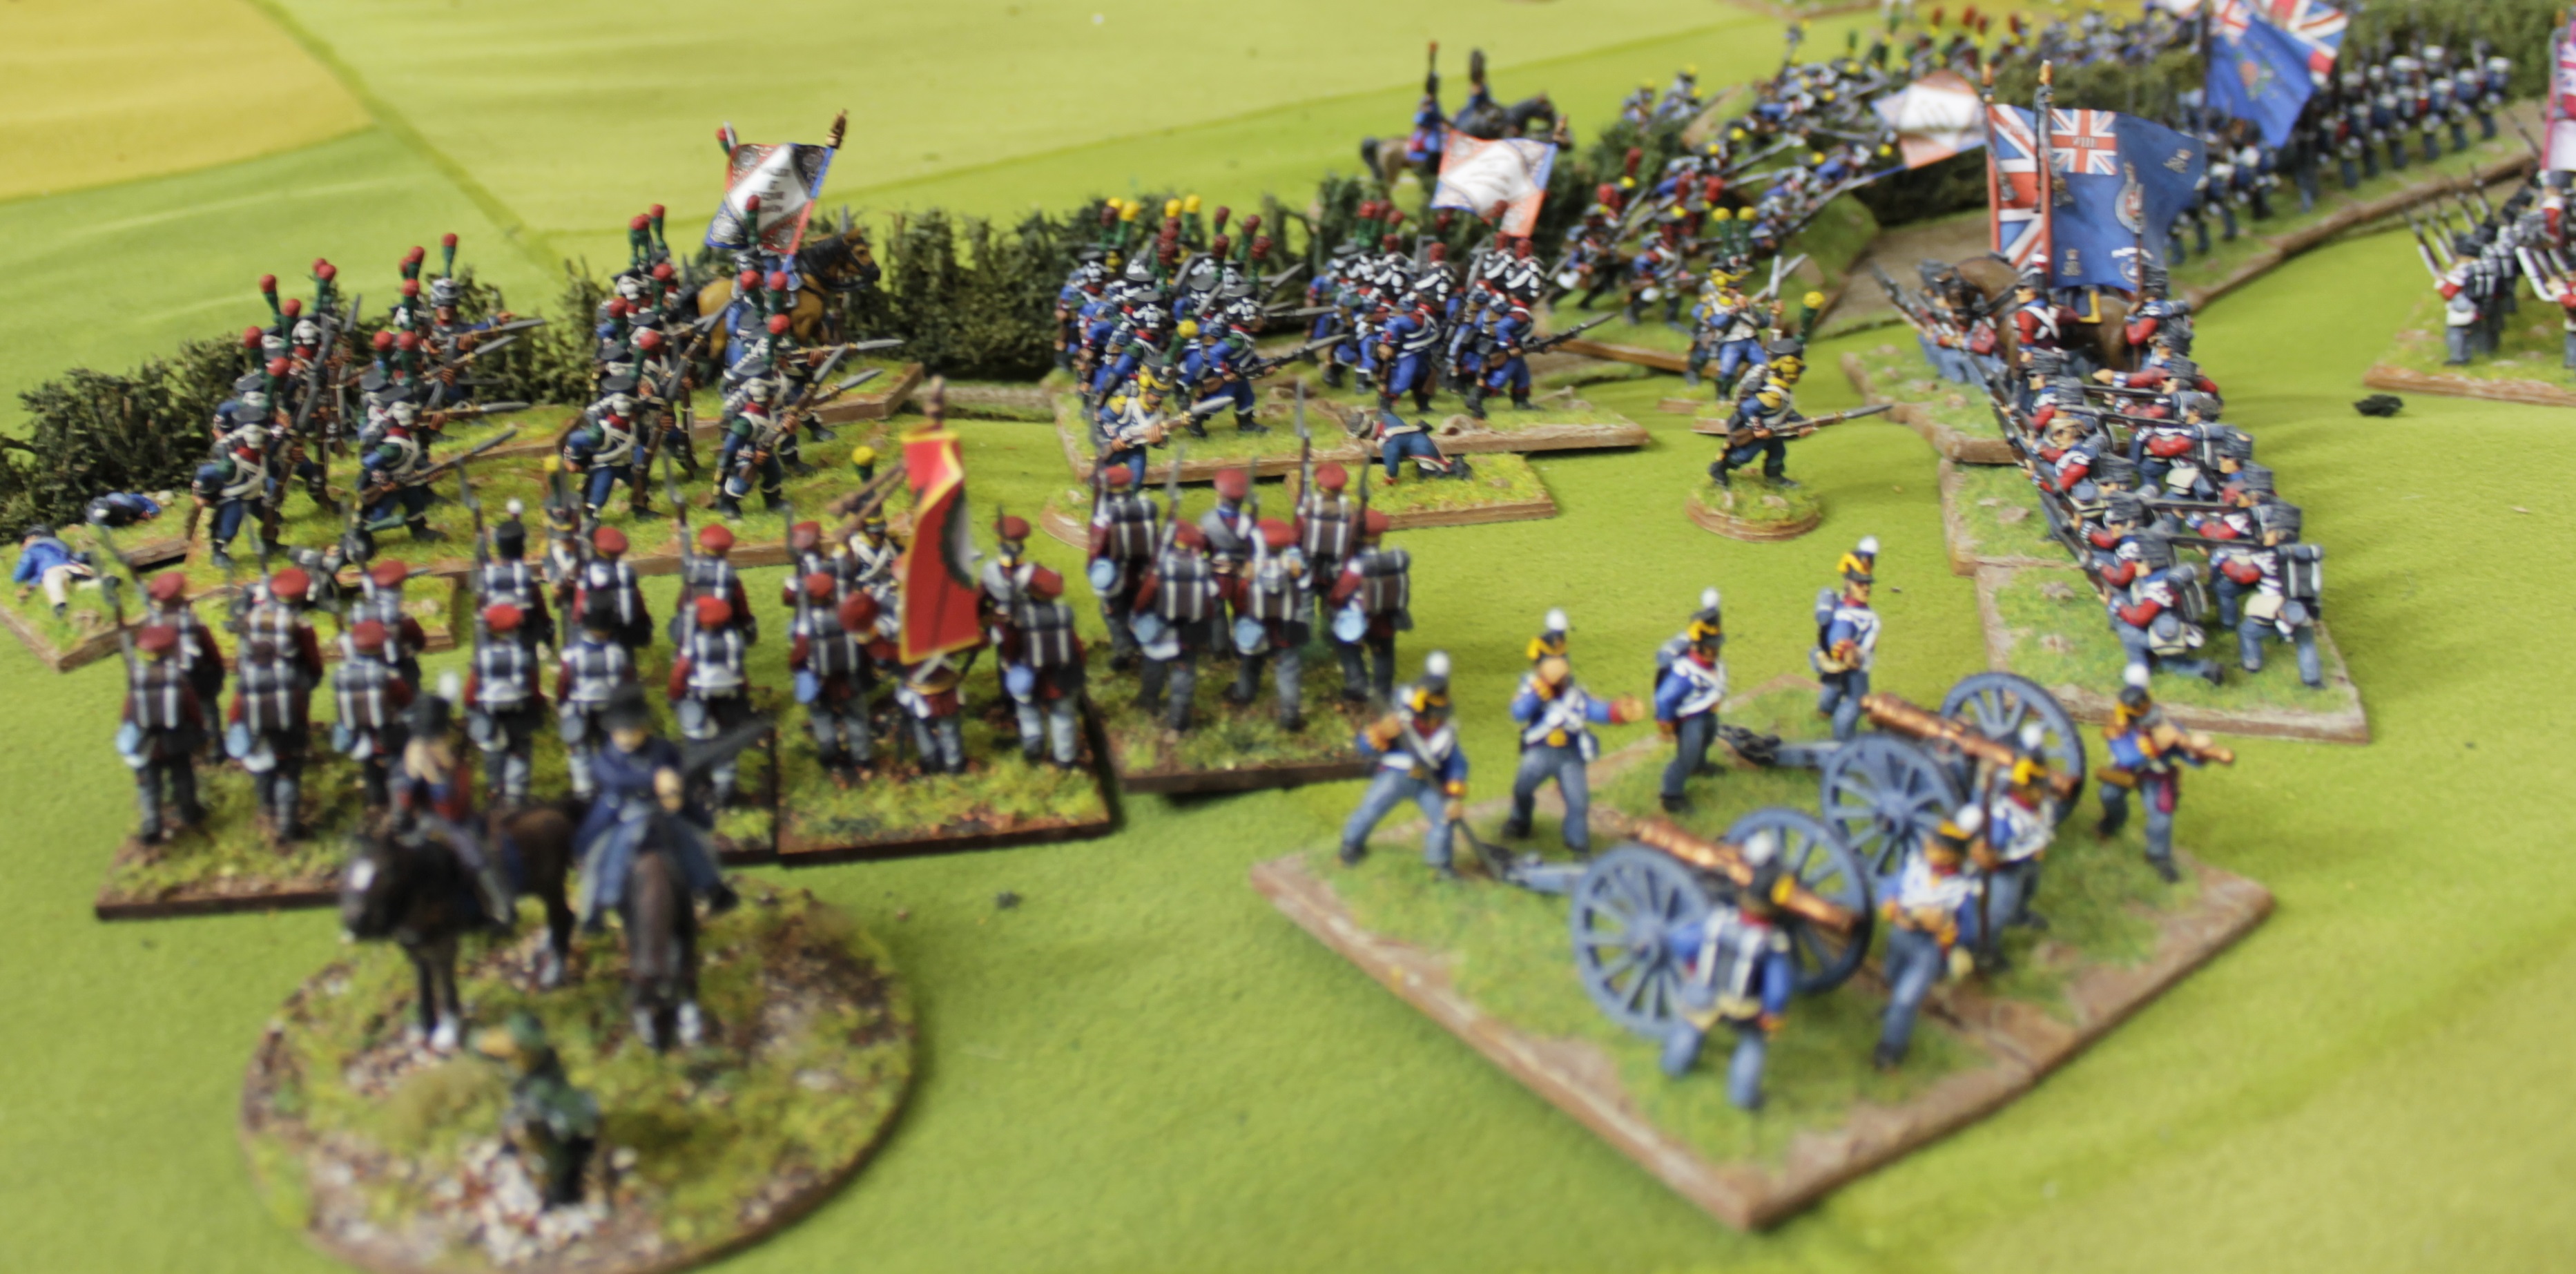
The Dutch foot are suffering from Keith’s skirmishers and the barrage from the 8 and 12 pdr batteries which are now at medium range(footnote – from 12 shots from cannons in 3 turns of shooting Keith managed 2 hits at medium range. The artillery commander has been placed up against a wall). Daniel has moved his Brunswicker’s up to allow the Dutch time to regain some stamina.

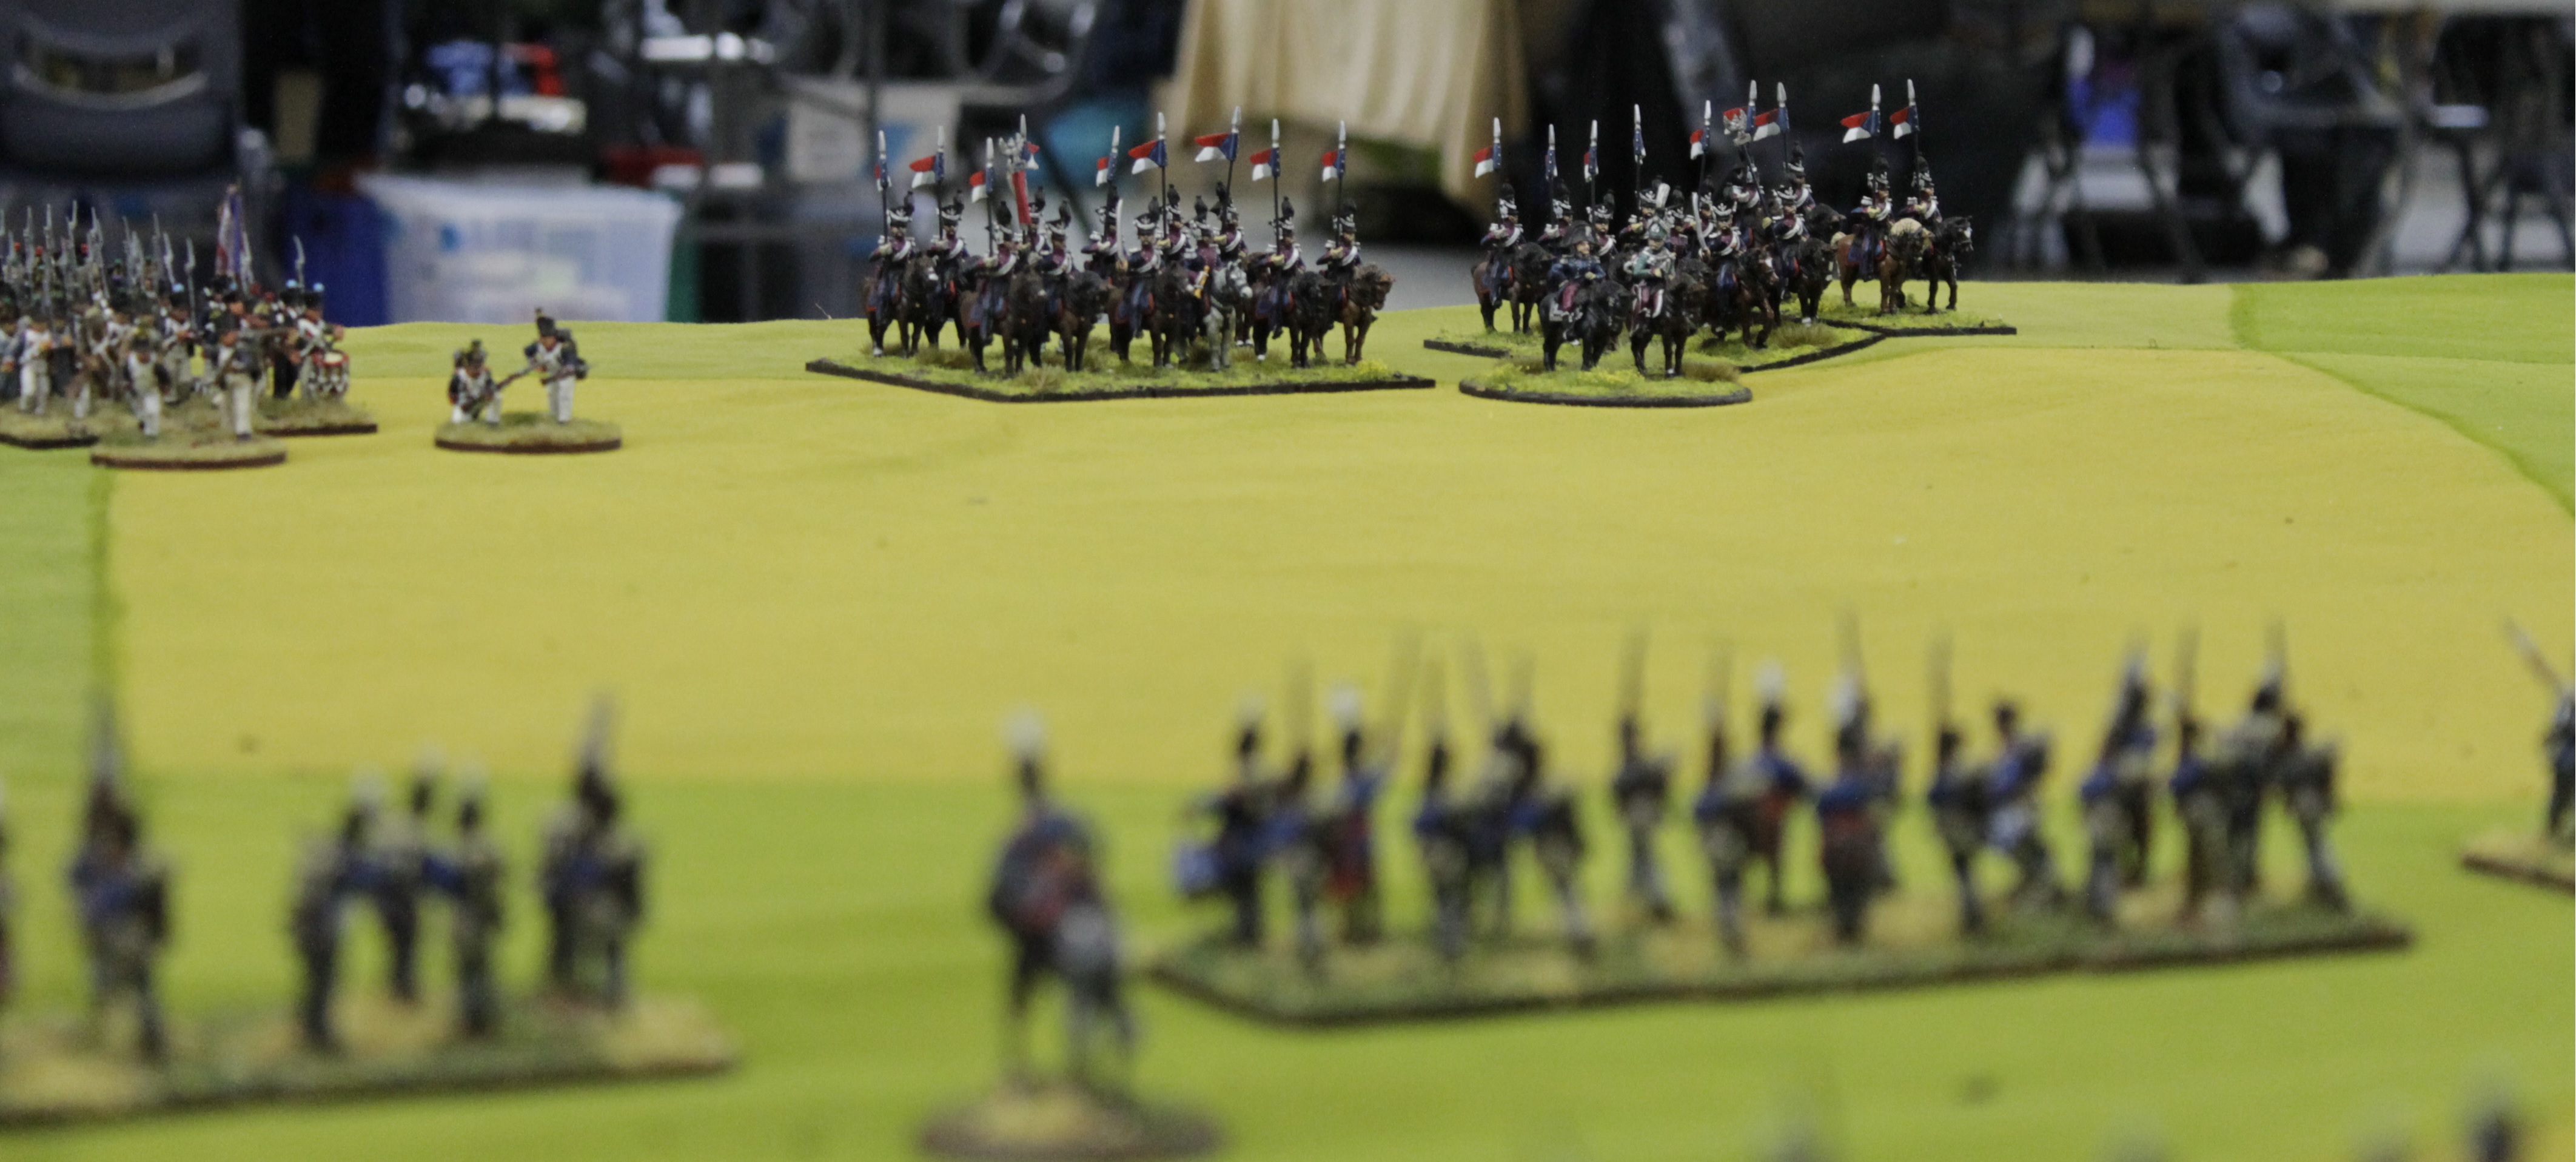
The Allied right waits as Jerome’s Division advances towards them.

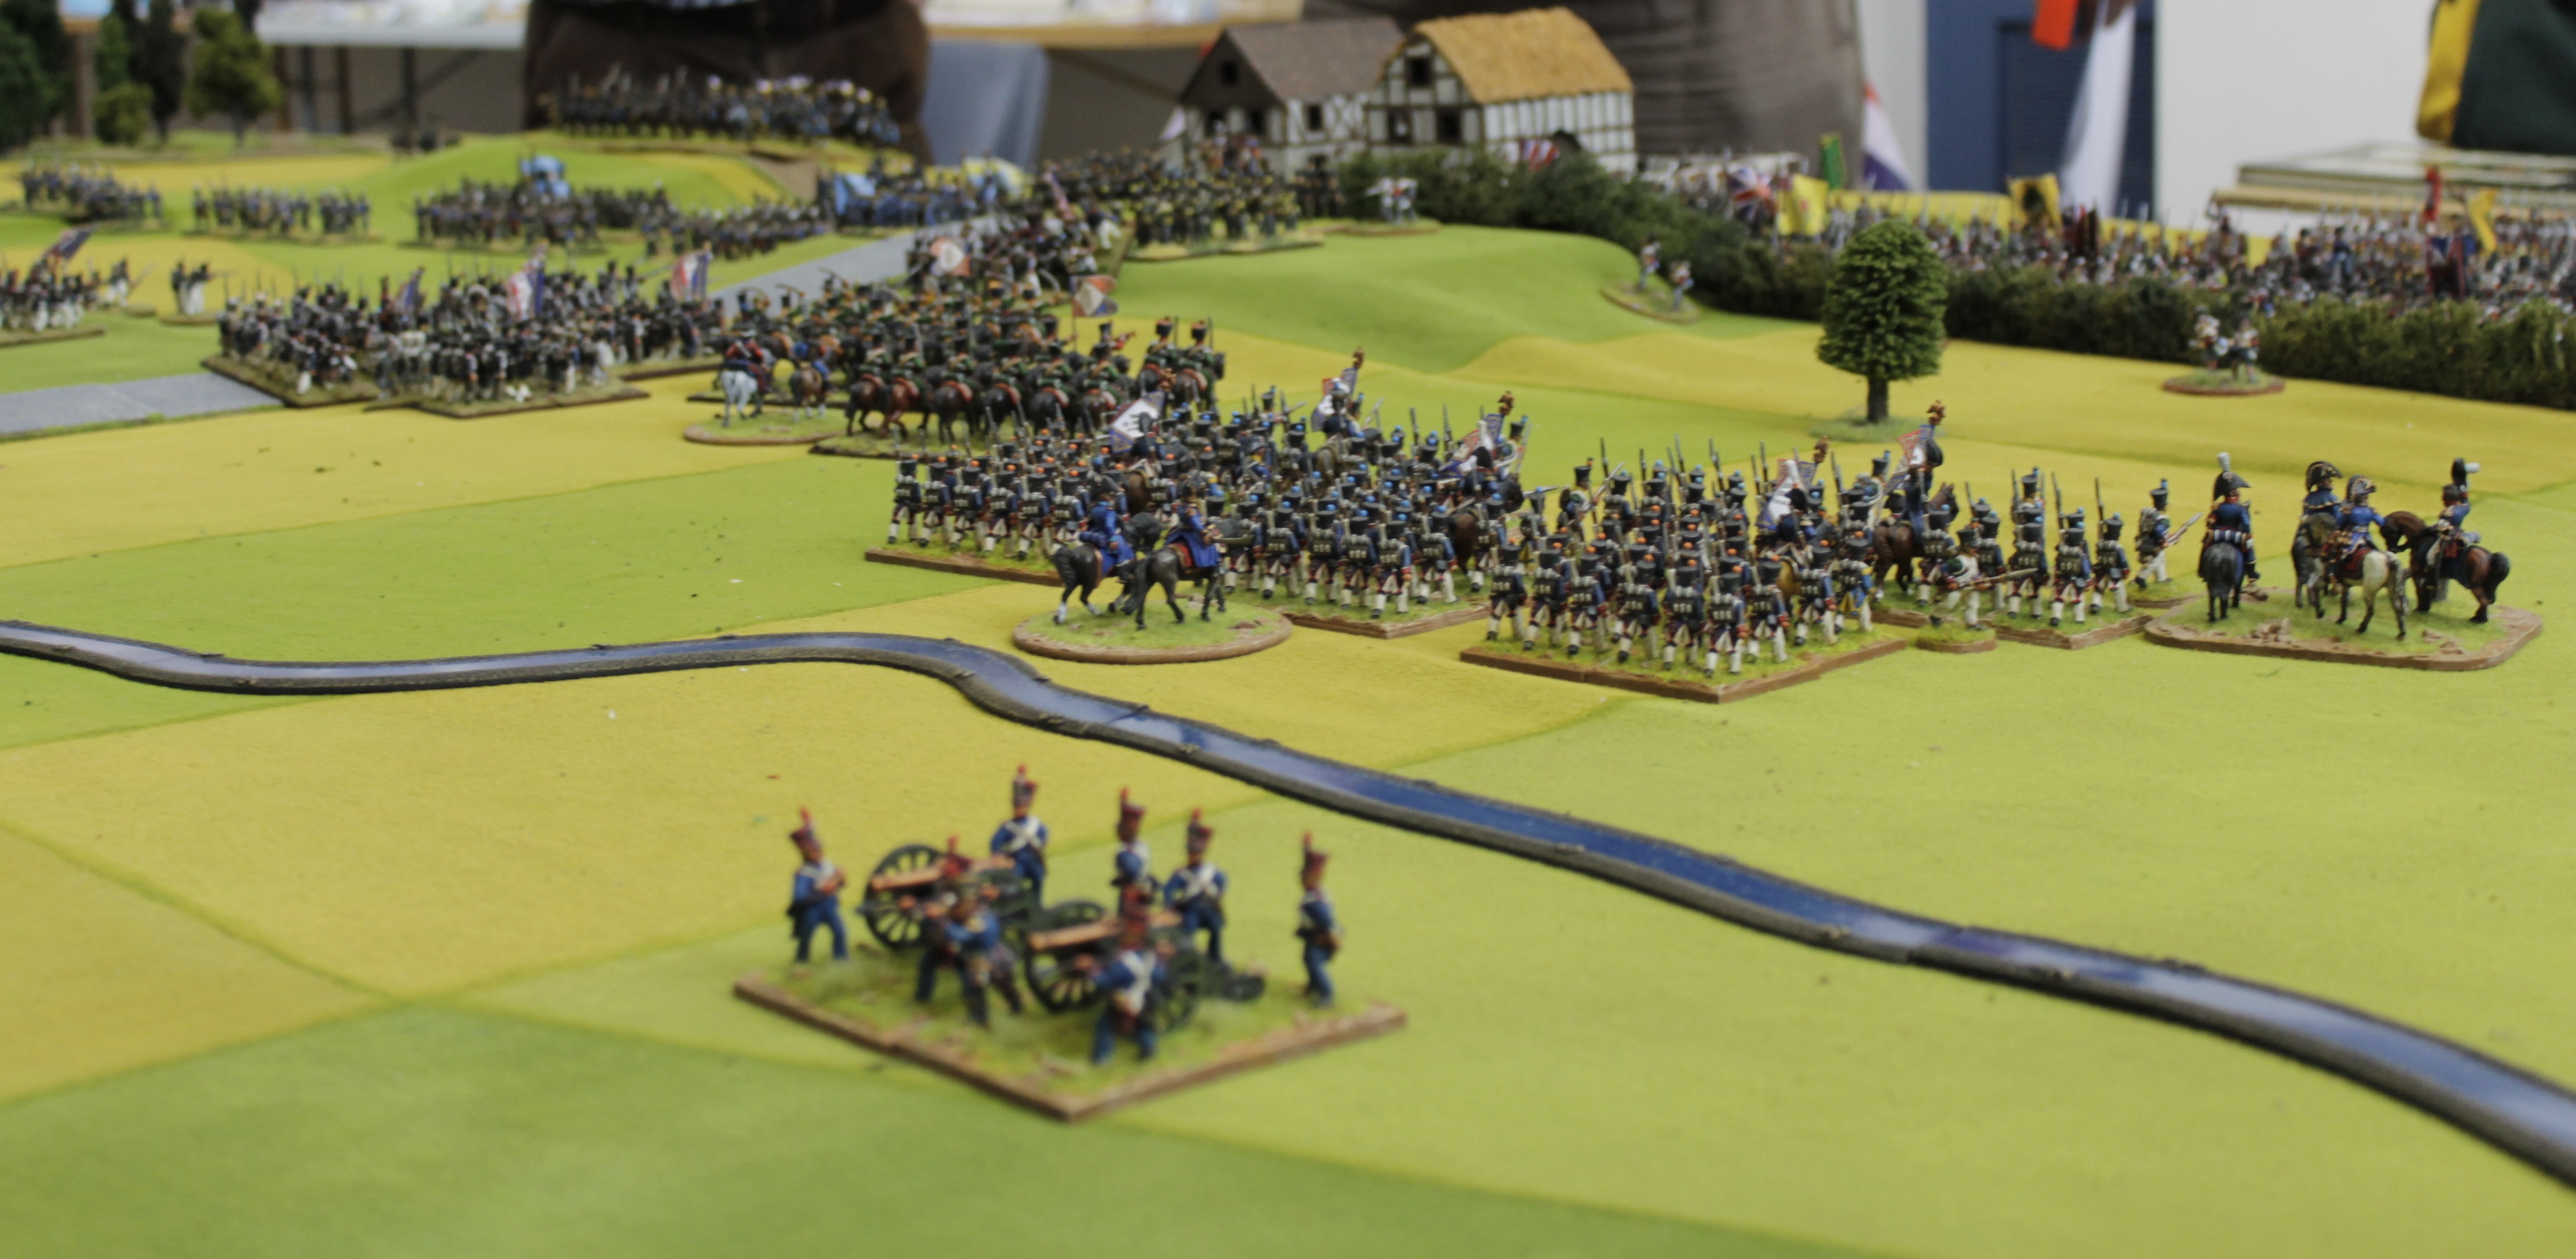
Turn 4 and Kellermans Cuirassier’s march onto the table on ‘Follow Me’ orders from Pirie and Kellerman. They charge Dutch Light cavalry and a small unit of Brunswick Uhlans. Each has 10 combat dice, hitting on 3’s, saving on 3’s(4’s against Uhlans). As payback for defeating the Brunswick Hussars one unit is shaken and the other fails to destroy the Uhlan’s so both rally back as do the Allied cavalry units. Now that did not go to plan!!

Position on left is one brigade French line is chasing fairies in the woods(ok…its really a bttn of Nassau), second brigade is advancing slowly up road(ie failed command to move), my cavalry are bit battered and need turn or 2 to recover some stamina and Keiths big brigade is letting his skirmishers inflict more pain before he charges in. The Nassau and Dutch brigades are slowly accumulating casualties(as are Keiths!)

On the Allied left the wee jocks who crossed the hedge are now both shaken as are the 2 French bttns to there front(this means all have sustained 3 casualties). The Hussar unit is still refusing to move!

On the extreme Allied left one of the flanked French columns is still holding on. I can see 3 casualty markers so they are not feeling very happy. The front Bttn has been destroyed.

The temptation of a shaken cavalry unit(who cannot counter charge) was to much for my fresh lancer unit so they charged them. The horse battery moved up to blast some infantry!

After the dust settles from the Dutch cavalry being destroyed and failed morale tests from shaken units who were close to the combat, the Allied right flank is not looking to healthy! One brigade French infantry is still chasing fairies in the woods but another is advancing and hopefully can now turn and roll up the Allied line
And this is probably a good time to stop the First part of the Report!

Quite the pictorial part 1.
“footnote – from 12 shots from cannons in 3 turns of shooting Keith managed 2 hits at medium range. The artillery commander has been placed up against a wall”
Rumour has it that the artillery commander still lives as the two batteries provided the firing squad members! Ha ha ha!
Salute
von Peter himself
LikeLike
Decided Iiked just presenting CTA as a series of comments on the pictures. The Garage Games will be more of a write up.
And the artillery commander has been joined by 2 Battn commanders!!
LikeLike
Pingback: Call to Arms 2015 part the second … and some sadness | von Peter himself